
*** Newest Entries always added to the bottom ***
Working on Dig Dug boards started a little by accident. A single board came up for sale a few months back for a really good price so I picked it up and added it to my stash.
Then a board with this description popped up:
“Offering a complete, tested, not working, unfixable Atari Dig Dug PCB“
That I just took as a challenge – and – the price was right. Having two boards for comparison makes repairs much easier.
A few weeks later a bundle of 4 more complete Dig Dug’s became available with an bunch of extra parts that were just tossed in a box.
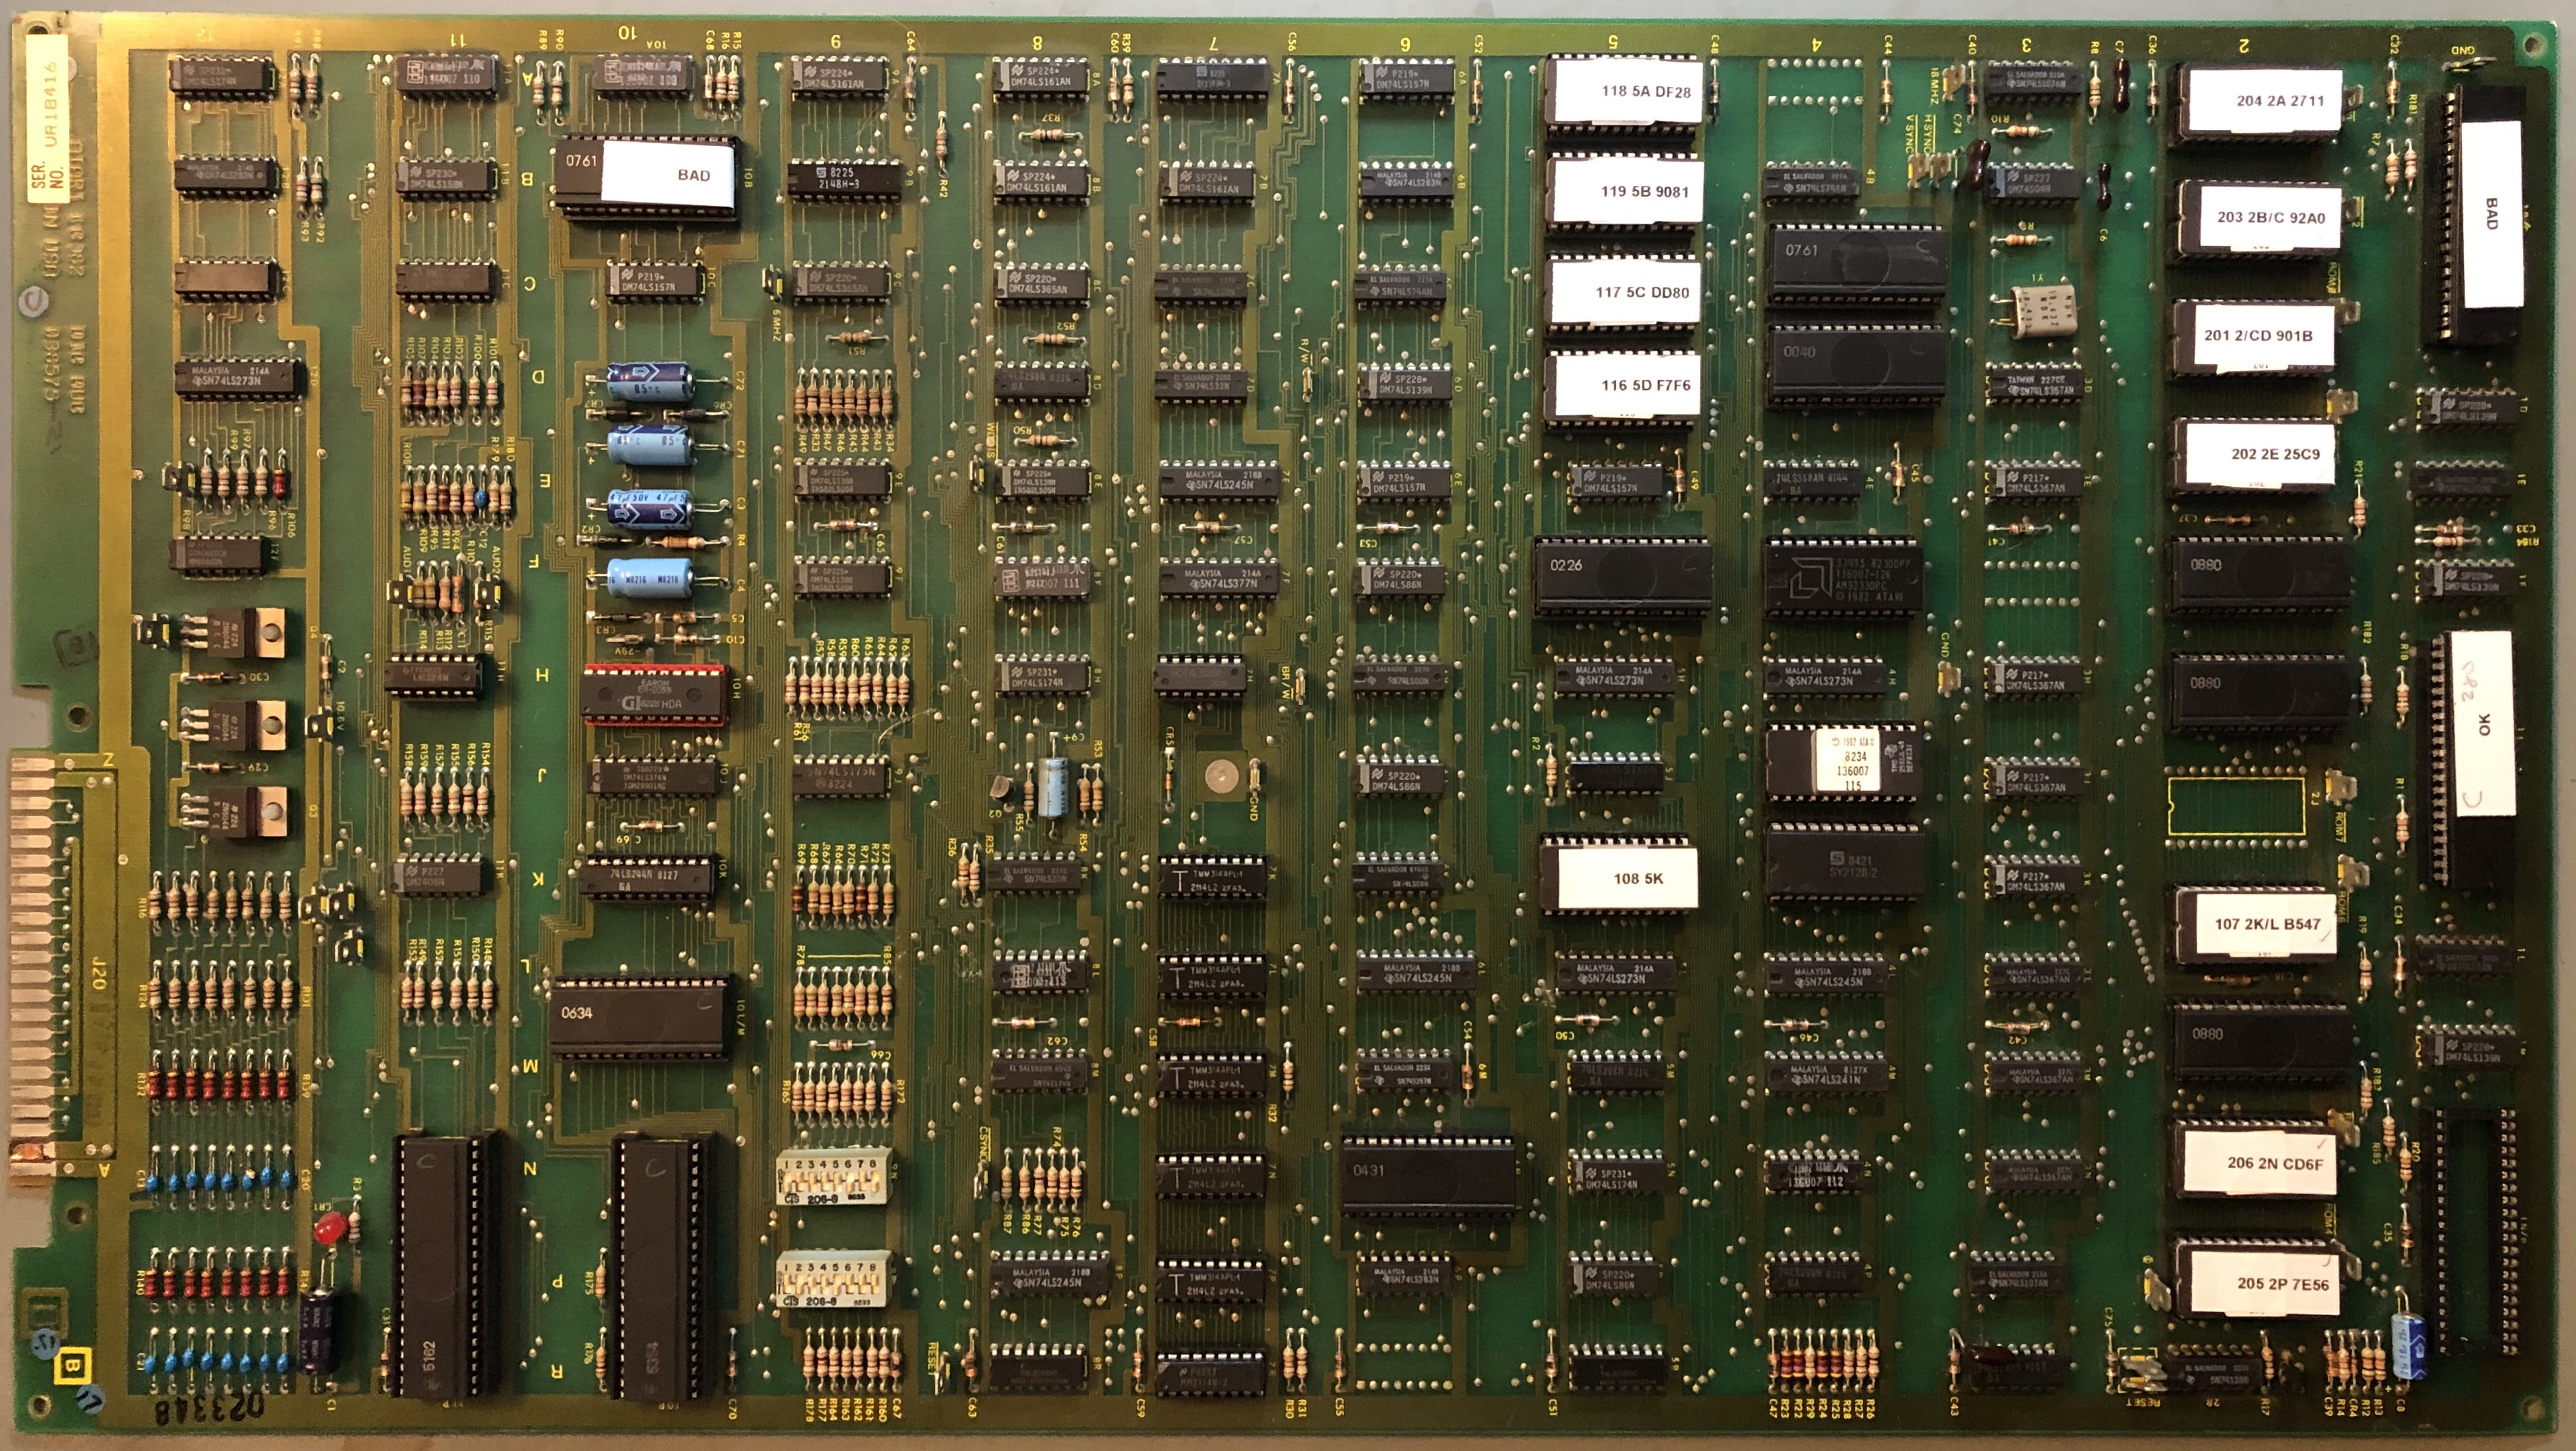
Board 1 – The ‘Unfixable’ board

Every board I work on gets the exact same treatment.
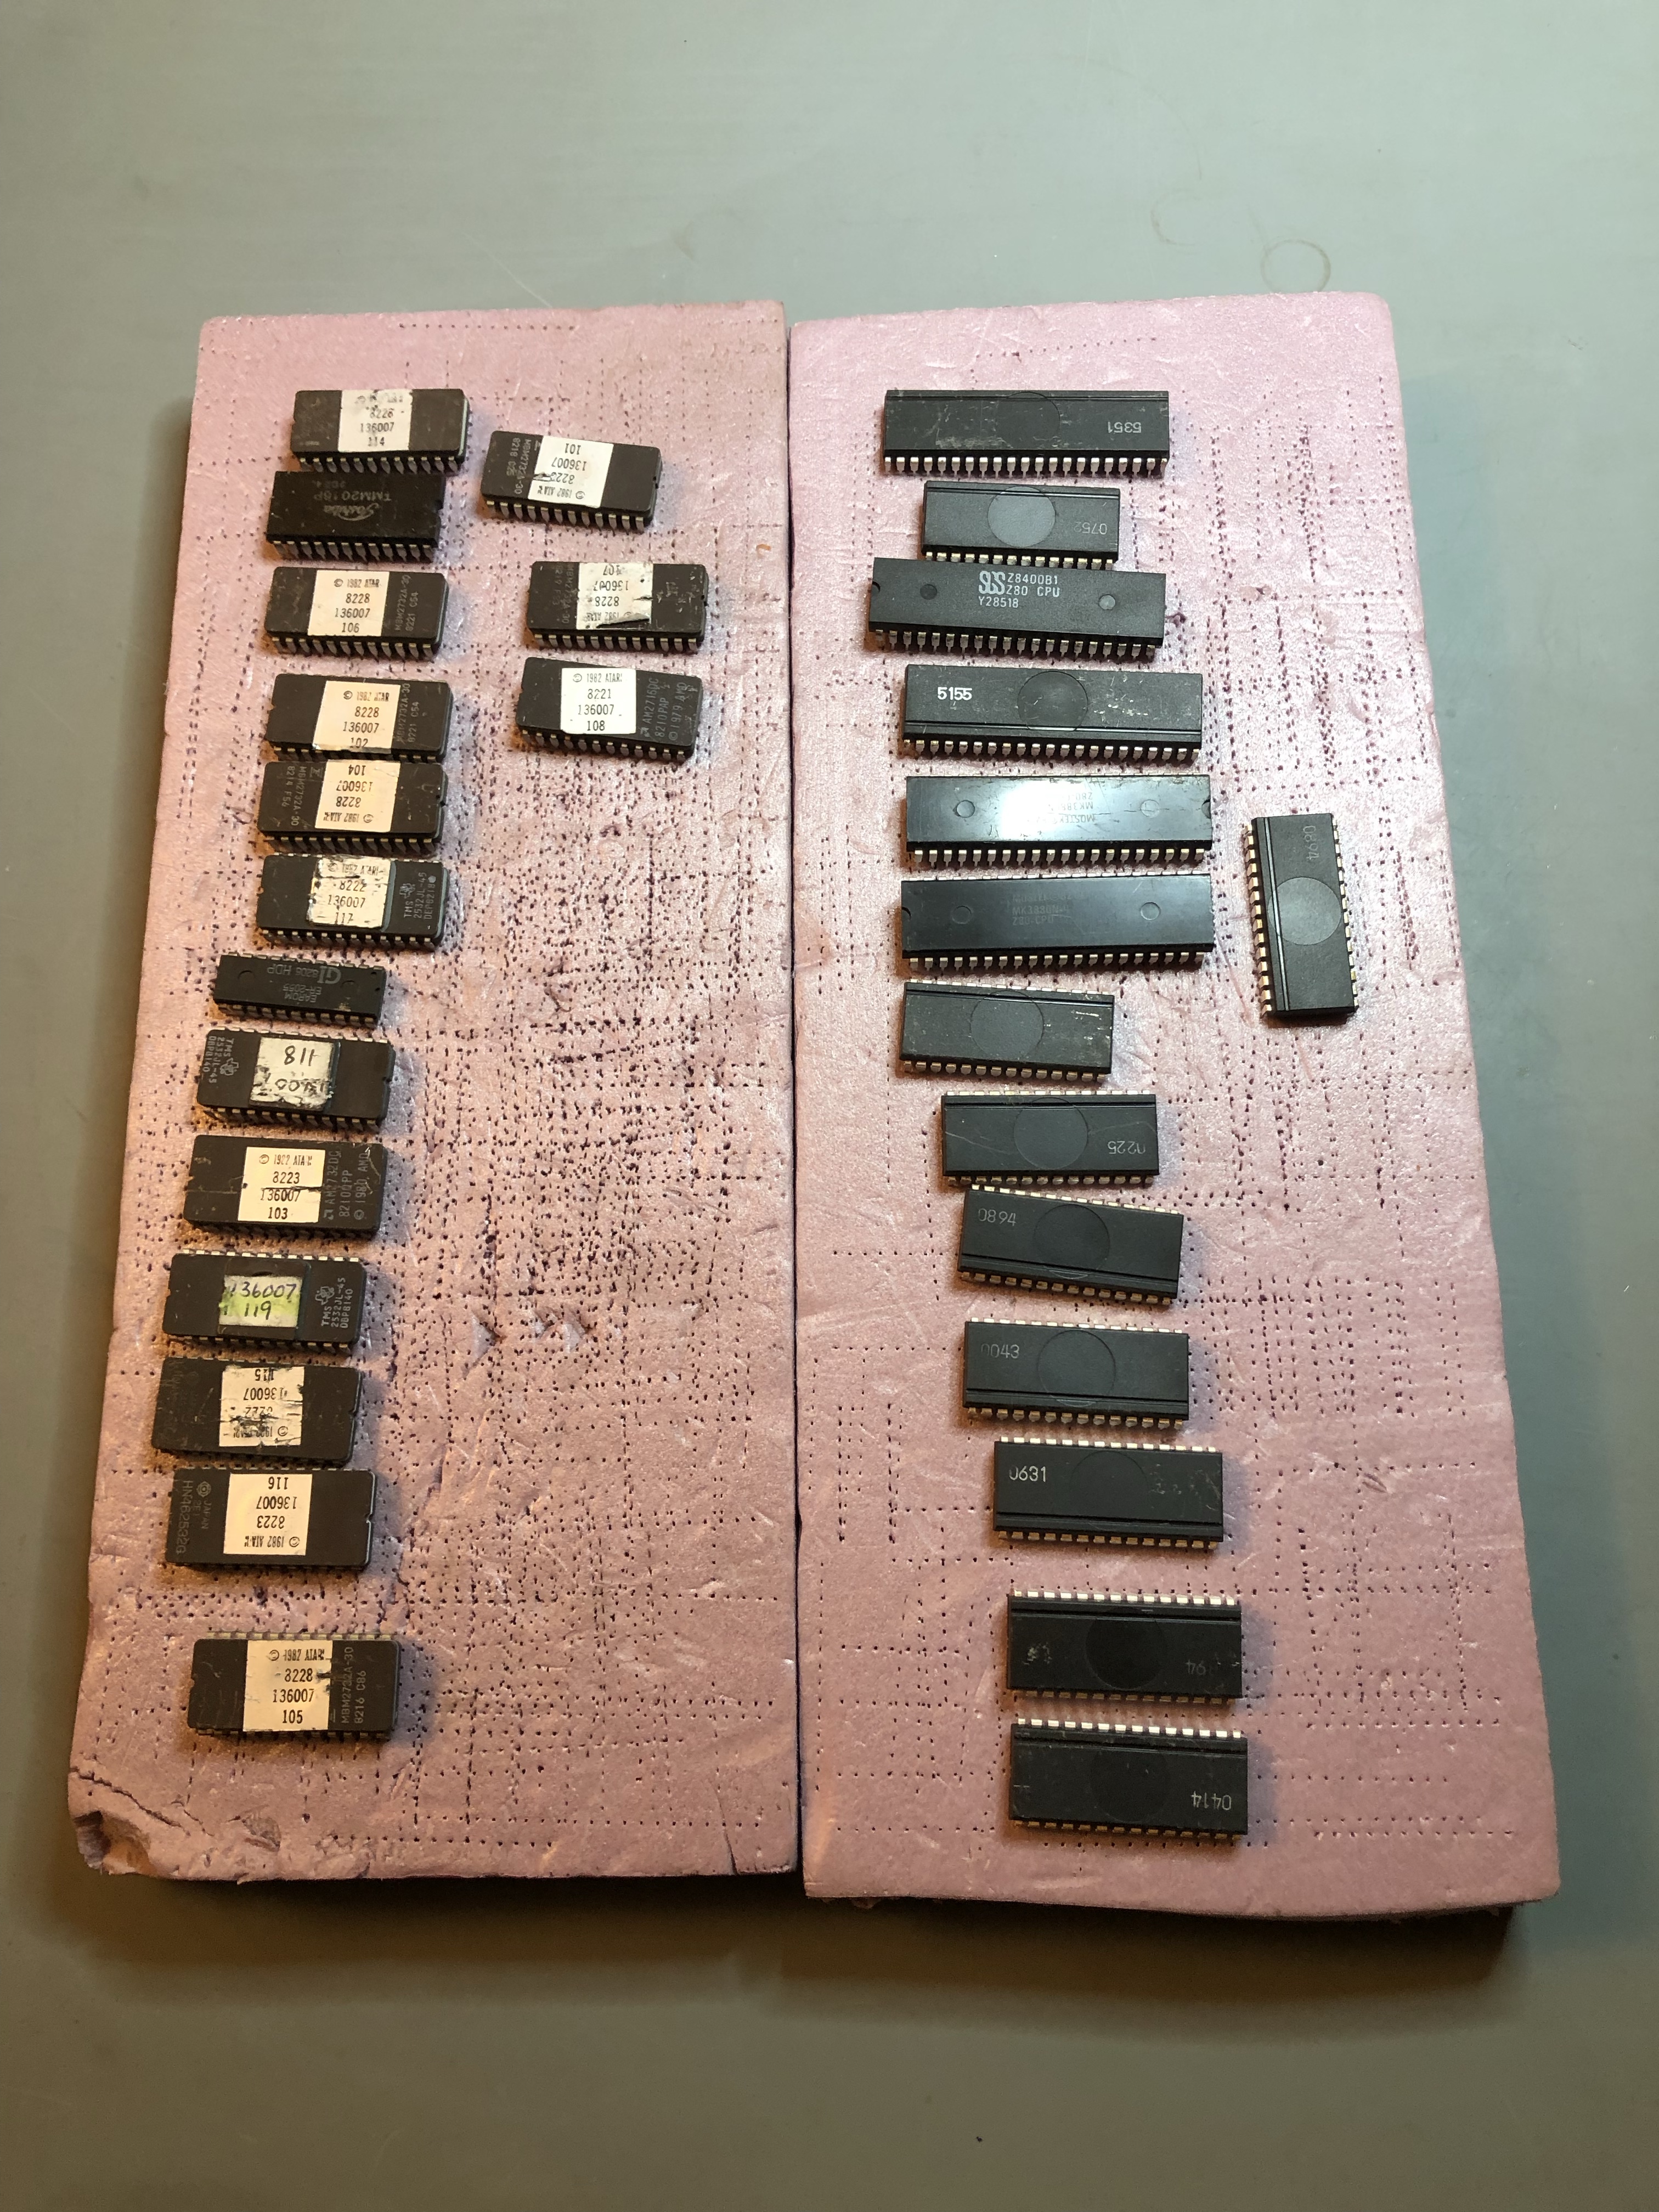
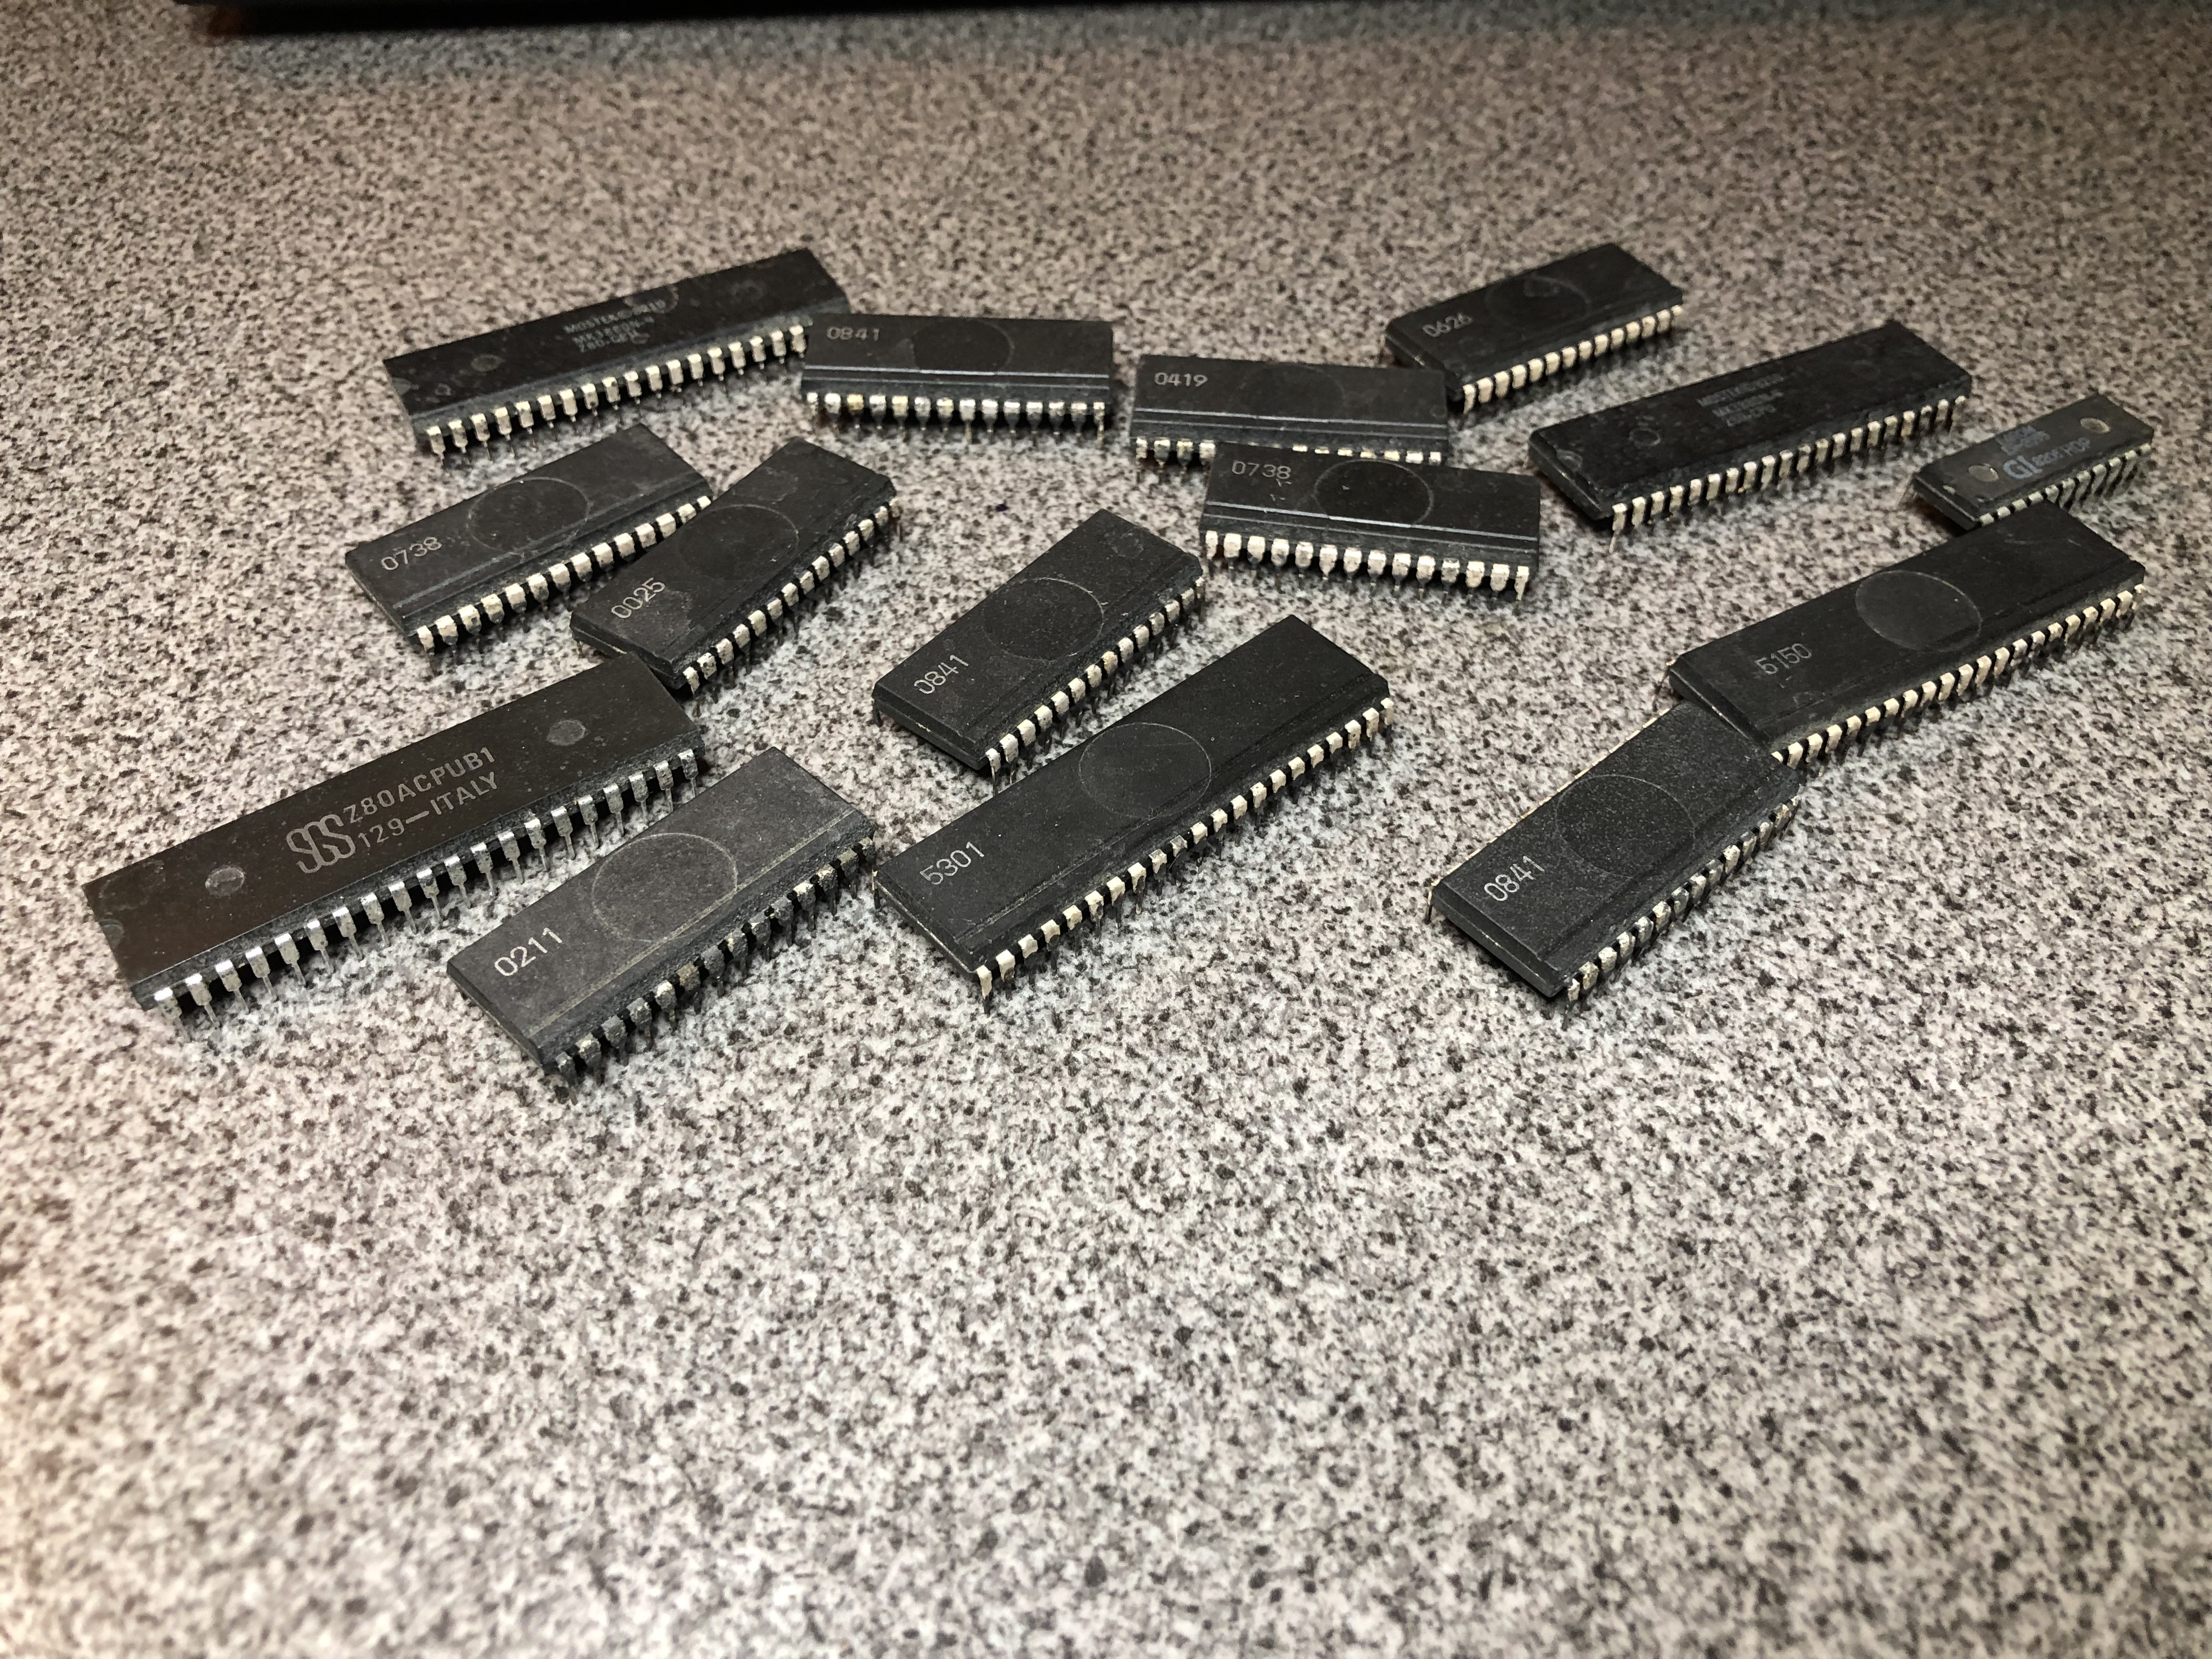
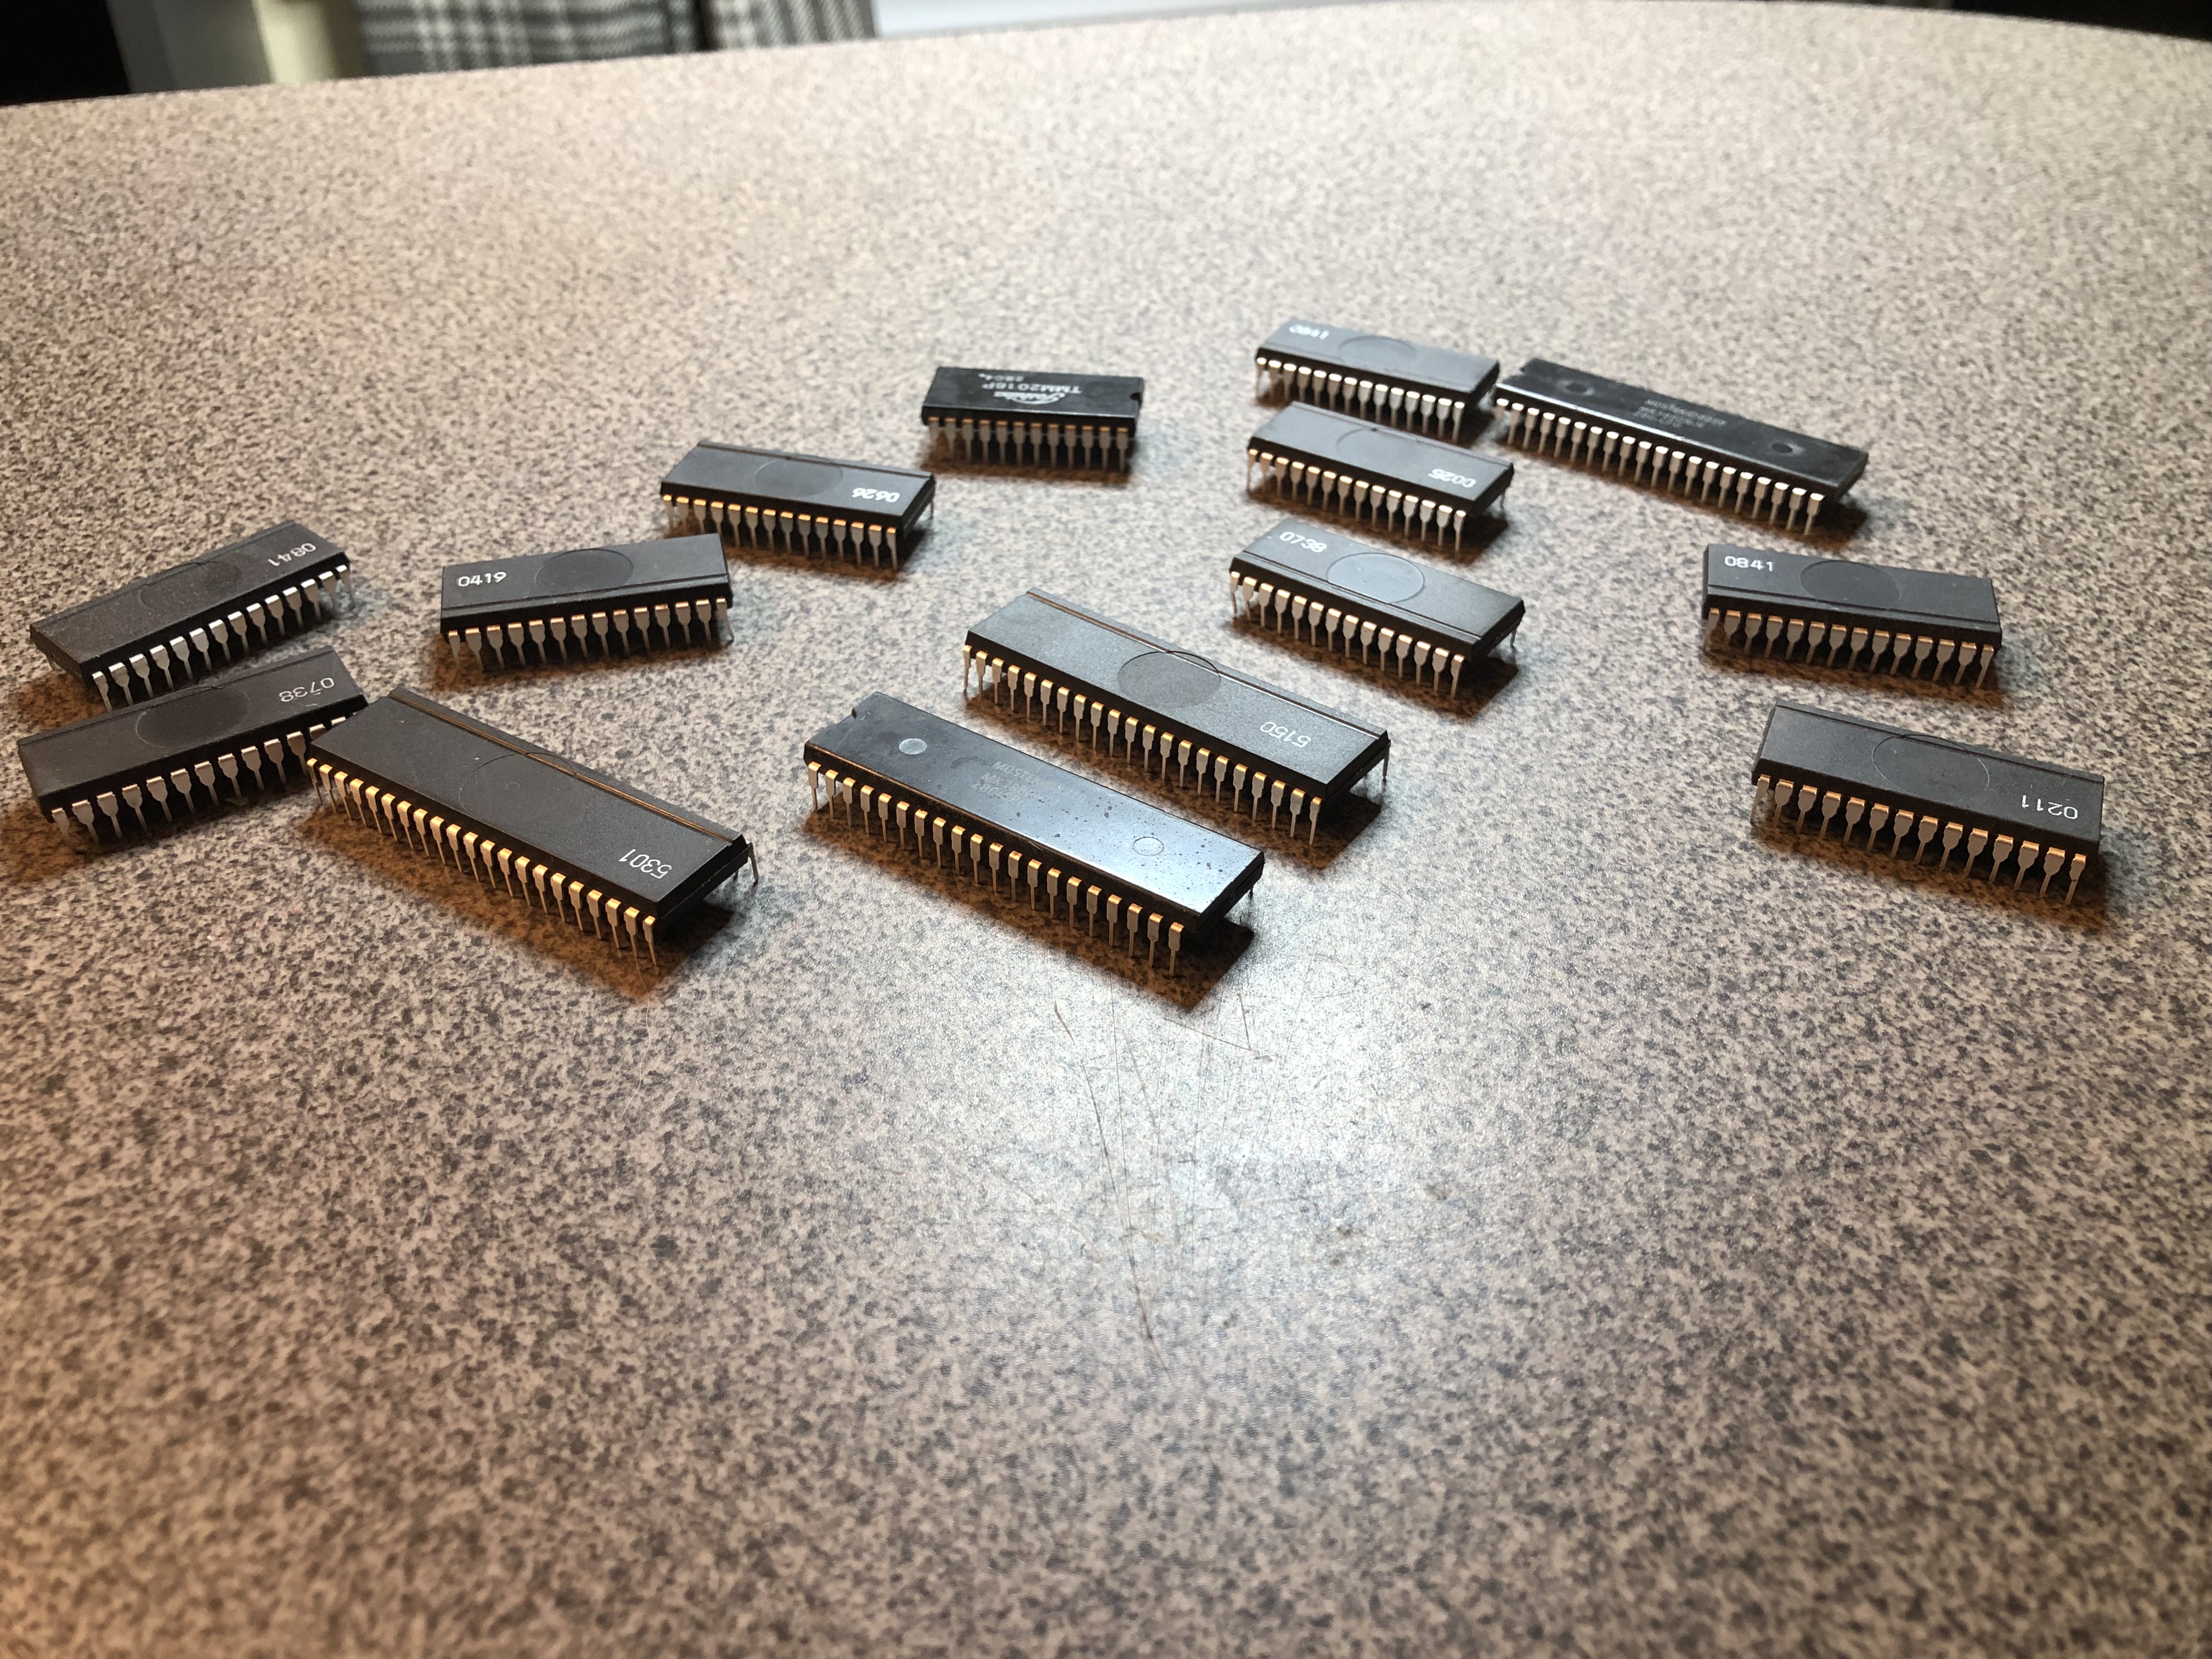
- Pull all socketed chips
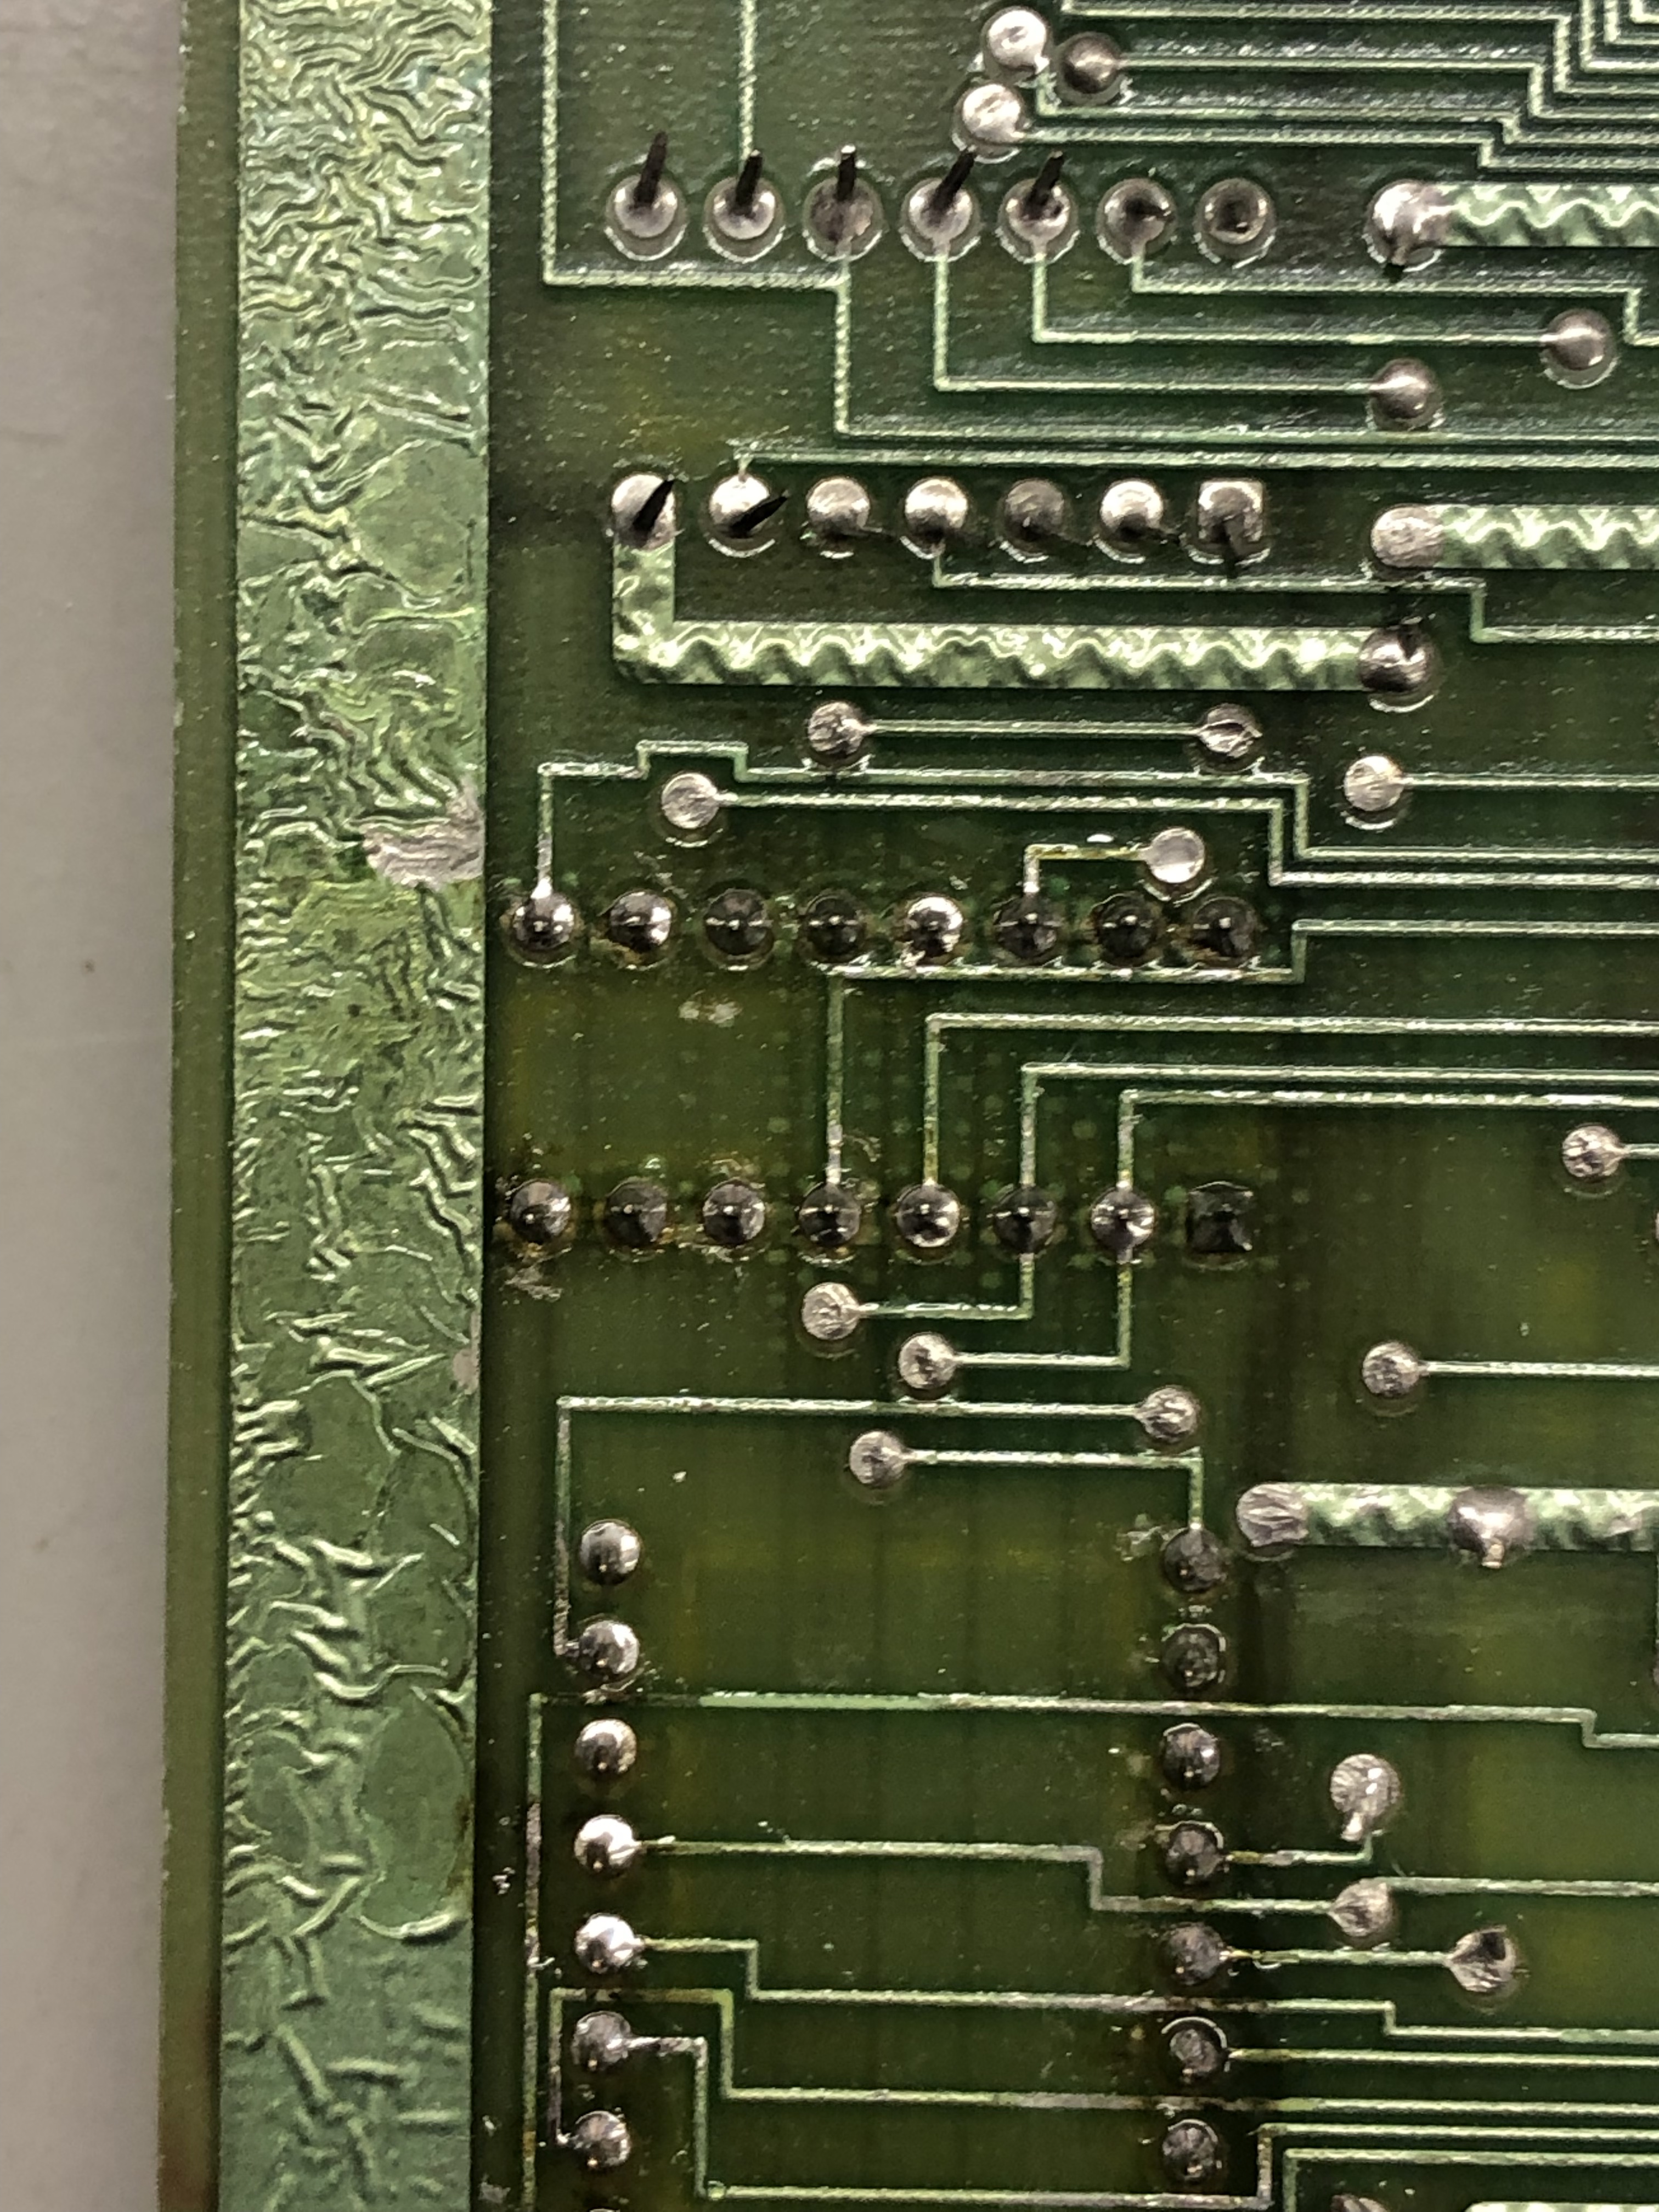
- Close visual inspection of the board
- Wash and dry PCB
- Verify all ROMS (replace as necessary)
- Verify all RAMS (replace as necessary)
- Test TTL chips, etc..
- Clean all legs with Fiberglass pen
- Deoxit and repopulate
This whole process can take 1-2 hours depending on how many socked chips there are.. Dig Dug has a lot.

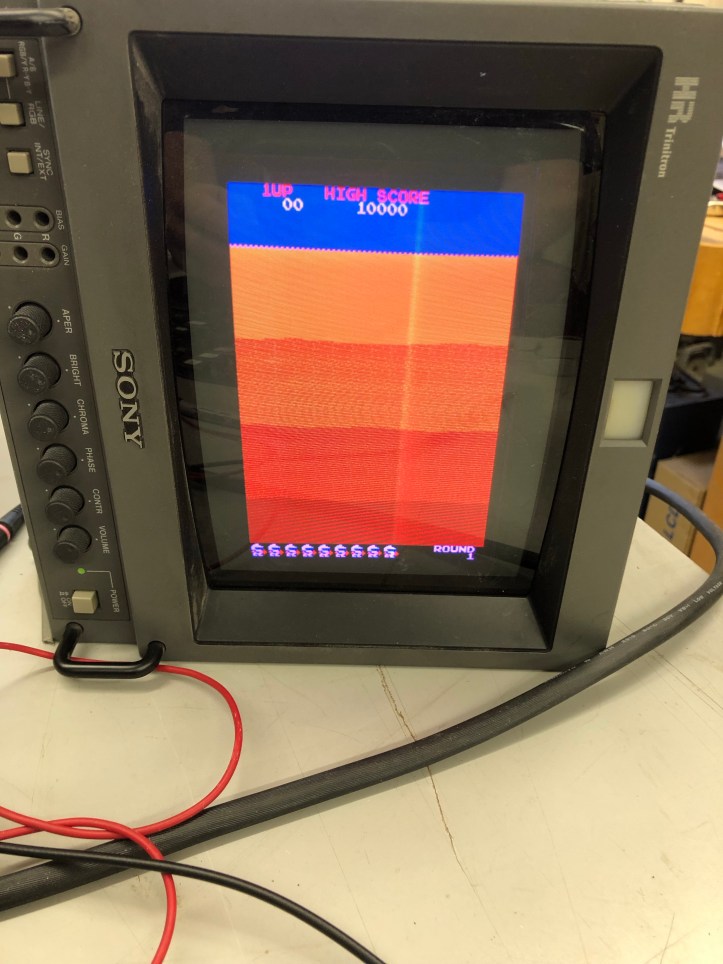
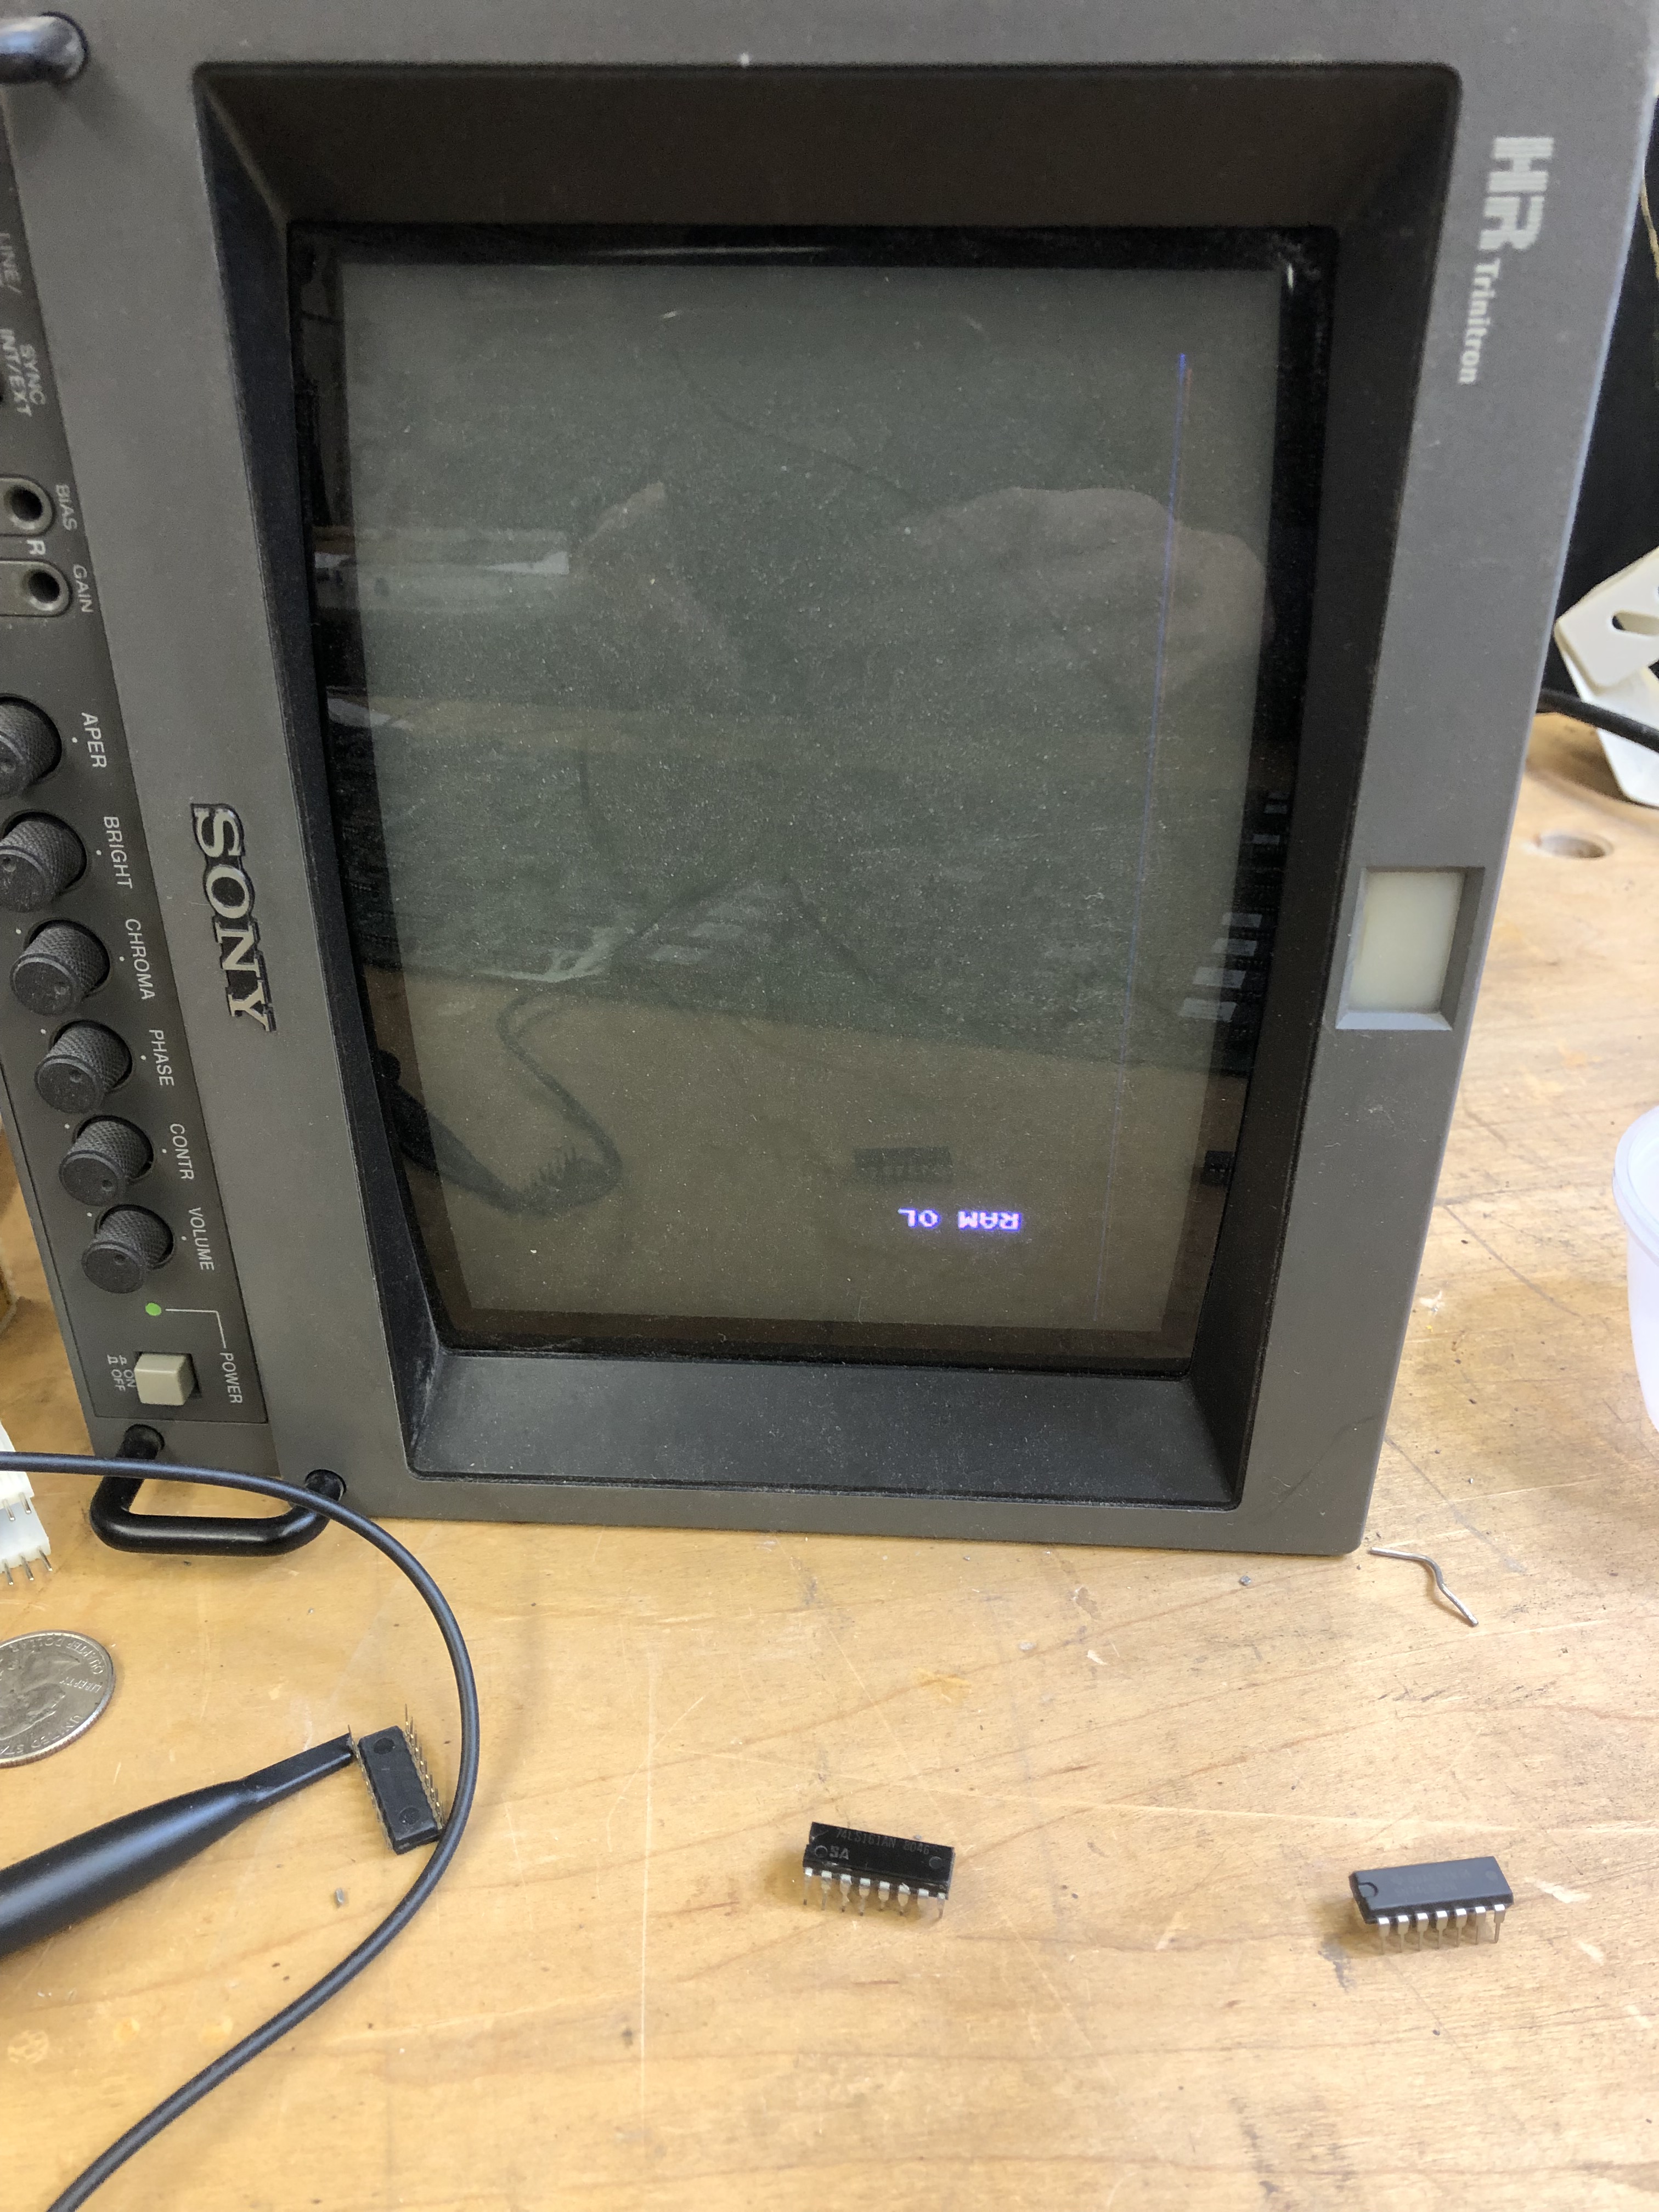
Ready for testing.
From the original listing for this board:
The good:
All customs (11) have been crossed tested on known good boards and are all working.
All EPROMs have been verified and are good.
All socketed RAM has been externally tested and are good.
All 3 Z80’s have been cross tested on known good boards and are good.
Game passes all boot up self tests and boots up to attract mode screen (I think there are some character issues though, don’t recall), so game checking of ROM & RAM etc, report no errors.
Dip switches all work.The unknown:
The EAROM chip (high score save) was not cross tested. Unknown if good or bad.The bad:
The edge connector was burned and repaired.
There has been prior repair (see solder side pic).
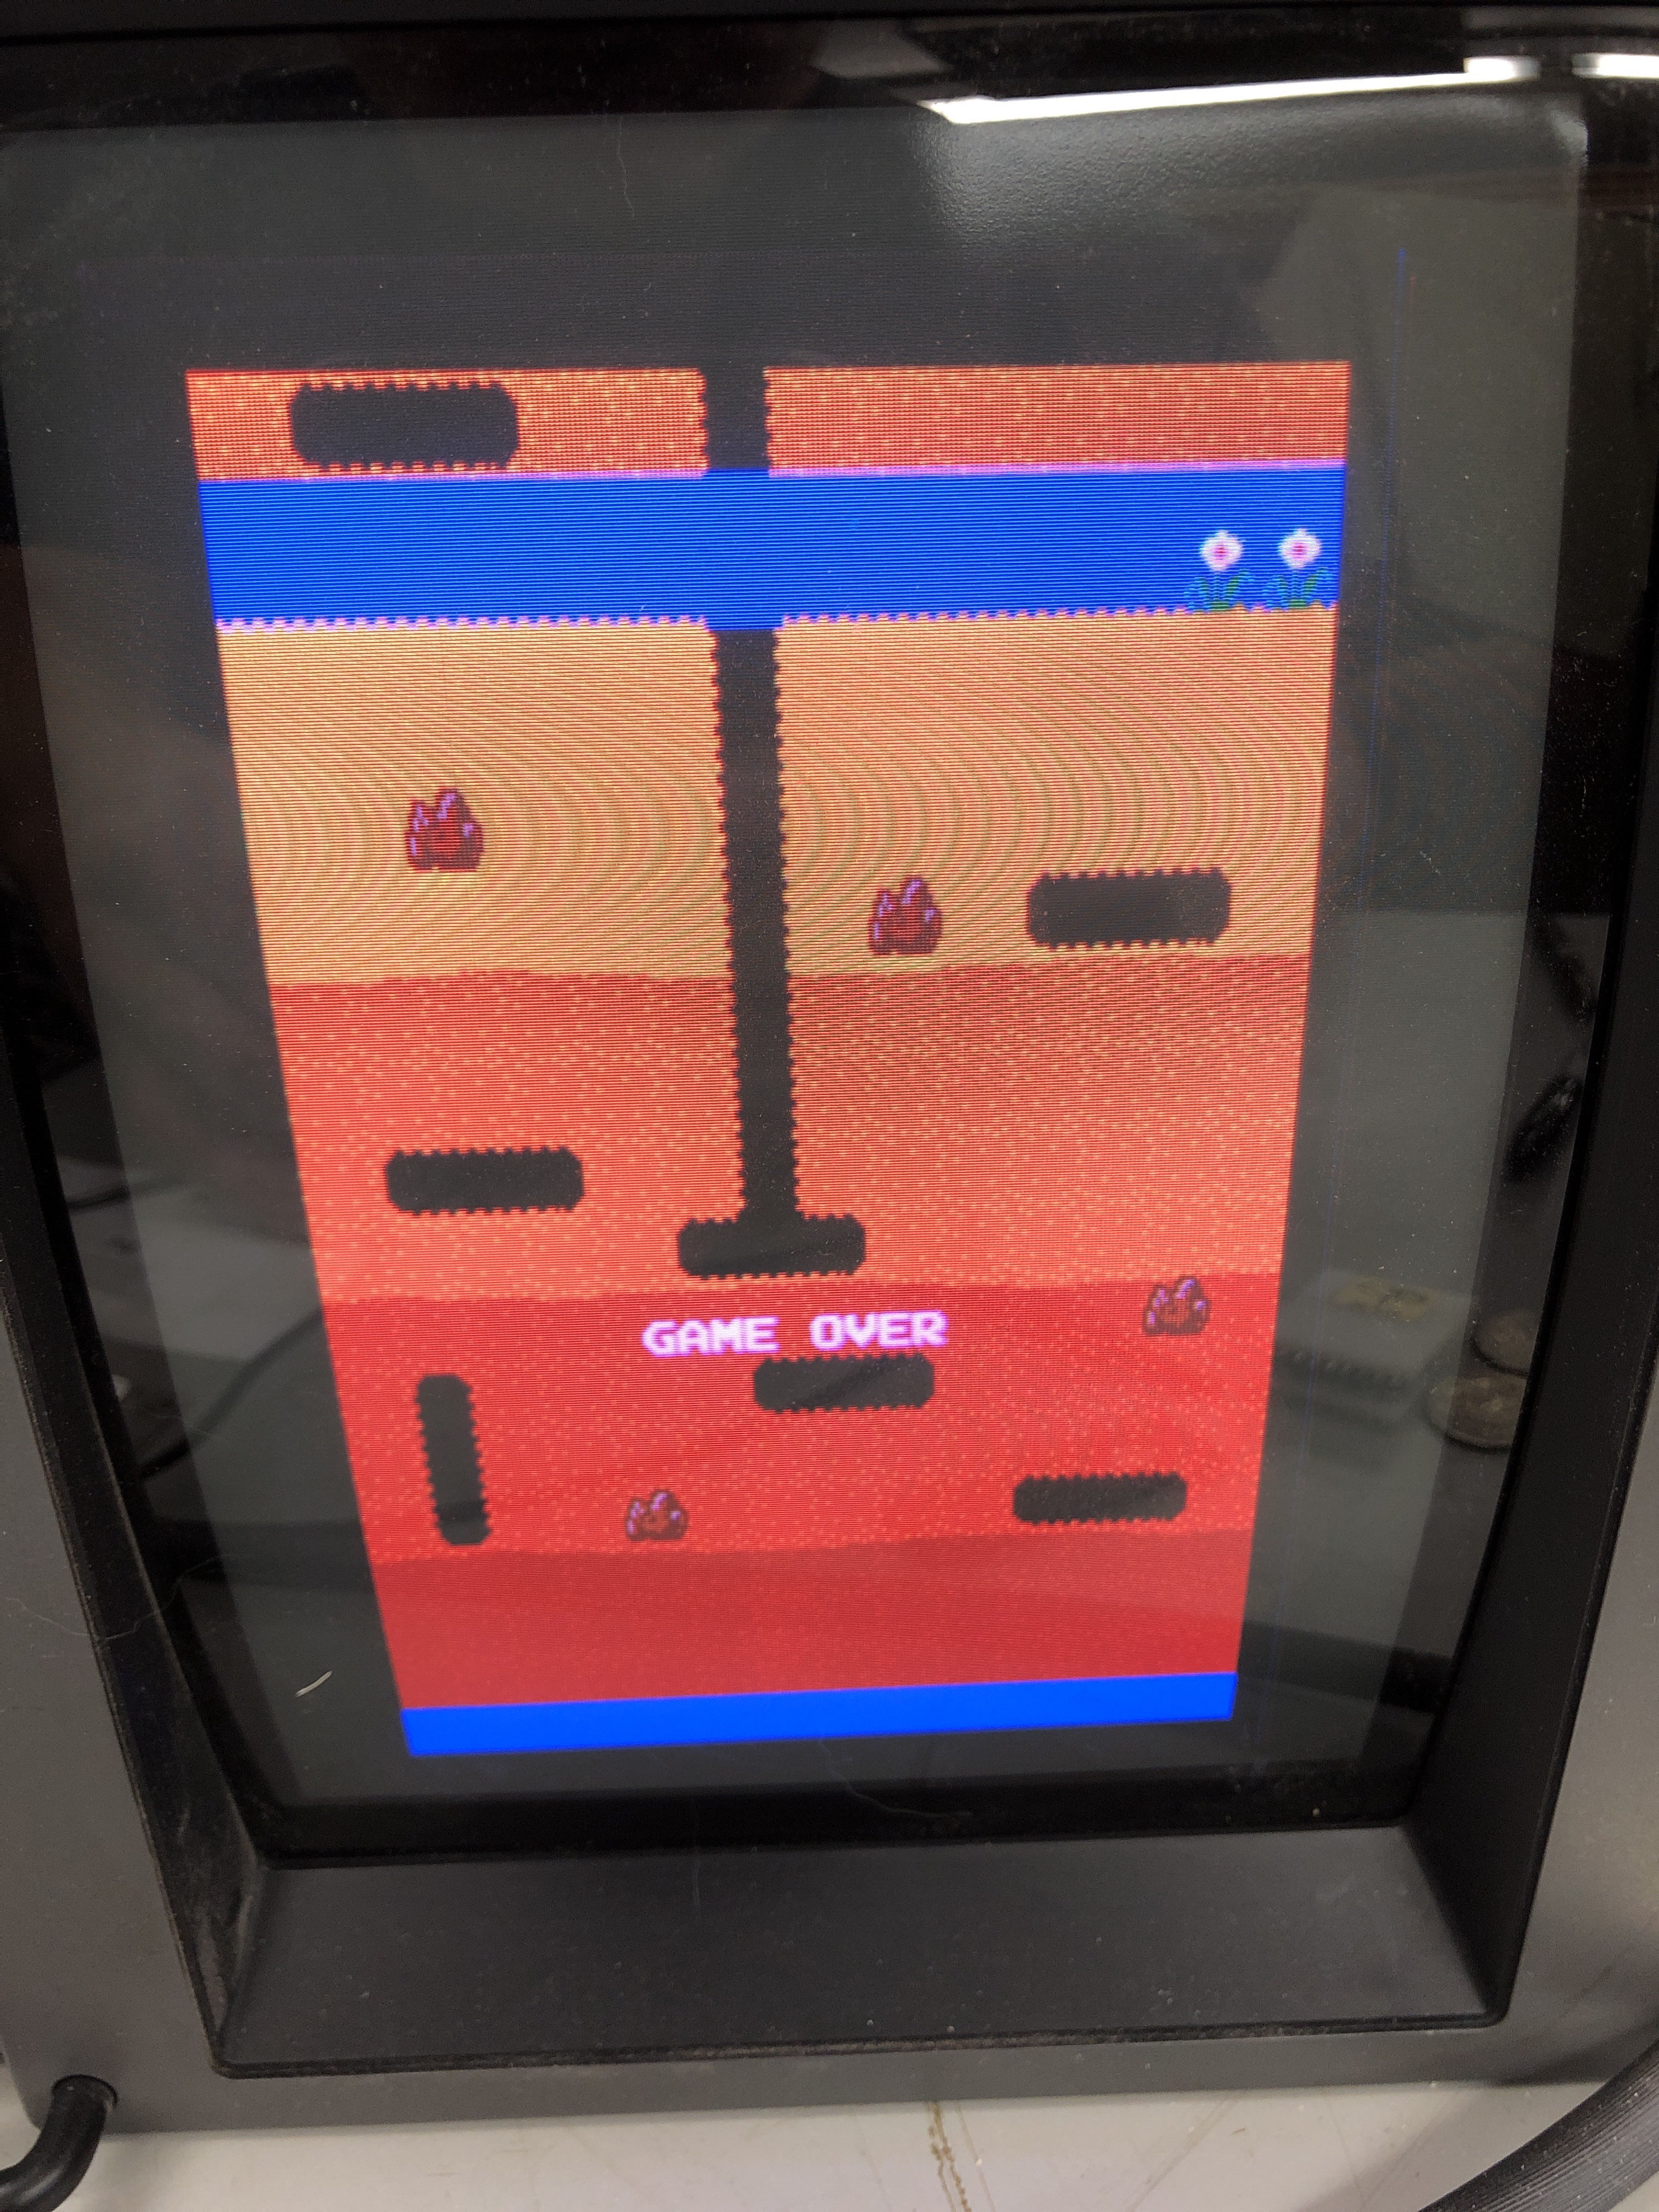
Once booted up and in attract mode, game constantly resets/reboots
One of the customs (5162 @ 11P), while cross tested and working fine, has had several legs repaired & resoldered.
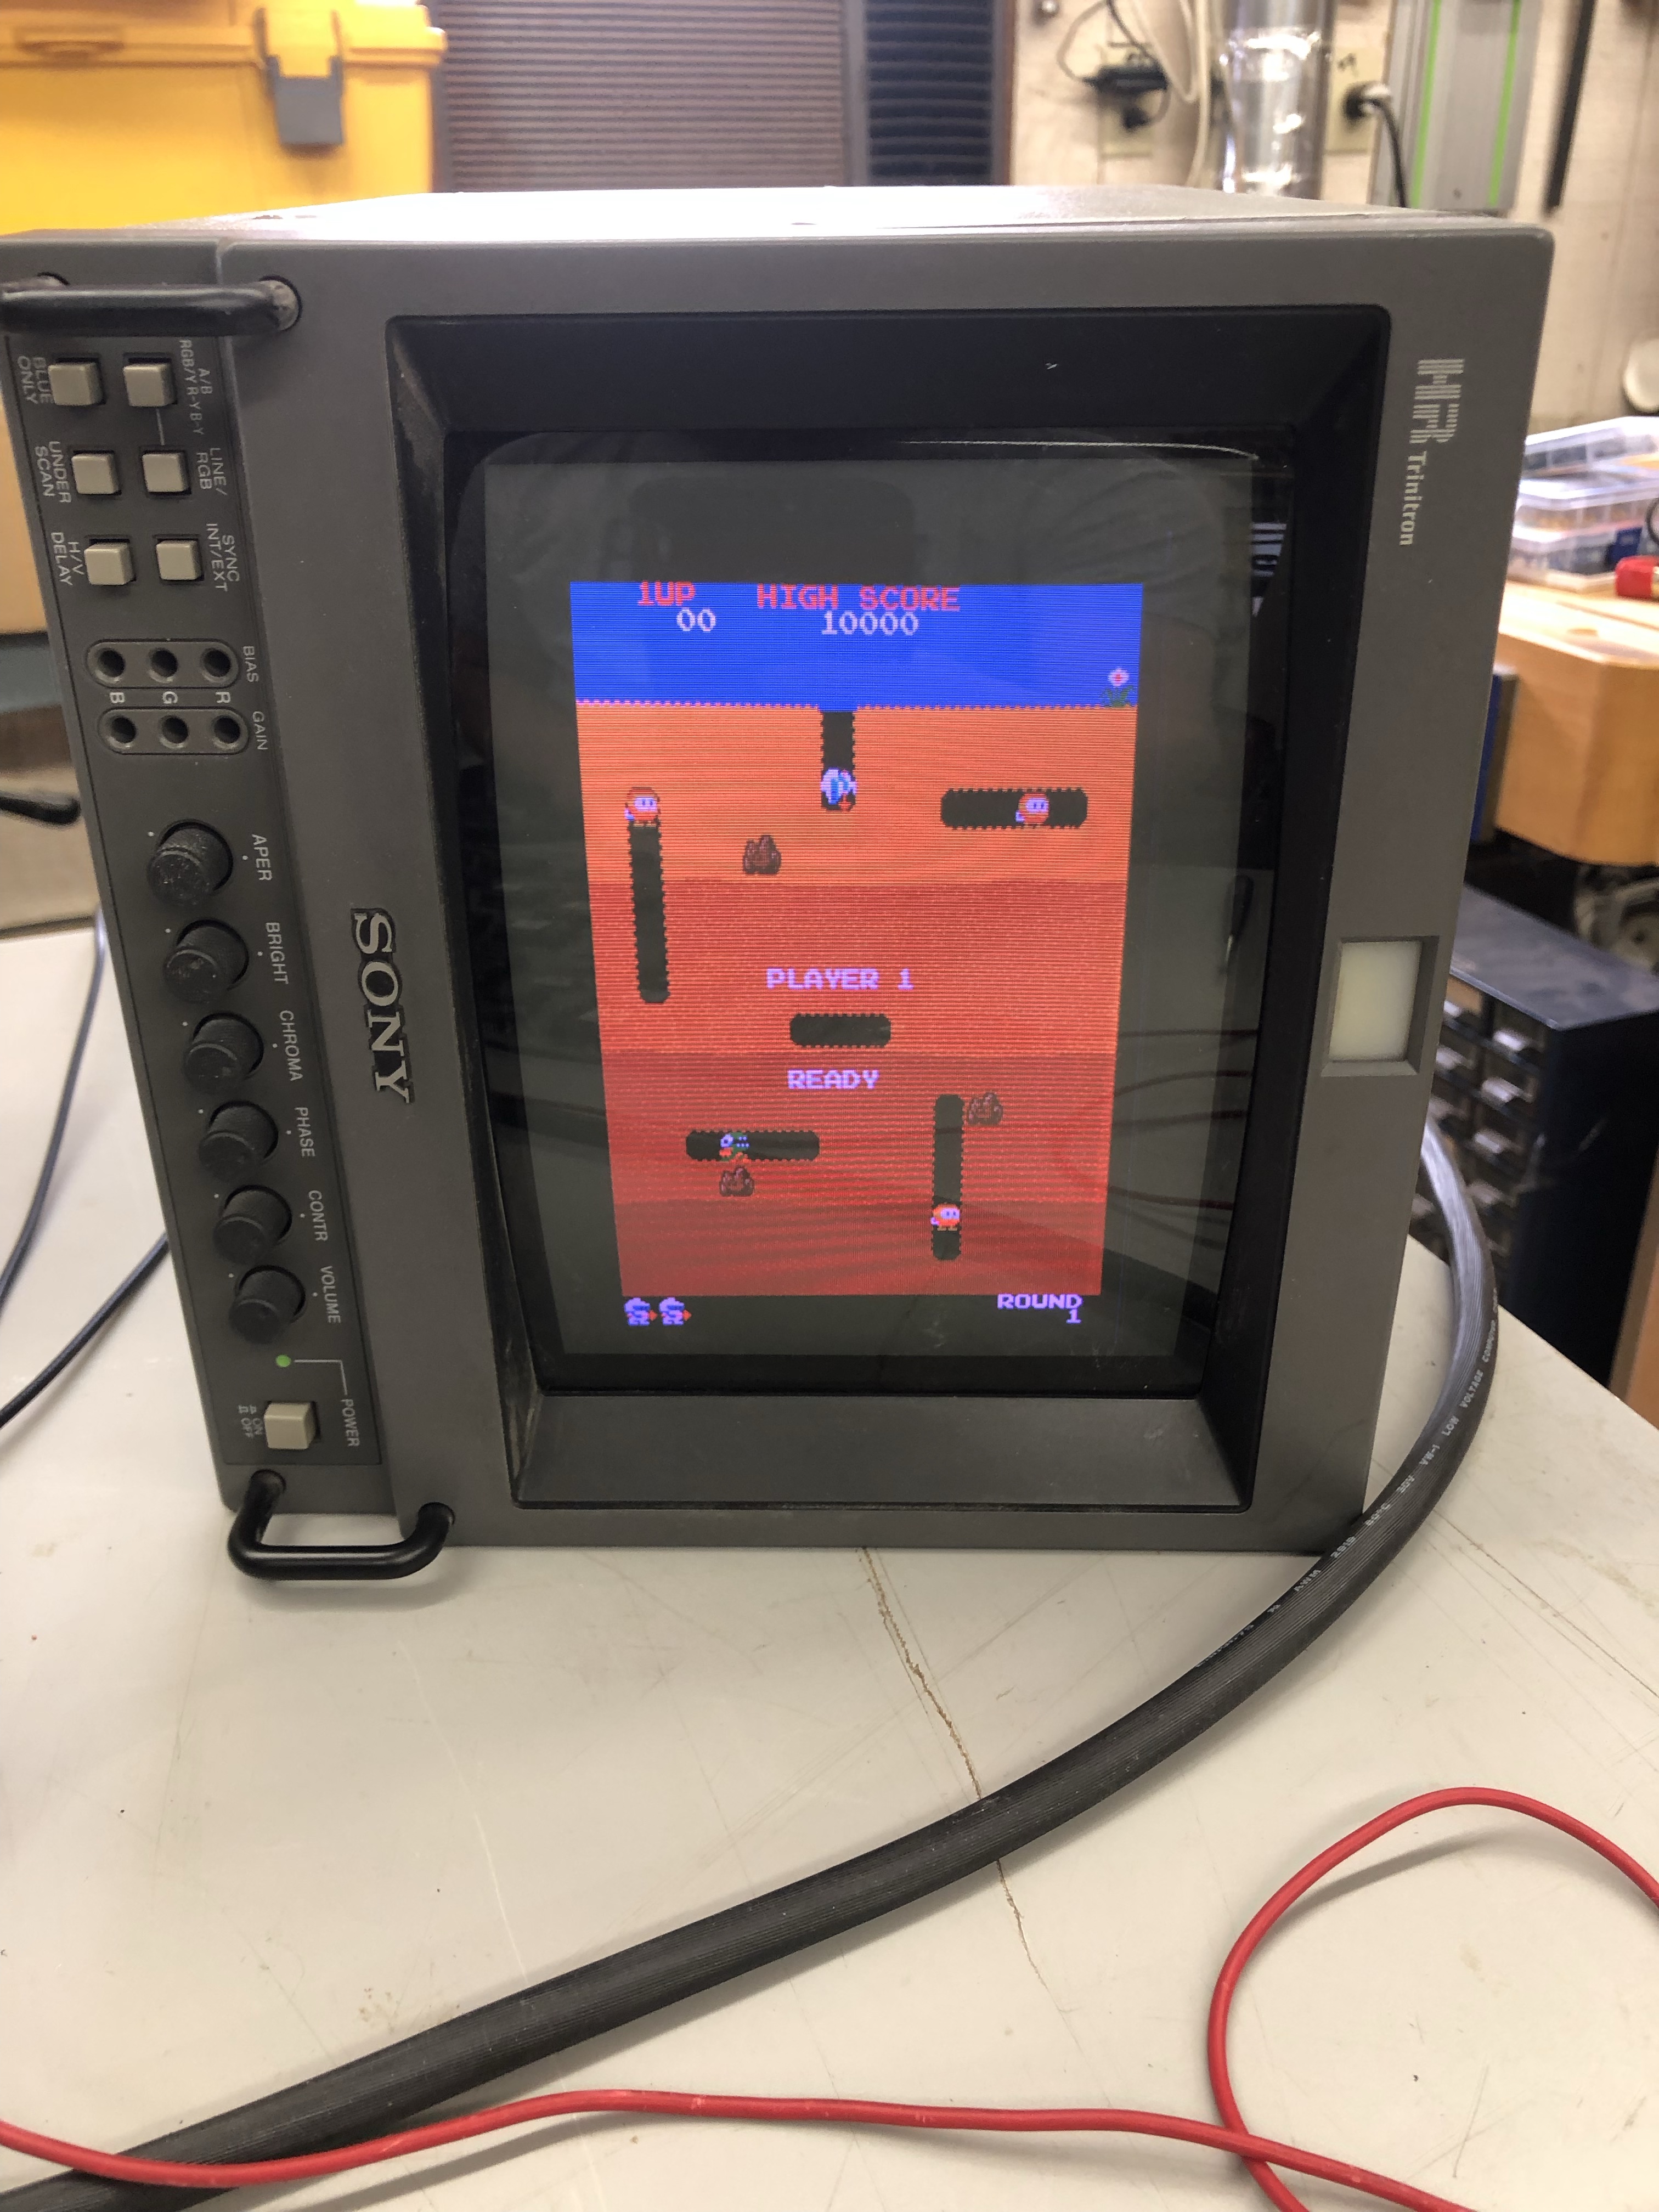
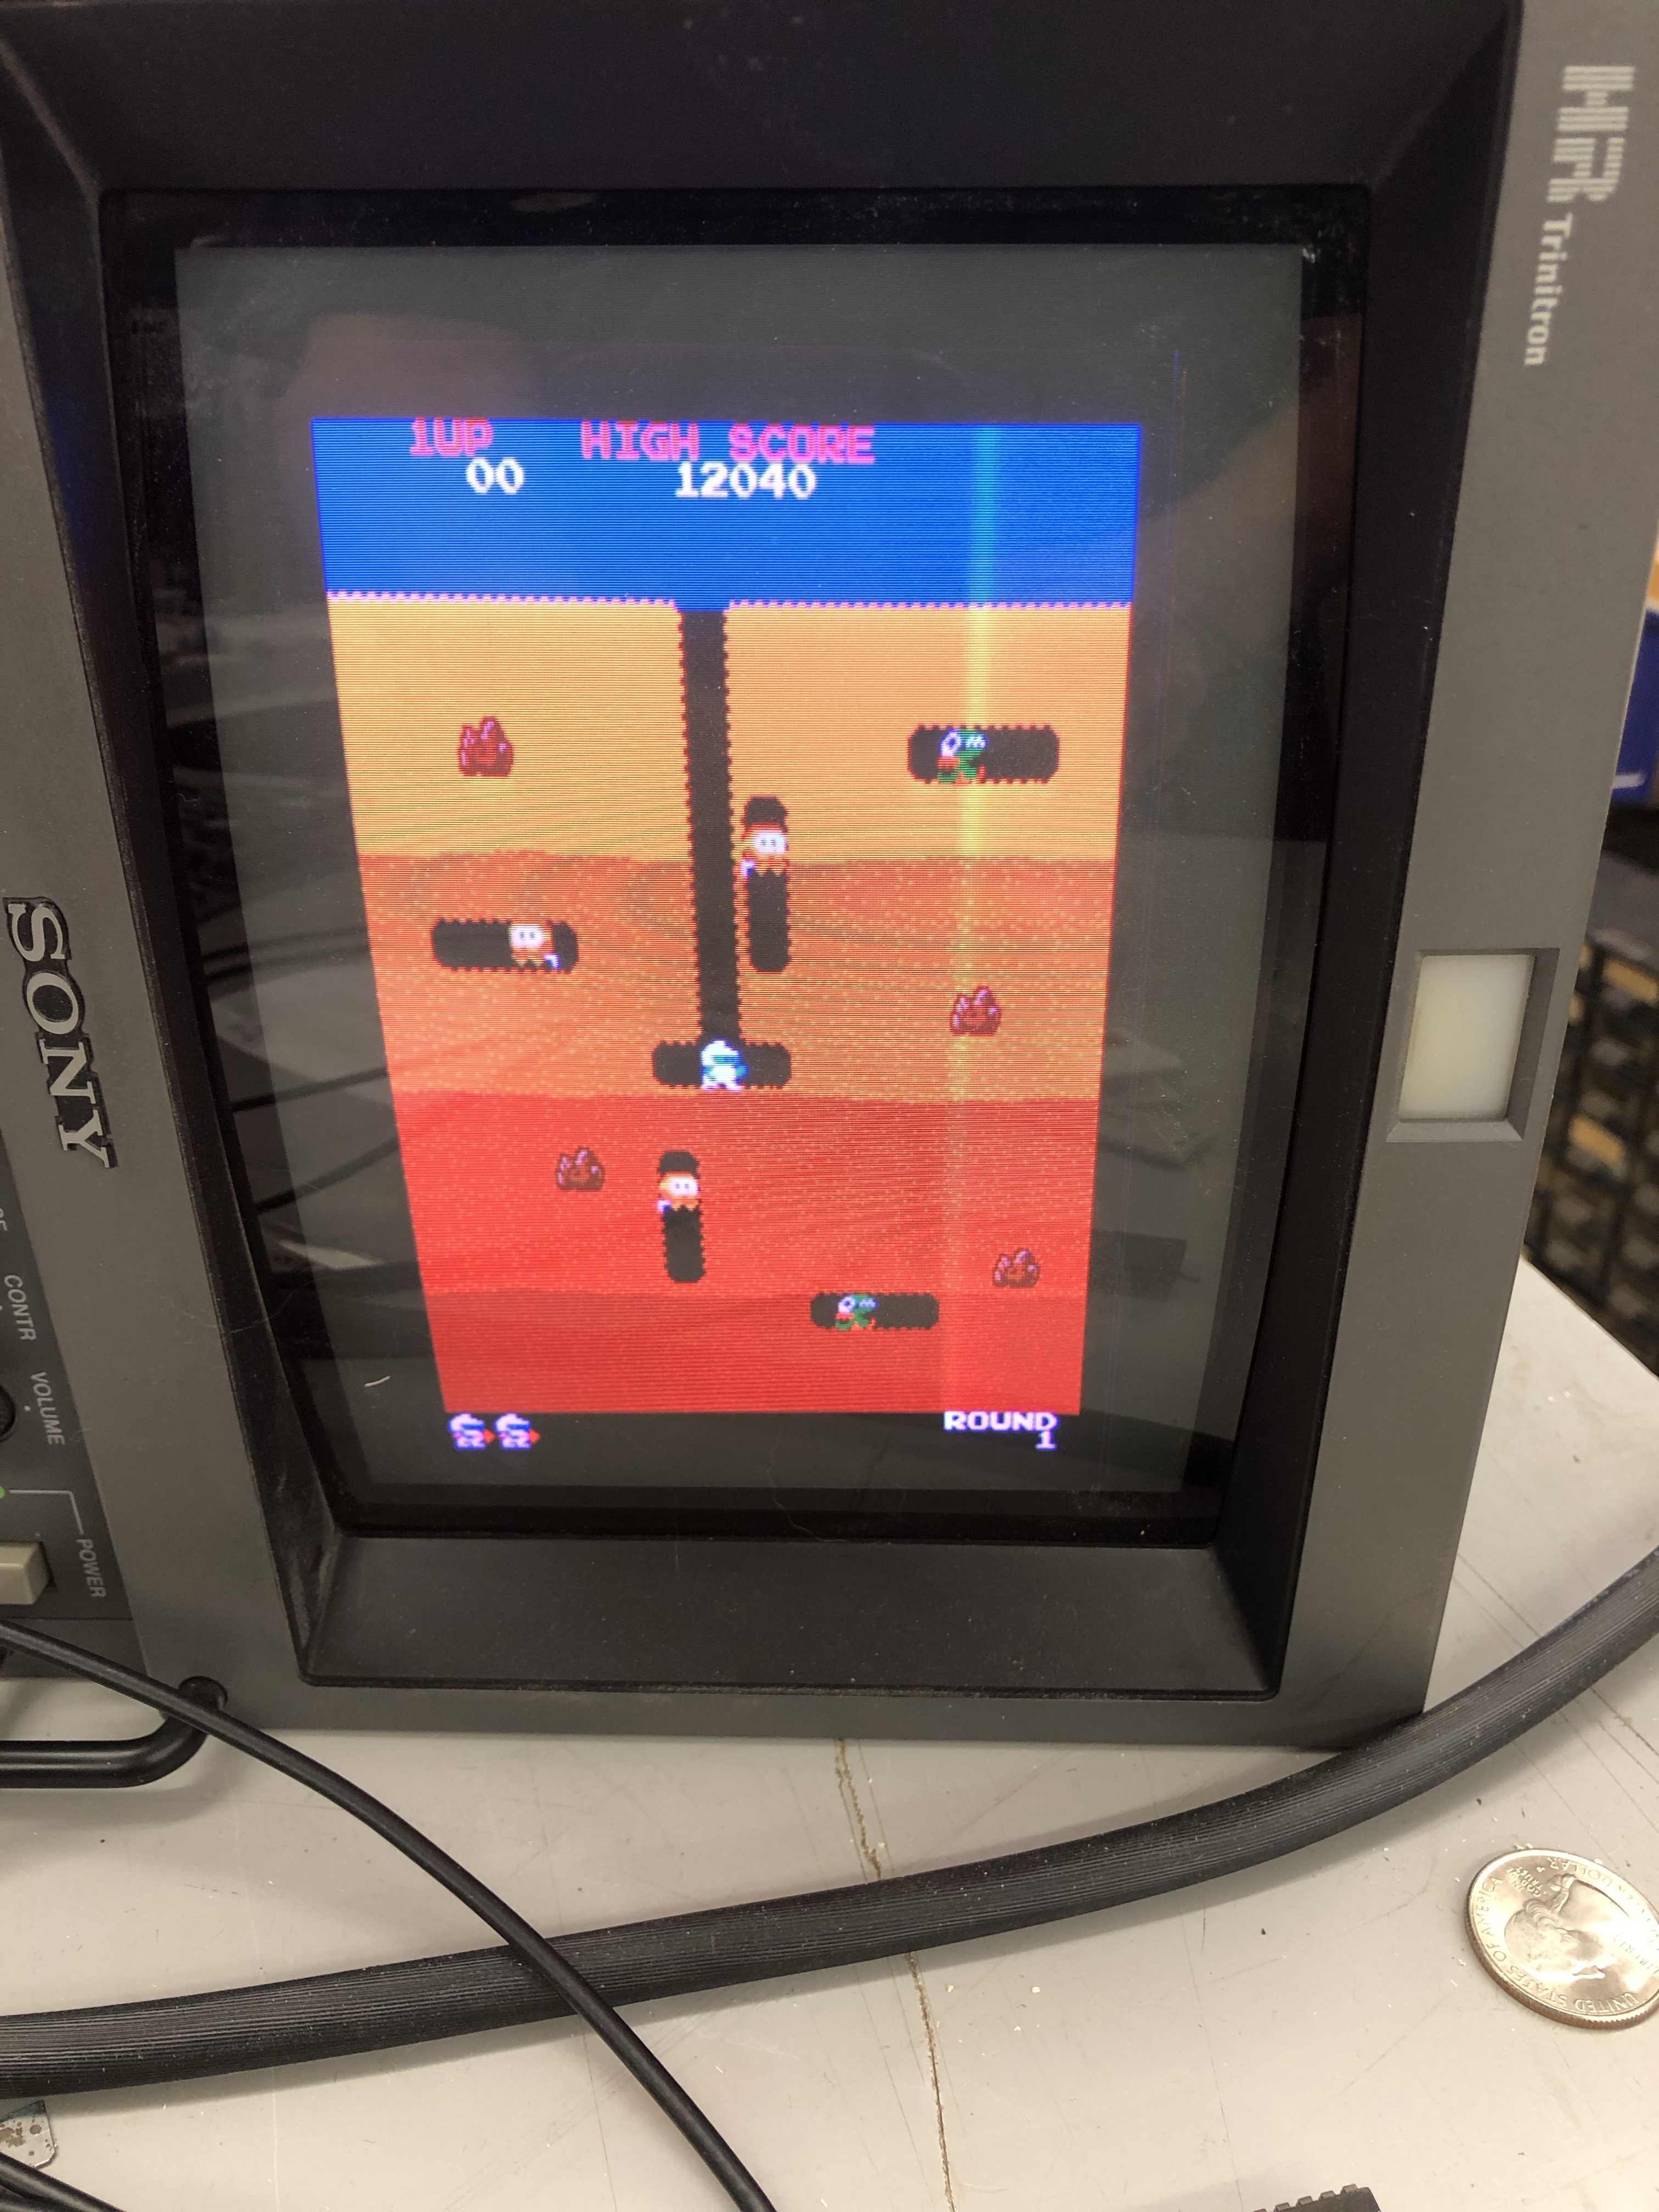
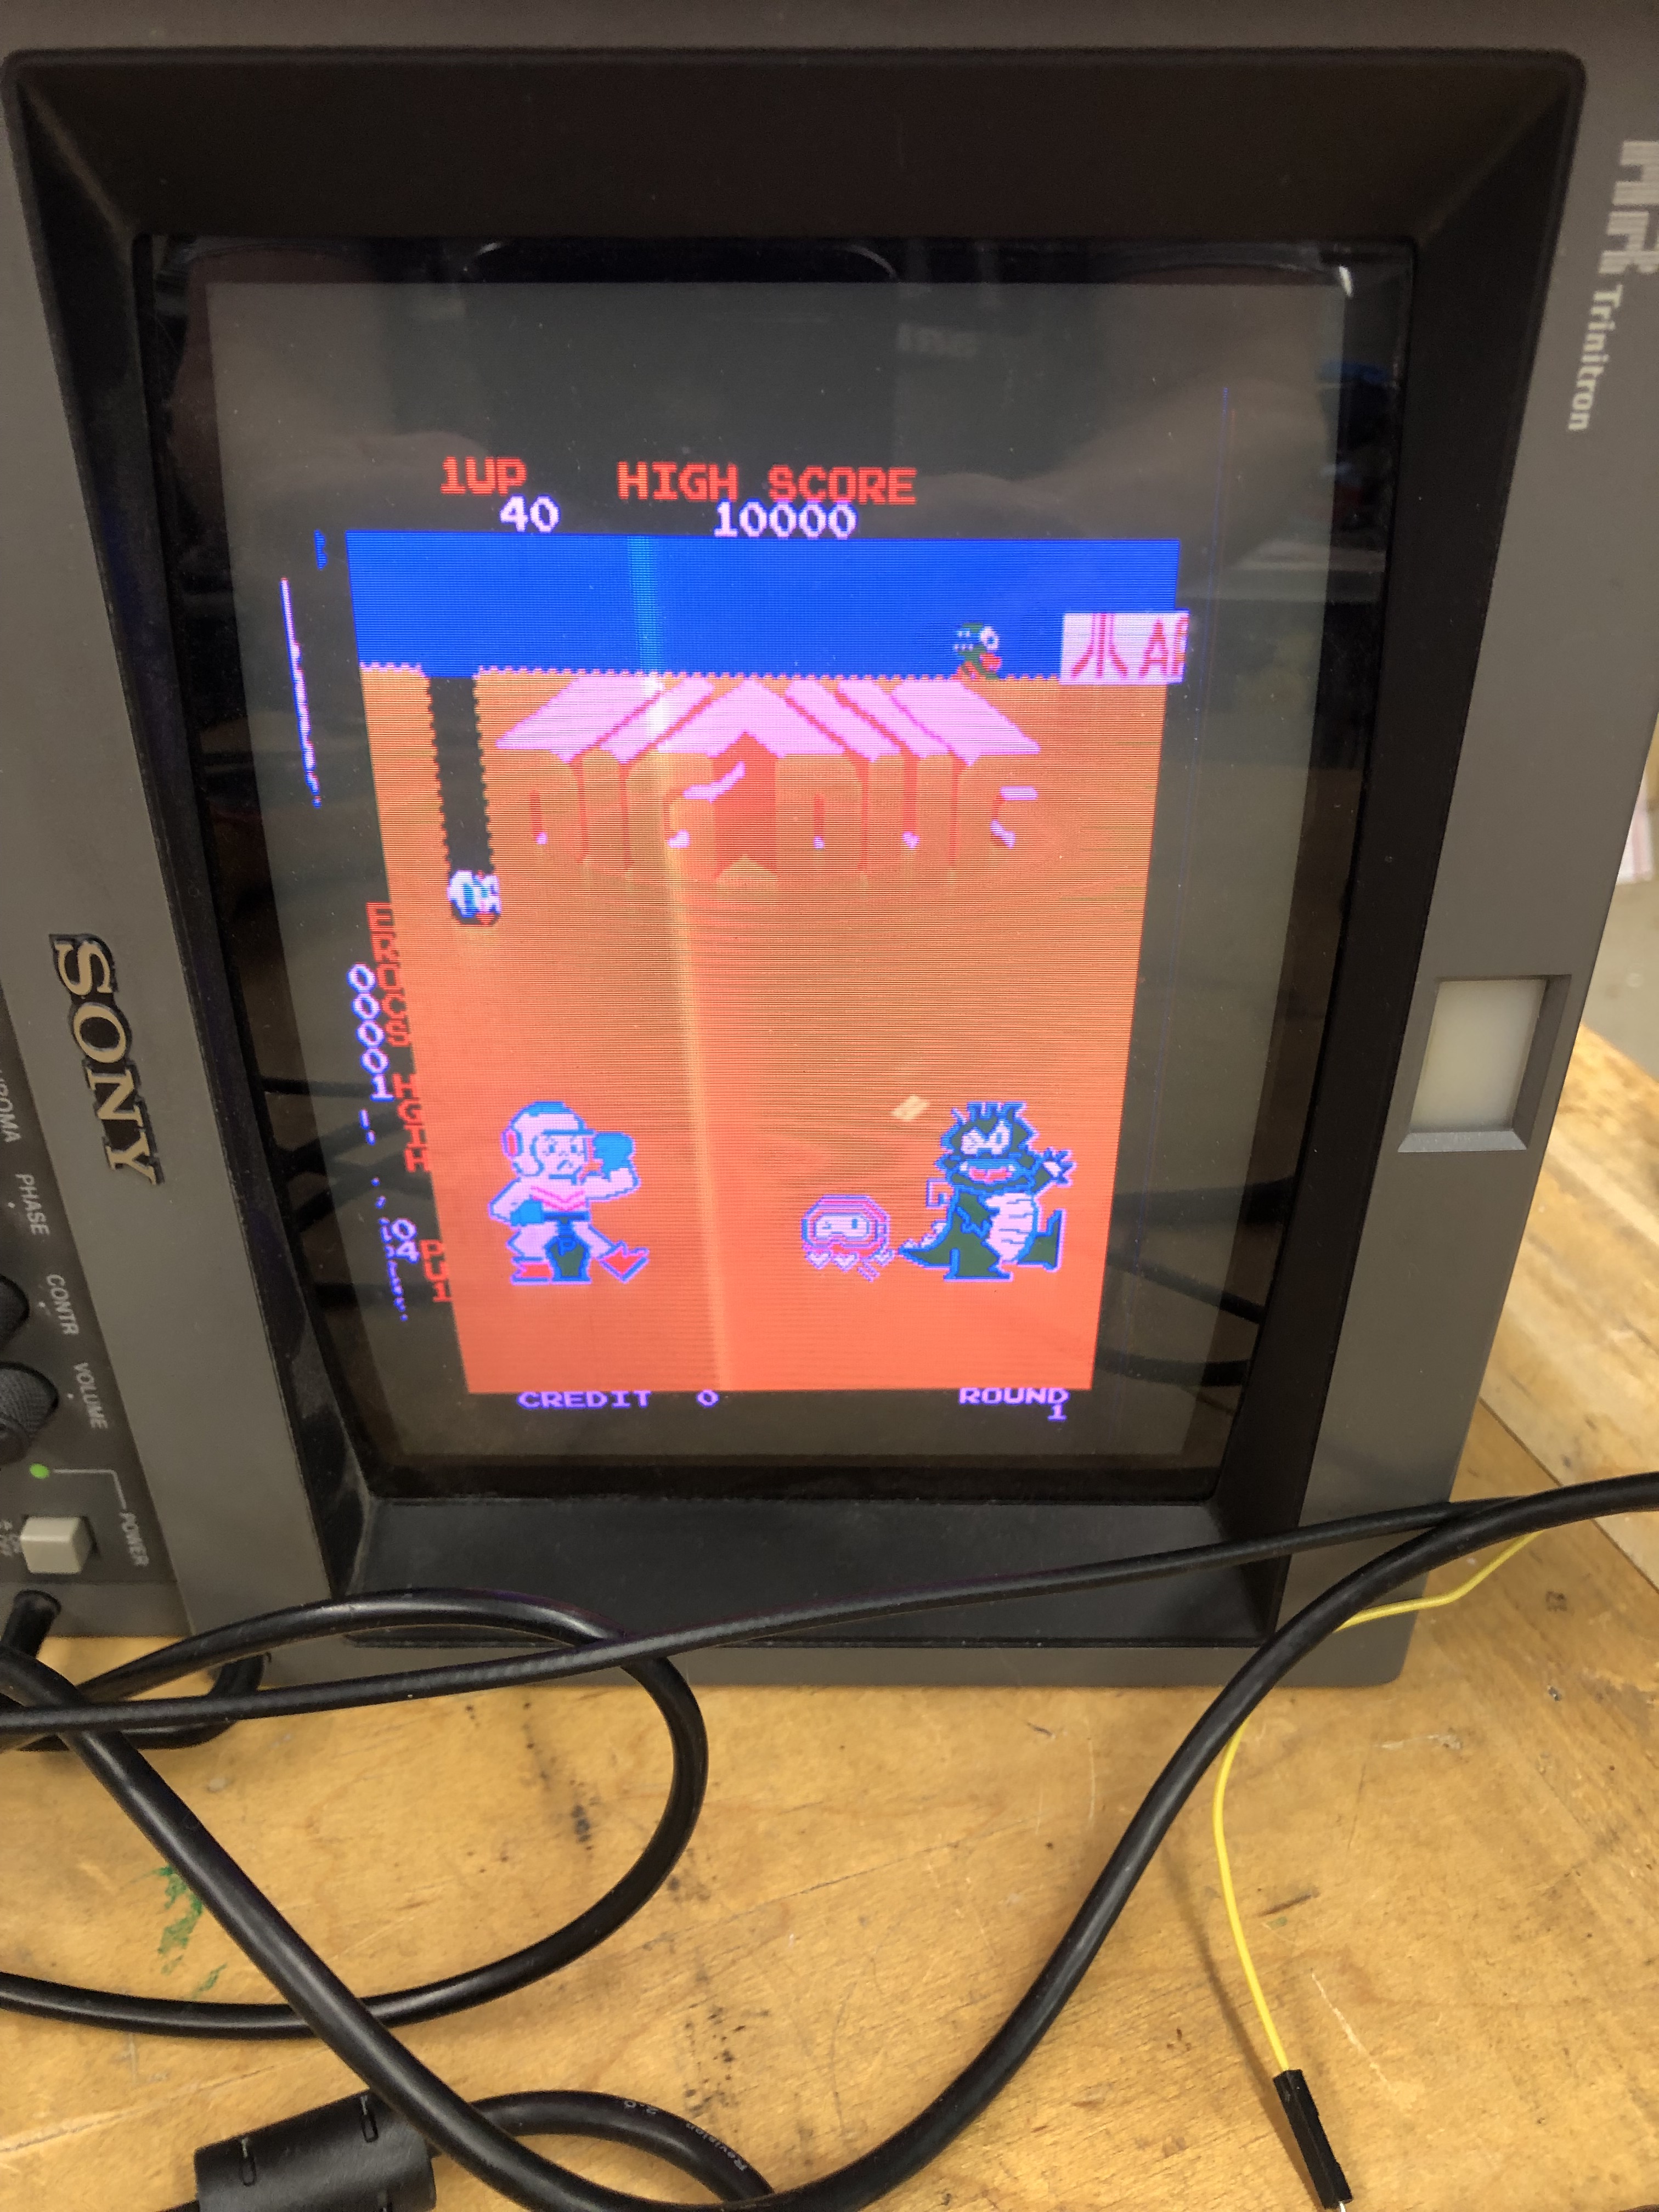
Board booted right up – passed ROM and RAM tests.
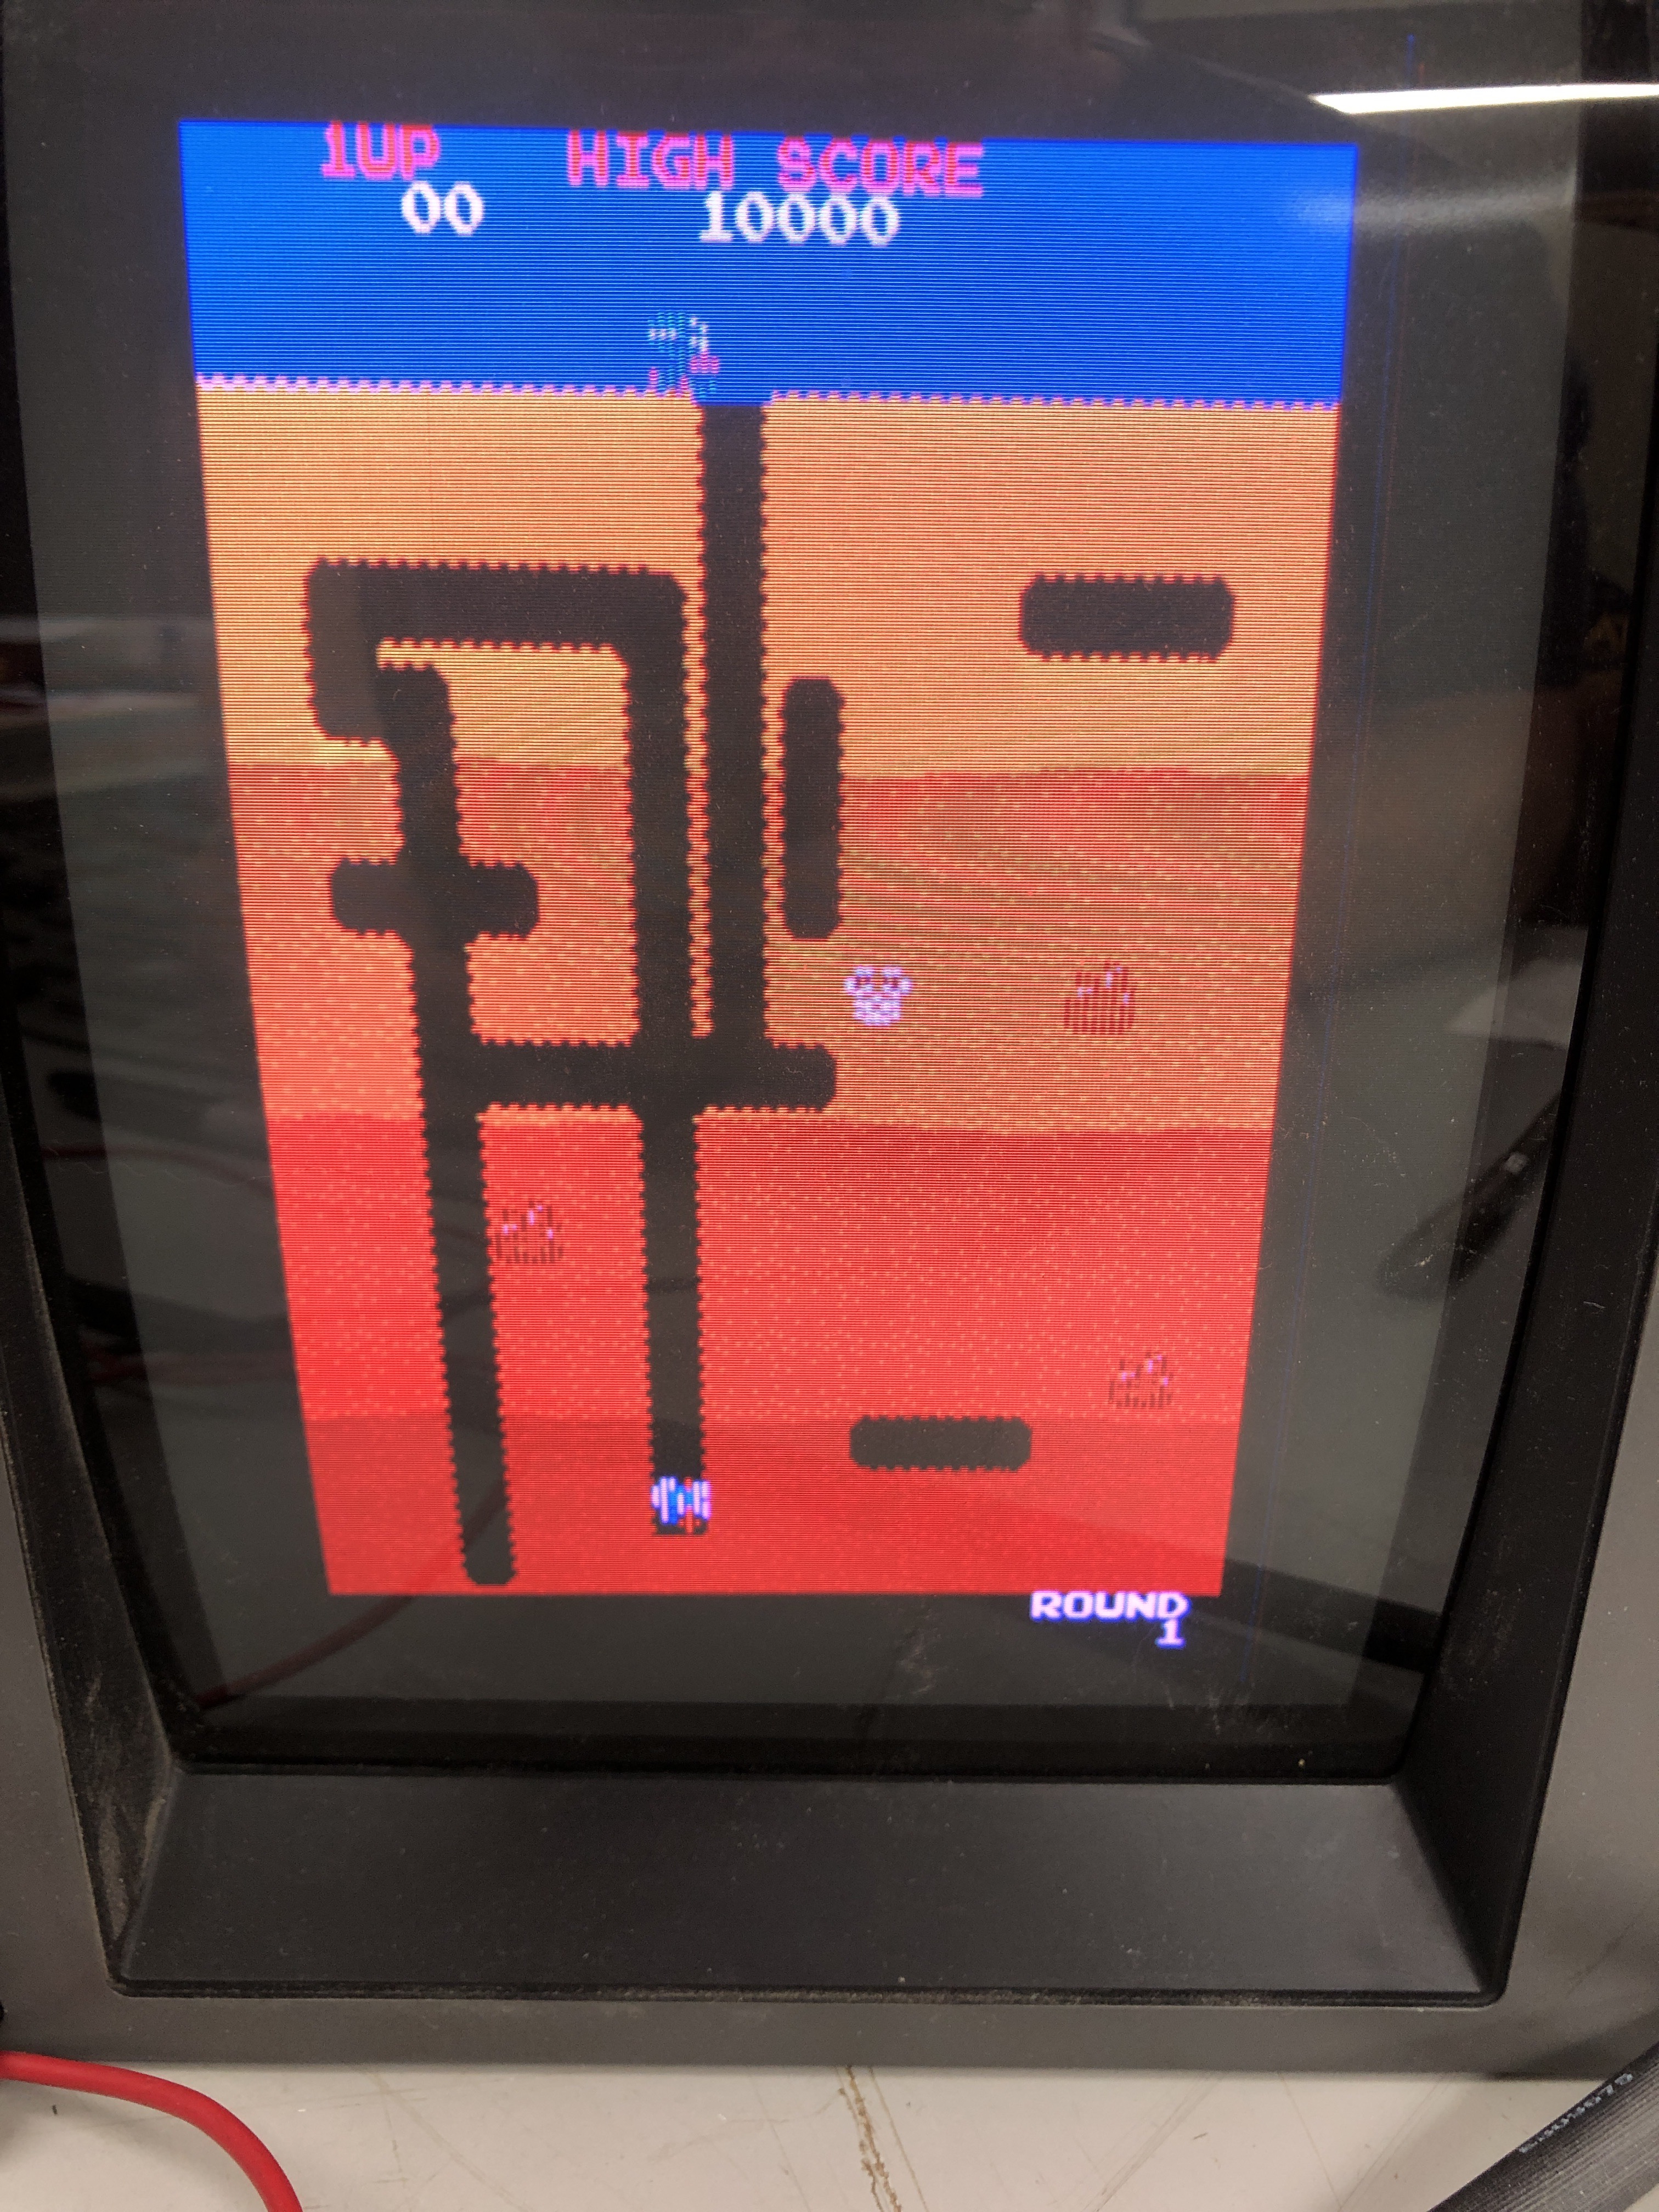
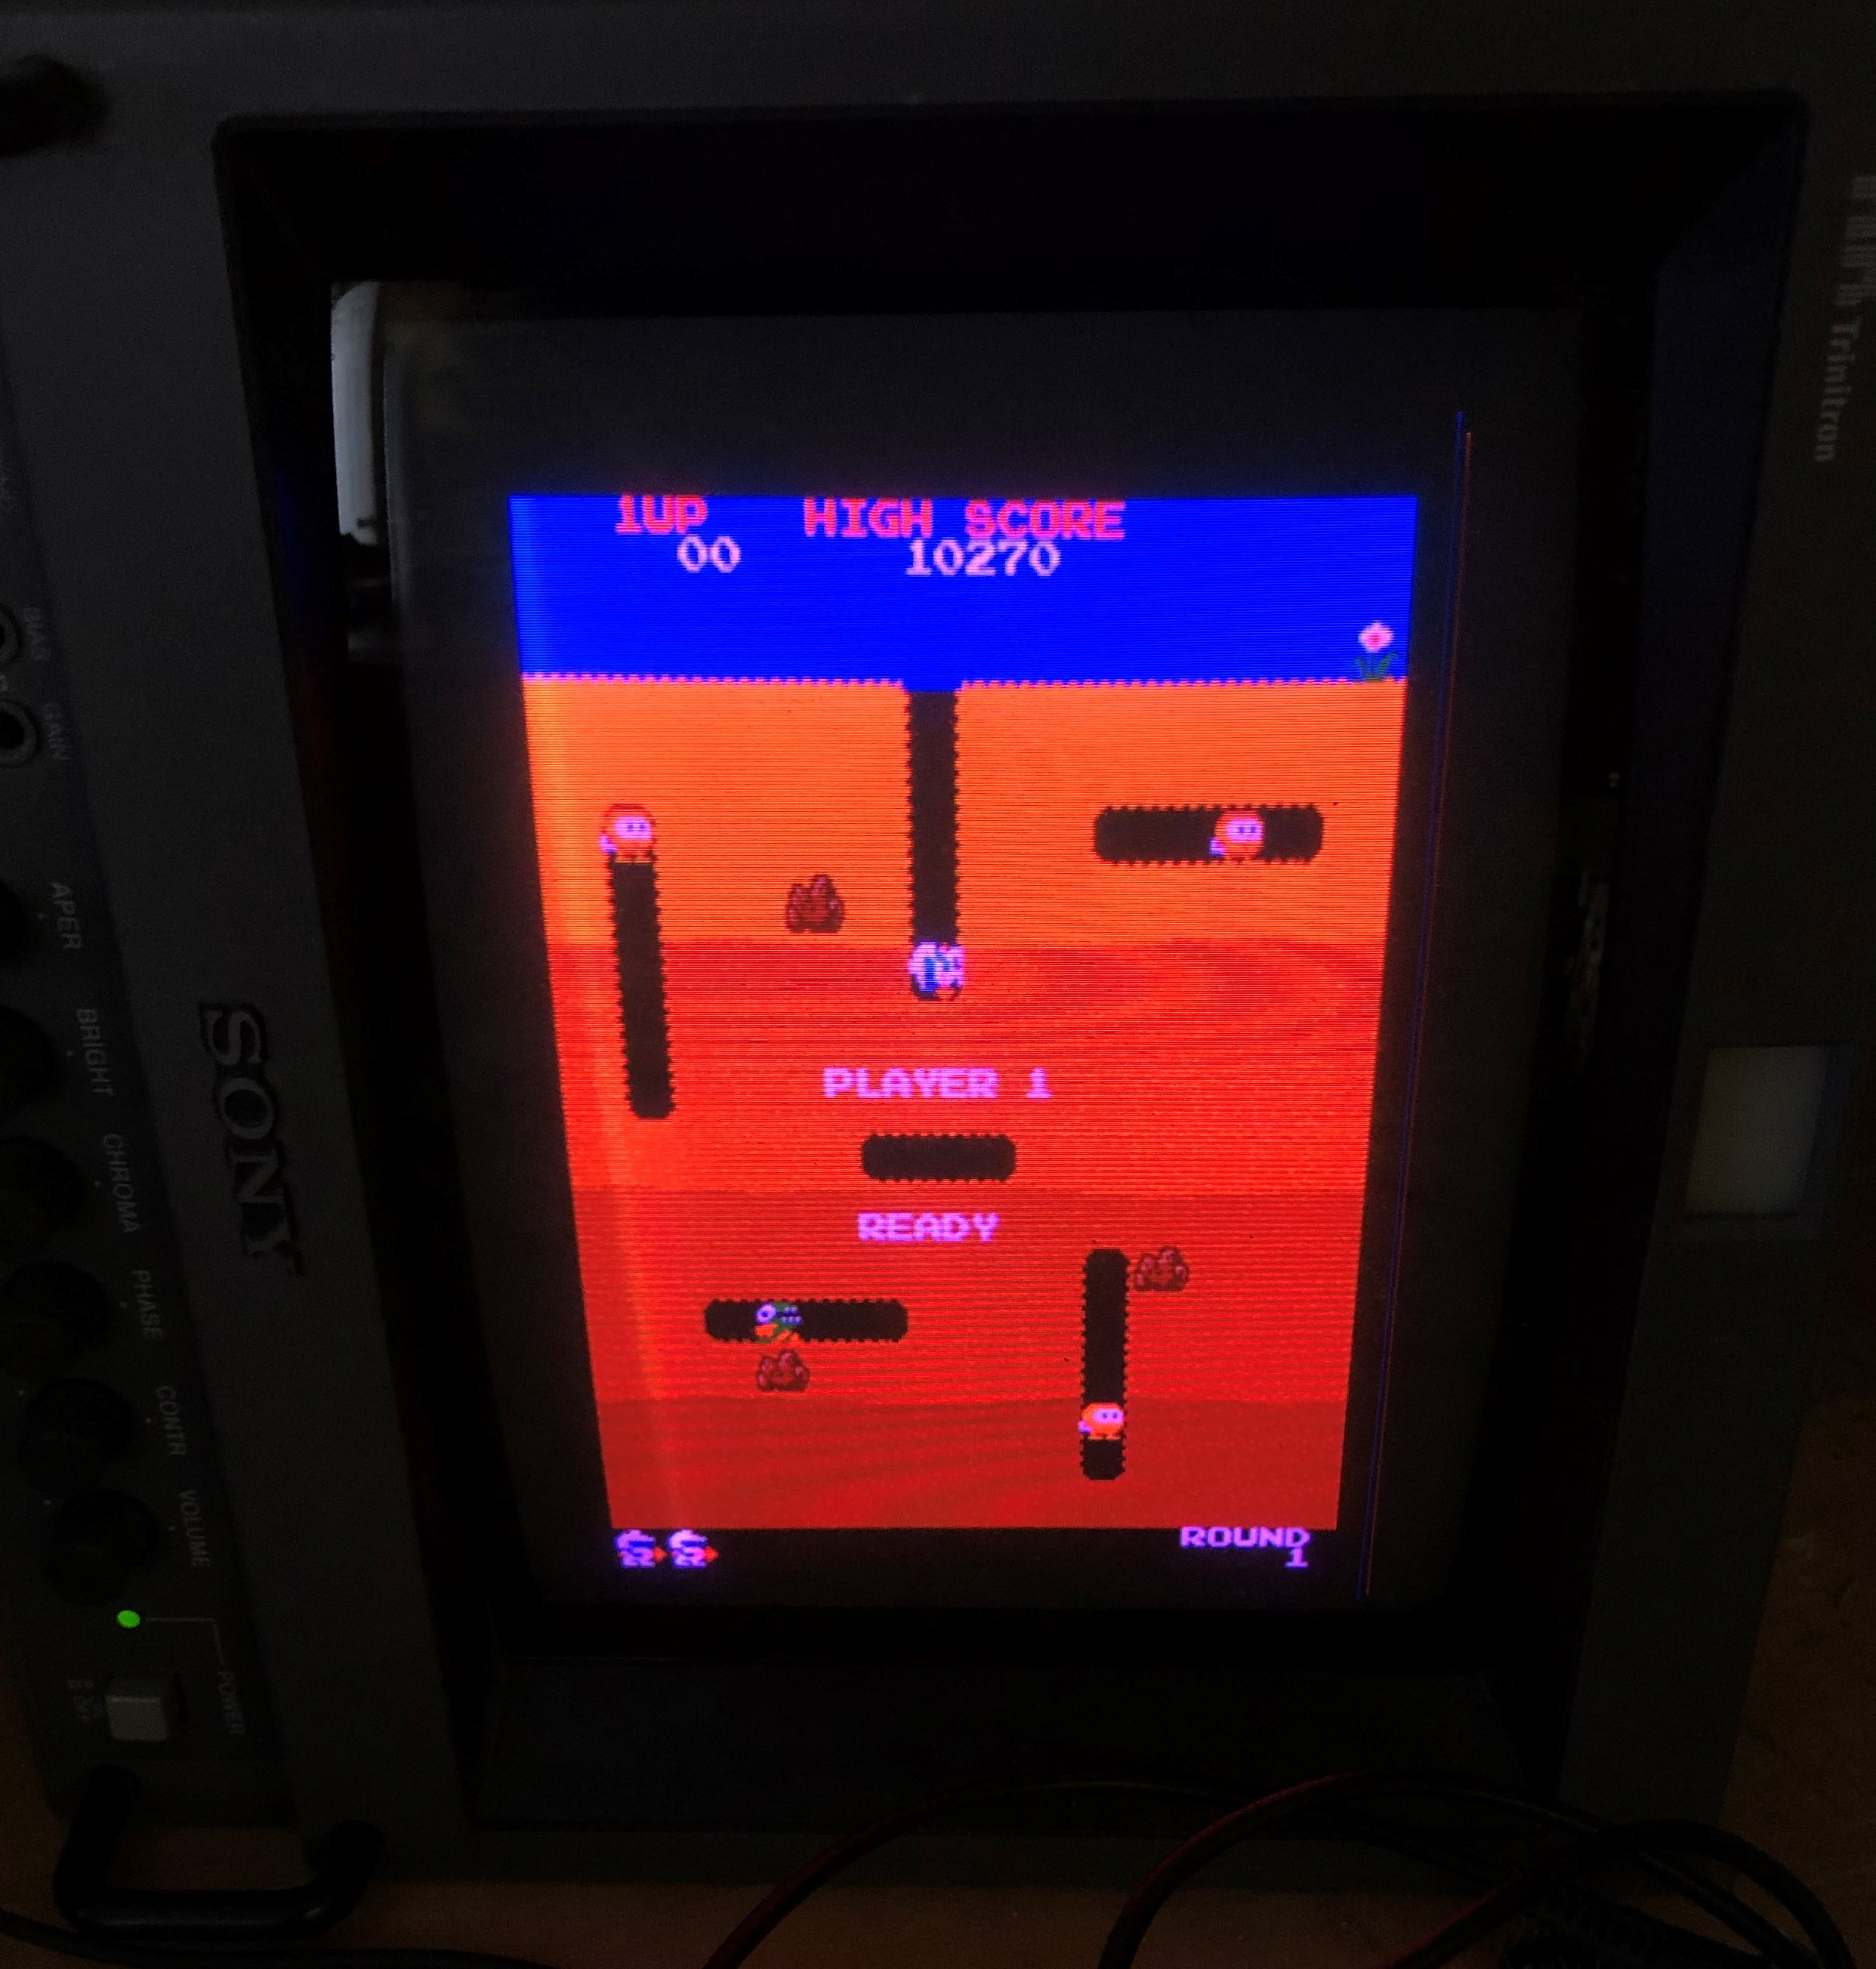
The game started but the sprites were a mess. In short order I determined anything character based seemed to be fine, it was motion objects causing the problems. Like any new board – it takes a little while to figure out it’s architecture..
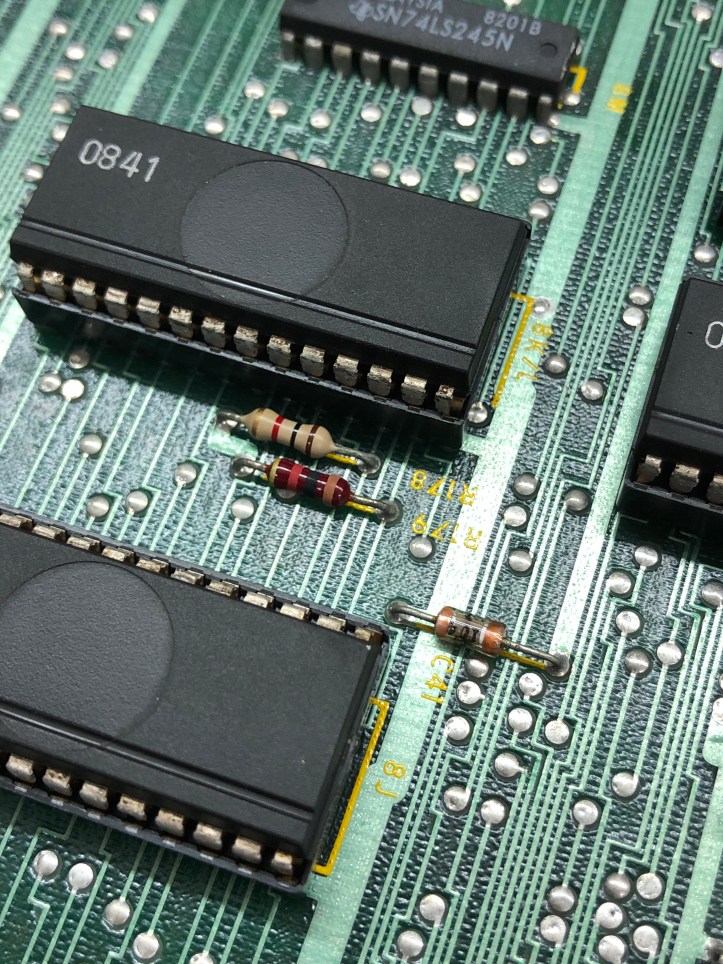
With the game was up and running, I could coin up and the diag tests ran clean. If you pressed start – it would crash and reboot. The issue ‘looked’ like bad addressing or weird counters – but the self tests worked. I ended up pulling RAM chips one at a time in Motion Object section and determined the sprites are in 7K & 7L. This is where the ‘prior work’ was done..

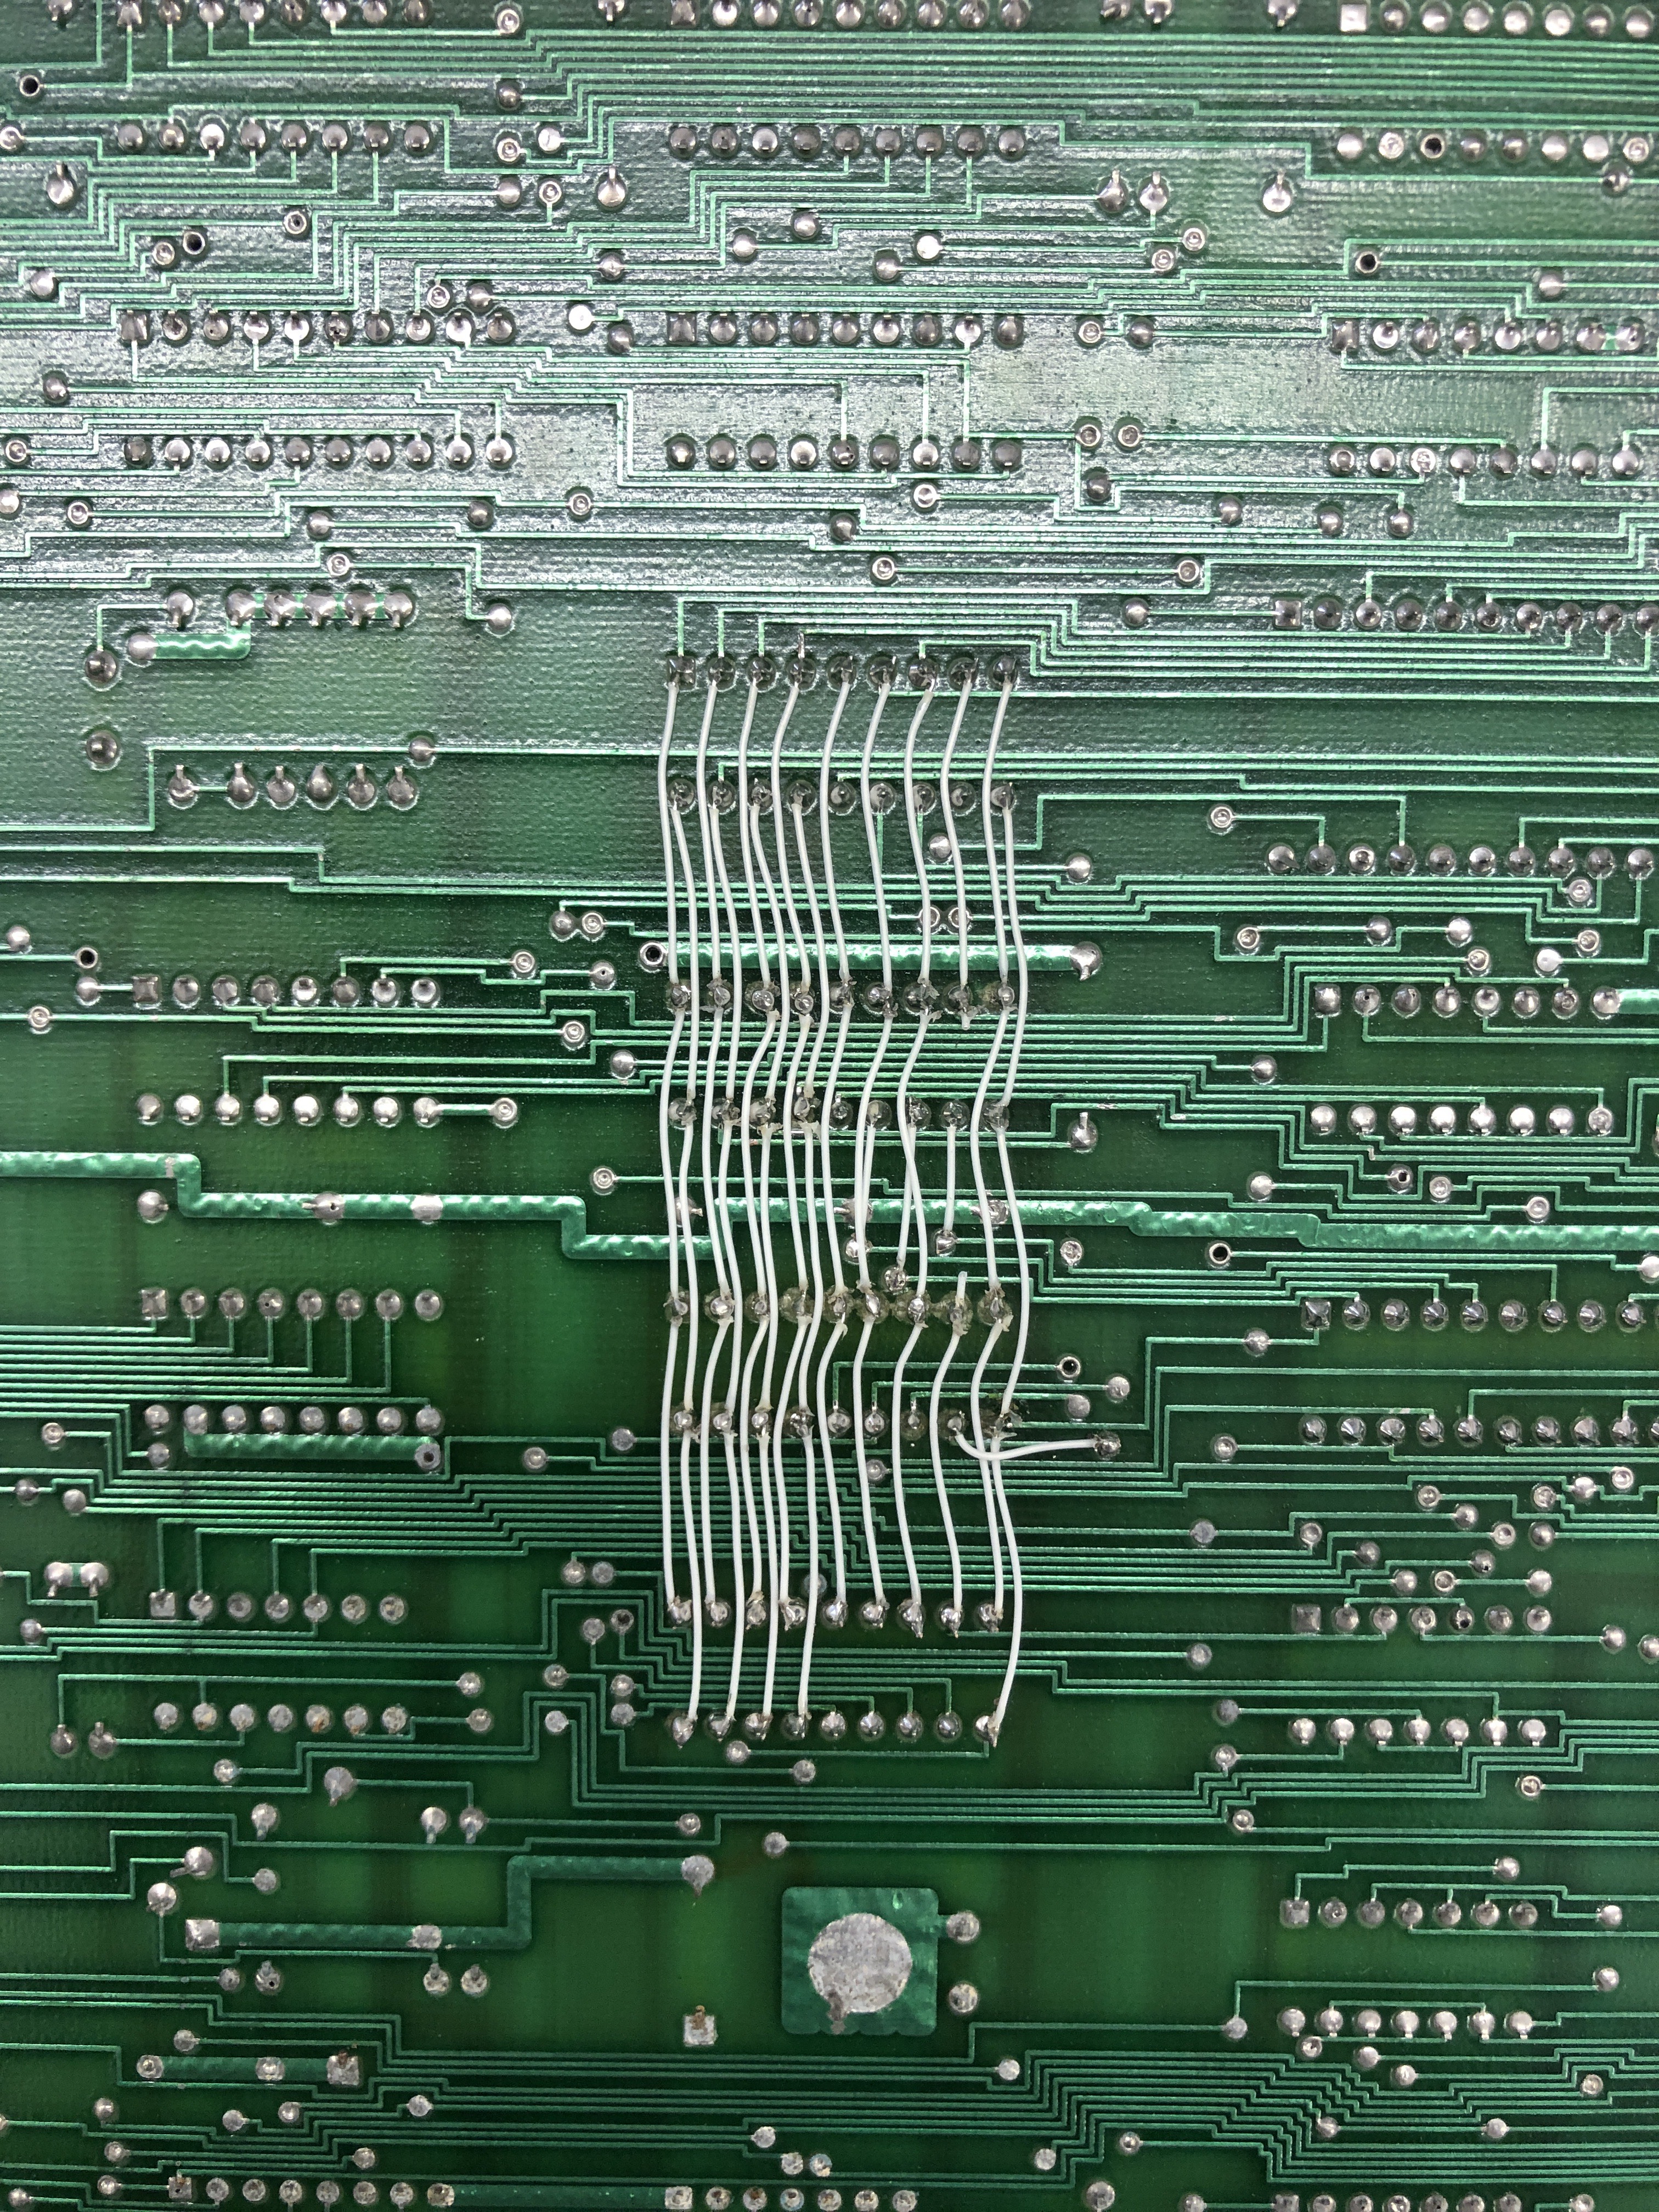
When these sockets were replaced, the traces on the parts side were really messed up. If you look close some end just before reaching the socket. The repair on the bottom was cleanly & neatly done AND it passed memory testing AND the RAM tested good off the board. So I didn’t start here at first – but the symptoms pointed to this repair.
So I beeped it all out….
All of the address lines were connected as they should be, all of the data lines went to the correct pins for each socket, and the data lines reached their destinations correctly.
The problem: The chip select lines were tied together on FRAM and PRAM.


They should be two separate selects. With the game running, both sets of RAM were being written to when either one was selected. An extra wire jumped pin 8 chip select from the FRAM bank to the PRAM bank corrupting each other during game play. During self test, no problem.. Each bank individually tested perfectly (while the other was getting corrupted). Resolution: Cut the white wire!
Board has been running solid for a few hours. No resets. Need to verify the colors on the attract screen. I believe the field is yellow and this board has it a tan color. Maybe needs a color prom?
I will go back and do some maintenance. It has a few questionable sockets and the card edge repair needs to be reworked. I’m probably going to remove all of the solder side wiring and do those repairs on the parts side. I really do not like solder side repairs. If so – I’ll update with a pic of the repair.
Board 2 – Now I’m on a roll..

Second board from the pile. Here it is all cleaned and repopulated.
Booted to garbage – good to know the video circuits work!
But not much happening really. I probed around and the CPU was doing nothing. Clock was fine and it was watchdogging. Next I swapped CPU’s (on the same board) and still nothing.. Turns out – all three Z80’s on this board were dead. It came from the 4 board set and there were a couple extras.
Now that the CPU’s are up and running. The self test shows RAM OK, but never gets to ROM OK and resets.
I worked on this a while longer and ‘prior work’ was also the issue. The 74LS139 at 1M had been replaced and socketed, but the socket was a mess. The board also had the original Atari ‘crappy’ 40 pin sockets for the CPU’s. I replaced all of those as they seemed to be intermittent at best.
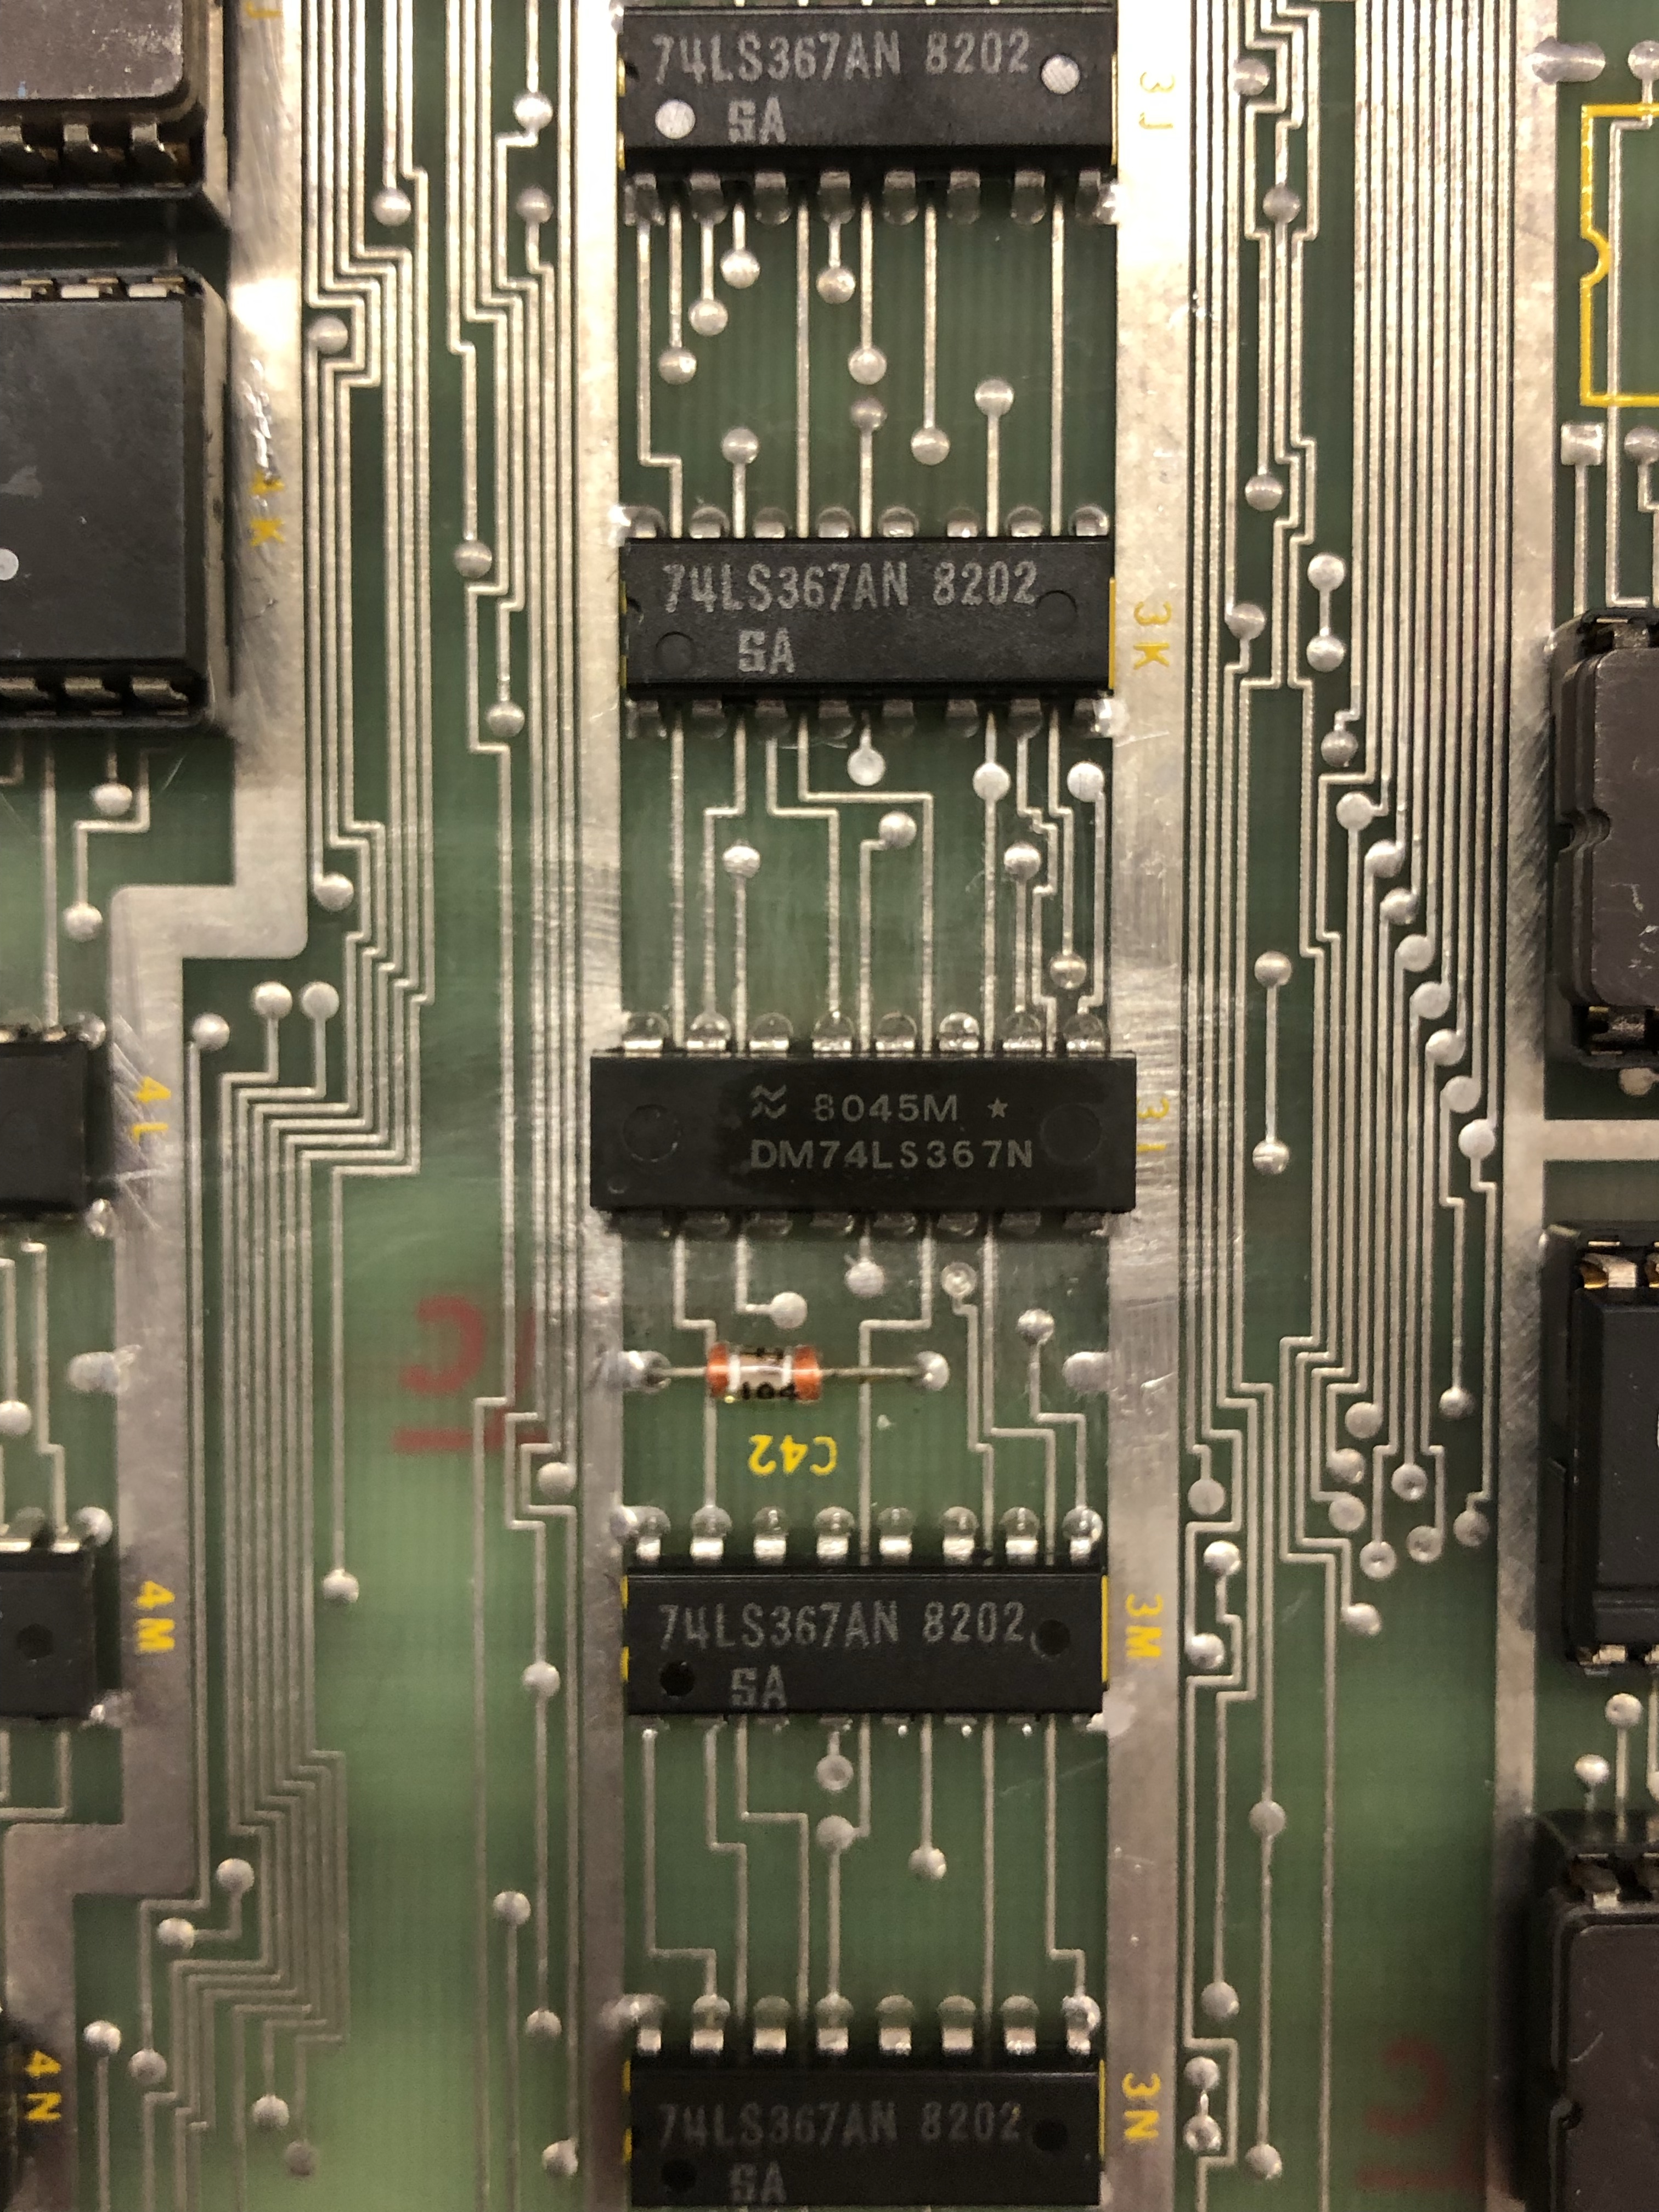
The 74LS367 at 3L had been replaced before, you can see the brush marks under it. It looked pretty clean. However it was somehow shorting two address lines together from CPU 1 & 3. On the right a tiny solder bridge on the socket that was chewed up by putting the chip that was pulled with solder lumps on the legs into the socket.
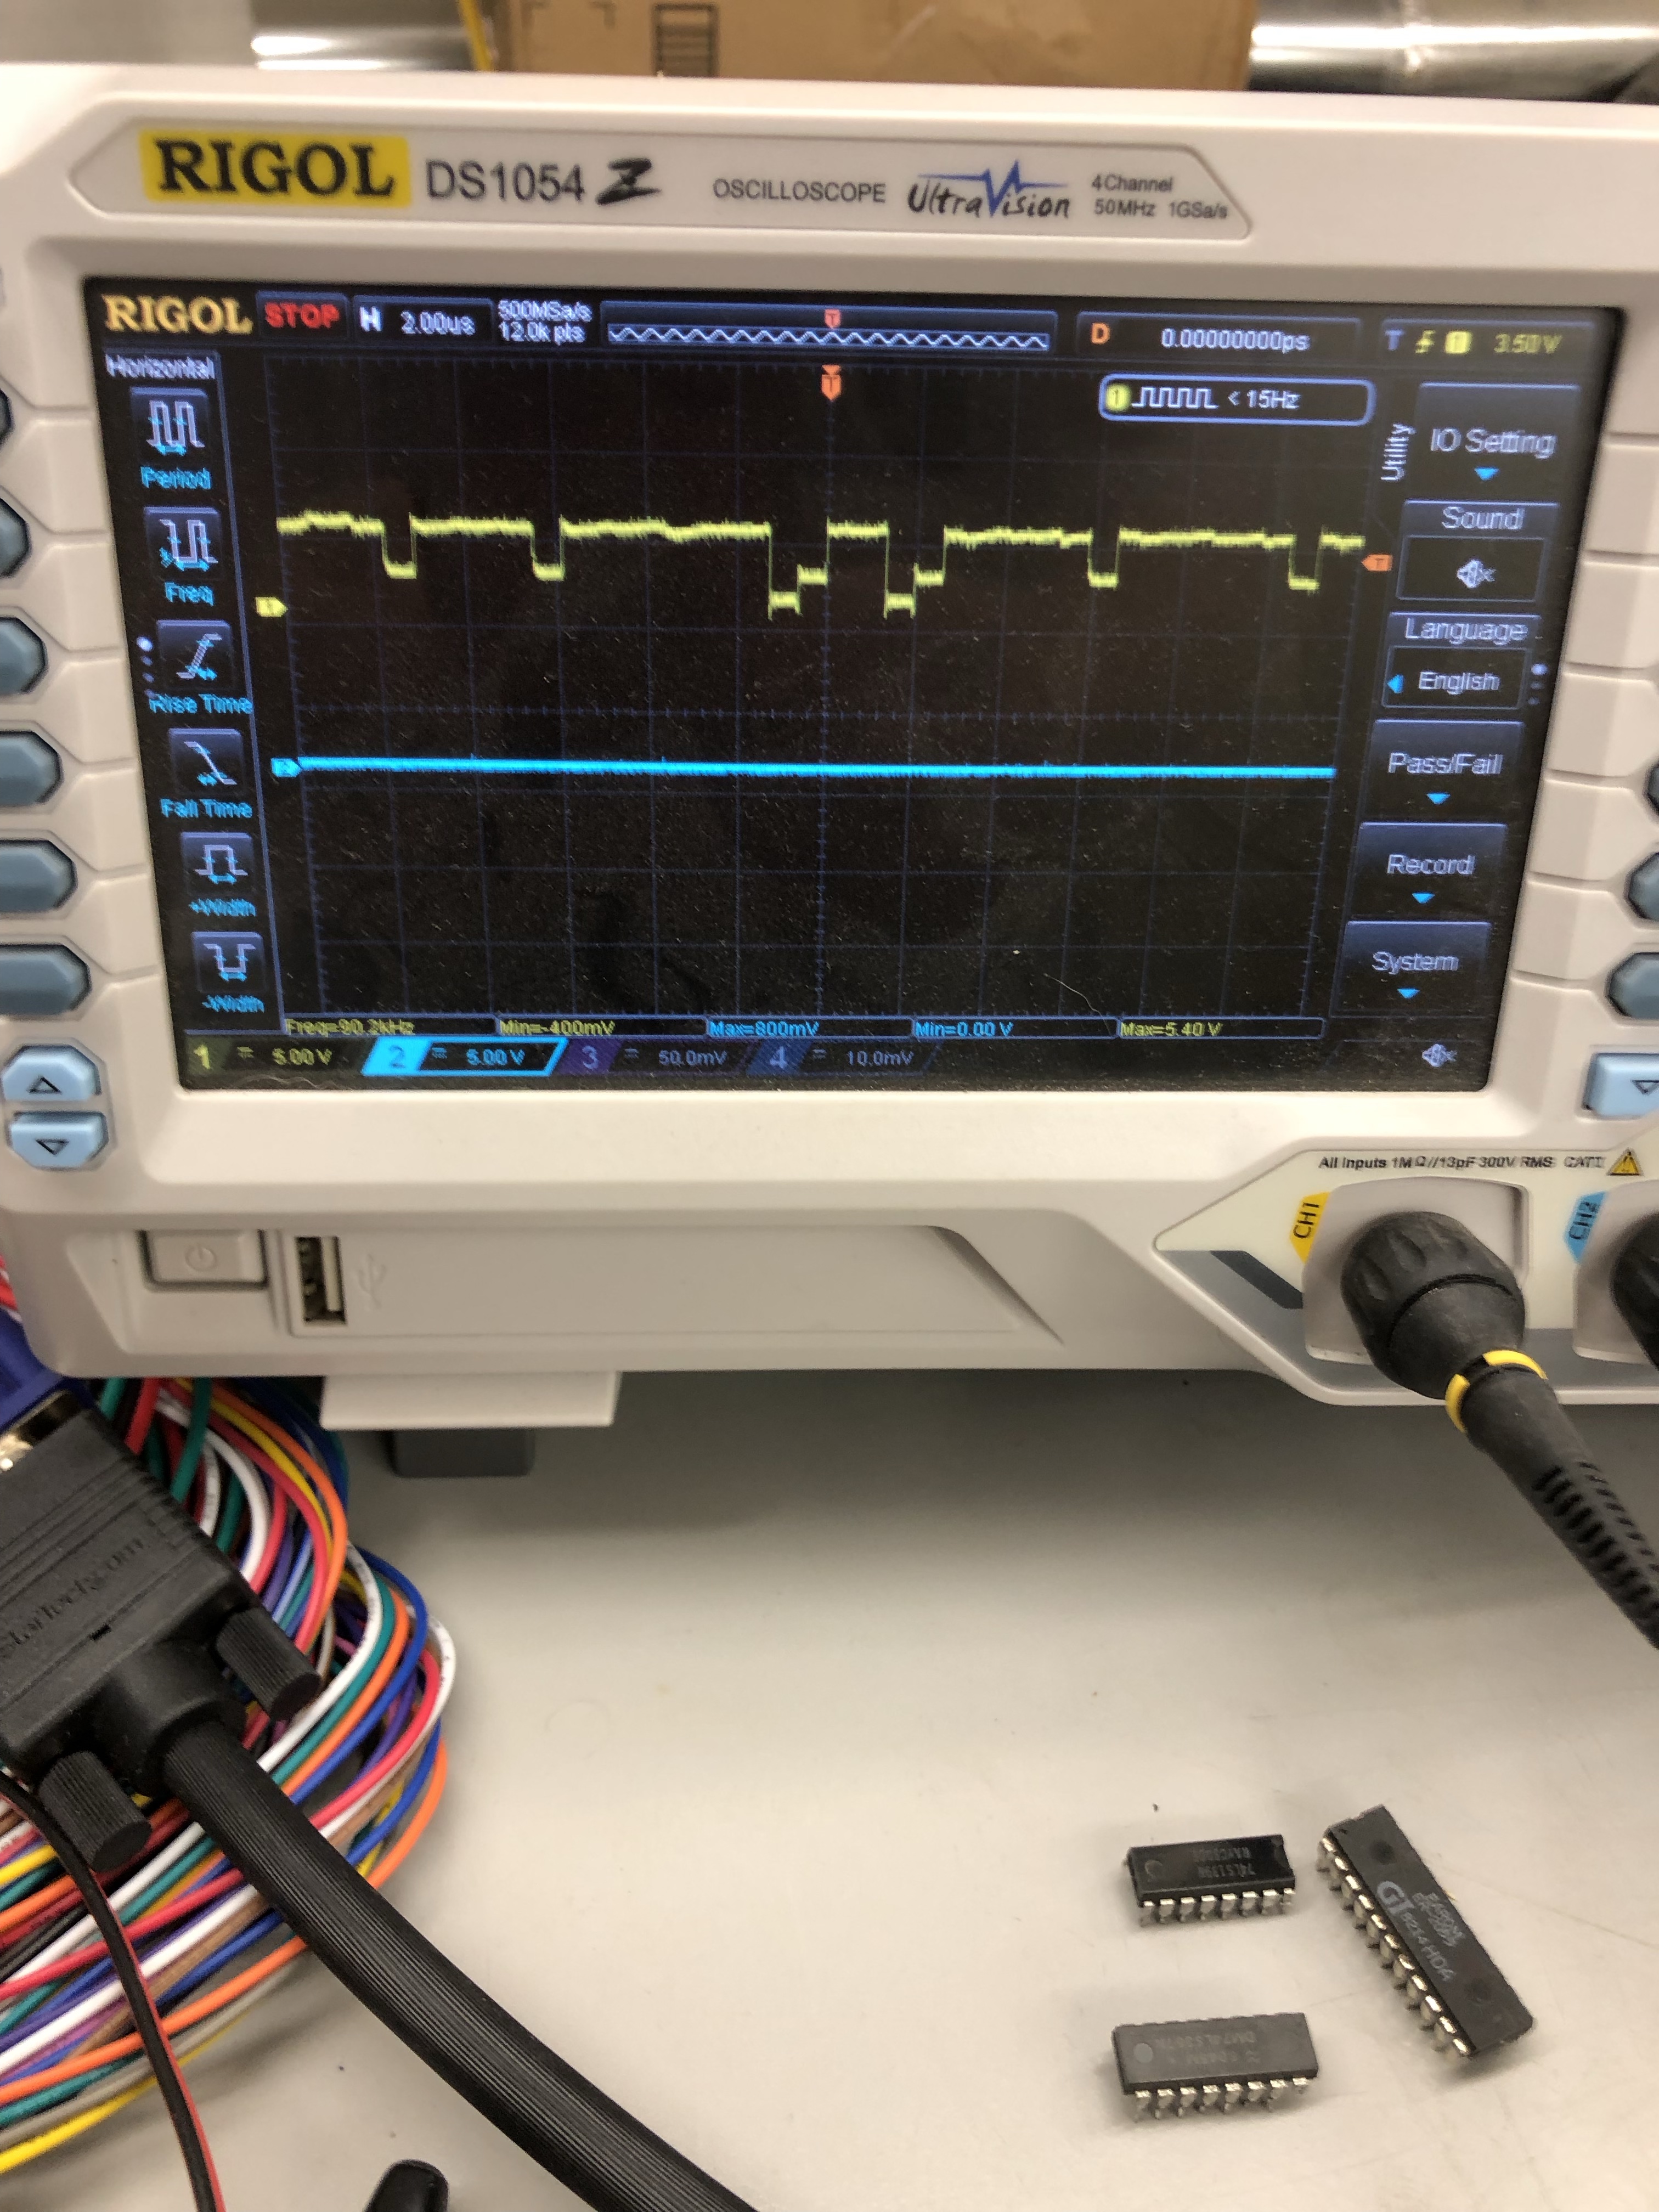

Here you can see overlapping signals fighting it out.. the voltages never drop to zero because the shorted pin is trying to pull it back up.
Board #2 – works!
Just need to clean flux and do a burn in test for a week or so..
Board 3 – A board with no prior work? Too good to be true?
Not so fast.. this one has never been touched except for a card edge repair.
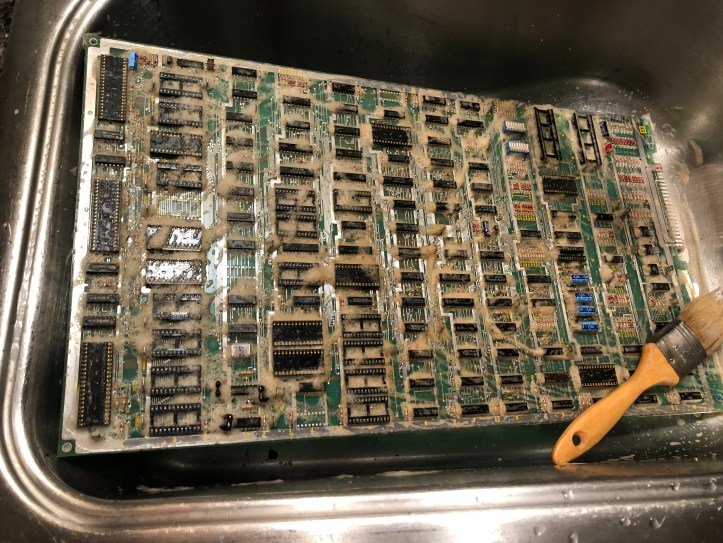
This is the brownest foam I’ve ever got off a board… I had to show it. I’m a big fan of Krud Kutter – this stuff really has been great on PCB’s and monitors. I spray the (dry) boards heavily on both sides. On the solder side, I use a small hand brush for cleaning. On the parts side, I use a paint brush and work the cleaner in and around all the parts until it seems clean. Finally I flood it with warm water and use the brush to work all of the cleaner out on both sides.. You can’t over rinse it..

Super clean.. It really came out nice.


The customs were very tarnished – 5 minutes in Tarnex, rinse, blow dry with compressed air and a few swipes with the fiberglass pen.. Should make great contact. This board also has pretty nice sockets on it. No need to change any at the moment. All the ROMs checked good.


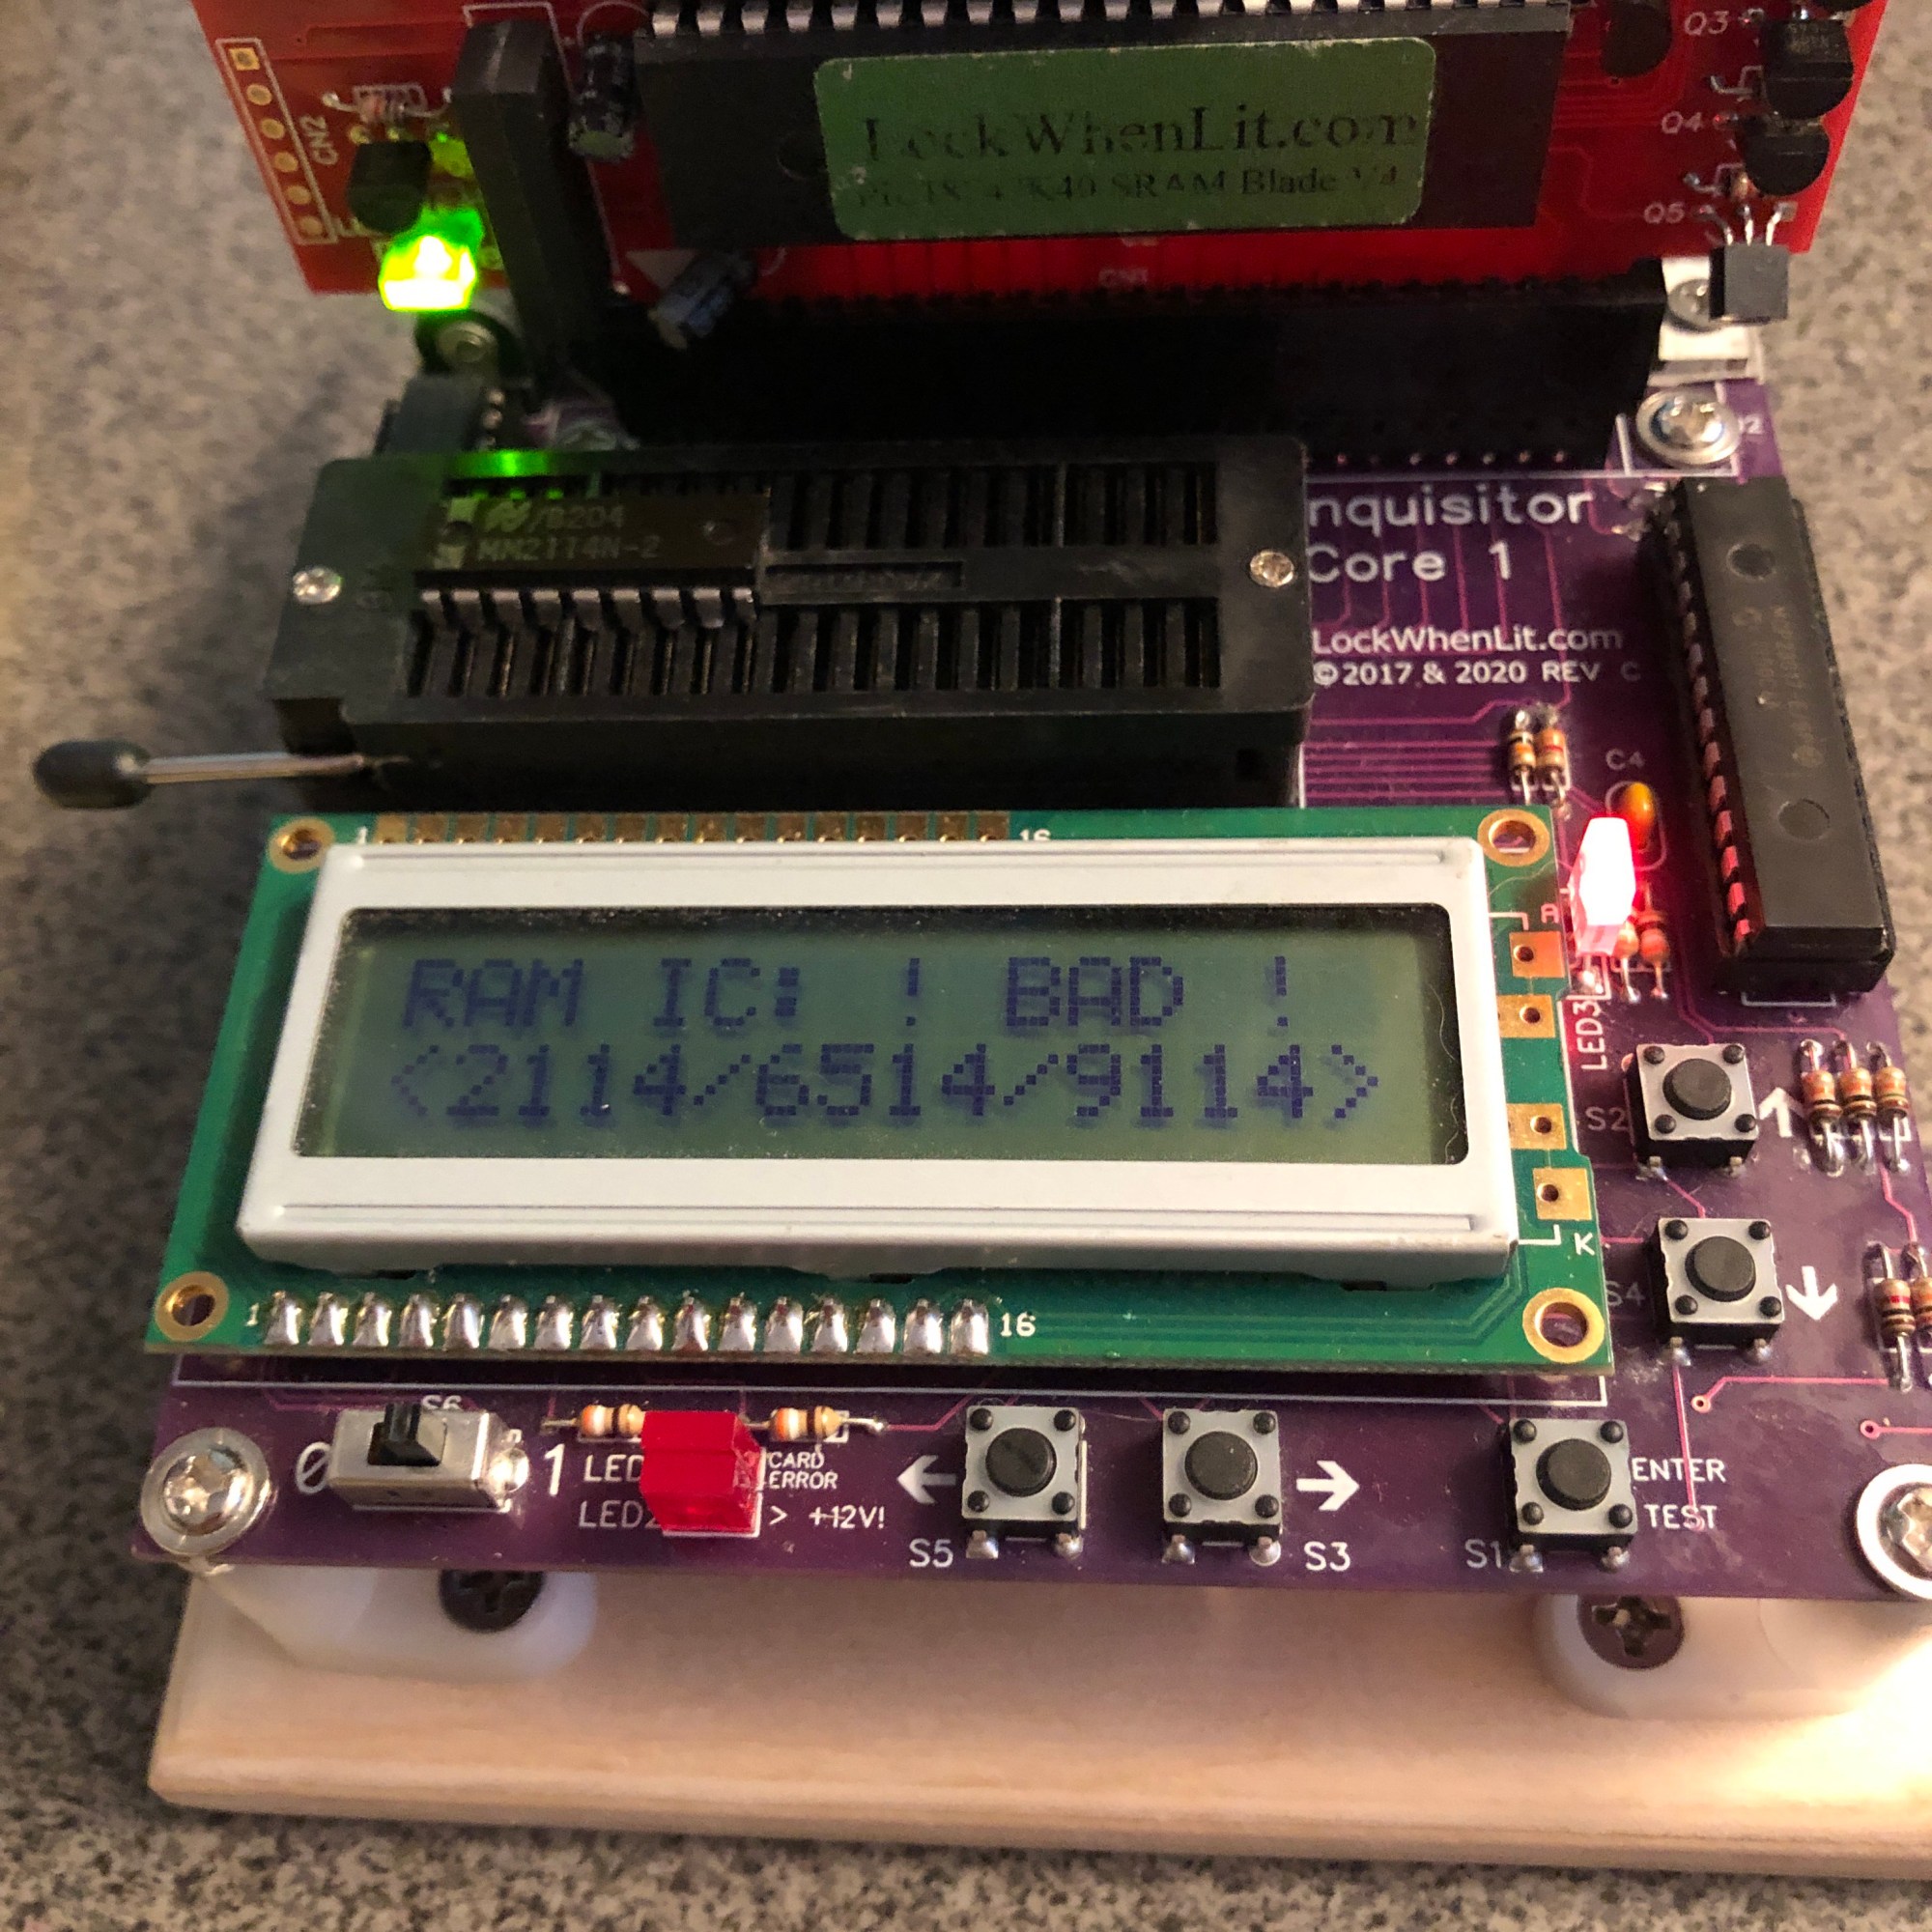
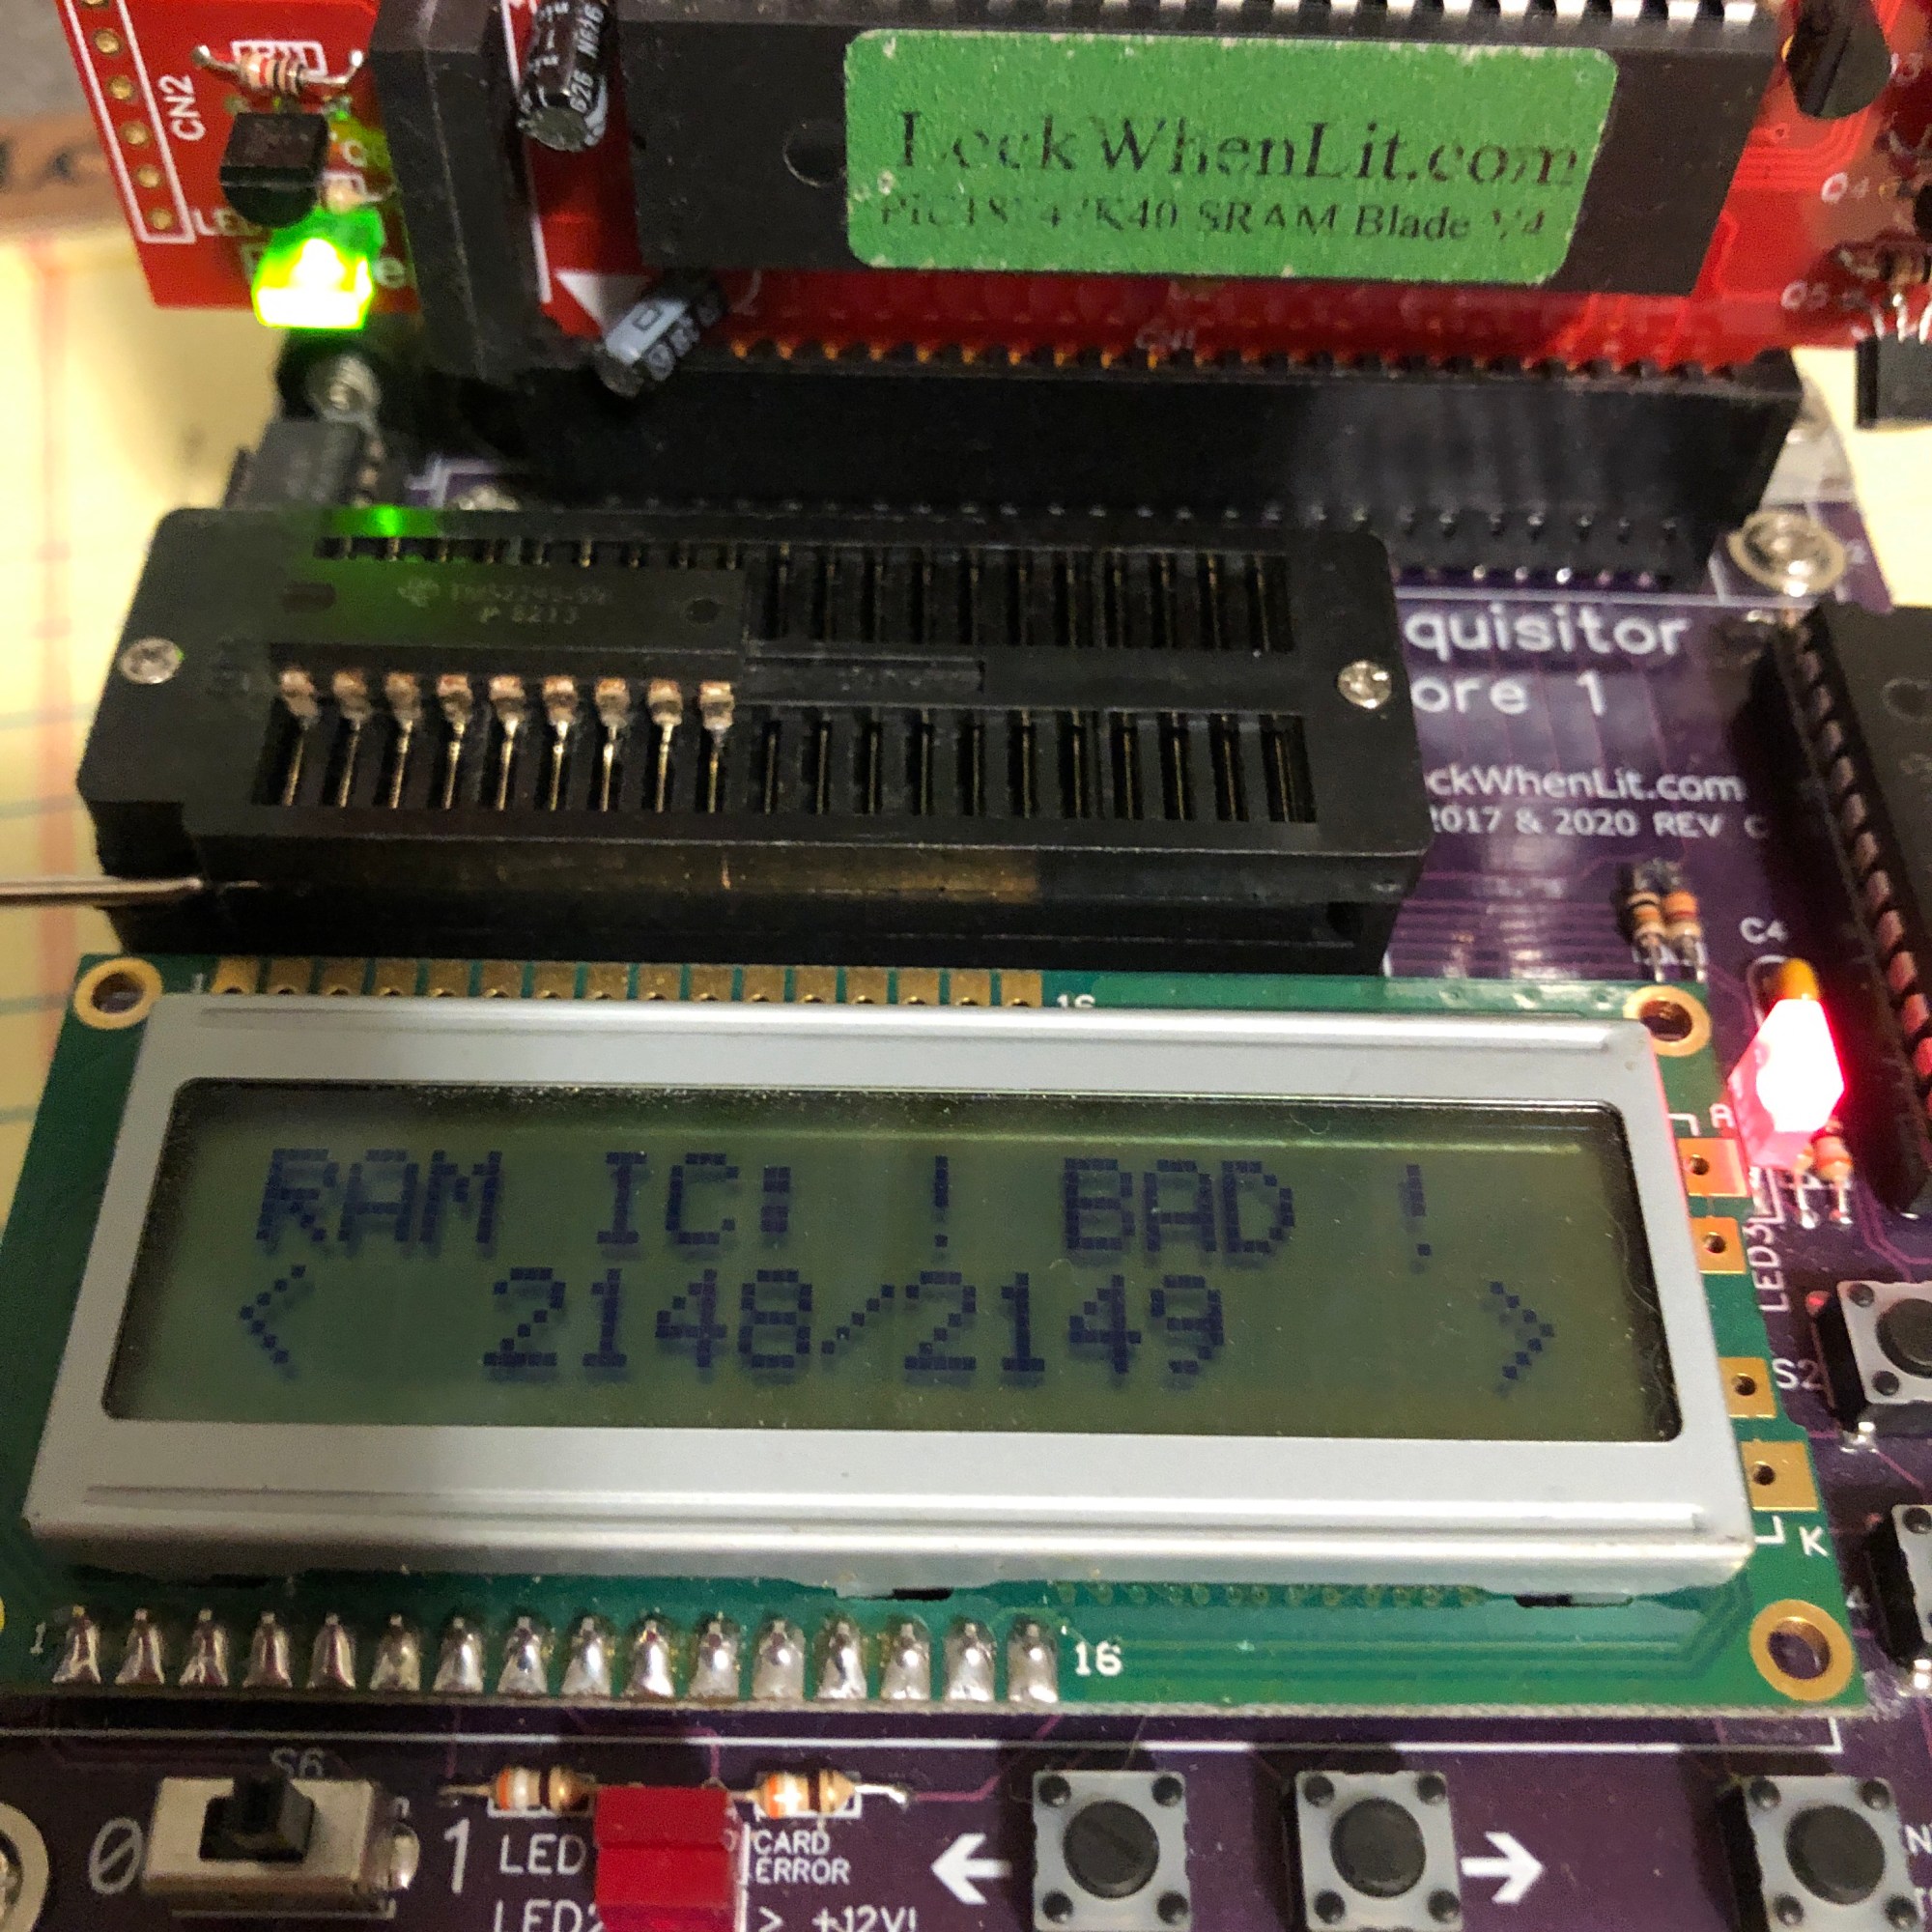

When I first powered up, I had to set the bench power supply to 4.7 amps to get the board voltage up to 5v. My working boards were all running at 3.8-3.9 amps. I diode checked the bank of 2114’s and three of them showed shorted. Once I socketed and replaced them, the other three got hot.. The 6116 which was factory socketed was bad out of the gates. Finally, once all of these were done.. the 2148’s got hot and checked bad. All 9 ram, bad.


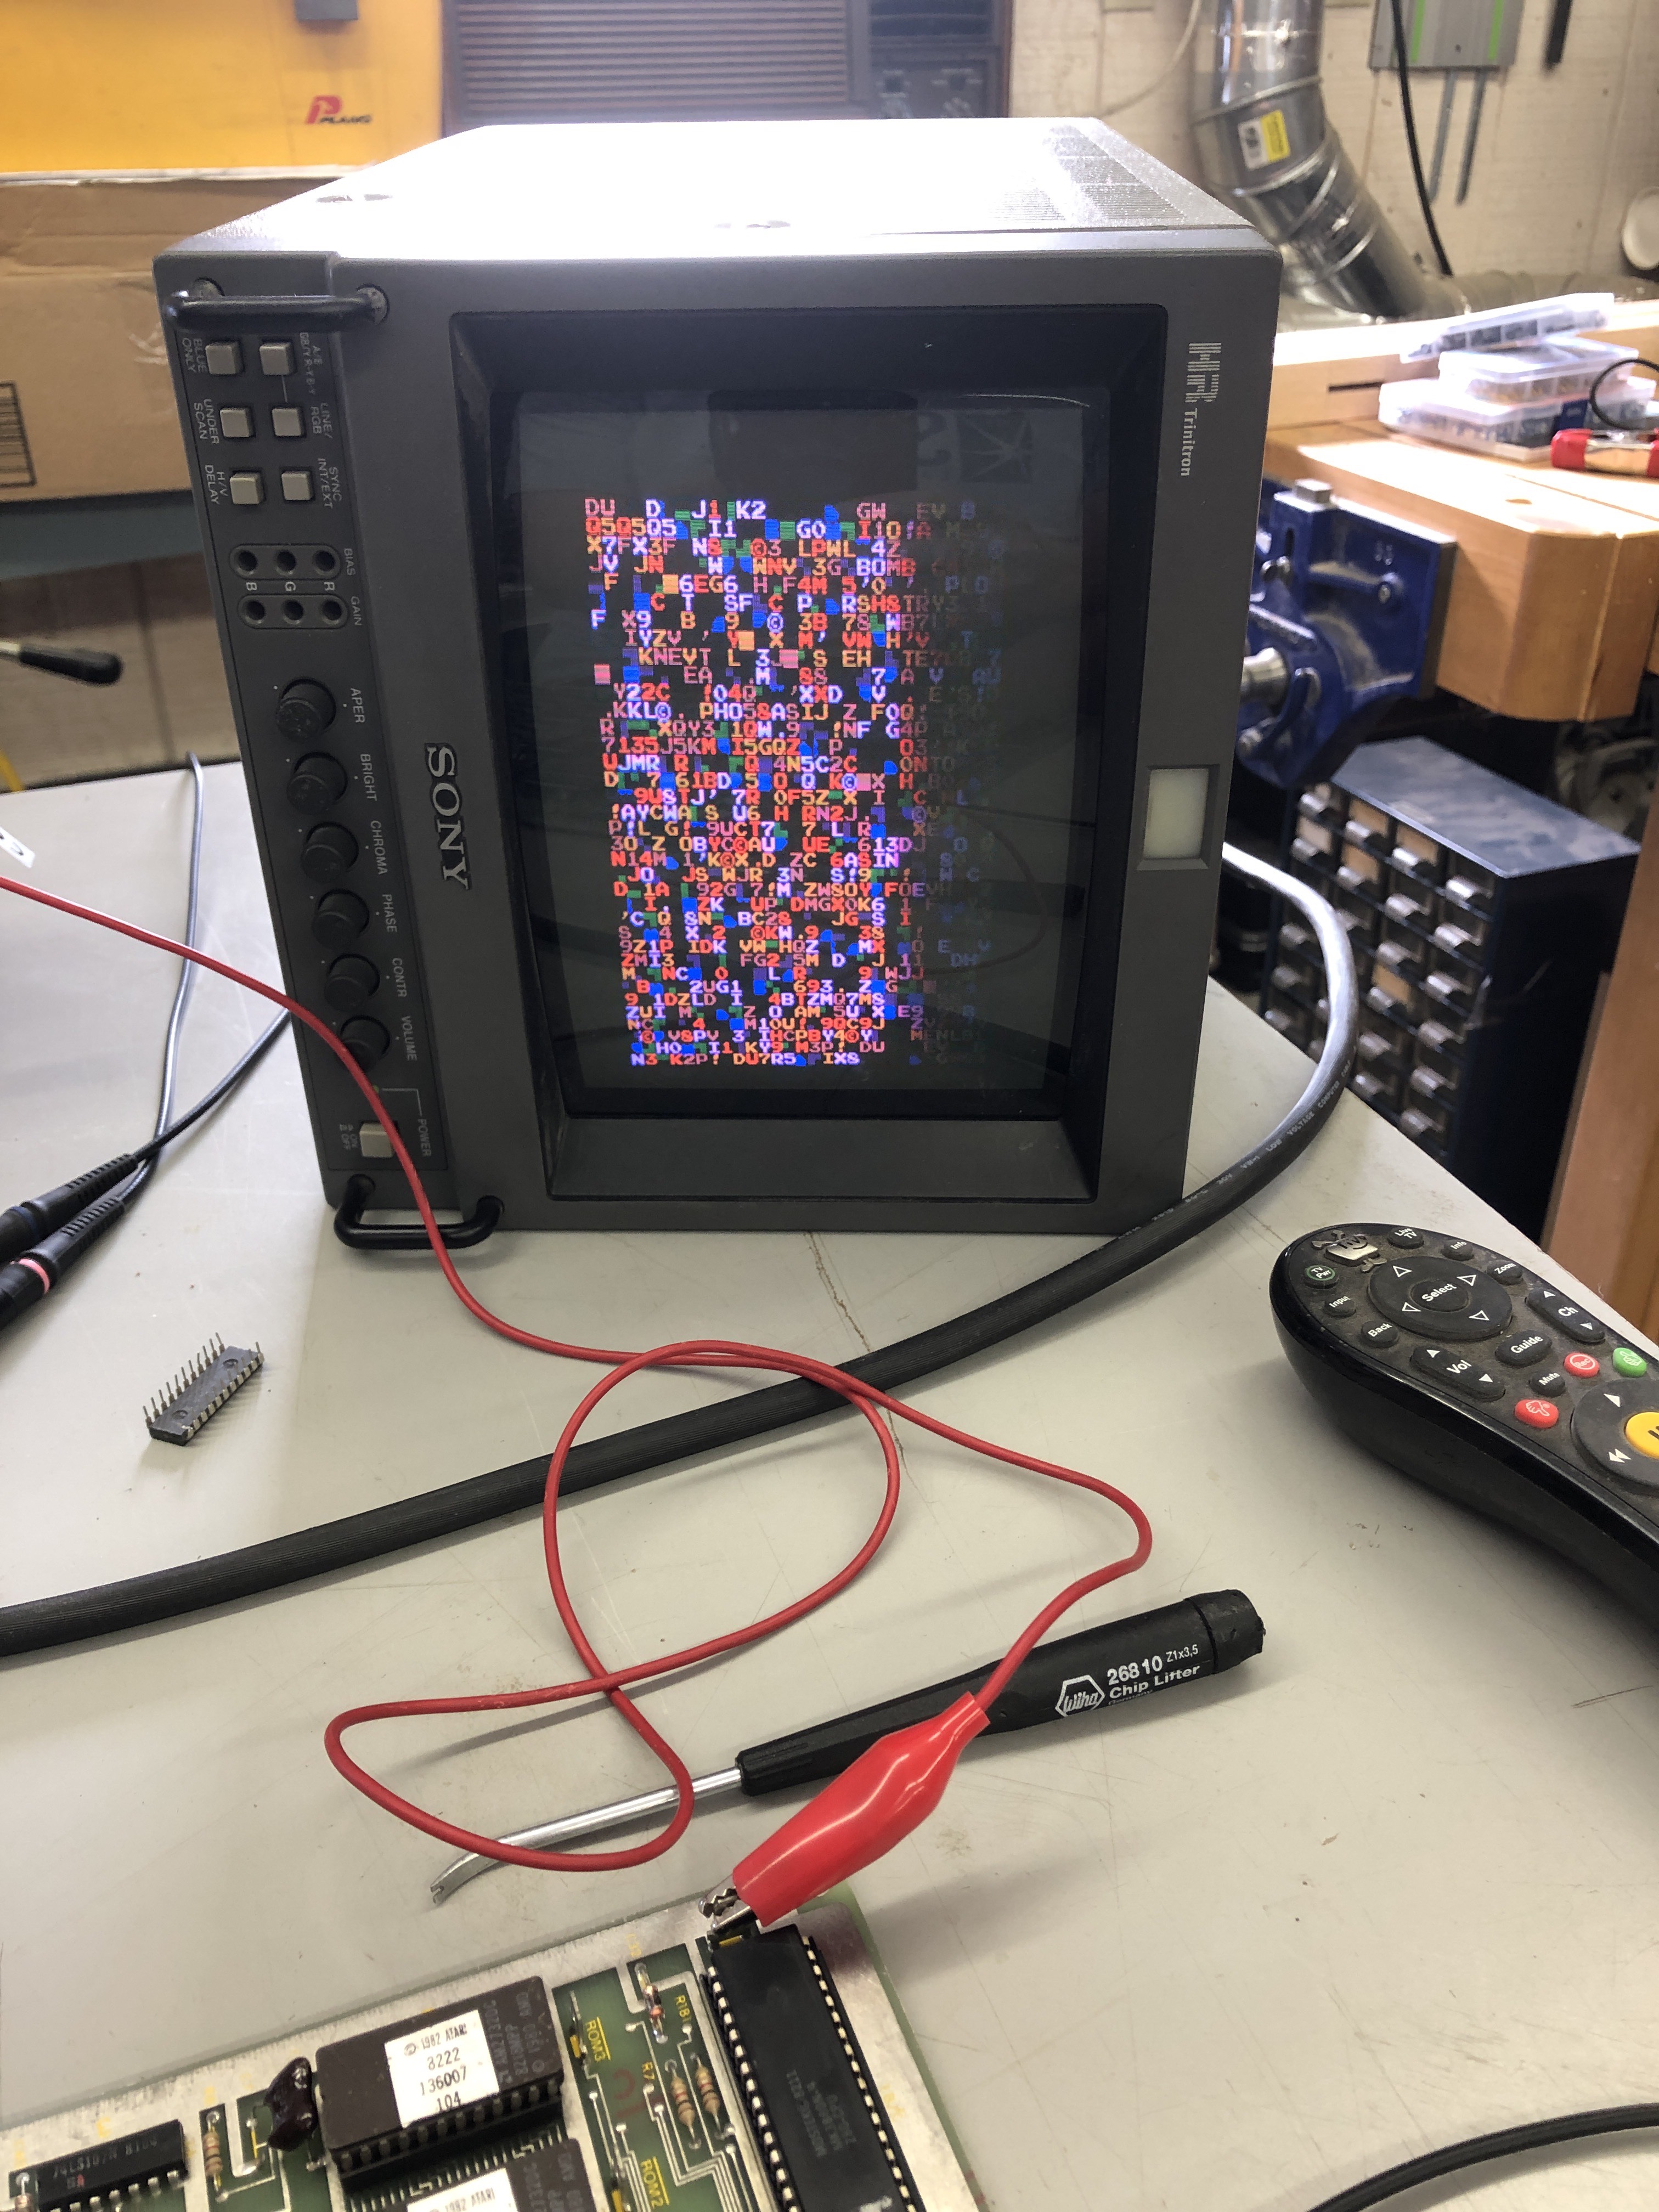
Once I got all of the RAM replaced, the board was still resetting and showing RAM 0L bad (which is the socketed RAM at 4K). The good news is the sync was good, even though the color was green. Since 0L is the first RAM in the test – obviously the diag program just couldn’t get to it.
I poked around for a while thinking it was one of the tri-state chips causing issues and replaced the 74LS367 at 3E since it was the first one off of CPU1 and it had some pretty ugly looking signals. But no difference.
Then I switched gears and decided to fix the annoying color problem. The game watchdogged and had a blank green screen with the RAM 0L failure. I pulled the CPU and got the nice quiet screen garbage on the left. For whatever reason it helped to track down the issue. While probing in the video output area I found 74LS32 @1E. Pin 6 was not outputting CK*. Replaced it and fixed the reset problem. CK* feeds the address decoder @9E and it selects the RAM. There had been plenty of activity on the decoder.. but I just missed that CK* line.
Now I got a good RAM/ROM test and a green screen. The 74S174@8M was not outputting on pins 2,5. Replacing that fixed the colors and the game plays! Final issue was the sprites had a bunch of missing colors.
I determined the sprites are in EPROM 116@5D. But it seemed to be working fine. I was lucky enough to have a spare PROM 111@8F. On the left- incomplete characters. Piggybacking it restored the sprite colors.
Early on the board had some weird reset issues that were intermittent. It had not reset in 12+ hours testing. That said – I gave the ROMS a small slap and the board reset. All the ROM sockets supporting the CPU’s got replaced.
Board works! – still needs a week long burn in test to make sure there all of the weak chips have been identified.
Board 4 – Really clean board – with a weird jumper…

Also the only one I’ve had with the 200 series ROMS. Game plays identical to the 100 series as far as I can tell.
After the 2 hours of chip removal, board and chip leg cleaning, it booted to this. Very strange. Test worked, ROM and RAM checks worked.. then a frozen screen. I removed the jumper wire and checked resistance 0.2 ohms.. Just like the other boards I had. Not sure why it was there.
Then I remembered to set the dip switches to factory default – which is on my checklist..

This must be a diagnostic setting ‘Freeze game action’ – Game will stop when you flip that switch. Set to normal action!
The other interesting item on this board is its the first one that ROM 115 actually verified against MAME. All of the other 115’s do not verify against MAME, but they all have the same signature. Even though both types have actual Atari labeling.
I dropped the ‘good’ 115 and the ‘bad’ 115 into a Hex editor and figured out what was going on. Turns out the program only uses the first half of the 2732 chip (0x000 – 0x7FF). On the ‘good’ chip – they just repeated the data on the second half. The ‘bad’ chip just has junk from 0x800 – 0xFFF. But all of the ‘bad’ ones that I’ve come across are identical. They all verify to the same checksum in ROMIDENT. Maybe they could have used a 2716? But electrically it must have been easier to leave as a 2732 (I’m guessing)
Board #4 works!
Board 5 – First board revision
The first 4 boards I worked on were used the Fourth Printing of the schematics. Board 5,6 used the First Printing. After seeing both.. The Fourth Revision has a cleaner board design.
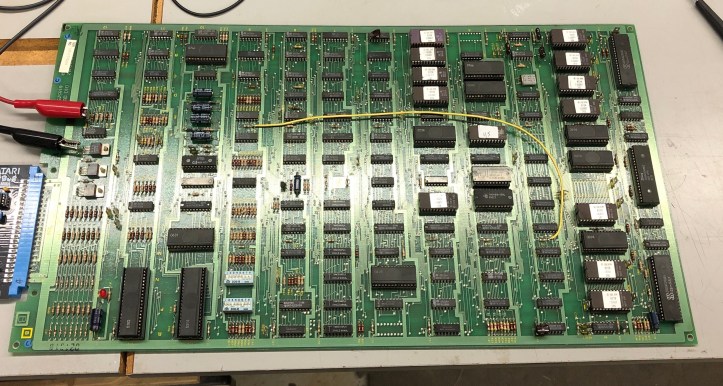
30 socketed chips. It takes 2 hours just to get to plugging in the board for testing after all the washing, brushing, Deoxiting, etc… But worth the effort.
Booted the board the first time and got this. The sprites all looked like they had scan lines. Every other line was missing. Game played properly.
First thing I did was pulled the 116 ROM (since it contained sprites) just to see what effect it had.. The sprites turned to blocks with scan lines.. So the ROM wasn’t the issue.
Second place I looked was at the motion object area.
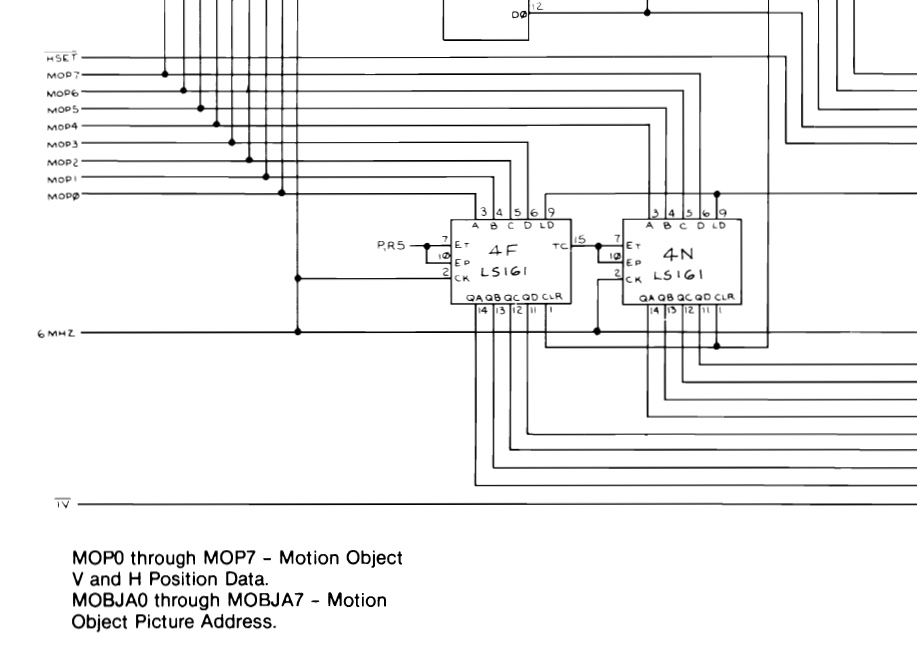
The counter at 4N had all the inputs and dead outputs. Replaced the 161.

Board #5 works!
Board 6 – Last of the batch.

The other nasty PCB gave off brown crud. This one produced gray. It’s a tie for which one was worse.

Like most of them – it cleaned up really nice. It needed an edge connector repair. After the total of 2 hours cleaning the board and the chip legs..

It booted up to this frozen screen. Nothing going on.. No ROM check or RAM check. Holding reset did nothing.. So I figured it wasn’t getting the first ROM.
I checked signals etc. Then started at the first custom at CPU 1. Pulled it out and I had folded pin12 underneath. Over 180 chips resocketed… 1 folded leg.. oh well..

It did need a Z80 and a new ER-2055 EAROM. It wasn’t retaining high scores.
Board 6 works!
Board 7
Picked up another one for repair.

Overall this board is in pretty nice shape. It has a burned up edge connector and what looks to be a factory mod on the board. I spent the time cleaning, checking ROMs, etc.. Everything checked good.

For fun I checked the board with this bad RAM.. This is what it looks like when its decapitated.
Replacing the bad RAM gave me this. Except the sound was really messed up.. it had a static squeal and you could hear some of the game sounds at low volume. I found out how the sound was stuck on pretty quickly.. Repaired the burned up edge connector prior to powerup.

Pin 16 @12D was stuck high. I replaced that chip. No change. After much poking around and chips seemingly working after a reset but before the game started.
Probing through this area:
Pin 7 had a signal that was ‘impossible’ – then it struck me something was shorted to it..
Shorted
The RAM @11C had this. I missed it during initial inspection. Trimmed all the extra long legs. 30 seconds later..
Board works – sound 100% normal.
Final resolution:
- Replaced broken RAM @7A
- Cleared short on RAM @11C
- Replaced busted DIP switches
- Repaired burned up edge connector
Board 8
Received a board in for repair – it is a first revision board.

After the cleanup checklist – the board reported bad RAM @9M. Replaced that and the colors are all messed up among other things.
Another 20 minutes later the board crashed. I suspect this one has not been powered on for many years. Poking around – the LS32@ 5G/H failed.
Messed up colors was the LS257@1H/J. This particular chip had been replaced at some point. Prior work was not the problem – the chip tested bad..


But below the chip was a mess. I try to avoid solder side repairs as much as possible. I’ve had great success using Kynar wire and extending traces down through the via. I use a toothpick to assist. It serves 3 purposes.
- Hold the tiny extension wire in place.
- Hold the wire to the side of the via so that I can get the socket’s legs into the via
- Solder won’t stick to it.
Once the repairs are in place, I use some UV cured solder mask to cover all of the solder connections. If you don’t – soldering the socket will likely unsolder the repair.. the mask glues it all together long enough for the socket install.
At this point the game ran, but has a strange issue. Powering on the board – sometimes it boots – sometimes it comes up with garbage that twitches and usually a screeching sound. No power on self test process at all. If I hit the on-board reset switch – it will reboot properly 100% of the time and run. I let it run for another day hoping that a marginal chip would die and expose itself… no such luck.
After another 16 hours of power on – the board was watchdogging. Bad 2114 RAM@9J/K. Then I noticed this graphics issue. If you look real close – the characters have blue stripes. I’ve had a similar failure in the past – but the stripes were actually missing which was a bad counter. I checked all of the LS161 counters in the motion object generator and they all were working.. I socketed the 2148 ram and that wasn’t it..
Happened to be reading a subscribed thread update and saw this: DigDug Repair Which was my exact issue. Credit where credit is due to the OP – not my find. Another type of failure to be on the lookout for. Replaced LS365@3J – sprite colors fixed.
The board has many hours on it now and no more chips have failed. My last issue is the power on problem. Switched power on – sometimes the board boots and sometimes it comes up frozen. However – even frozen – the watchdog circuit is active and the counter is being reset. The first CPU thinks it has booted and is running properly. I replaced the POR counter LS393@4C, the nearby diode, cap and transistor. It is not likely a thermal issue, I can power off and on and have the board boot – or come up frozen even when warm. It really seems like a boot timing issue. Hitting the warm reset on the board clears it 100% of the time. Intermittently the high score table will get corrupted as a result of this.
While messing with the high score save part – I had swapped in a new EA-ROM.. An this board over time & testing.. killed it. In fact – I think it killed ~3-4 of them before I realized that it was happening.. I’m guessing during the bootup freeze it is sending bad signals and that chip is getting fried. New rule – remove EA-ROM and leave it out until the board is known good..
Remaining issue still under investigation…
Board 9
Received a board in for repair – it is a fourth revision board.

I like pics of the nasty ones. Other than a burned up ground on the edge connector – this board has never been touched. Once all the maint was completed it looked like new.
RAM 0L error. This points to the 2016 RAM@4K – which in this case is known good. I’ve had this issue before. It is a decoding problem. I again thought it was the LS367@3E because the signals were so ugly.. and again.. was wrong.
I looked at LS32 @1E. The CK signal on pin 5 (an input) was low. It comes from all of the 08xx custom chips which were known good. Most of the time outputs are the issue – I replaced the LS32.
LS32 input was pulling the line down.
Board works!
Board 10
Board was one I had picked up at some point. The customs get really tarnished over 40 years. 10 minutes in Tarnex and hitting them with the fiberglass pen cleaned them up. This board had no prior work. It had a burned up ground finger (barely) and a cap that need to be resoldered.


Final resolution:
- Repair edge finger
- Resolder loose cap
- Full maintenance cycle – board worked!
Board 11
Board was reported to not boot. However it did boot upon arrival. Overall a pretty clean board with all gold Atari sockets. Did full maintenance cycle and found a corrupt ROM. Not likely the cause of the non-boot – but probably glitchy graphics on some level.
Final resolution:
- Reburn ROM 119
- Full maintenance cycle – board worked!
Board 12
Received a board in for repair – it is a first revision board.
Did an initial quick check – could not get CPU clock. All of the customs chips were severely tarnished. First thing I did was remove all the socketed chips. Tarnished ones got 10 minutes in Tarn-X, then cleaned all the legs, etc. 4 legs broke off easily.. Repaired them. I also brushed Tarn-X into the gold sockets, they were pretty black inside.. Waited another 10 minutes and then washed the board.
Once it was all back together and on the bench – RAM 0L error.
CPU 2 and CPU 3 both could verify the RAM cleanly – only CPU 1 had problems.

The RAM test included video RAM. It was only changing (sorta) the lower half of the screen. The RAM checks threw me off a bit because it was showing either all bits bad, lower 4 bits good or all bits good depending on the test. The video on the lower half of the screen moved me to addressing.
I pulled LS367@7P and 7J/K and replaced both. Both chips reported good on the tester – I believe @7P was the troublemaker – but not 100% sure. After that – 100%
Board works!
Board 13
Received a board in for repair – it is a first revision board.
Performed all normal board maintenance.
Primary issue with this board was corrupt graphics

Here is the game on boot with freeze setting. It repeats part of a character in the motion object area. It took a while to run this one down. I’d checked all of the supporting chips in the motion object section..

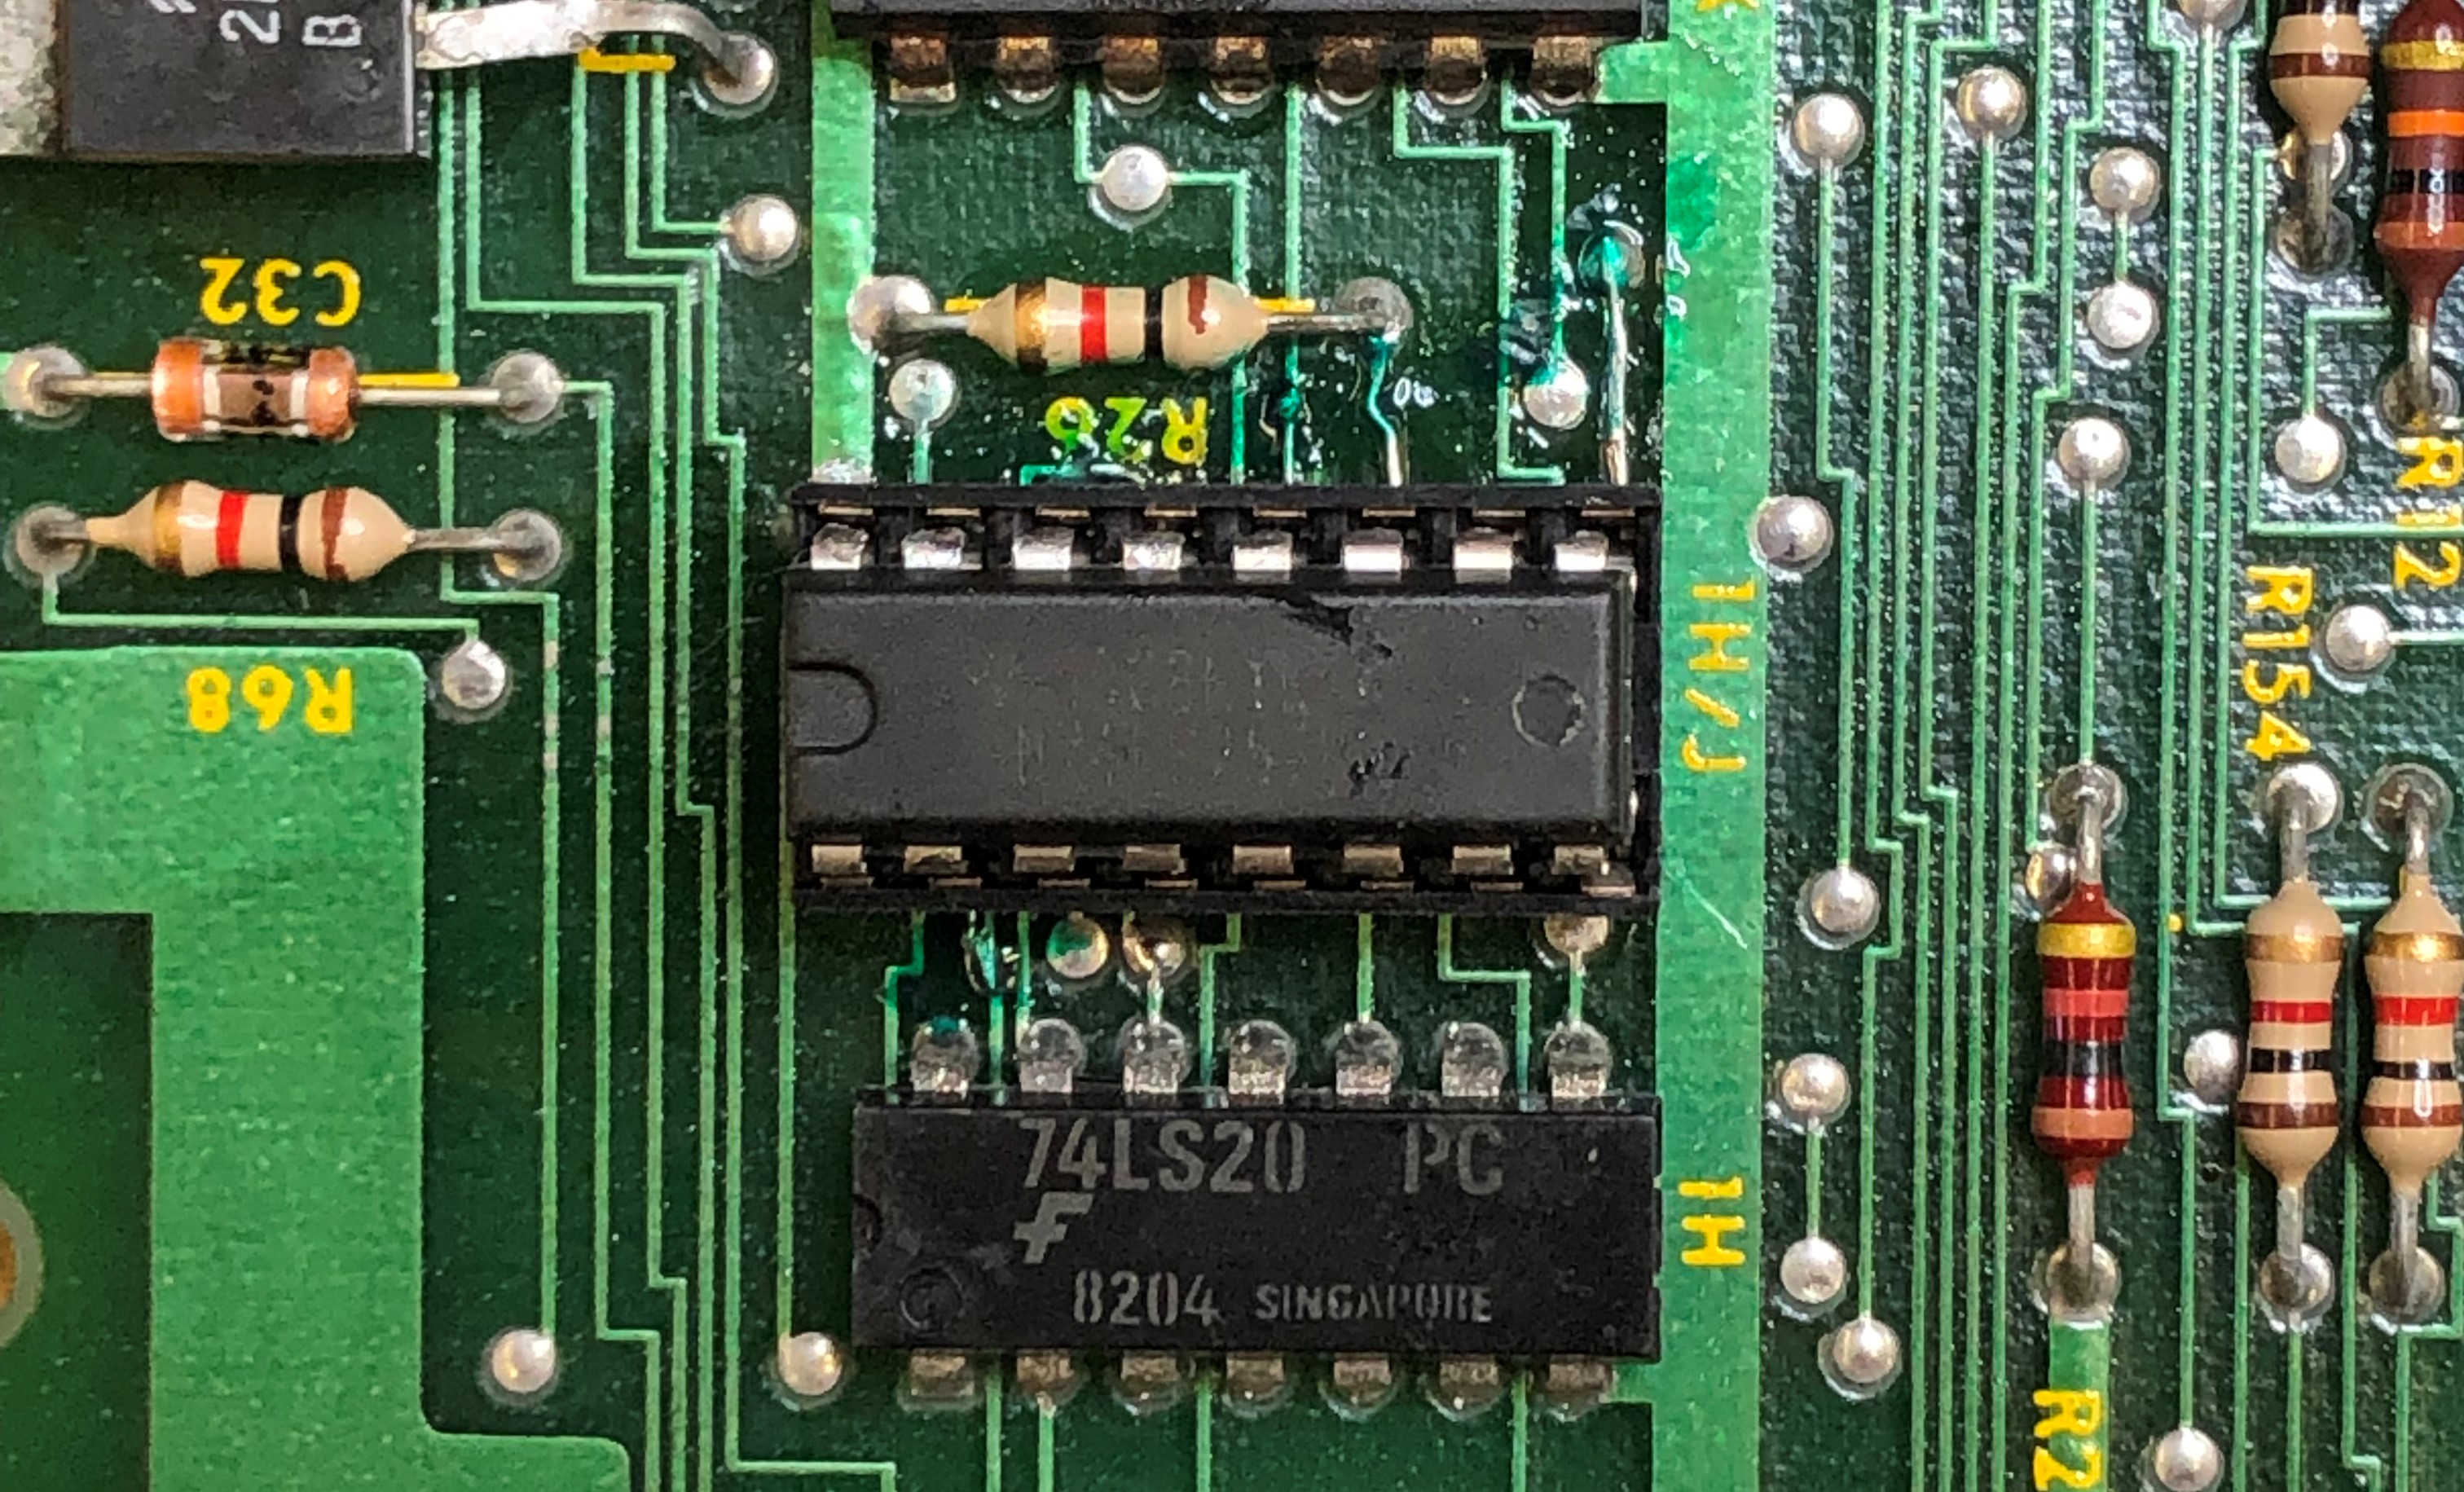
Finally I piggybacked an LS20@3P (original is a Fujitsu) and the issue resolved. I removed it and it stayed resolved. Then I powered down and up and it was still resolved. I ran the board for 12 hours and no issues.
After being powered off for a day, the issue came back. Piggybacked again and it fixed it. I replaced the chip and will watch closely.
Had a bad RAM@H6 and the customs were heavily tarnished. Checking ROMs, Graphics ROM 116 was bad.
After the 3rd day of testing – the High Score Save circuit stopped working. I learned a bit about how it works now. One interesting item is the 2nd revision ROM set (ROMs 201, 202, 203, 204 specifically) seems to know when the circuit has failed.

This text BACKUP NOTHING is in ROM 204. It is not in Rev1 ROM 201. I chase the issue for a while, but repaired the circuit.
Board works!
Board 14
Received a board in for repair – it is a fourth revision board.
This board had a lot going on.
- Prior work – many sockets had been replaced – however looks to be well done
- Custom 07xx – marked bad – it was
- CPU marked bad – it was not
- CPU missing
- Tarnished customs
- Bad edge repair – repaired it correctly
- CPU Socket @J1 – loose – all stretched out. Got replaced.
After full cleaning, Tarn-X, etc.. Verifed all the ROMs working. RAM was different, seemed to work for a minute. then just failed. All 3 CPU’s had the same response. 74S04@3B was having a thermal failure. Worked until it warmed up. Memory now working.
Once I put the CPU’s in – I verified the bad CPU was good. I was missing video at first, the 07xx custom @10P was bad as labeled.

Prior (obviously failed) repair attempts clipped these legs – I replaced these guys.
Game play did was not working correctly – the player would not move left/right. Custom 53xx was bad.

Here is the last issue, the screen had the top two lines replicated vertically on the left. It looked like a counter or something on that idea.. However – custom 07xx @4C was the root cause. ROM 115 also had a single bad byte. Replaced it.
Board works!
Board 15 – Board in for repair
Been a while since I worked on a DigDug. Received one for repair from a local arcade. FWIW: I had the ‘unfixable’ one from the first post and they are borrowing while I repair this one. Can’t have a machine down in an arcade – right?
Board initially booted to garbage. Had random errors.

30 chips to clean.. The board and sockets were in good condition. Part of the verification I do on boards like this is a bench check the EPROMs that are not verified by the self test process. The generally are involved with graphics, etc.. There are 7 EPROMs that need to be tested (#108 and above)


On the left – all of the Namco customs with tarnished legs. Three minutes in TarnX, rinse, dry and clean legs as I do all the other chips – bright and shiny..
Once cleaned up I took a side detour – I had bent a leg in my tester and found that I could verify all the RAM in sequential, FF/00 and 00/FF mode – but not in random mode. Also – none of the ROM would verify. Finding the common denominator – AB10 showed floating. Found the offending broken pin and all RAM/ROM tested correctly.
Put all the CPU’s in and the board booted! However – no sound.
Determined LM324@3D/E was bad..

Socketed and replaced – Board works!
Board 16 – Board in for repair

Received a (very) early version DigDug for repair. This one put up a significant battle, but not in the normal way.
Step one is to remove all the socketed chips and clean the legs. The custom chips always have tarnish from their silver coated legs. They need to be cleaned as well as the others. I also bench test the majority of the ROMs. Most of them are not checked by the built in self test and any bad ROMs can cause glitches.
Once I got everything cleaned up I was able to get the board to boot. Was it going to be that simple? No..

Randomly it would boot to garbage – but only on power-on. if I hit the reset button it would boot correctly every time. Also, if it froze up like this. Power off/on – it would boot.
If I waited 10 minutes – it could boot .. or boot to garbage. It seemed at first to be a thermal failure – but I later determined it was not.

When it was in the failure state, the watchdog was being cleared. The game thought it was running, which made be thing the chips were coming up unevenly during power on.. I even tried to trick it by holding reset low with a ground probe at power on as a test.. It always booted that way..
I did a log of checking in the PowerOn Reset area.. Everything seemed to be working. But it only happened on PowerOn. I replaced Q1, CR6, C9 and 4C one at a time… No change..
After all of this I checked non-maskable interrupts and when it was frozen they were not running on CPU1. What I didn’t know at this point was if it was a cause or an effect. Checking against my good board.. another side effect is when it froze it would corrupt the high score table.

There was this wire mod that was old – but I had never seen before. I removed it to see if it was part of the issue. It wasn’t (and it came back to haunt me a little later).
From here I decided to swap all of the socketed chips from my reference board to this one. I did it about 5 at a time to see if it locked up.. It stopped locking up after swapping in the 51xx, 53xx and the 06xx customs on the above corner of the board. After swapping everyone back – the 06xx custom above seemed to be the culprit. If I swapped the old one in, I could get it to fail. Swapped in a different one and it boots every time. Swapping the 06xx onto my good board – never locks up.. But my other board is a newer revison.
Interestingly – it looks like the 06xx creates the NMI interrupt – a cross reference sheet shows that, so the NMI seems to be the cause. Since swapping the 06xx in – board has not locked up after a few days of random power on testing. If I put the original back in – it locks up on occasion.
Last issue was self inflicted and something I didn’t know – even though I’ve fixed a lot of DigDug. The wire mod I removed looking for the lockup issue has a factory bulletin.
During my final testing checklist it would randomly add 4 credits when I added a coin. Reset or power on reset would fix it.. but then it would come back after the next power cycle. It also had not done this during all my other testing. Checked the DIP switches and there is no such thing as a 4 credit entry (seriously?).. I swapped the 51xx and 53xx customs and replaced this socket..

This is factory – I thought it was contributing since I reseated the chip and the issue went away – which was just a coincidence actually. Then I found the bulletins..
Atari – DigDug 4 Credit 1 Coin
Atari – DigDug Static Issues
Putting the wire mod back in place.

This is a bit cleaner anyway.. no way to snag the wires. Mixed in there someplace – the edge connector had been cleaned a number of times and the copper was showing through in places.. I polished up up, cleaned with alcohol and coated with liquid tin.
Board works!
Board 17 – Board in for repair
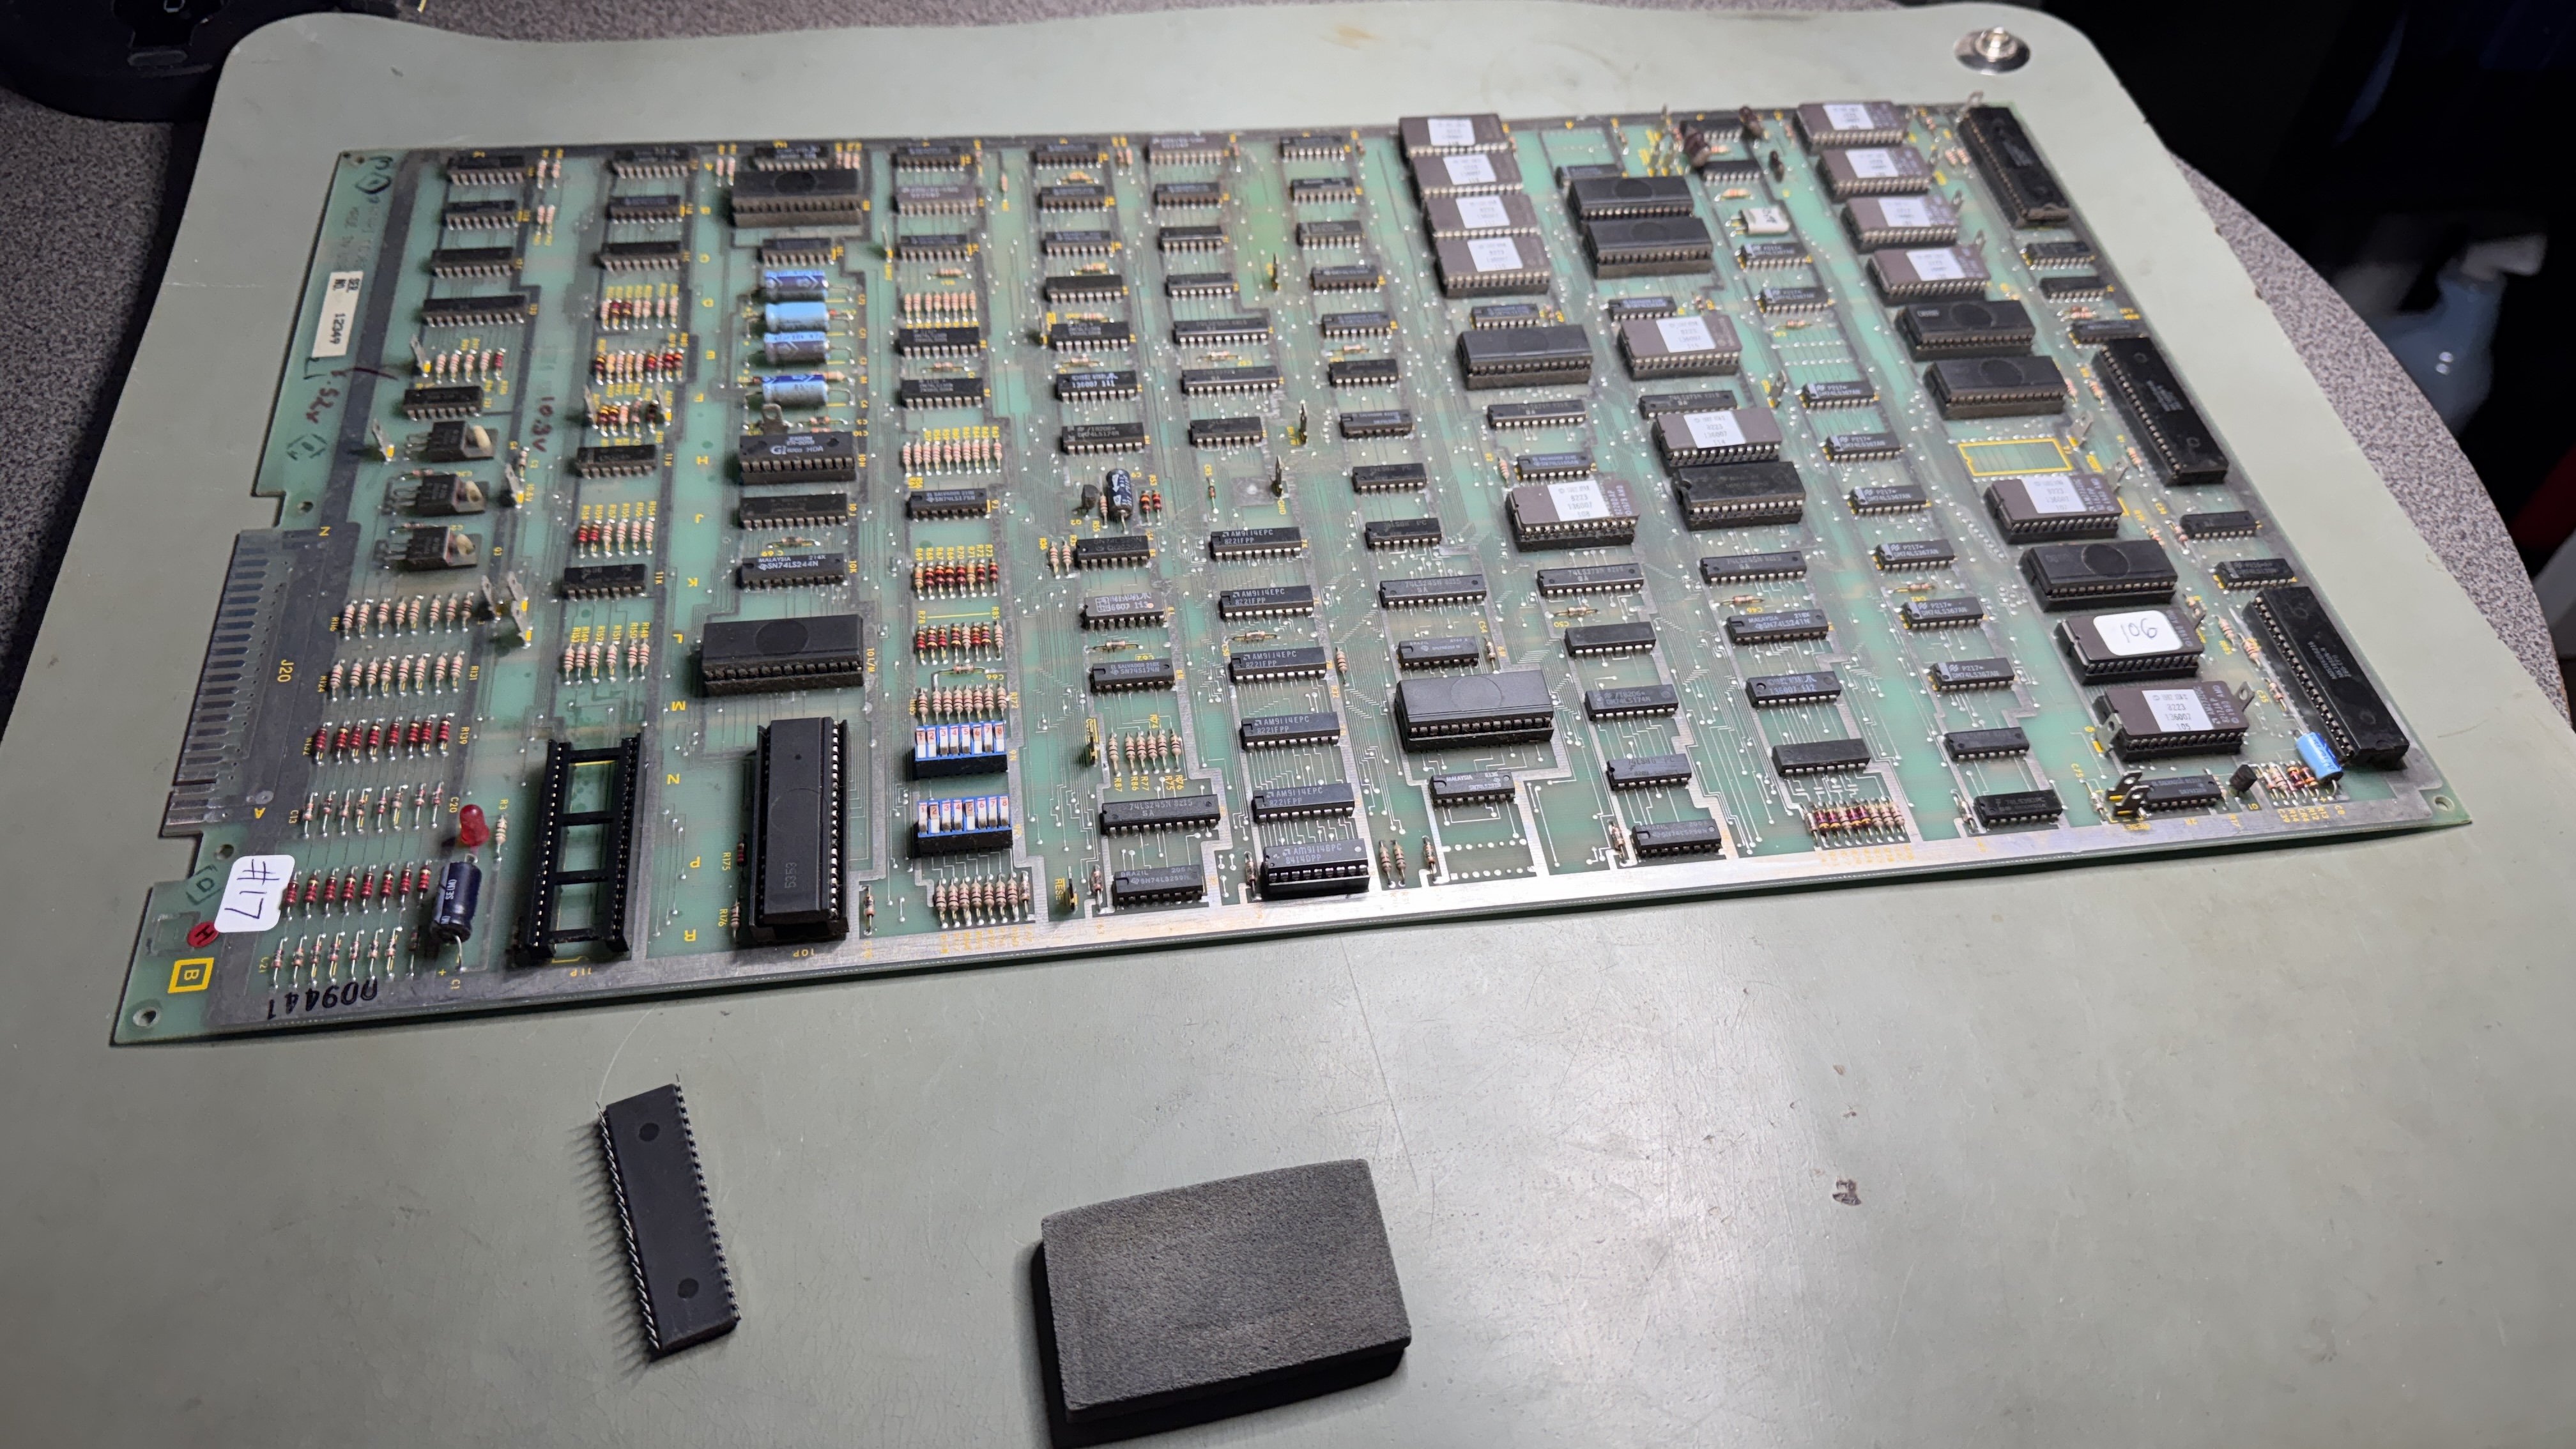
Board came in stuck in a boot loop. First – a leg was broken on ROM 106. Replaced the bad ROM. Then did board maintenance. Cleaned all the legs and Deoxit’d them..
Look close – the Namco custom chips had silver legs and tarnished over the years. You can see a very tiny silver spot on each leg. This is where it touches the socket. Eventually the tarnish will eat the legs and / or make the leg not contact the socket.
Here is a polished outside and the same tarnish on the insides of the legs.
Both inside and outside of each leg cleaned.. DigDug has A LOT of chips.. this takes ~1.5 hours to do.. But will greatly add to the reliability going forward.
Once all of the chips were cleaned – RAM@7R had failed. Interestingly – it fails after being powered on for about 20 seconds.
Board works!
Other notable items on DigDug
I’ve had a lot of dead Z80A’s. You need 3 working ones or it will not get through the self tests. The good part is – you can test them somewhat by rotating them through CPU 1. If there is no screen activity – its likely dead.
As I mentioned on Board #4, there are 2 versions of the Original Atari laneled 115 ROM. One will checksum properly against the MAME set and the other will not (but is still good)
The non-MAME ROM looks like this:

So if you check ROM 115 and it gets this signature – no need to burn another. It’s good.
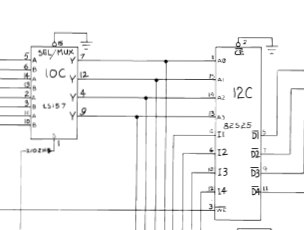
It’s been mentioned before – the schematics have errors in them.
Here are the couple that I found from SP-203, 4th Printing.
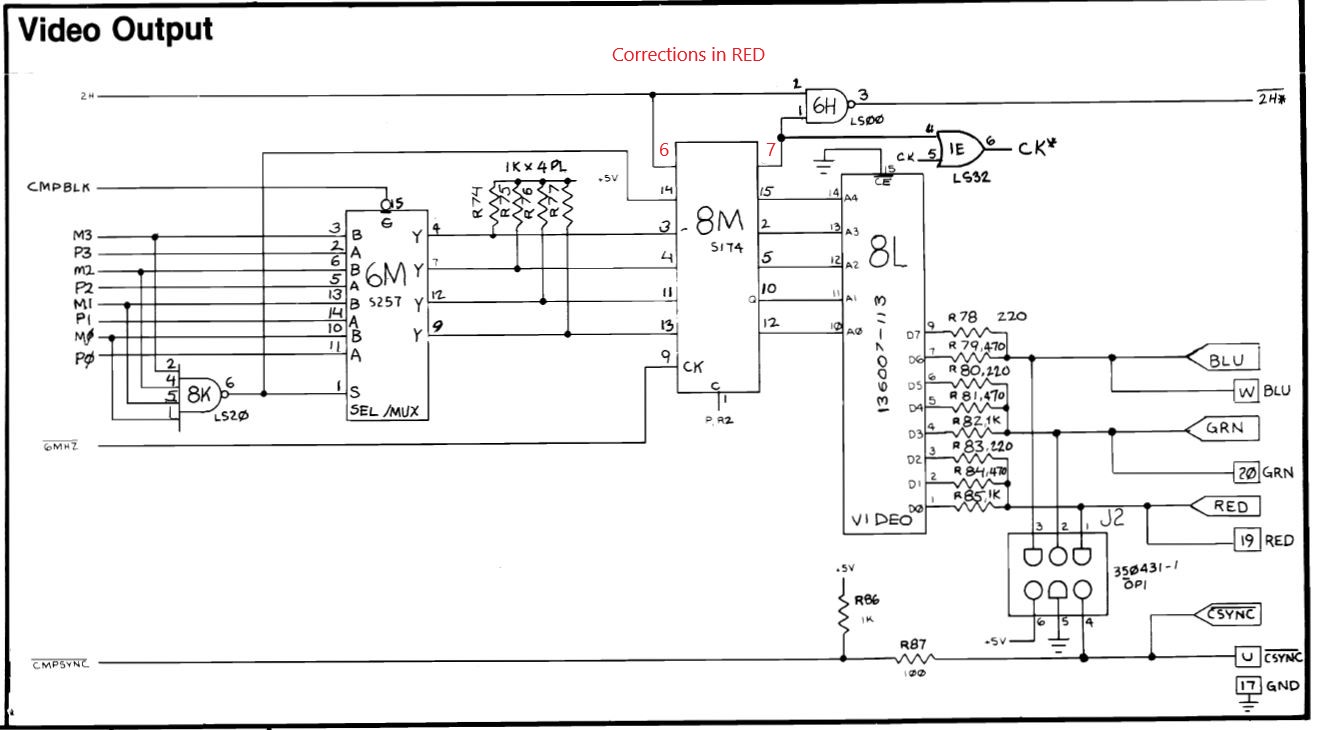
Pins 6,7 are incorrect on the original.

The original of this made no sense at all at 3L. A15, A14 go to 3K which is shared with CPU 1.
