
Into double digits – 10th machine
I had never played Gyruss in an arcade, I saw it once on a video and heard about it from a friend. Finally I remembered one day to play it on my Mame cabinet and really liked it. Enough to start keeping an eye out to get one. Turns out they are not that easy to come by. It took me a good 4 or 5 months to find one reasonably close (3.5 hours away)
I inexplicably forgot to take a before picture in the shop. This machine is very original. It appears it stopped working at some point and it was just put into storage. The coin counter has 6177 plays on it and the machine was not on free play. The original posting did not have pictures of the inside and the read door lock got drilled so I could confirm it had boards before the 8 hours of driving. Too bad..
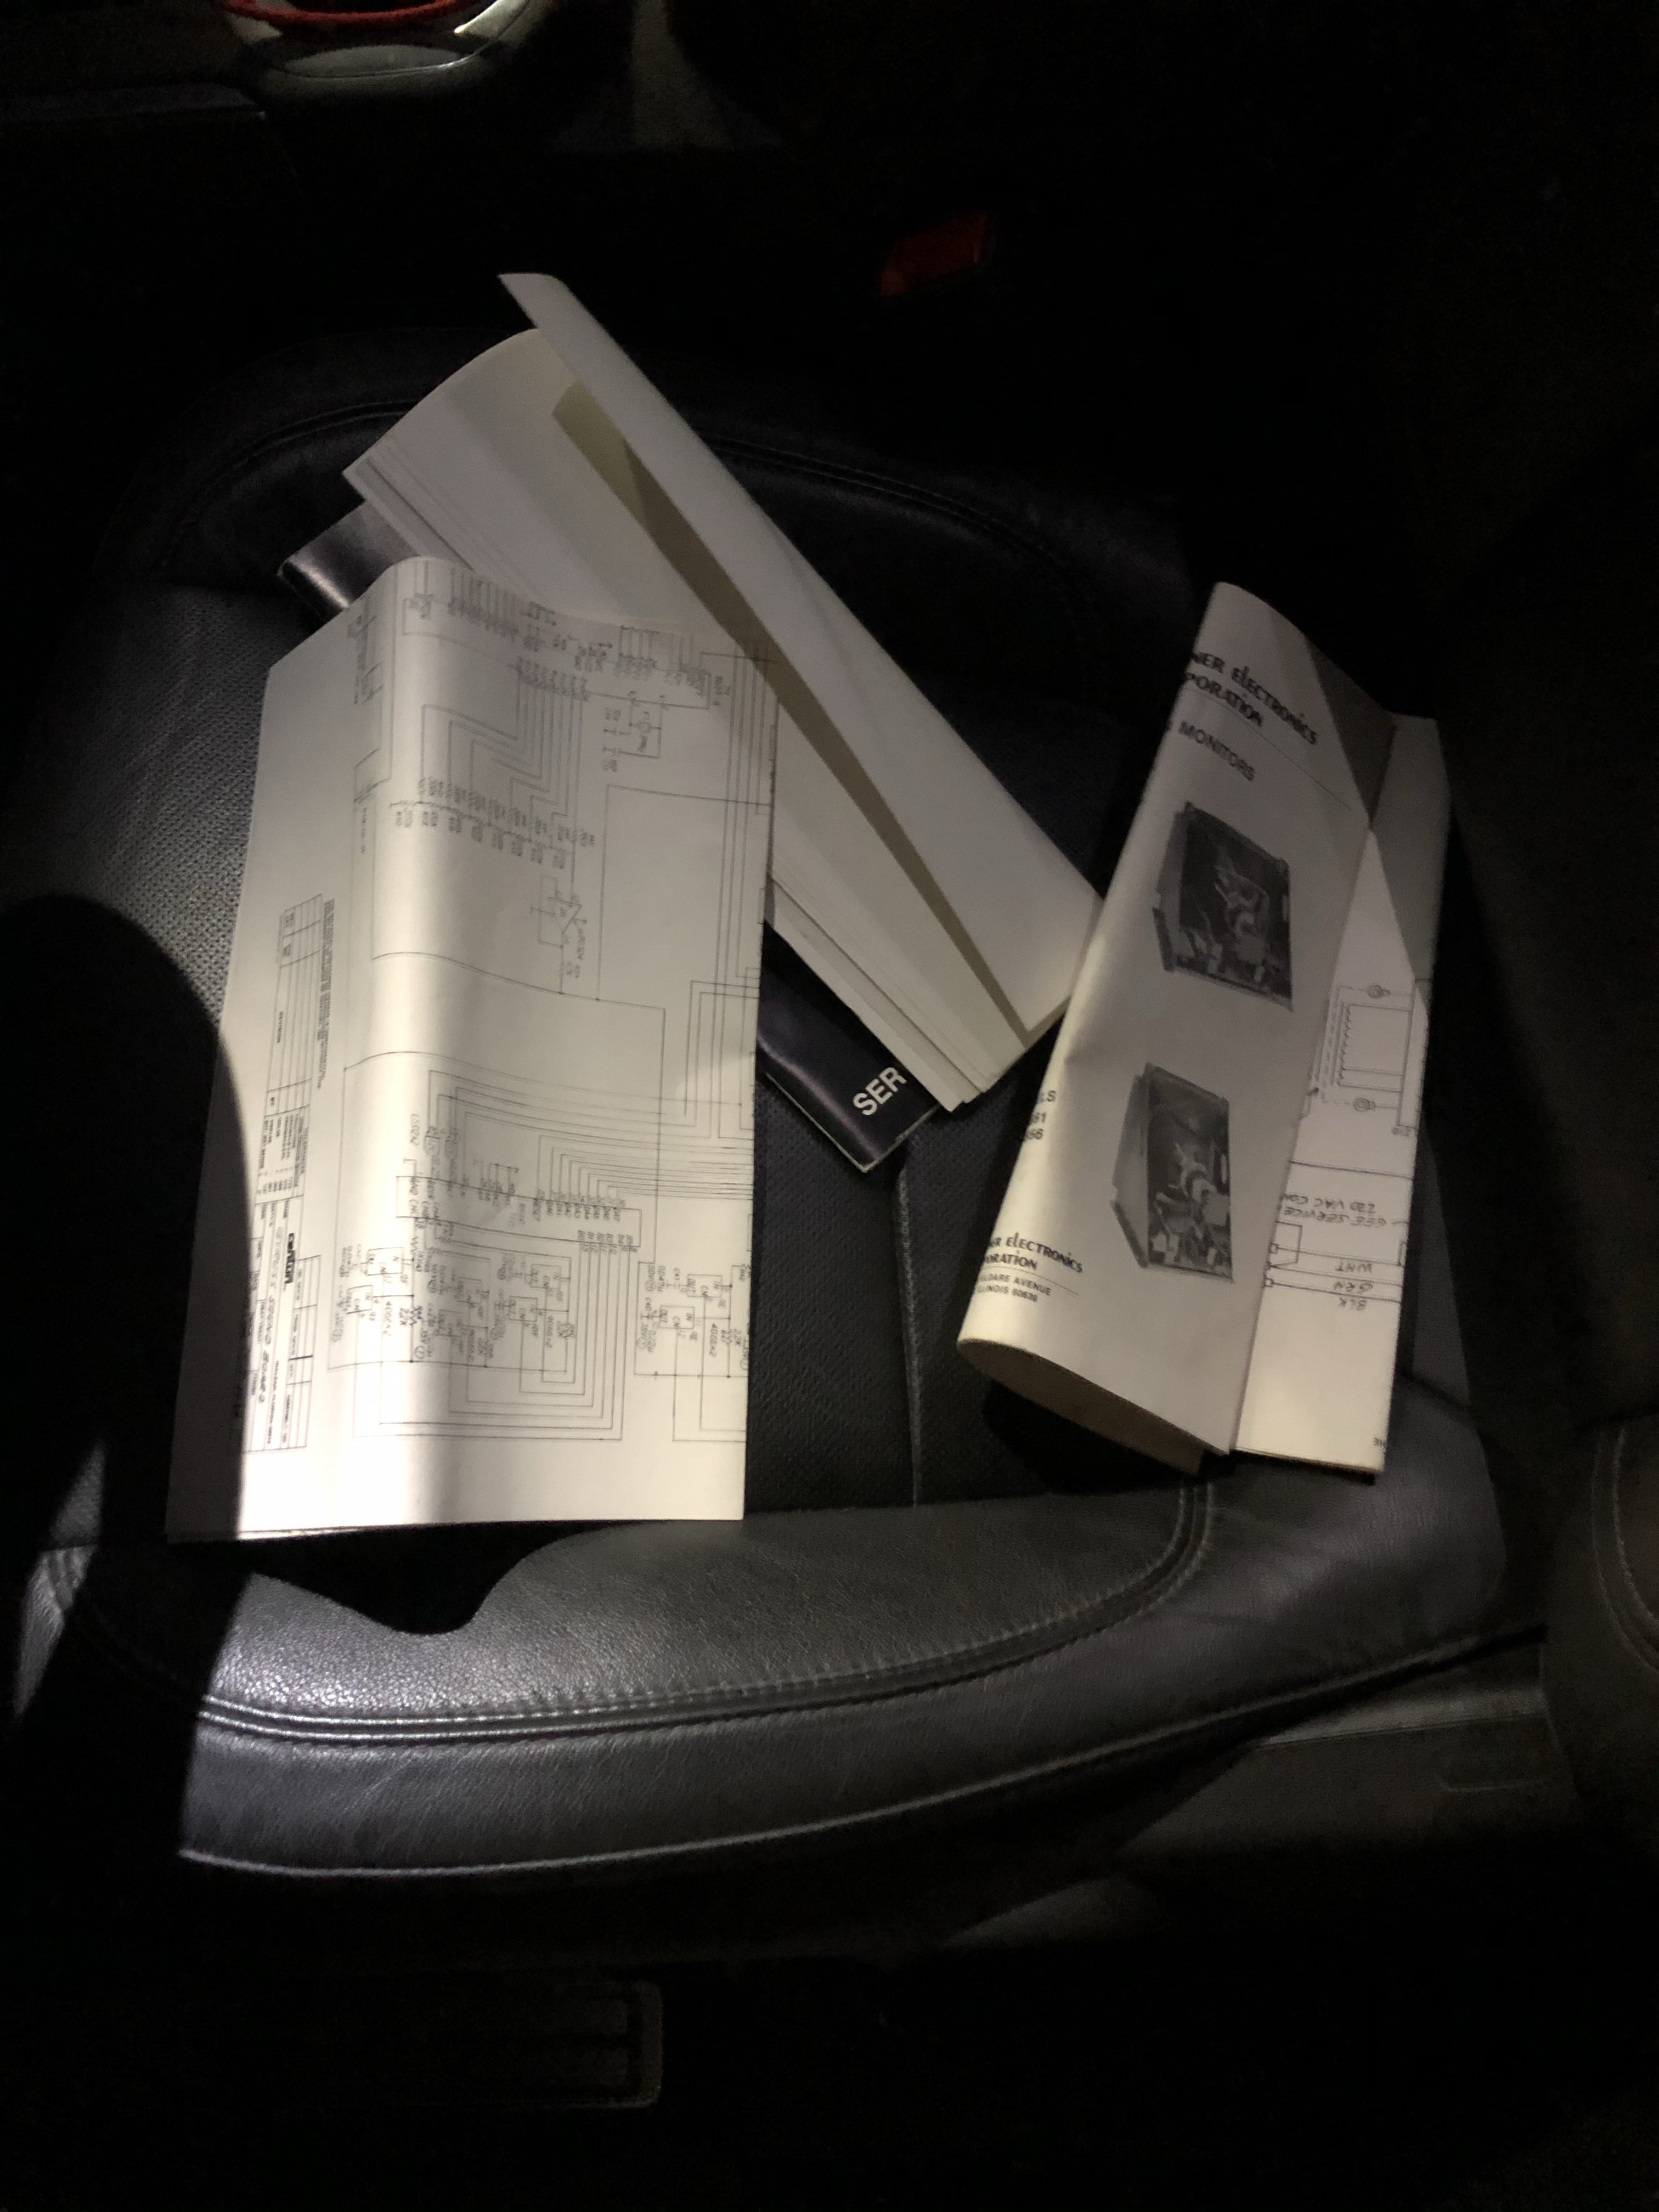
The original service manual was inside the coin door – it had the rear door keys taped inside. I also have the original schematic set and manual from the monitor. All in great shape.
When I got it back to the shop – I checked all the connections – made sure nothing was rattling around or loose and plugged it in. Stone dead.
Found the cabinet power button on top.. turned it on.. heard the monitor fire up.. everything else.. still stone dead.
Gyruss came with a switching power supply in 1983. Didn’t know they went that far back. But it is the original PS and had 120v going in and nothing coming out. Luckily I had a spare sitting around and swapped it it.

Well – now I’m getting somewhere. The board boots and I get this on the screen. The game plays even though you can’t see it. No sprites running and the characters are not working correctly. More on this later. All the sounds are there. My Mame machine is playing in mono it seems, I had never heard the entire sound track until getting this running.
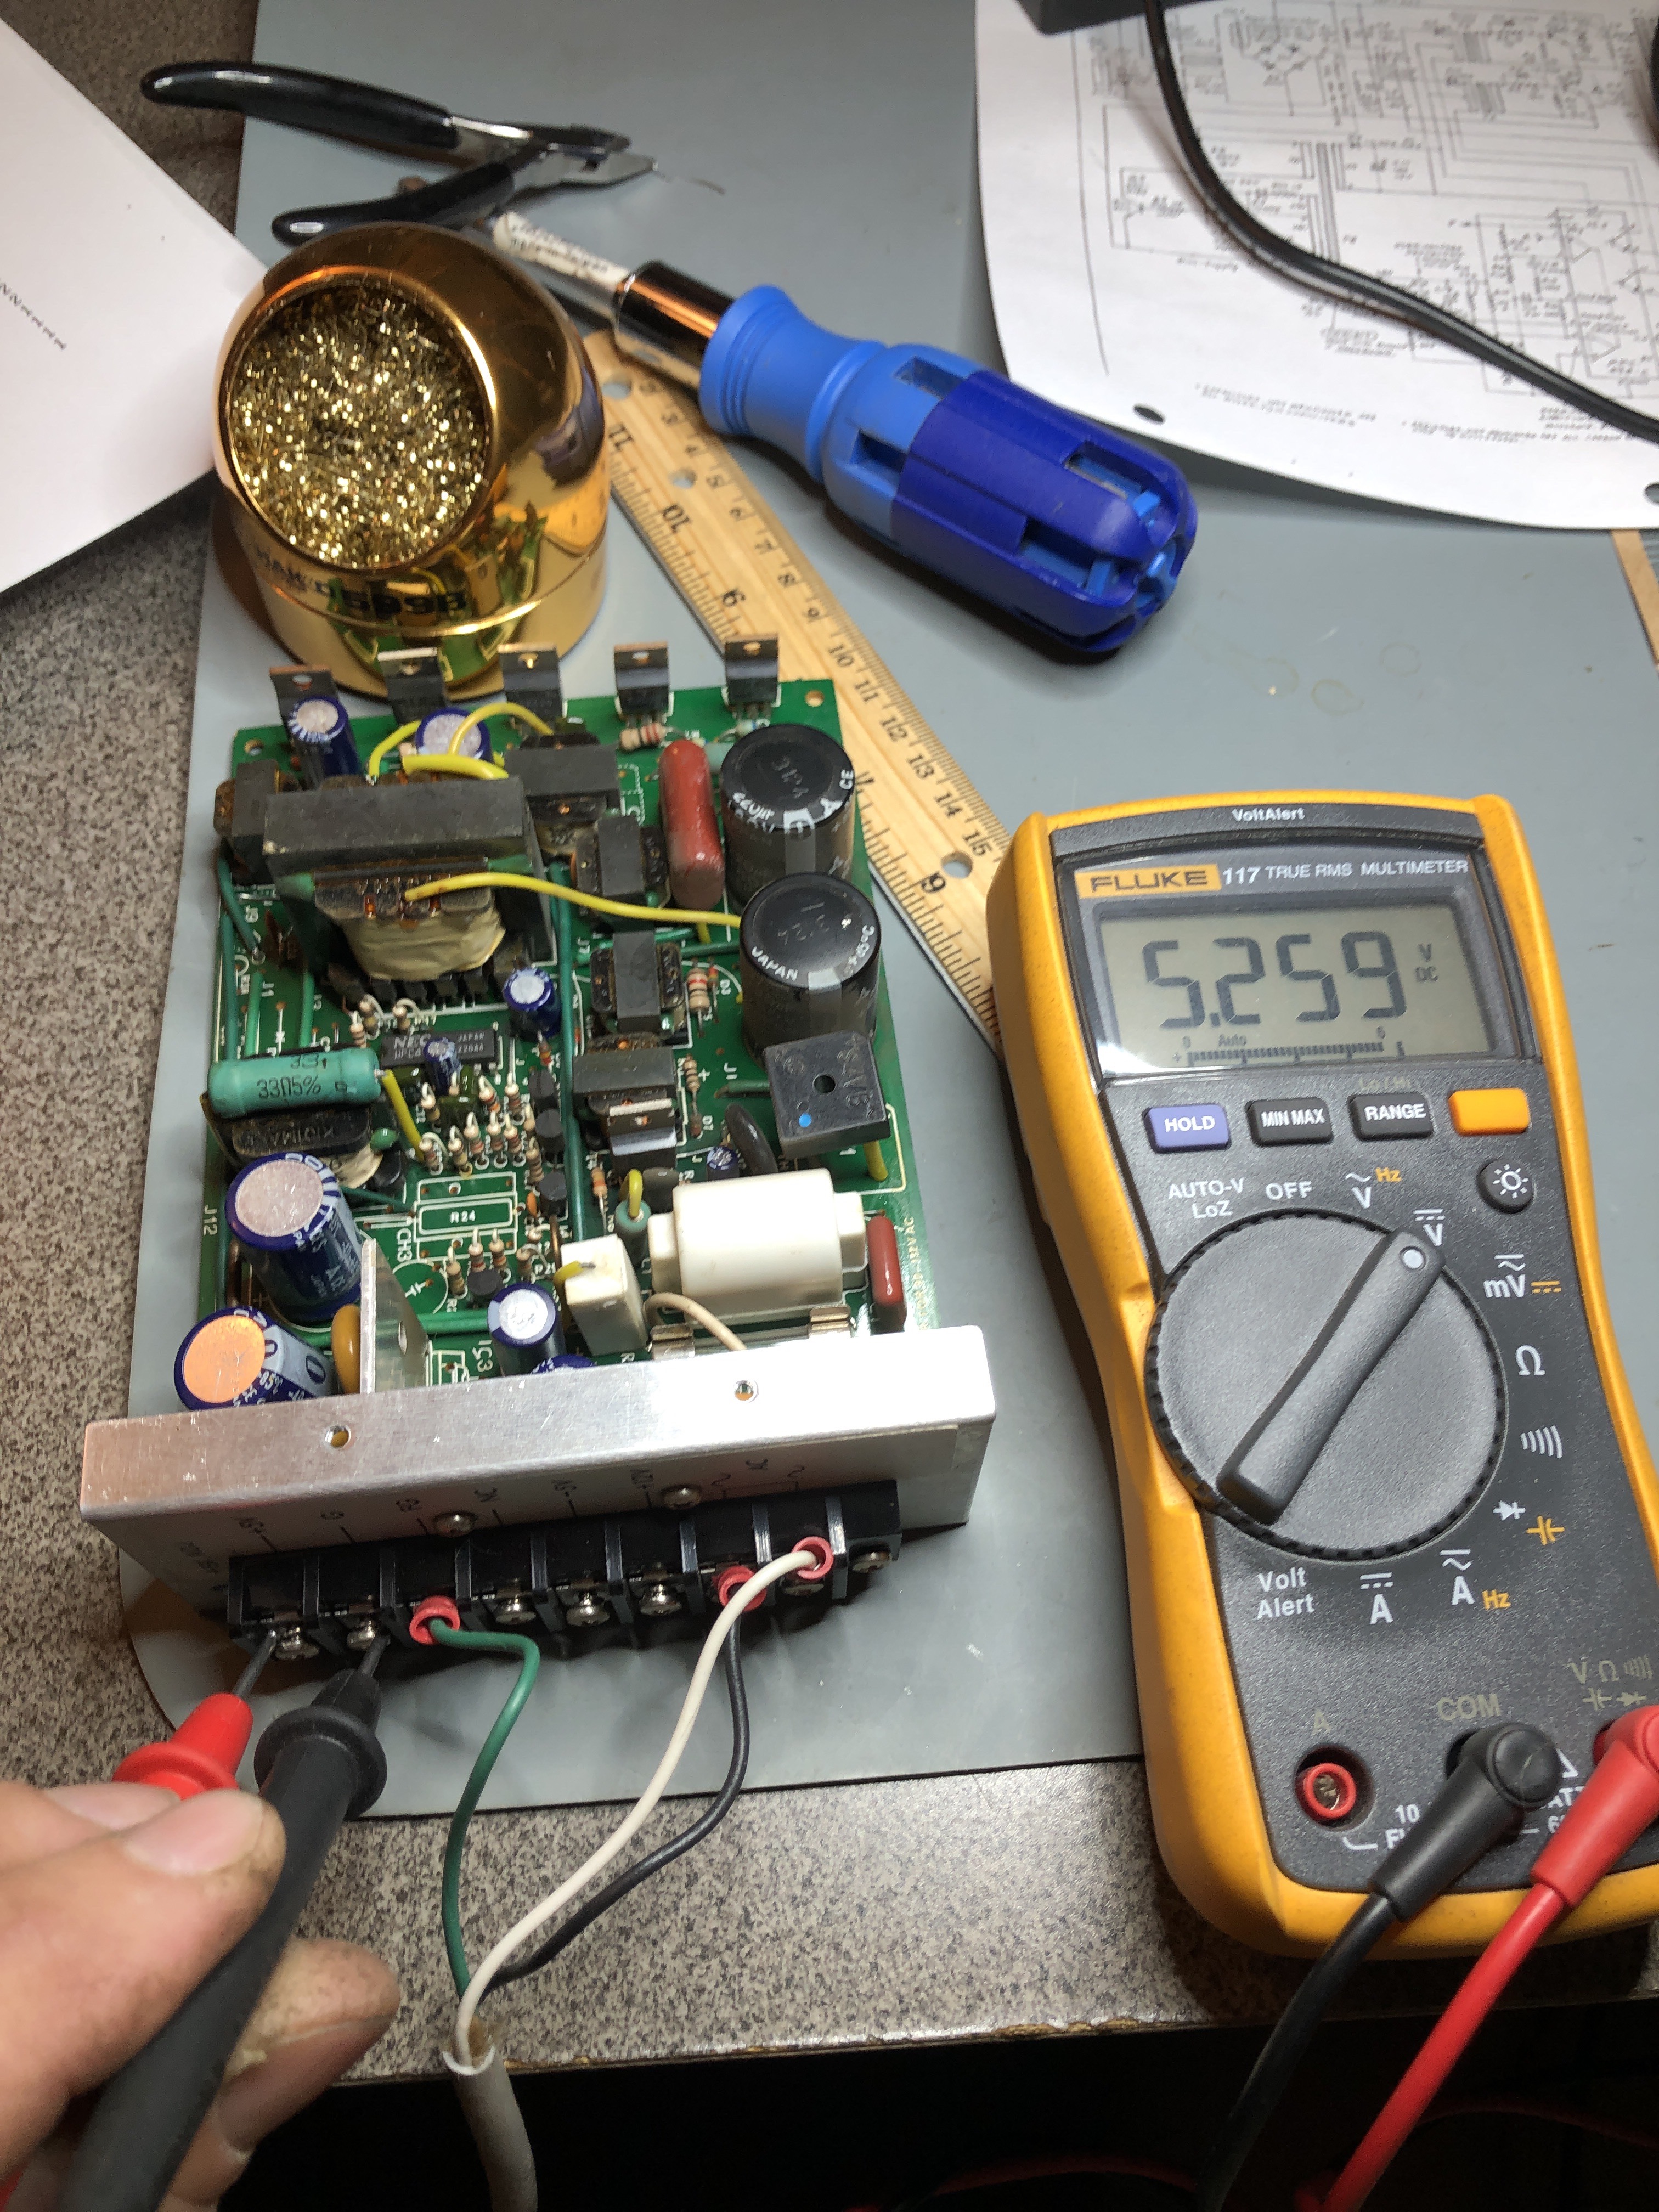
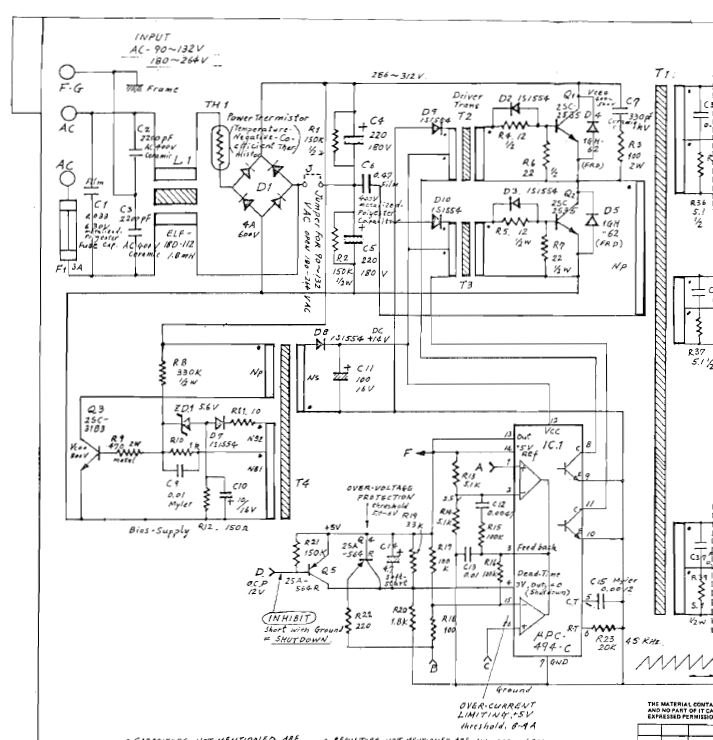
Even though my switcher was running, I wanted to fix the original power supply (PSR-703-AE). It showed voltage at the outputs of the bridge rectifier and pretty much nothing after that. Transformer T1 was never getting powered up. Probing around showed most of the PS was dead. Turns out R8 is the $.10 fuse that shuts down the whole thing when it dies. It tested open on the board (and off). Popped in a new one and it’s all set. Who says switchers are bullet proof.. They need some help after 40 years too..

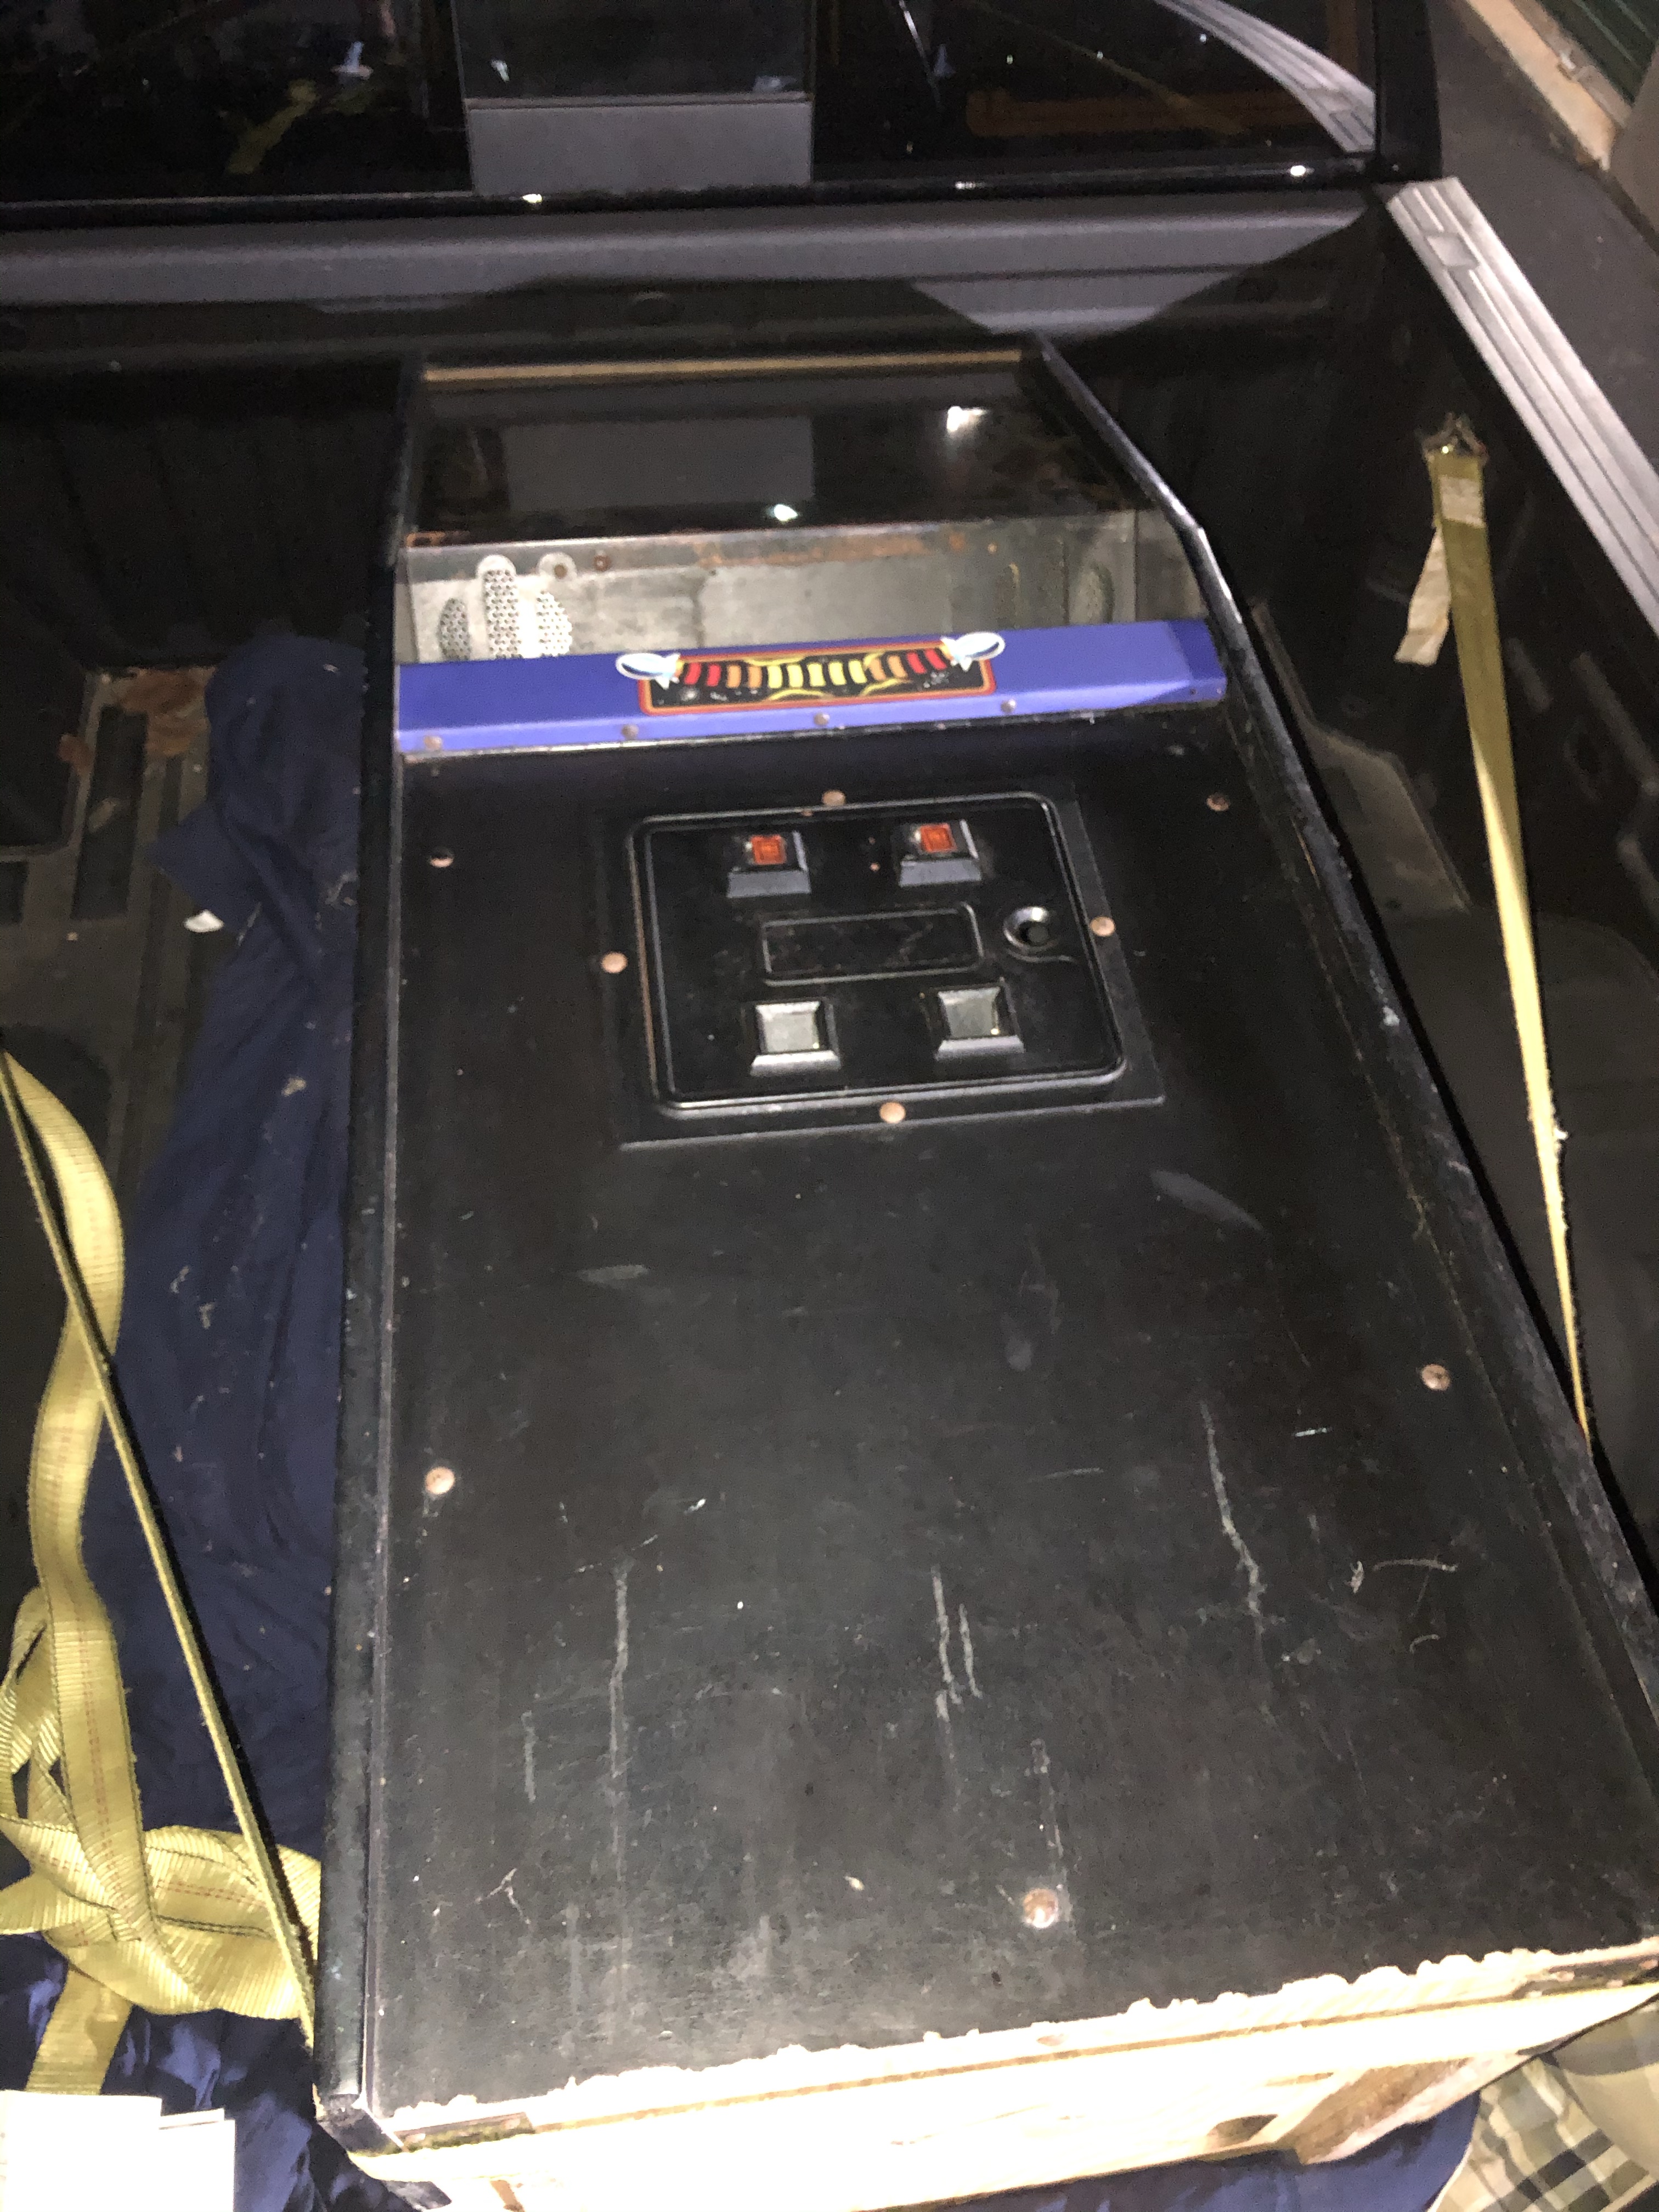
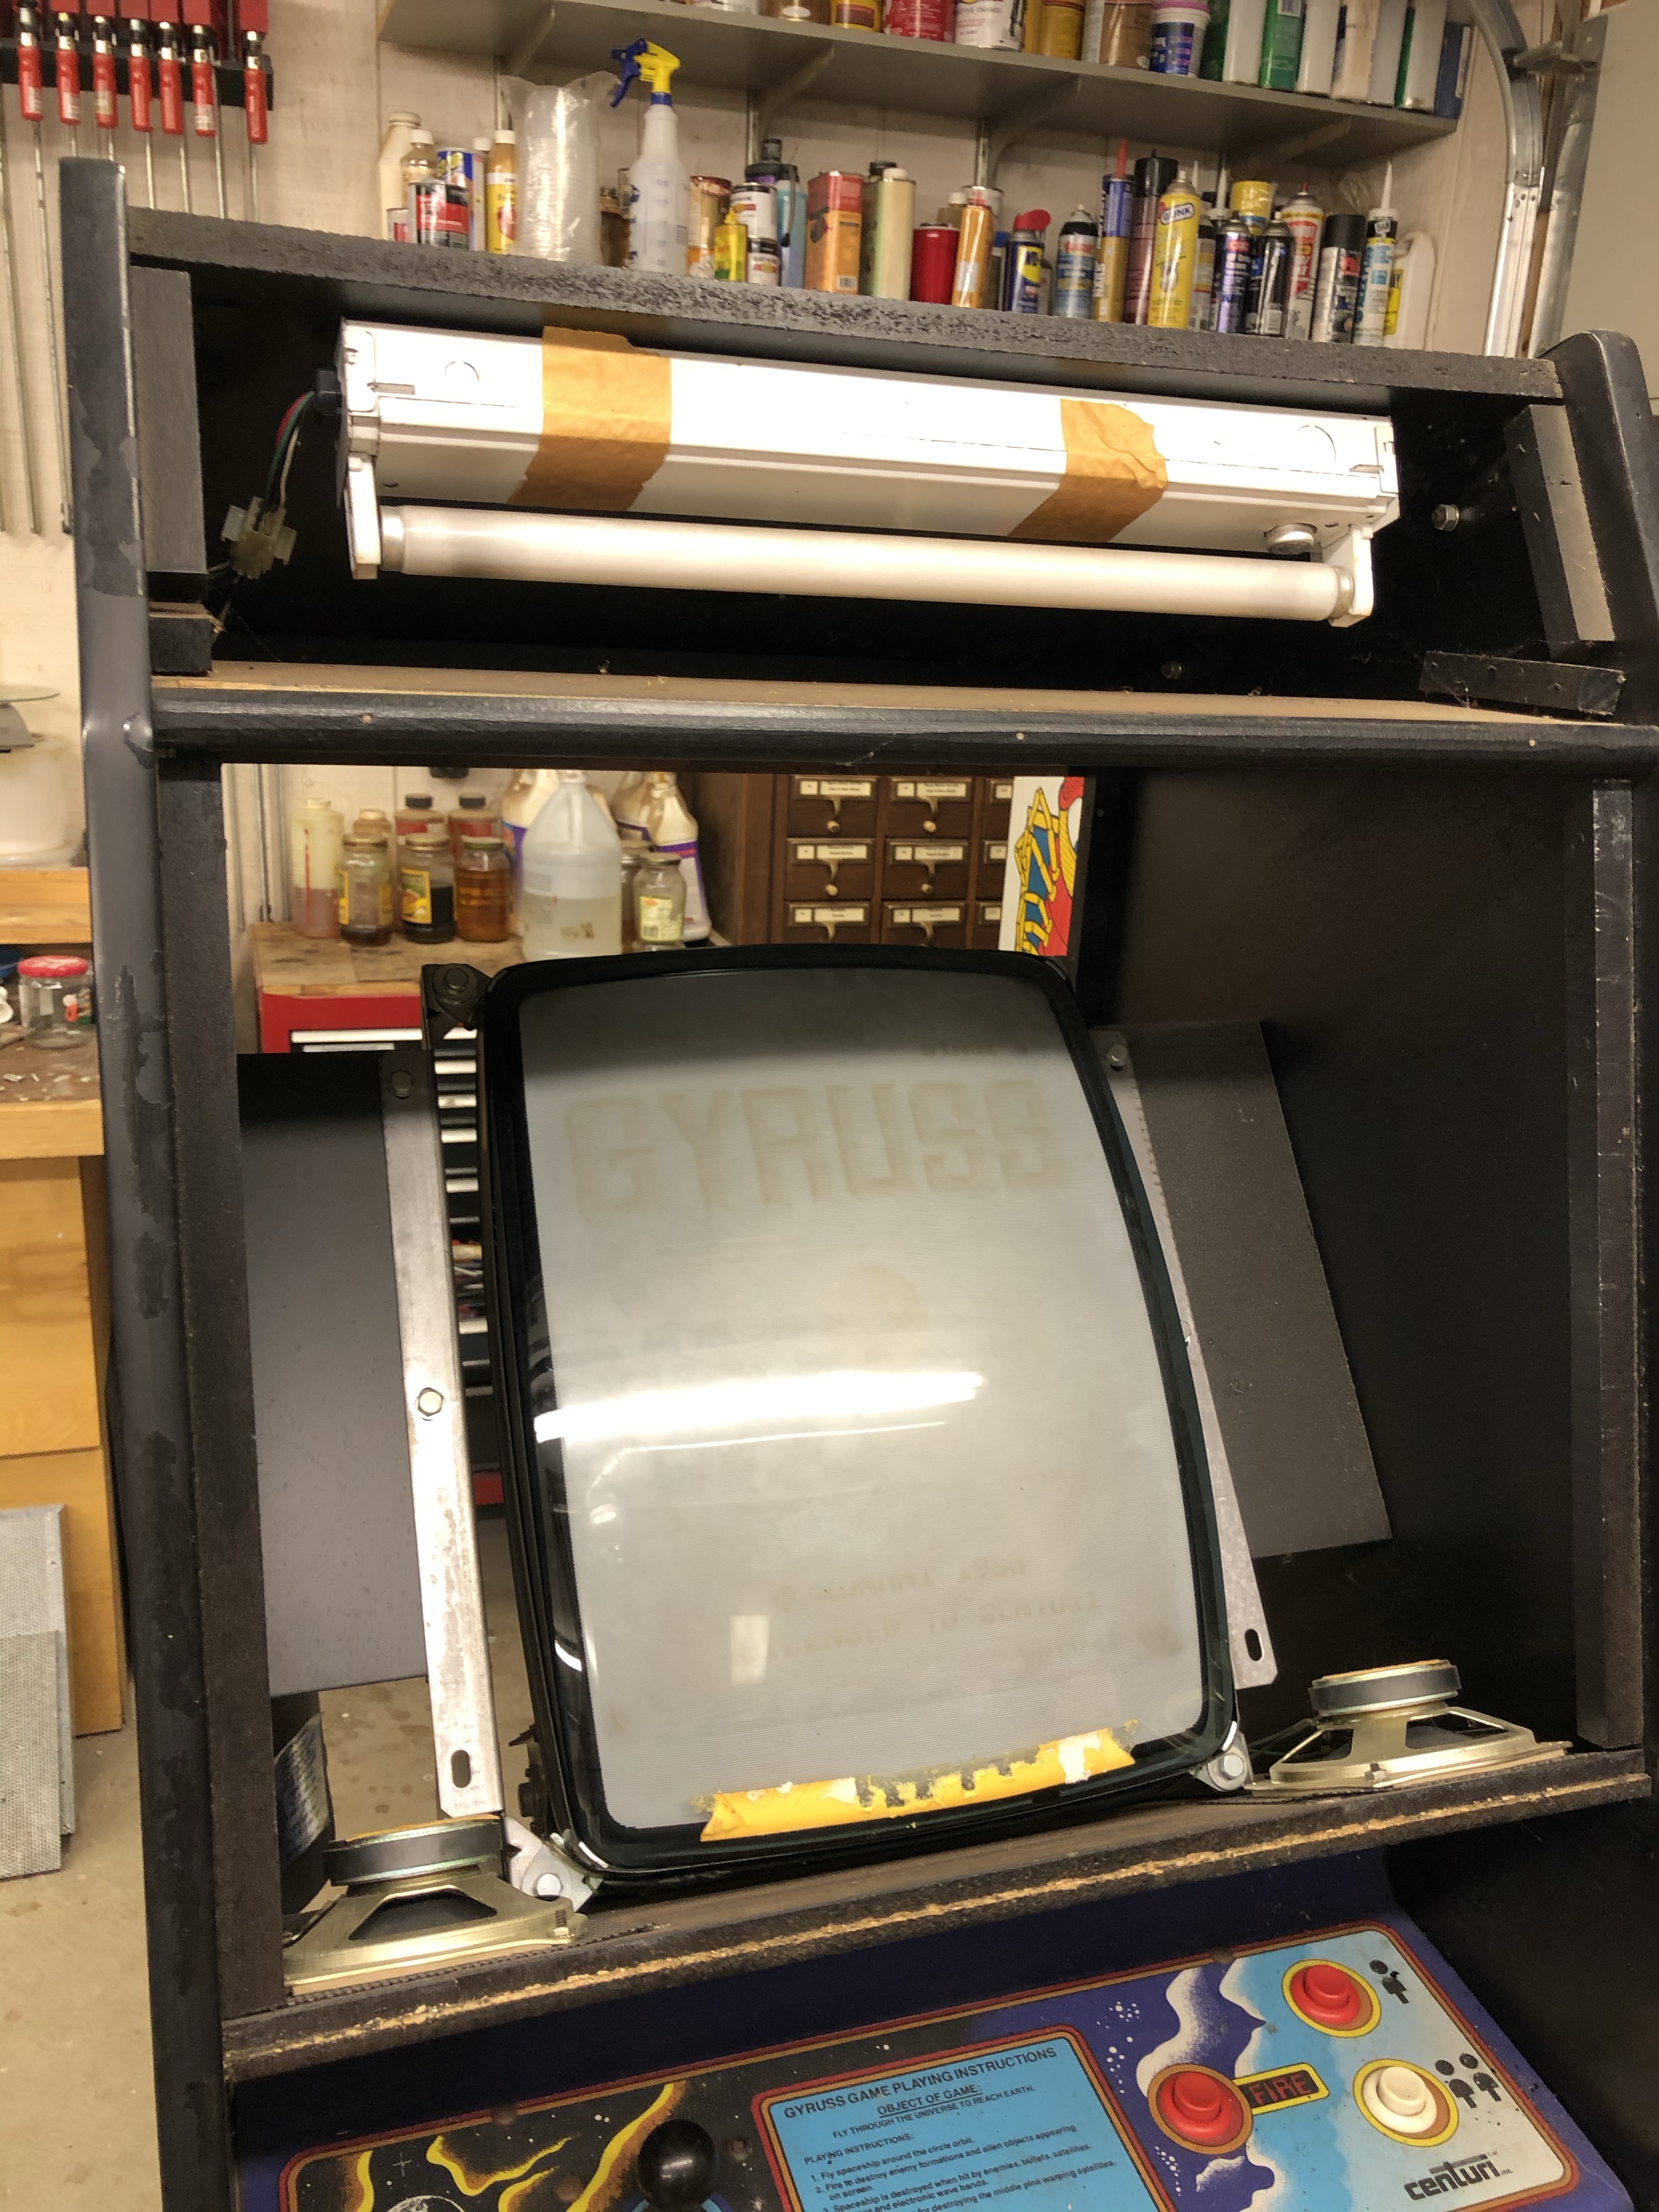
There is almost nothing inside the cabinet. The isolation transformer and a little bit of wiring harness and dirt. Even the PCB cage is complete. How many people actually have the cage covers?
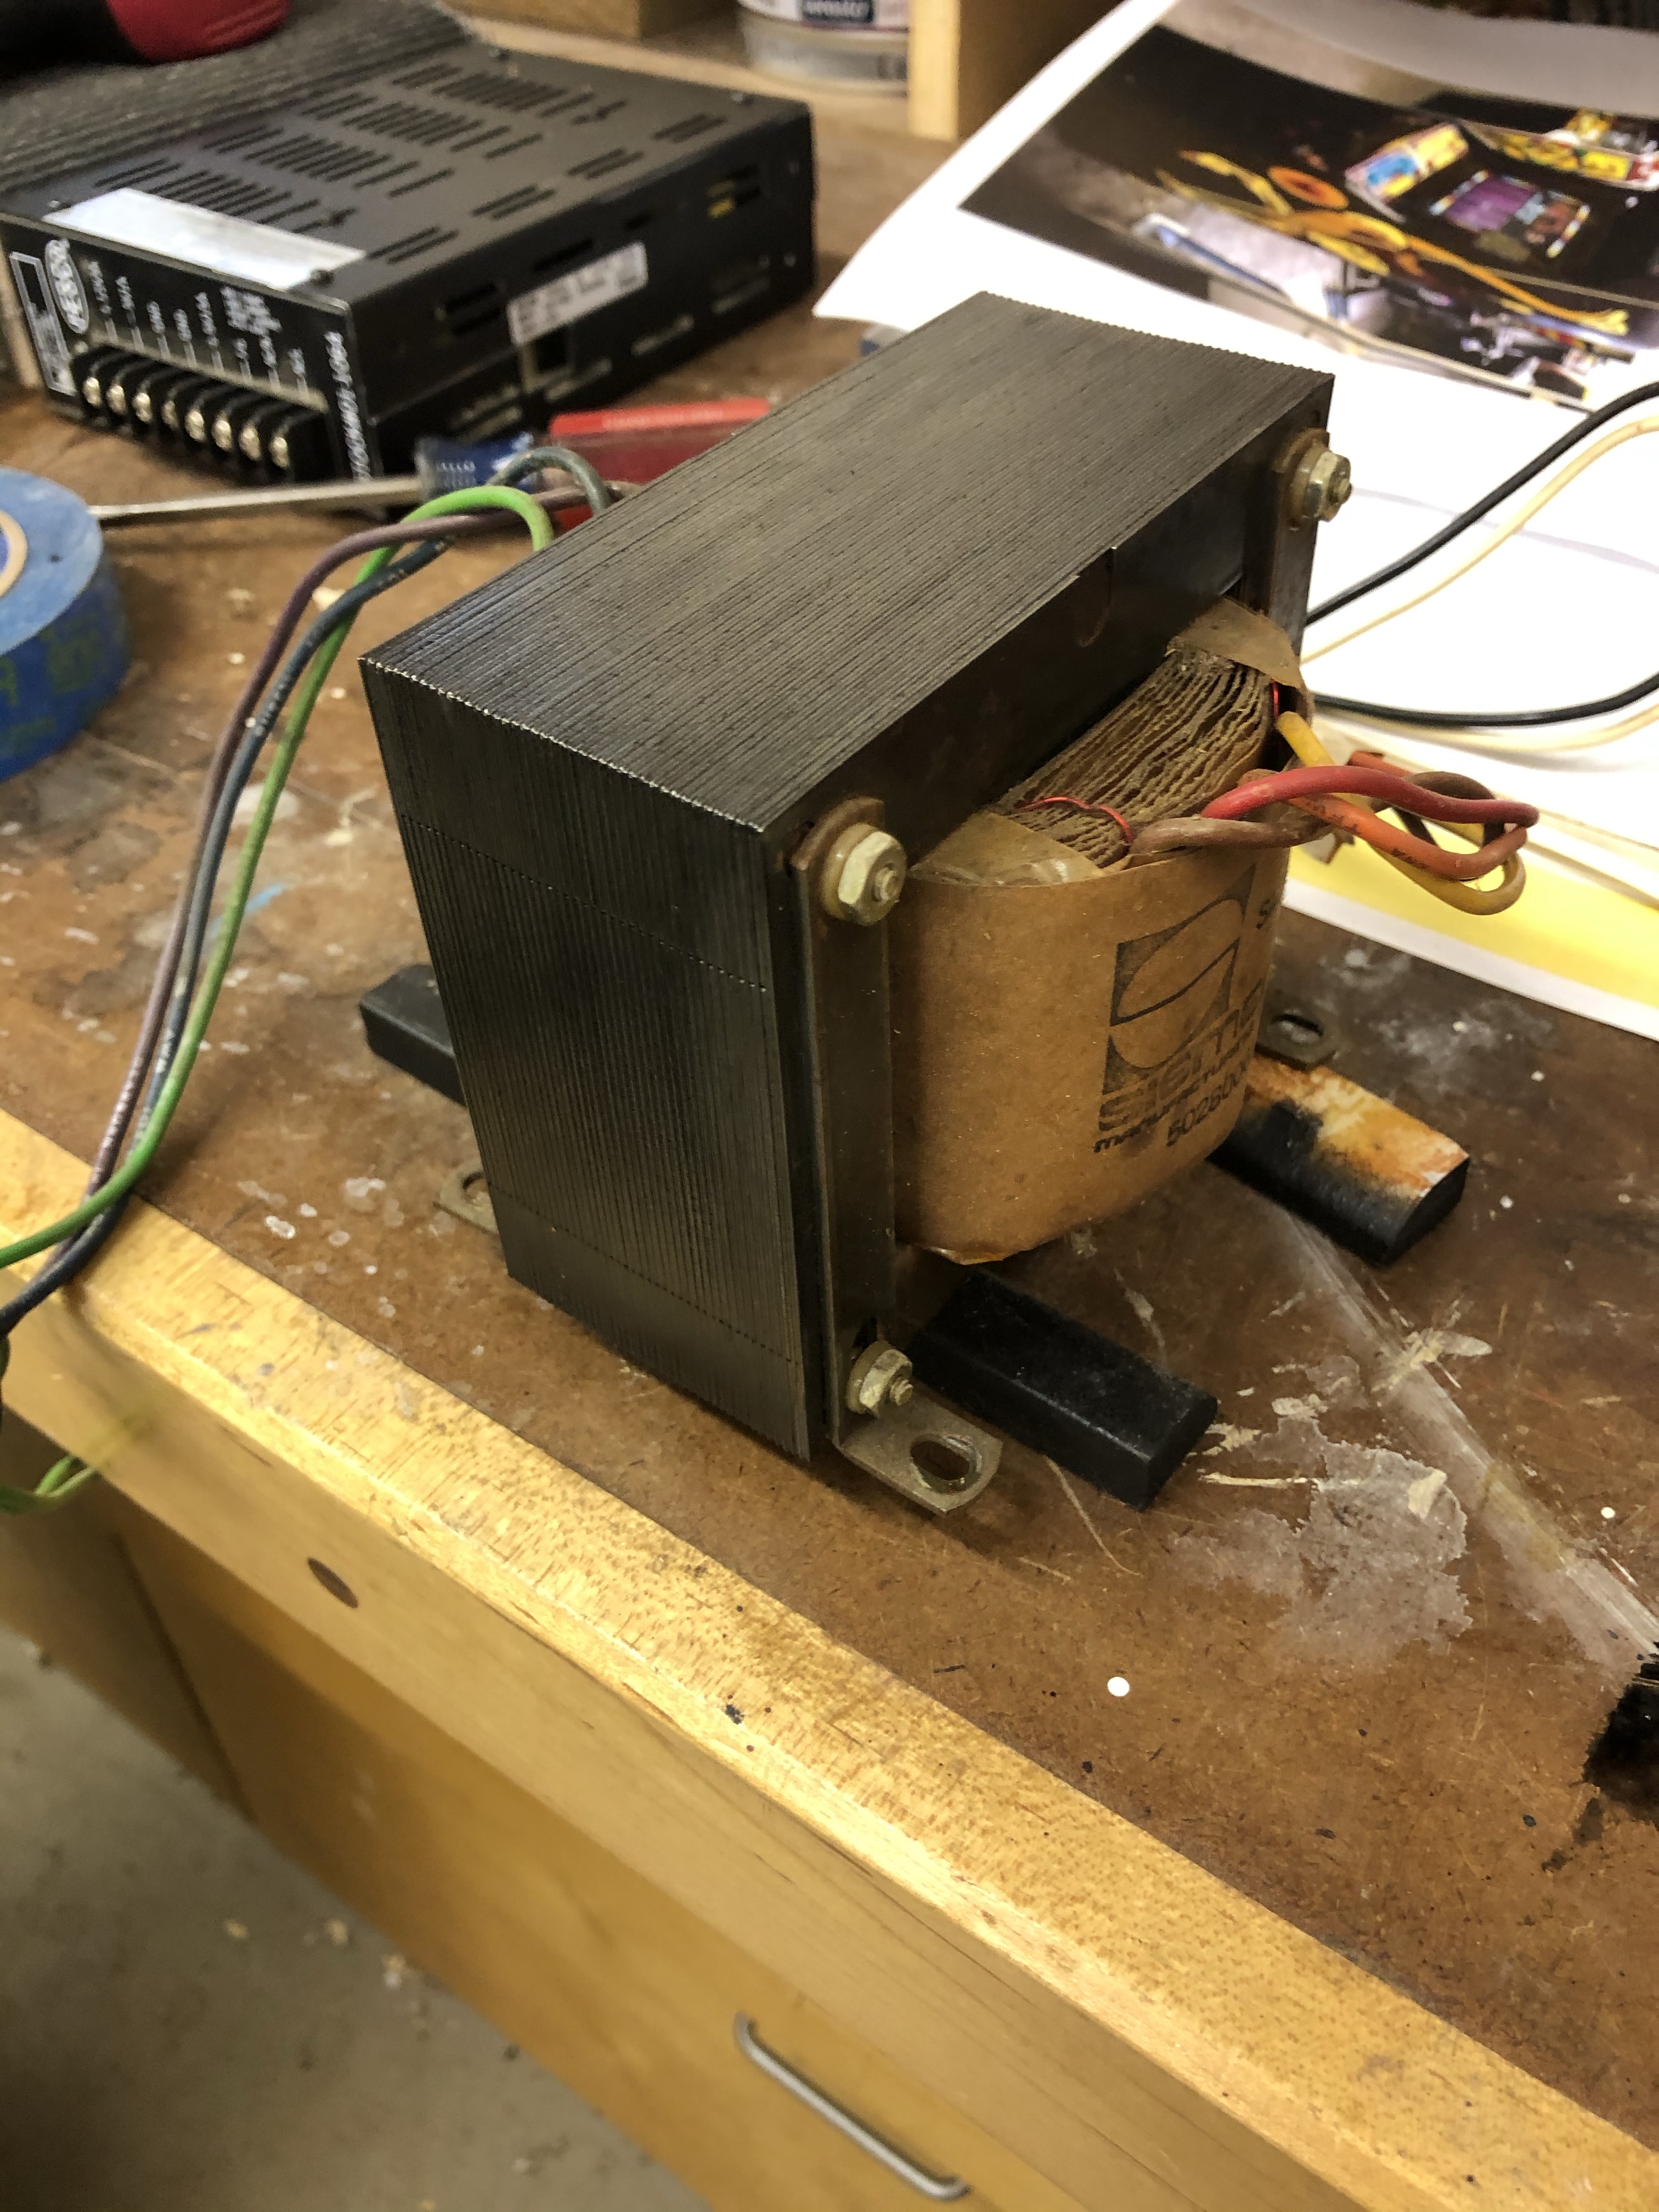
It doesn’t take much to make the transformer look original (or at least better). I wire wheeled the rust off. In the past I’ve painted the steel black (for protection) but it’s too new looking that way. On this one I tried something different – which I will do moving forward. I cut some black Rustoleum about 30-40% with mineral spirits and wiped it on. Pretty nice patina now.

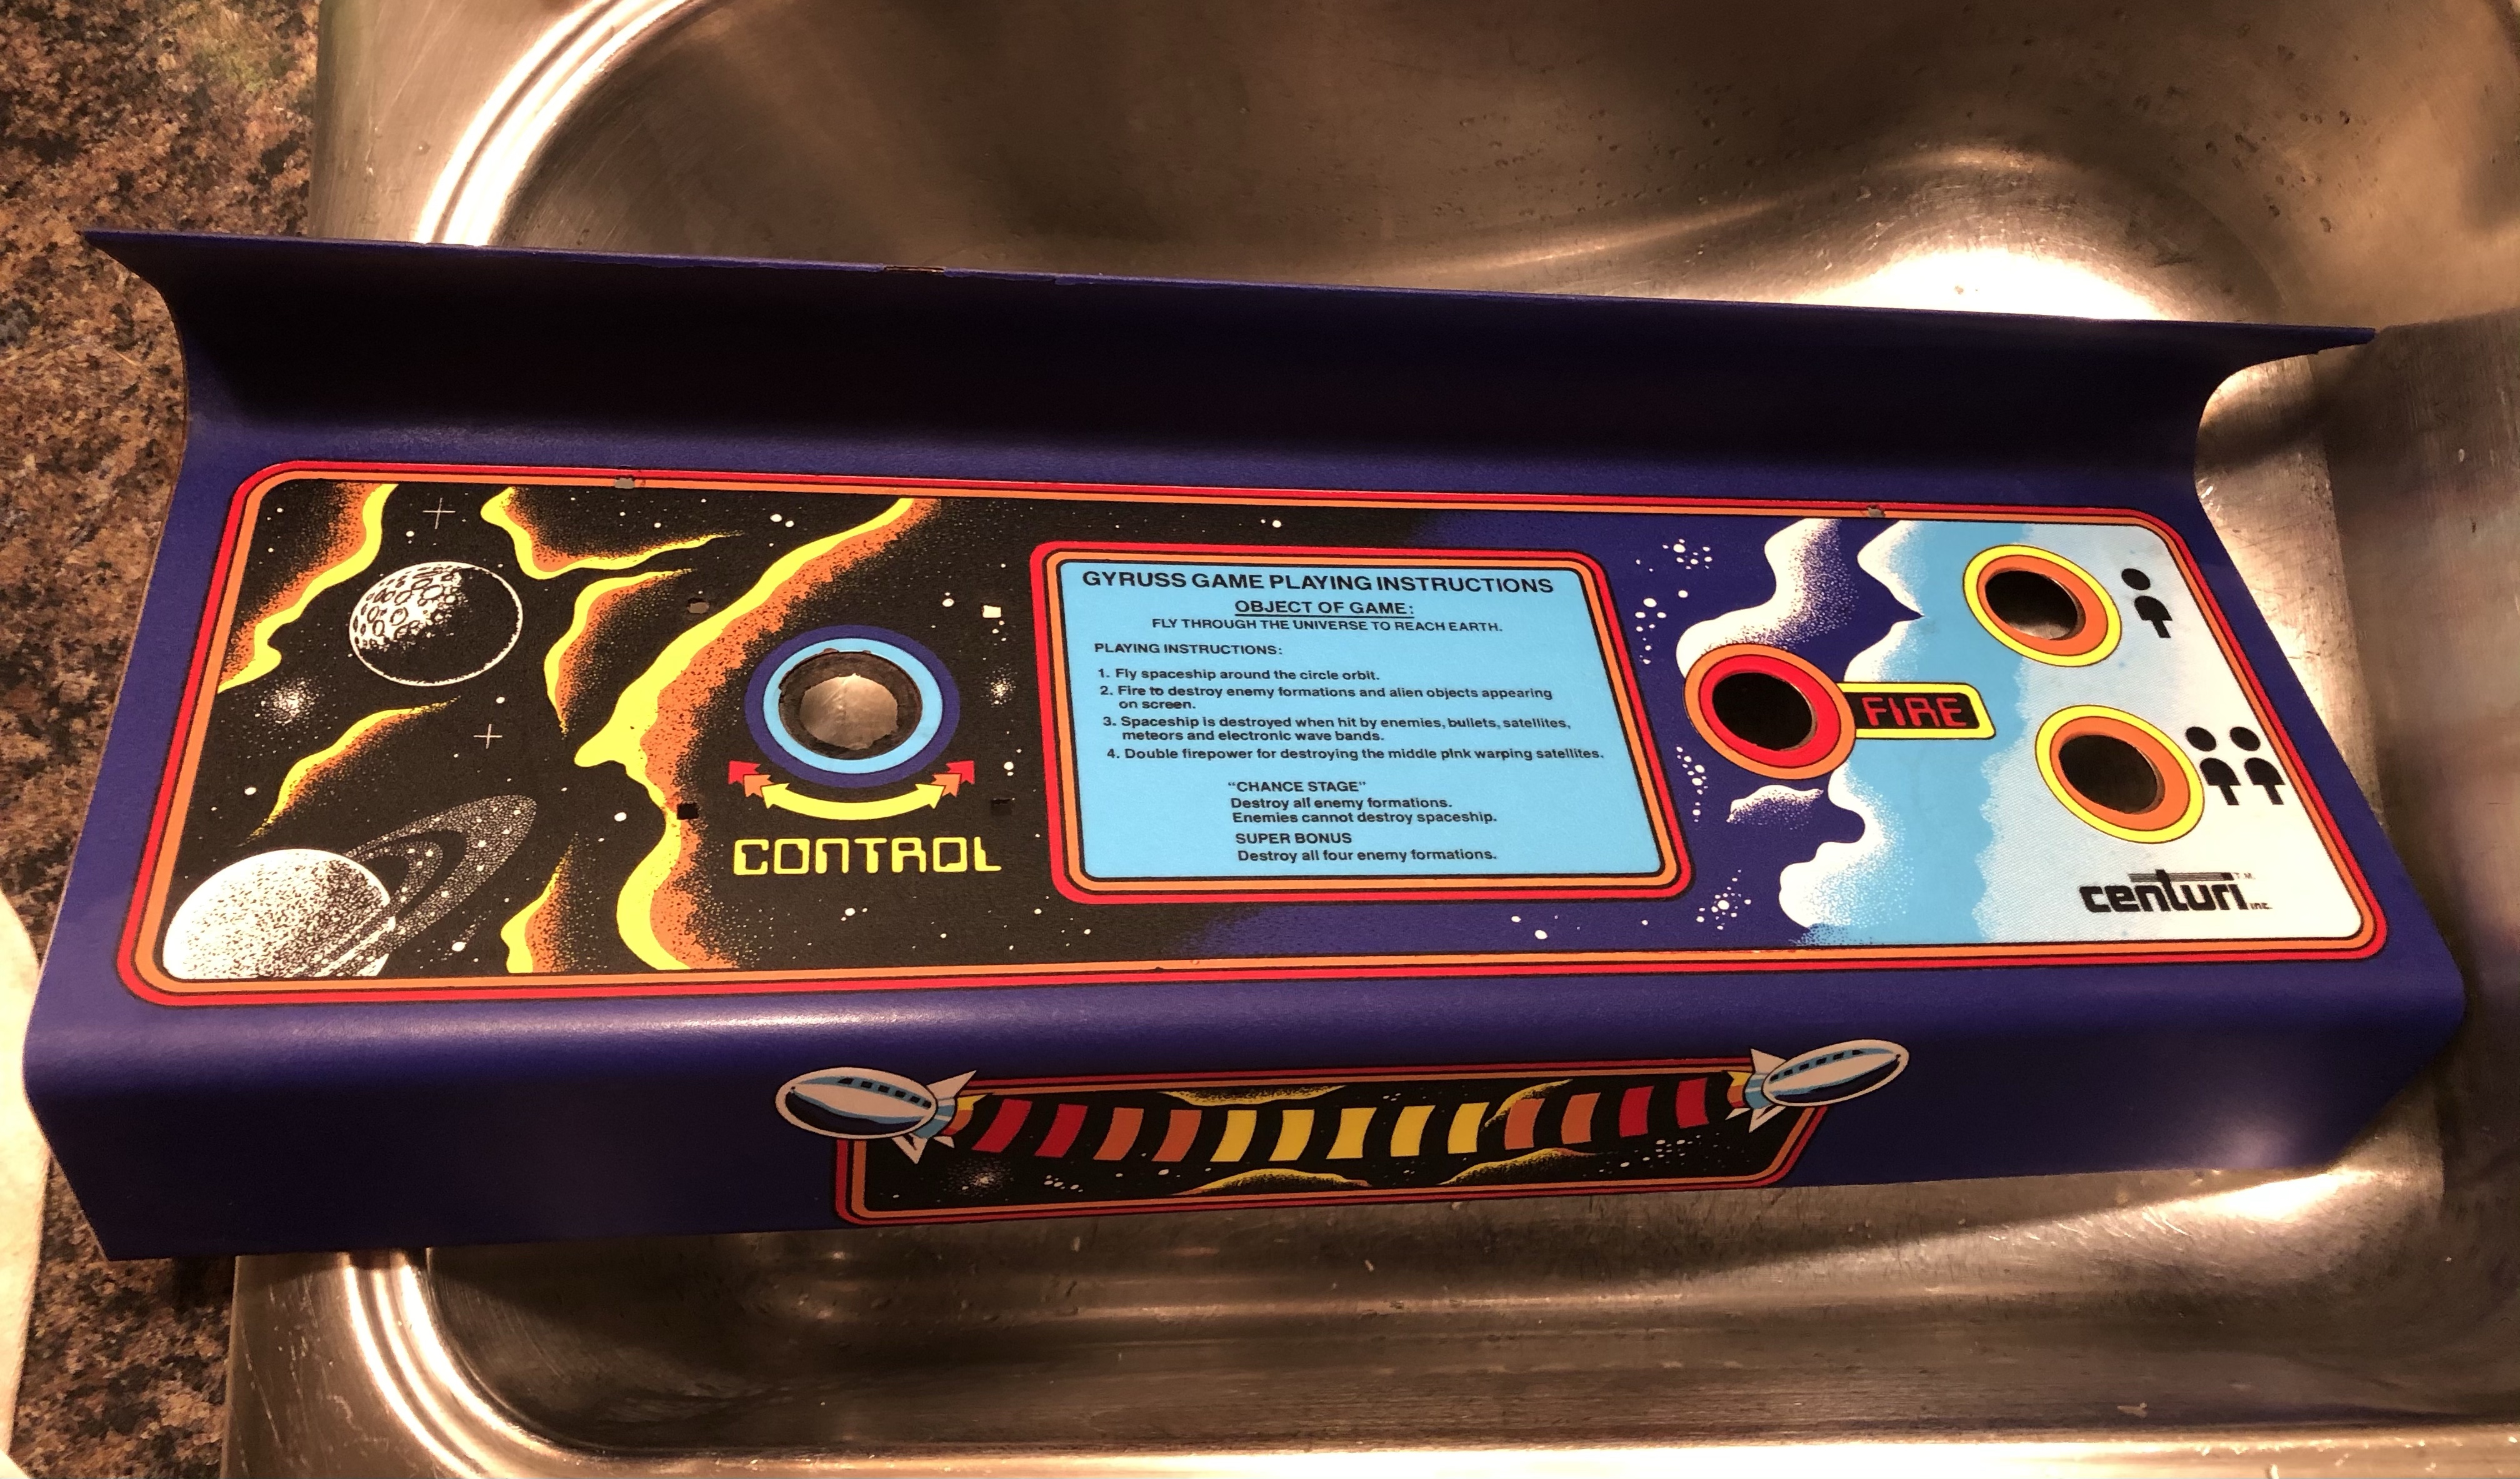
Here the original CP is in pretty good condition. I spent about 45 minutes with a Miracle Eraser and a couple different cleaners carefully removing stains and other marks. (Big difference in shop lighting vs. kitchen huh?)
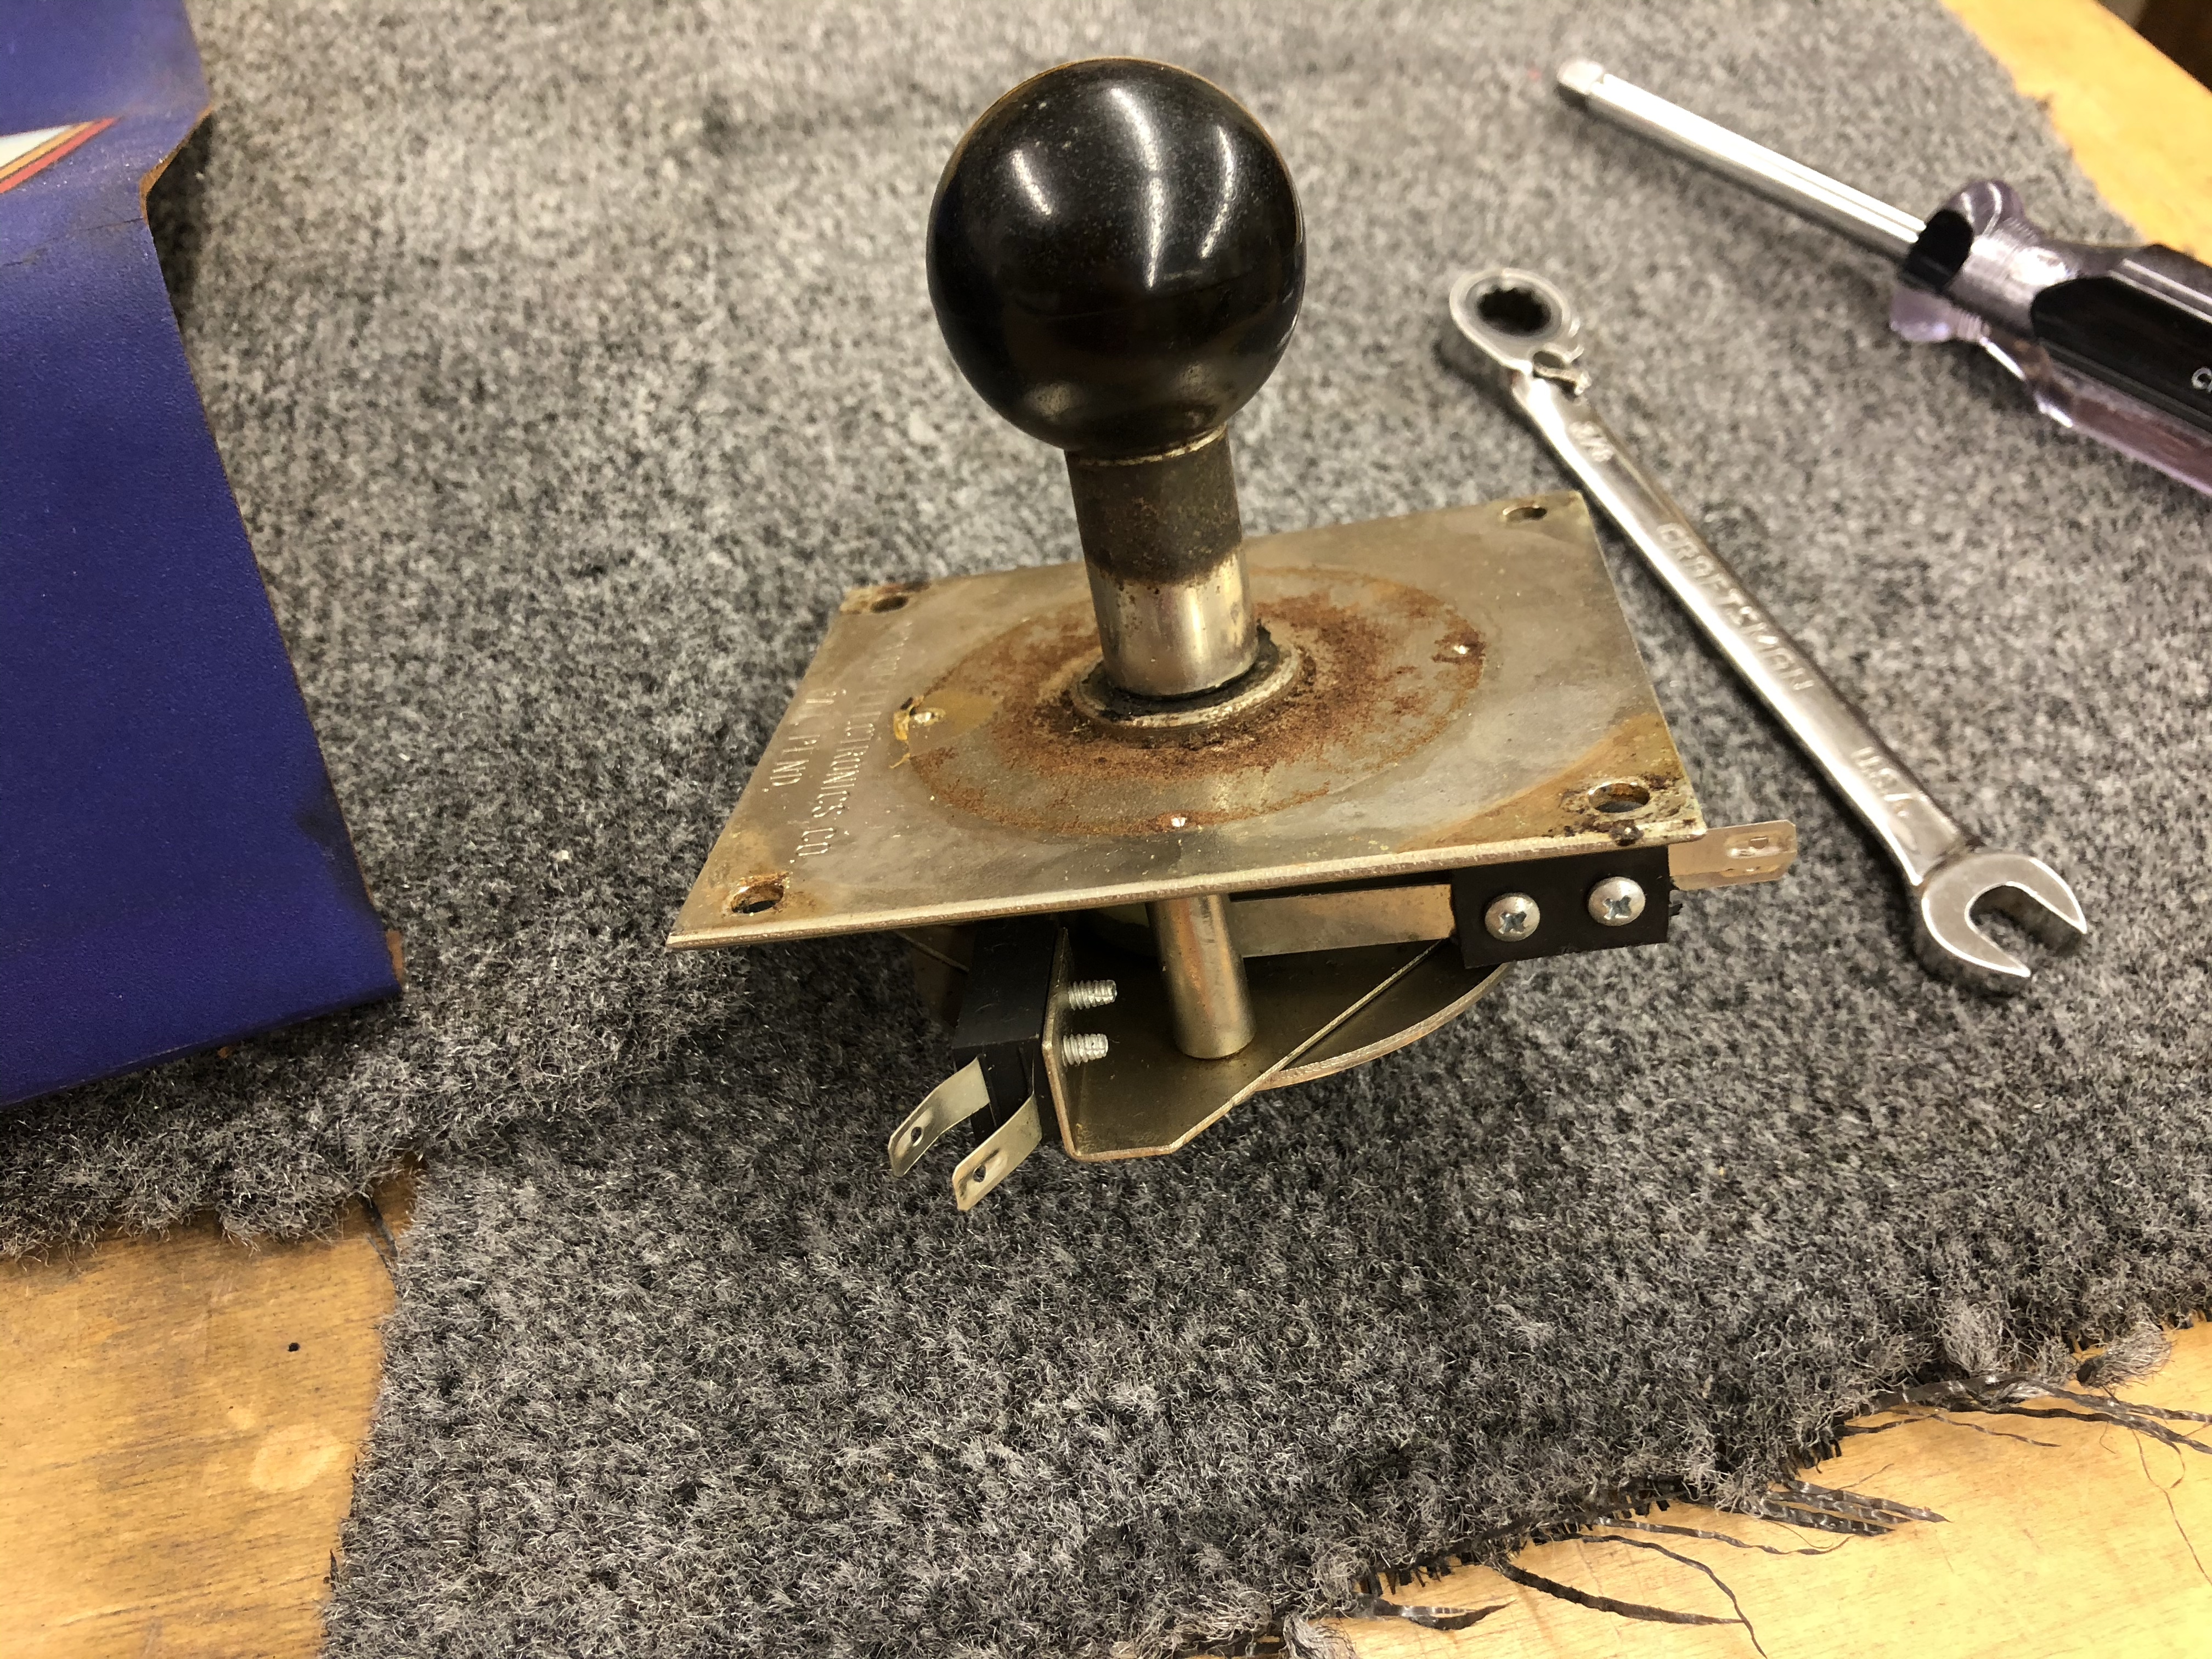
Mr. Monroe here is getting the full treatment. It has a ‘gummy’ feel at best and some surface rust that can get cleaned up.
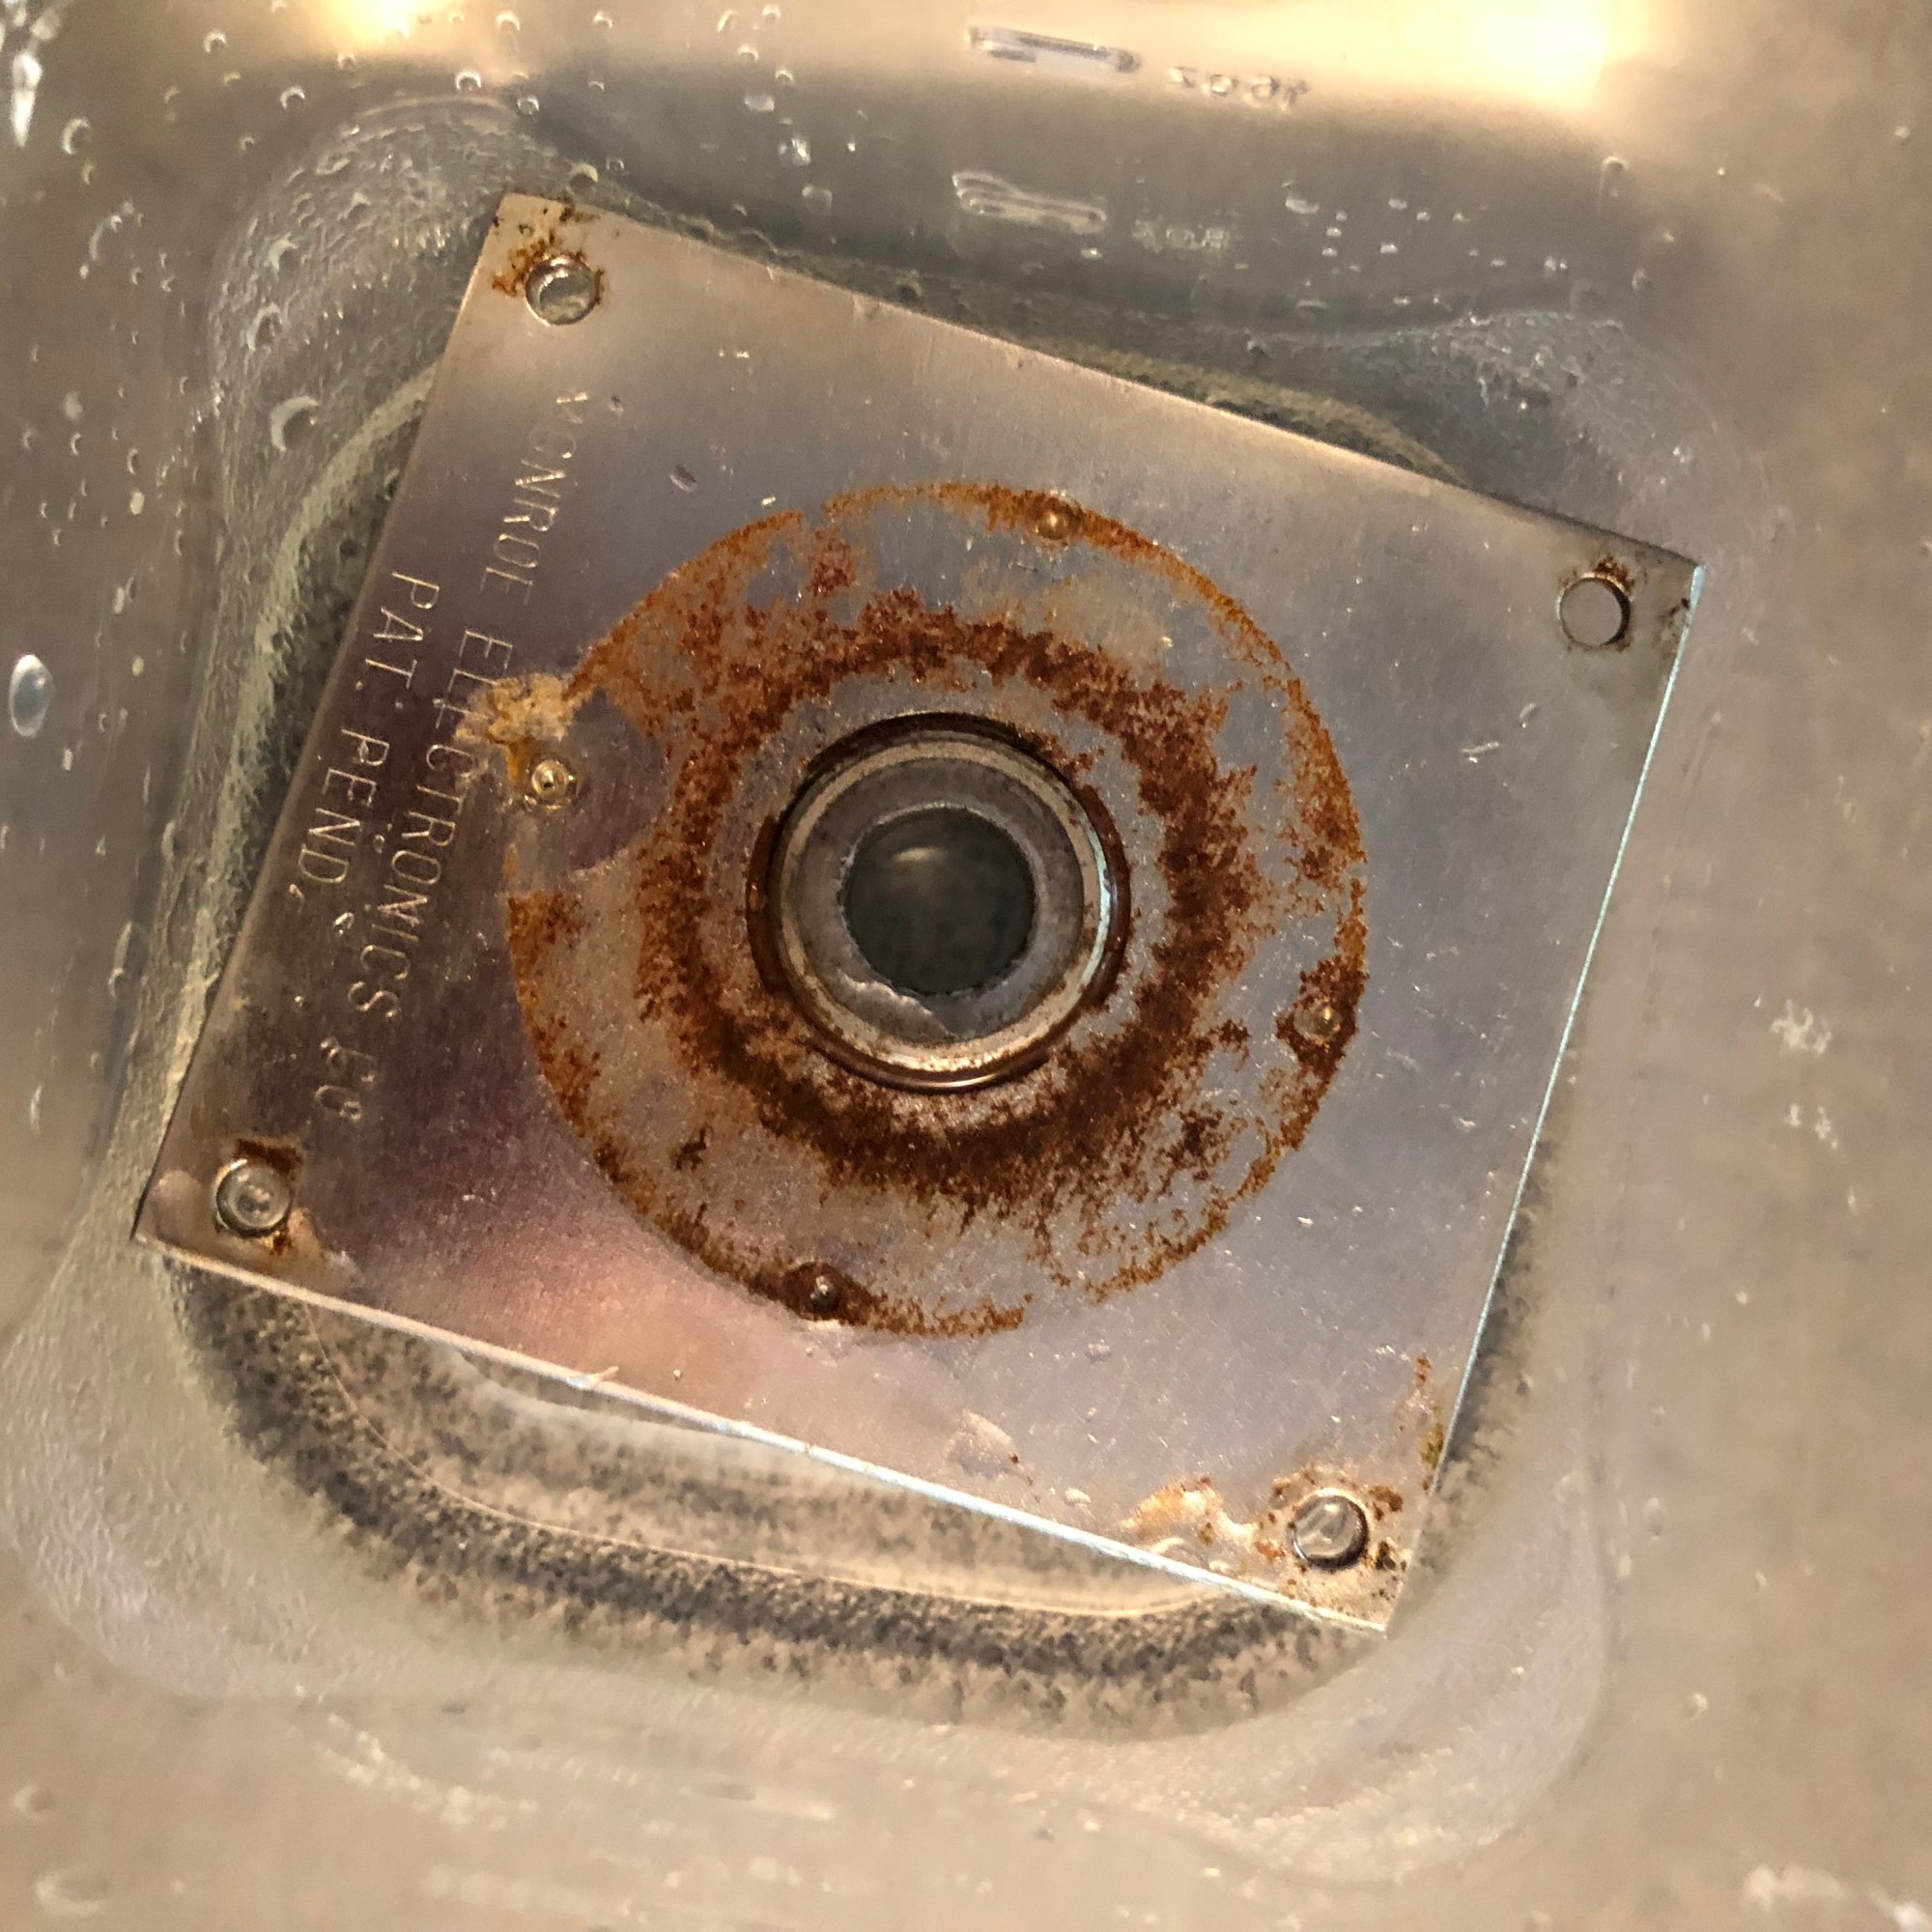
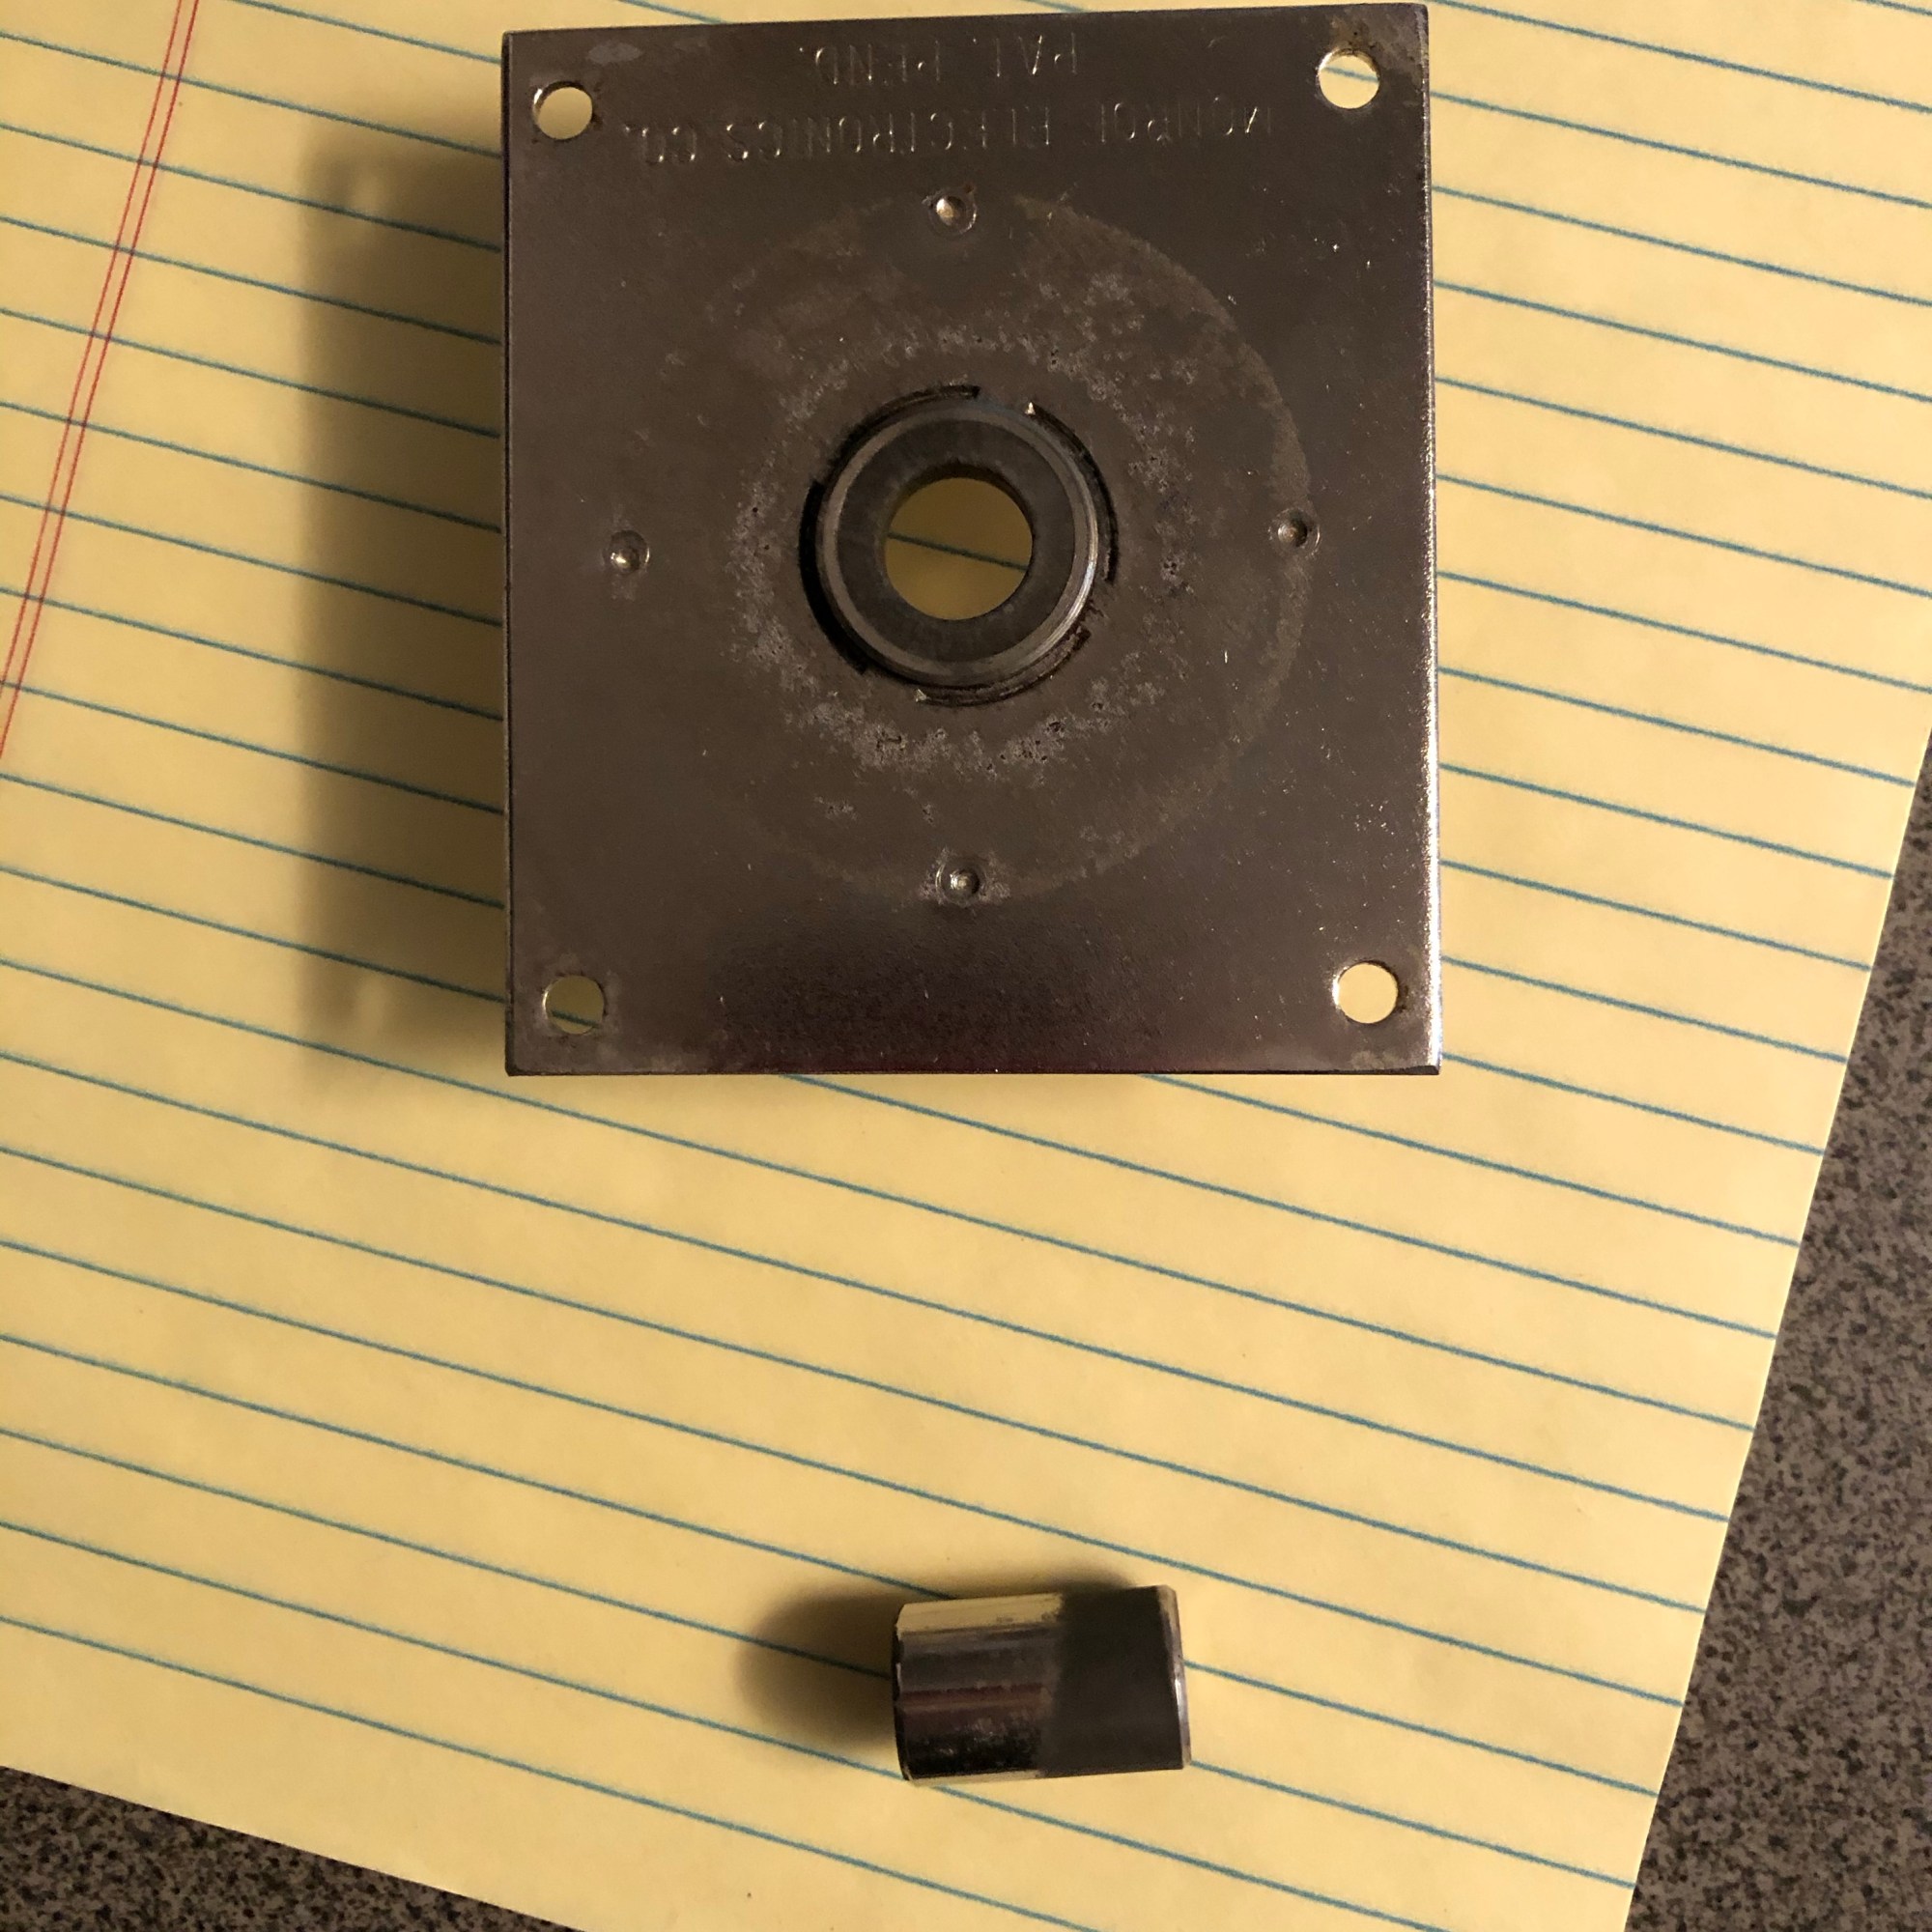
My first time trying Metal Rescue. It really dissolves rust. There is a little surface pitting from the rust itself as would be expected. Overall I’m pretty happy with the outcome. I reassembled the stick using a little drop of plumbers grease that is used for faucets. Its clear and just the right viscosity. Faucets have the same ball / socket joints.
The light fixture is not only original, its never been opened. The bulb didn’t fire up – but I’ve learned from the Joust cabinet – check the resistance on the ballast before putting in new bulbs. A bad ballast will eat a new bulb in under 2 seconds.. This one measured over 25 ohms. Bad ones are down in the single digits or low teens. A brand new ballast is about 30-32 ohms. It needed a new starter and a bulb.
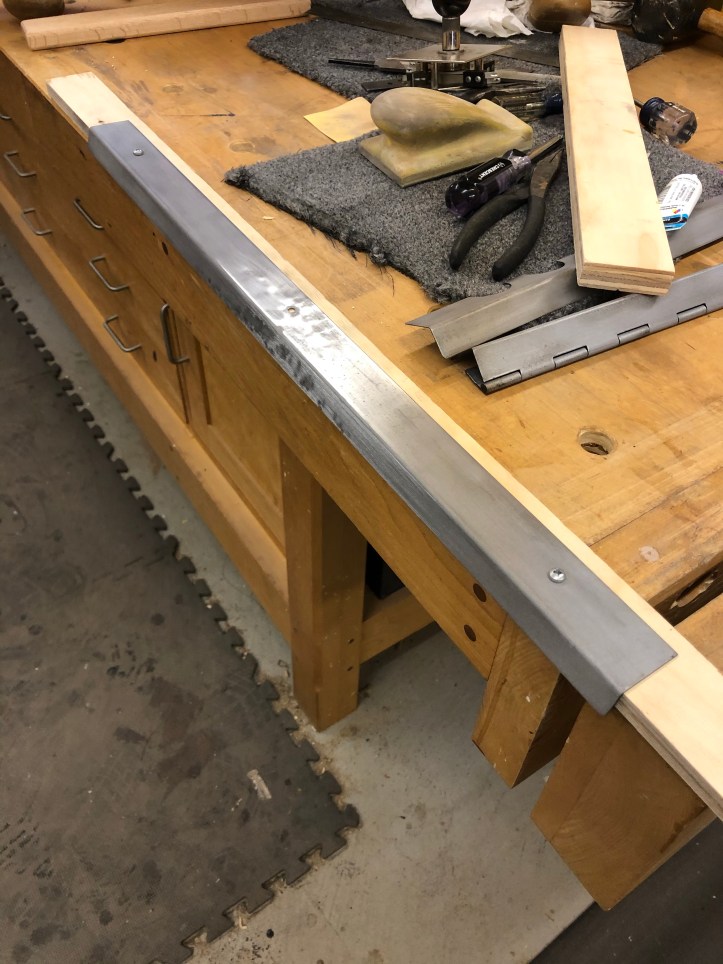
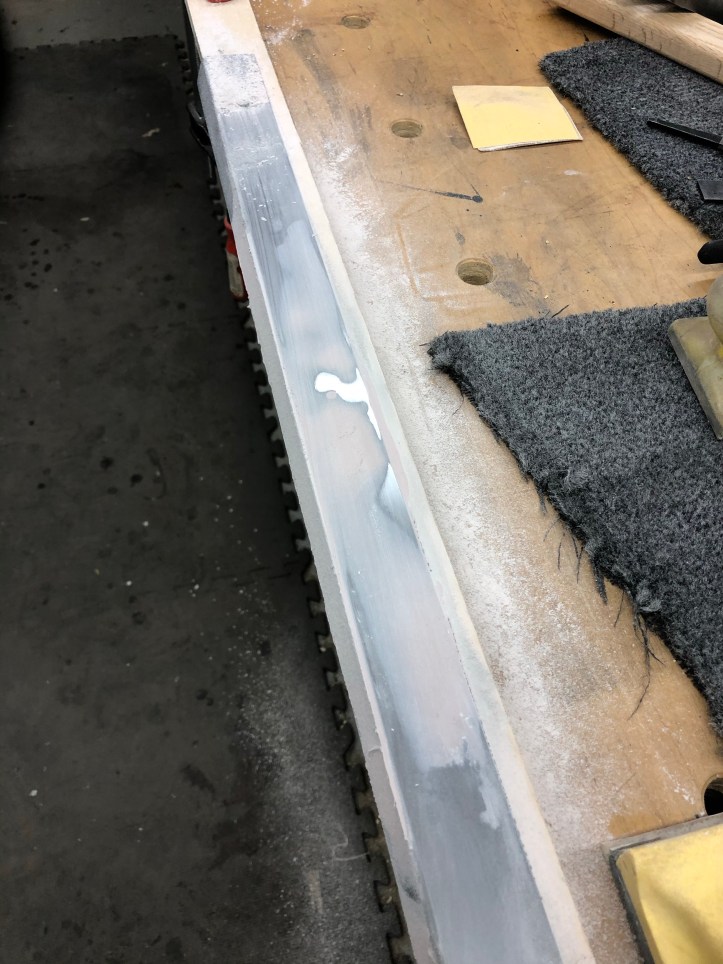
The marquee brackets were rusty, but the upper one had also been folded. Someone had clearly missed the middle screw when trying to take it apart. Using some auto shop bodywork skills from forever ago.. I hammered out the fold and got the part as flat as you can. I screwed it to a plywood scrap and sanded down the high spots on the metal.
I’ve never been a fan of bondo for wooden cabinet repair (I prefer epoxy) But I do like it for metal work such as this… I went over it twice to get the finish layer smooth sanding with 220g on the final passes.
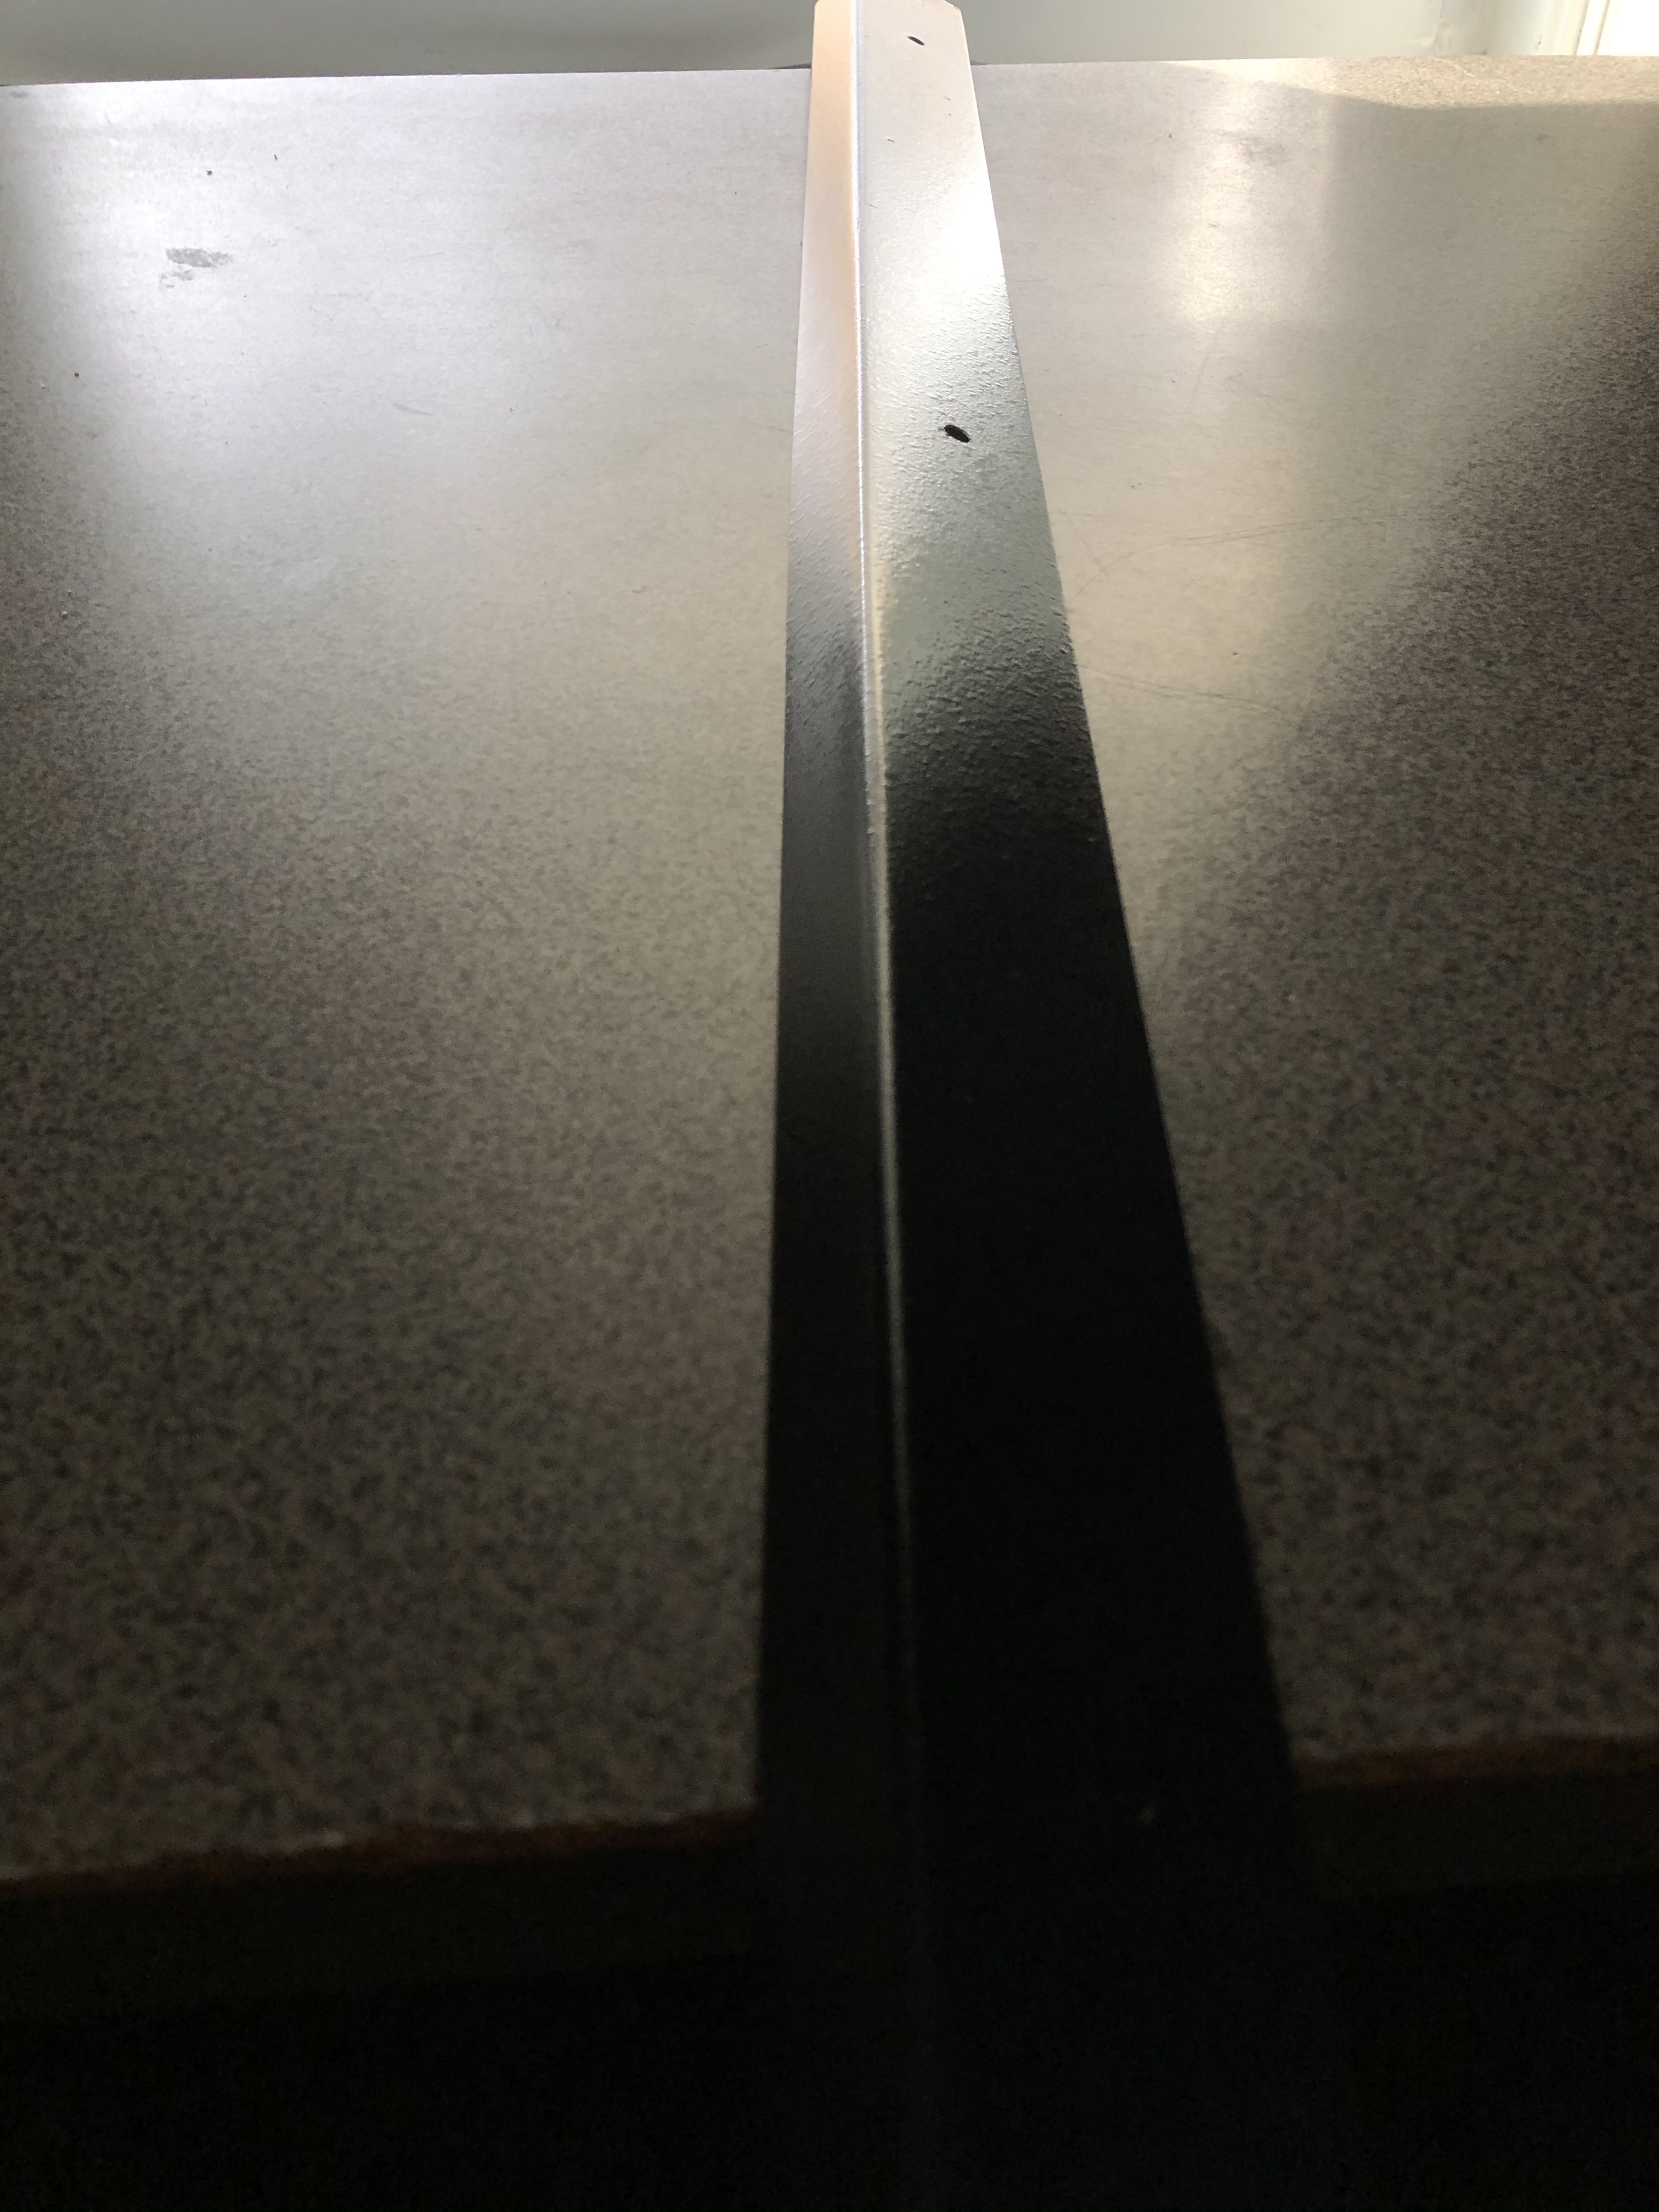
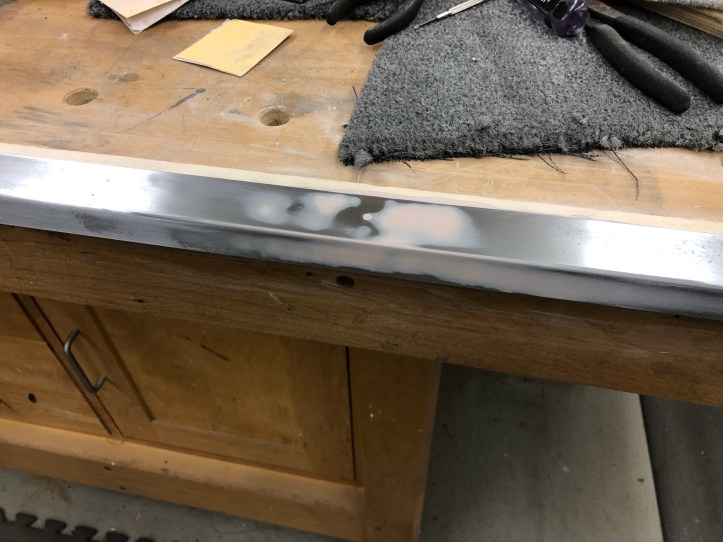
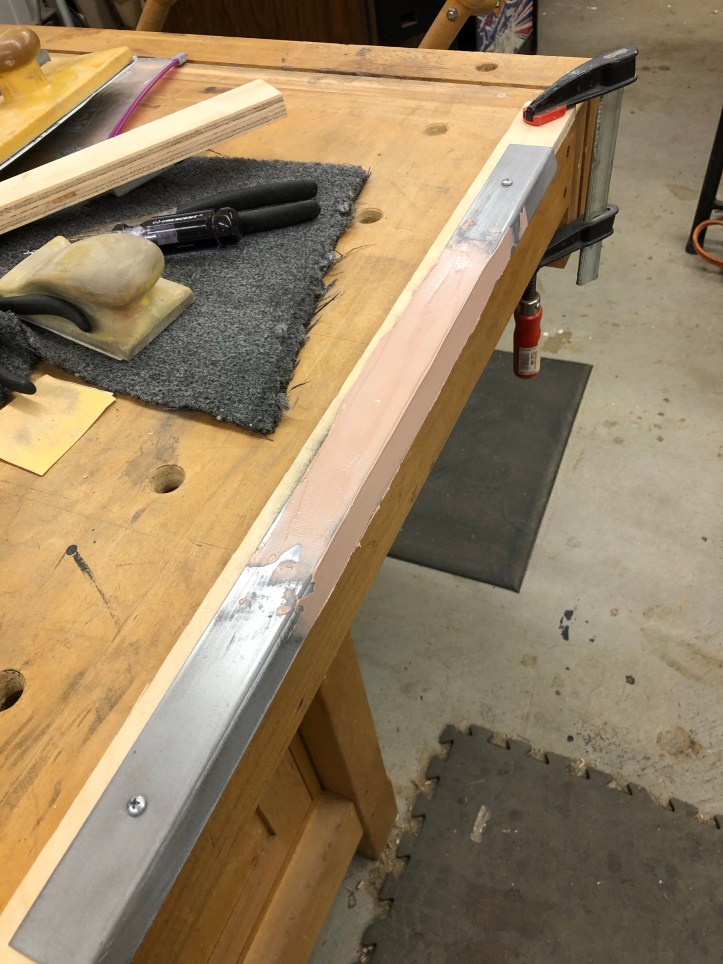
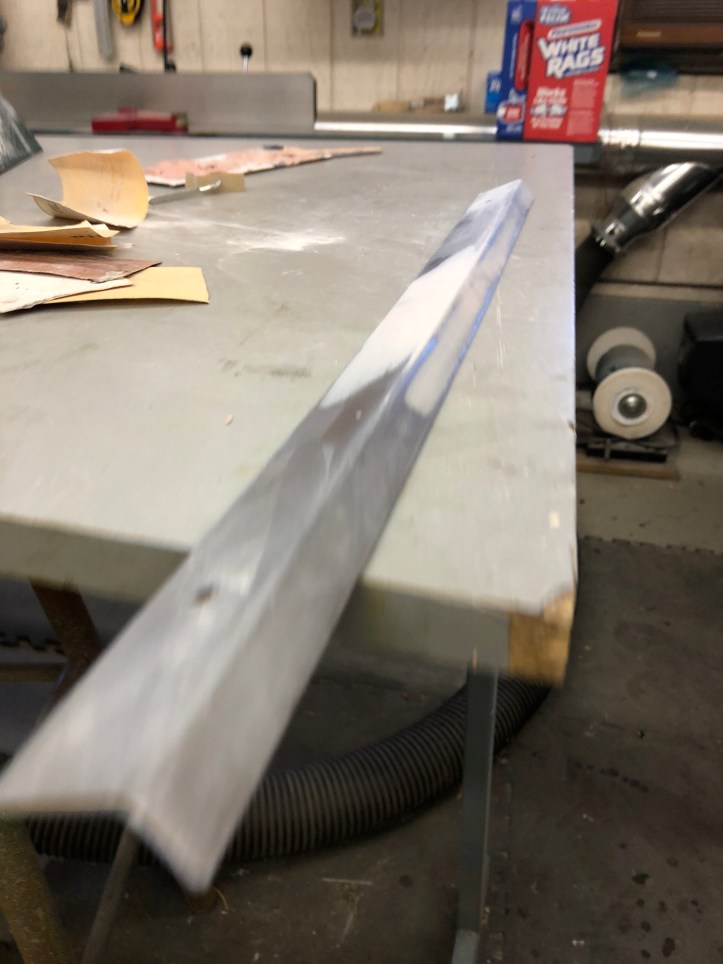
Rustoelum black satin paint and then a spatter coat for texture. I really like that technique and the brackets look original w/o looking restored. Both marquee retainers got the finish treatment. The CP hinge was rusted. It got sand blasted and a smooth coat. Which is how it was. Looks like its never been touched.

The trim part on the front is shaped into the shelf. It retains the bottom of the marquee and the top of the bezel. Not the best of designs as it will split with the grain and become loose. Which it did. I removed and re-glued it into position.
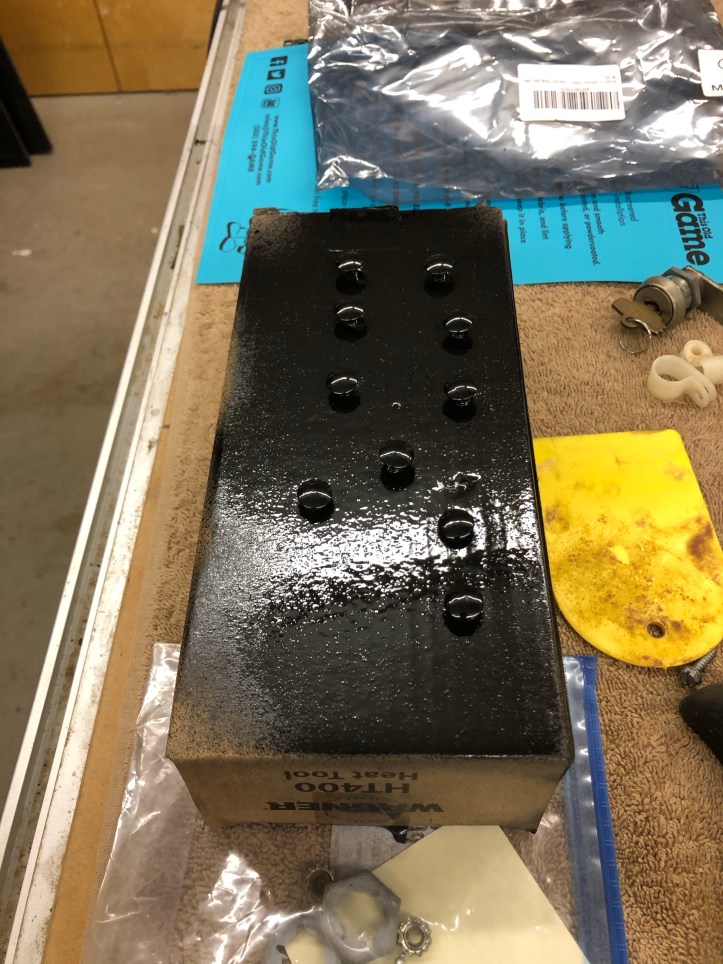
Pretty much every single carriage bolt on this cabinet has a rusted head. 10 minutes in rust remover and a quick spin on the lathe with 180g paper cleans them up for a fresh coat. If I decide to get into powder coating someday – I could pump out a lot of bolts pretty easily.
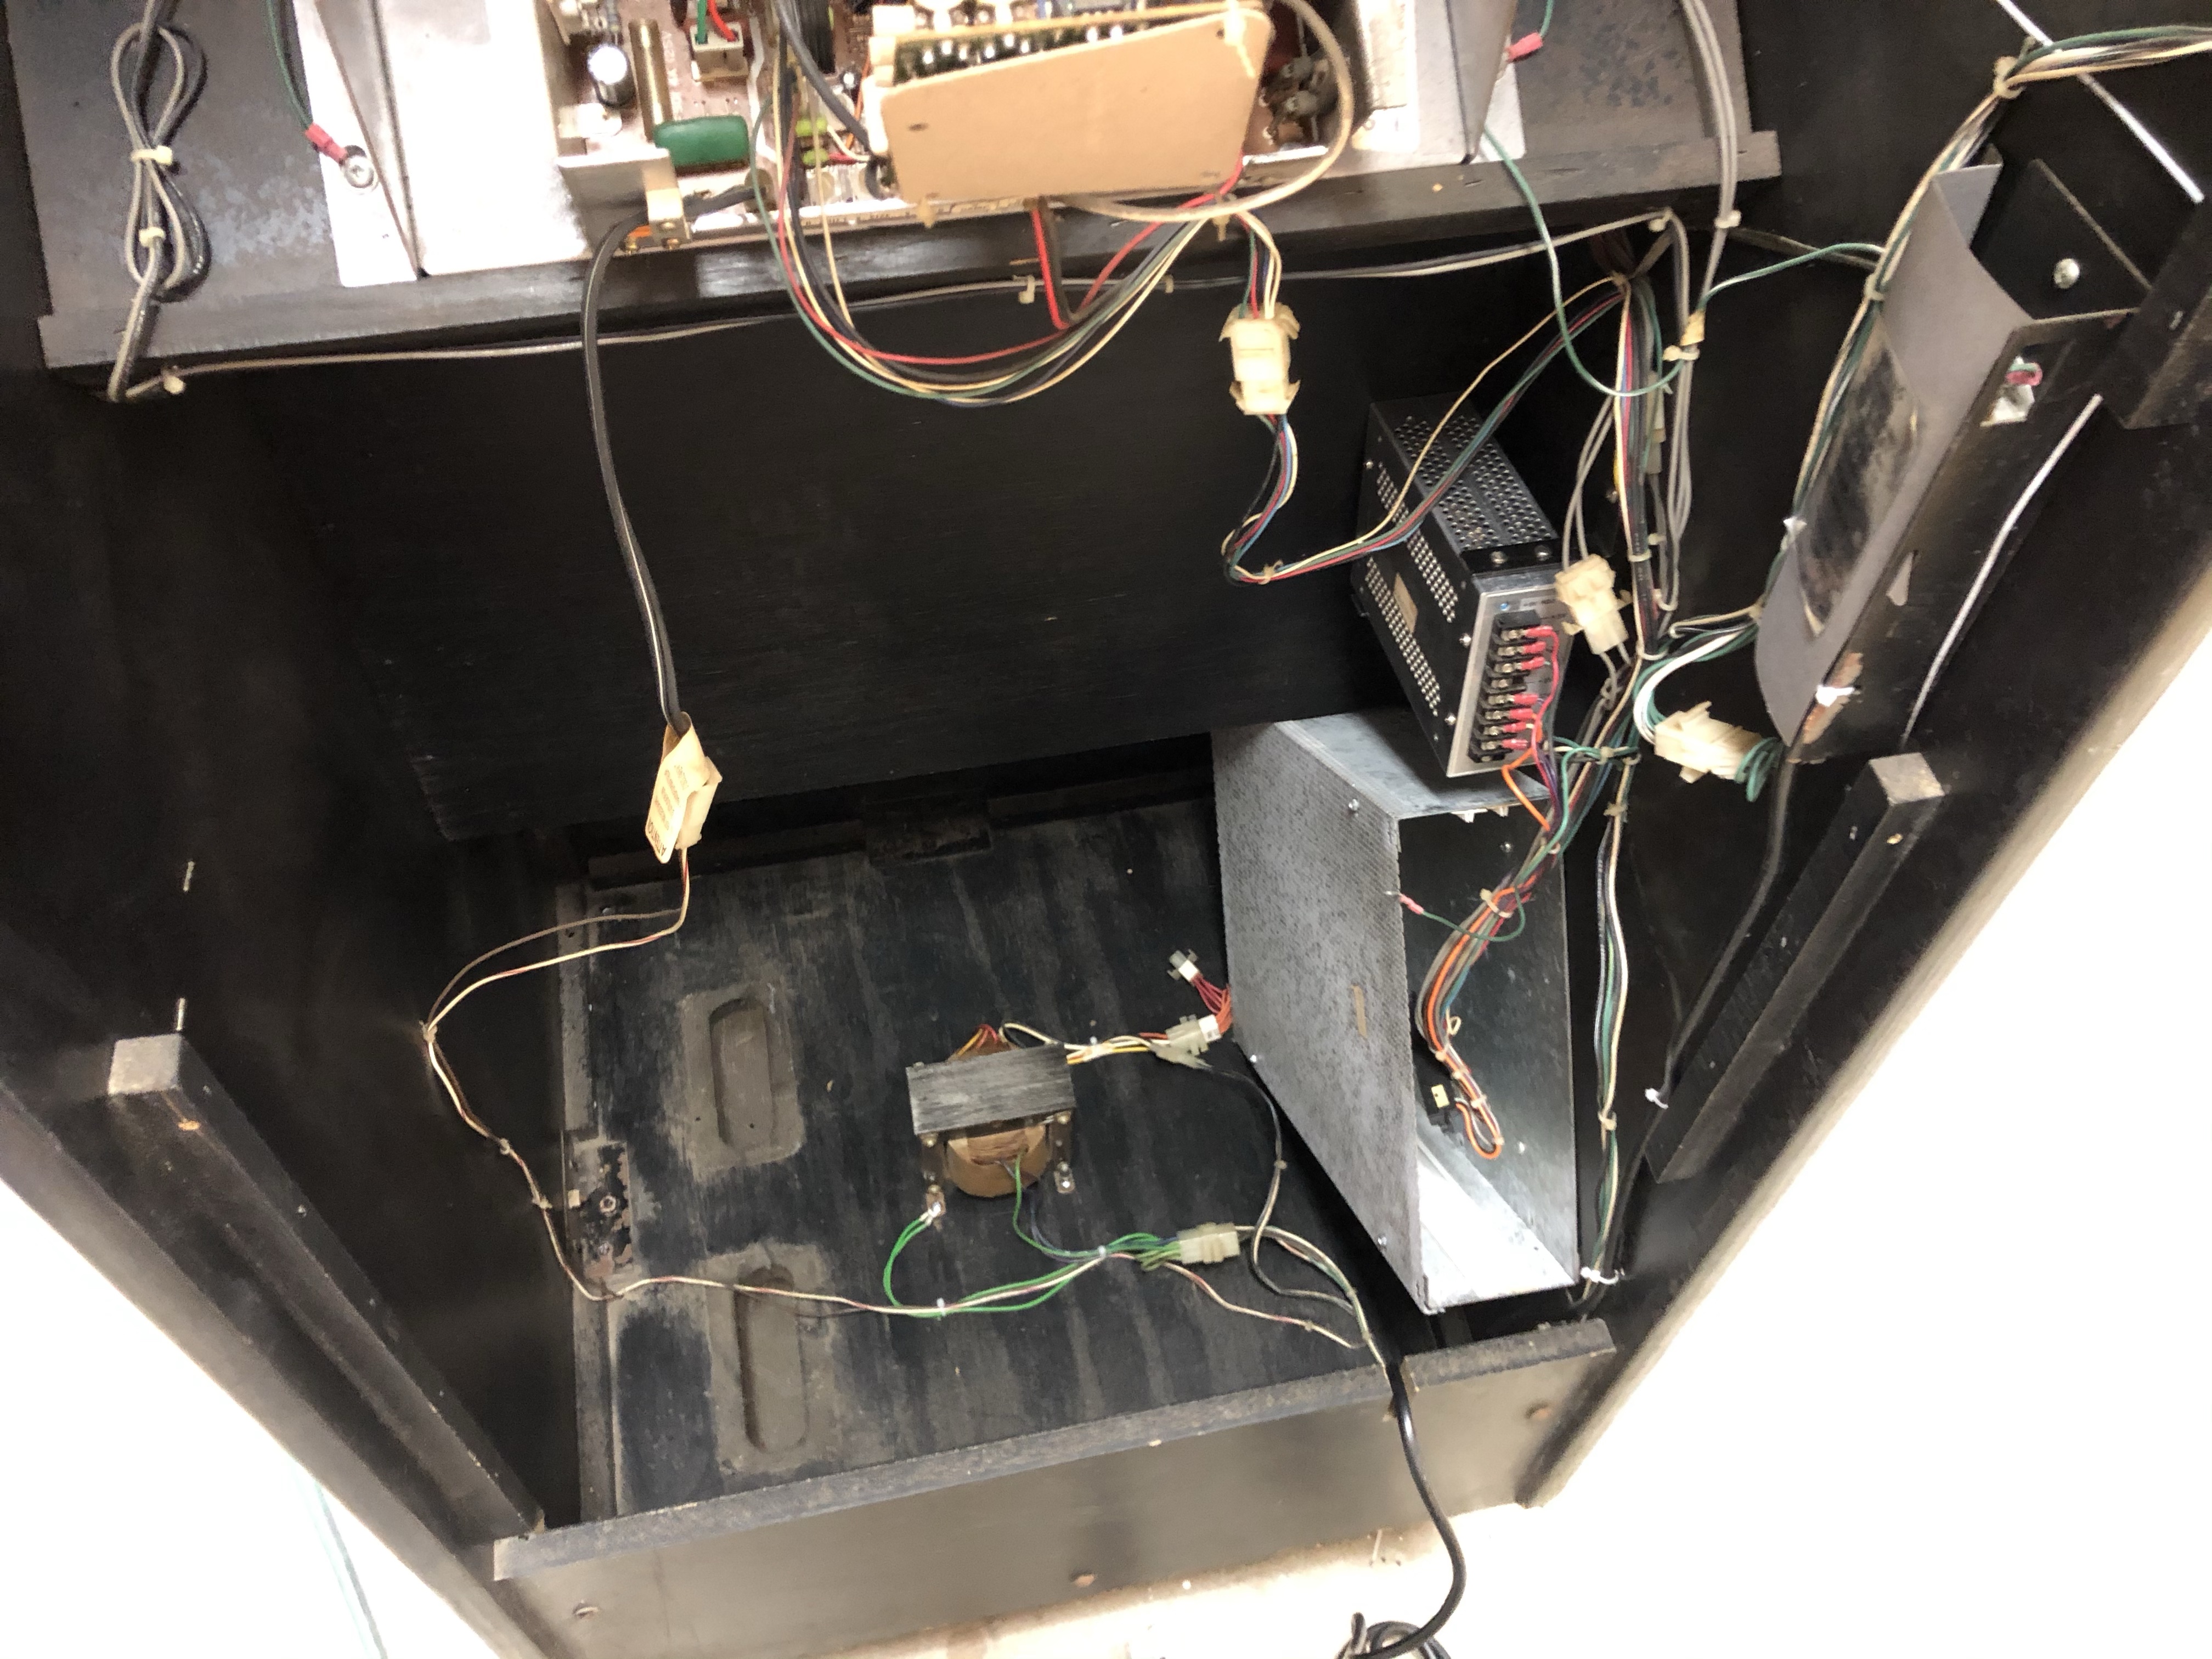
Next was cleanup of the interior and getting the power supply and cage back in place. There are enough cosmetic items in the cabinet that I could work on it quite a while. But overall its in pretty nice shape. I don’t like rusty carriage bolts – the remaining ones will come out in time and get cleaned up and reinstalled. I may also refresh the coin door, its a bit bubbly and rusty in a few spots. It will be easy to refresh and make look original.
A little cleanup of the bezel, plexi and a few other items and it’s all back together. It took a few tries to get the leaves adjusted on the joystick. The final adjustment that works best was to have the inner leaf just barely touch the white actuator an the outer leaf spaced about ~1/16″ apart.

Getting the PCB running properly is a big long story: Gyruss PCB Repair logs
