
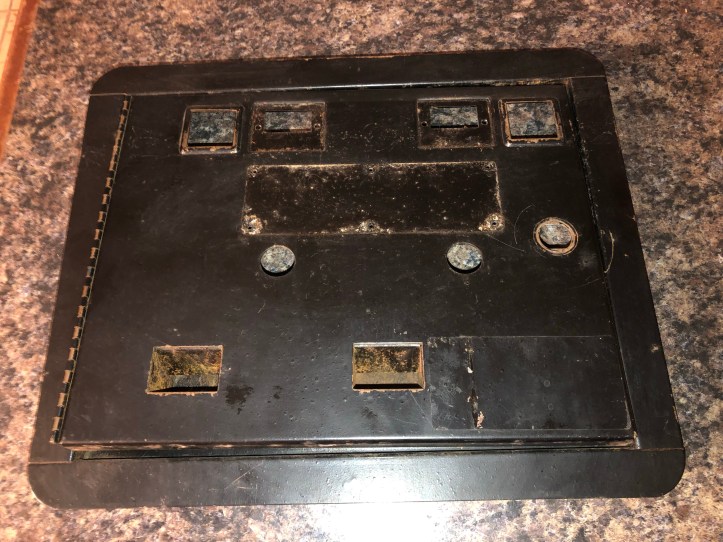
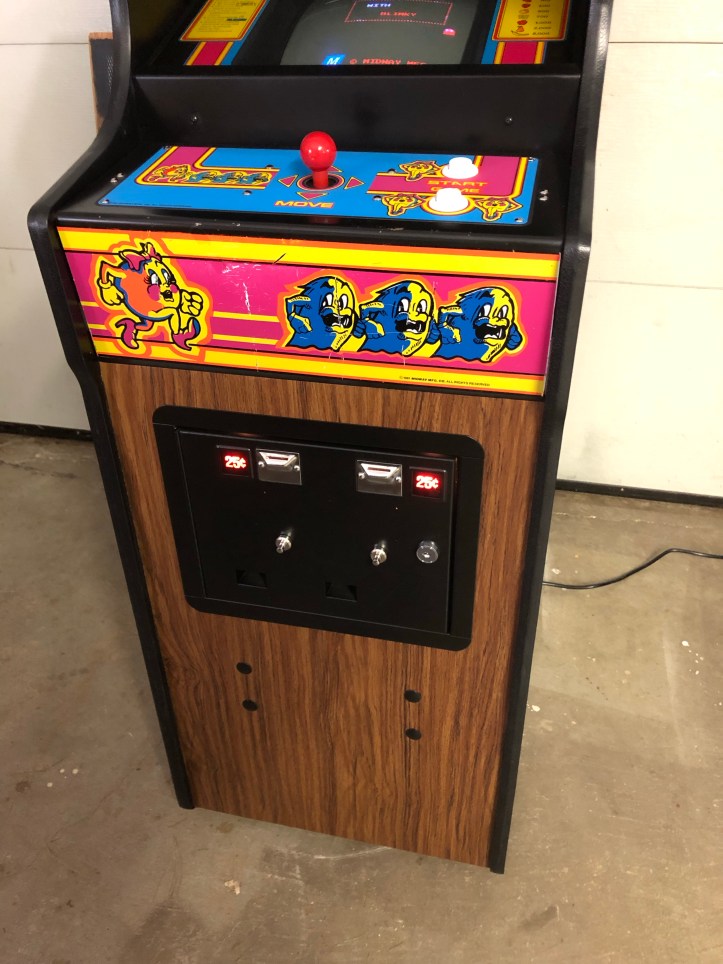
I mentioned earlier that the control panel was in pretty good condition. It did need a good cleanup however.

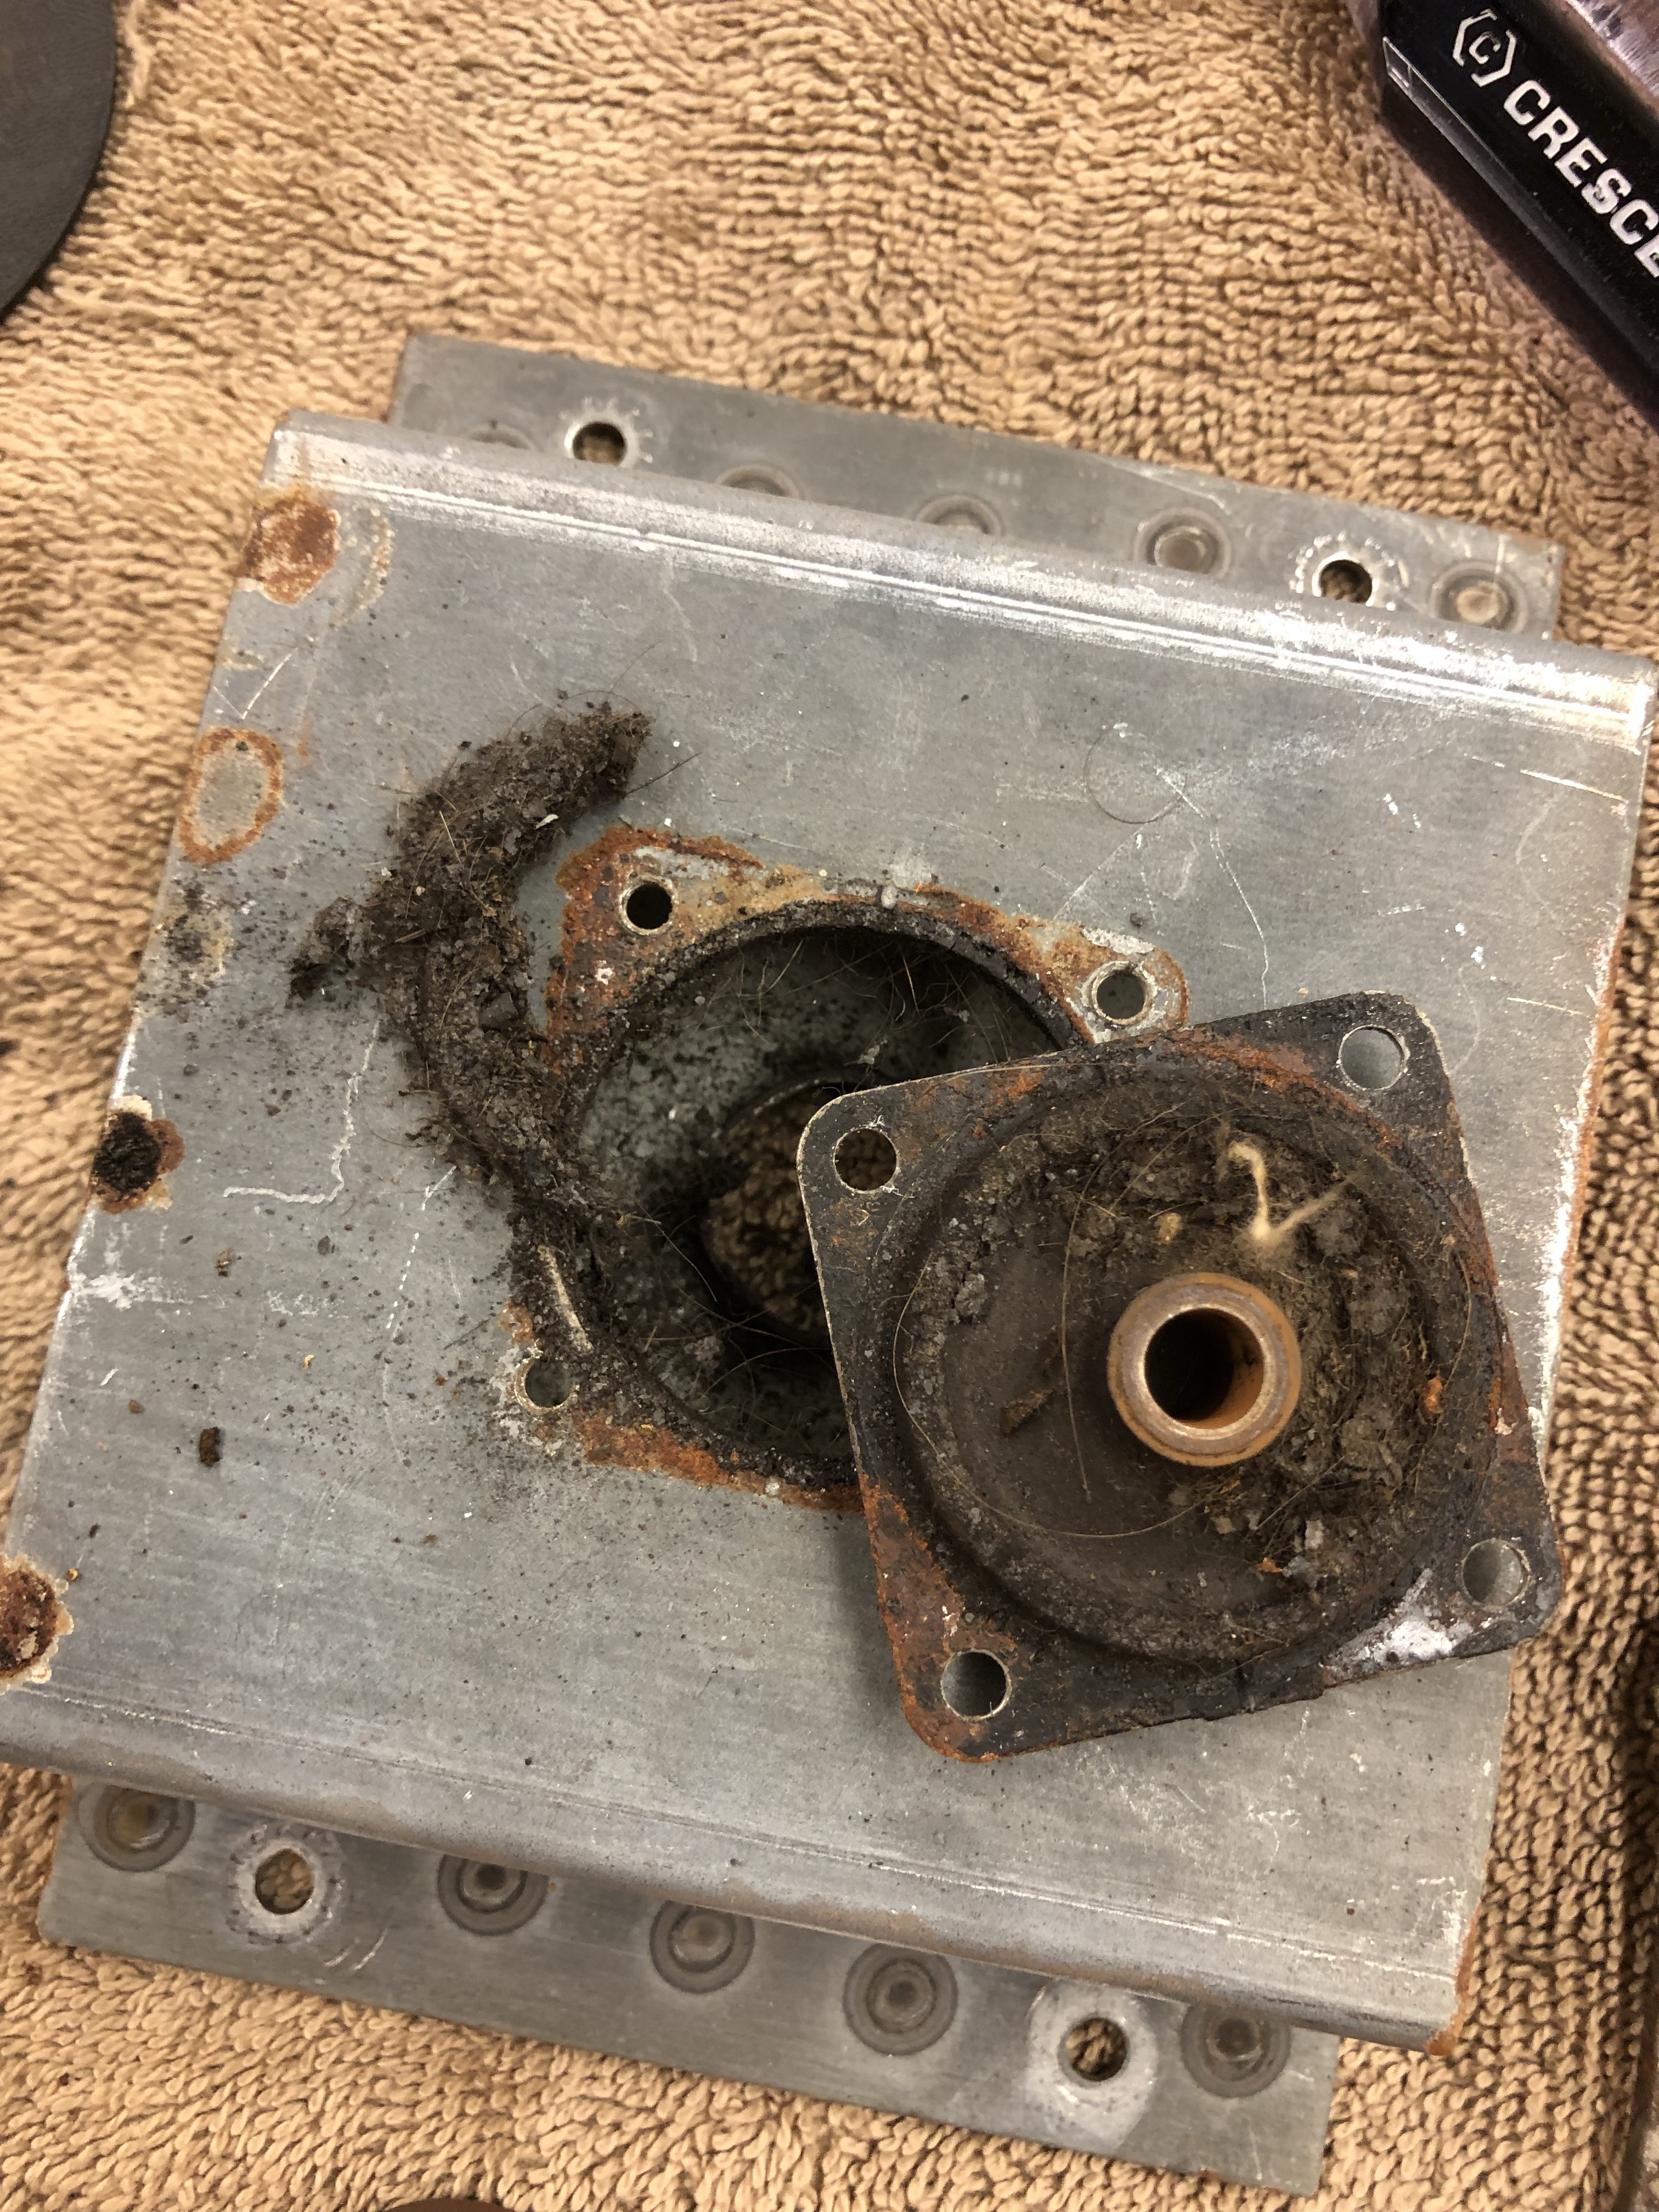
The shaft cover is worn at the contact point and it was overall pretty cruddy.

The overlay is in really good shape. I’m guessing its original – but a little Miracle Eraser and cleaner and it looks like new. This here is just a cleaning of a small area of the front.

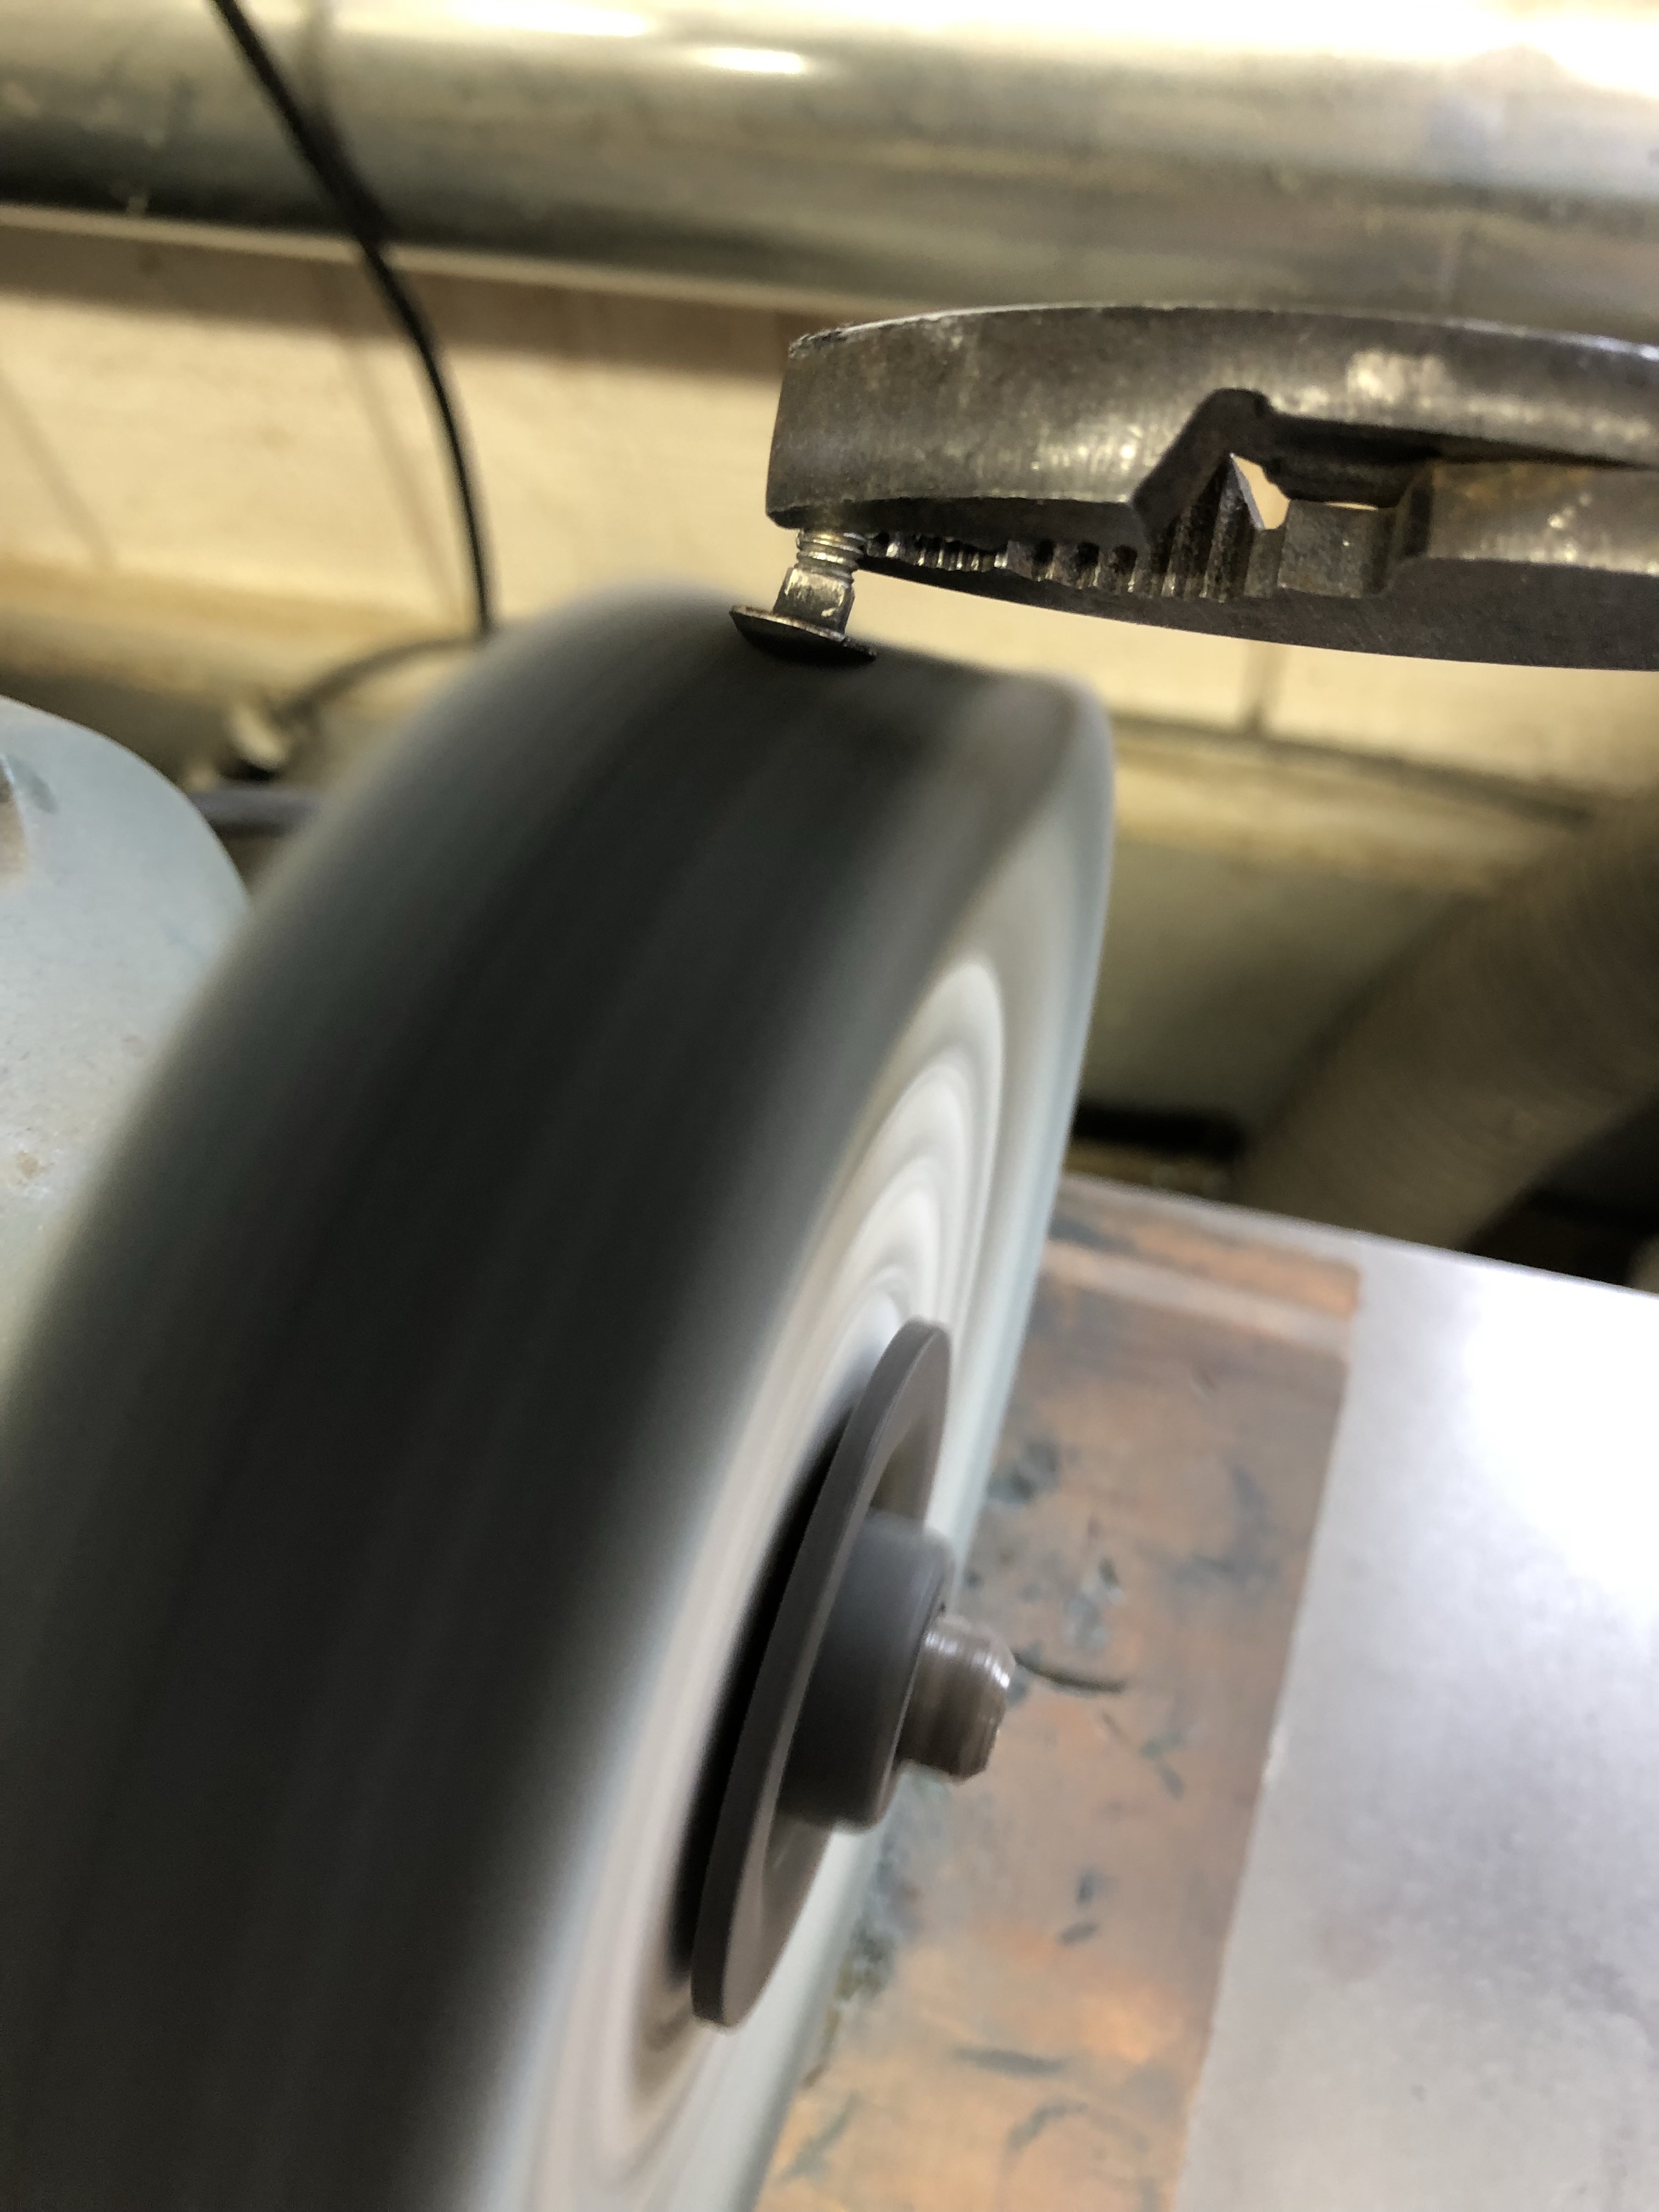
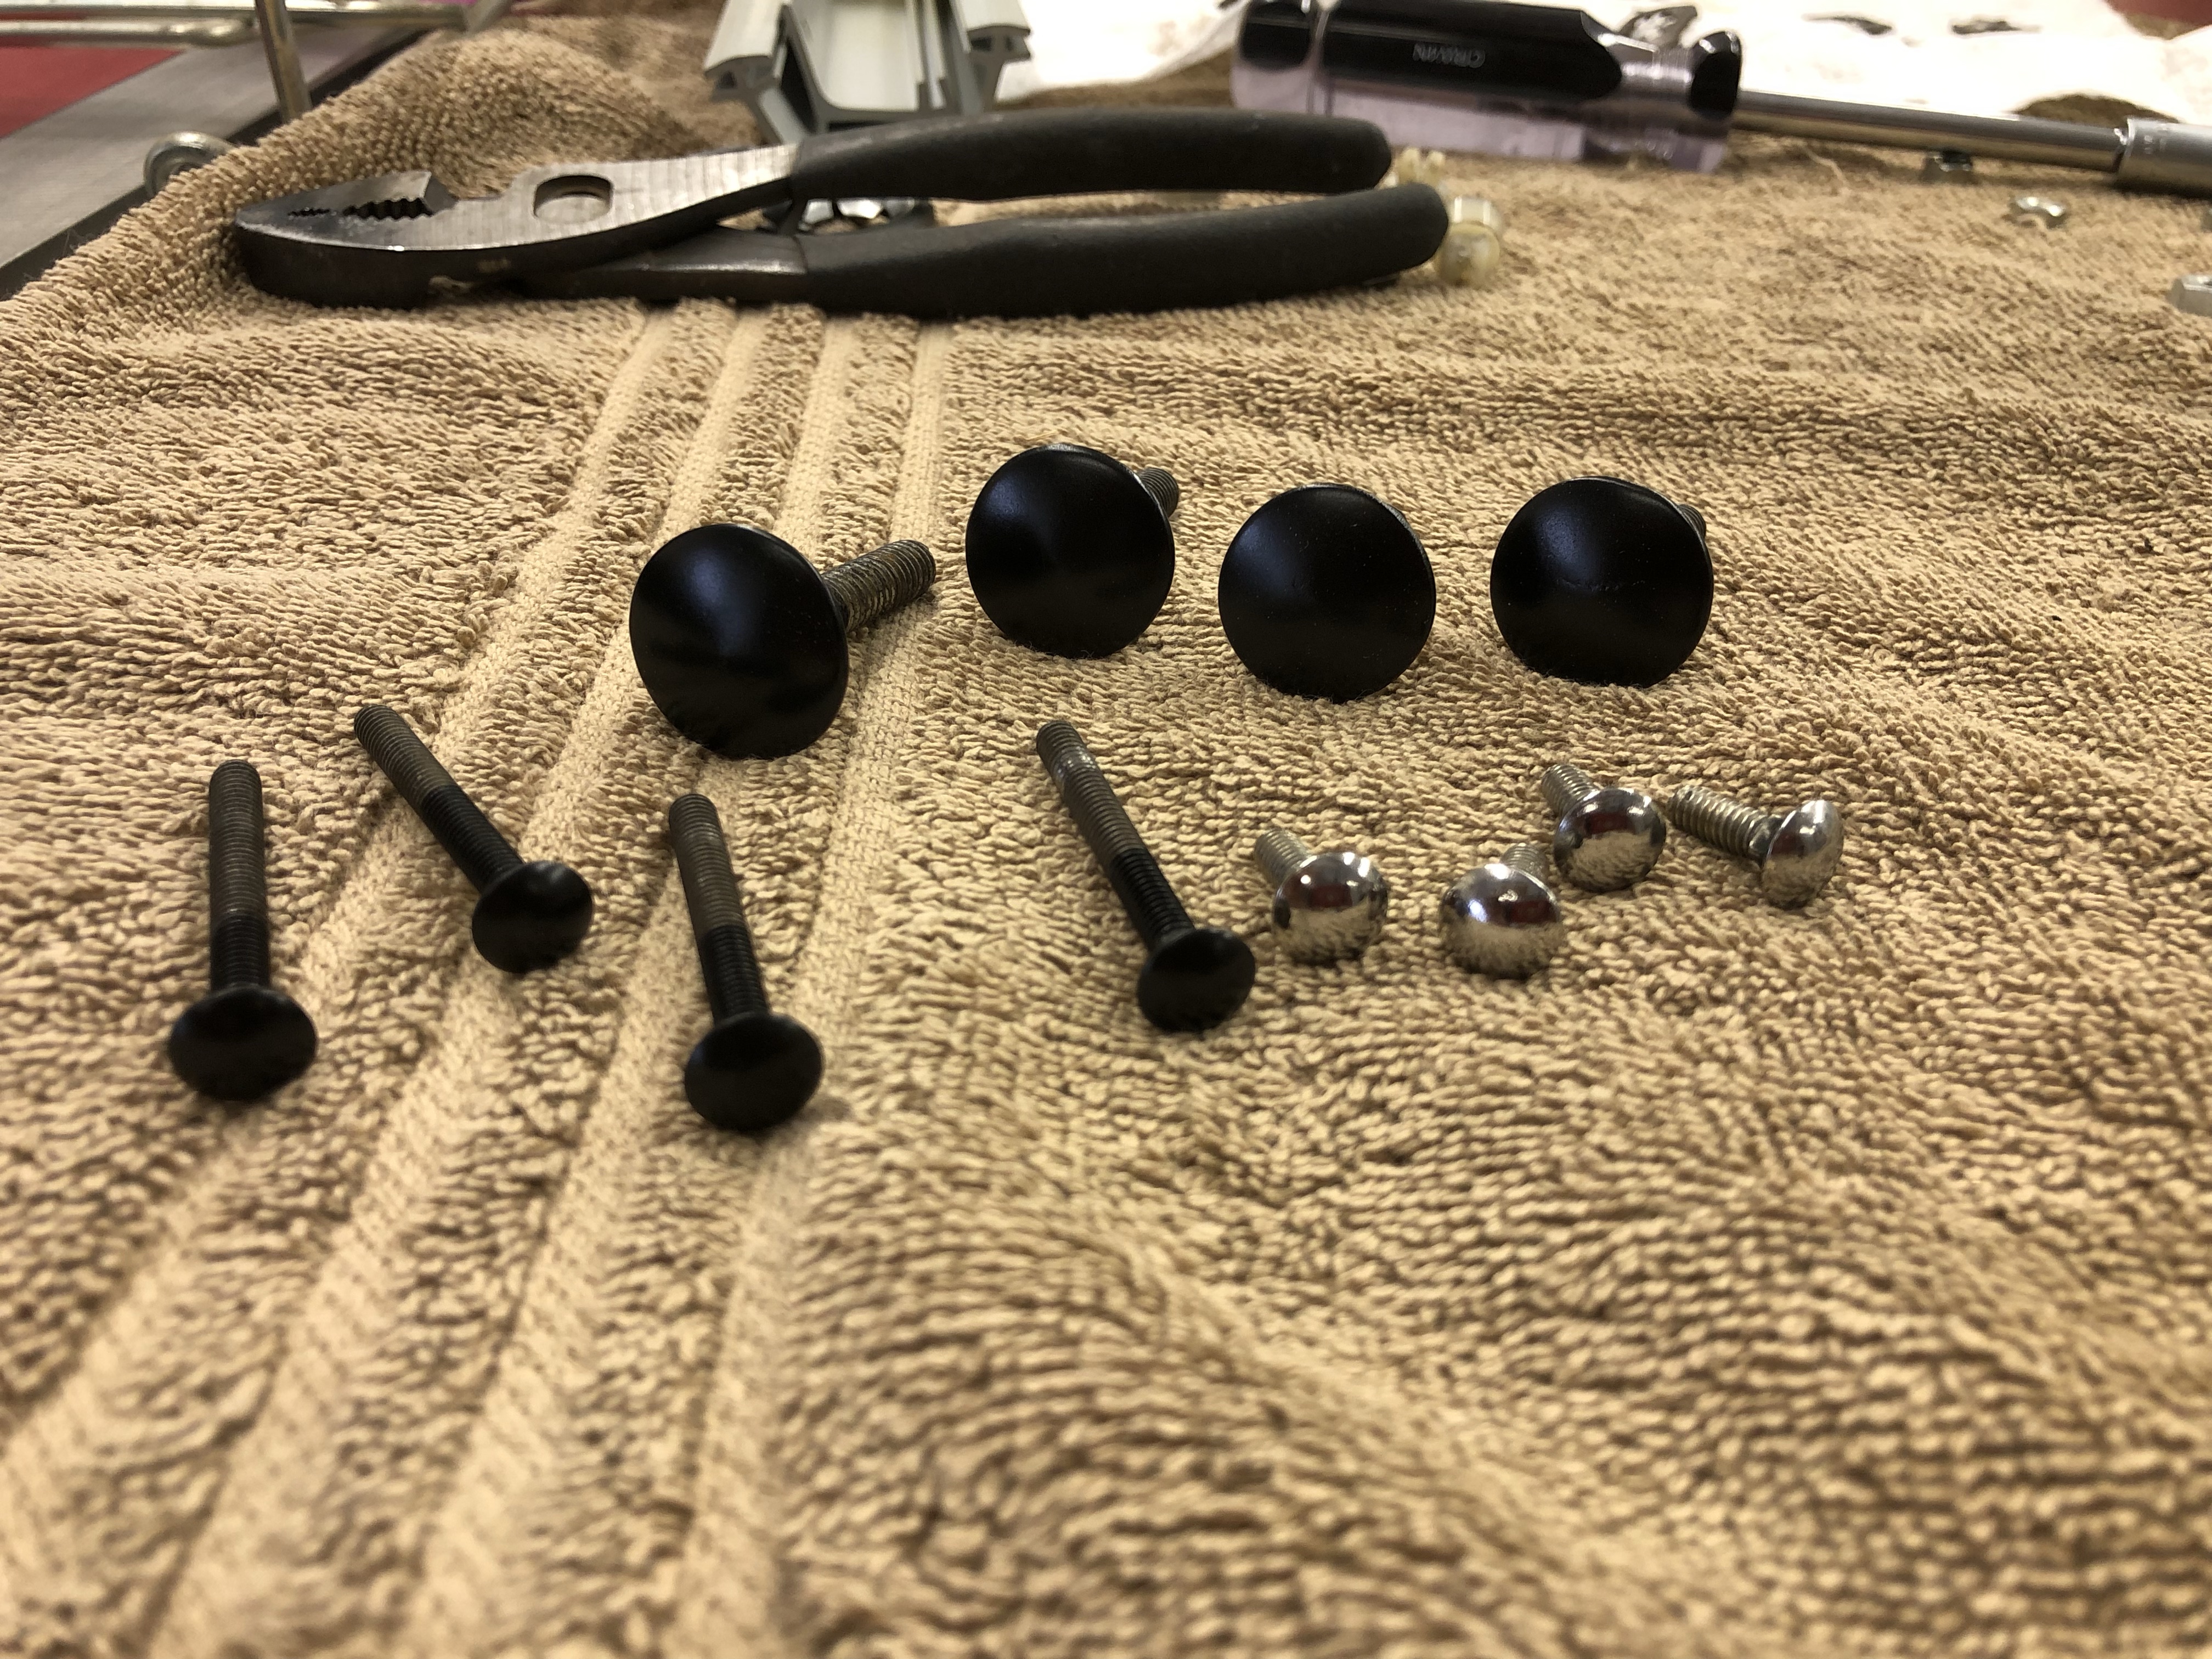
All of the bolt heads that are rusty and/or should be black get a quick spin and sand. They get painted with Satin Black. All of the heads that are supposed to be shiny/chrome get a quick buff with compound on the buffing wheel. It doesn’t take much time and they look much better.

This stuff is just rusty – 10 minutes with the sand blaster and they are ready for a quick finish sand using 220g paper and paint. The joystick frame just needed cleanup – no paint for it.

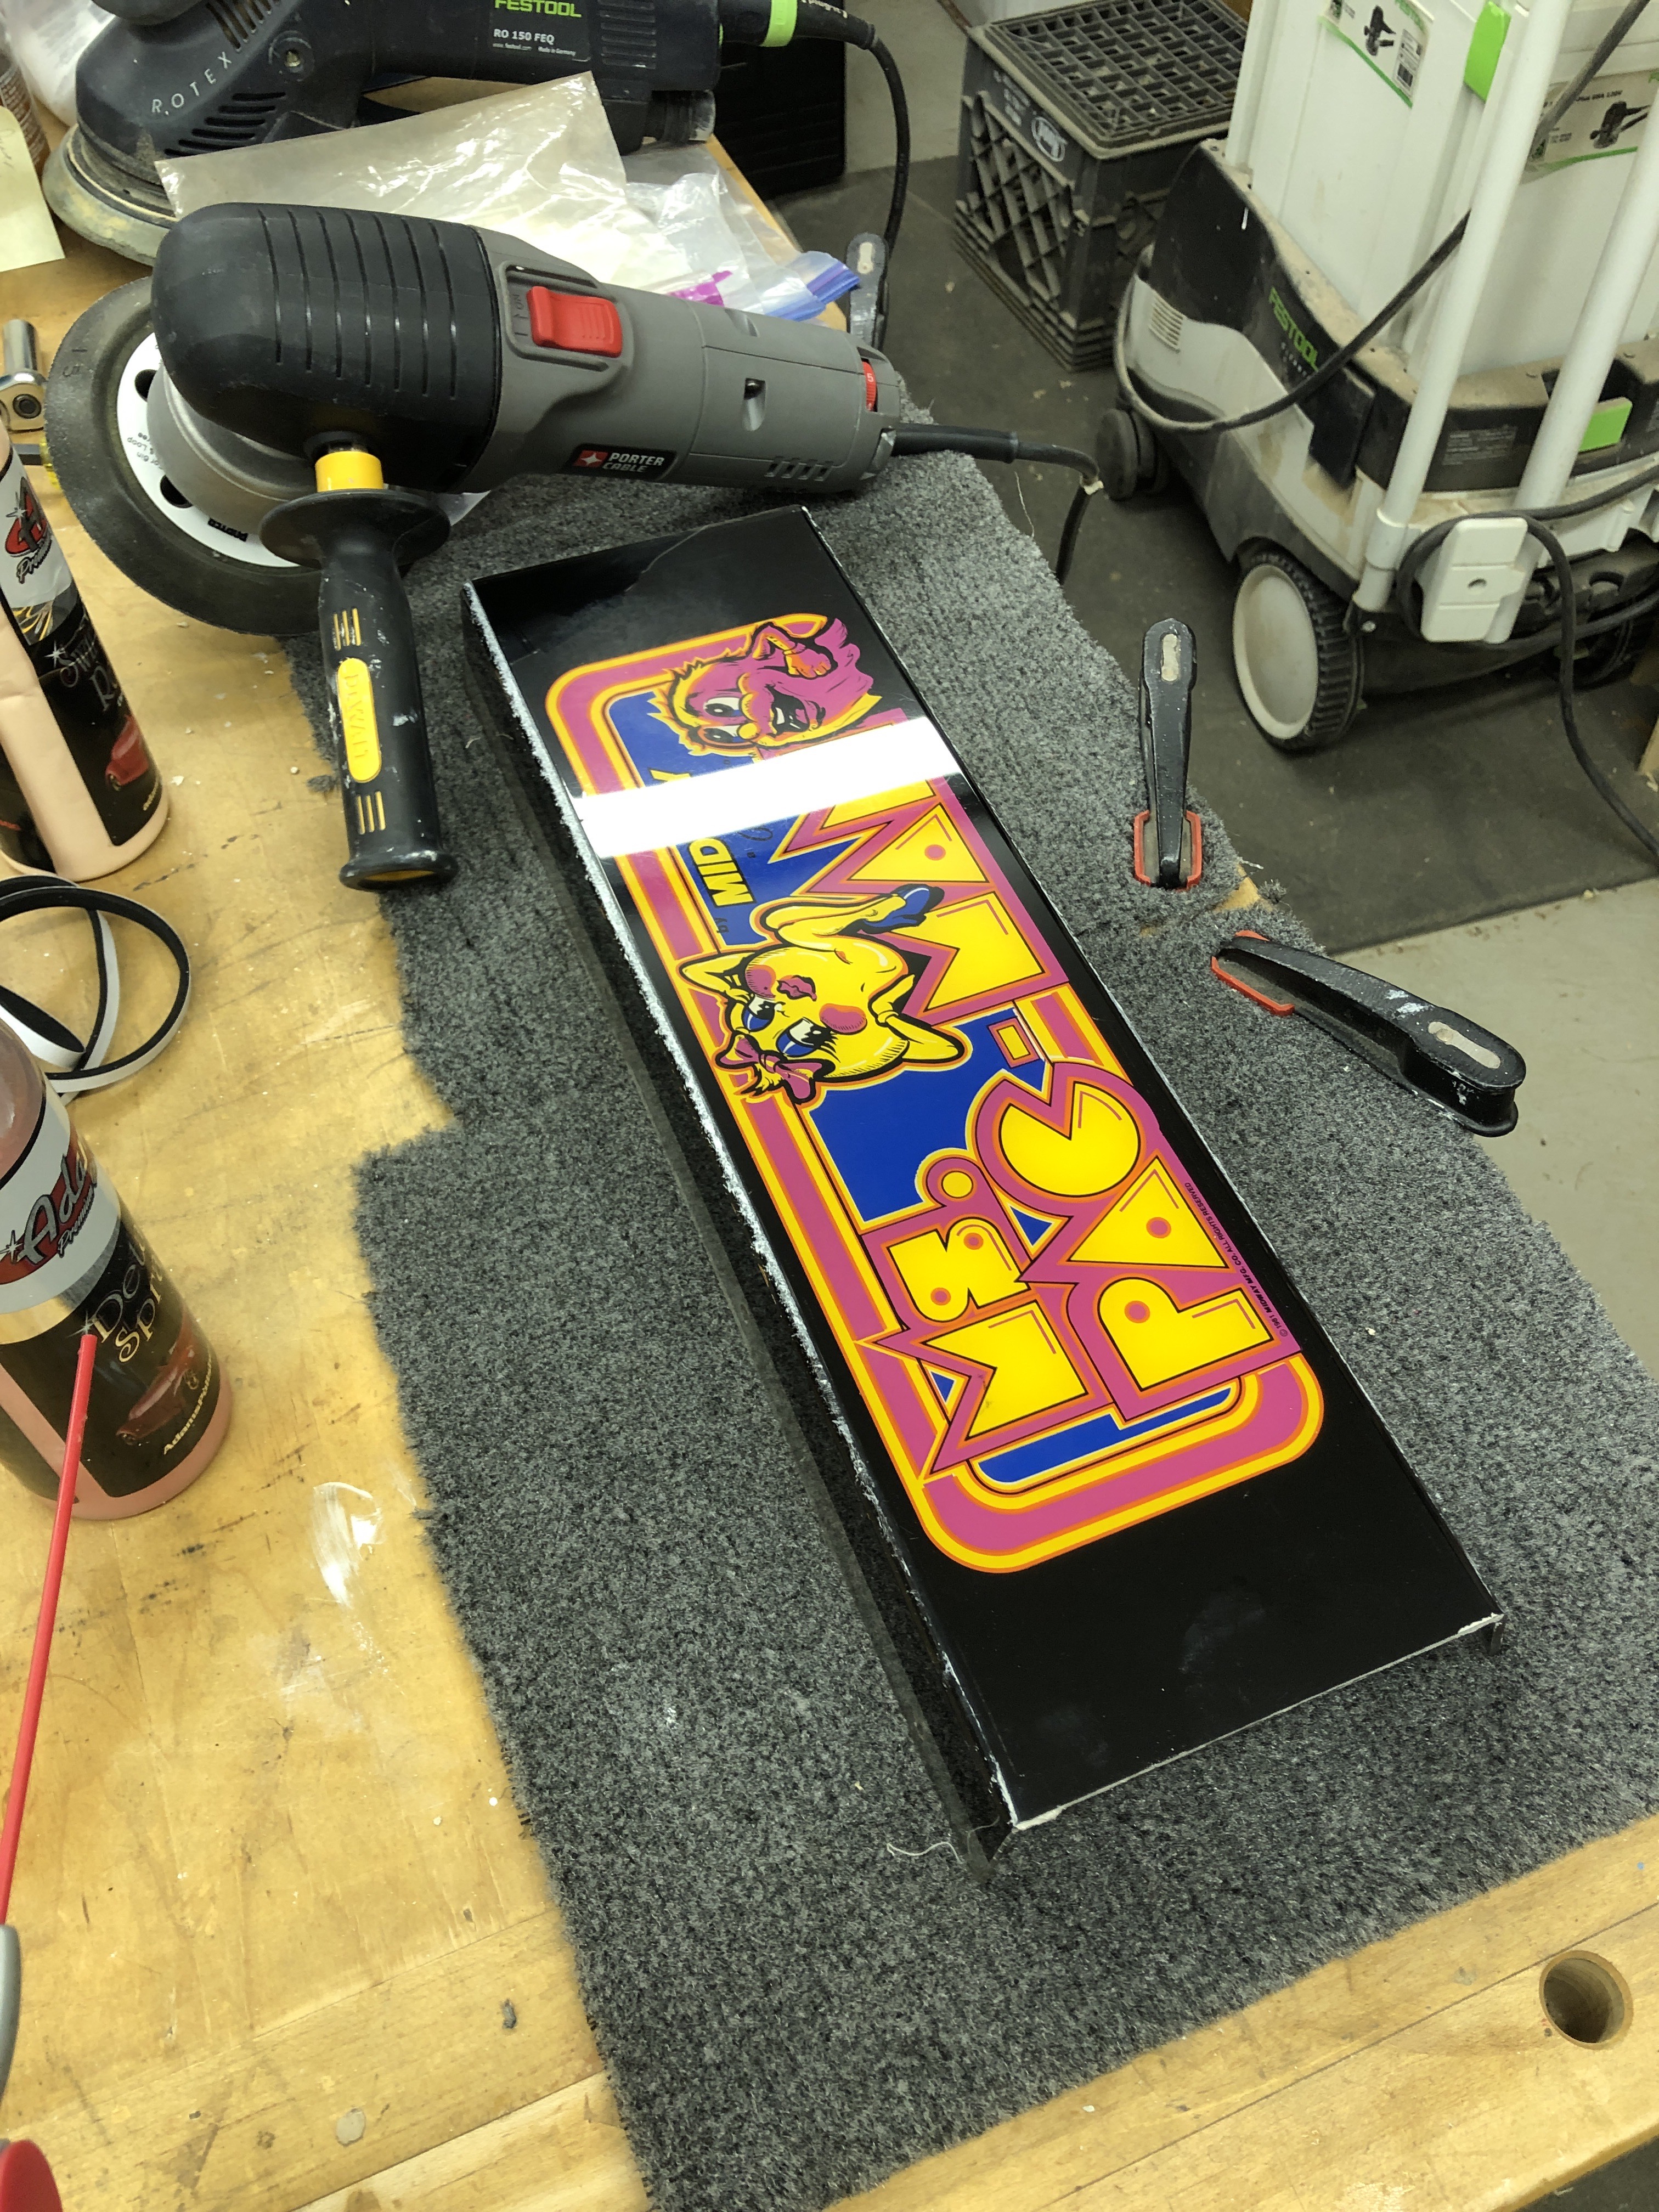
The marquee was in reasonably good condition – but had its share of scratches. Novus #3 and #2 with the machine got a fair amount of it out. Roughly 30 years of scratches removed..
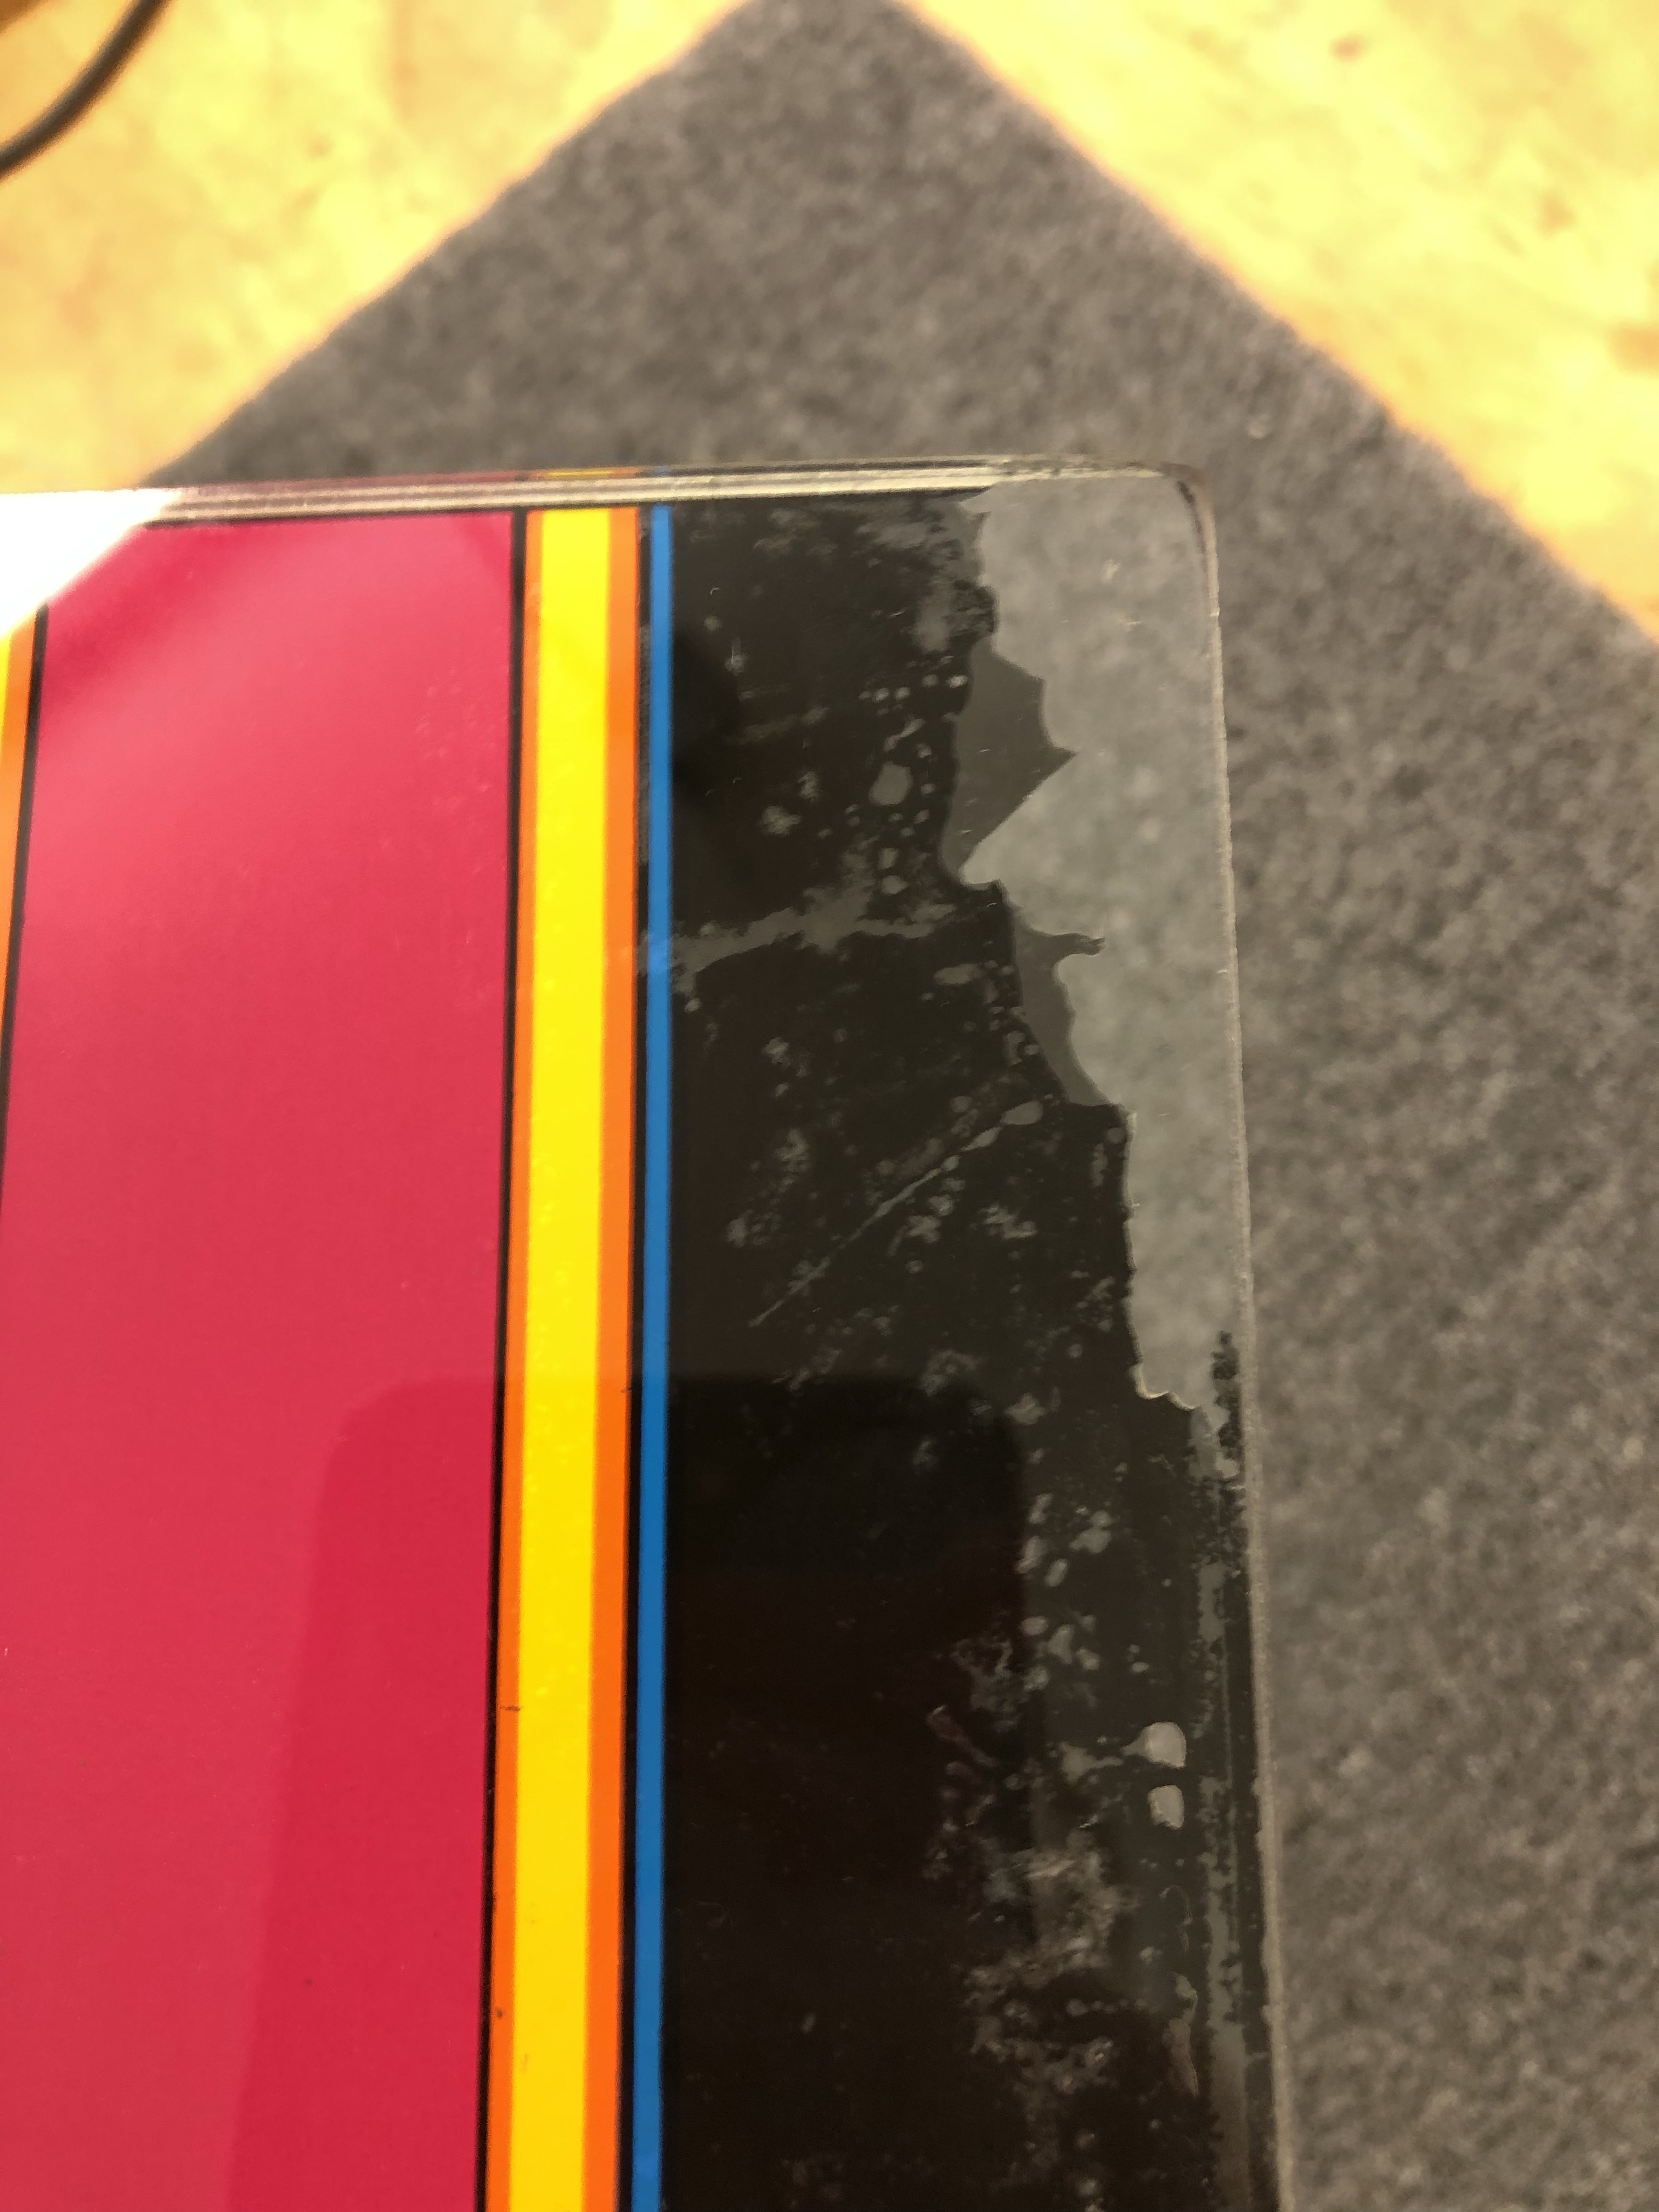


The black part of the glass was peeling pretty good around the edges. Since it is not back lit and it was black – I tested a little area with Rustoleum Satin Black. It worked much better than expected. I trimmed back the peeling areas and cleaned it up.. It’s not noticeable once installed. I ‘could’ have gone crazy and sliced off more to get the areas that have bubbles. But chose not to press my luck.
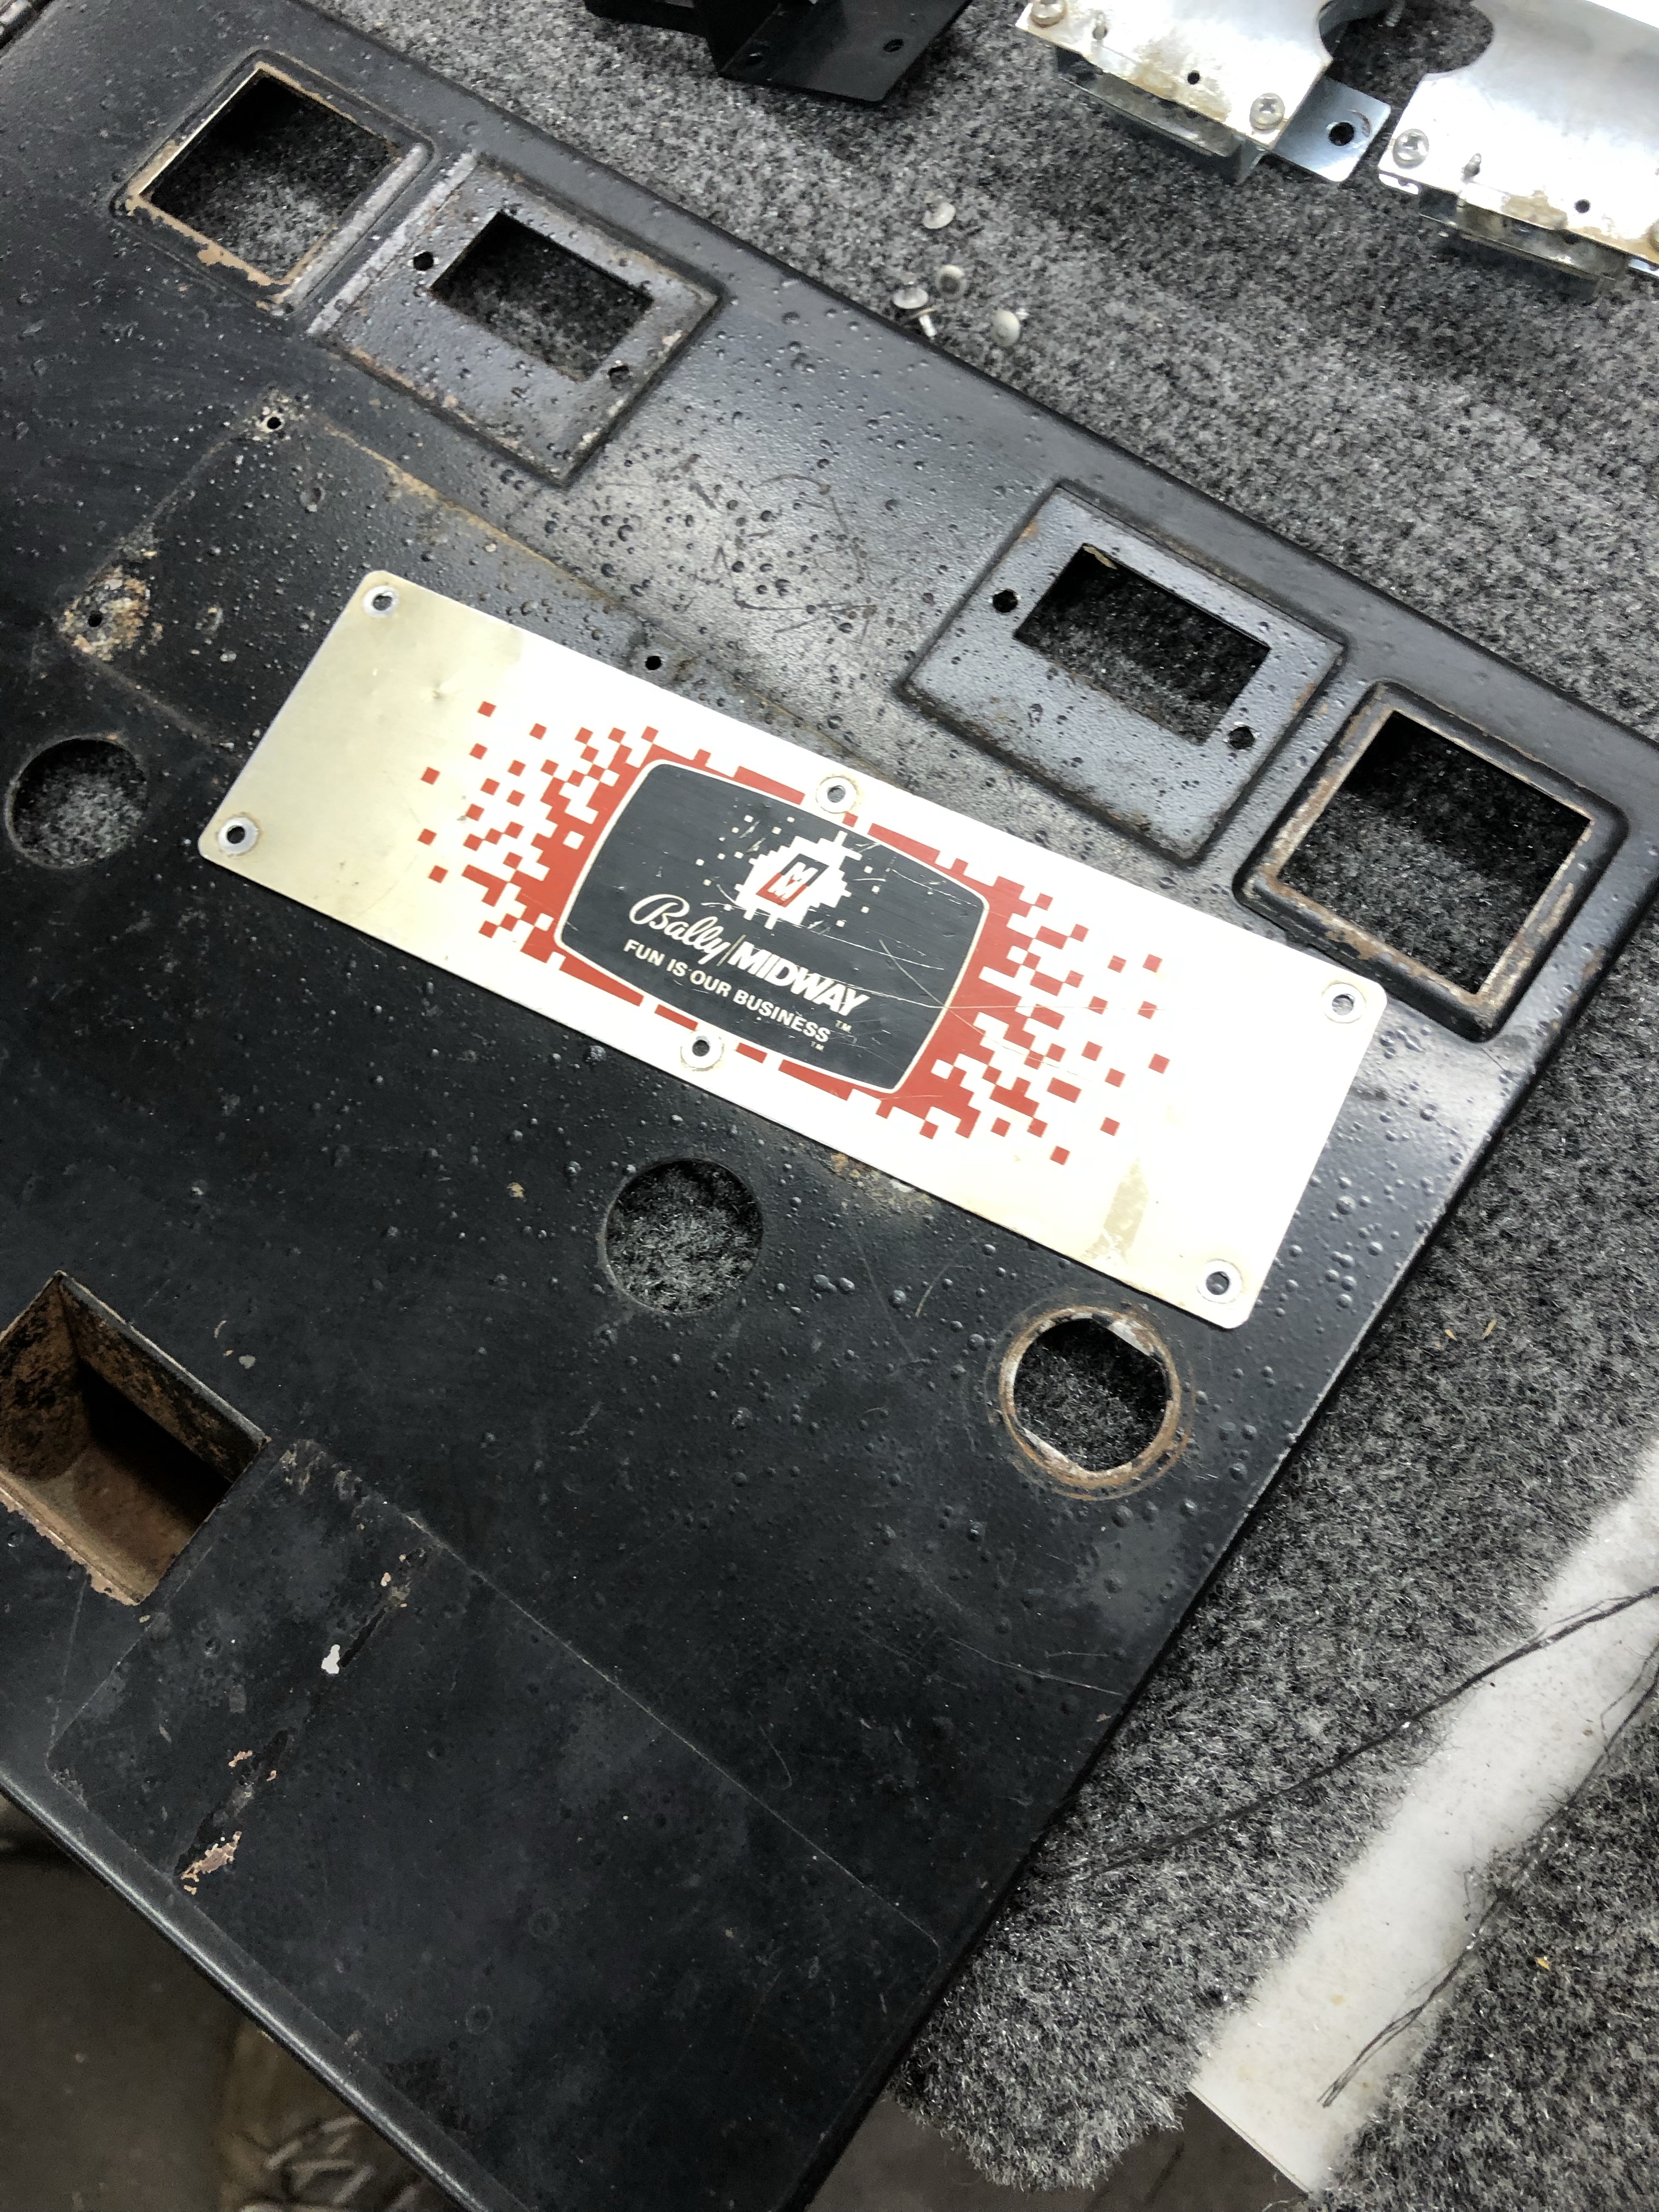
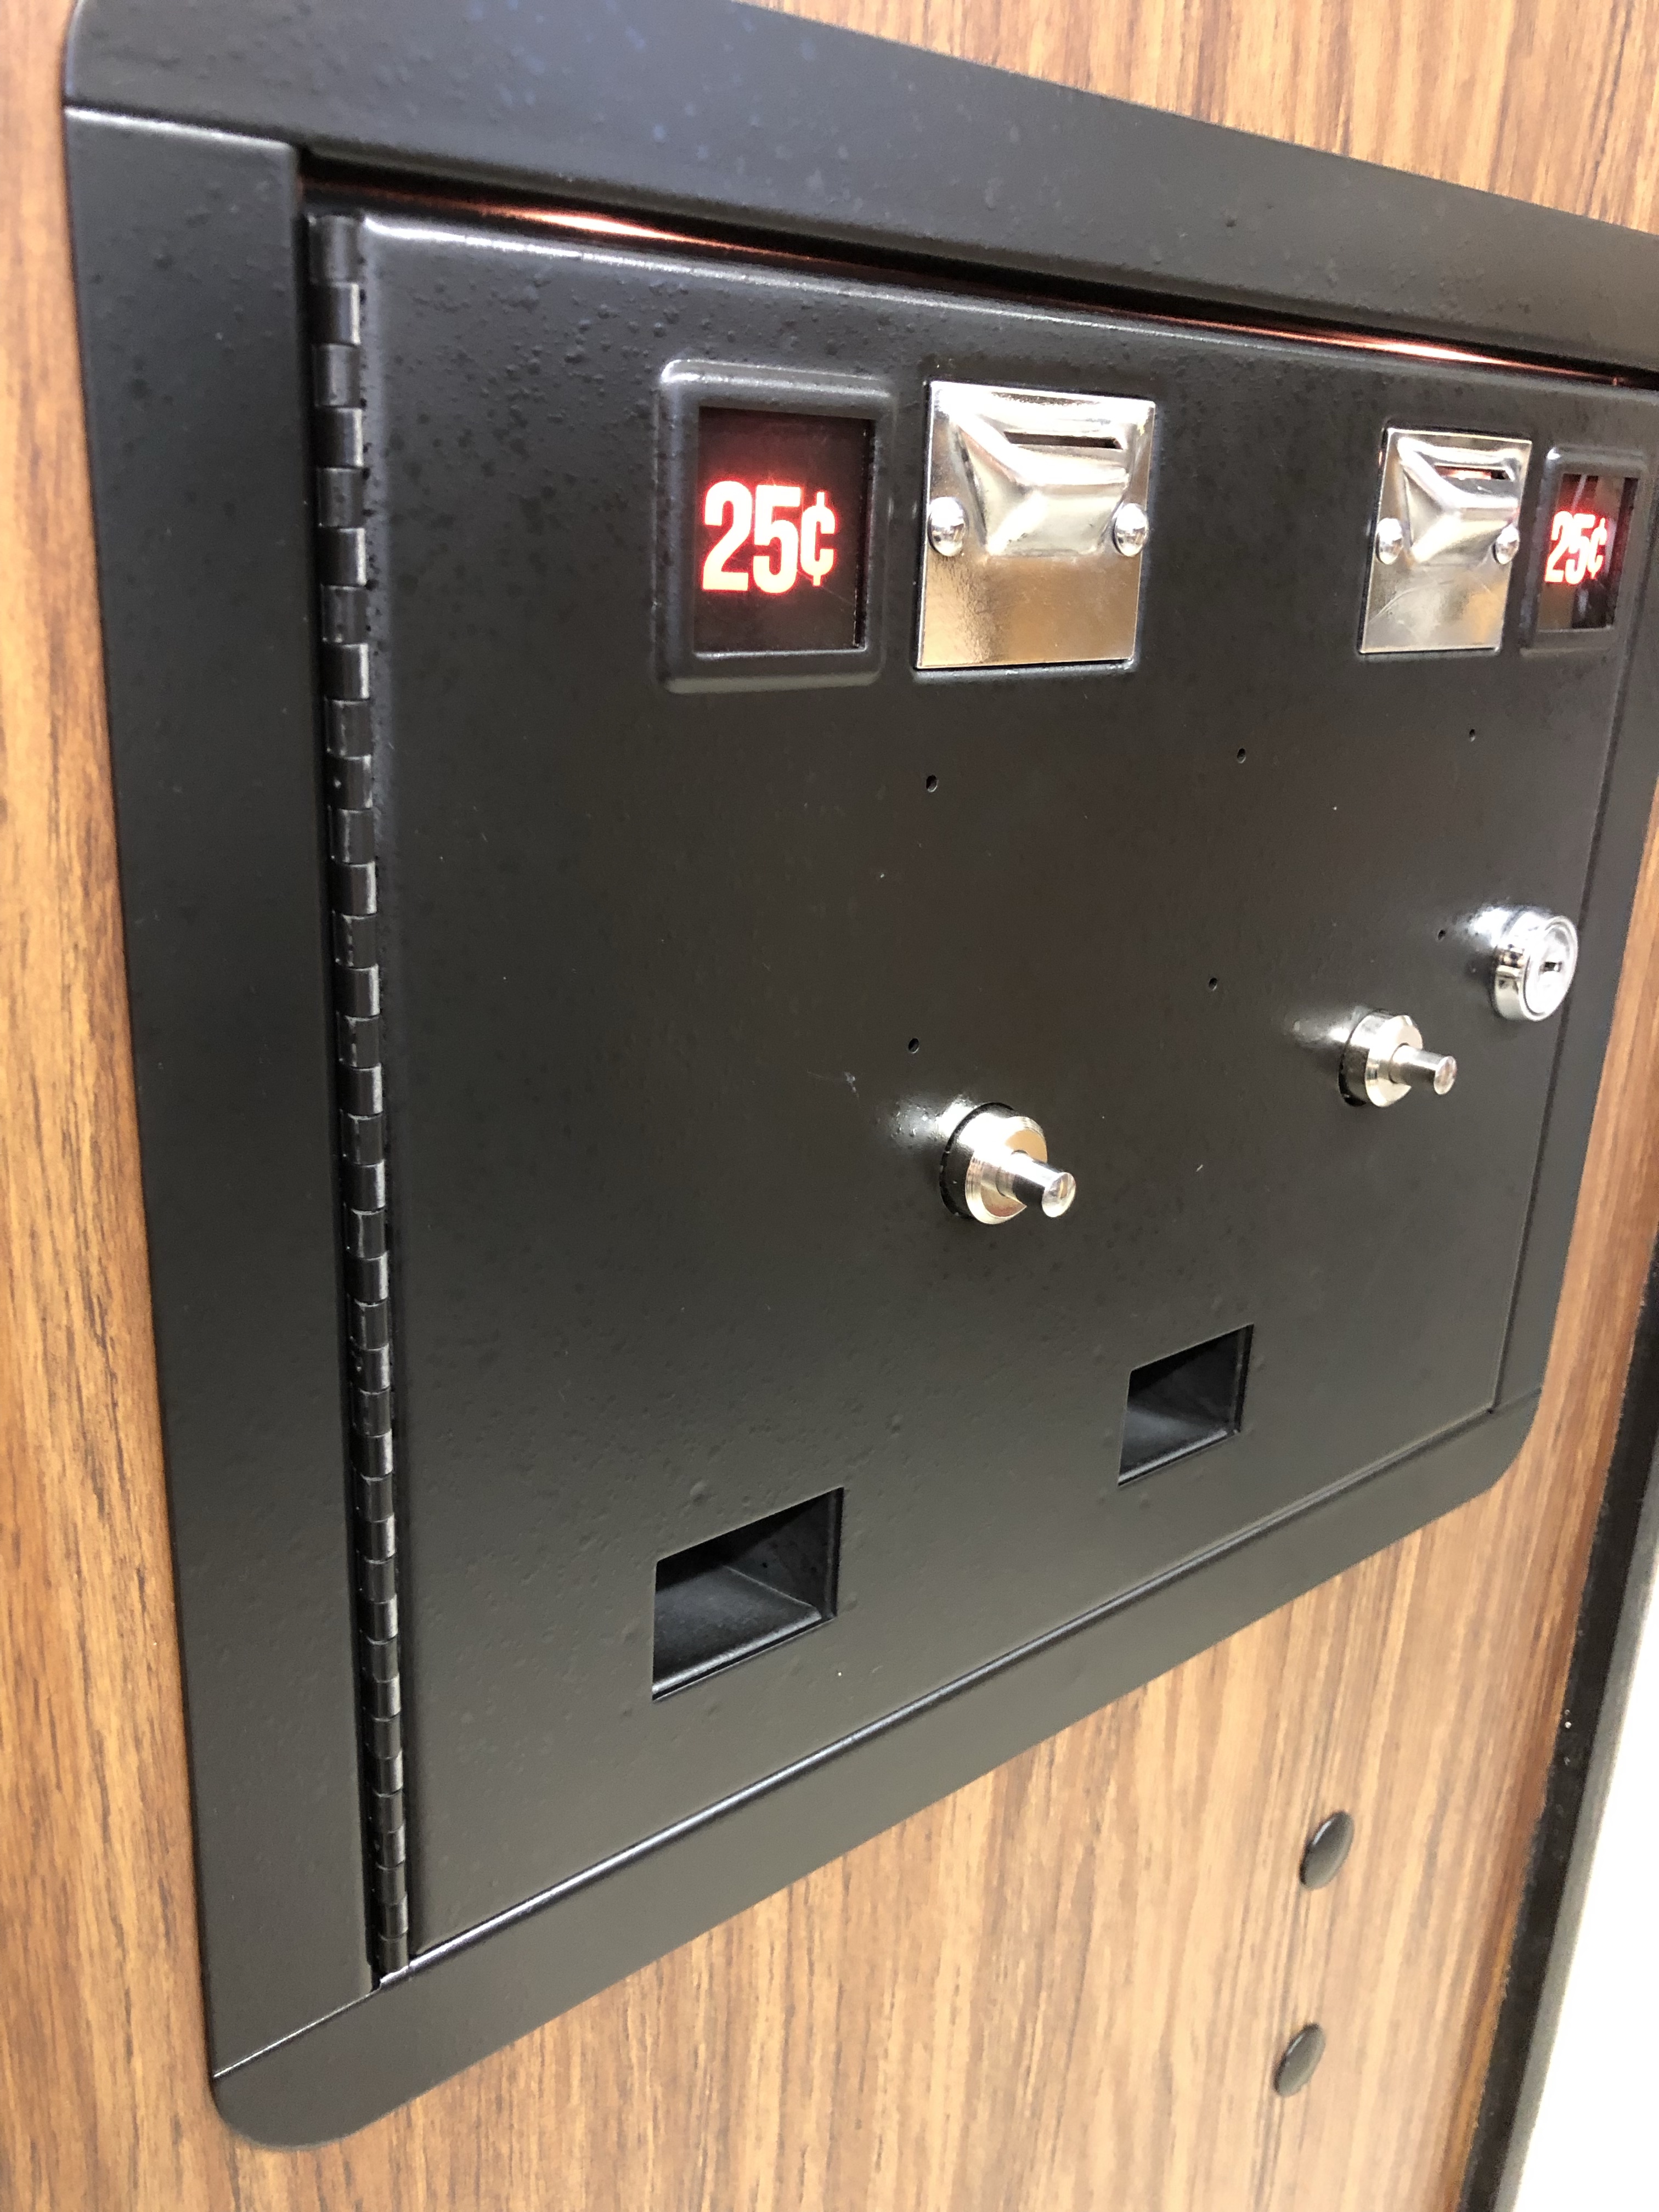
Coin door was pretty ratty looking – since this is really more of a restoration than a preservation – I decided to give it the full treatment.
Popping the rivets out from the inside turned out to be simple – small center punch – give it one swift hit and it pops right through.
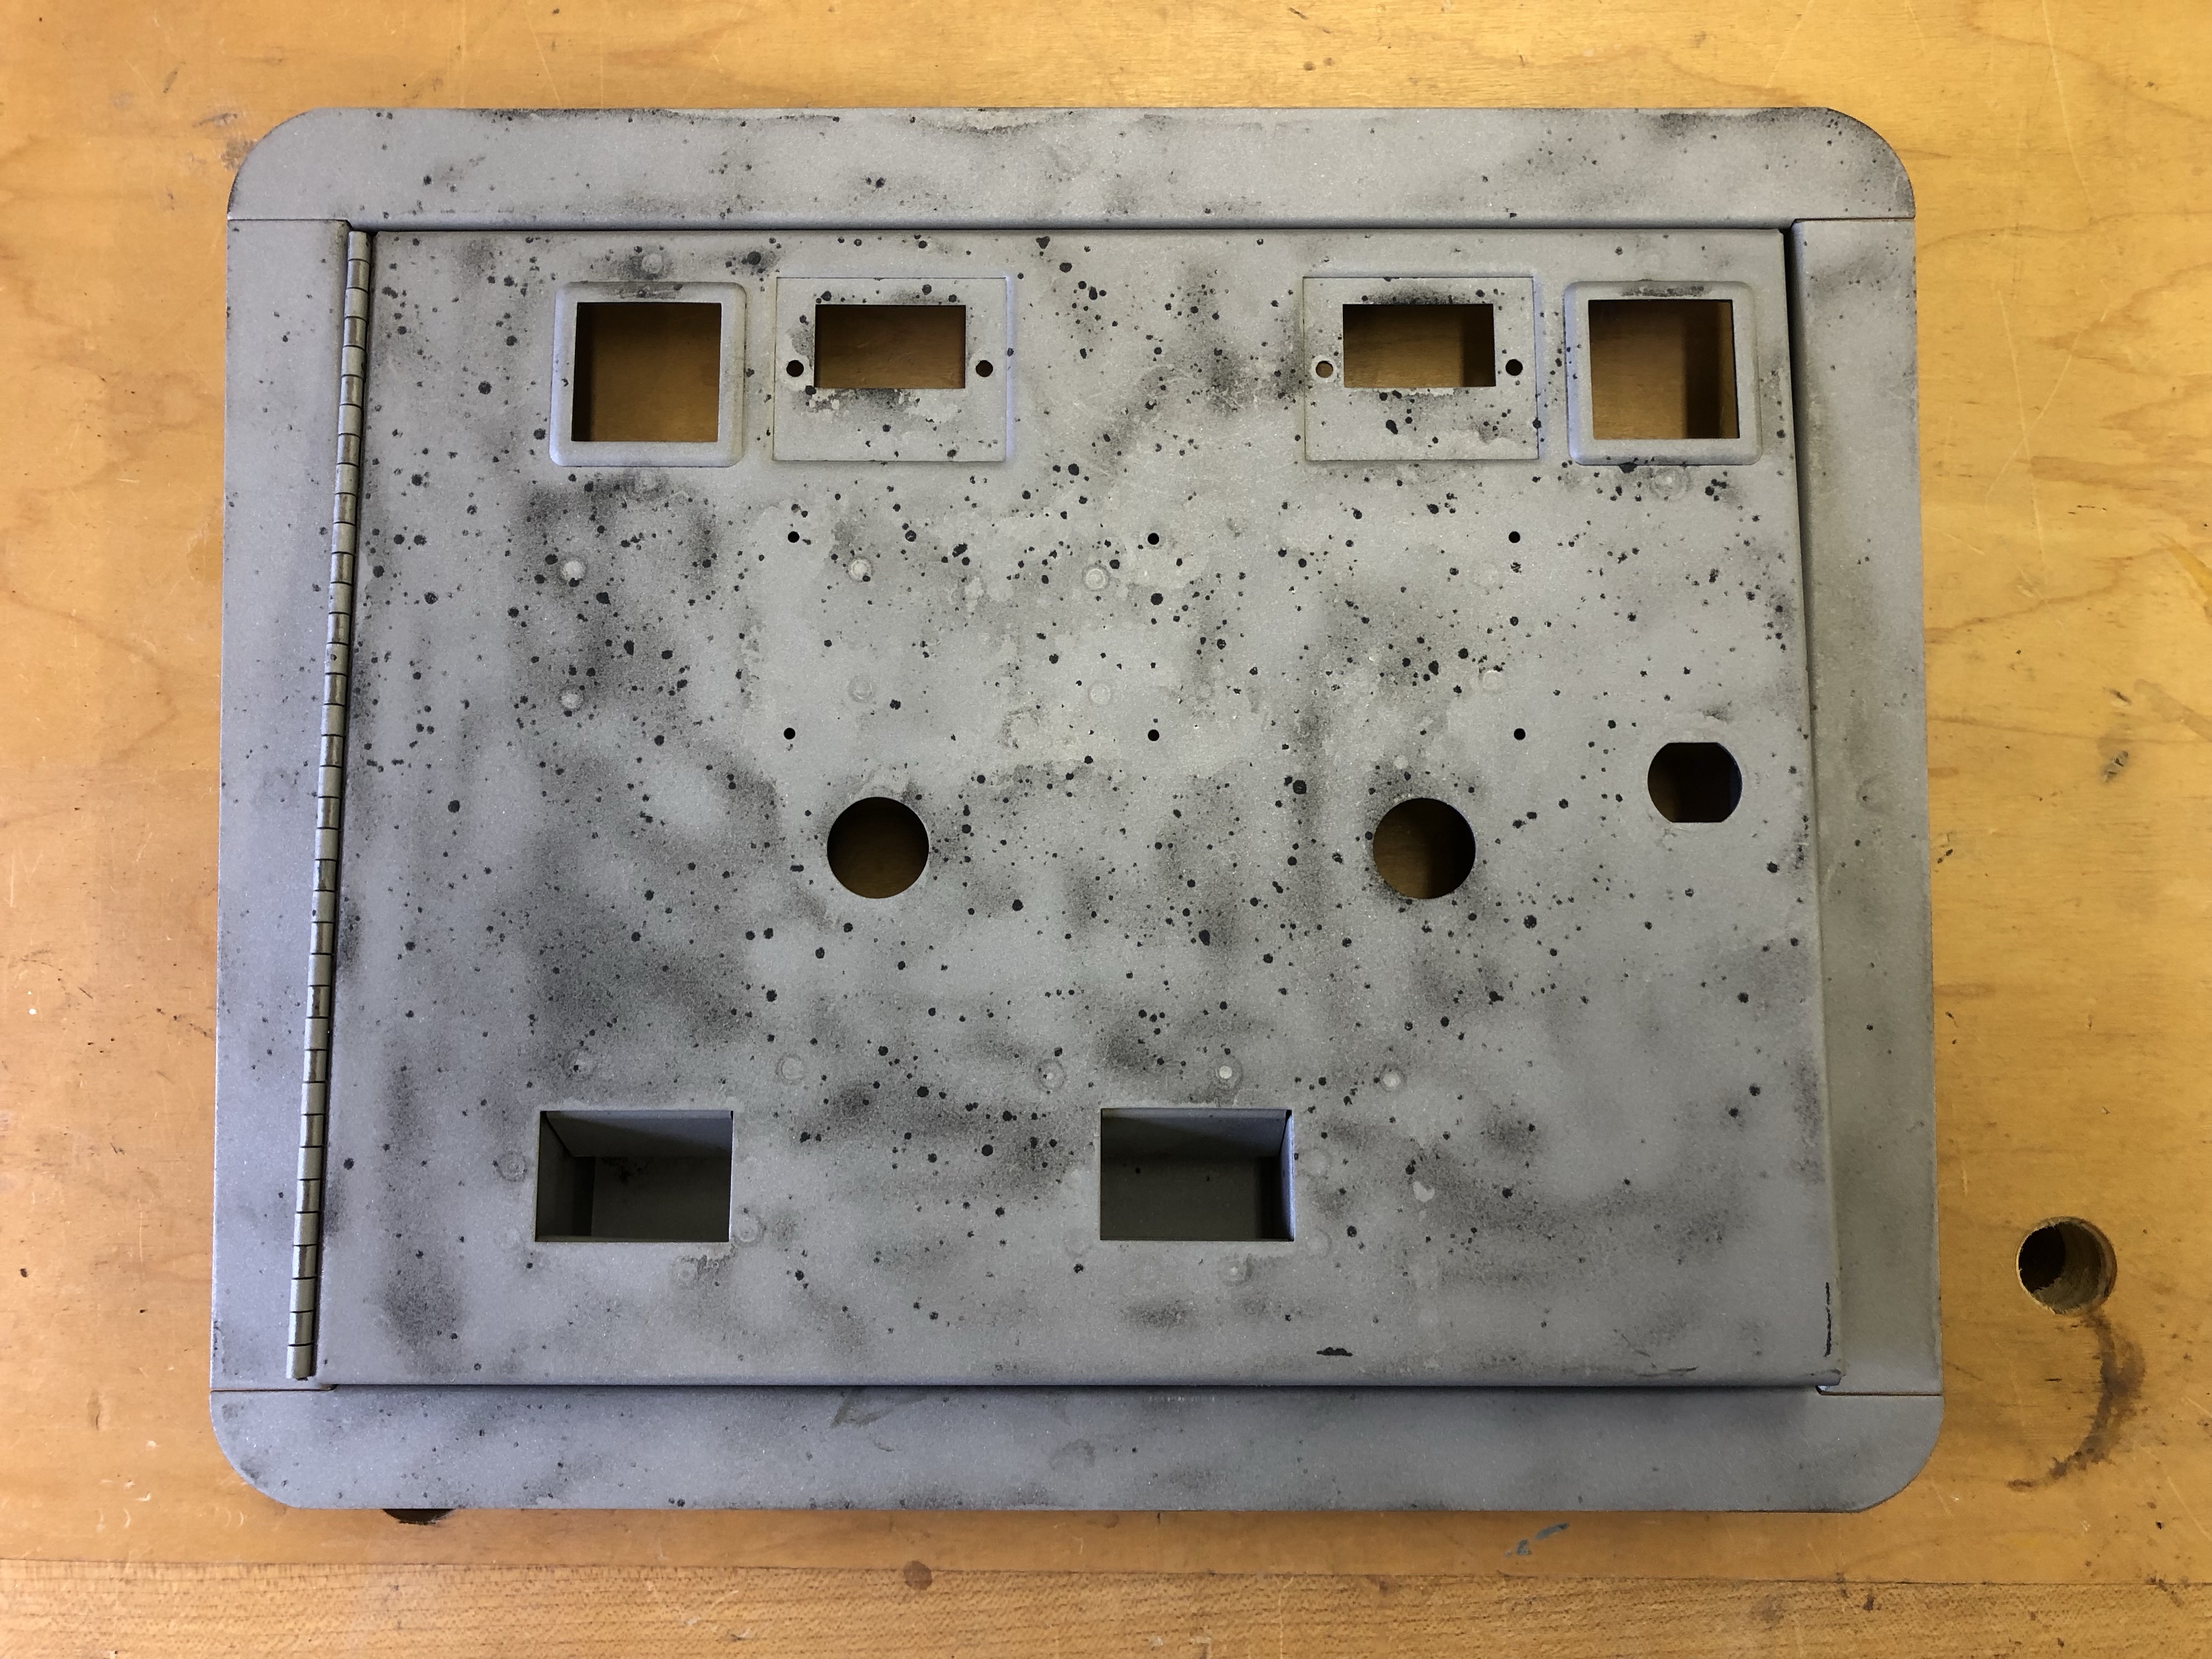
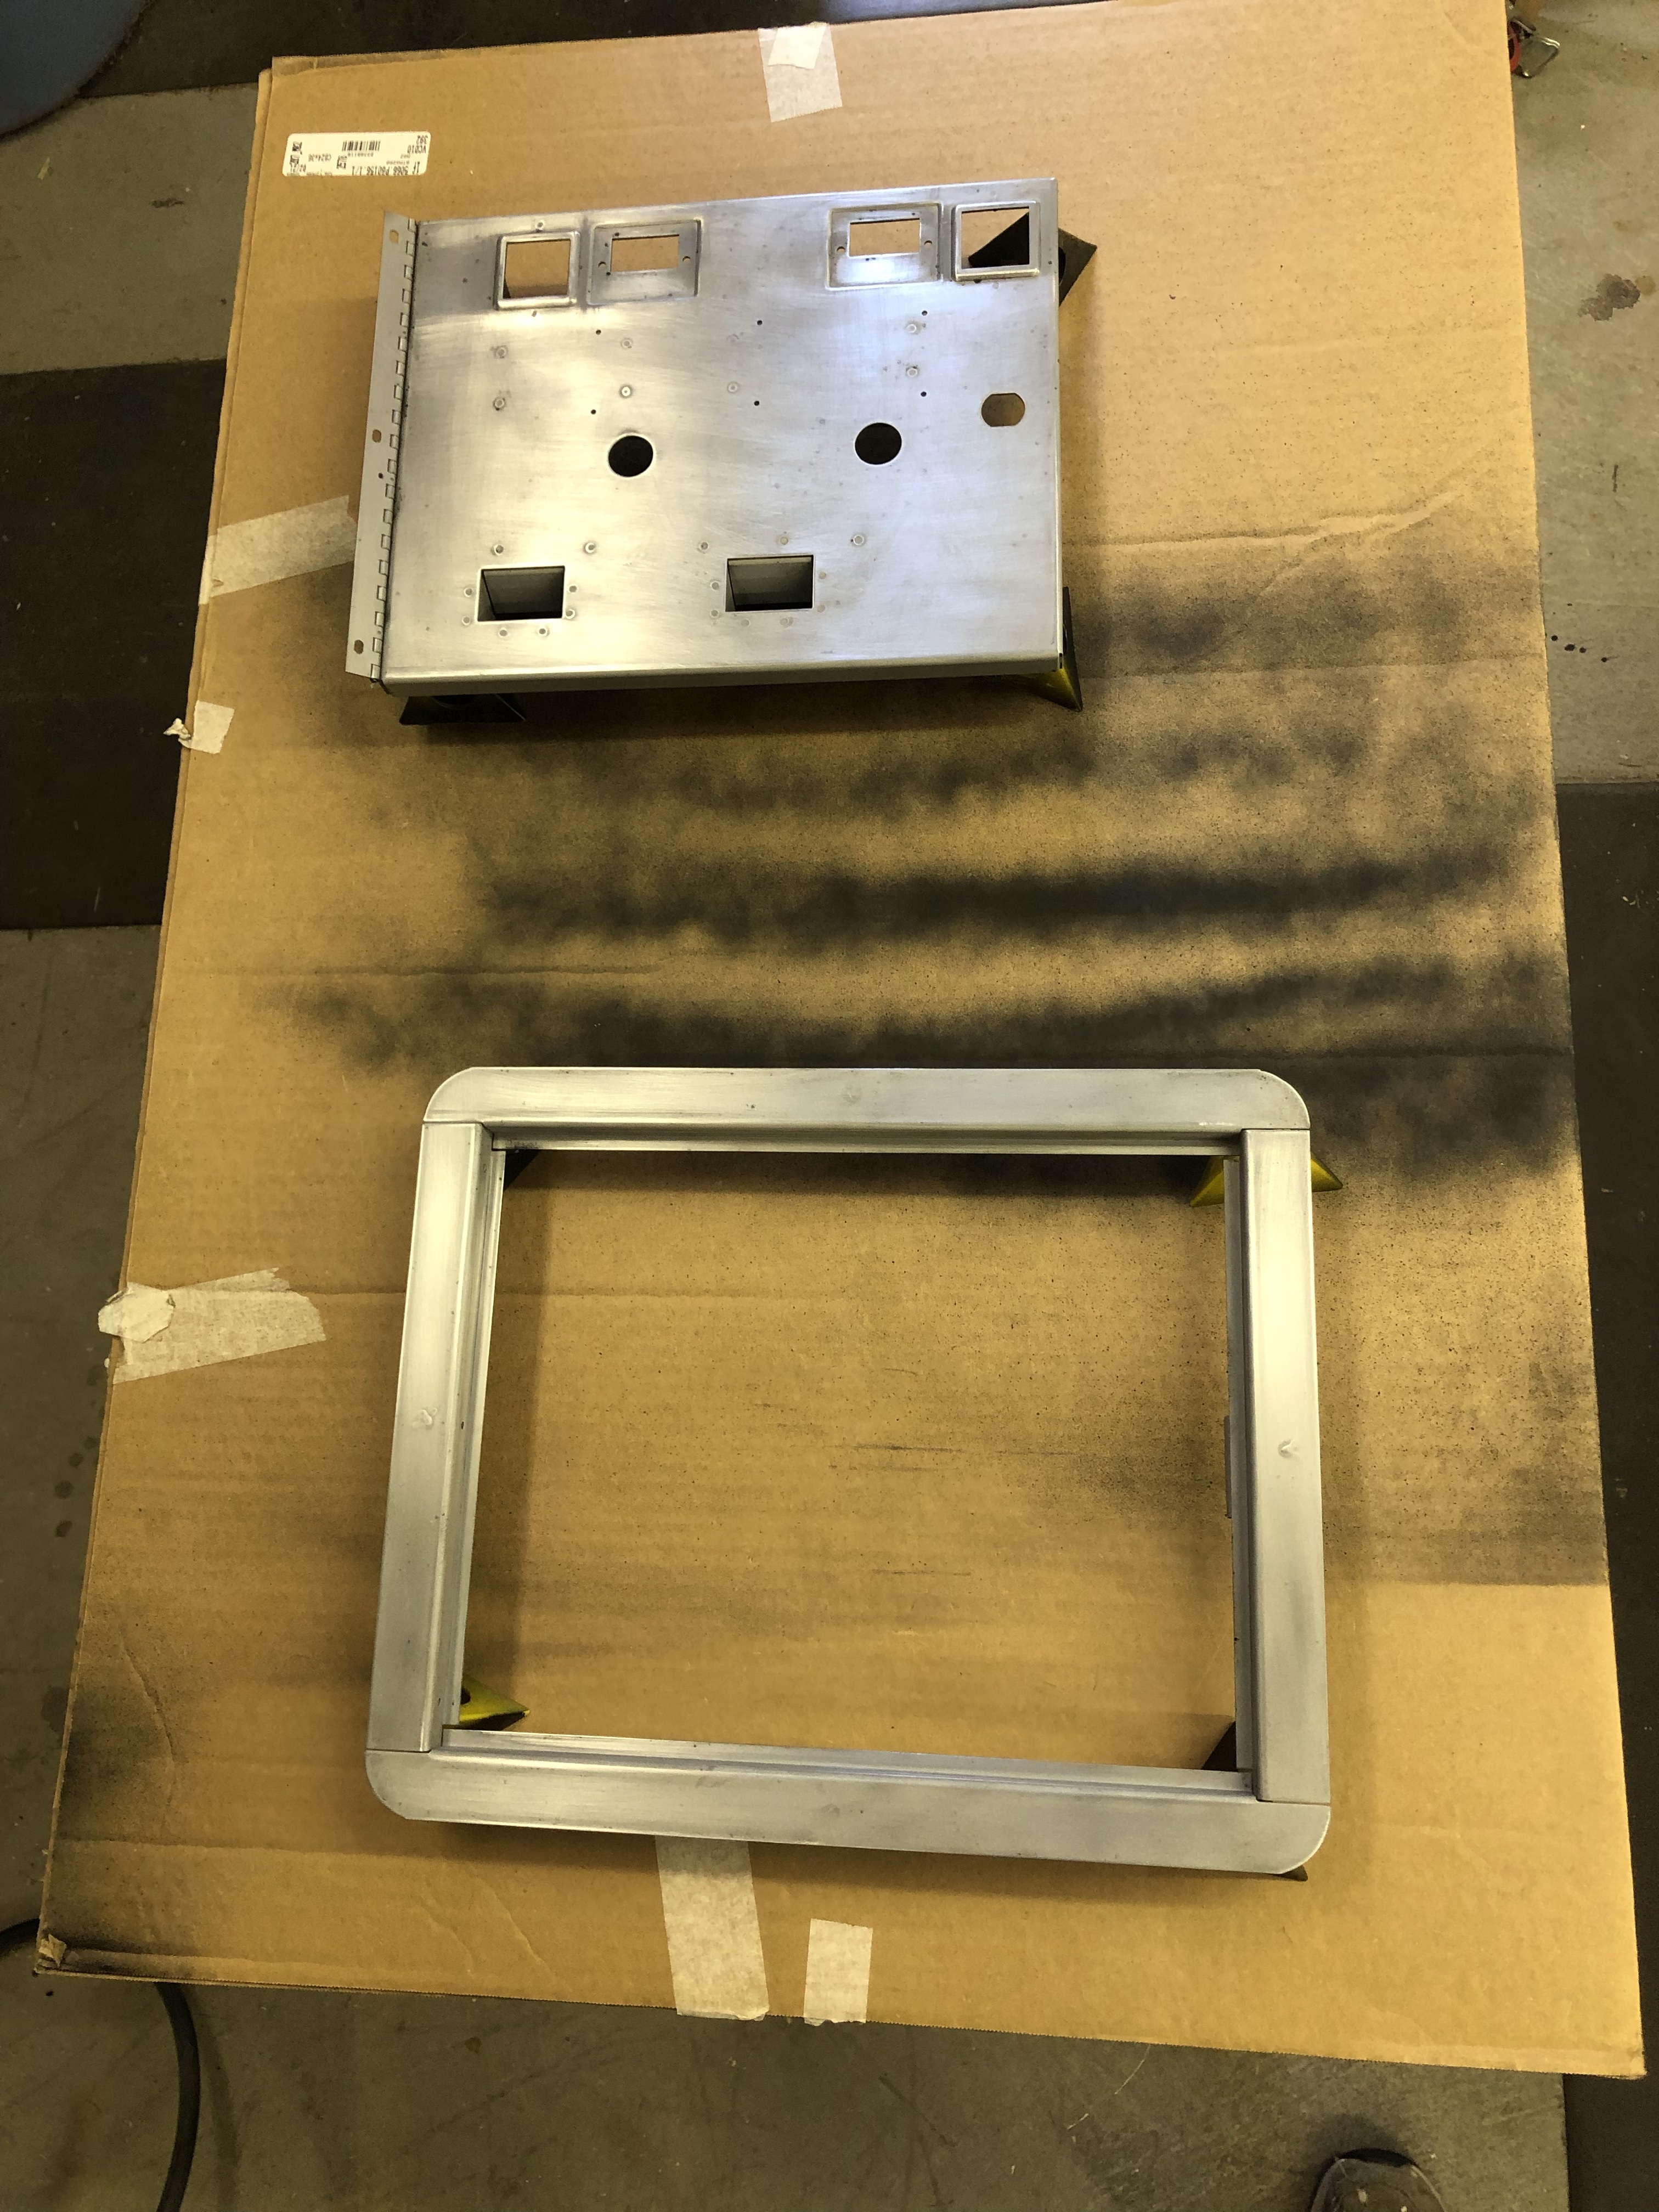

I picked up a small sandblasting gun about a year ago – What a great investment. Cleaned off the paint in about 10 minutes. Then I sand with 220g paper to smooth down the metal and get all of the last bits of paint off. One more finish sand with 320g paper to get any scratches out and make sure there is nothing to imprint through the paint. Wipe with acetone and blow dry with the compressor.
Using Satin Black, painted the door and frame with the base coat..
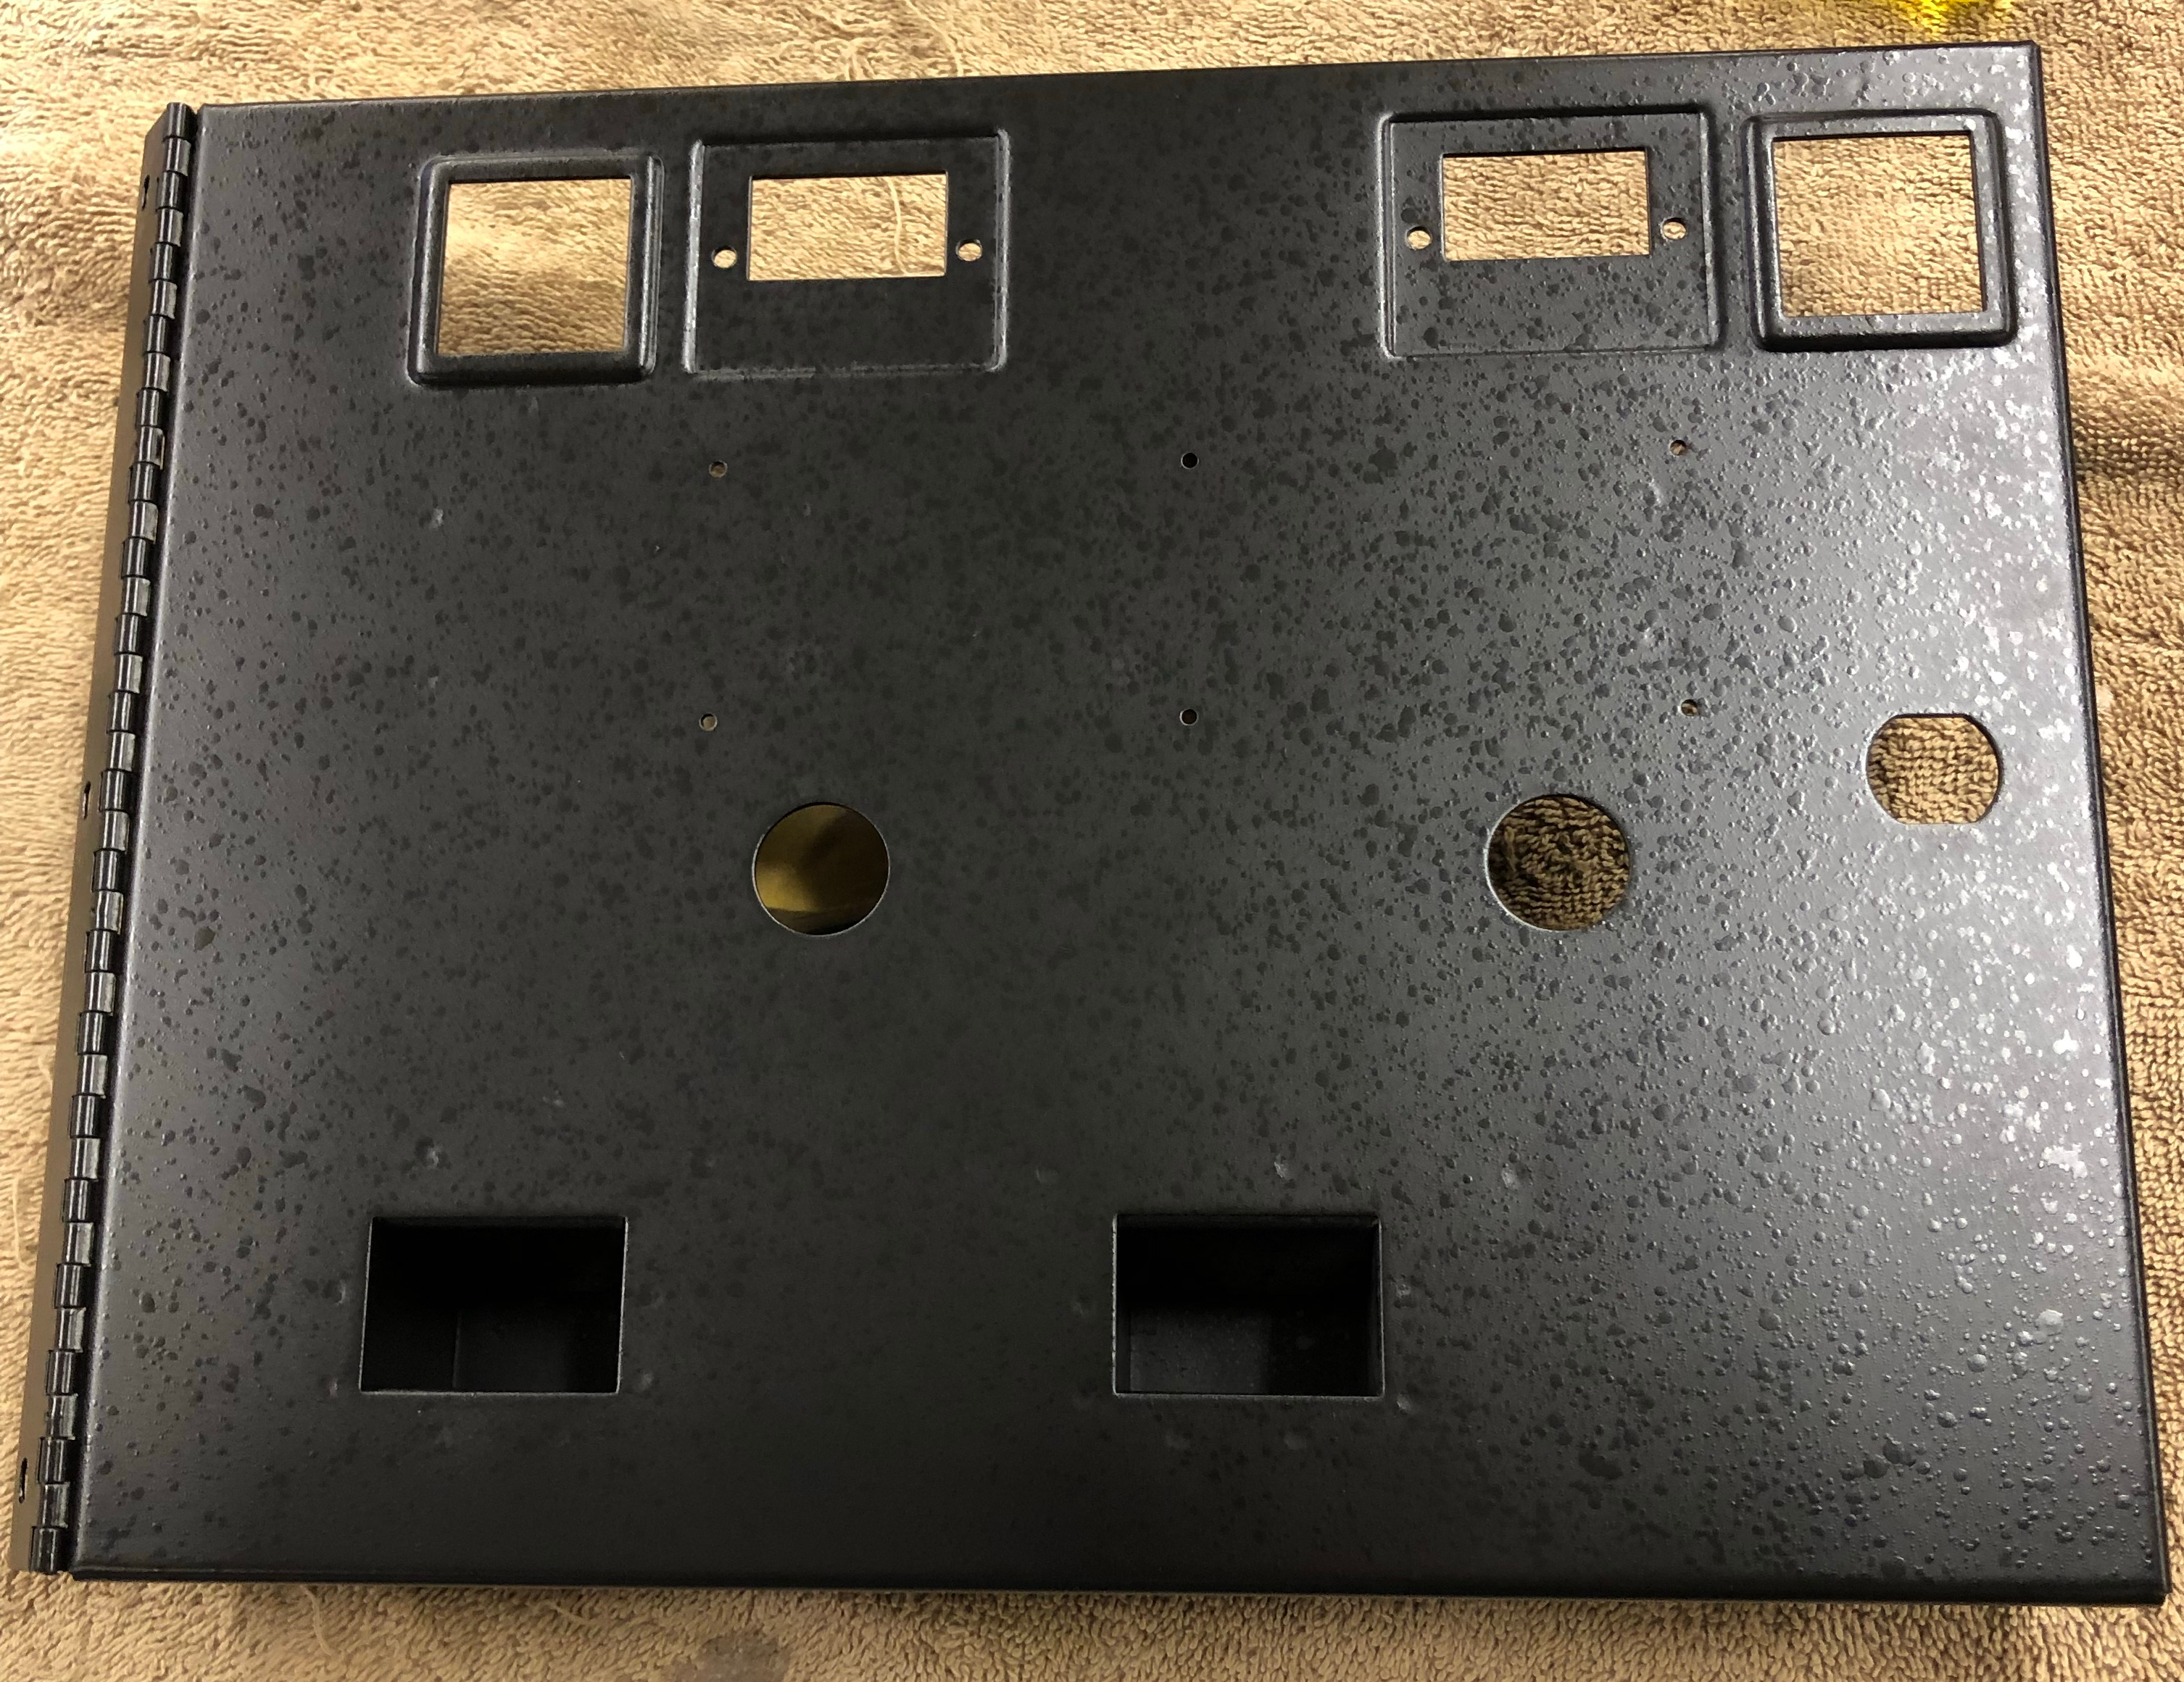
About 15-20 minutes after the base coat – the spatter coat goes on. It’s really an acquired skill. I’ve repainted a couple doors because I didn’t like how they came out. This one is a keeper. The glare does it no justice. It looks original.


All of this stuff I hit with the buffing wheel and compound. Bolt heads, eject buttons and the coin slots maybe took 20 minutes in total to polish.
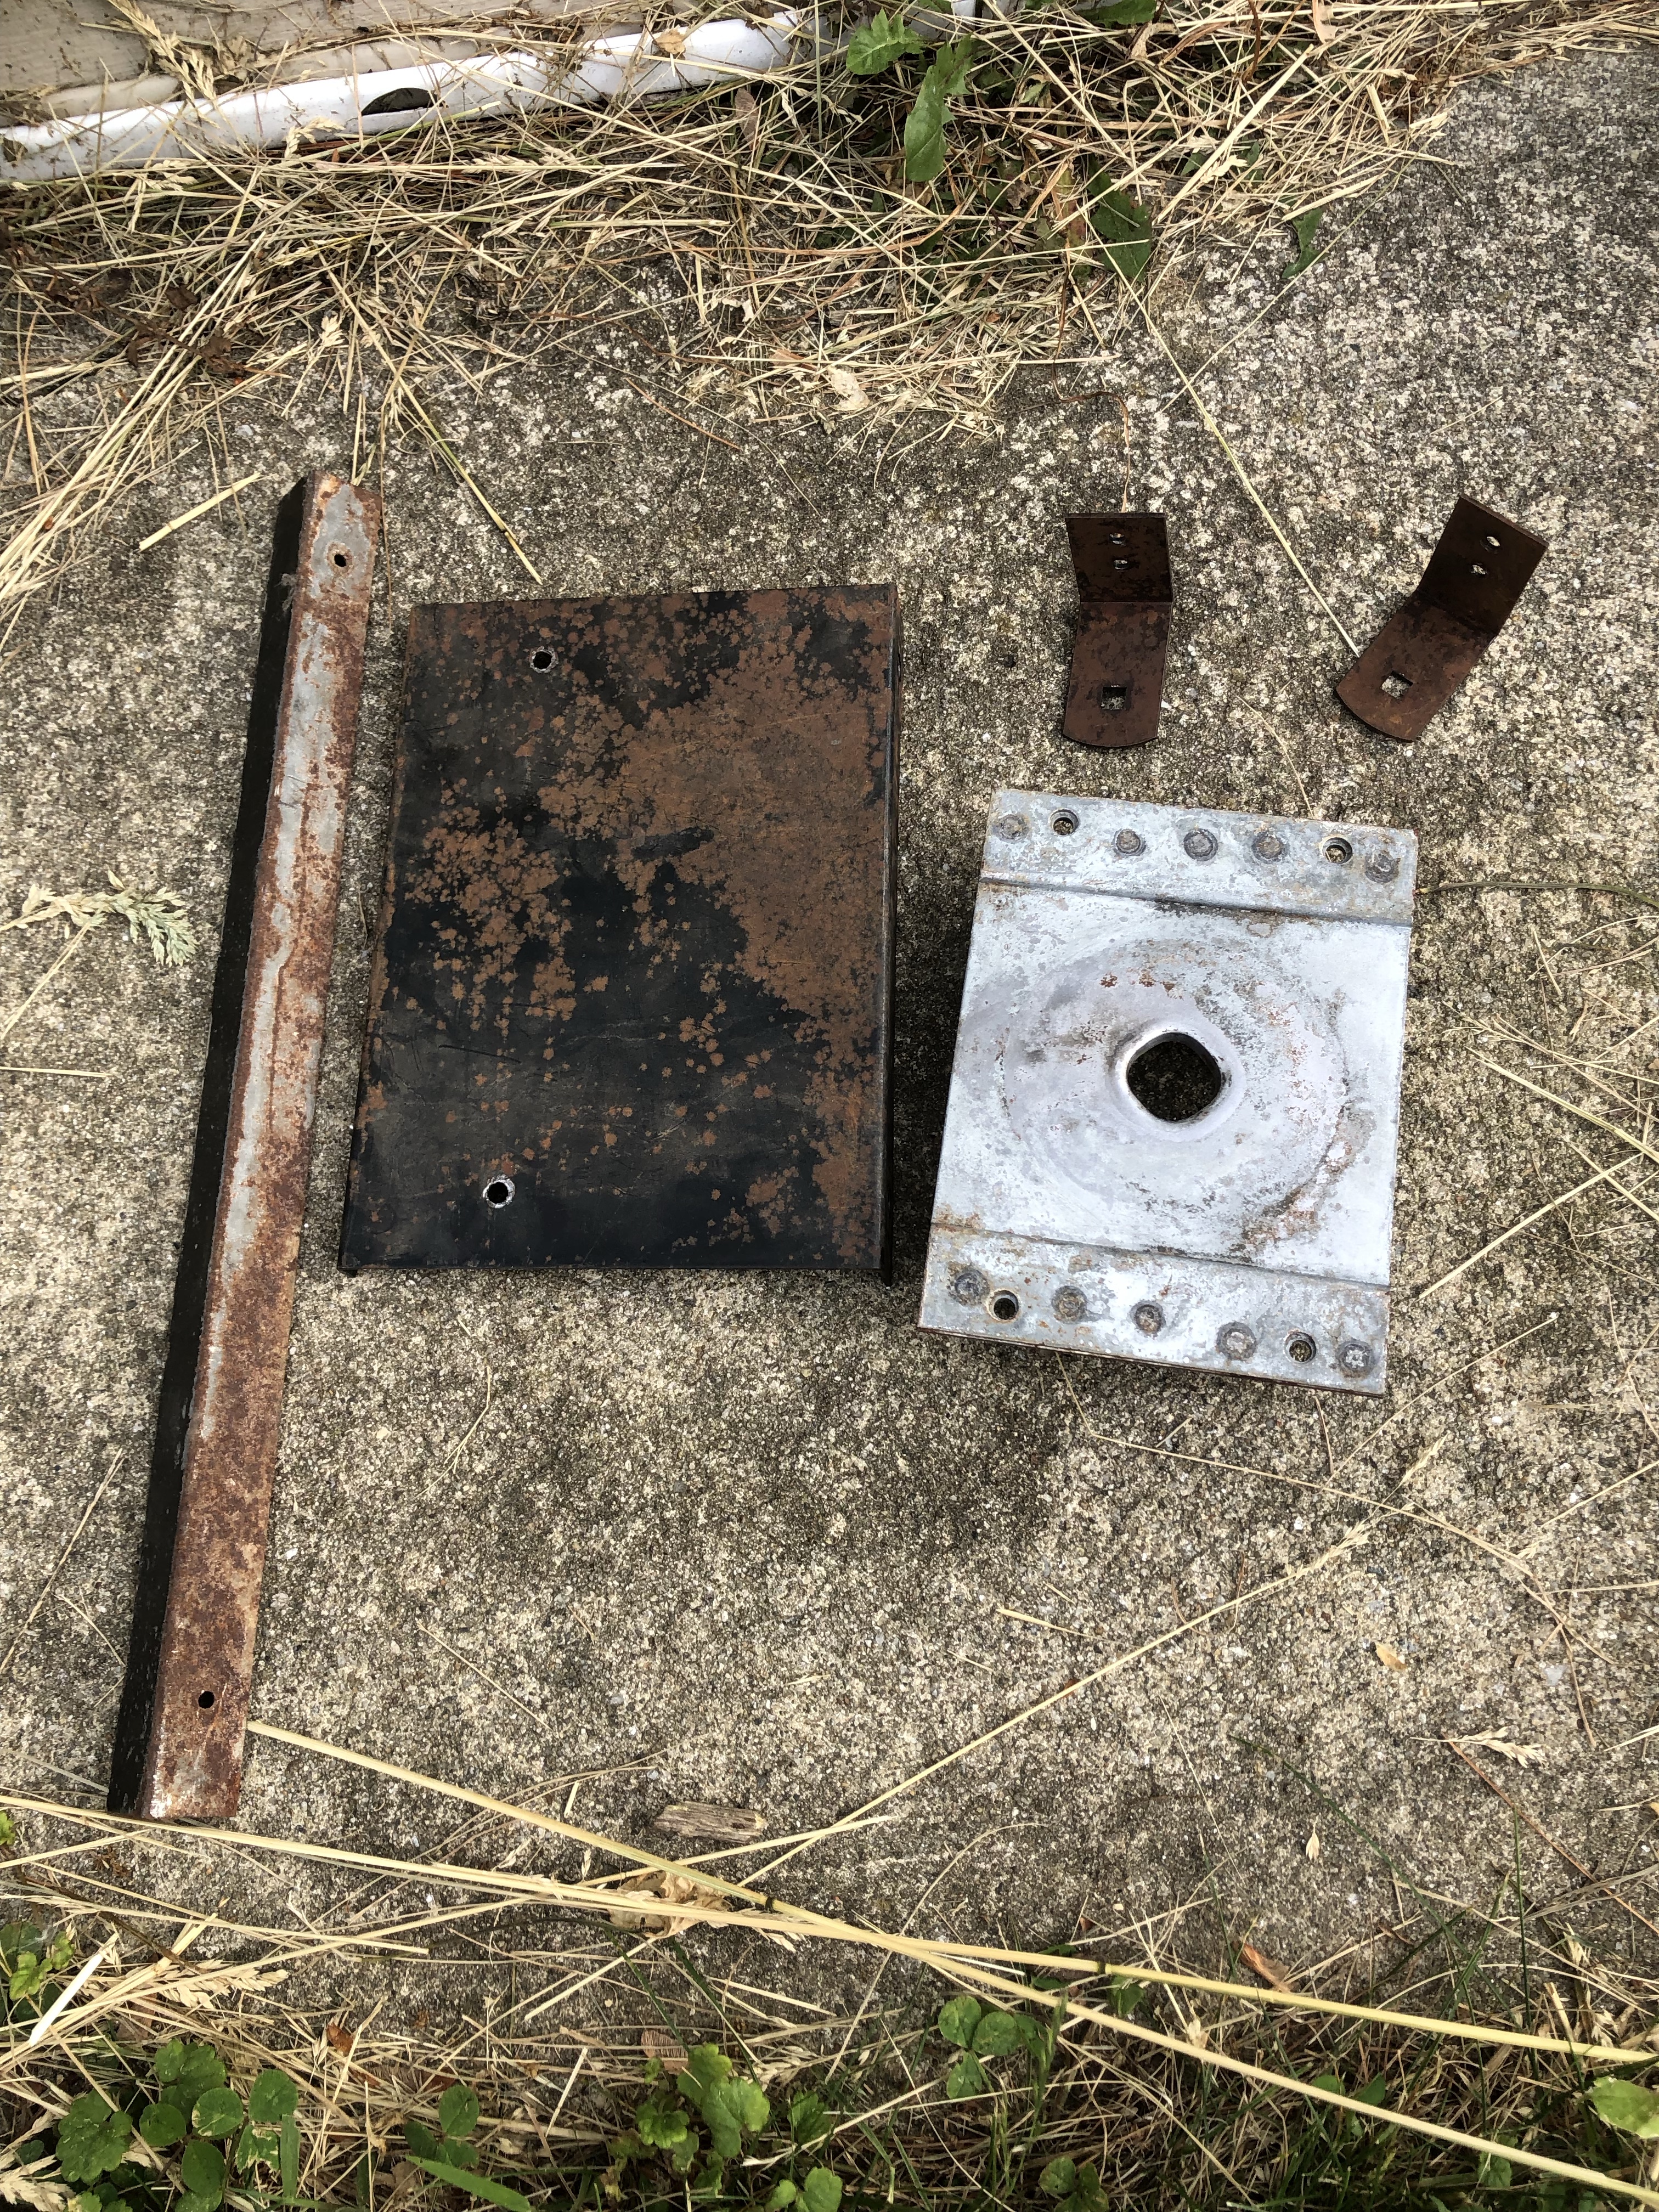
I haven’t sourced rivets to put the Midway plate back on yet.
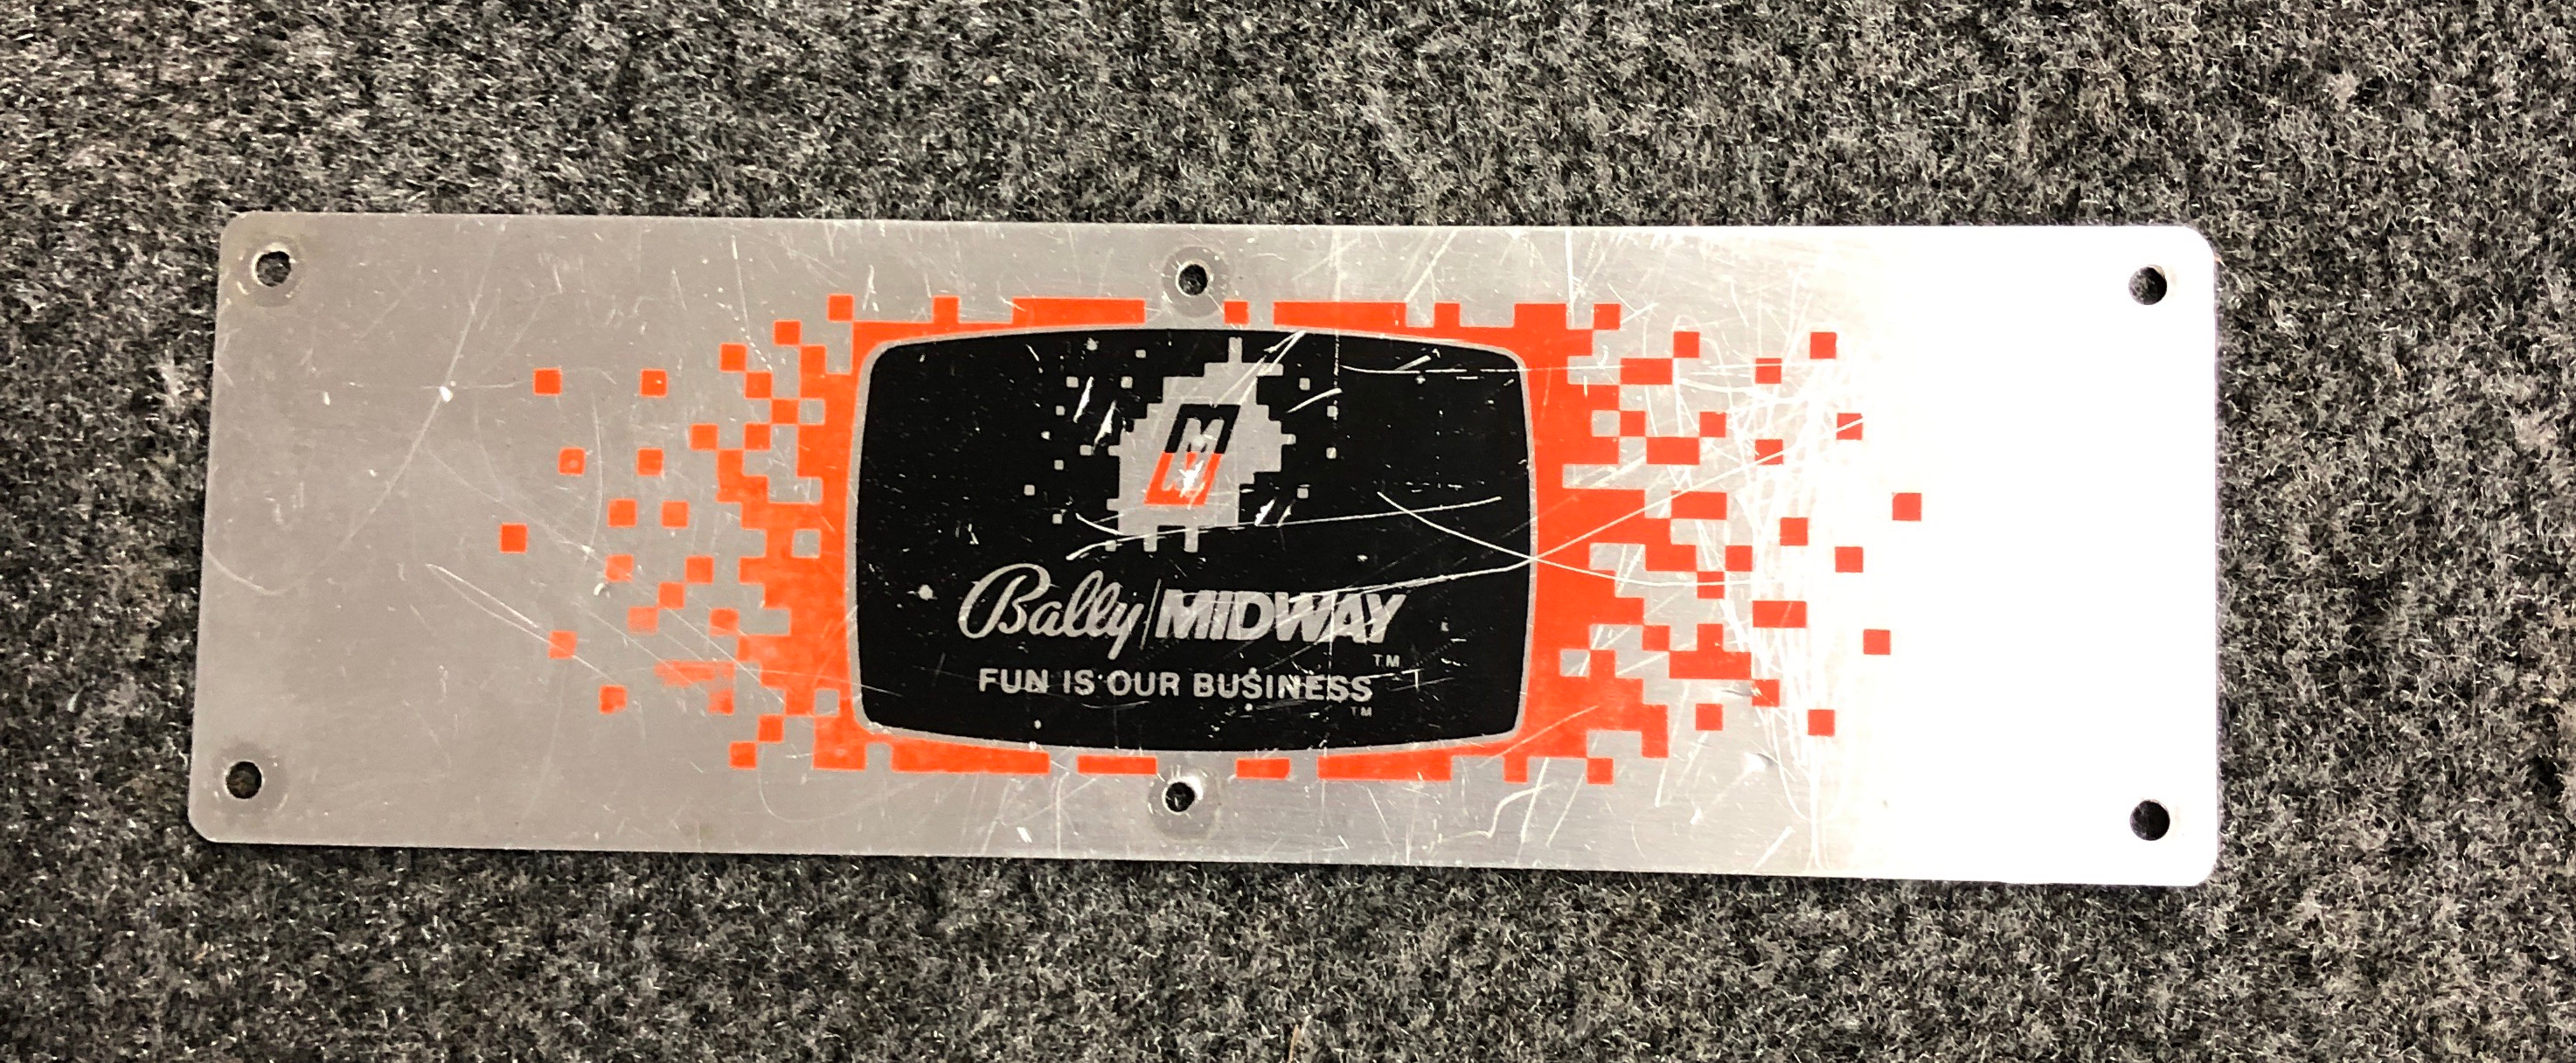
It’s a little beat up.. But I think this part needs to be original. It will go back on when I source the correct rivets.
Restoration completed
There are a couple of small details remaining. But this restore is 99% complete.

The vinyl is about as an exact match as you can get after ~40 years.


Need to add the name plate, kick plate and finish a couple small details.
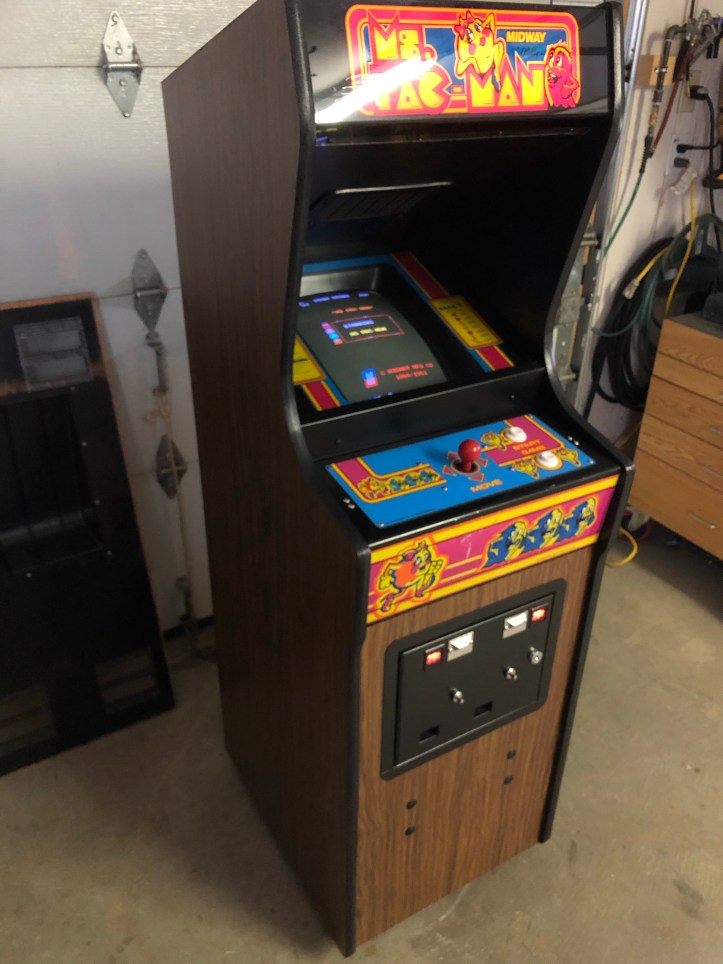
Restoration complete. I preserved as much of the original cabinet as I could – but this one could have easily been parted out by the previous owner. Parts of it would have been simpler to just replace vs. restore. When I got it – I wasn’t sure I’d like the cabaret form factor – but it has grown on me. I have the perfect spot for it at the lake.
Shop cleaned – ready for the next project.
Late Addition:
It took a while – but I was able to source rivets for the coin door name plate.
Hanson Rivet had the closest to the originals that I could get.
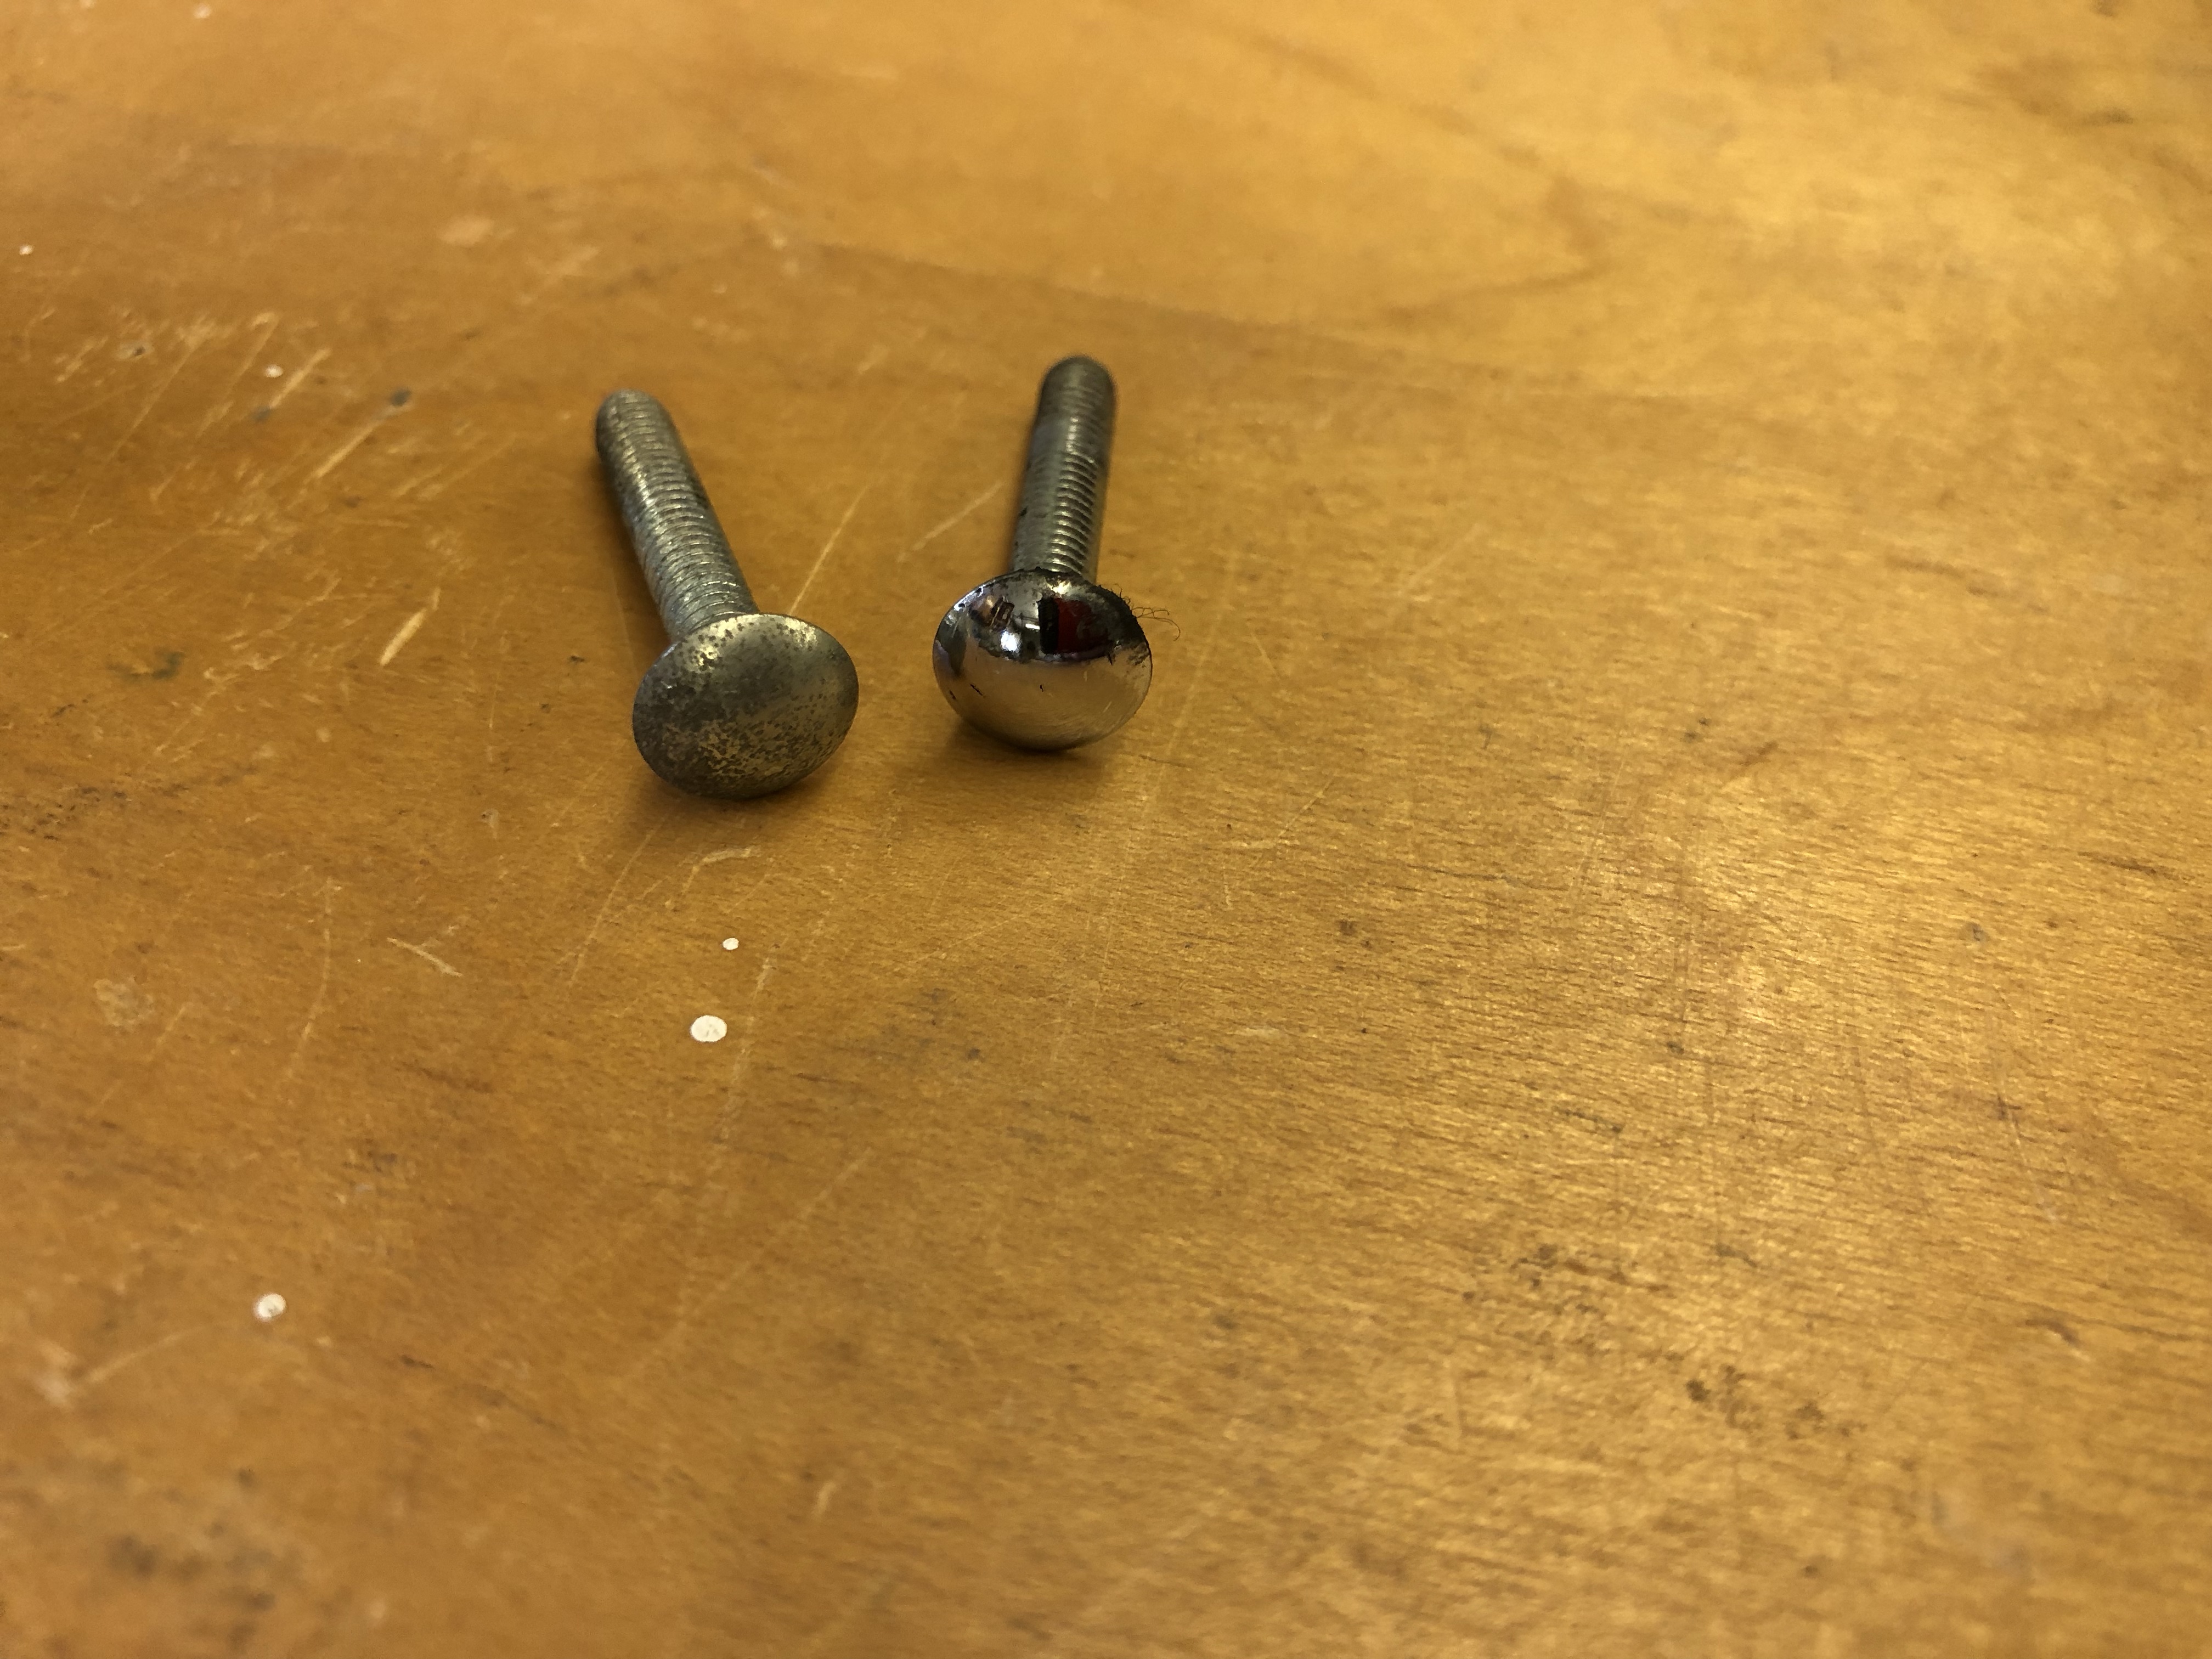
Rivet#1 – Correct barrel size, head too small.
Rivet#2 – Correct head size, barrel slightly too big.
I went with Rivet#2 – The head matches the originals perfectly and no one can see the holes they are peened into.. To use Rivet#2 – You need to open the holes on the coin door to 1/8″. I minor widening of the holes.
I could have had custom rivets made – minimum order 5,000. I needed 6. So…. no…

New rivet vs. original

Original name plate back in position.

[…] Ms. Pac-man Mini – Parts and Completion […]