 Darts are my new part time activity – and since we are going to have a Arcade machine – a dart board fits in with the theme.
Found a nice set of plans: Woodsmith Plans: Dart Cabinet
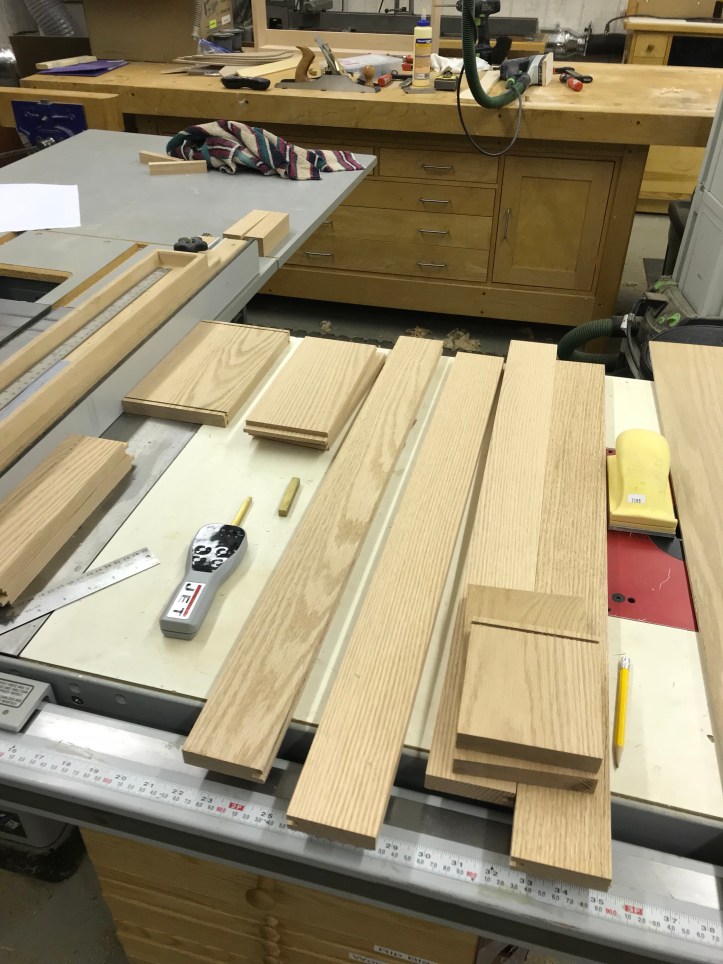
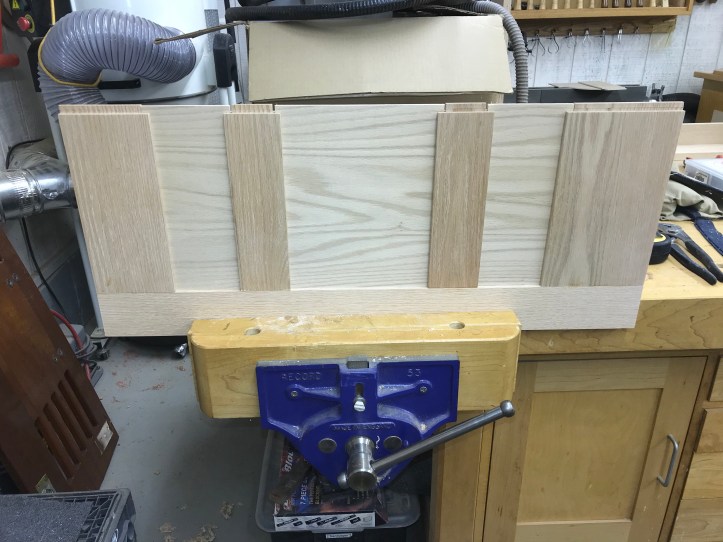
First step was setting up the cabinet frame and milling out red oak boards.

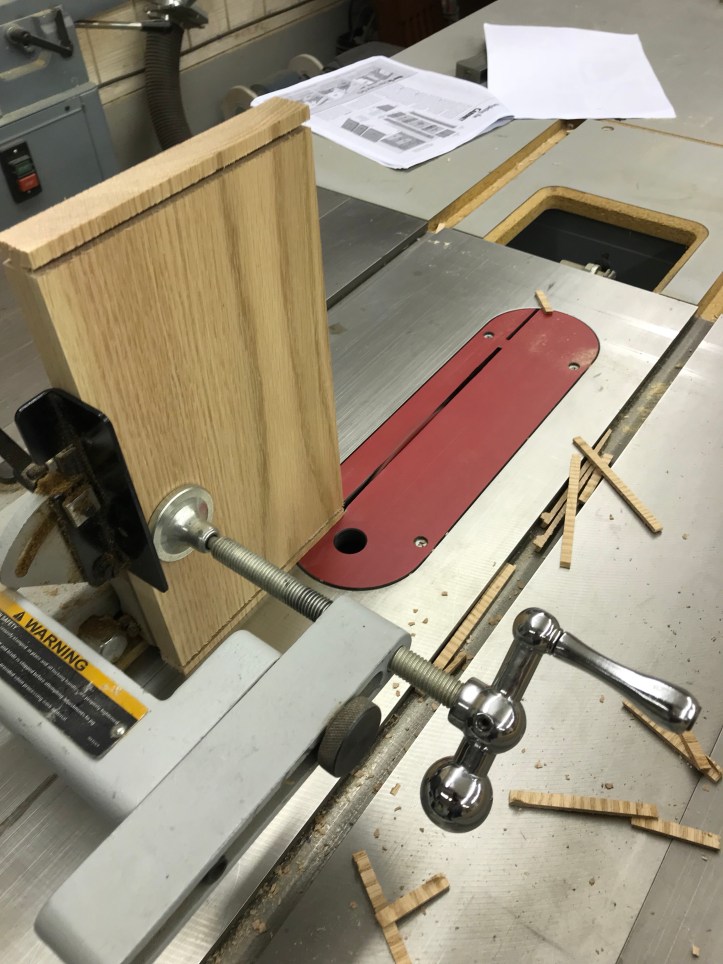
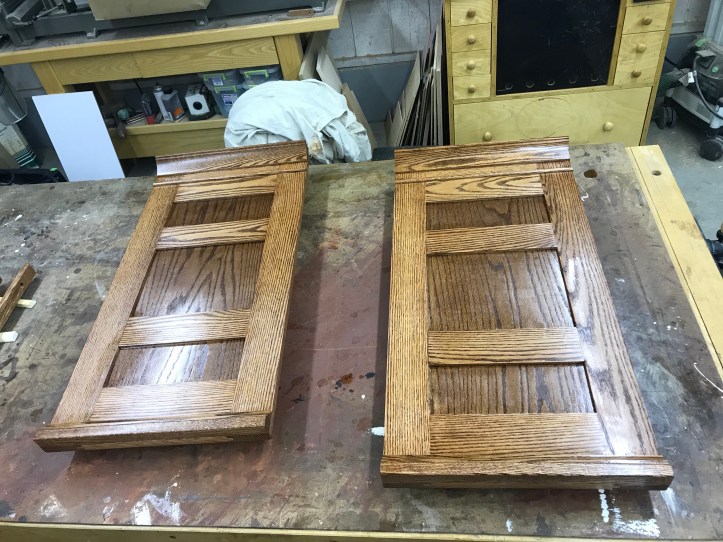
The doors are flat panel w/mortise and tenon joints. The jig on the table saw makes cutting tenons easy.
Best way to make a project like this is to create a dart cabinet kit.. Cutting all of the components to size before adding the details like tenons and dado’s.
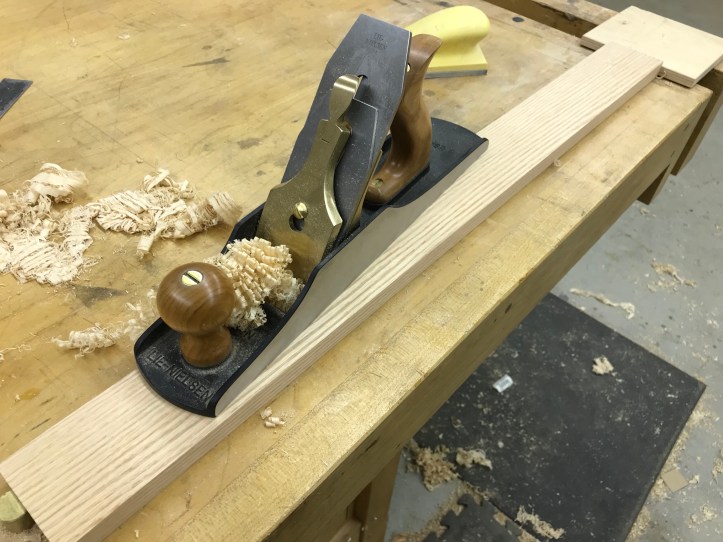
After all the mortises are cut (forgot to get a picture of that part).. All of the joints need to be hand fit..not too tight and not too lose.. its best to have the joints tight off of the machines and take a few shavings with a block plane on the tenons to finish them up.

These are “simple” flat panel doors. 1/4″ oak plywood panels.
Glue up of doors.

The surface planer leaves machine marks on the wood. I could sand them out, but a 2-3 quick passes with a hand plan cleans them up immediately. Using a sander takes longer and its easy to miss some of the marks.
Clamping or doors.

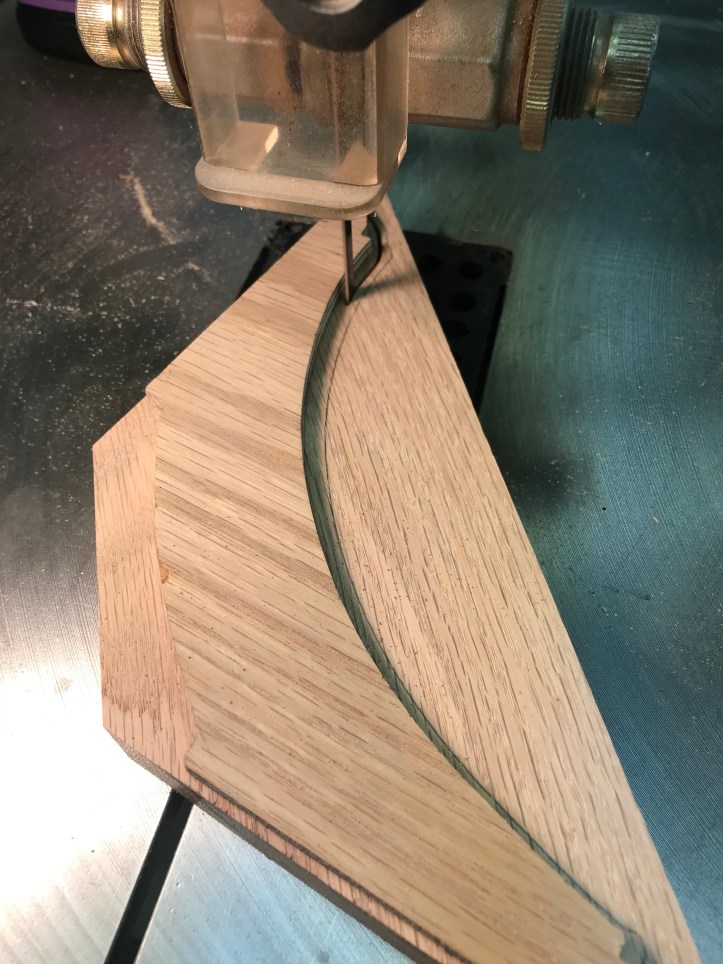
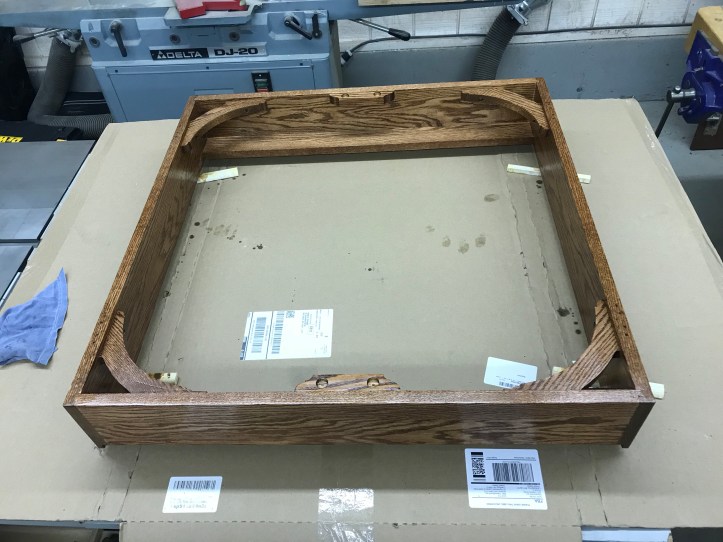
This design overall is rather simple. A box with doors – they added a bunch of details that were rather tricky.. First are these decorative corner braces – I made a template out of plywood so I could easily repeat the shapes. Here is the template double stick taped to plywood and cutting a bracket out on the band saw. Basically stay away from the template with the blade.
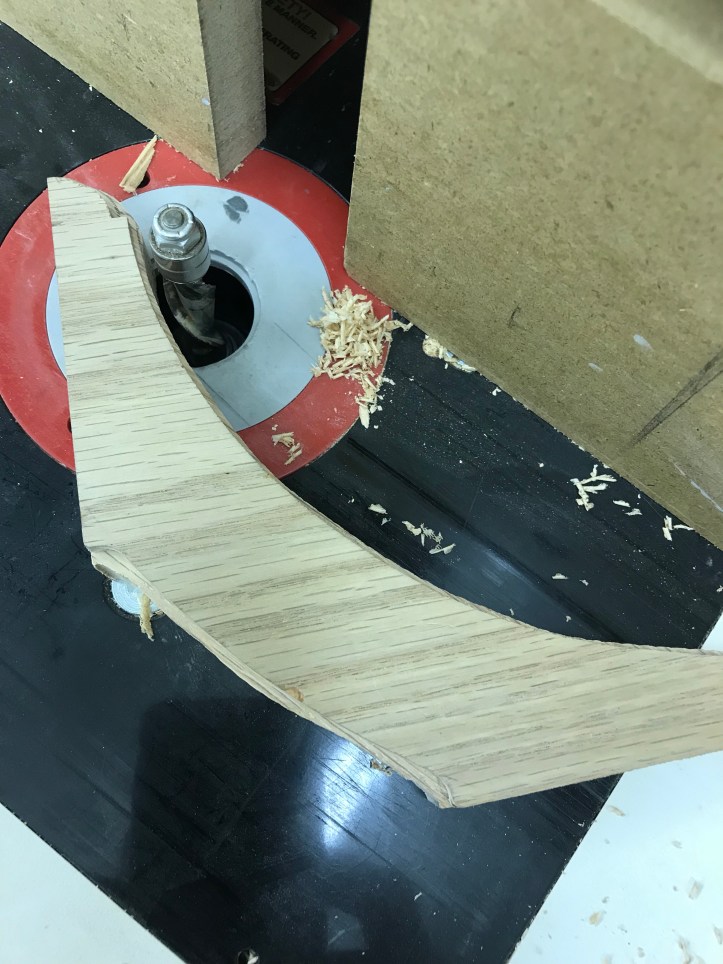
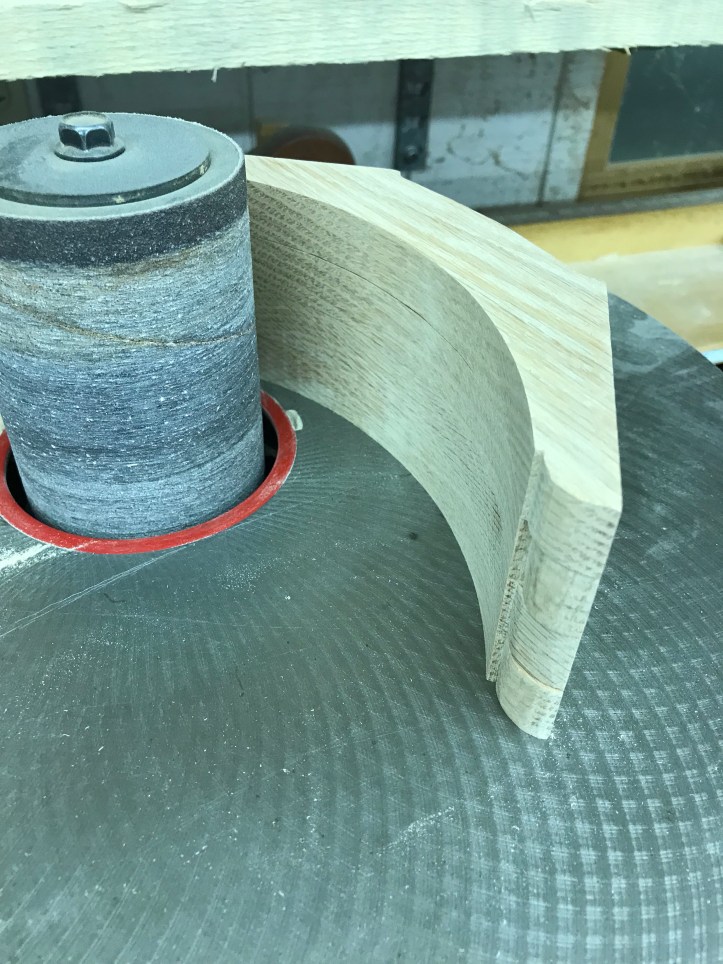
Next I tried to duplicate the shape with a pattern bit on the router table.. Here I ran into trouble.. The bit just can’t do across and grain and I shattered a couple of brackets.. So I did the long curves on both sides of the brackets and finished the ends by hand.
Even though I did the long edges with the router table and template – double stick taping them all together and finishing them up with a drum sander does a great job.
However – all of the ends were different..
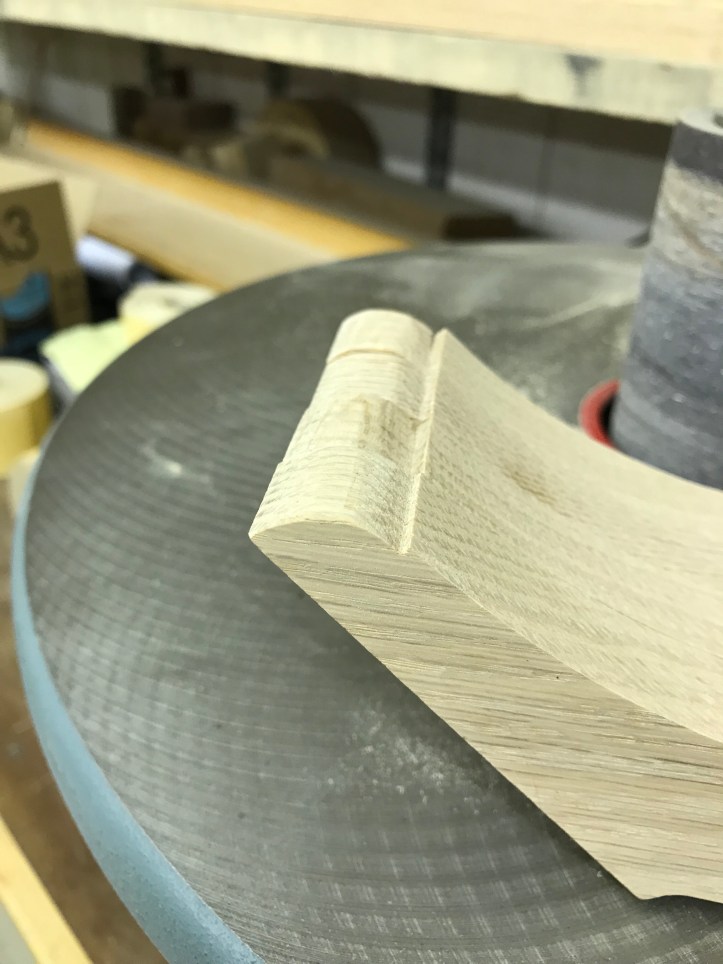
Having them all taped together and cleaning them up at the bench was the best way to finish these brackets.
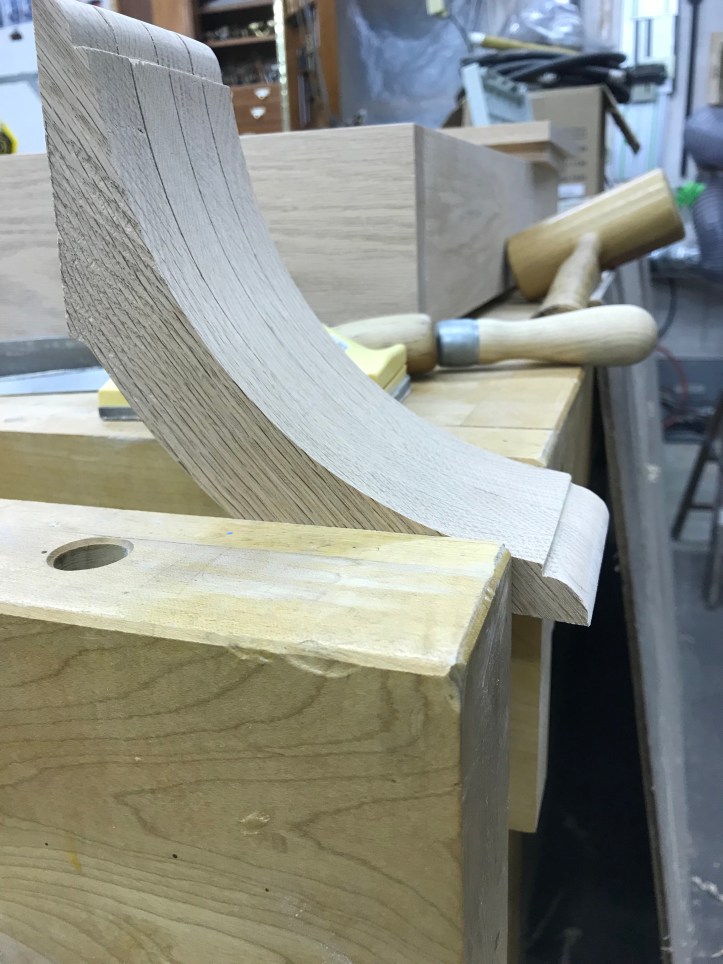
Using a 3/8″ spacer to position the brackets.
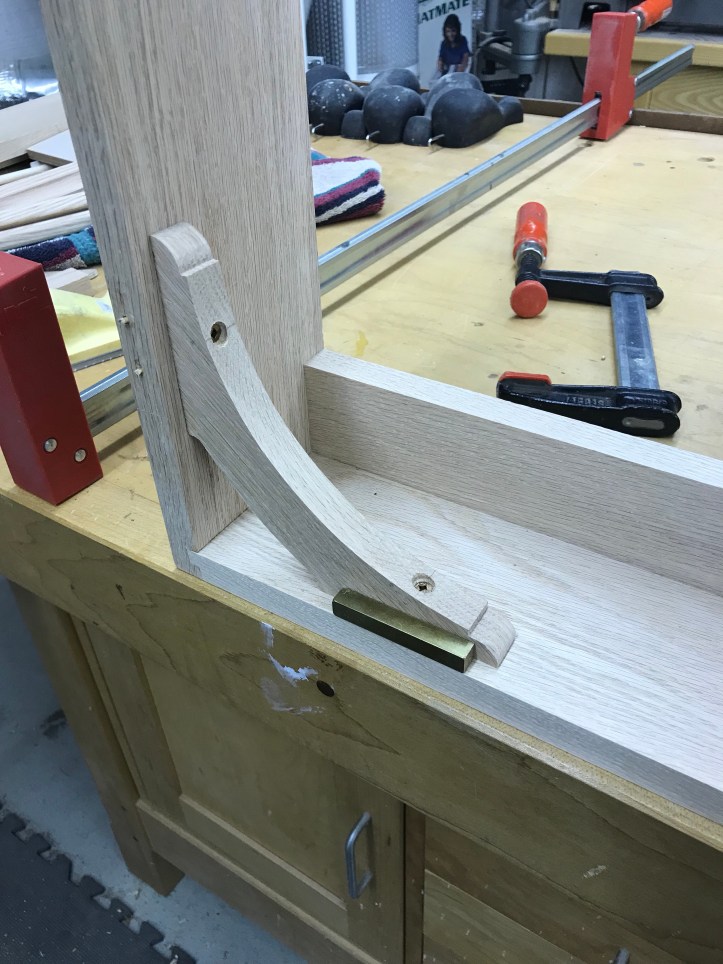
All 4 in place.

This cabinet required a bunch of custom moldings and shapes. Corner molding and an asymmetric crown molding, chalk trays and some trim.
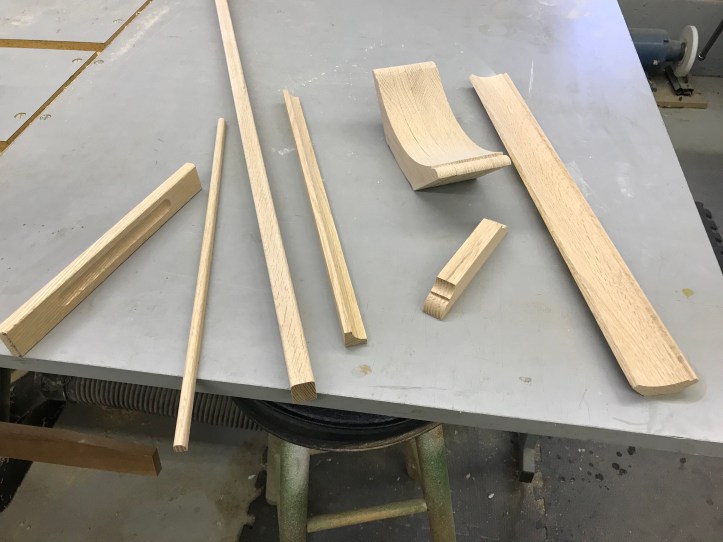
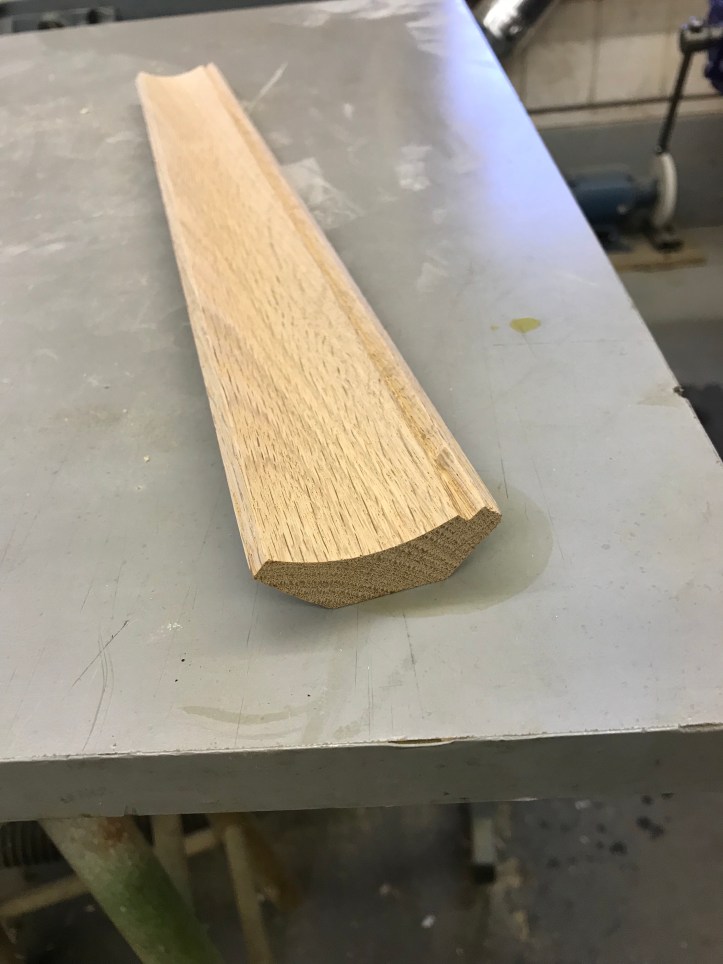
The crown molding is tricky because there is not a router bit this shape. The cove is made by setting up diagonal guides on the table saw that cut across the blade to provide the width and depth of the cove. Then you make multiple passes through the blade raising it a little each time to get the desired shape. Once its cut – you still have to hand sand the cove as it is very rough. This technique is well documented on Making a cove molding
The chalk trays have this small detail

First coats of stain and clear coat
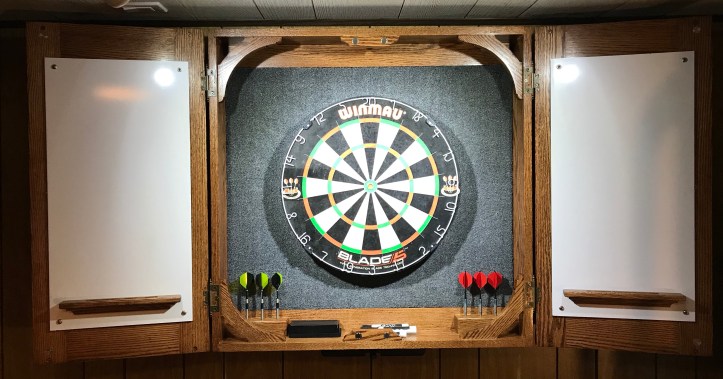
Scoreboards, marker trays and backer panel in place..

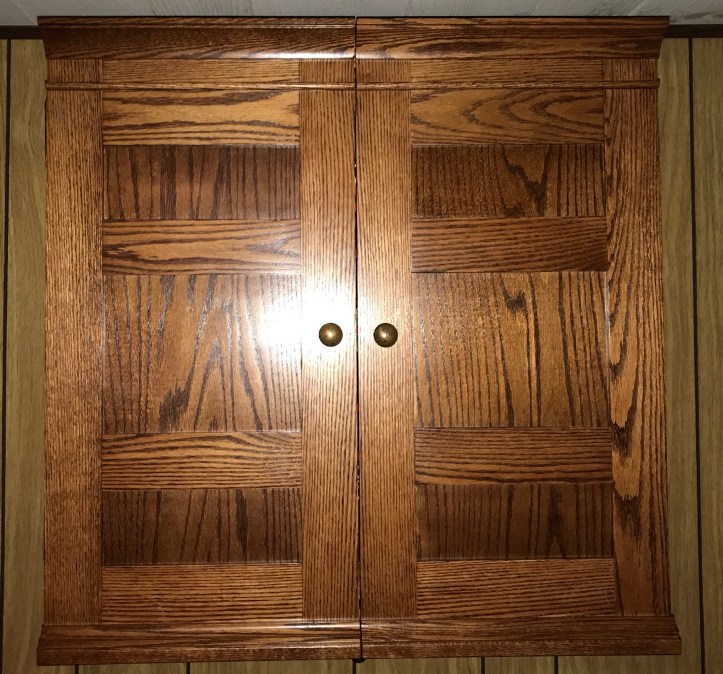
Completed Cabinet in place.