Overall the cabinet is in relatively good condition. But it has its issues.
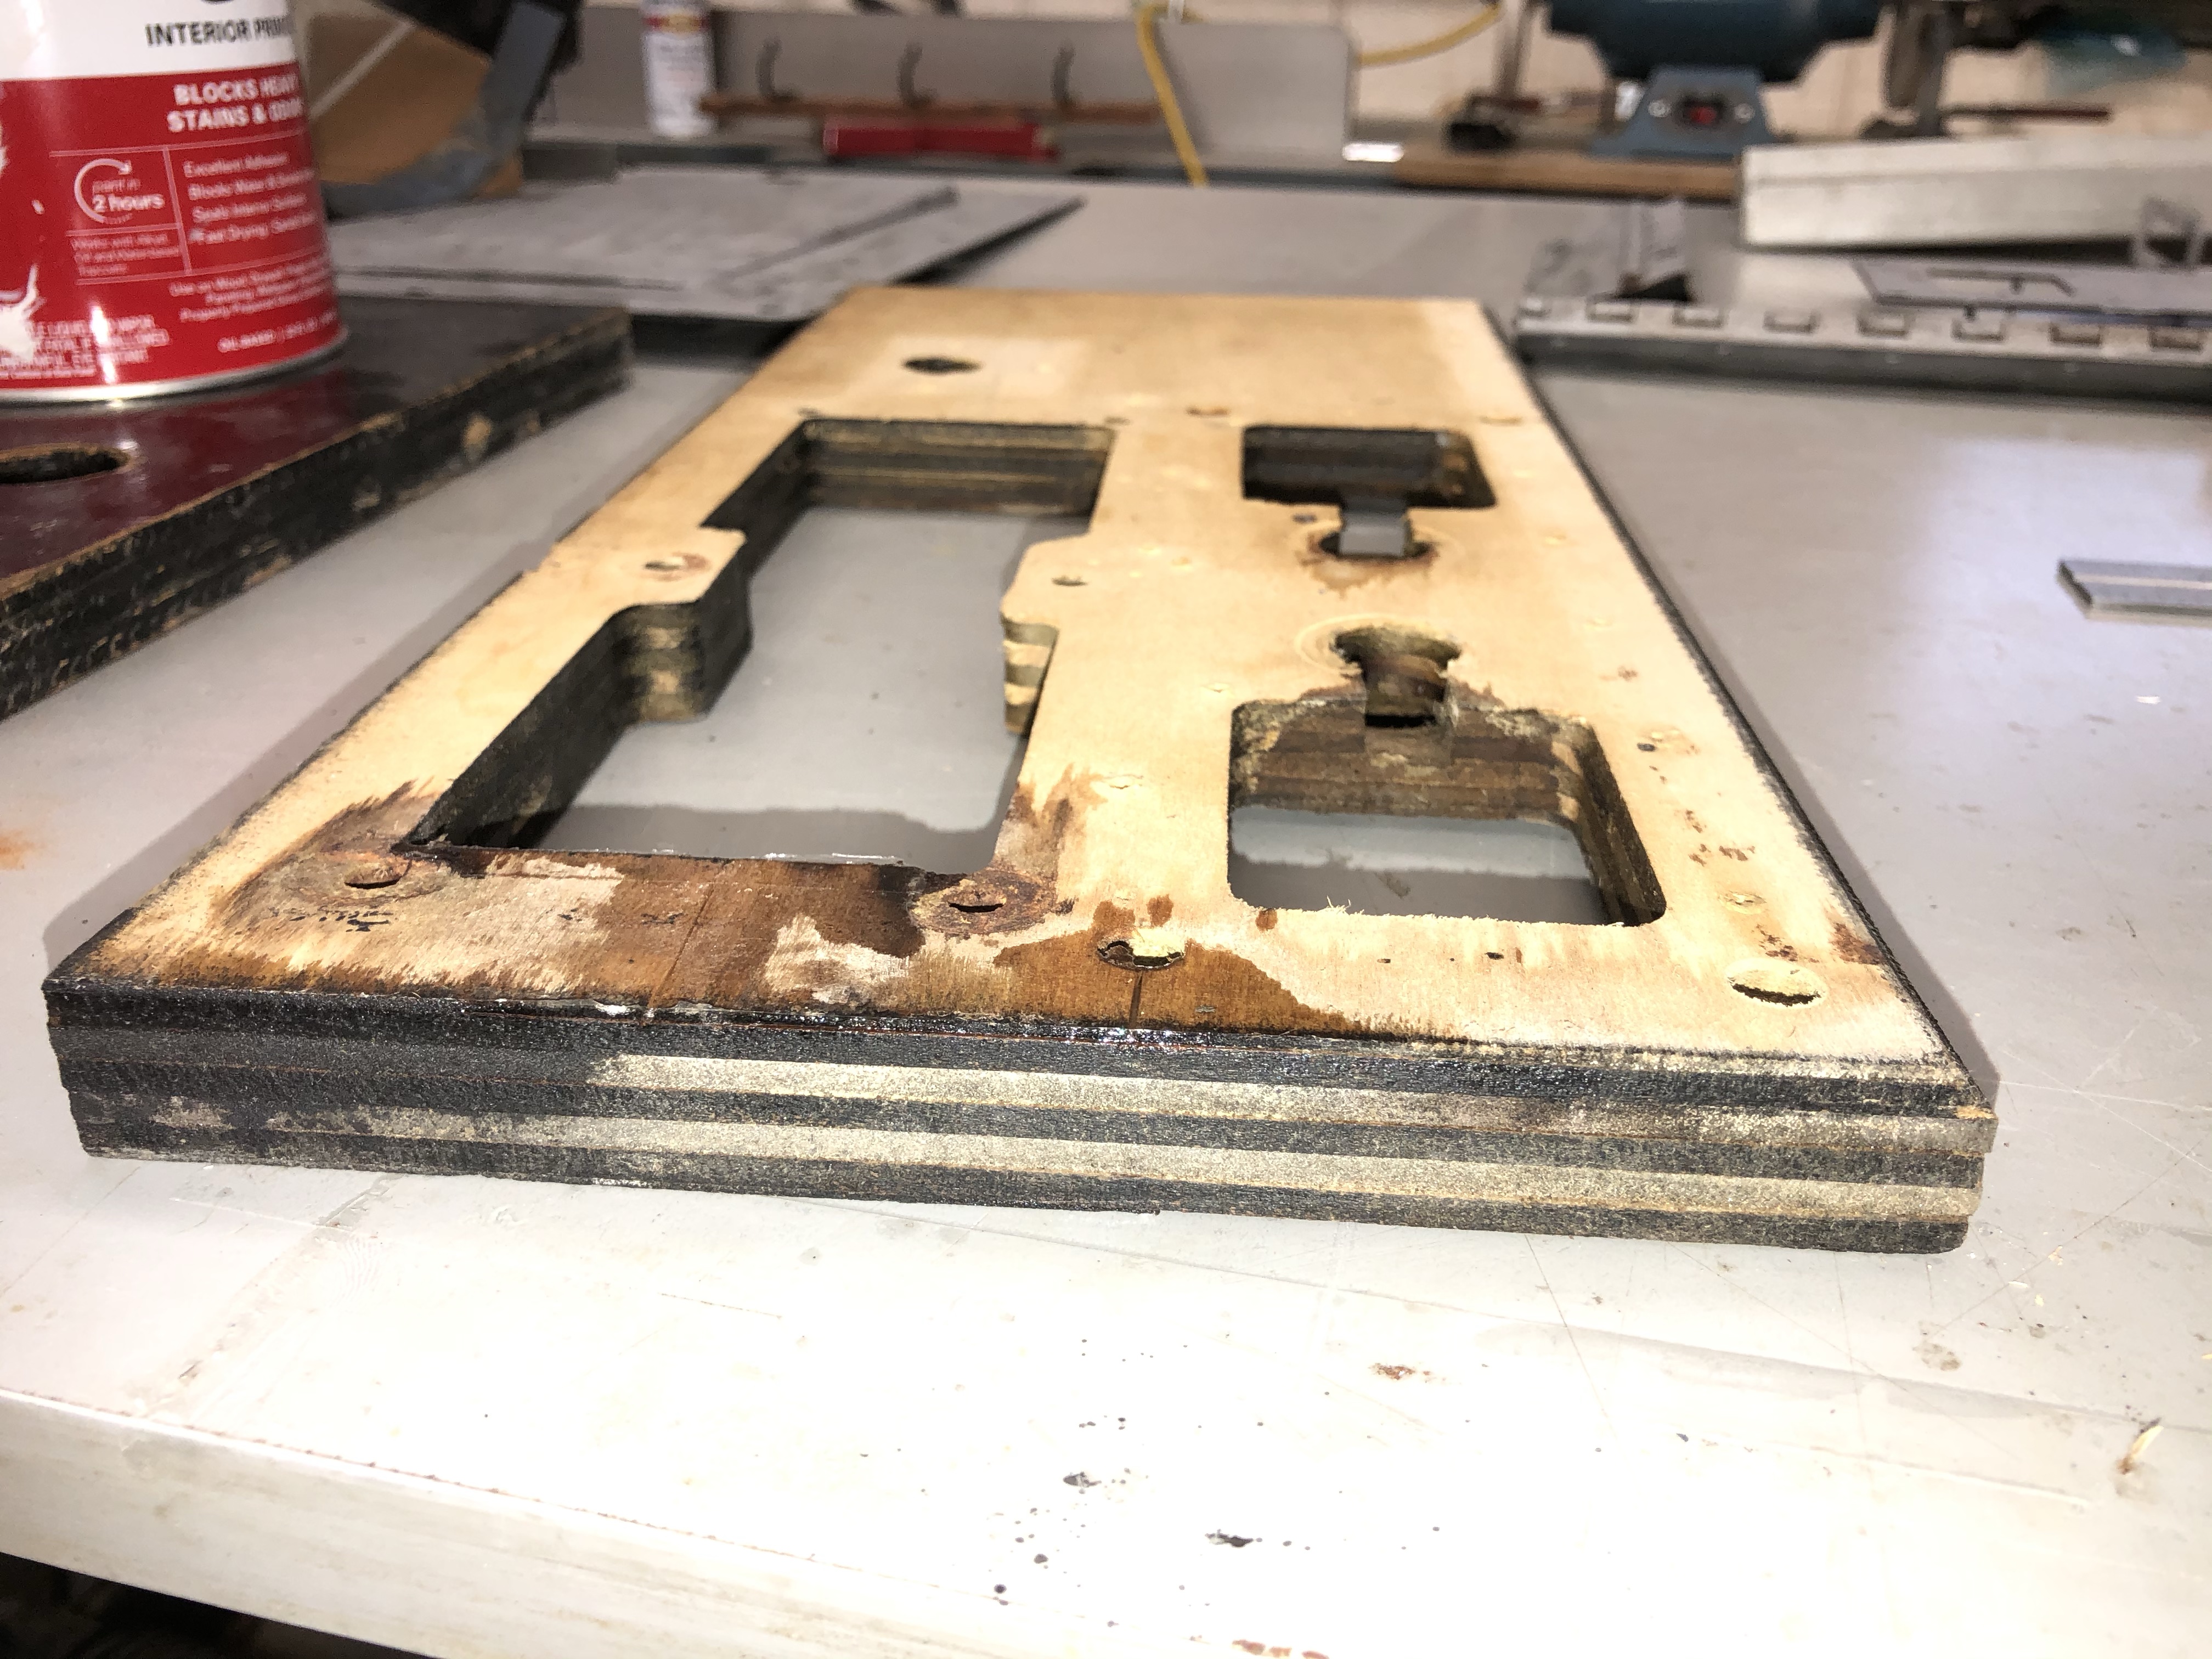
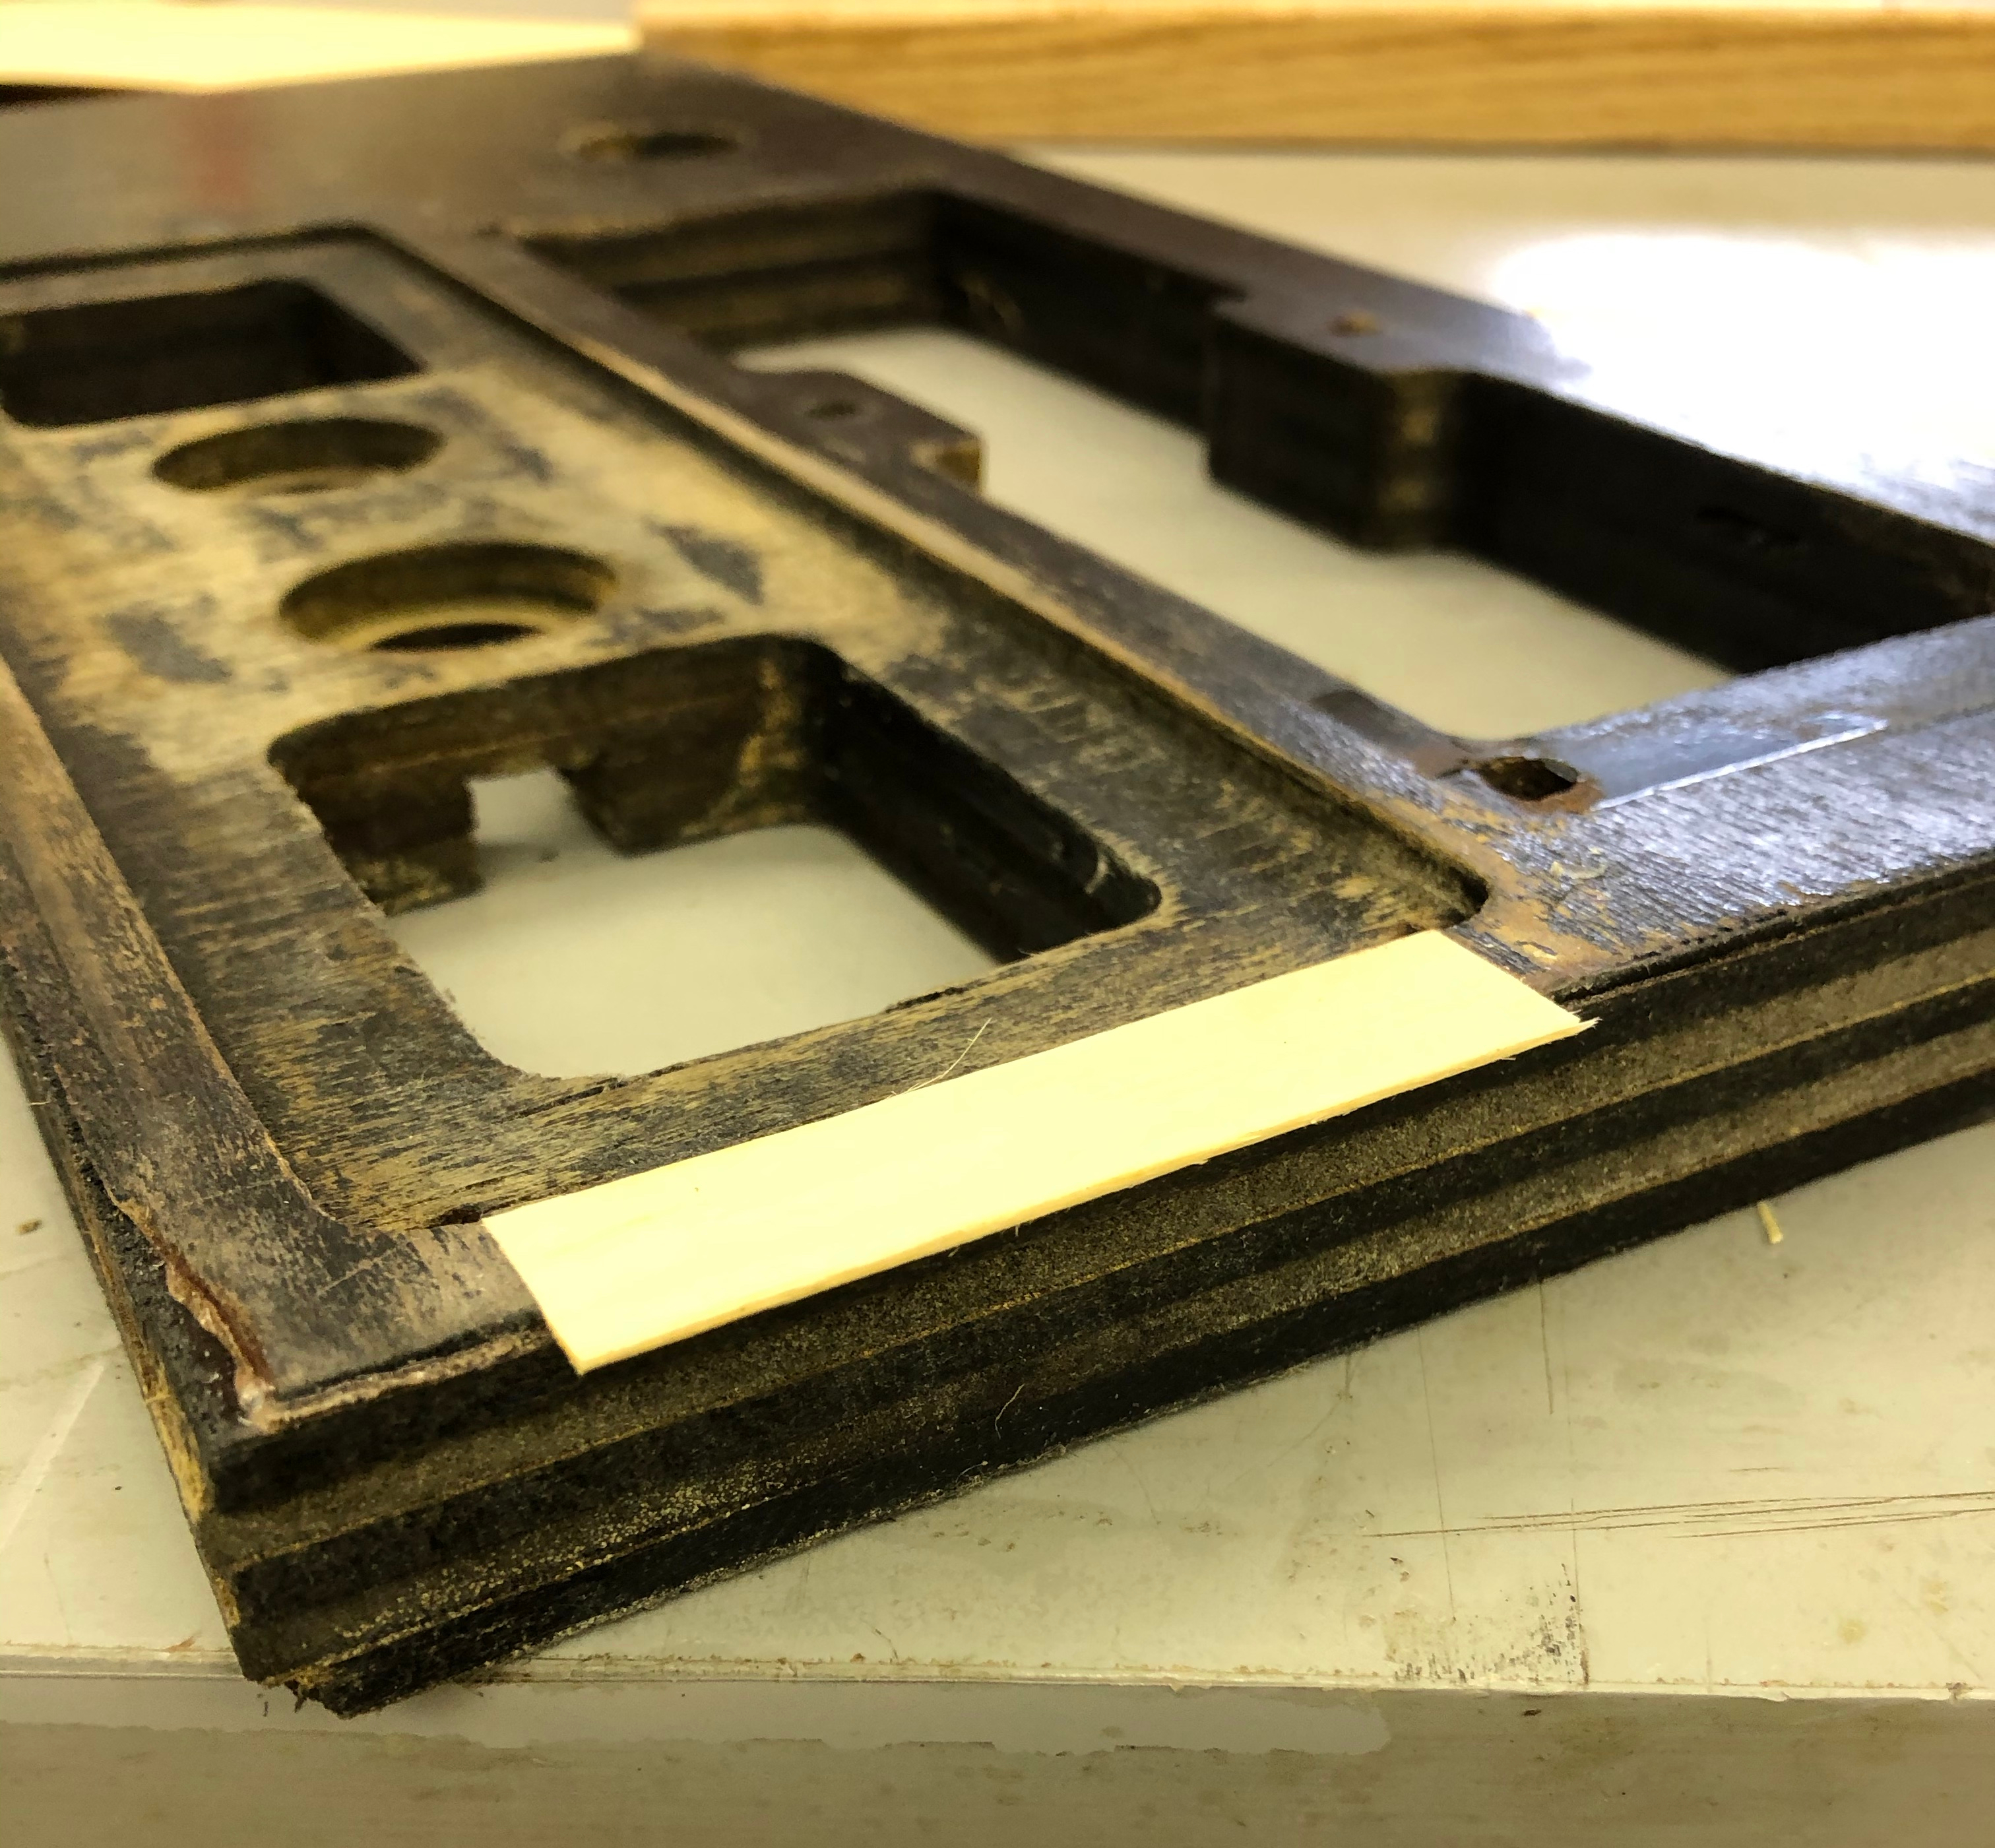
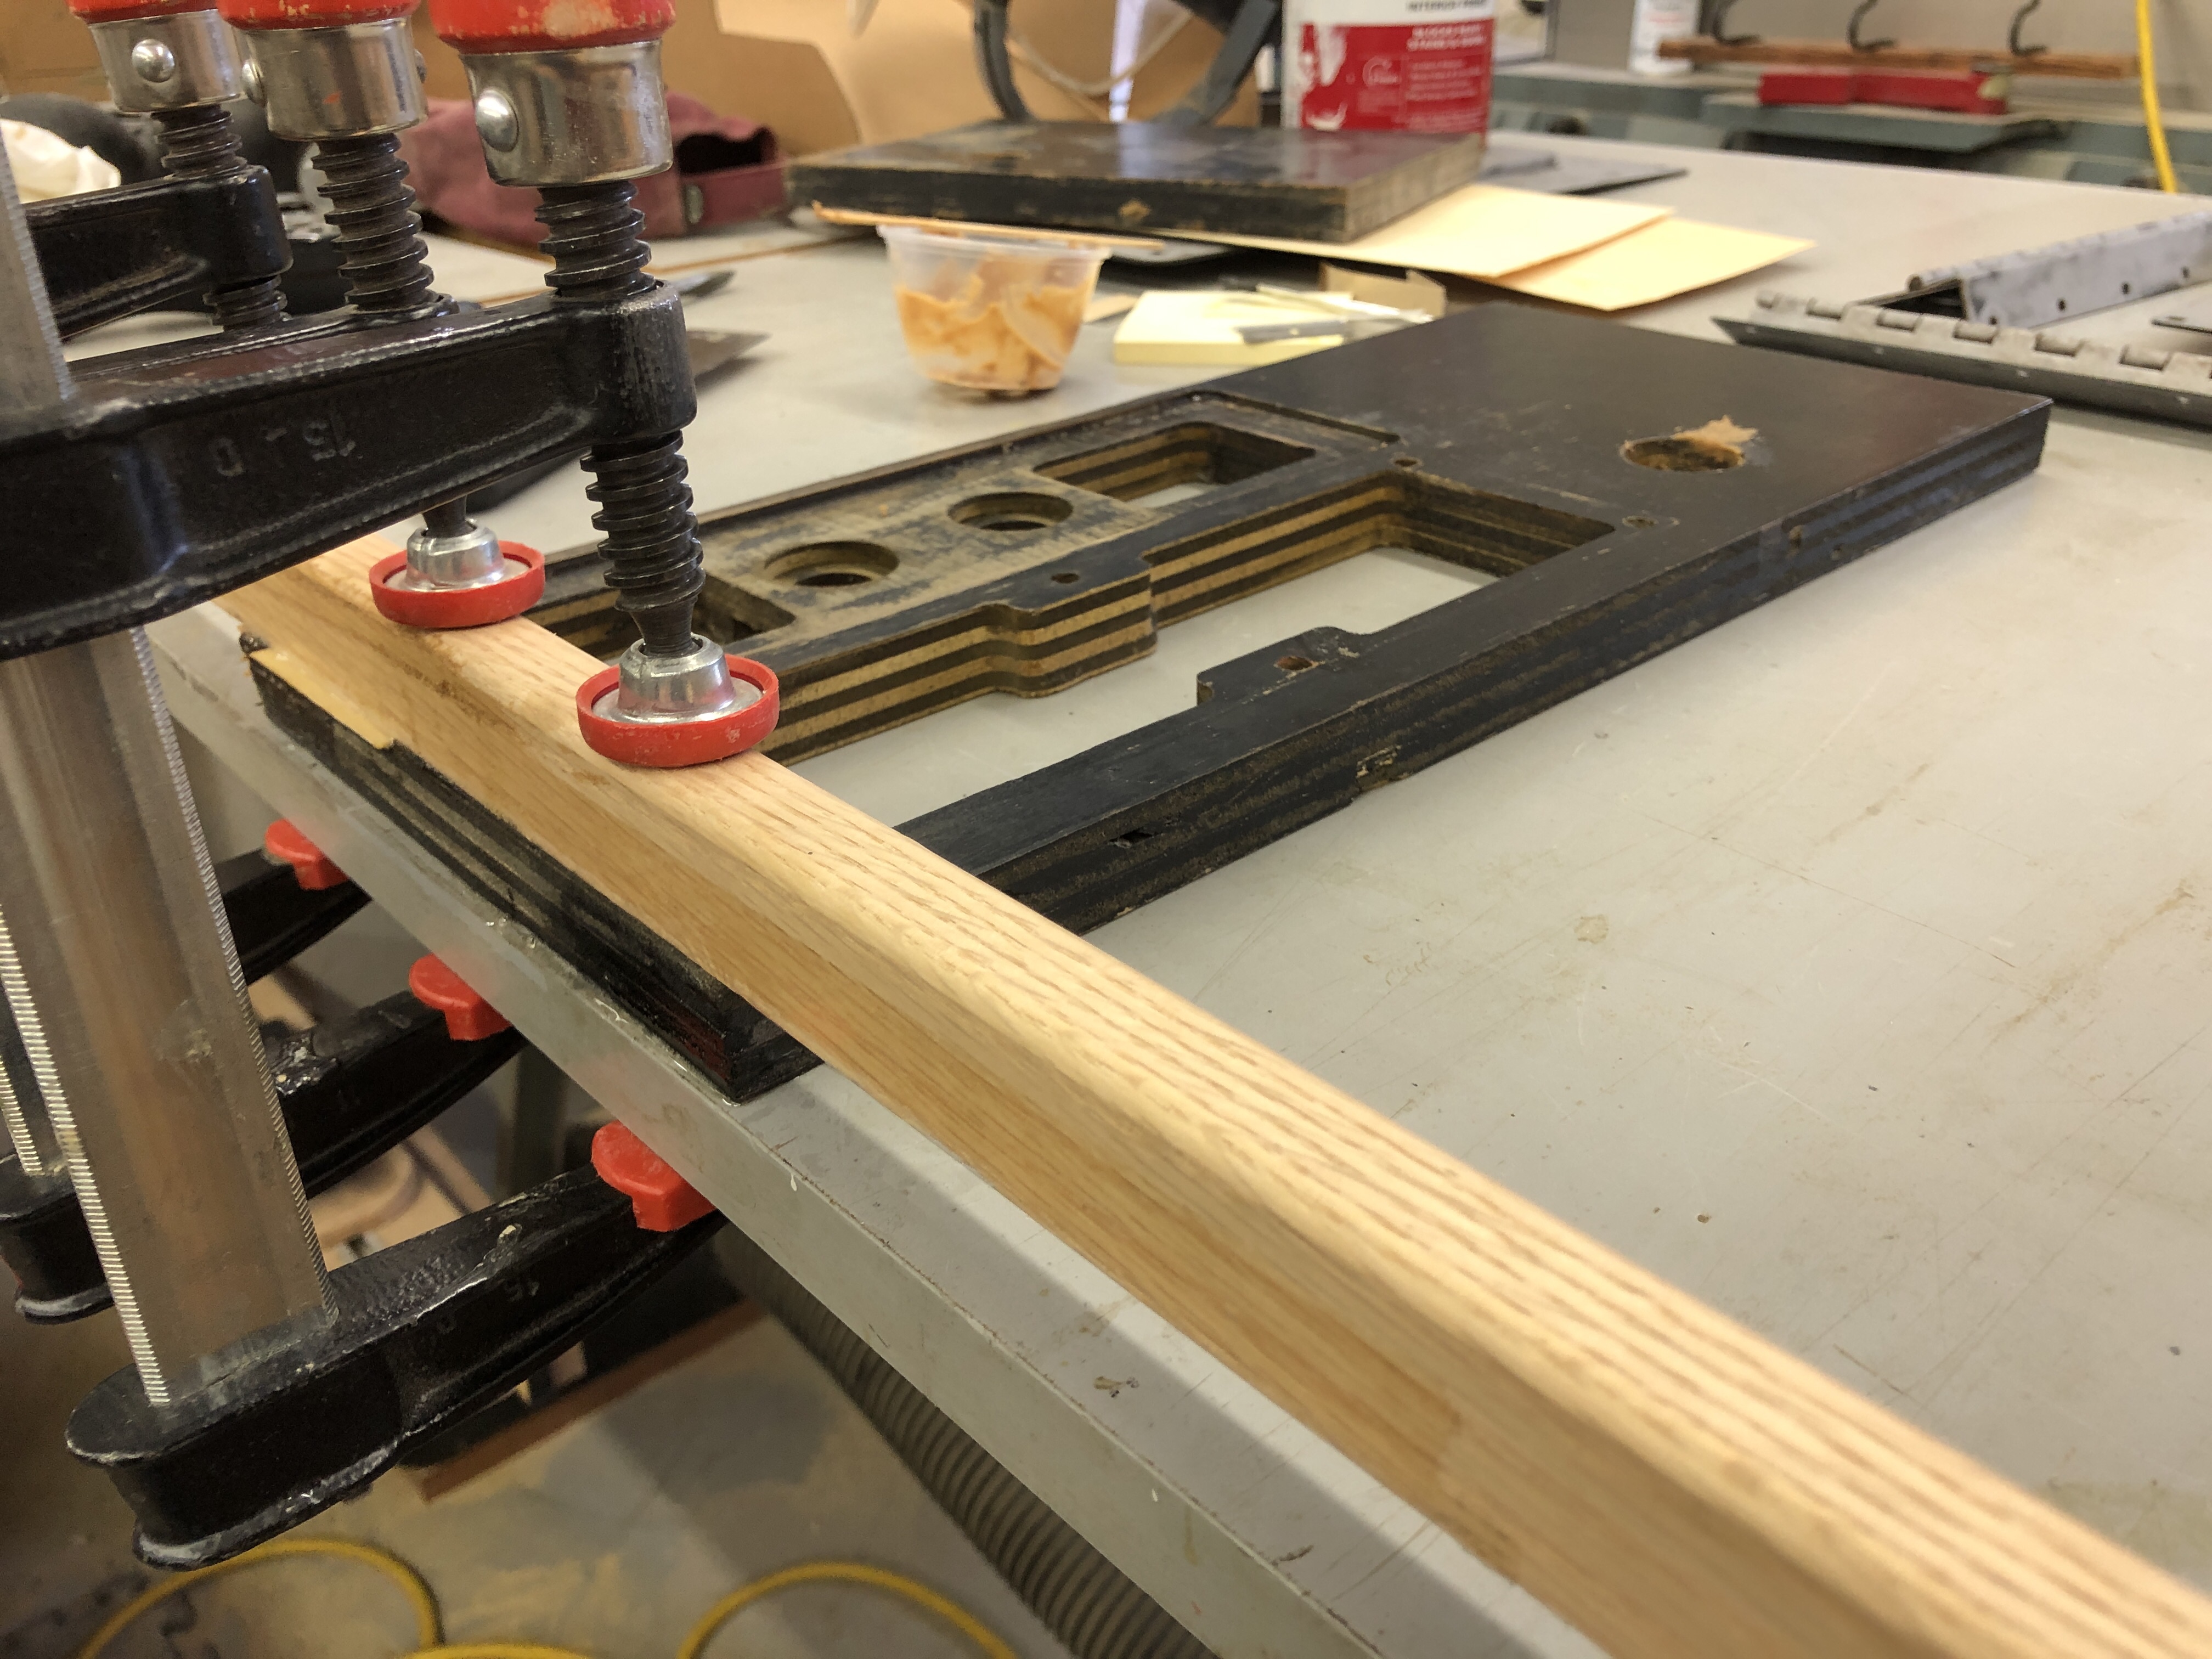
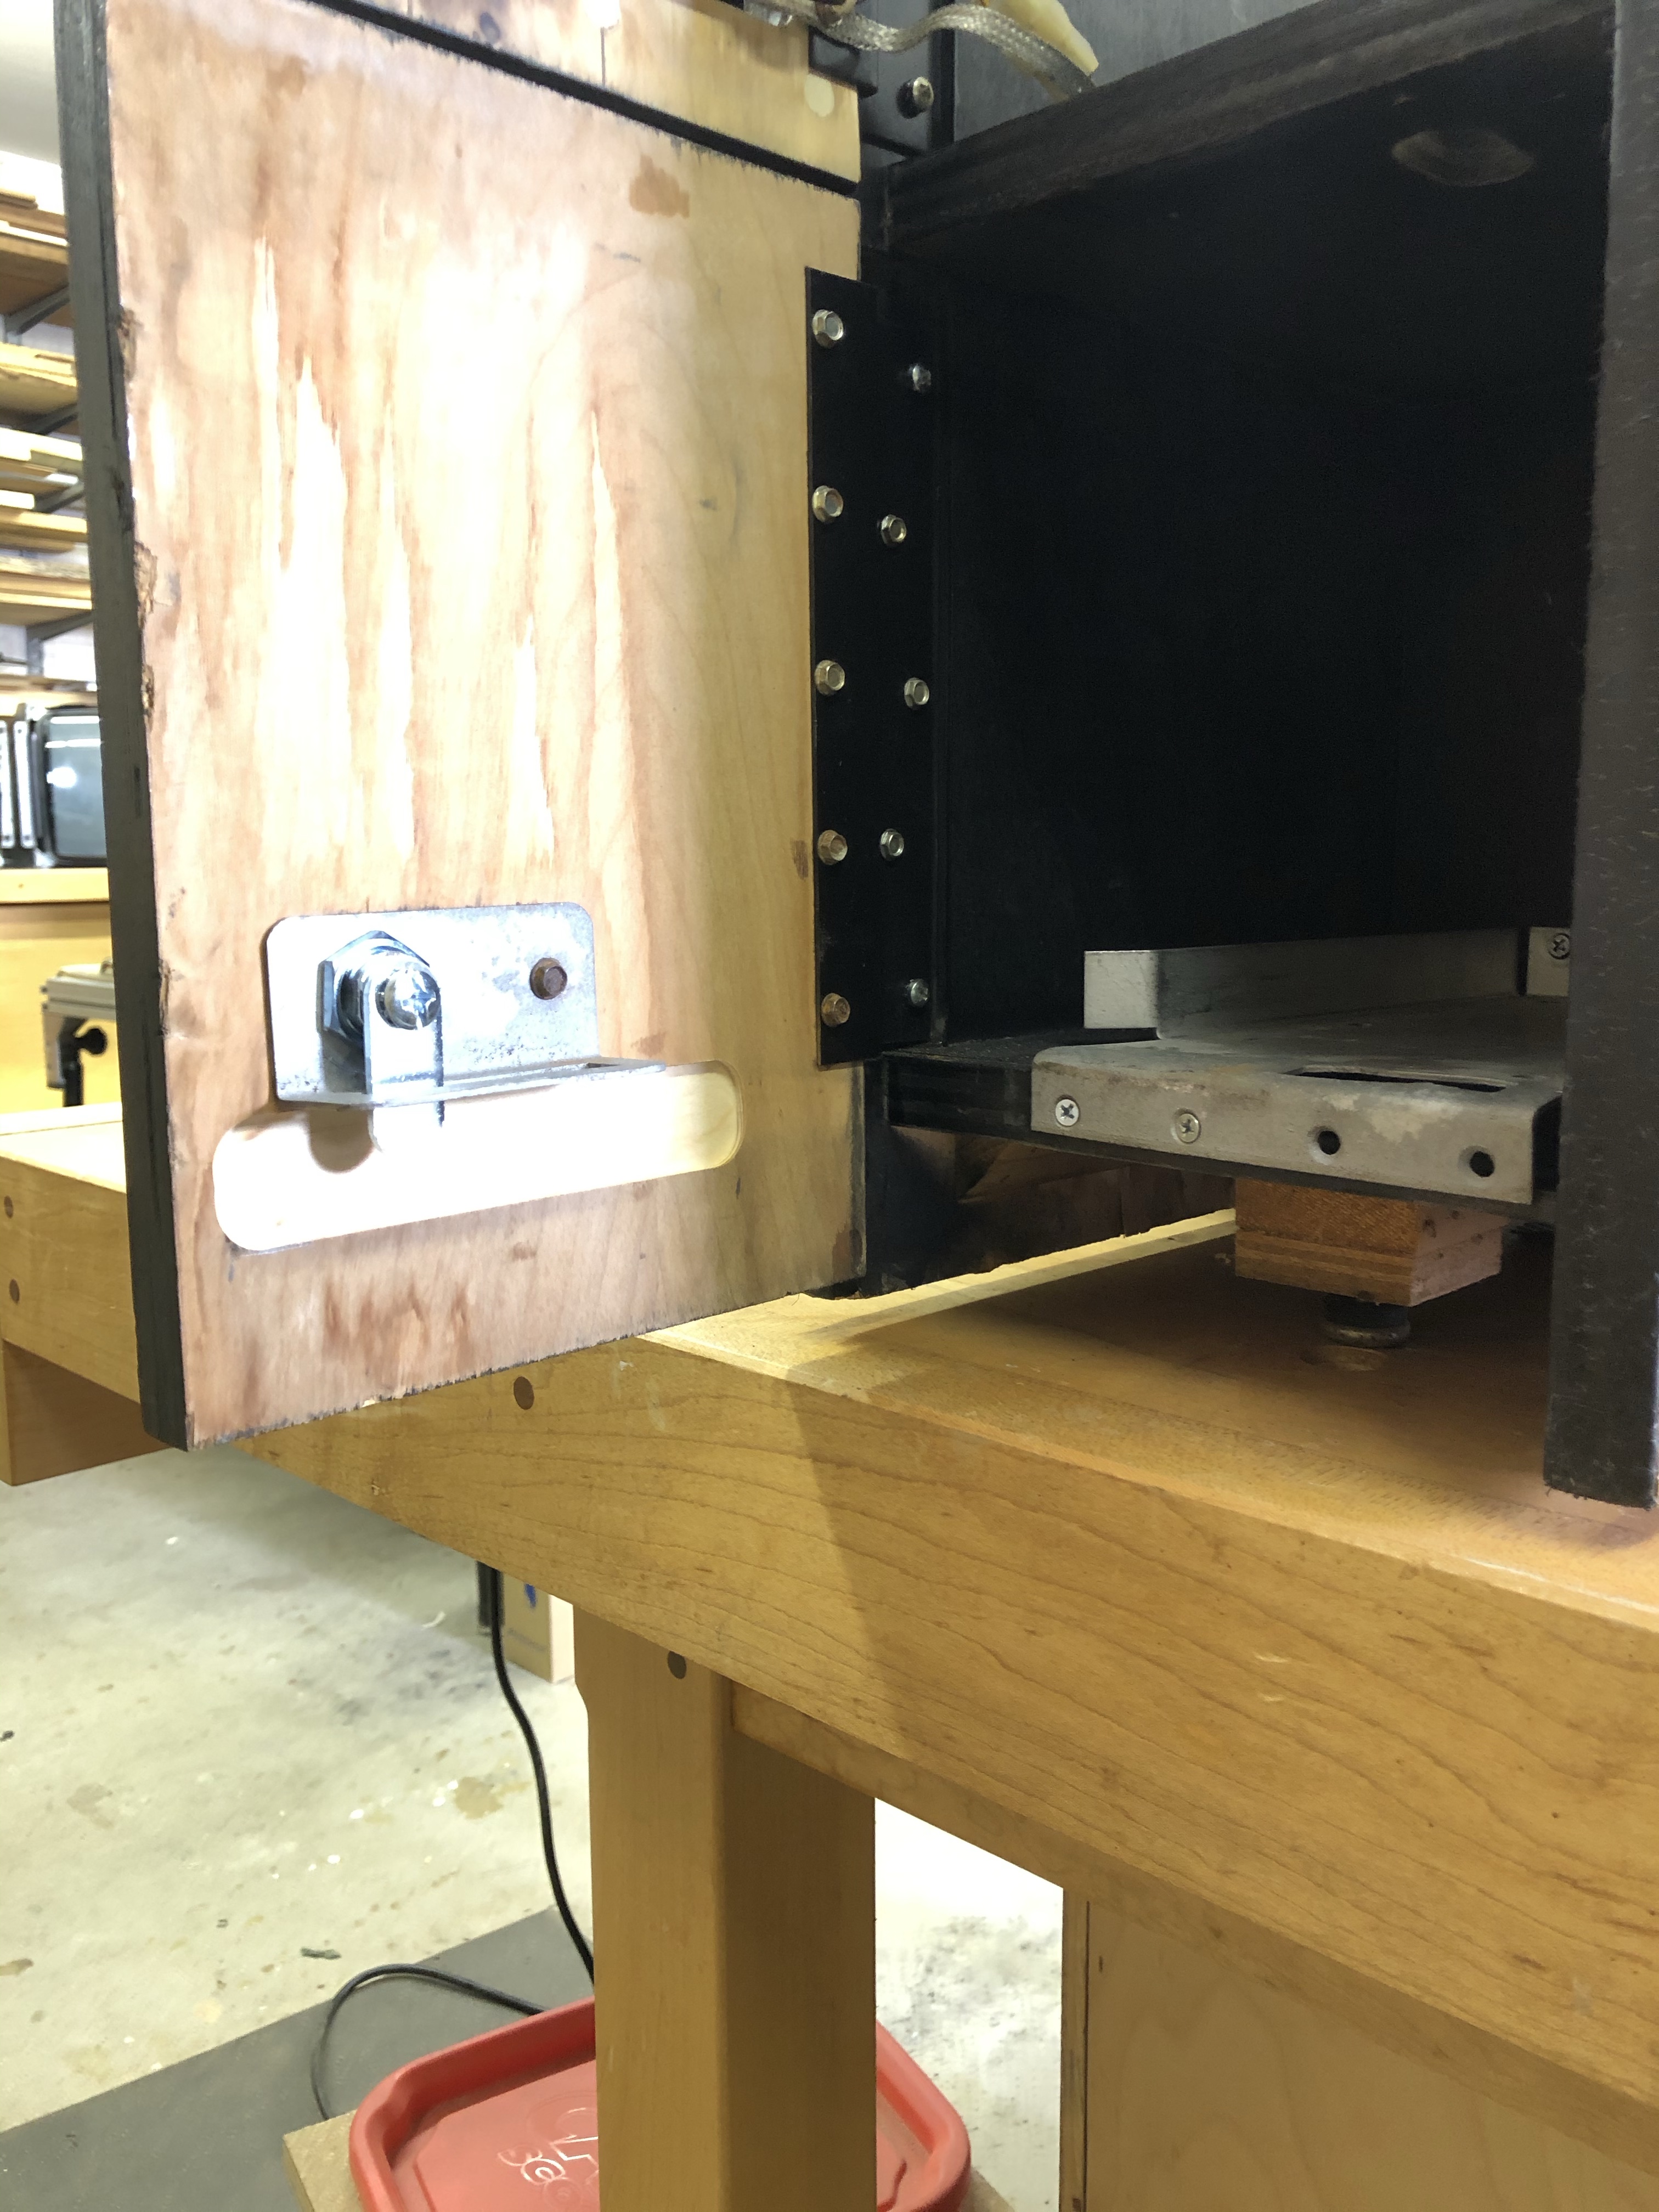
Aside from the power supply, there is a fair amount going on in this cabinet. One of the monitor frame support blocks is split and the bolts are long gone. That’s an easy fix. There are blind nuts on the bottoms of those holes btw.
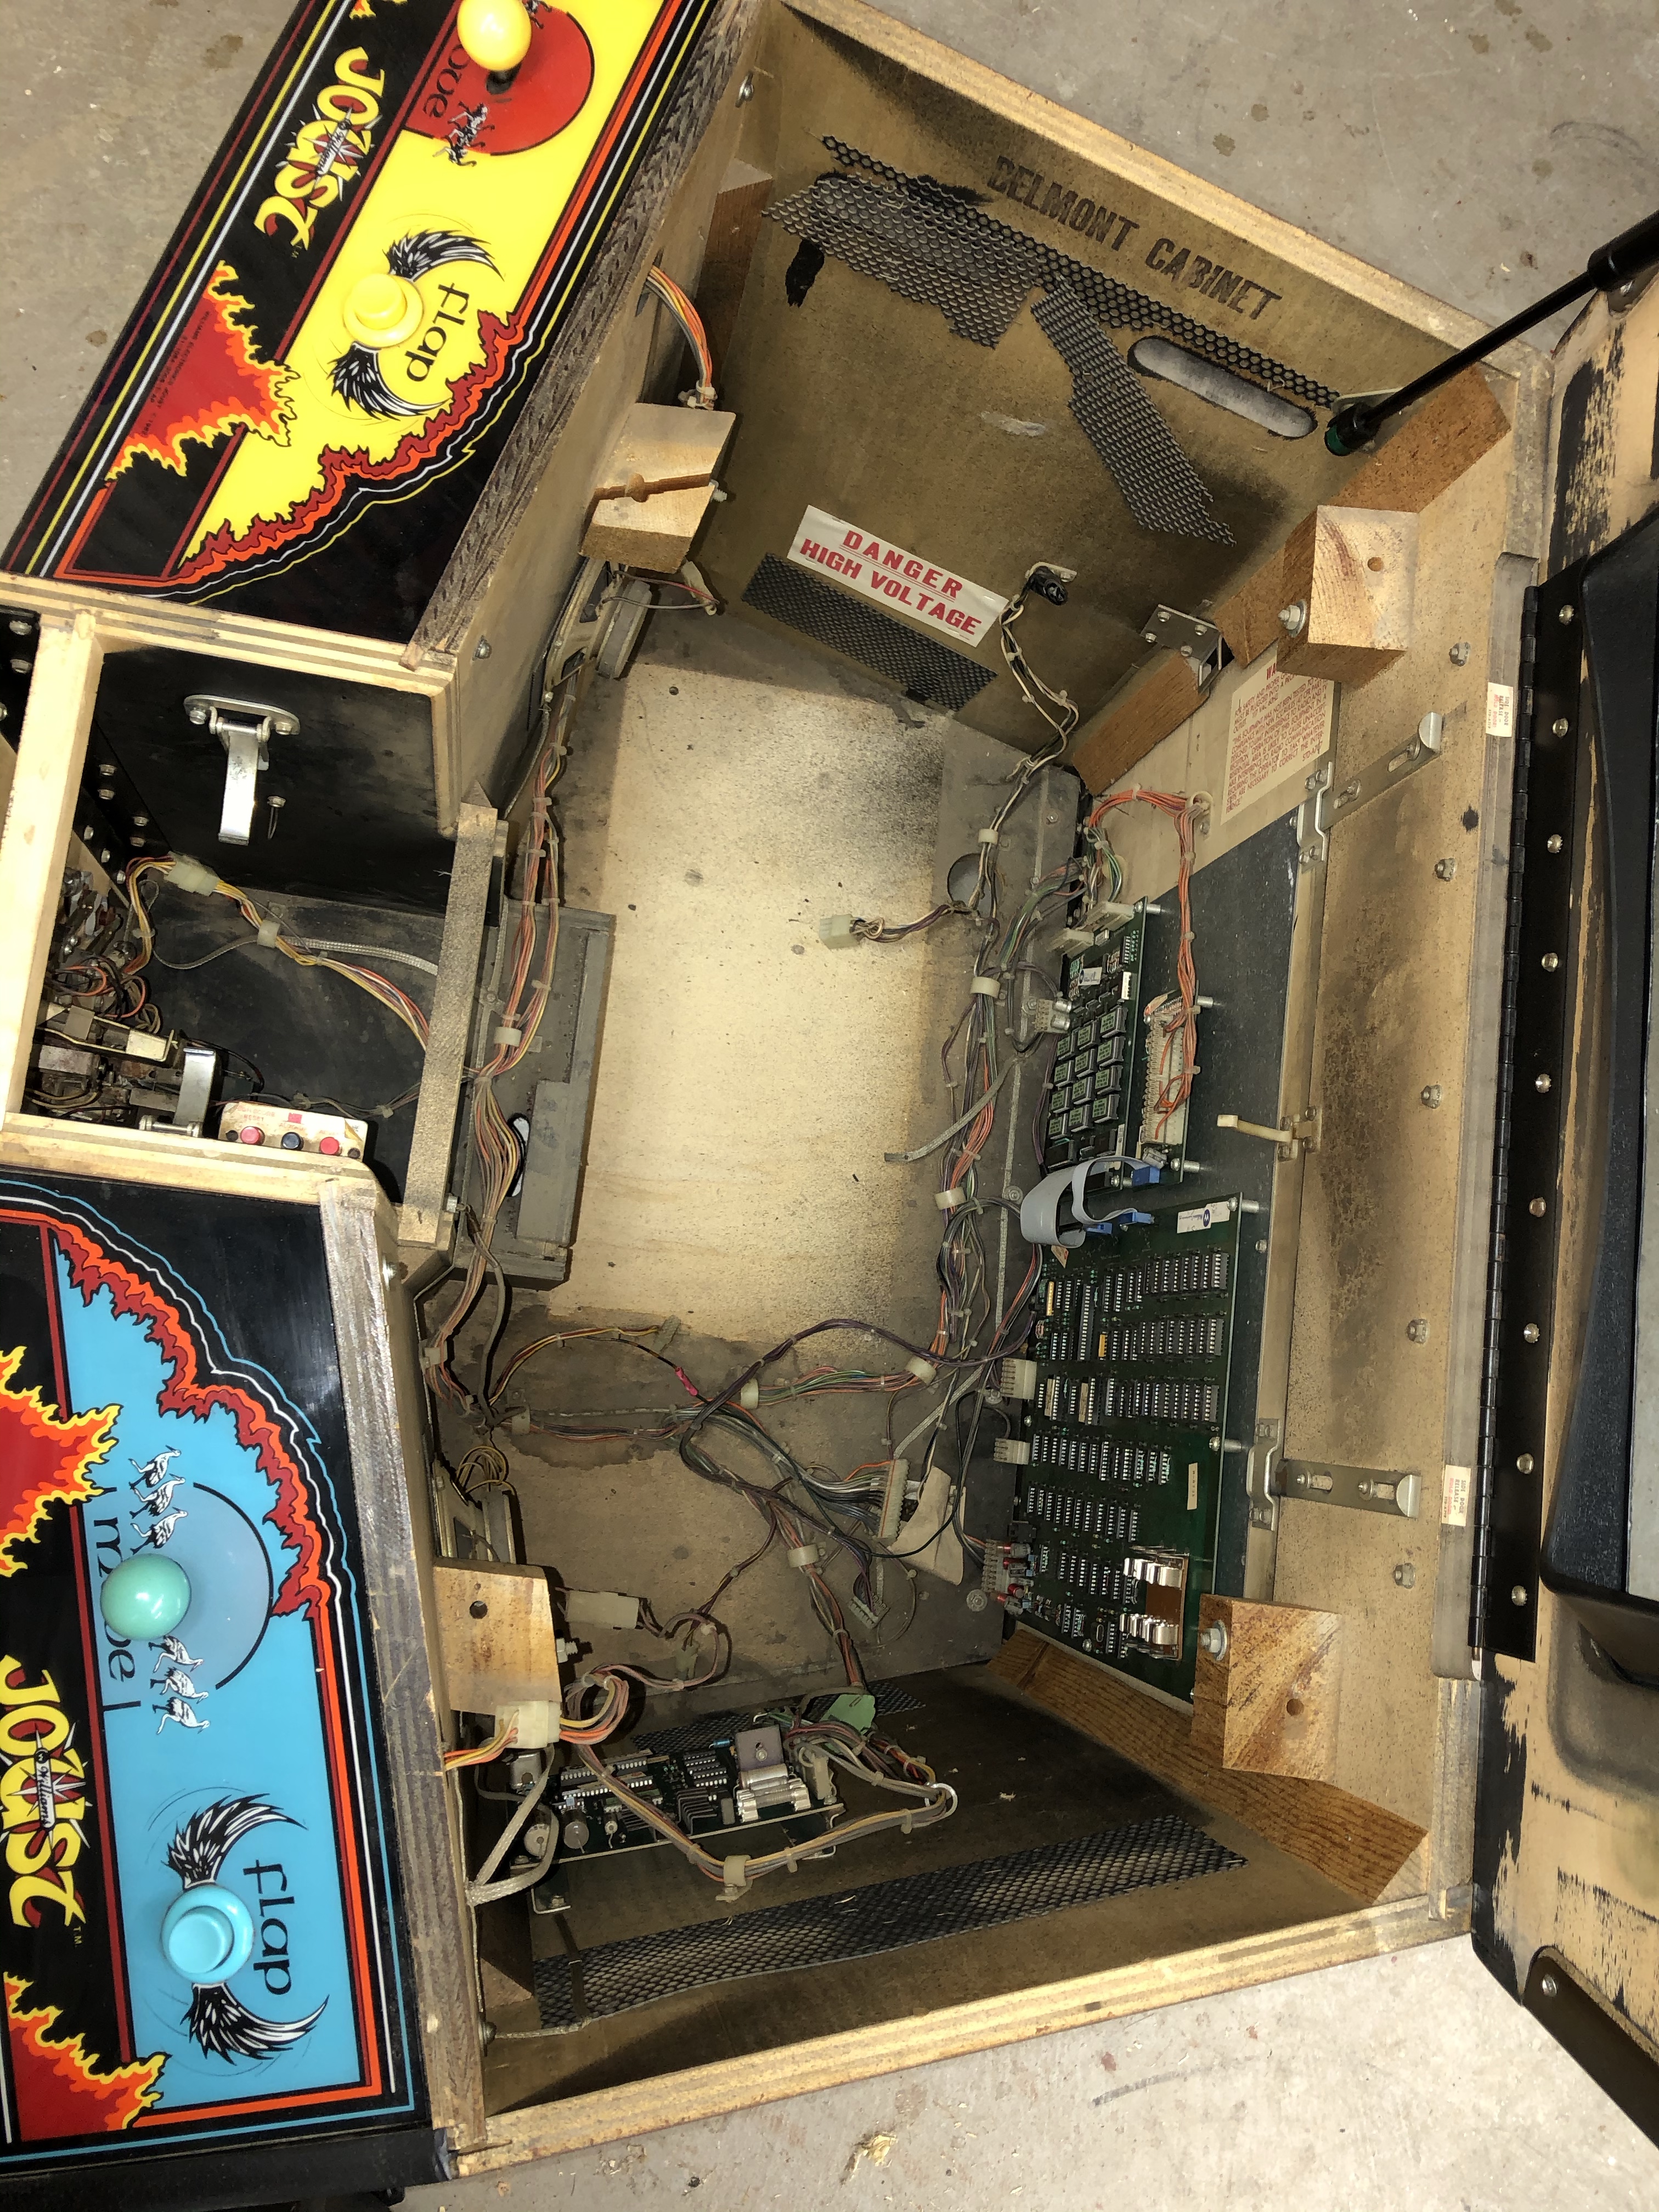
It obviously needs a general clean up. The top and rear doors got removed.

This coin mechanism is pretty rusted and rotted.. Parts ordered..

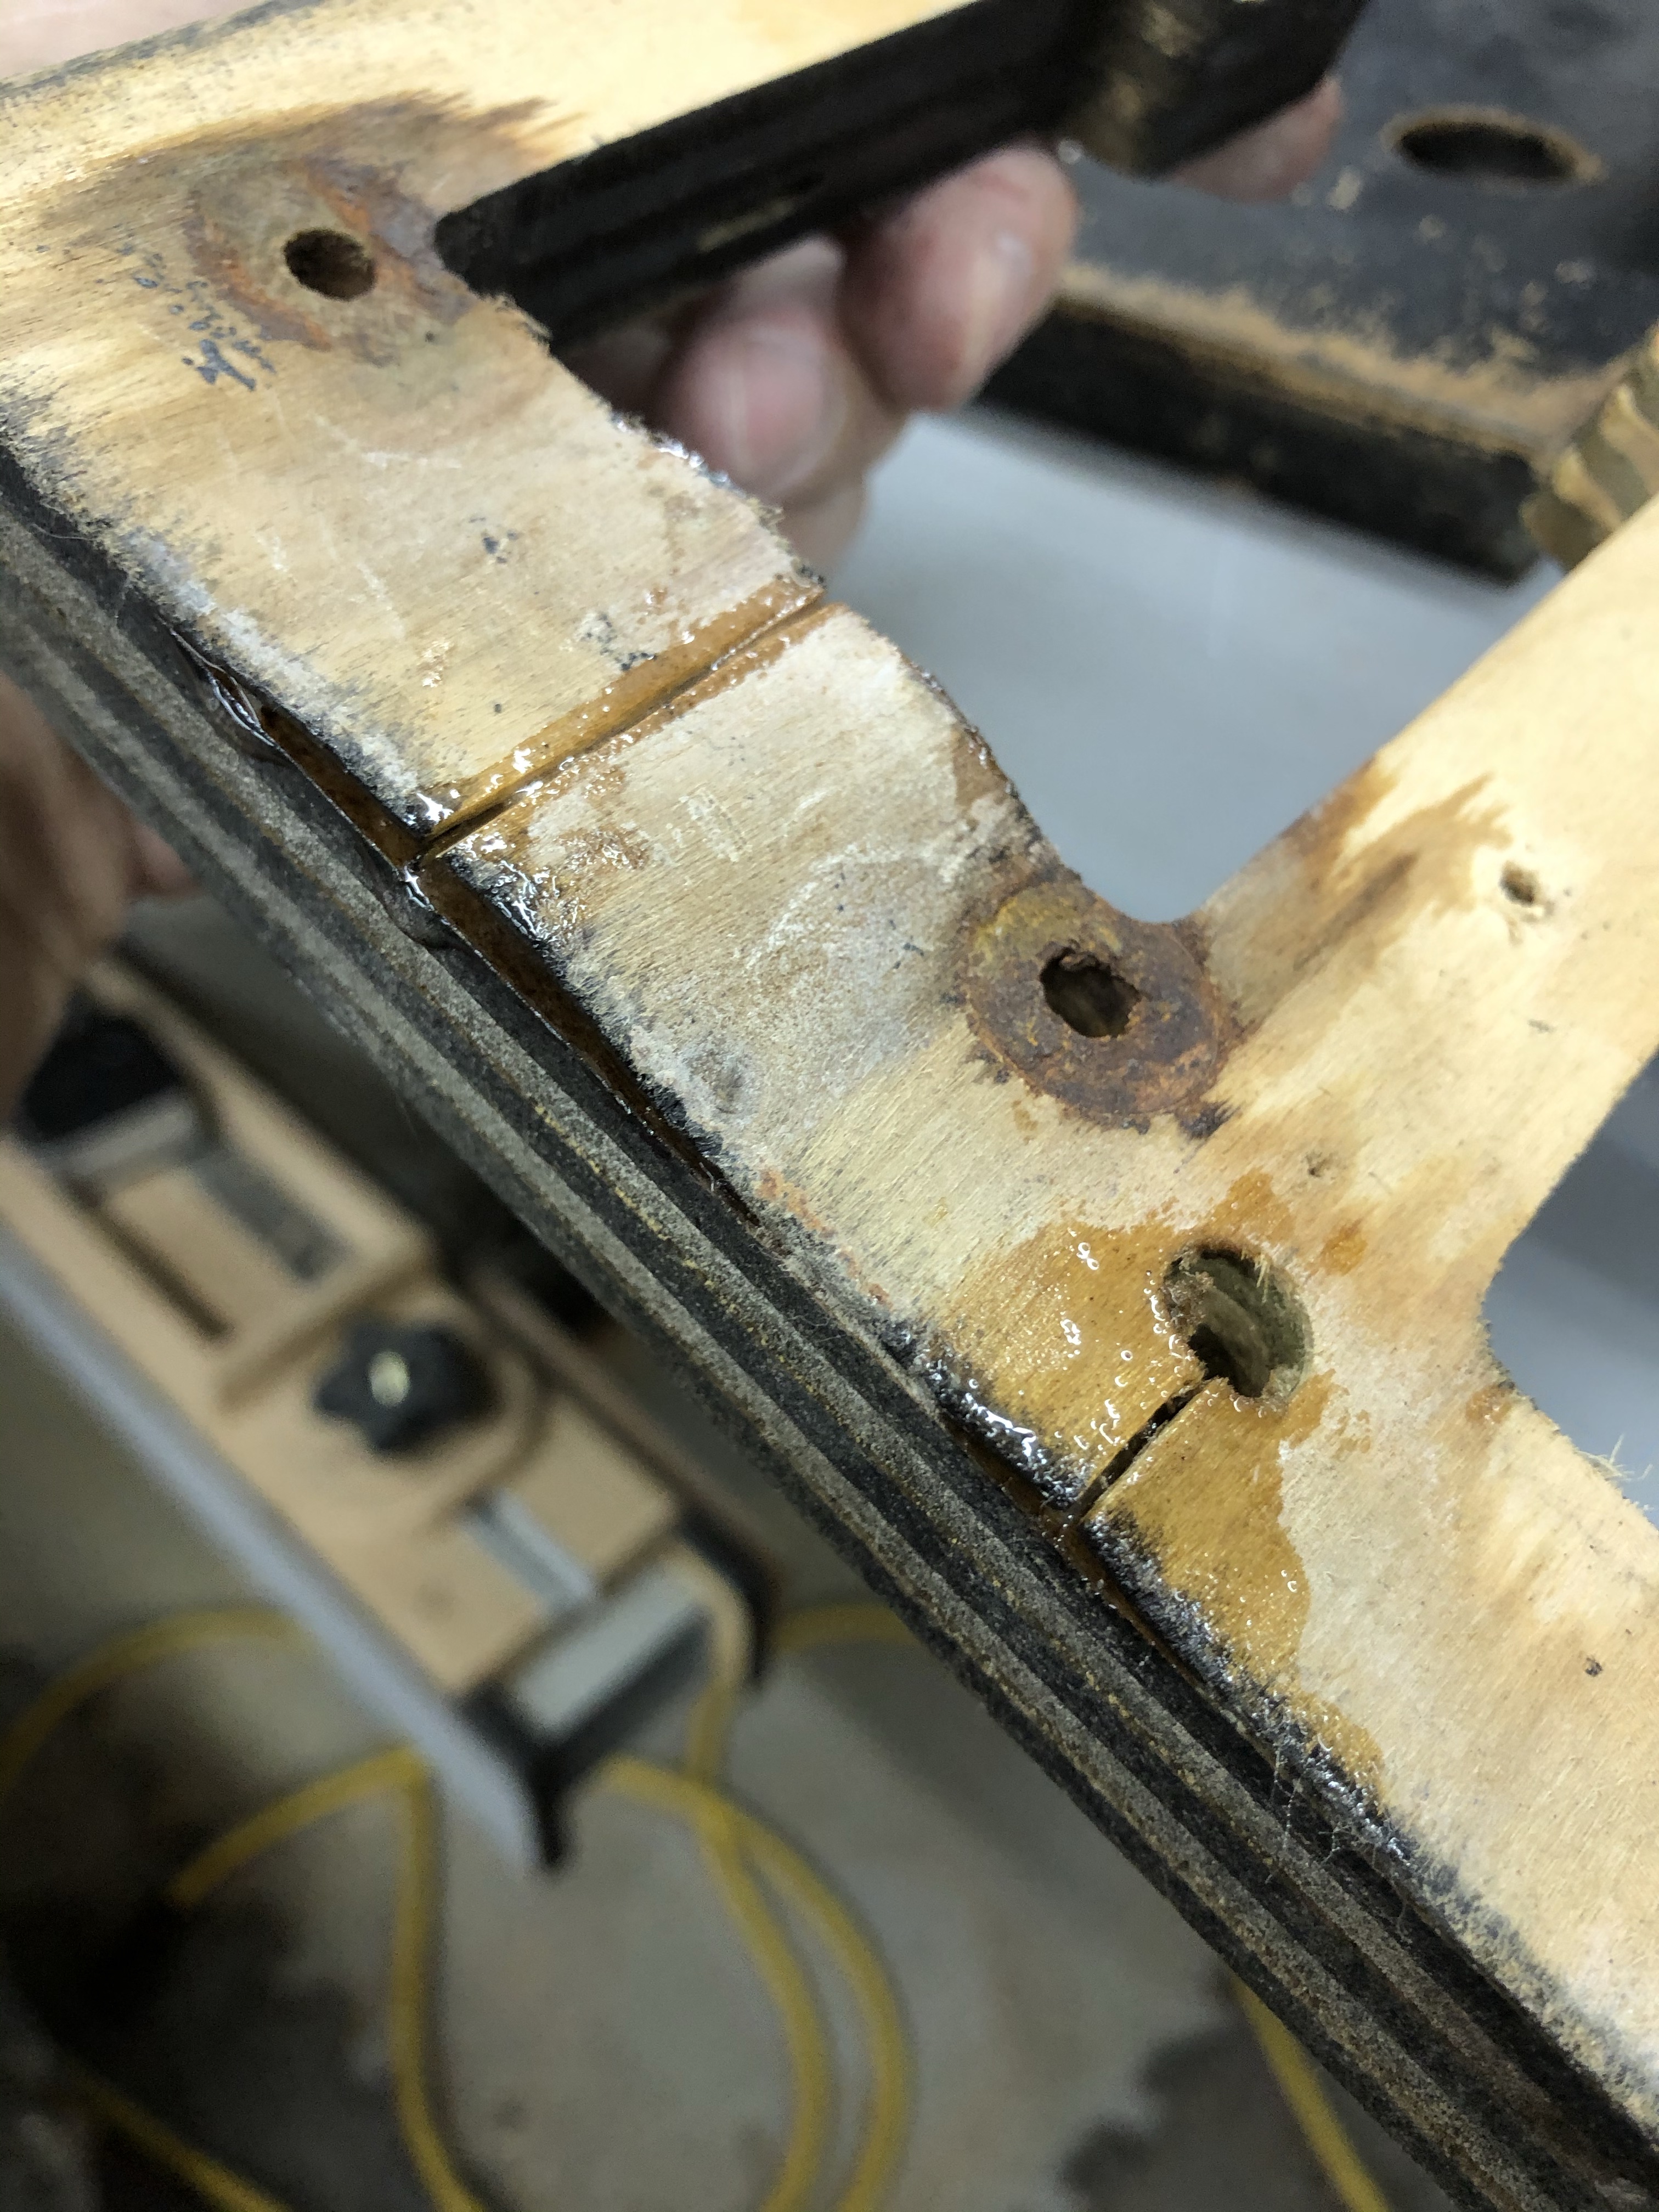
Many a drink has spilled down this coin door. All of it is rusted exactly where beer would flow and there has been some plywood de-lamination.

Broken down a bit more. I cleaned up the harness a bit further. All of the IDC connectors that went to the regulator board got replaced with Molex. I had to re-terminate the connector for monitor power to cut out the crimp wire spliced they added (yes – those blue crimp clip things that should be outlawed)

The coin doors are requiring special attention. Both have a lot of hard miles. Some of the veneer is missing at the bottom and there is de-lamination on the side and on an inner ply.
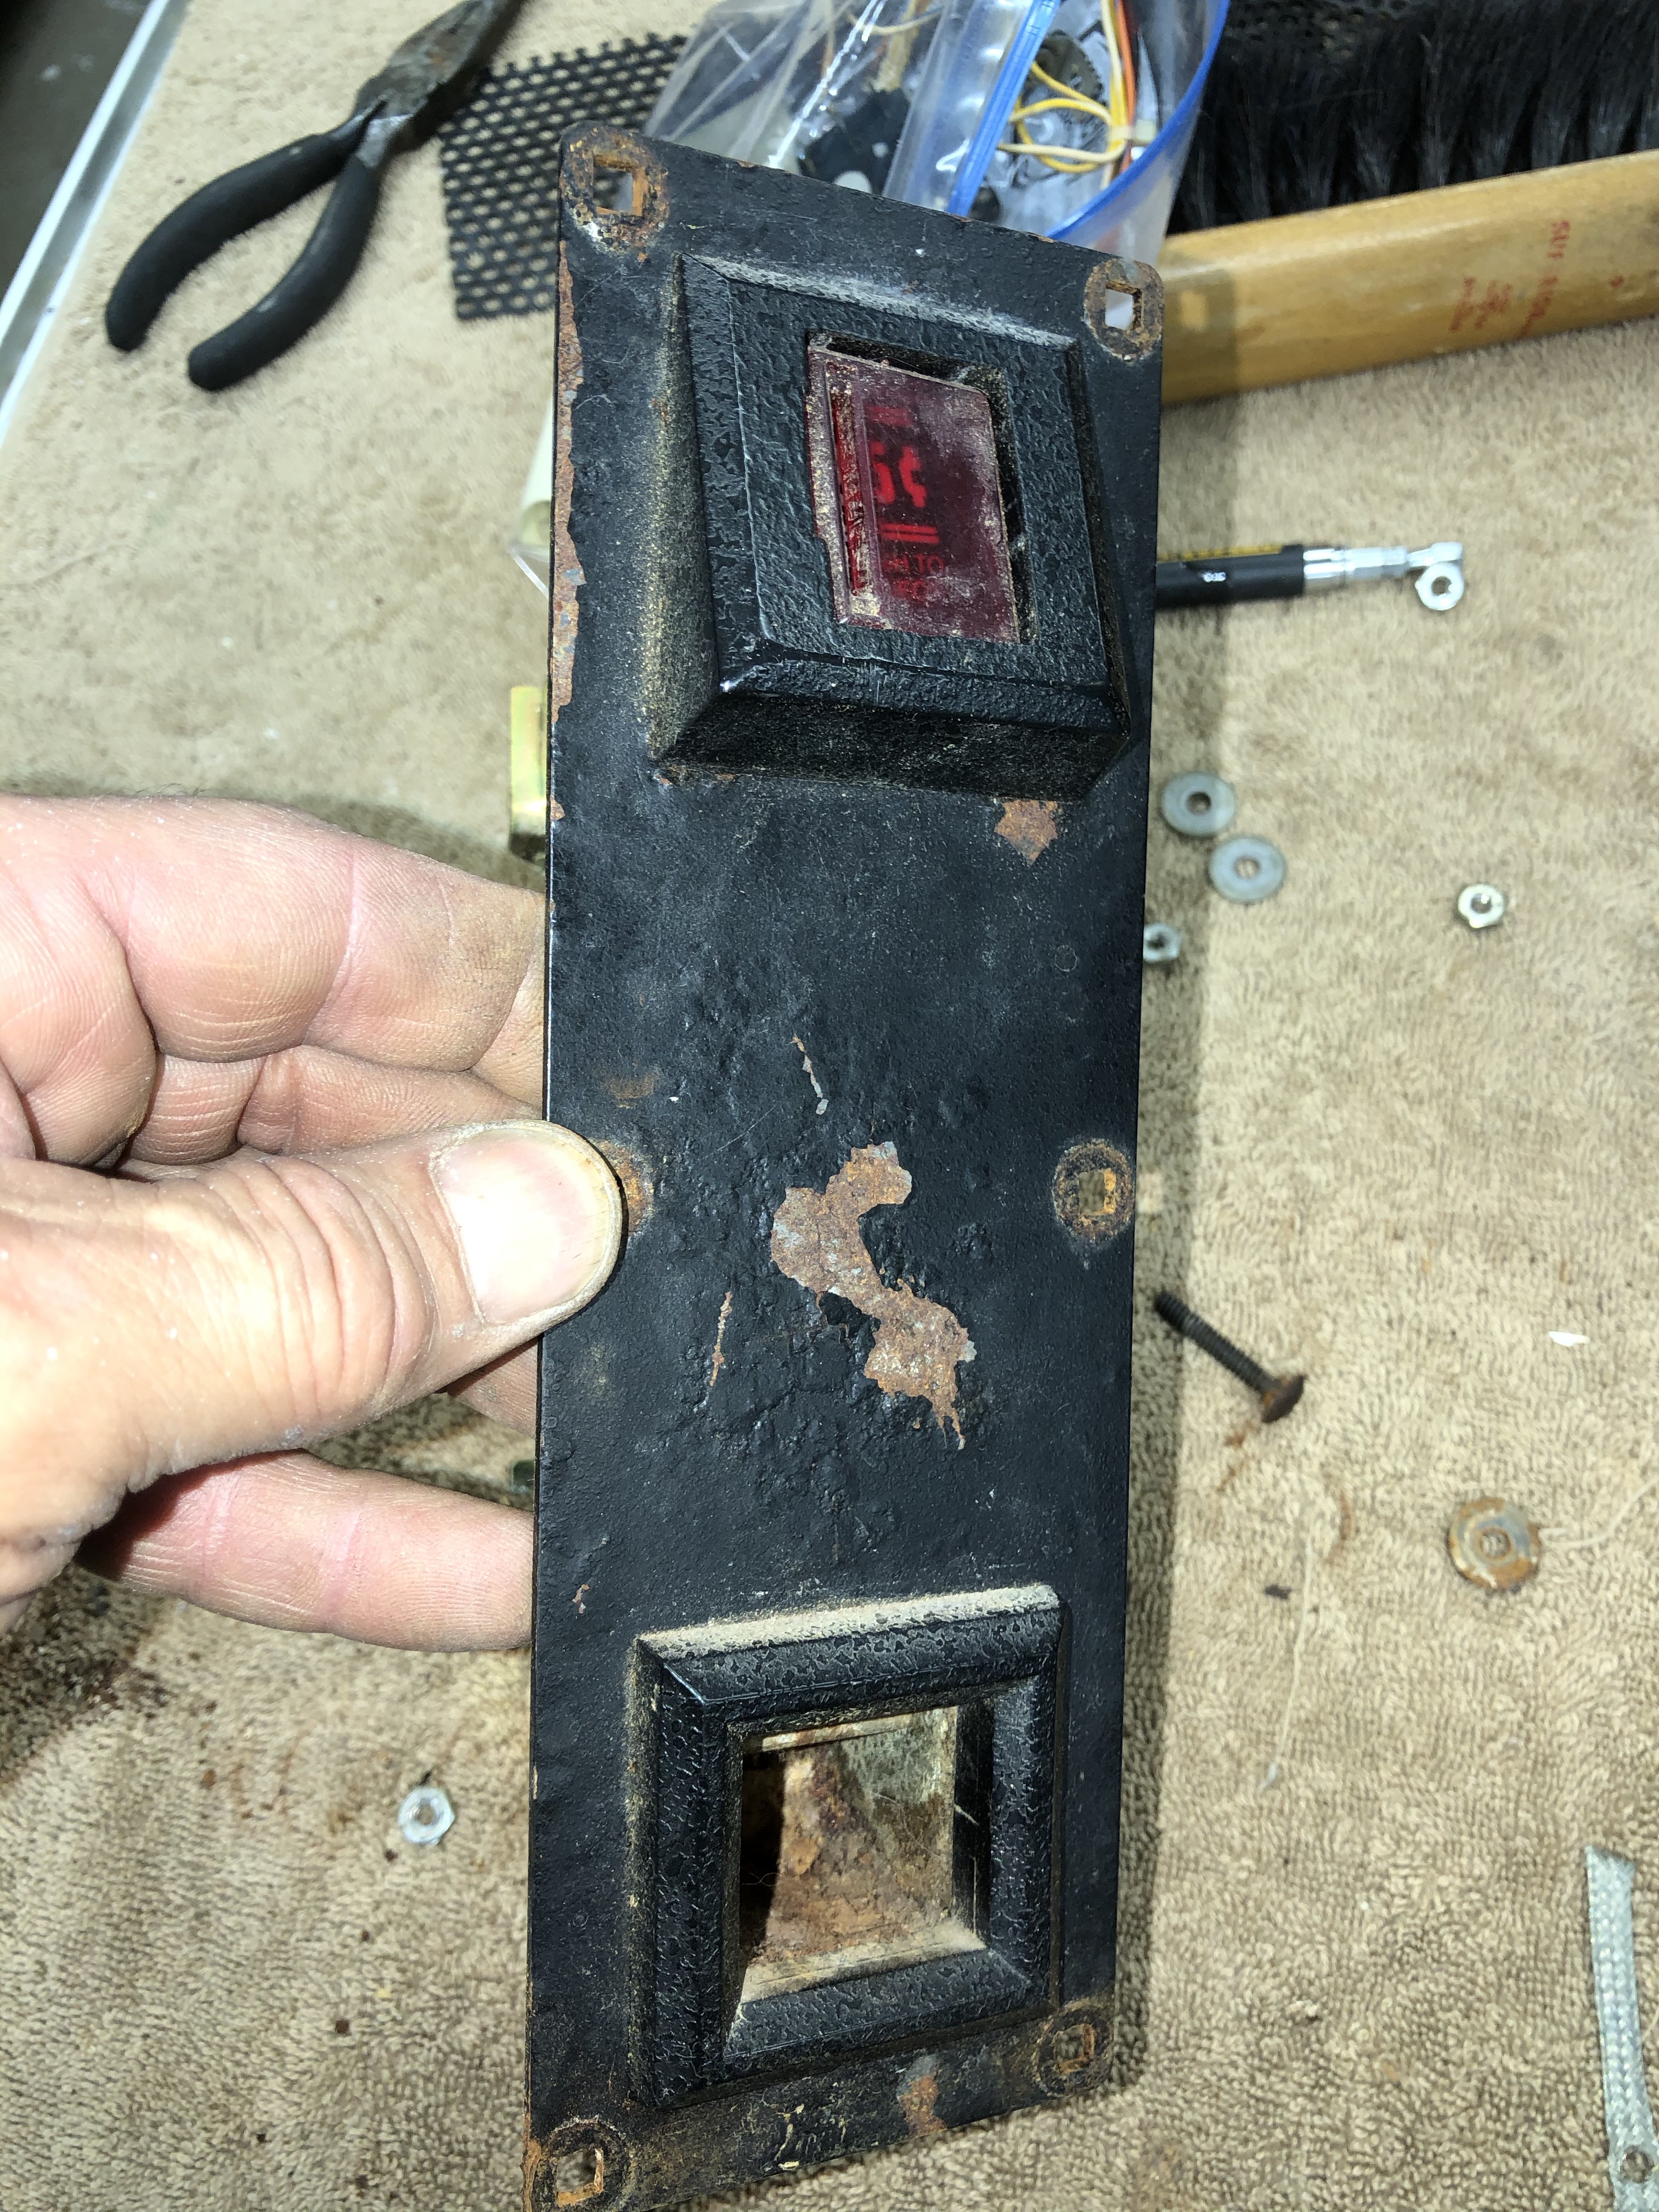
The faceplate is in ratty condition here.

It all came apart – I have some newer stuff on the way.

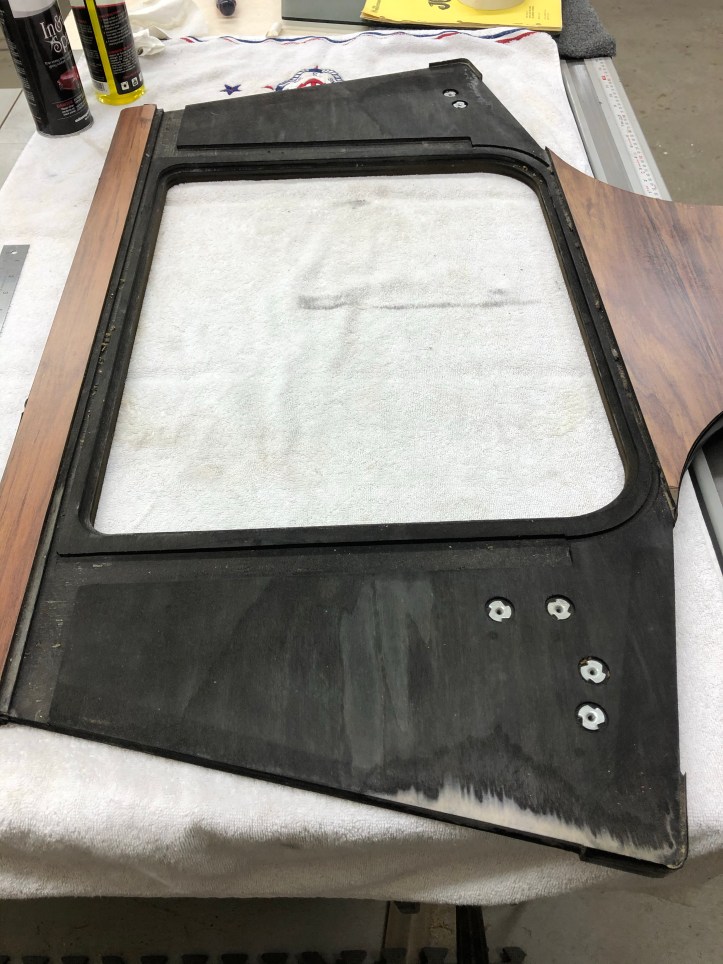
I went back and forth on should I save the original door vs. just make a duplicate and decided to stay with the original – primarily because there is a small inspection stamp on it.. So I’ll stick with this one.
The plexi faceplate had no intention of just popping off – so I had to get a little creative. First I marked the location of the nails on the back of the panel.


I used a Forstner bit and drilled down from behind until I heard it hit the nail head. The little shiny spot in the hole is the nail. Then using a punch I tapped it out enough to remove it without chewing up the plexi.

But clearly that wasn’t enough for Williams – they also contact cemented it in place. I GENTLY got a putty knife under the edge and slowly worked around without breaking the plexi or chewing up the silk screened artwork. All that yellow you see on the back.. that’s contact cement.

15 minutes with Goo Gone got it off.. Getting it off the wood surface was more difficult. But it’s off. The insert cleaned up very nice. There’s little chance I’ll use contact cement when I put it back.

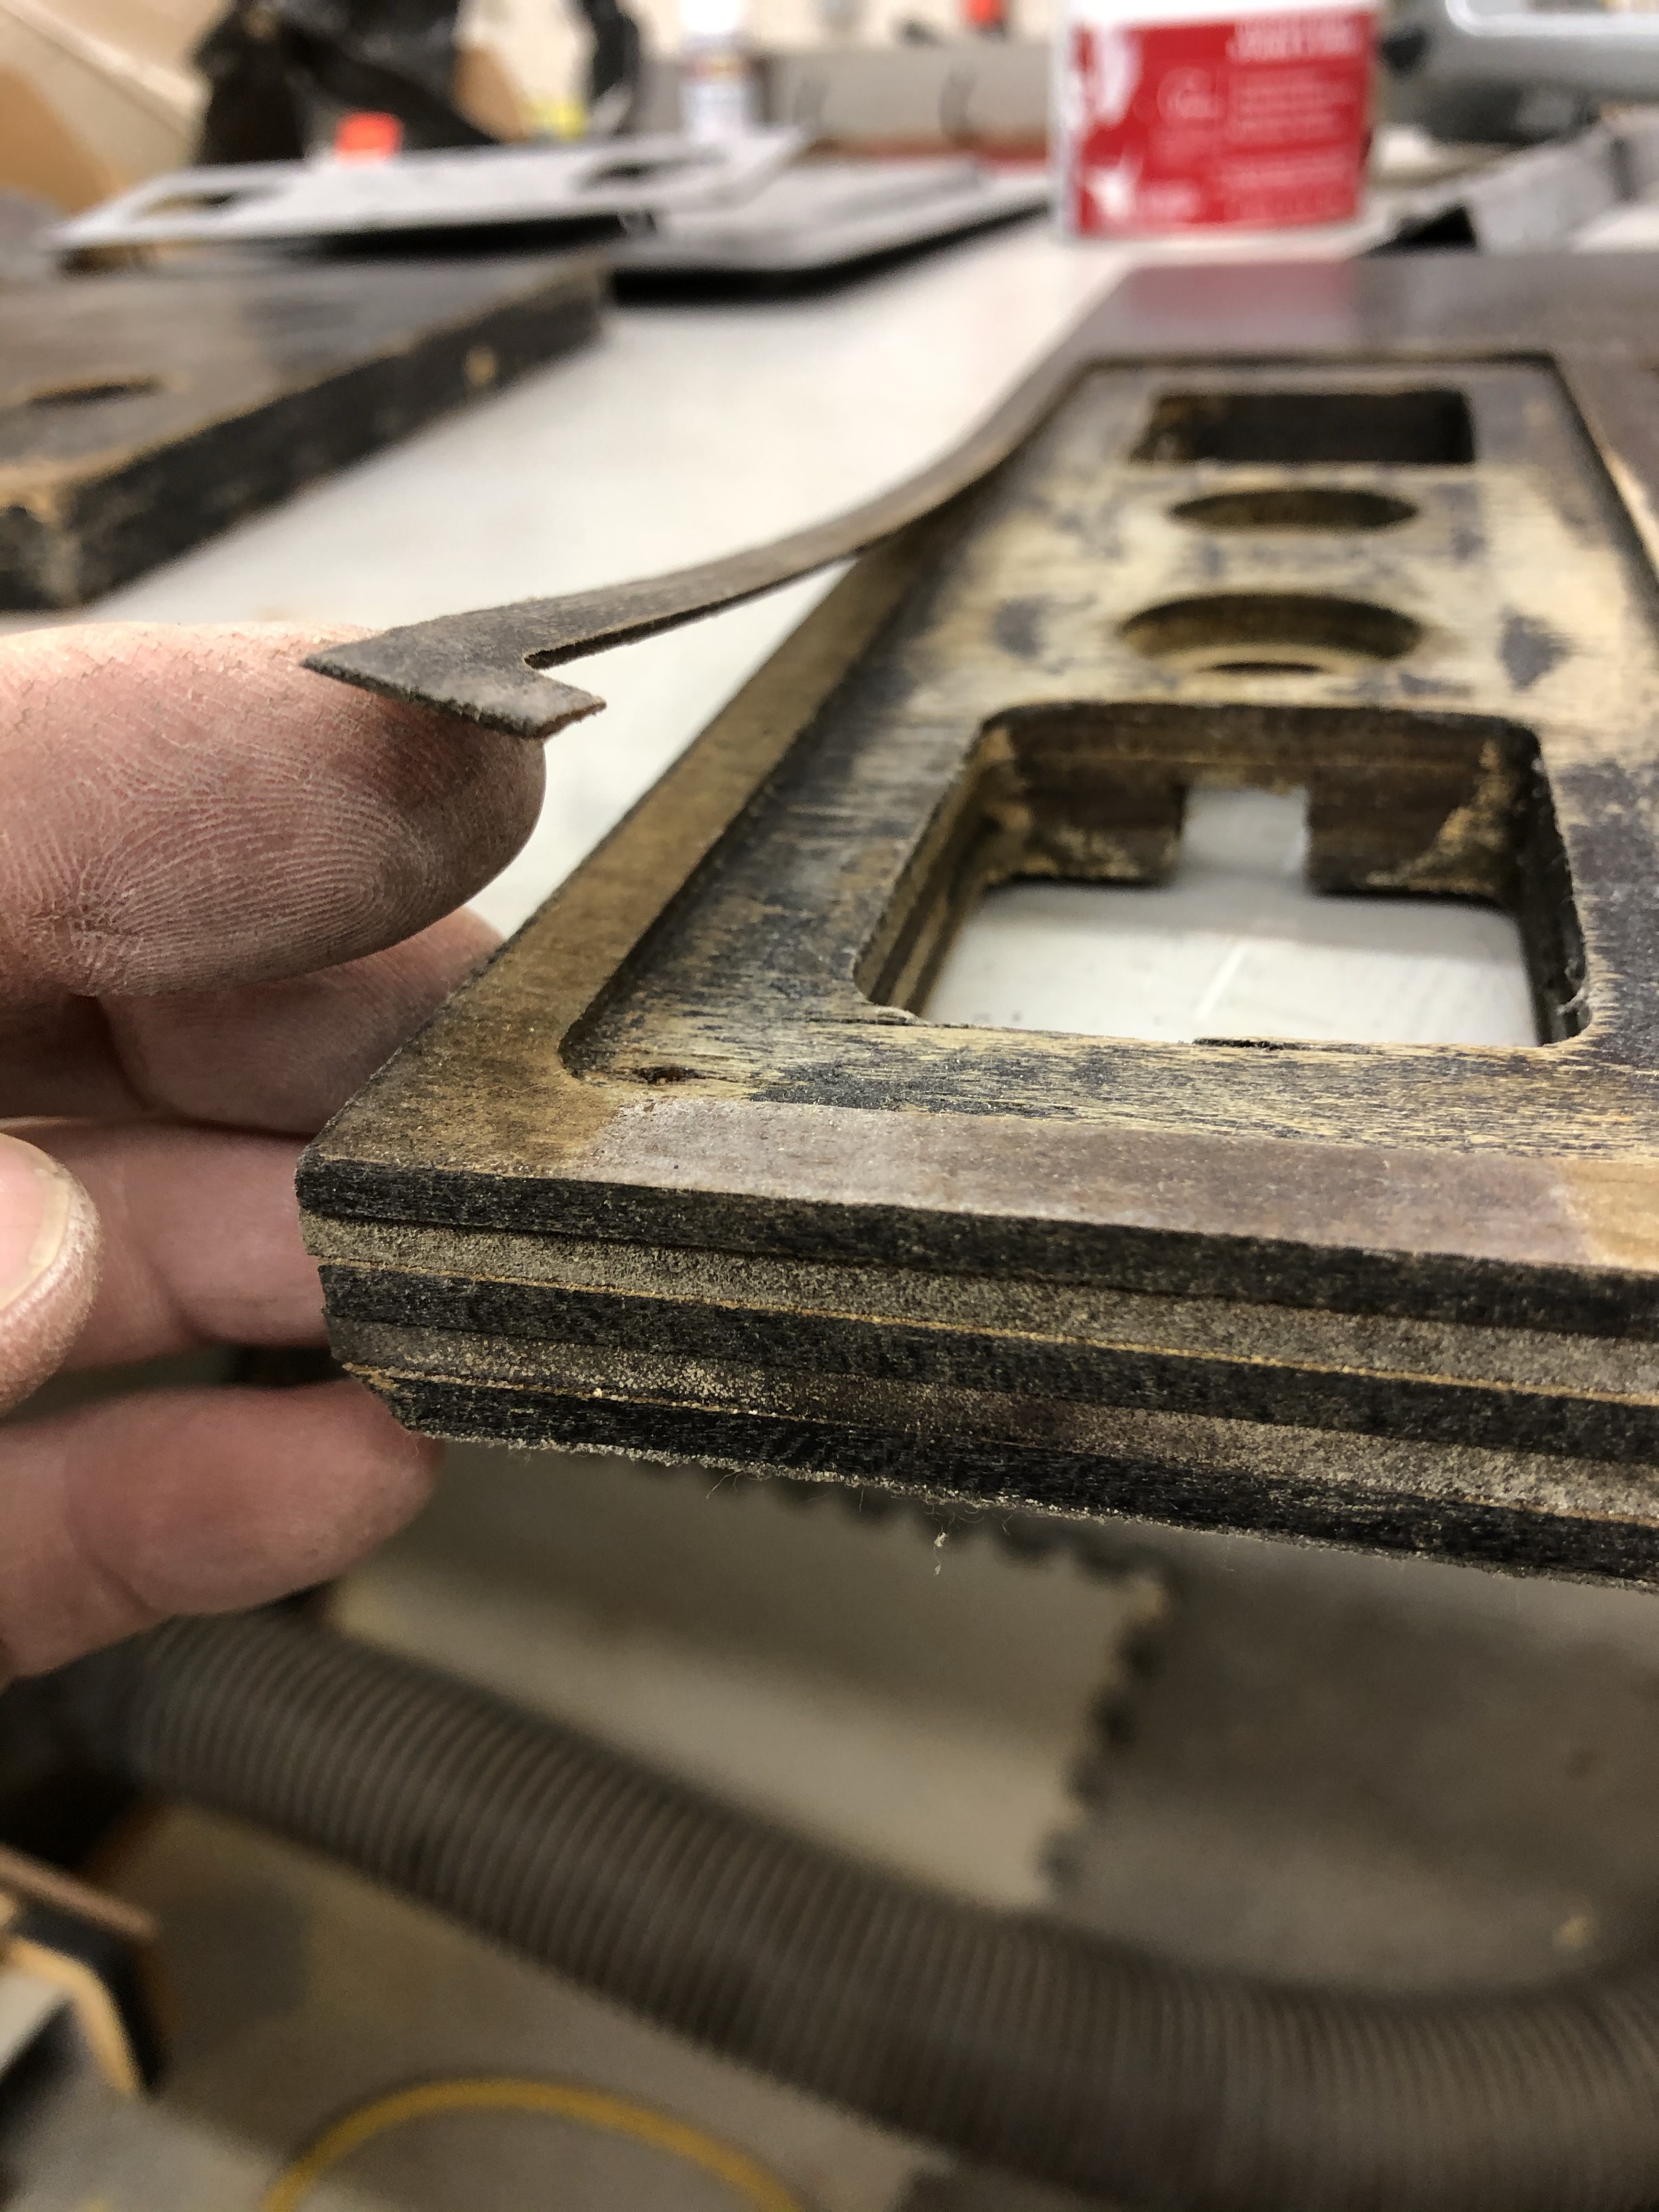
Beer smile?? This is a relatively simple fix..

Slice through the lumps, press one side down flat, then press the other side over the top and slice through both where they overlap. You end up with a perfect butt joint. The wood expanded along its width, that’s why its wavy.. So removing a sliver this way will allow you to flatten it again. You have the added bonus of easy access to get glue in there.
My glue of choice for this is 2 part epoxy (I prefer System 3 brand) – but use something that sets up over time (i.e. Not 5 minute epoxy) I got the glue in the de-laminated areas. You can’t see it in the pics but one layer of the plywood was de-laminating at a corner. I spread that open and got some epoxy in the void.
The outer veneer was also de-laminated. Just clean it a bit and glue it in place with epoxy.
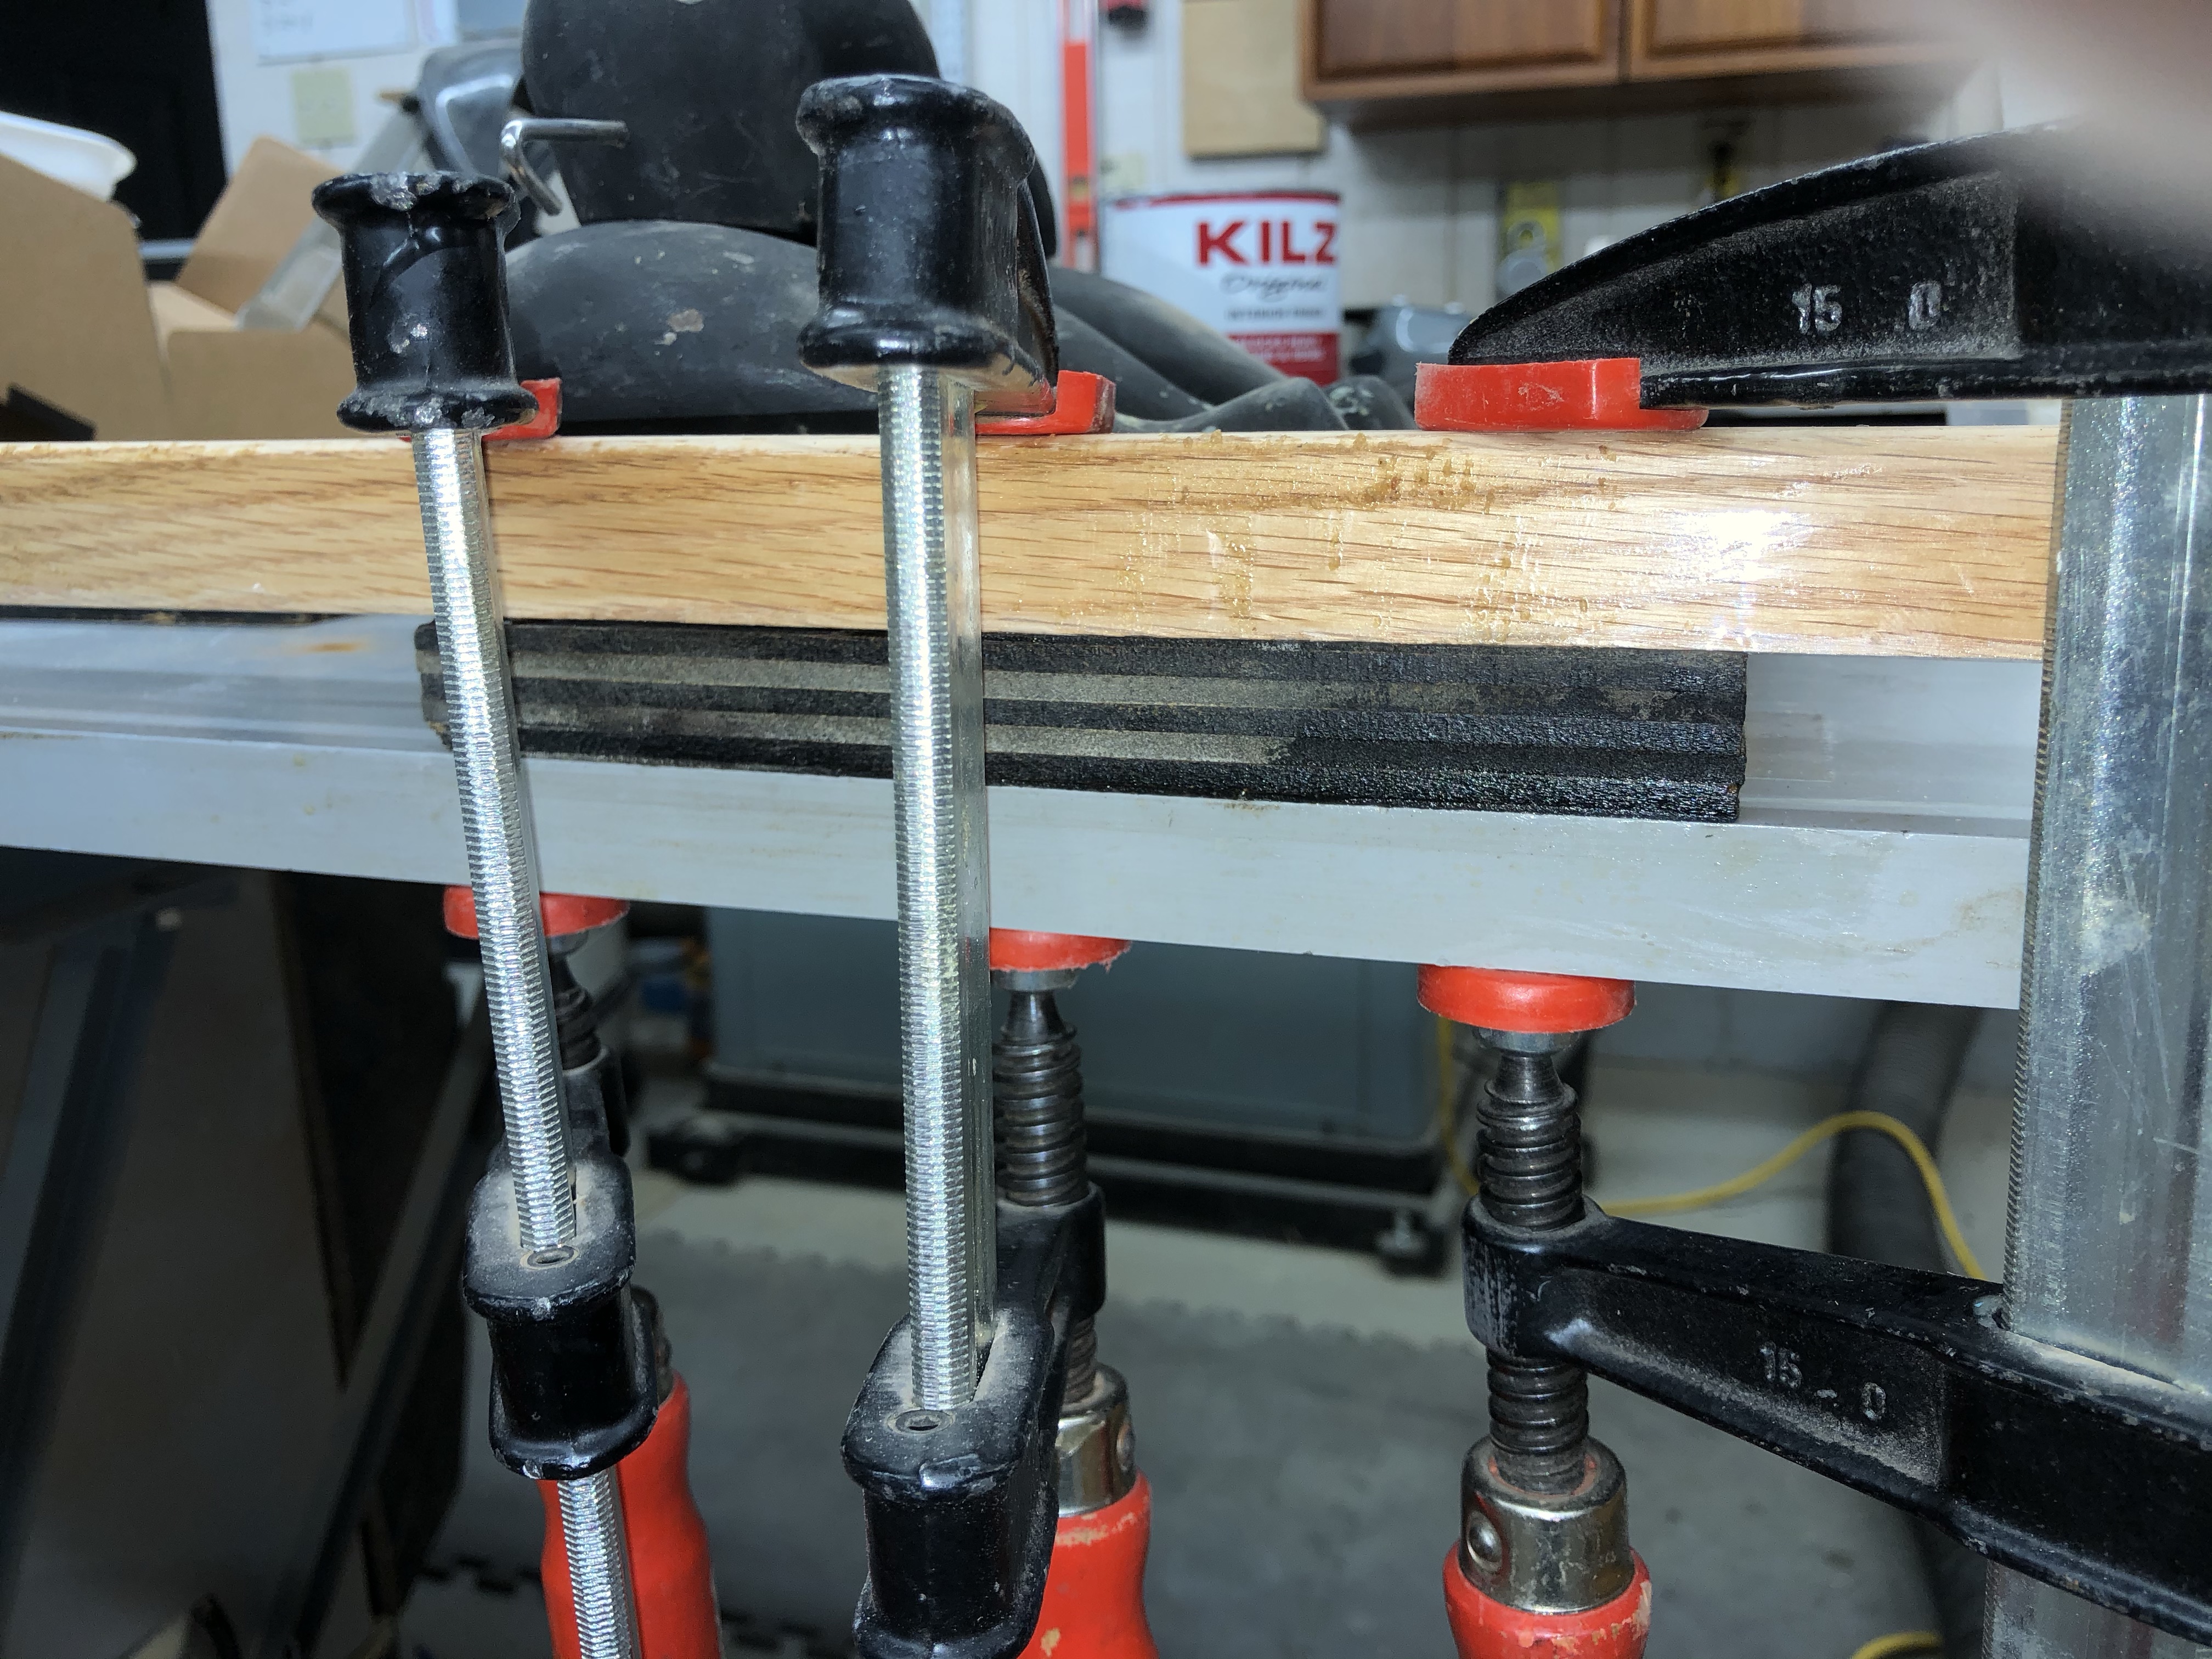
Here is the fix: I put packing tape on the side of my out-feed table so the epoxy wouldn’t stick. Added a wood block wrapped with packing tape on top and clamped it all together. The veneer wrinkles are nice and flat.

The sliver of veneer down the side gets the lead weight treatment.. More repairs to this face are coming.. but we’re off to a good start.
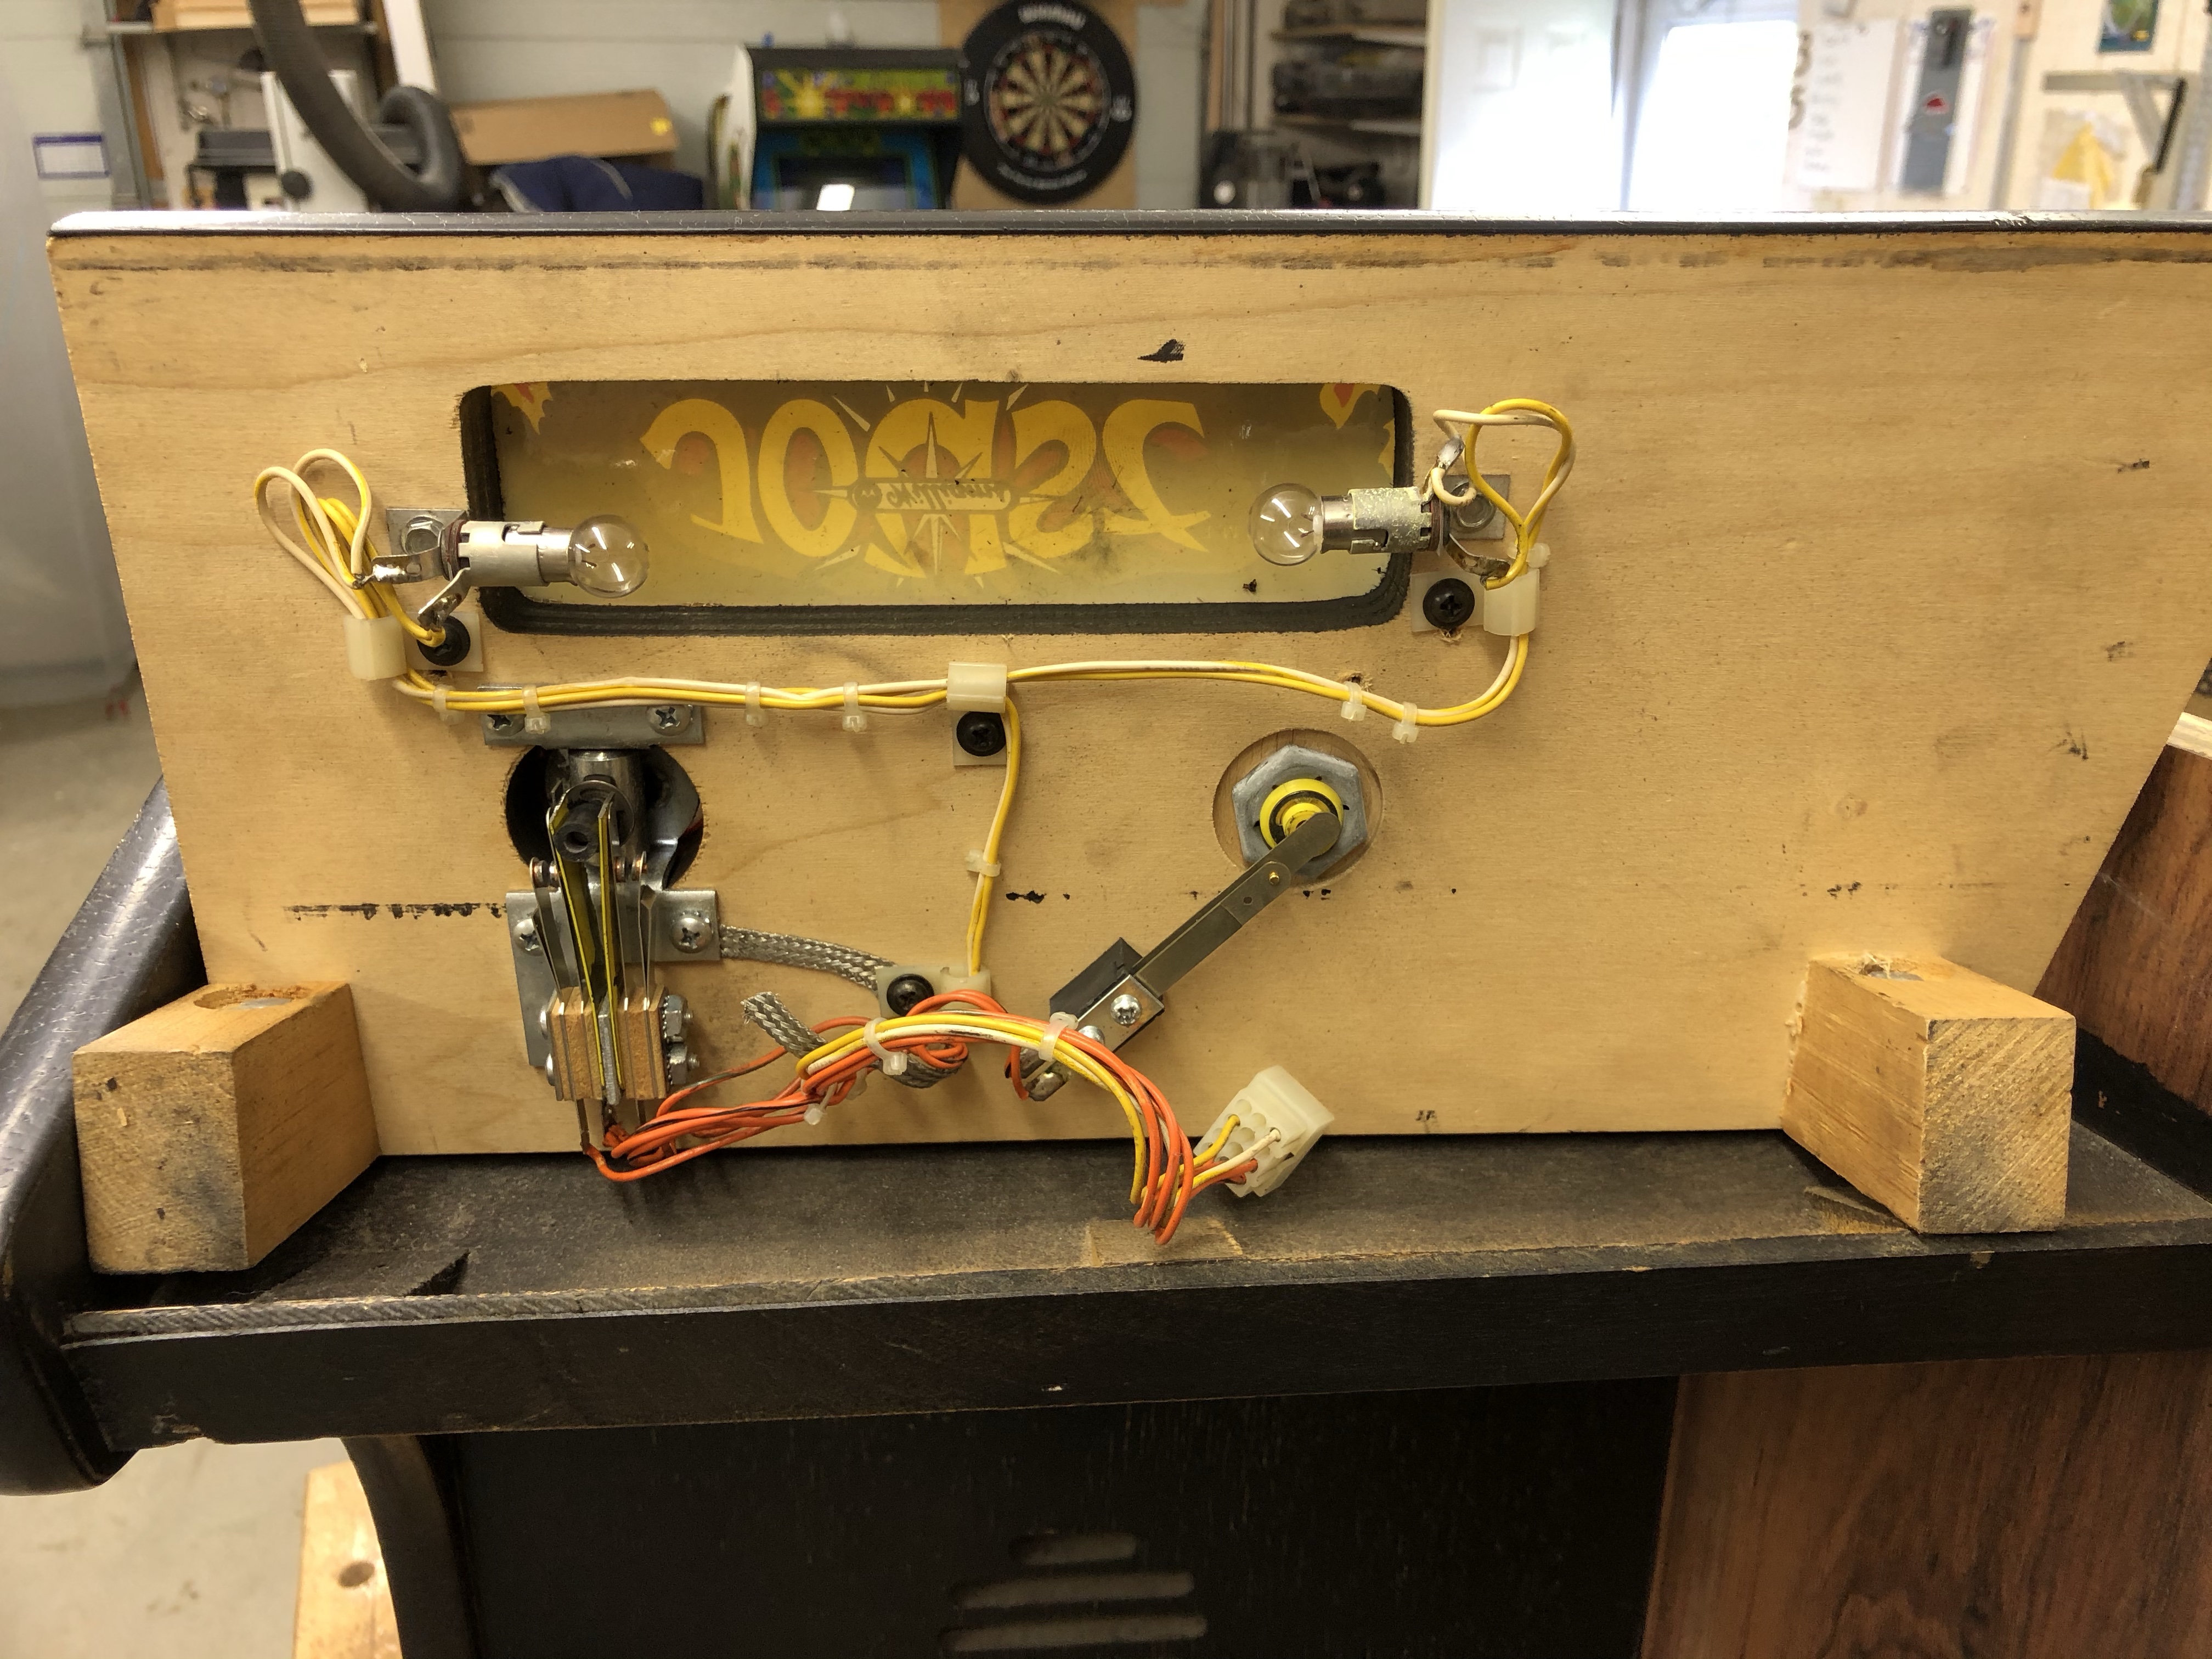
I popped the control panel up.. I bet the back lighting looks like it would be really nice. I did’t see it because the switcher bypassed all of these bulbs. I also have some Novus on the way to polish up the plexi’s so I’ll be pulling these apart just a little just to get all of the scratches out.
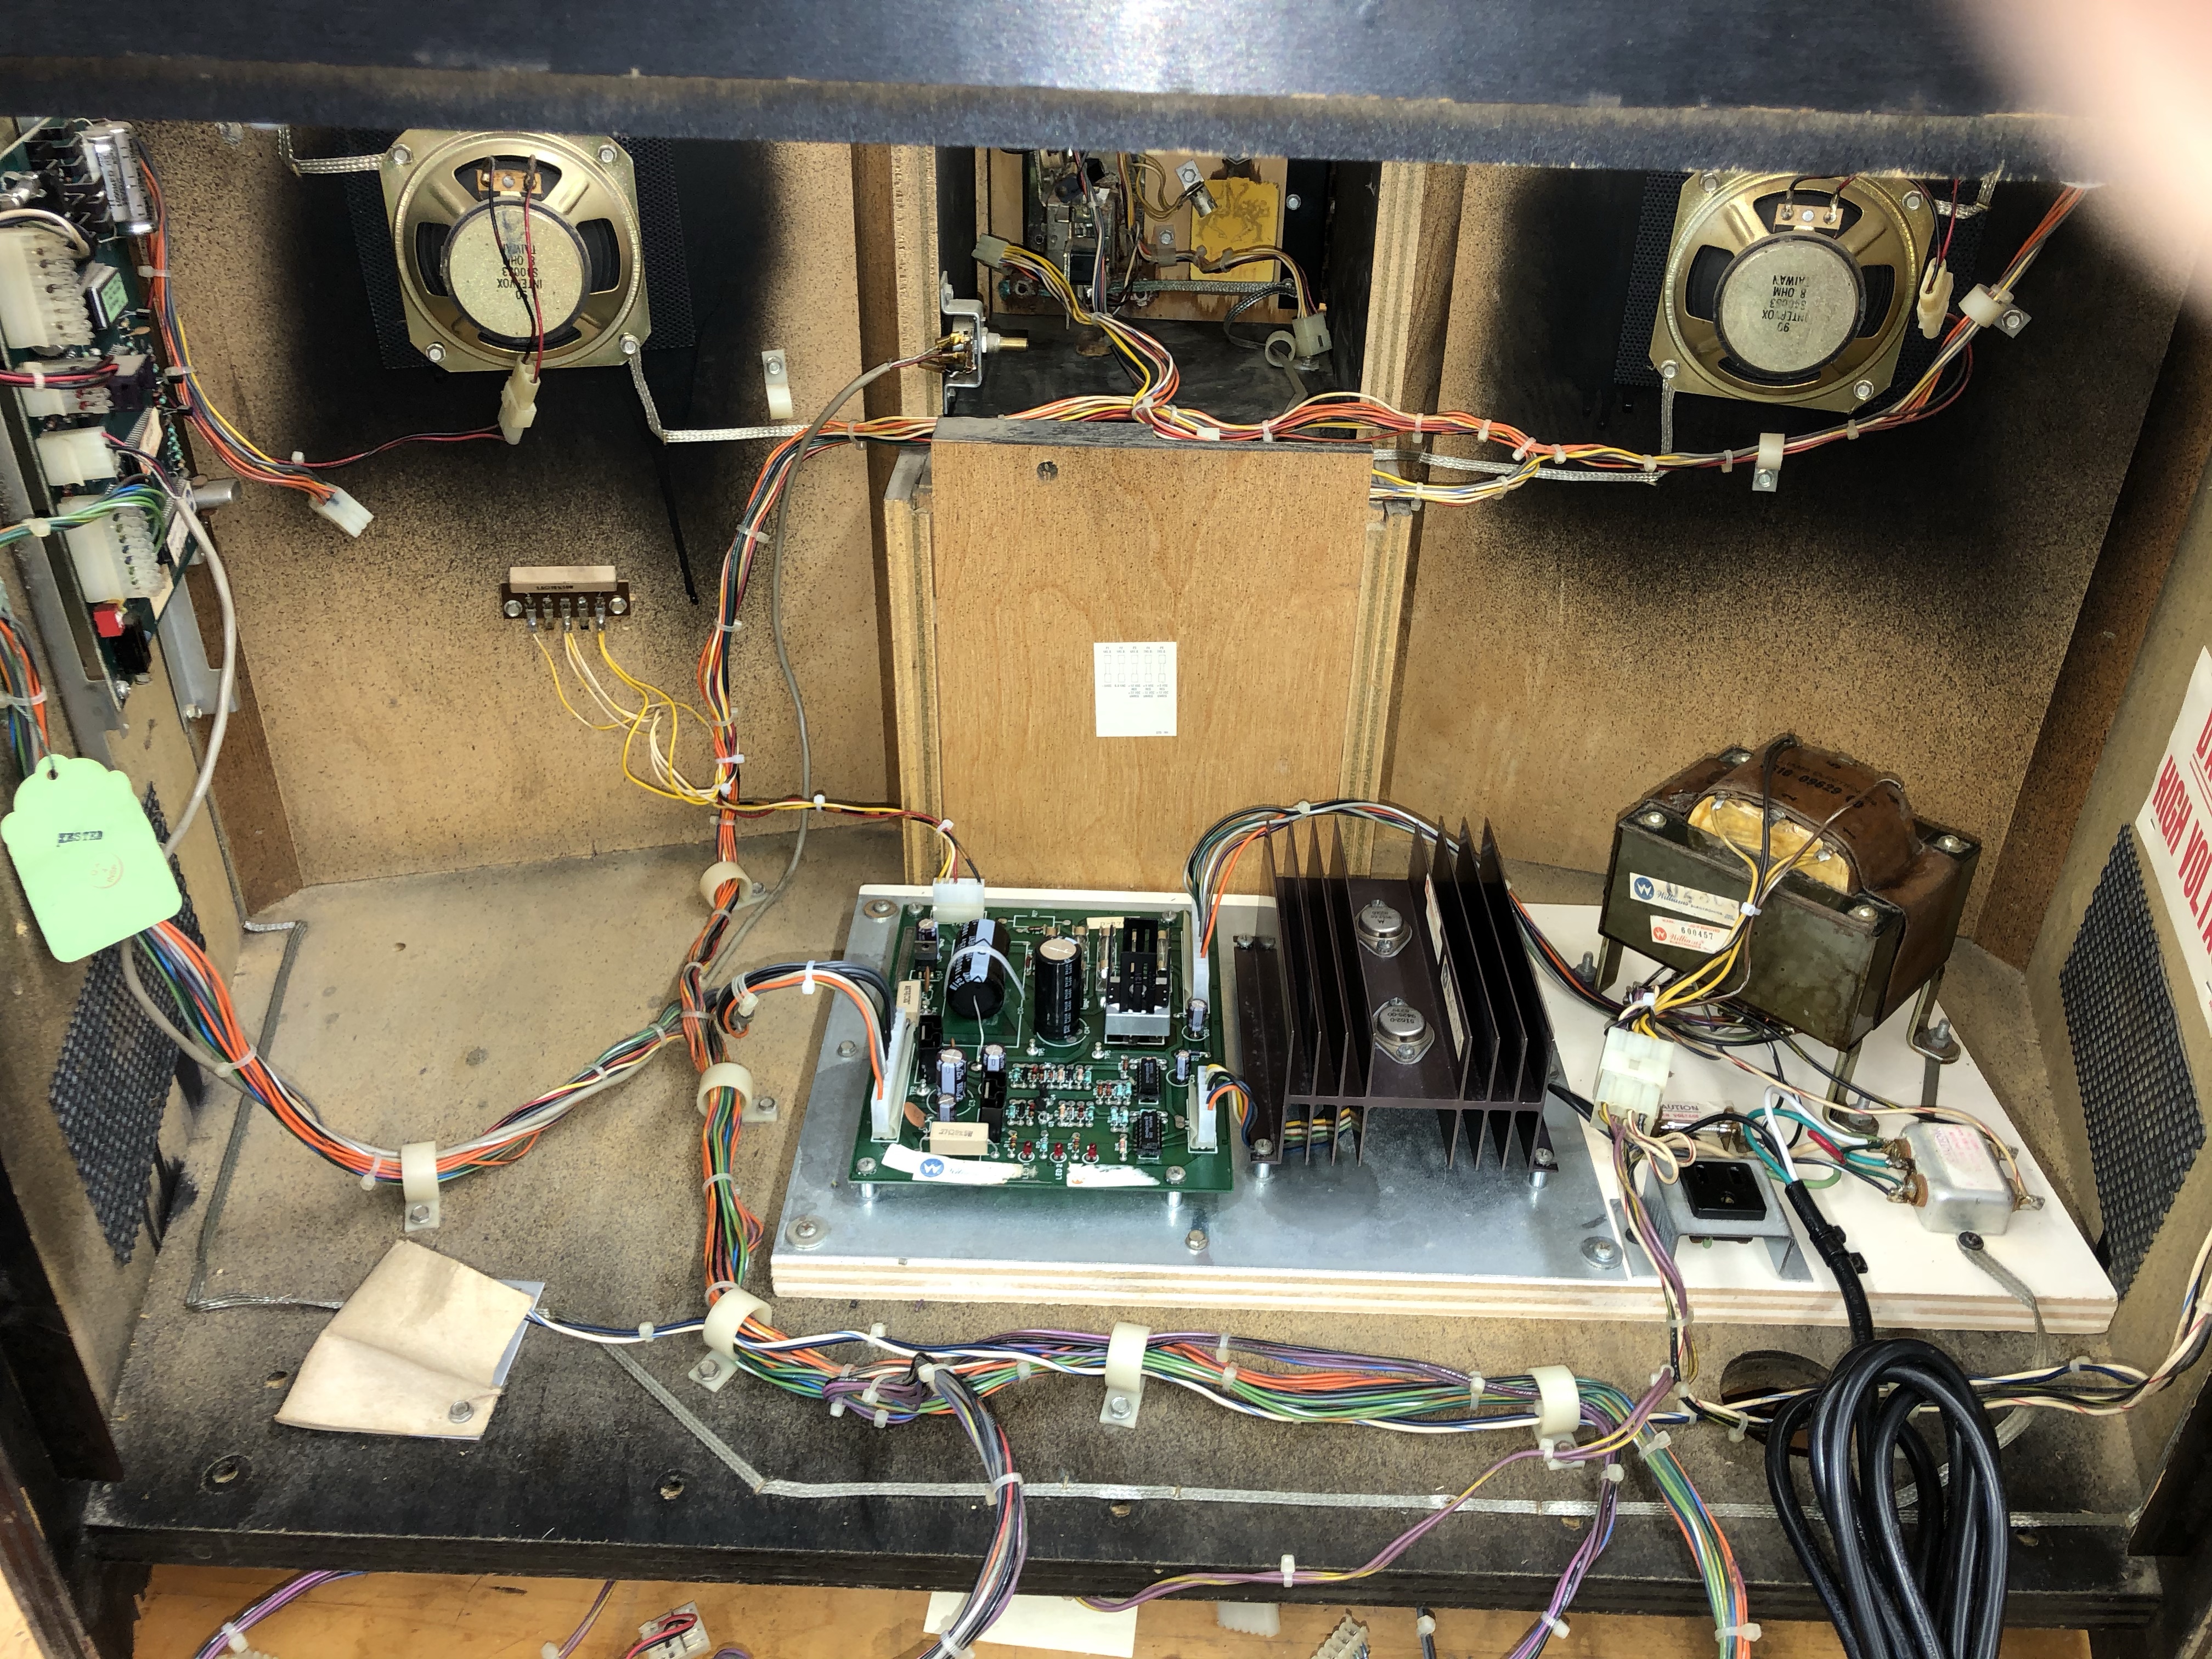
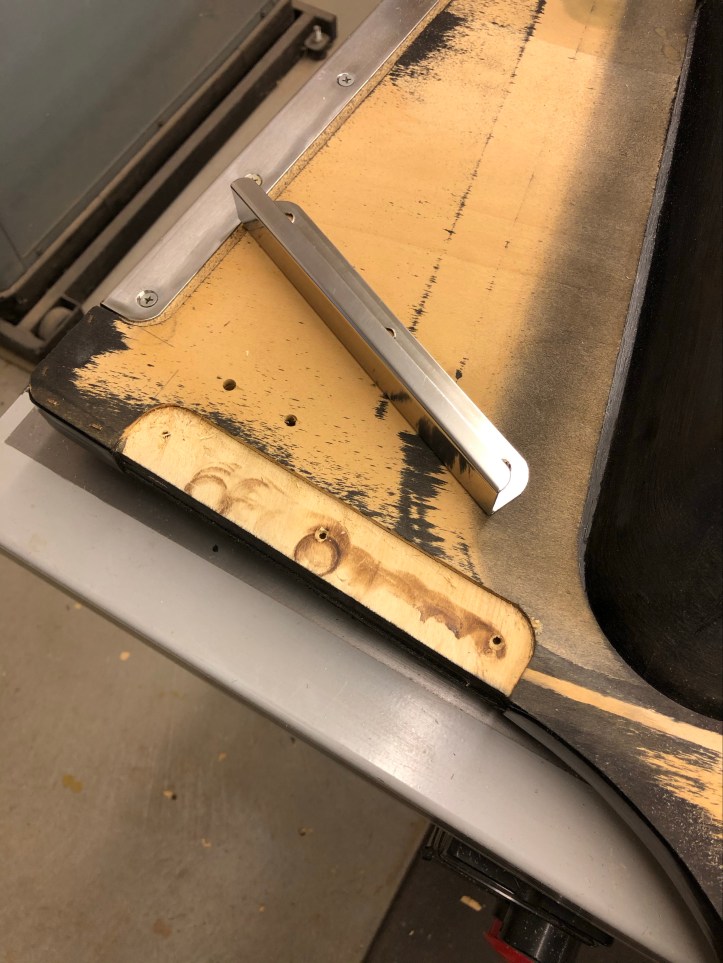
Before I put the power board back in place – everything got a good cleanup. Most of the little grills are cracked – I need to source some replacement material if it exists.
A new addition to my tool set is this:

It works great – especially for its sub $70 price tag.
The coin door hinges were rusted, blistered and barely moved. The coin face plate was the same. The part on the right is the coin box tray. It wasn’t painted – it just had rust on it that the tool took off quickly. I’d love to find an original coin box for it. The slot is for the lock, but the cabinet has another opening above the coin box that looks like it could be for a lock-bar or something.. A quick hand sand on the painted parts and they will be ready for finish.
Re-laminated – a little light sanding and cleanup is all that’s needed on this side.

Need to add some veneer to this spot and fill in some of the chewed up edge. The barrel of the hinge is down the left side.. So most of it is covered.
I had some veneer that matched the thickness and grain of the original plywood. The best way to get a tight fit is to cut it a little oversized and use a razor to cut through both the new AND original veneers. You get a perfect cut line that way.
Same as before – 2 part epoxy and a little clamping pressure to hold it in place while it cures. The face of the double stick tape does a great job at leaving a perfectly smooth surface.
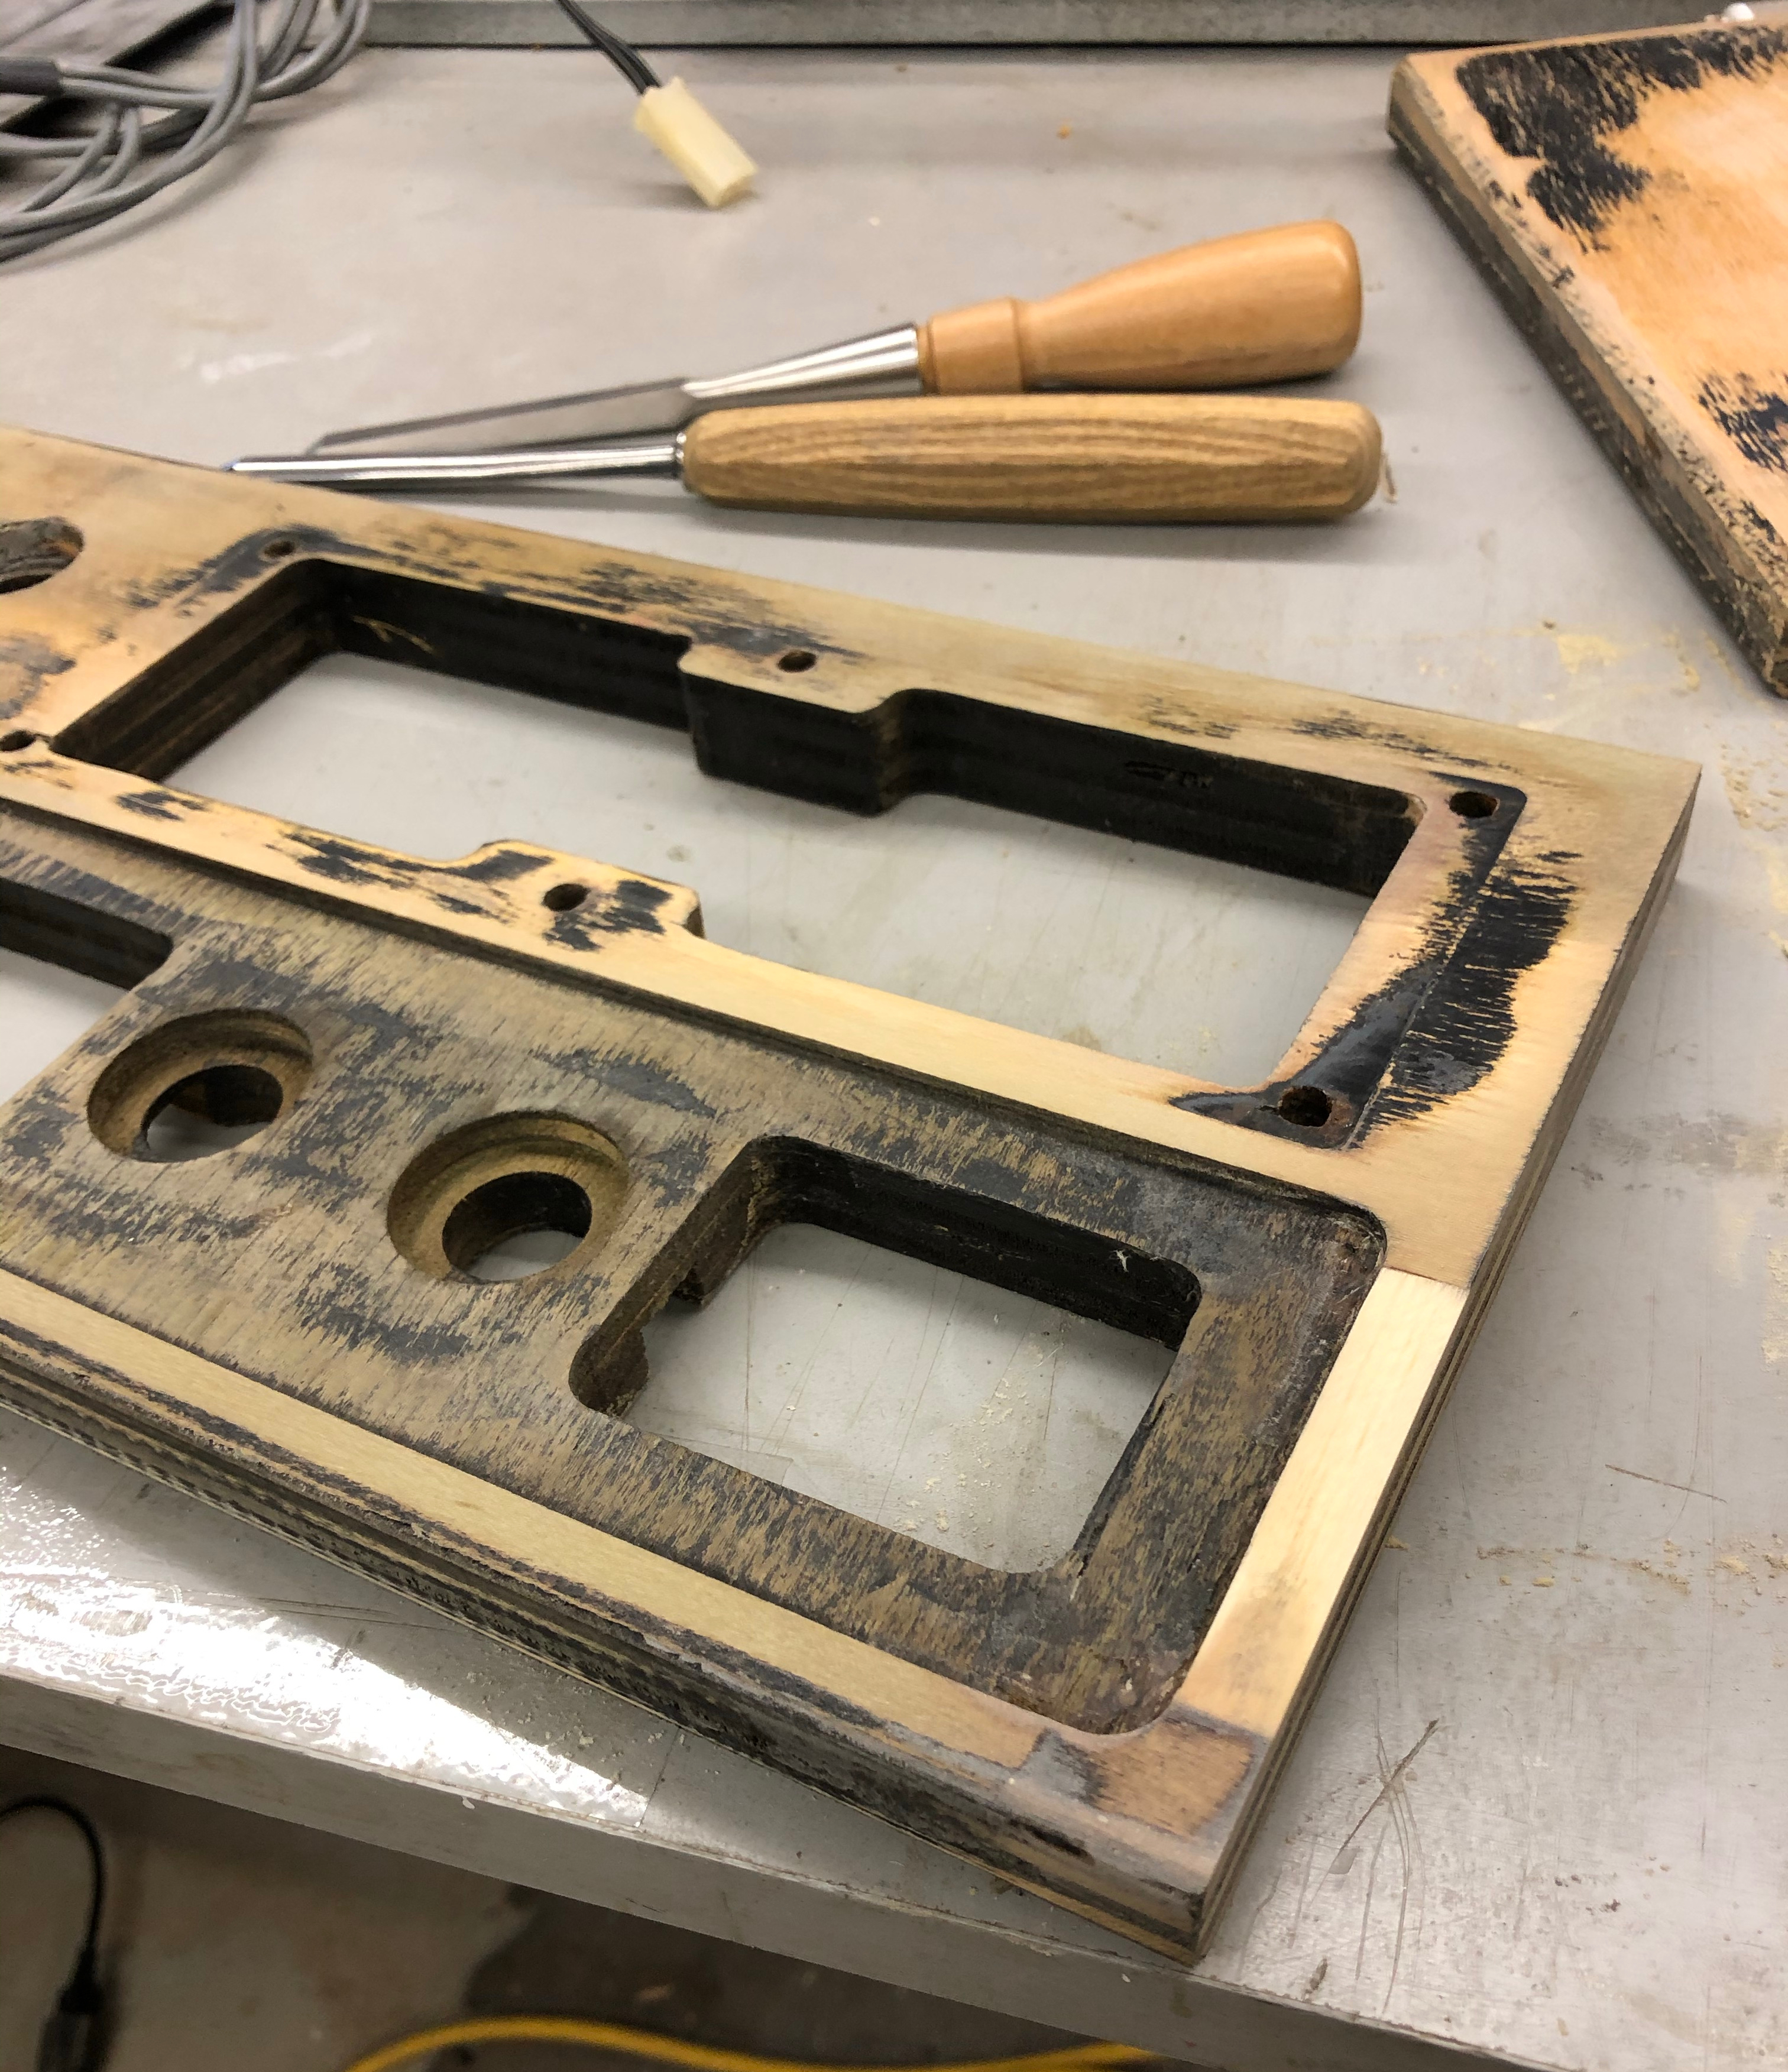
After some trimming, sanding and some chisel and a gouge work to restore the inside corner of the recess, it repaired nicely.

Same gap all the way around – just like it was. Ready for paint.

Rust-oleum satin black has been the closest match to the original paint. These coin doors cleaned up pretty nicely considering how damaged they were.

However… They were now going to be right next to these side panels.. Which look worse than the picture shows and I’m not a big fan of the exposed wood grain which will absorb moisture/humidity..

The fix was easy. Same Rustoleum cut with about 10% mineral spirits. Thin wipe over the surface with a rag (like polishing a shoe). Freshened it up w/o changing a thing. I did a quick wipe around to most of the other worn/exposed black paint areas to take a few miles off without making look like I did. One thing I noticed is these panels were originally painted in place. You can see where they taped off the wood grain laminate.

Got some of the Joust cocktail and Joust upright parts repainted.. The were pretty ratty before sandblasting. I’m in the paint some parts.. wait a day stage ..


Got the coin mechanism back together. Had to get some replacement parts. While it was apart I decided to polish up the plastic button cap. It had a few scratches that compound alone would not take out. It took maybe 15 minutes to clean up wet sanding. I start with 1000g to get all of the scratches out and a uniform scratch pattern from the paper. Once that’s done, step up through the paper grits – 1200, 1500, 1800, 2000, 3000. Each only takes about a minute once the 1000g work is done. I finished with Novus 3 & 2.


For the mounting plate, I used Rustoleum Satin Black paint. Spray on the base coat smooth as you normally would and wait 30 min or so for it to set up.. To get the texture – you have to spray a second coat – but EVER SO LIGHTLY press the button so the can barely spits out paint. The little spitting gives the exact texture of the originals. Holding the button just right to keep it spitting requires a little practice. One other item – avoid holding the paint can OVER your work.. The spitting causes the paint to puddle at the can’s edge and every so often a large drop falls.. on your work.. so you get to do it all over again.. just saying..
I got the info from this video: Bryan Kelly Coin Door Restoration

Fresh set of working locks.

I’m going to polish up the plexi coin plate and the original buttons were broken. Replacement buttons will be back in place soon.
There are two things the original designers could have done a bit better on this cabinet IMHO. The metal plate for the cash box doesn’t allow the door to close flush. Checking with another Joust Cocktail owner – same thing. I mortised in a recess at the router table to fix that issue. Another thing I would have done differently is the coin door and cash box hinges are mortised into the cabinet side. To allow for it, they had to trim the T-molding to fit. (look at the picture of the doors closed). Maybe it was their design choice – it looks like an afterthought to me. They could have flush mounted the hinges and made the door slightly narrower.

Got the back cleaned up and reassembled. Powered it up and … memory errors. The error code moves on every reset. I haven’t started looking into that just yet. The good part is I have my Joust upright board available (also not working).. But if need be I can move memory around to test once I get to that point.

The switching power supply had bypassed the lighting. Now that its back on the factory supply – I had to test it. Its pretty nice if you’ve never seen one lit up – I had not.
Got the PCB running. The power supply board got recapped during the Joust Cocktail – Power Supply Rehab The filter cap for the regulated 12v is much smaller than the original but fit into a hole with a pad on the board. I missed checking to see if that pad was actually connected to ground. It wasn’t. After determining the 12v was low (at 11.5V) on the ram and checking the whole circuit – I got the idea to check for AC ripple for some reason. It was 1.5VAC – uh oh.. 3 minutes later I found the problem, added a jumper and the board works great. My newly learned diagnostic technique – if your testing a DC circuit – check for AC.
I corrected another small issue that seems to be from when this was manufactured. The metal retainer was bent open to fit over the edge because the mortise wasn’t cut deep enough. They wedged the edge piece on and spread it. It stuck out on the front right where your hand would be. I removed another 1/16″ of an inch or so in a few minutes with a router and chisel. A wooden vice with a little squeeze here and there made the edge piece square again.
This is my first time taking a cocktail apart – I’m certain they all have this – a groove on either side of the glass with the ability to drain spilled drinks out the sides and not into the monitor or boards.

The plastic below the glass is in great shape. I little cleaner and some auto detail spray took off a few years.

Back together – decent shape for its age. The glass has normal scratching – but not enough to get a new one.

The control panels were pretty crappy, I found a great wet sandpaper assortment on Amazon. Wet sanding starting at 600G with a cork backed block I made. I worked my way through all of the remaining grits (600, 800, 1000, 1200, 1500, 2000, 2500, 3000, 5000). Whatever acrylic they used back then – its hard. After all of them – I still needed to bring out the artillery.
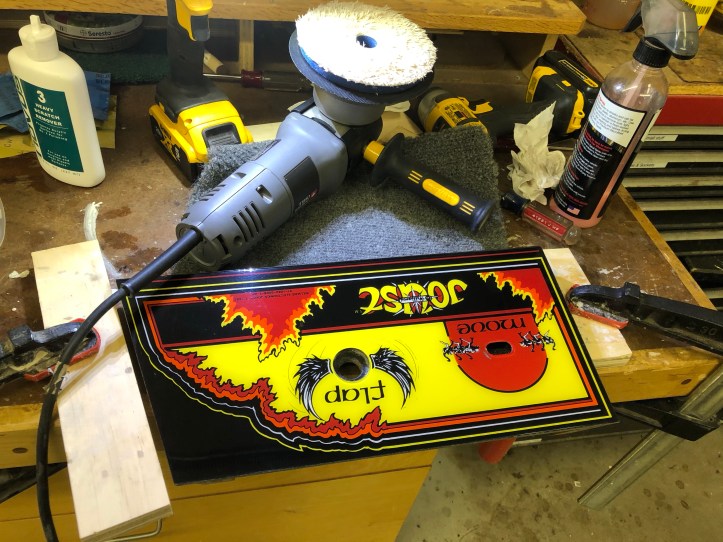
The buffer and some Novus and automotive compound cleaned them up nicely. Not flawless by any degree – but I took off a good 25+ years.

Blue = before, Yellow = after. Pictures do not do it justice. Its an improvement while keeping it all original.


I could work on little items on this cabinet forever. Its a keeper for sure. The monitor has more burn than I would like – maybe I’ll swap the tube down the line.. The joysticks have hacksaw blades as stiffeners – I need to correct that – not crazy about the feel. But its running great and was certainly a fun restore. All set for a labor day party that will include some arcade buddies.

[…] Joust Cocktail – Cabinet Restore and Cleanup […]
[…] Joust Cocktail – Cabinet Restore and Cleanup […]