I designed my cabinet for a clean look and uncluttered layout.
With that in mind – I put the power and volume control buttons under the control panel/above the coin door and out of sight since they are used infrequently. Over time they just felt more and more inconvenient. I knew where they were – but after months of showing people how to turn it on/off.. how to control the volume.. and just reaching under the CP to change the volume.. It was time for a change.

The good news is my original plan was a modular design. The control panel comes out by removing a few machine screws, a 7 pin connector and a USB cable. The volume control is seen below the CP box.

First time I’ve ever had the CP removed as a single unit like this..super simple.

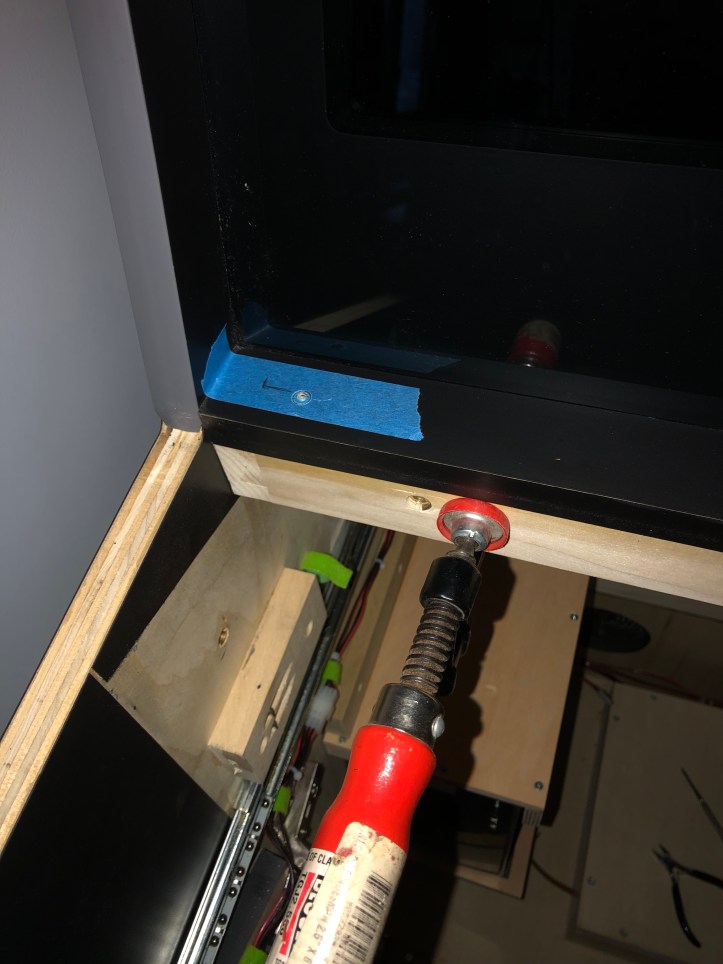
With the CP out – I used blue tape to mark the positions for the new holes which needed to be cut into the top and front blocking. The filler panel that the volume control and power button is on was also easily removable.

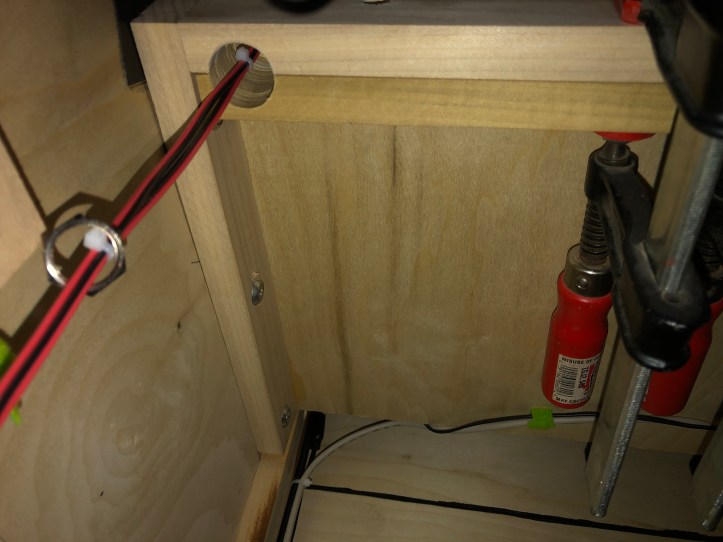
Here is the start of the power button hole. I needed to clamp a backer block underneath to get the Forstner bit to cut straight.
Quick fit of power switch..
Getting the switch in and the nut that holds it in was a pain. I was curled up sitting on my subwoofer box messing with it for a good 20 minutes.

Cutting this square hole was relatively simple. Drilled a few holes and cleaned it up with a chisel.

This will be sooooo much easier.

Power and volume moved up next to the bezel. Its already been easier to use this way. I’m glad they are not on the CP – but happy they are easy to access now.

The original filler panel will get a fresh piece of laminate to cover the old holes. Just like I designed.
