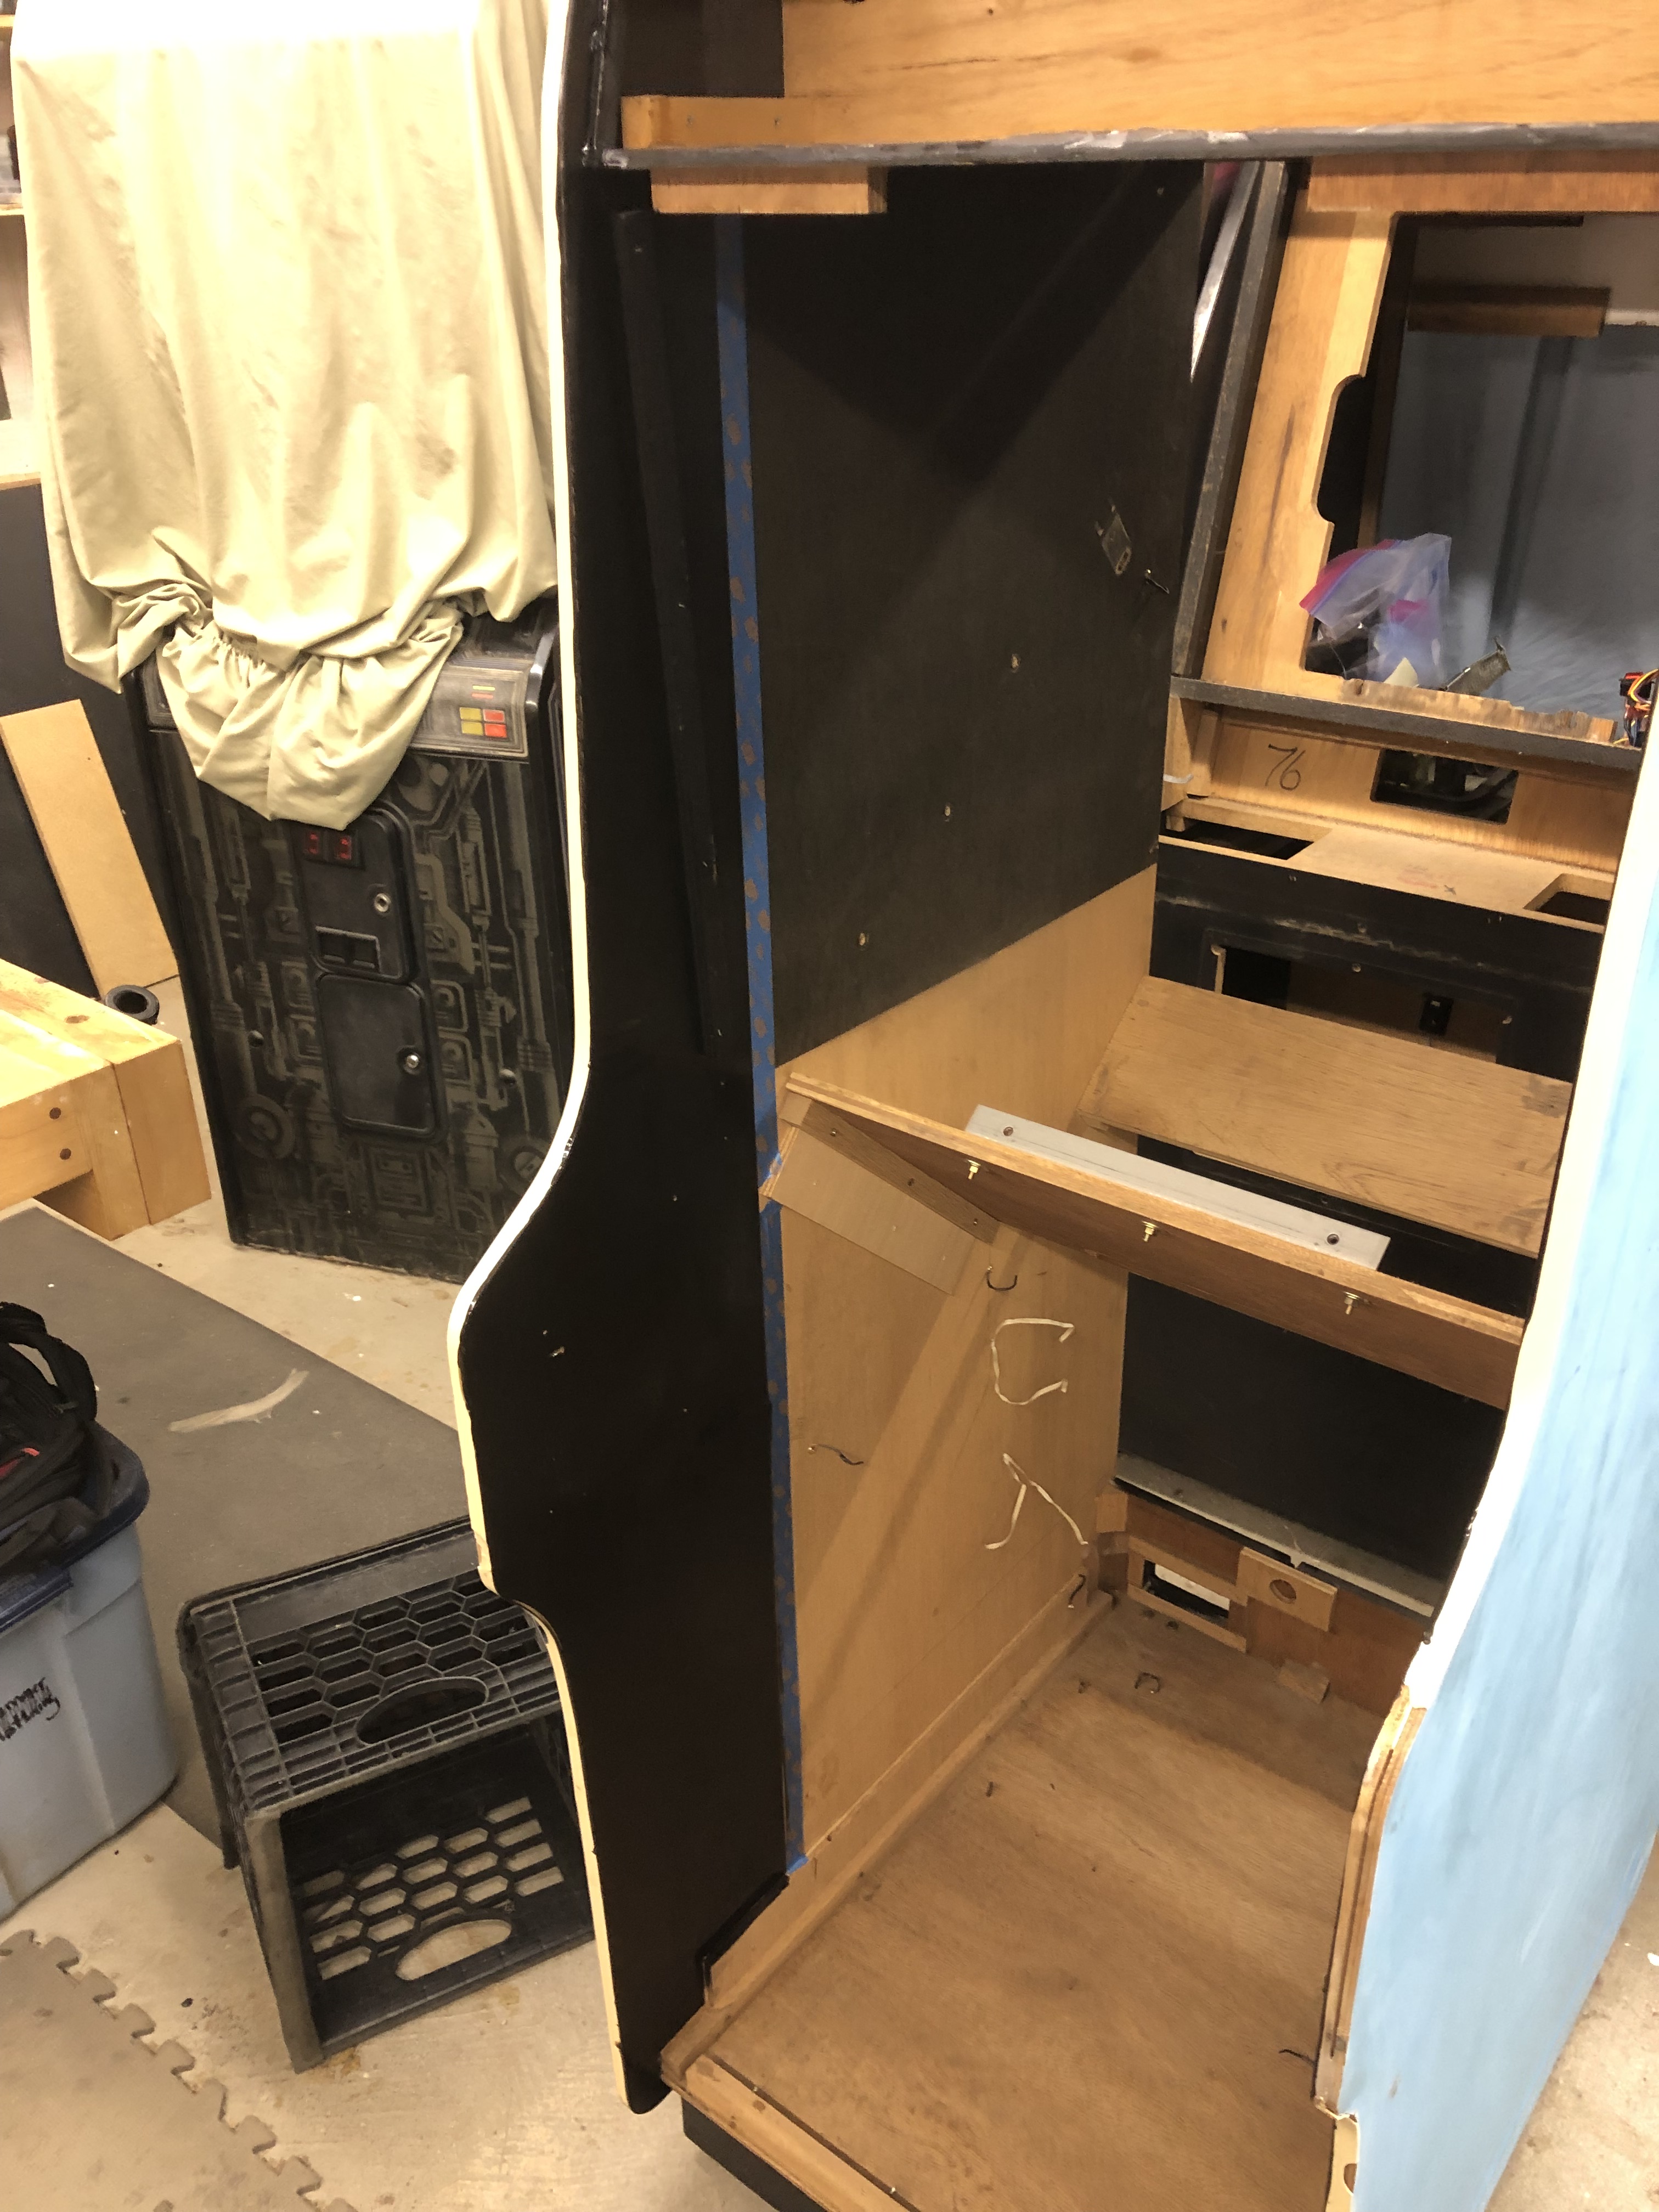
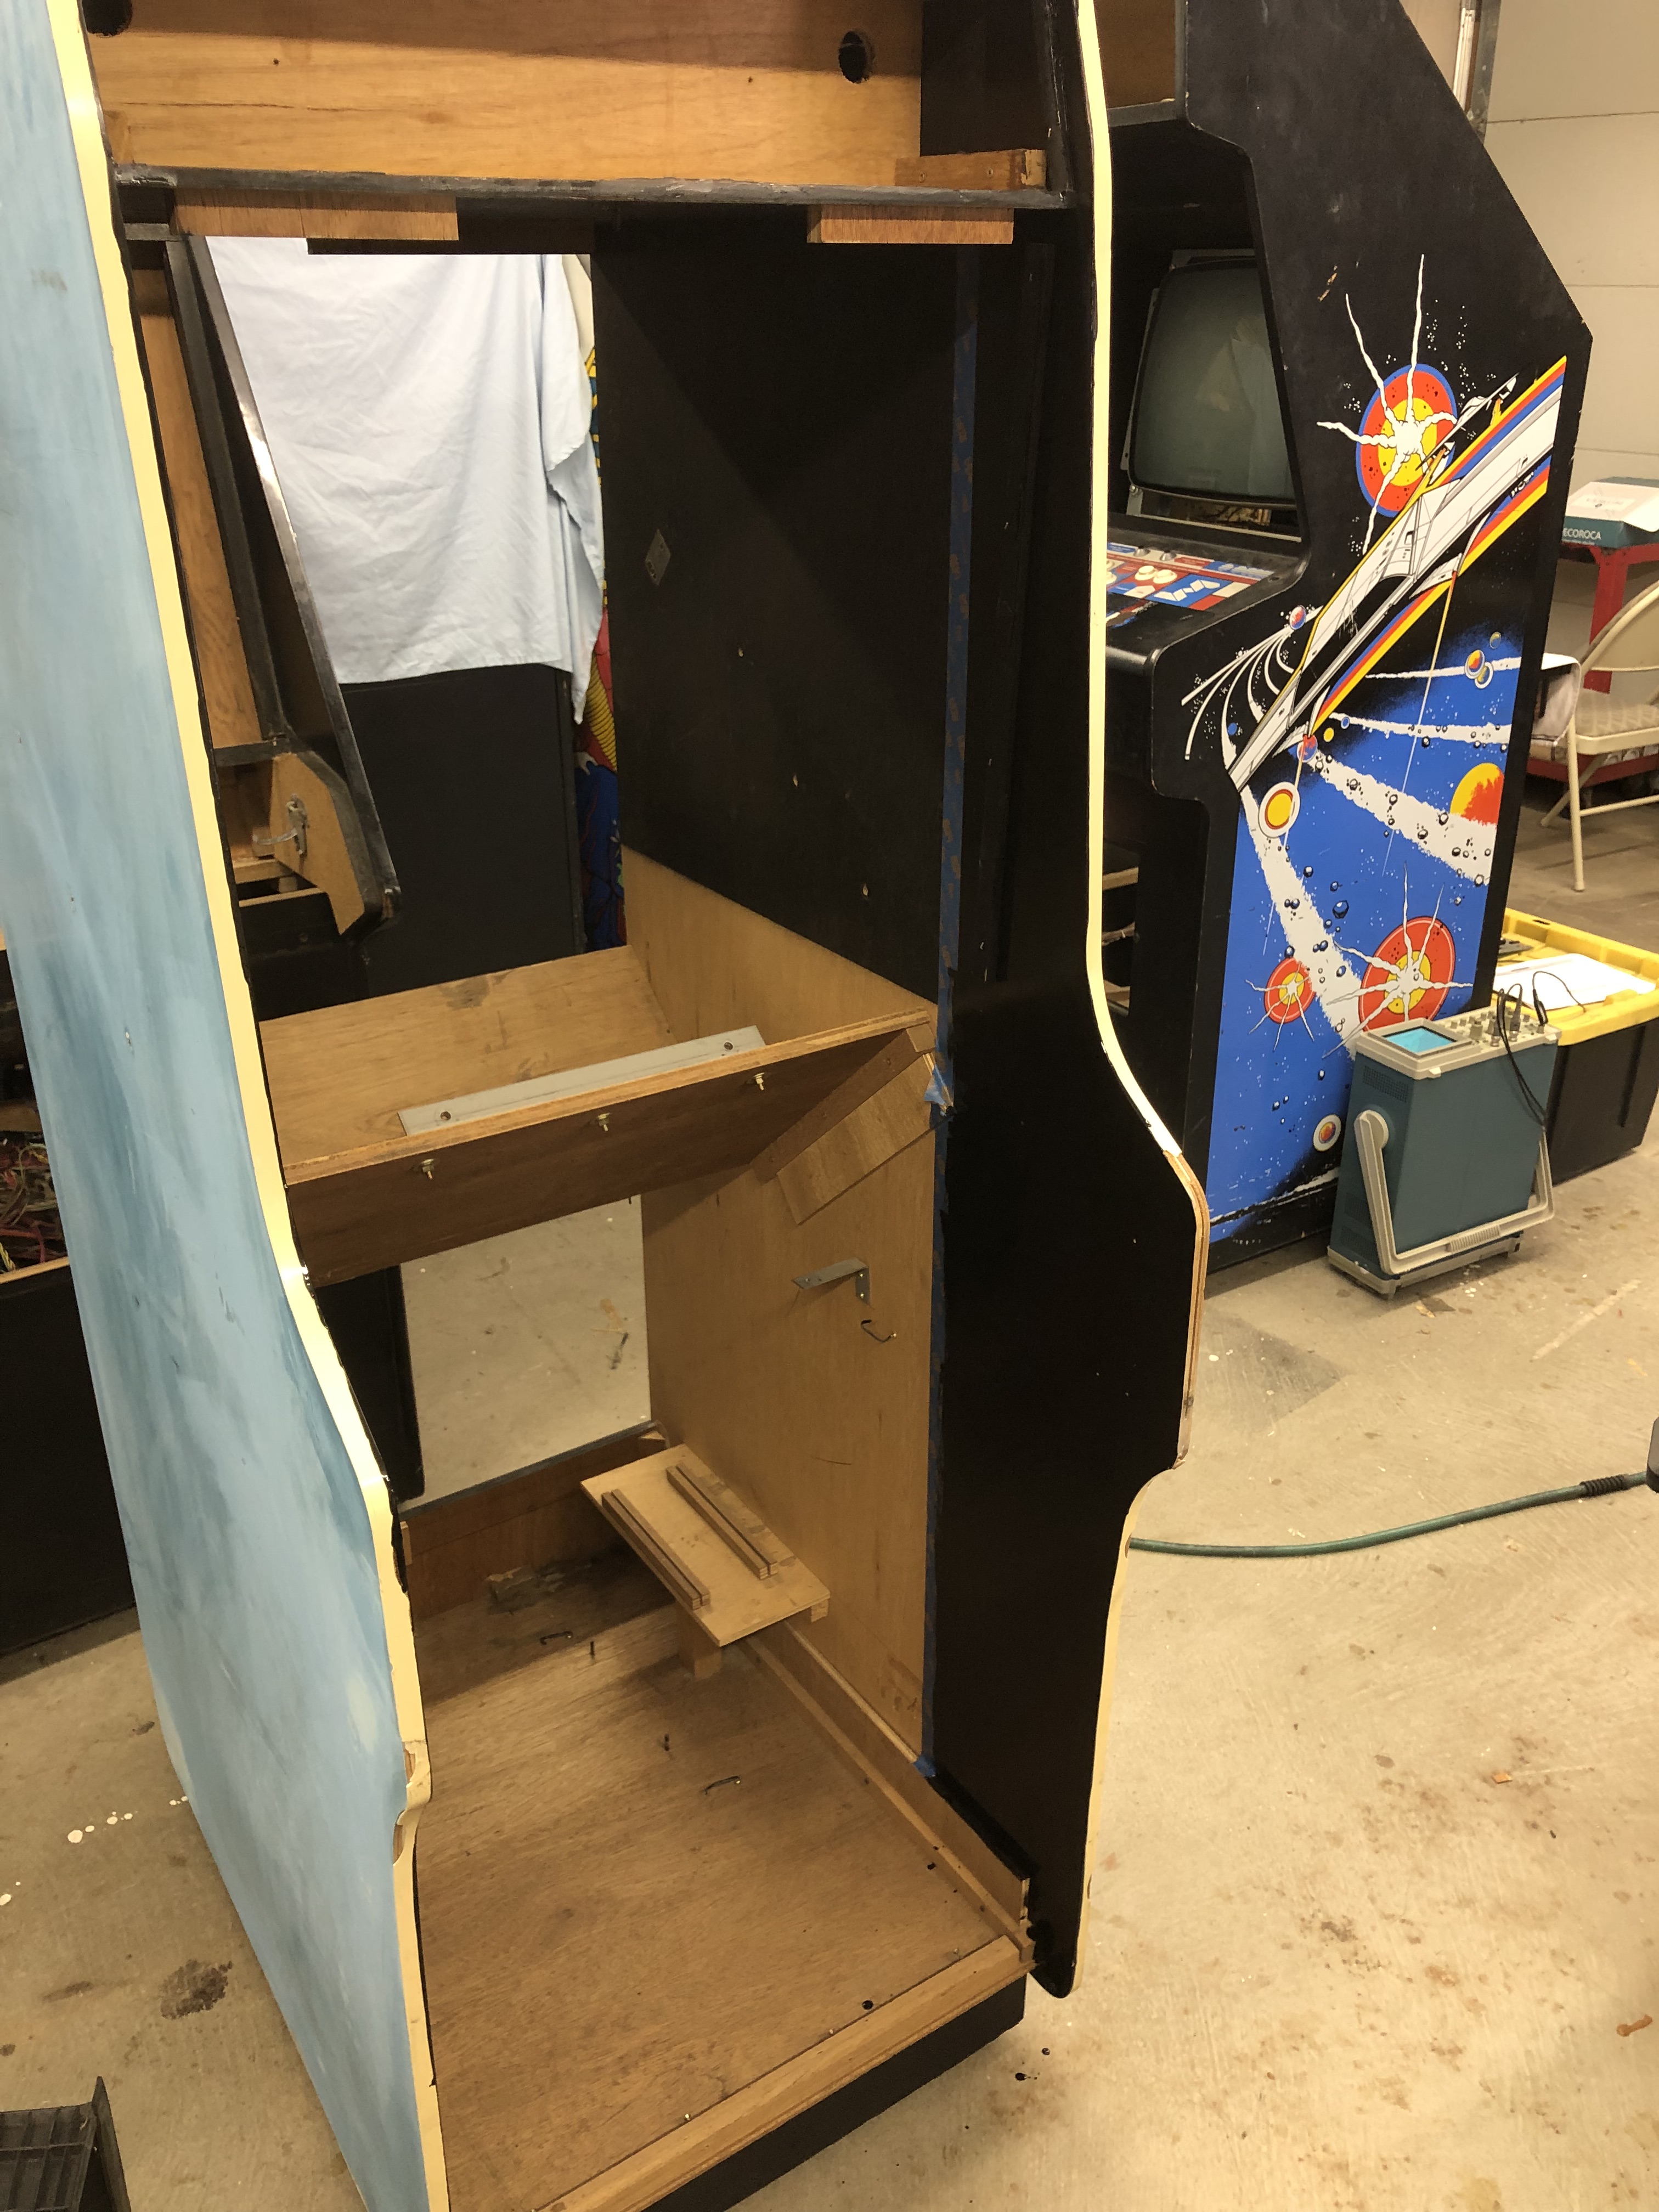
This cabinet doesn’t have a chance of being a low touch cleanup.. Framing nails were through the sides and into the edges of the plywood all over the lower half of the cabinet. Drywall screws would have caused less damage.


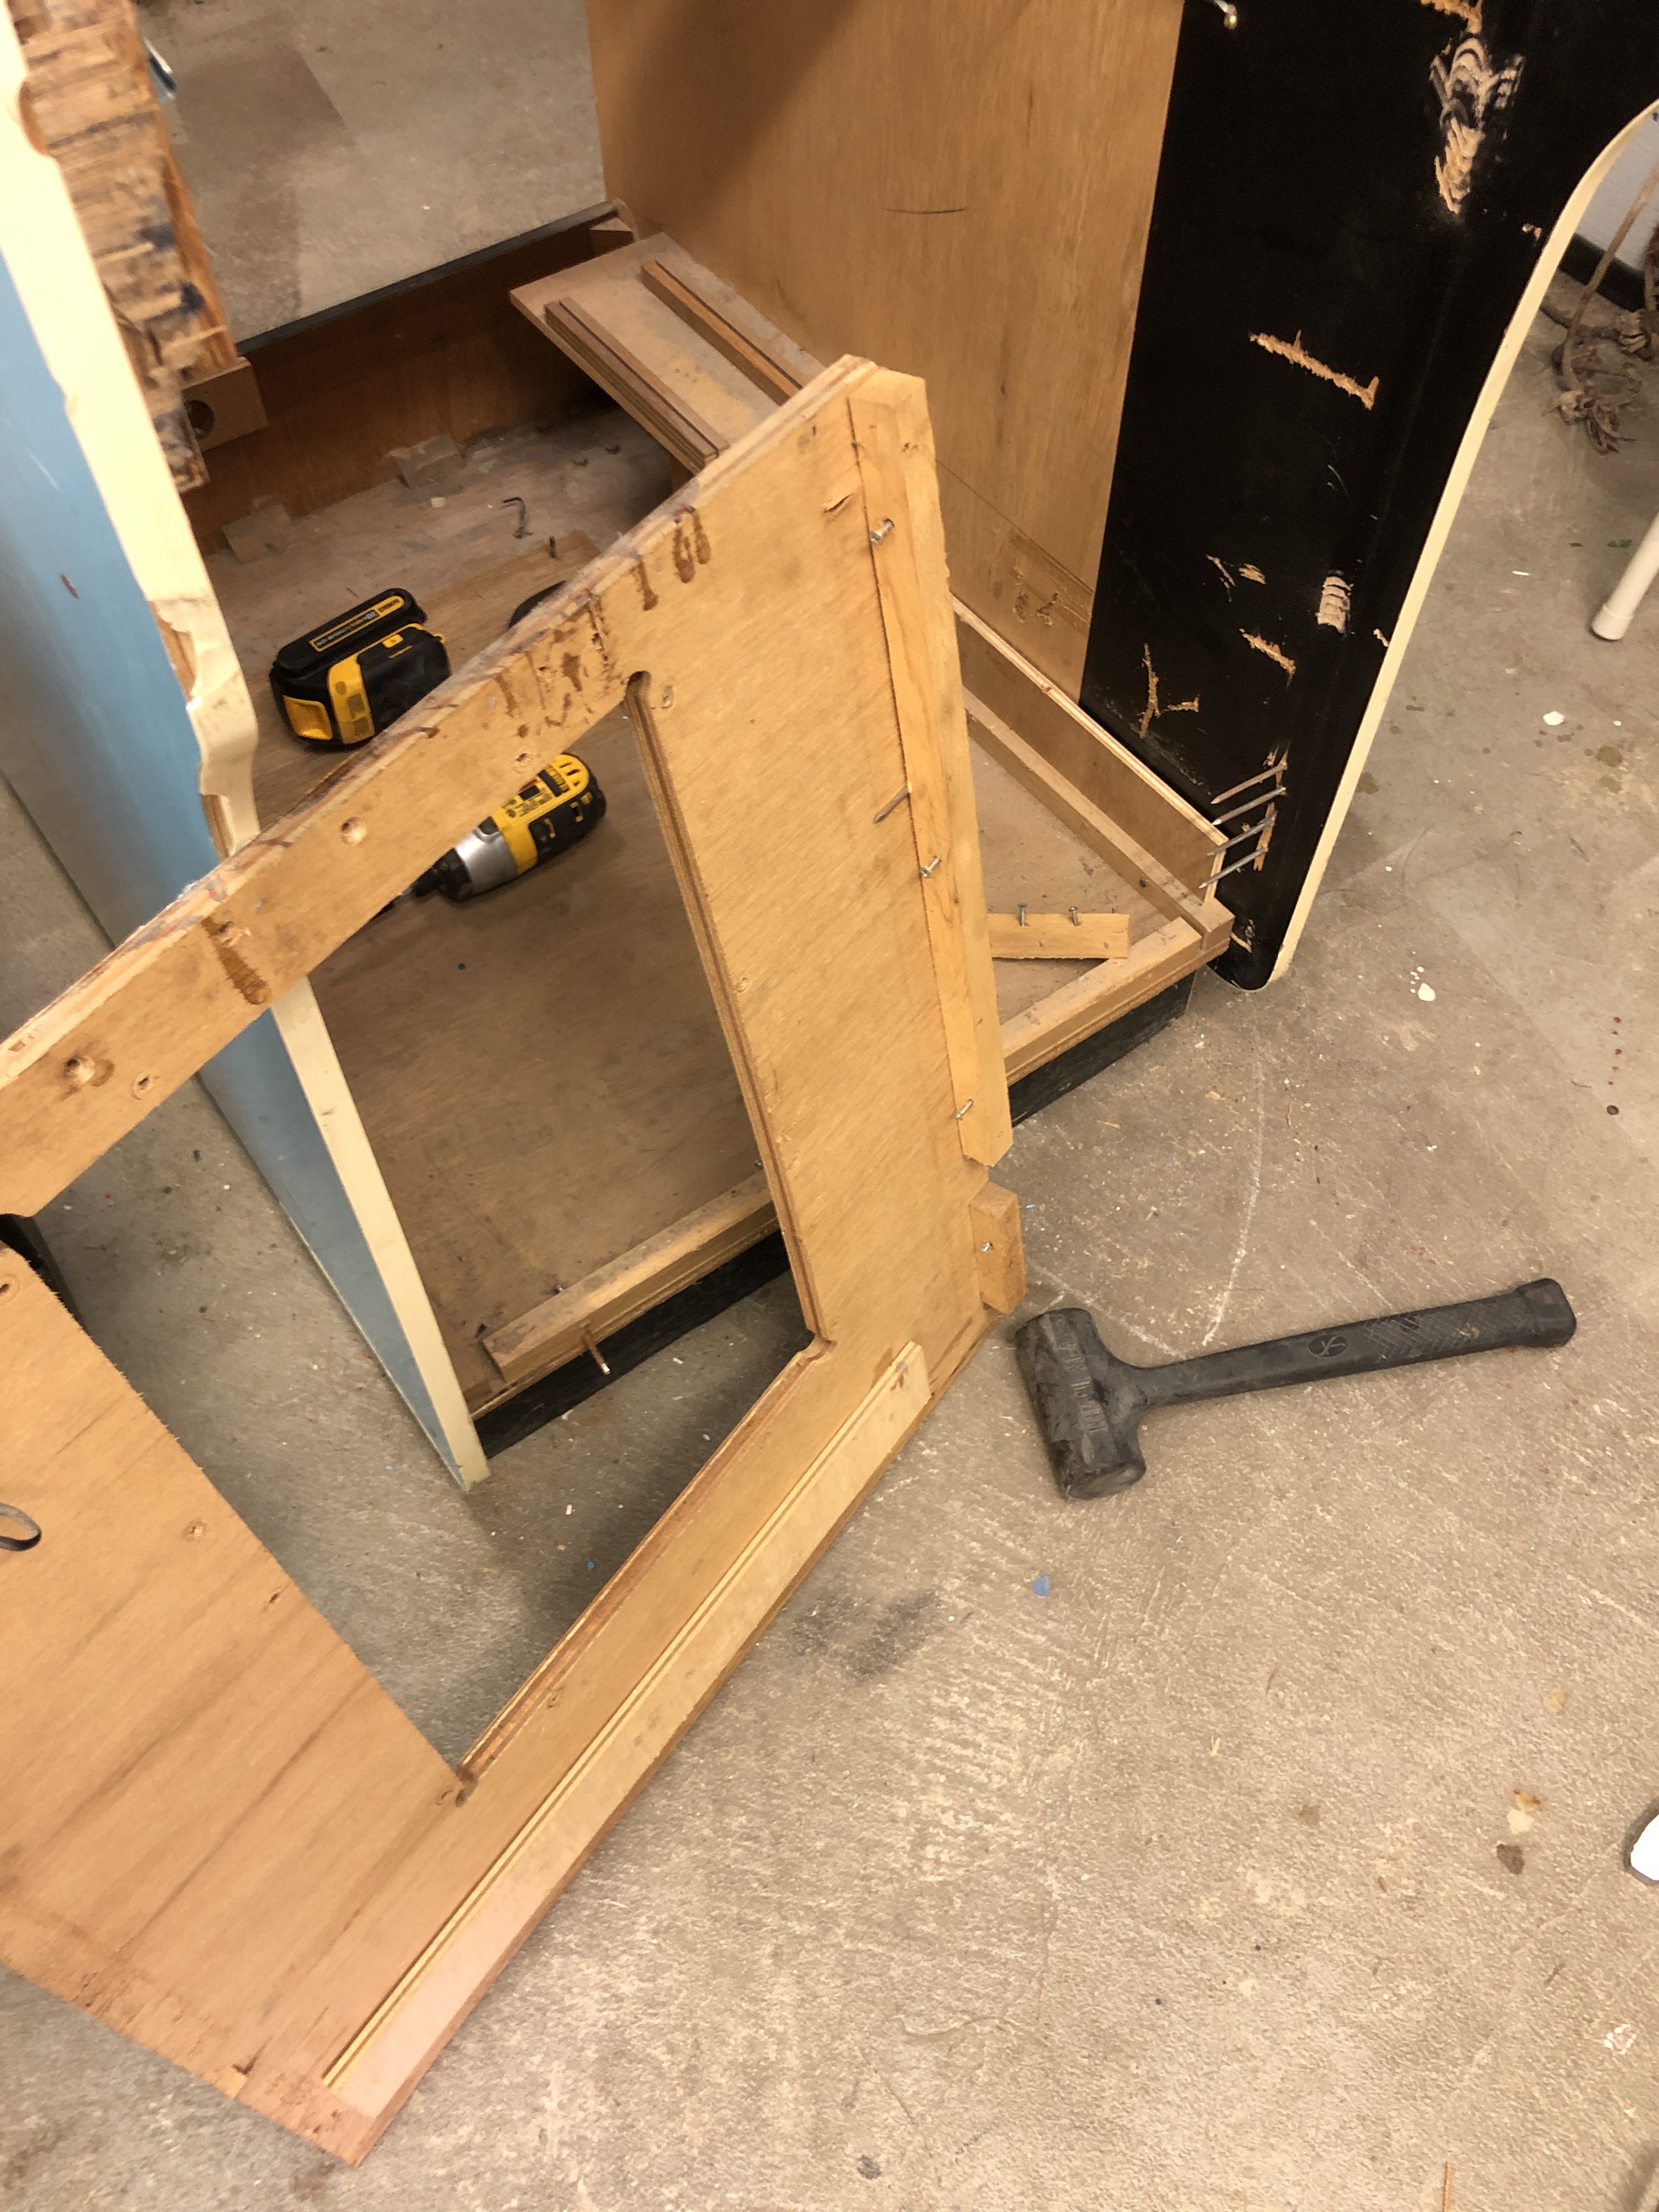
It looks like the original design had the cabinet glued and screwed together with blocking. Some of the blocking was missing and they just nailed through everything. I’d considered replacing some of the badly damaged plywood. However – this stuff is a bit of an oddball size. It all measures at 9/16″ (more likely 14mm since I it was made in Japan) and I didn’t have a good source. That said – it is all repairable.
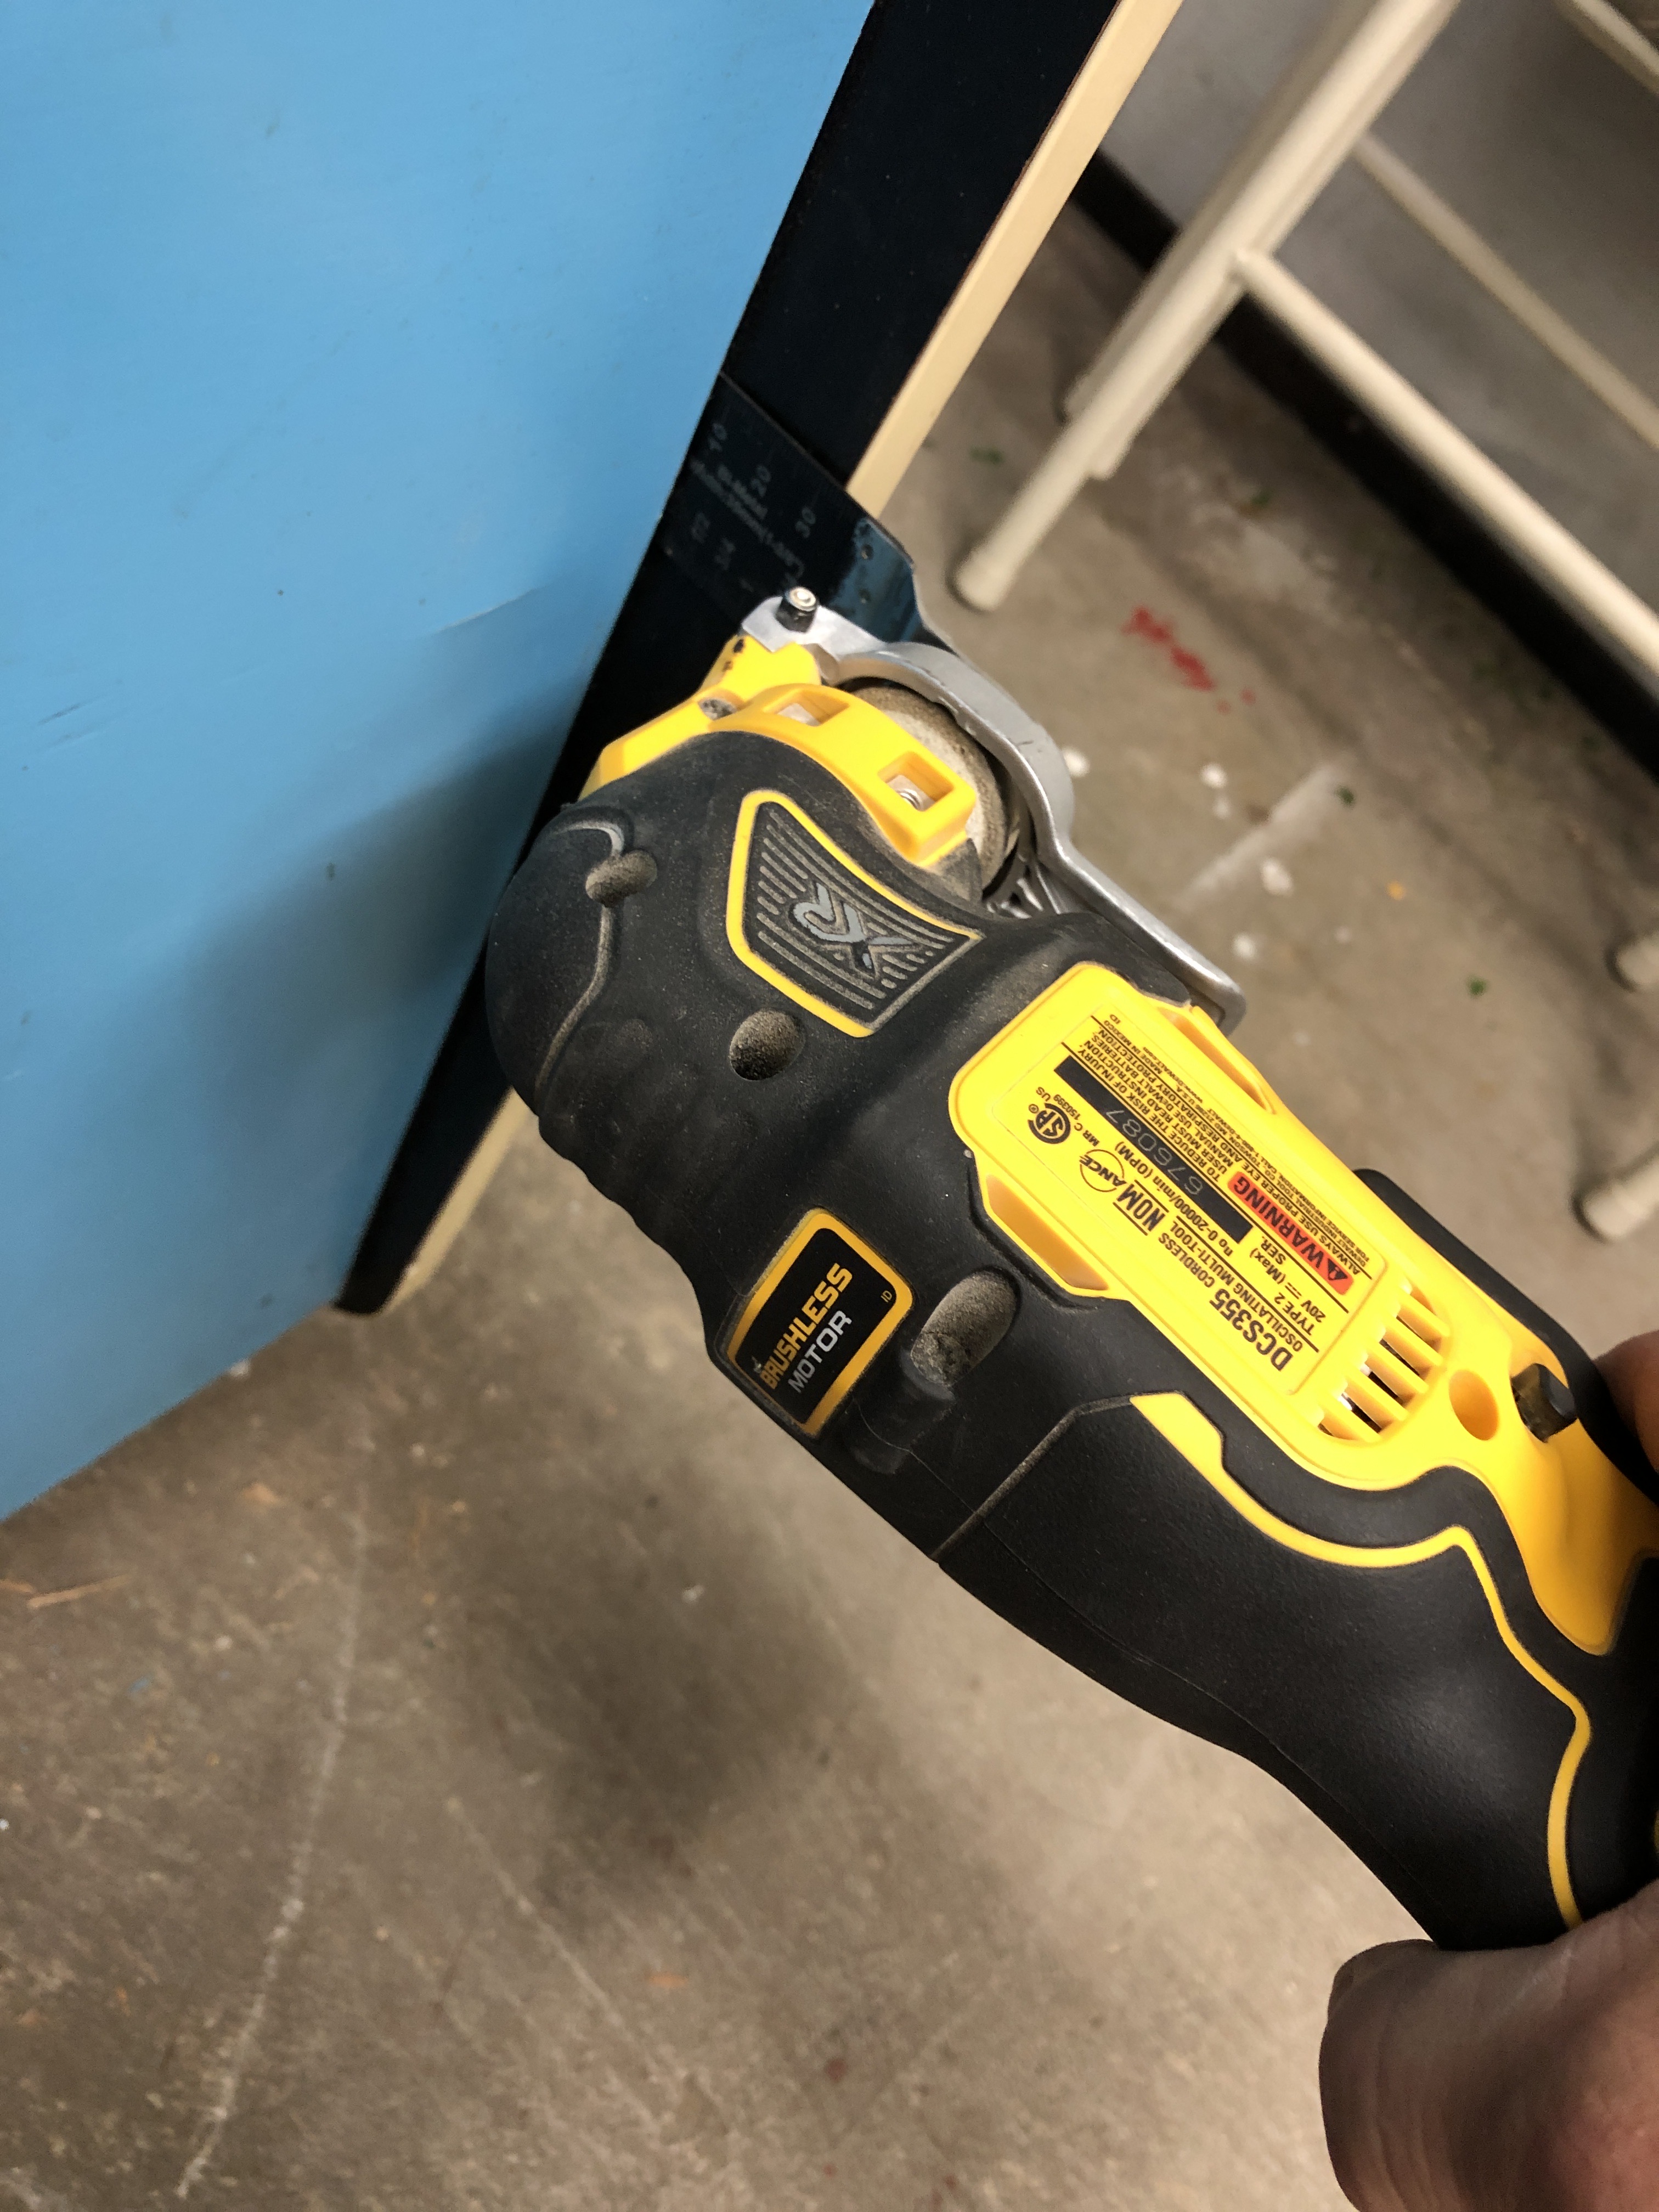
Having a multitool to cut the nails was key. Without it there would not have been a good way to remove the panels without causing even more damage.
Another consideration that I chewed on for a few weeks was how to repair the blue exterior. First thought was paint:

Look real close – I got a color sample from Home Depot. They can match to nearly imperceptible differences. The original color coat on DK was actually gelcoat. Back in the 80’s it would have been a polyester coating they sprayed on the panels before cutting. I was 100% sure once I sanded it.. It has that gelcoat smell.
I have a lot of experience with it from working on boats. Gelcoat is the color coating you see on boats and other fiberglass molded products. Kind of like the candy coating on an M&M. Interesting choice of materials. It’s pretty tough and resists abuse better than paint or melamine. But not FRAMING NAILS!..
No good way to re-gelcoat this thing.. so that was out.. I could have got some oil based paint mixed up and sprayed everything.. a long and involved process.. but I decided to look into laminates.
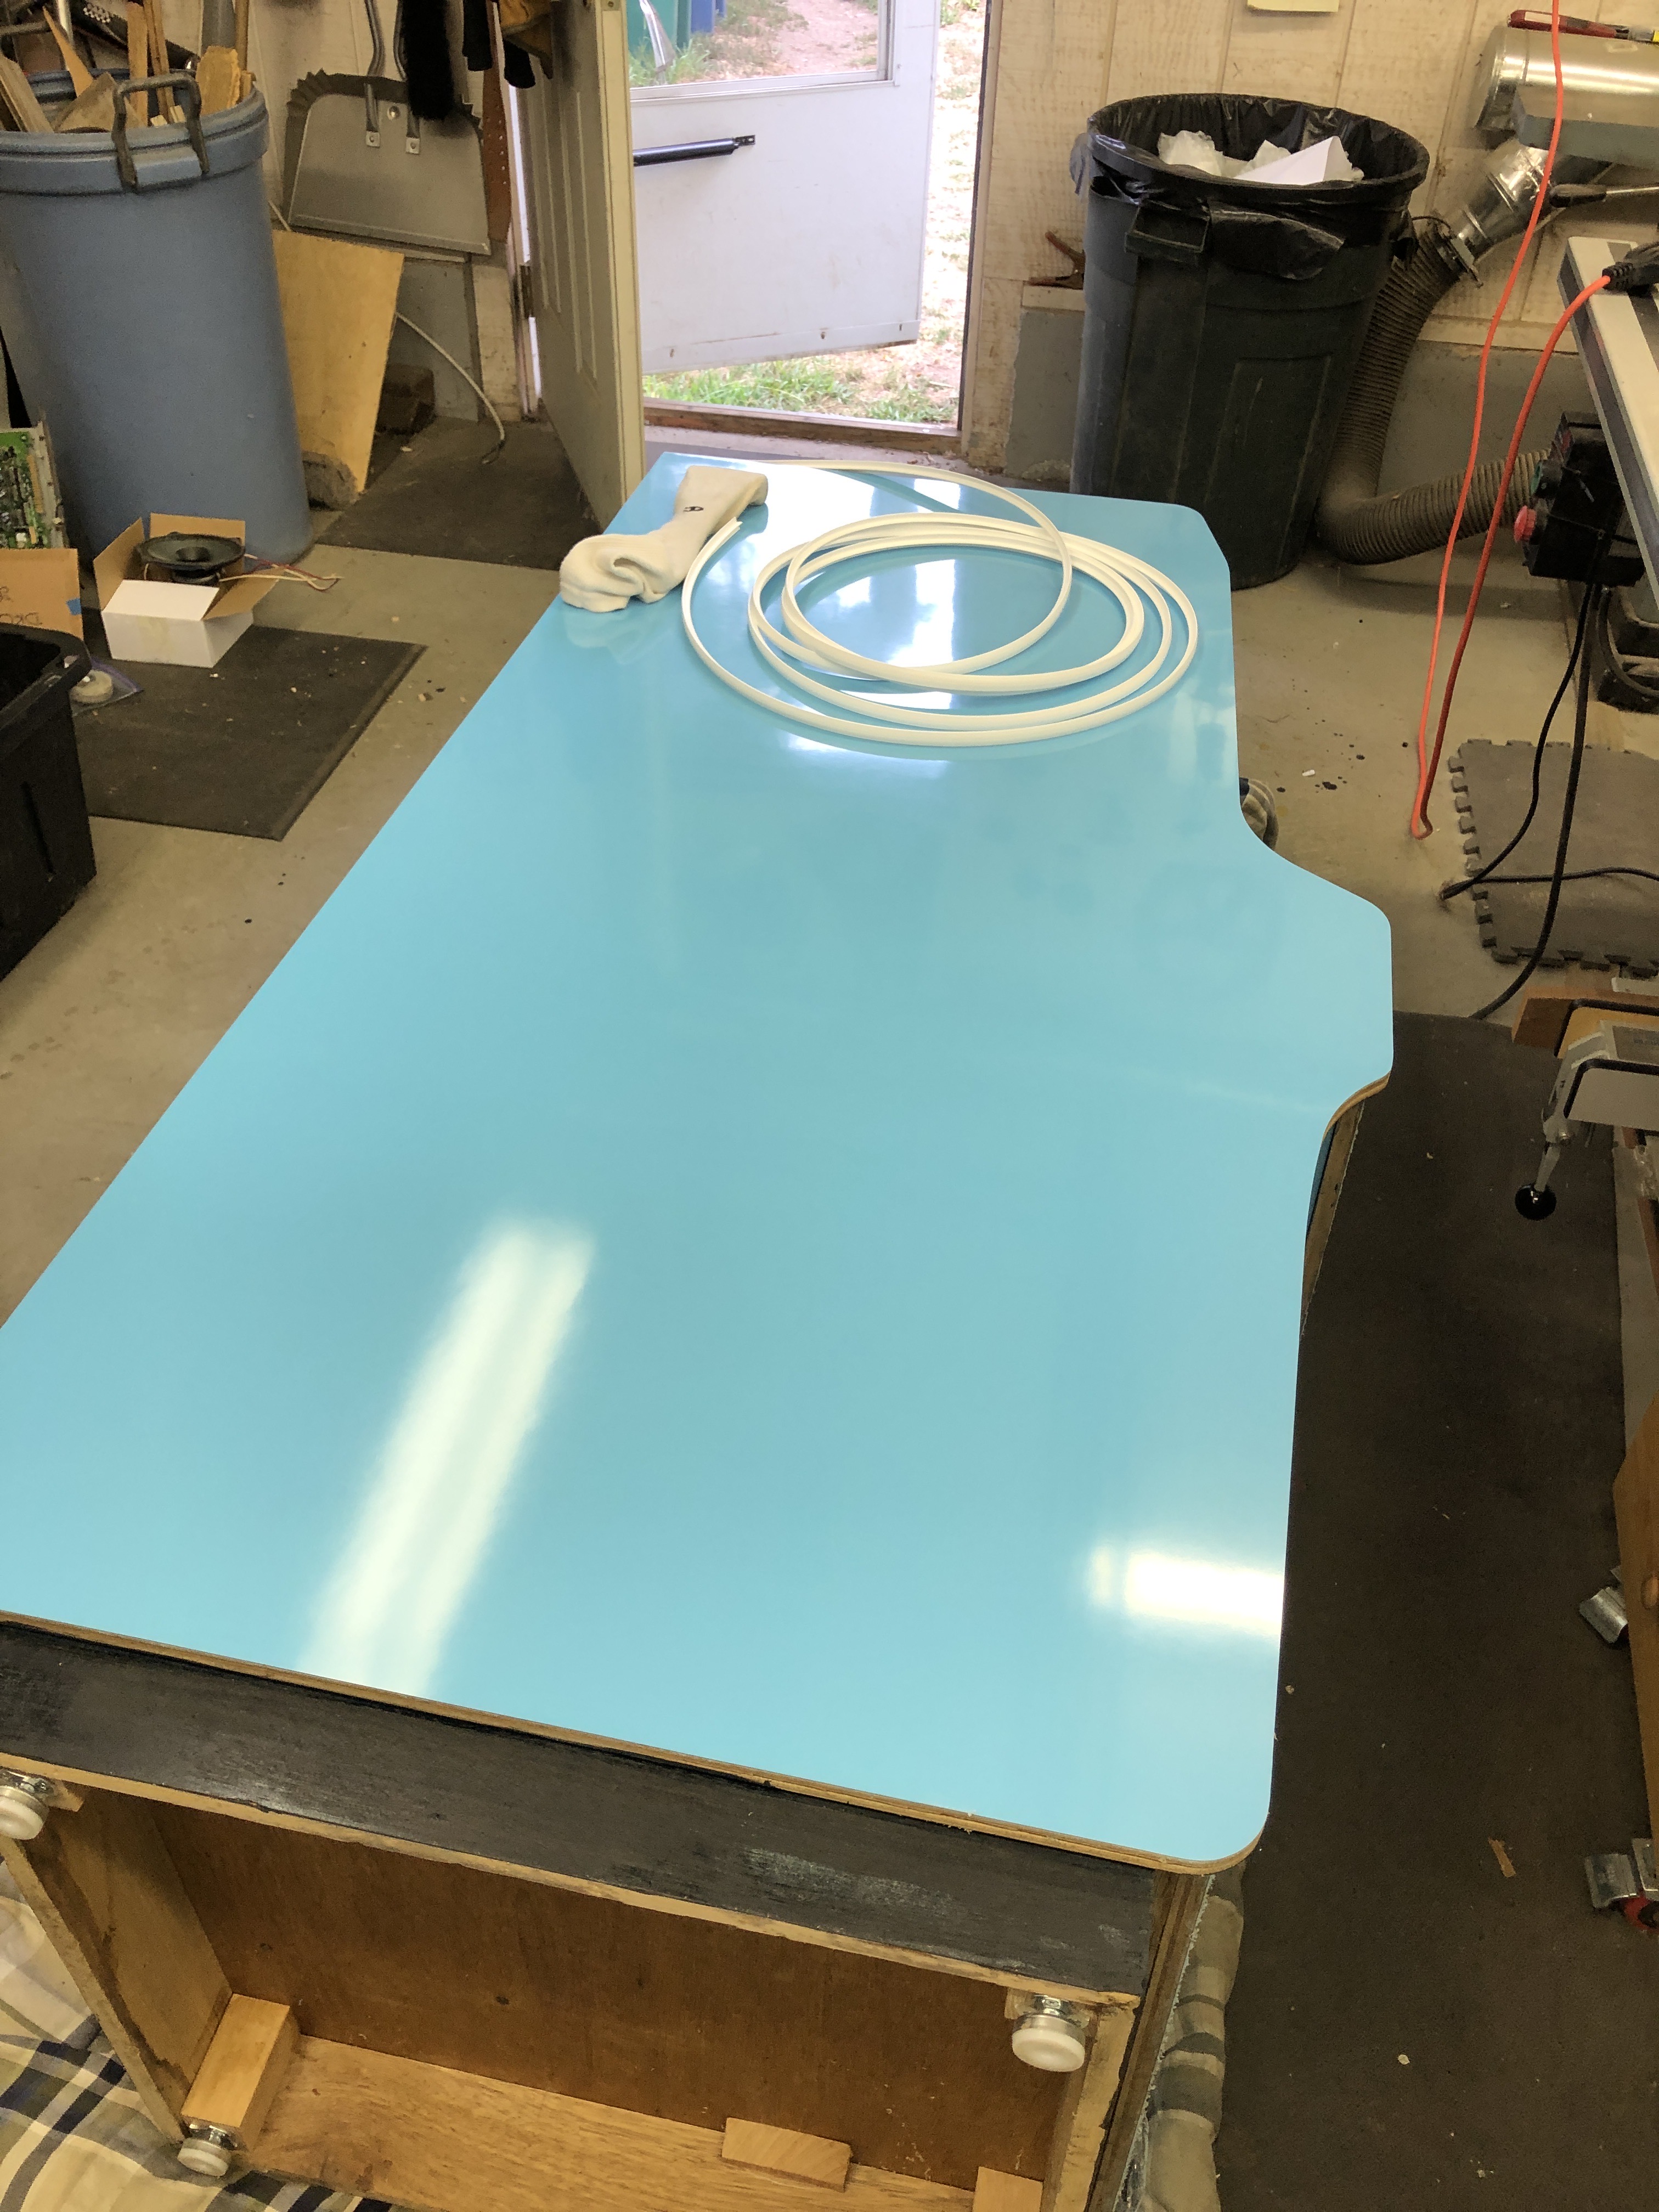
These guys who did the Sky Skipper Project did an extensive test of Blue Laminates for Nintendo. They made the decision easy – relaminating this particular cab is the way to go. I picked up 2 sheets of Nevamar Caribbean Blue Gloss Finish.

A nice feature is the gloss laminate comes with a plastic protective coating (like when you get a new iPhone). Makes handling easier because I’m not worried about scratches. Here is the control panel blocking which would not be exposed to UV and abuse – up against the laminate still in the box. It may be off by a shade or two. I’m calling it a 98% color match at the moment. We’ll see once the plastic coating is peeled off.
Before doing much of anything – I had to repair the base. All four corners were loose and the whole thing wobbled around. I didn’t need to bust this cabinet up any further.

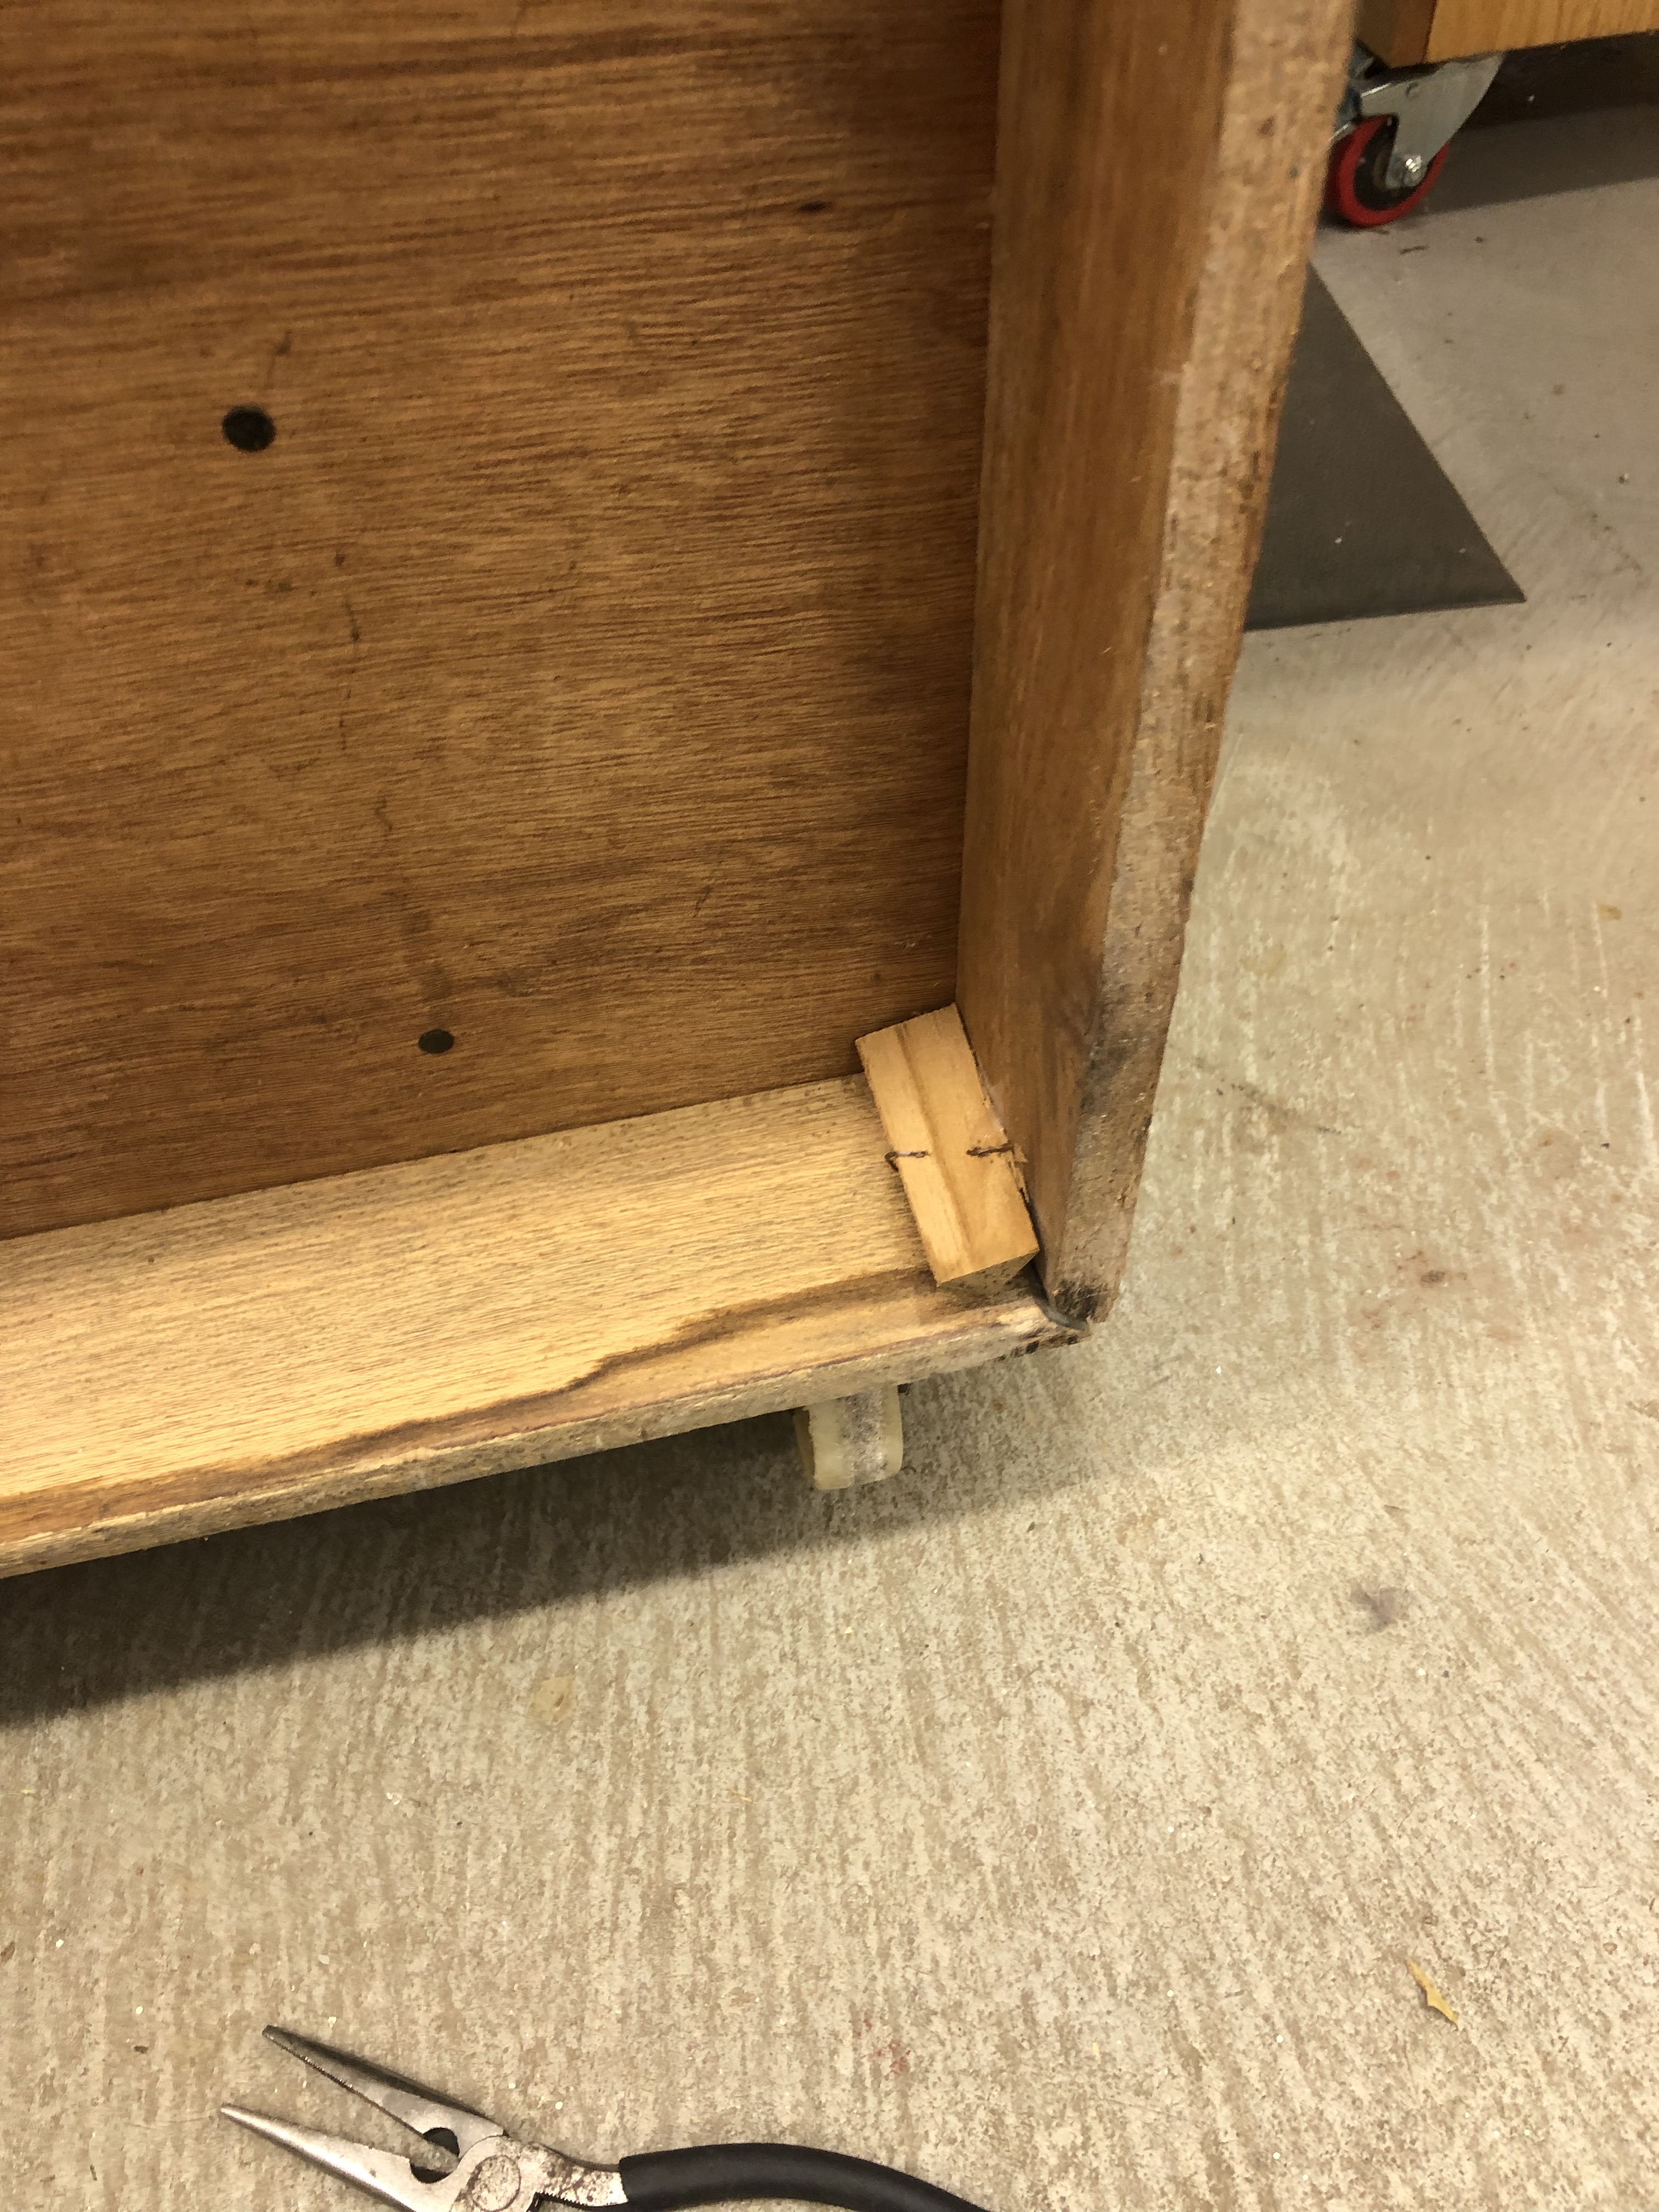

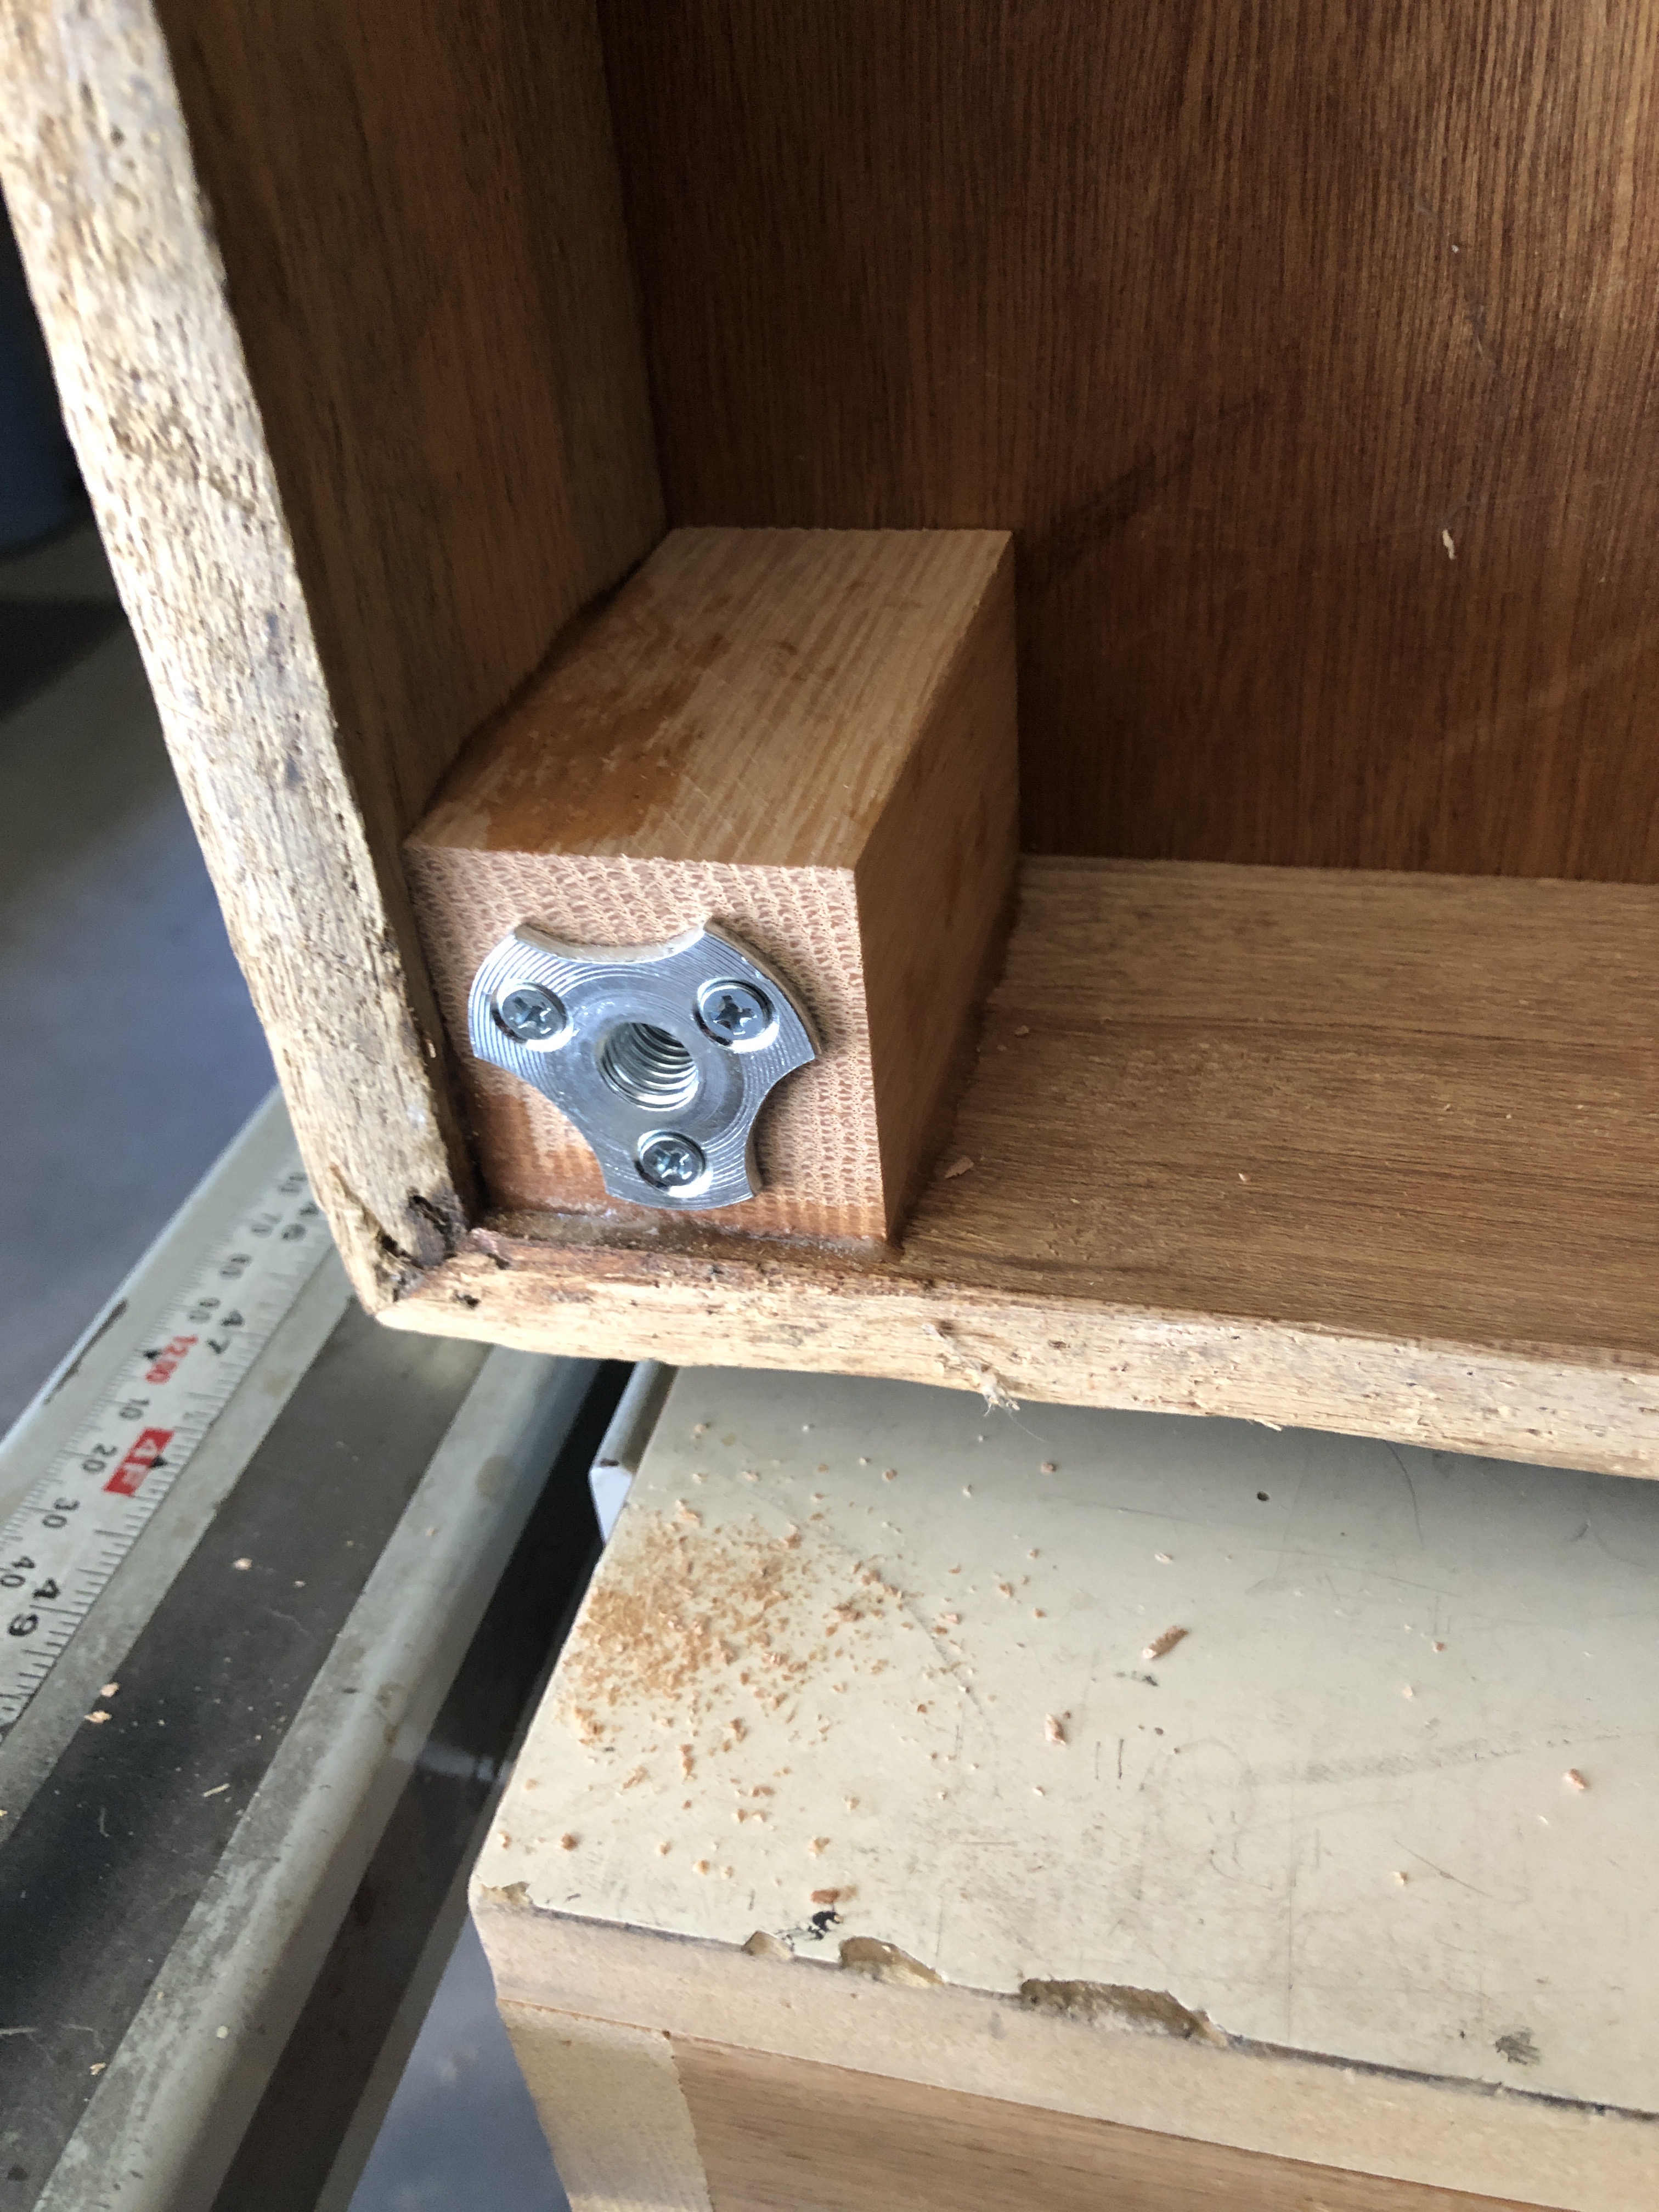
DK has wheels for tilt and roll but no actual feet to protect the bottom. Inevitably these get dragged around. When this happens I put feet on them. If I was able to keep this one fully original – I may have skipped the feet. But it is not. Four blocks and blind nuts just below the edge and some epoxy to firm it all up. No more dragging.


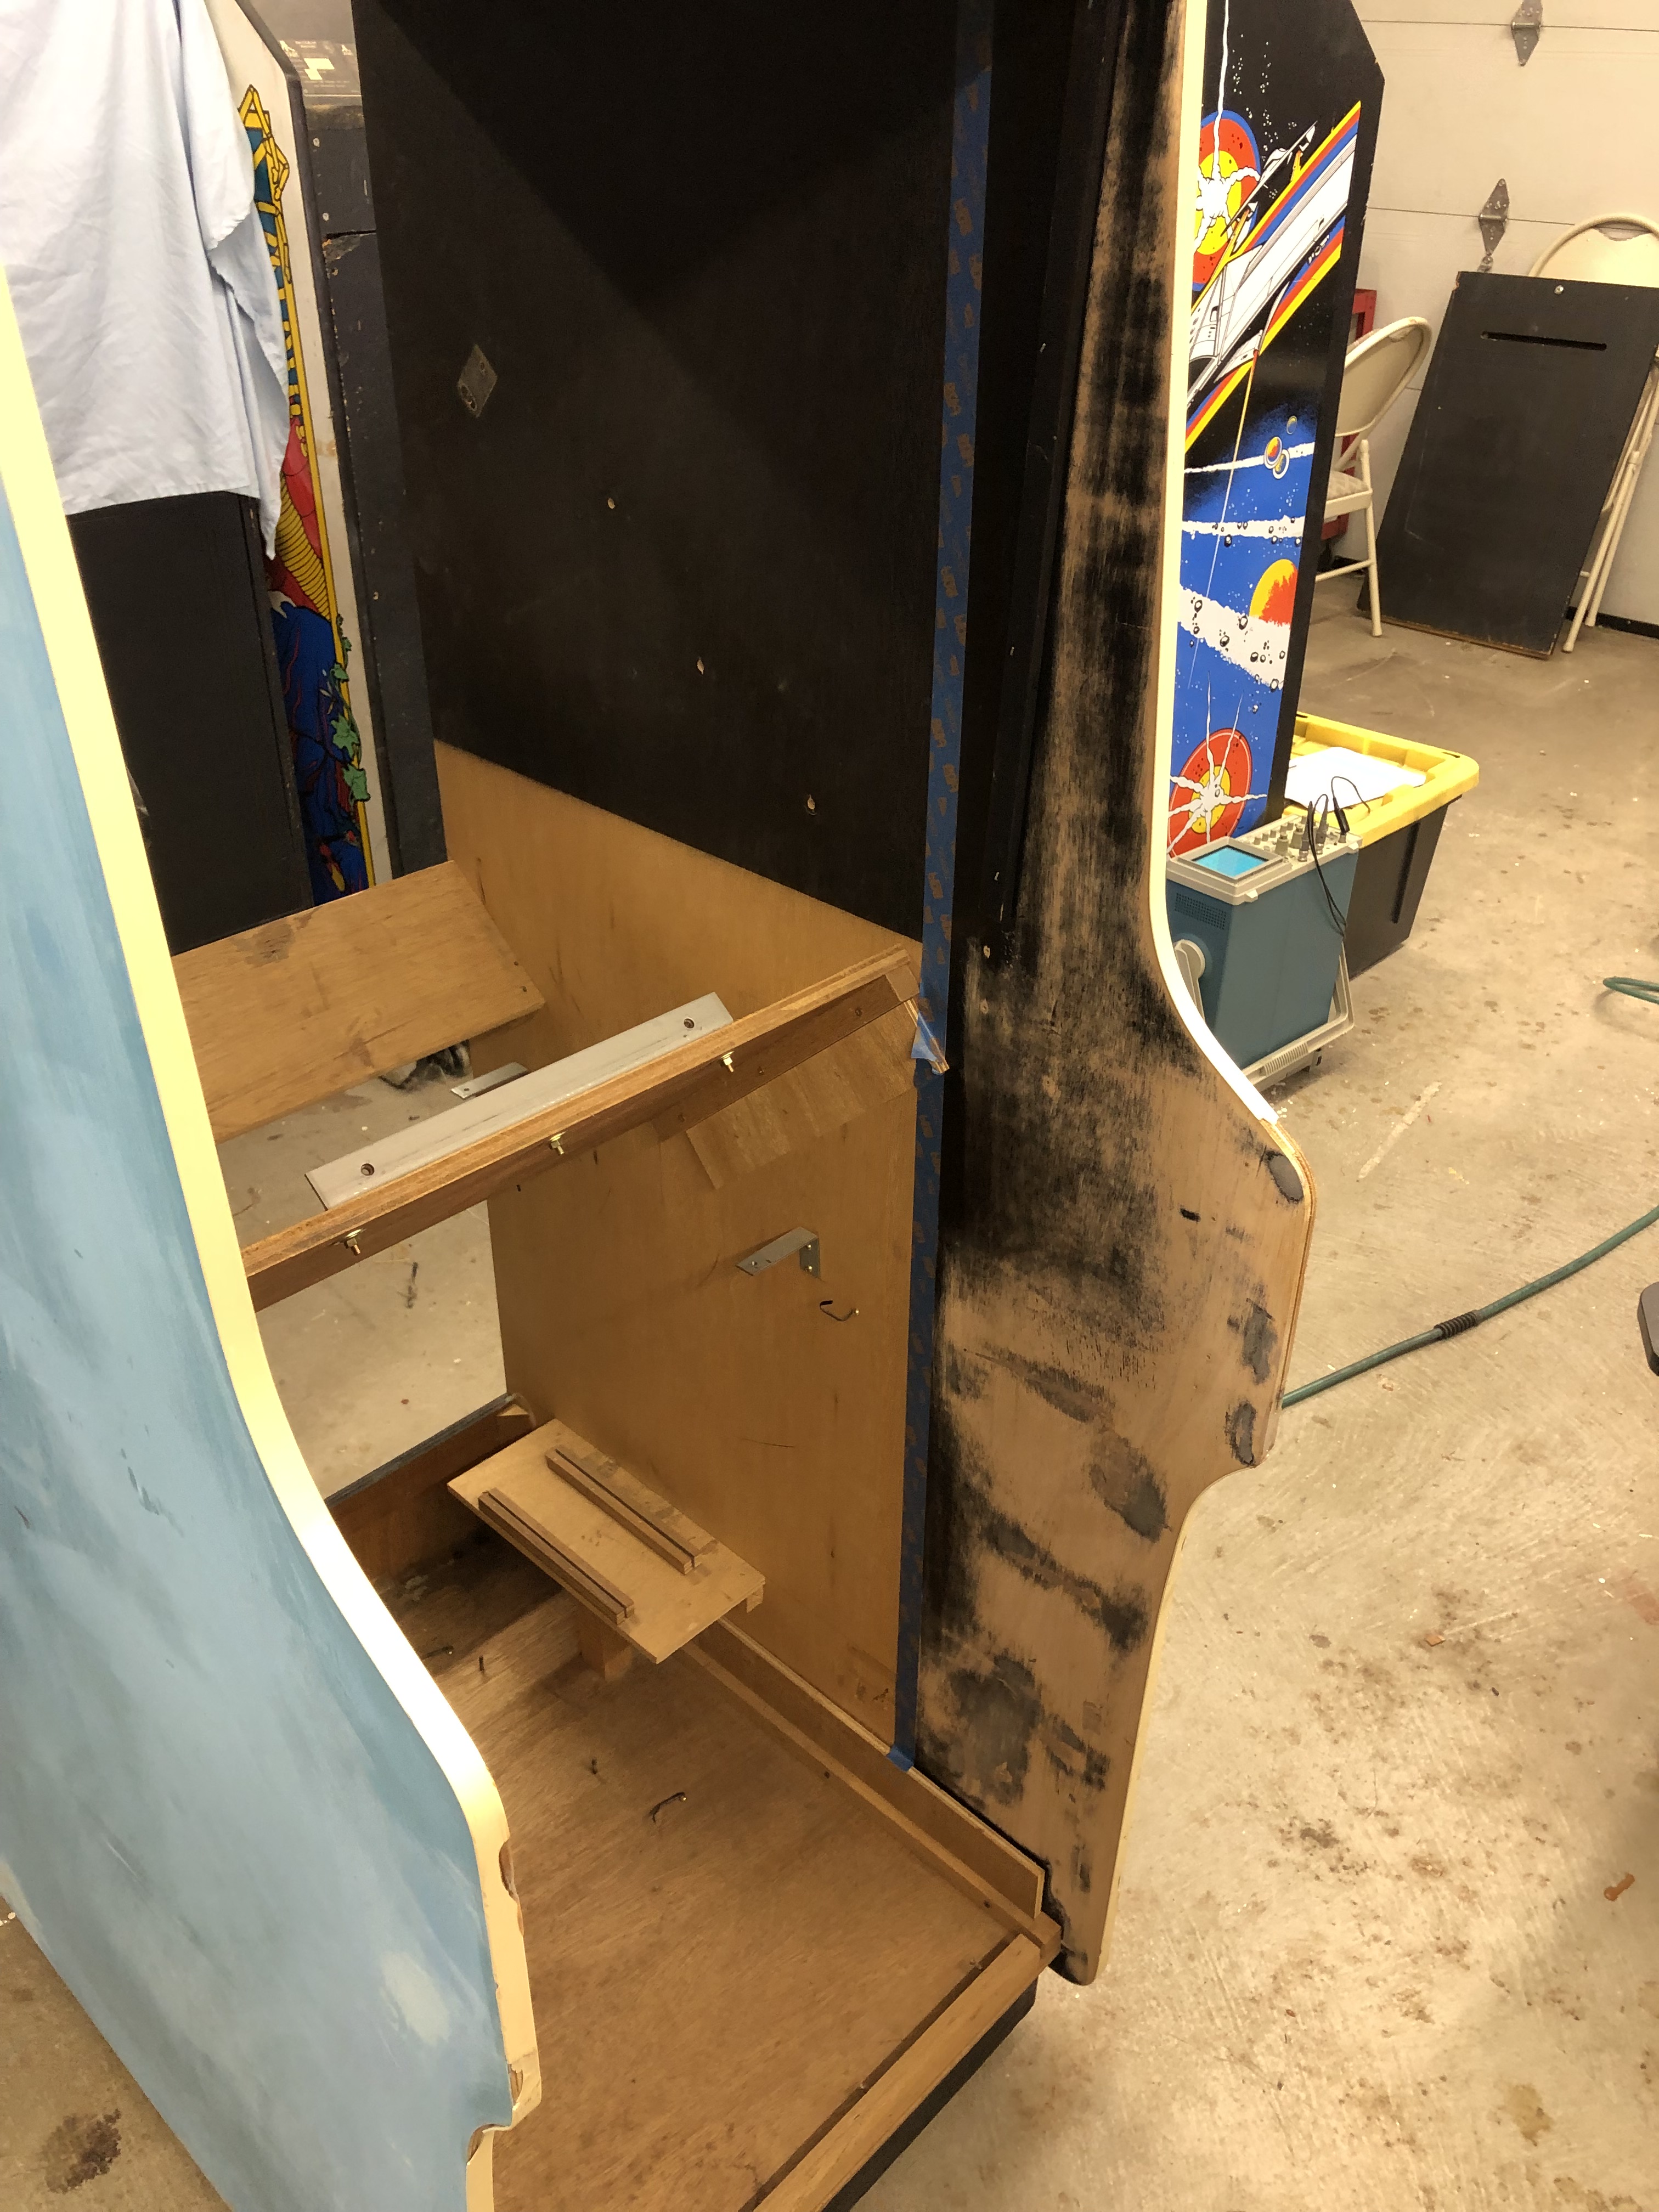
The cabinet sides were really beat up.. Framing nails and smashed up edges were everywhere. I’d filled and sanded it all up while deciding paint vs. laminate. I prefer epoxy over Bondo on this type of repair because epoxy is a strong adhesive.. It will reinforce the edges. Bondo is not designed to do that.. It’s a filler. I ended up filling the nail holes. This happened because I had not decided paint vs. laminate just yet and was working on getting the sides smooth for priming. Most of the nail holes would not have needed filling using laminate. However- they got filled and both sides got sanded smooth. I also keep the original T-molding on as long as possible to protect the edges and prevent me from over sanding. Once you start sanding into the T-molding… Stop! It’s a good guardrail.

The insides were all shredded from framing nails and other nonsense. It got filled with epoxy and sanded smooth.

The coin door panel was busted up more than the rest of the cabinet. The thin part above the door was split, blocking was missing from the framing nail side.. and it needed plywood edge repair. Nintendo used Luan plywood which is a member of the mahogany family. I had some “scrap” mahogany to replace the blocking. How many Donkey Kong’s out there have mahogany cleats? I’m betting just this one!
I taped off the interior on the same lines as the original paint and rolled on 2 coats of Rustoleum Satin Black.. Looks like it was never damaged.


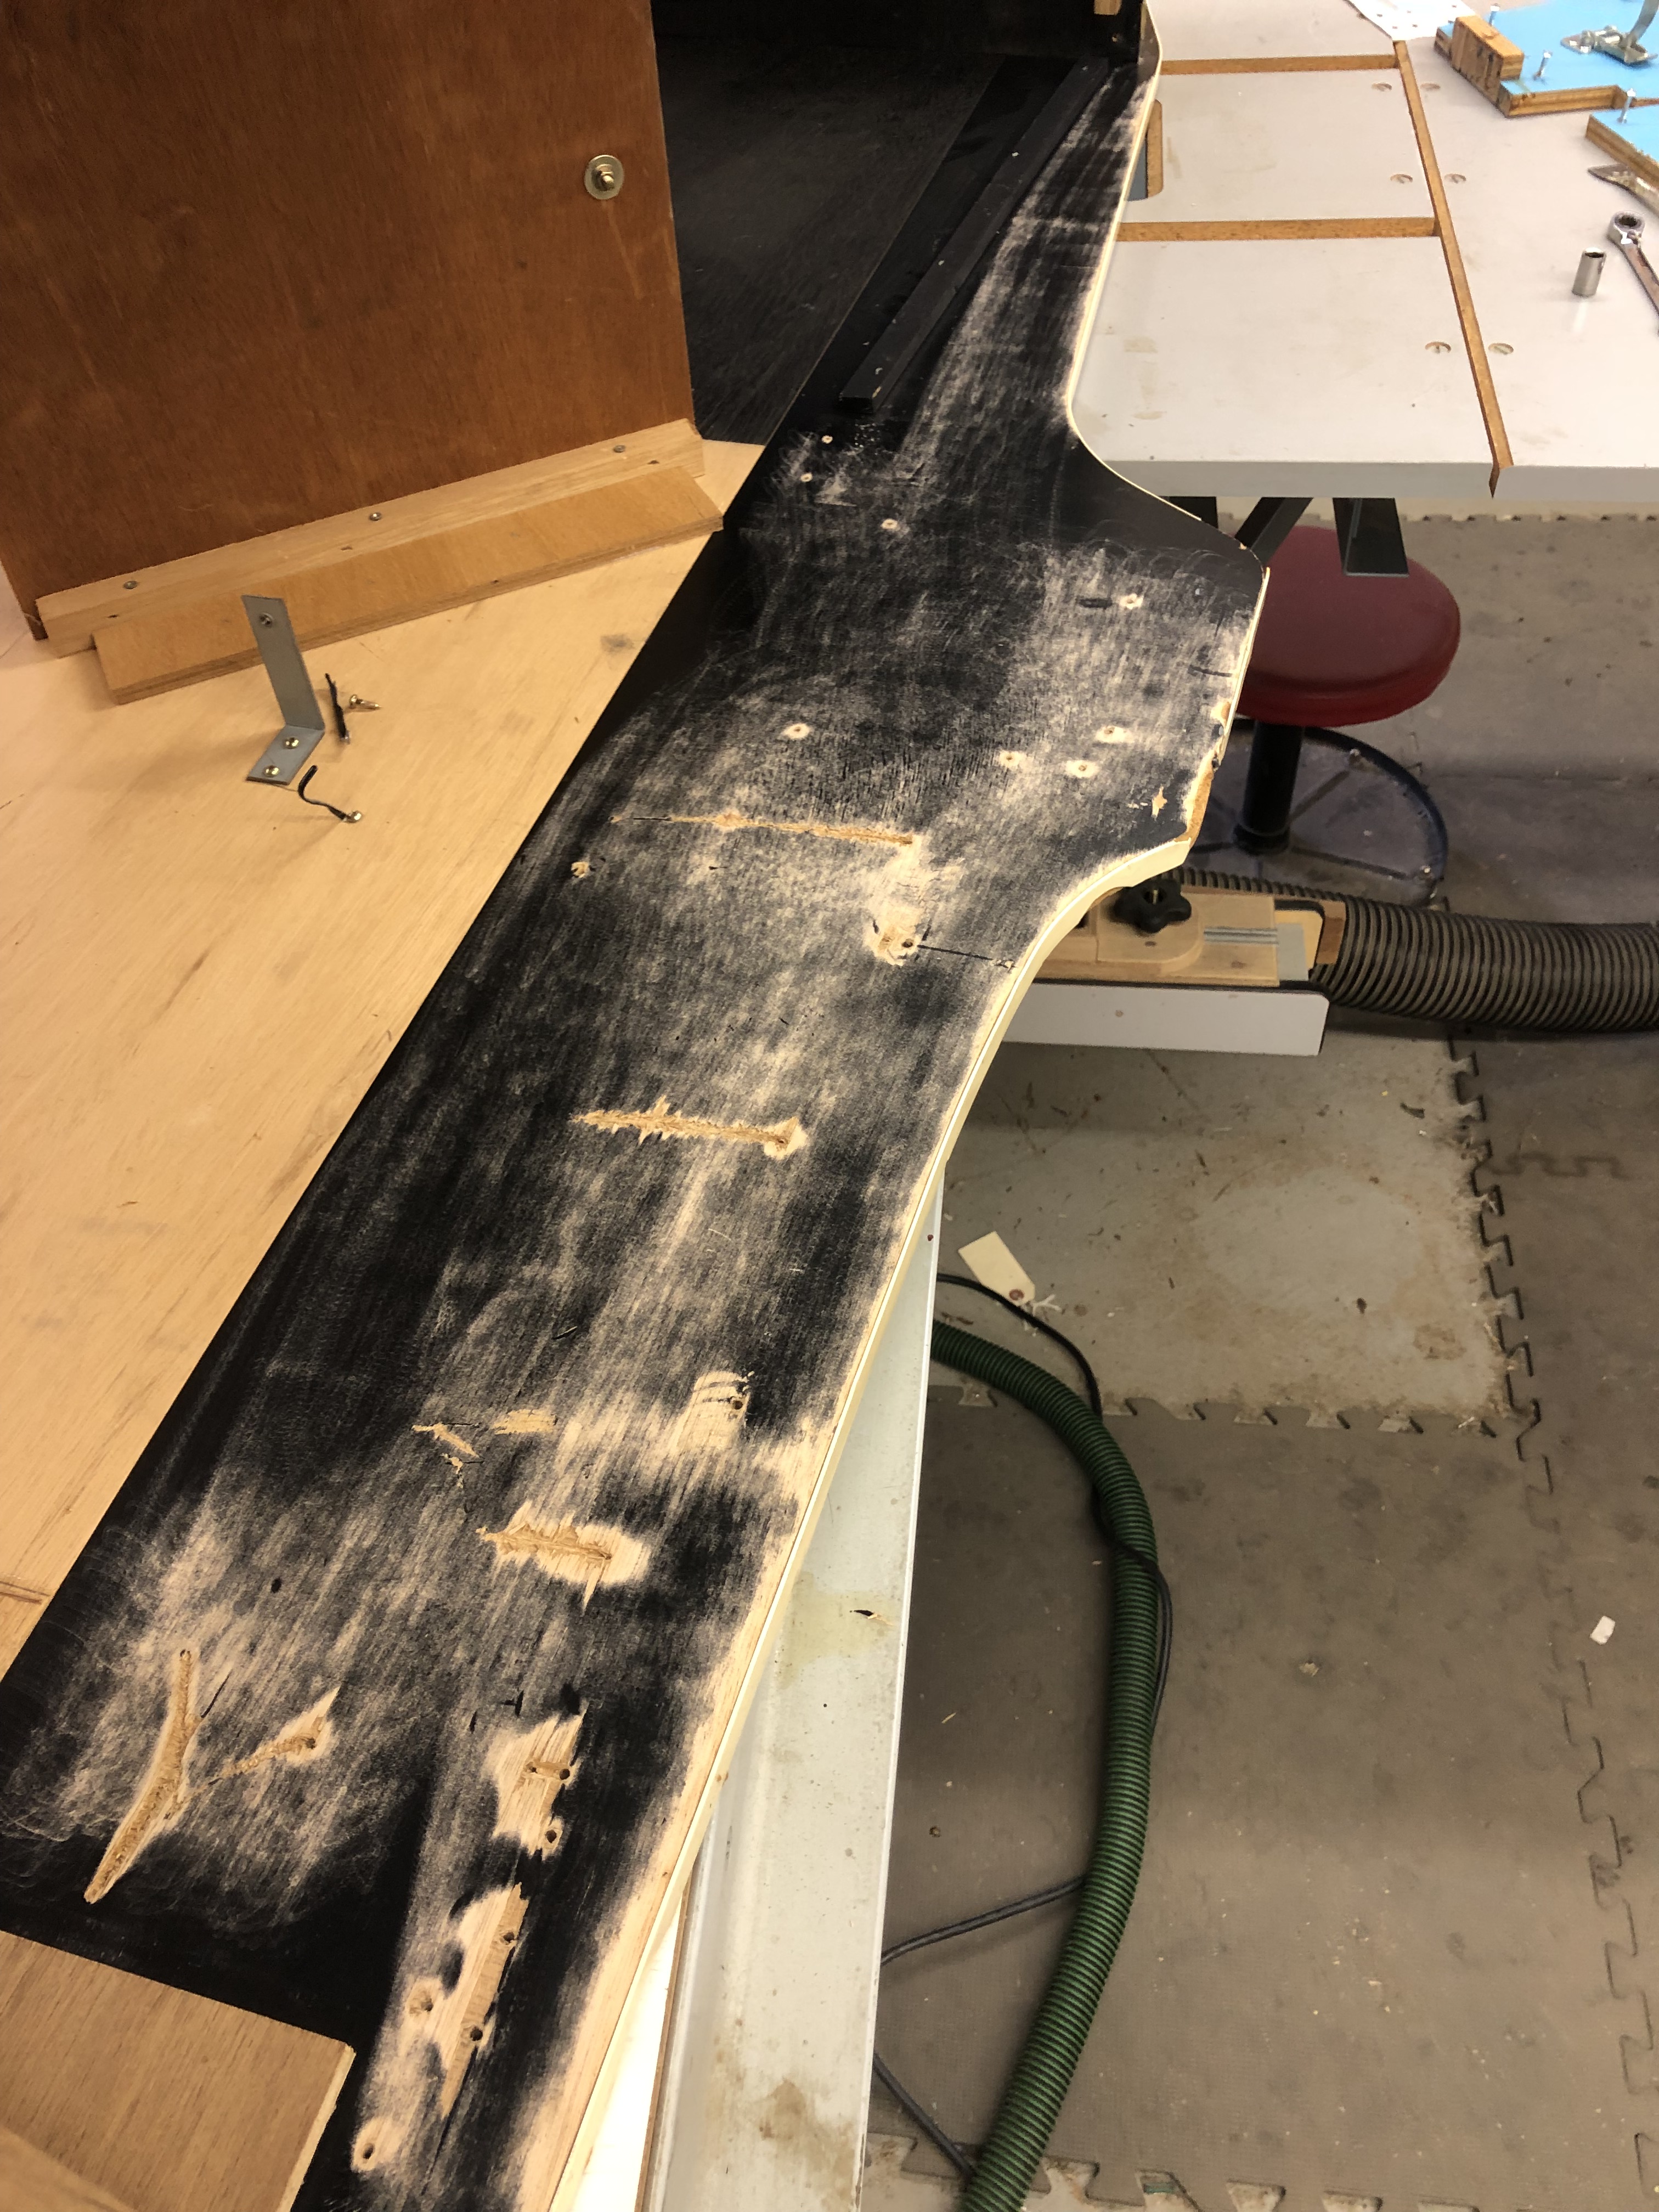
The bezel and control panel retainer was like the rest of this cabinet.. a mess. The black coating could have been gelcoat, but it peeled off like a laminate.. Hard to be 100% sure. I laminated the original part after removing the old stuff.
The speaker panel was a longer chapter in the same story

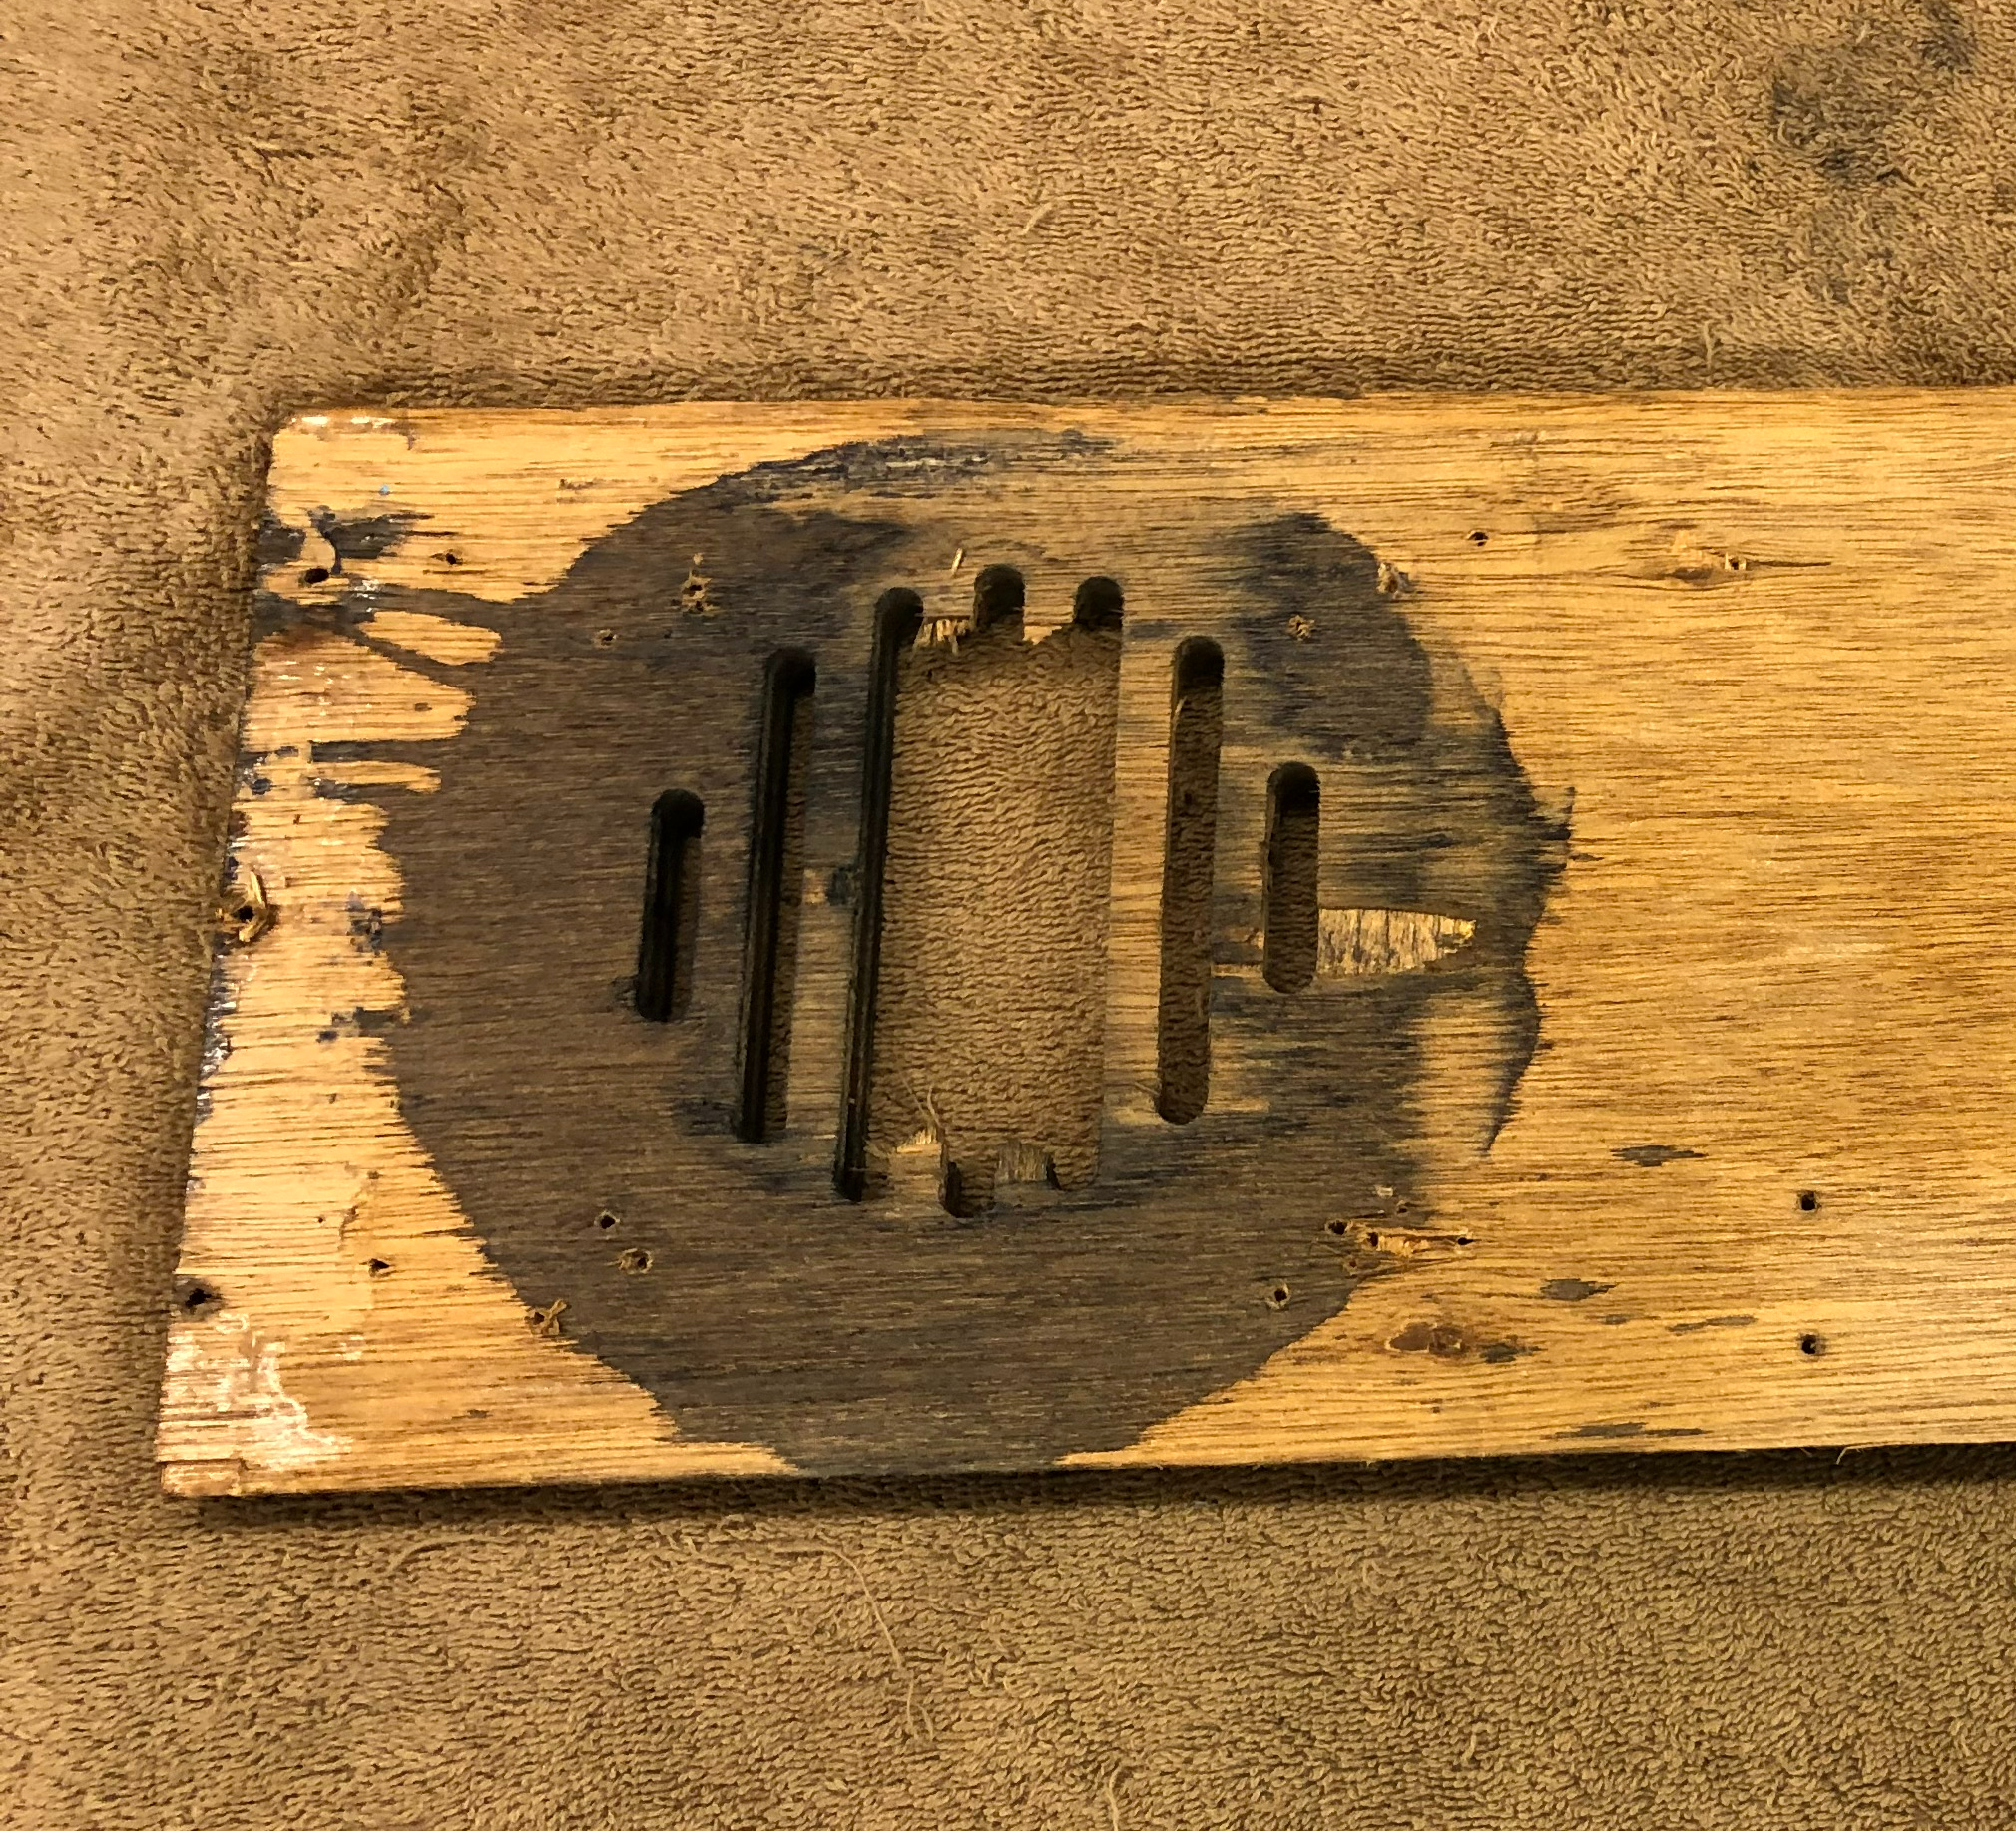
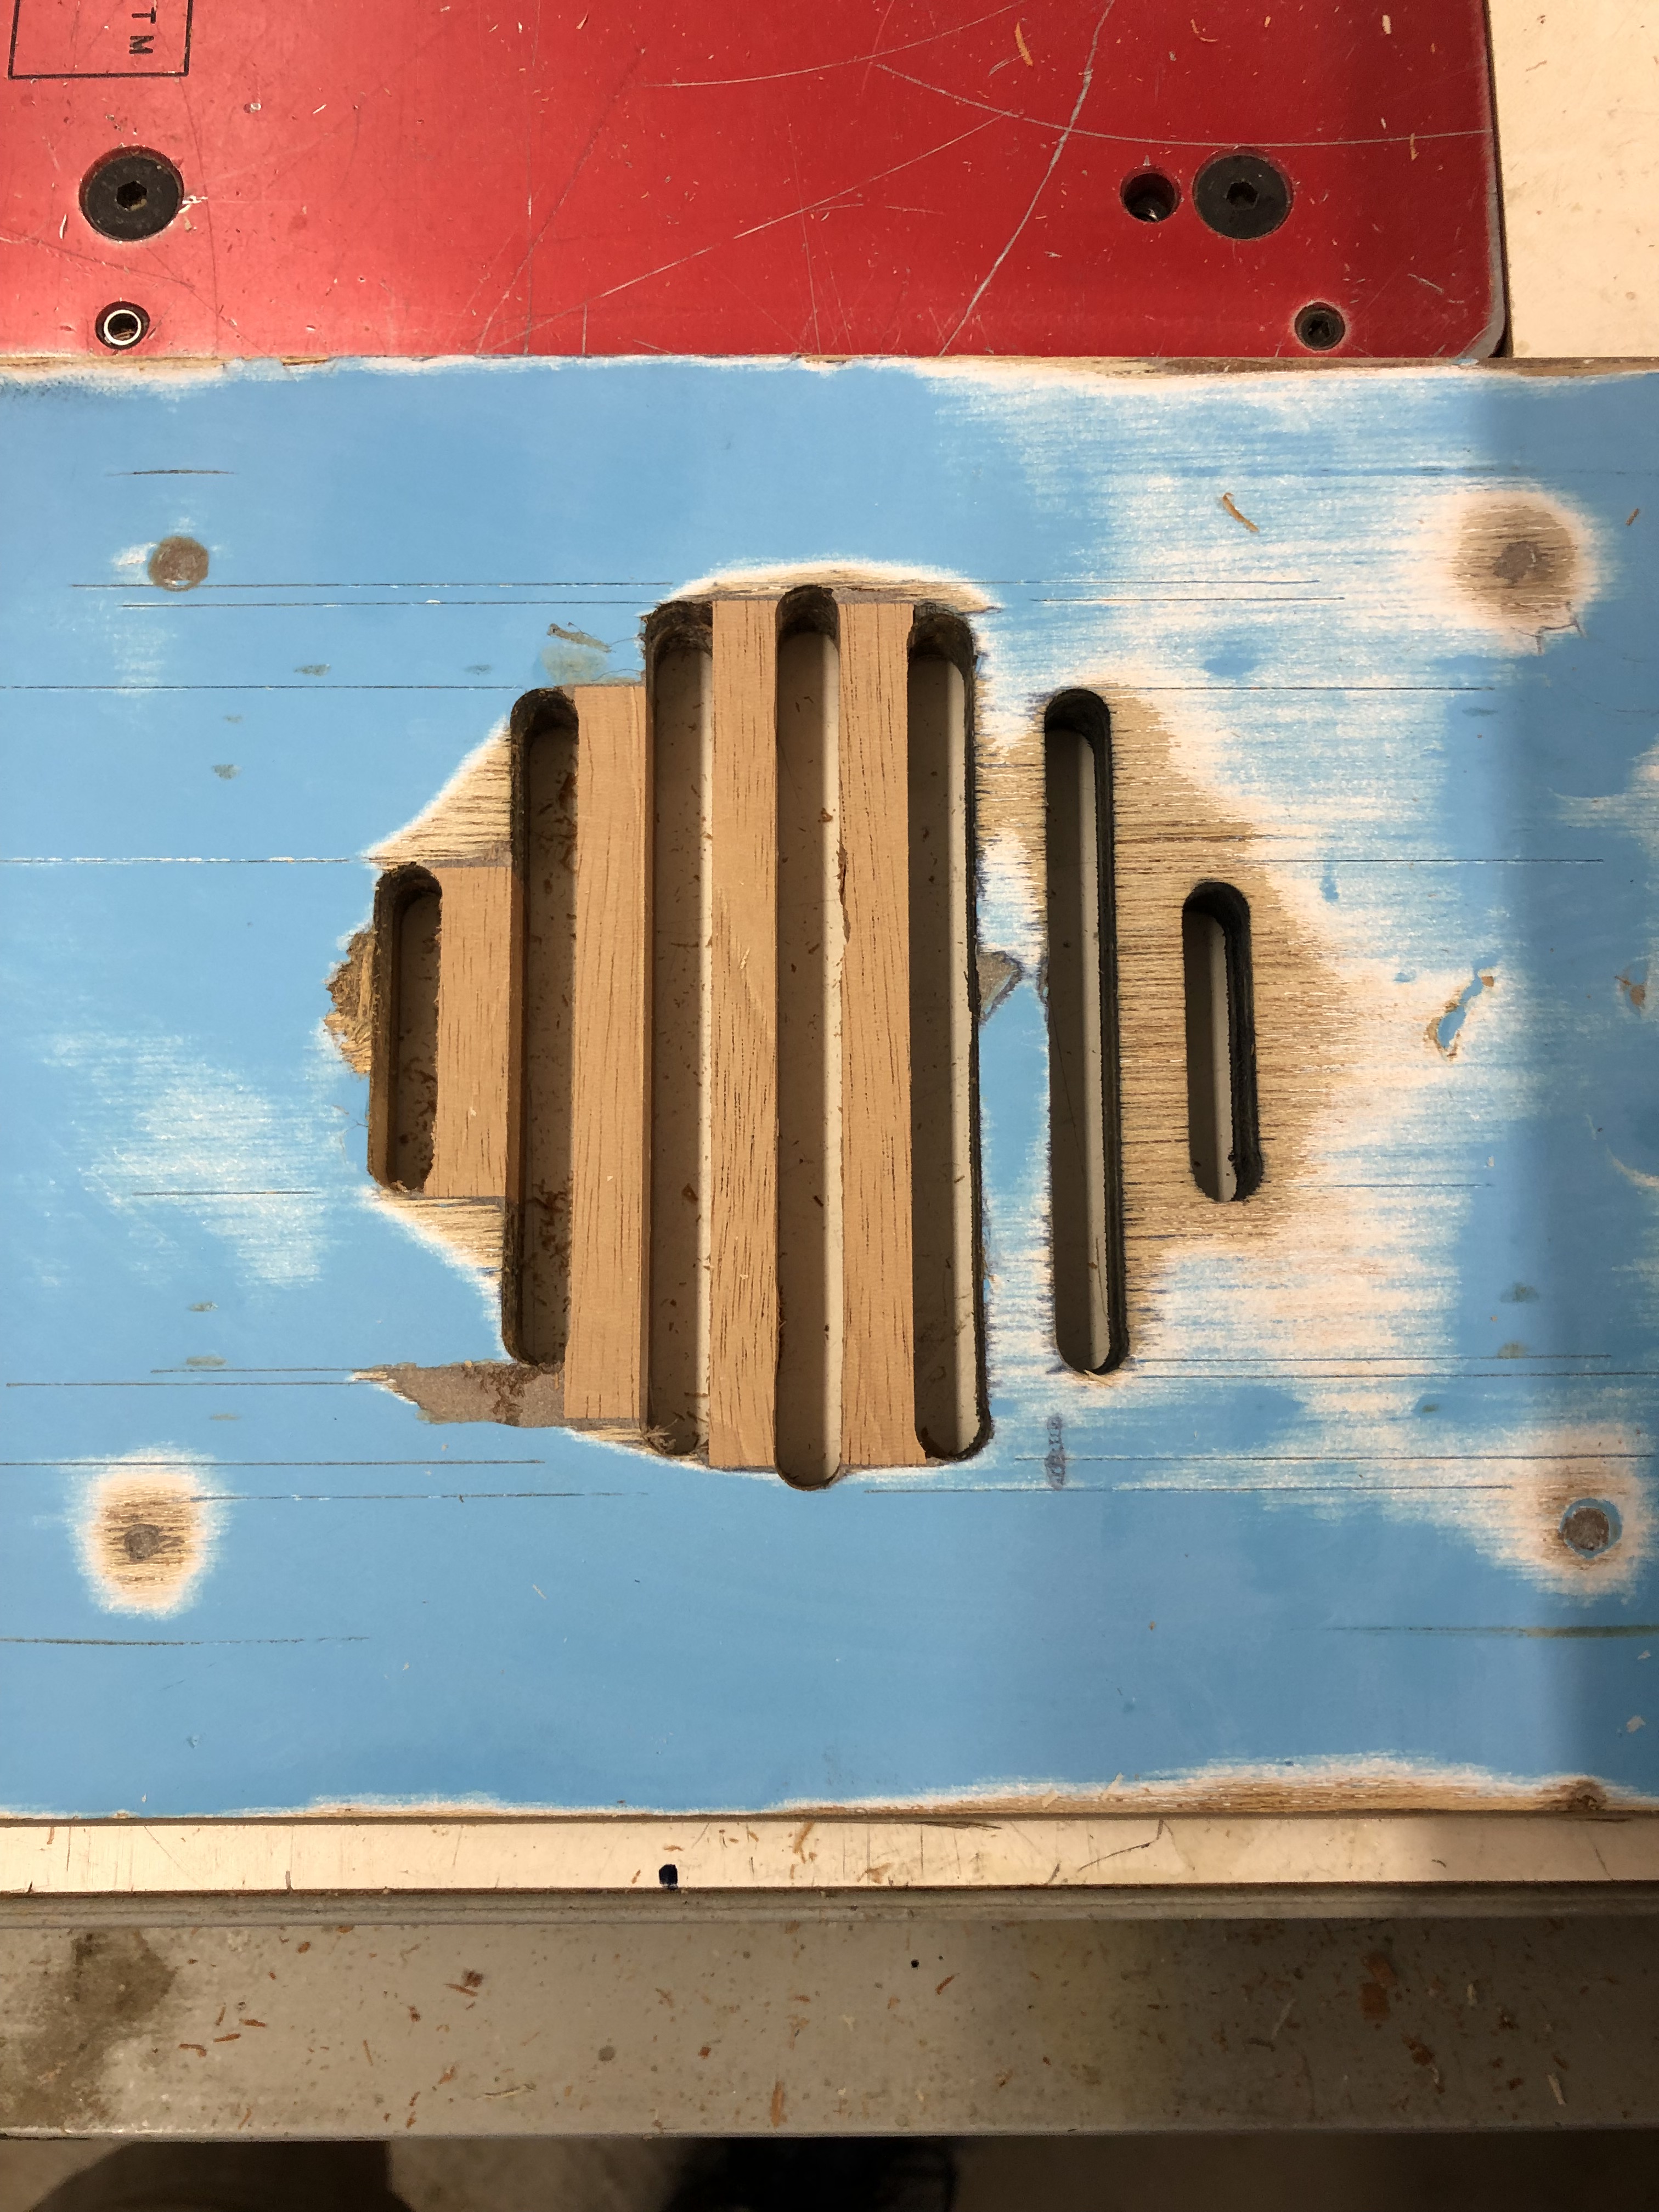
Speaker panel with smashed grille and screw holes from the grill that was covering this mess. At first I was going to just cut a new panel and call it a day. But Nintendo used metric plywood and I realized the repair would actually be easier than making a new part.
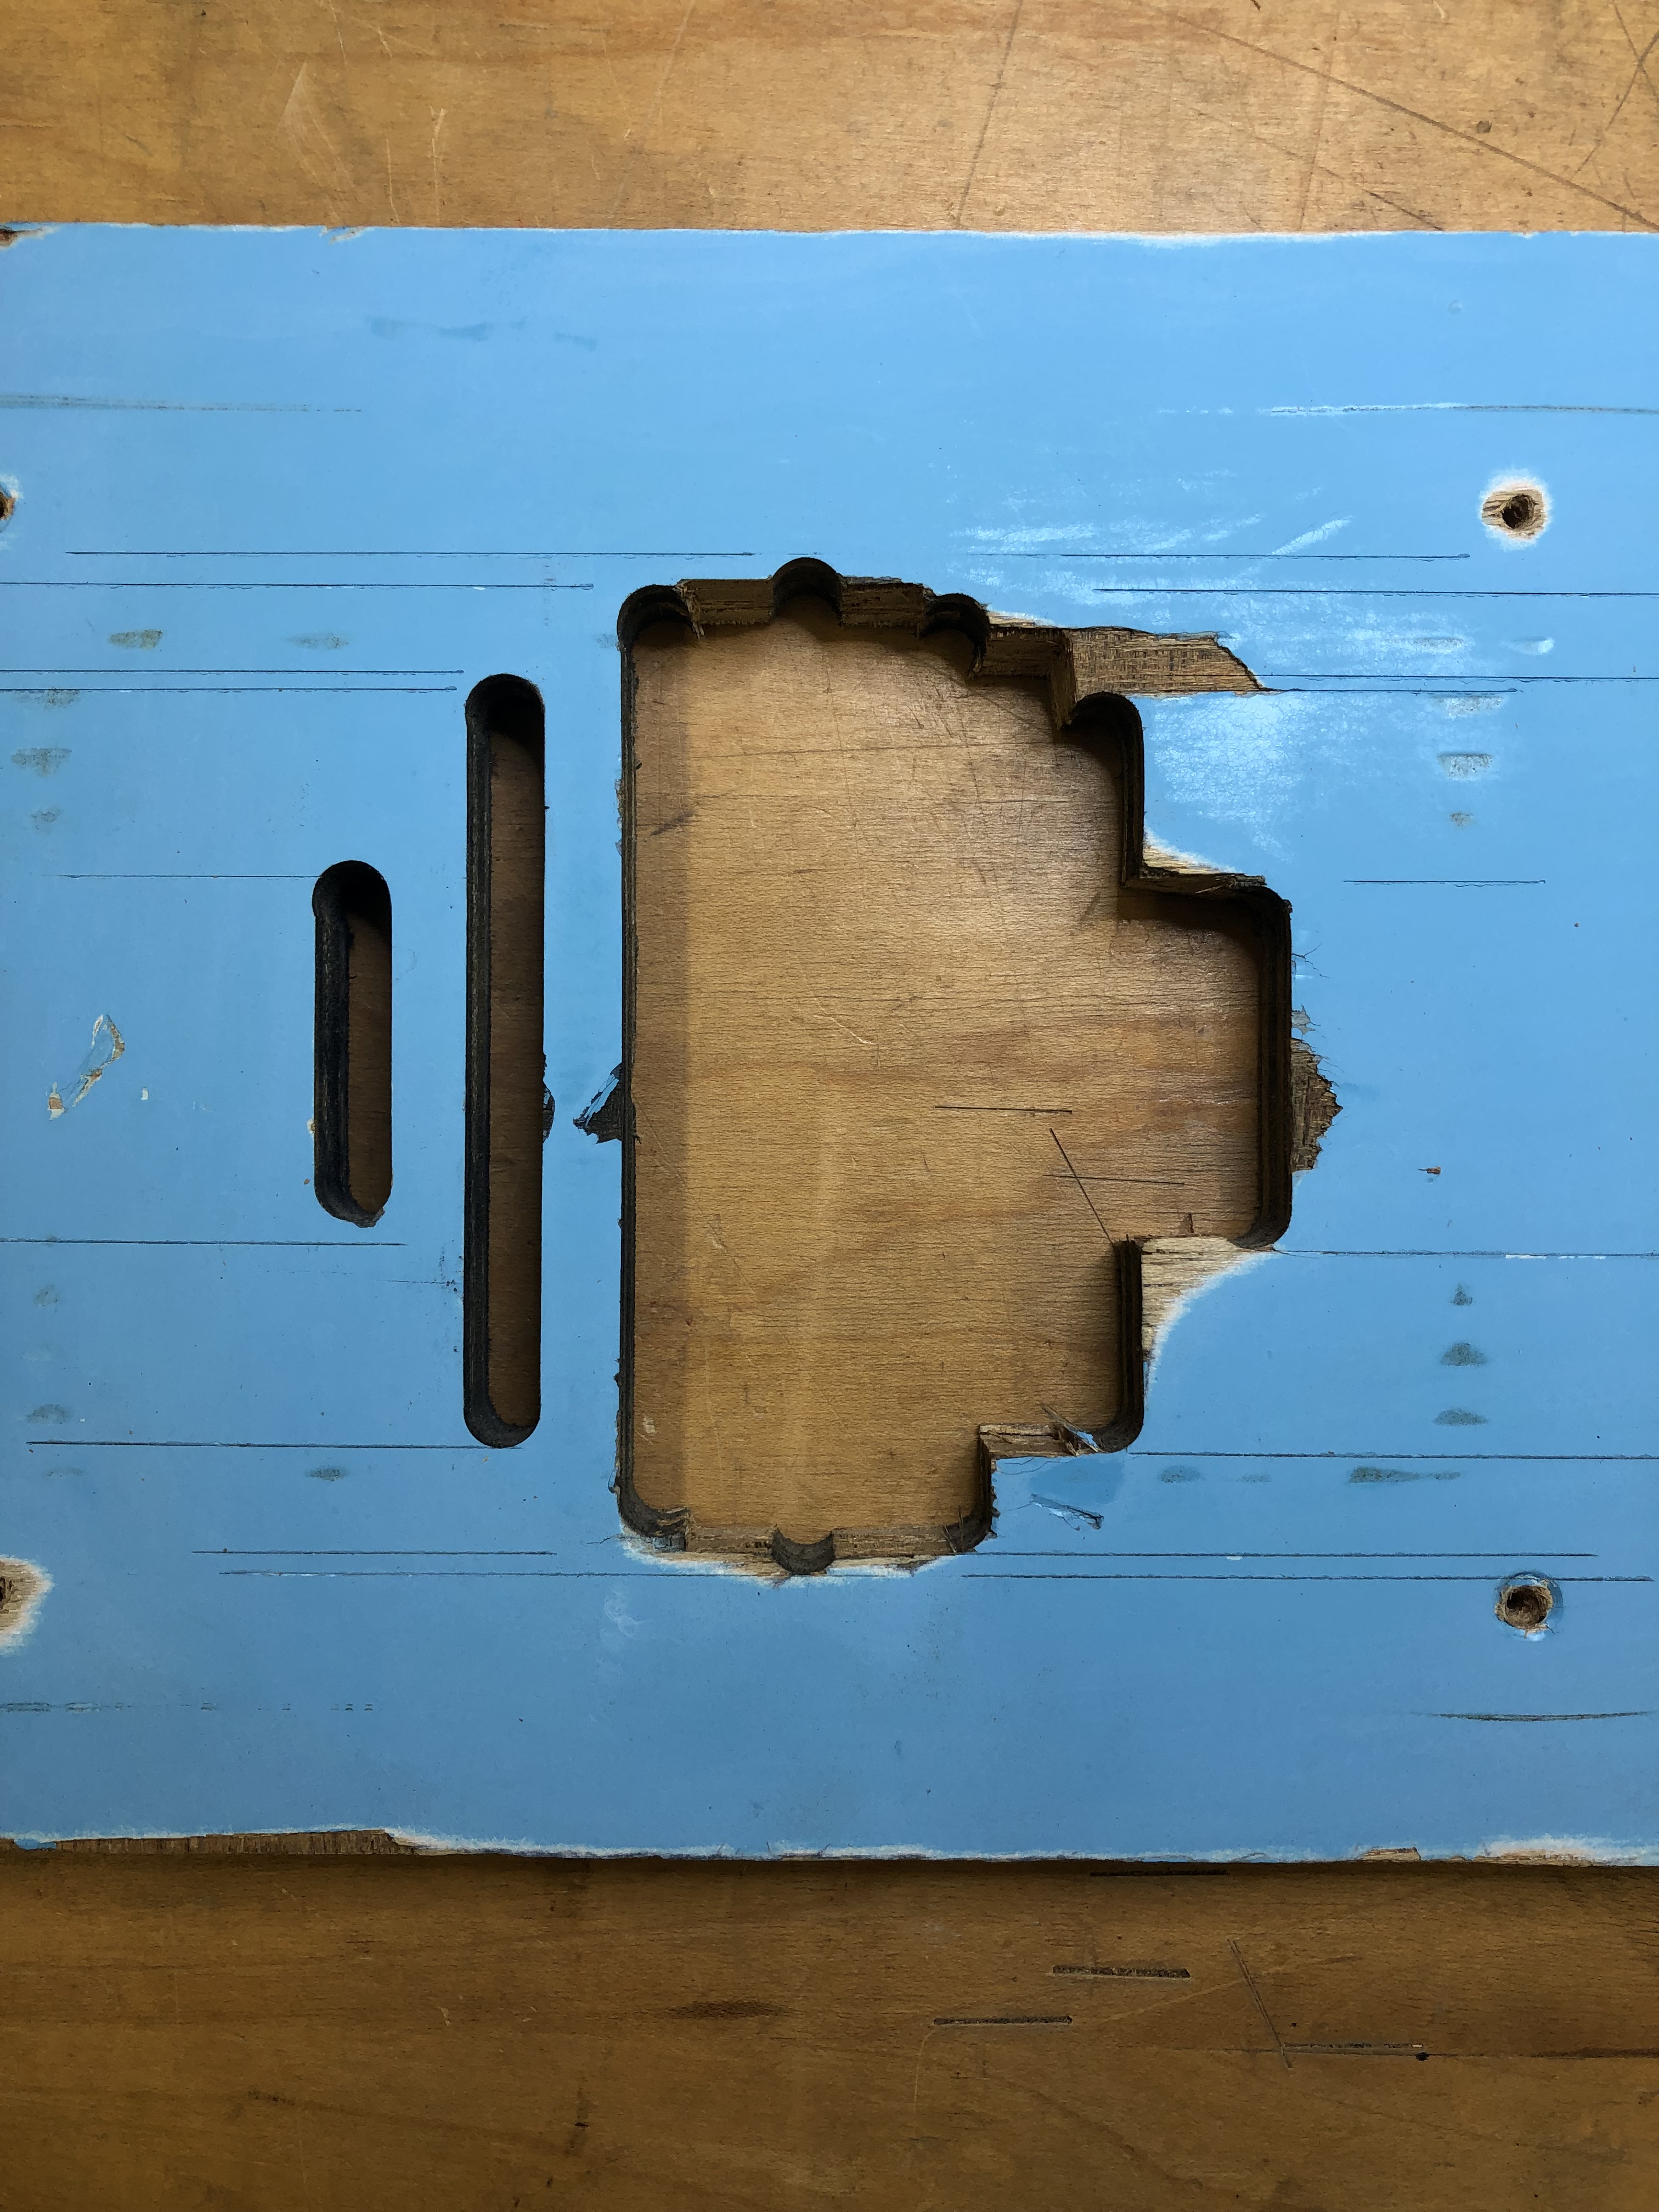

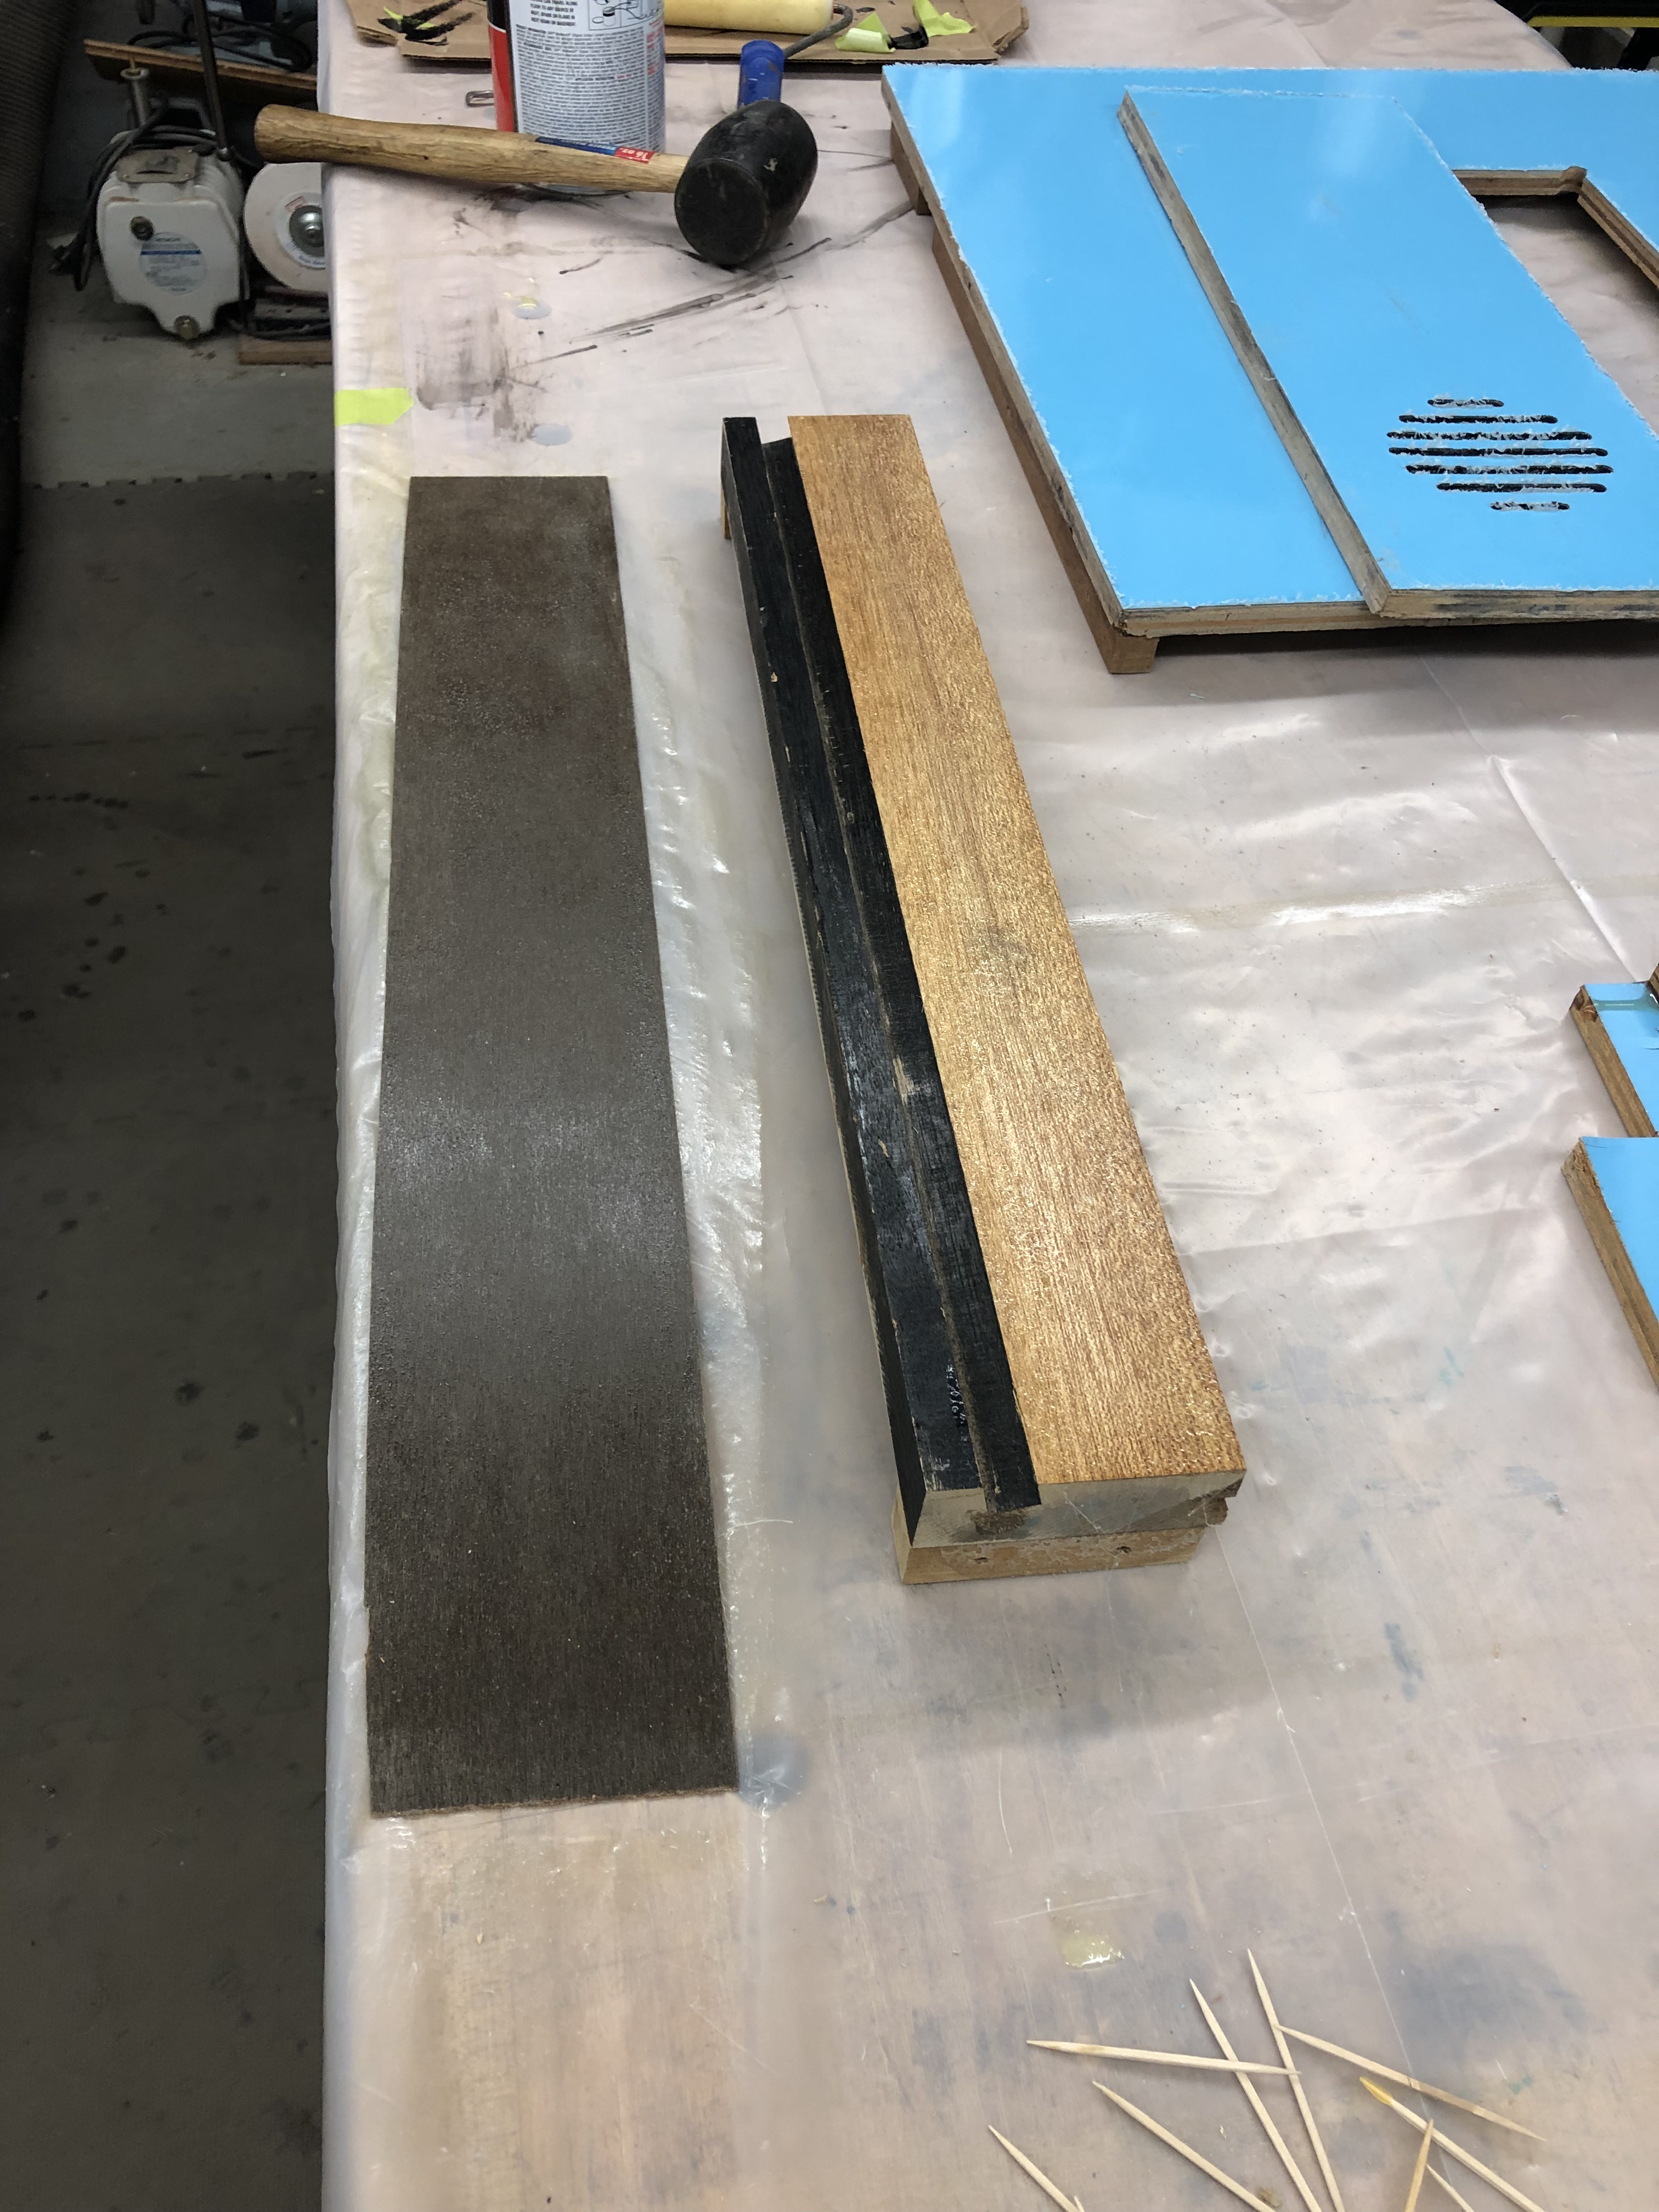
Step 1 – Used a sharp chisel and cut out the bad parts keeping the cuts squared up to the face. I also made sure that the rounded ends of the slots were not removed. This preserved the length and position of the original slots.
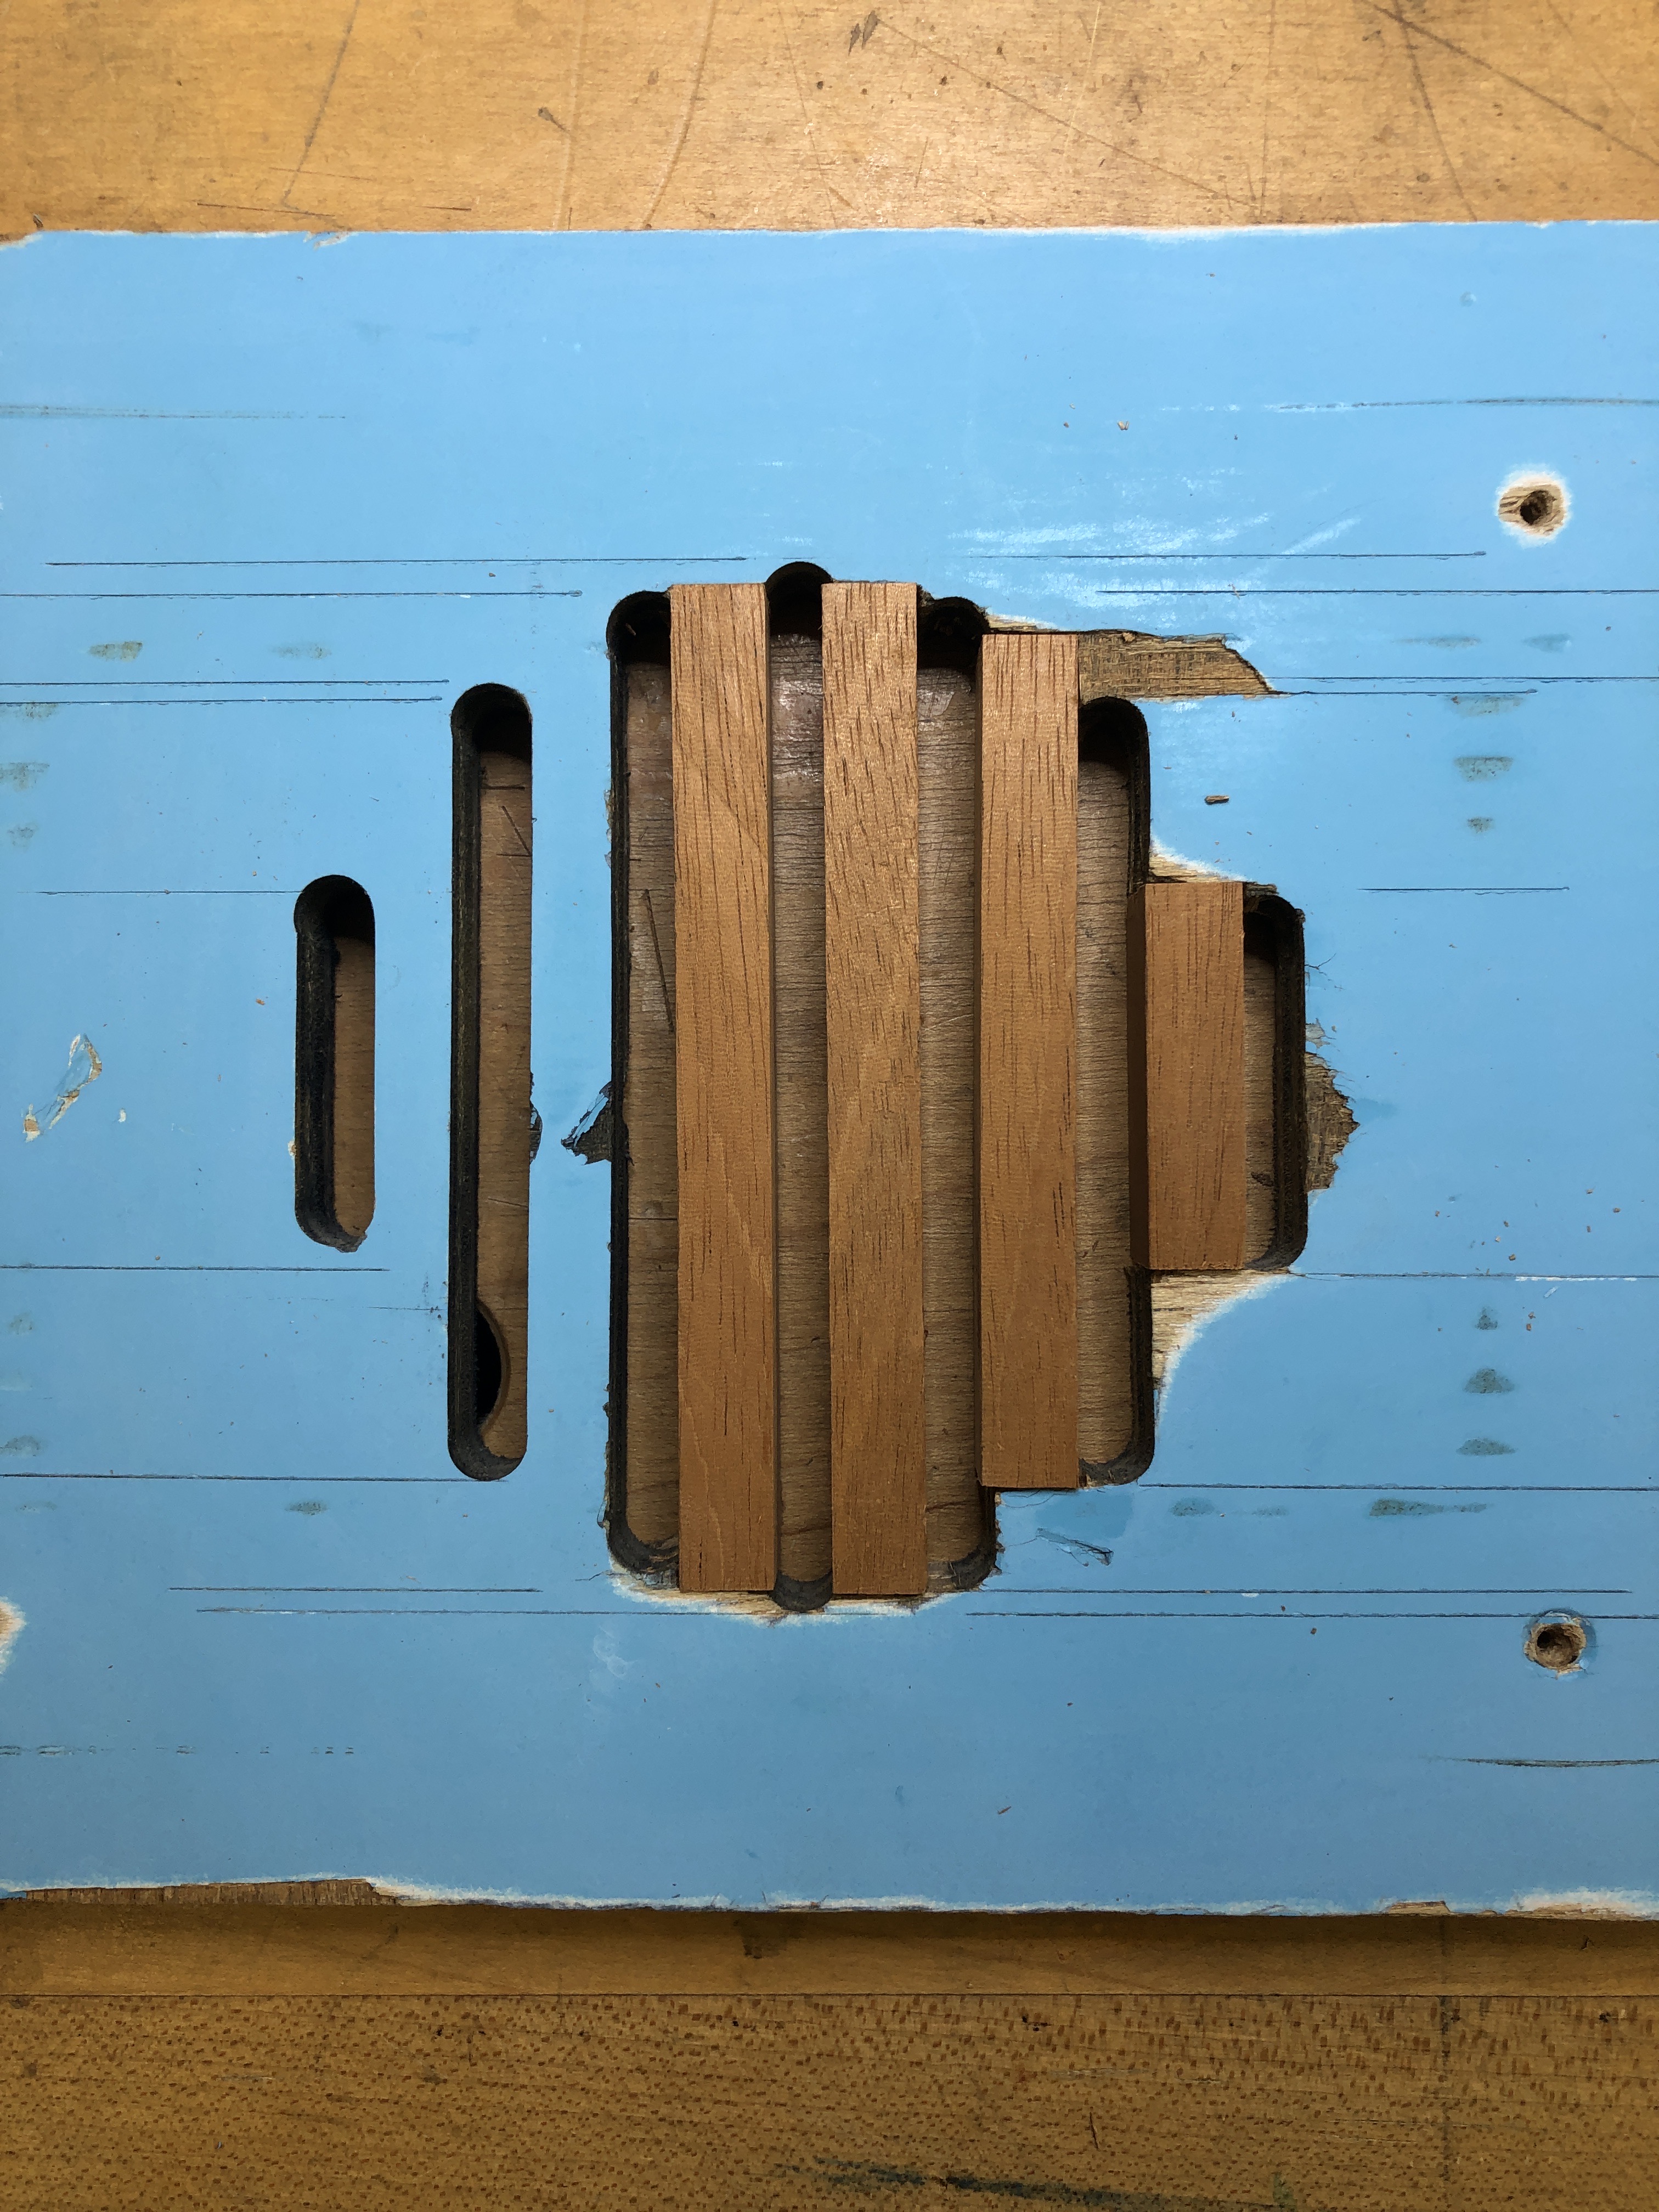
Step 2 – Fit mahogany stock into each grille location. The replacement material is just slightly oversized from the original so that I can use the router table to trim down to final size and perfectly match the originals.
Step 3 – More epoxy and filler to hold them all together.


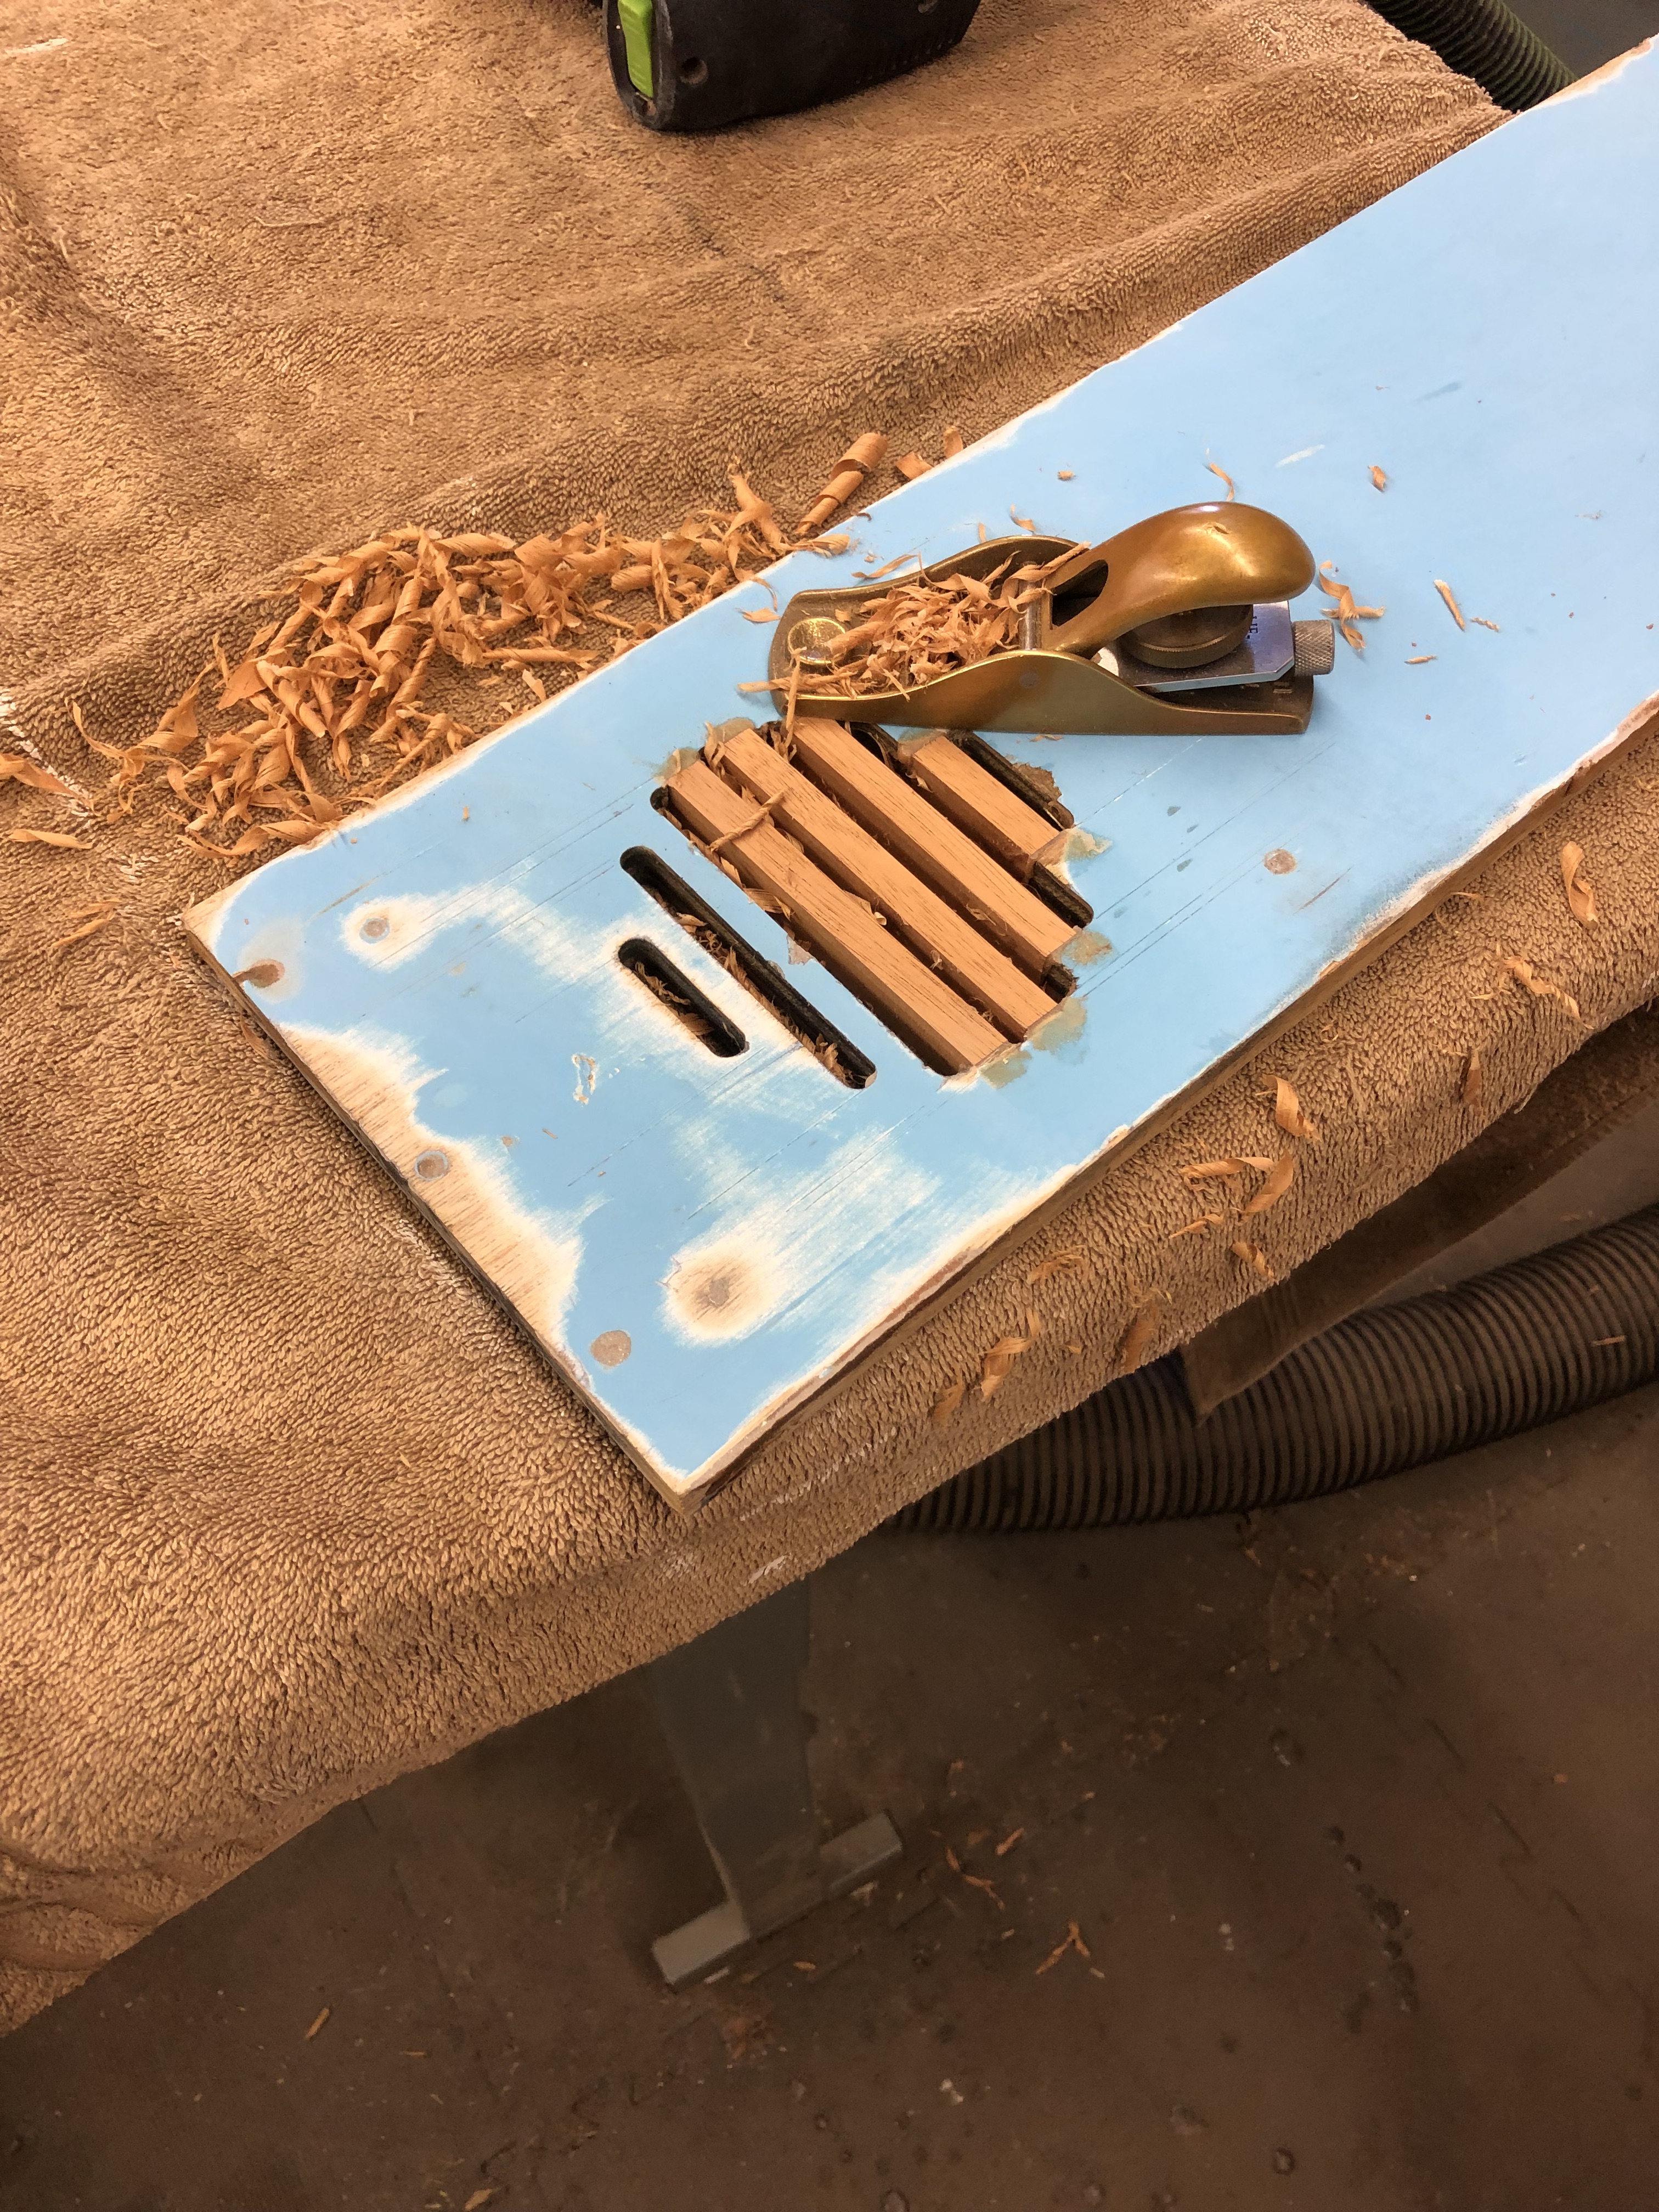
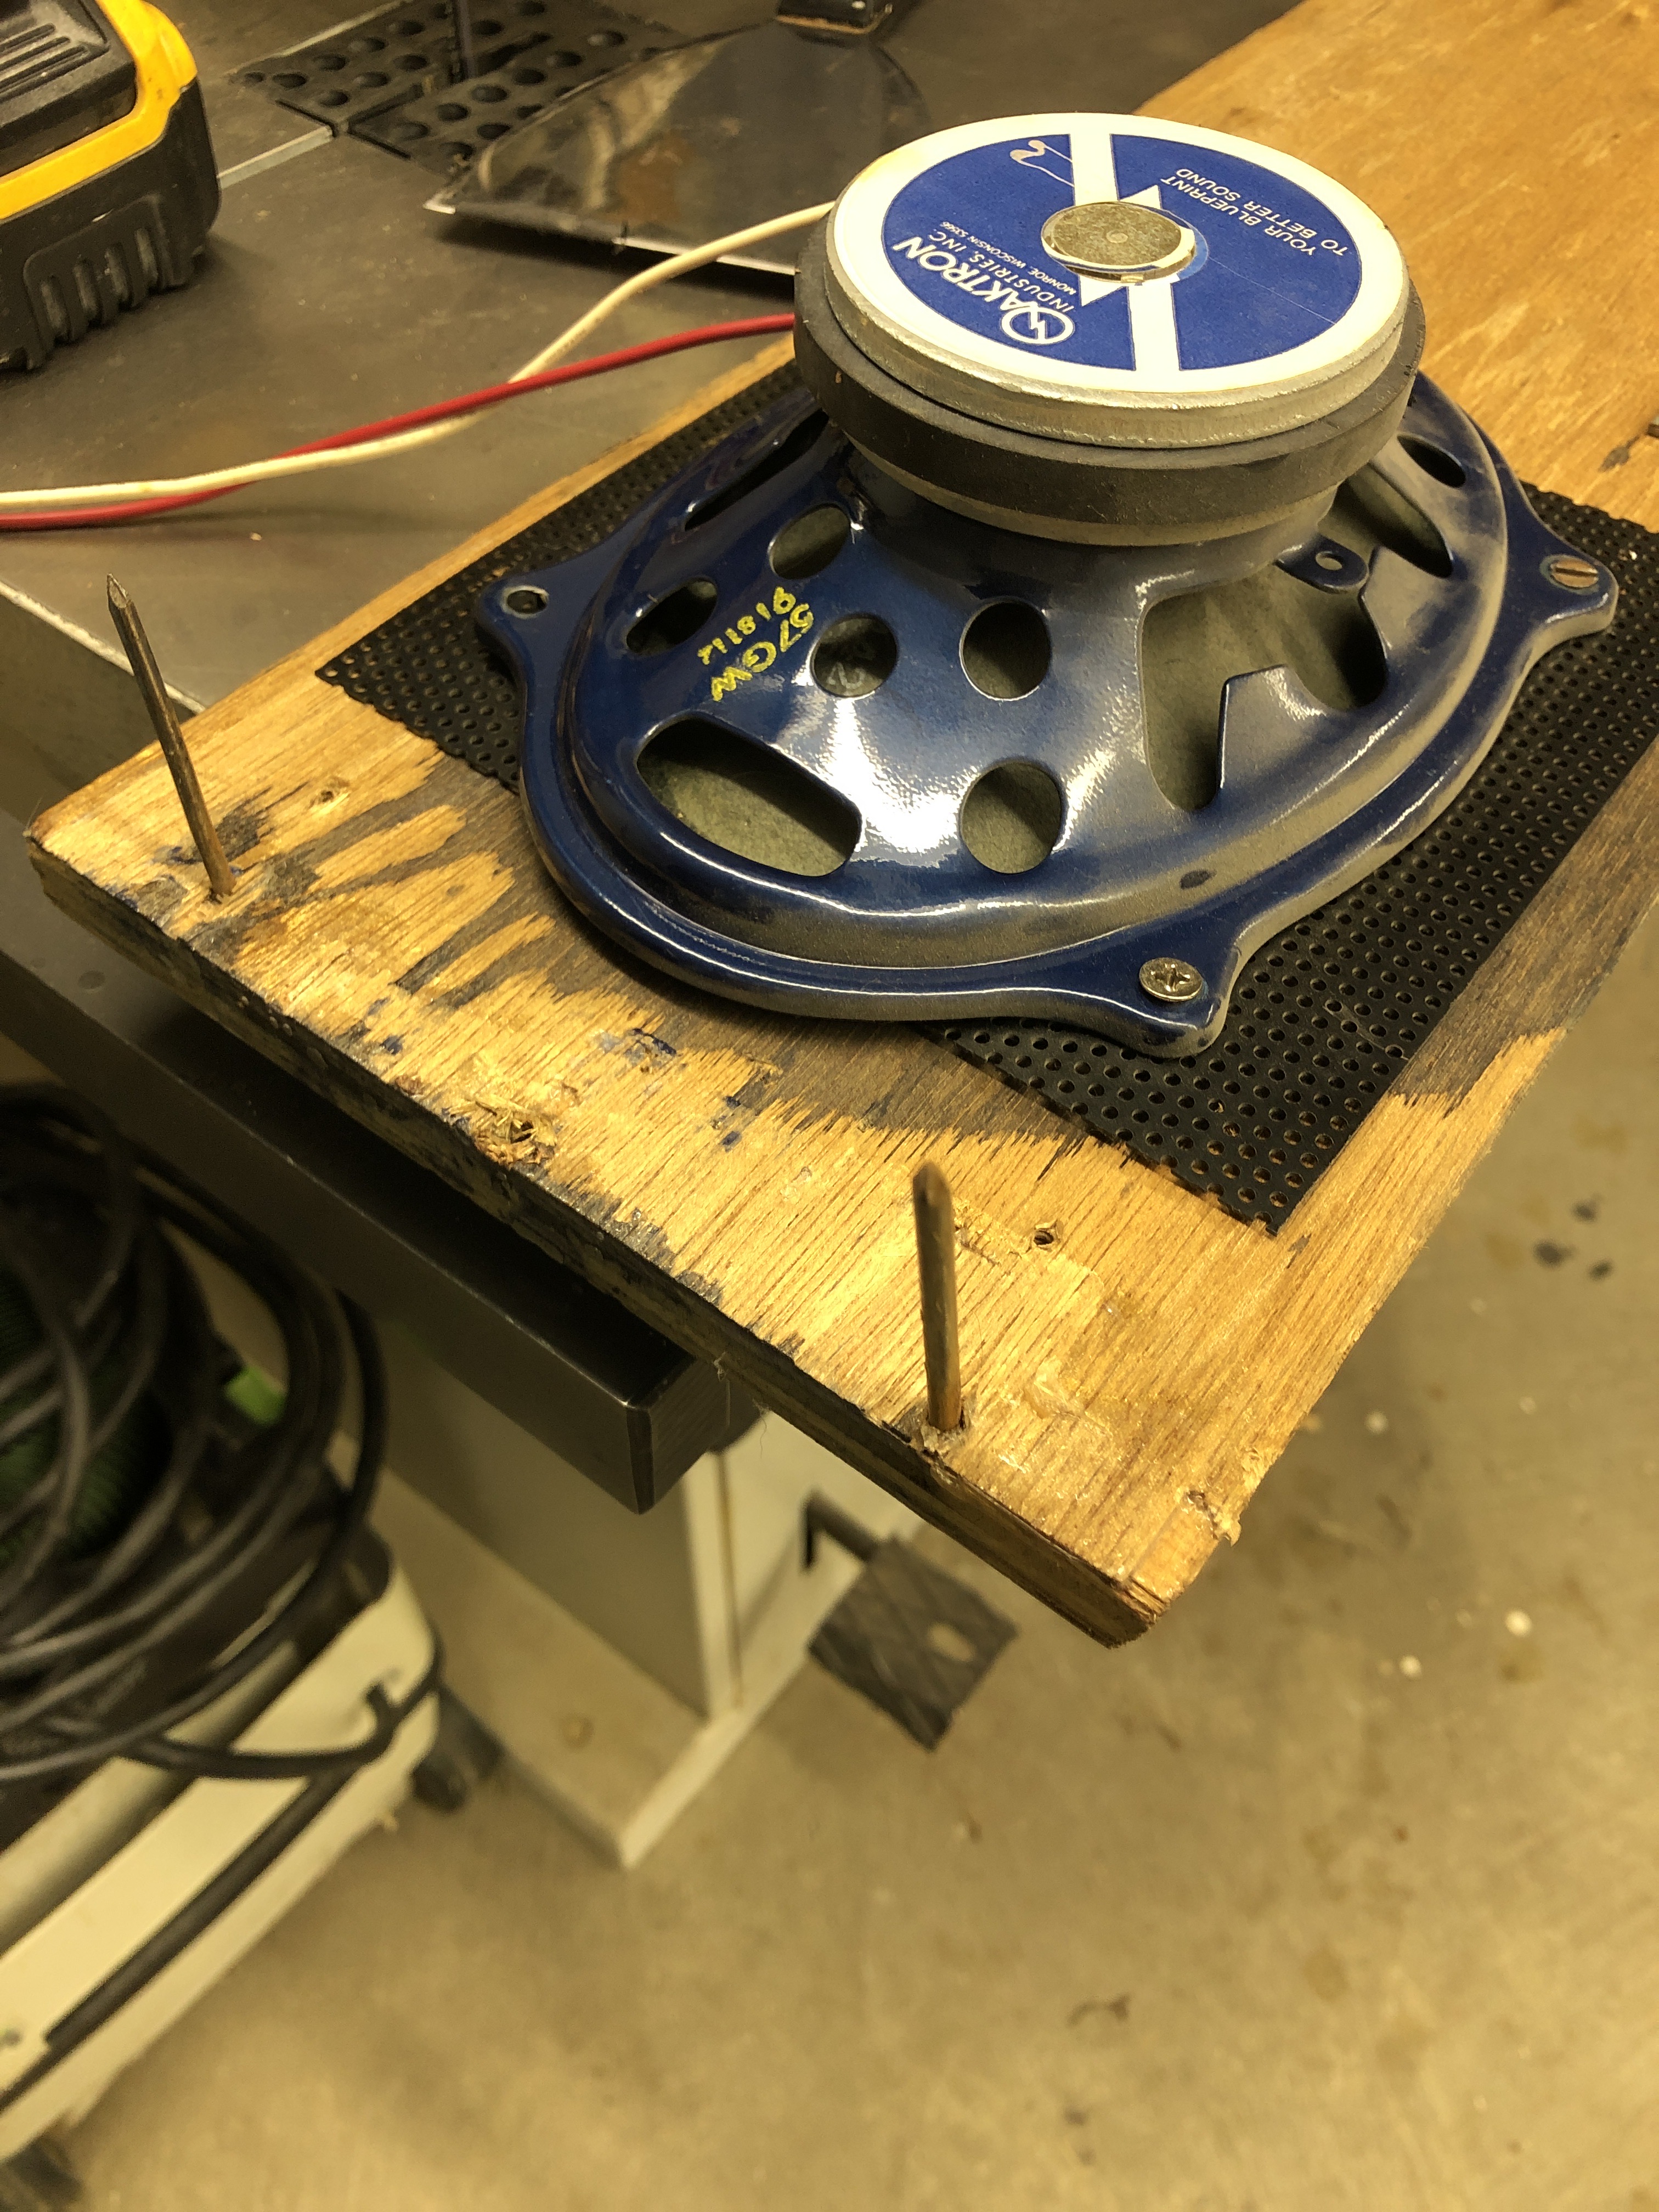
Clamping it down to the bench with wax paper below it kept the speaker side of the panel flat. Epoxy doesn’t stick to it.. After a quick sand on the top side to remove all of the squeeze-out and get it somewhat flattened.. I used a block plane to finish it off. Why not just sand it? I could have.. sanding alone in this case could have made the grill area a bit wavy.. A block plane can only leave it flat.. plus.. I like using my old school tools.


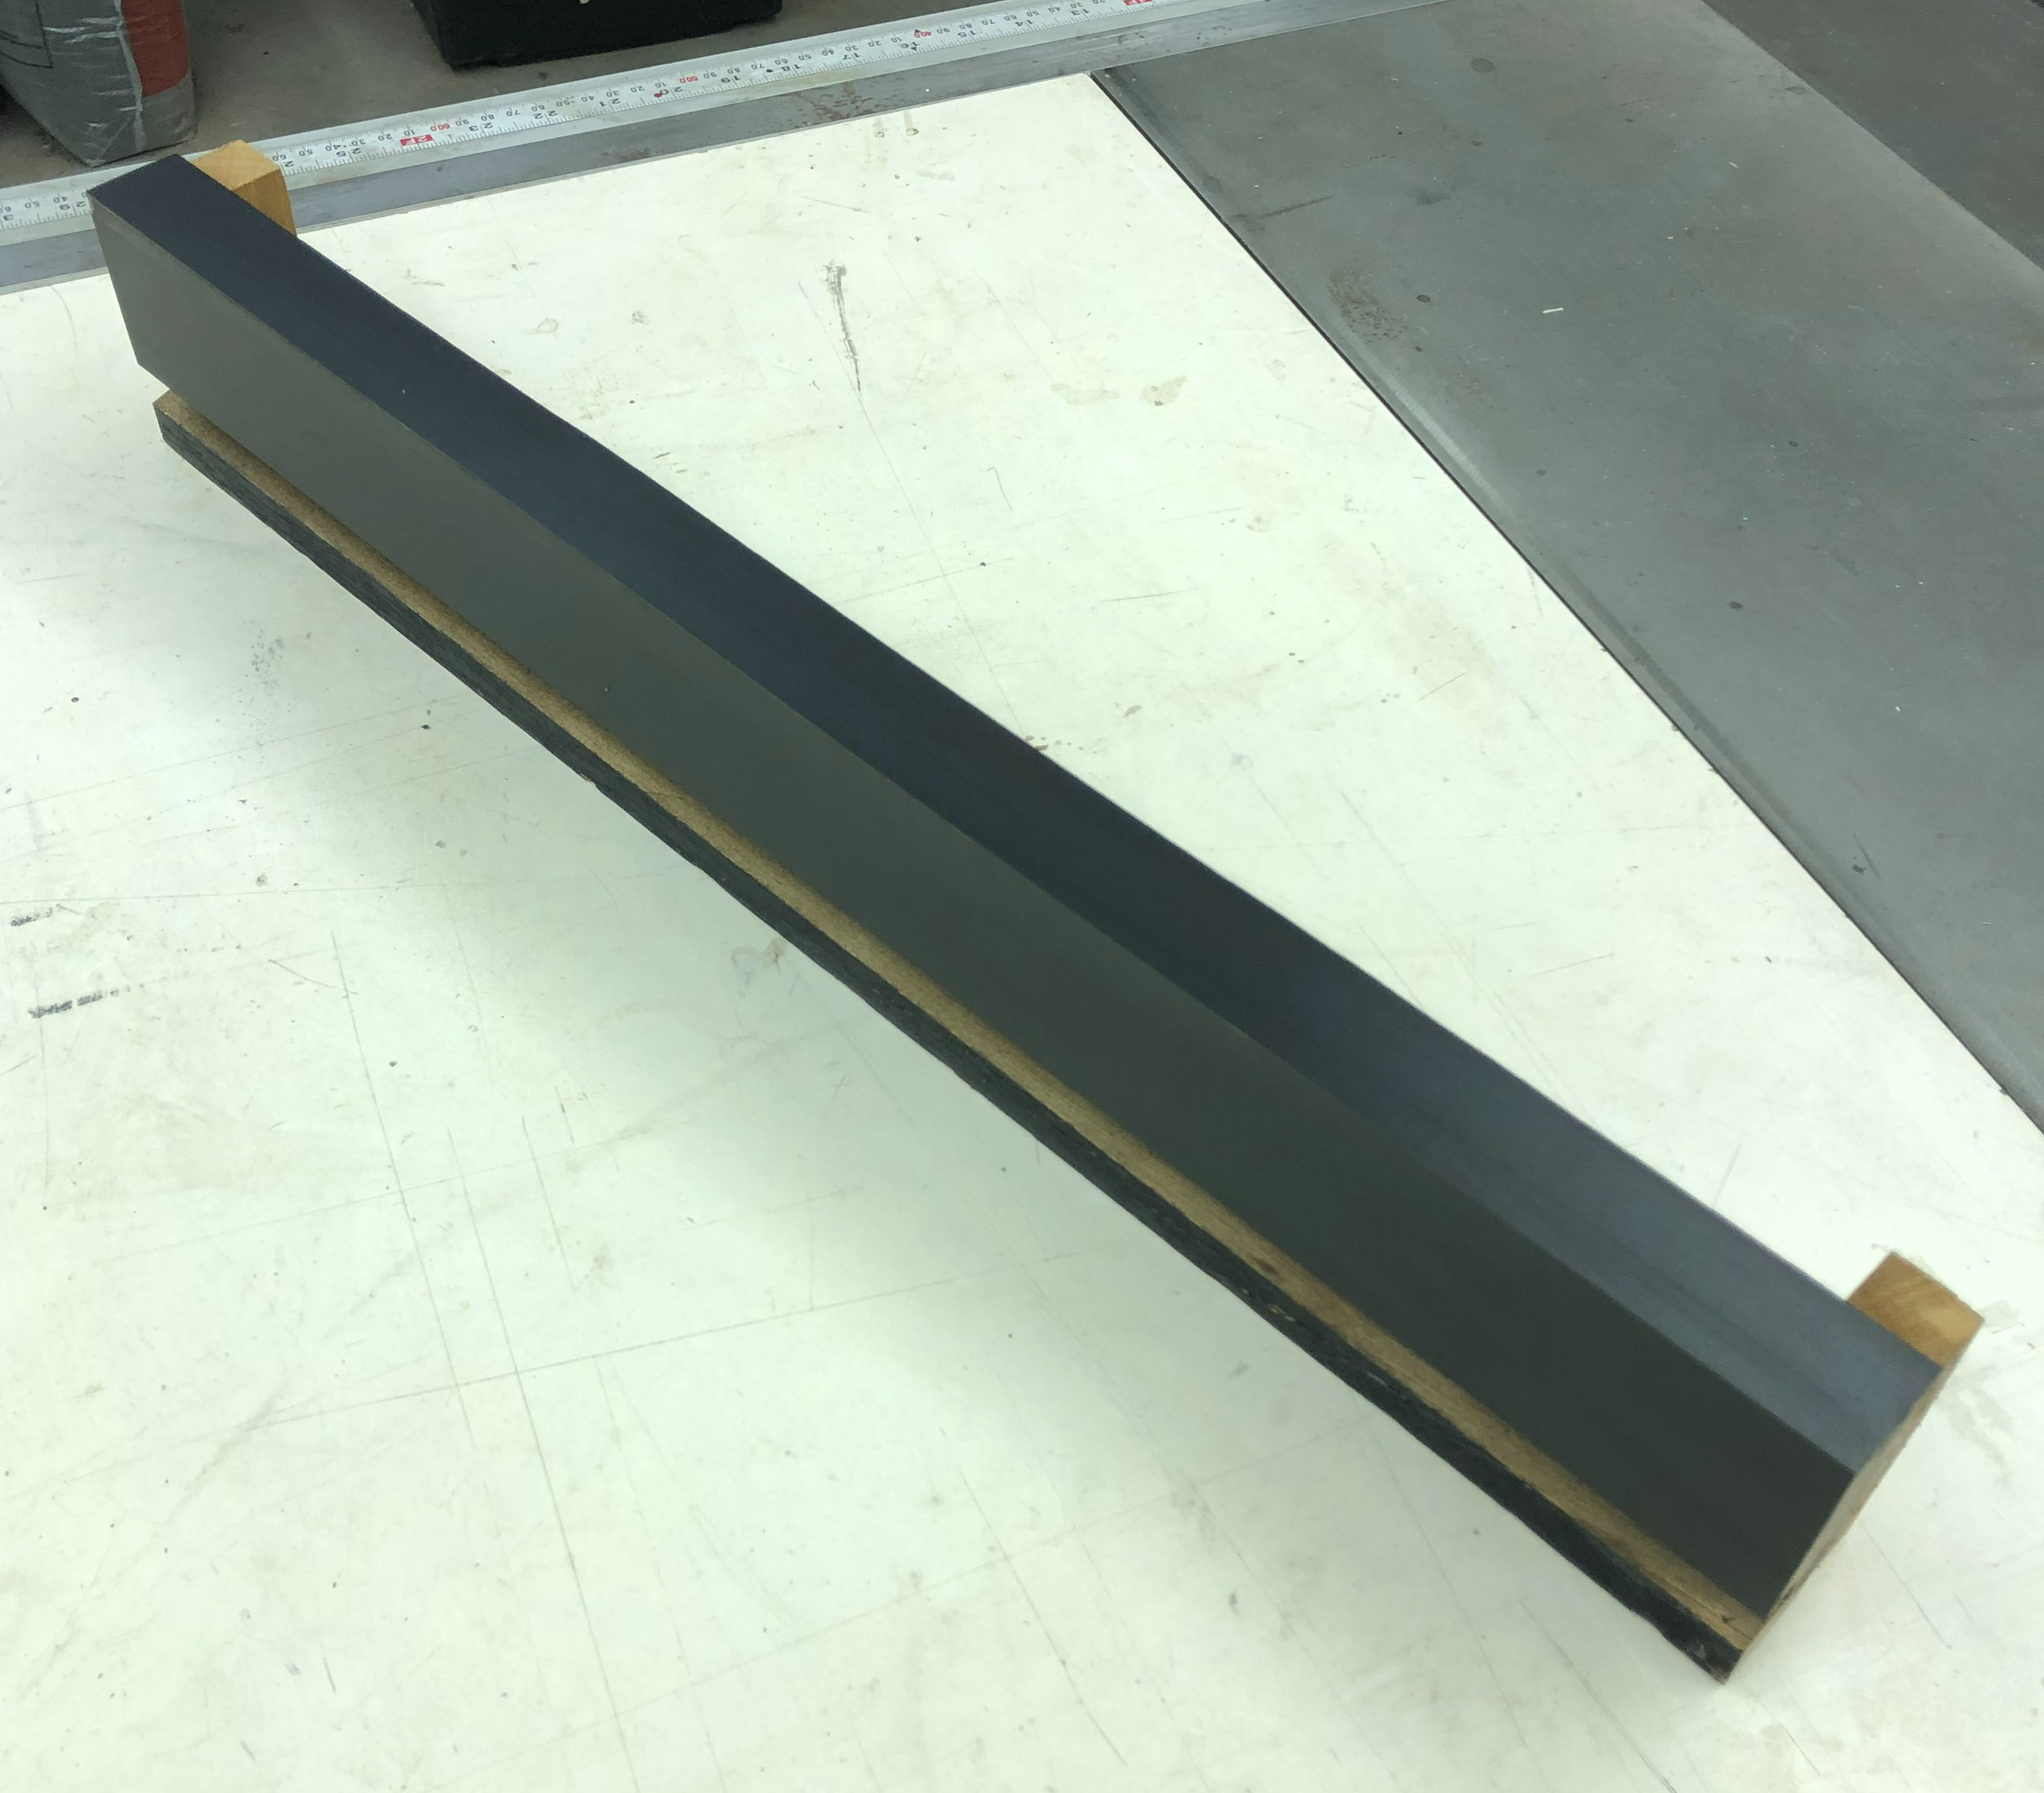
The last part was plunge cuts on the router table. I used the ruler to center the bit at the rounded slot ends. Now the tricky part – plunge the panel a little bit off the end and you have to very slowly move it toward the end of the cut and then to the other end. What makes it tricky is the wood grain and that the bit could be rotating with the grain on one side and against it on the other. It’s easy to get some tear out if you don’t move really slow or have a sharp bit. However – it can be done! All the slots match the originals – including original factory imperfections! Some final filling and sanding and the speaker grill is actually stronger than the original plywood. If the slot sides are not smooth due to any issues while routing… Filler is needed inside so that the pattern bit used to cut the slots in the laminate doesn’t copy the bad parts.


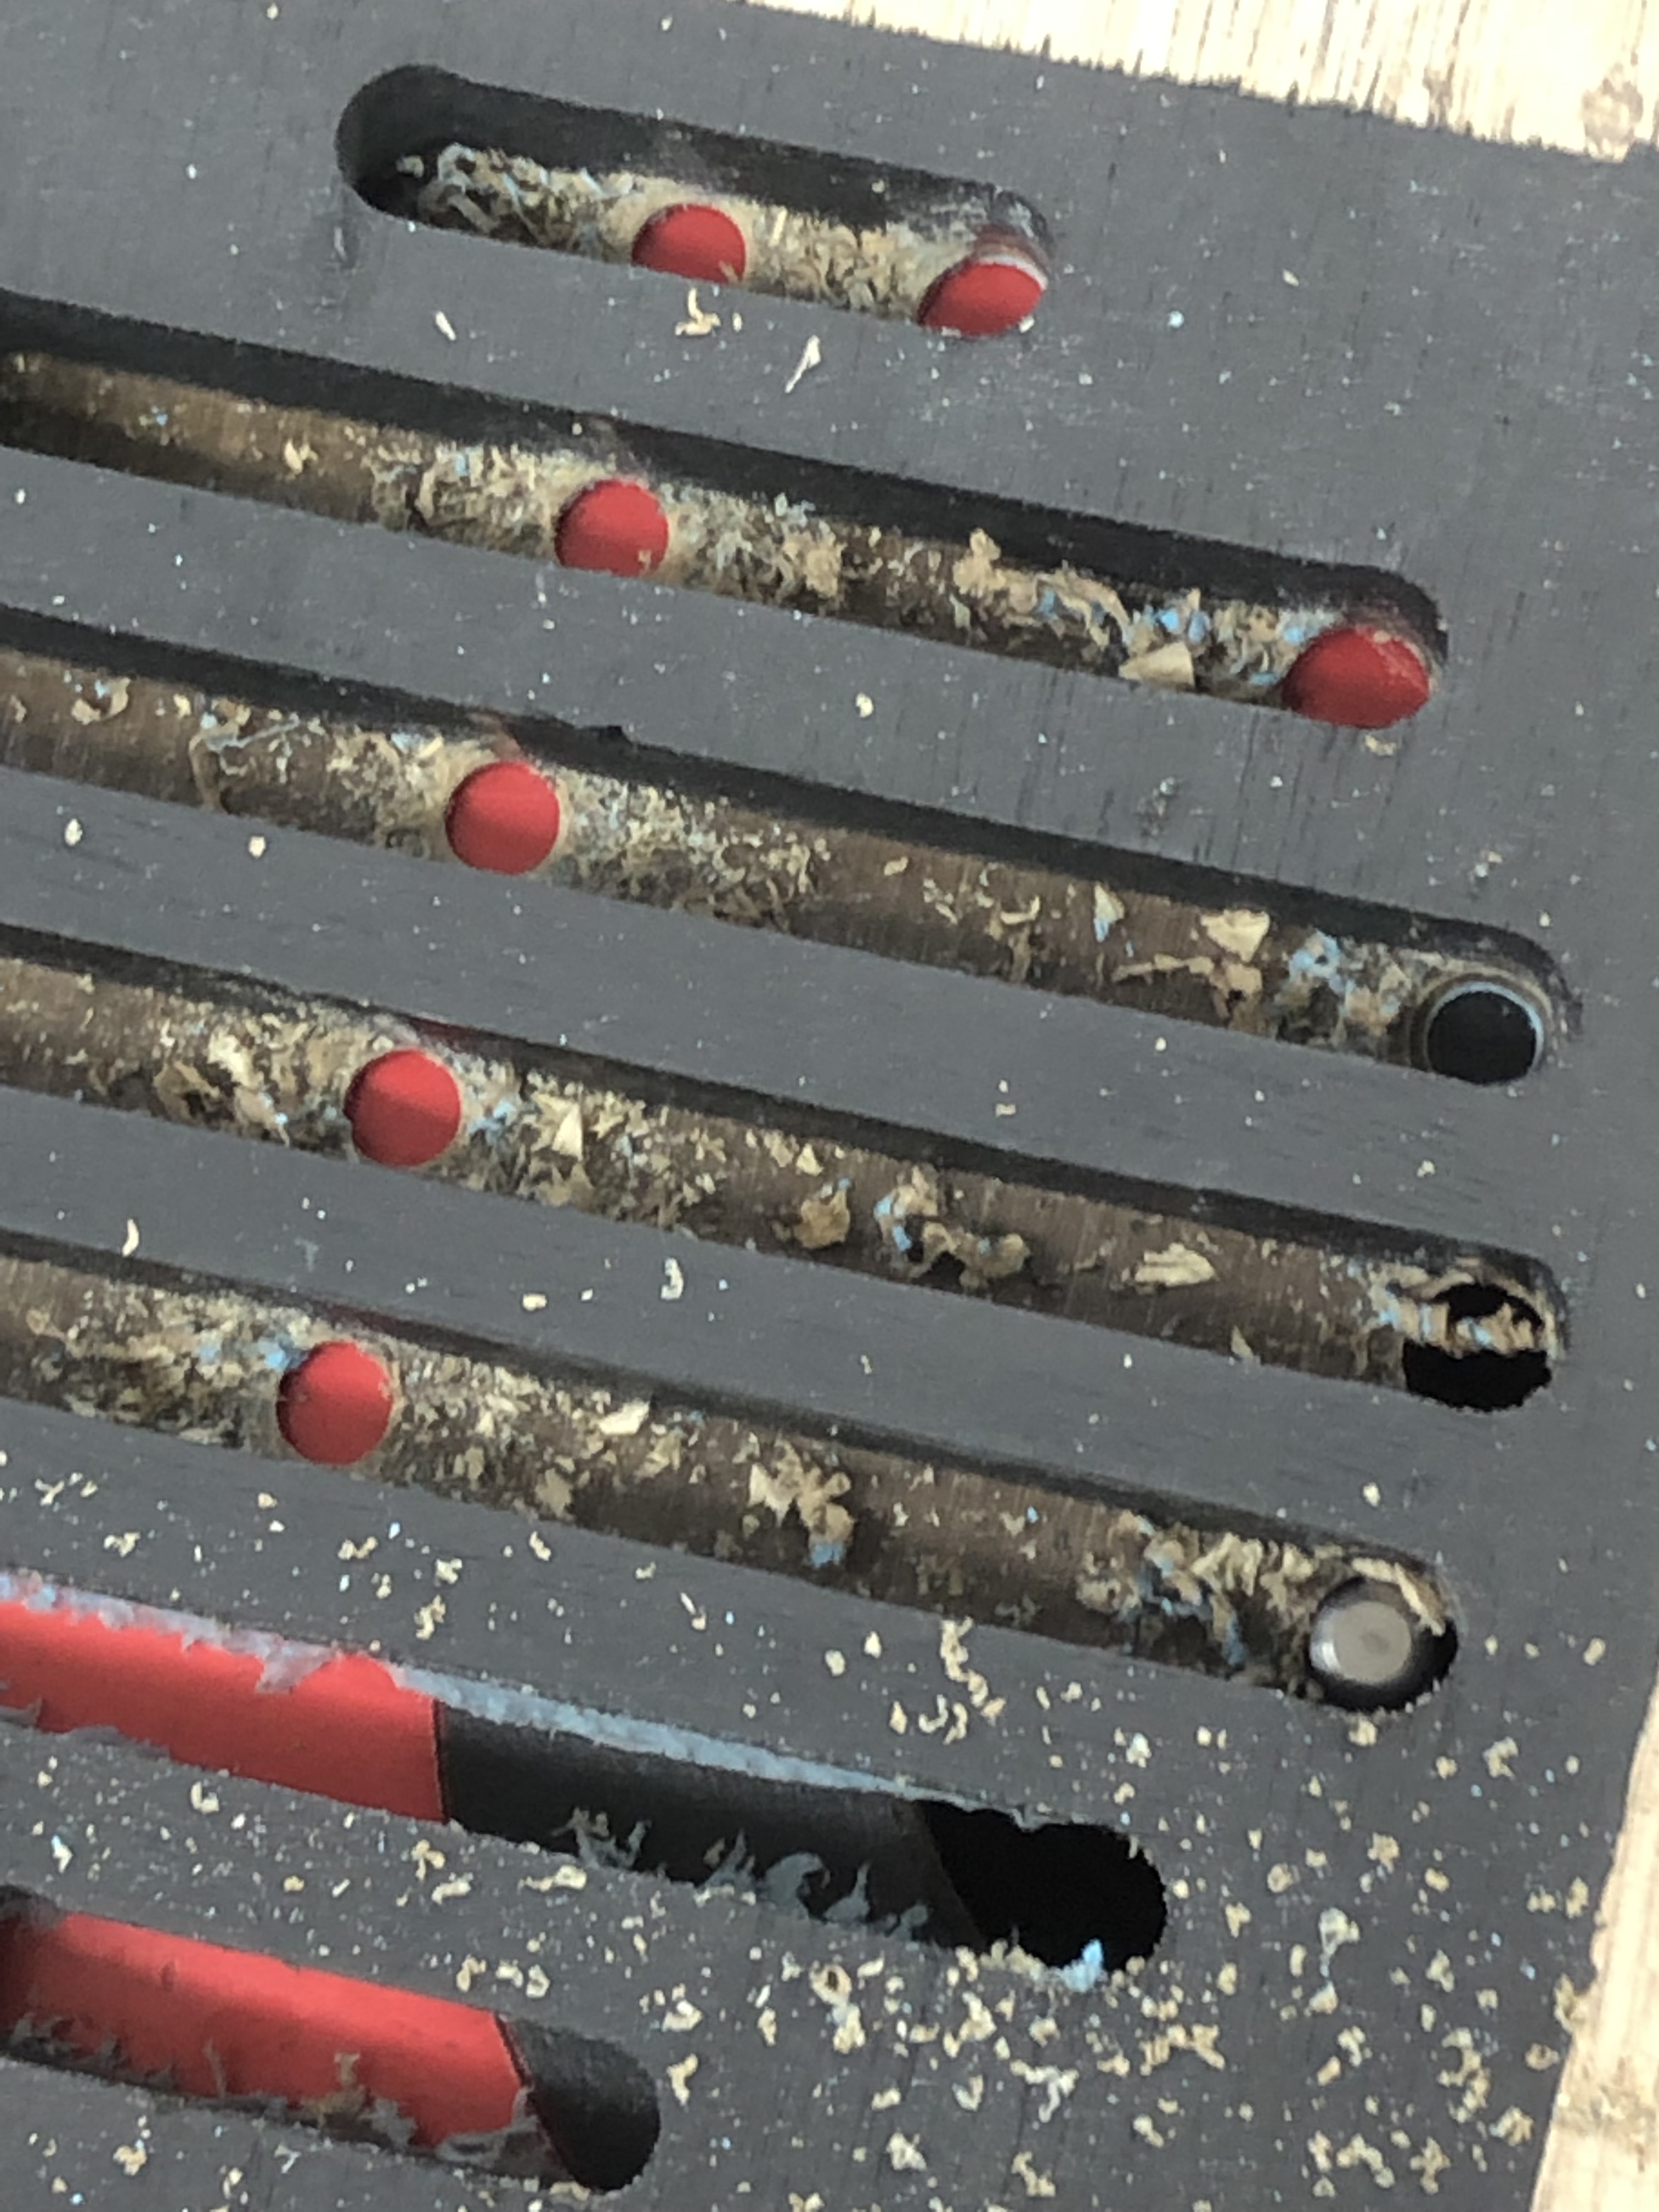
To cut the laminate slots – I picked up this 1/4″ pattern cutting bit. Thankfully the slots are just a little bigger. Predrilled all the holes in the centers of the slots and cut them on the router table. It worked nicely. The fuzz you see on the slots is the protective plastic coating on the laminate.
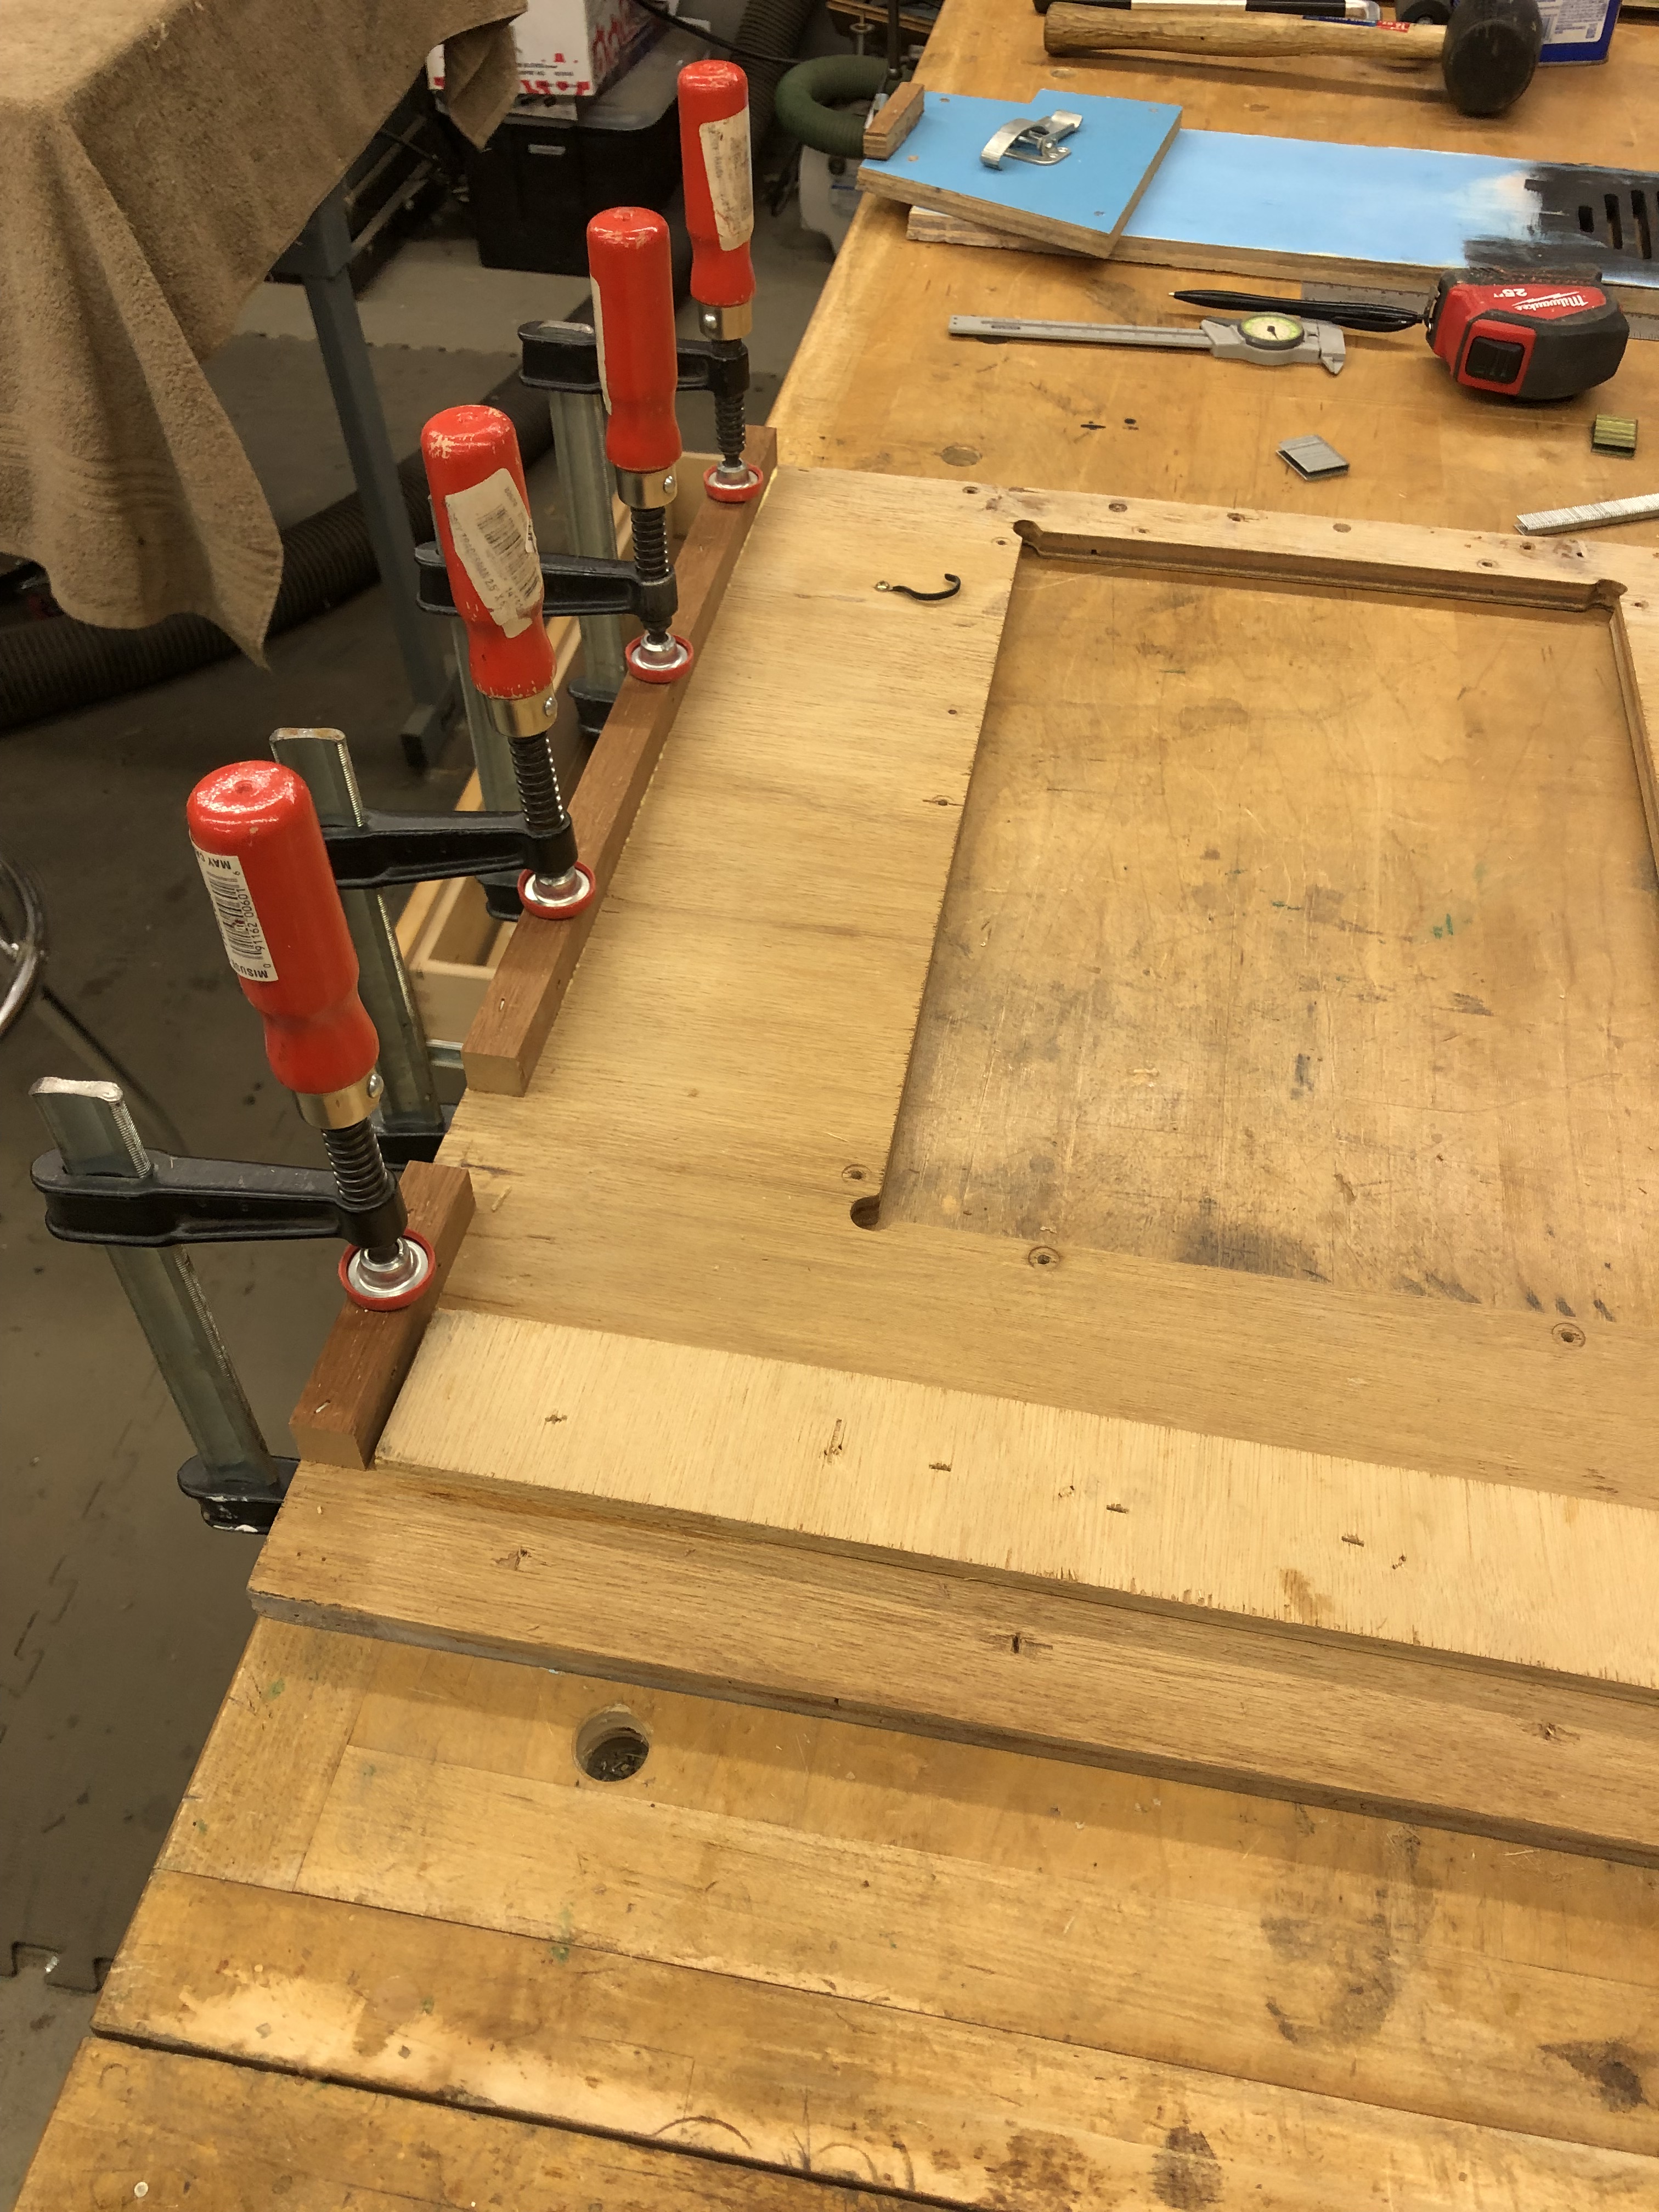
Before laminating the sides, I wanted to get the front back together.


I little bumping and clamping here and there and I got it all squared up. Most of it was blocking with screws originally. The speaker panel was glued and stapled as far as I can tell. I did peel some of the plastic from the edges so I didn’t have to deal with trying to dig it out from the corners.


Laminating was very straightforward as usual. This is were I finally remove the original T-molding and did a final check of the edges. Laminate, trim router and then I installed the T-molding while it was still on its side. Rinse & repeat for the other side.
Soon after I installed the side art. I wanted to get it on now so that I didn’t have to lay the cabinet down again later in the restoration.
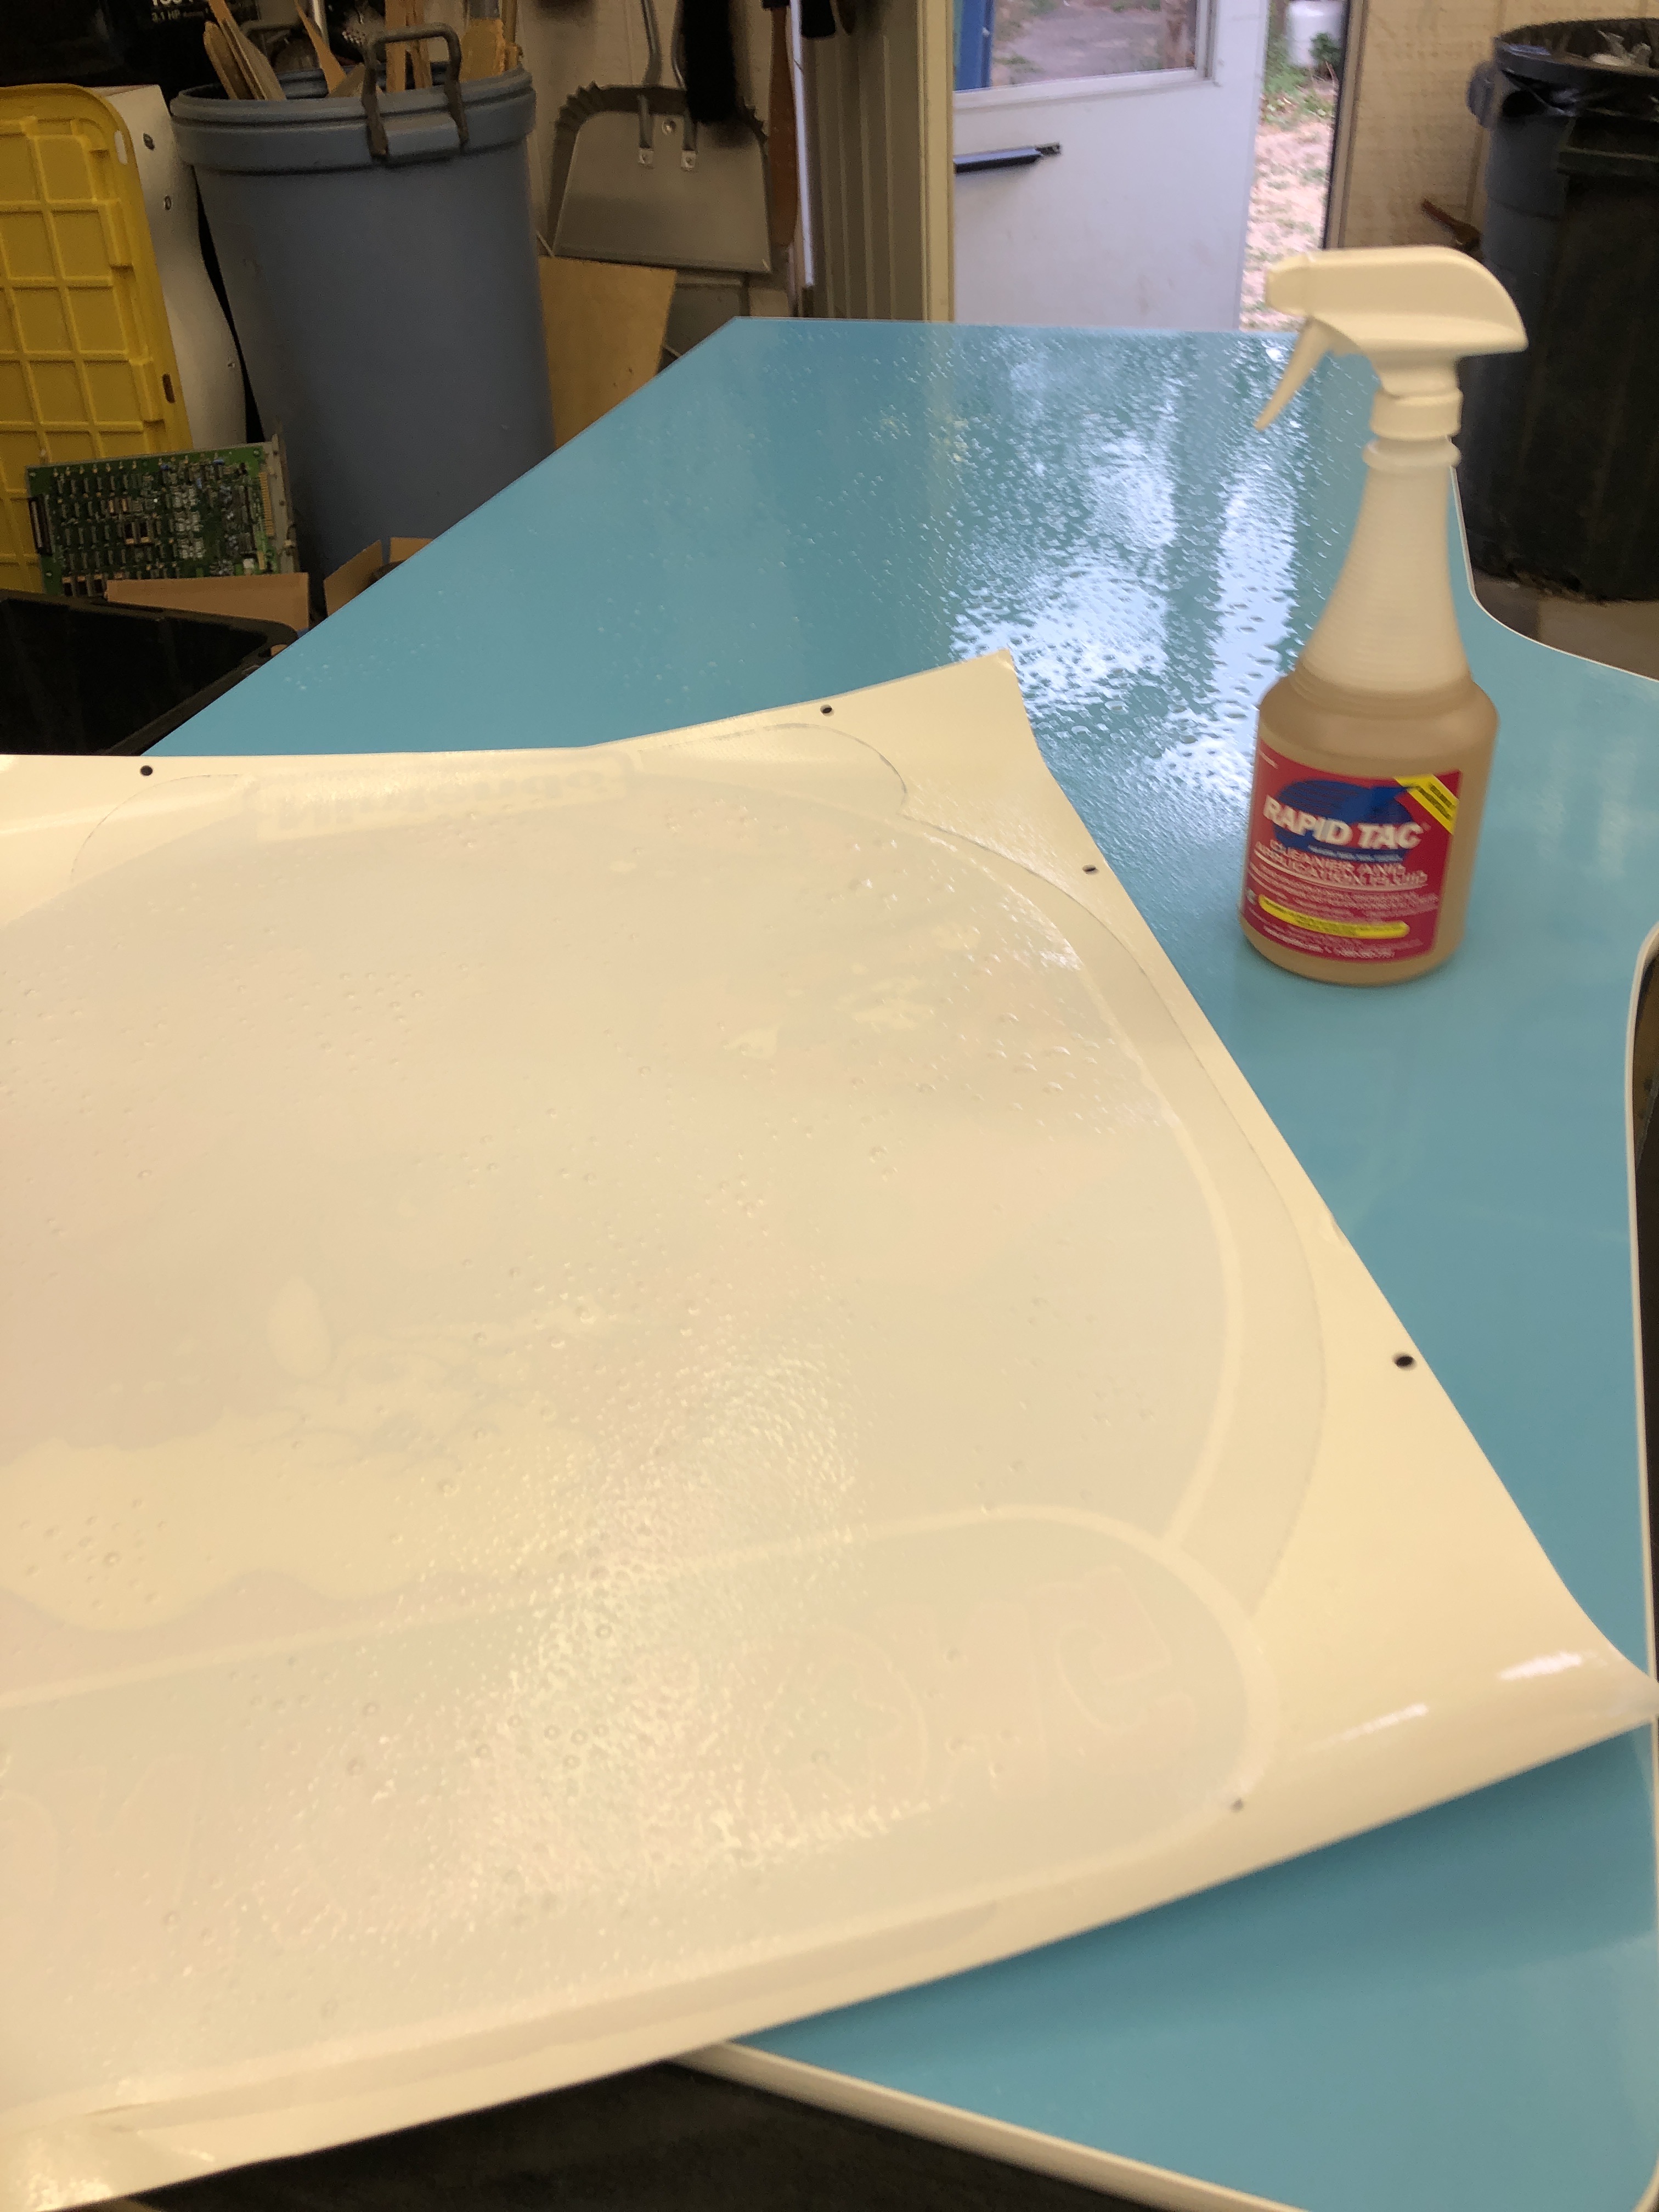


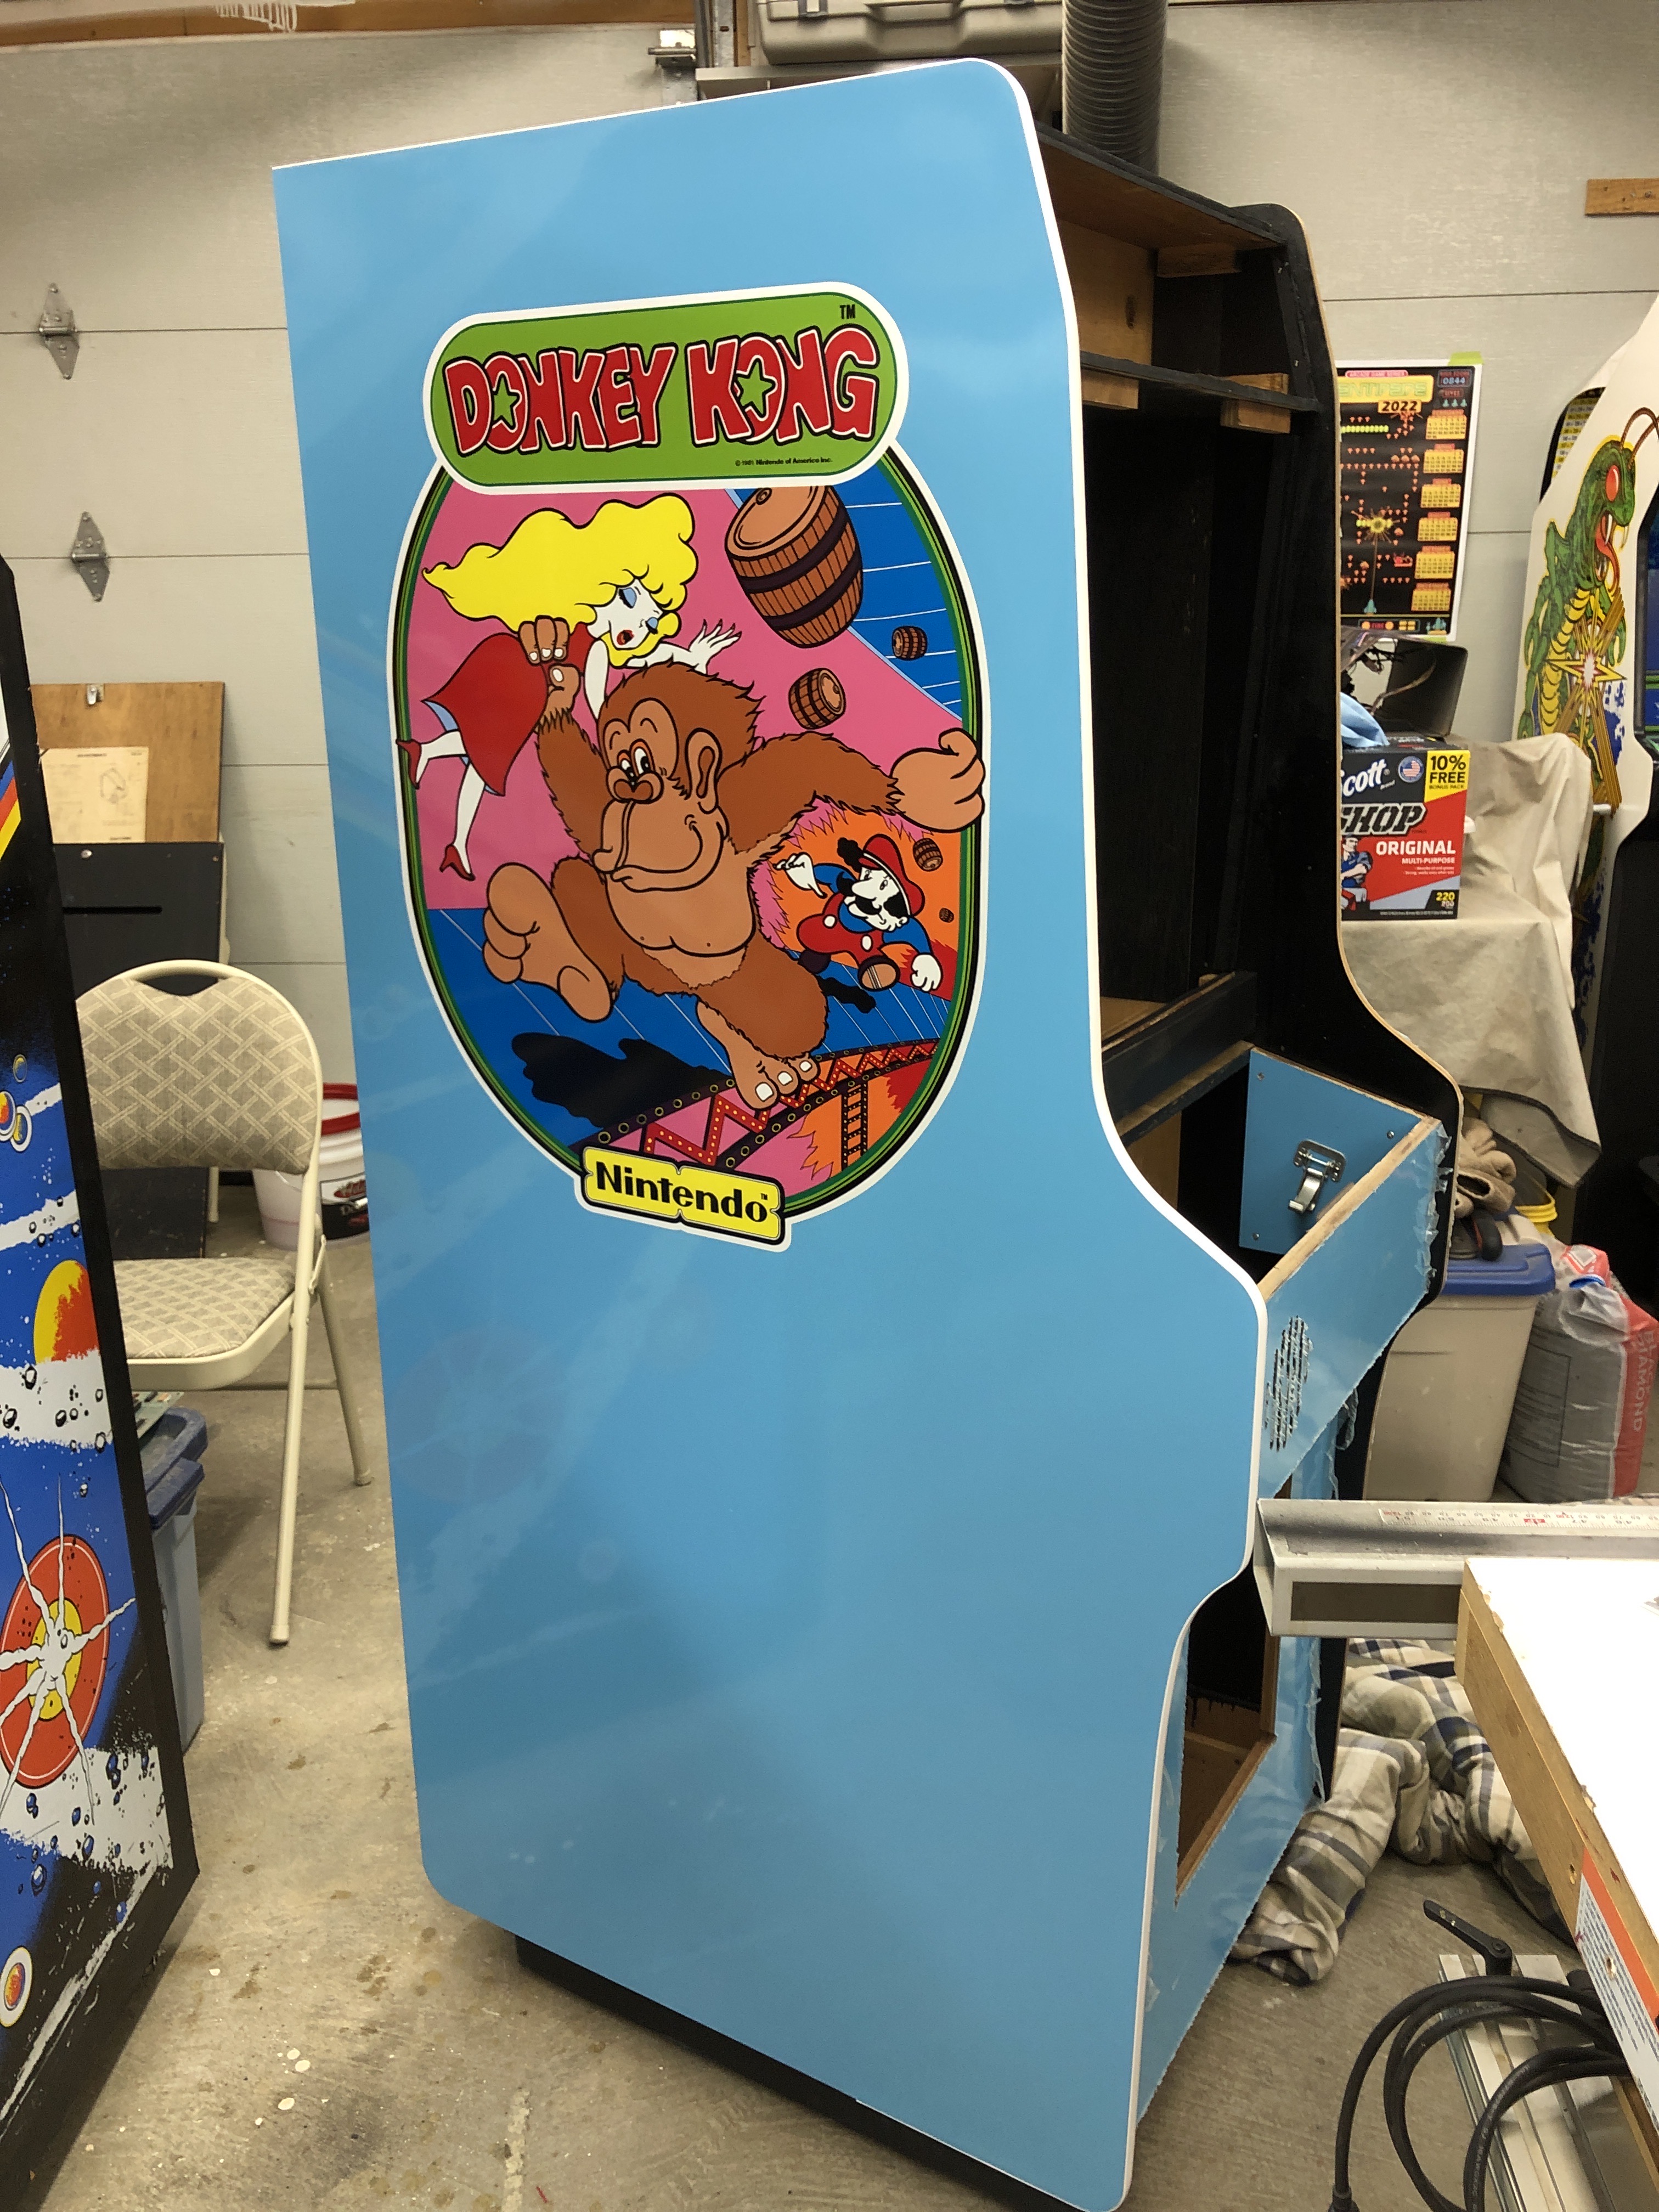
In the past I’d used soapy water for decals.. But all the reviews on Rapid Tac said I should give it a shot. Well worth it! It took me about 5 minutes to float that giant decal into position. Really soak the cabinet side and the decal heavily and it will float around nicely. Once in place – a little work with the squeegee and a perfect application. Not even a hint of a bubble. I’ll never install a decal dry again..
