The plan is to get many of these.
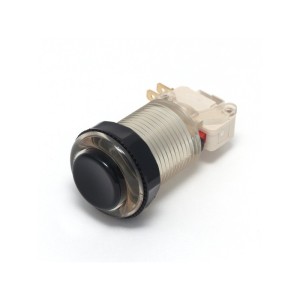
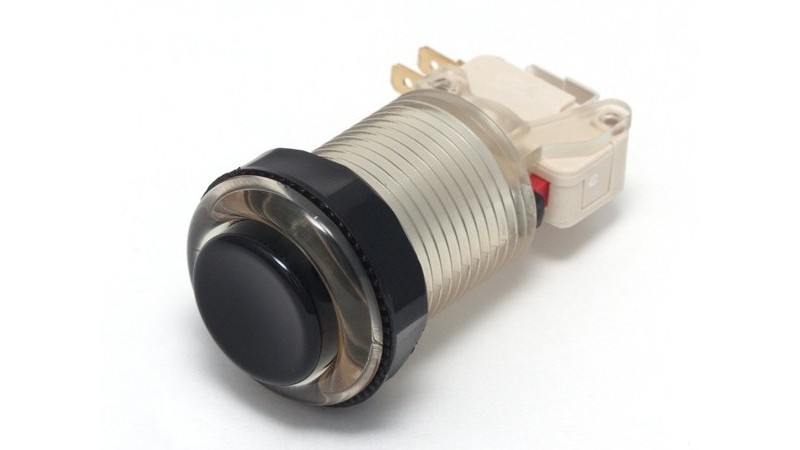
iL PSL-L Translucent with Black Concave Plunger – It was out of stock when I placed my order so I got the red one just to test. At $2.75 they are quite affordable.
Paradise Arcade Shop came up with this specific design I believe. The look is great when you program the LED colors.
I picked up a red button with a 20g Zippy Micro switch. The RGB LED setup is fantastic.. I’ve never build an arcade control panel before, but I know good design when I see it.
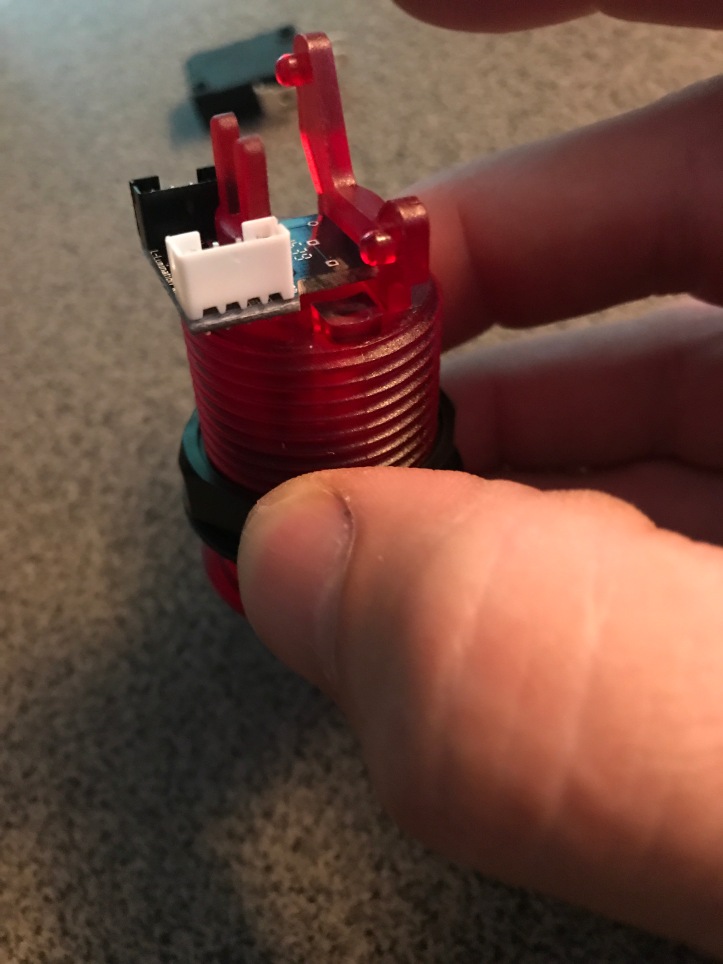
The LED fits perfectly over the small post on the bottom of the switch and does not interfere with the action of the button. The pigtail that comes with the switch fits the Ultimate I/O Board and the LED. The LED has 2 connectors – the black is with resistor – the white is w/o resistor. (I’ll have to figure out why that matters…)
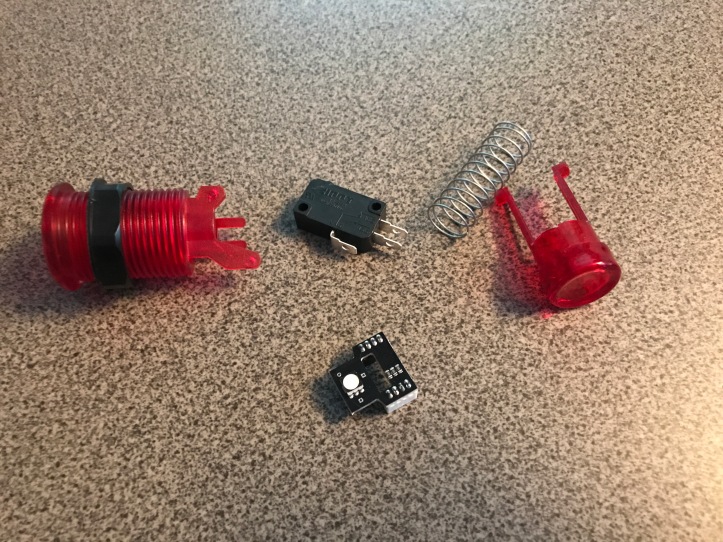
All of the parts are here. Housing, plunger, spring, microswitch and LED.
Here is the LED over the small post showing both power connectors. It fits quite snug.
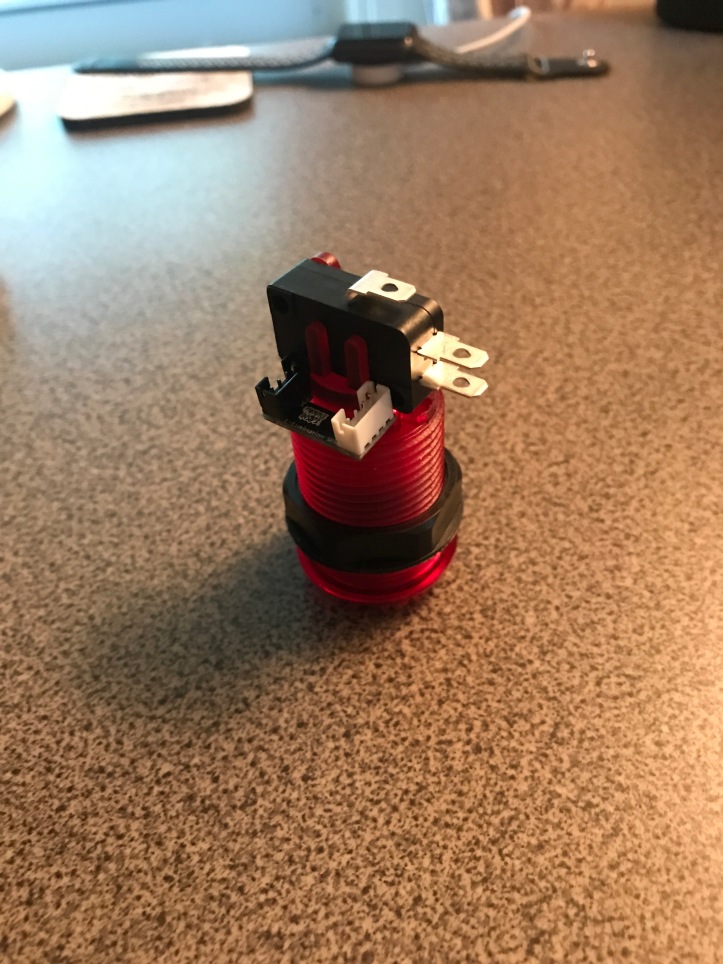
Here is the microswitch with the lower pin engaged before it is rotated into position and locked by the upper pin.
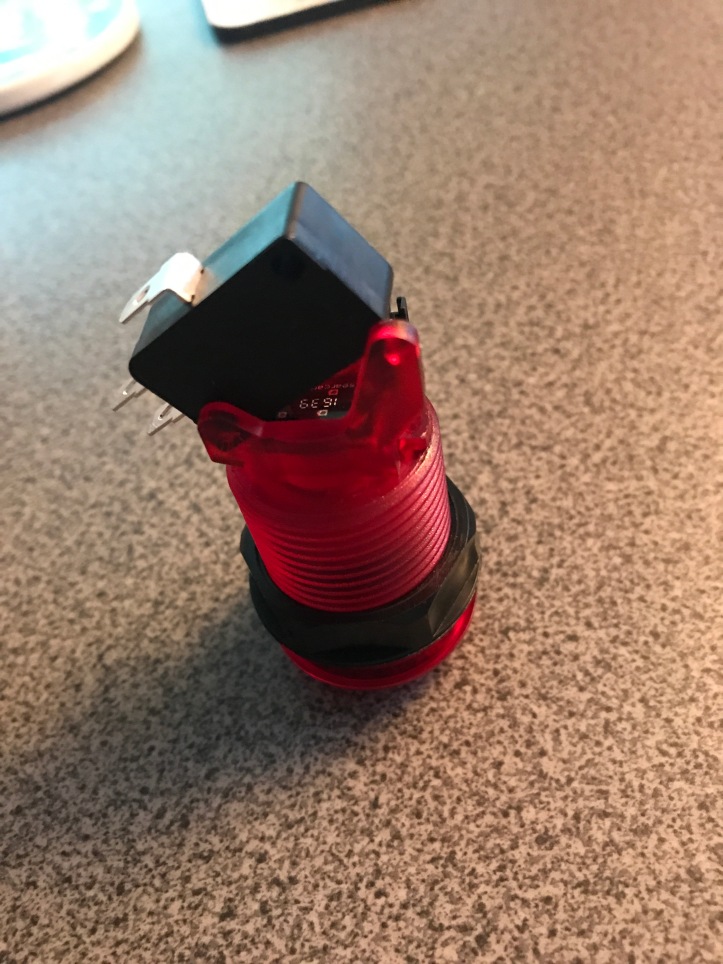
Completed assembly with microswitch and RGB LED in place. Just add power.
I purchased the HAPP 2 1/4″ trackball. This is specifically so that Centipede plays properly. The games that originally had a 3″ trackball will work fine. I never played them anyway so I’ll never know the difference.
I haven’t quite figured out how I want to mount it yet. Normally they have a thin metal plate – I really want to have the Control panel graphics come right up to the edge of the ball. To do that – not use a metal mounting plate and have it all work – is eluding me at the moment. I think the first step is to go find some 1/16″ Lexan and see how it looks and determine if I can get a graphic to stick to it from the underside..

[…] Received a button and track ball […]