My machine is still coming apart – but some parts can start going back together..
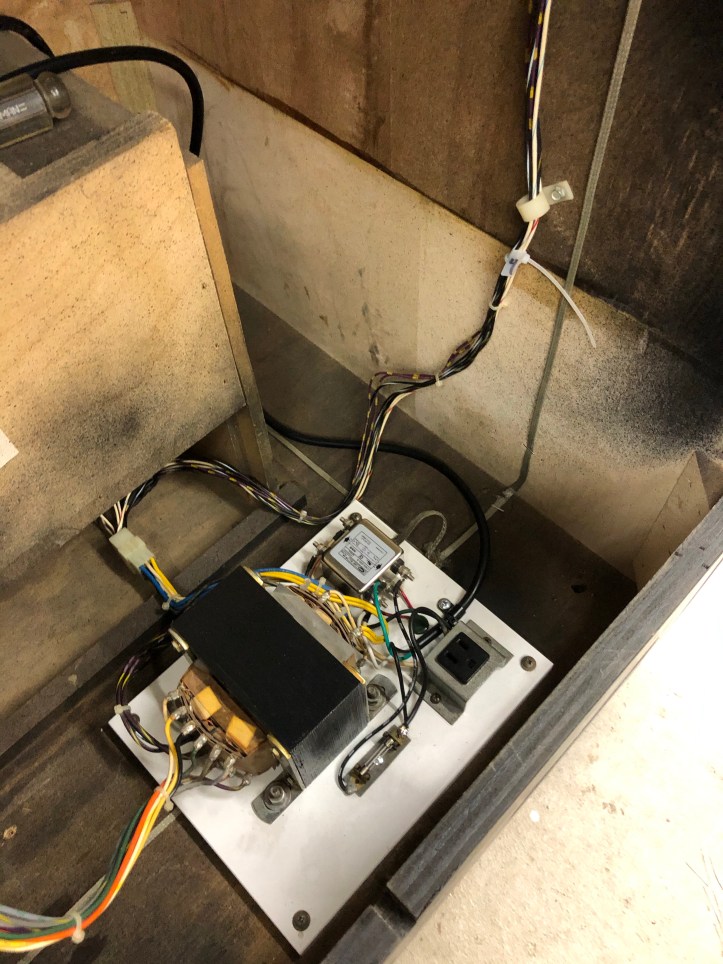
First up is the power brick:

Not the best looking power supply I’ve ever seen. Its mounted on MDF – and I’m pretty sure its original. Normally I try to keep everything original as I can, but not this. After washing it up, the utility outlet is fine, not crazy about the fuse holder. Next order to Arcadeshop I may add a new one in.


The nuts and bolts are the typical rusty pile you normally find. I have a Harbor Freight vibratory polisher. I’ll toss them in over night and see if they clean up. The line filter likely is fine – but for $11 – I’m replacing it. Power cord was junk. (as expected)
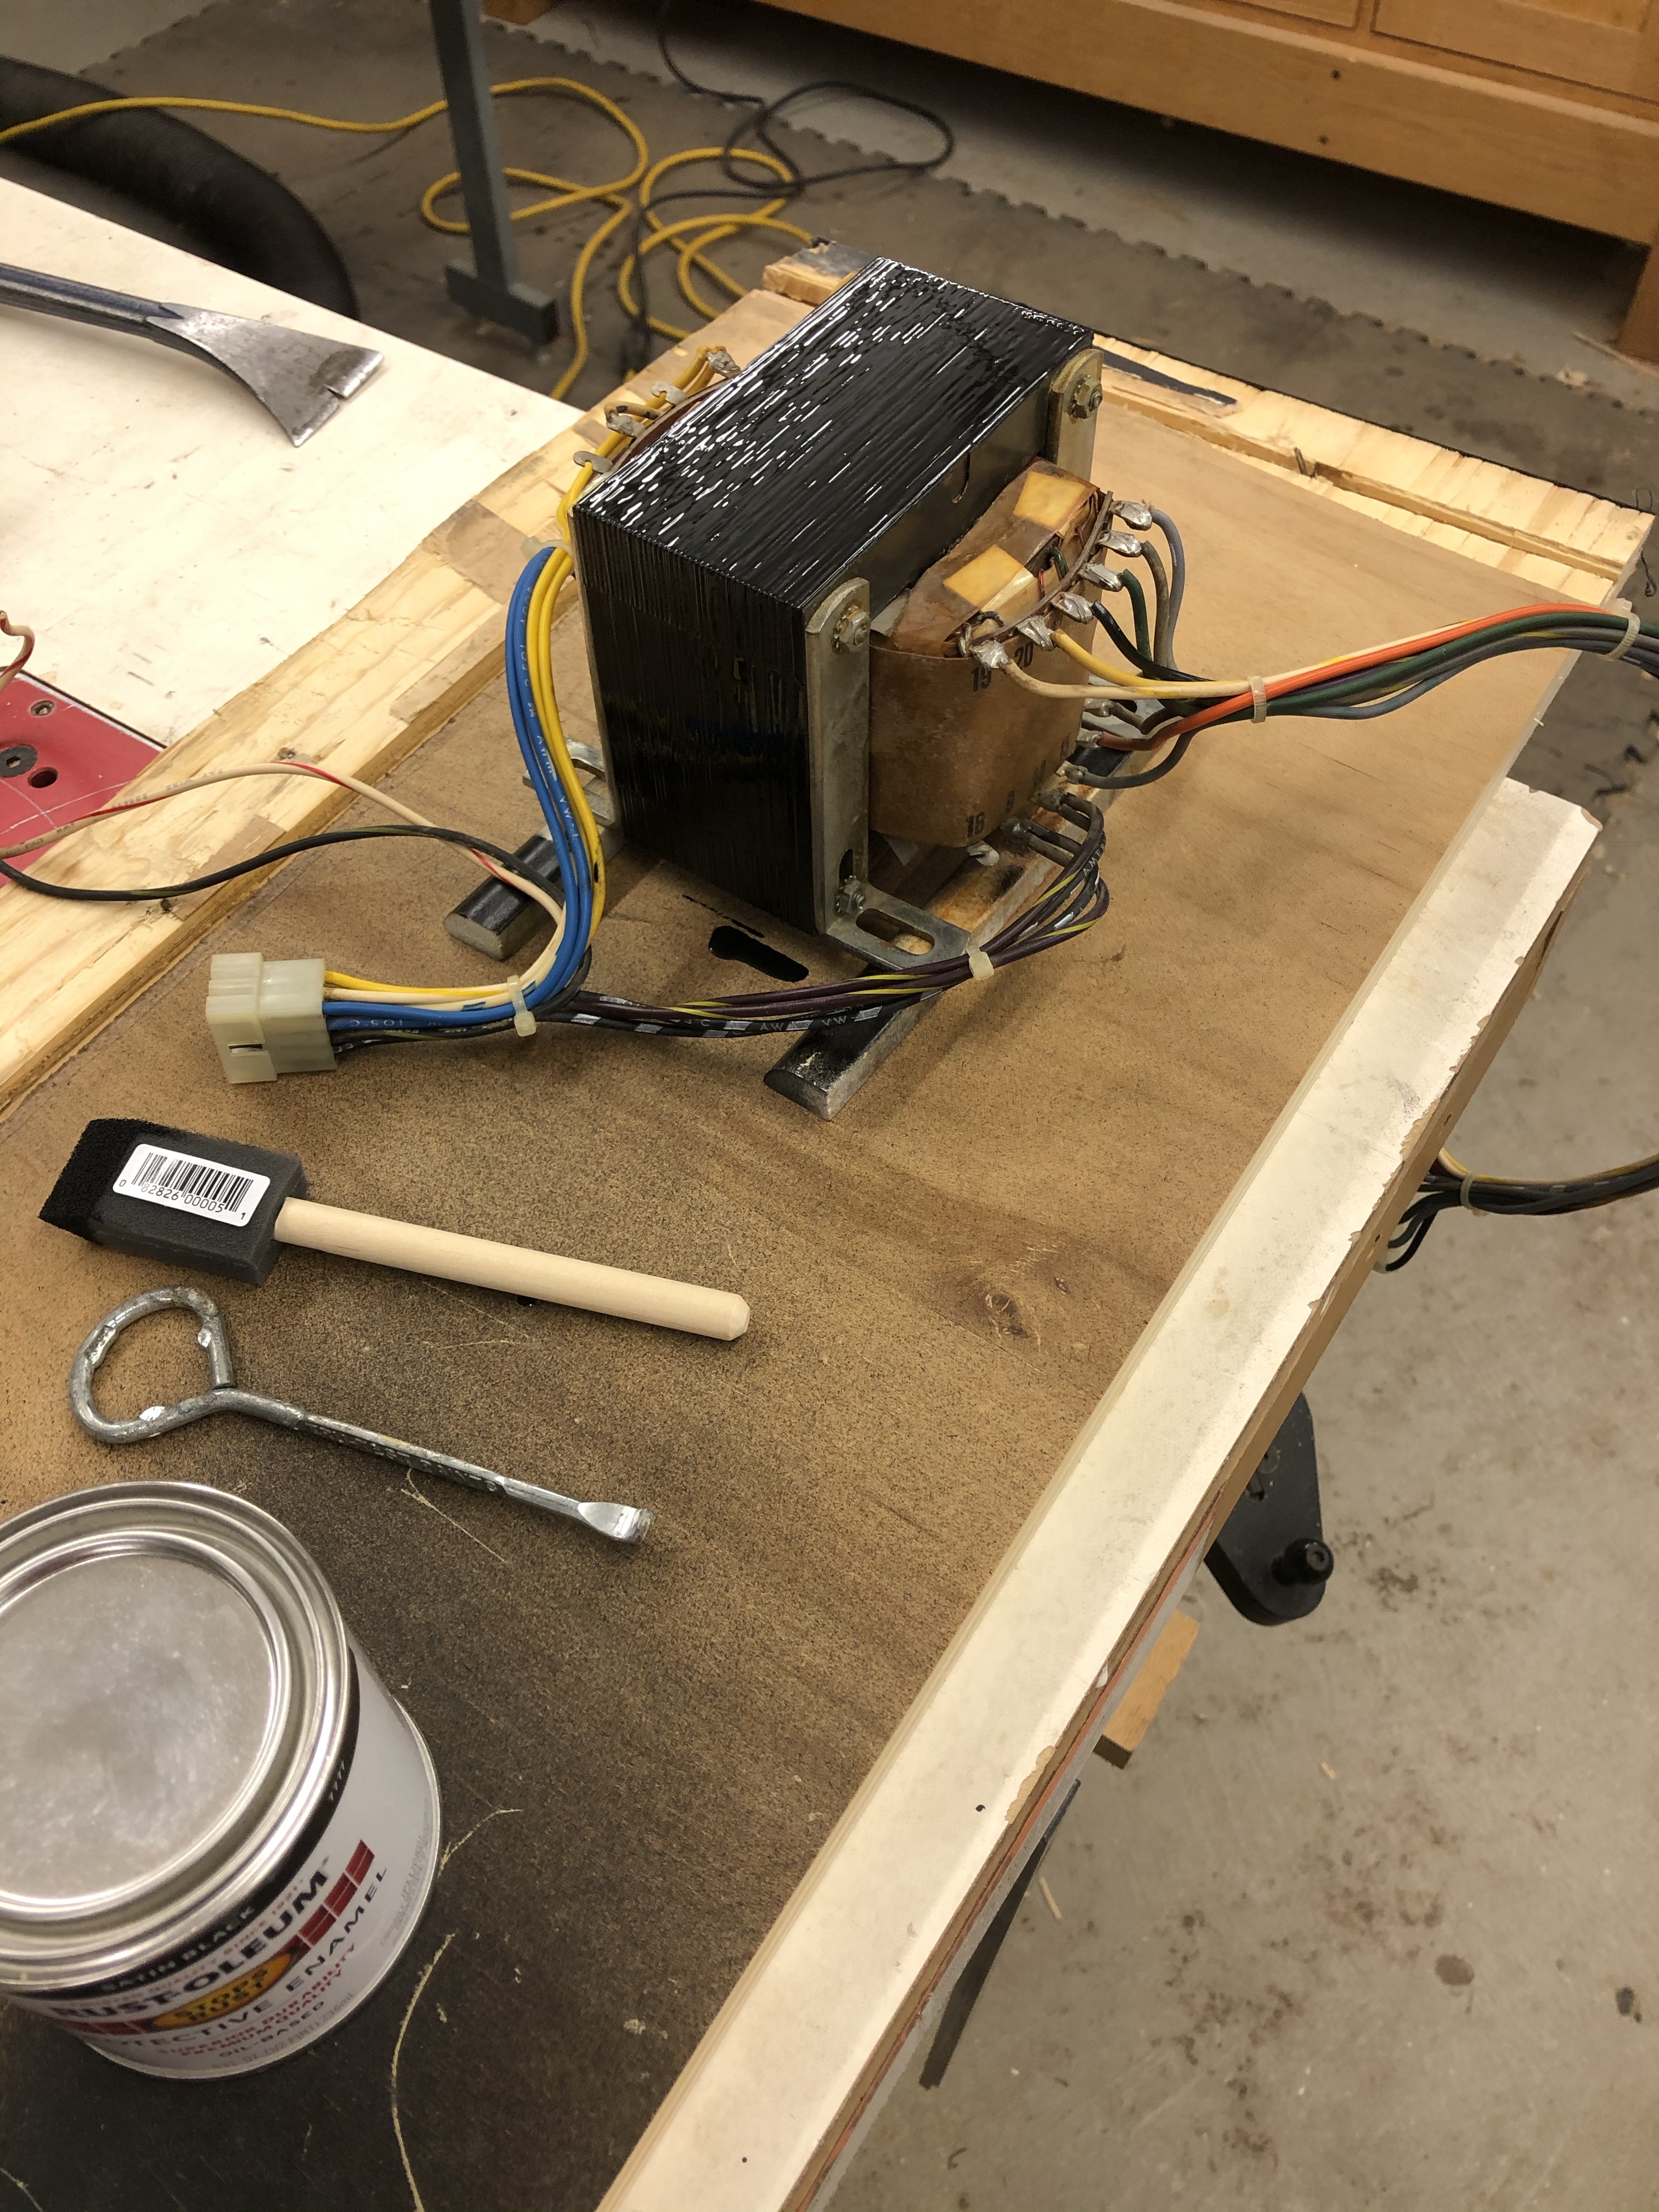
Gave the wires a bath and wire brushed the transformer. I did avoid getting the paper wet as much as possible. Paint is still wet here – but they look great cleaned up. Put the meter on the connections to check ohms – the are all pretty low as they should be. No shorts.
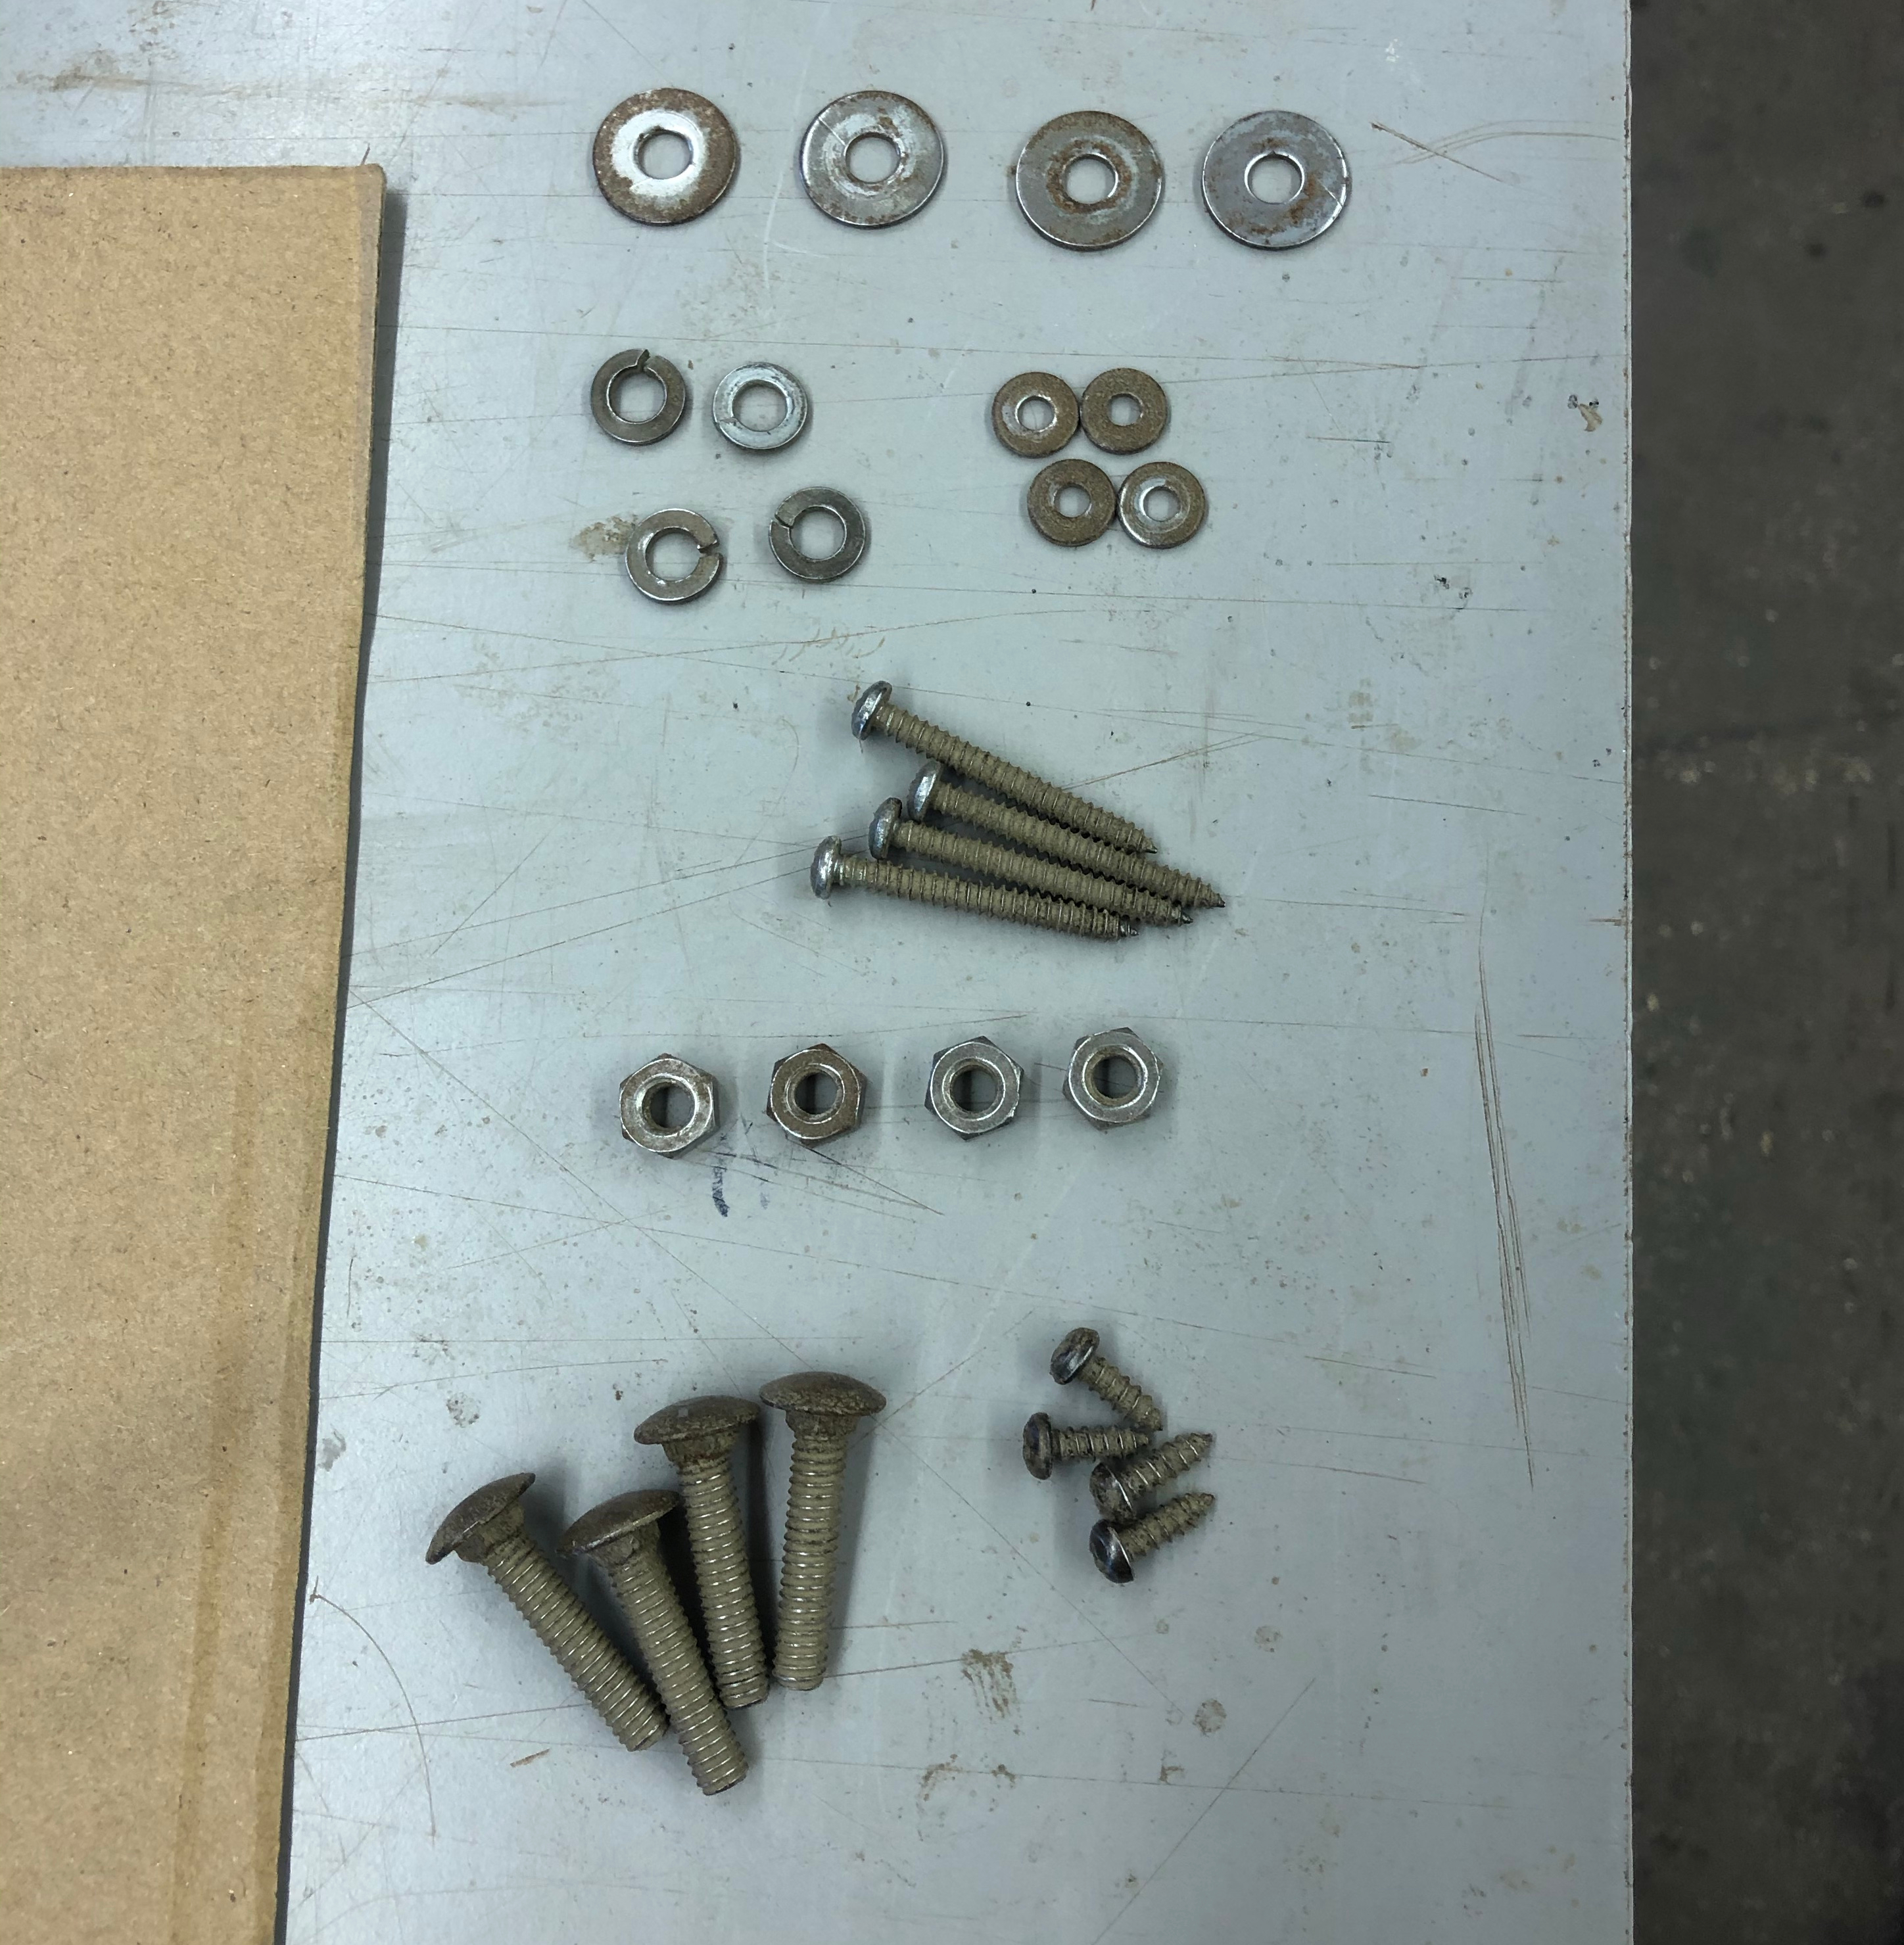
Polisher does a decent job removing rust. These don’t cost anything to replace – but they are still original!
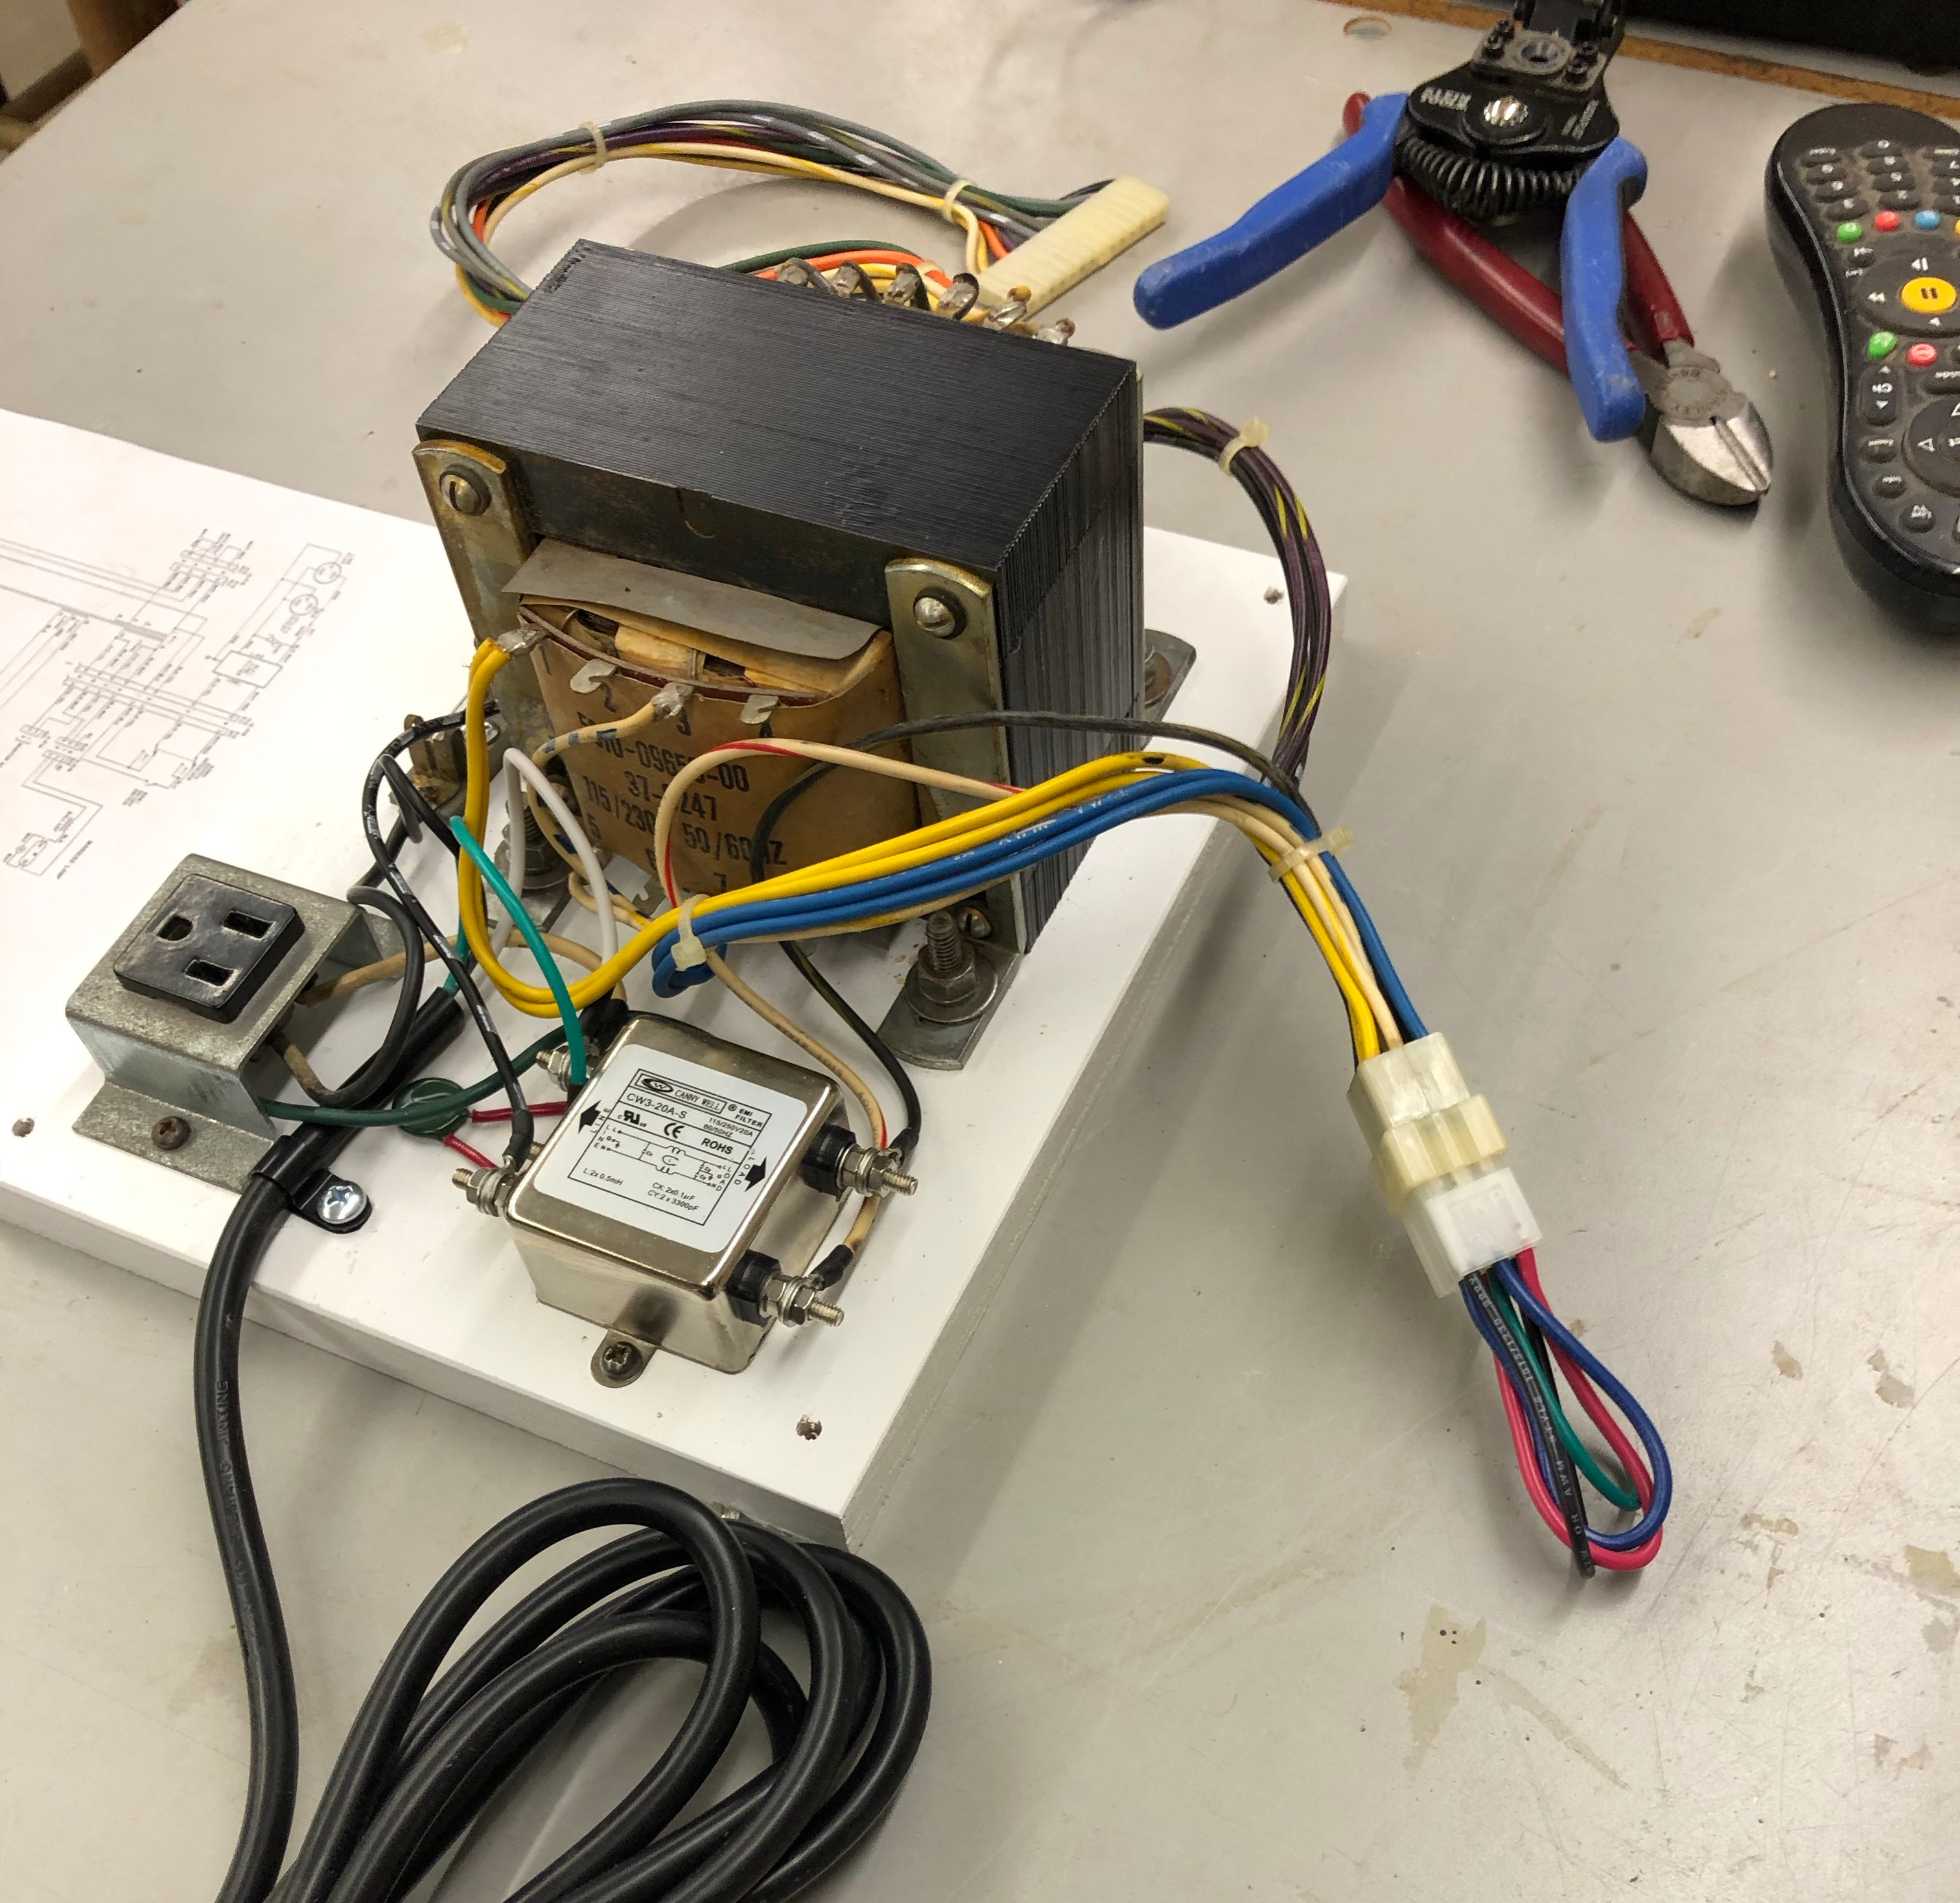
Jumping ahead I mounted the transformer and related to a new block of plywood. I used the original MDF as a guide, drilled the holes and located all of the parts in the same places. Painted it white to match. Williams soldered all of their connections. I’m not a fan. I added ring connectors to all of the wires on the EMI and new power cord.
Last part is making a jumper block for the 12 pin Molex that normally would select 120/240v and manage the interlock switches. After powering it on – all the voltages checked at the transformer output.
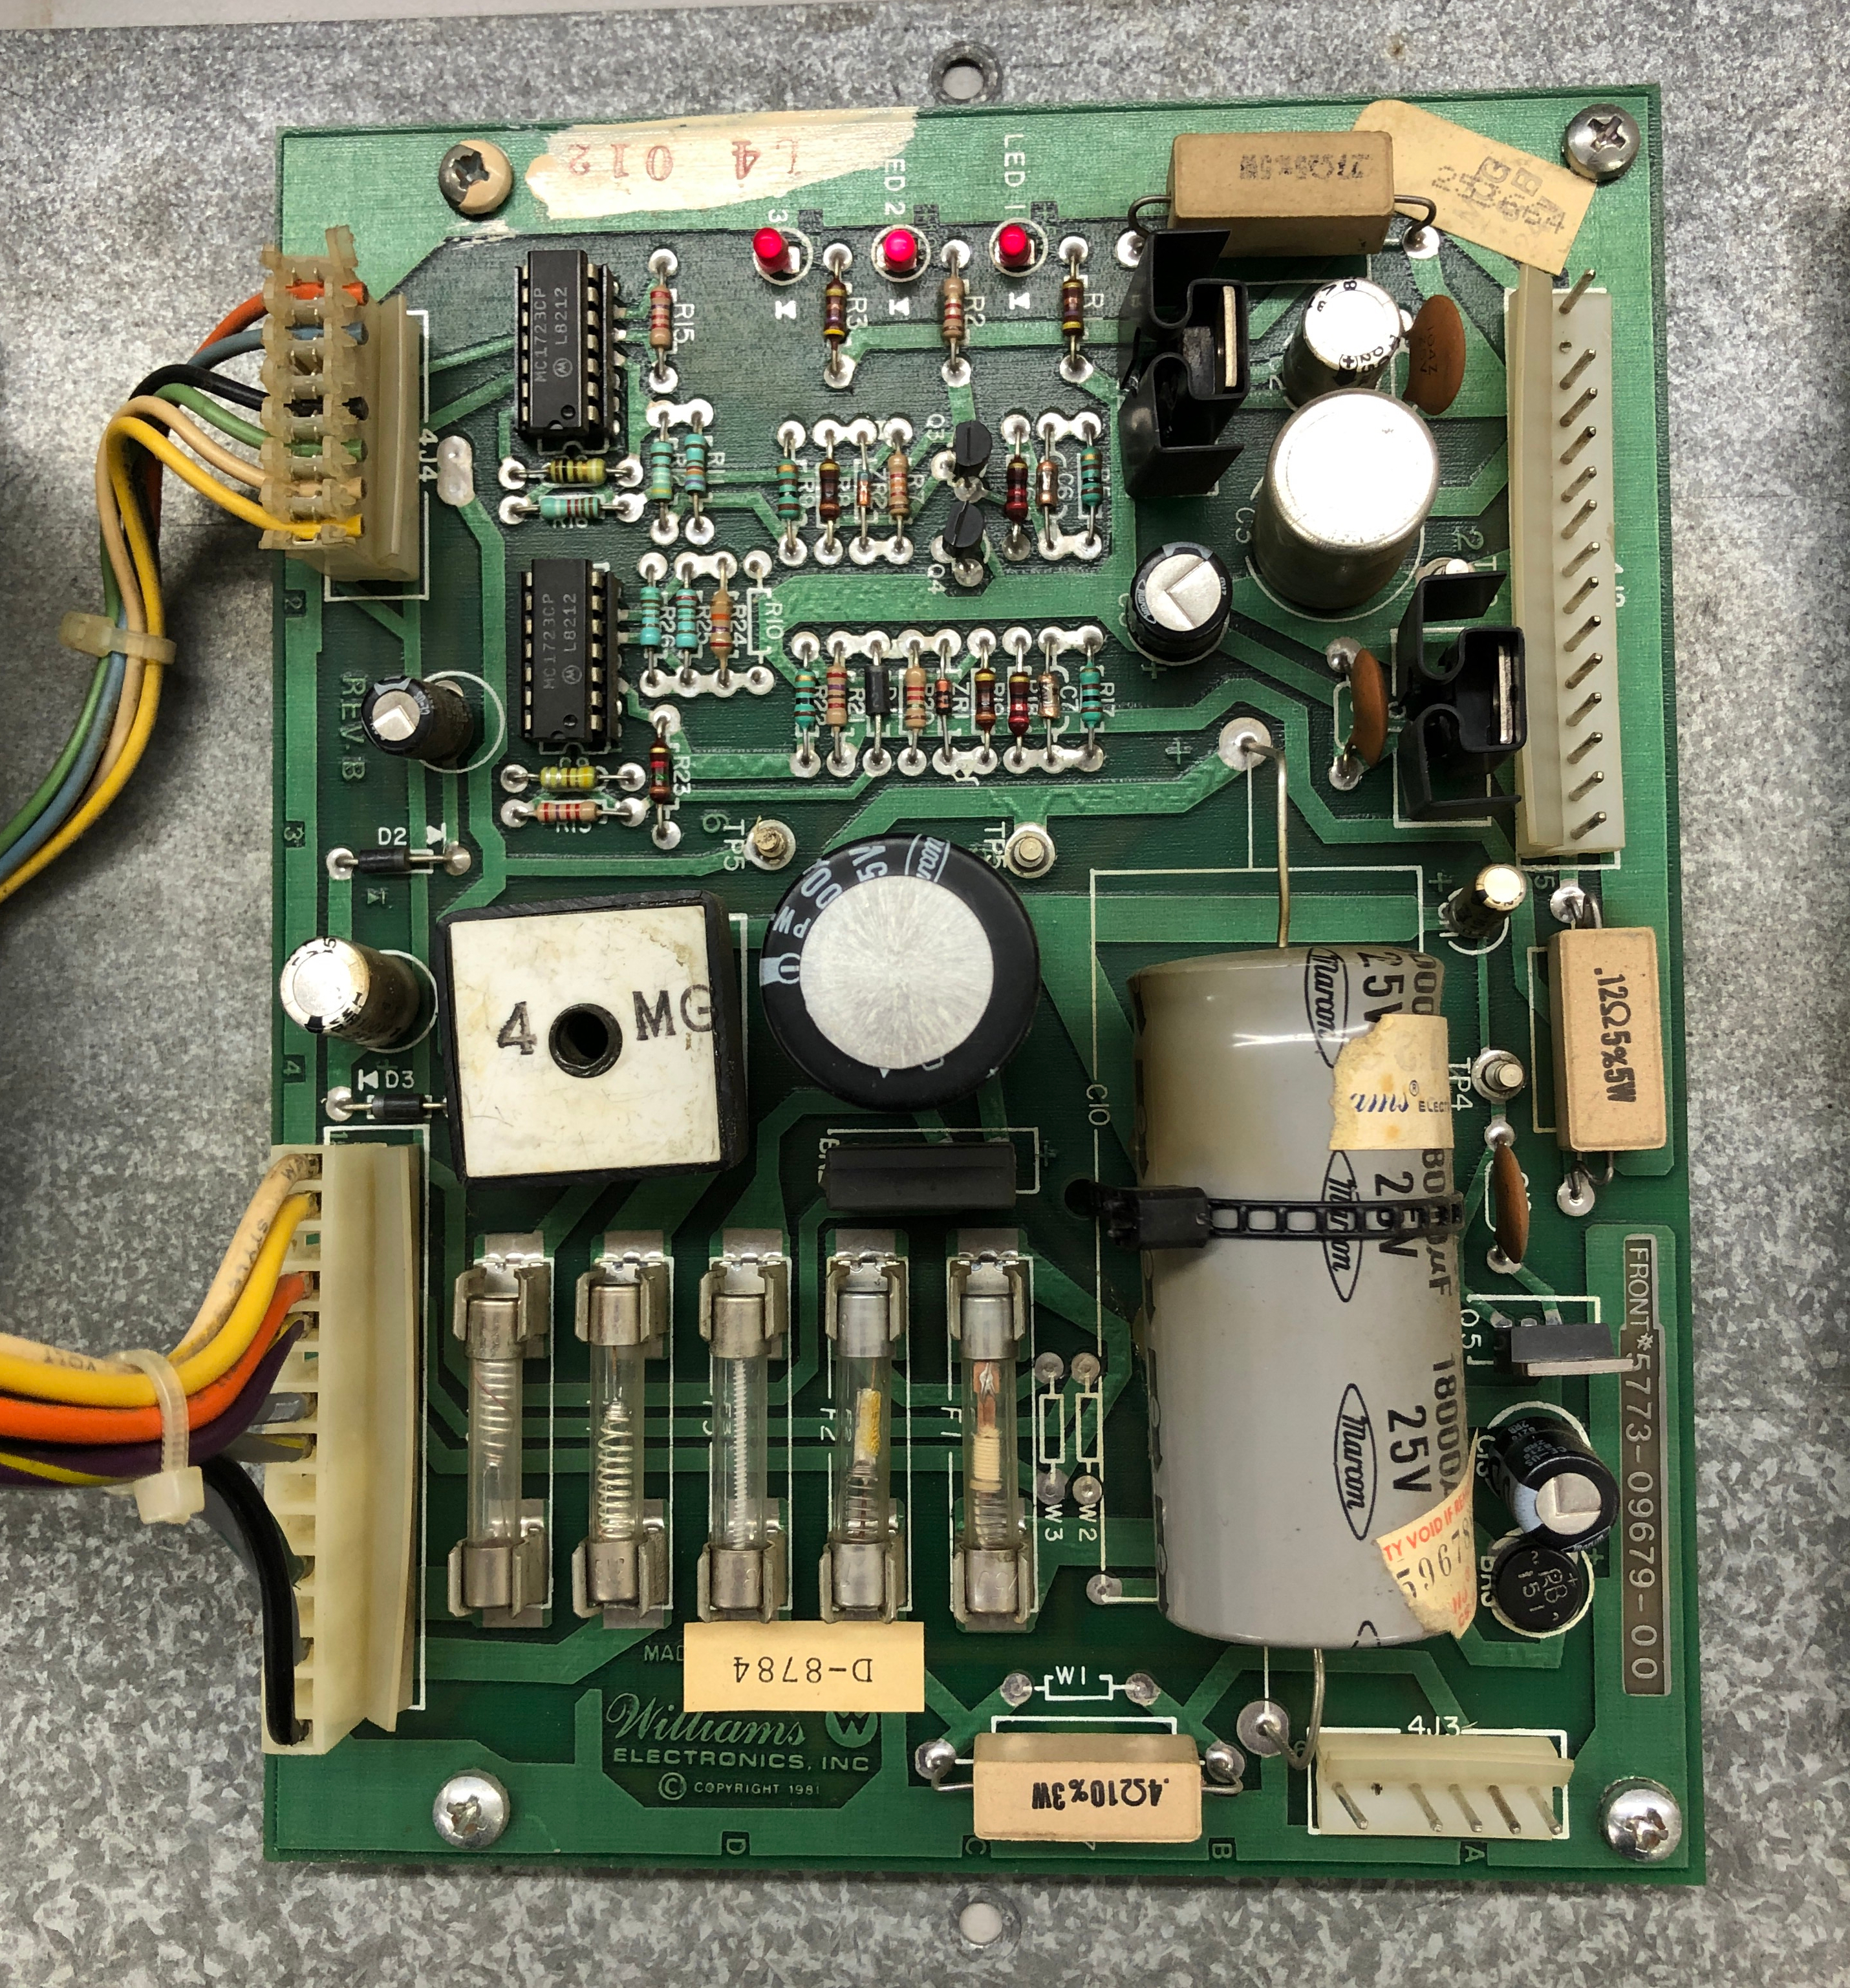
And because I could – I connected it to the power distribution board and checked the output voltages on this one to. So far – power is all good and clean!
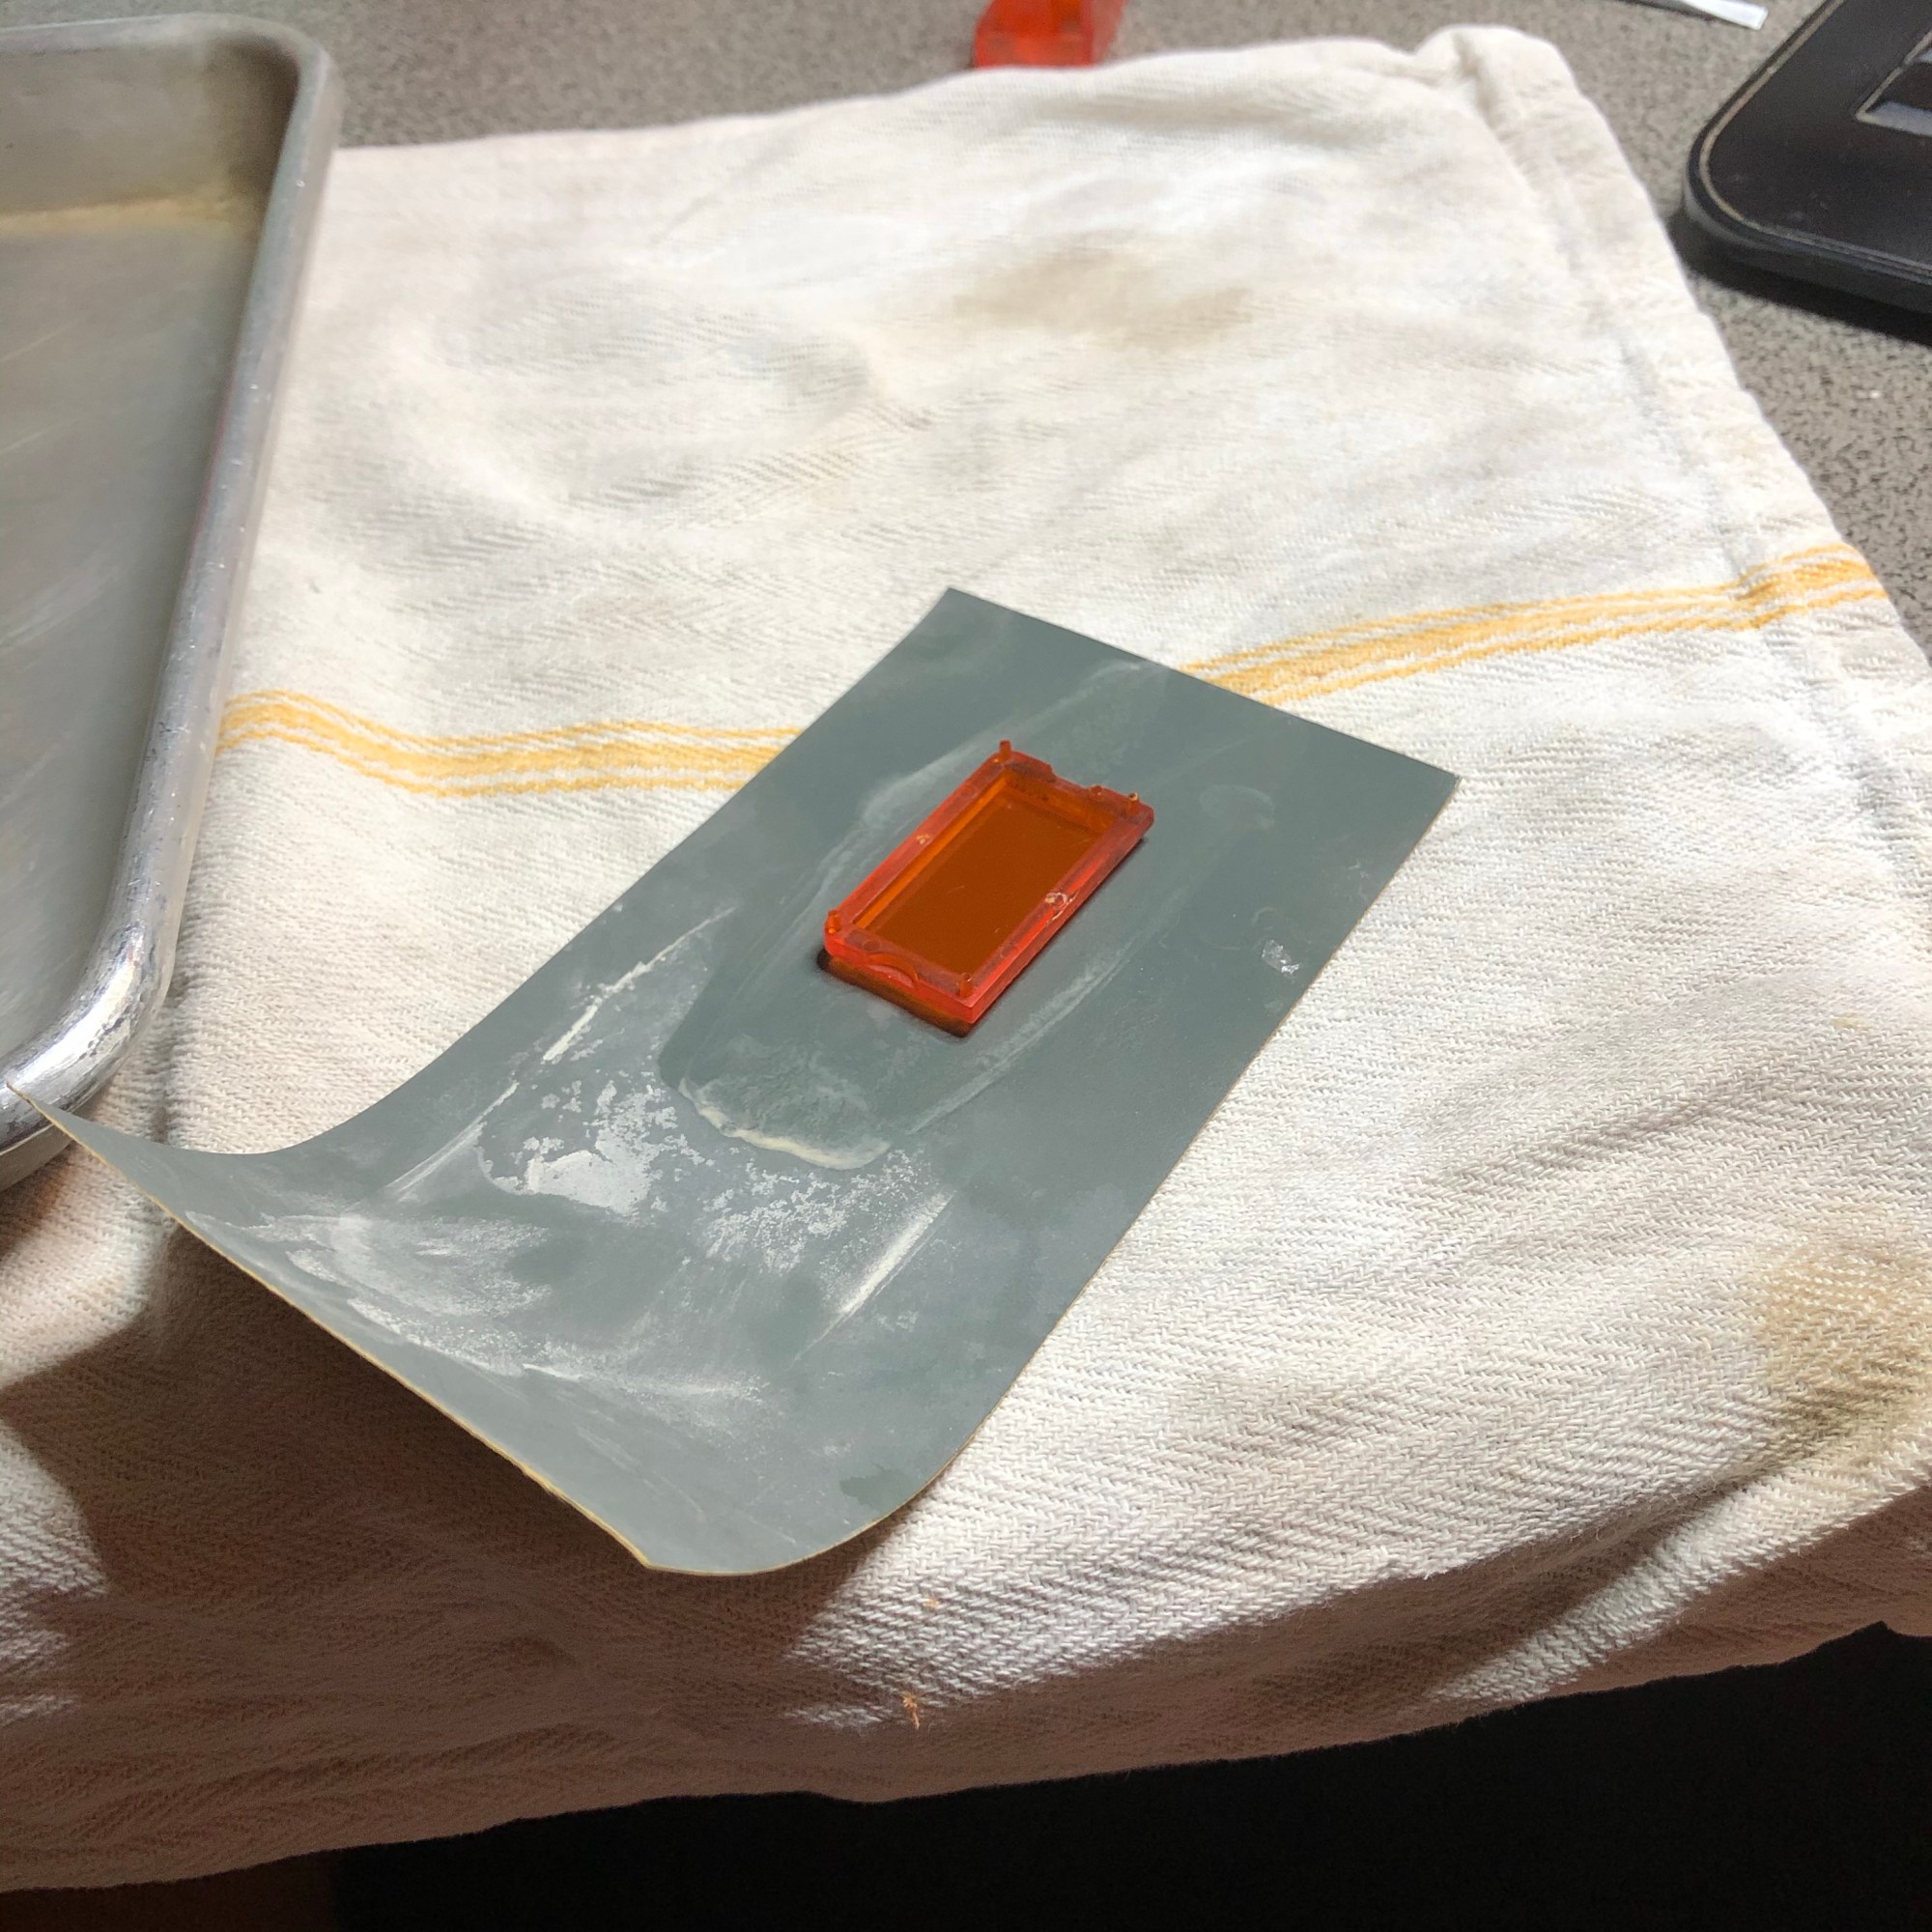
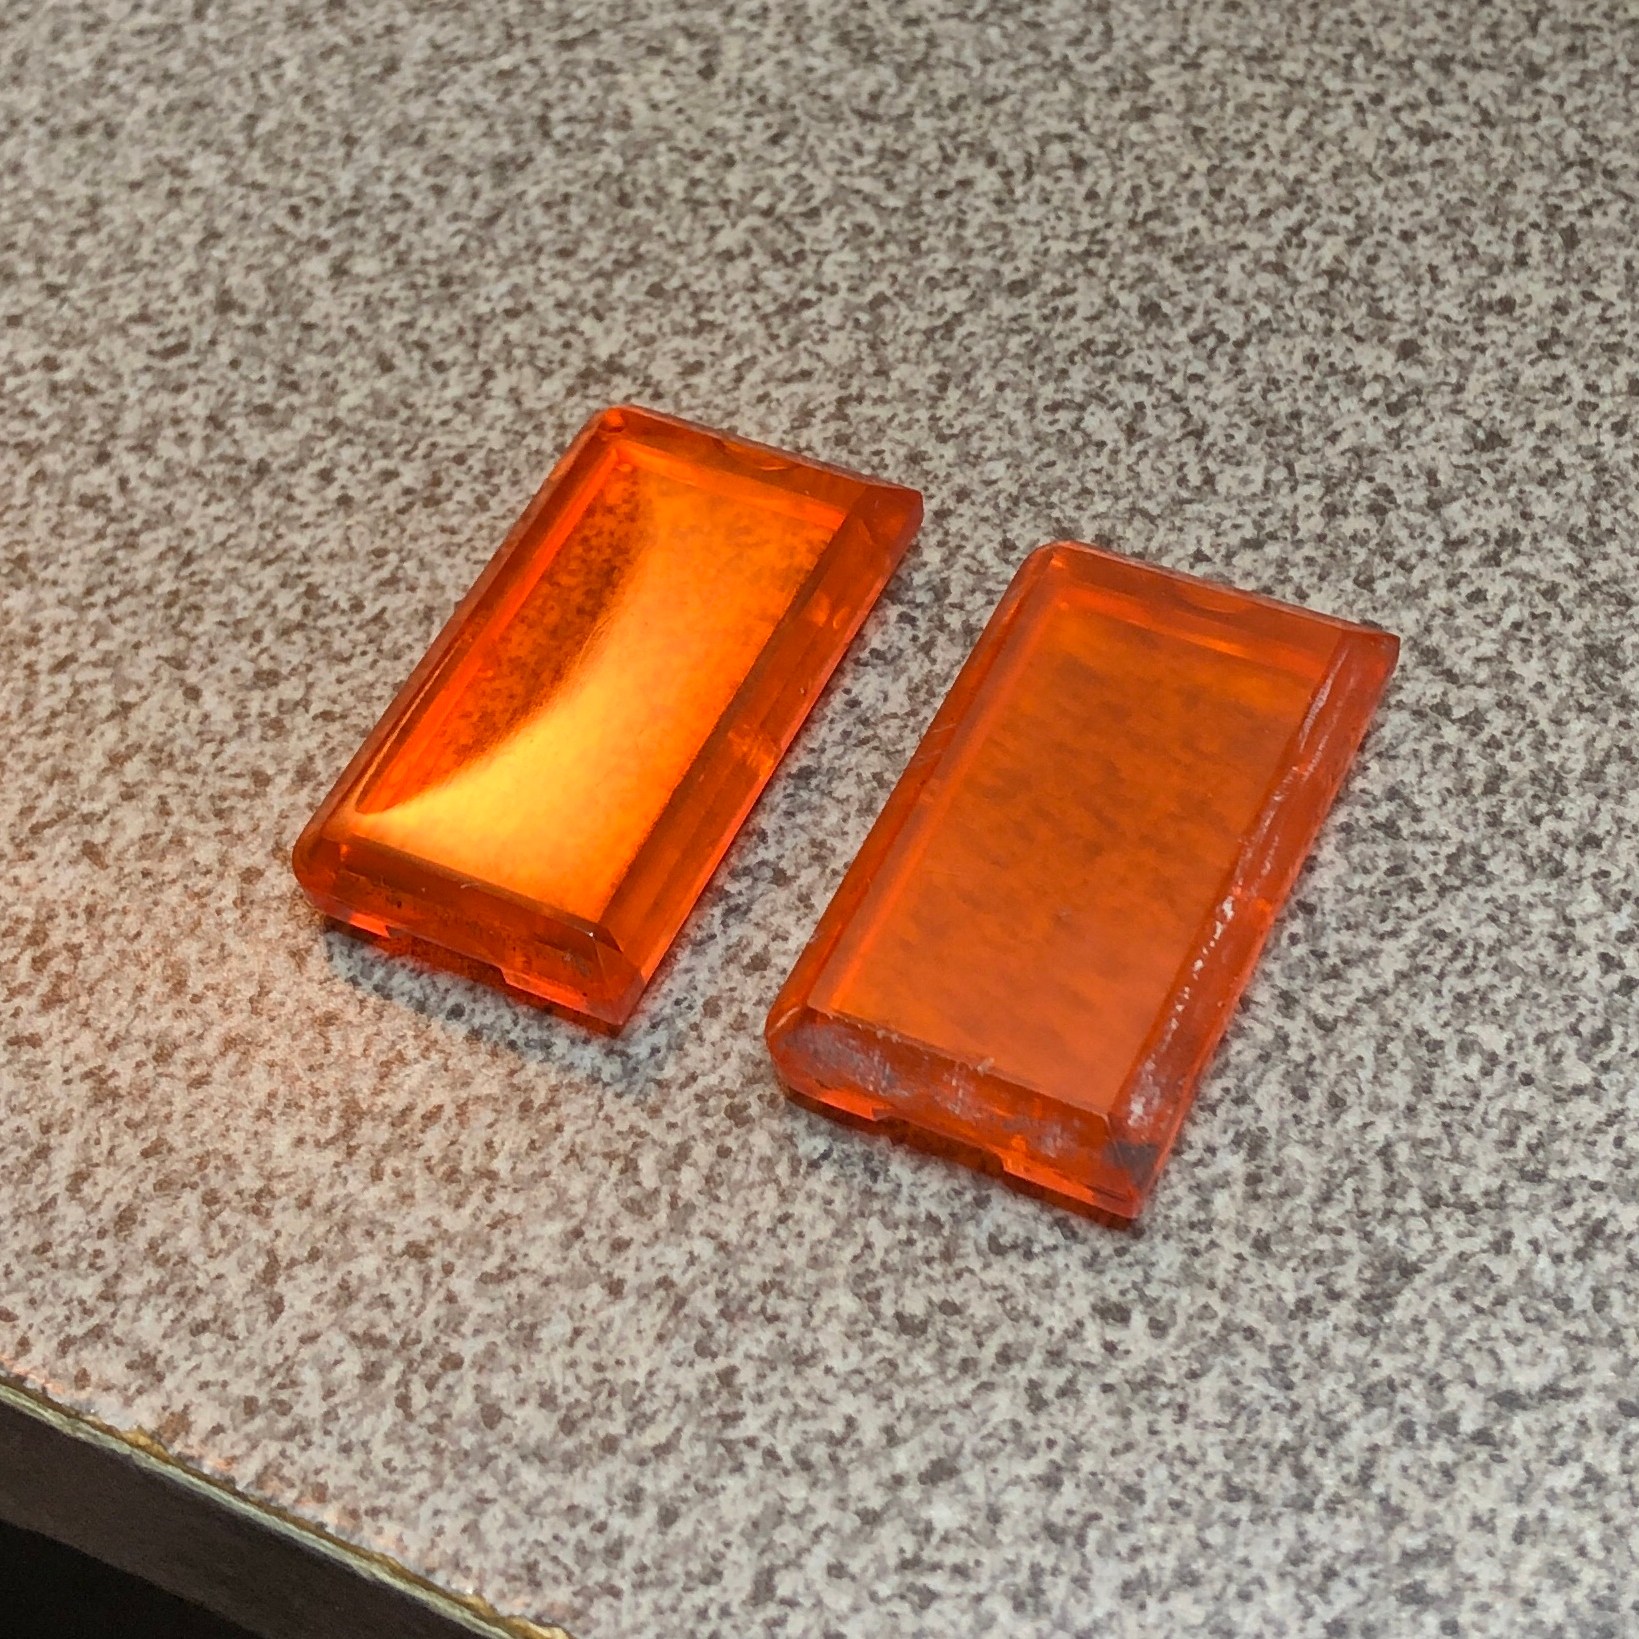
While sitting on endless Zoom sessions – I decided I’d polish up the coin eject buttons. I found a good wet sandpaper selection on Amazon. I started with 1000G to get a uniform scratch pattern. Once you do that, sand through all the grits (1000, 1200, 1500, 2000, 2500, 3000, 5000). I finished with some Novus compound. It took 15-20 minutes to do both of them. Before/after pic above.
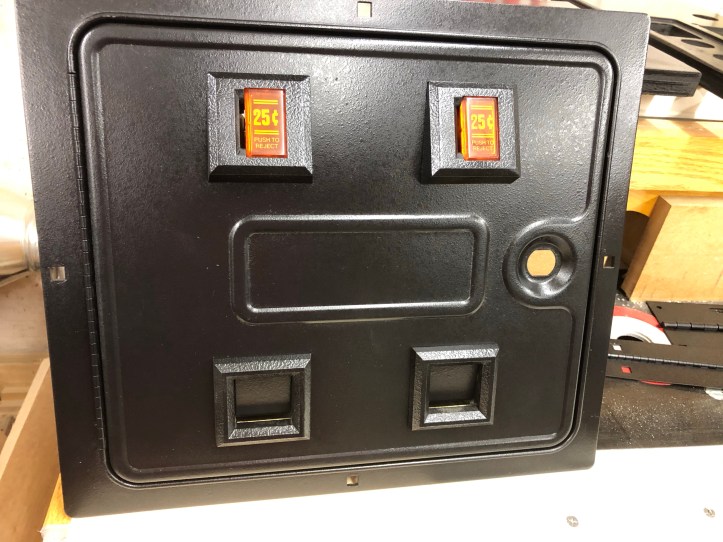
Coin door back together. Looks exacly like a 40 year old door again. Except not all bent and hacked up.

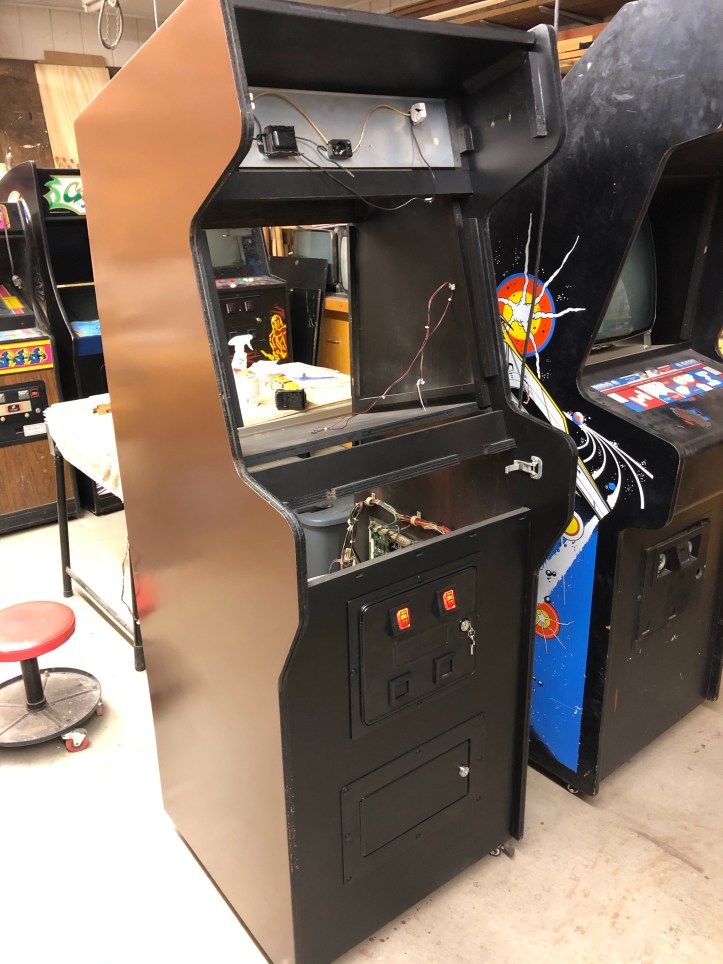
The wiring harness had lots of black electrical tape on it. There was no reason for it that I could see and online photos of the harness have no tape – as well as the cocktail had no tape.. So off with all the sticky tape. The prior owner had put two full arcade systems in a single cabinet (what a hack job).. Two harnesses, two power supplies, PCB’s, swap-able control panels and he moved the video and speaker cables back and forth. I’m guessing all the tape had something to do with that…
Joust upright – horizontal on the bench. When I picked it up – I was told it worked.. It does. I’ll change the IDC connectors that carry the power to Molex connectors as a start. The really do not stand the test of time.
Williams has a braided ground strap that is stapled around the entire inside of the cabinet. I had removed all of it to replace the bottom sections. It sat as a ball of braid for the past few months. Pictures of the inside before I took it apart gave me enough information to restring it around the cab and get it stapled back in place as it was. It was a bit of a puzzle at first.
Joust has two wiring harnesses – the power harness and the ‘data’ harness’ as I call it. The transformer and power harness are put back in place here. Got all of the clips and screws back in their original spots.
Got the cashbox door in place and the marquee lighting set up. However – it didn’t work. I checked connections, used the meter to test voltages, blew a couple of (new) bulbs before learning all about florescent lighting.
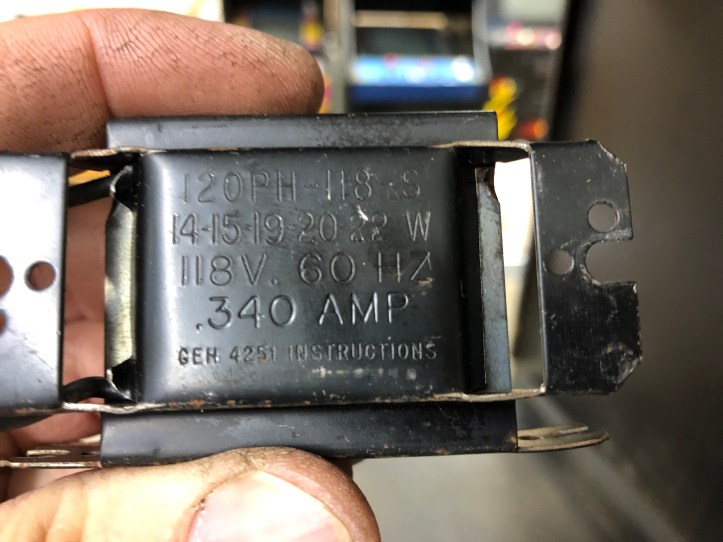
Here is the ballast – looks like a transformer – but its an inductor. It limits current to the tube (as I understand it) Turns out they die – my Defender cabinet has the exact same one and it had failed also – making diagnostics tricky since they were both reading 14 ohms .. Not a dead short.. but enough to fry tubes.
Found the exact replacement on Amazon. The replacement reads 32 ohms. Problem solved. Picked up a second one for Defender since I know its dead too.
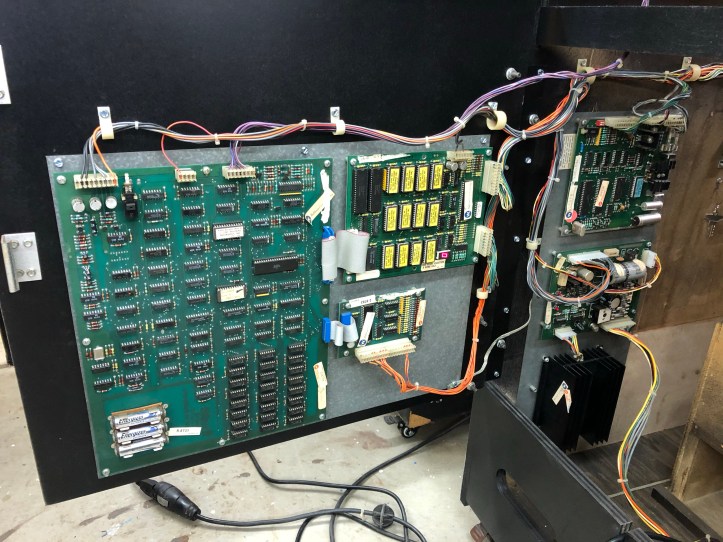
Fast forward a few hours – got the power regulator, sound board and system board in place with the wiring harness back in its original spot. Look close – LED reads ‘0’ a joy in any Williams owners eyes. I’m using lithium AA batteries on the board. They are designed not to leak. So no board damage in this machines future.

Coin door and coin door switches going into position. These are not traditional interlock switches that power down the cabinet – they are part of the “Service Switch” circuits. One is on the door and one you get to from the cash box. Normally there is a 3 button panel to do this stuff – but this setup is different. It appears Joust didn’t have the service panel buttons – even though the manual shows them.
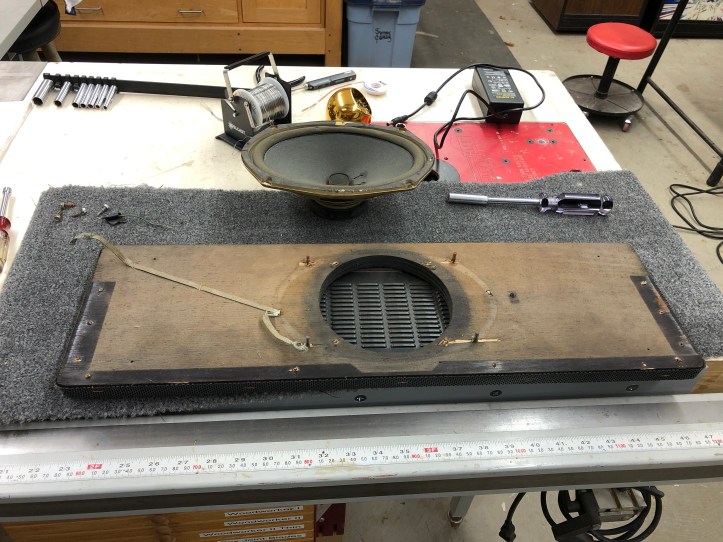
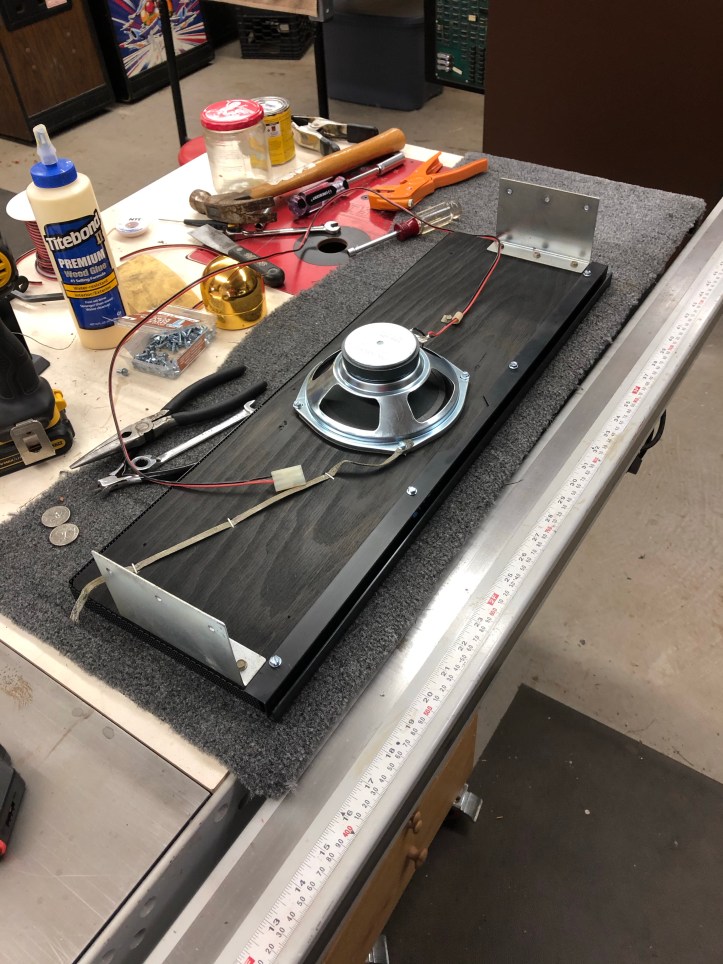
The speaker panel is a disaster. The original plastic mesh was busted up so they added a metal speaker grill. It also has an oval 8 ohm 10w speaker. Glad I checked, the original has a 4 ohm (round) speaker. Replacement on order.
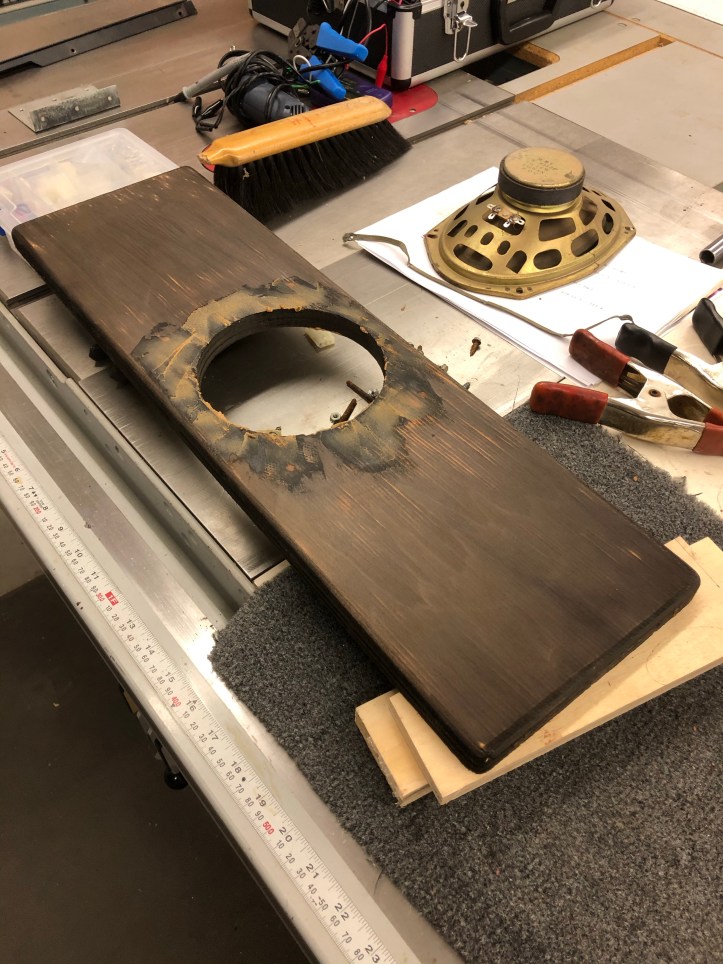
Staples and bolts hacked up the opening. I’m filling with epoxy filler here. If I leave the bolt holes – the marquee lighting will show through. Have to wait for the new speaker anyway.. I also noticed they used a black stain on this board. It shows black under the marquee bracket, its long since faded to brown. Once this is all smoothed out I’ll re-stain it black.
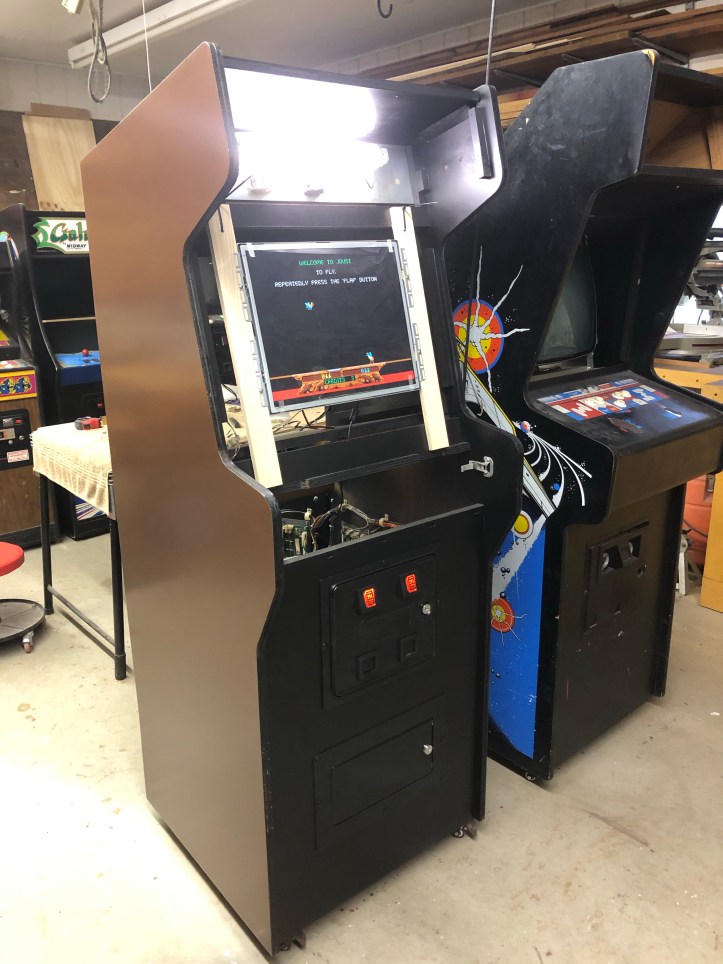
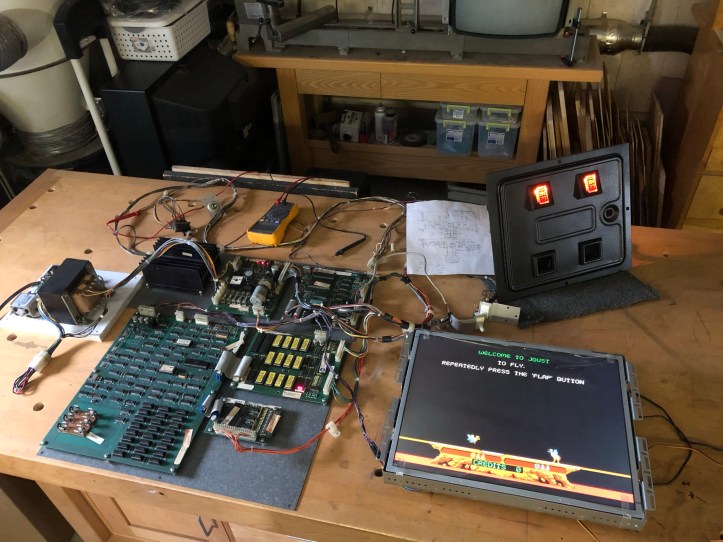
Cabinet is cabled up, marquee working and I’m using the LCD temporarily until I get the CRT that it came with straightened out. I’ll post an update on that once I get to it. Next will be getting the control panel back together as much as I can. Eventually I’ll be waiting on the CPO and side art stencils before I can make further progress.
Under the marquee bracket – the original stain was black. They used cheap oil stain back in 1983. Updated it to better oil stain here in 2020. Its never seen anyway.
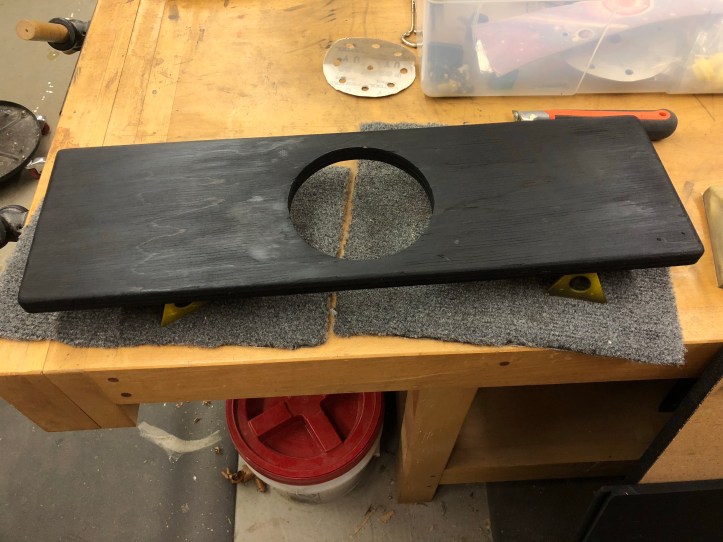
That oval speaker was all wrong. I got the current replacement for the original part. Added a new speaker wire since the original was hacked, put everything back the way it was and put on a Joust replacement speaker grill from a guy on KLOV who has been reproducing them. Nice metal grill will last a long time.

Speaker back in place.
I connected it all up – very faint sound. Tested the sound board and was getting confusing info from it. But it was certainly in the amplifier circuit since all the sounds worked, etc. Replaced the TDA2002 amp. Same thing. Pulled a cap that could have been the issue. Same thing. Looked and the schematic for connections – knew I had them right. Looked at my Defender cabinet… had them wrong.
Twice on this restore I’ve been bitten by the same mistake – If a connector is supposed to be keyed and its missing the key – ADD THE KEY TO IT! The speaker and potentiometer for volume are side by side with 4 pin Molex connectors. The volume control should have been keyed and it wasn’t. So I looked right at them a number of times and had them backwards.
Oath: I hear-by promise to always add keys to Molex connectors under any circumstances so that they can never be transposed again..
Sound works great – all sounds present and accounted for.
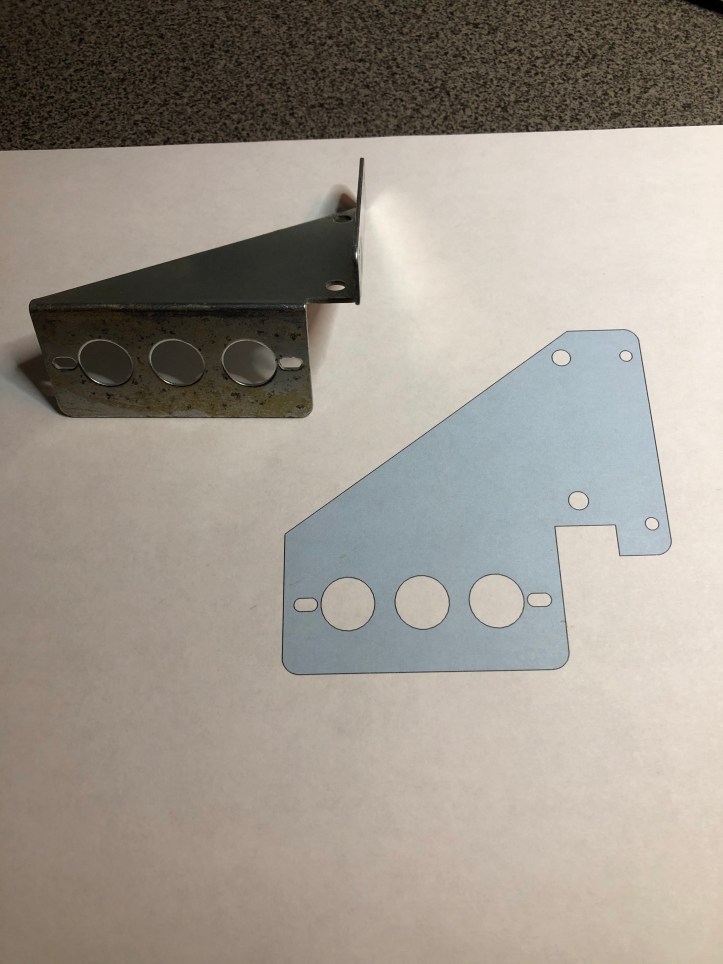
Turns out my Joust is missing the service switches and the bracket. Whoever removed the original also removed the wiring on the coin door including the pins in the Molex connector, so no loose wires as a clue. My Defender has the exact switch / bracket. I looked around and realized there may be a market for these – they are not all that easy to come by. I have 30 brackets showing up in a week or two. Once I figure out how to get the sticker reproduced – I can get the actual replacement service switches and sell a few of these things. It’s going to be a perfect match.
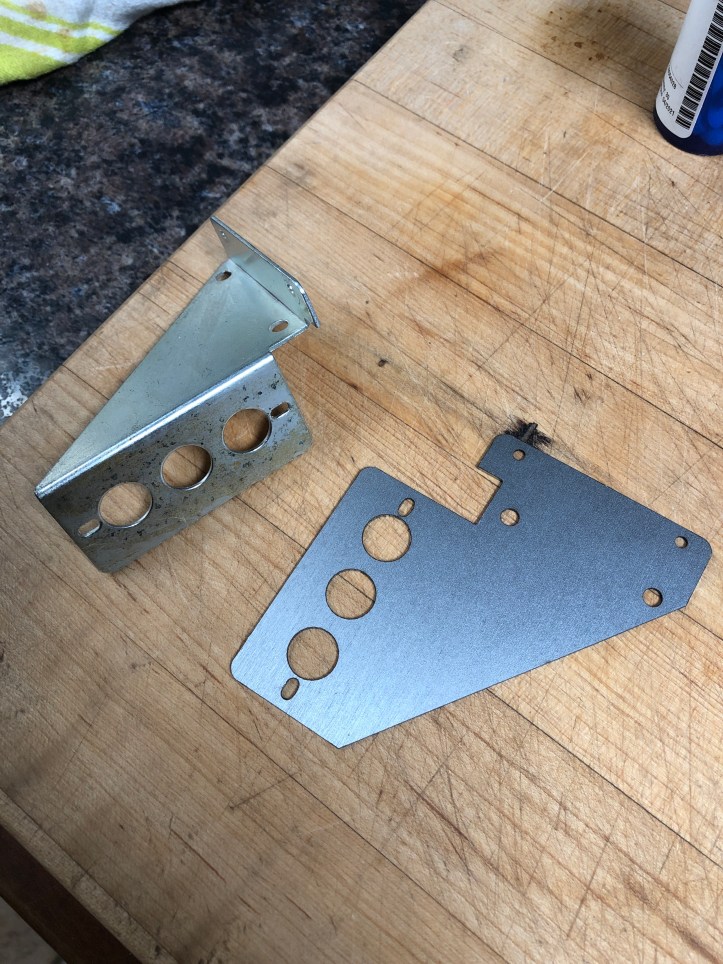
Metal parts came in – perfect match in every way. Laser cutting is ridiculously clean and accurate.

I picked up a bench vice finger brake to put the bends in the metal. For the price it works great. The original’s corners are very tight – I’m certain they had production machinery to produce these. Mine are as tight as I can get them with the tools I have.
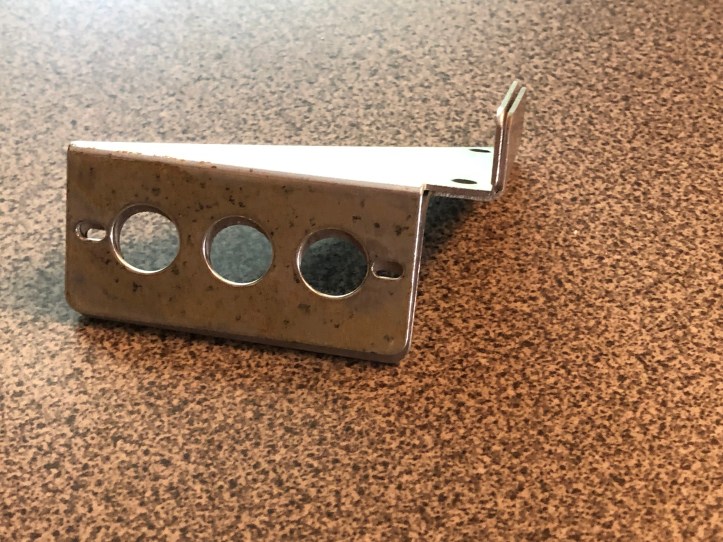
The test that let me know these are identical – just stack the old and new. For something that is never seen inside the machine – no one will never know its not original. The Williams Service Switch restoration design team (Arroyo and MikeA) have been working with me for the replacement decal.

Here is an original Defender decal and an early revision of the replacement. Once its done – I’ll have replacement Williams coin door service switches available for sale for anyone doing restorations. They were not easy to find which is what started this sub-project in the first place.
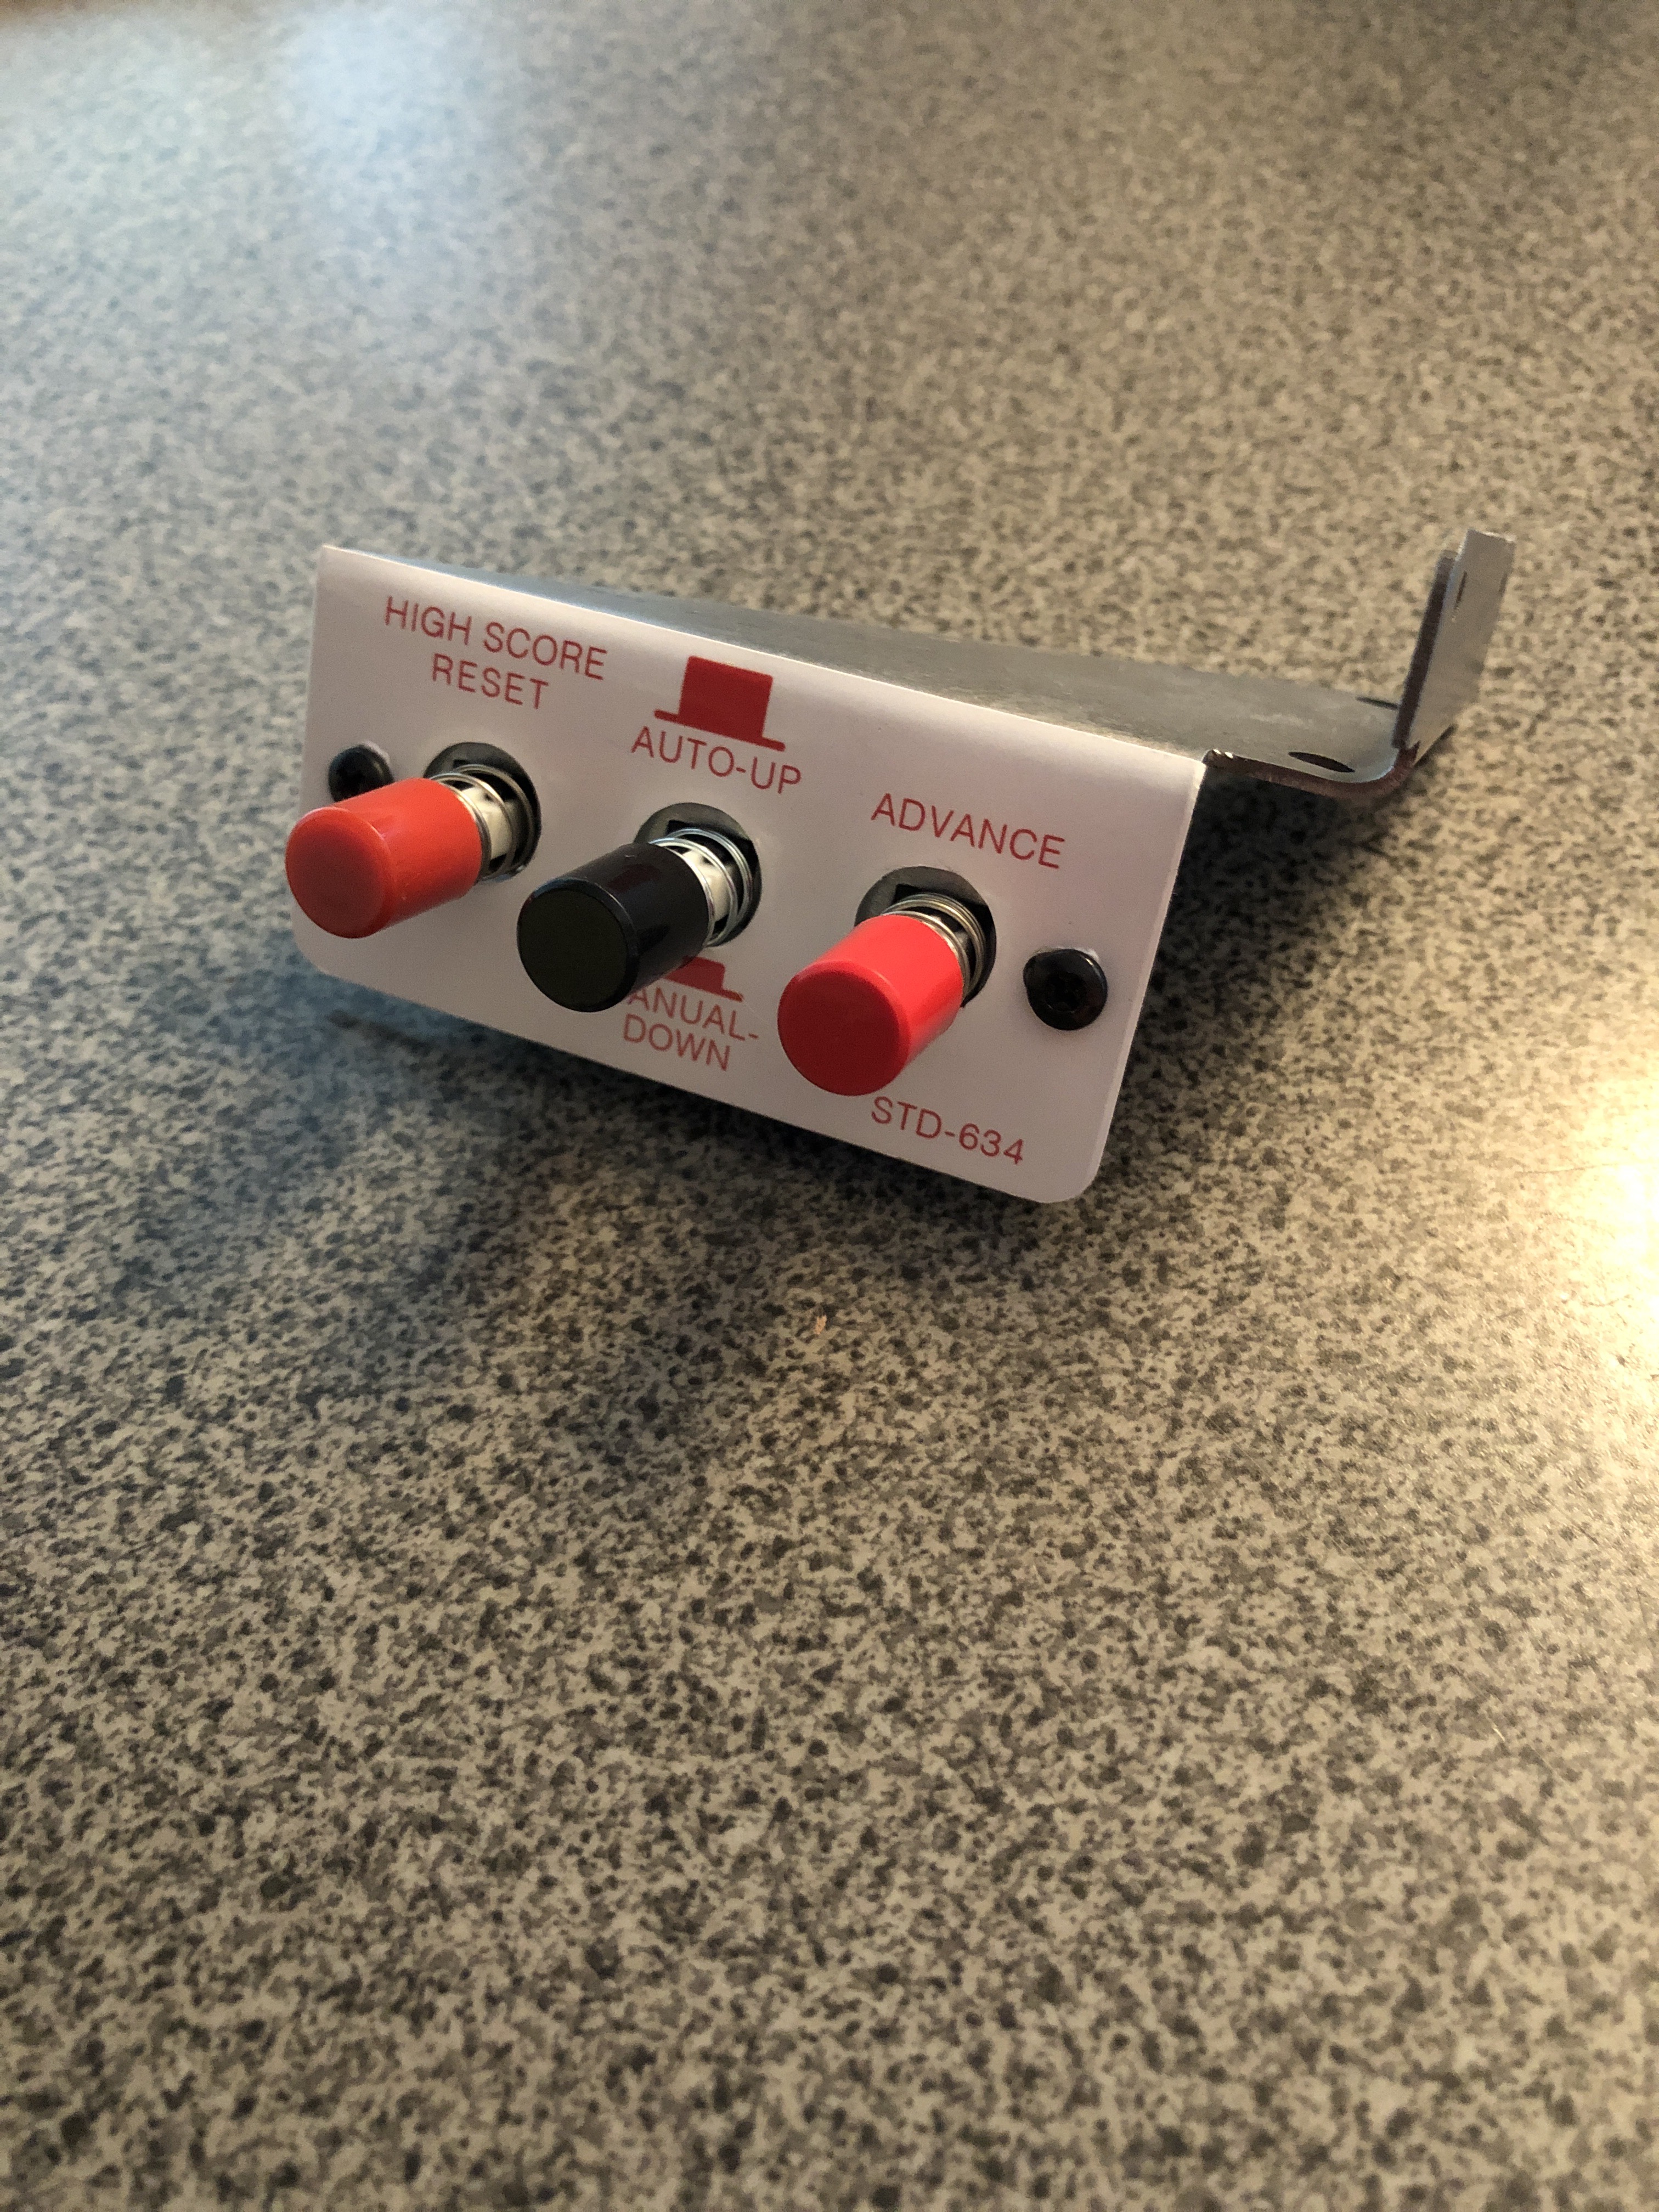
Here is the completed product. If you are interested in them – I have more information on KLOV or message me and I can make one up for you.

[…] Joust – Reassembling the cabinet […]
Great posts! Thank you for the great photos and details.
[…] Joust Upright – Reassembling the cabinet […]