The restoration is at a point were I can get the cabinet back together and work out the final kinks..
Replacement rear kick panel(?) in place. Not sure what its called – the original was junk.

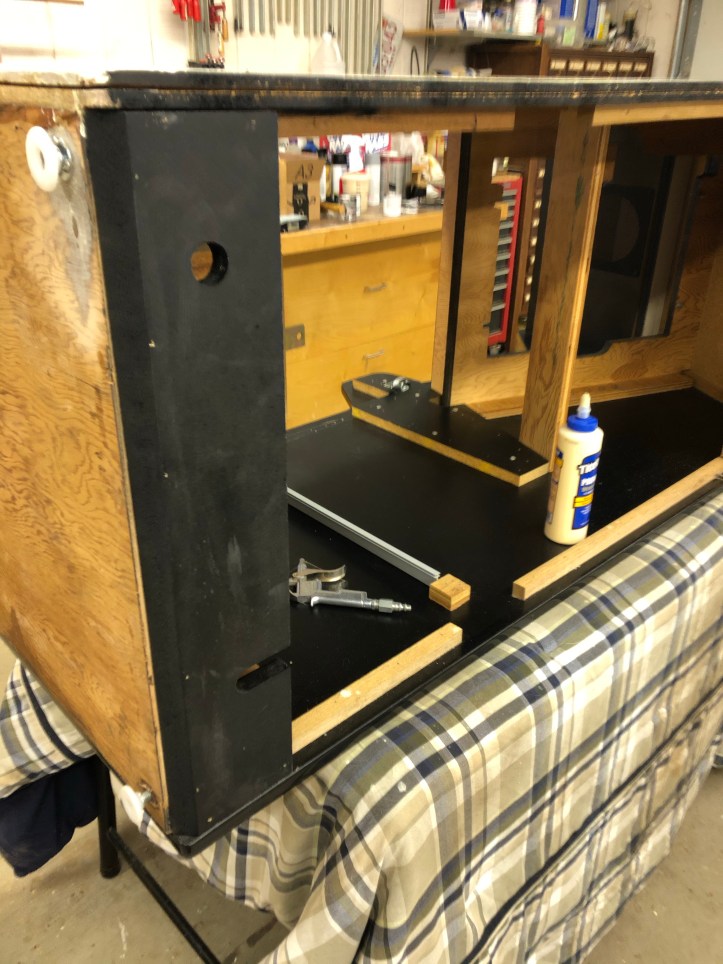
New rear panel fitted – I added a small metal plate to prevent the destruction of the top panel.

I showed the new coin door panel getting fabricated earlier. To put it in place – I clamped the sides and bottom to pull everything tight before screwing it into place. It helps to square up the cabinet and close any small gaps so the screws don’t have to work so hard.

When I removed the wiring harness – I wanted it to go back to the exact same spot. Down to the screw holes. I found these cheap cable ties I could label and take pictures of the mounting locations (not every one – just enough to be able to sort them out)


It worked out pretty well. Got the harness back in its original spot – no screws left over!

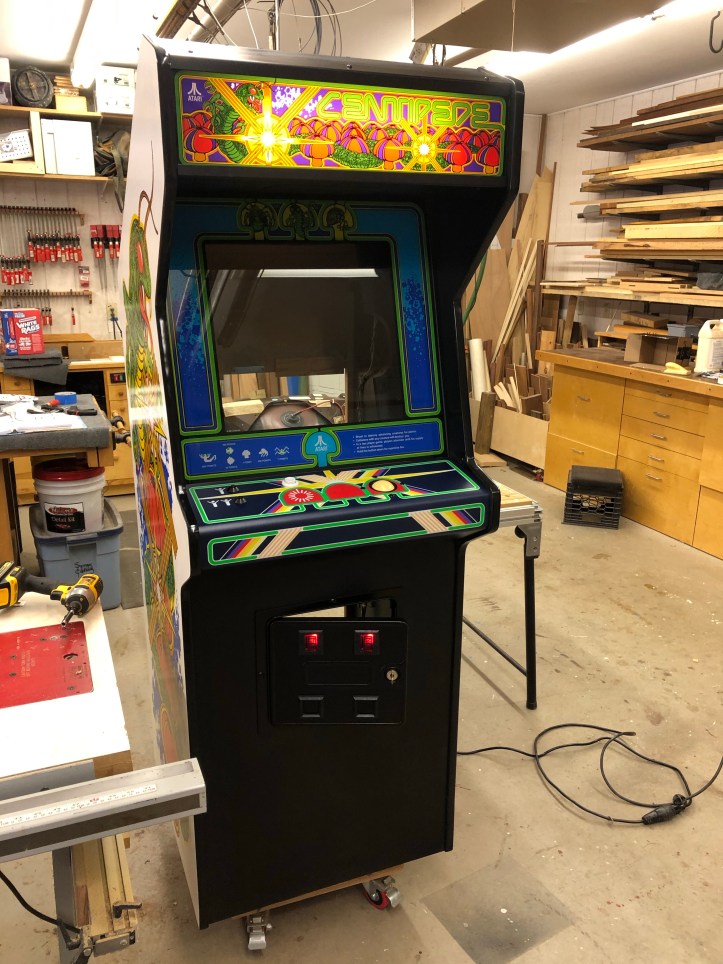
I plugged it in, used the MikeA “pull the interlock switch” trick and got the marquee to light up.
Working on the coin door and control panel this weekend. Hopefully I’ll get a quick test in with everything up and running. The monitor is still not where I want it to be. It will be the last hill I climb!
The last few bits have gone quick – I guess because I had all of the prep-work done already.

Coin door reassembled and in place.

I got my control panel overlay at Phoenix Arcade. Nice screen printed reproduction of the original artwork.
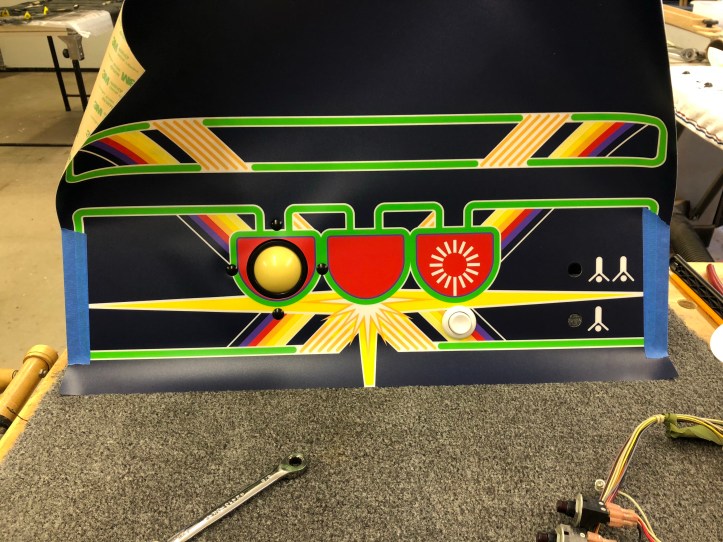
There are many videos on putting this stuff on. I basically installed the fire button and the track ball – then taped the sides in place on the front.
Next I cut & peeled half of the backing off so that the cut line fell roughly down the center of the front edge. Pull it snug and press it into position smoothing it all away around the bottom. One thing I did was put on latex gloves so that I could touch the sticky part without leaving fingerprints and ruining the adhesive. It worked quite well.
Once the underside was on, I removed the button and trackball and, peeled the remaining backing and smoothed it on around the front. No problem.

Trackball, volcano buttons and fire button back in place.
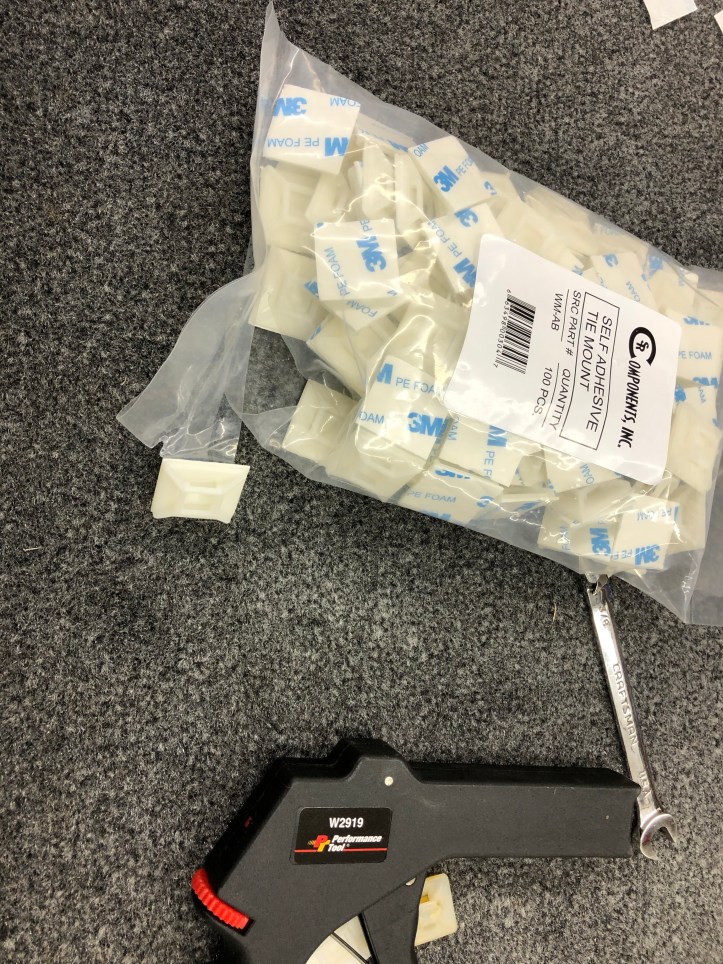
How packaging never ceases to amaze me.. They had a selection of 10 of these for $3-4 and 100 for $10. So I have a lifetime supply.
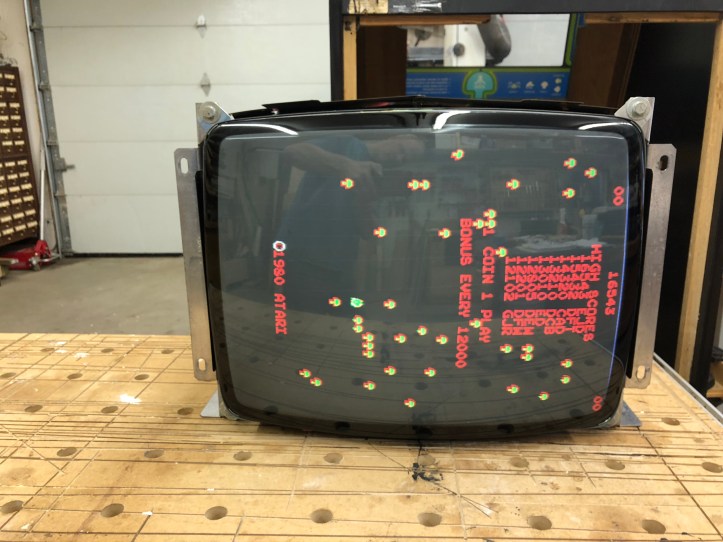
It runs!!!!!! I didn’t make anything worse. But there is more to do on the video side of the house. The screen is still compressed horizontally. I have a suspicion that this is now something happening on the PCB. The screen is more normal sized on the test pattern generator. I’ll have to start looking at the PCB horizontal circuit looking for bad caps..
New old stock – just what I was going for. Once I get the video fixed I’ll get it off the dolly and into a more permanent place in my shop.

Hit the test switch for the first time. I have convergence issues and (I think) a problem with the blue transistor on the neck board. But this screen is much smaller than the same one from the test pattern generator. Which makes me think the horizontal circuit on the PCB is involved. I could be way off..

[…] Reassembling Centipede […]