Both need some work….
This is not a Centipede control panel if you ask me…
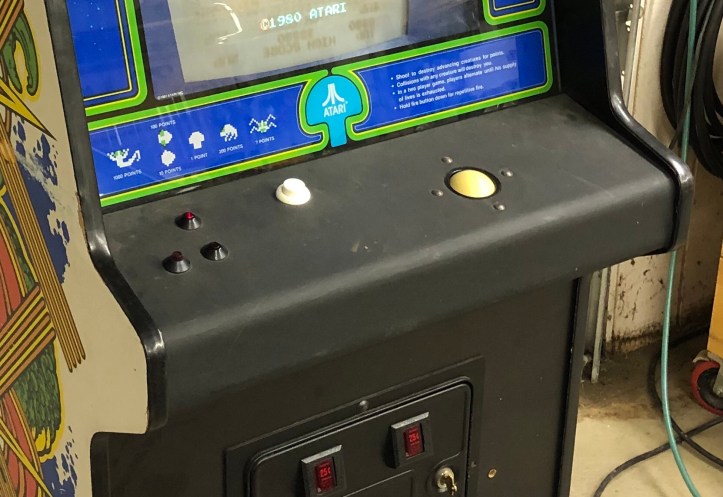
The Original overlay was under this black stuff and they added a third button as a coin button. The trackball barely rolled and the fire button was way to stiff for my liking..
Step 1: Take it all apart.
I got some closeups so that I know how it goes back together – but the coin switch is going away..

It’s amazing the trackballs haven’t changed at all.. this is nearly identical to the new one I purchased for my Mame cabinet.
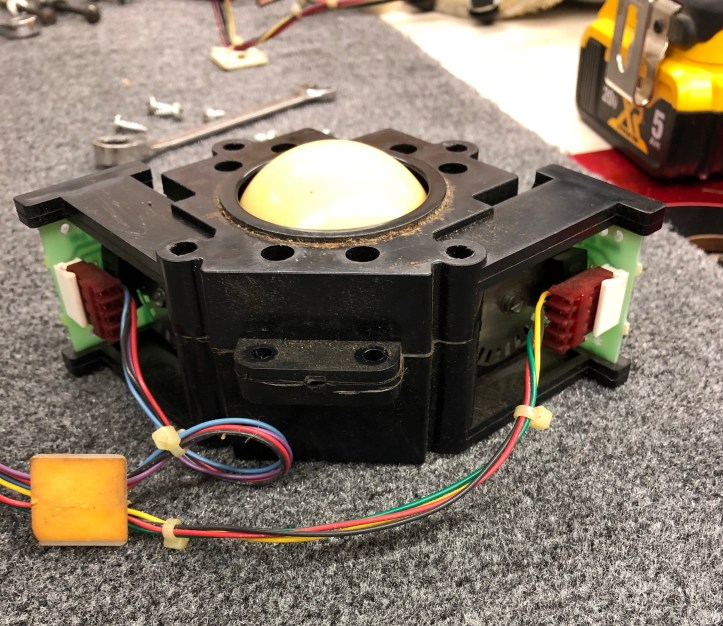
Explains why the trackball didn’t roll. I got a rebuild kit from Arcadeshop.com
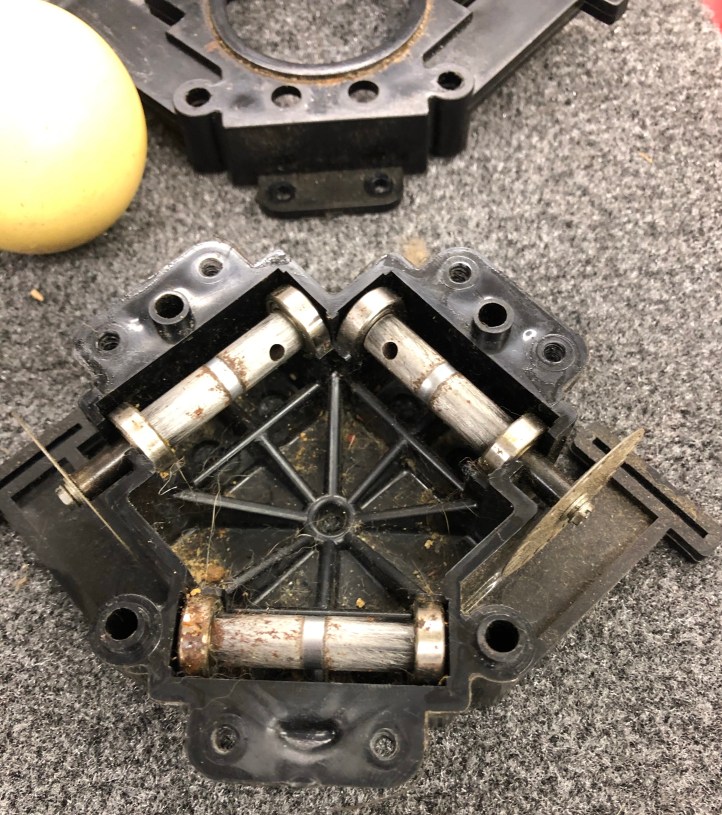
The new bearings had some lube in them that was a little sticky for my liking. I soaked all of them in WD40 to loosen them up and reassembled the track ball.. Its cleaned and ready to roll.
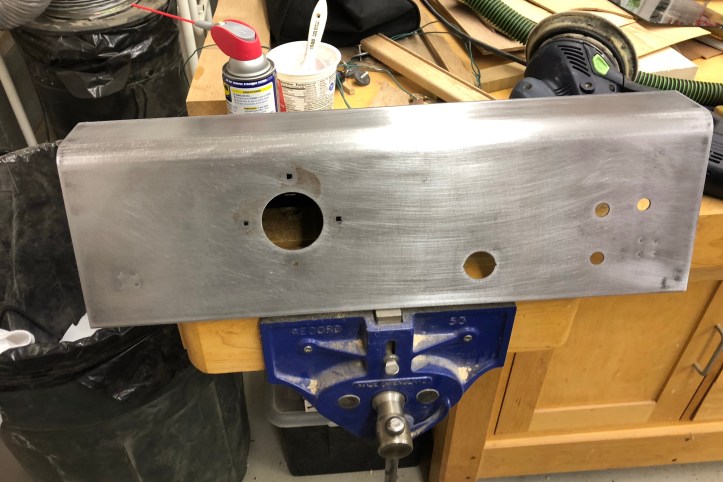
The control panel overlay got peeled off. The original was under the black one and you can see where it was torn away by the rust stain at the trackball opening. Getting this sticky mess off took a while. I couldn’t find my heat gun – so I used a chemical stripper to get it down to bare metal. Of course I found my heat gun about an hour after I finished..

It took a couple of hours to get the paint, sticky backing glue, etc. off. Overall these are pretty solid panels.
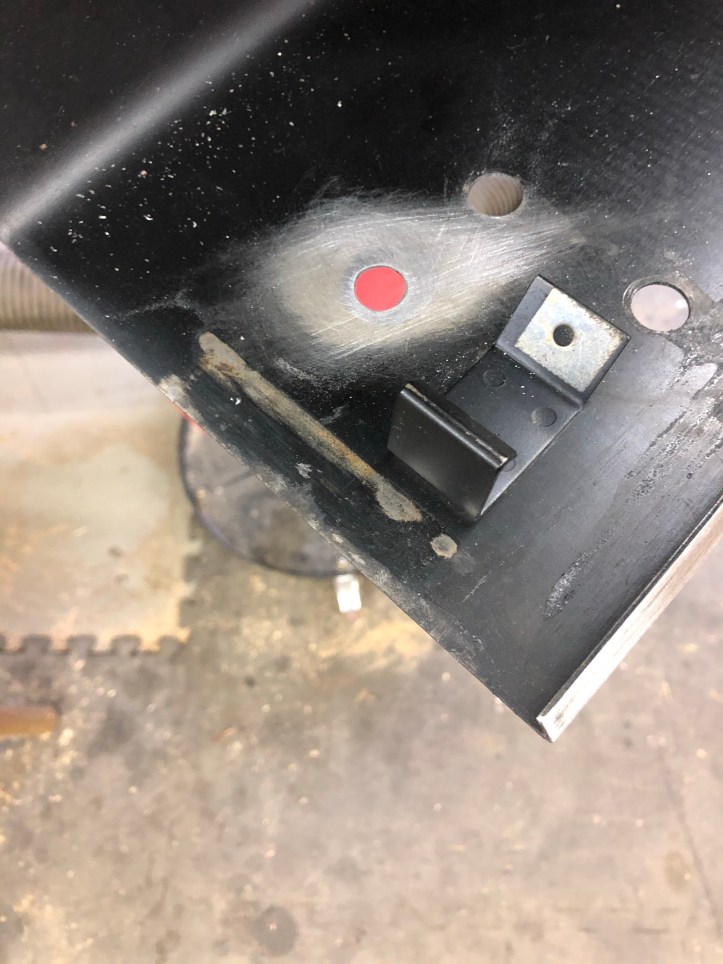
What to do about the coin button hole. My goal was to not have it pop out after the new CP overlay is in place (i.e. Don’t just fill with Bondo). I considered a welding shop to fill it. But figured I’d try soldering in my own patch first.. To begin – I sanded the paint off the inside and used a countersink bit to bevel the inside and outside of the hole so there would be center ridge for the filler to grab onto..
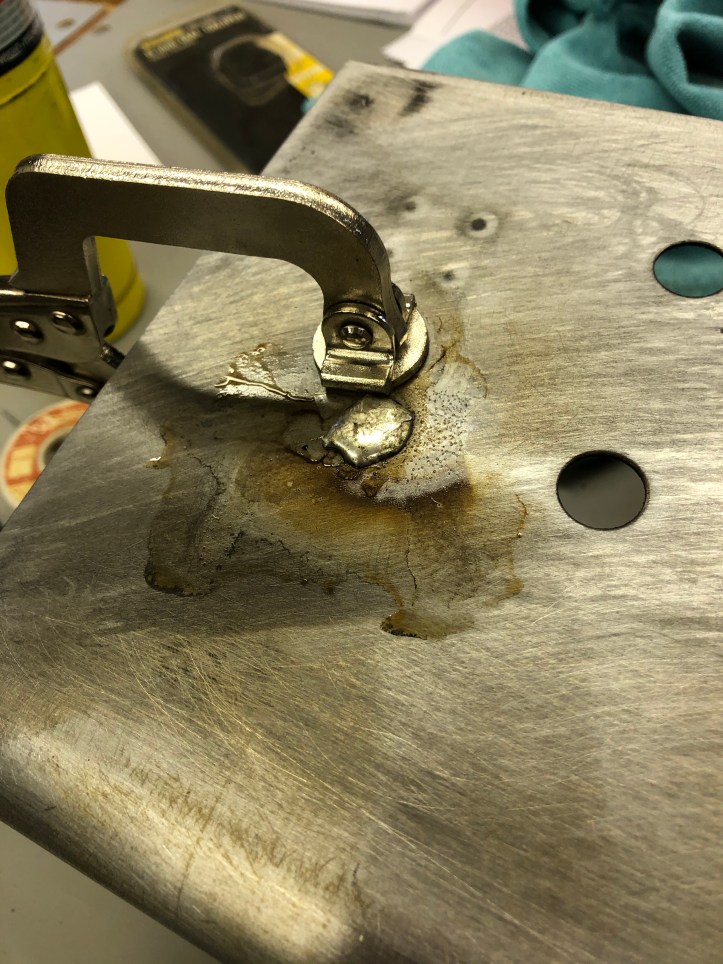
I got a small square of scrap steel, cleaned it up, added flux and clamped it in place. Heated it up with a torch and got the solder to flow. I was a bit surprised it actually worked..
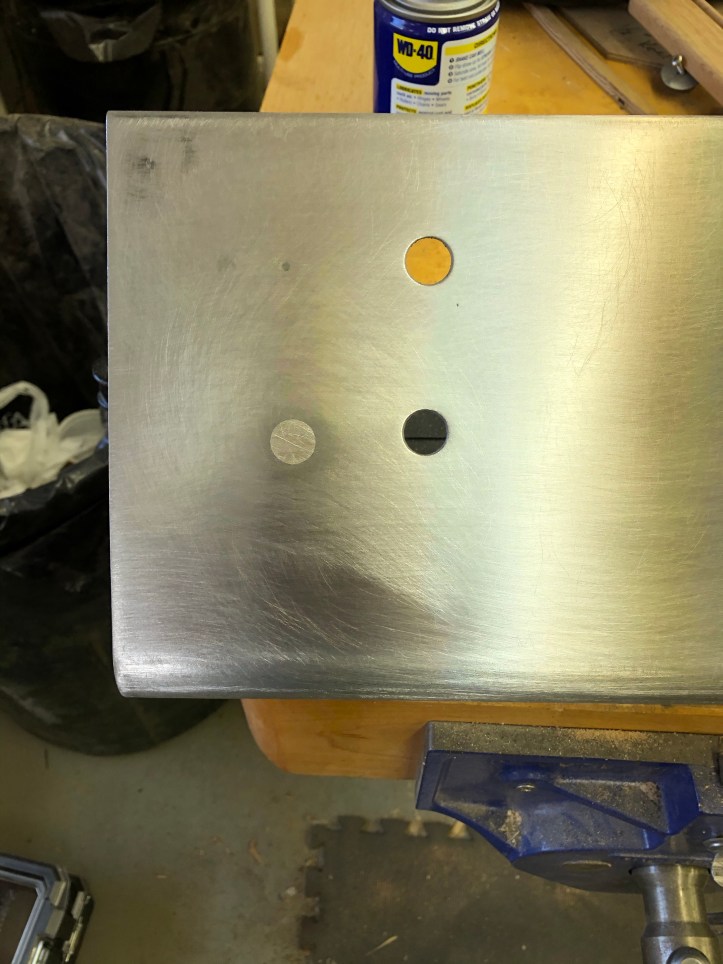
After that I sanded it all down smooth. There will not be any pressure to this small spot. I like knowing that I should not have any issues with it popping out or impressioning through the new overlay.
There were a few areas that I wasn’t crazy about and a skim coat of bondo was worth the effort. Mostly pitting and the area where the hole got filled had a tiny bit of distortion.

Sanded down it came to this.

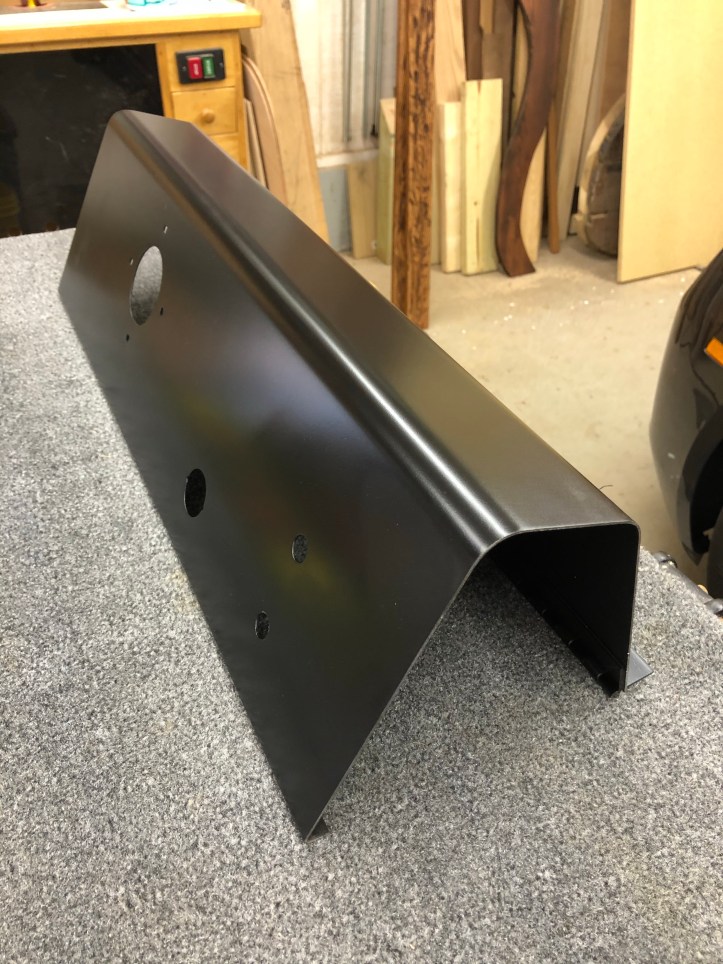
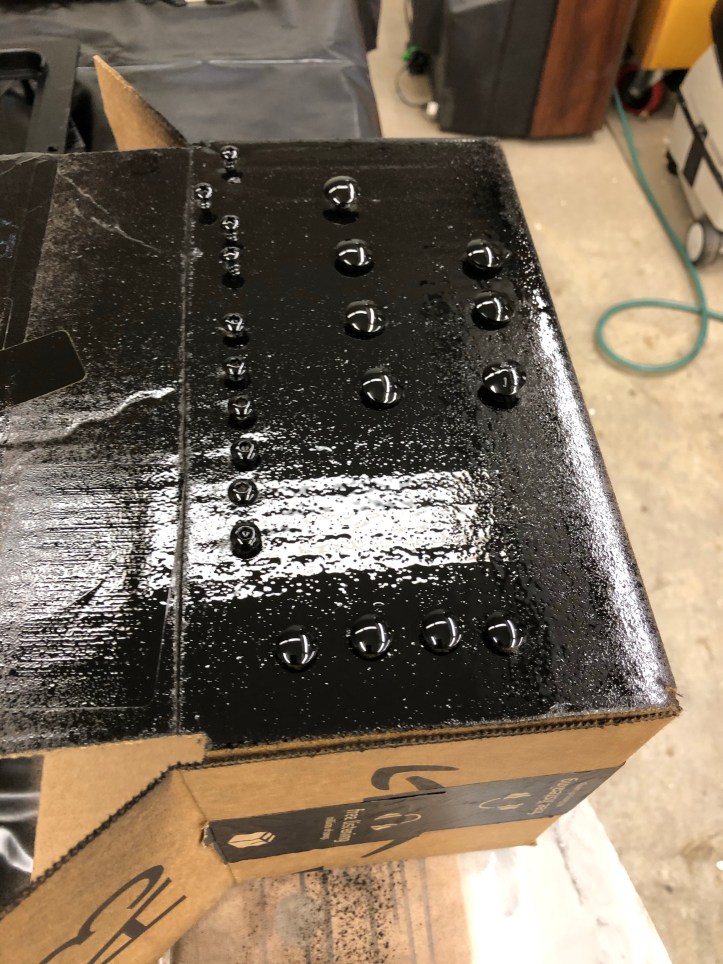
And painted – ready for the new overlay.
All those years of playing Centipede – I had no idea this was the extent of the fire button technology. A $1.99 button. The new one is identical and not nearly as stiff as the original.

The coin door is a little dinged up – I haven’t decided if I’m going to repaint it or not just yet. There is a lot of wiring compared to the Mame coin door I have. Coin counters, solenoids that deflect coins when the machine is powered off (took me a minute to figure that out..) A slam switch (equals tilt on a pinball machine) I looked that up to see what it was supposed to do.. Keeps you from kicking the machine to get free credits.. dam kids!
Issues with my coin mechanism: No coin mechanisms
Arcadeshop.com had the ones I needed. I also ordered LED bulbs to replace the coin eject ones.

Something that I thought was going to be impossible to find.. I found..
When the prior owner bypassed the coin 1 switch – they removed the switch and this little bracket that the switch is mounted too.. For no good reason..
Luckily I found The Arcade Boneyard
They had this little part (and the switch) needed to make coin slot 1 fully functional again. My plan is this machine will use quarters (at least for now)

Coin slot 1 ready for wire connectors.

It’s been a while since I worked on the coin door – I’ve been working on the cabinet.
The cabinet is now going back together and it’s time to reinstall the coin door.

Not a huge update – screw heads cleaned and repainted. Coin door and marquee brackets repainted. Nothing complicated. But I will say this particular paint is perfect for the job. The sheen matches the original nearly perfectly.. One thin coat and all the parts look original.

[…] Control Panel and Coin Door […]