
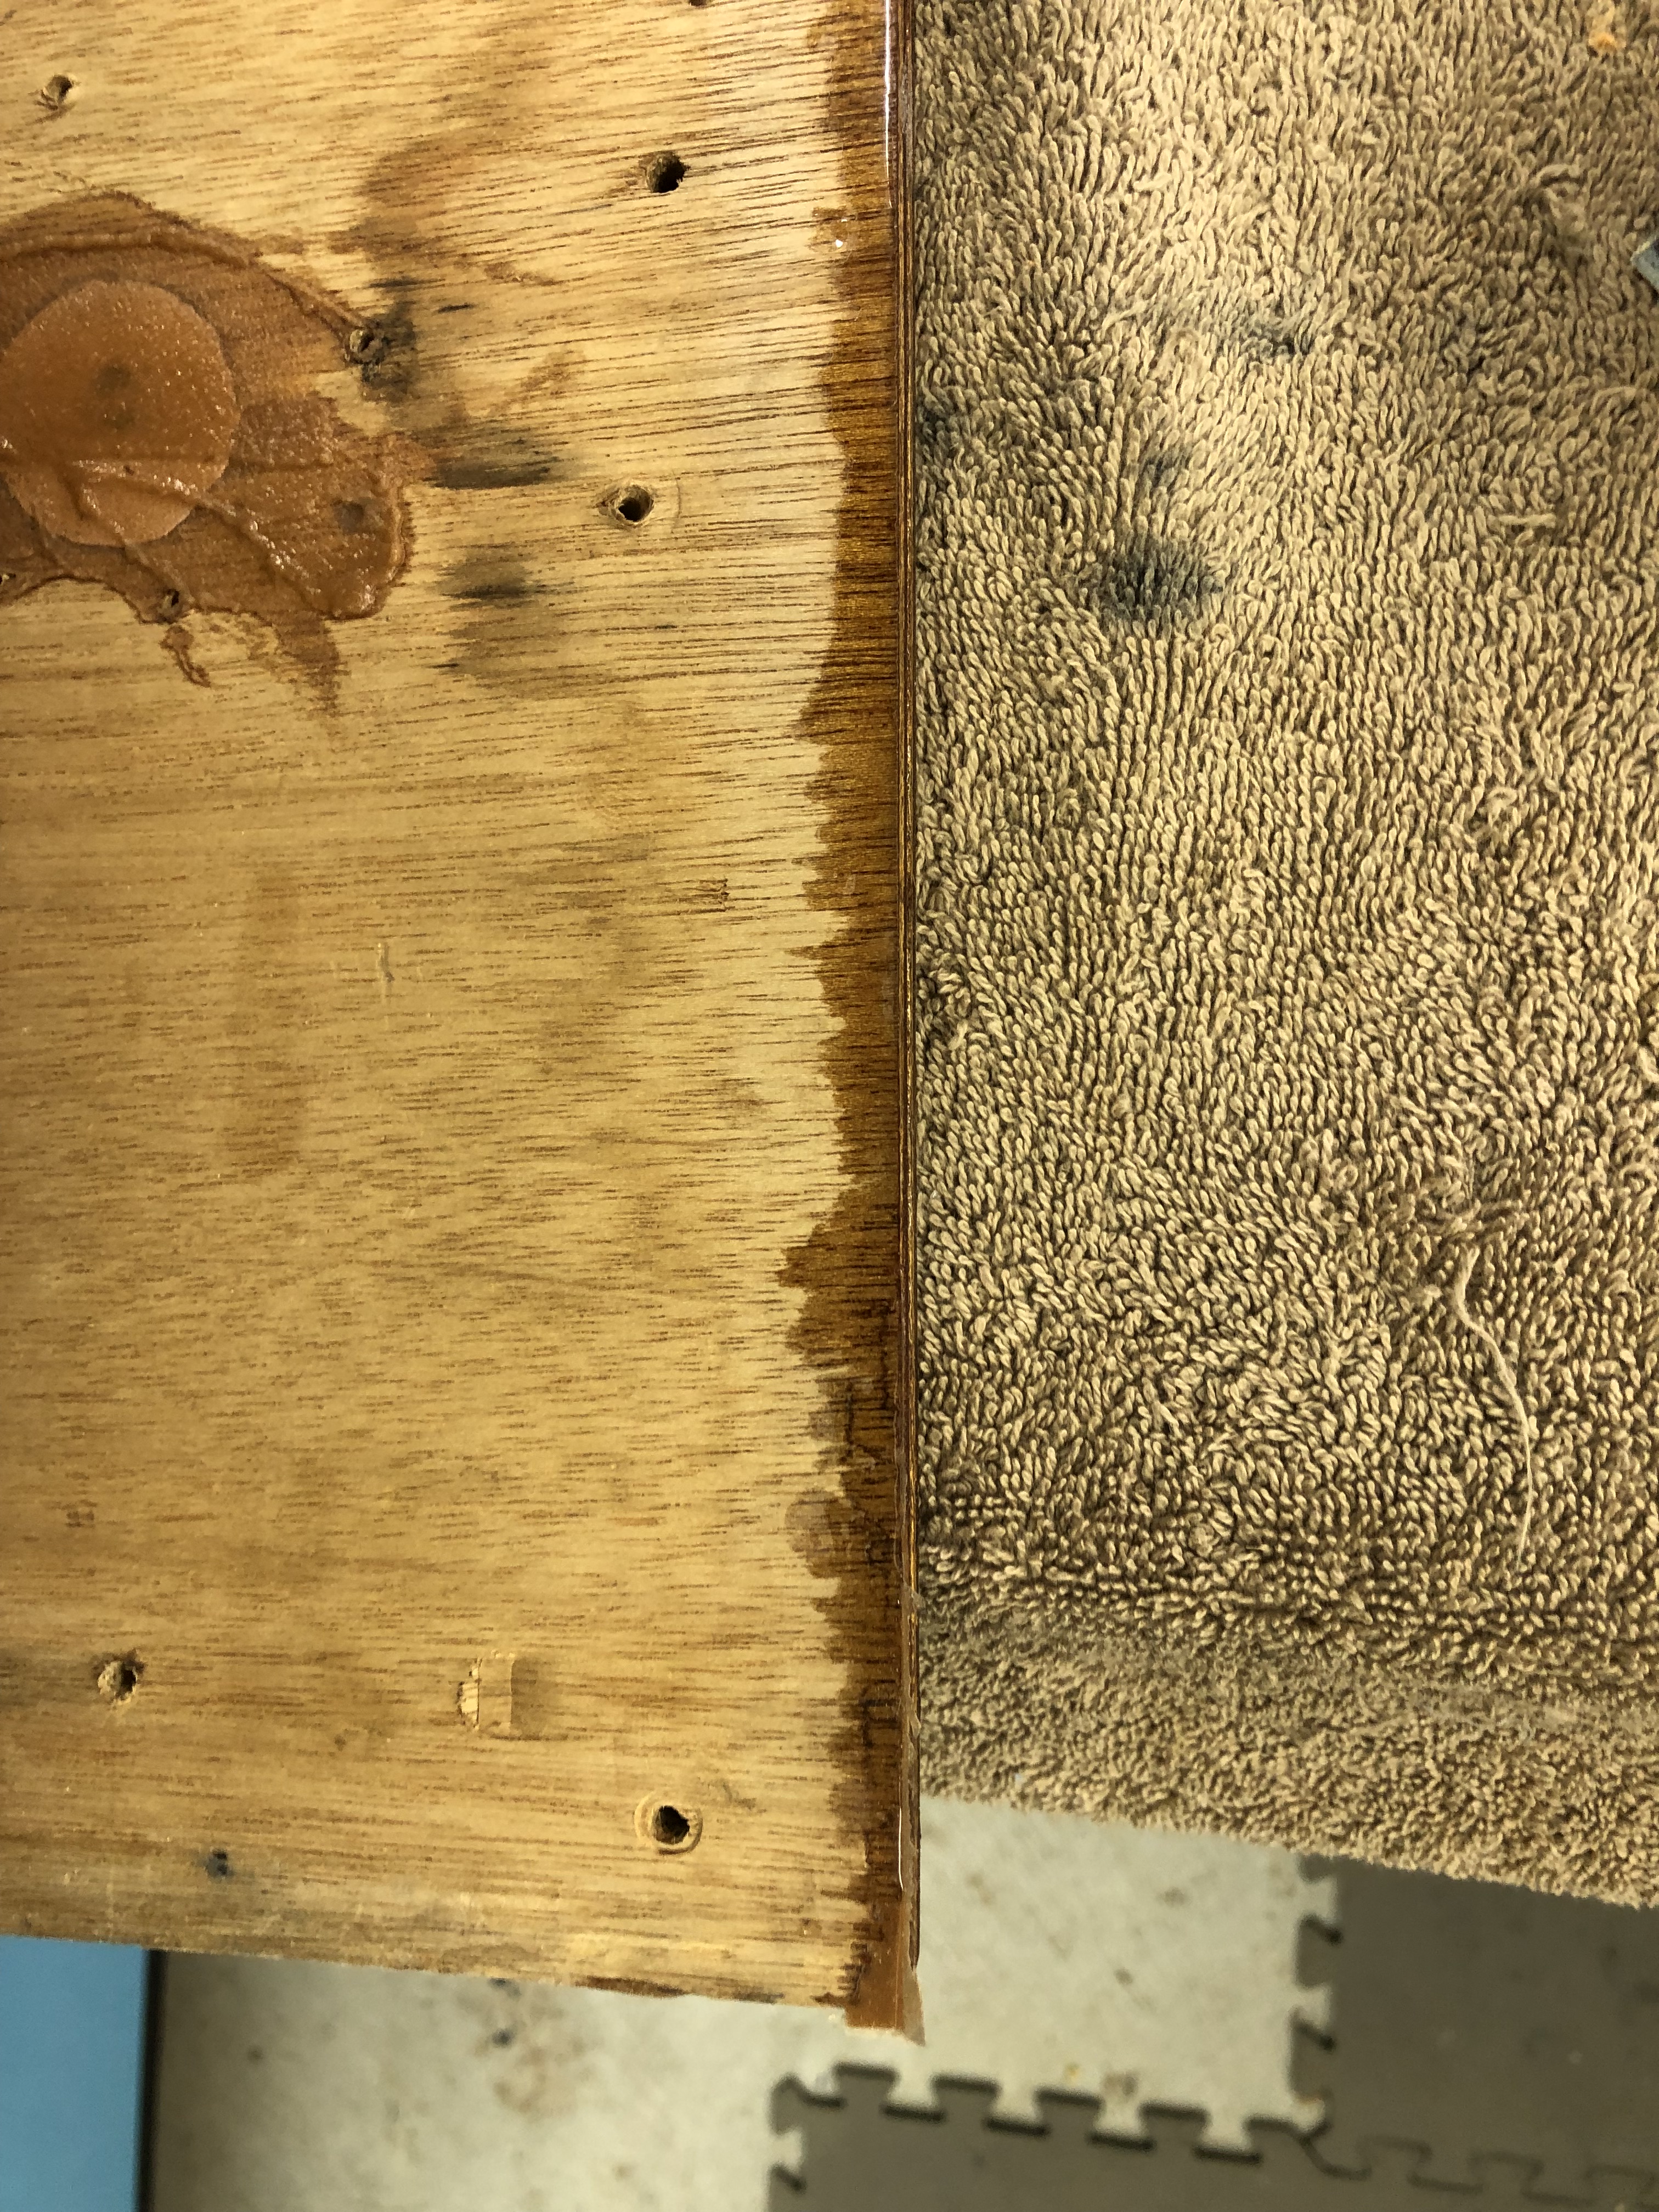
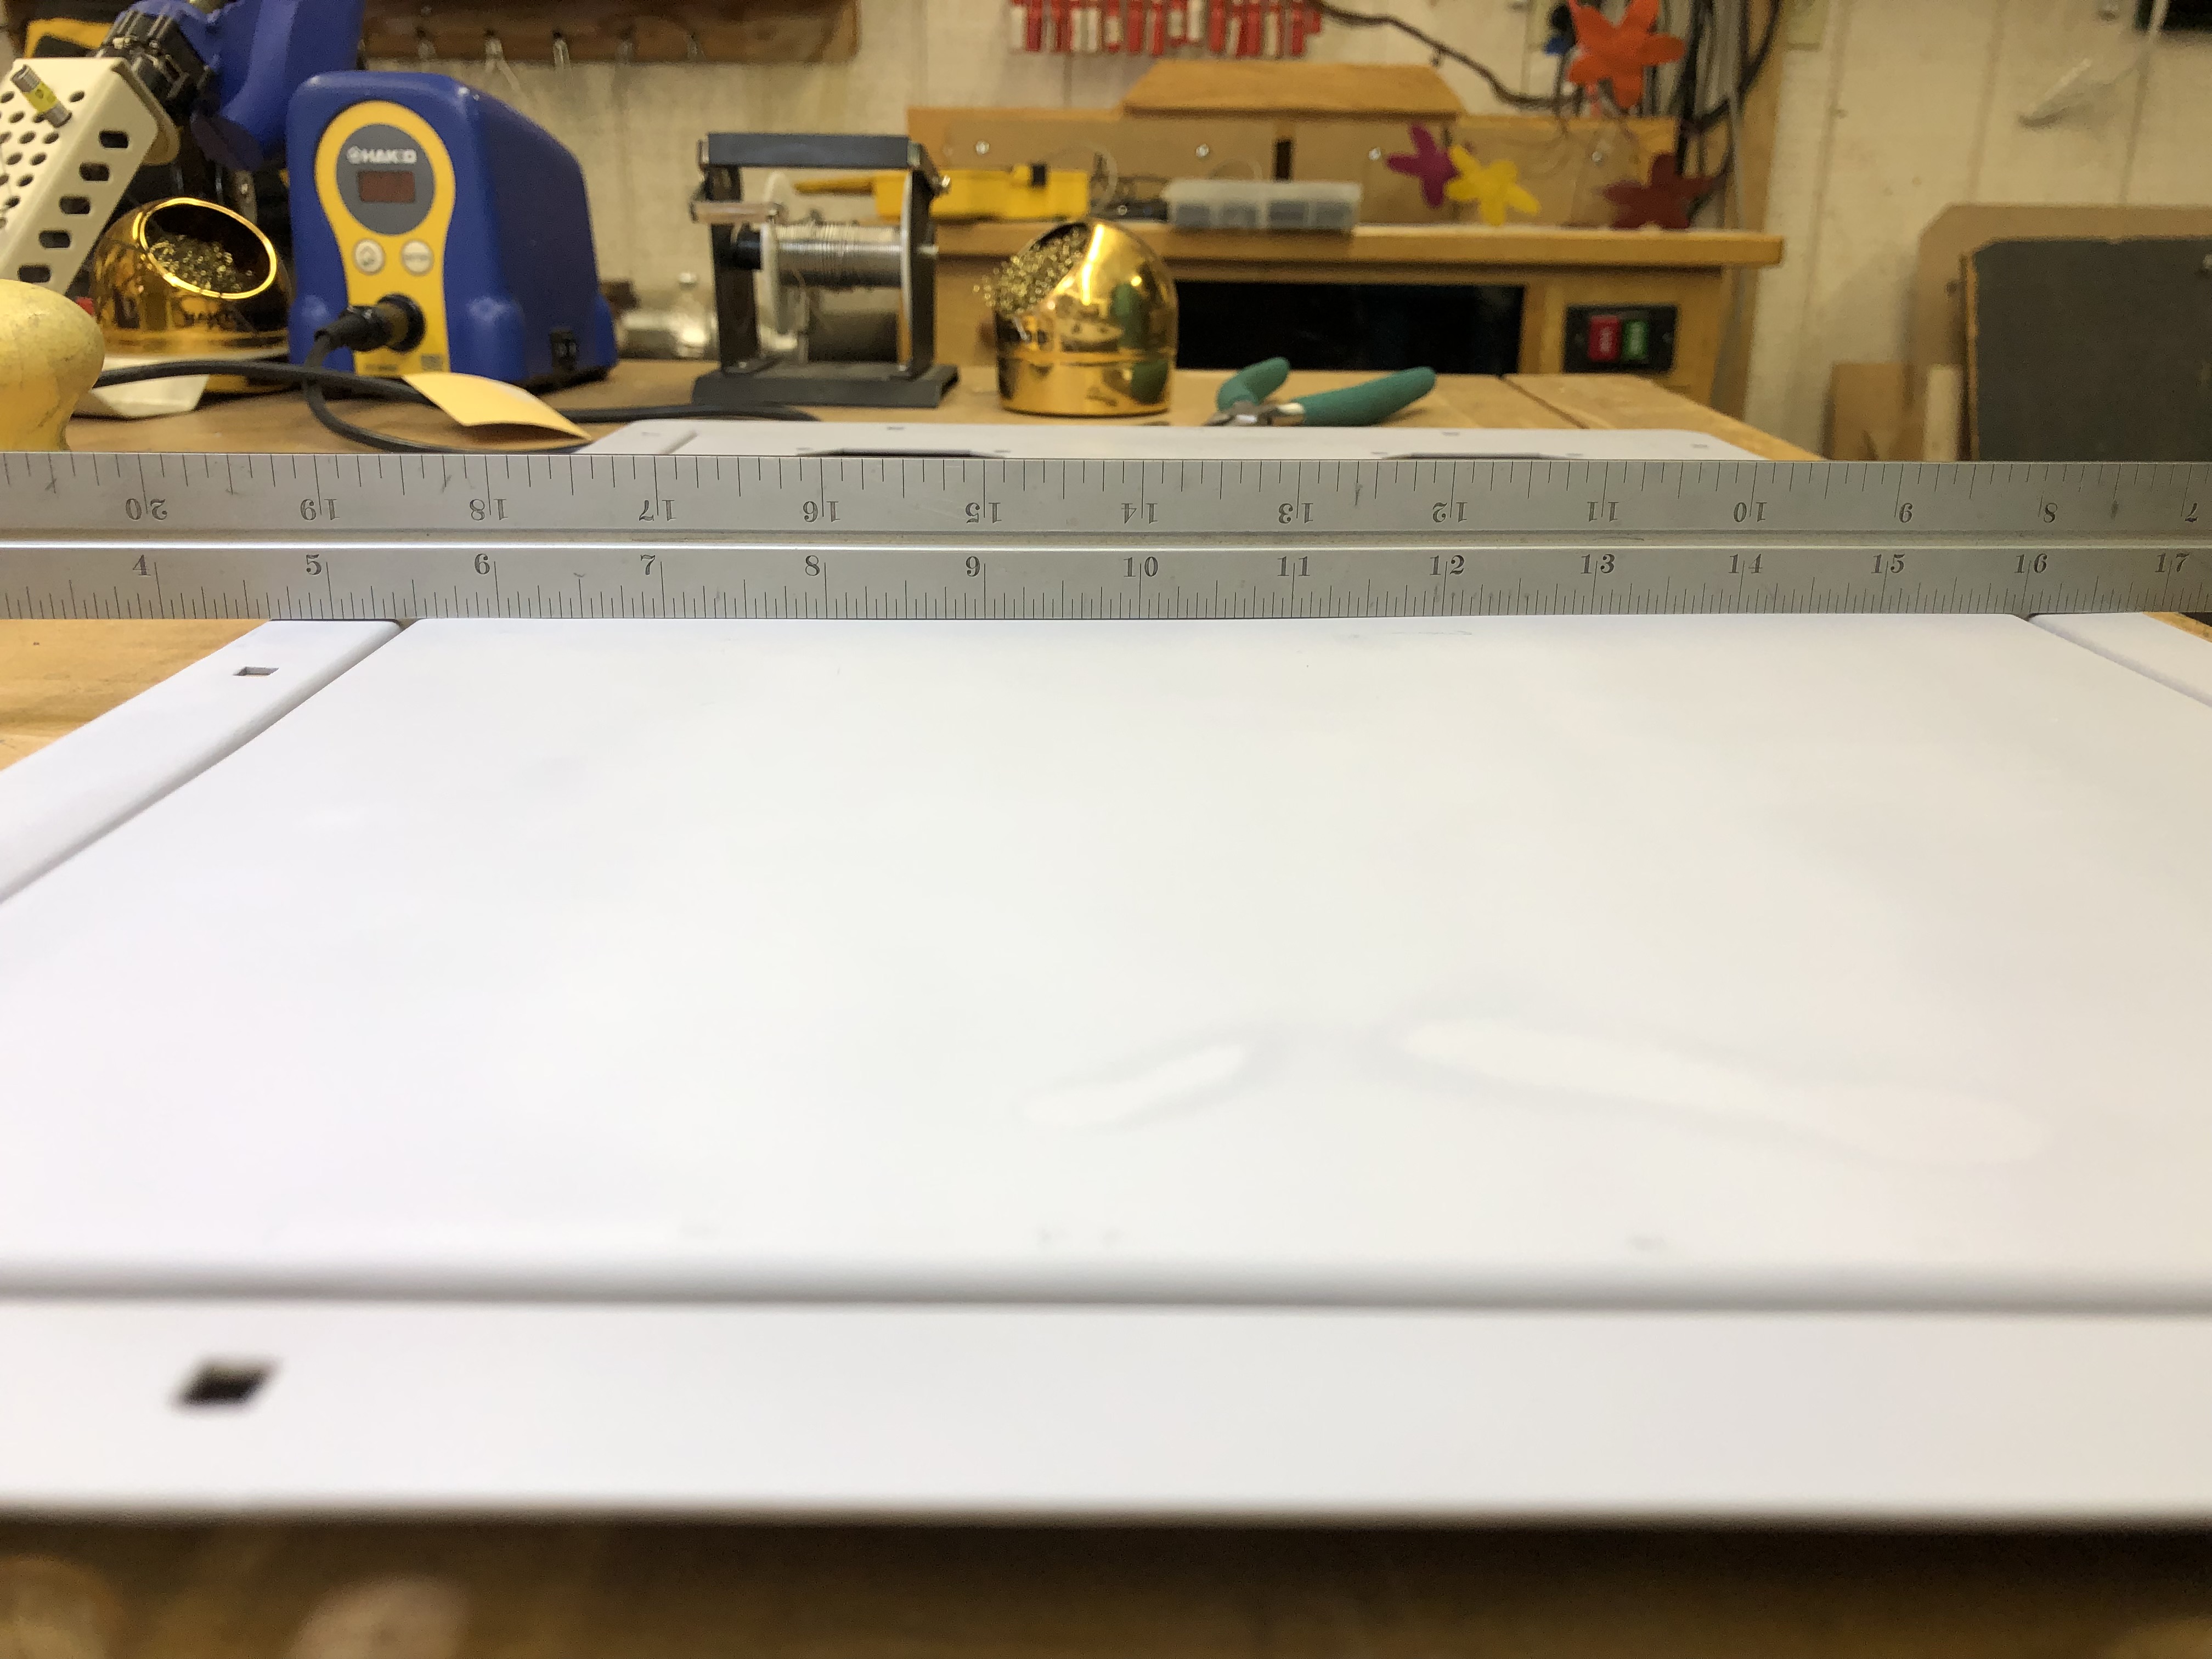
The control panel was in surprisingly good condition considering the rest of the cabinet. The original plexi was not cracked or gouged. The wooden part of the panel was a bit chipped up and broken around the edges. At some point in time there was a hole that got filled with a Bondo plug in the center..


Epoxy is the best way to reinforce the edges of the plywood. The loose Bondo plug that popped proves a point of mine – Bondo is a very poor adhesive. Boats and cars are made from epoxy/fiberglass. Boats are not made from Bondo.
40 year old plywood edges that are not very solid got straight epoxy to firm them up.. I used thickened epoxy to fill gaps and gouges around the edges … and to secure the loose Bondo plug. I use a packing tape covered stick as a mold for the epoxy along the edge of the panel. After all of the filling and sanding, I sprayed 2 coats of a sandable/filler primer. This is the point were I will use Bondo to fill small scratches and minor surface imperfections that will show through the paint. Last step, rolled on 2 coats of Semi-gloss black Rustoleum oil based paint.


Like I said before – this plexi was in really good shape. Some automotive compound and buffing took out most of the surface scratching. Quick polish of the bolt heads on the bench buffing wheel and new instruction card from Mikes Arcade. While I was at it.. the original CP harness had been hacked at some point.. New harness installed.
The painted metal parts were dinged and rusty and I really do not like smashed up coin doors. I’ve had great success making ruined coin doors look original again.

All of this stuff has been abused over the years.

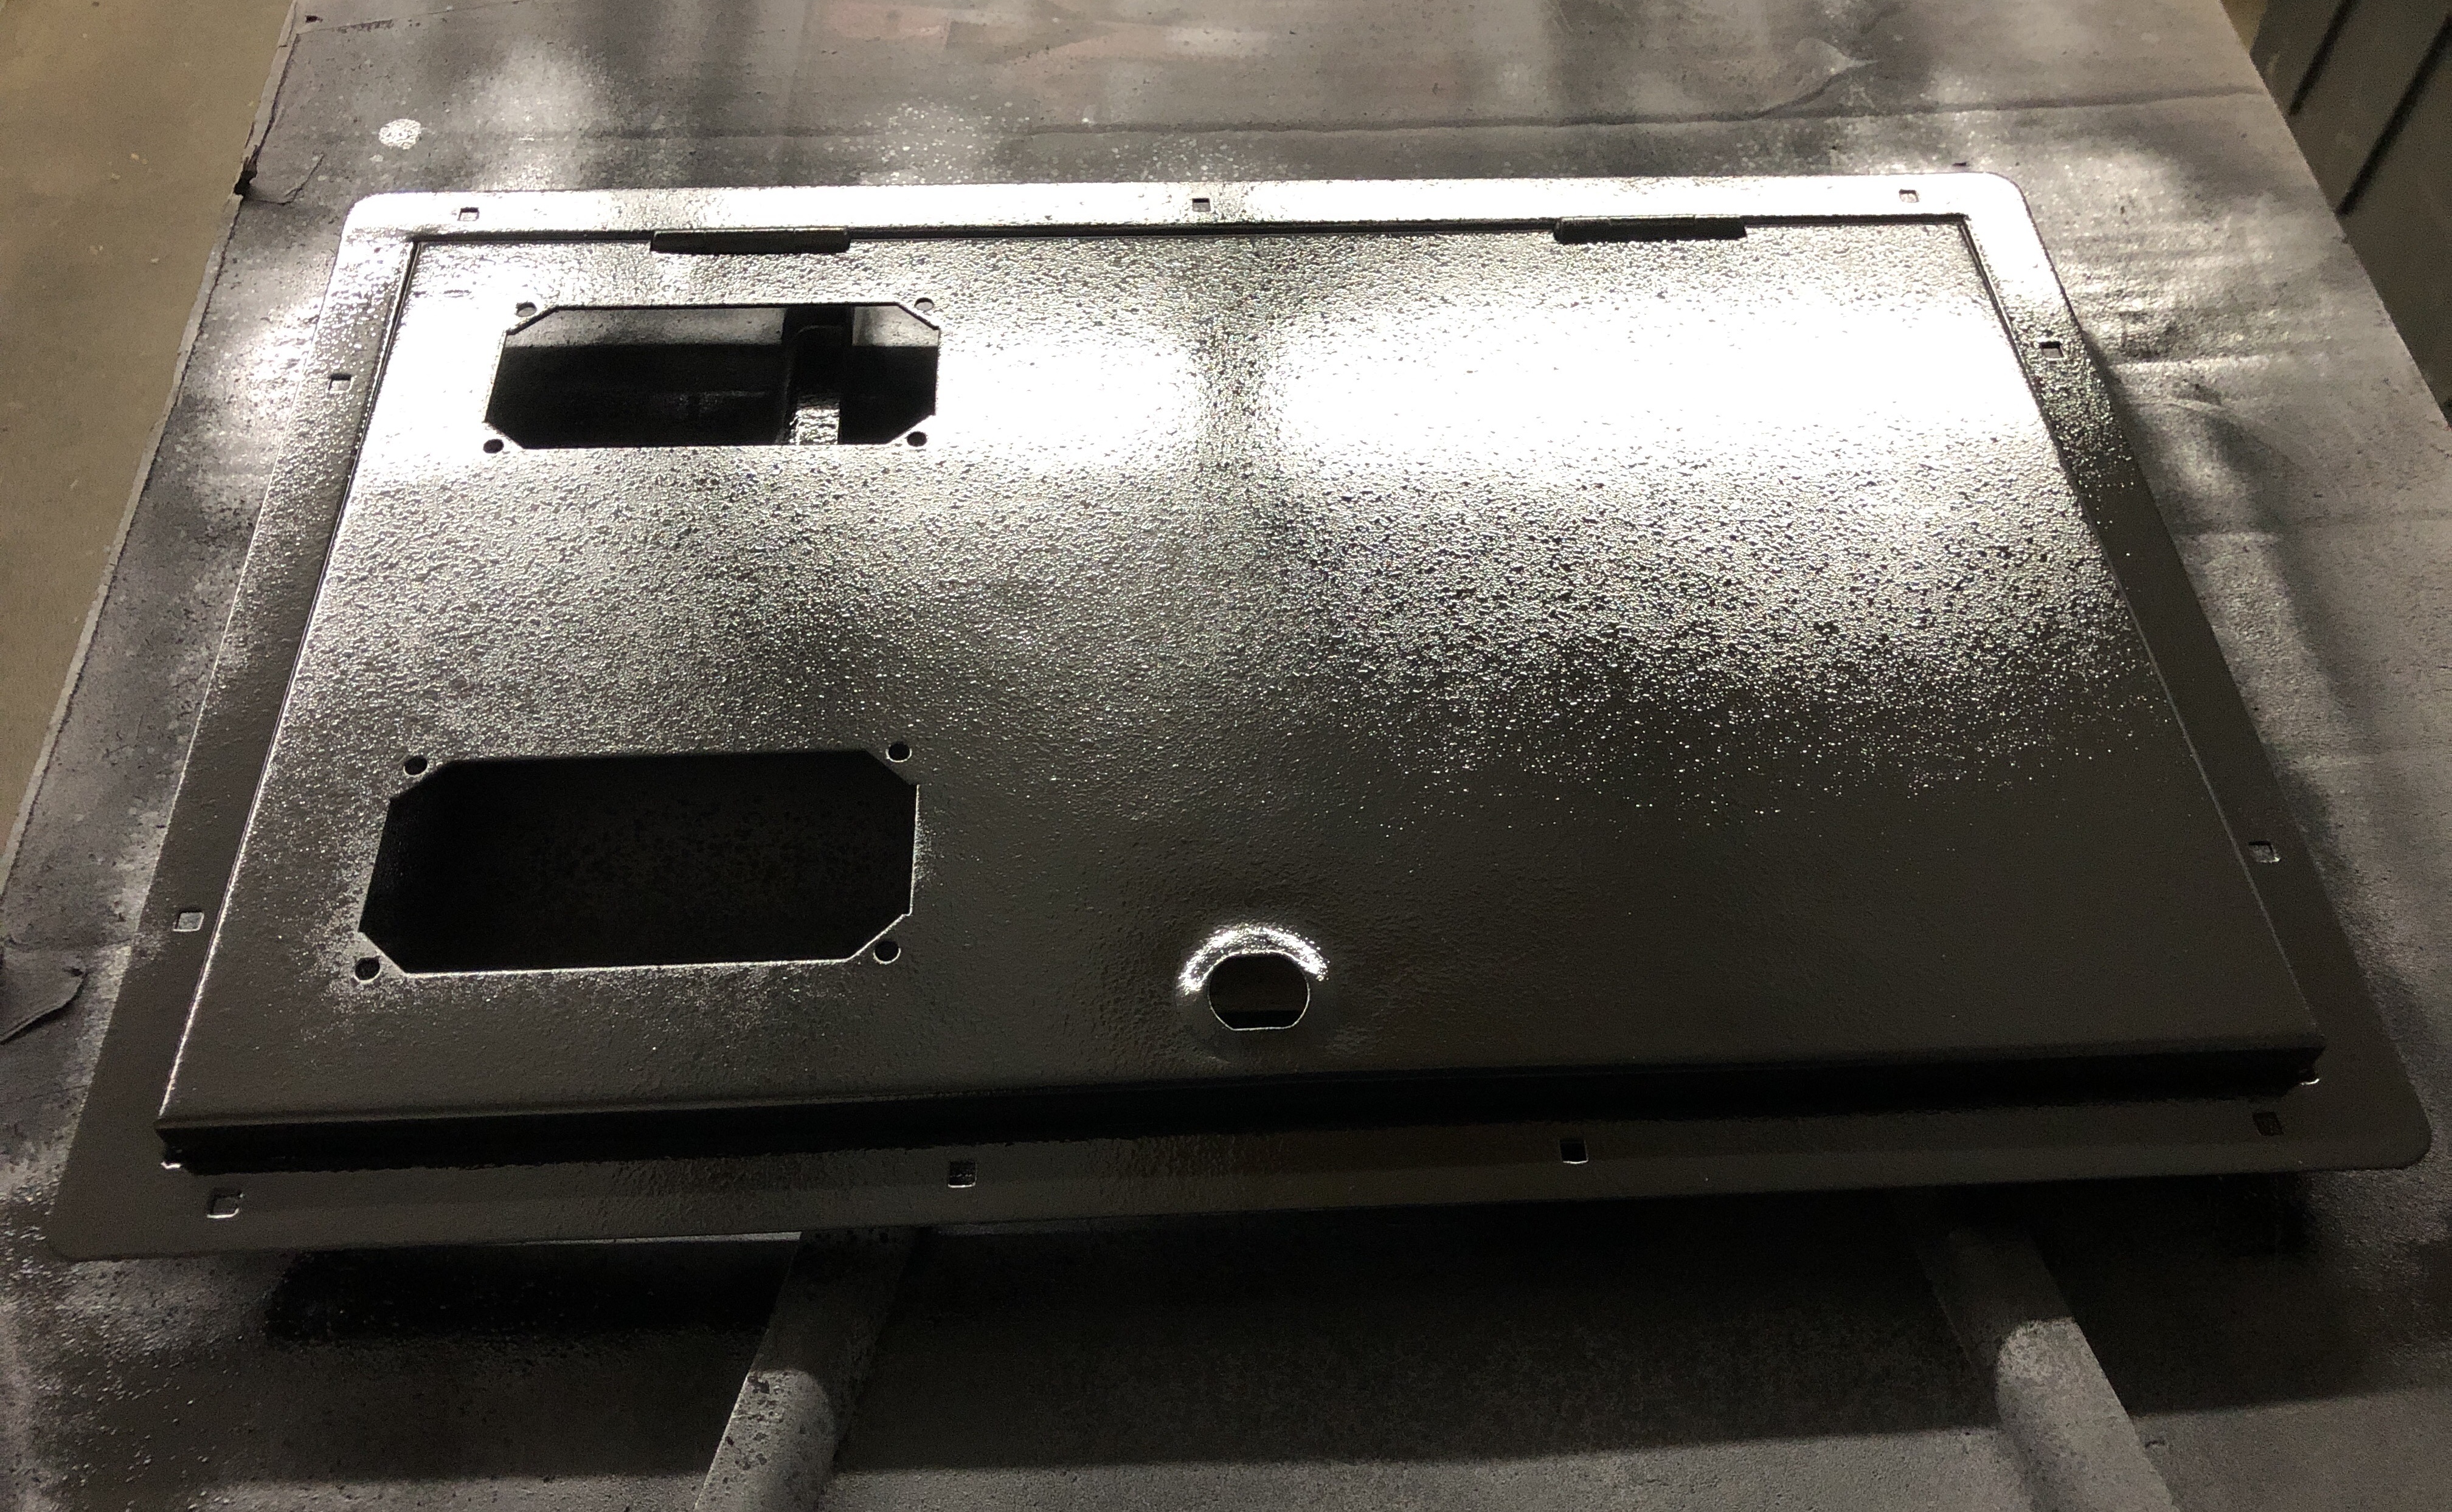
Post sandblasting.. the paint they used on the door is the toughest stuff I’ve run into on a coin door. Normally I can get it down to bare metal similar to the marquee brackets. After cutting through the glaze of the paint (powder coat?) I sanded the door down to bare metal, but even that took a while. I had to use 60G carbide paper for the majority of it before I could sand with the normal stuff.


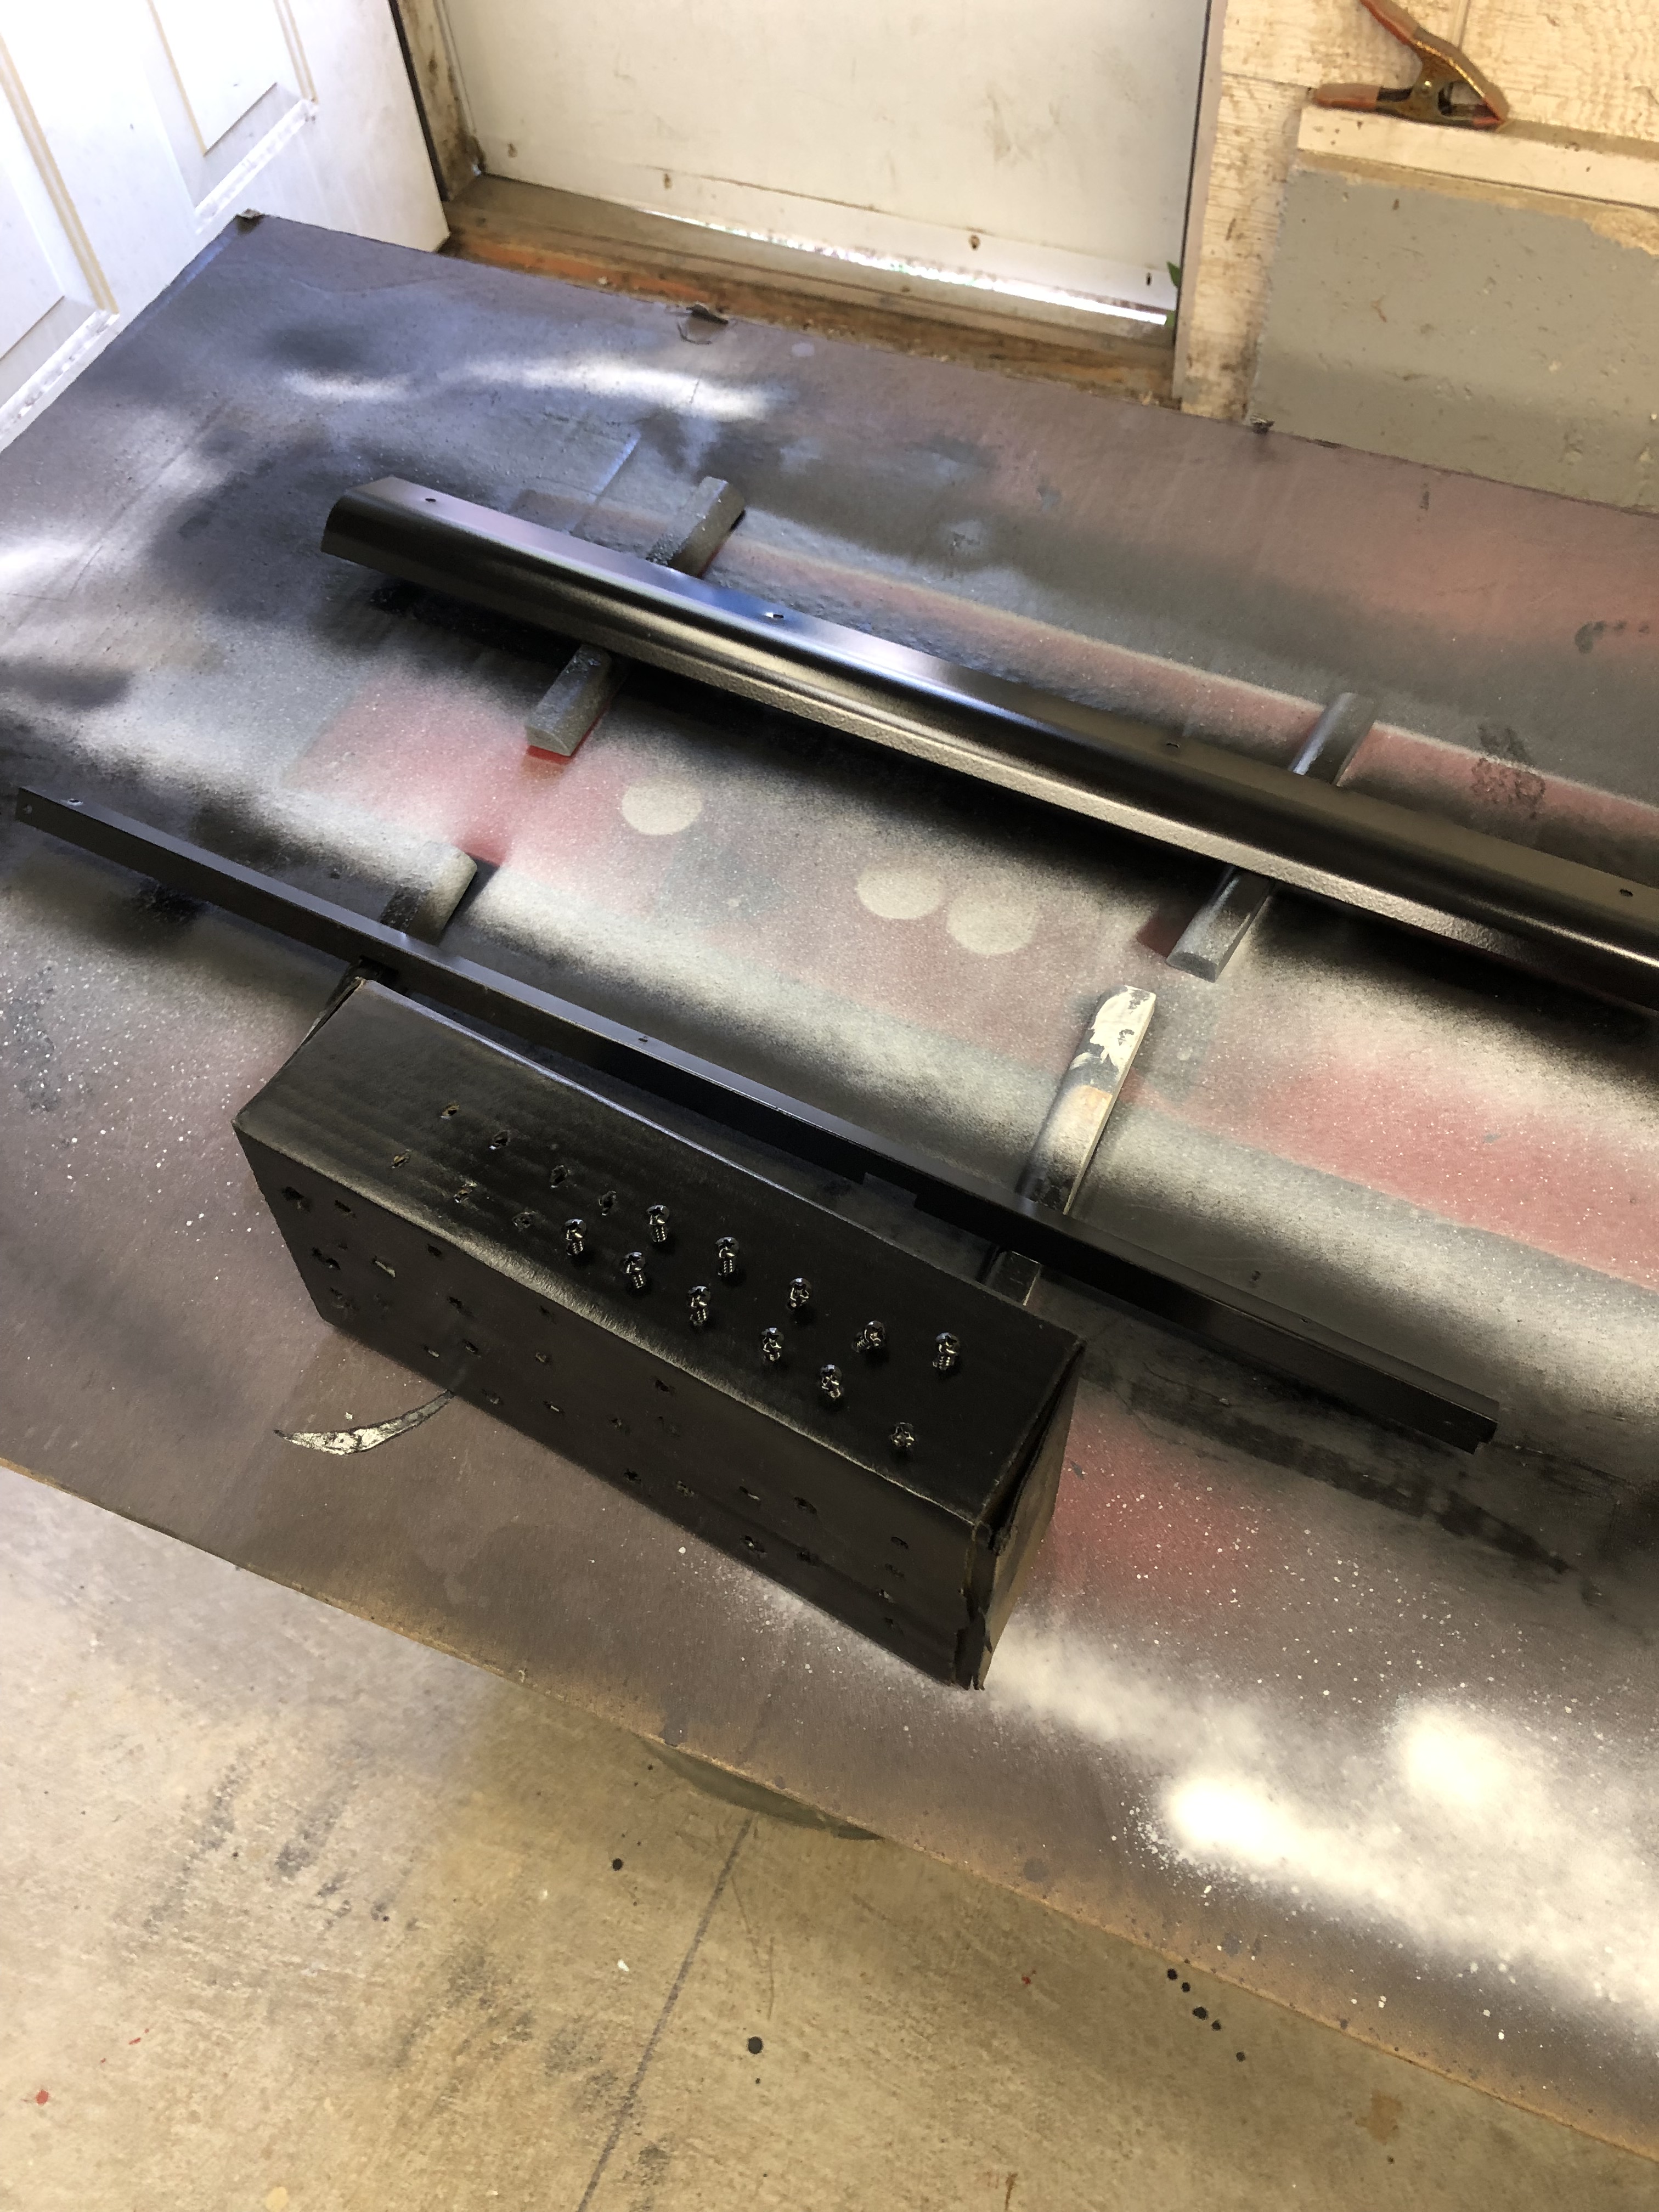
The oscillating sander can get tight into the corners along a straight line. Very handy and quick. Everything gets hand sanded to 220/320 before the paint goes on.. the marquee brackets sanded up clean and got painted with semi-gloss. A fresh set of screws got some black paint.
The actual door on the other hand had been kicked, a lot!

Here is the gap under my straight edge.. It was just under 1/4″. My answer to getting this all back in shape…


Three offset chunks of wood in a vise. Clamping using this setup lets me bend the metal back to its original shape and do it slowly. Just tighten it past ‘flat’ a bit. The metal always wants to spring back. I spent maybe two hours bending the door back doing this in various forms and hammering out the dings.

Another way to get the same leverage was this way. Chunk of wood in the center and two large clamps at the end to ‘flex’ the entire side back into position. The vise wasn’t deep enough to get the bow out of the center of the door. Clamping down and the ends helped bend it back.
Here is the bow at the center of the door. Another issue with this particular door is that it has a center support on the inside – essentially making it like an I-beam. Blocking and clamping as shown above got the this huge bend out most of the way.
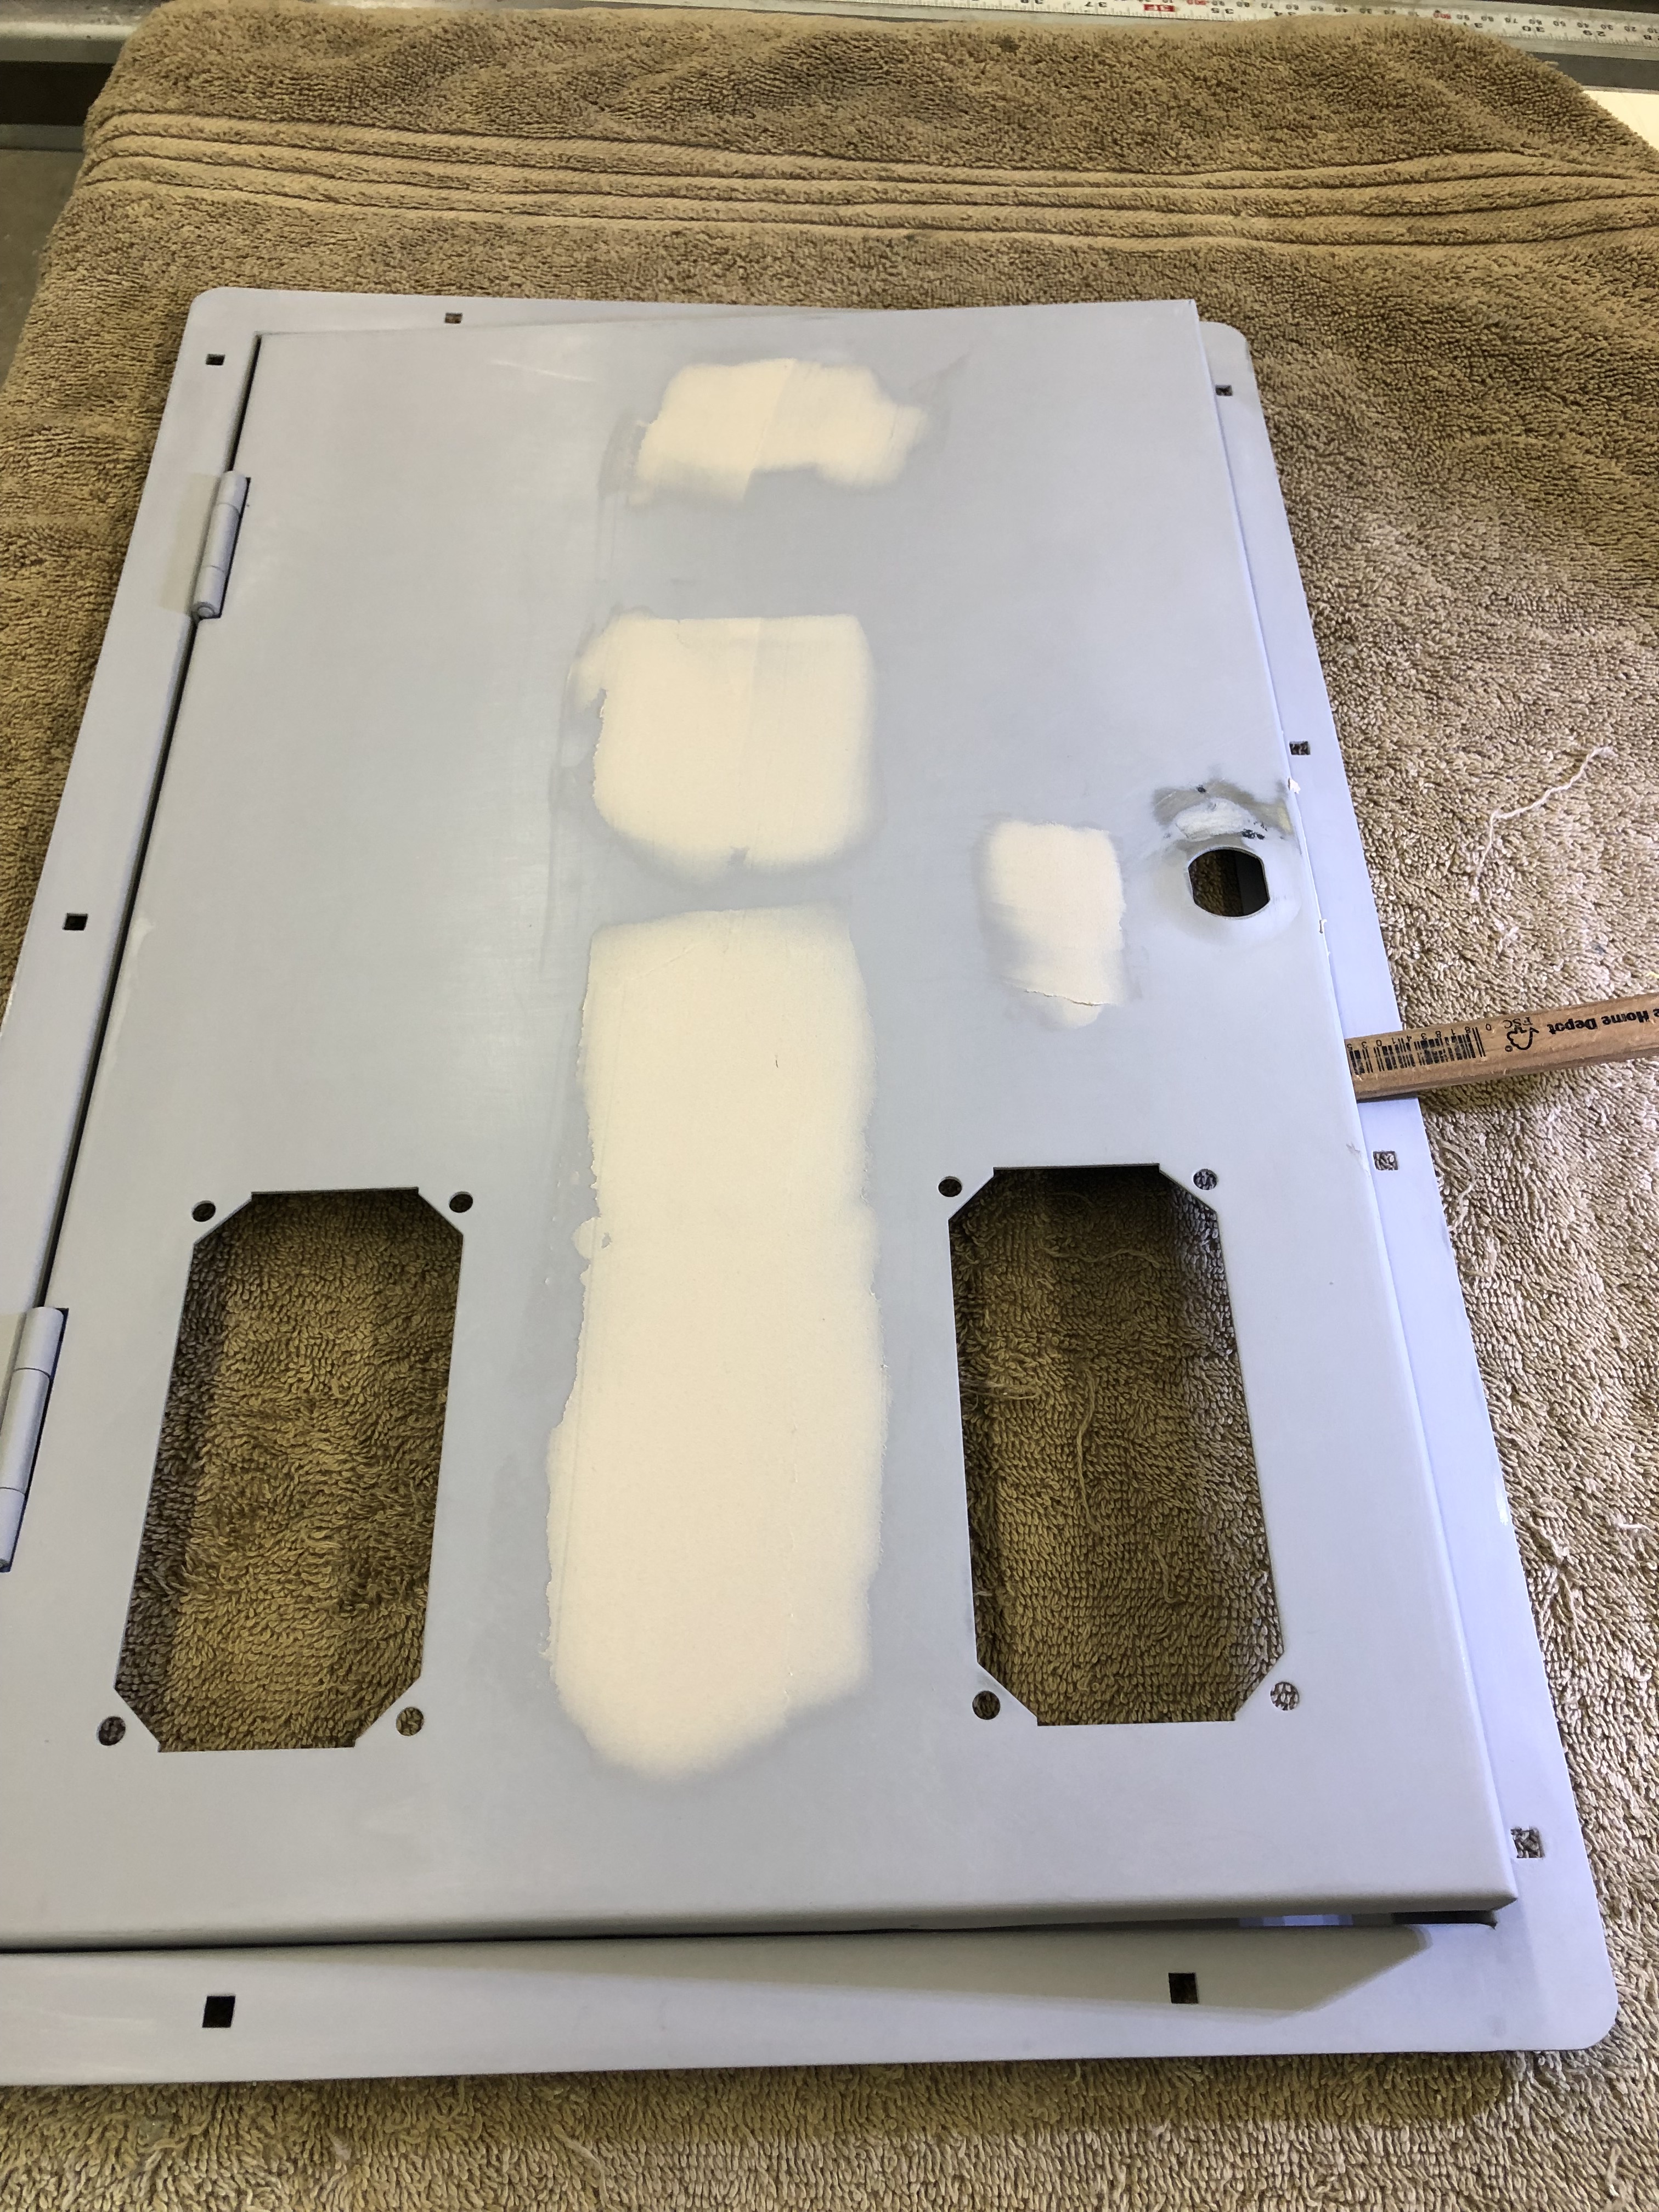
After all the bending, checking with a straight edge, a couple coats of primer, wet sanding.. The last part of getting it back in shape is using Bondo as it was intended to be used. As a surface filler and no thicker than 1/8″. More primer and some wet sanding and this door is about as flat as it’s going to get.
Rustoleum Satin Black with a spatter coat and it looks original again..
The marquee/bezel retainer was bent and twisted. Since it is at eye level.. I wanted it to look right. After bending back and tapping out the dings with a hammer.

It needed a skim coat of Bondo to smooth it out. Followed by a couple coats of primer, quick wet sand and some semi-gloss.
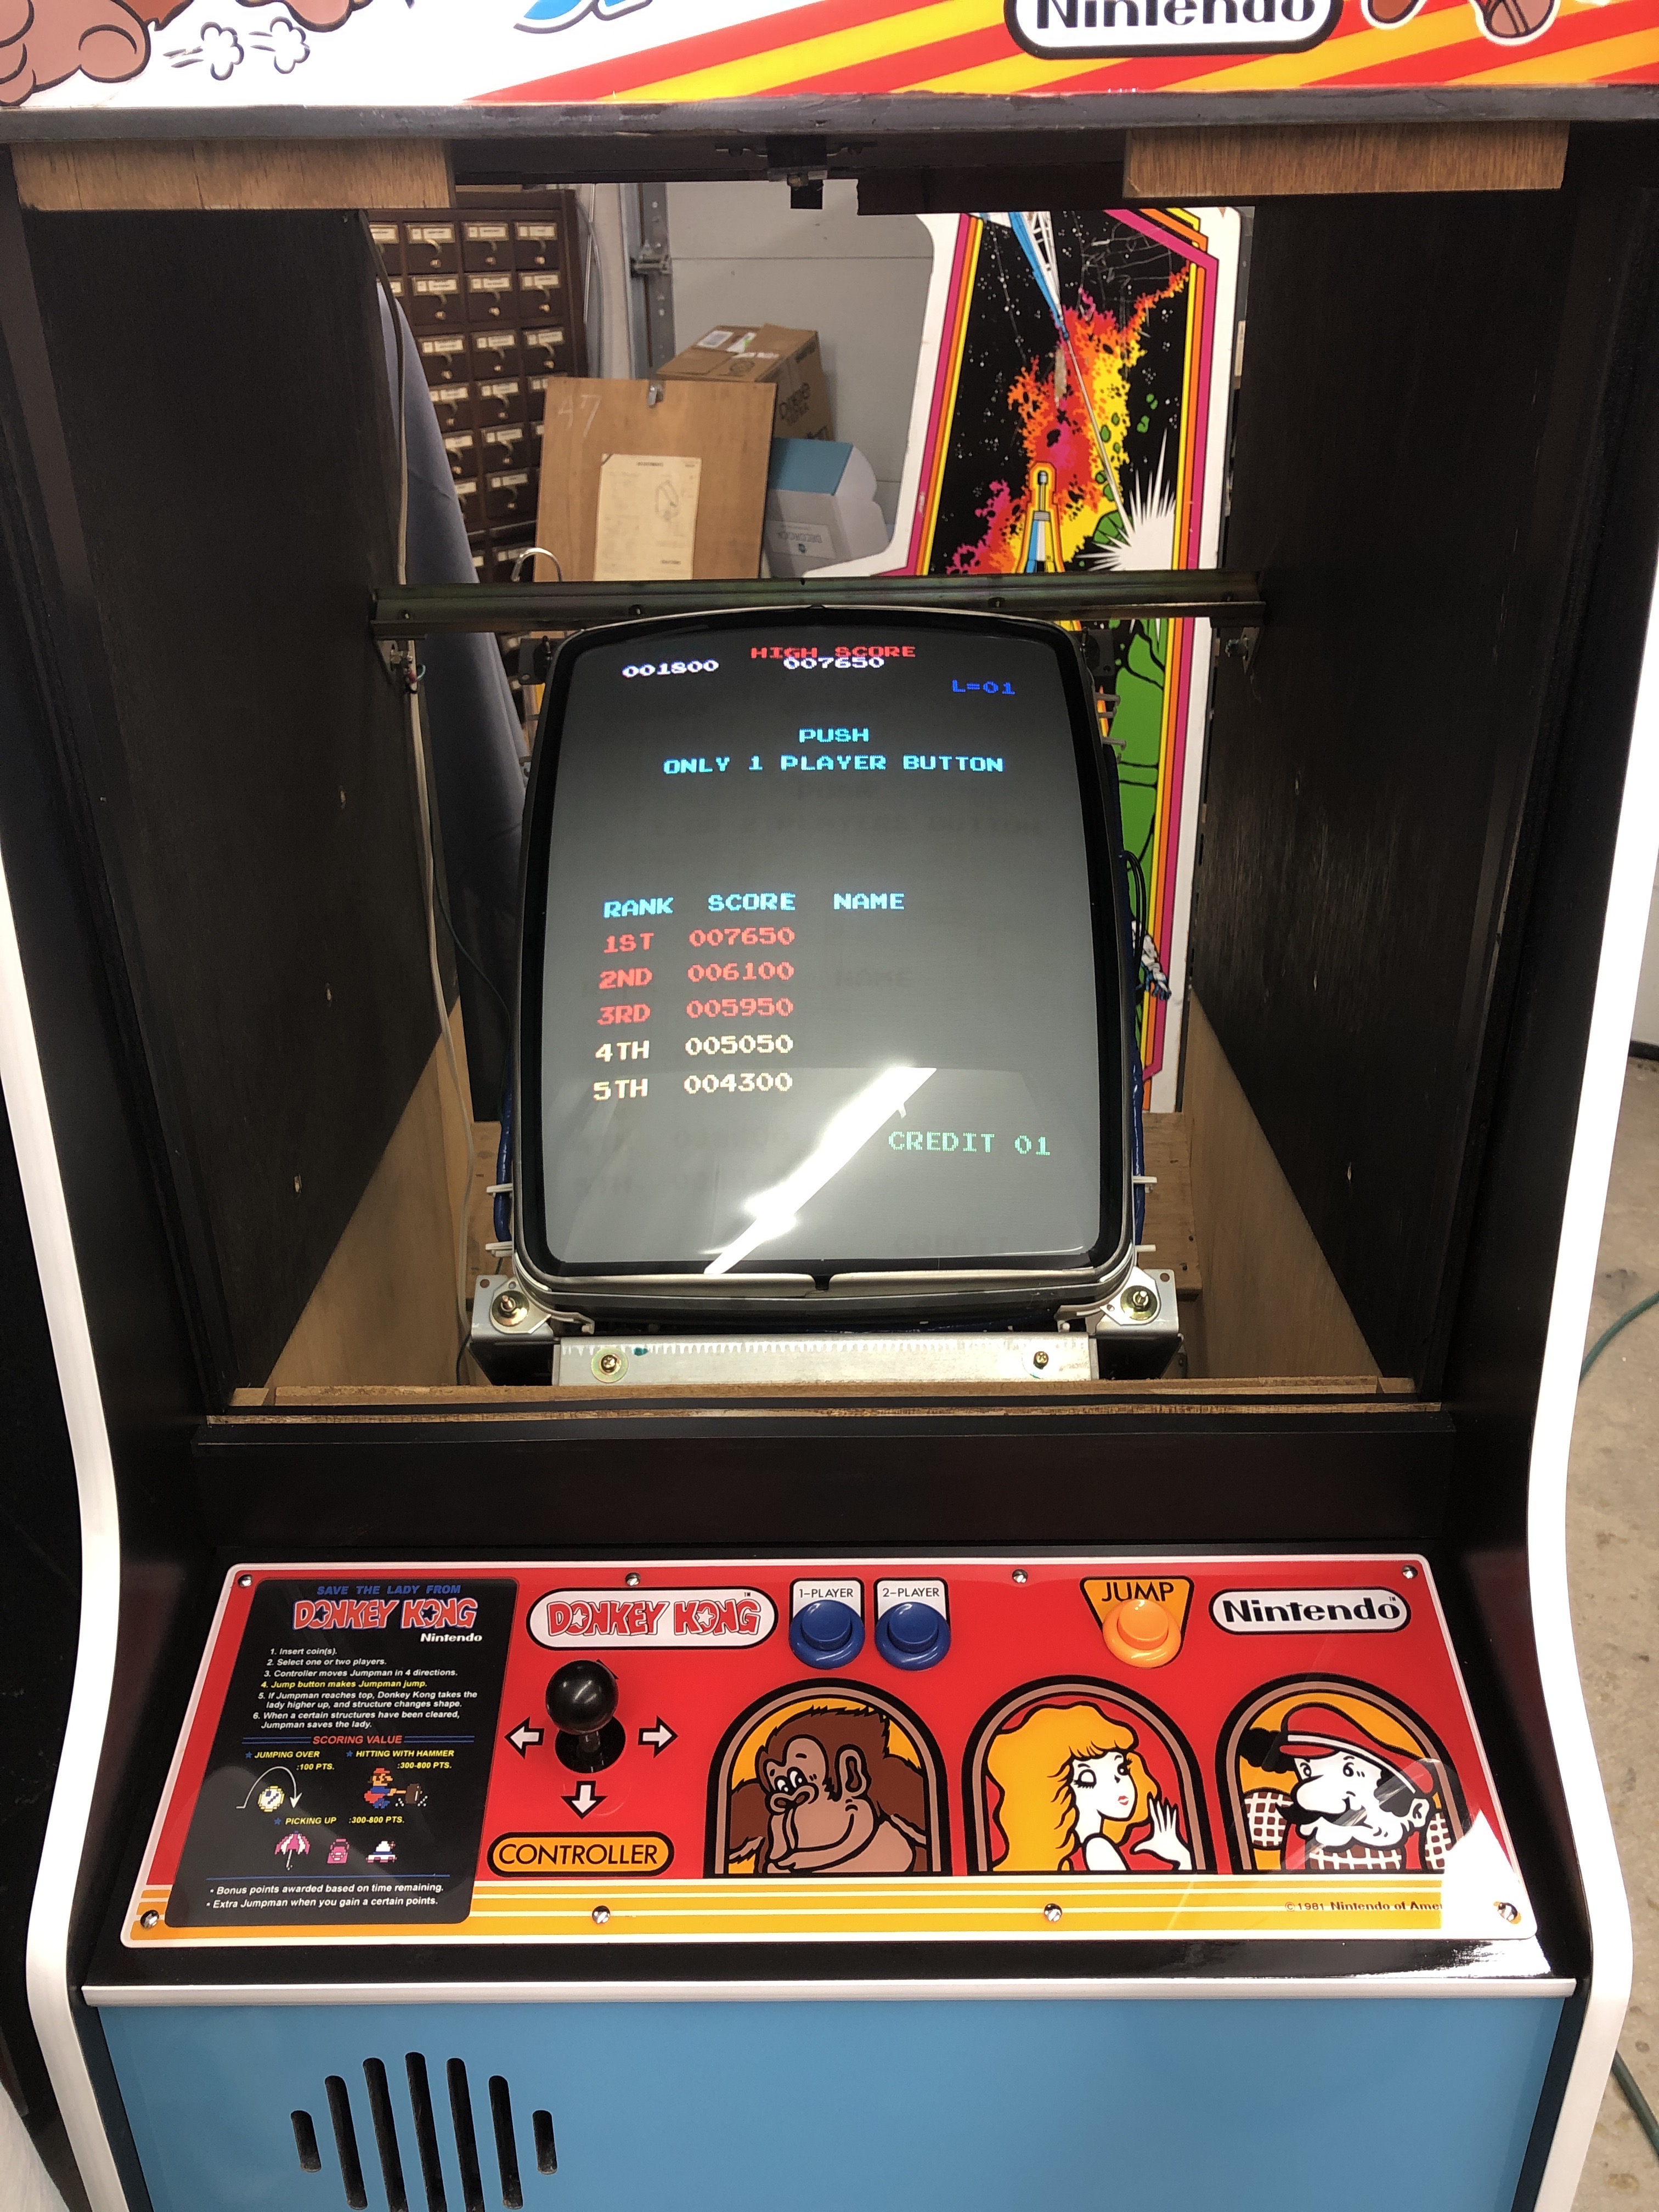
Once it was up and running.. The music cut out on the PCB, but the game sounds worked. I was trying to get this thing ready for labor day weekend! I pulled all the socketed chips, washed the boards, cleaned the legs, Deoxit. Put it all back together – same issue.
The 8035 sound processor was a Fujitsu.. big surprise. Luckily I had one in stock. Music is back! Last issue – there was a whirring sound.. Like the jump sound never completely shut off. Mikes Arcade repair logs says it’s Q4 on the CPU board. Tested the transistor – bad! There is the very slightest hint of the same sound.. But not like it was. I have a second set of boards to test against and it was the same. Boards ran all day without issue.. phew.. crisis averted.

Putting it all back together went pretty smooth. Thumping of Kong brings out a few rattles in the cab. One that was a loud buzzing sound was driving me crazy.. I finally found it. The crystal on the video board was buzzing inside its little wire holder against the PCB. Not the first place I would have looked. There are a couple more bass induced rattles to find still.
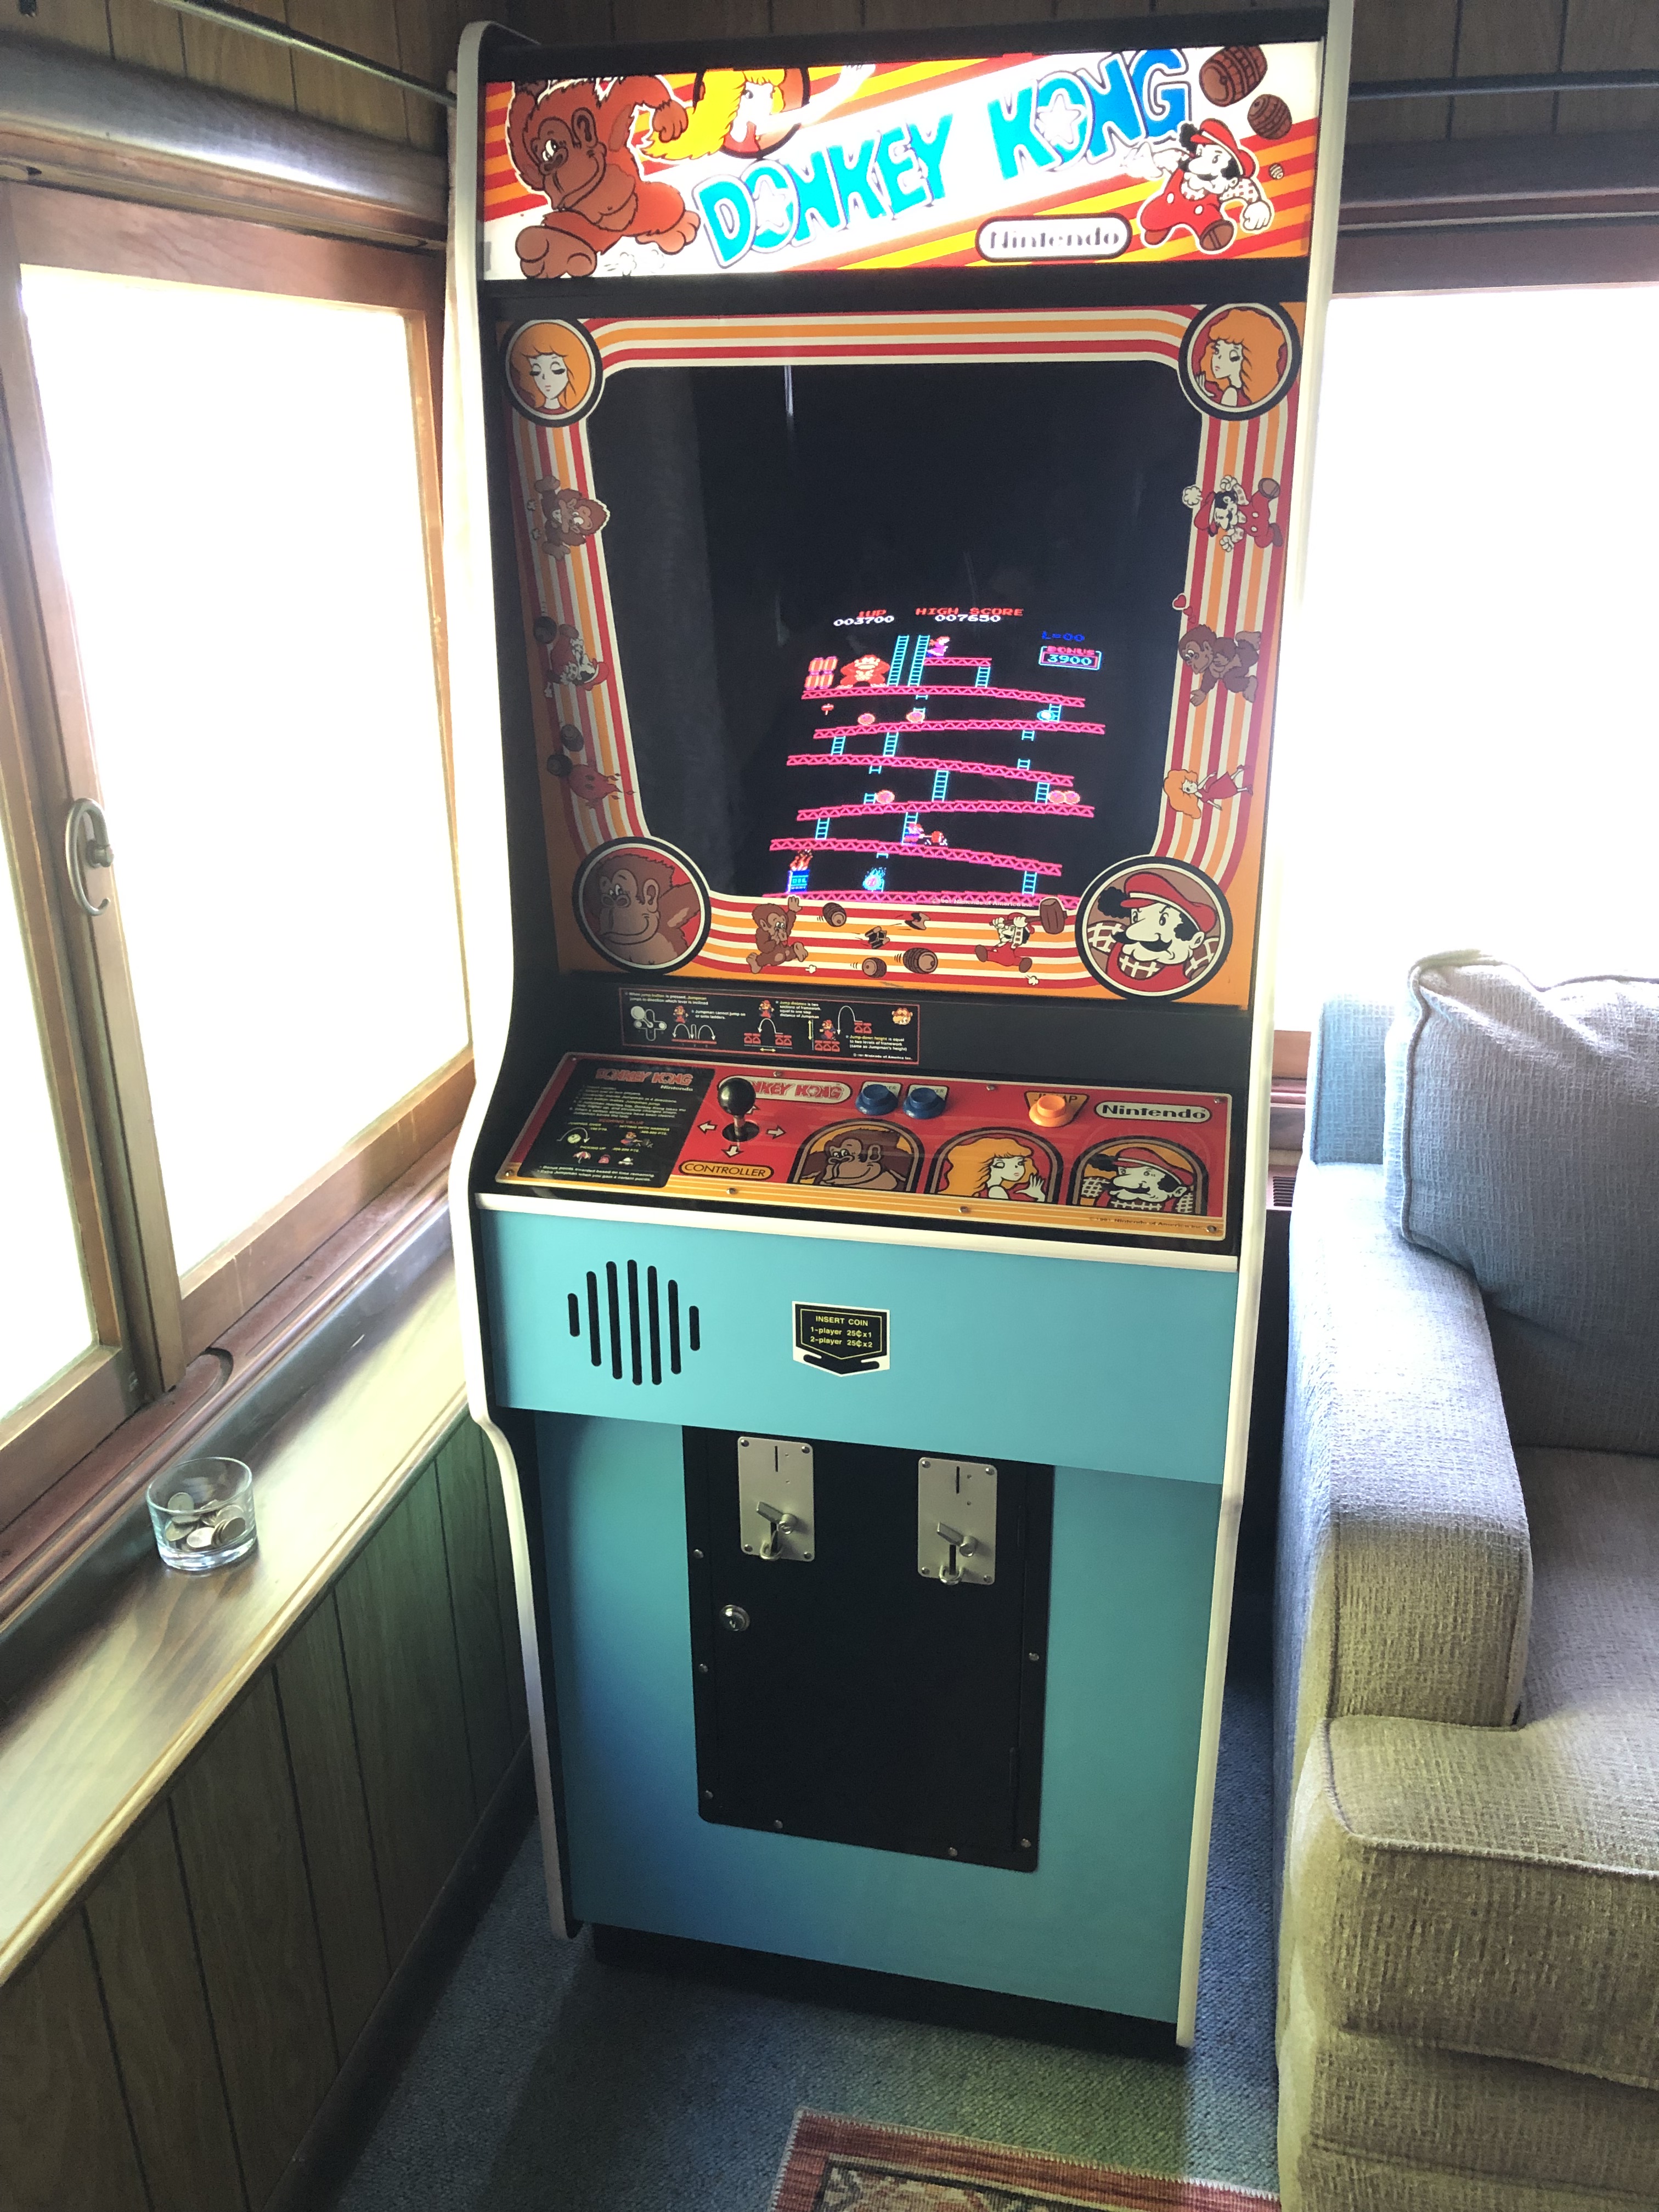
This one got the OK to be moved up to the lake. I’m slowly winning…..

My friends son learning Donkey Kong!
Shop cleaned. Ready for the next project.
