My goal on a cabinet cleanup/restoration is to make it look original – not necessarily brand new. However – removing bad mods from the past and damage that can be repaired w/o being obvious is allowed!


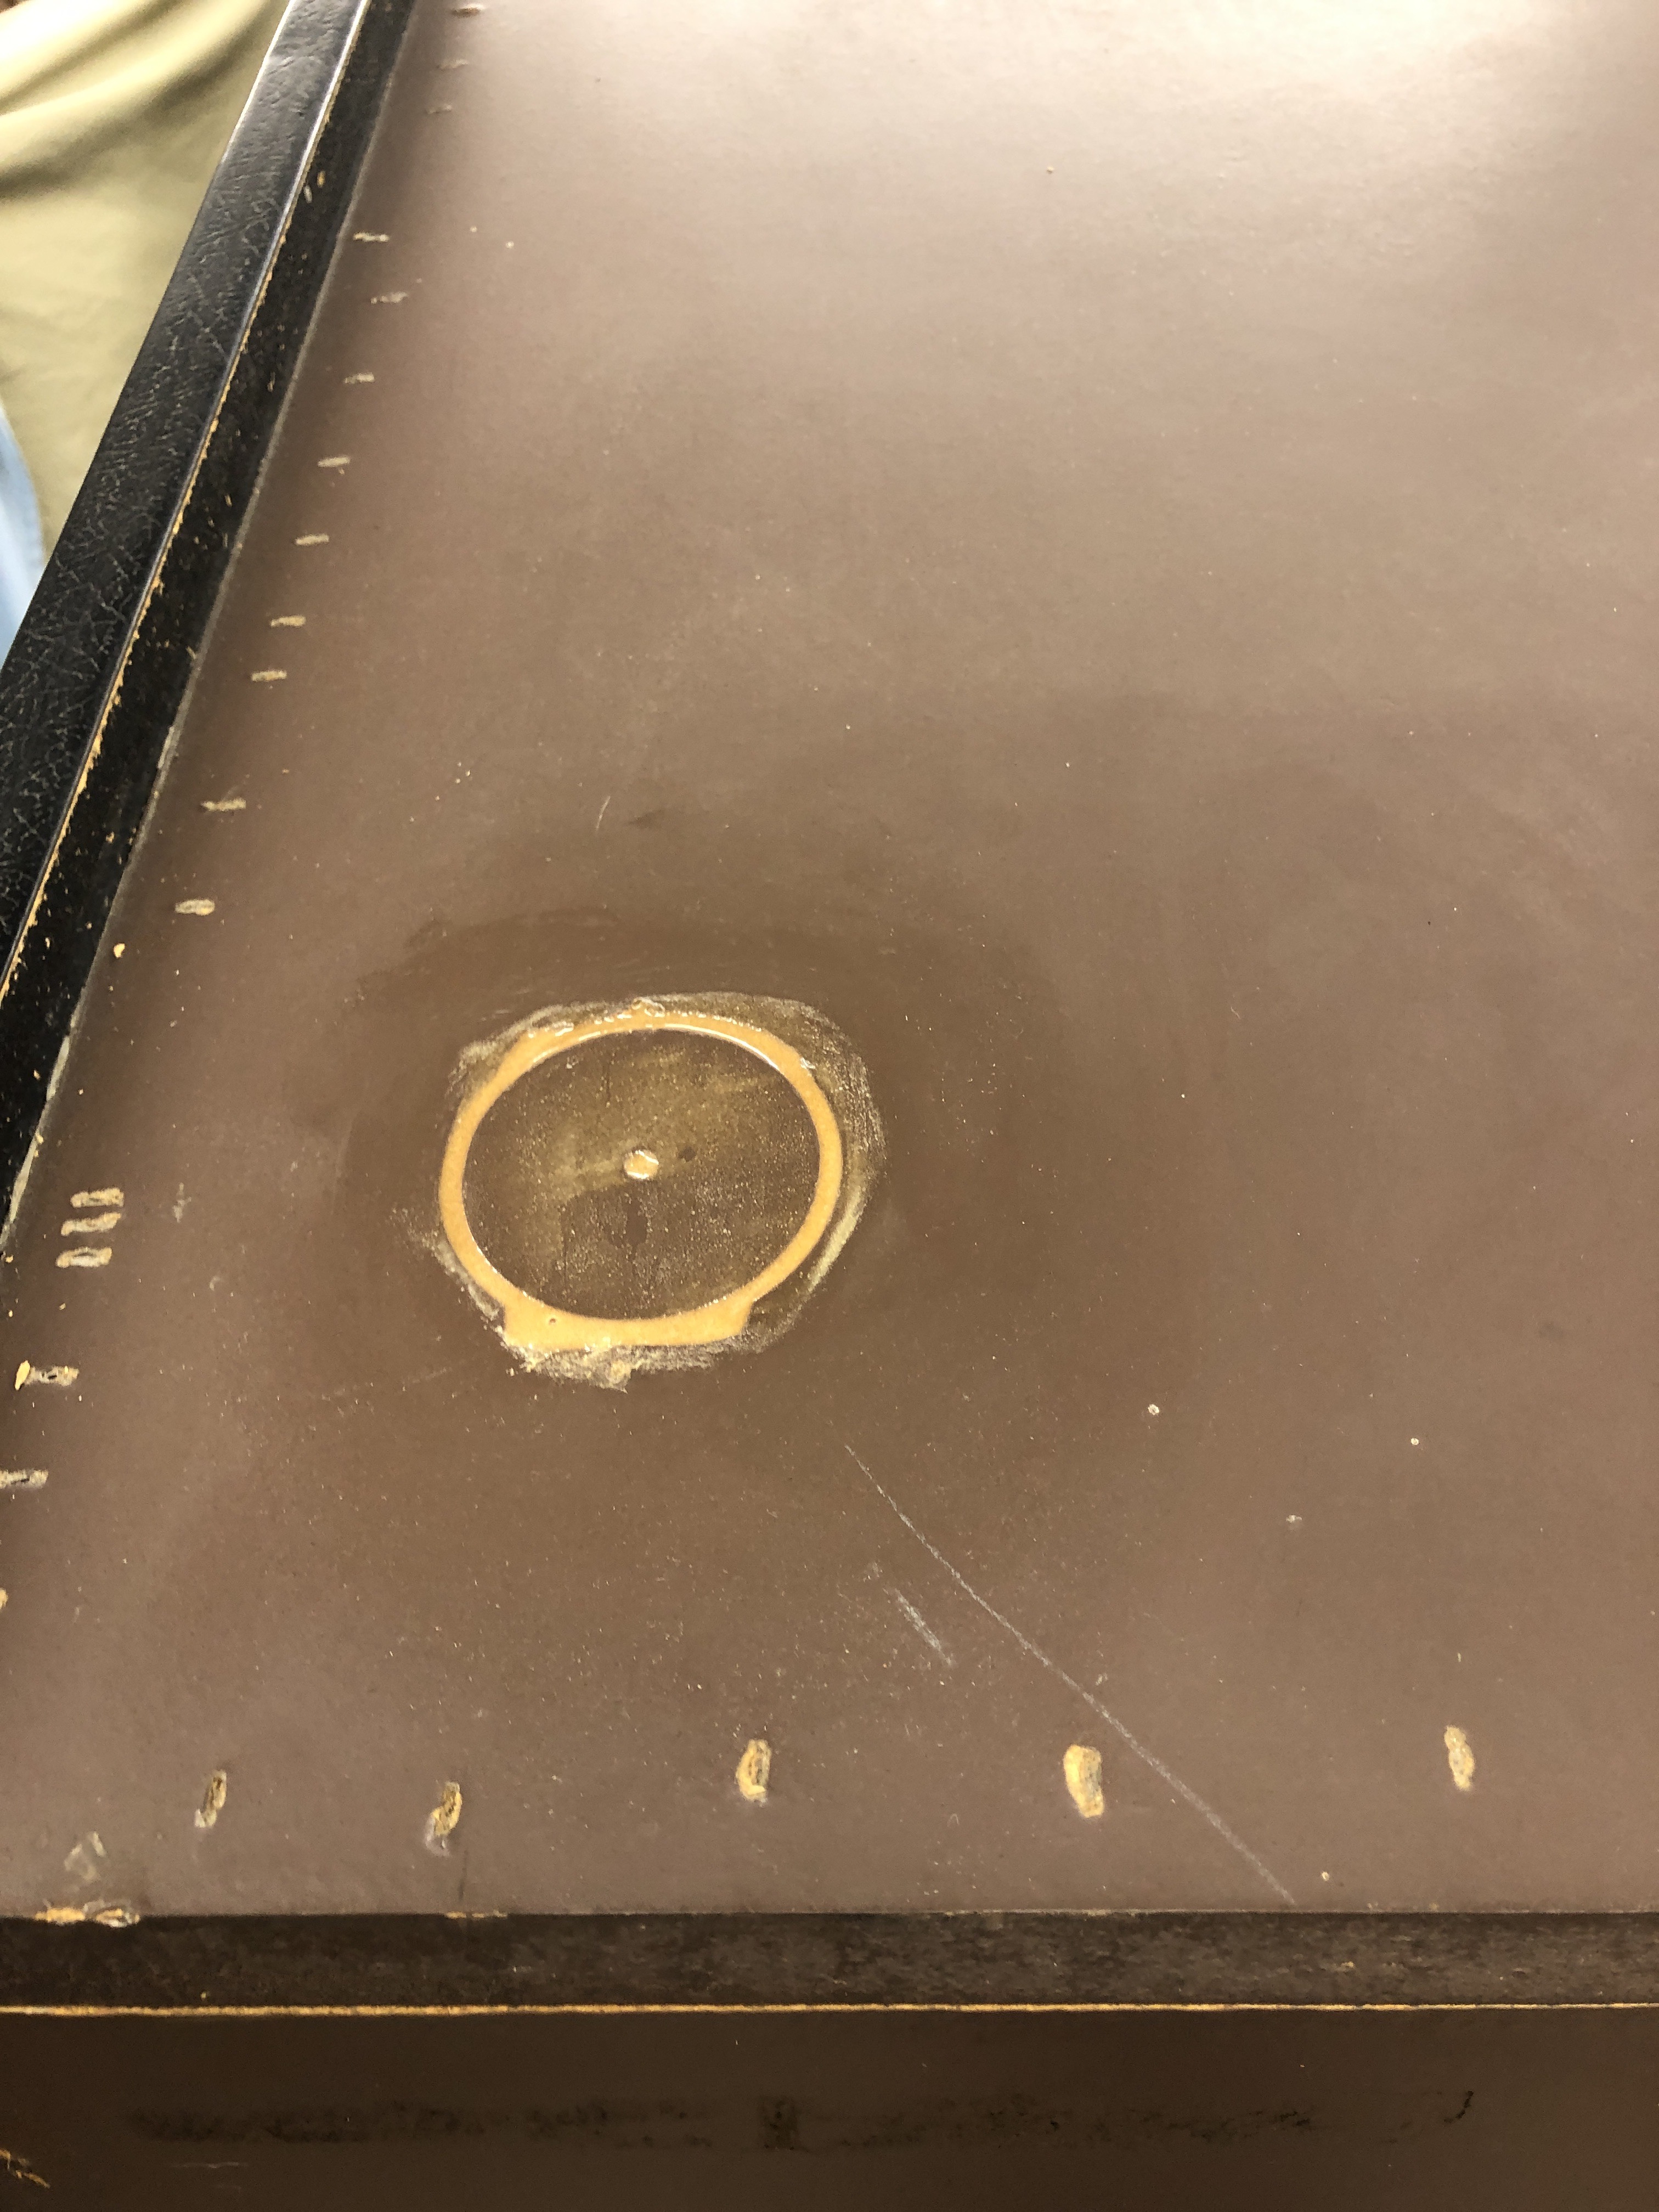
Amazingly the original plug from the hole saw was still in the bottom of the cabinet. This is where the wall light switch was installed. First thing I did was take the plug to Home Depot and got it color matched to one of their $5.99 satin samples at the paint counter. I’ve had great success in getting nearly imperceptible matches in the past and the hard part was done. I had good sample to work from!
From the inside, I used a packing tape covered block of wood as a backer and glued the original plug back into place. The clamp pressed upward to hold it all. The monitor/marquee shelf made this pretty easy.


Once it was dry – I used thickened epoxy to fill the gap and make it permanent. I sanded it perfectly flat and filled the remaining scratches with Bondo.. (it’s intended use) filling small gaps.


Sandable primer/filler is pretty much required to get this part right.. otherwise you will get an impression of the repair through the finish coat. I sprayed on 3-4 coats of primer and feathered it into the surrounding area. After painting, the color match was perfect – but the sheen (satin vs. the actual cabinet) was just noticeable enough that I decided to repaint the entire top. It looked like it had been painted.

Here it is completed. Now you can’t tell it’s been repaired. Because I could, I sanded and painted the repair on the inside too. Not nearly as nice – but unless you go looking up there with a flashlight.. you’ll never know there was a hole in this cabinet.

The brown melamine was really chewed up on this and it certainly wasn’t going to get any better. Having done the top – this area was pretty easy to fix.


Step1 – sand off all of the loose material – need to get to a solid base. I have a packing tape covered form clamped in place to mold the bottom edges. Here is where you really need to use epoxy (Bondo rant on: Epoxy is used to build cars, planes, boats and skis. It is a very strong adhesive – Bondo is designed to fill minor voids and surface imperfections – it has no strength. Use epoxy for this sort of repair. Rant off)
After both edges are reinforced with thickened epoxy..


Sand flat – then use Bondo to fill in any remaining imperfections. I taped off all of the exposed edges including inside the vent holes.. Make it look like it hasn’t been repaired! Sprayed on a few coats of sandable primer, sanded with 320 and then 2 coats of paint. I found this paint likes 1/4″ nap rollers the best.

Looks original – can’t see the repairs..


This issue was easy to fix, but impossible (at least so far) to get 100%.. At some point this cabinet was dropped or crushed pretty significantly. The left side CP arm is cracked and the right side of the coin door panel separated from the cabinet side. On the inside of the cabinet – there are supports for the control panel – which are holding the broken part in place it seems. That is a positive.


There are a couple of things happening here. The cleat on the inside of the cabinet needs to be ‘pushed’ into position at the same time both sides are clamped together. Epoxy in the gap and a bunch of clamps to spread the force evenly made this an easy fix. The shorter clamps are pushing the particleboard block into the vertical cleat so that it makes contact with the cabinet side.
All together they closed up the gap. I do have a remaining issue in that the left side ‘arm’ is still leaning in a bit. Opening and closing the control panel is an issue. I have to push the left side out to get the CP open/closed. It drags hard on the inside edge of the CP. Maybe a bit more thinking on this one..
More cosmetic stuff.. I little out of order..


I broke out the buffer and the Novus for the marquee and bezel. At some point in their life they were a victim of some sort of overspray. Both polished up nice in about an hour or so.
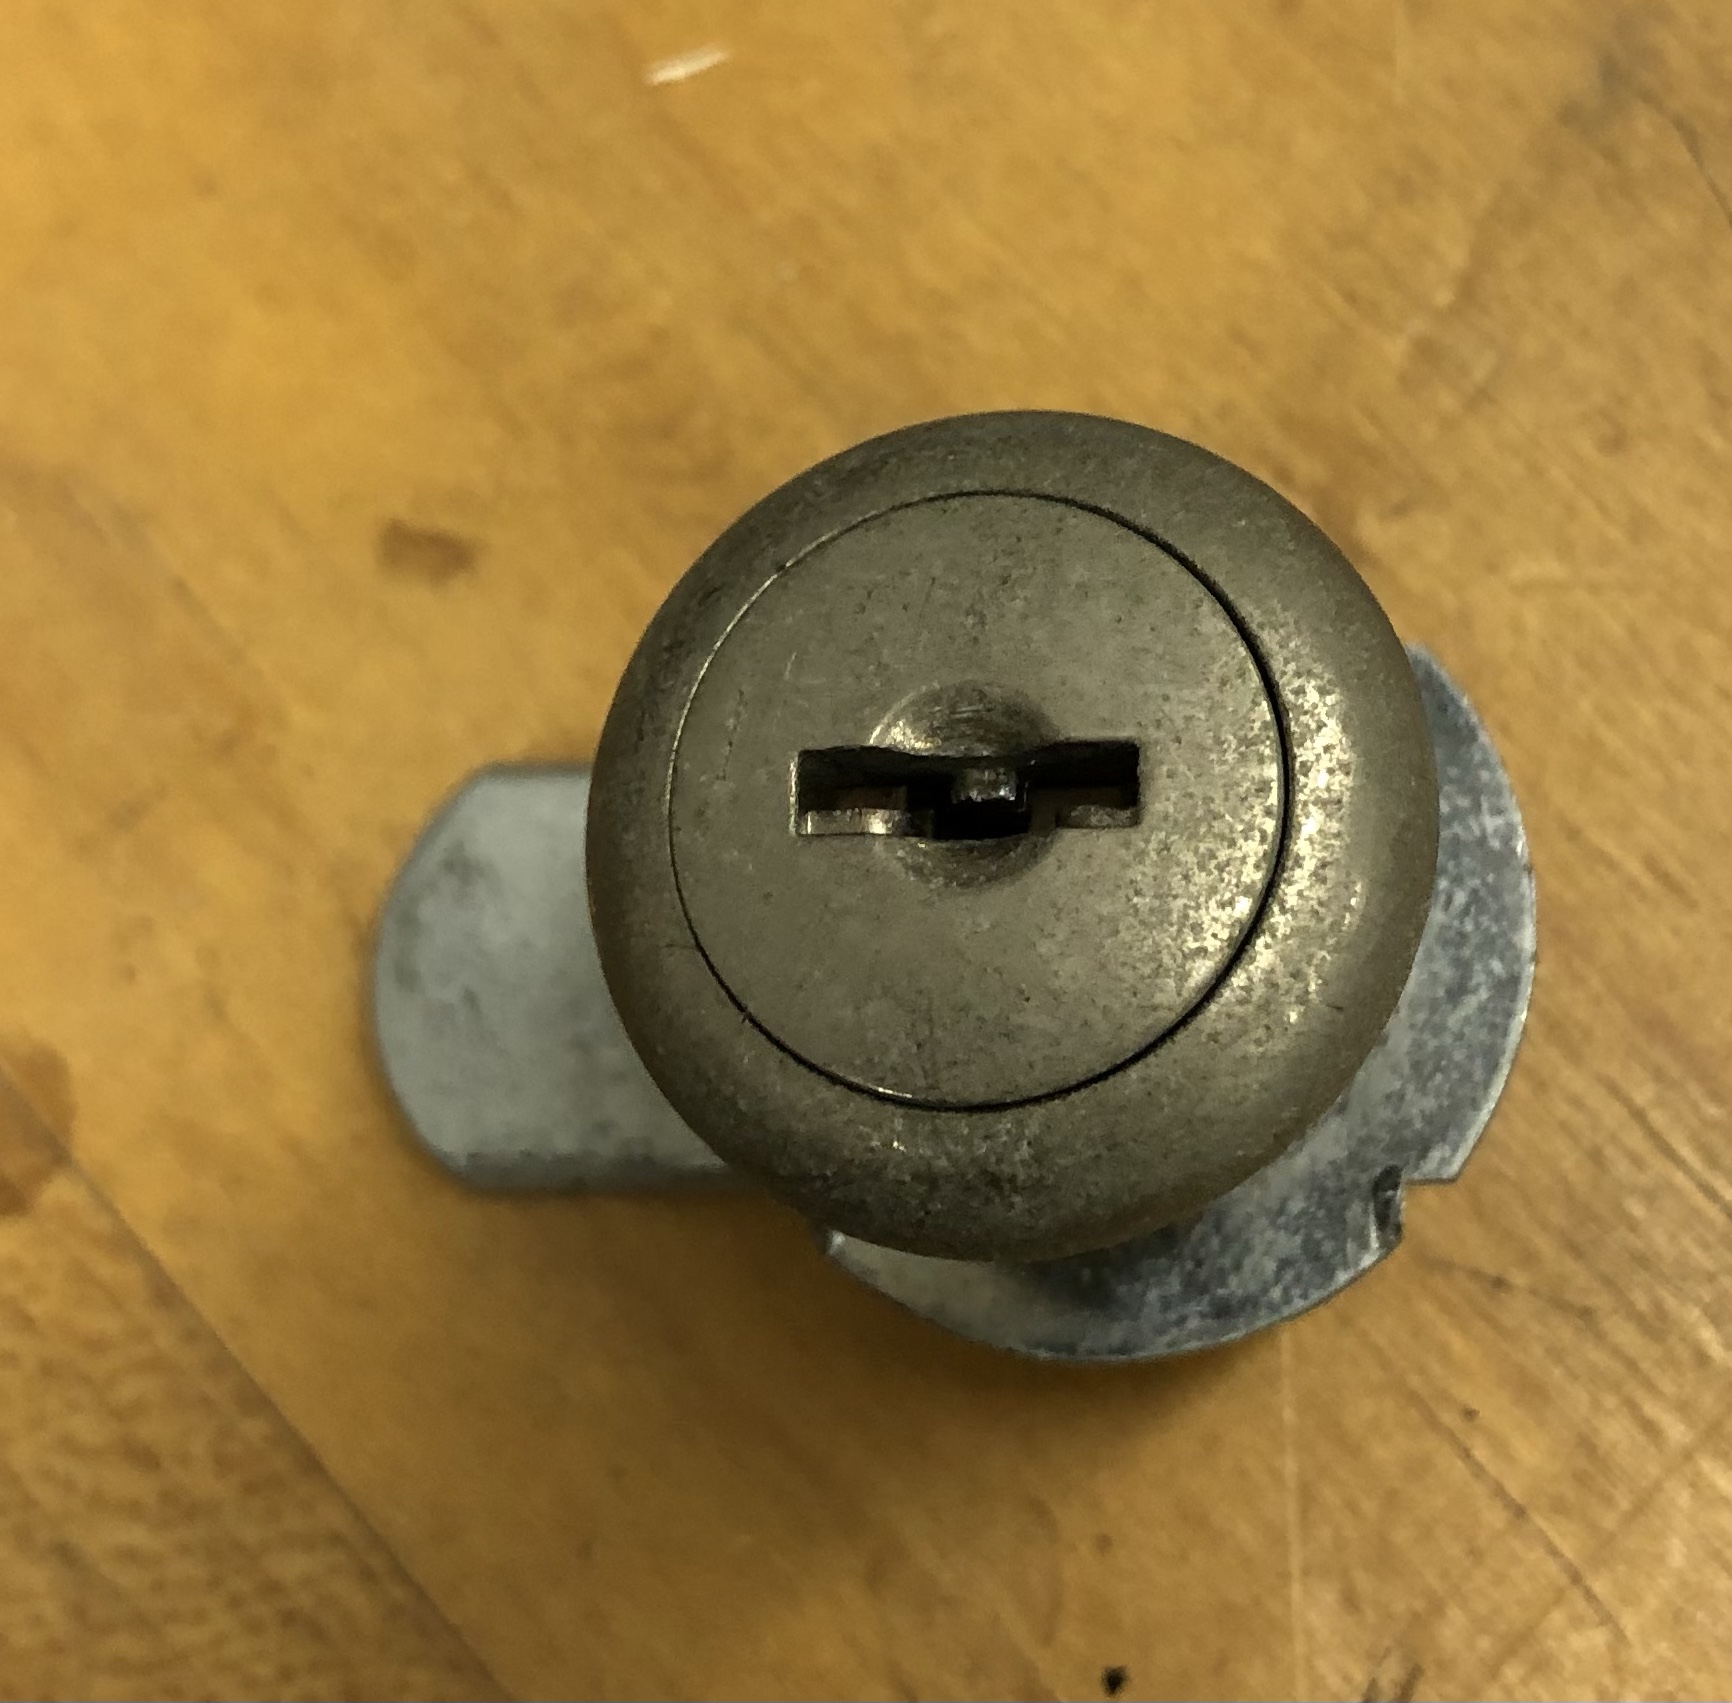

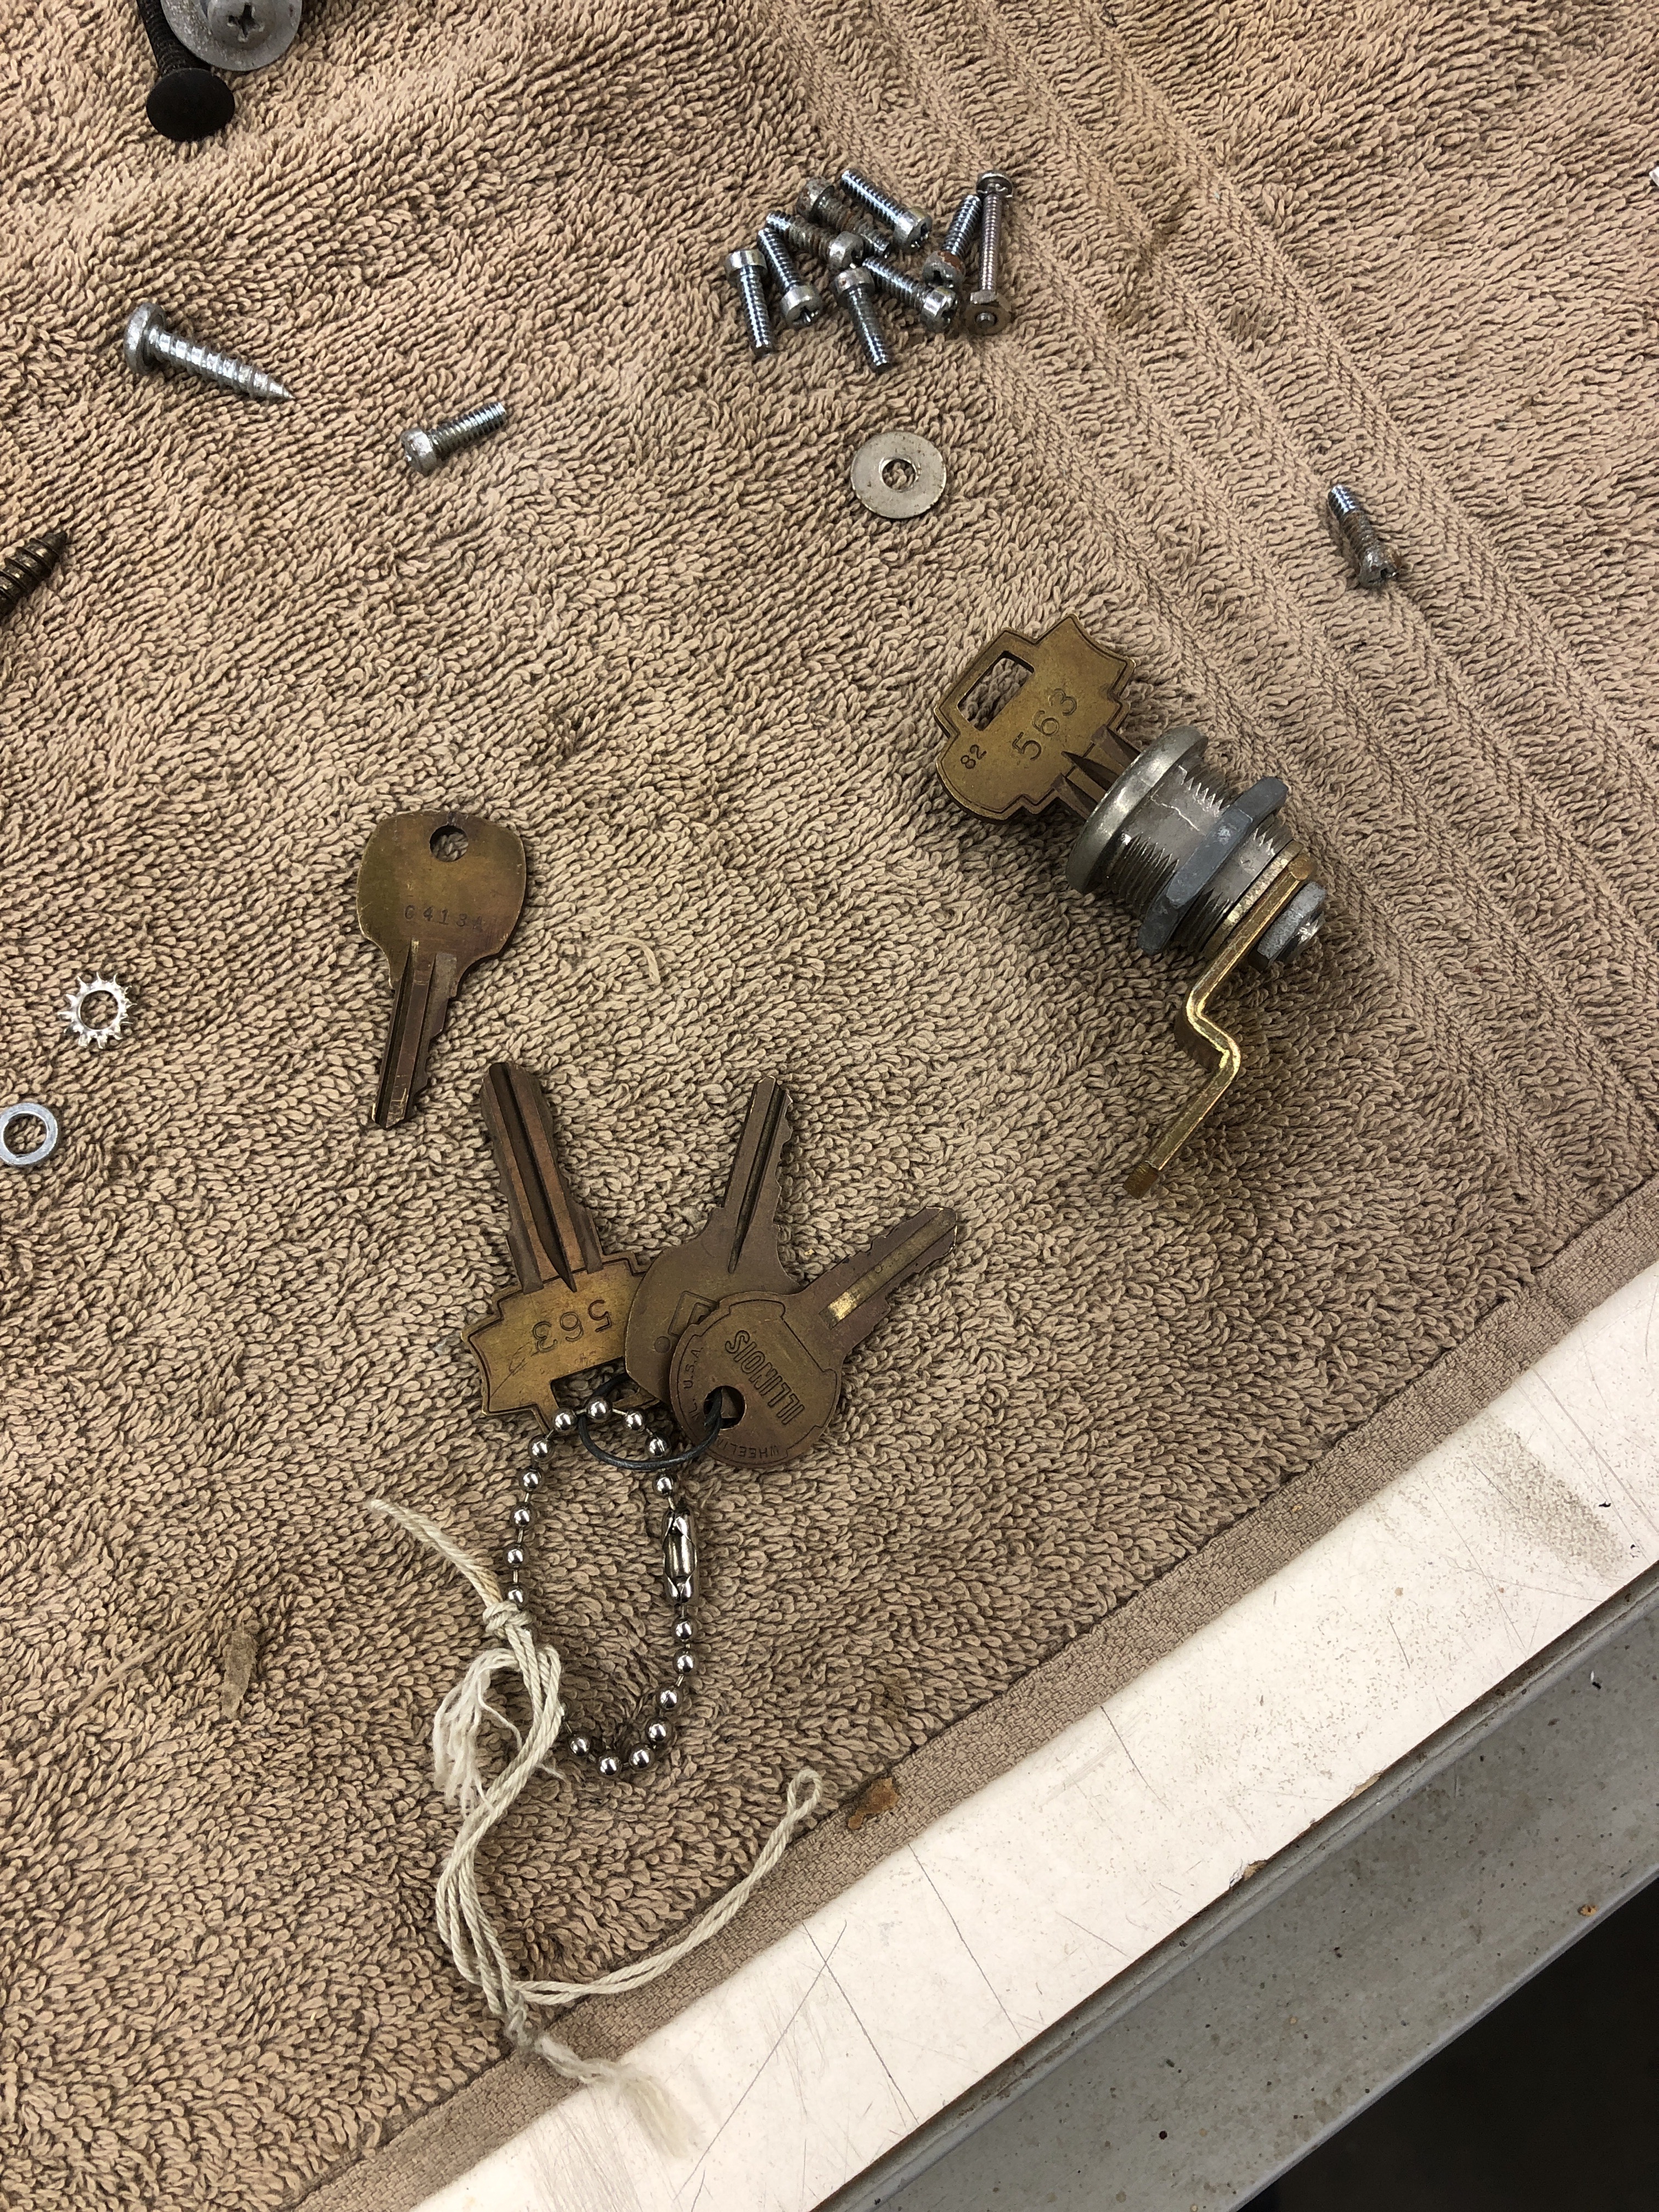
All 3 locks are original as far as I can tell. With the original keys and a full set of spare keys. When does that happen? A couple minutes on the buffing wheel cleaned them up.

The control panel cleaned up nice in the tub with soap and water. I went over it with some Magic Eraser – but no real extra dirt came off.. Very nice survivor here.

One last odd item – the side art seems to have shrunken over time.. There was this line of dirt from adhesive all around each side. I have a few hours into getting it off using a razor blade as a cabinet scraper, Goo Gone and Miracle Eraser.. Very strange.. It was a challenge to not Magic Erase the edge of the sideart.. Slow going all the way around.

I believe my has a similar if not same . Do you restore for others . I would like to talk to you. My number is 816-520-2471