
*** Newest Entries always added to the bottom ***
I picked up a Ms. Pacman mini – surprisingly the board worked at first.. but it deteriorated after a few hours of use.
Board 1 – The Origin board

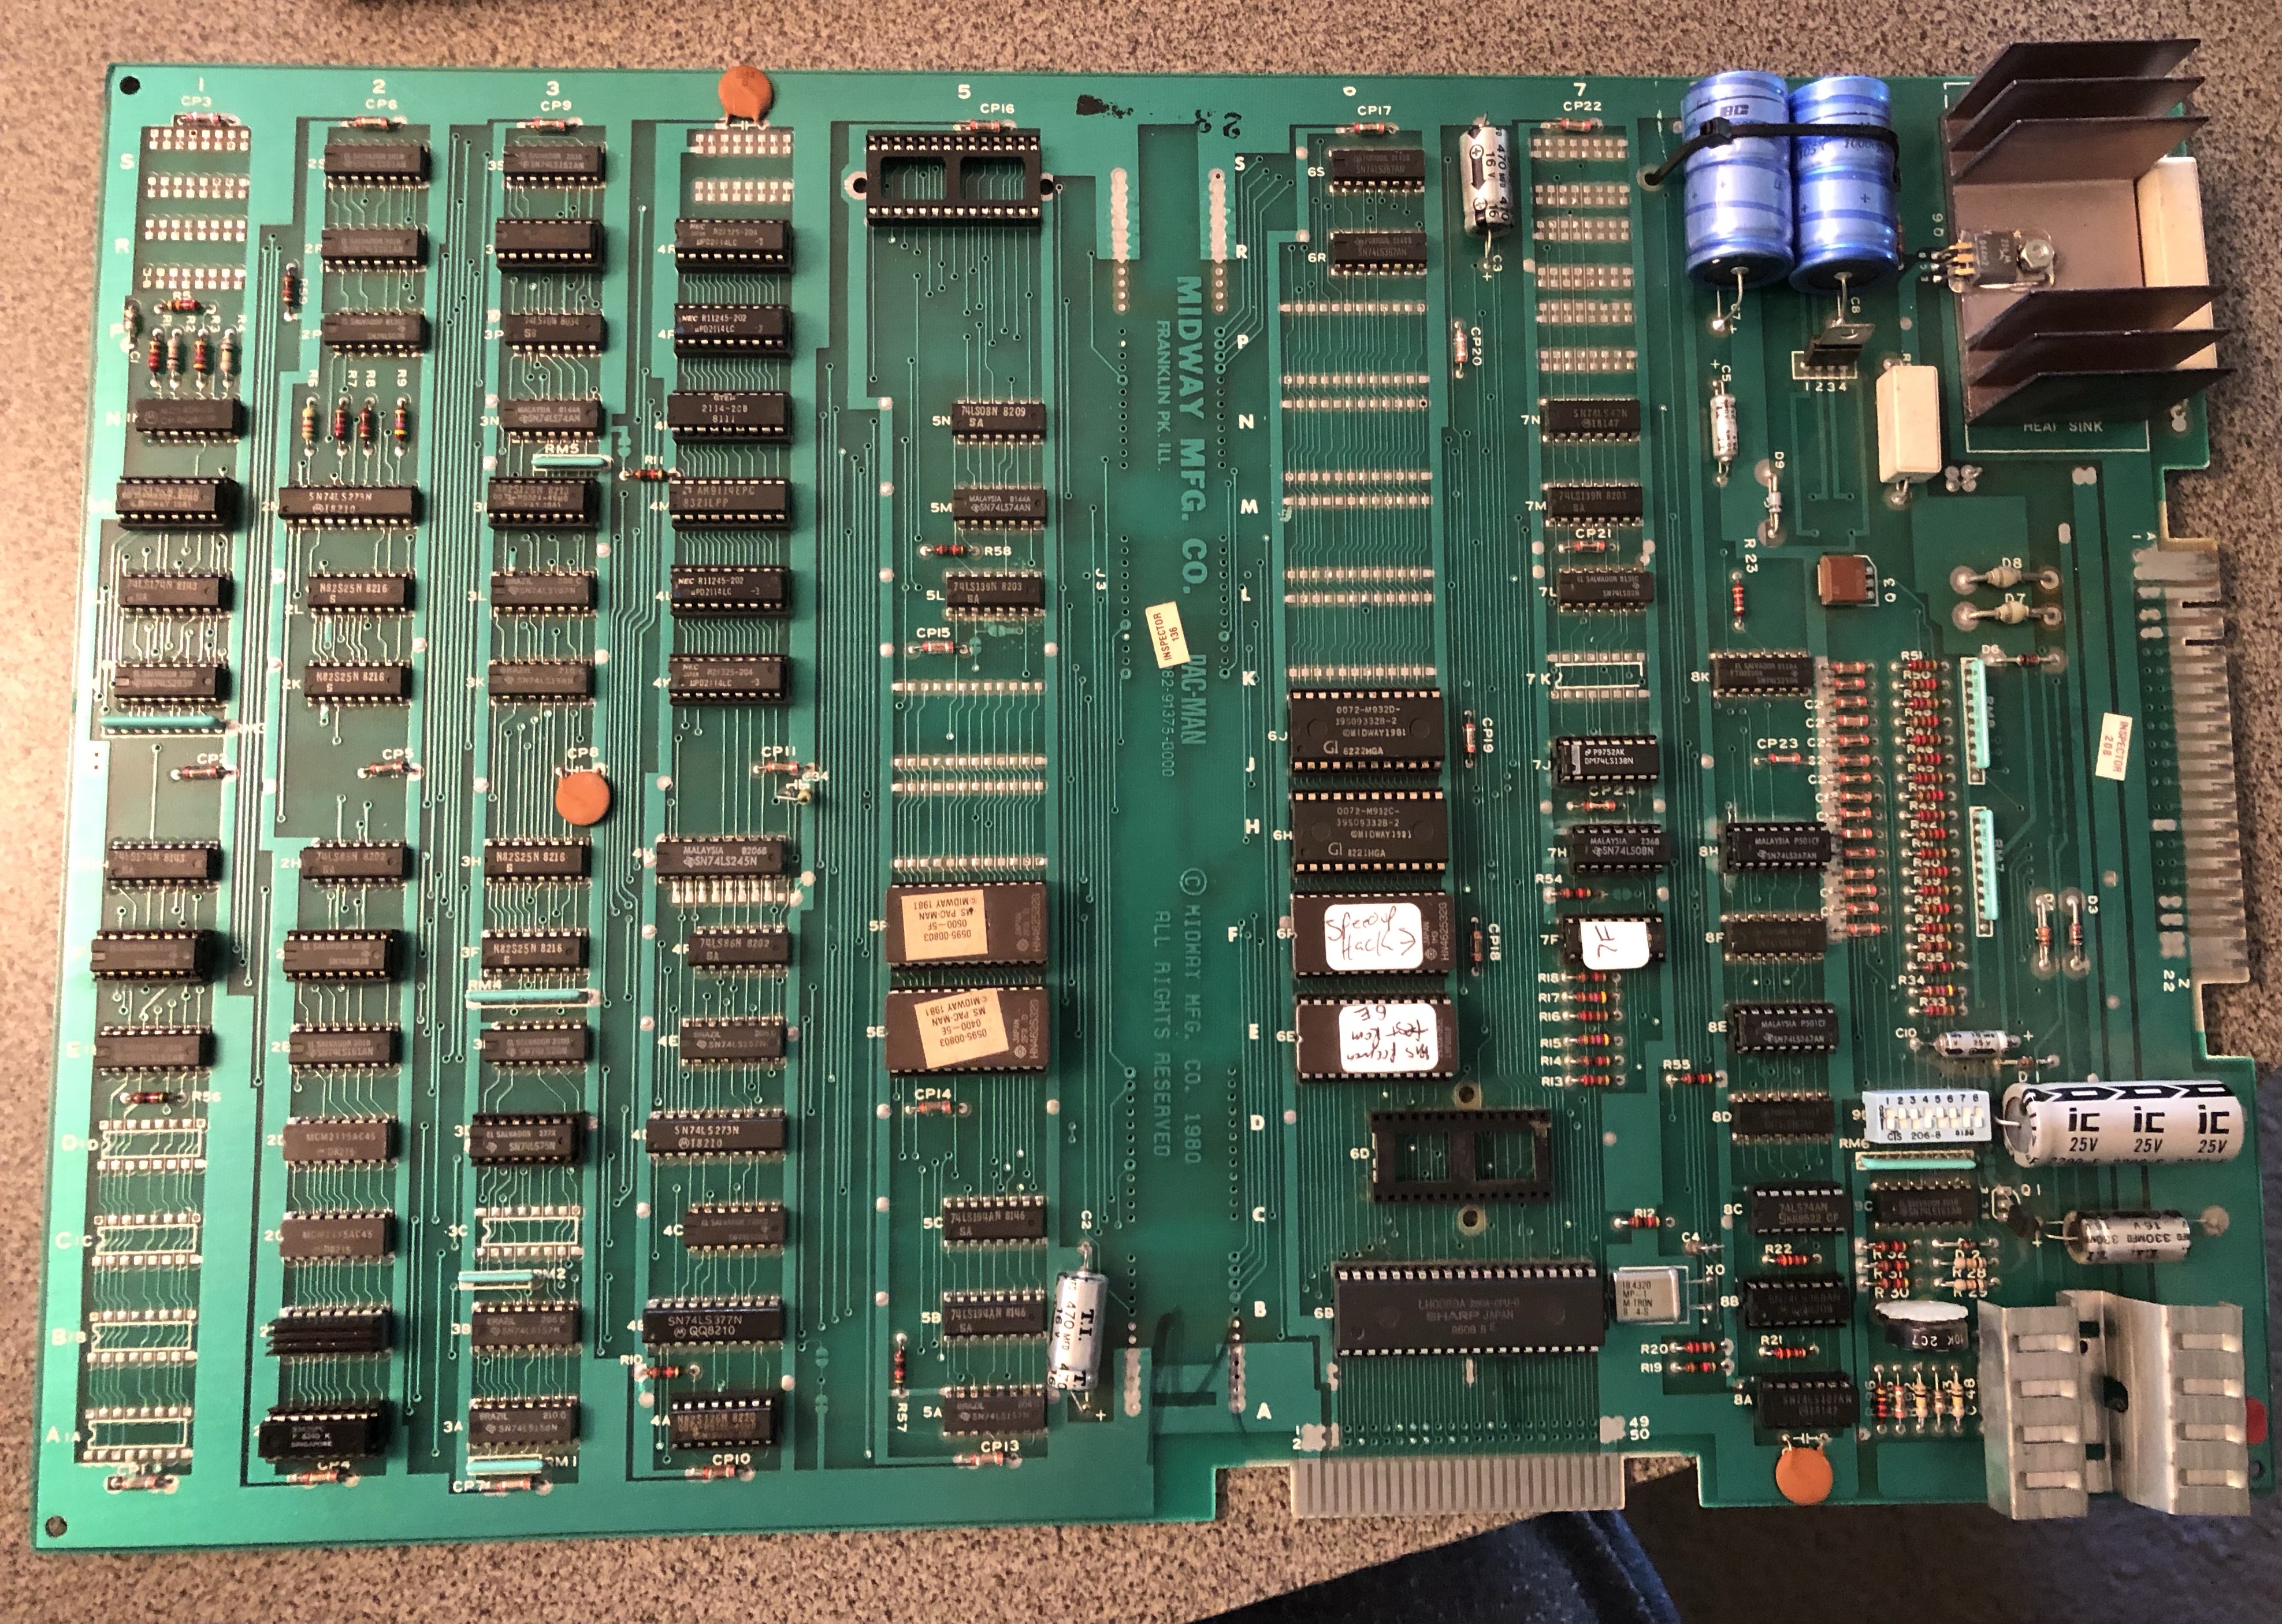
Here is the board that came with my Ms. Pacman Cabaret. It actually powered up and worked the first time I tried it. It basically needed a good maintenance cycle. One of the hacks was power wires soldered directly to the PCB power rails – I believe they were wire nutted to the harness. The edge connector needed a proper repair and it needed to be cleaned.

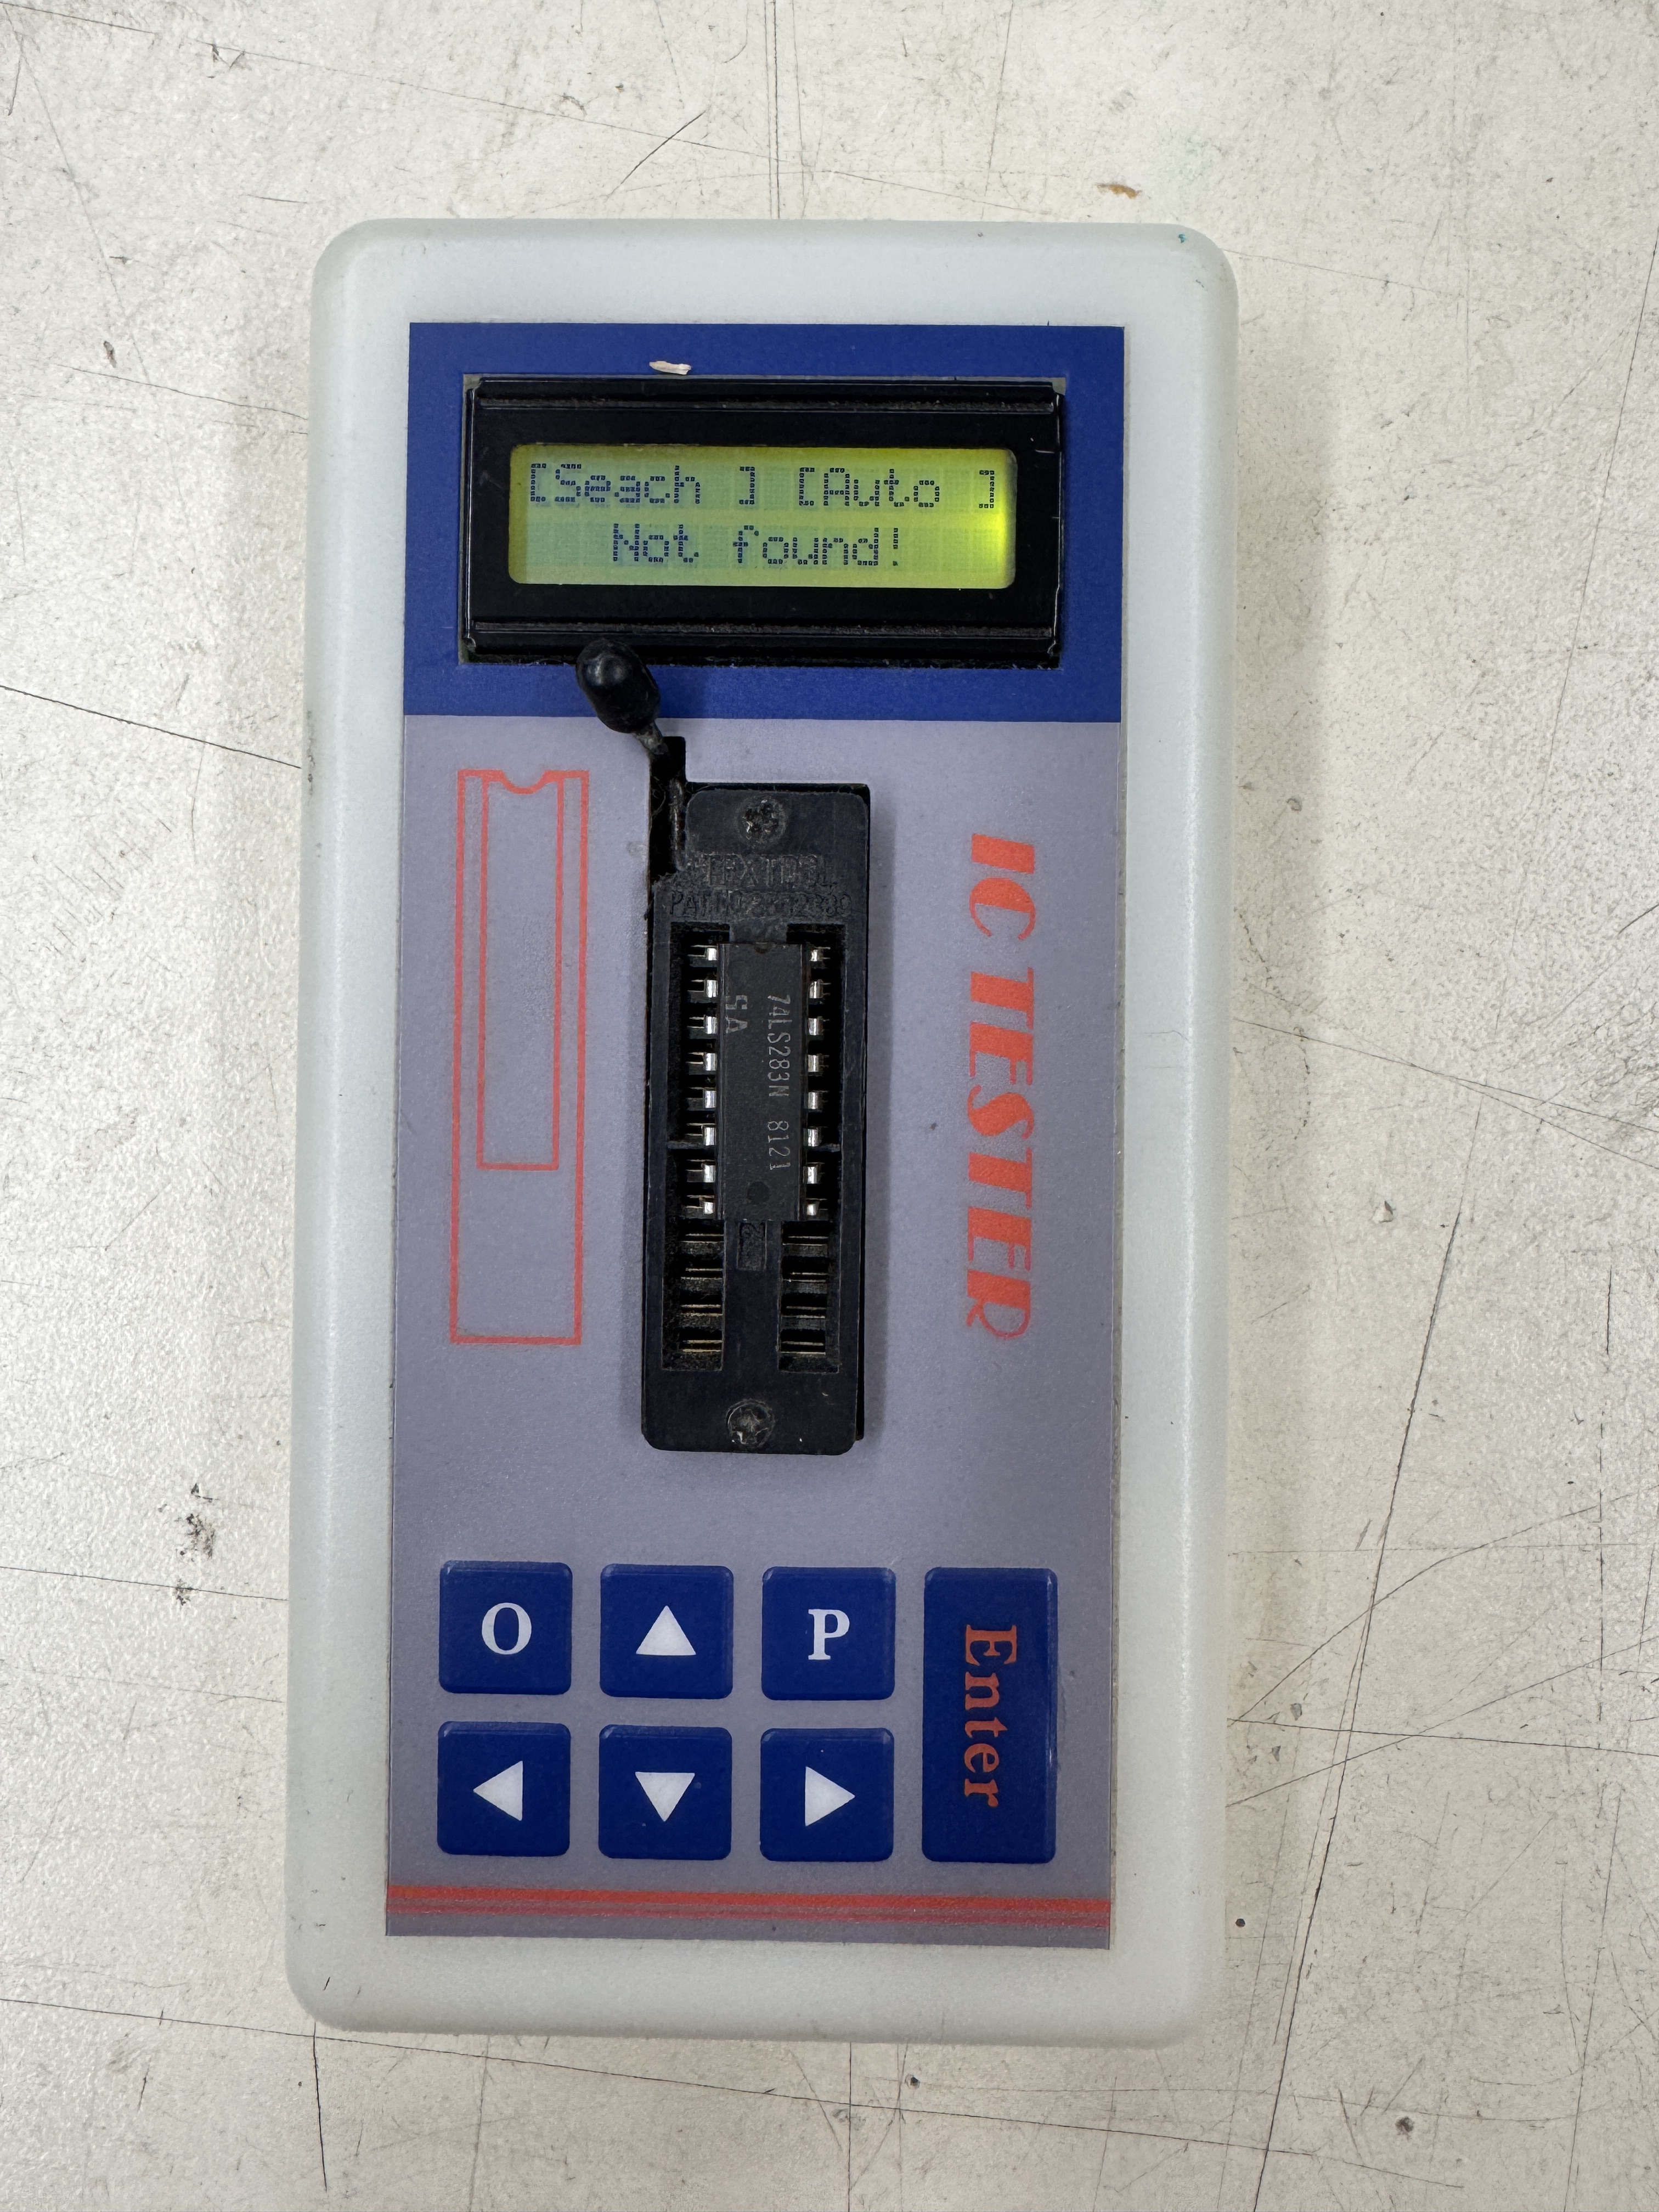
If I’m going to work on a board – I remove all the socketed chips and wash it. They are much easier to work on clean. I test all ROMs, PROMs, RAMs and socketed TTL chips out of circuit when possible.

I cleaned off the old repair and added new copper tape. I thought that this would work fine, but repeated connecting and disconnecting to the harness created a small tear at the edge. I’ll repair and tin it once I’m done messing with this board.

Once I had a clean and functional board – I added a High Score Saves MultiGame Kit.
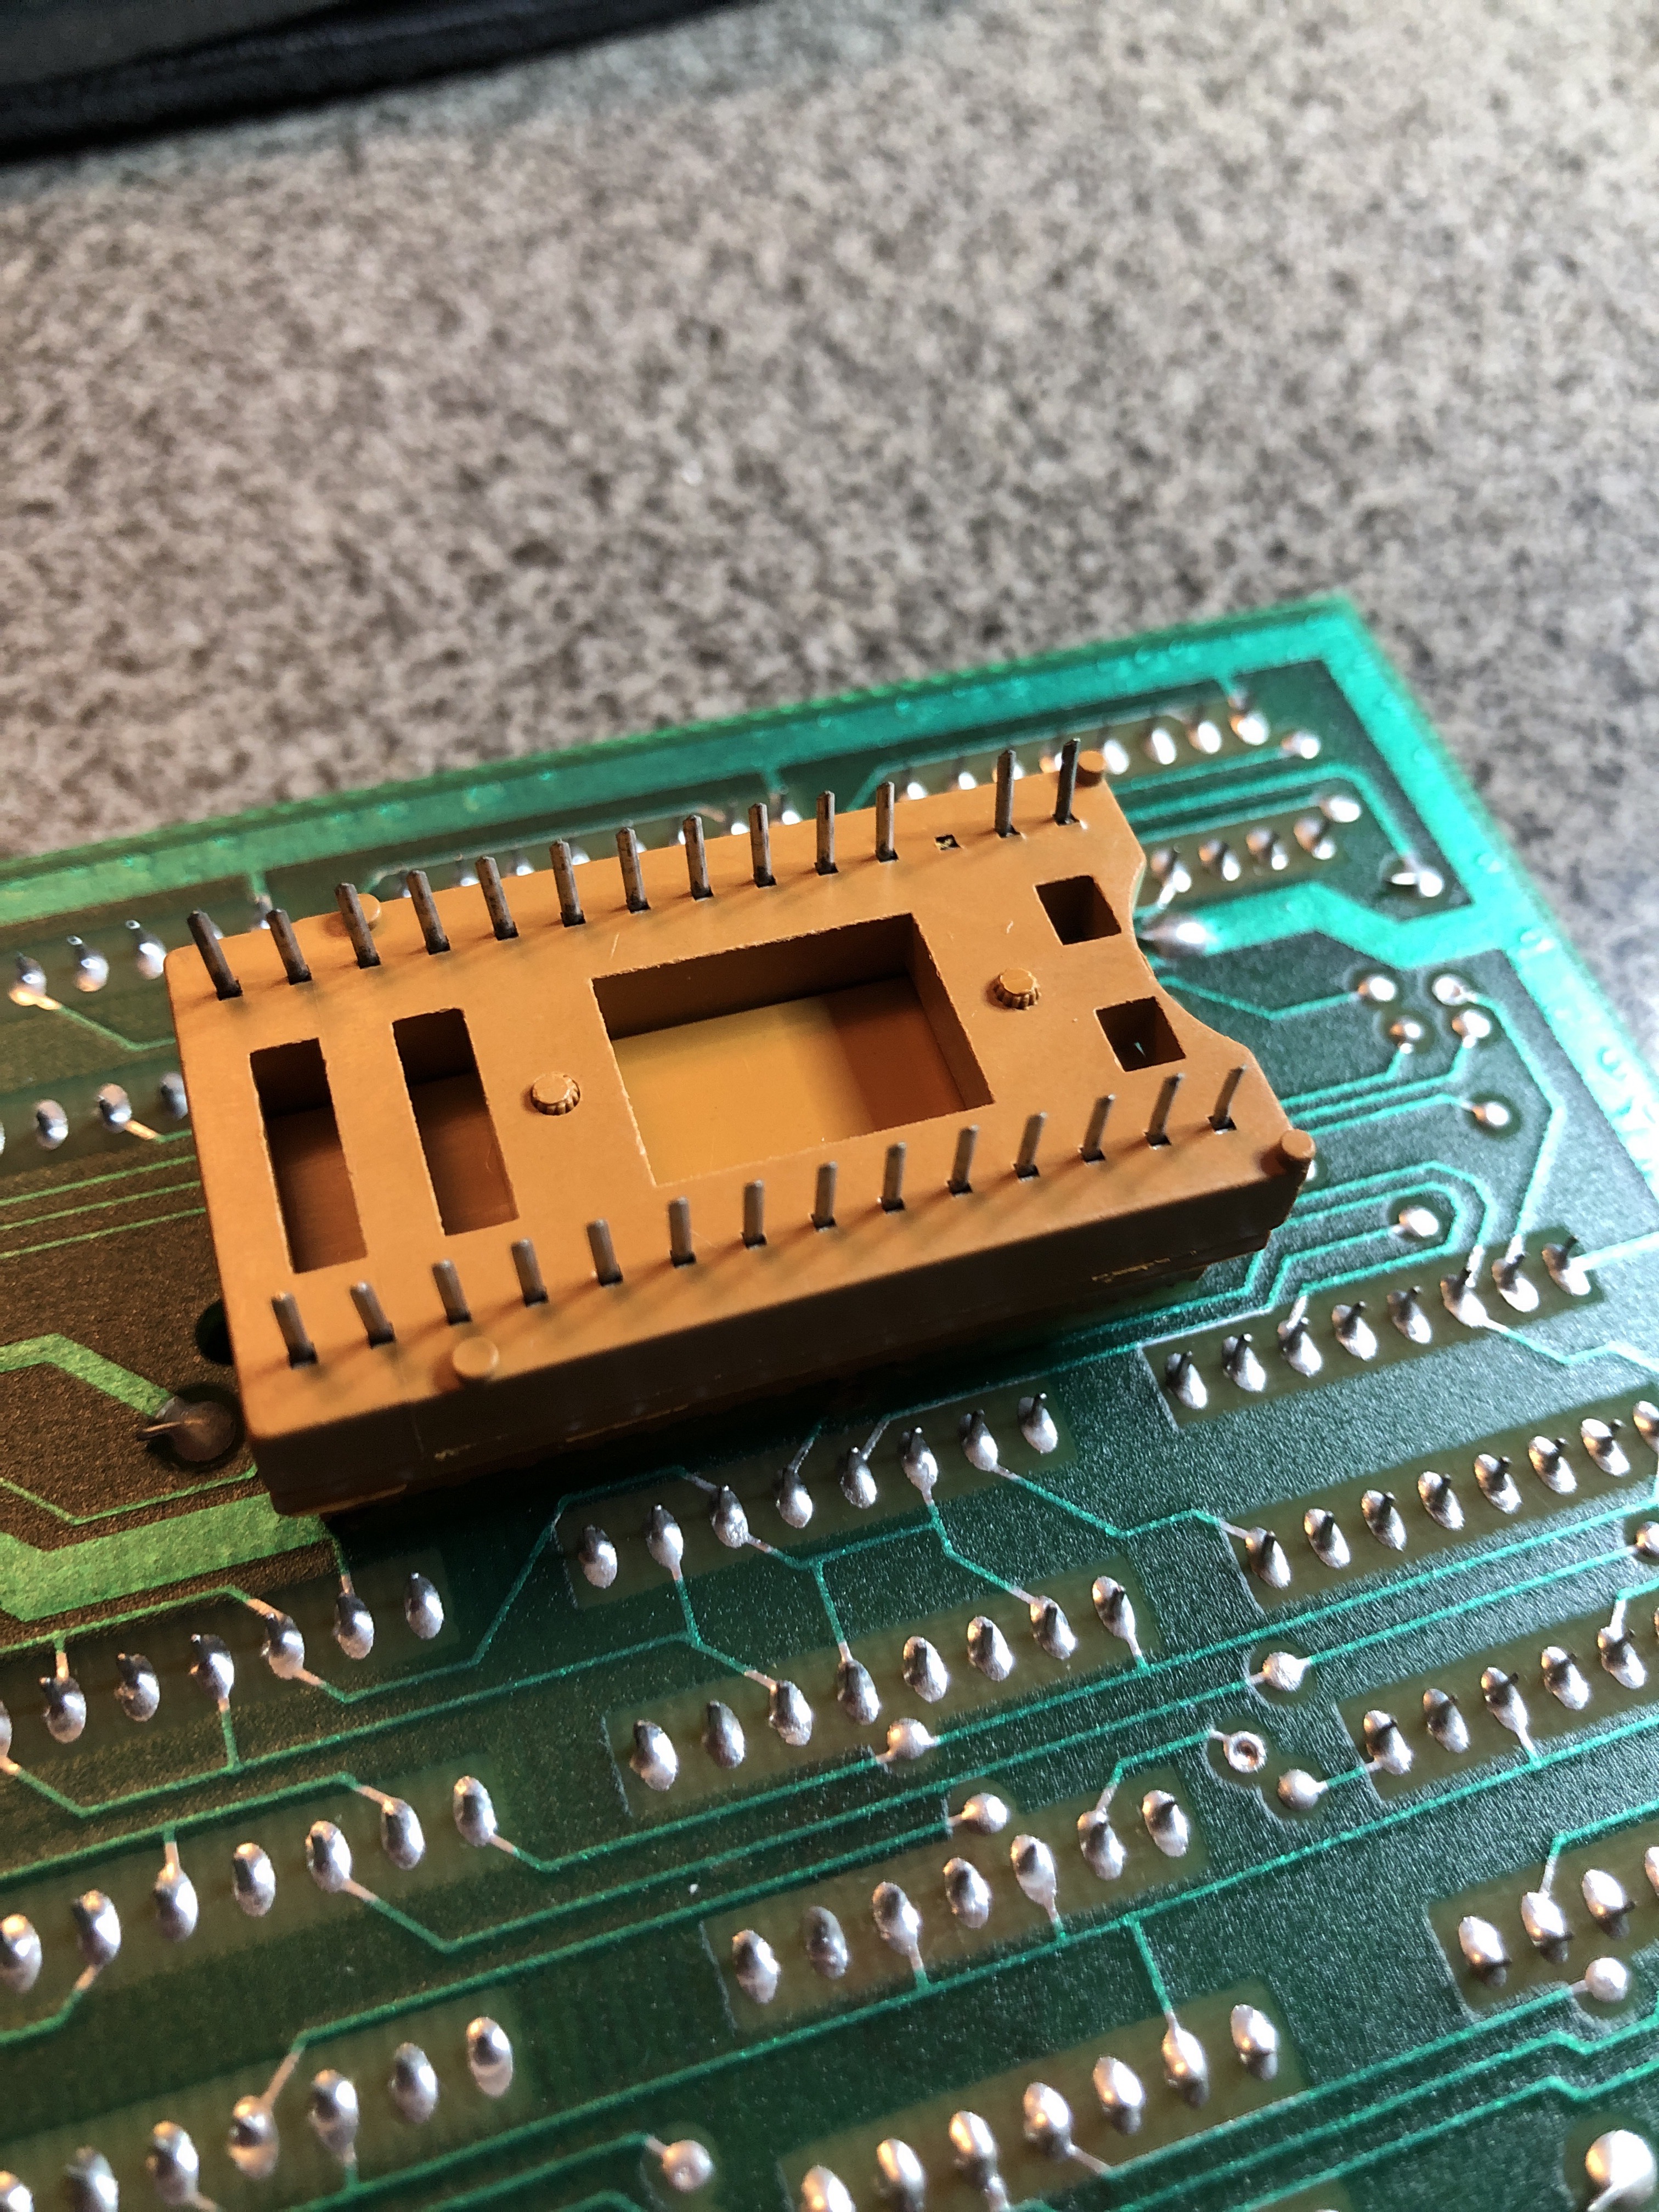
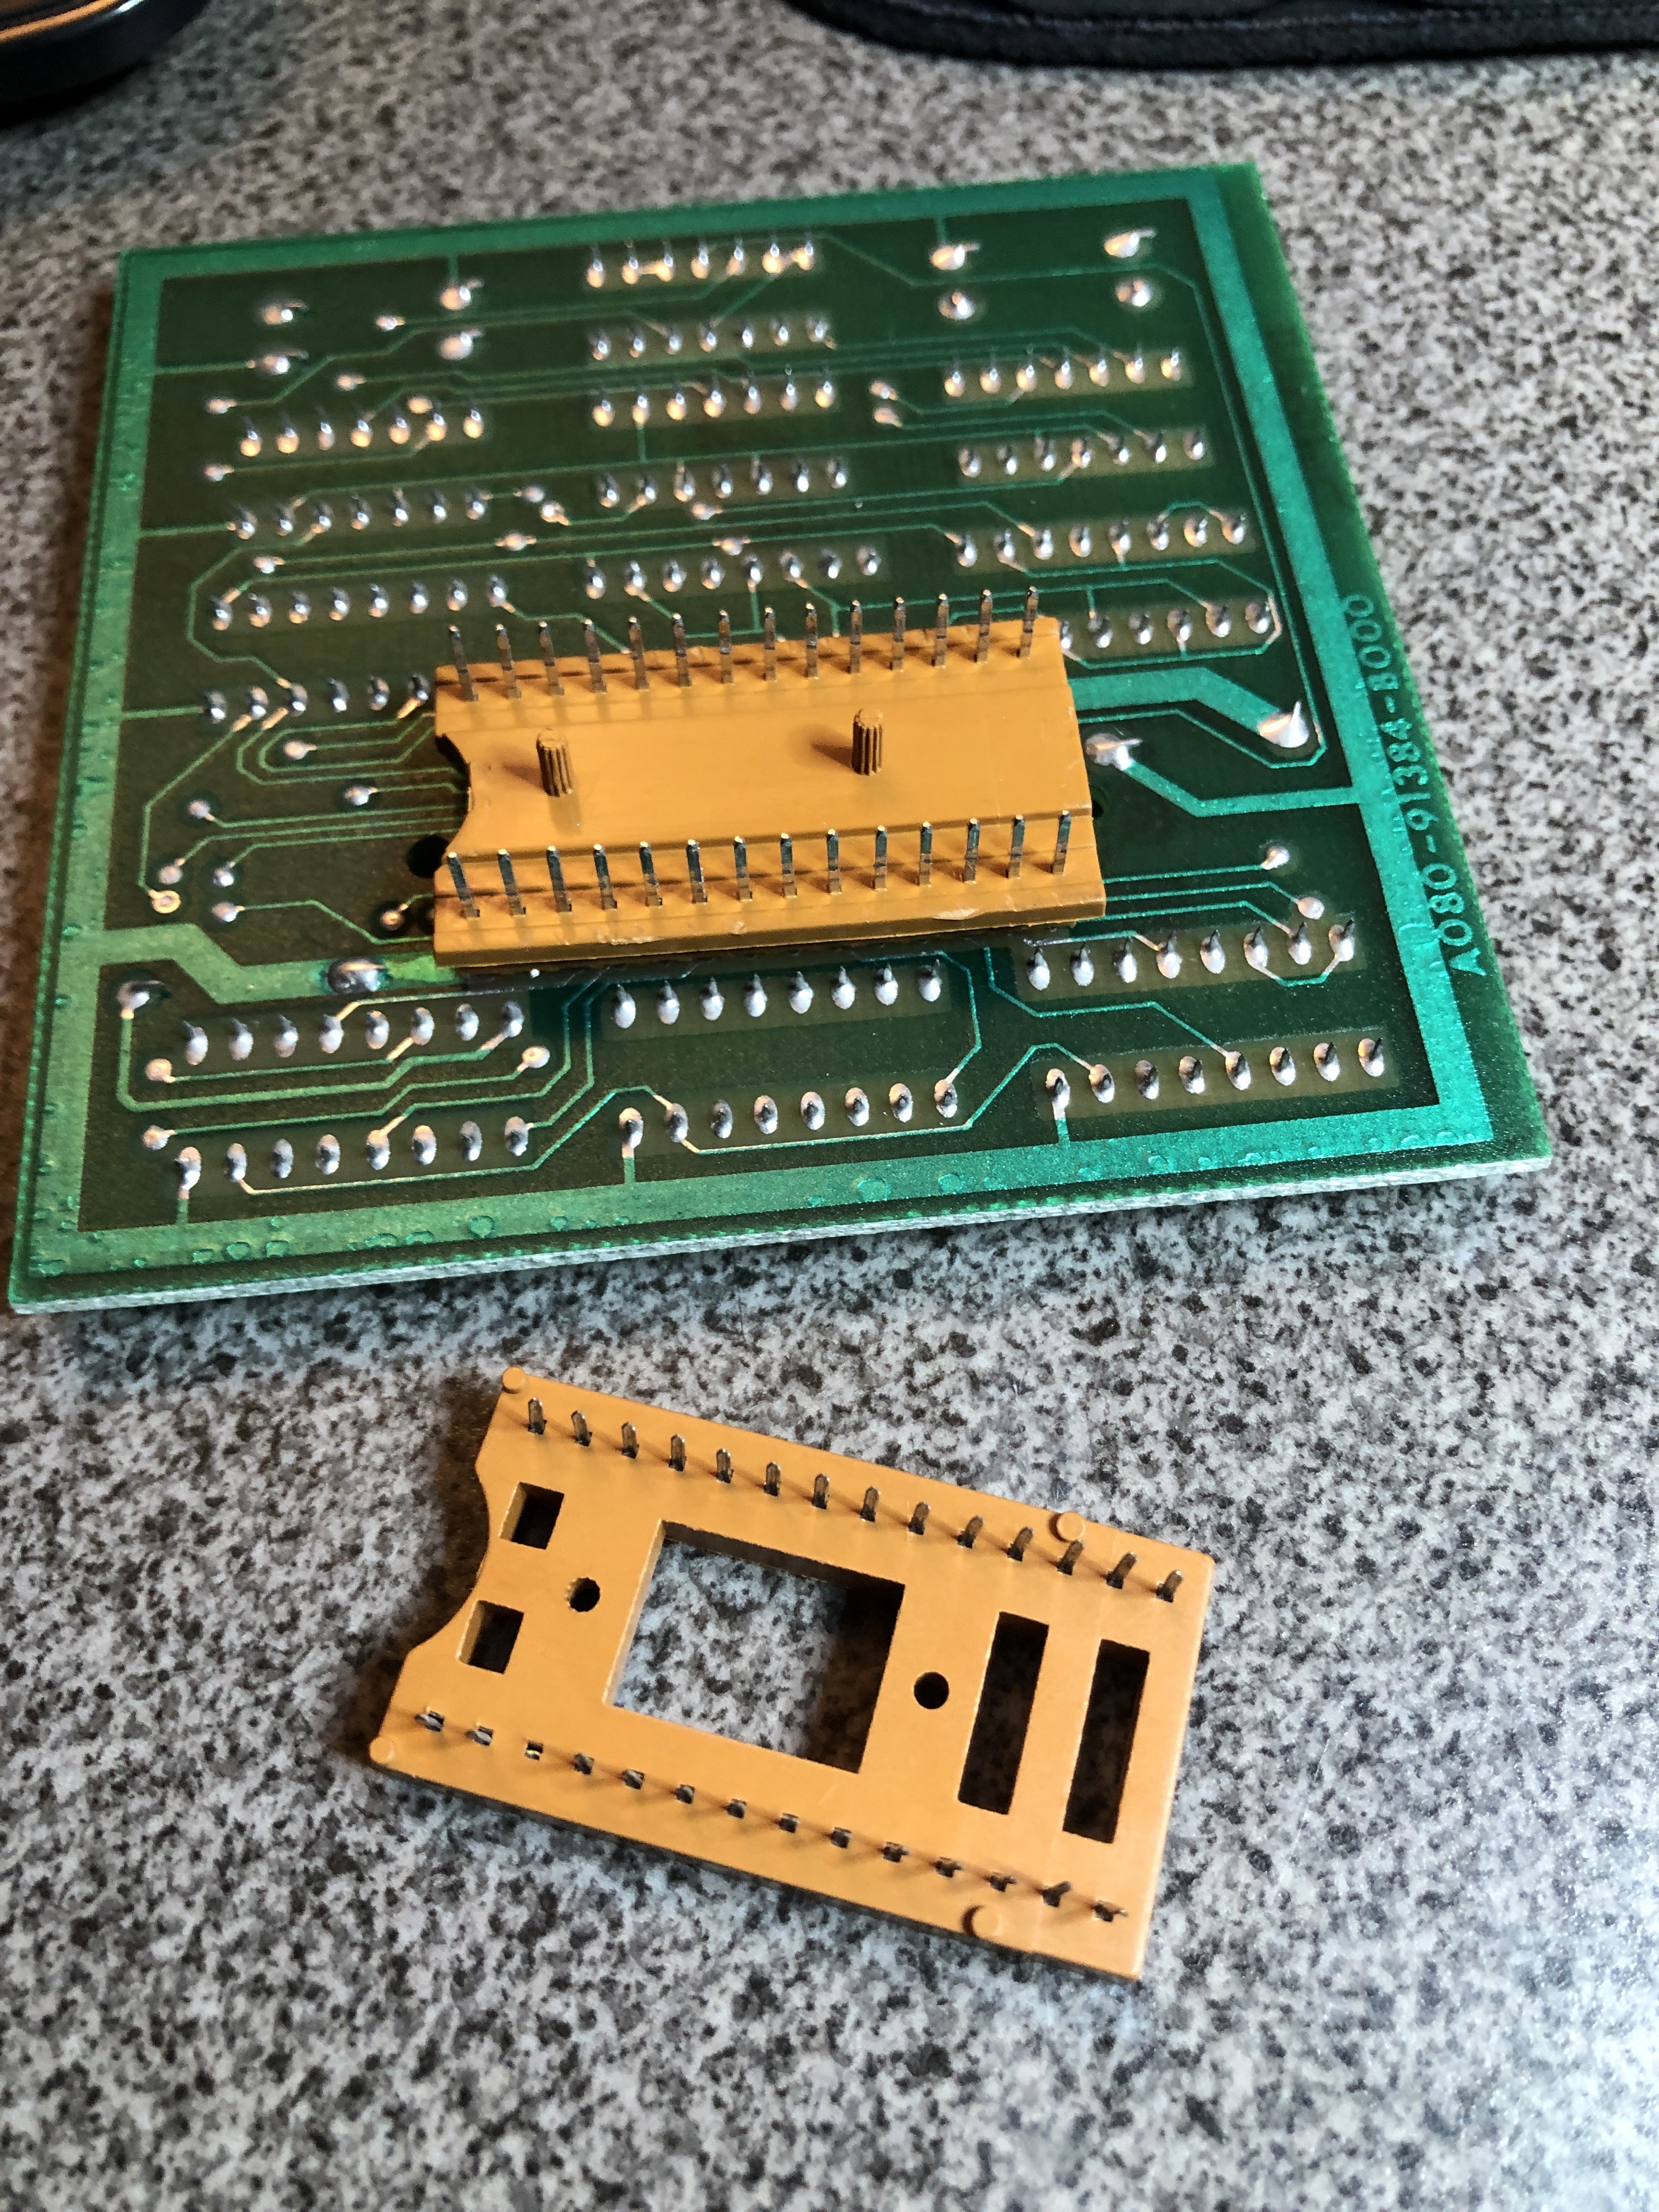

A leg broke from the extender socket. It popped apart and I was able to use a standard dual wipe socket as an extender. It is not as ‘sturdy’ as the original. The dual wipe pins are really thin and contact is an issue. I’ve tried tinning the legs to help.. Jury is still out on that.

First time though with the multi-kit. Junk.. I put it all back to Ms. Pacman (takes 5 minutes – very nice) and still had issues. Finally got it working. Put the multi-kit in and then it worked. Midway sockets are not the best..
However I got it all going and set it aside while I completed restoring the cabinet. Once I got to the point where I needed to install it. It stopped working and was unreliable at best. I decided it was an issue with sockets and replaced the CPU and two daughter board sockets.

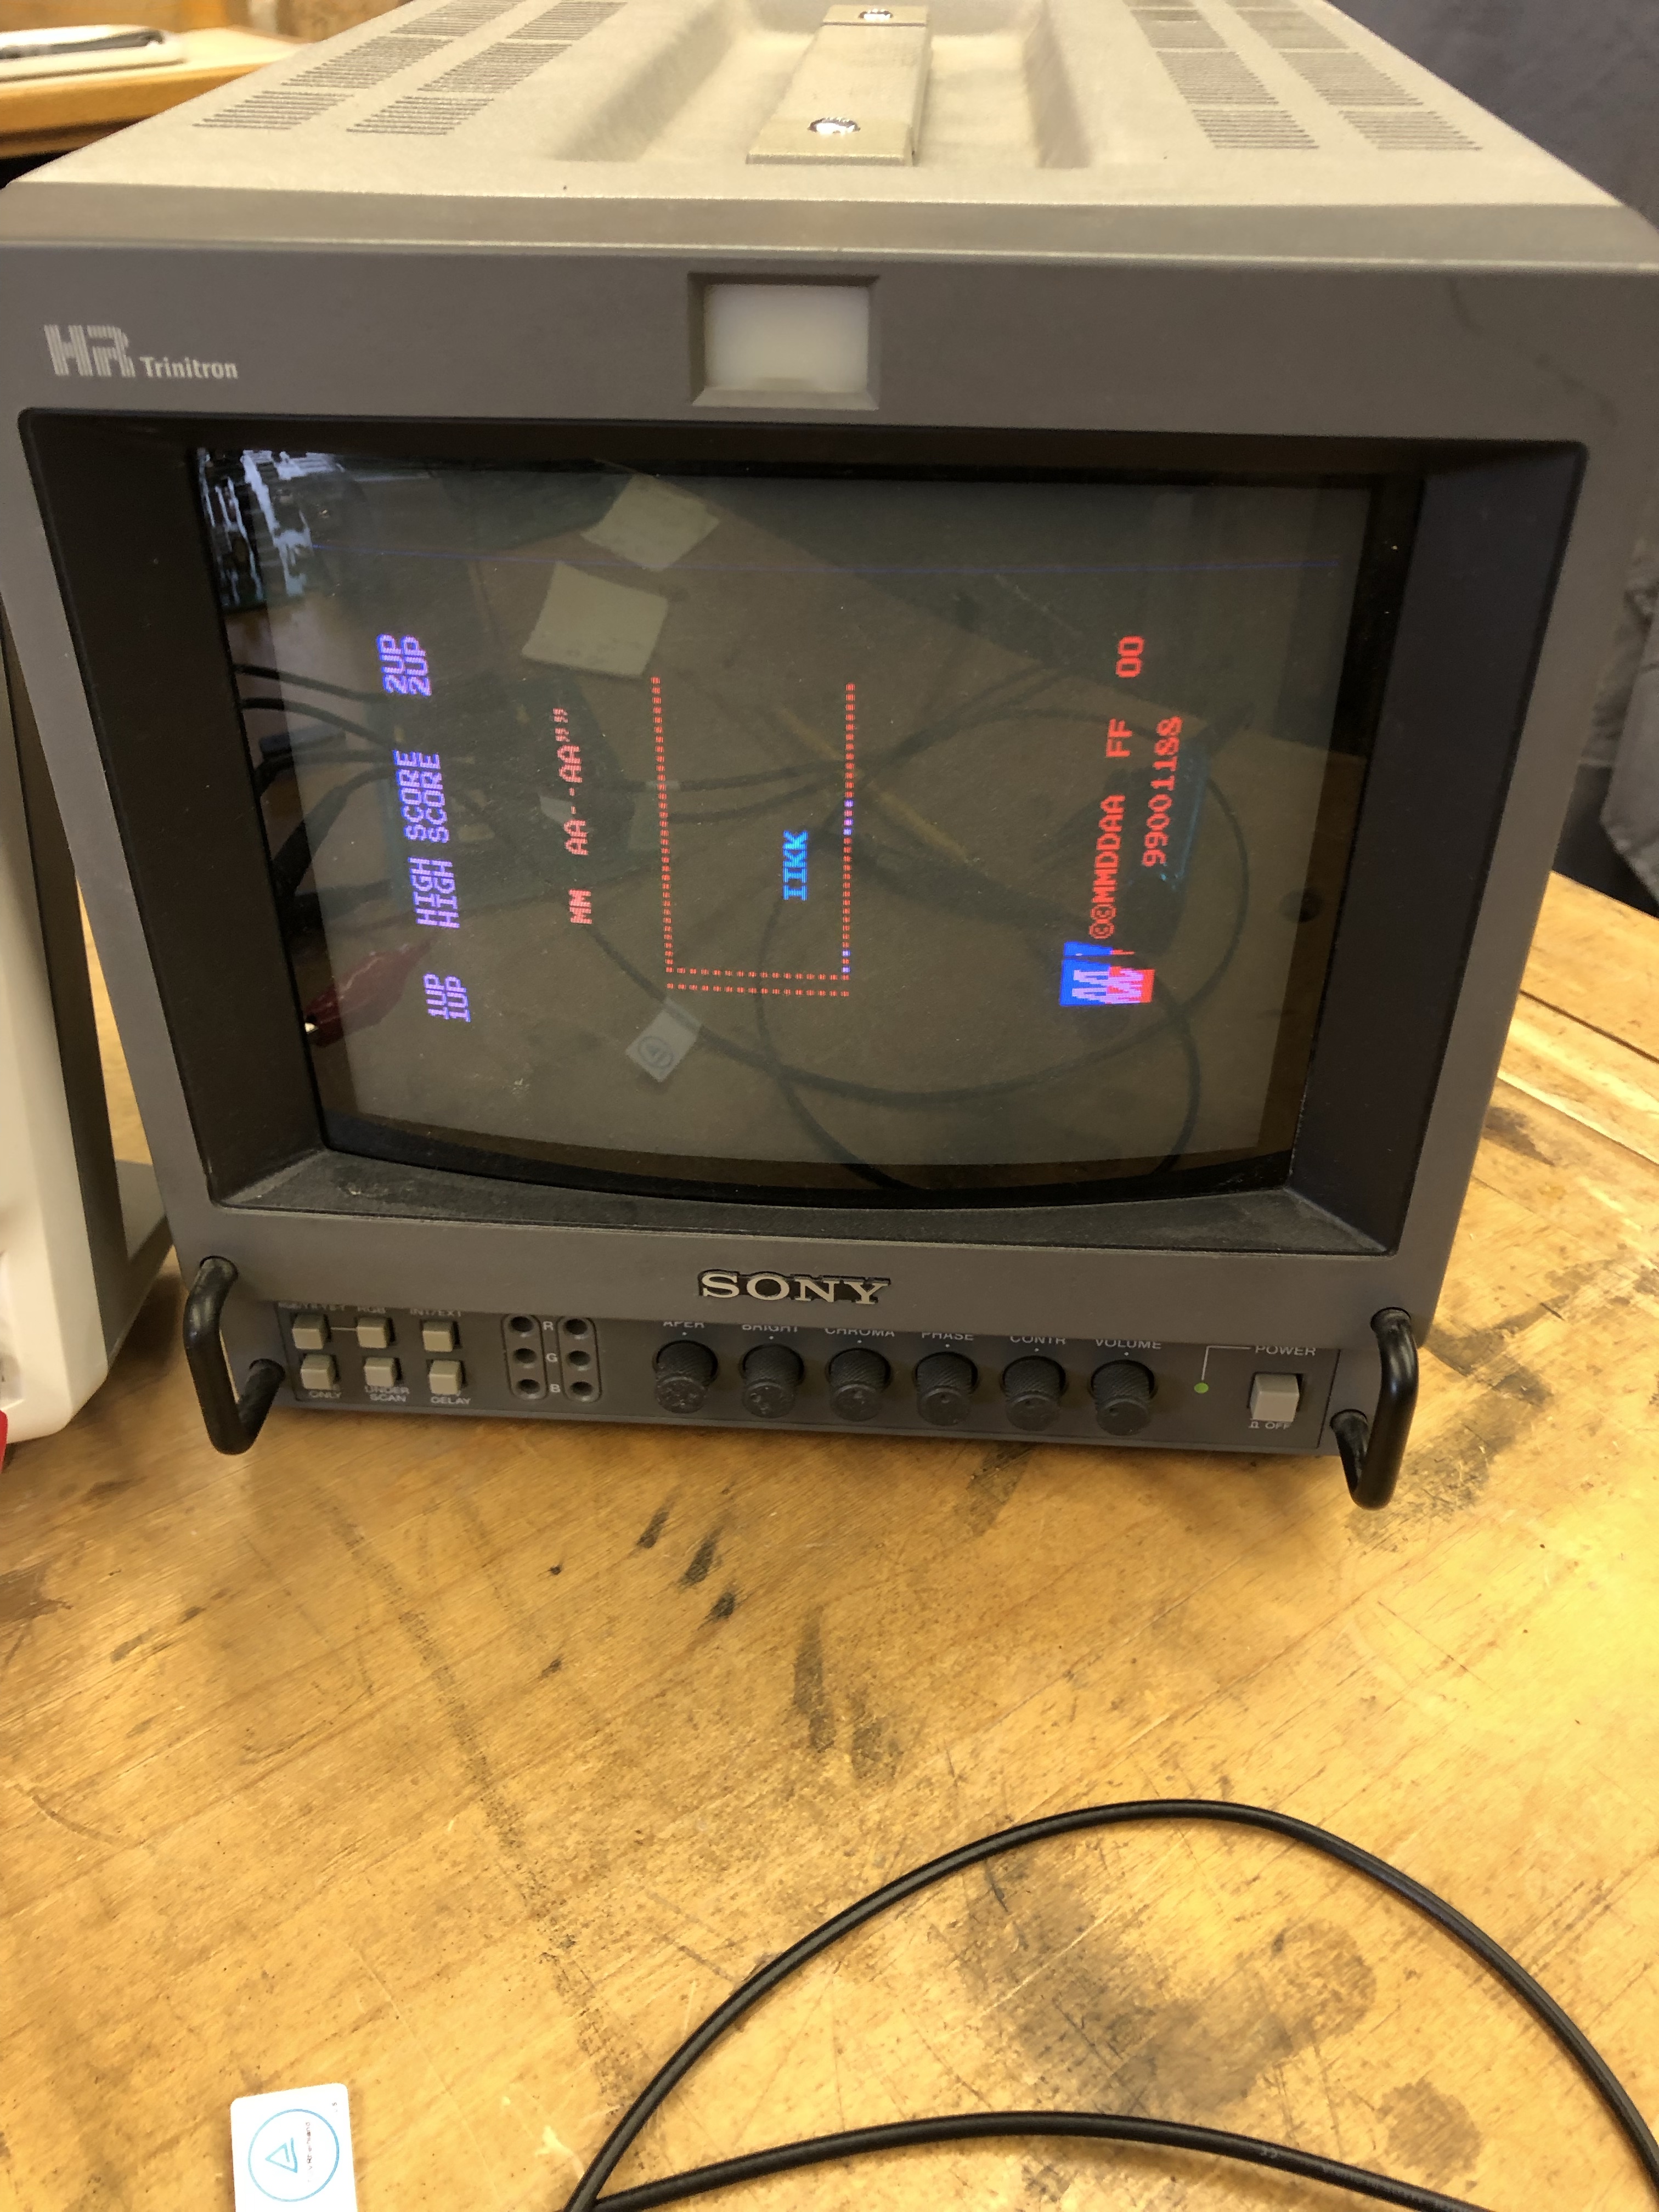
Then this happened. I checked the sockets for shorted lines etc. But they were not.. At this point I spent considerable time messing around with this board and kept coming back to the same concepts – a problem with the address lines on AB7 (Pin 19 on 5S Socket). Long story short – self inflicted wound. I normally beep out every single connection when I replace a socket – but forgot to do the VRAM addresser.. I missed a tiny bad trace cut under the socket that got damaged during desoldering..
I hearby promise myself never to miss beeping out a replaced socket ever again. (There – its public)
The upside of this is a got a lot of experience understanding how the board worked. Every time I have a bus based issue, its just a little different. But they are becoming more recognizable.
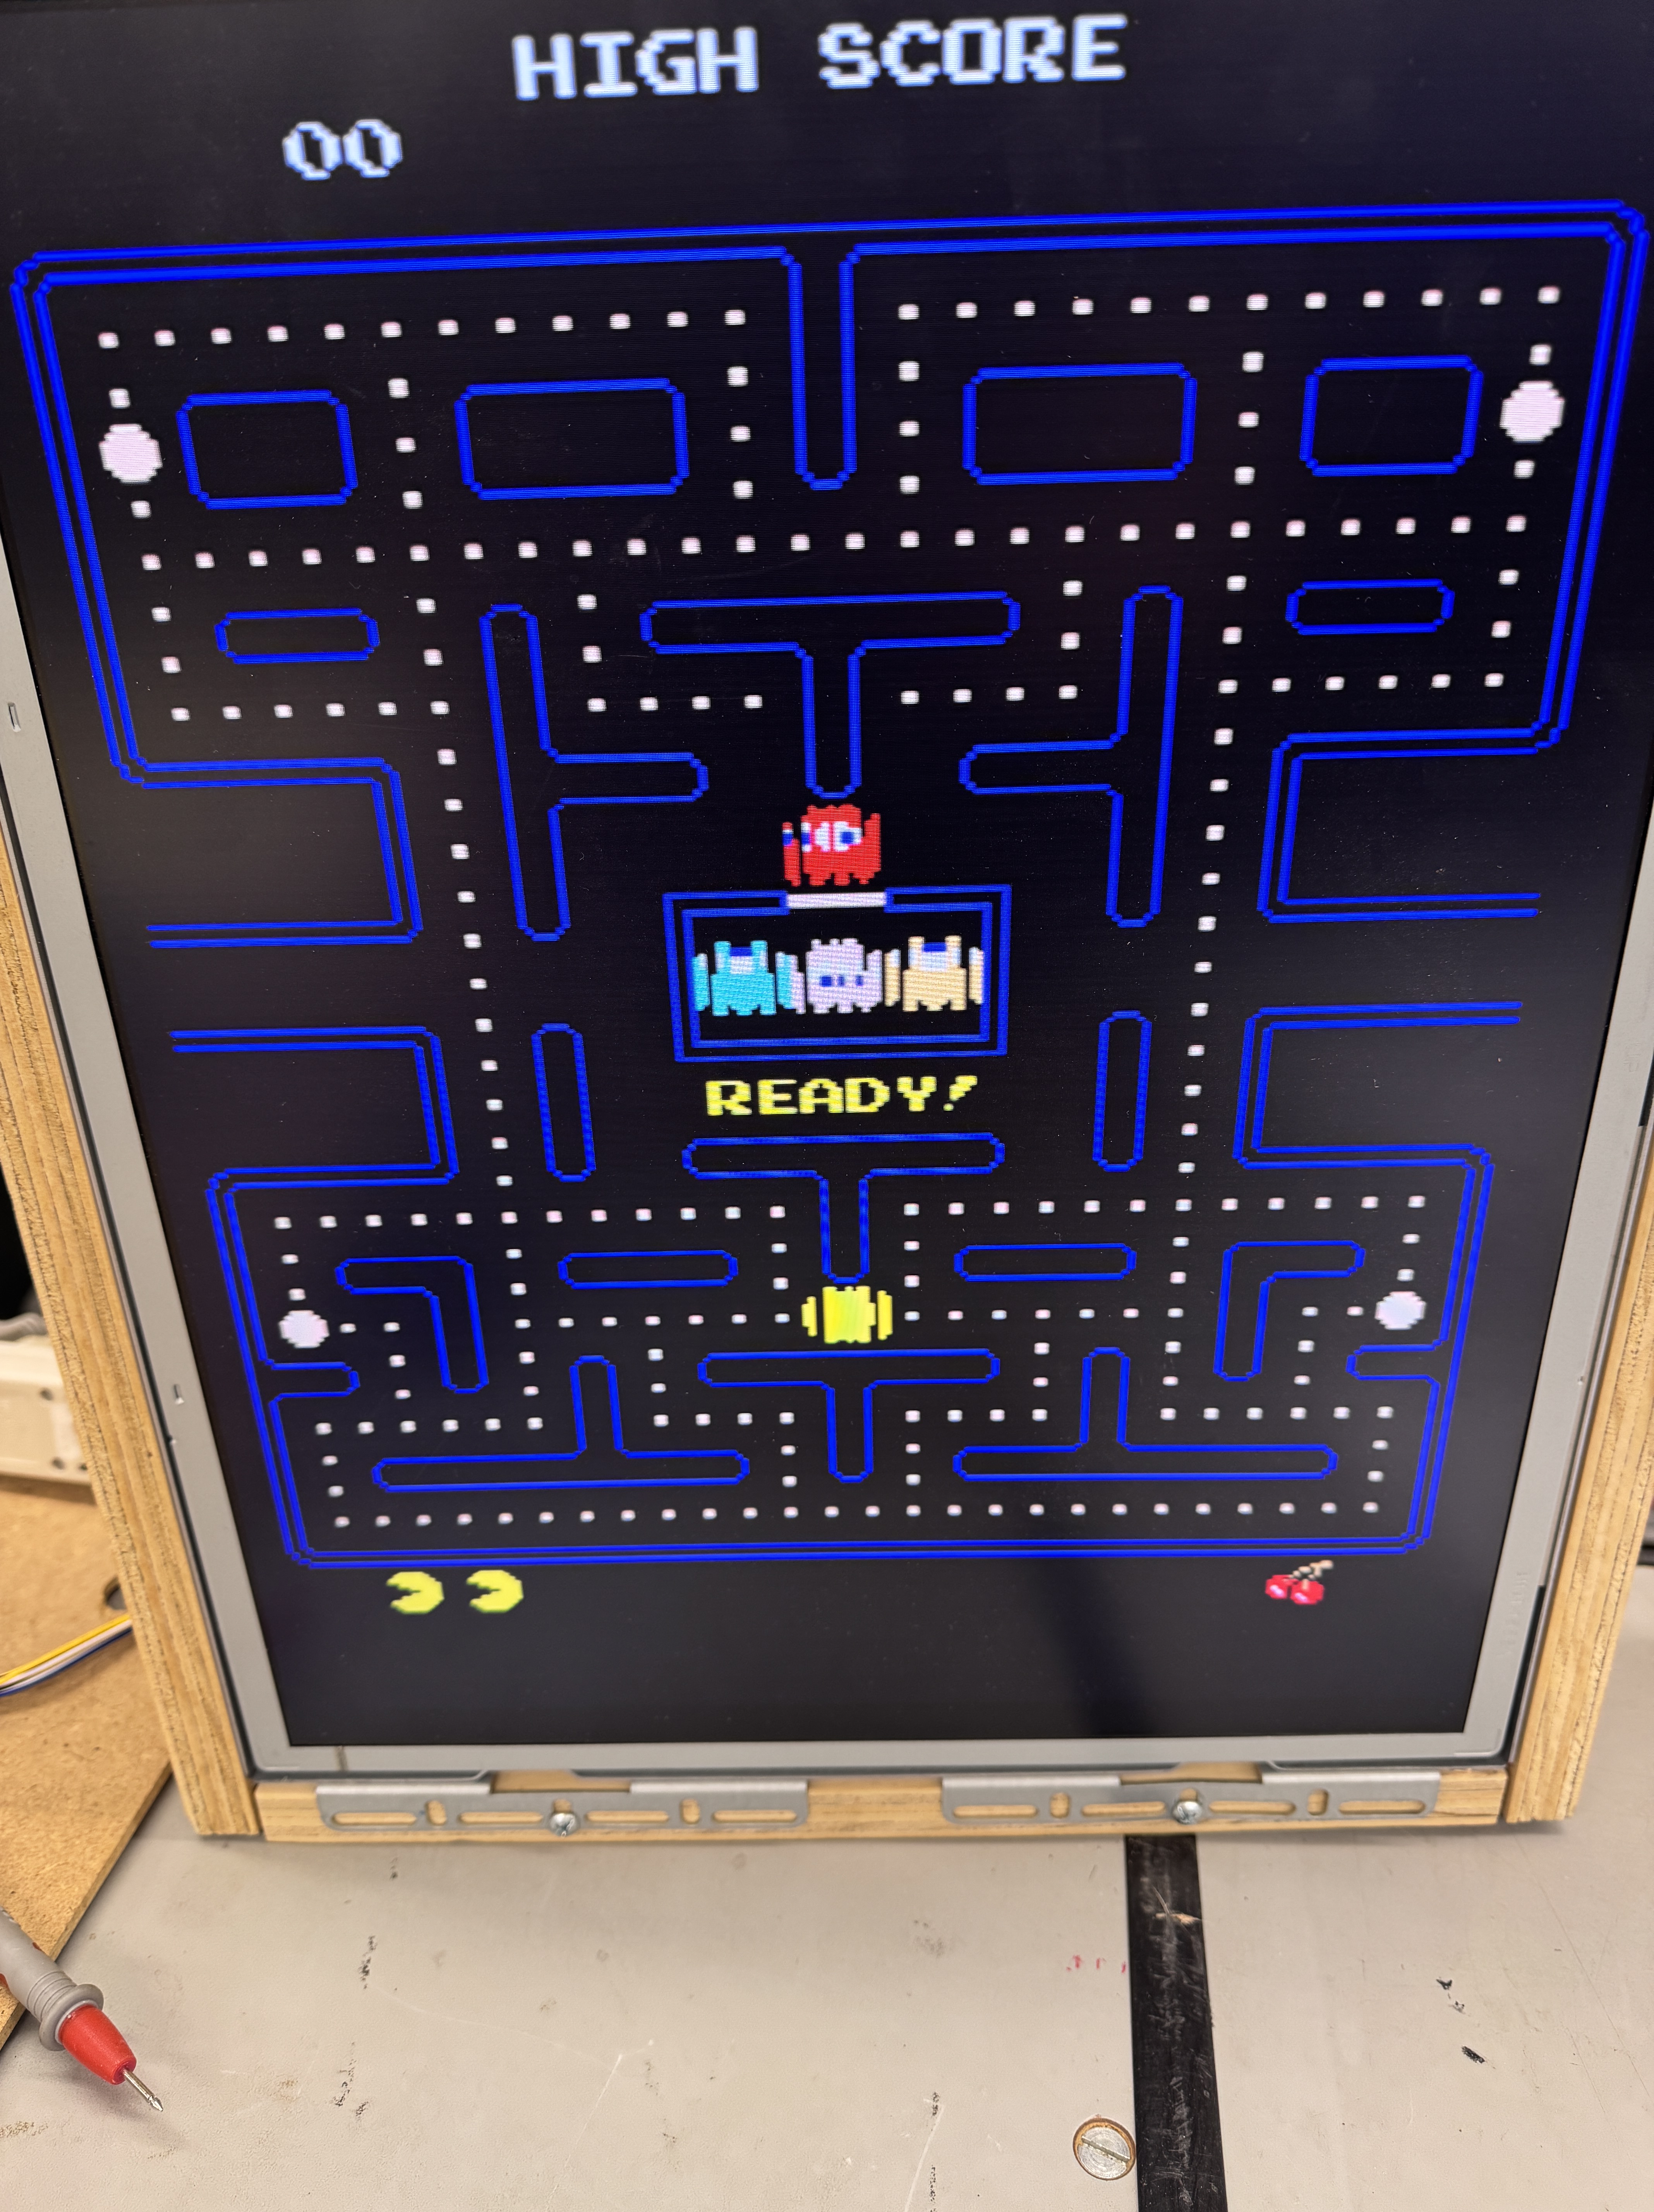
Board started working perfectly after repairing the trace.
Final resolution:
- Replaced bad sockets for the CPU and daughter cards.
- Repaired edge connector
Board 2
I picked up 2 additional dead Ms. Pacman boards for repair practice.
Because I had 3 boards to work with it got easier to figure out things. Board 2 was a bit dirty, but I tested for shorts and all was fine. Plugged it in and it fired up.
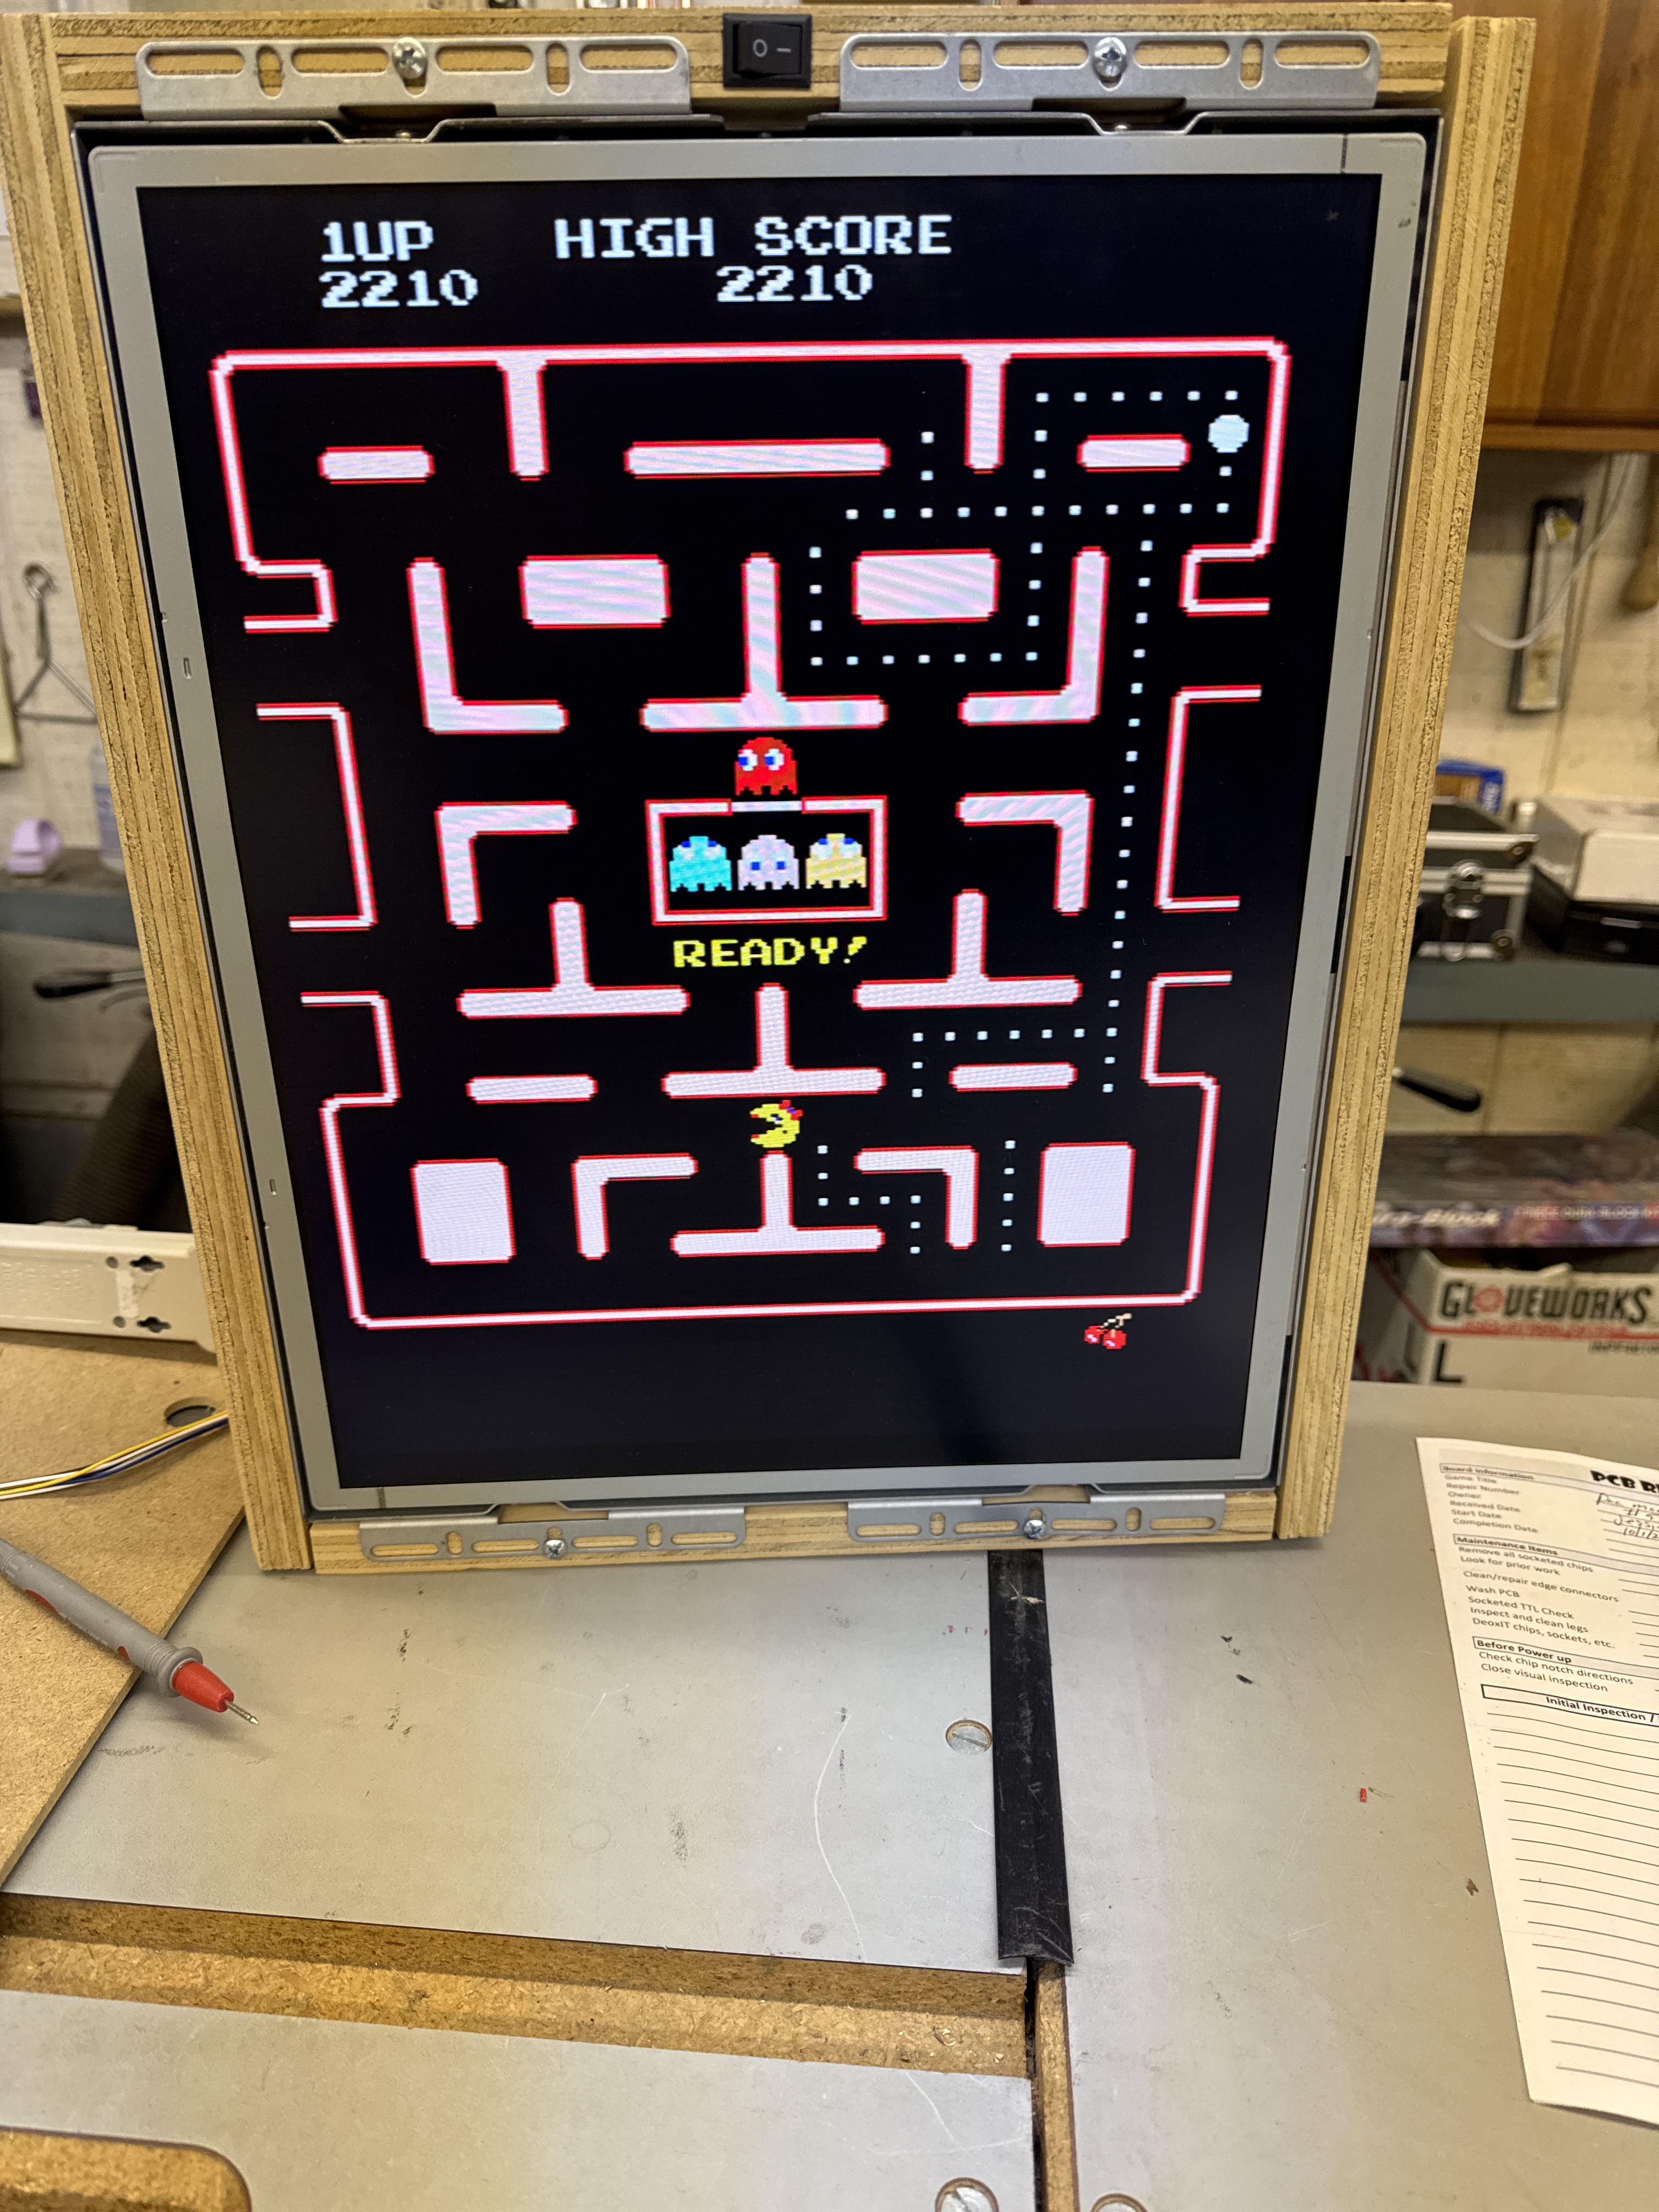
This is what I got – some duplicate lines. Exchanging parts around I quickly determined that this was an issue with the VRAM addresser daughter board. The socket was also an issue and I replaced it and beeped it out!
Determined 74LS257 @U2 was the issue on the VRAM addresser board.. These are tougher to diagnose because they sit on the address bus and there are many signals happening.. However – it was spitting out bad data on A5. Using the scope and holding the reset button essentially shuts of the CPU address and data lines. What made things stand out is that all of the address lines had activity – but A5 was much different.
Board will run for hours without resetting – but the daughter board sockets and extenders need to connect better. The VRAM addresser pins are long, I pulled the extension socket off and used it directly into the board socket. It stretches the dual wipe pins a bit. But it has solid contact now.
Final resolution:
Replaced 74LS257 at U2 – VRAM addresser
Board 3


Board 3 was by far the dirtiest. It had a termite mound over a couple of chips. I was very surprised on how well it cleaned up.. It looks fantastic compared to how it started. The dirt encased a very shiny board.
Amazingly – this board worked even covered in crud. After cleaning it up and burning it in for a few hours – it started to fail.
The screen would glitch – like it was losing sync – and come back. Poking around – I could twist the LS368 at 8B in its socket and effect the glitching. Probing with the scope I was getting different clock of one side of the crystal that the other. I replaced the chip and socket.
I’ve been running the board on the bench with a JAMMA adapter. Once I put it in the cabinet – it stopped working completely. I was getting 4.5v on the board, so clearly the power supply part of the board had an issue. Probing around – the 50 ohm 5W power resistor at R52 was reading up in the 5M range. Ordered and replaced it. Power is back to 4.97v on the board in the cabinet now.
The screen is still glitching – Replaced the crystal because the signal on one side of the original was odd looking, but no difference.
The resetting was inconsistent at best – I traced the issue to the 74LS161 counters while it was glitching. There were no watchdog resets. A few times the game would stop running with trash on the screen and no watchdog reset to reboot.
Probing the 74LS161’s (which I did many times) – all of a sudden the resets stopped and the board has run for 14 hours straight, played intermittently, zero glitches. The 74LS161 at 3R is socketed. I pulled and reseated that chip a few times. Based on this and that I was probing in the area – I’m replacing the socket. One more overnight test and a bunch of daily tests and this board will be declared good.
Final resolution:
- Bad U5 EPROM
- Bad R52 – 50 ohm/5W Power resistor
- Bad socket at 8B – replaced crusty 74LS368 at the same location
- Bad socket at 3R
Board #4 – In for repair
Haven’t worked on a Pacman for a long time. Board came in as part of a box of repairs. Performed all the board maintenance and cleaning.. Board not booting.
Replaced Z80 – Board works. Running a full test cycle.
Board works!
Board #5 – In for repair
Been a long time between Pacman’s. My guess is because they are super common and inexpensive to buy working boards, never mind a 60-1 That said, a friend picked up a Ms. Pacman cabinet for free.. Pretty hard to beat price..

Board is pretty clean and has a multi-game adapter. He told me the board works – but there were graphics glitches..

Agreed, the sprites seem to be sliced up and overlapping.. The interesting part was seeing the Cambridge Arcade multi-rom adapter. Setup works well.. Wonder how many are still out there?
The fix itself was rather simple, I did cheat however…. I checked out the Rotheblog.com for a quick hint as to the area of the PCB that displayed sprites. From the page, the LS283’s @2F and 1F seemed to be involved. A little probing showed dead outputs on LS283@1F.
Replaced LS283@1F
Board works!
Board #6 – In for repair
Board was sent in stating static screen garbage, but had been working. Also wanted the speedup chip. Once received and set up the board worked.

This may be the cleanest/newest looking Ms PacMan I’ve ever seen. We decided to have me clean all the chips and replace the sockets for the daughter boards. Added a speedup chip.
Board works!
