Overall this cabinet is in decent shape, but its not without its issues.
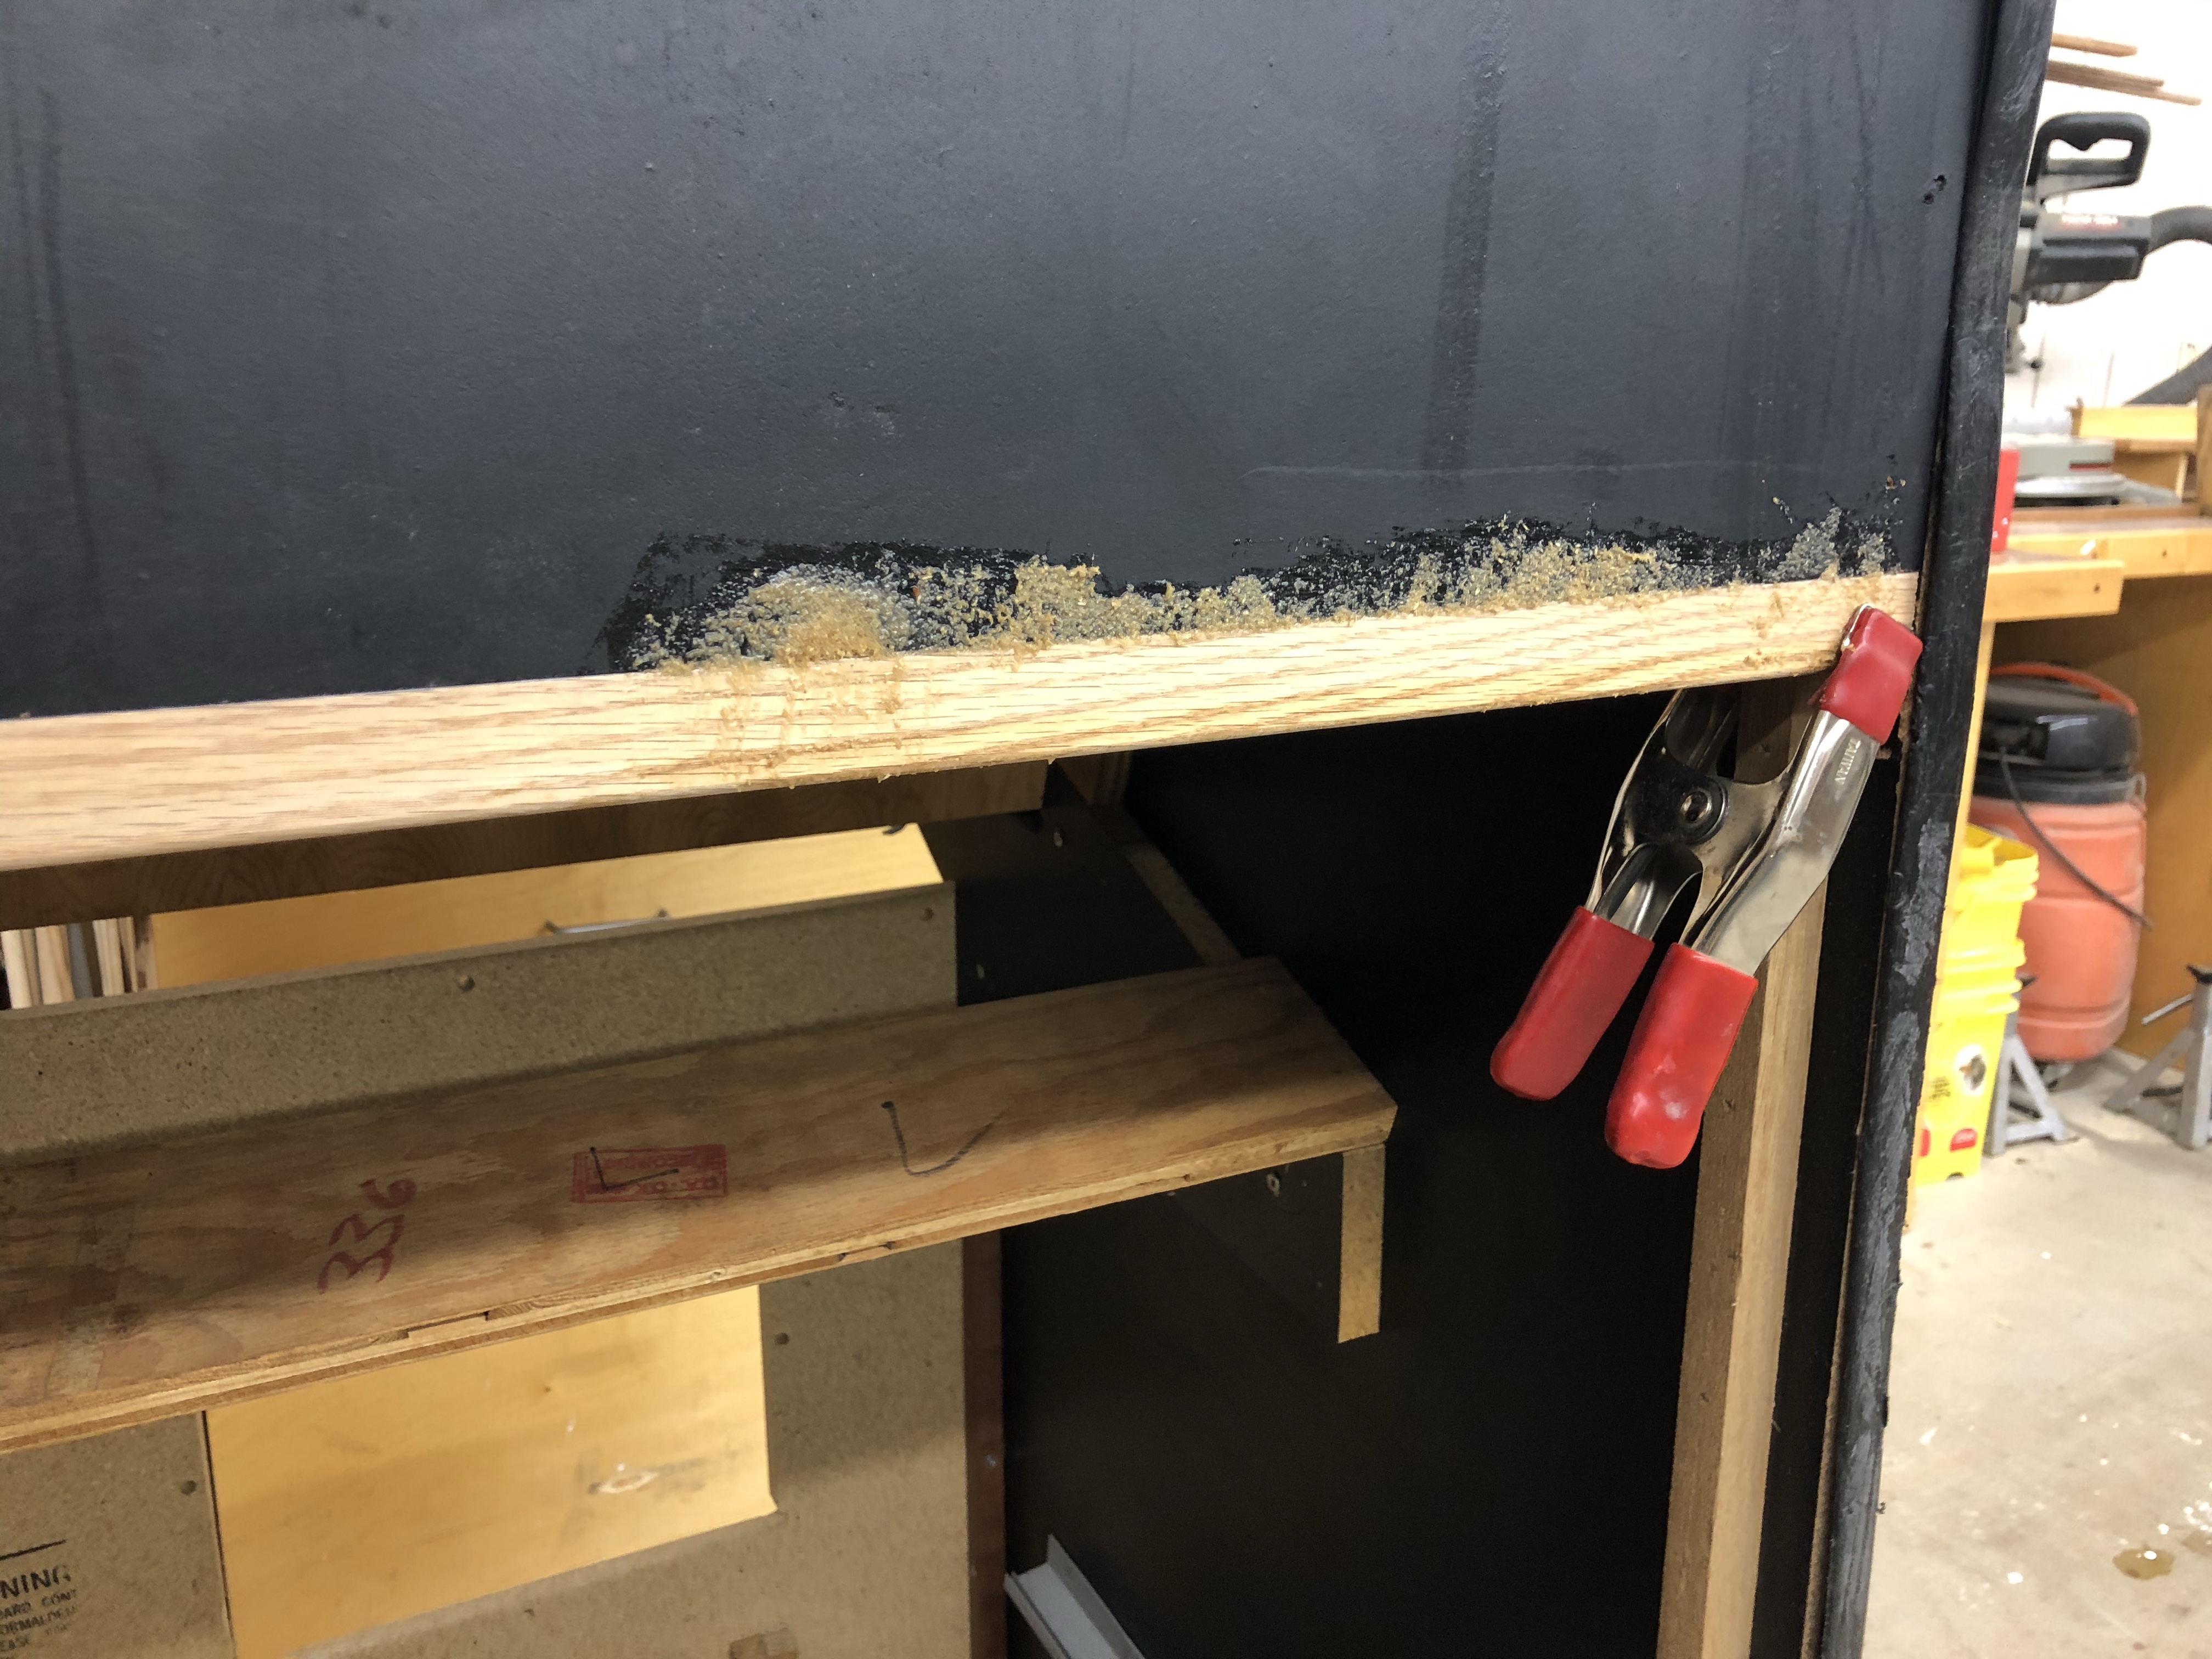
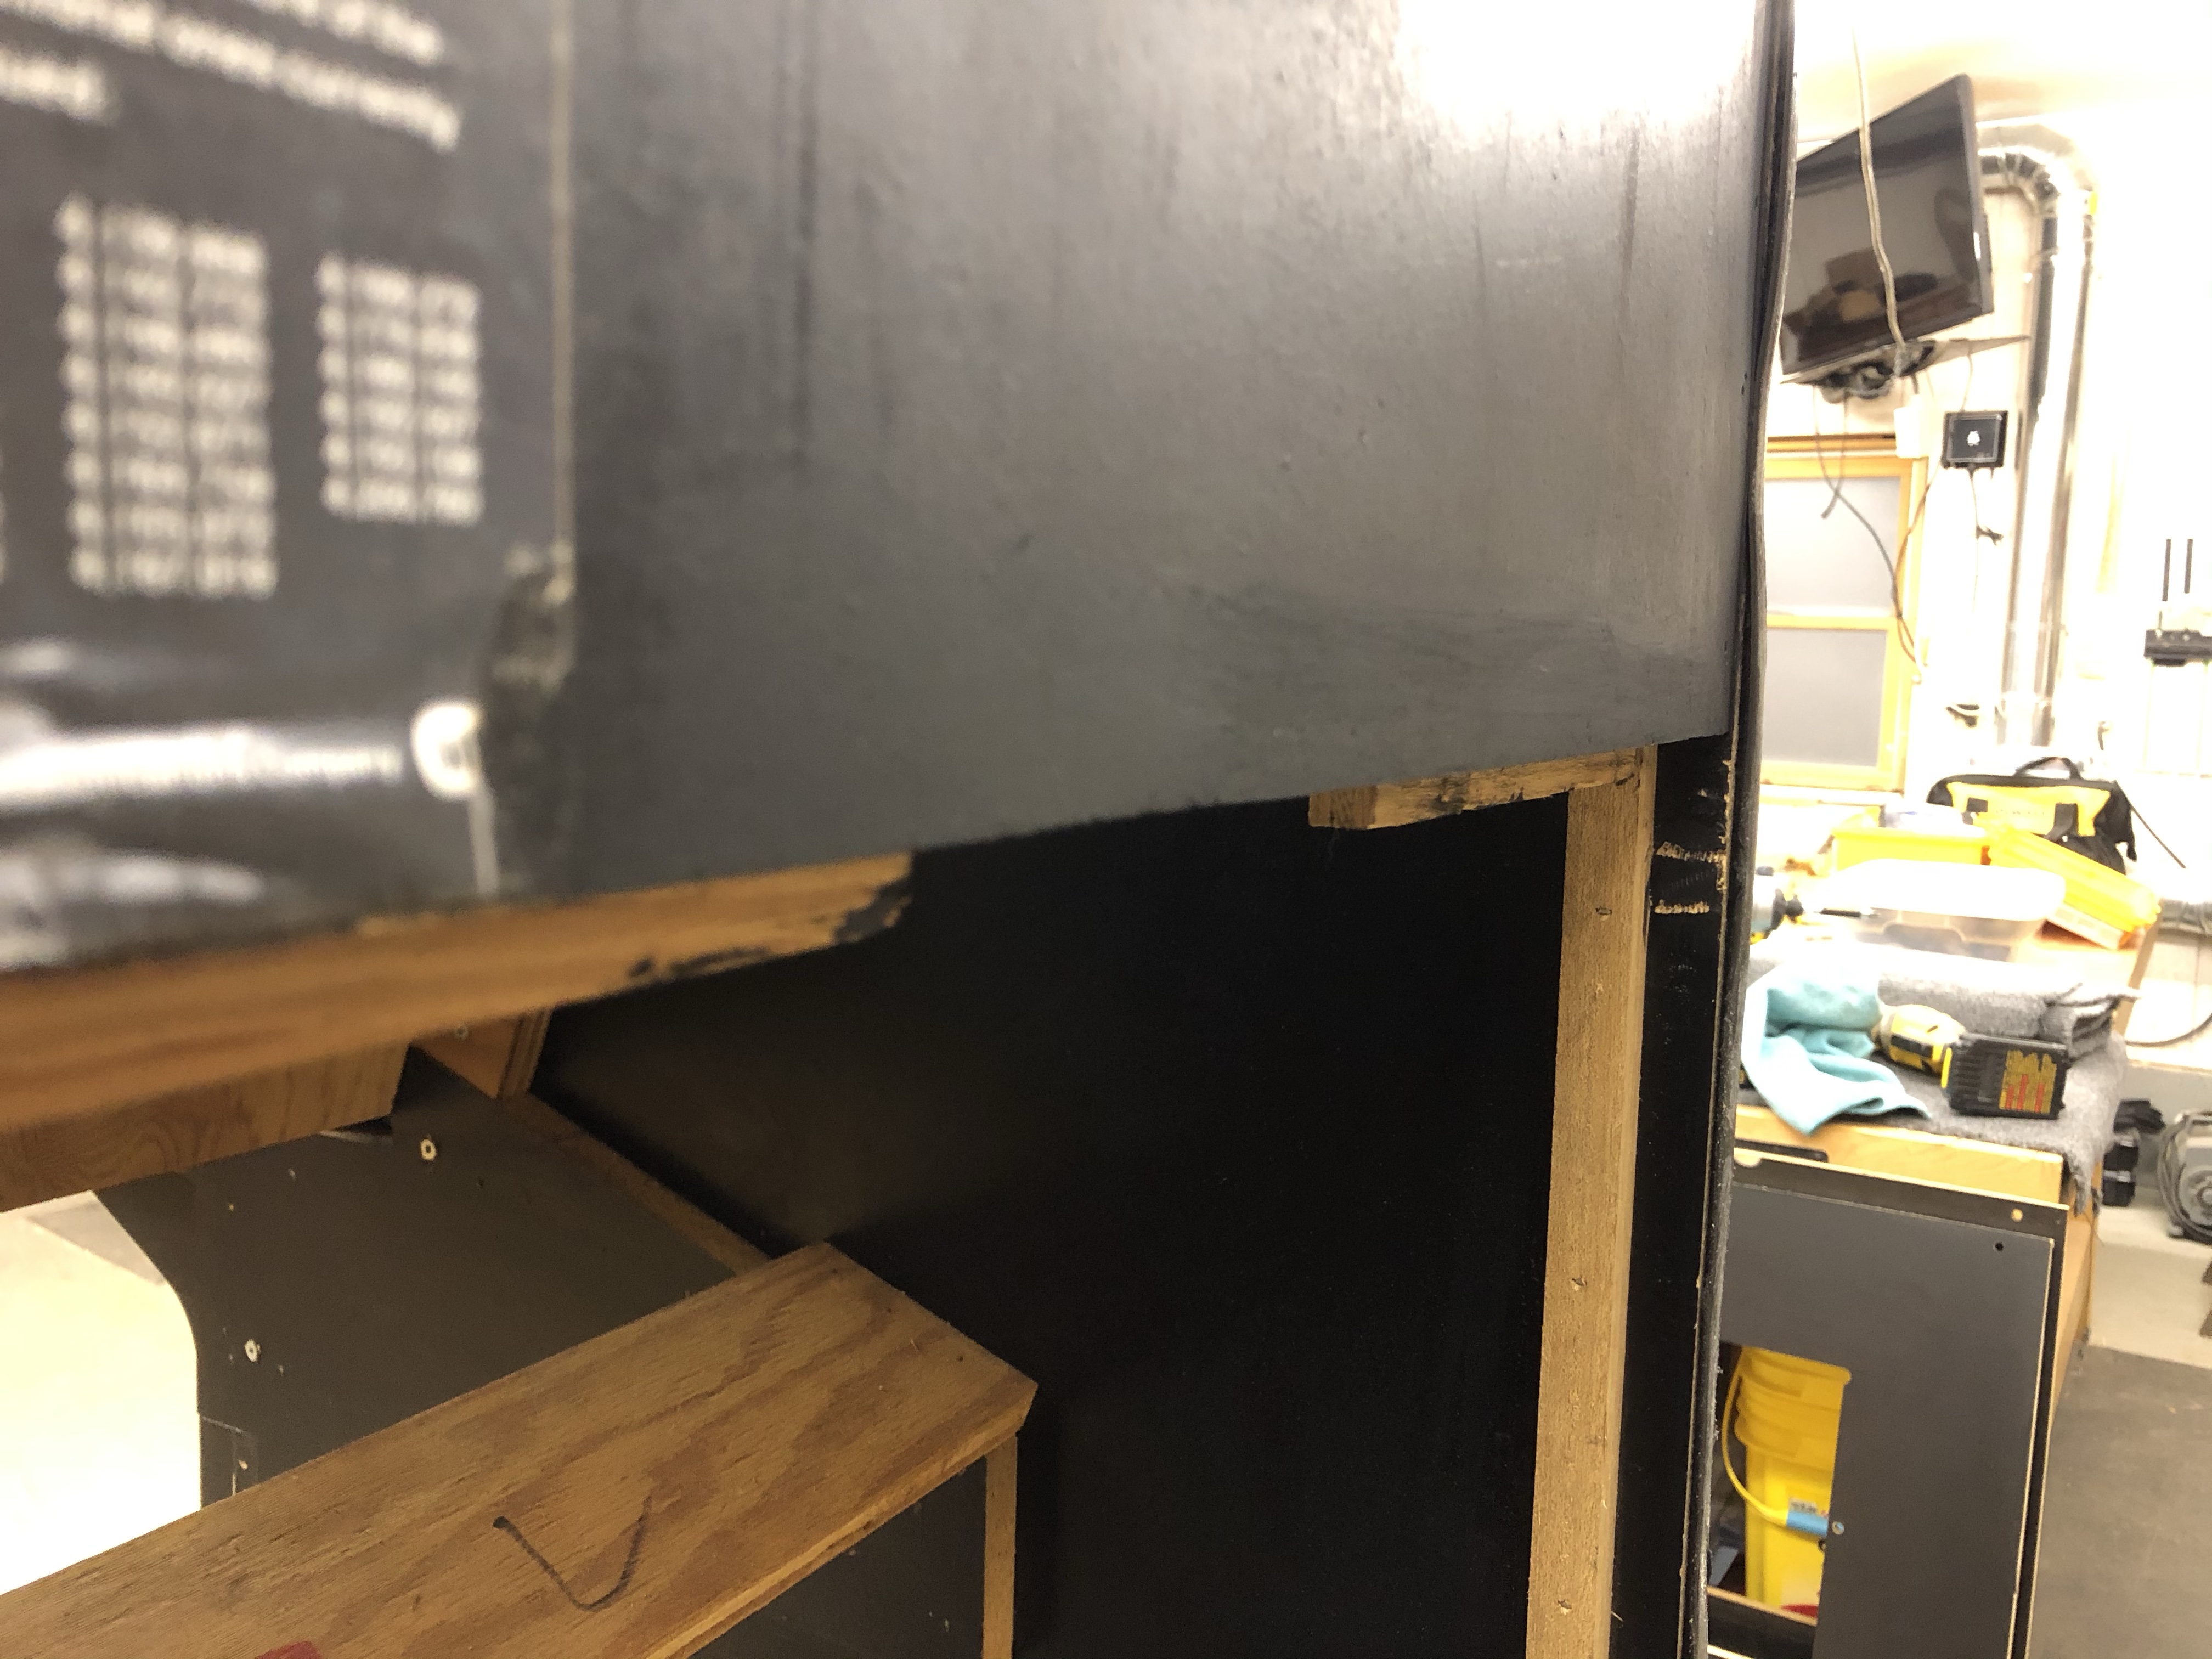
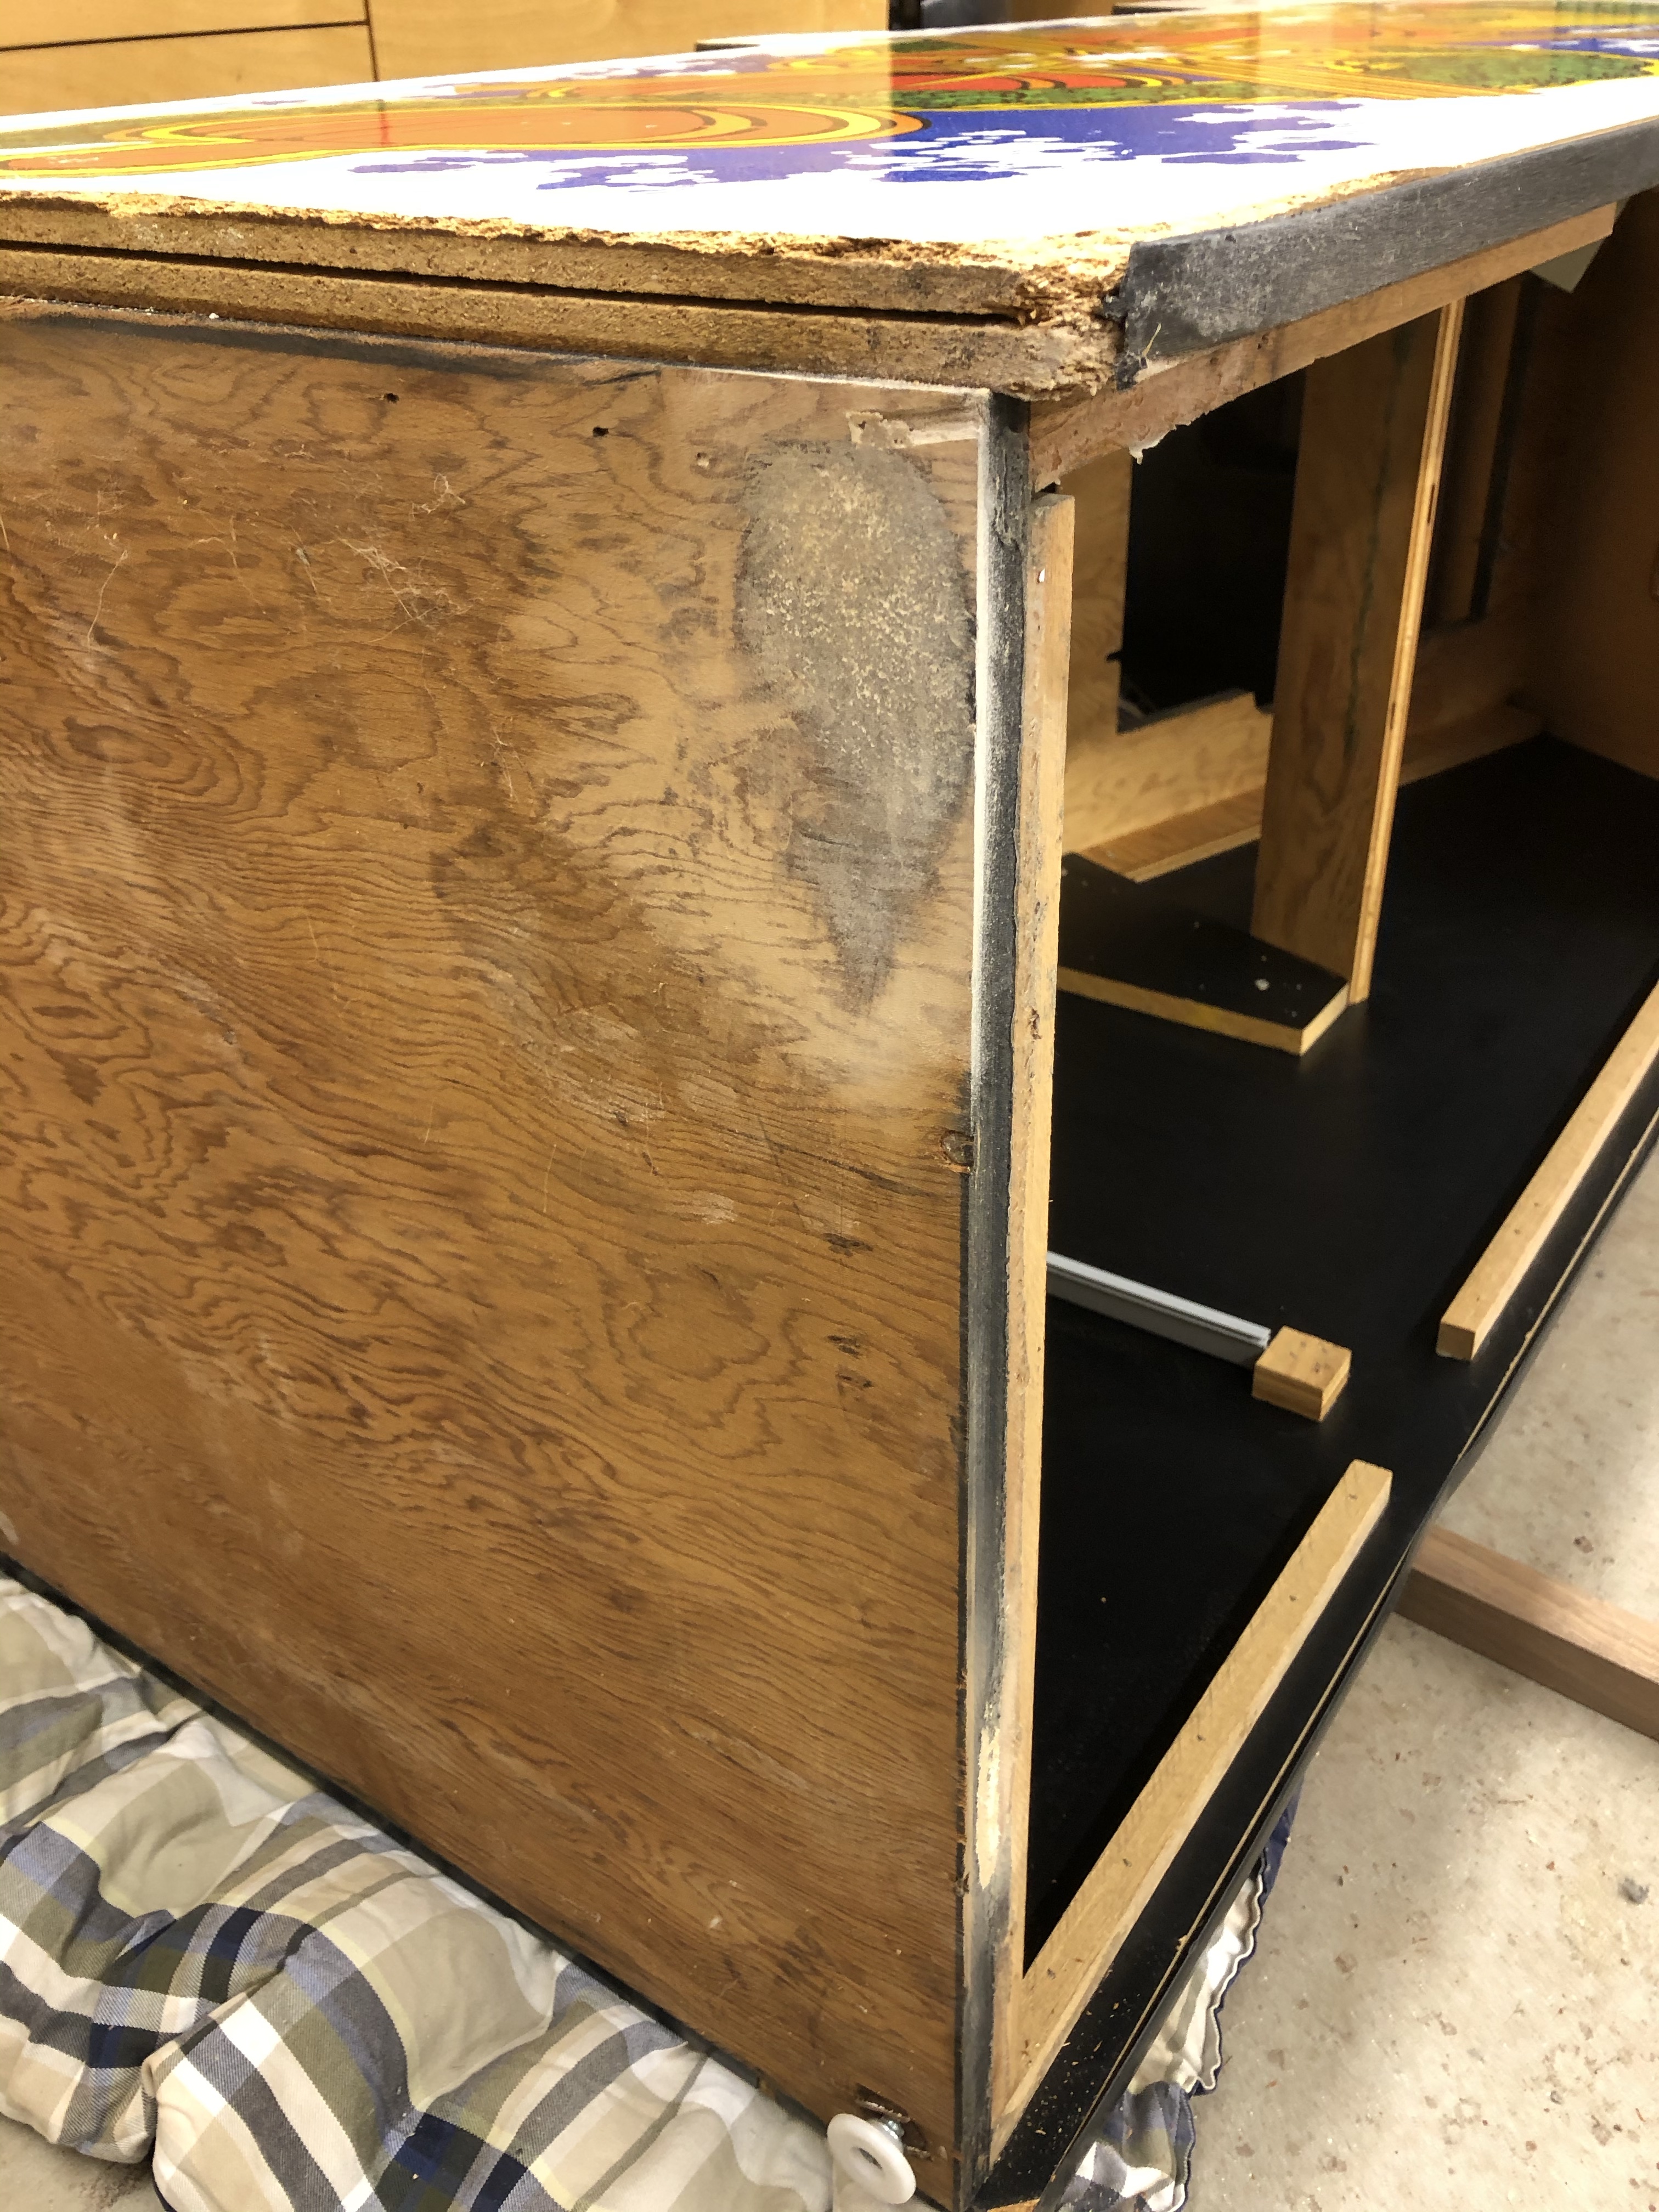
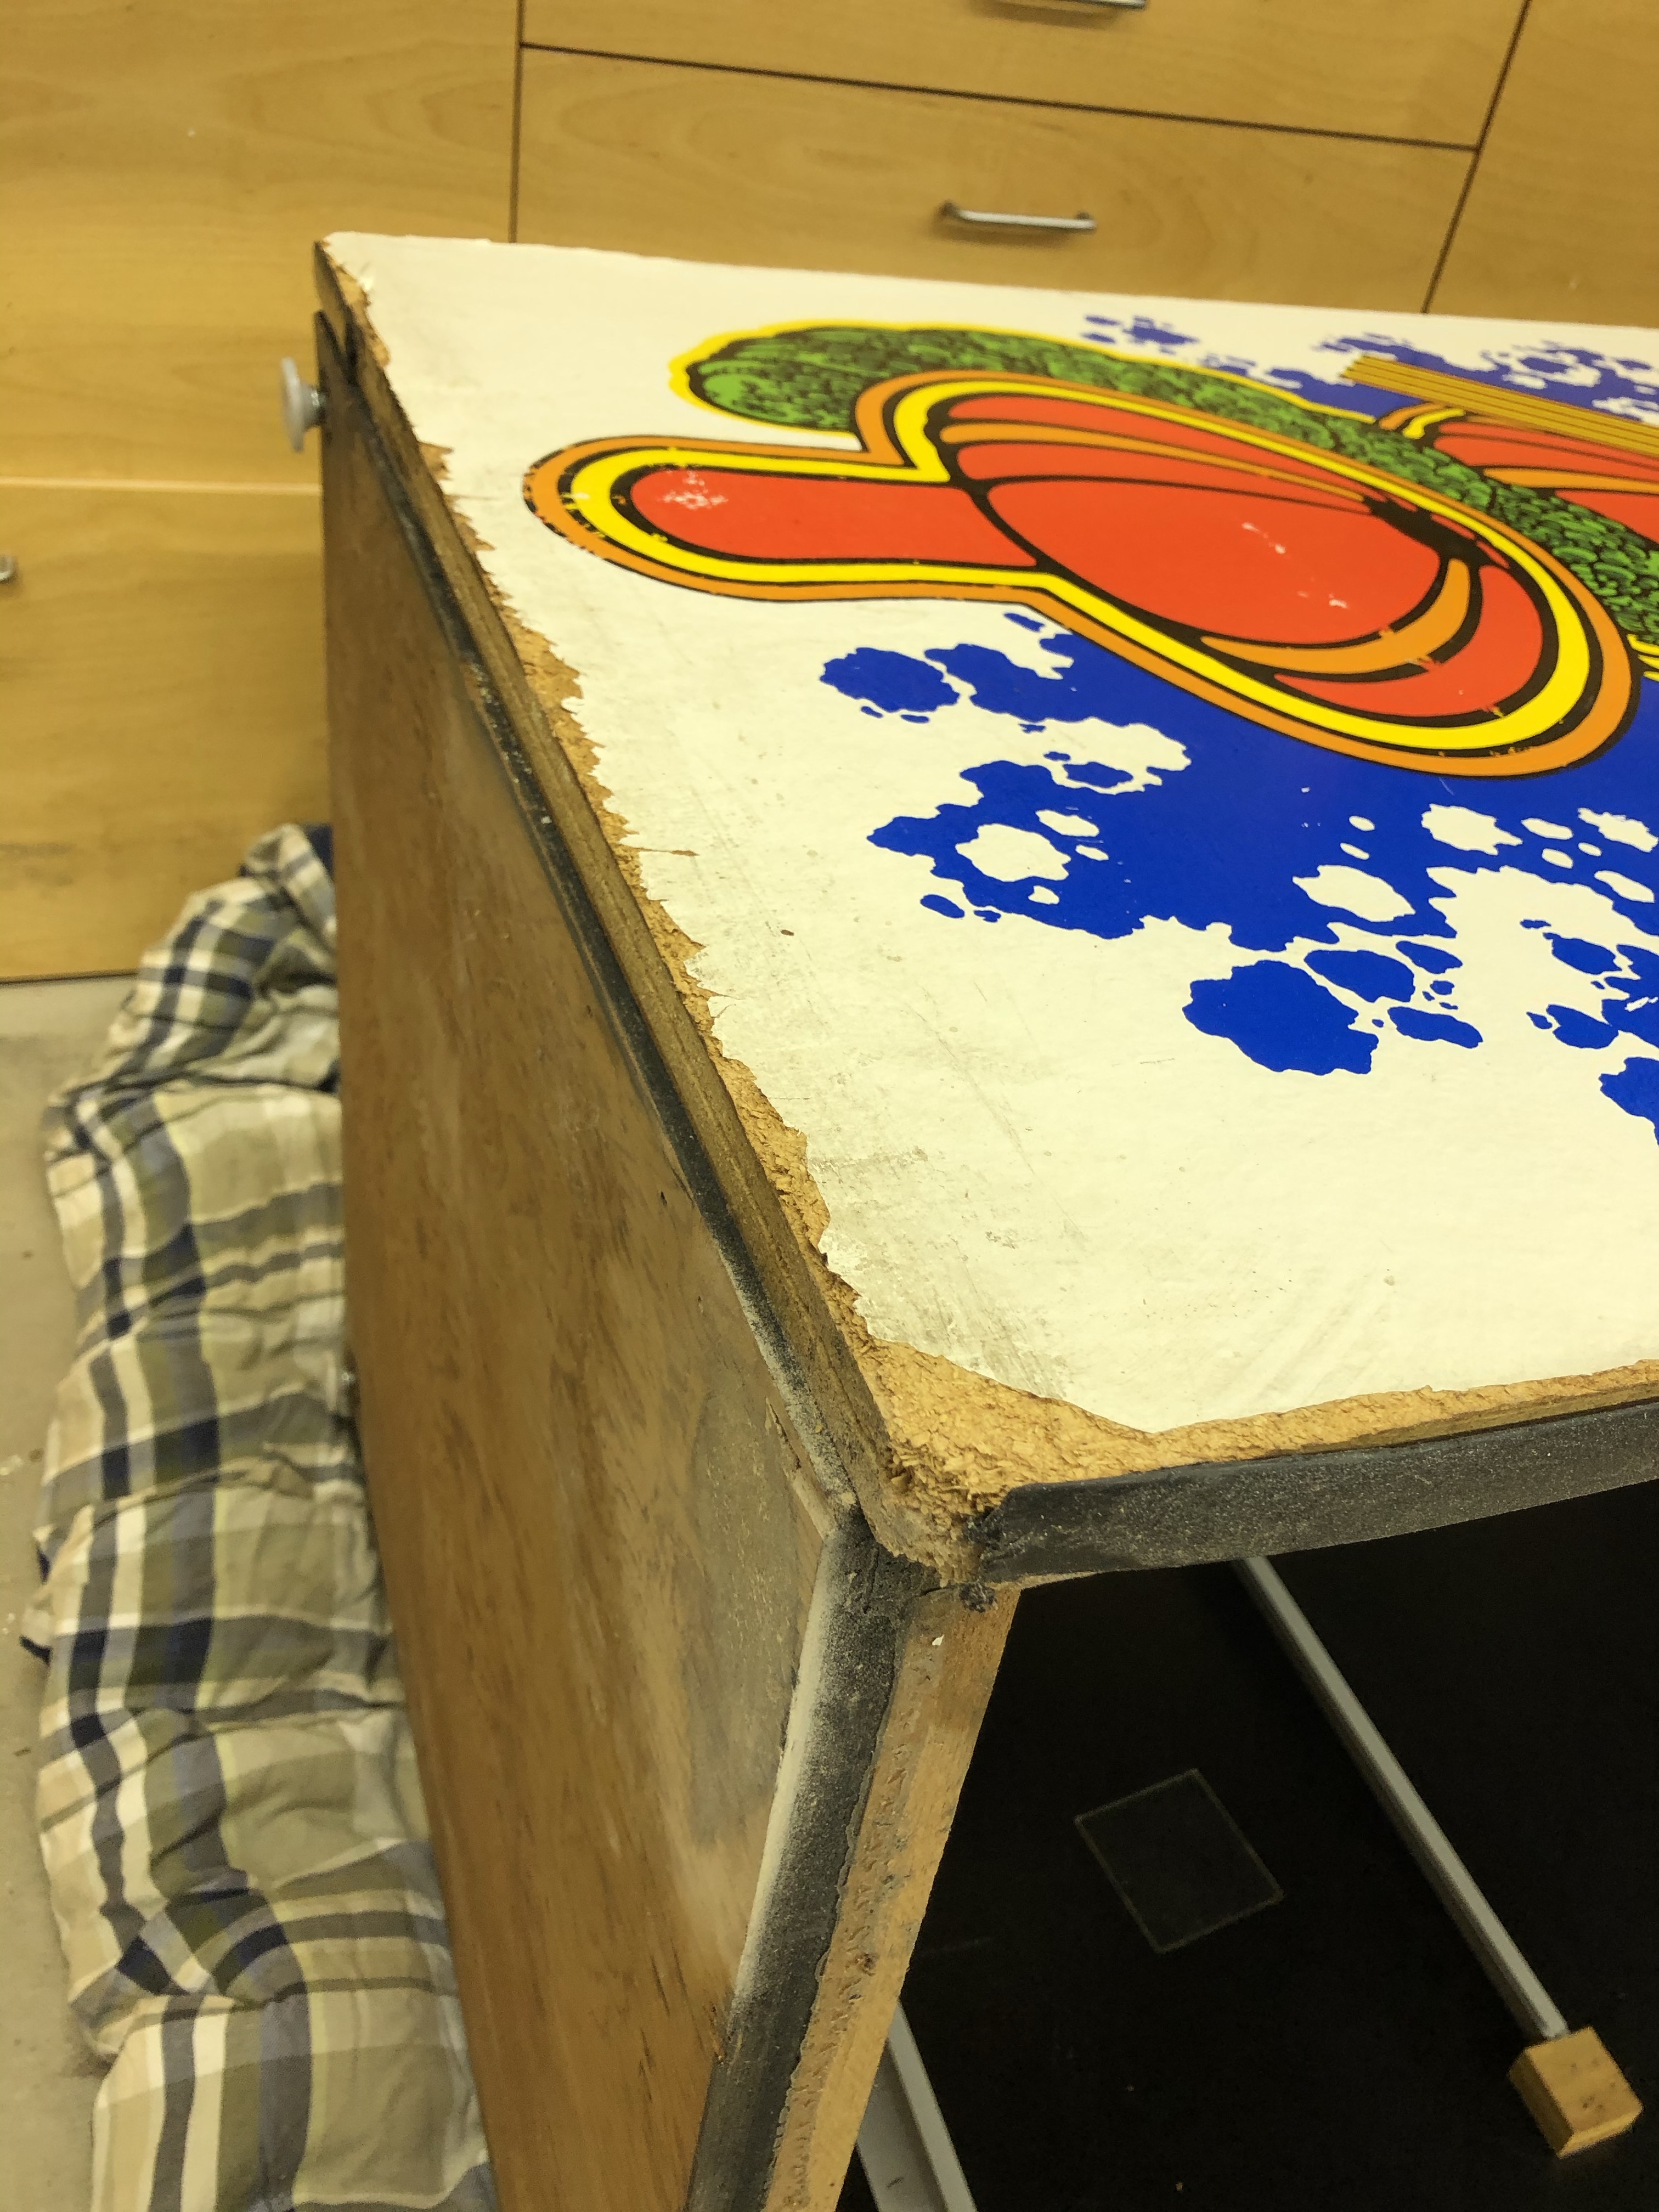
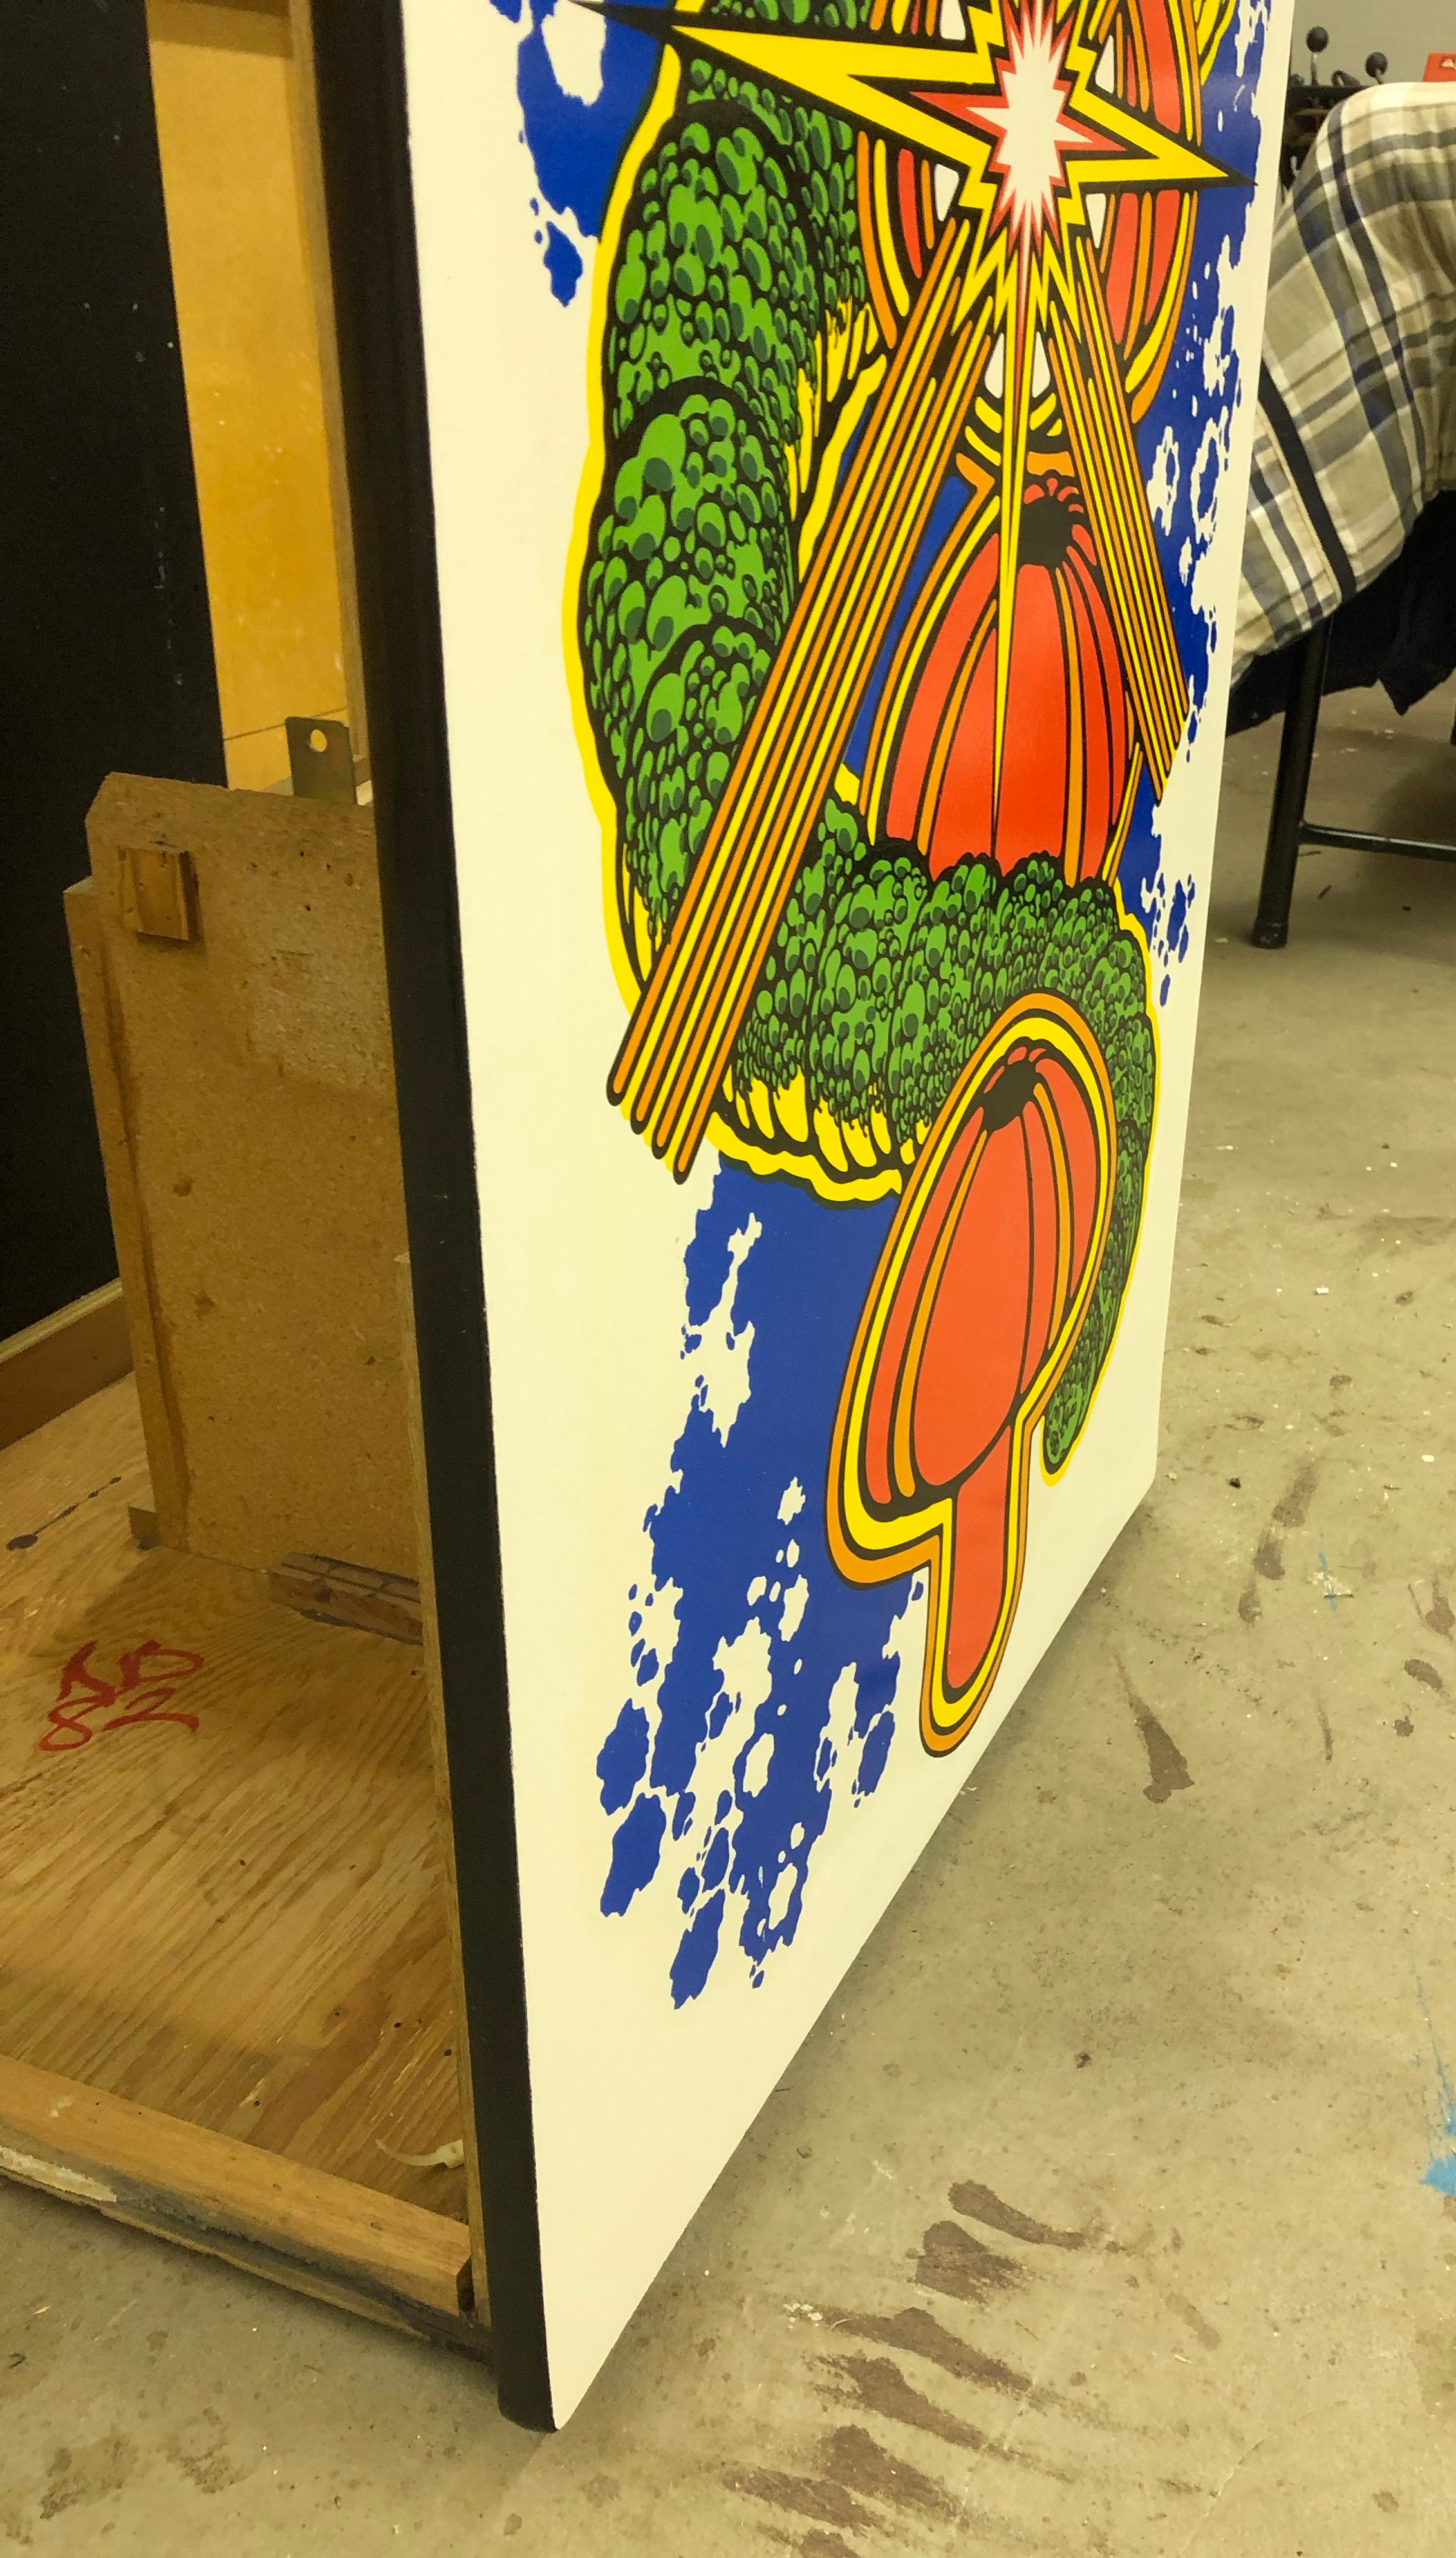
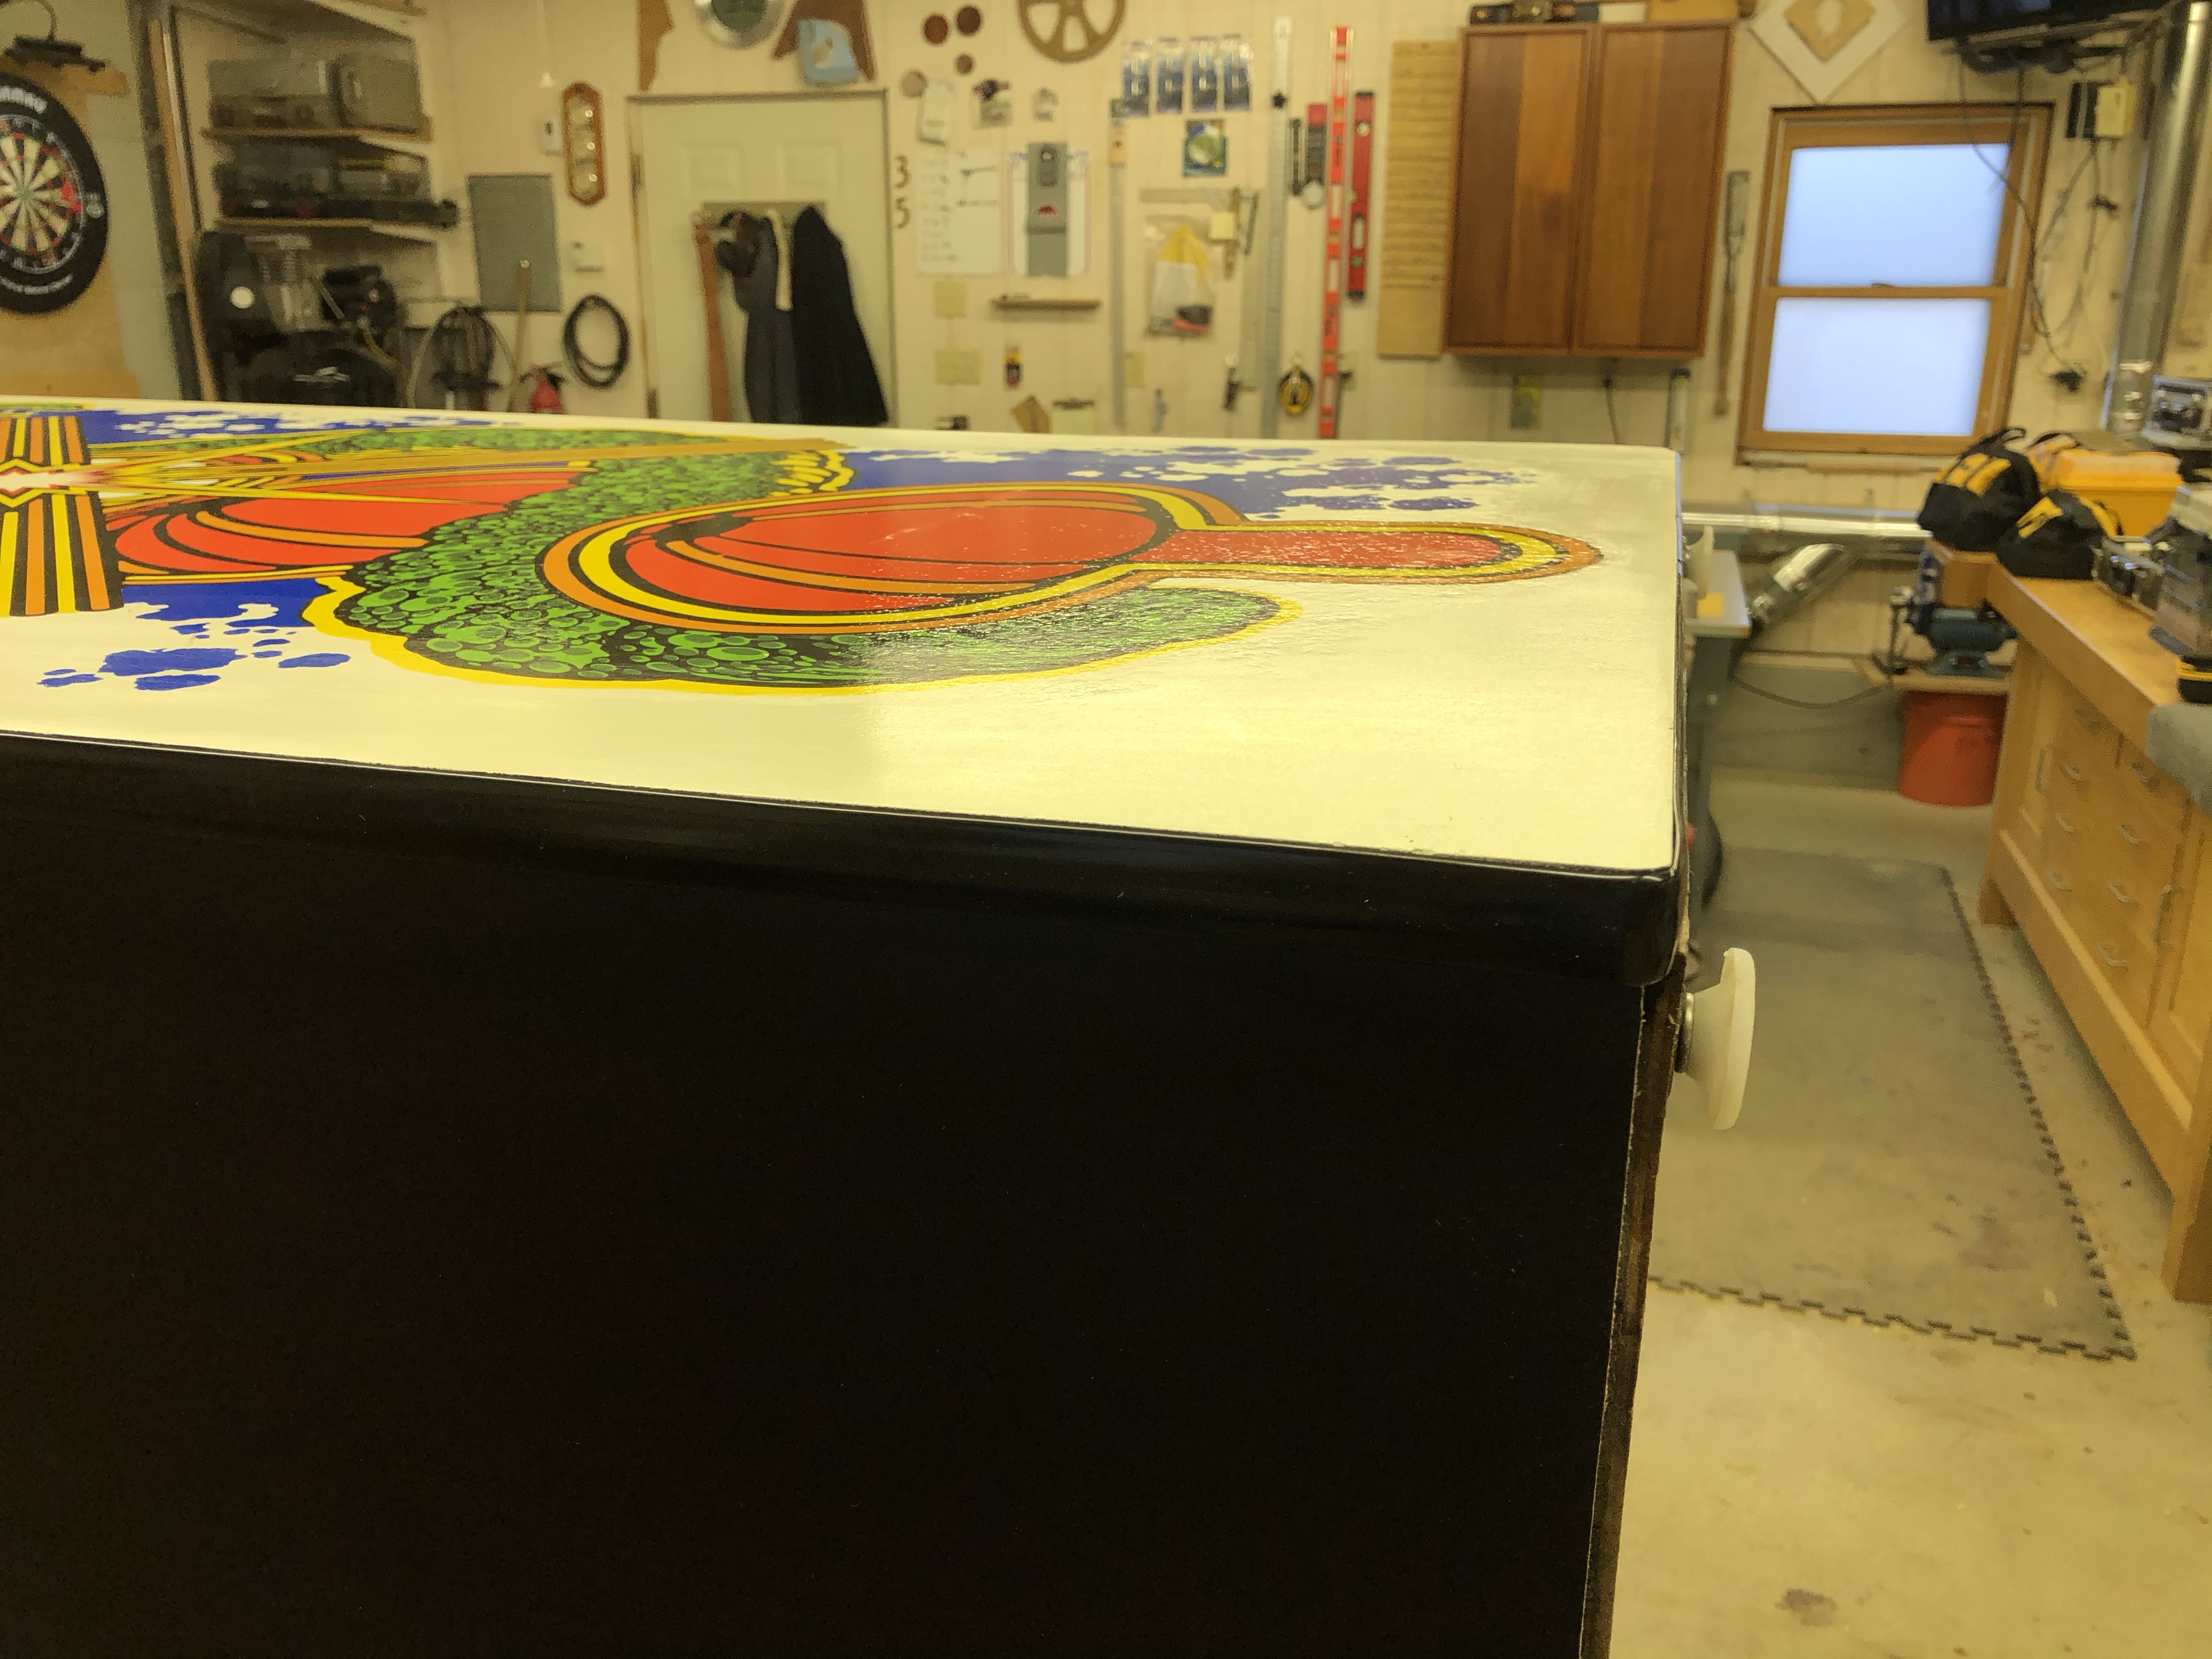
The rear access door, rear panel for the power switch / powercord and the front coin panel were not in good shape. They had been wet for some period of time. The sides and side art at the bottom have expanded too – Not 100% sure of how I’m going to approach them at this time. But I’m experimenting. Replacing the original side art is not an option for me. The vast majority of it is very nice and I want to preserve it.
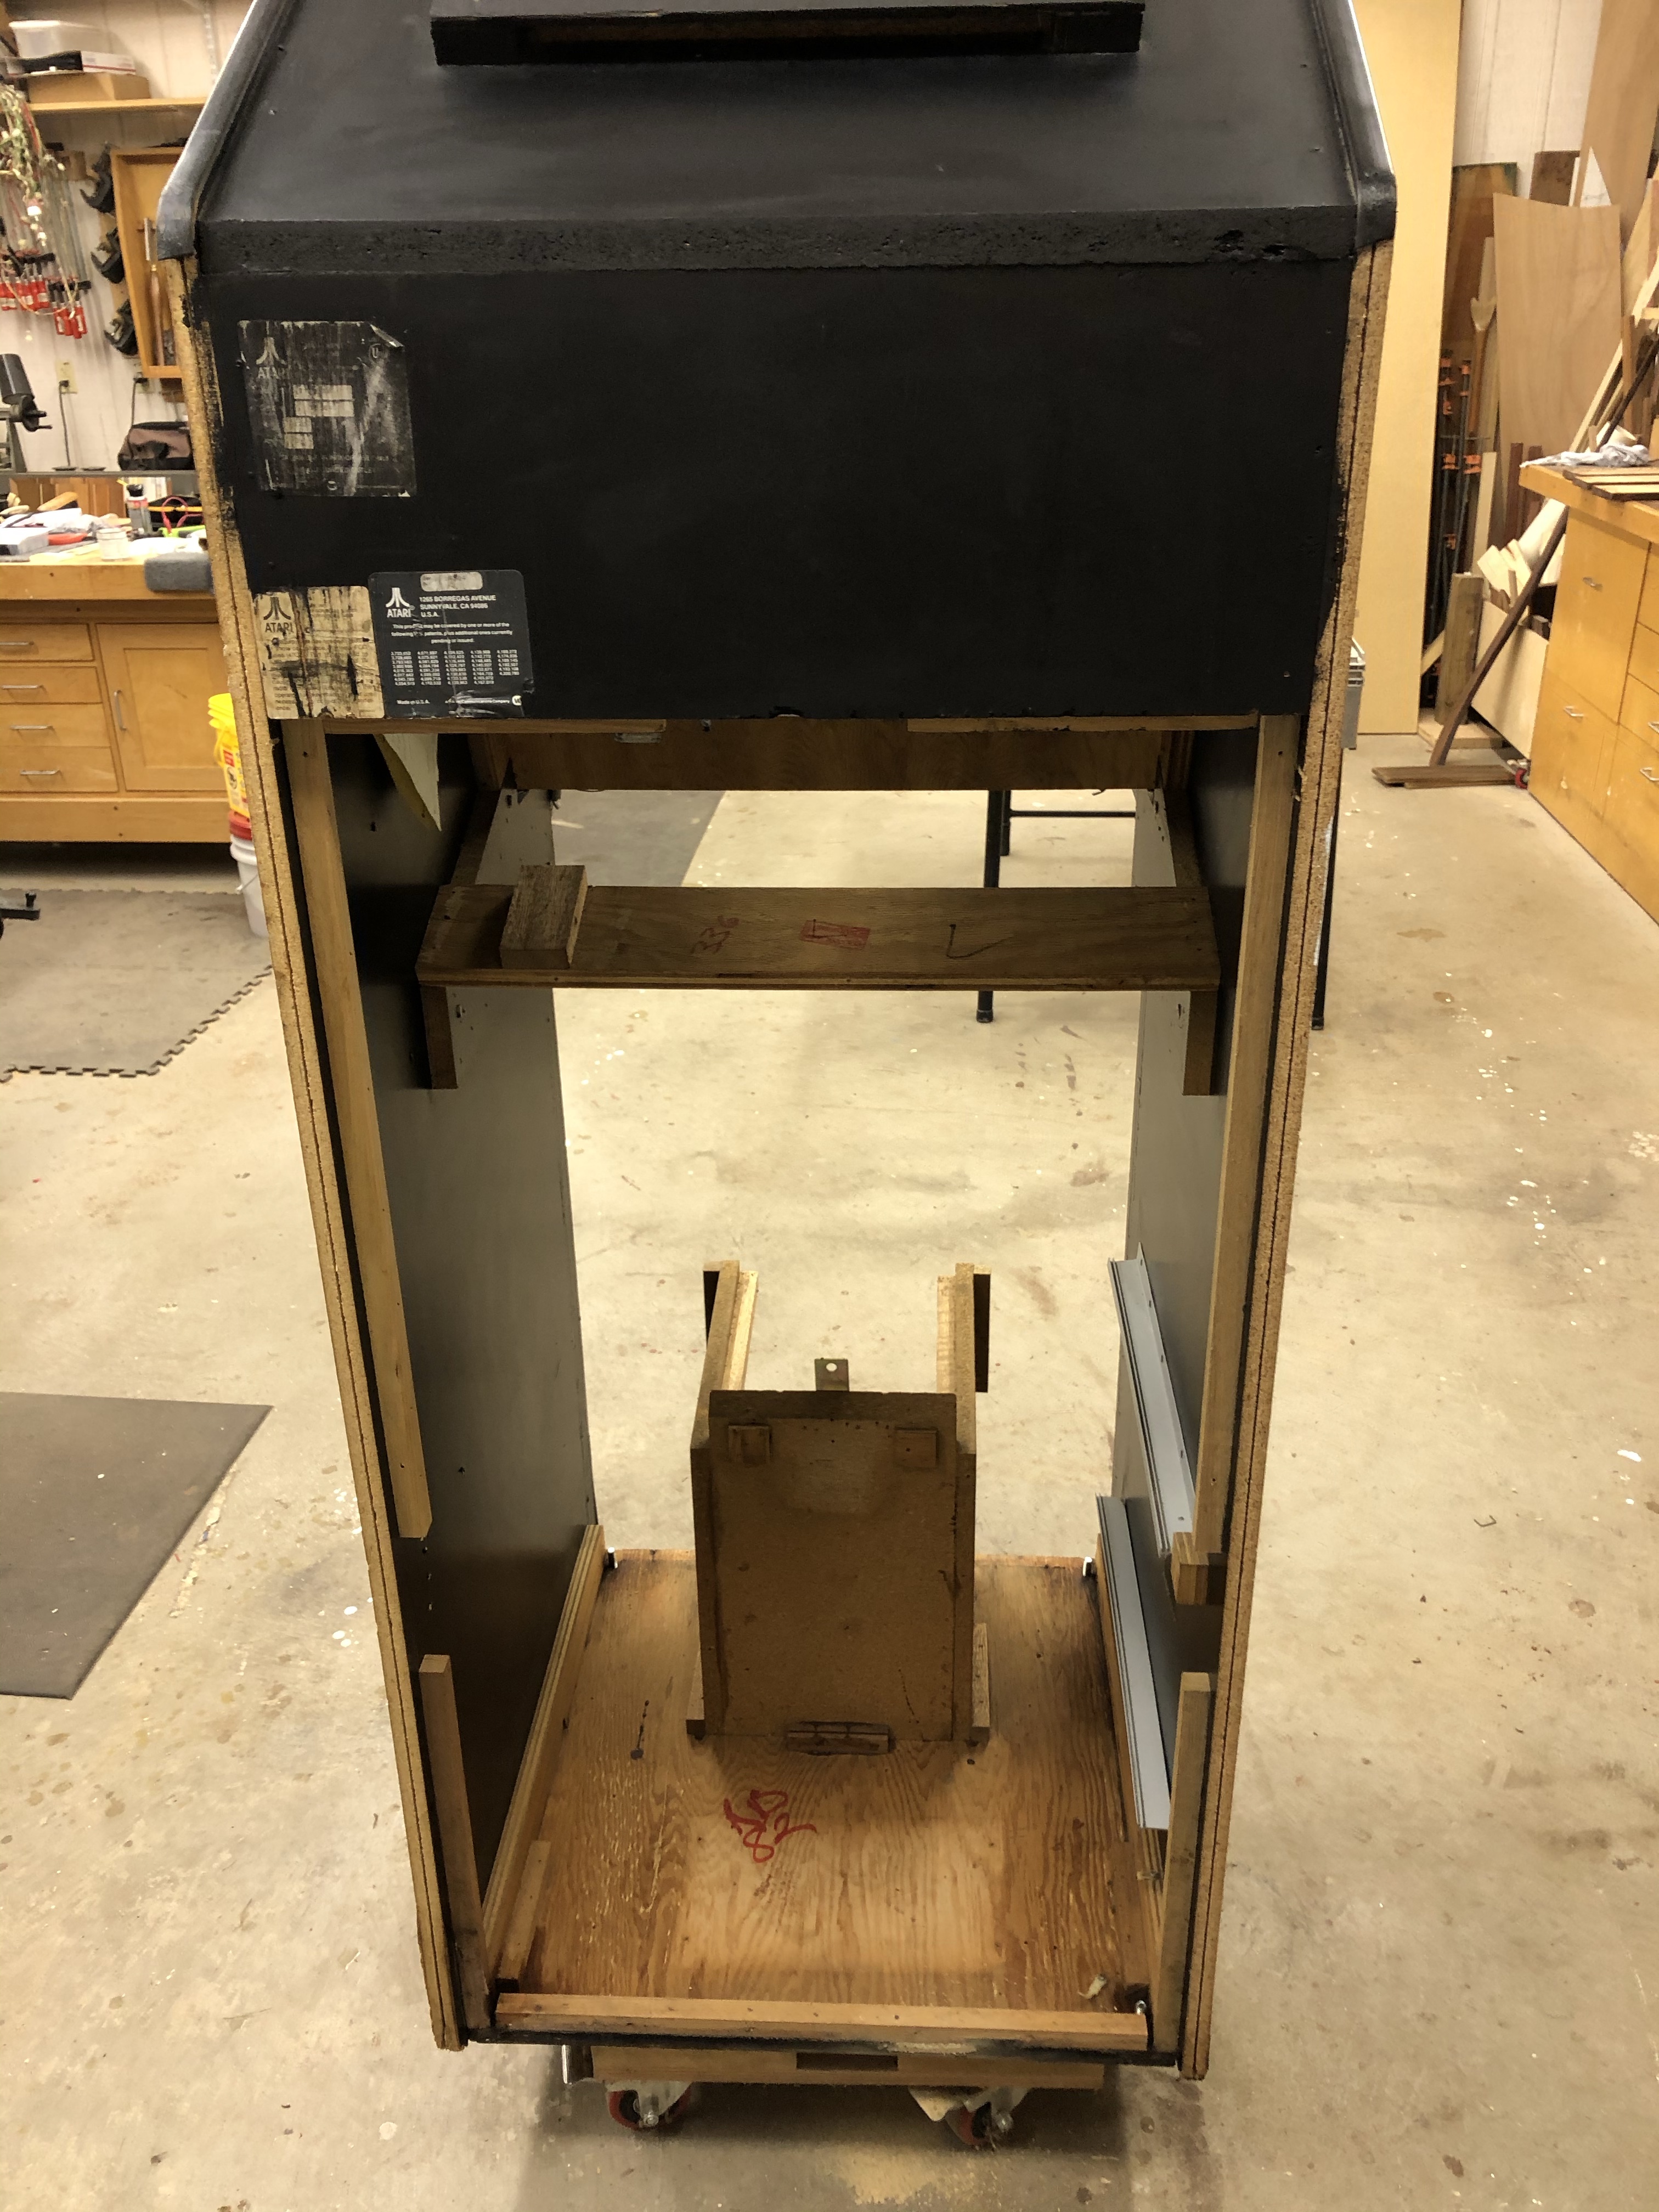
The coin door panel has screws connected to battens on the sides and staples across the bottom. It all popped apart pretty easily. Remove the screws and hit it a few times with a mallet. Out it came. The side battens were stapled in place and popped off. Same for the power panel / kick plate across the bottom rear.
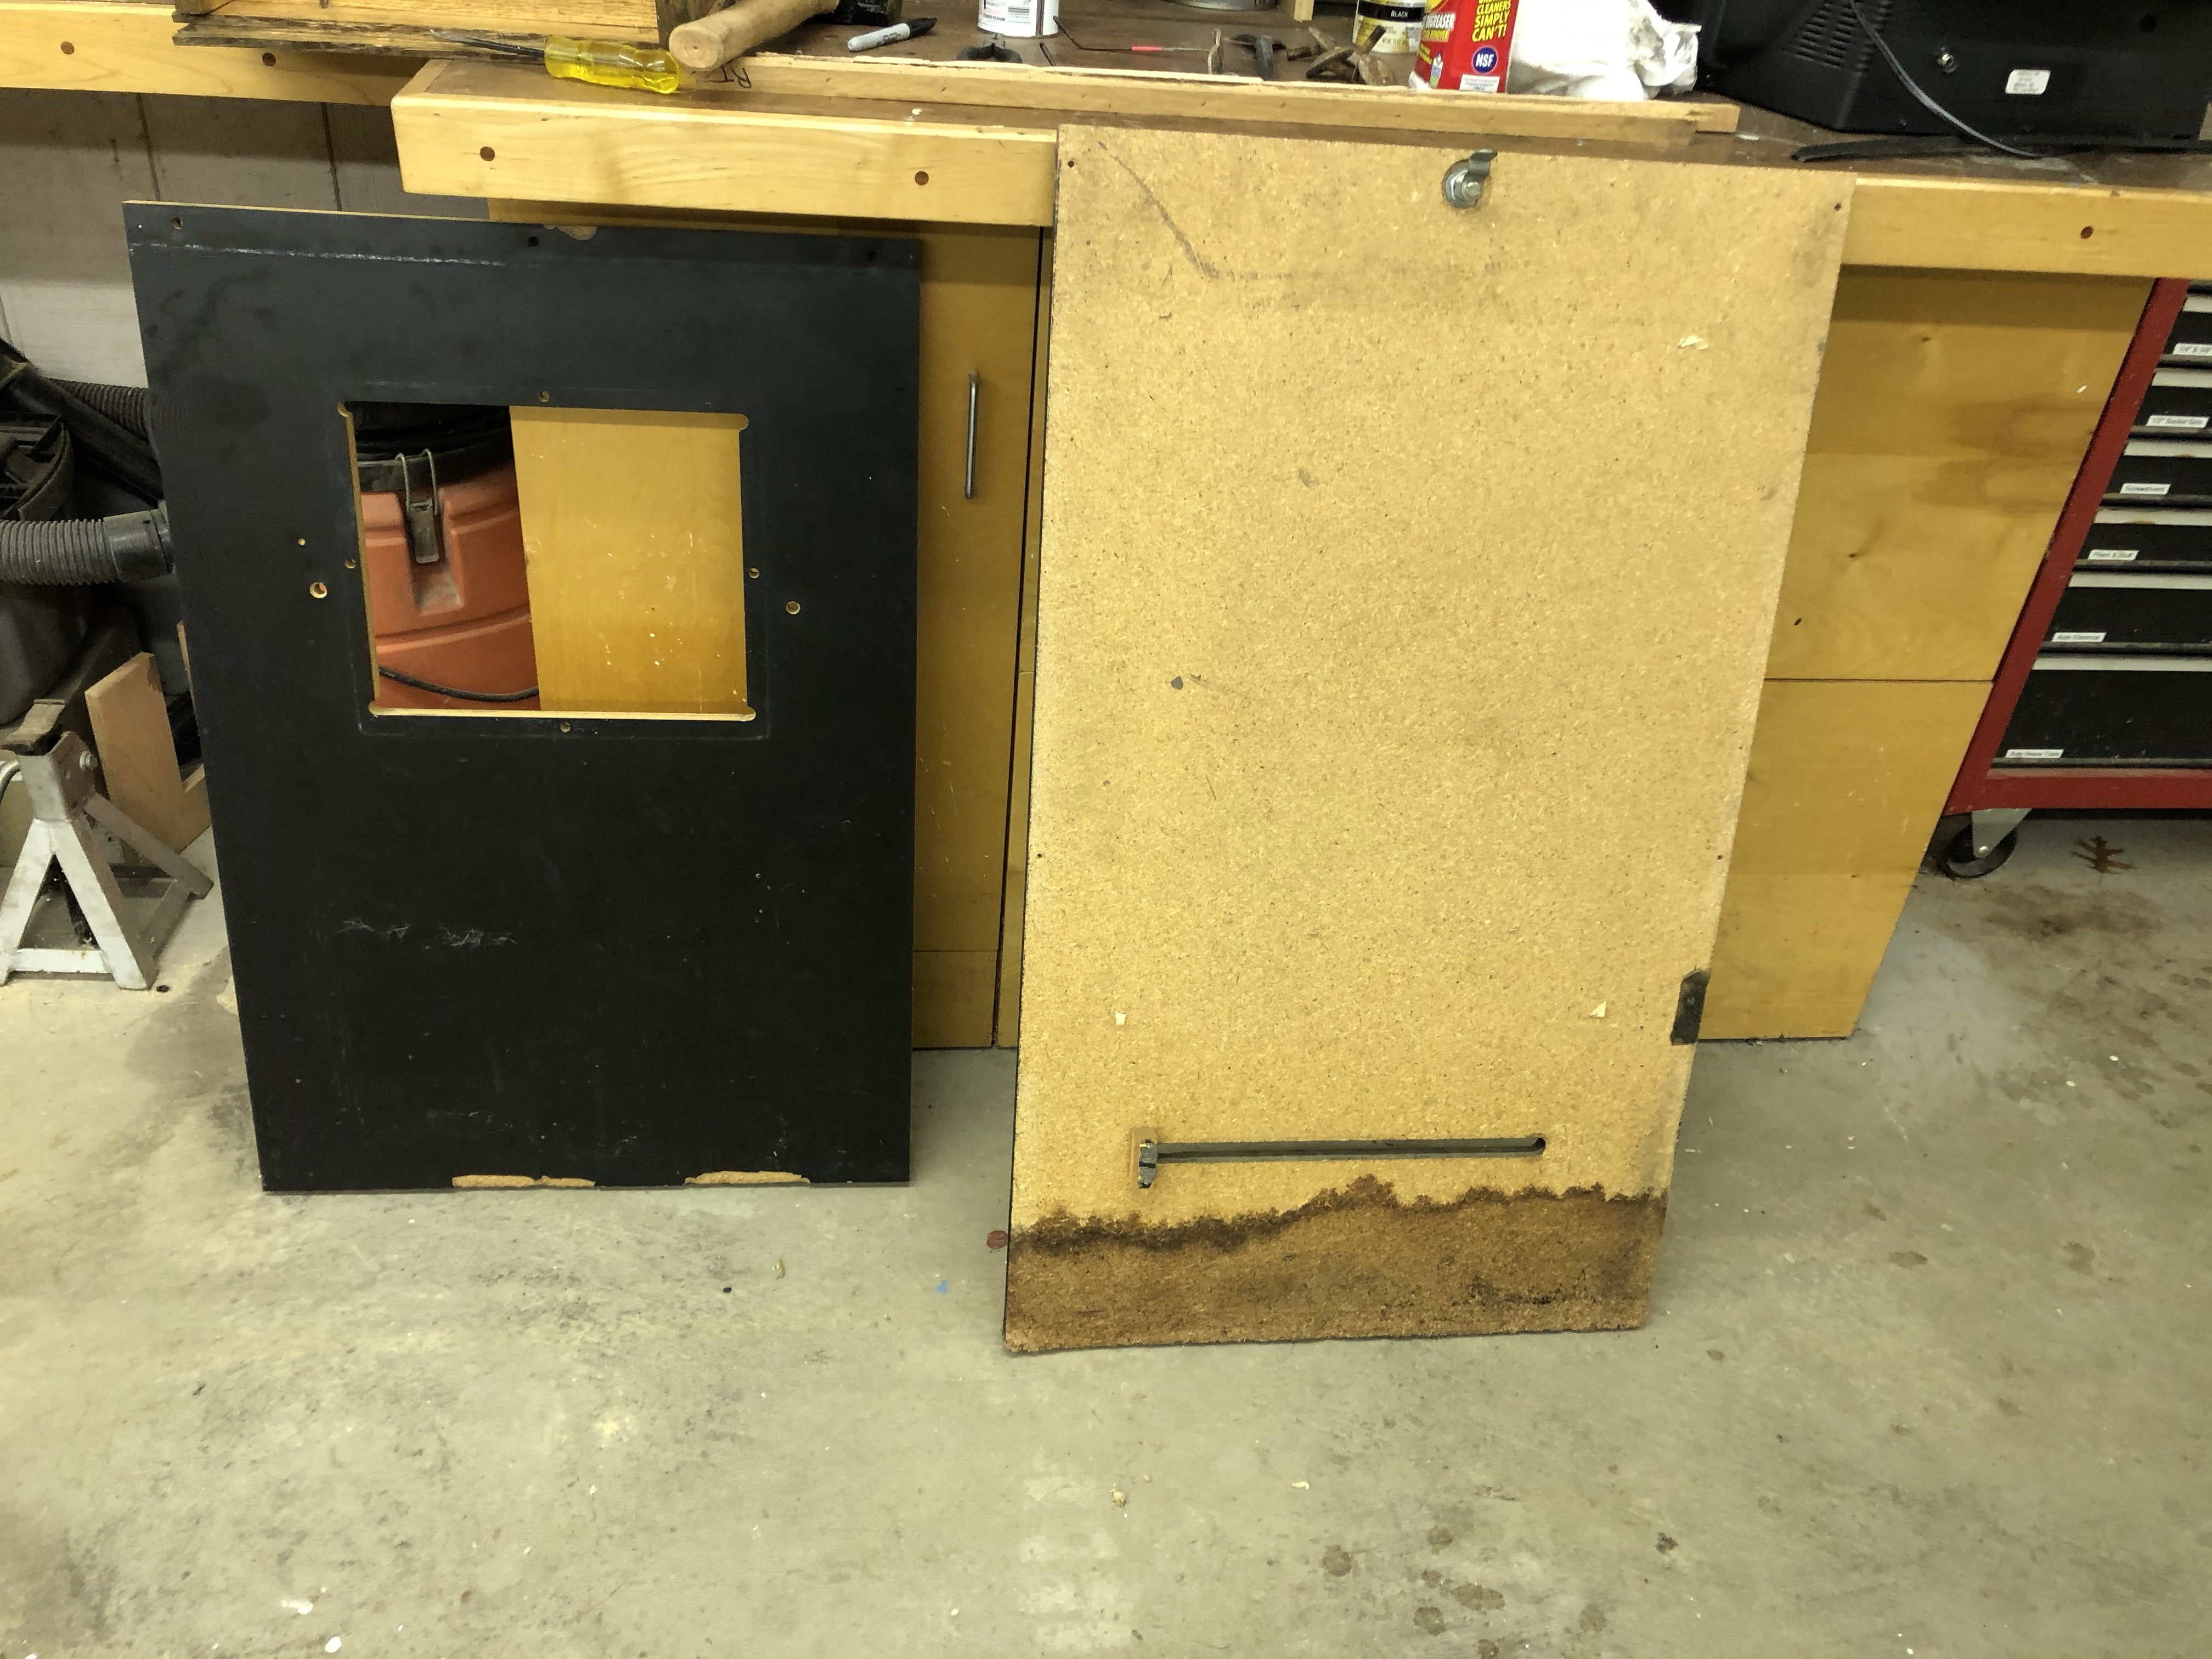
At one point there *should* have been some 1/4″ ply across the rotten part on the rear panel to secure the lower part. I can see where it was anyway.. It also appears there was a cover across the slot? I’m guessing to keep stuff from poking inside the cabinet. I’ll figure out what it looked like and restore it.
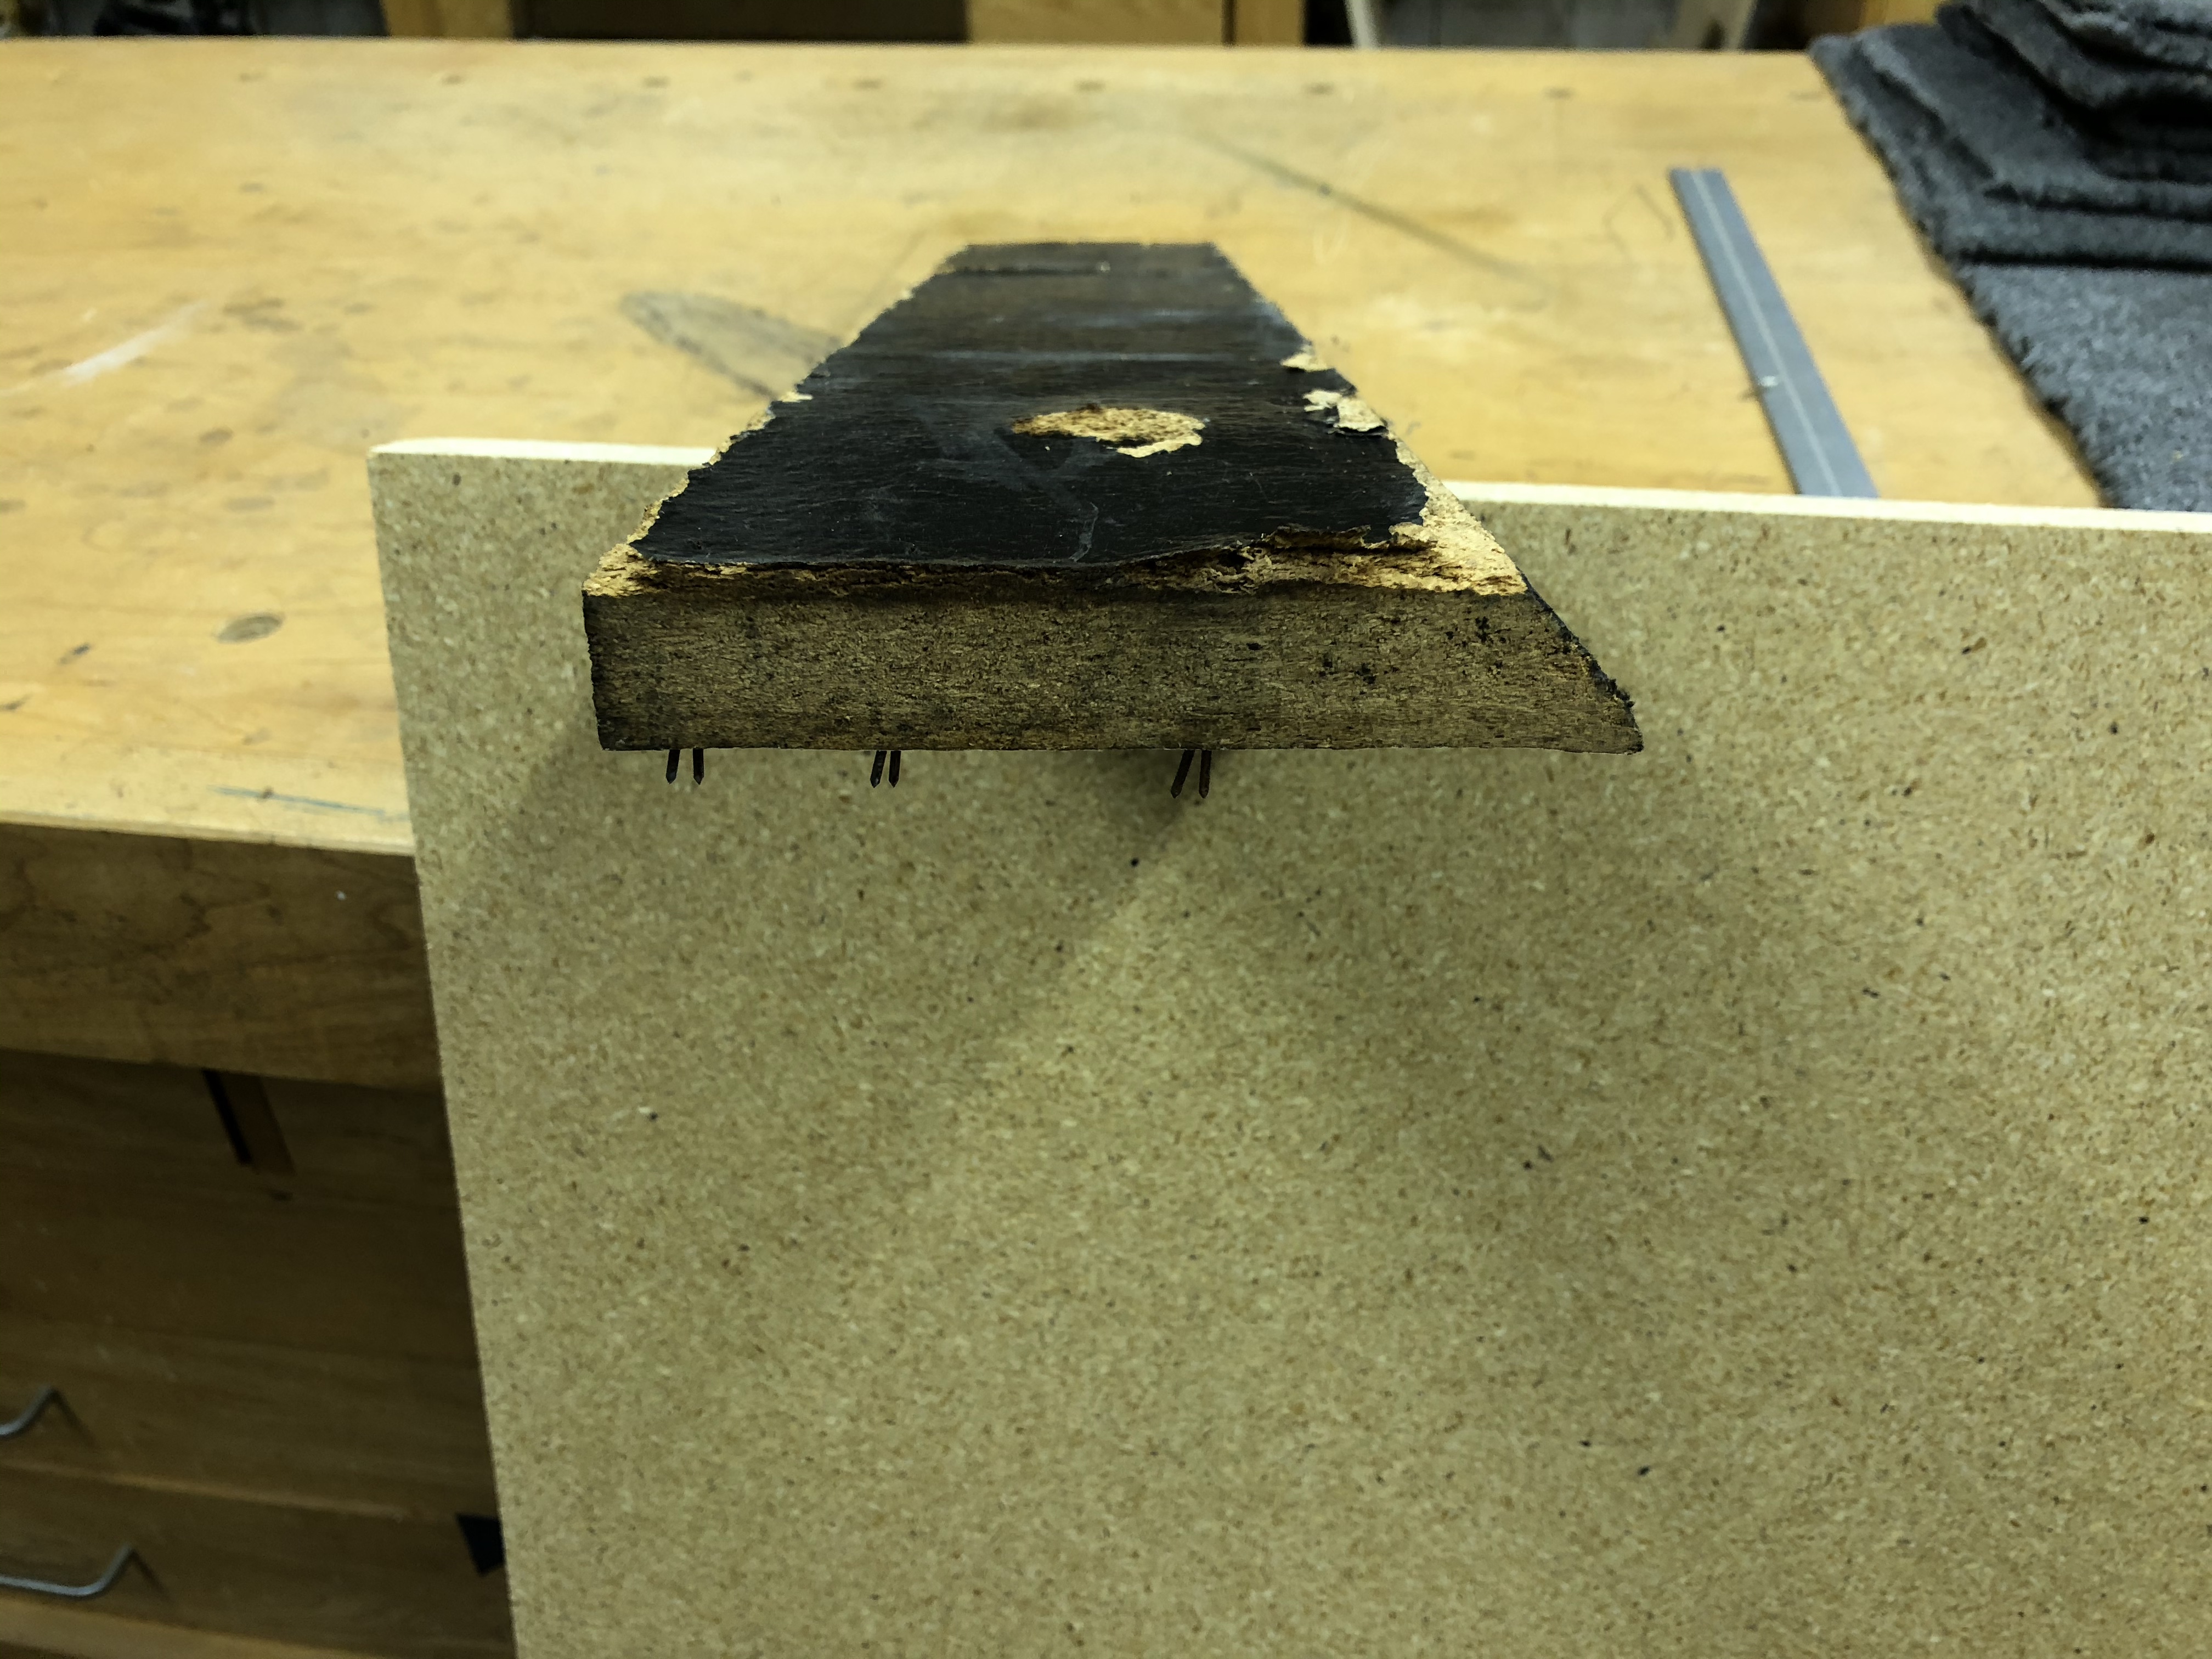
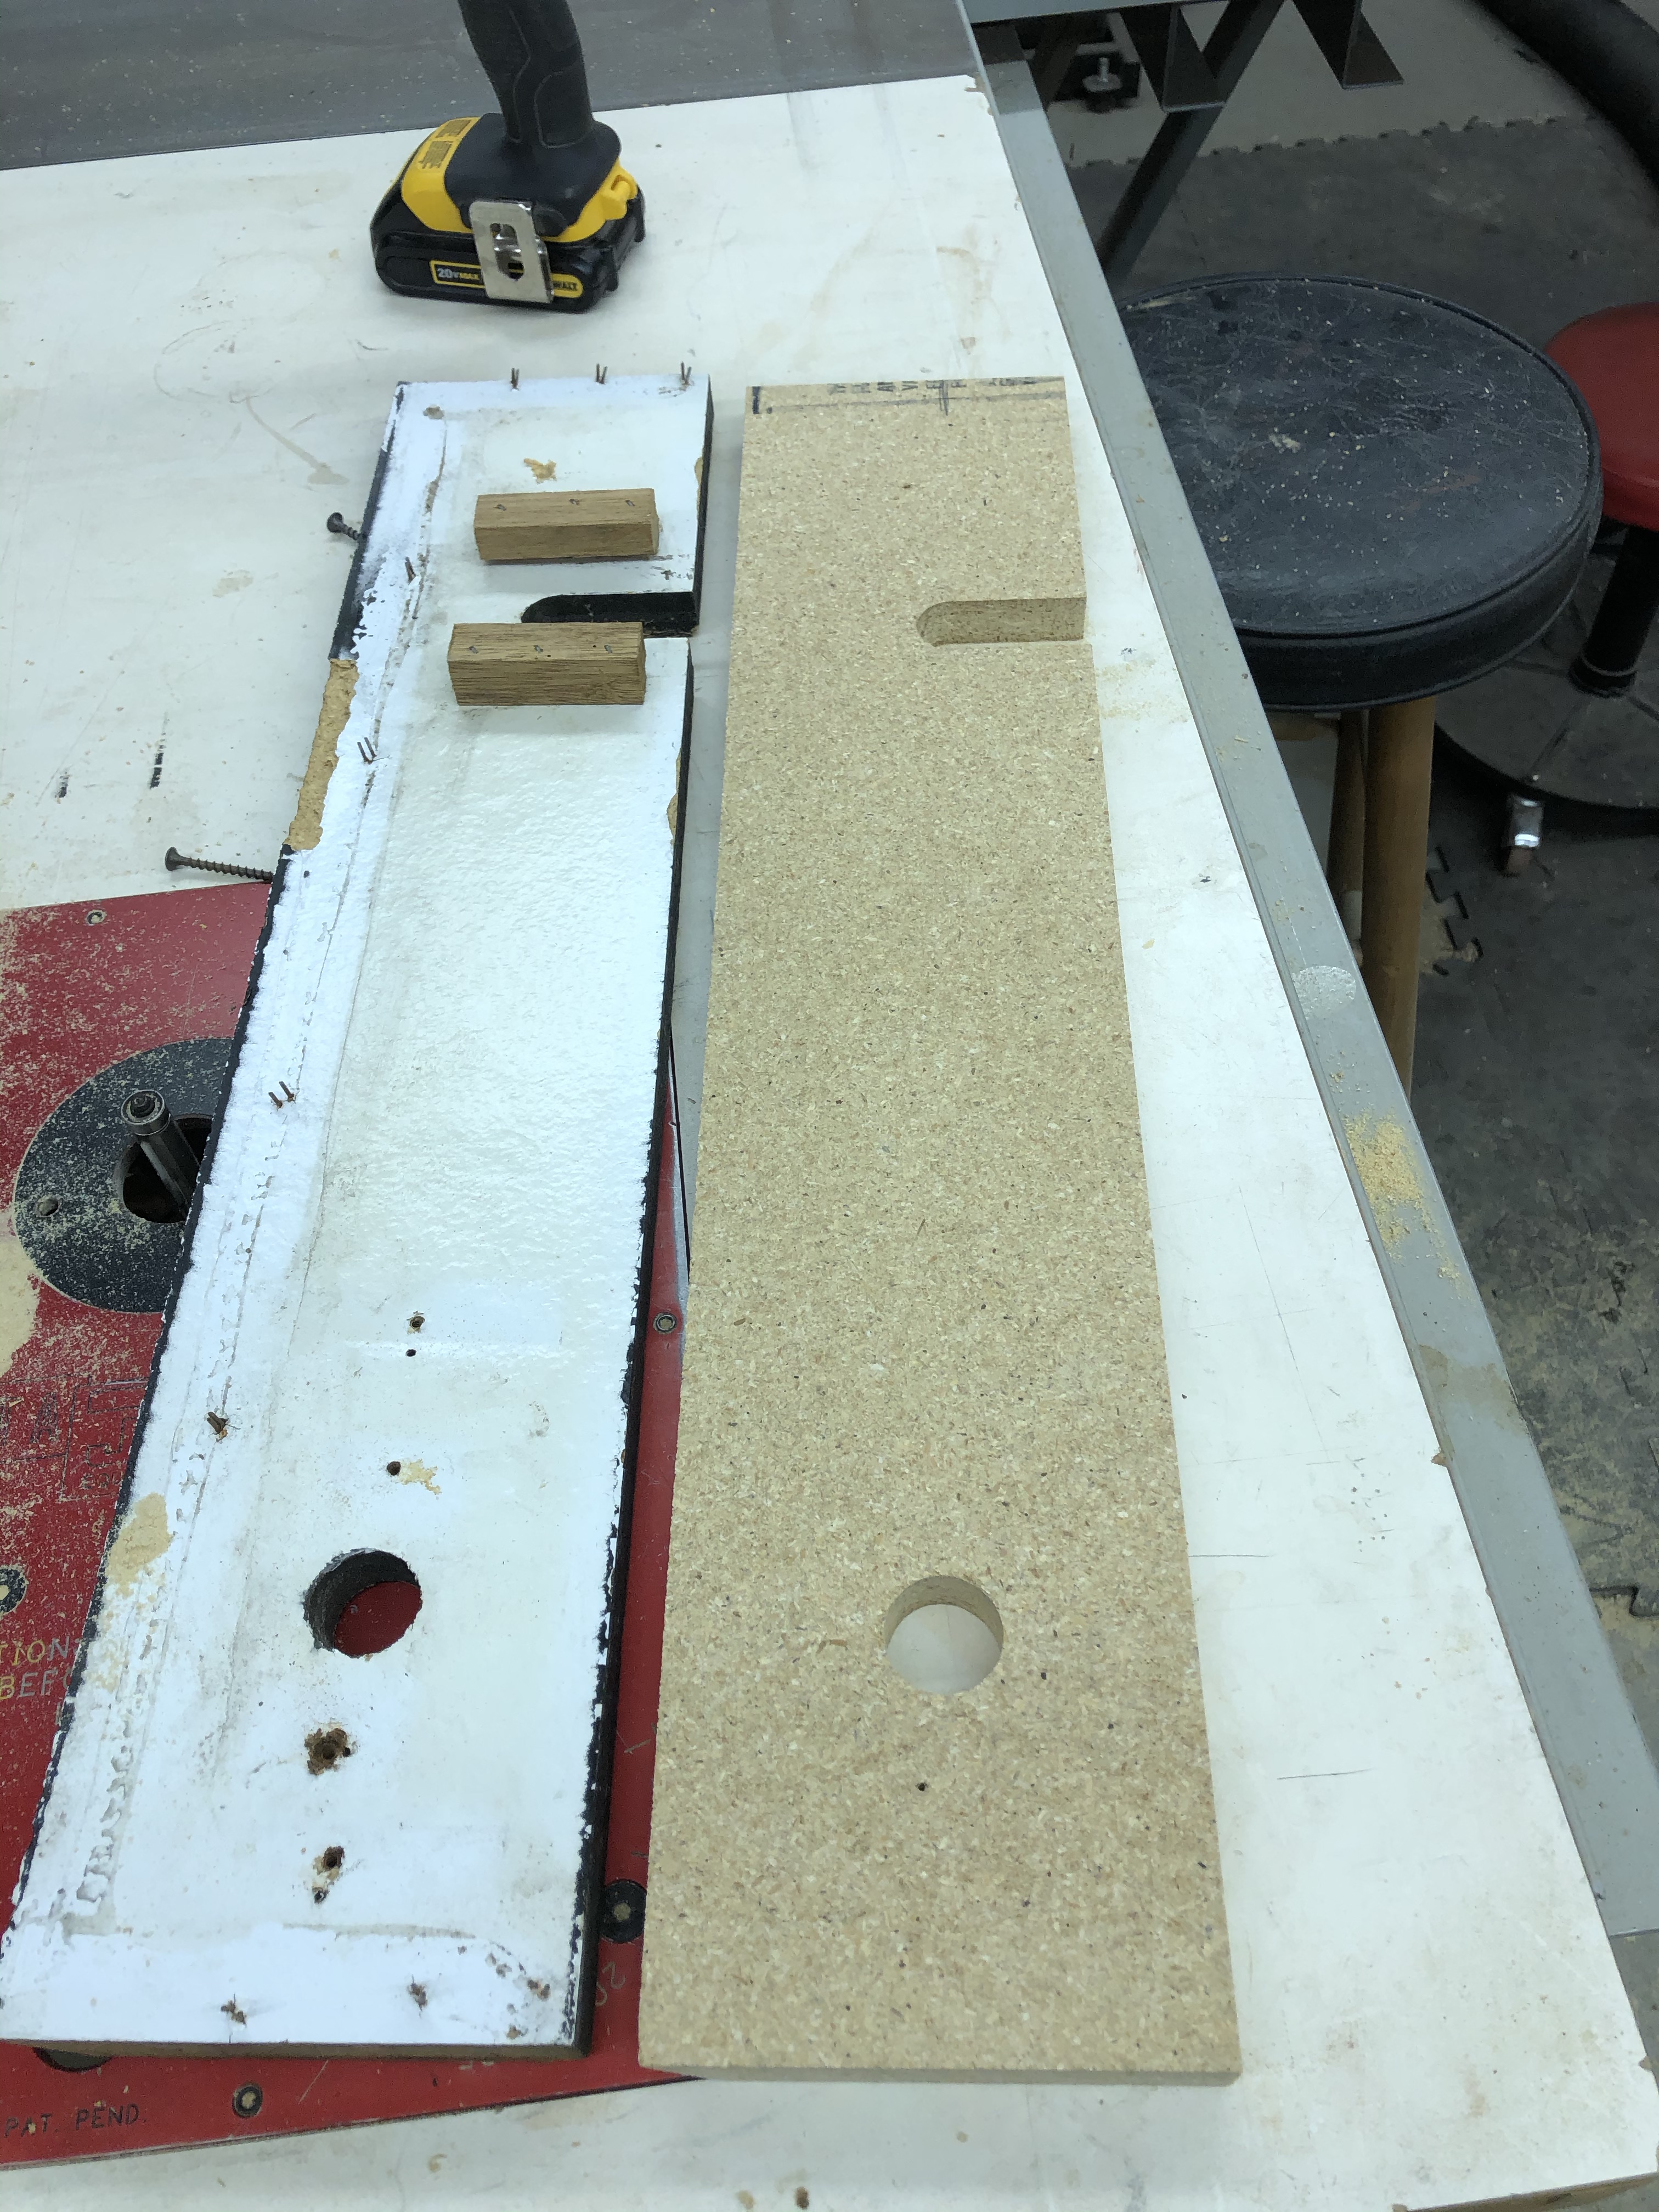
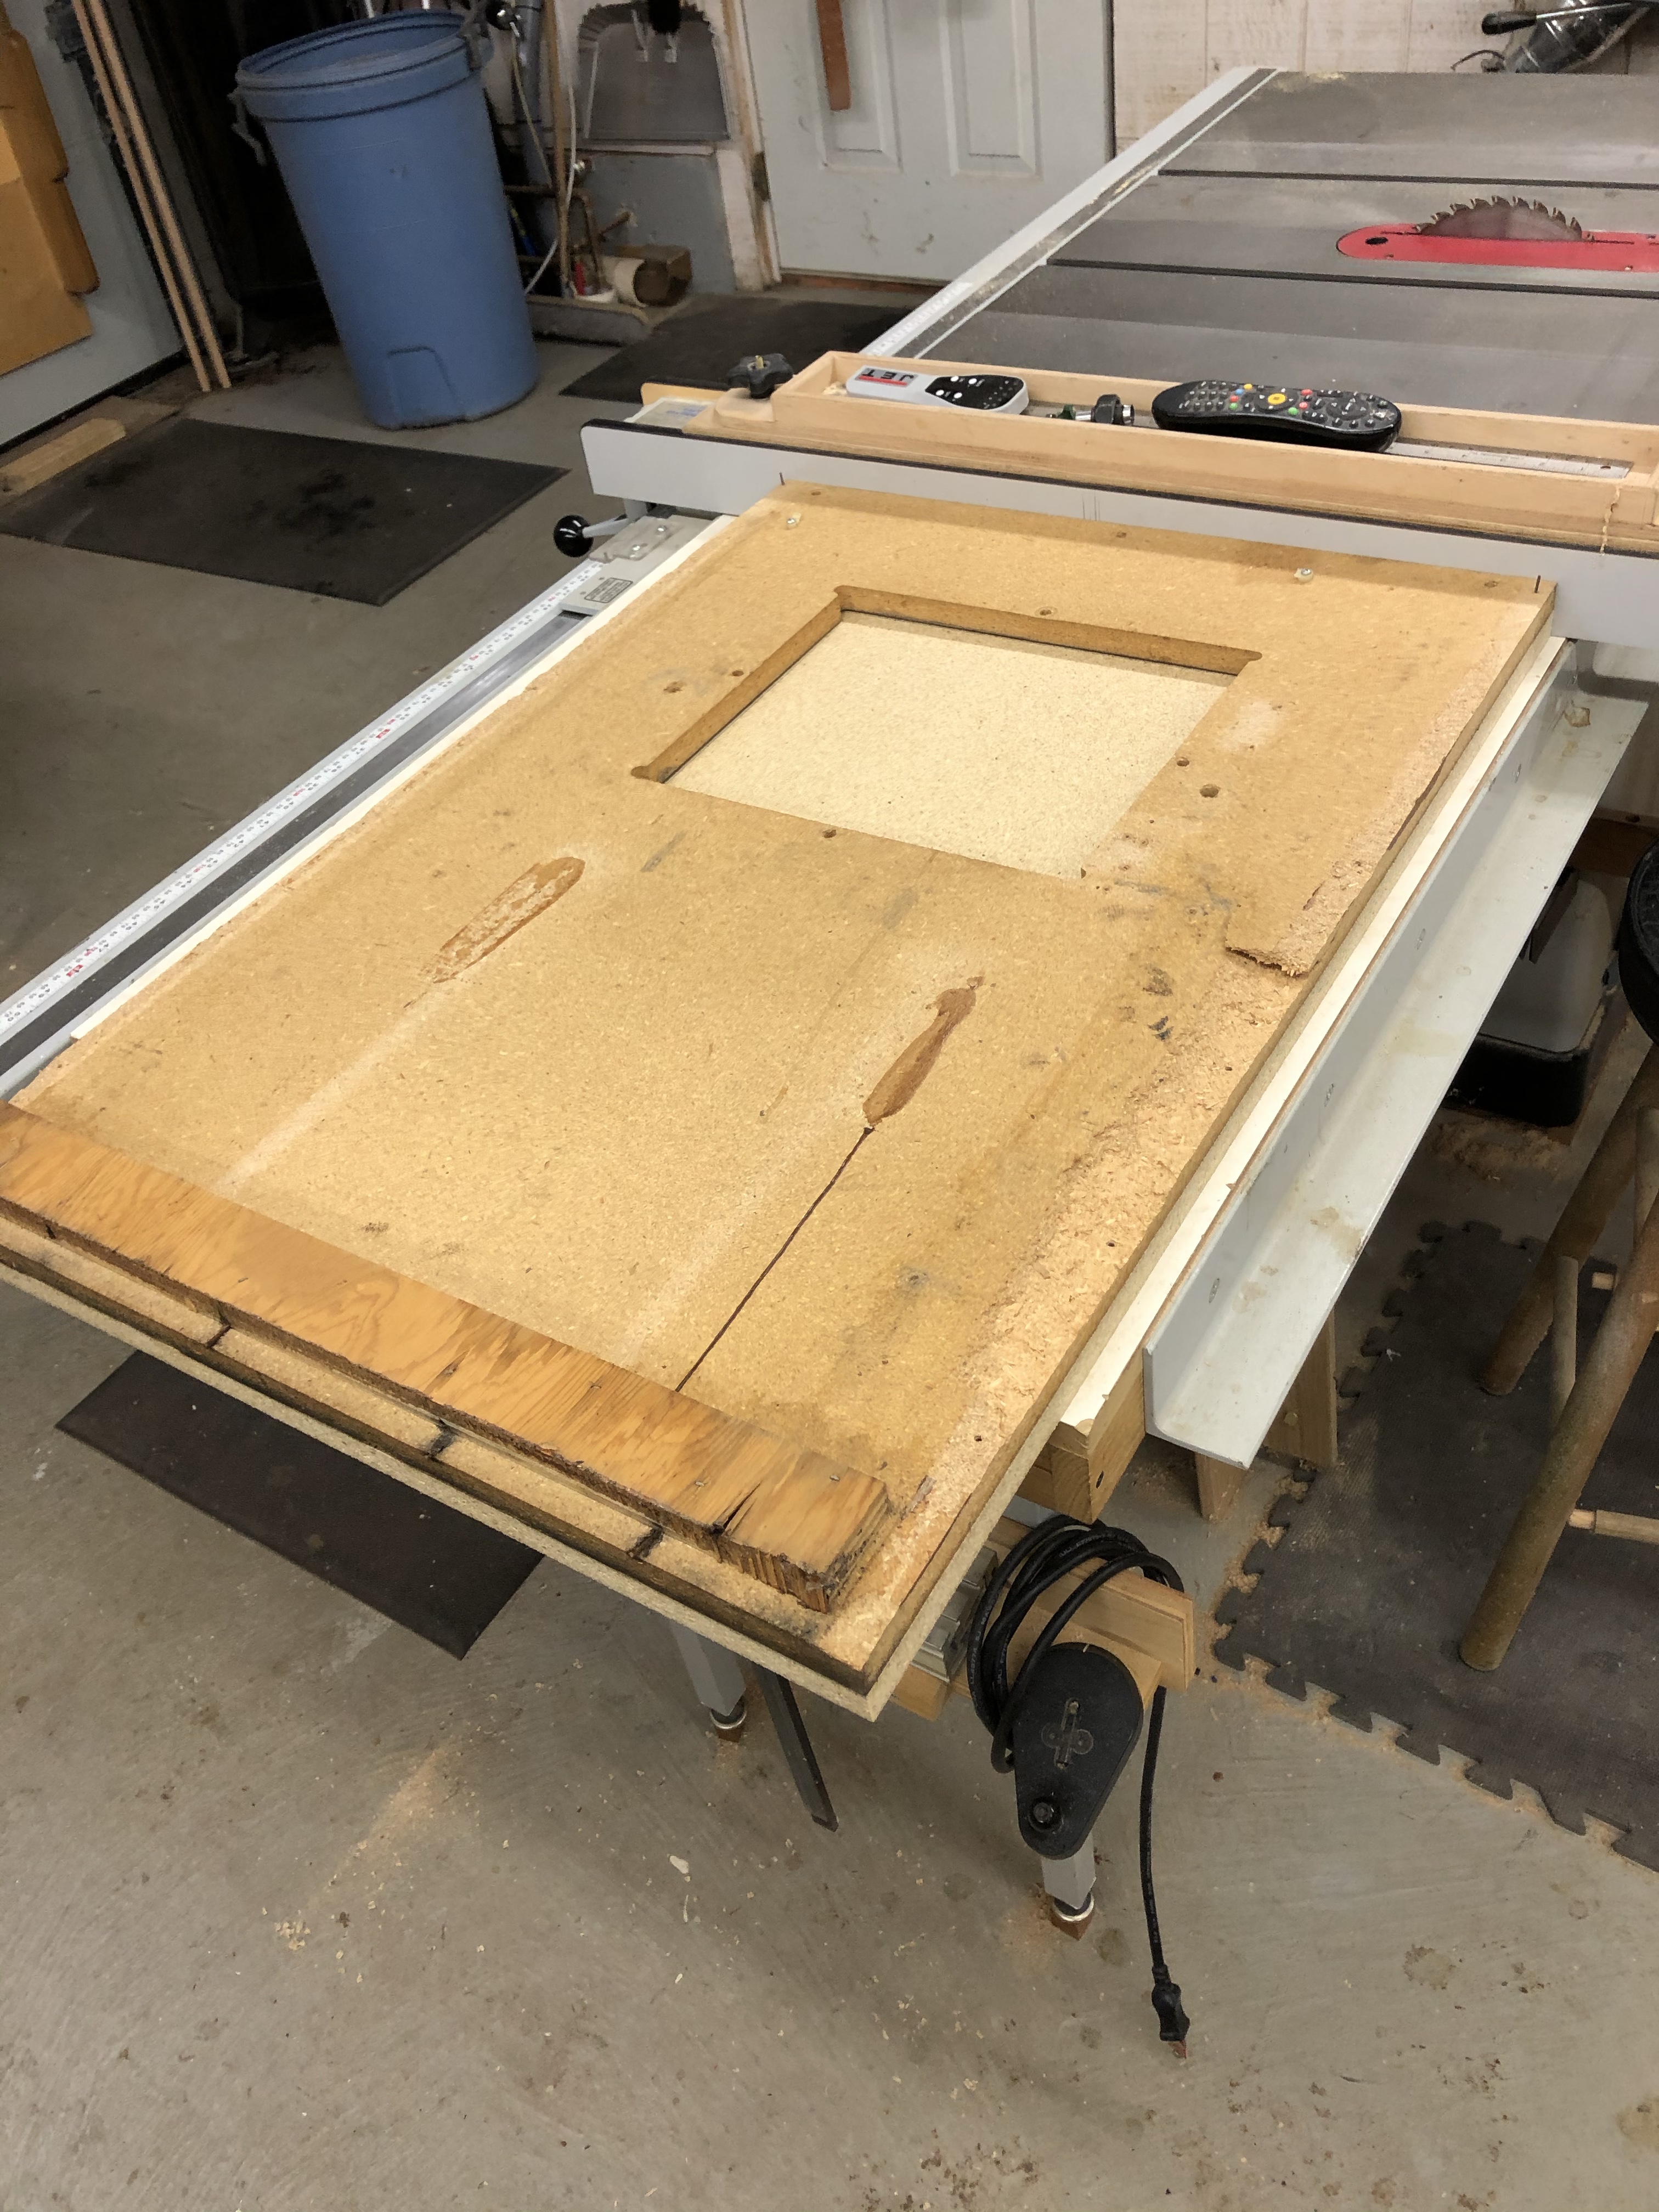
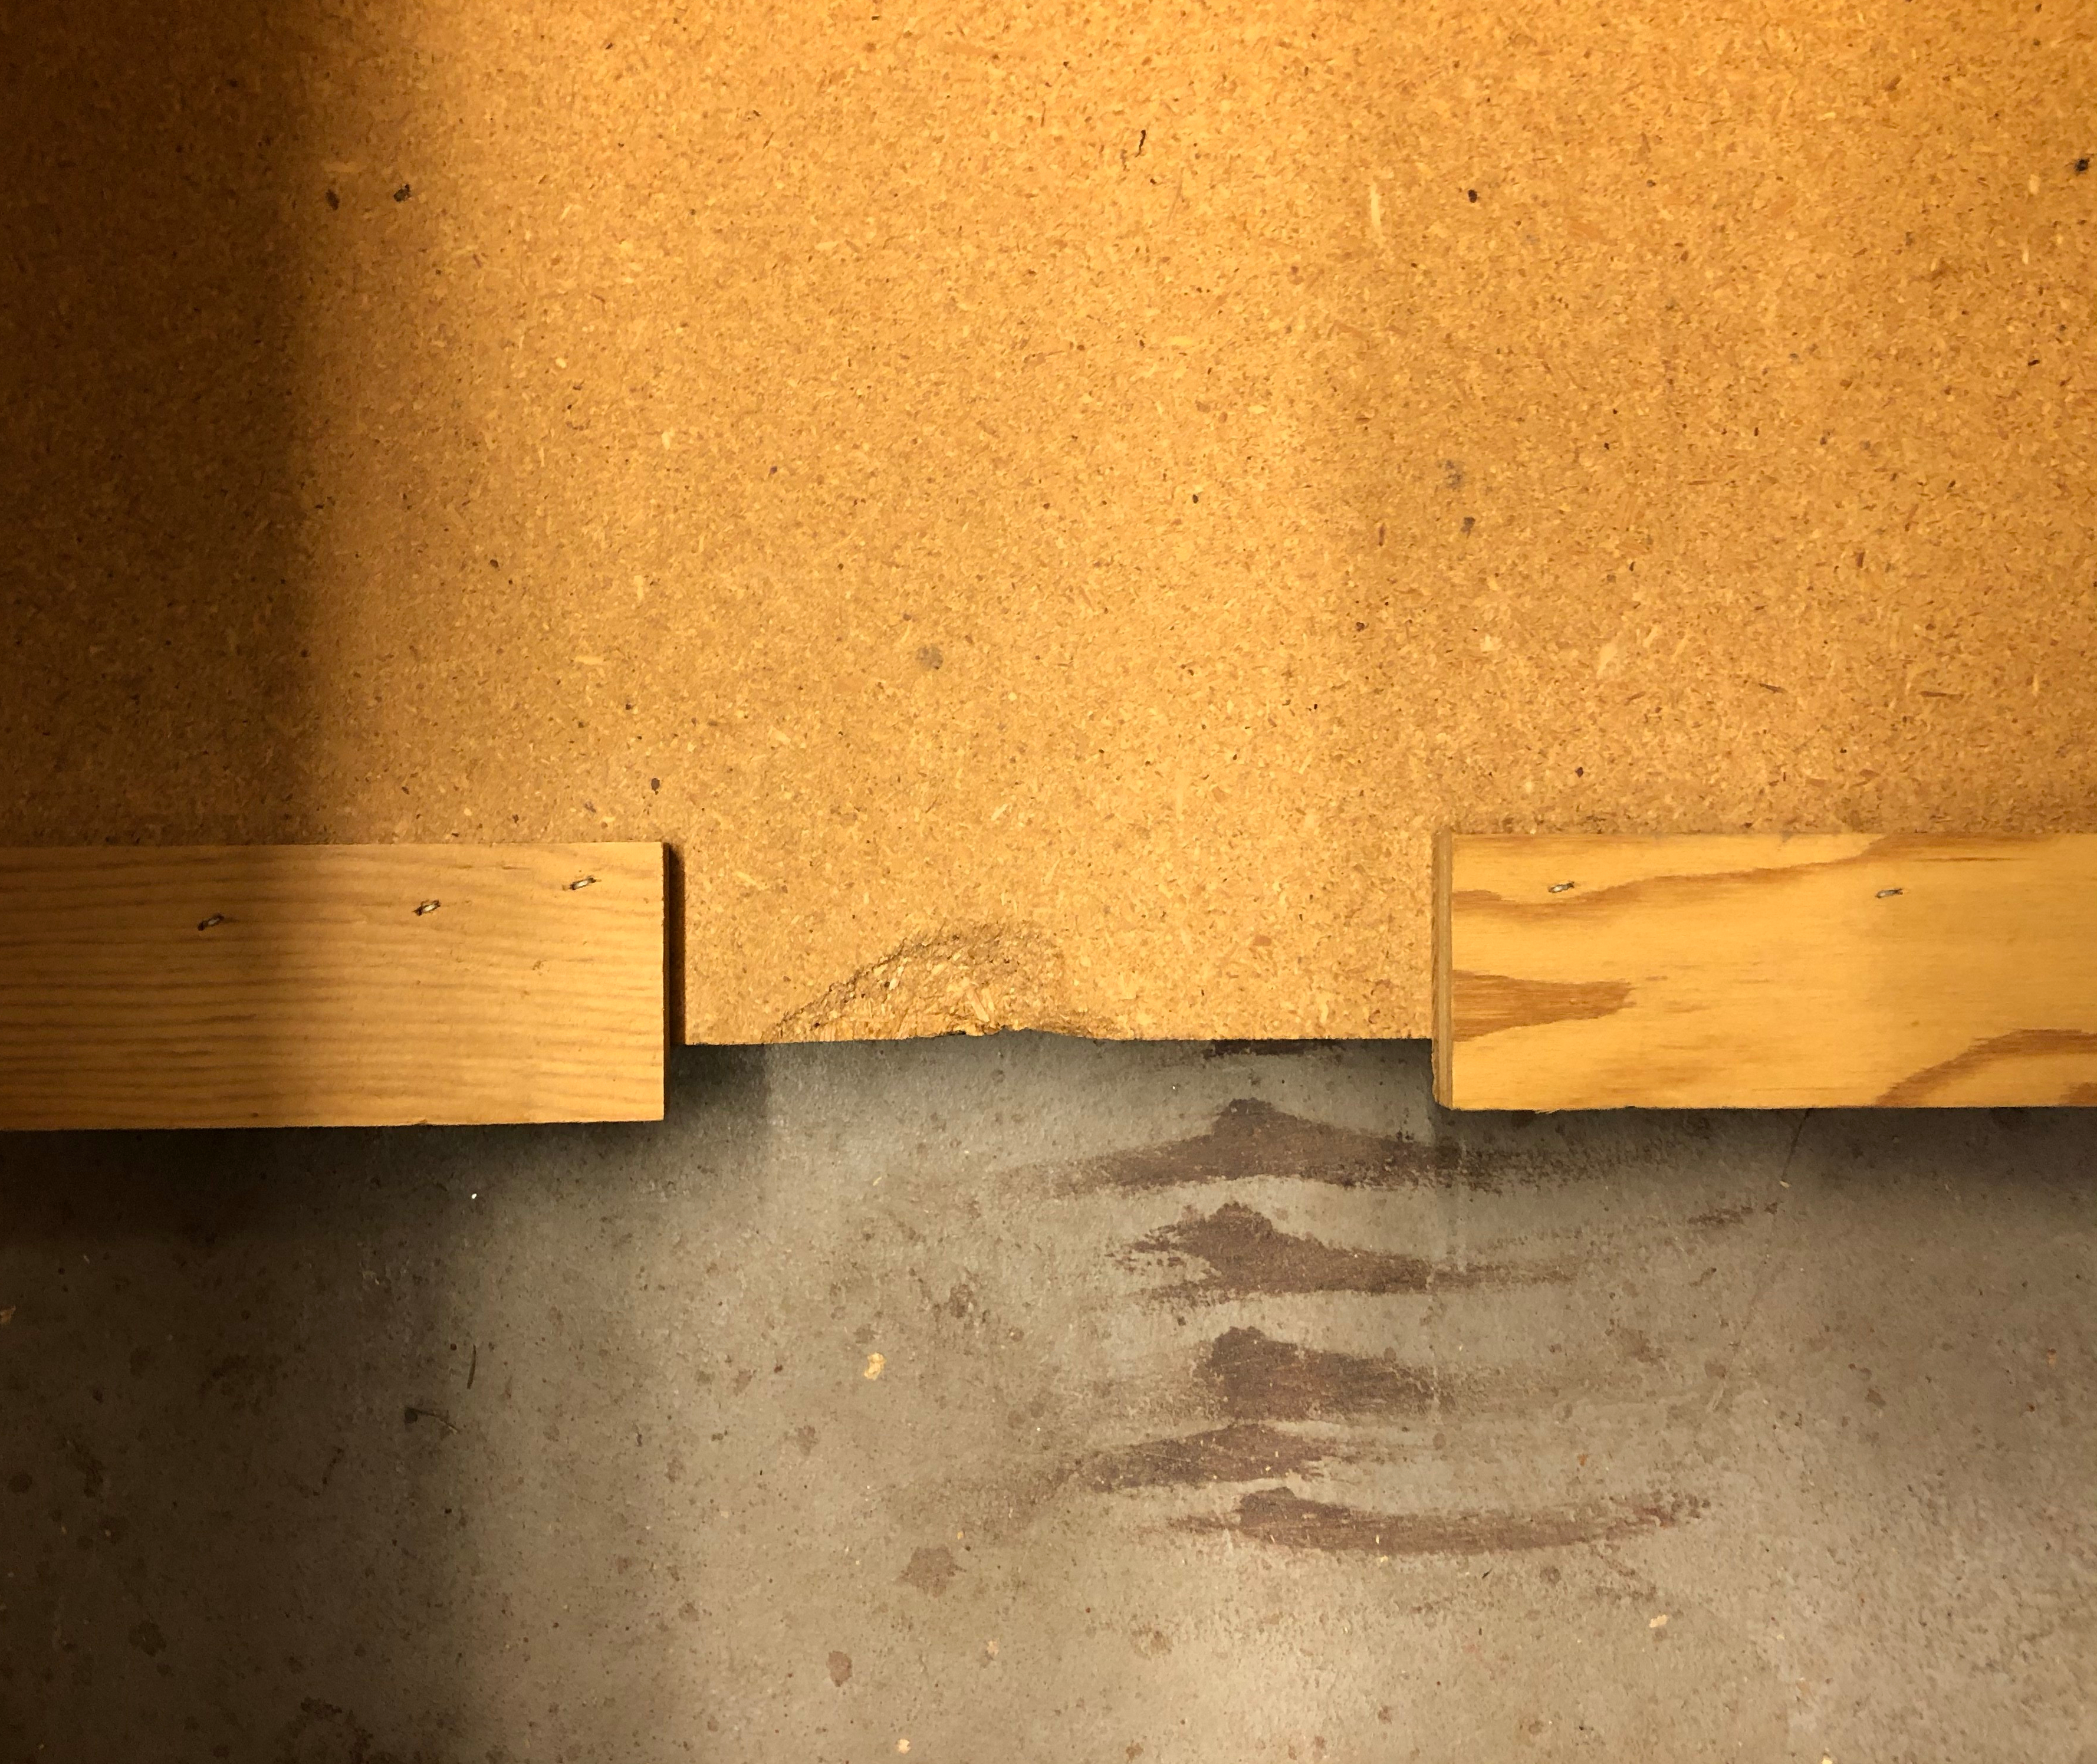
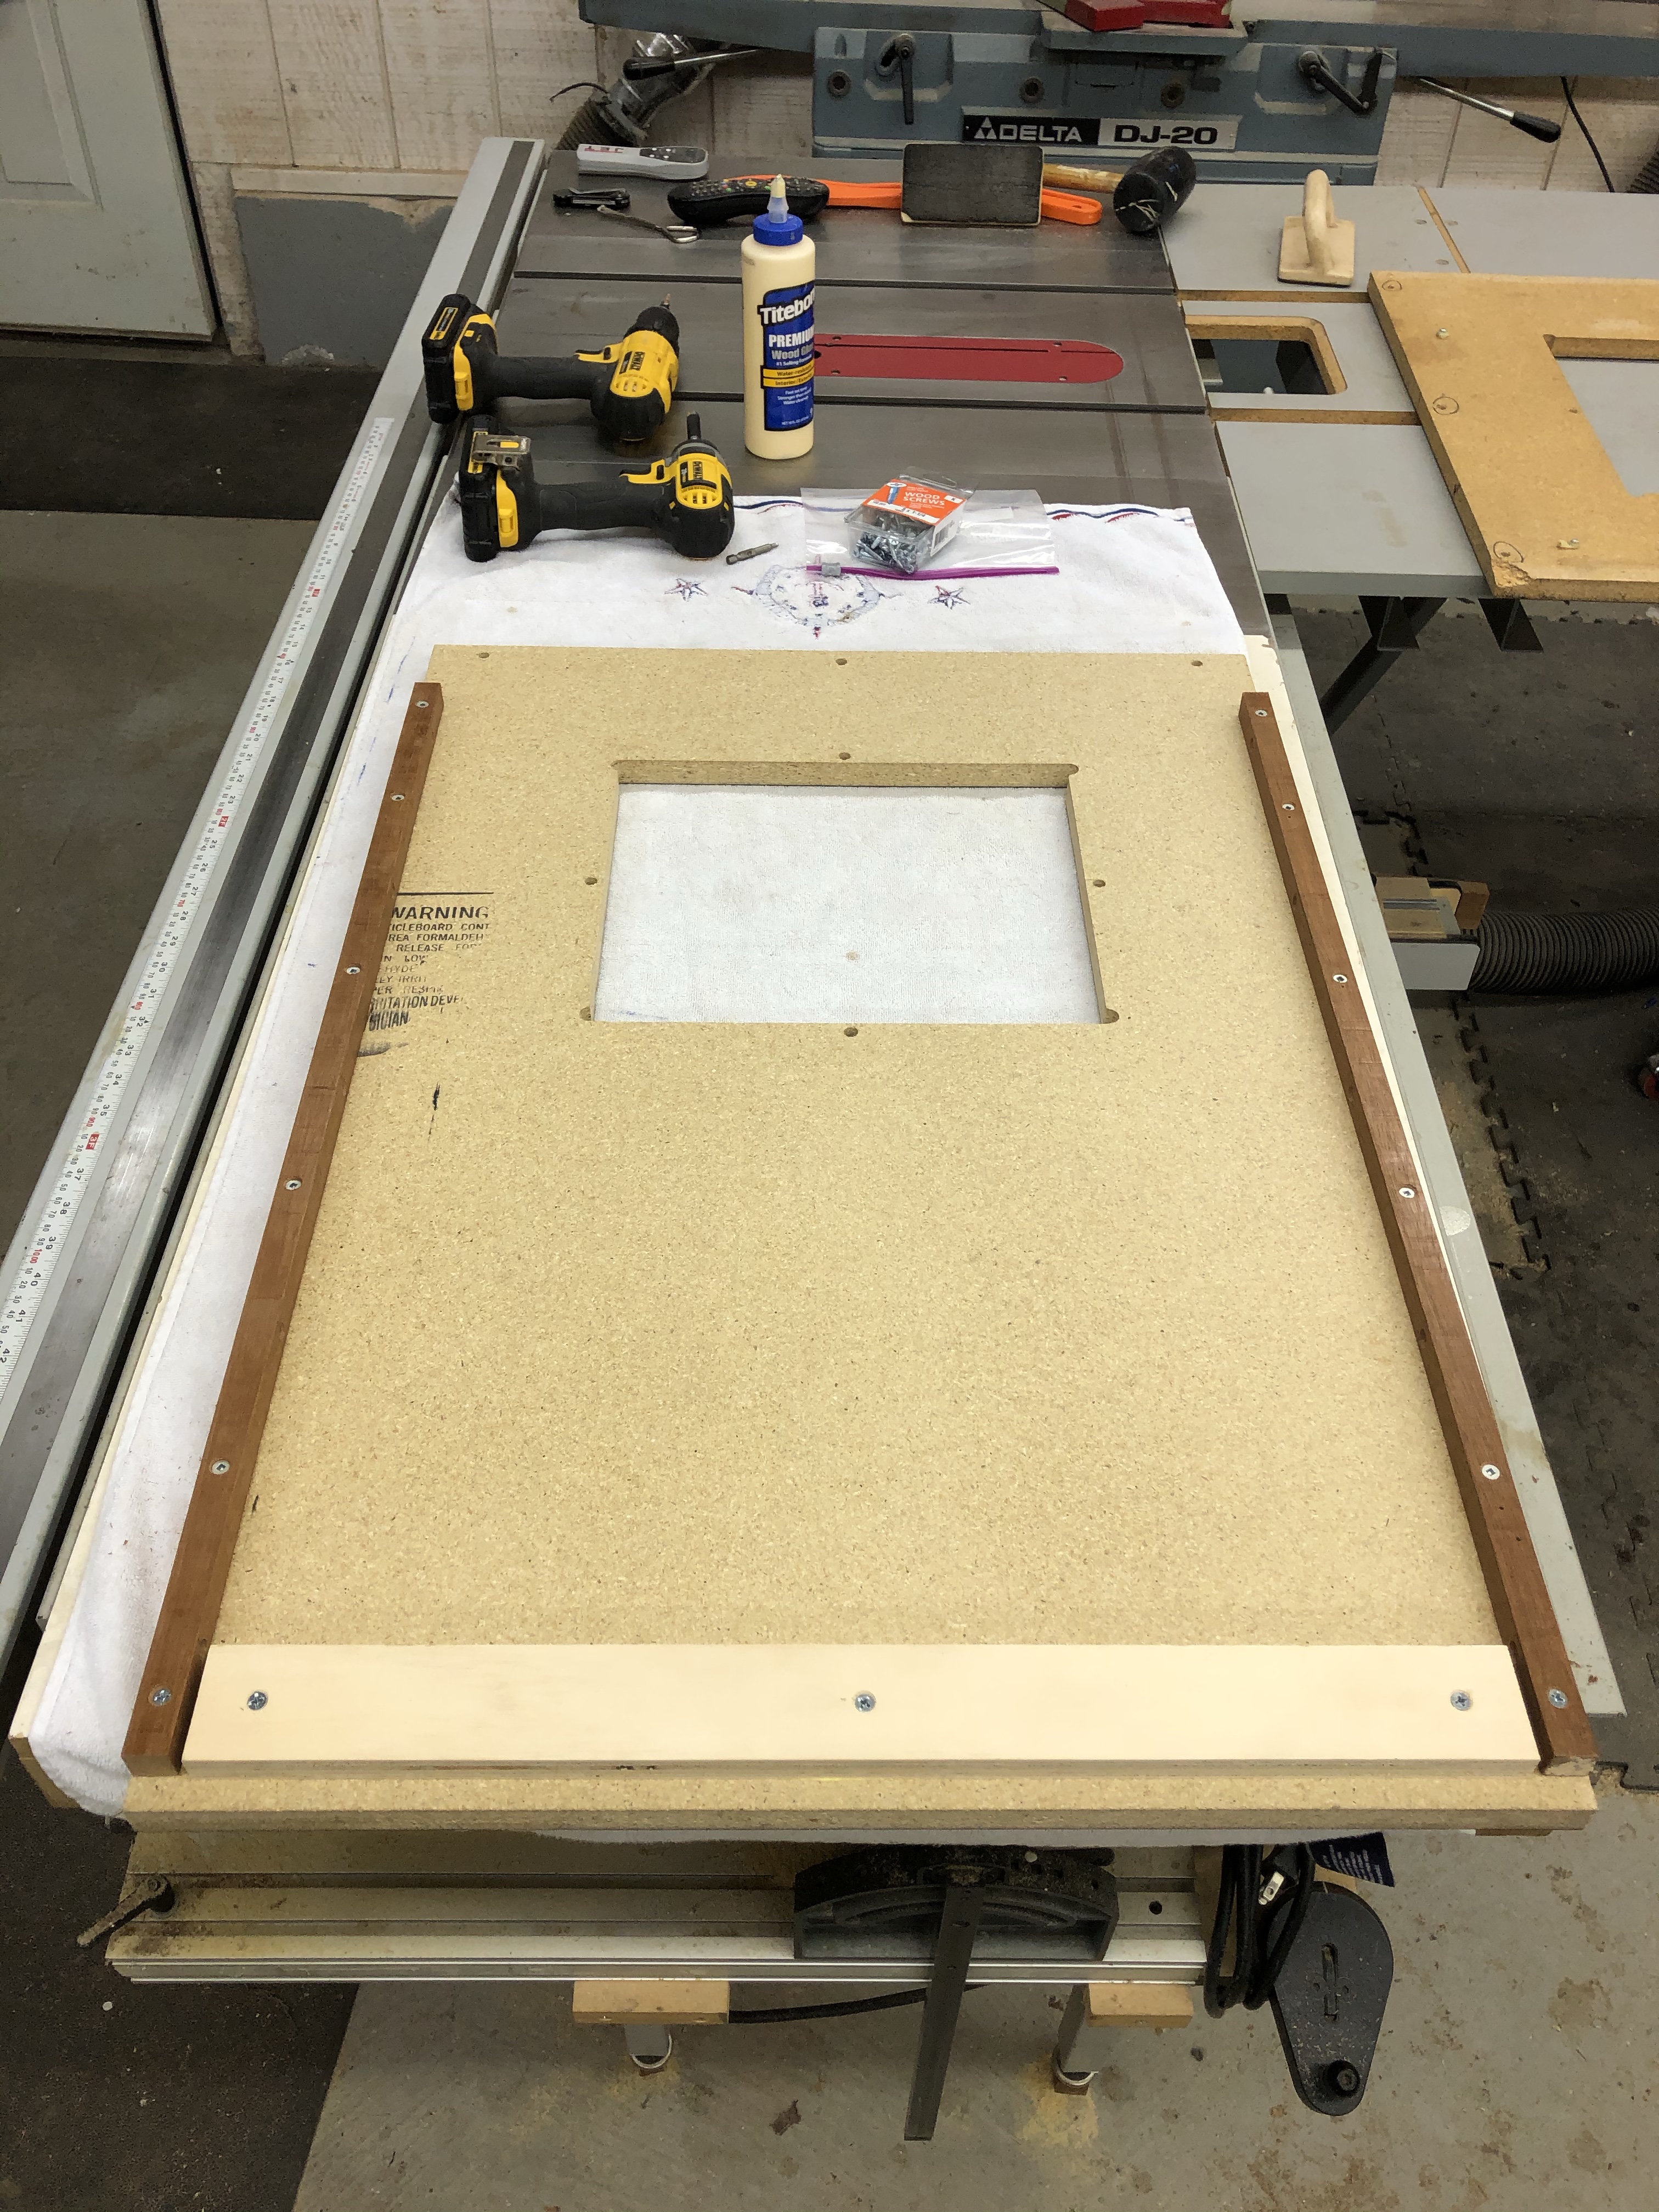
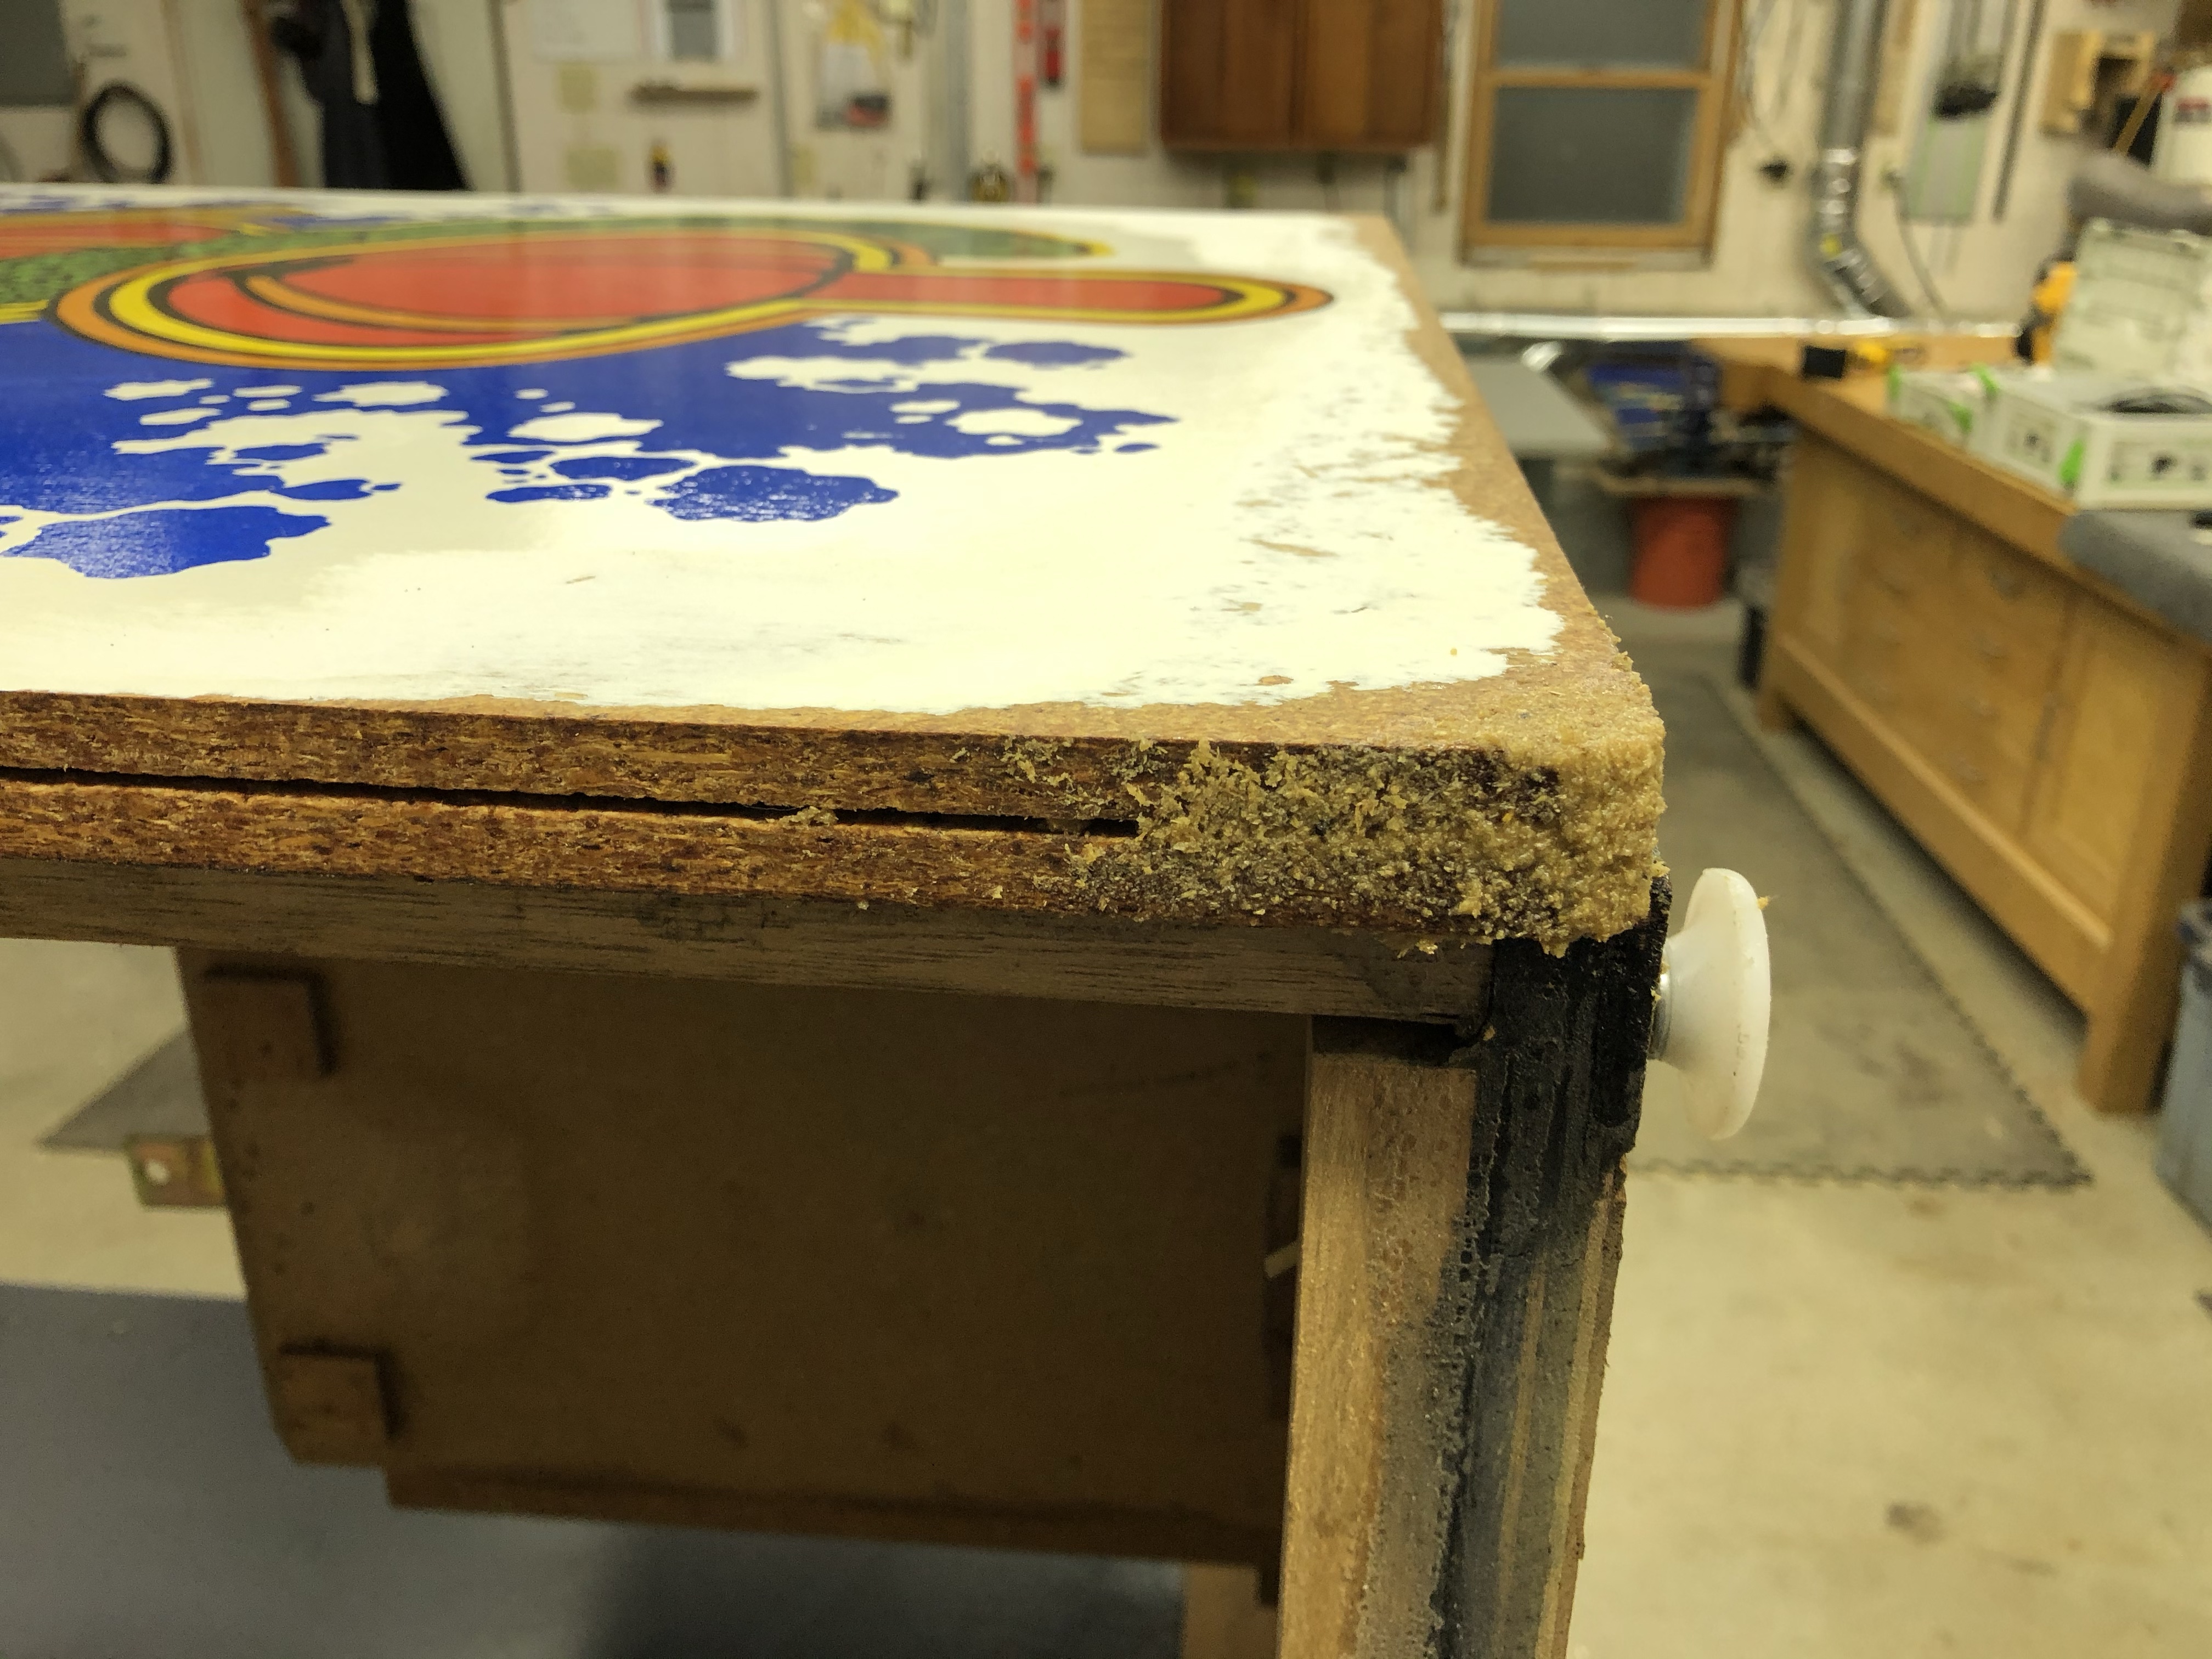
Here is the lower power/kick plate. I’m certain this SHOULD be 3/4″ – this is a full 1 1/8″ thick. The black areas on the top and bottom are where it expanded – I knew particle board sucked with water – but I’ve never seen it show it so clearly.

The measurements came off the existing part pretty easily. It’s 5″ wide, 3/4″ thick and 23 3/4″ long. The angled part points downward. It appeared to be a 45 deg angle – but I put a gauge on it – and it was a 41 deg angle.. So I reproduced it at 41 deg.
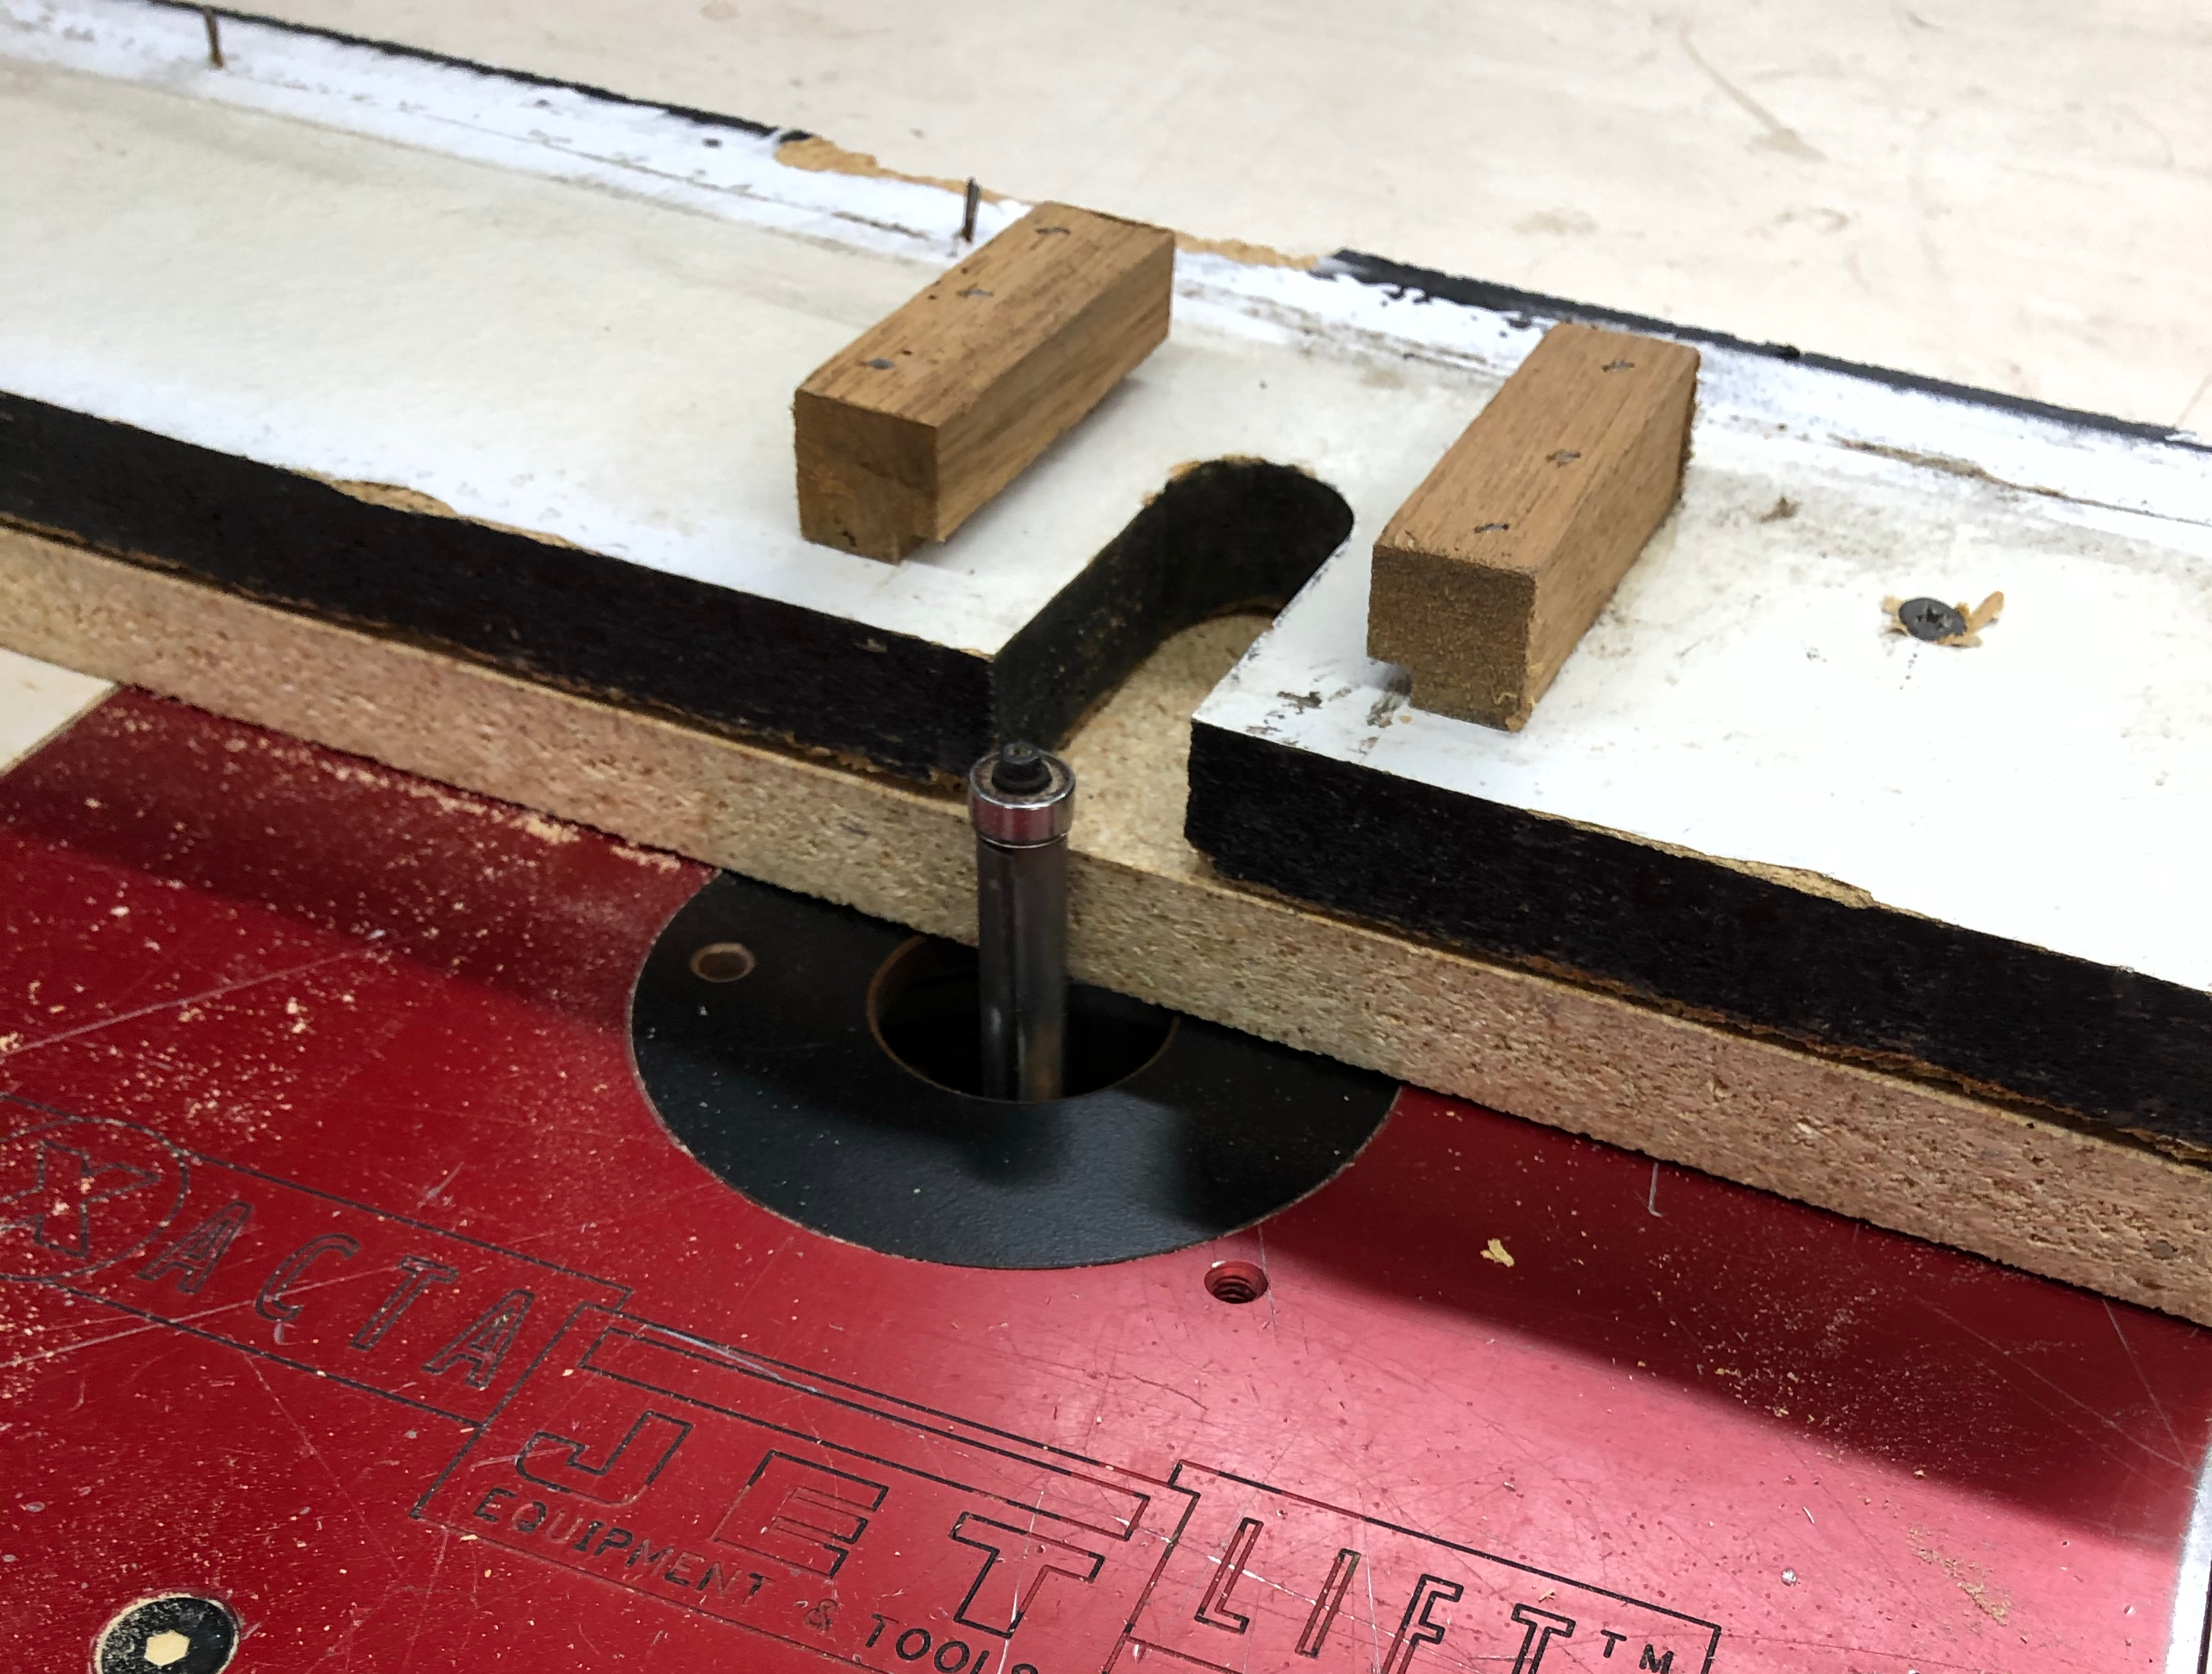
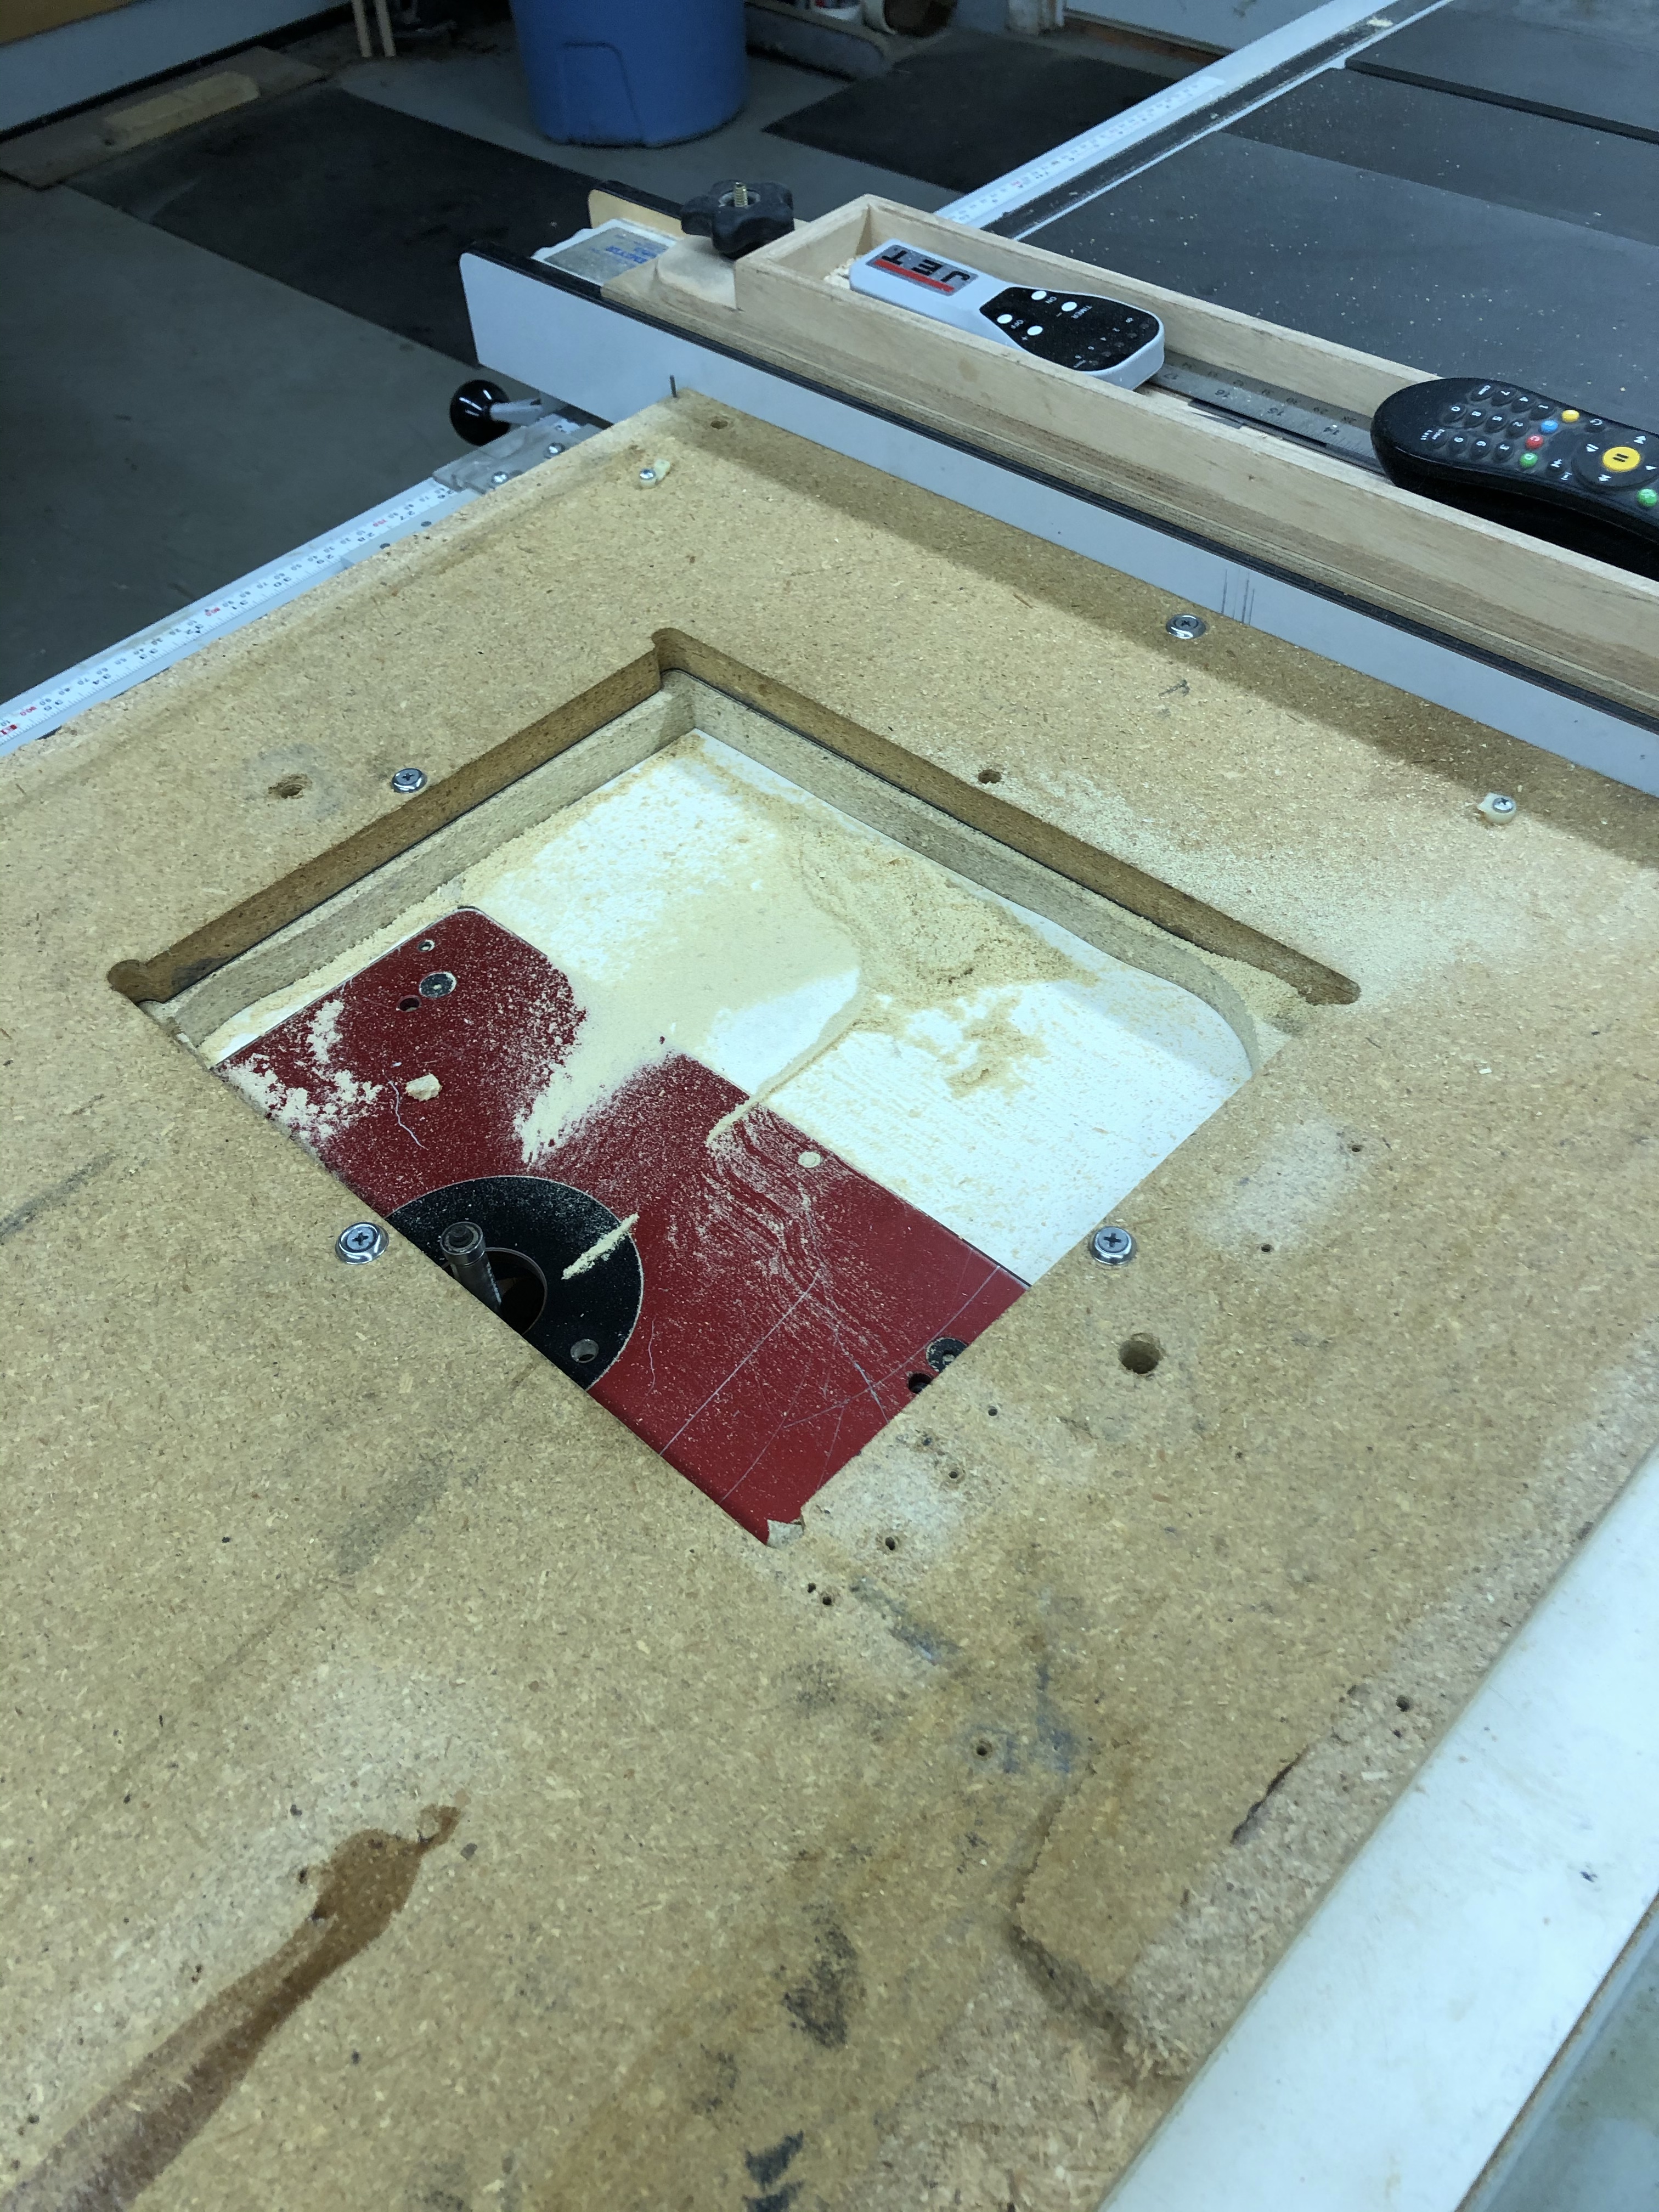
Now I just duplicate the original. Screw the old part to the new one and cut the power cord slot and power switch hole. The little blocking I will move to the replacement. My machine has the original plastic plate that slides into these blocks to retain the power cord. One more bit of info I get is how much overlap I need on the 1/4″ plywood on the rear panel/door. Obviously just enough not to hit these blocks.
Ready for paint and transfer of the power plate blocking.
One thing I can say about particle board – it hasn’t changed in 40 years. The original material was exactly 3/4″ thick – the new stuff – exactly 3/4″ thick. I wish plywood was as consistent.
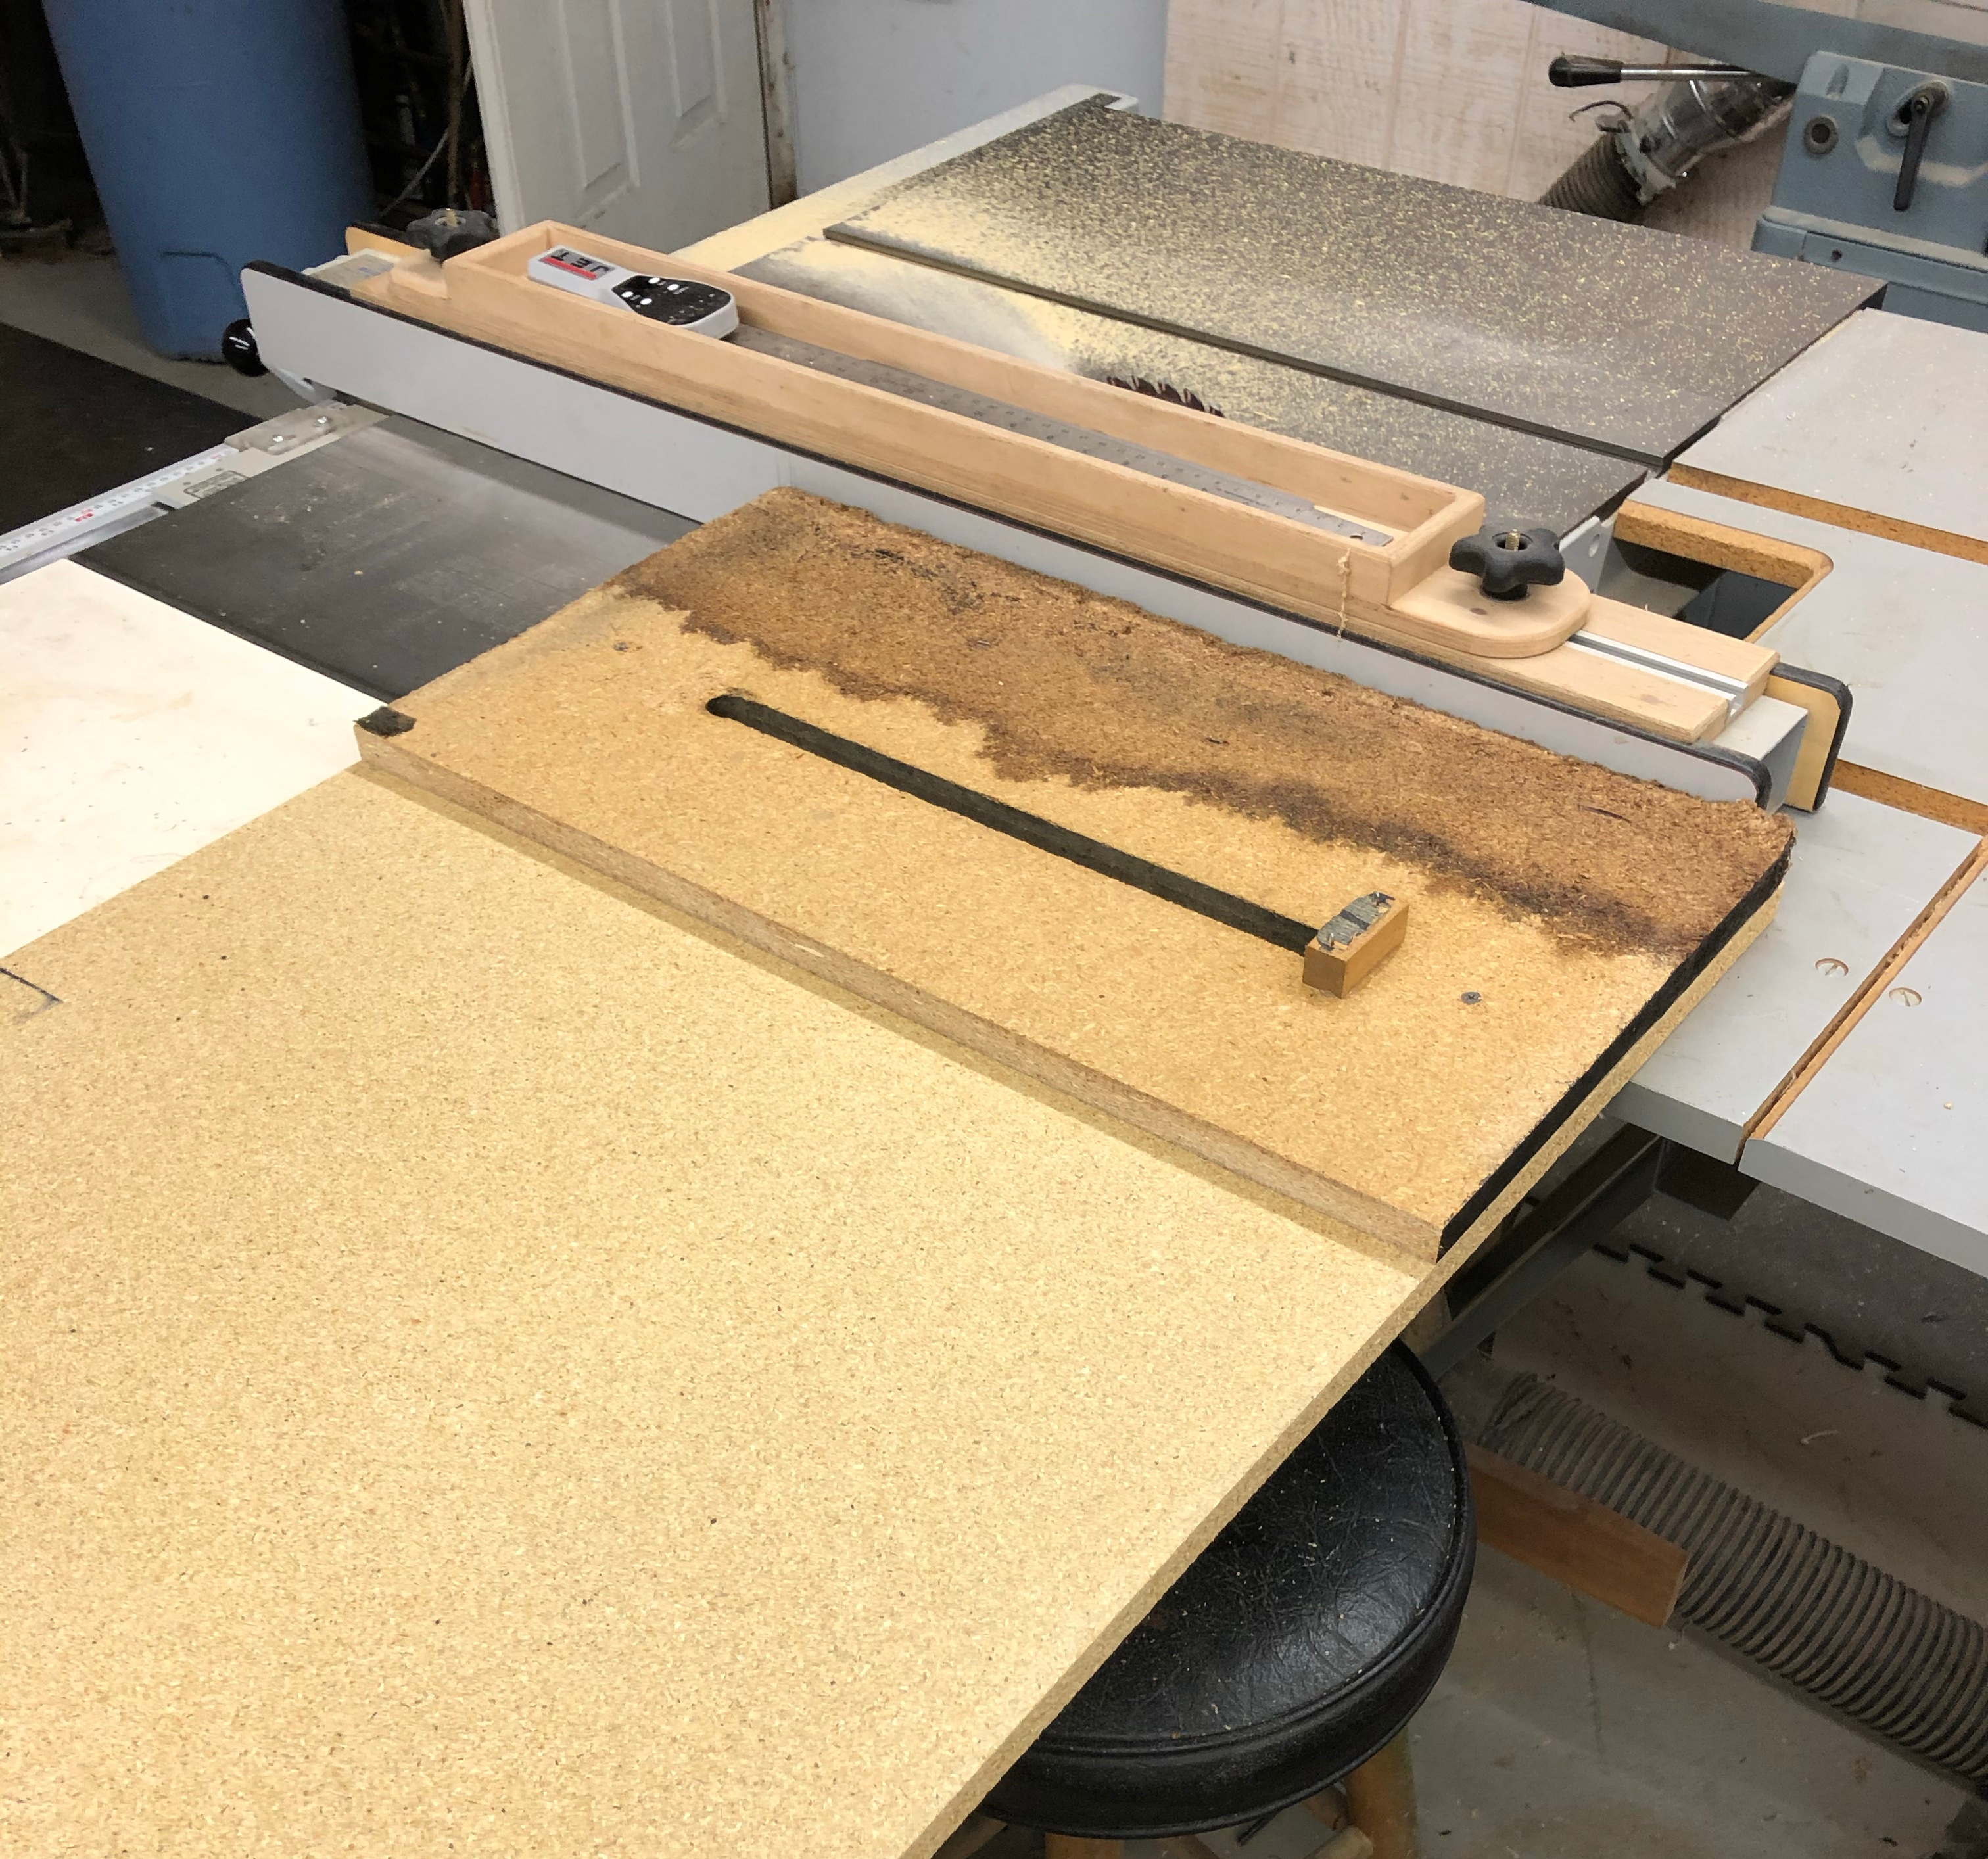
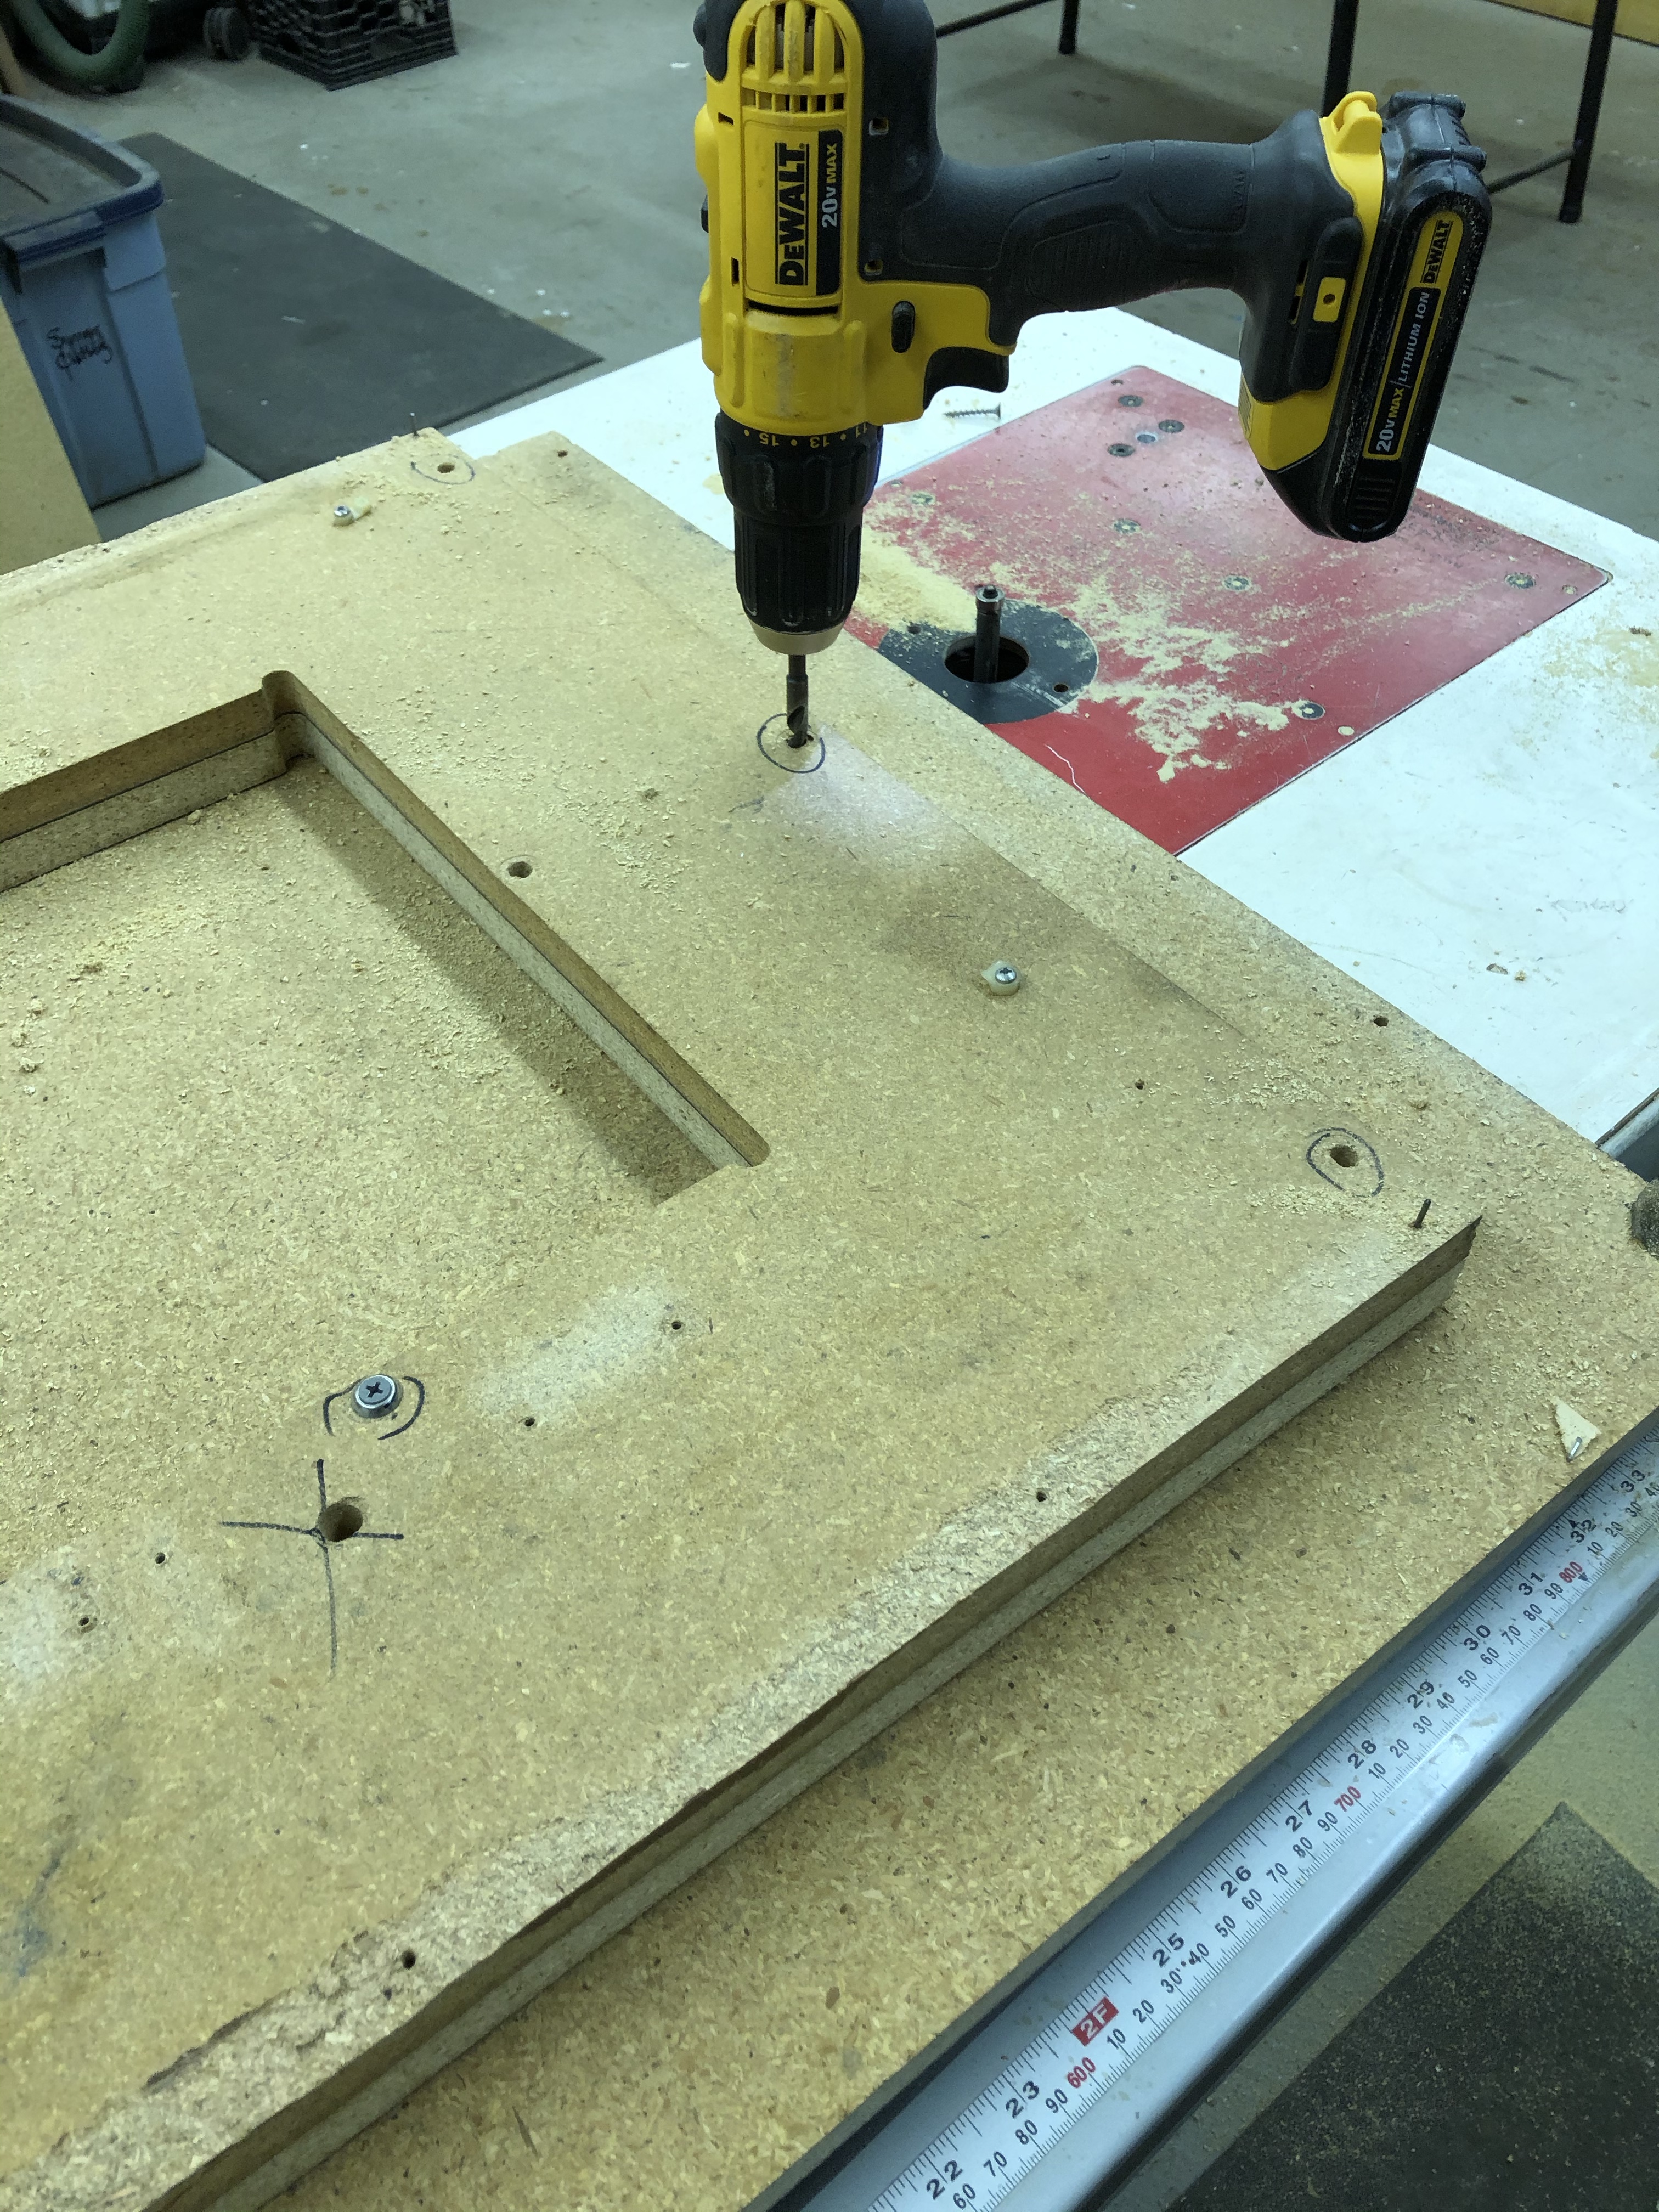
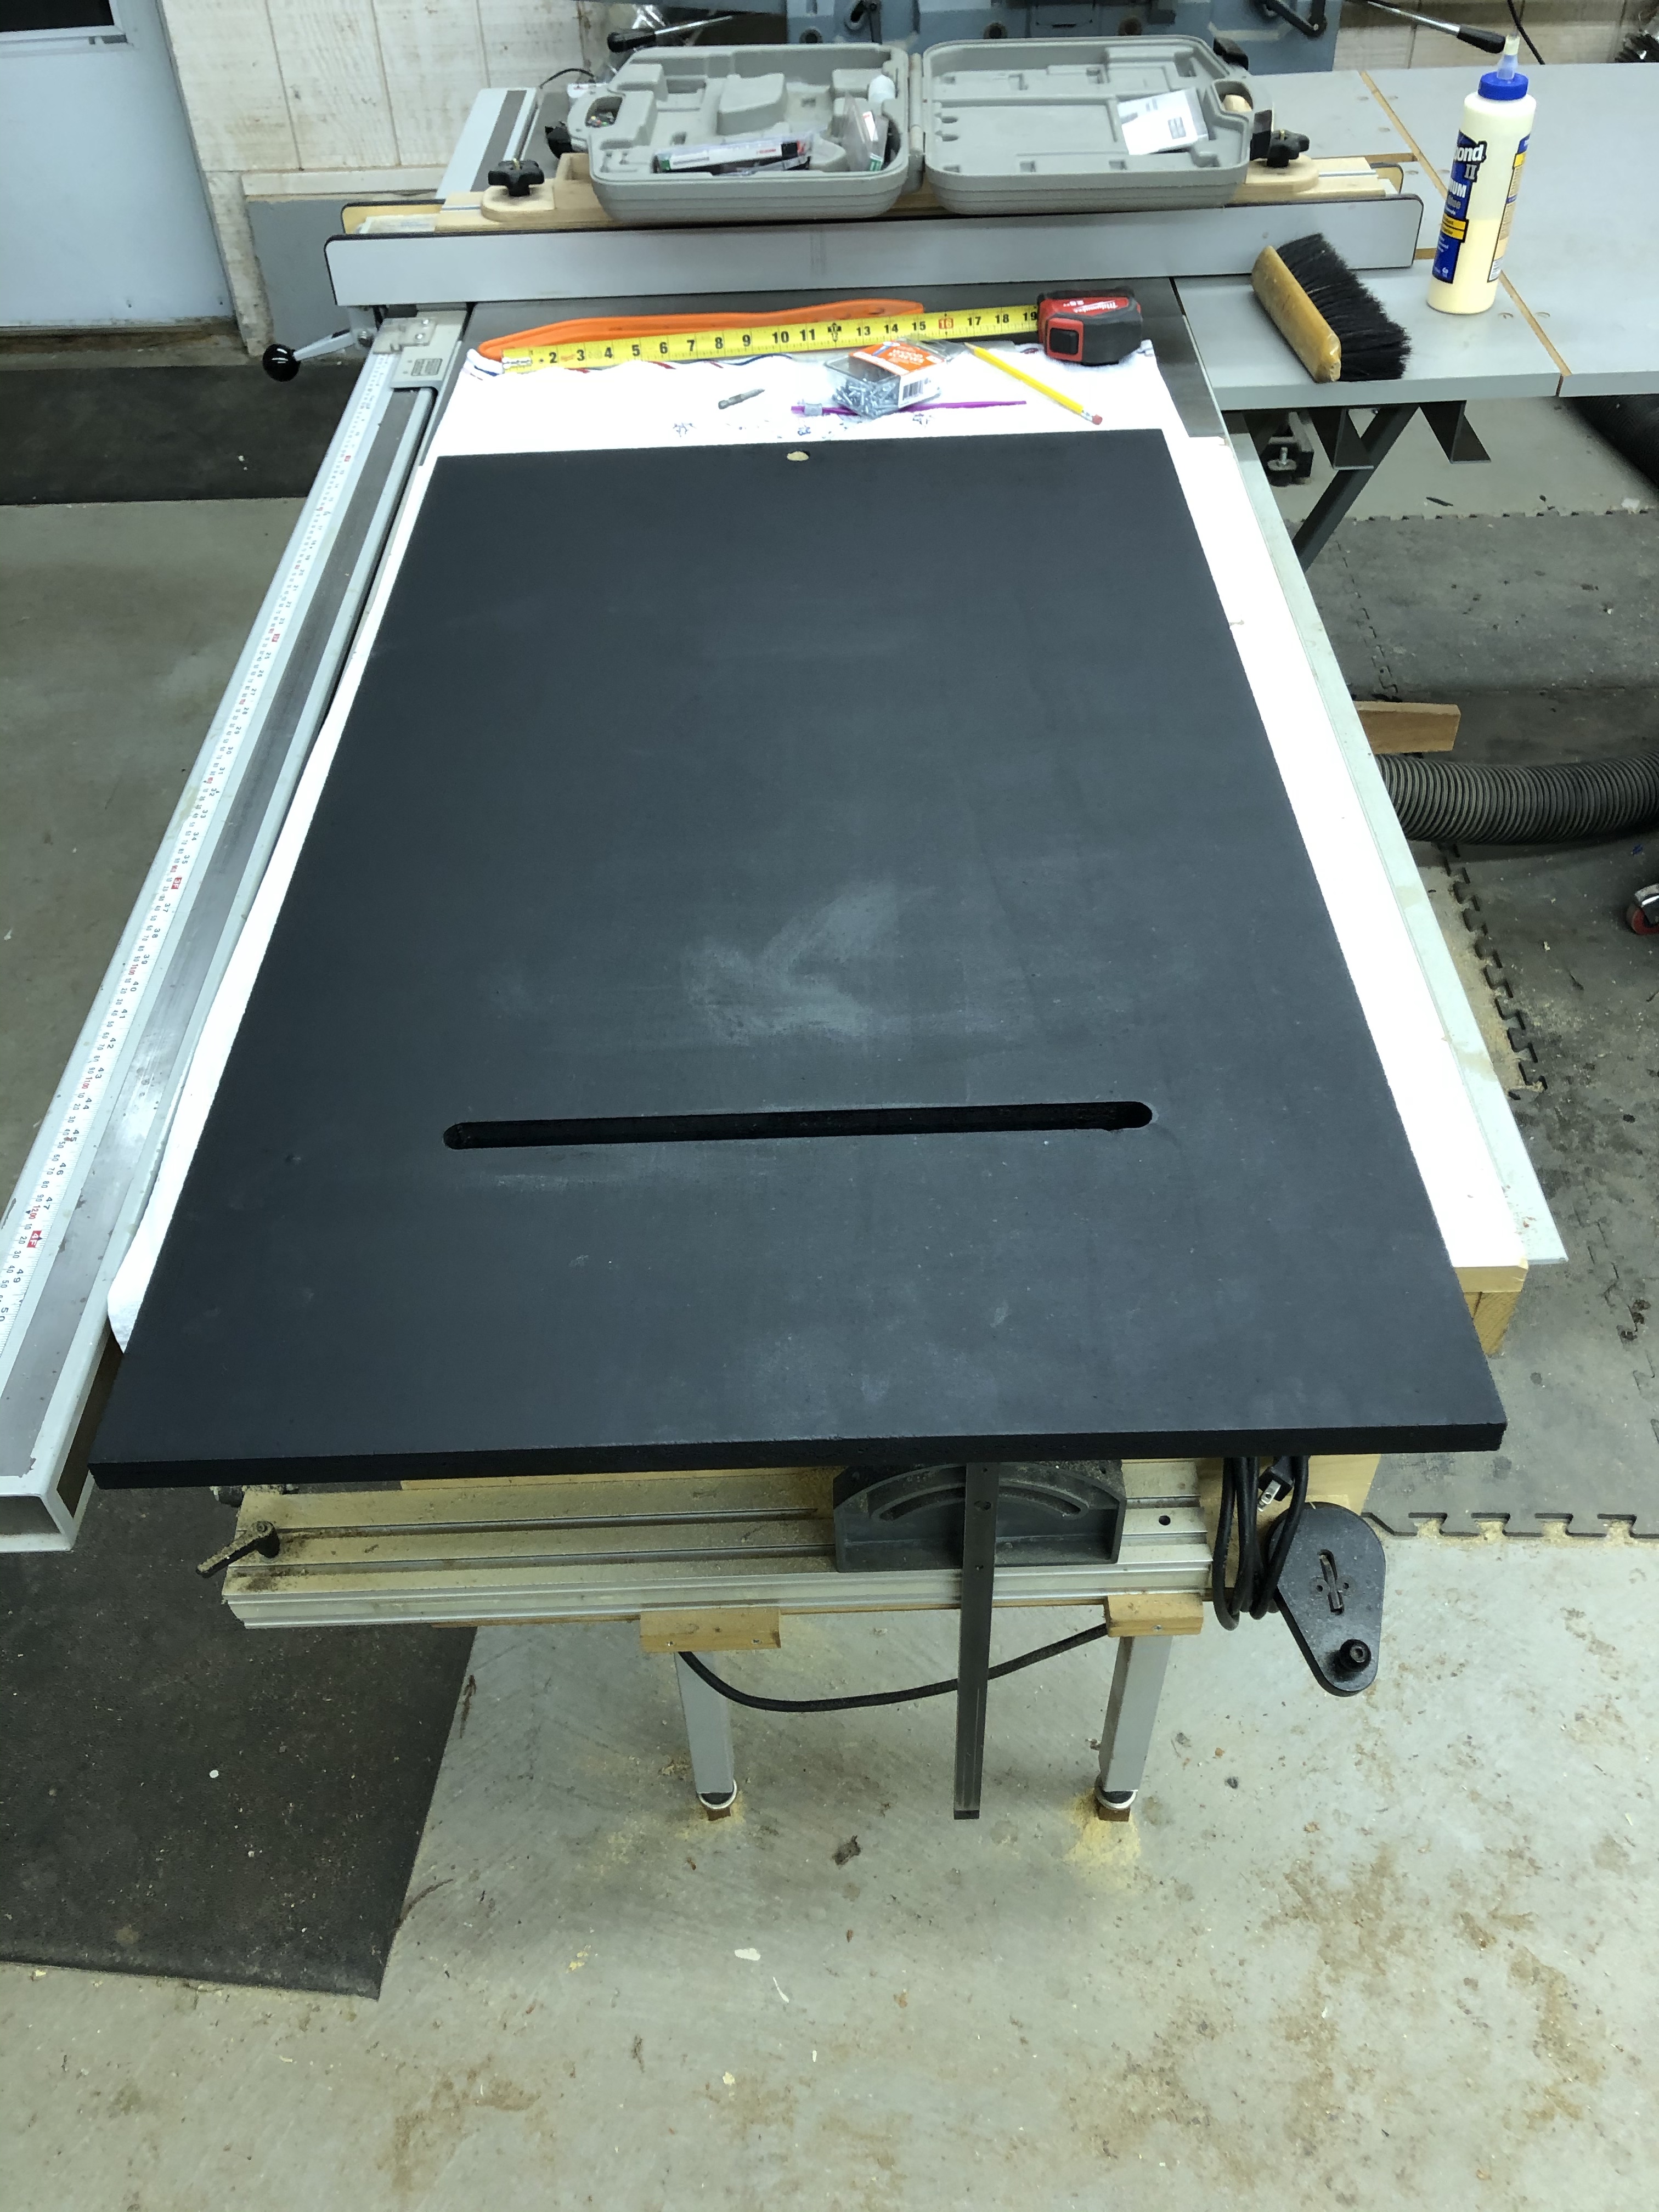
The original back panel was all blown up at the bottom. I cut the replacement to the exact size. Above I cut the slot part of the panel off and screwed it to the new back just to make it easier to work with. I like using the tablesaw fence as an alignment point so that I only need to get things lined up in one direction (east/west). Screw them together with a couple drywall screws and…..
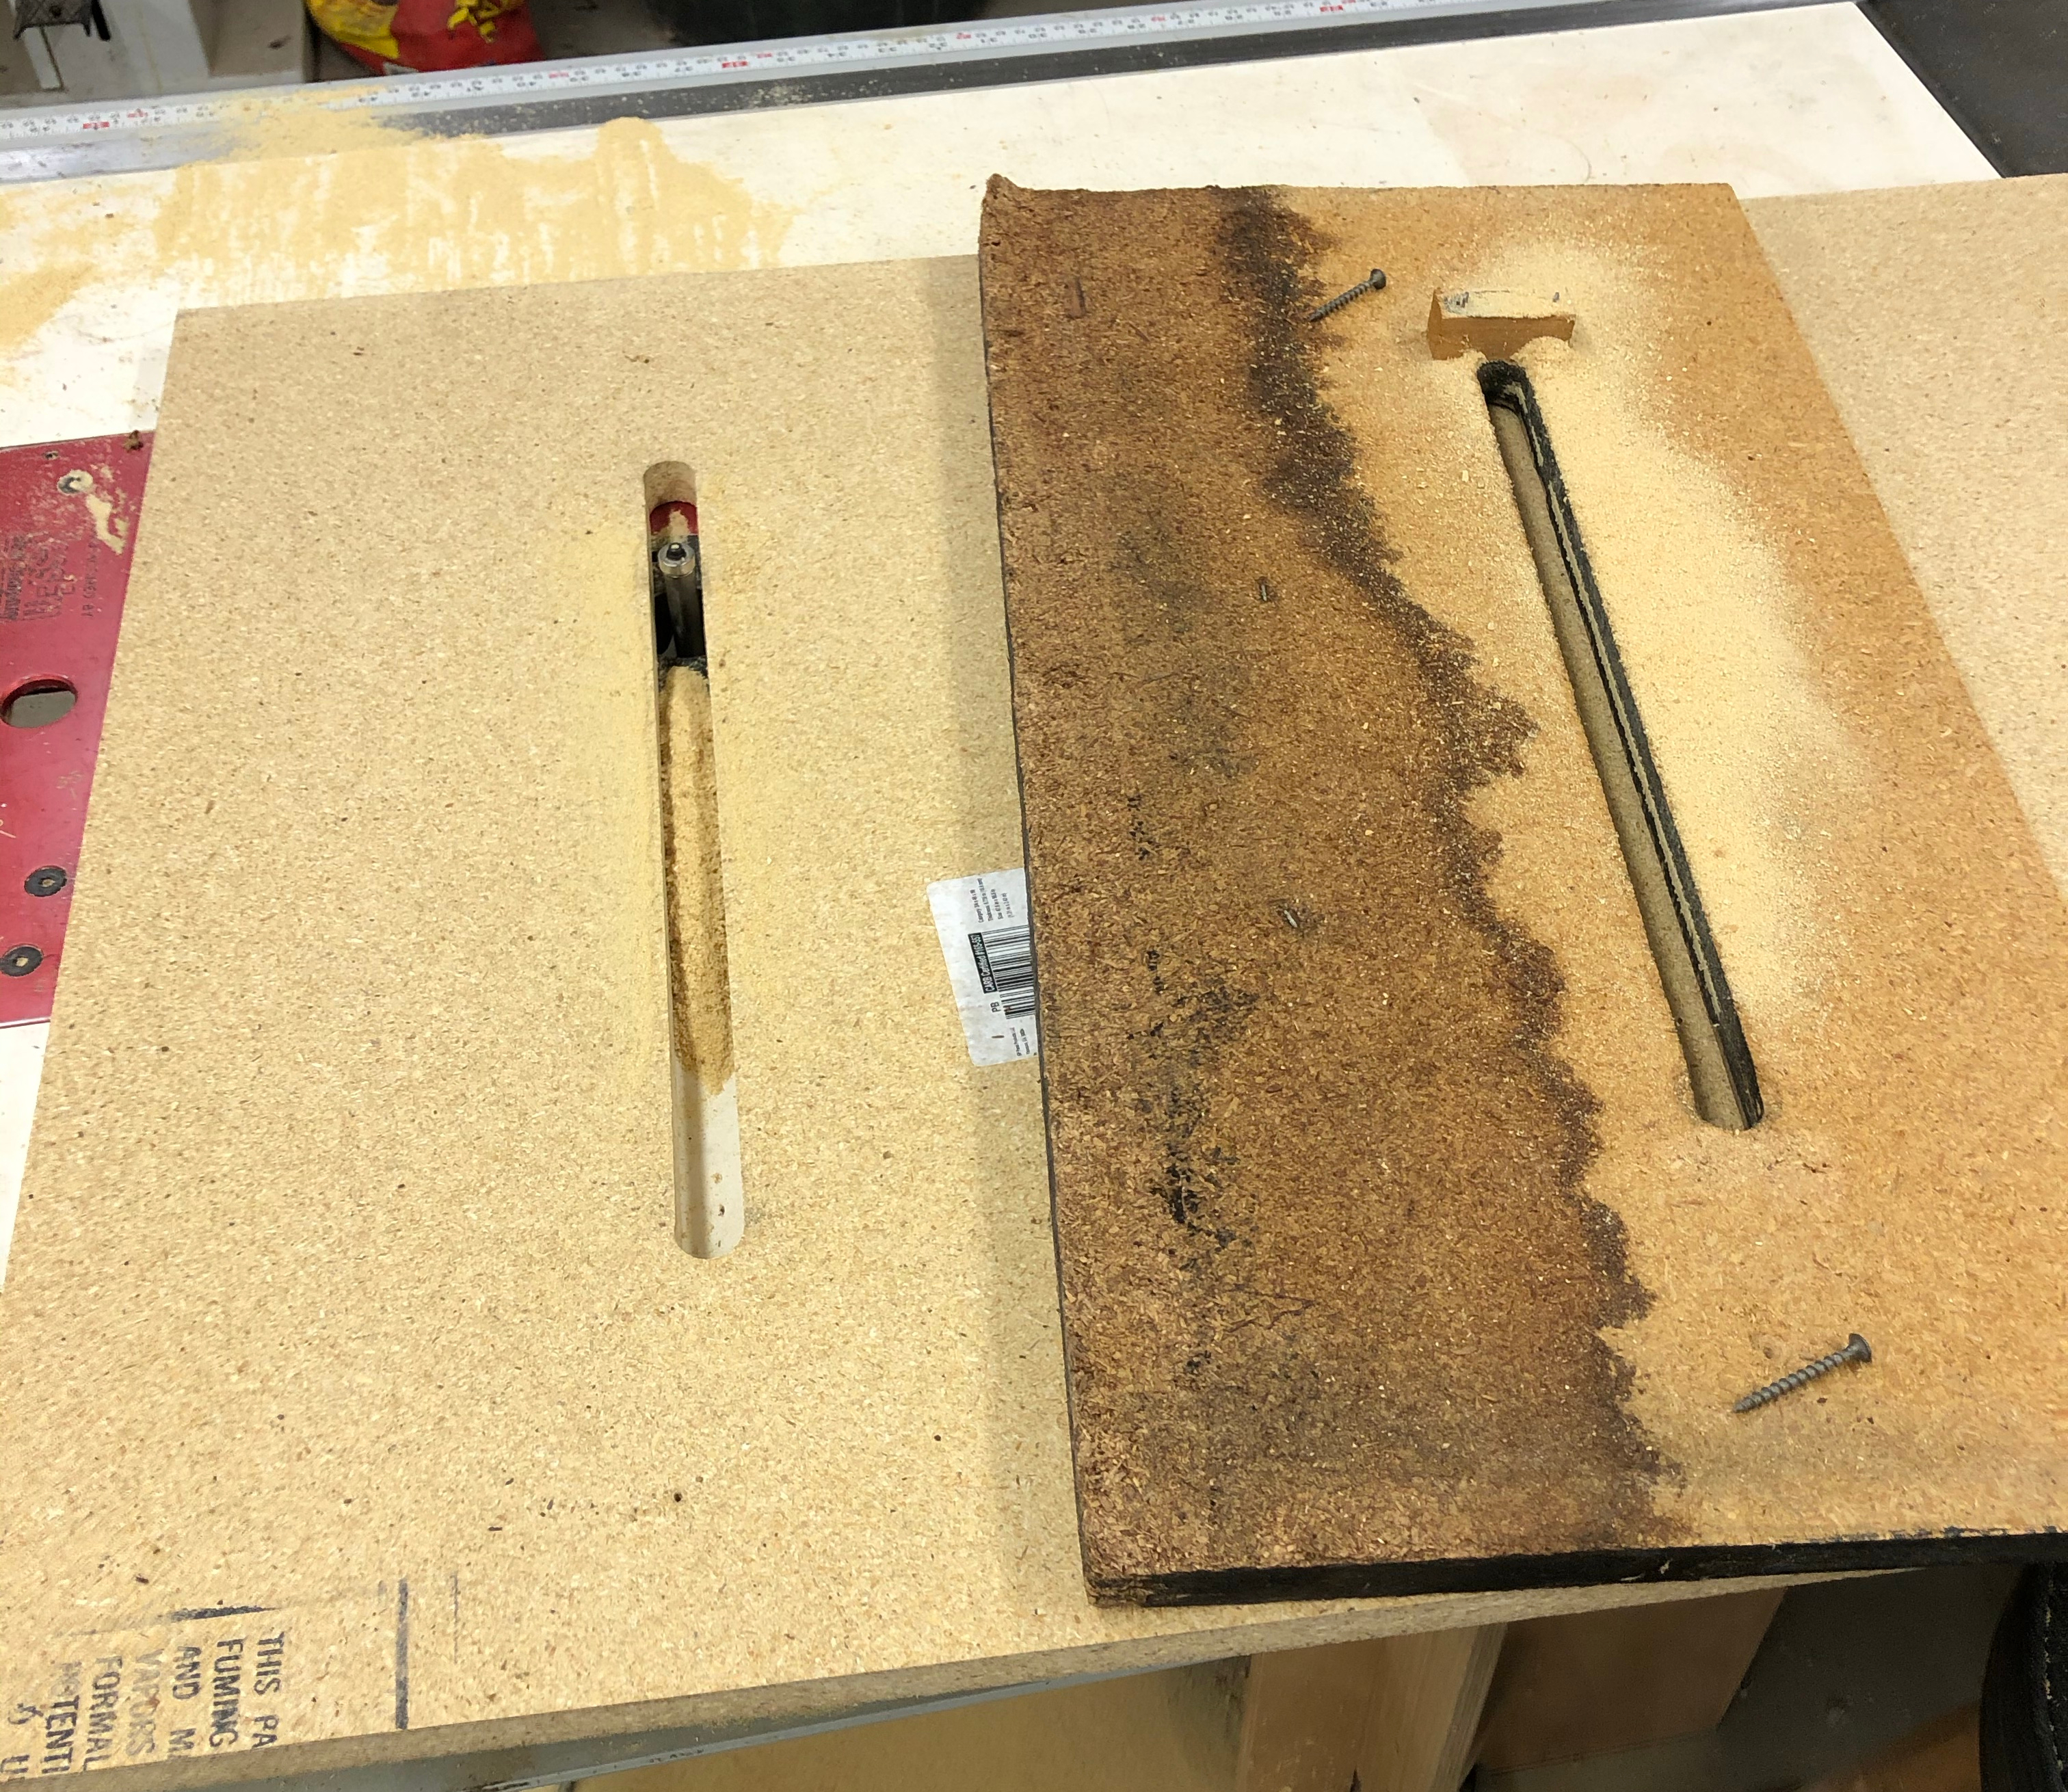
Cut the new slot on the router with a pattern matching bit. You can’t see it in the picture – but there was a bit of a wiggle in the cut from the factory original right where the straight part of the opening meets the rounded end – its perfectly replicated. I’ll have to look at another centipede to see if this is in all of them – just because I can.
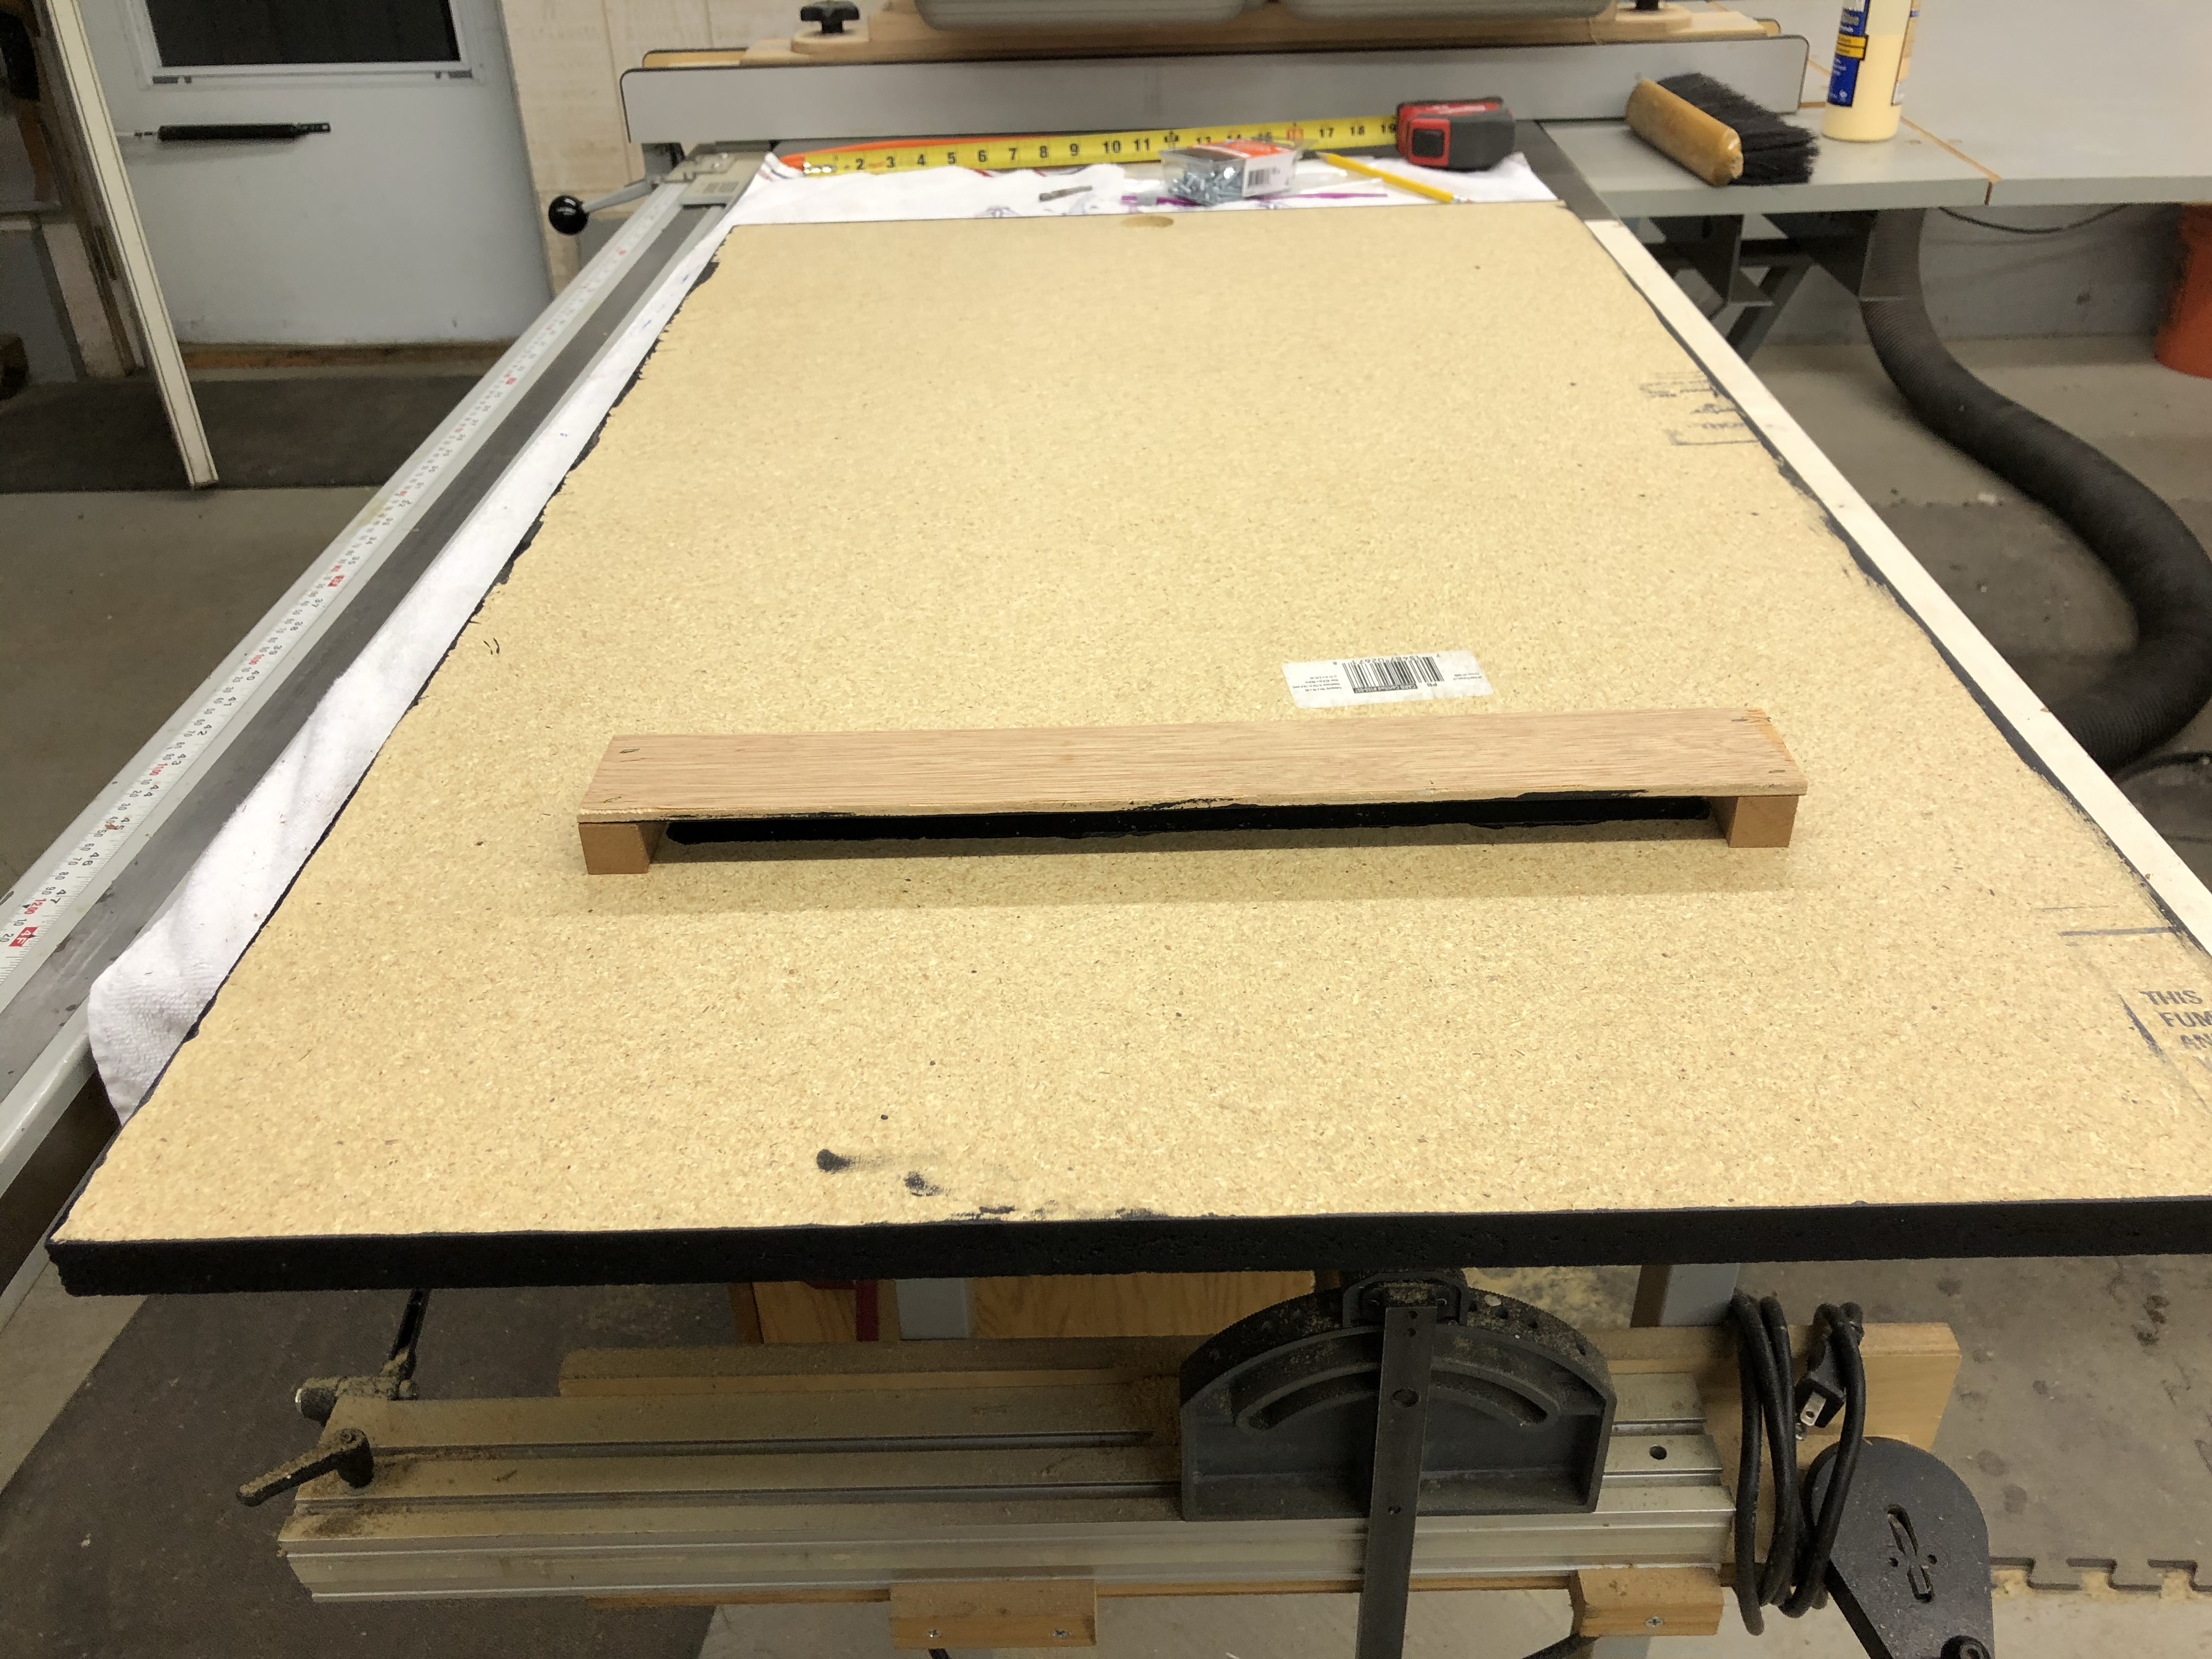
While I was at it – I recessed and drilled the opening for the rear door cam lock. The original is destroyed. But they are easy to come by..
Last major part I was unhappy with was the coin door panel. They used glue where they screwed it to the battens – but it popped right off. I can replace it to look original. Same steps – square it up to the fence and screw the old to the new. This is very doable even without a table saw. You could cut a replacement panel a little oversized and use the router to copy it exactly around the outer perimeter.
The original panel had 1/2″ rounded out corners on the inside – so I used a 1/2″ pattern bit. I precut the opening with a jigsaw to reduce the workload on the router bit. Here I don’t have a problem using “ok” quality bits.. The wood and glue in particle board will chew them up.. No need to ruin expensive bits on this stuff.
After routing the inside – I used the original holes as drill guides to copy them to the new panel. Use backer boards on the far side to prevent blowout.
New panel ready for lamination.
Quick update, but I thought it was worth documenting. Old cabinets made of particle board … I guess they were not really supposed to last this long. If someone told Henry Ford that a Model T would still be running in the year 2020 .. he would laugh at them.
Well – my restoration will not be museum quality – but I would like to try to keep things relatively authentic. My buddy saw this machine tonight and I showed him the particle board replacement parts – he said “why not use something better?”. After a little back and forth banter, I left at “dude you don’t get it..”
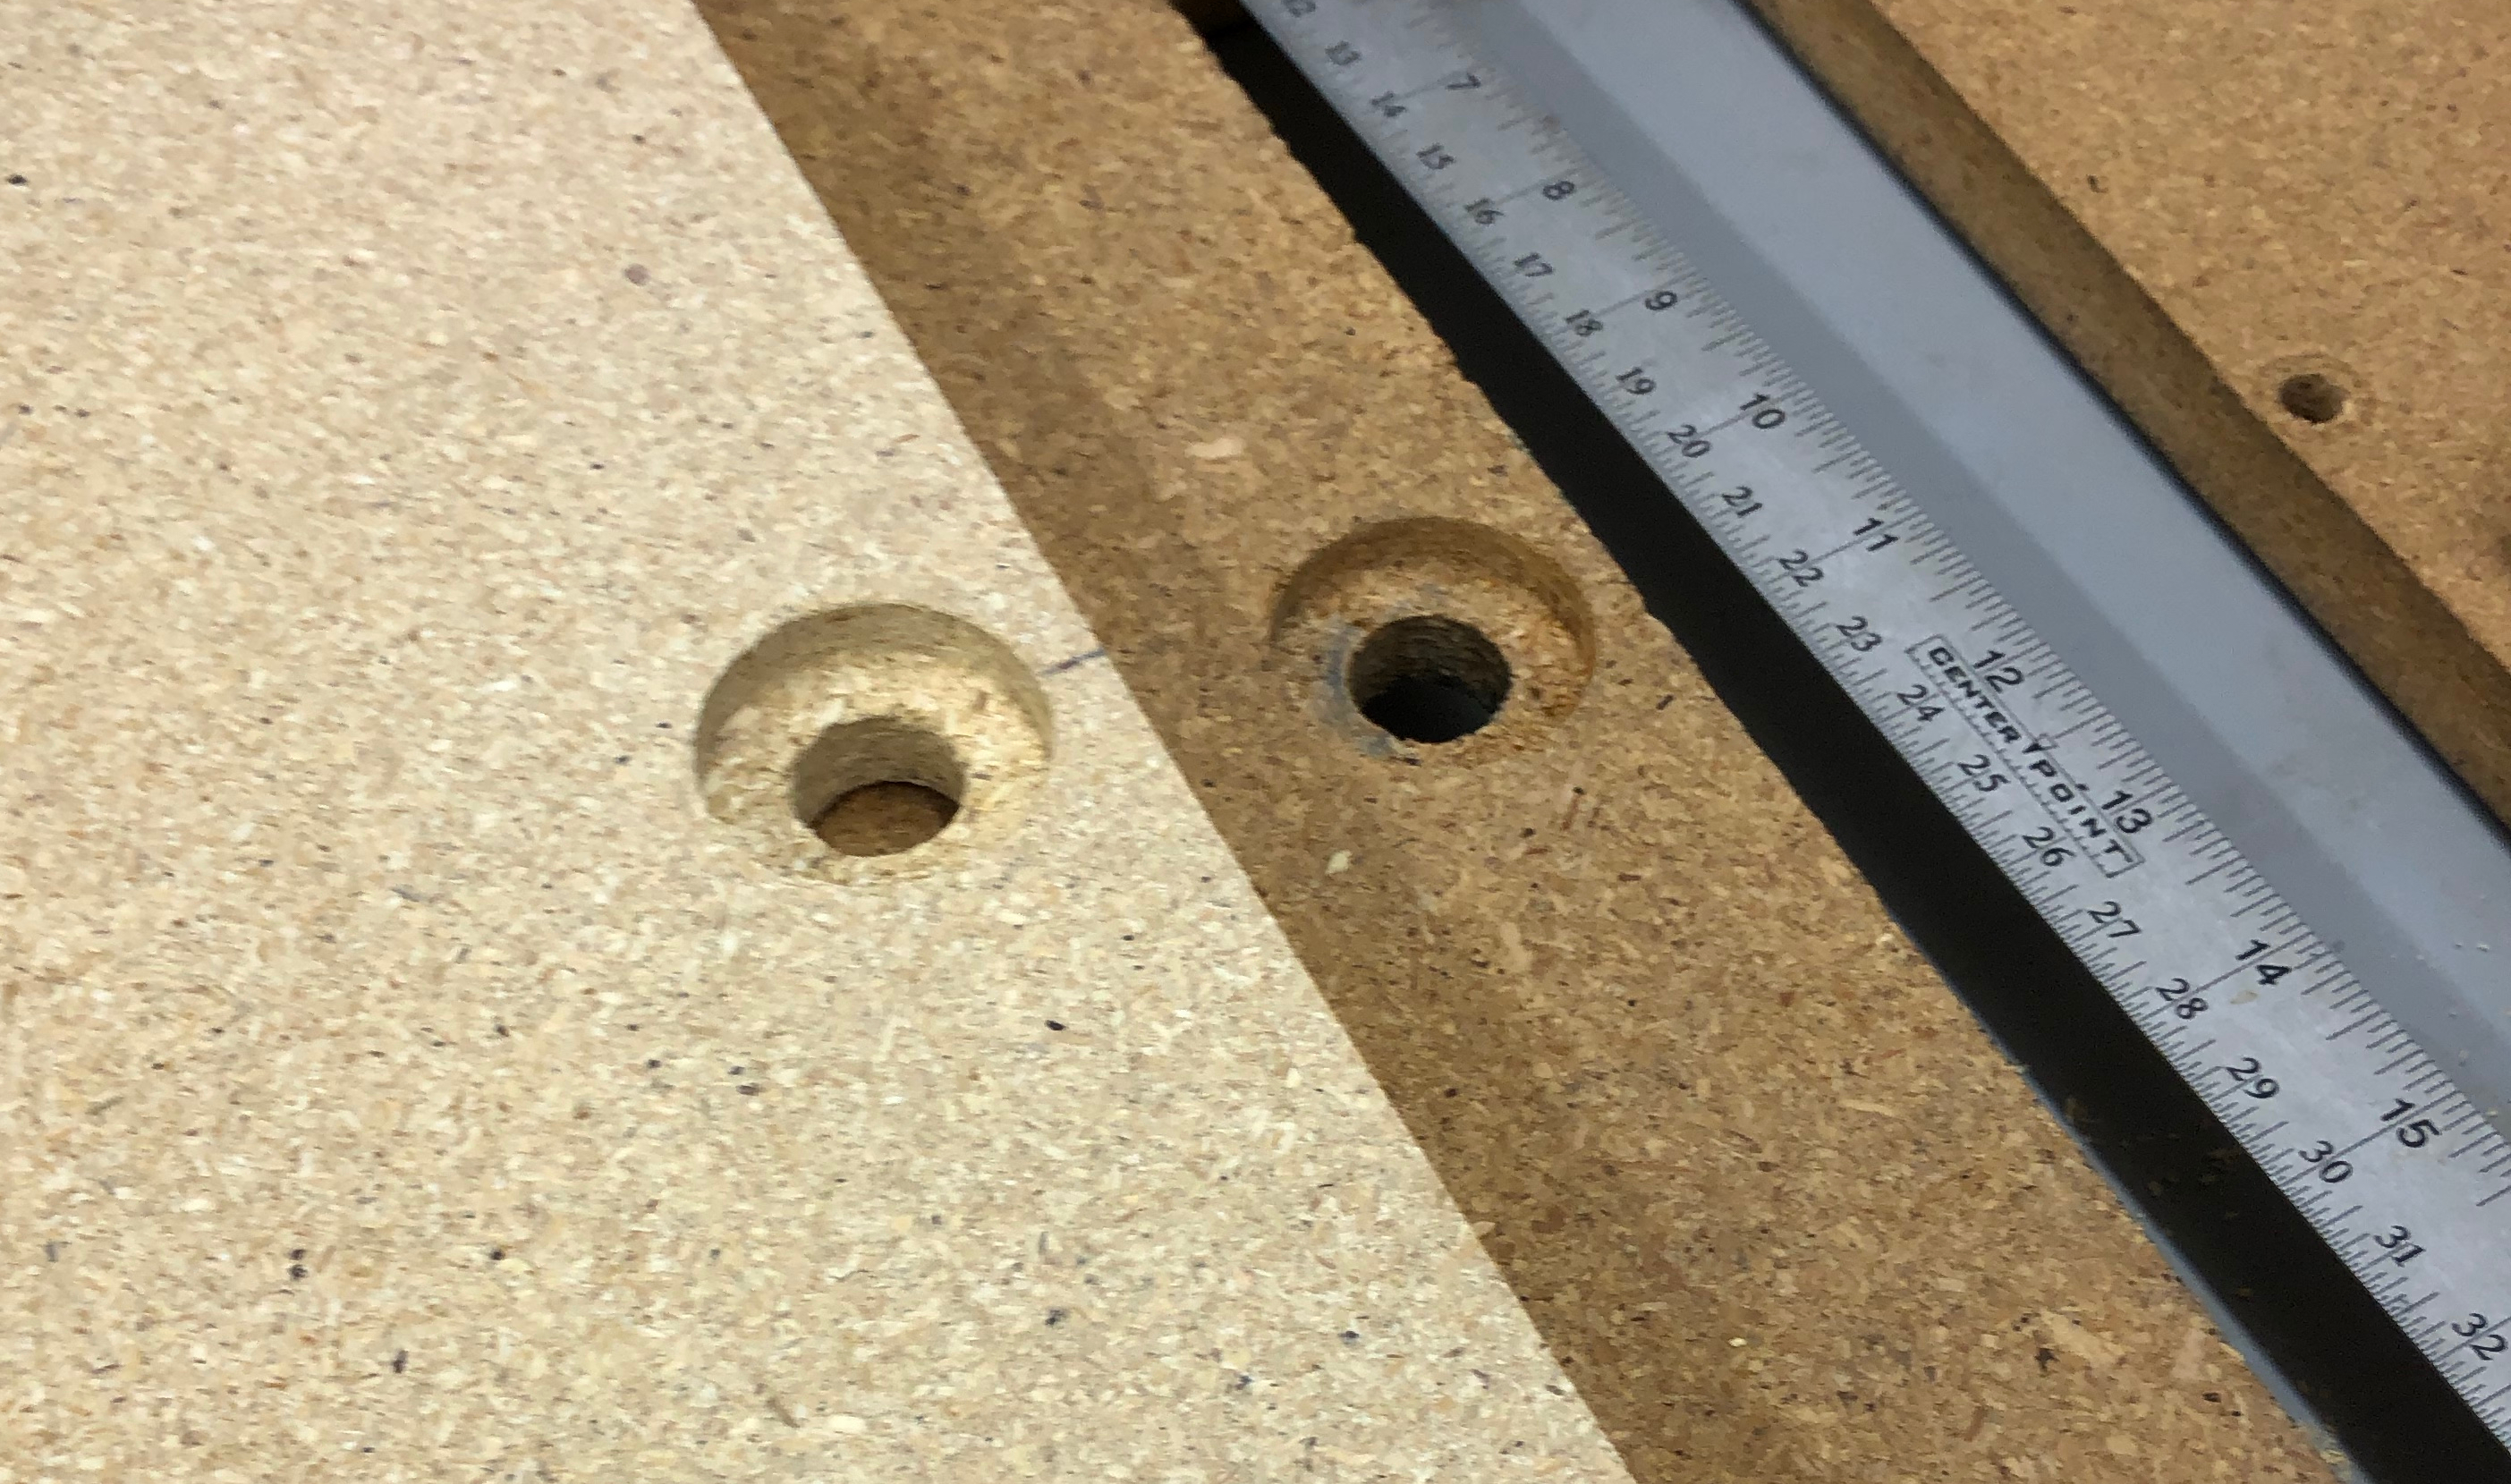
This is a bit of a close up. It is the area inside the back of the cabinet where the rear panel cam lock chews up the particle board. In my opinion, here is the best way to fix this:
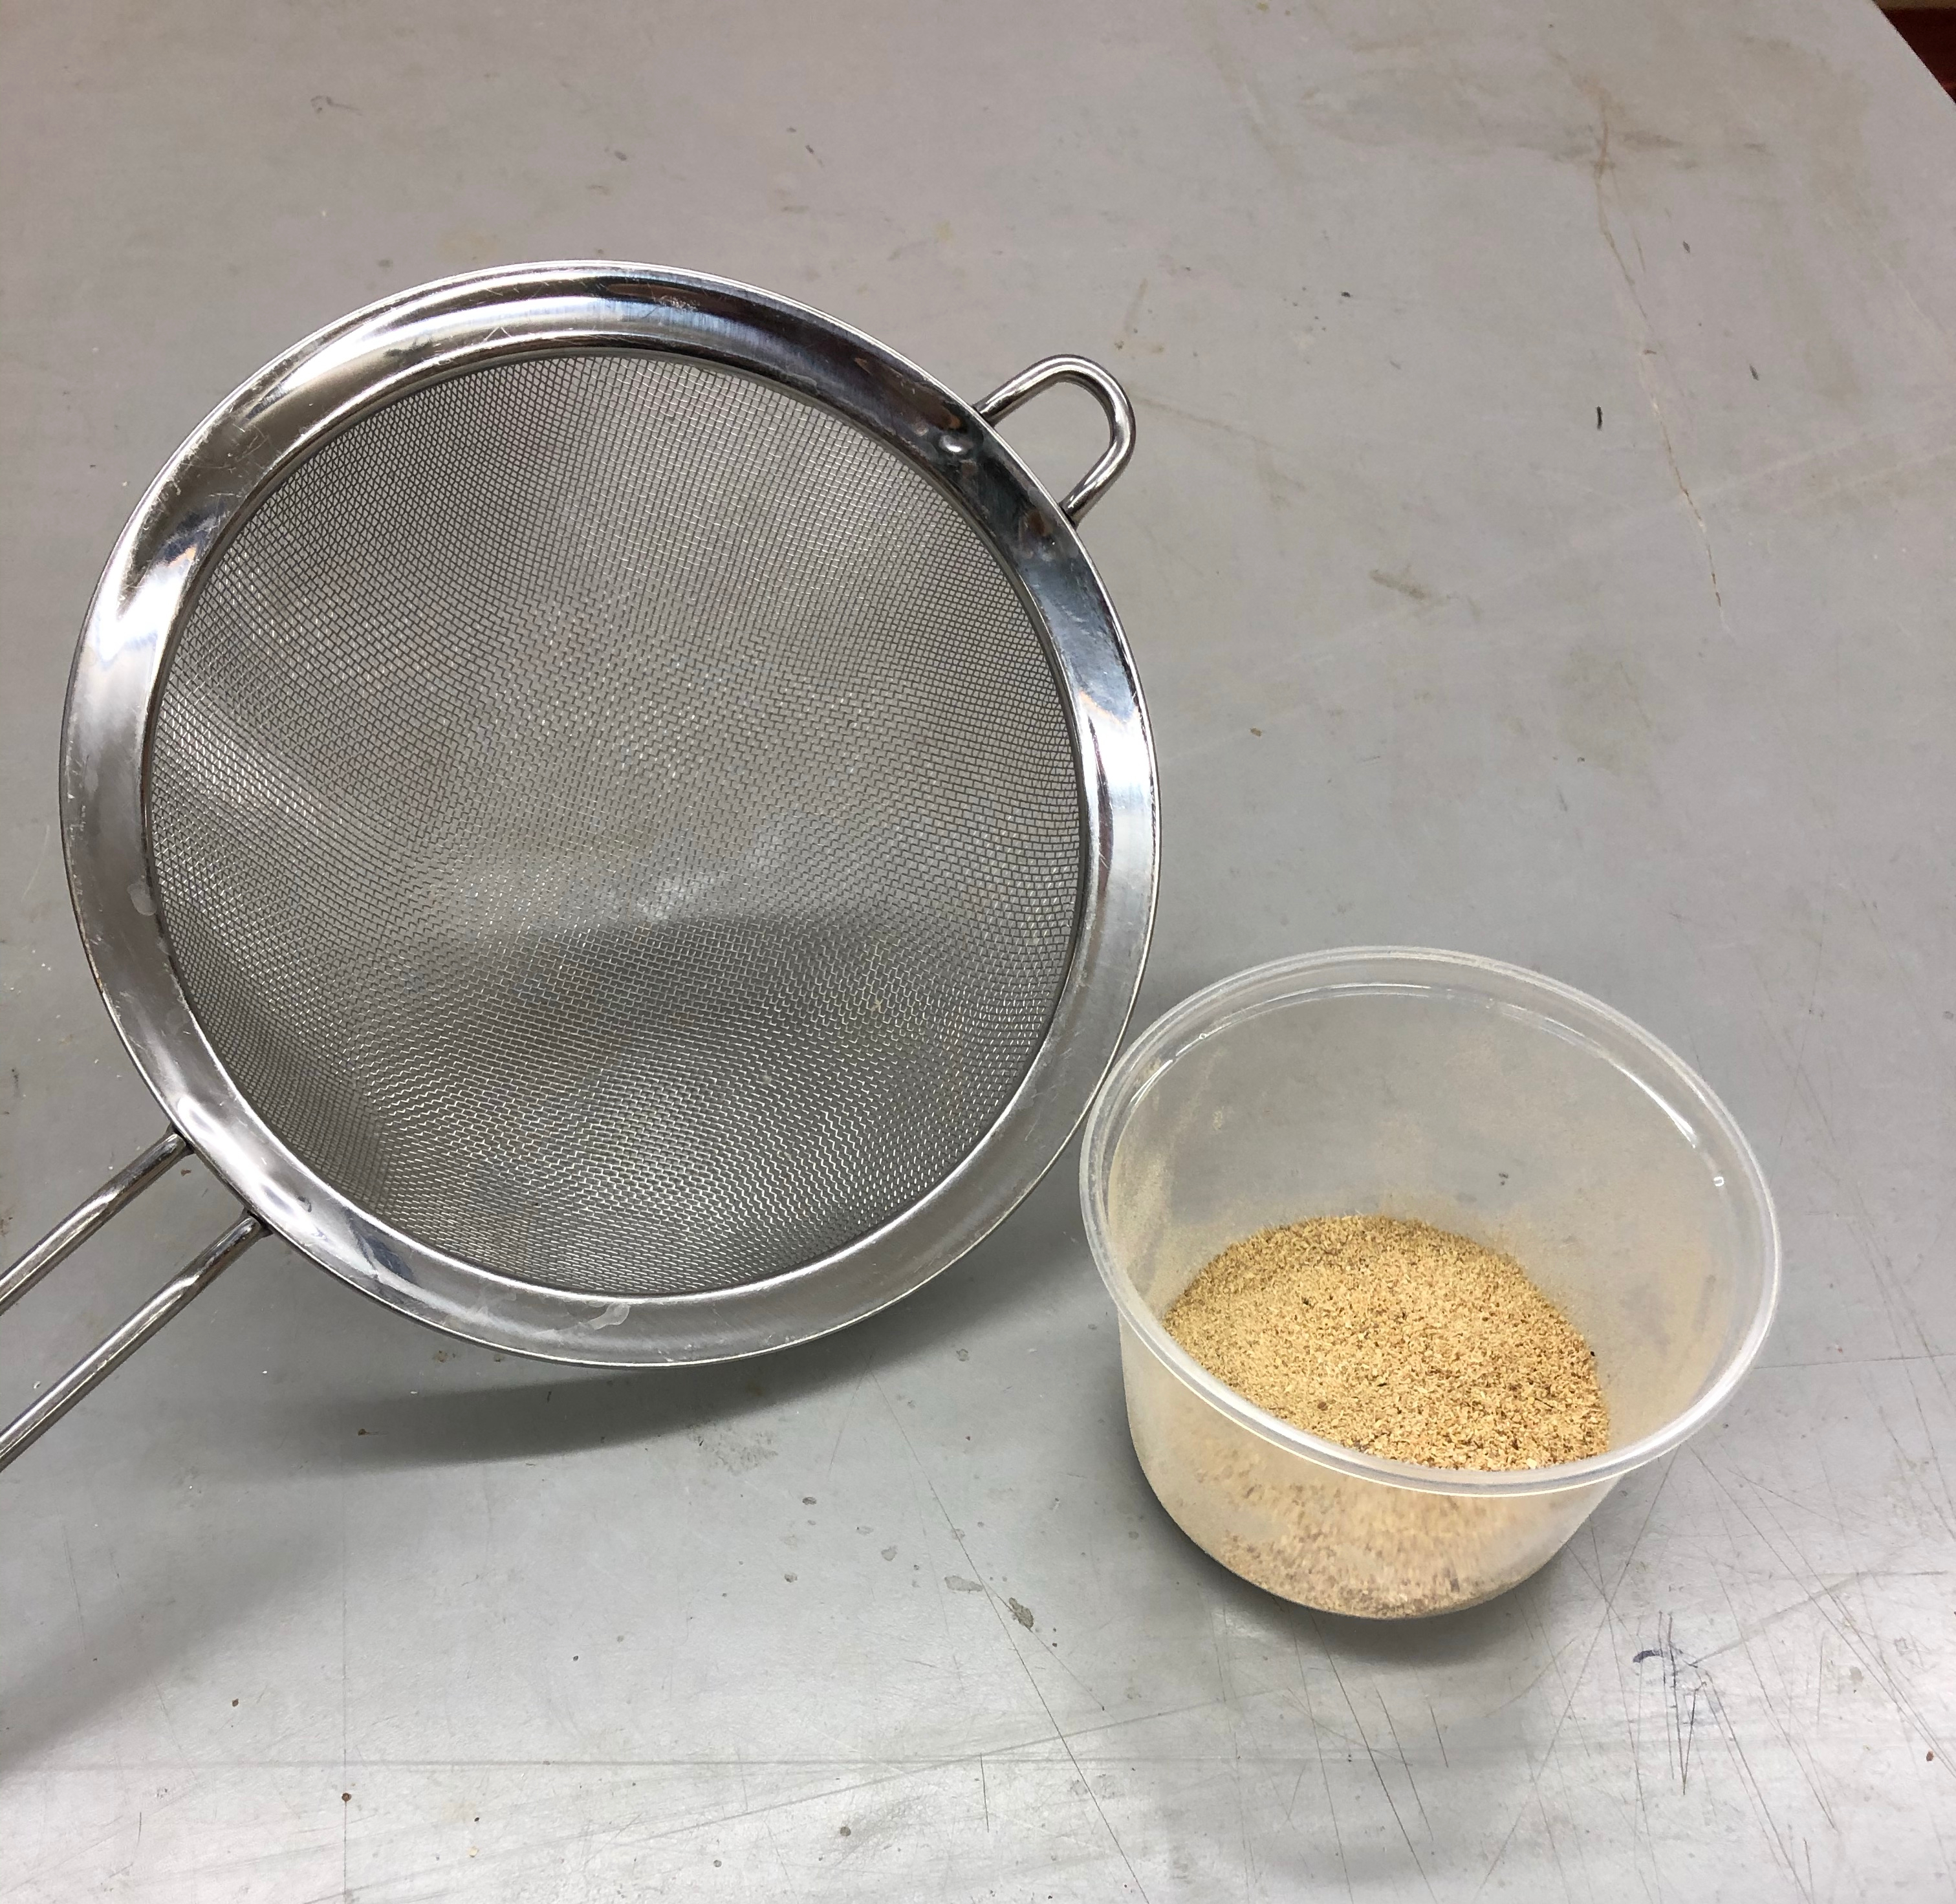
Sawdust sifted through a strainer. This dust is from the particleboard replacement panels I made for the rear and front that I’ll get to later. My goto glue is System3 epoxy. It is a 2 part epoxy that is very strong and dries hard. I especially like it because it is a 2:1 epoxy. I measure it in small cups on a digital scale – grams are the easiest measure. 10 grams of resin, 5 grams of hardener – mix well. Add sawdust until the mixture is very stiff. If its a little runny – add more. It needs to be stiffer than peanut butter – but not dry. Wood glue’s are strong – but still soft when they set and add no true rigidity to the material. Ex: squirt a stripe of wood glue on plastic wrap. Next to it the same size stripe of epoxy. When it dries – the wood glue will be nice and bendy and the epoxy will shatter. It dries hard – and when the right filler is added – is extra strong.
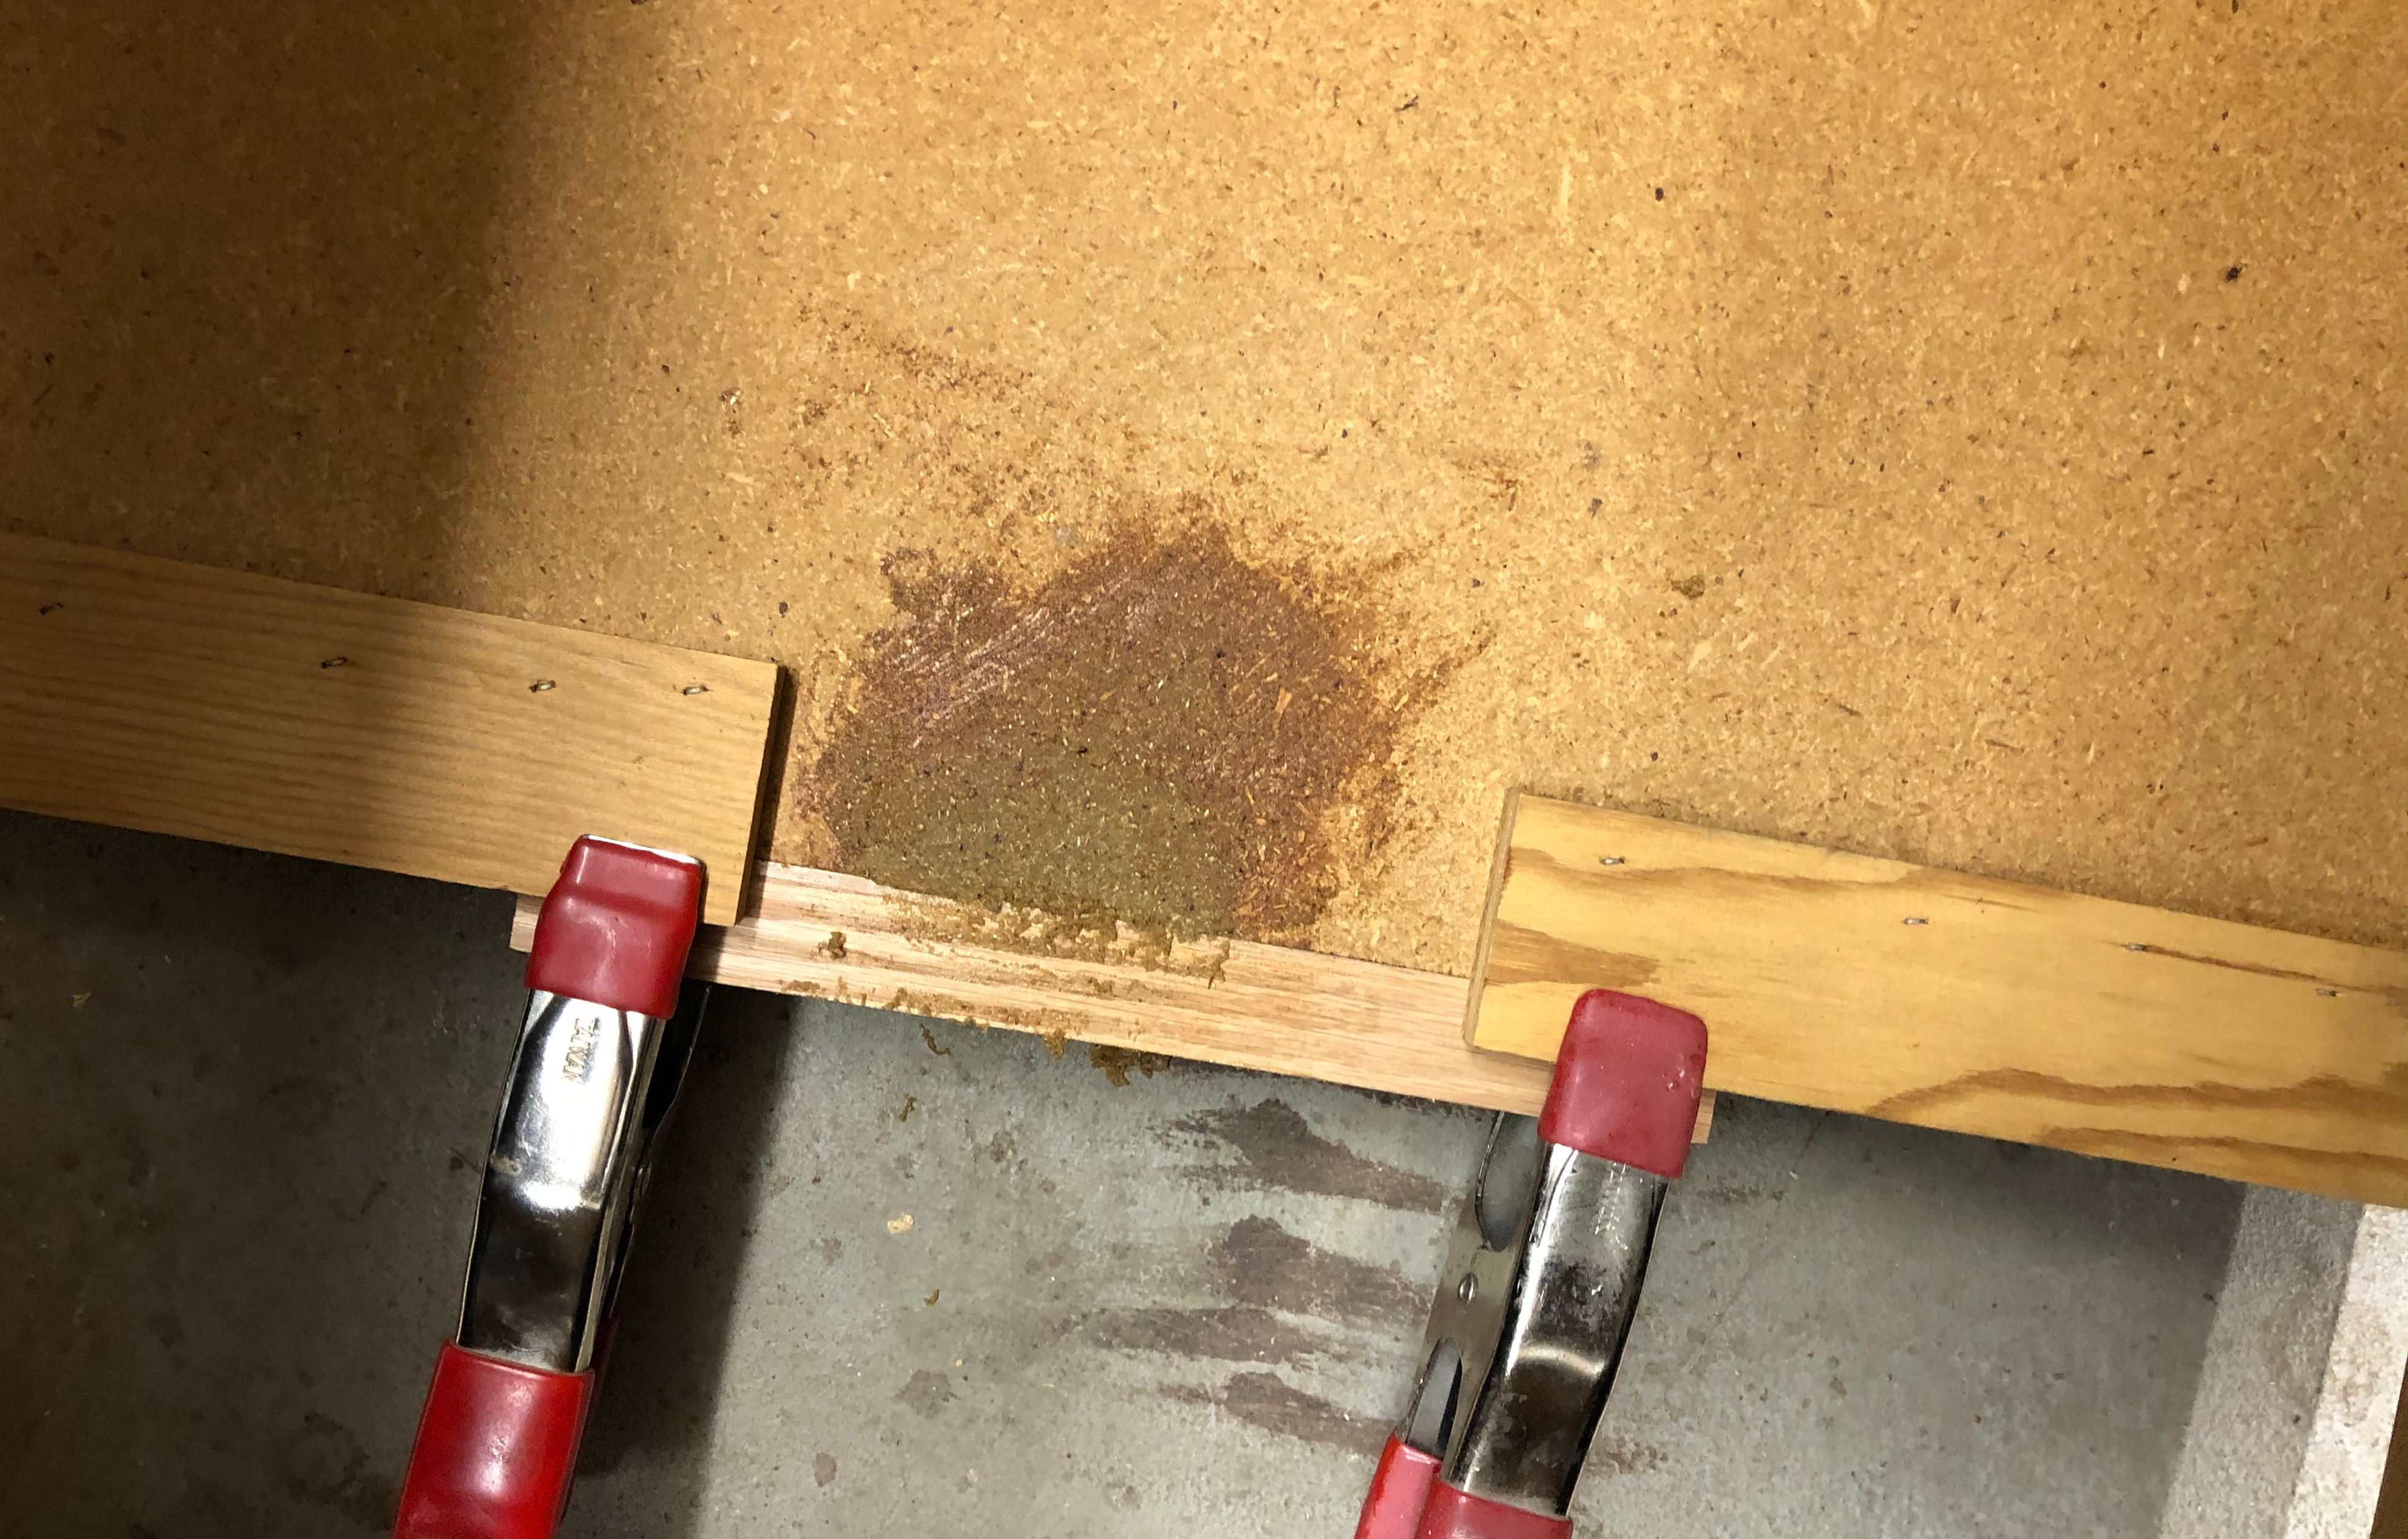
I have a piece of wood that I clamped onto the edge to act as a mold. It is coated in packing tape (you can’t see it – its clear). The filler will not stick to the tape and provides a smooth edge. Using a putty knife press the filler into the void and leave it just a little thicker than the surface. Let it cure overnight.
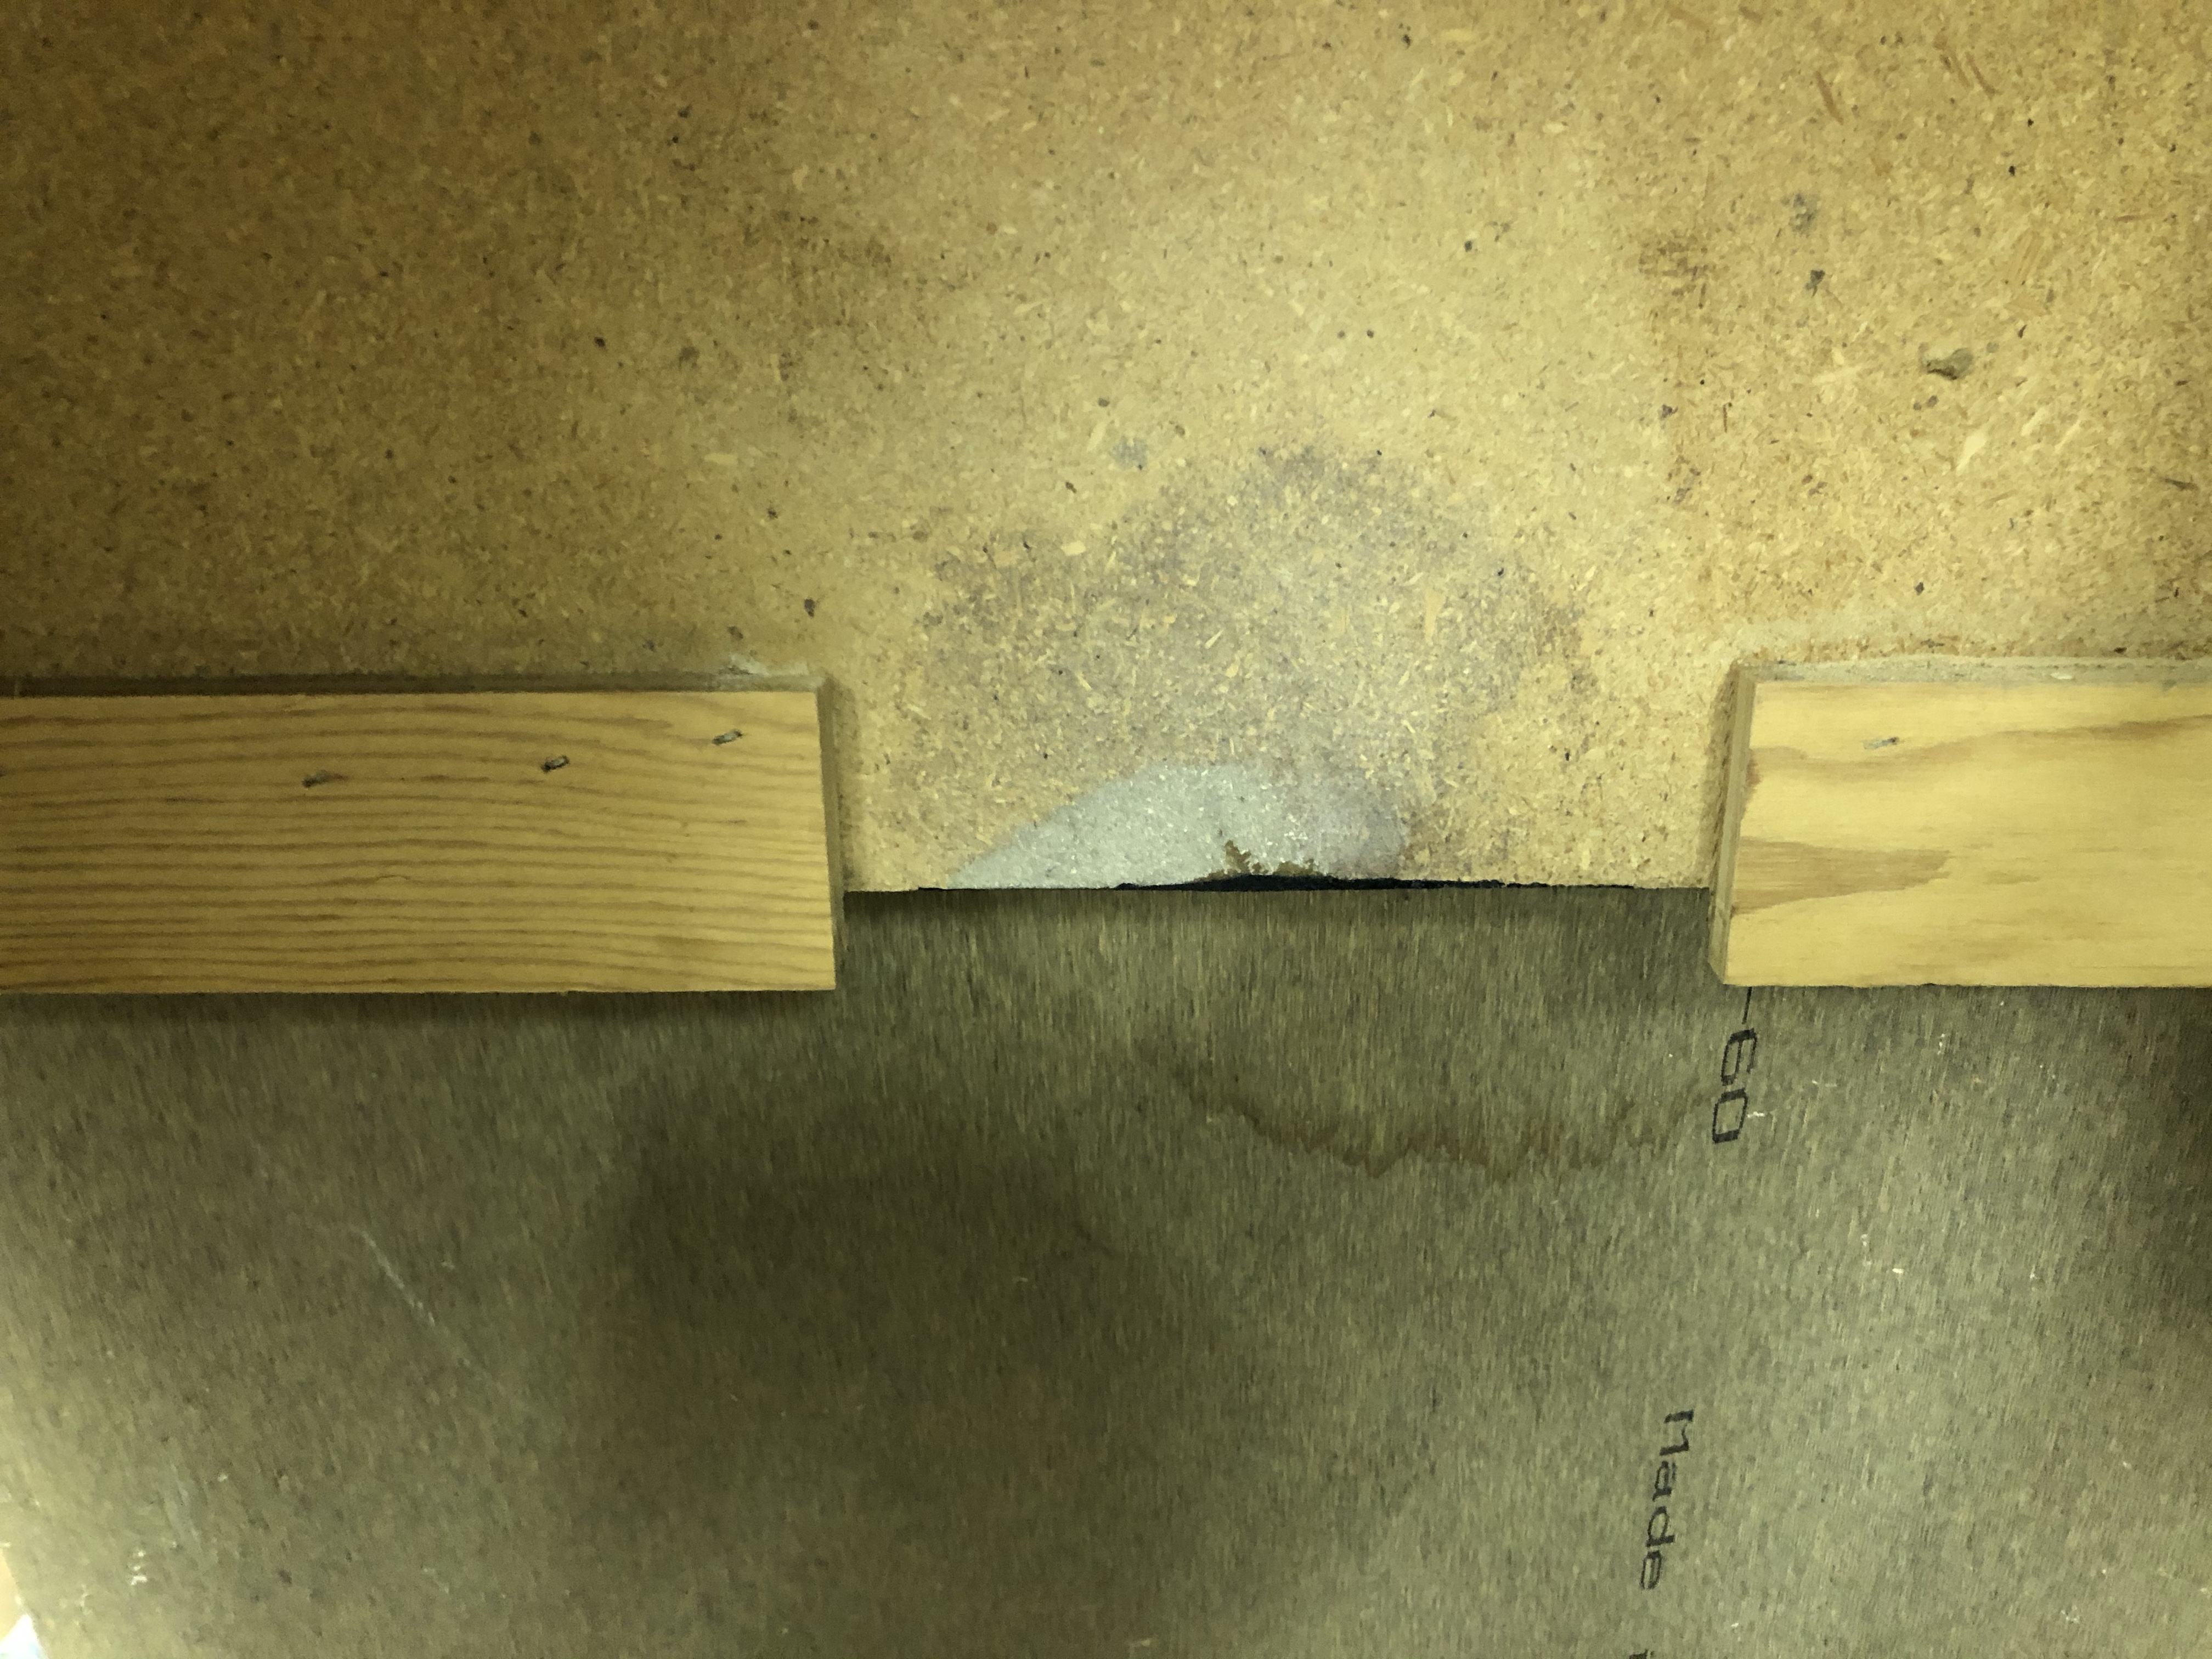
This picture does it no justice – but the chunk is completely filled and rock solid. Once it’s fully cured – I used a small sander and flatten it all out. I’ll add a small metal plate so that the new cam lock can’t re-chew the panel.
Same treatment to the outside of the same panel. Over the years – its obvious screwdrivers were used to pry the back off. Here is a 3/4″ scrap of wood, wrapped in packing tape and used as a mold for the filler.
Here it is sanded and painted. I’m using oil based flat black Rust-Oleum and wiping it on with a rag. This repair is invisible.
Three of the four leg levelers came out without much issue. But there is always a troublemaker. The fourth one just pulled out and the hole it left behind was useless. Epoxy based wood filler to the rescue. Filled everything, sanded it smooth, drilled a new hold and added a new blind nut.


One of the old ones the left – still plenty strong and held in with large staples. New on the right with screws.
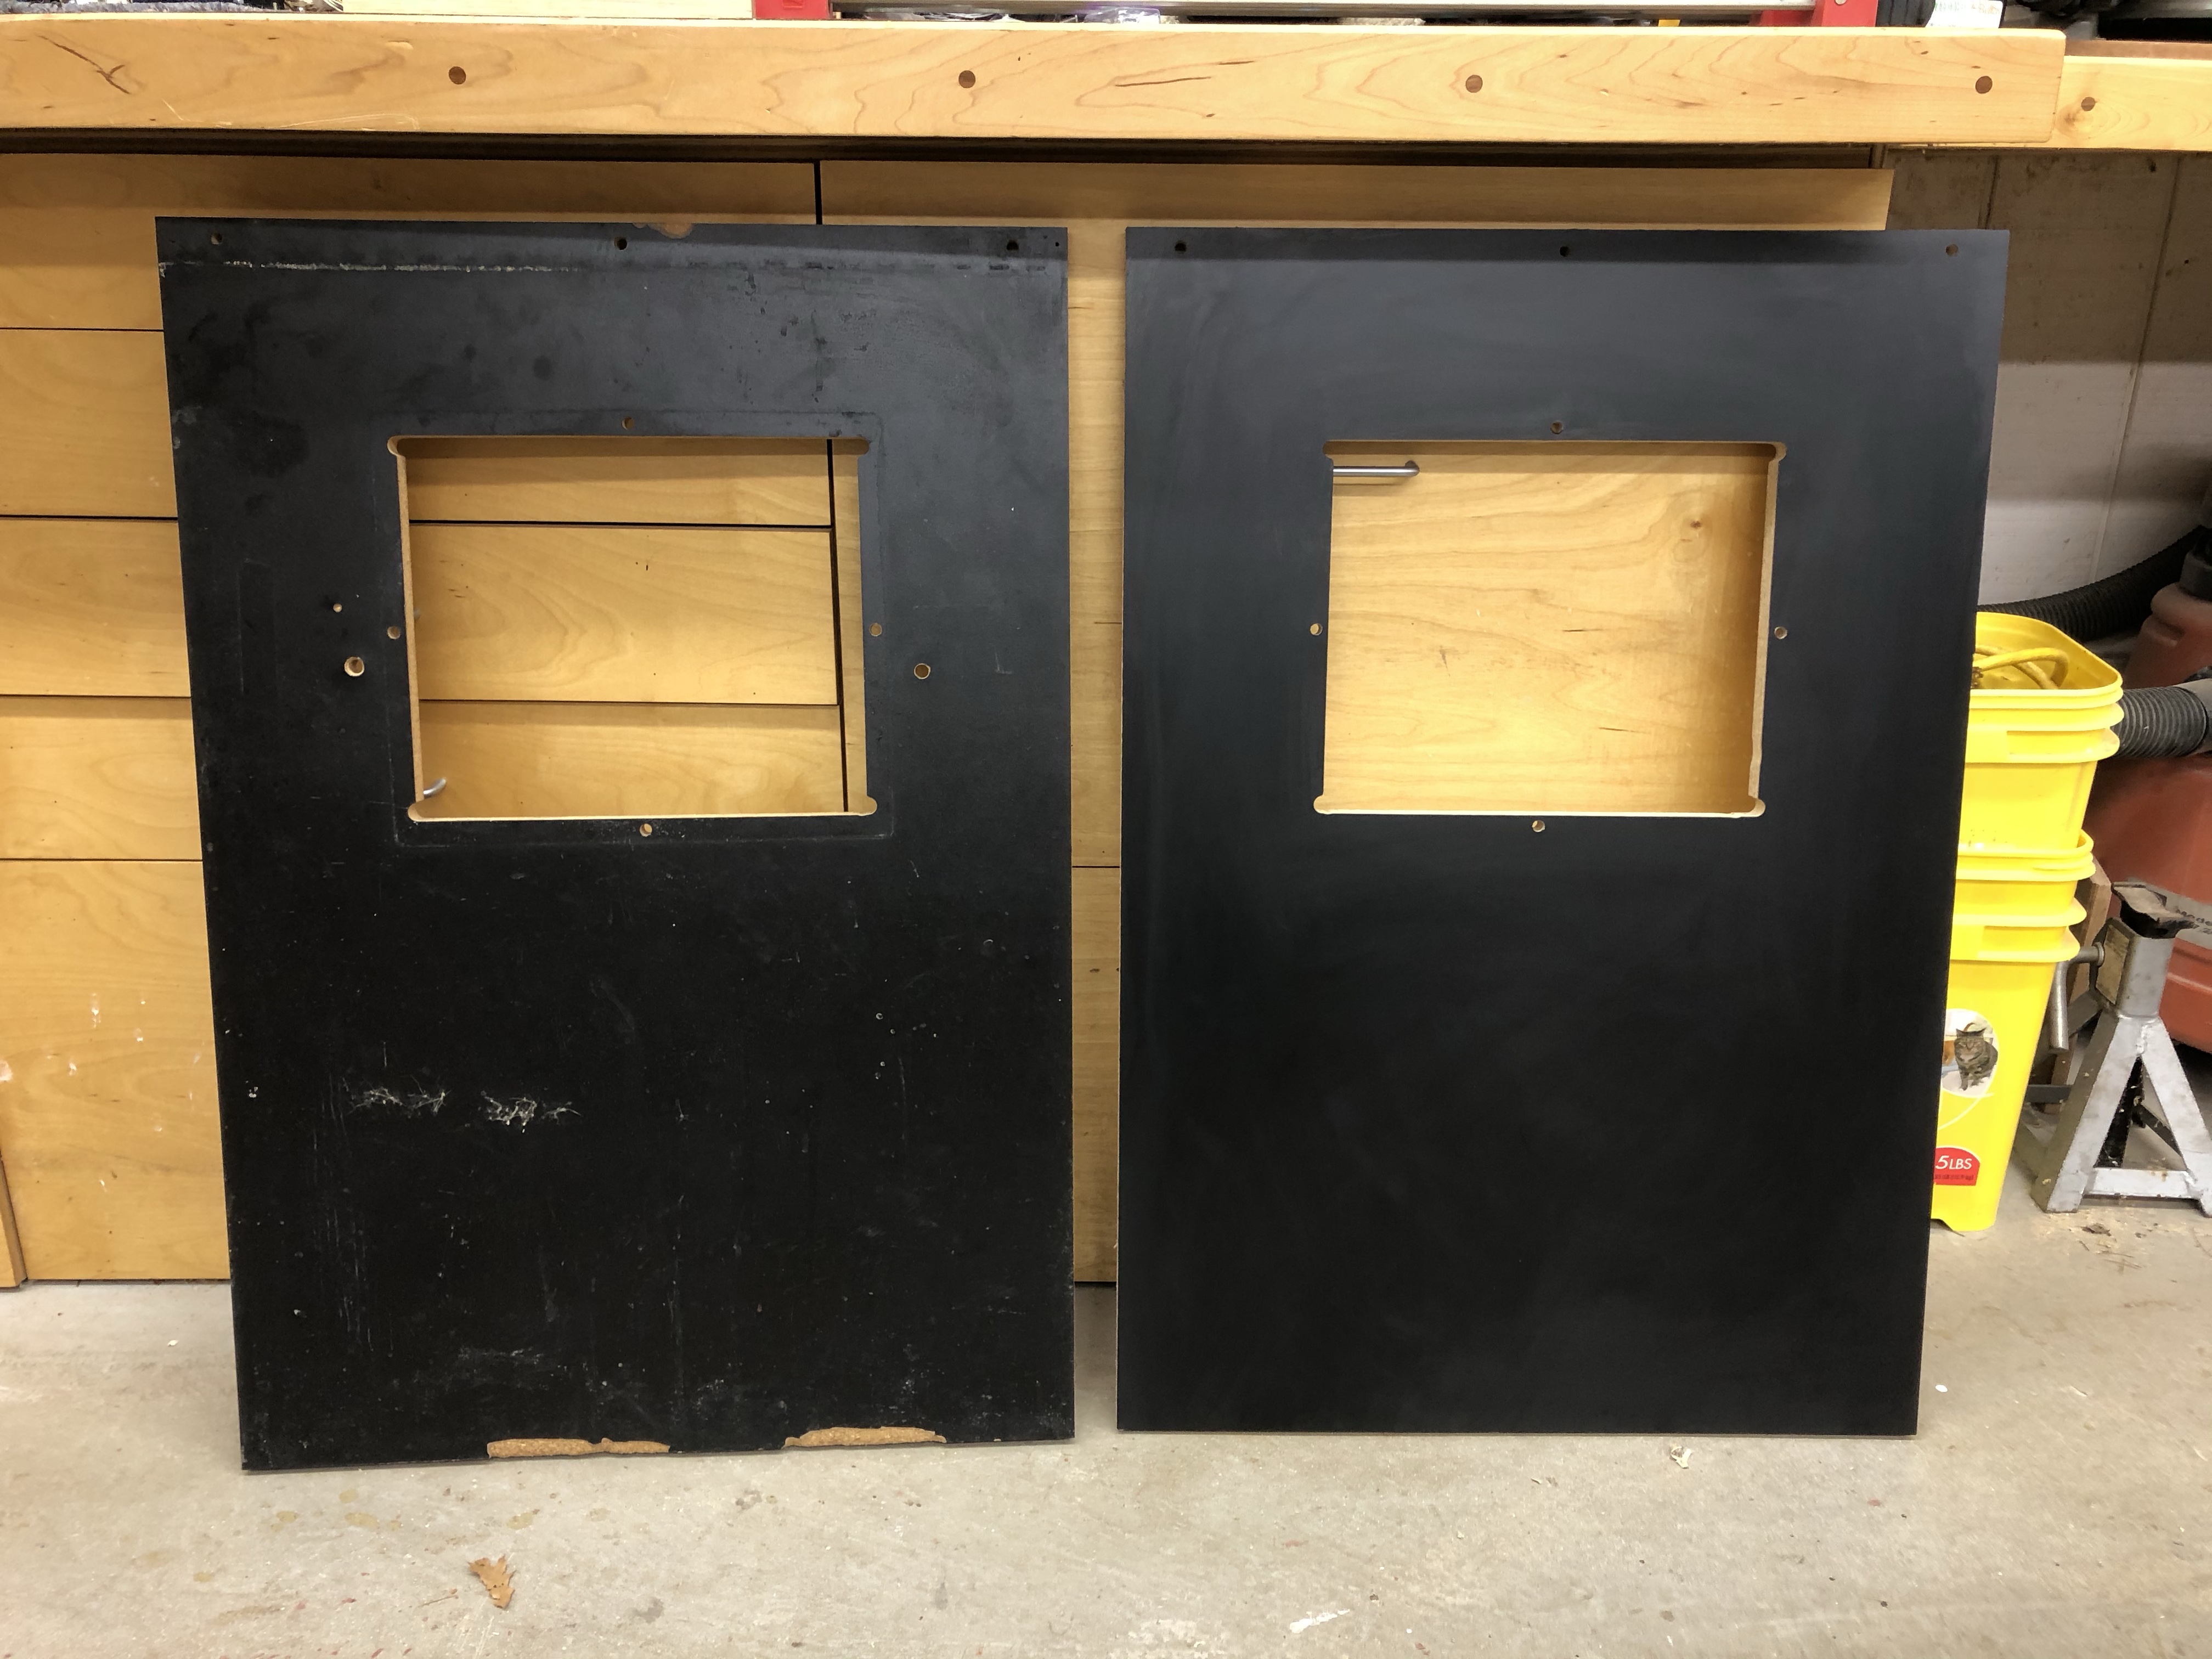
I did finish up the replacement coin door panel. Its identical. Just new.
Ok – its nearly identical. I didn’t use staples for the most part, I used screws. The original cleats I’m pretty sure were luan (3/4″ x 3/4″). I just happened to have some leftover mahogany in the exact same dimension. I’ll bet real money there isn’t another Centipede machine on the planet with mahogany cleats on the coin door panel.
Rear door painted in flat black.
I even decided to replicate the missing slot cover from the original. Now this part was easier to install with staples!
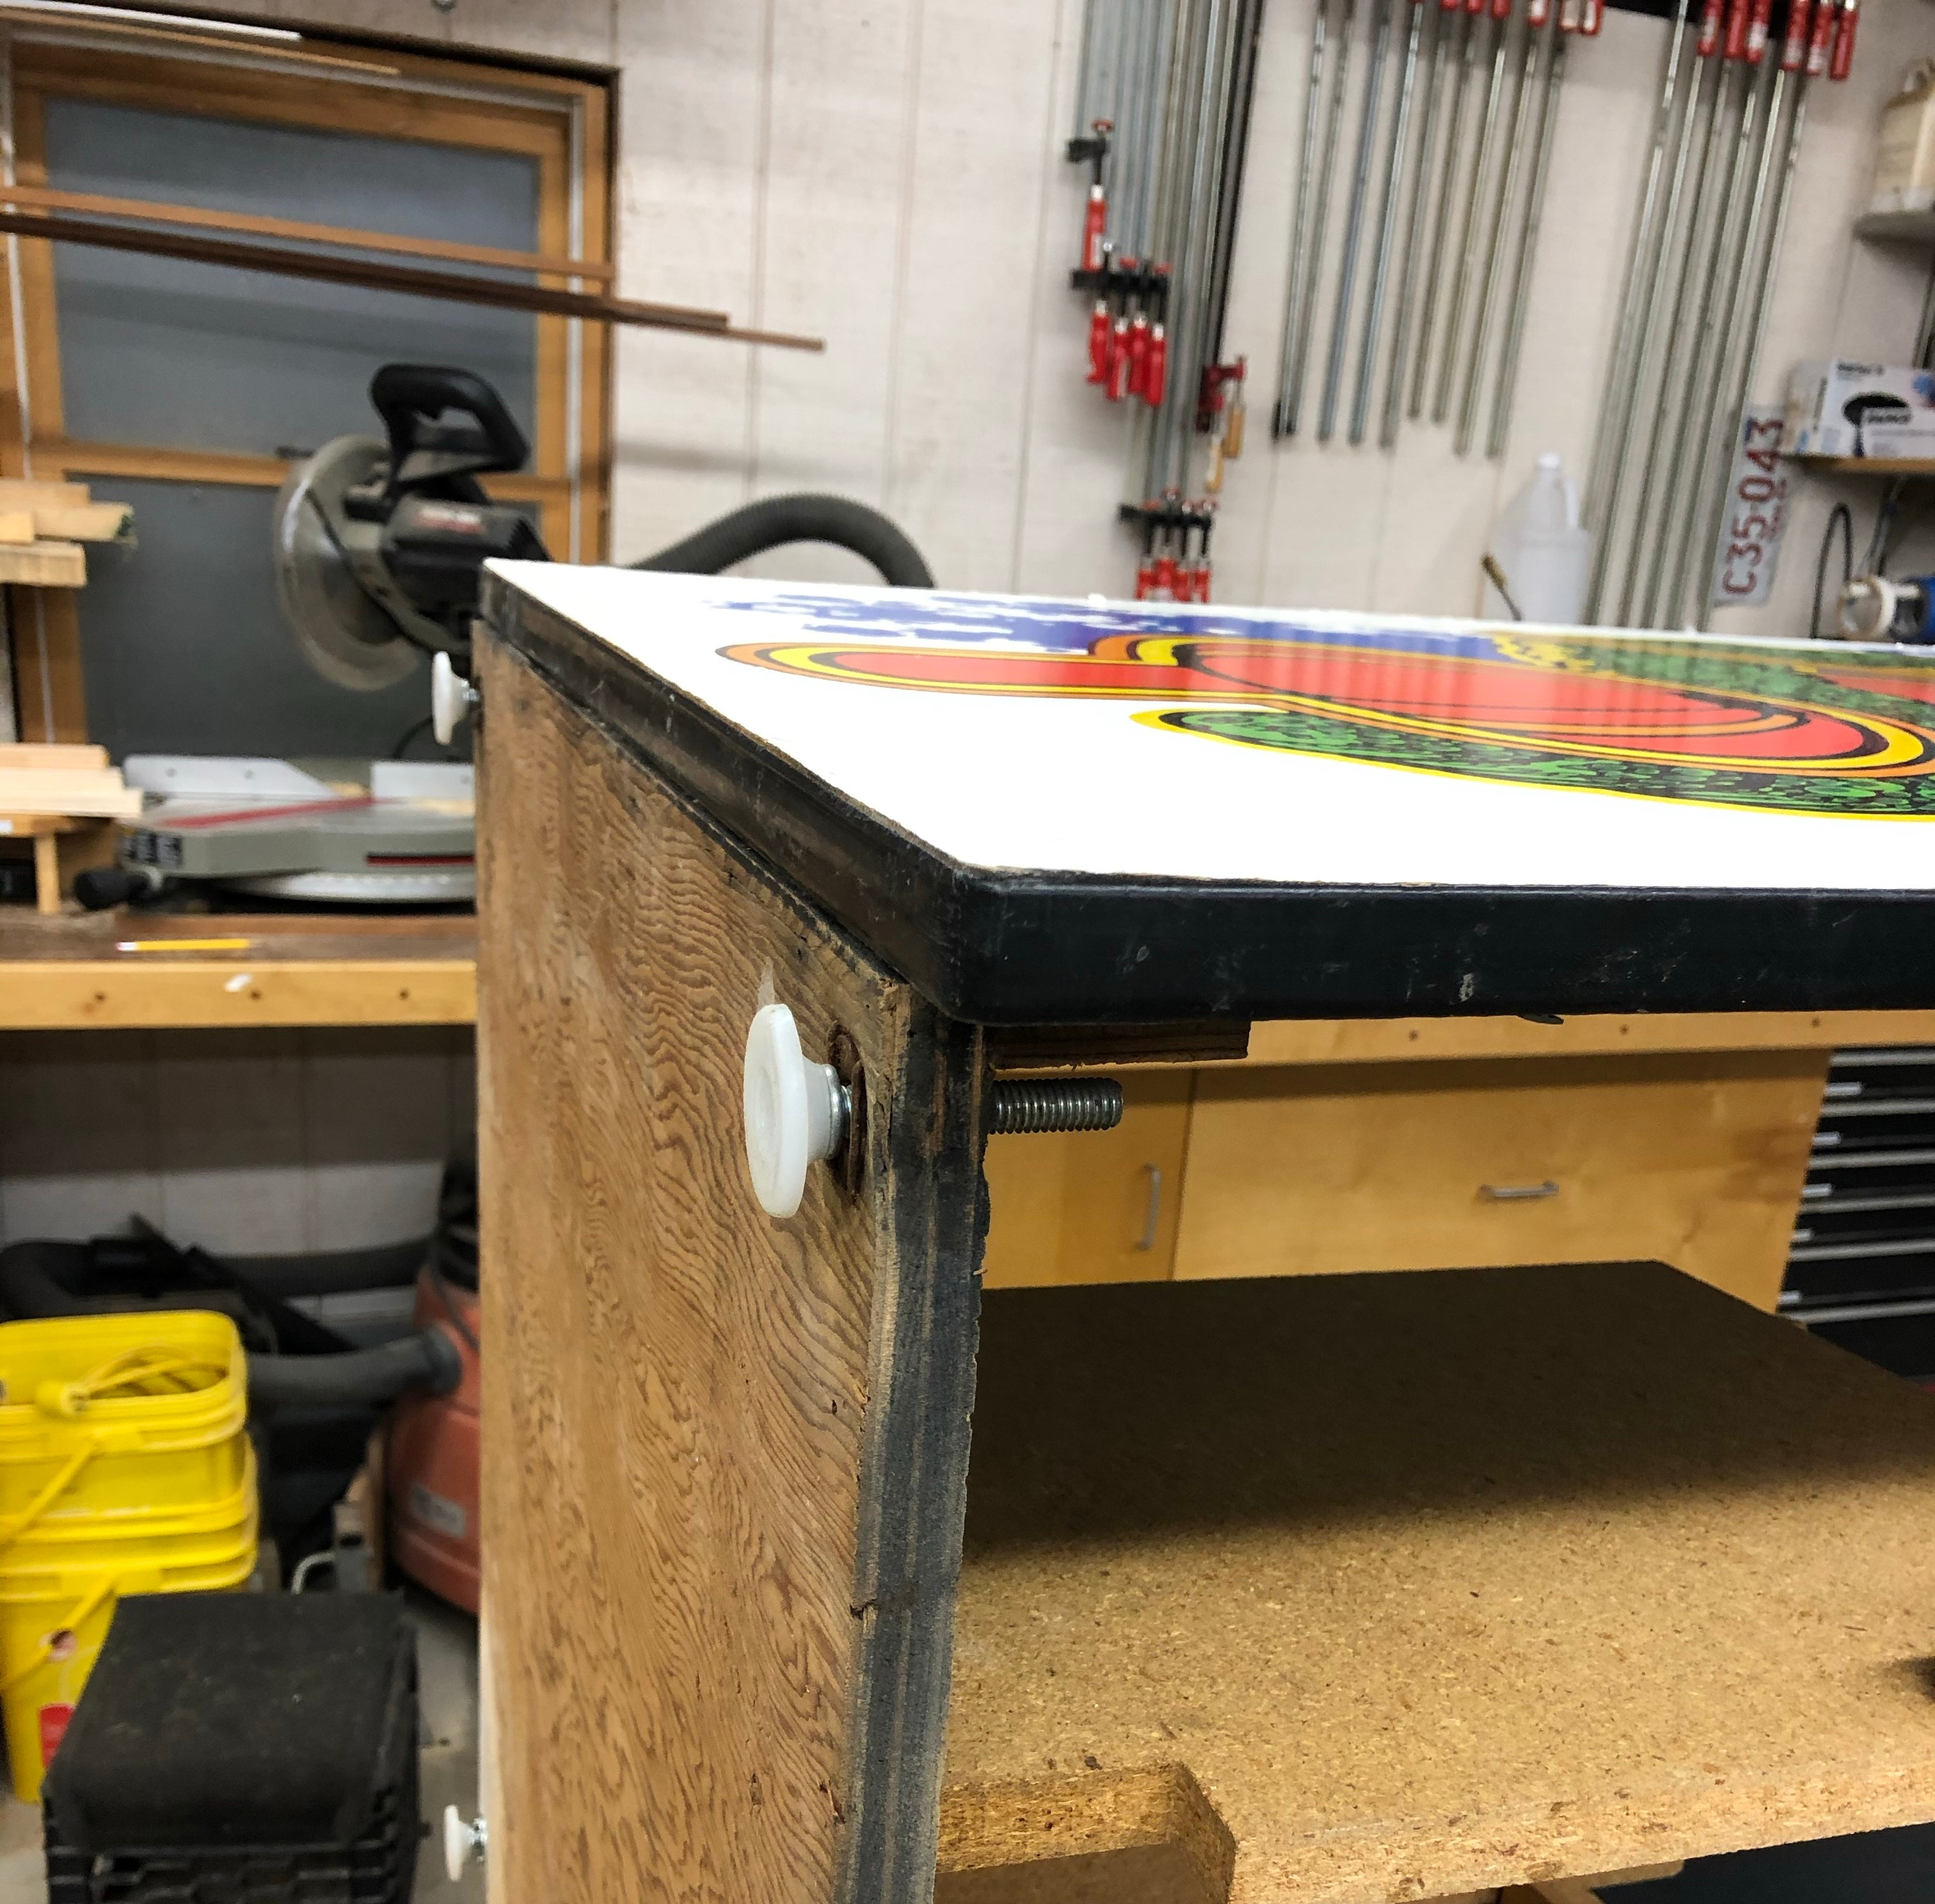
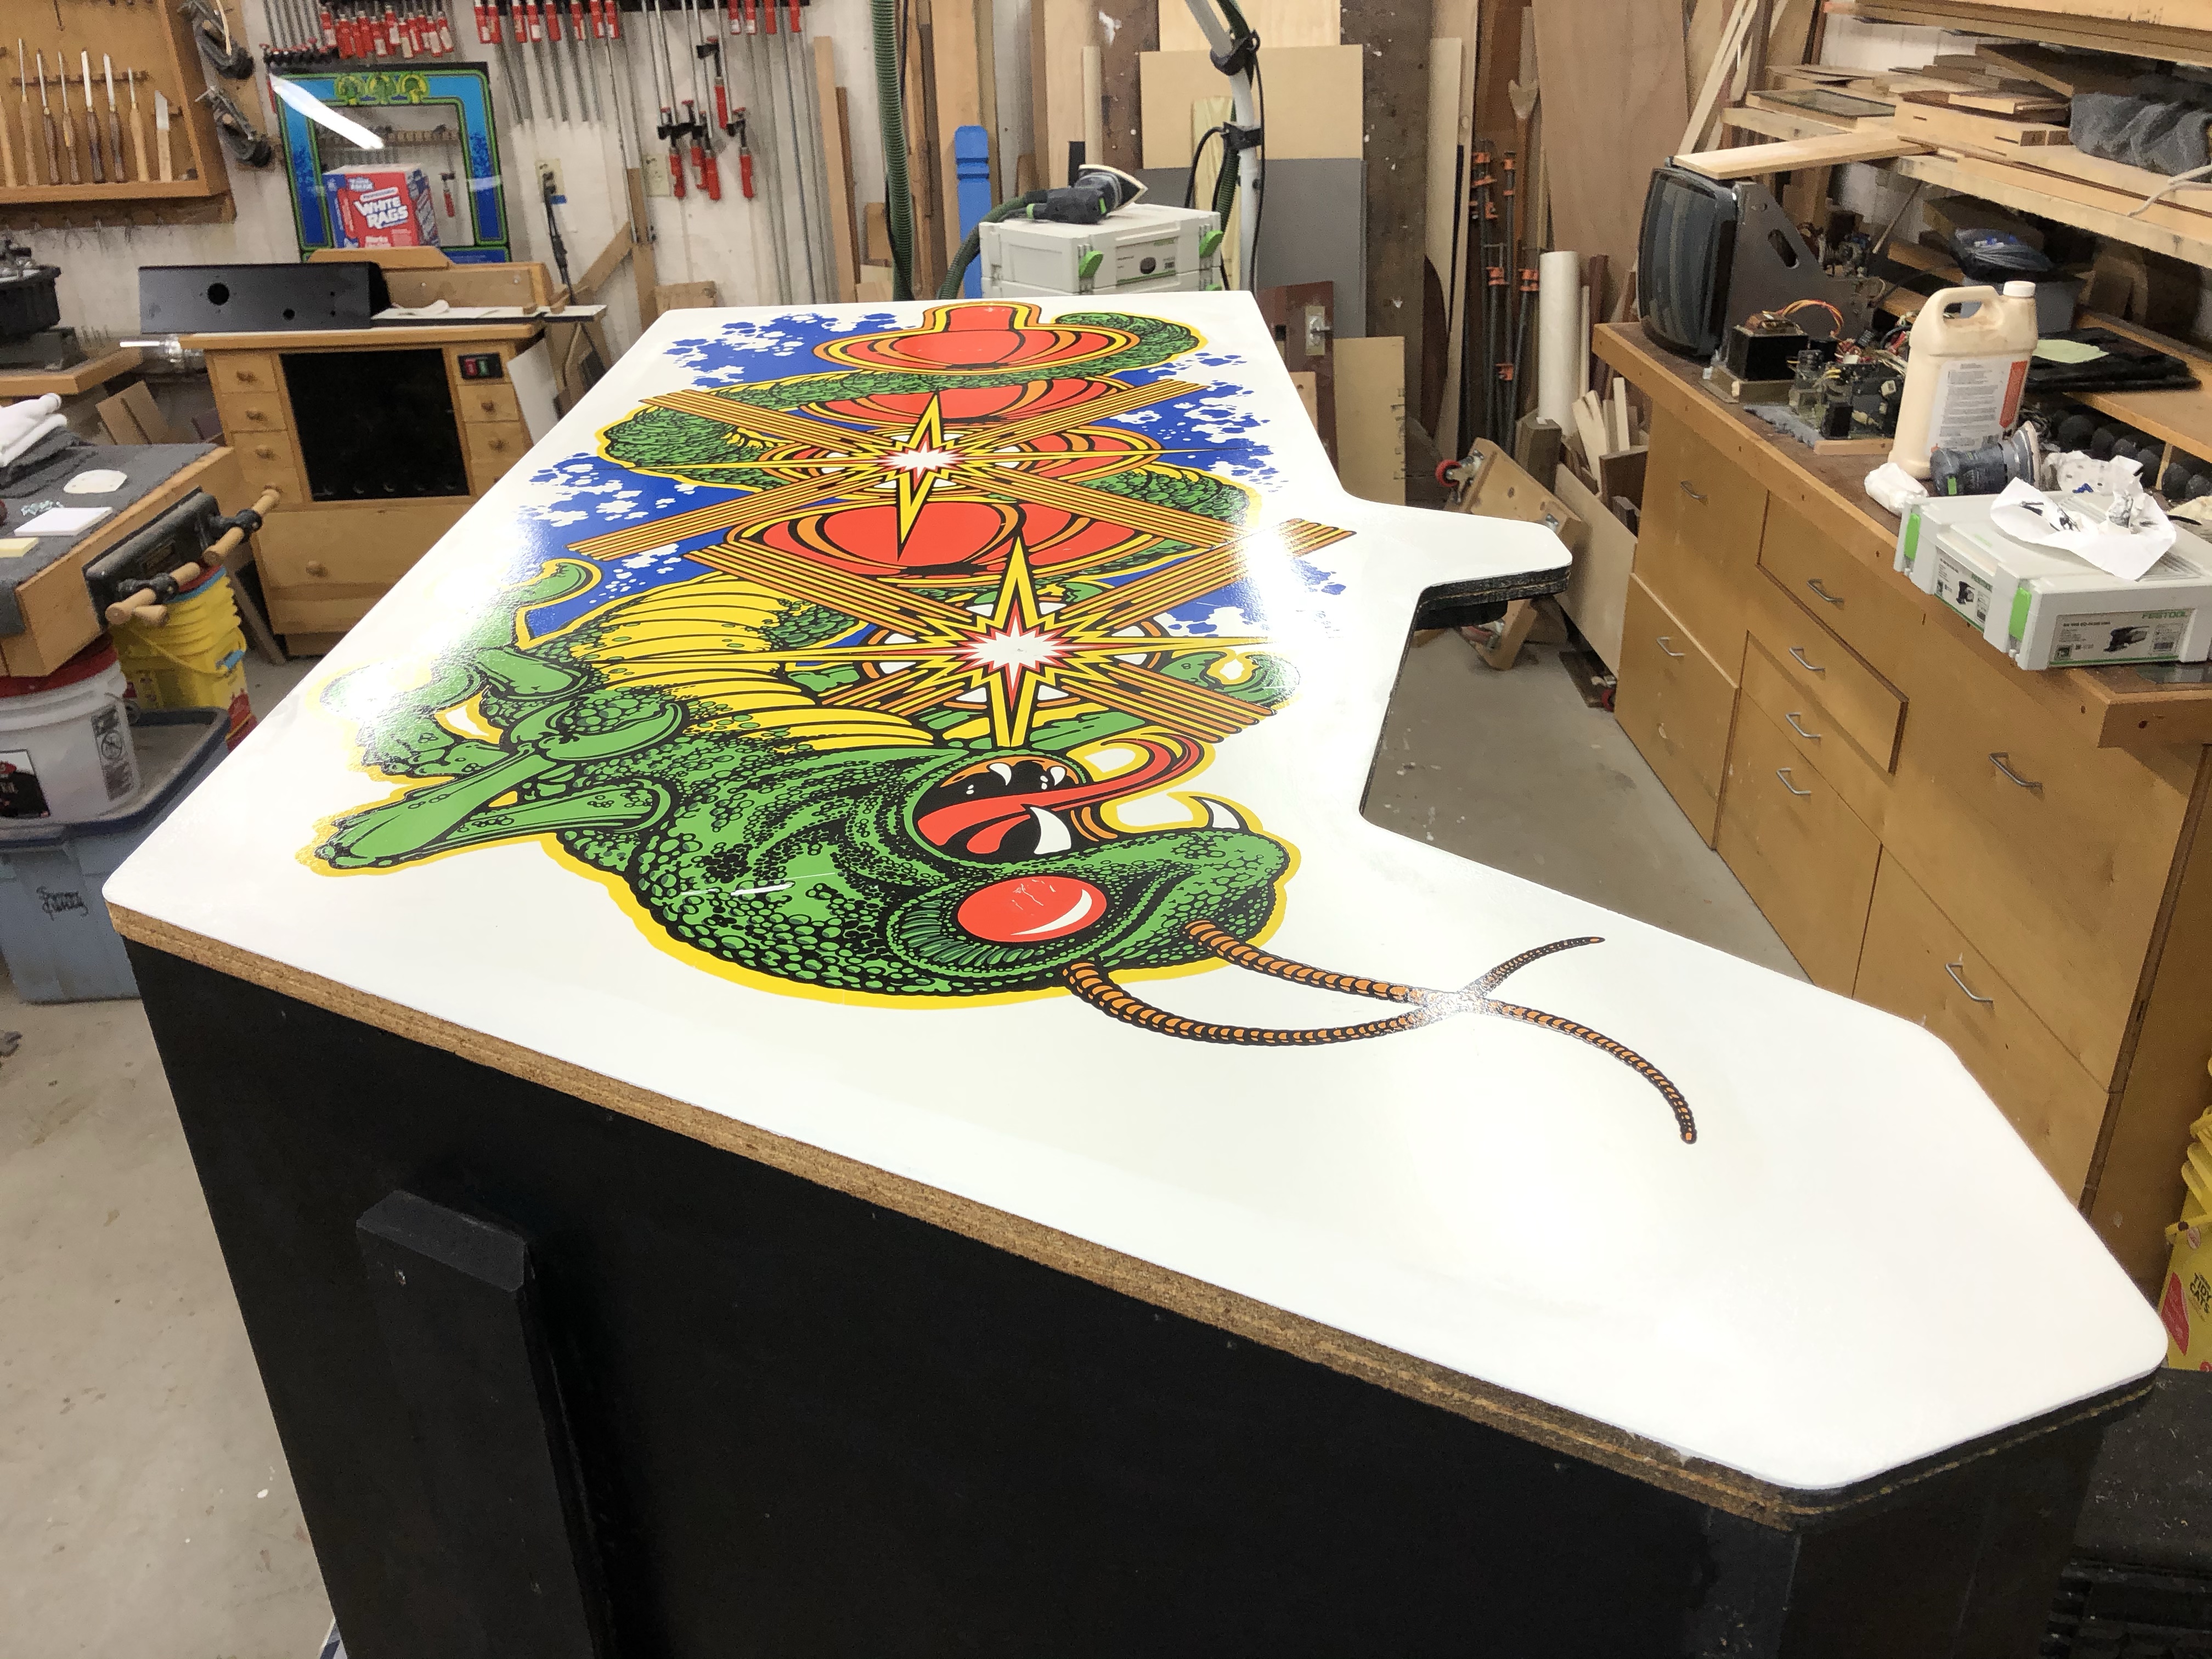
Mostly I’m doing all of these small items because I’m still contemplating how to fix the sides w/o ruining the original side art. I have a loose plan in my head – but haven’t fully committed just yet.
The bottom part of this panel is really crap..
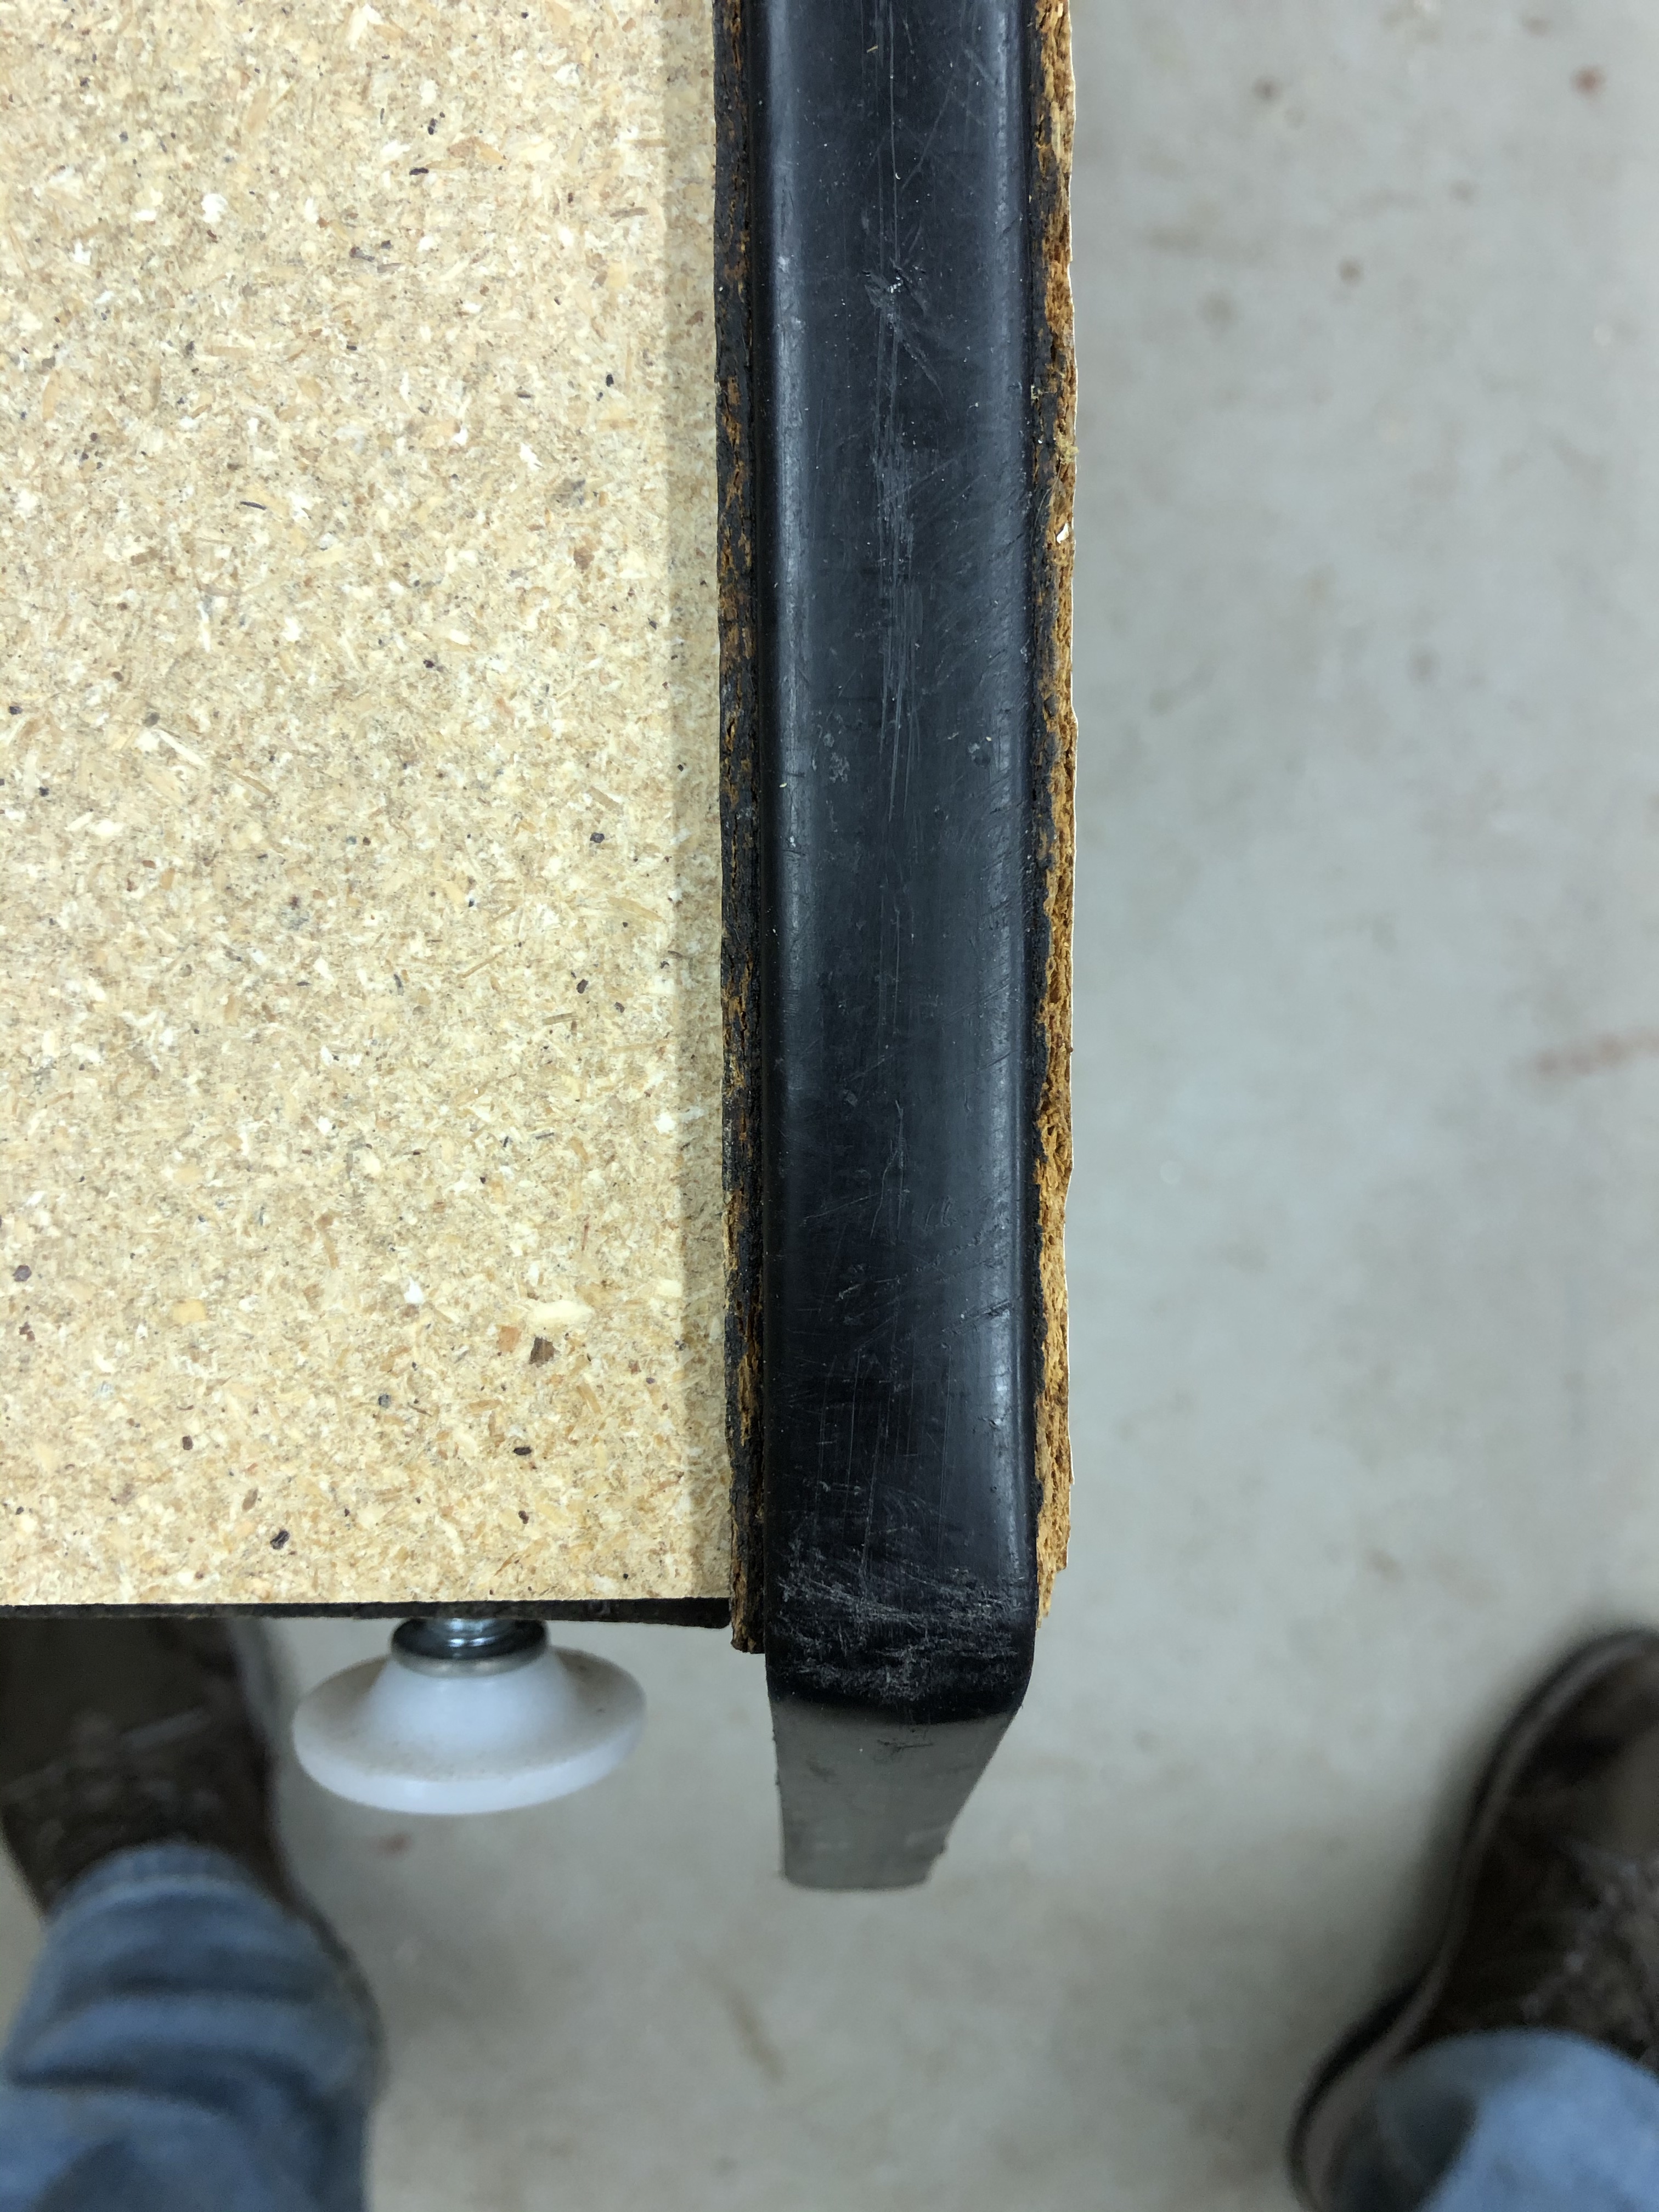
Here is the original T-molding with almost 1/8″ of expansion on either side on that same panel. Eventually everything else will be done and I will have no choice but to come up with some clever way to repair this.
I’m making some progress on repairing the particle board – but that is a much longer post. While I was standing around I decided to try something – this worked out pretty good.


On the left – chewed up side art – on the right – the same spot – with only the black lines filled in with a Sharpie. Freehand! I wish I could make a sharpie in the other colors.. this would be a simple repair.. I’ll clean this up a bit more – but simple is better in this case. It passes the 3 foot test easy.
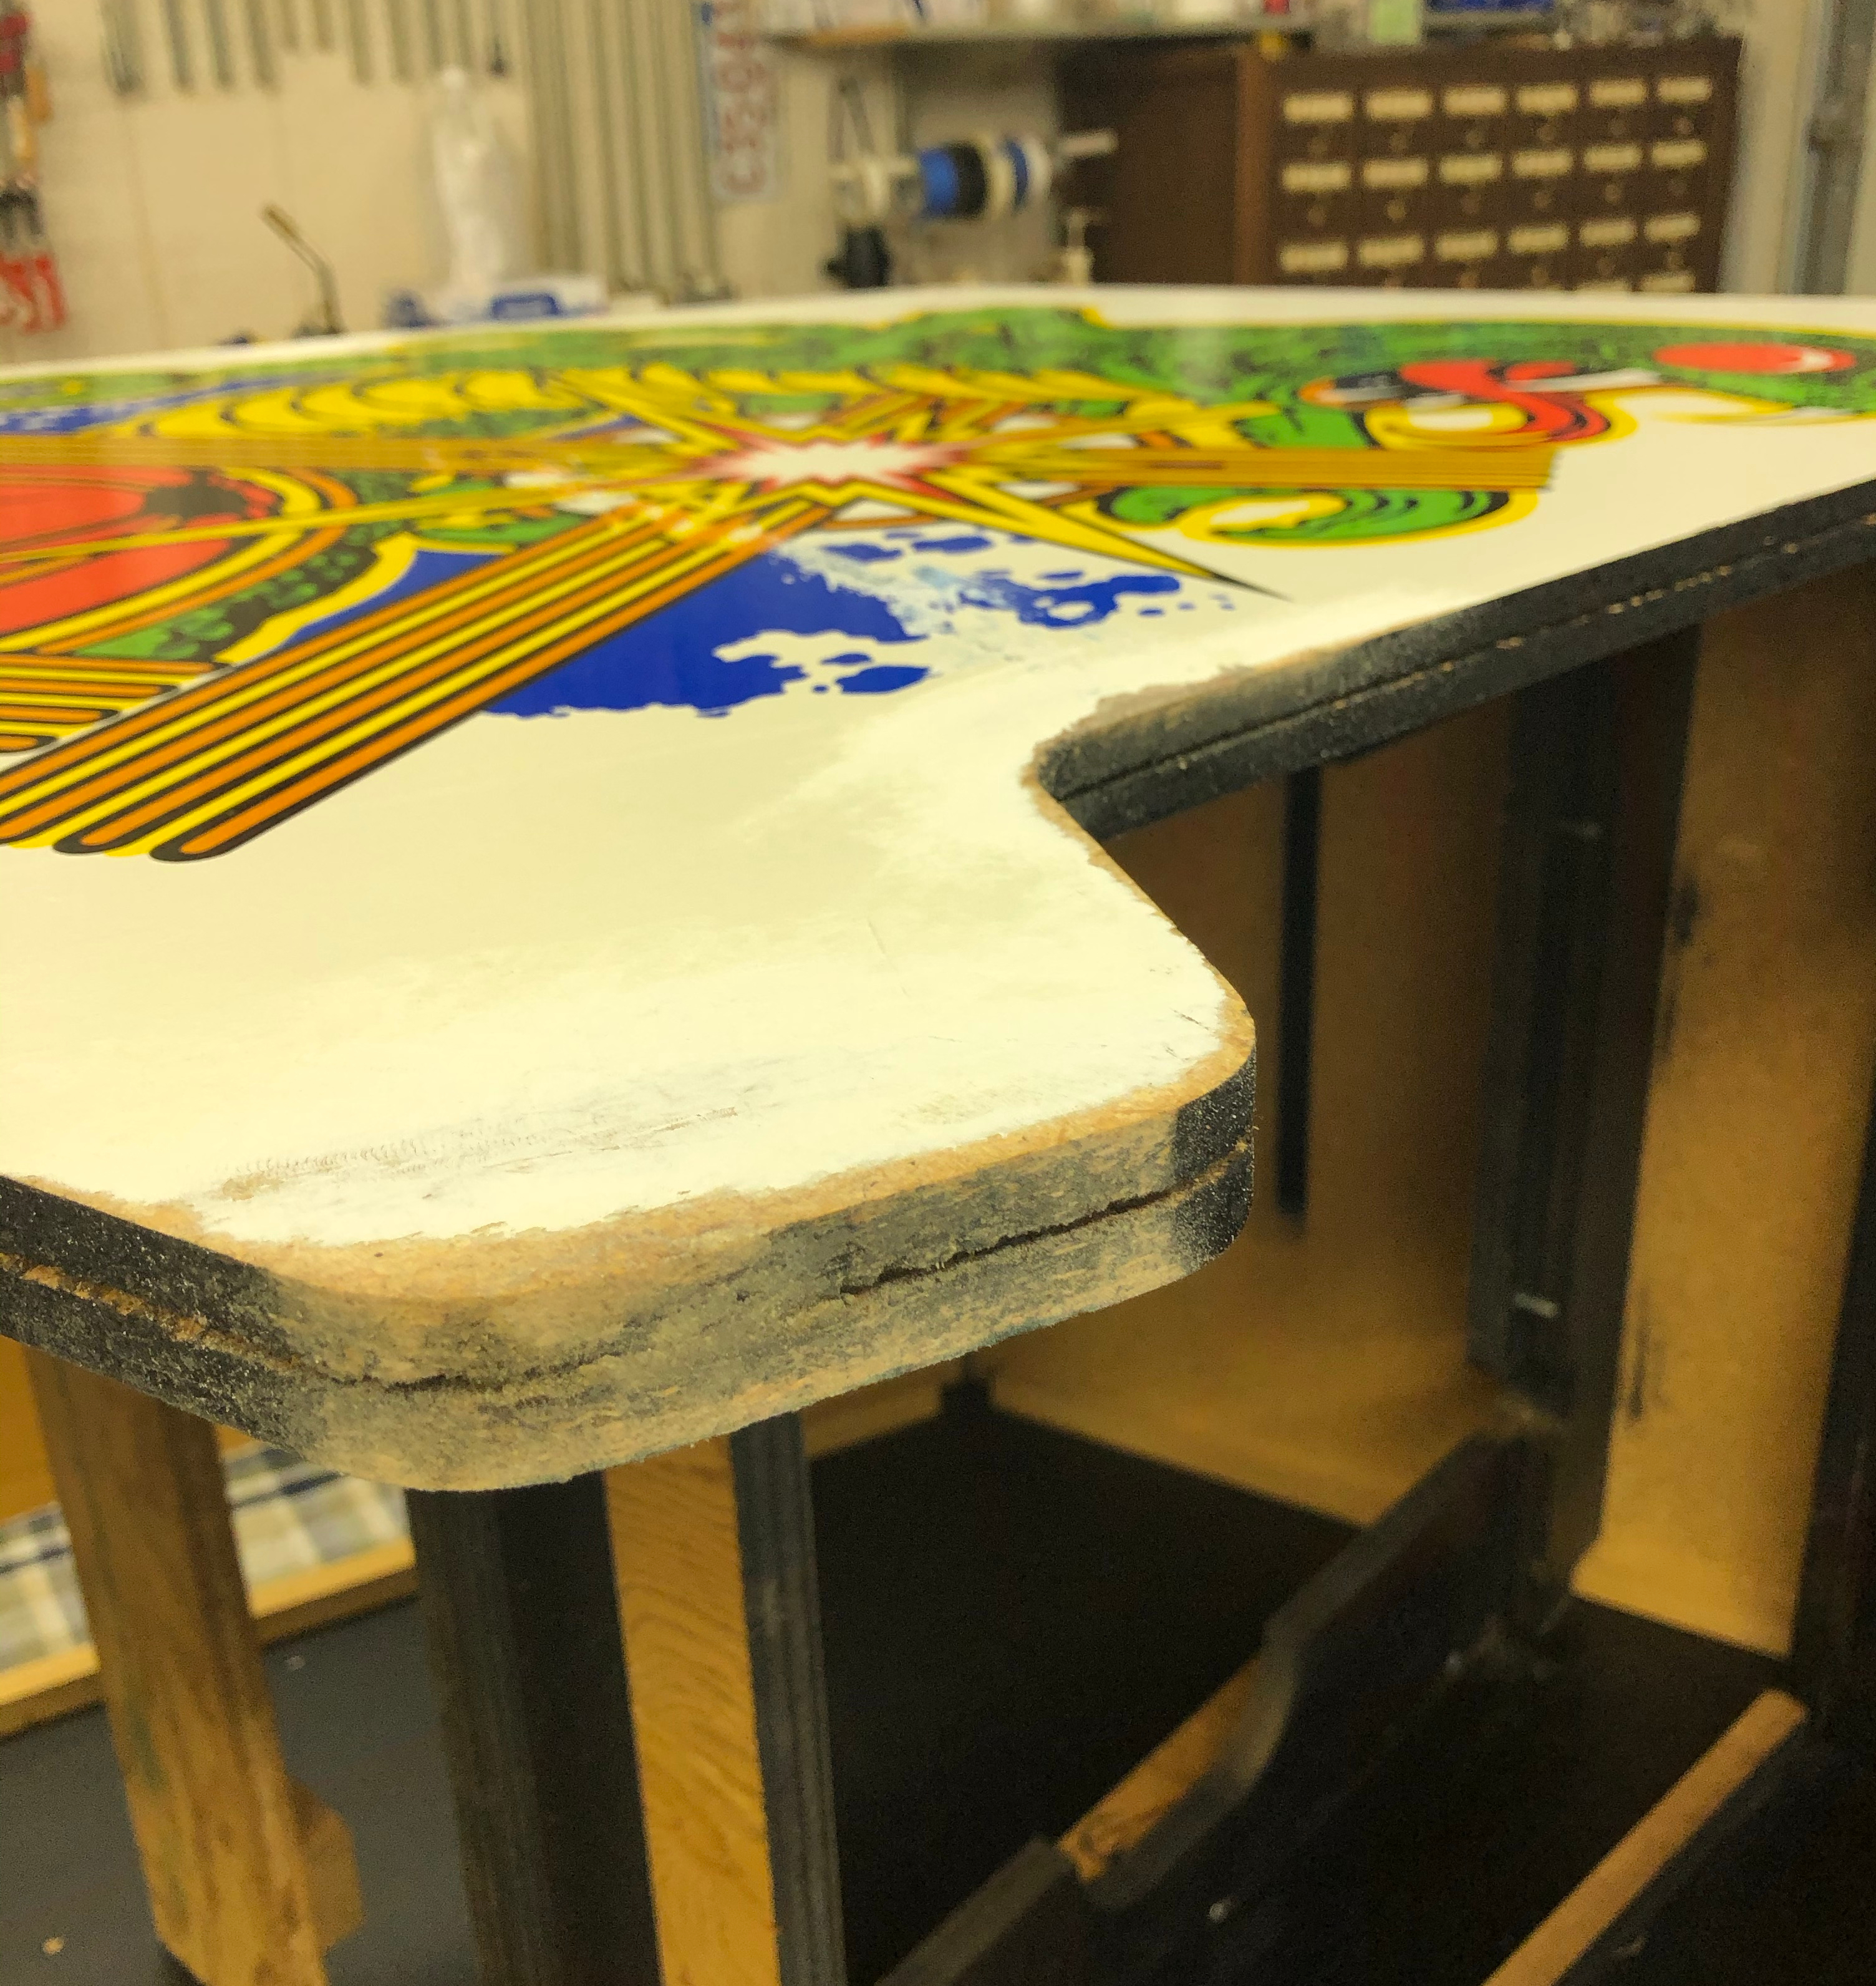
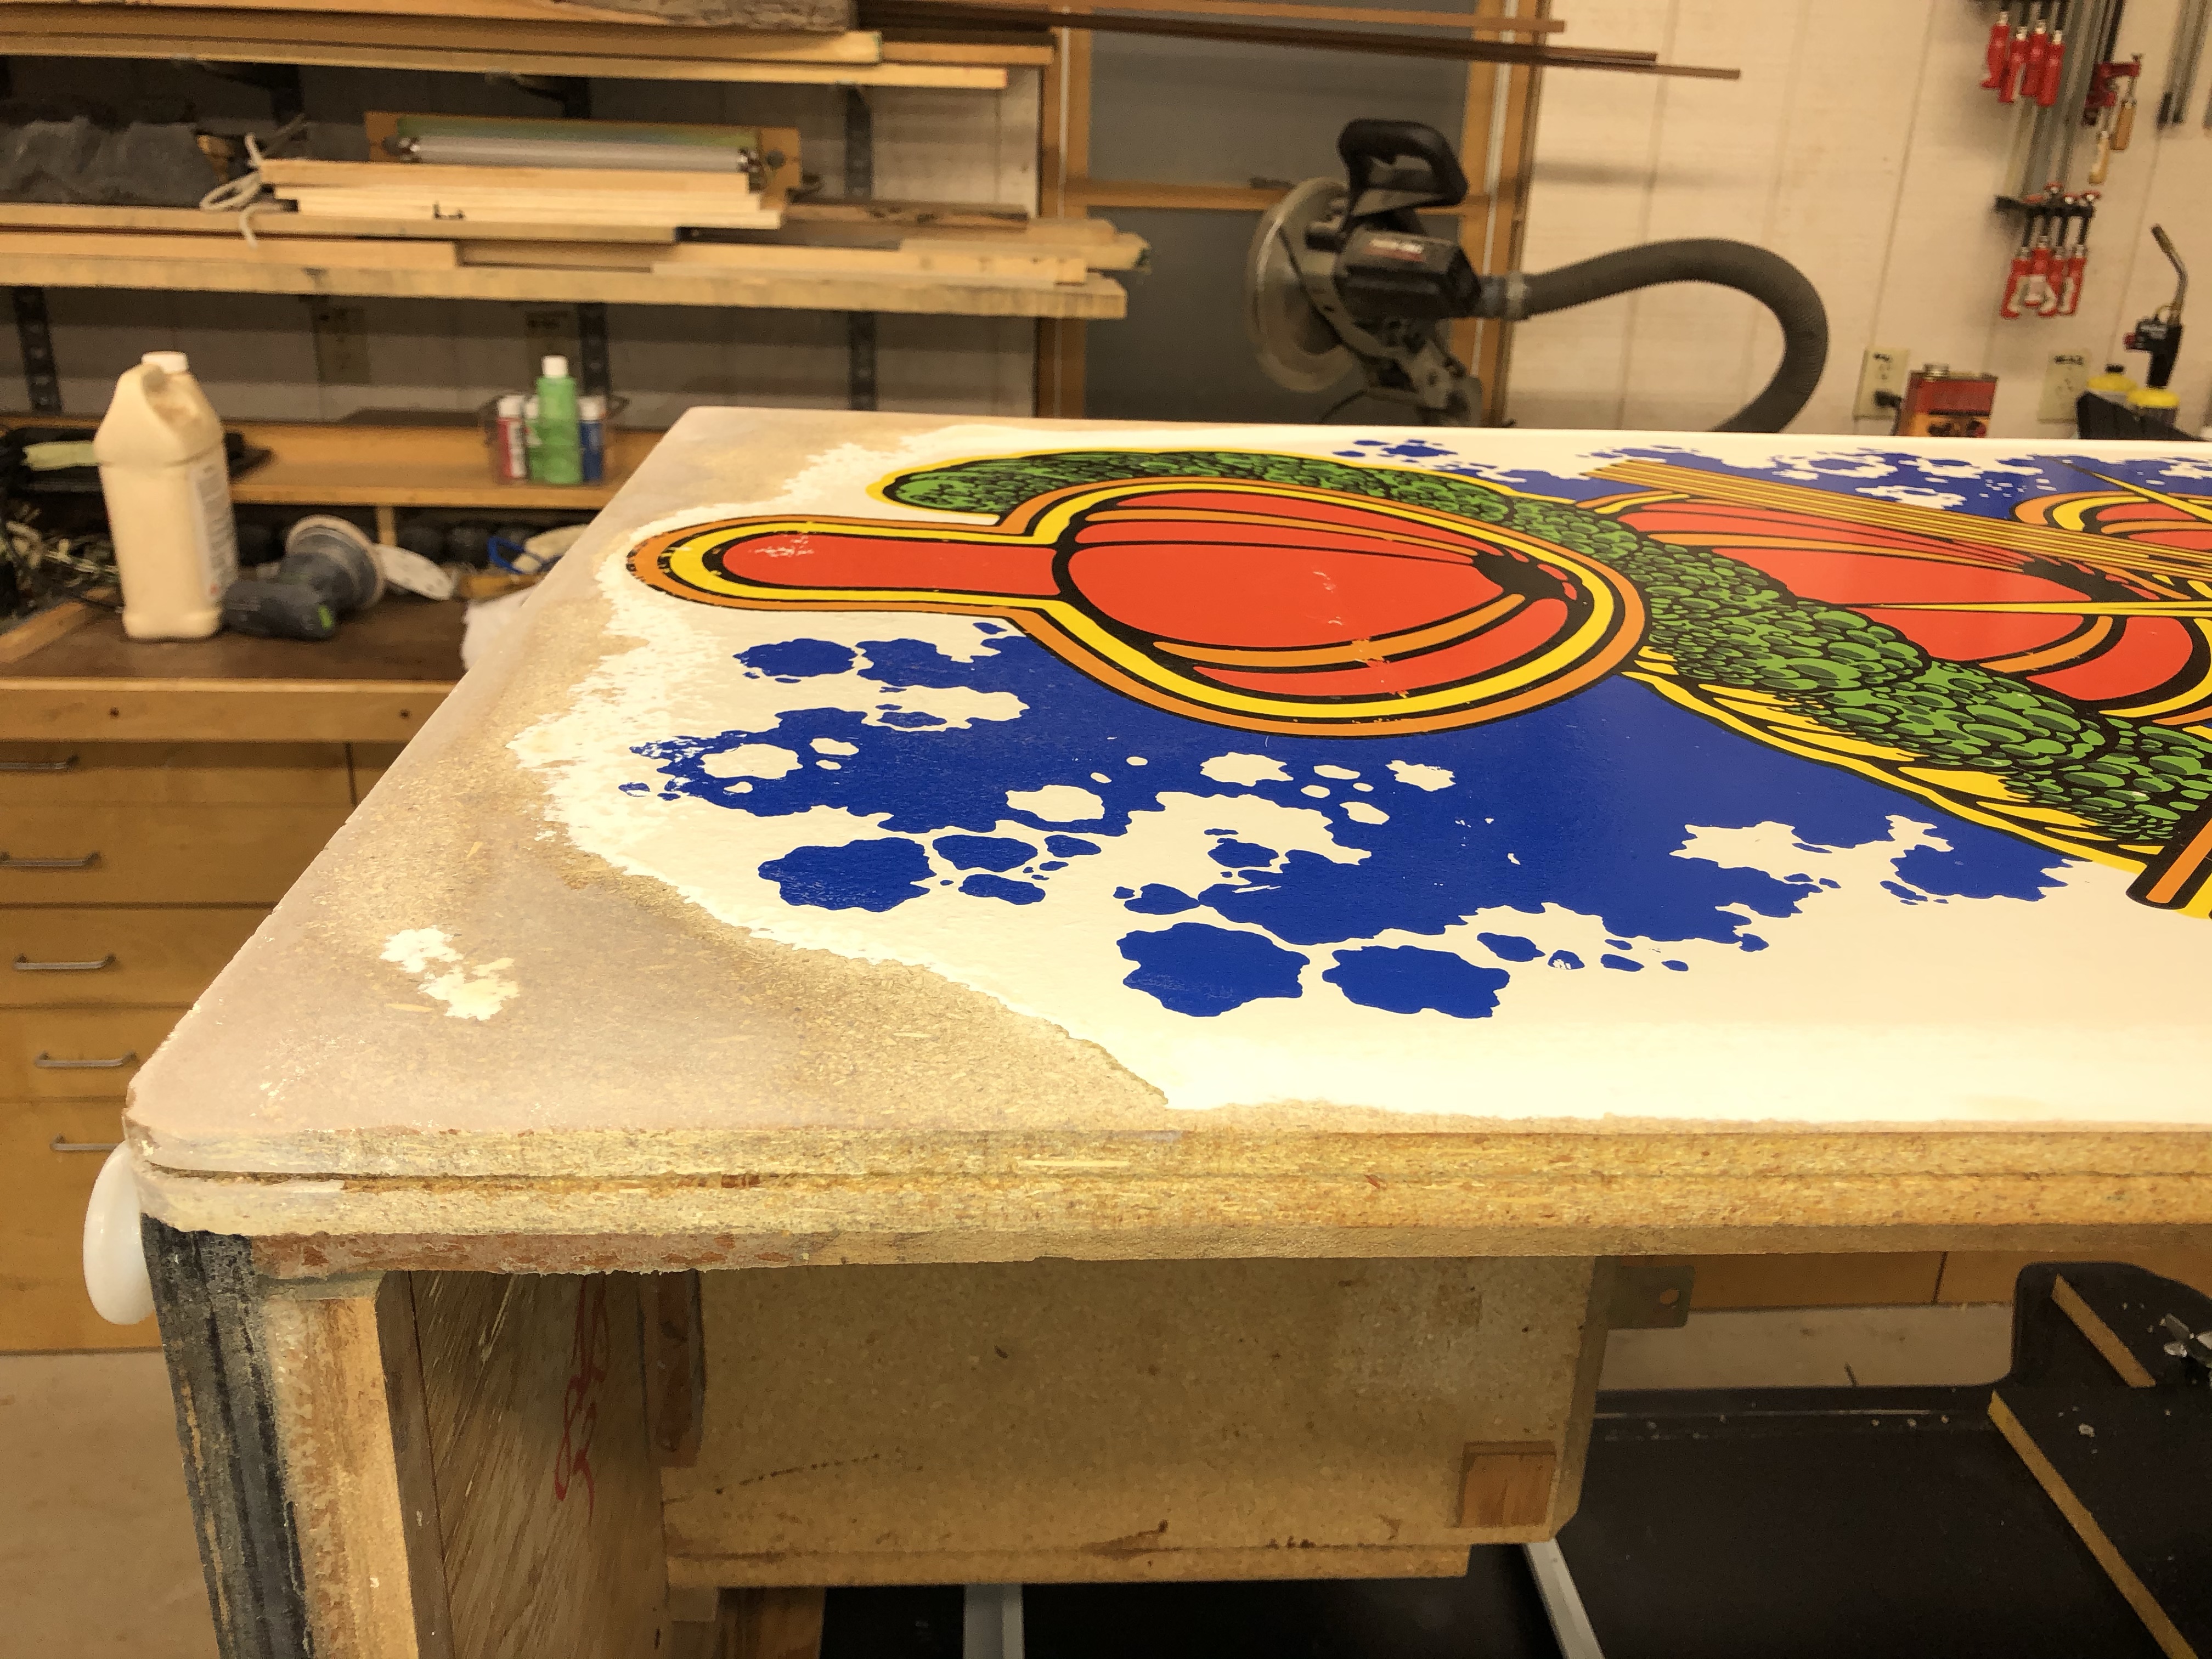
Repairing the expanded part of the particle board at the bottom and at the control panel are where I’ve been focusing most my attention. The right side of the cabinet is much worse than the left – so I started with the left side. Better to experiment on it.

Step 1 – put the patient on the operating table. Its much easier to work at this level and the lighting is better.
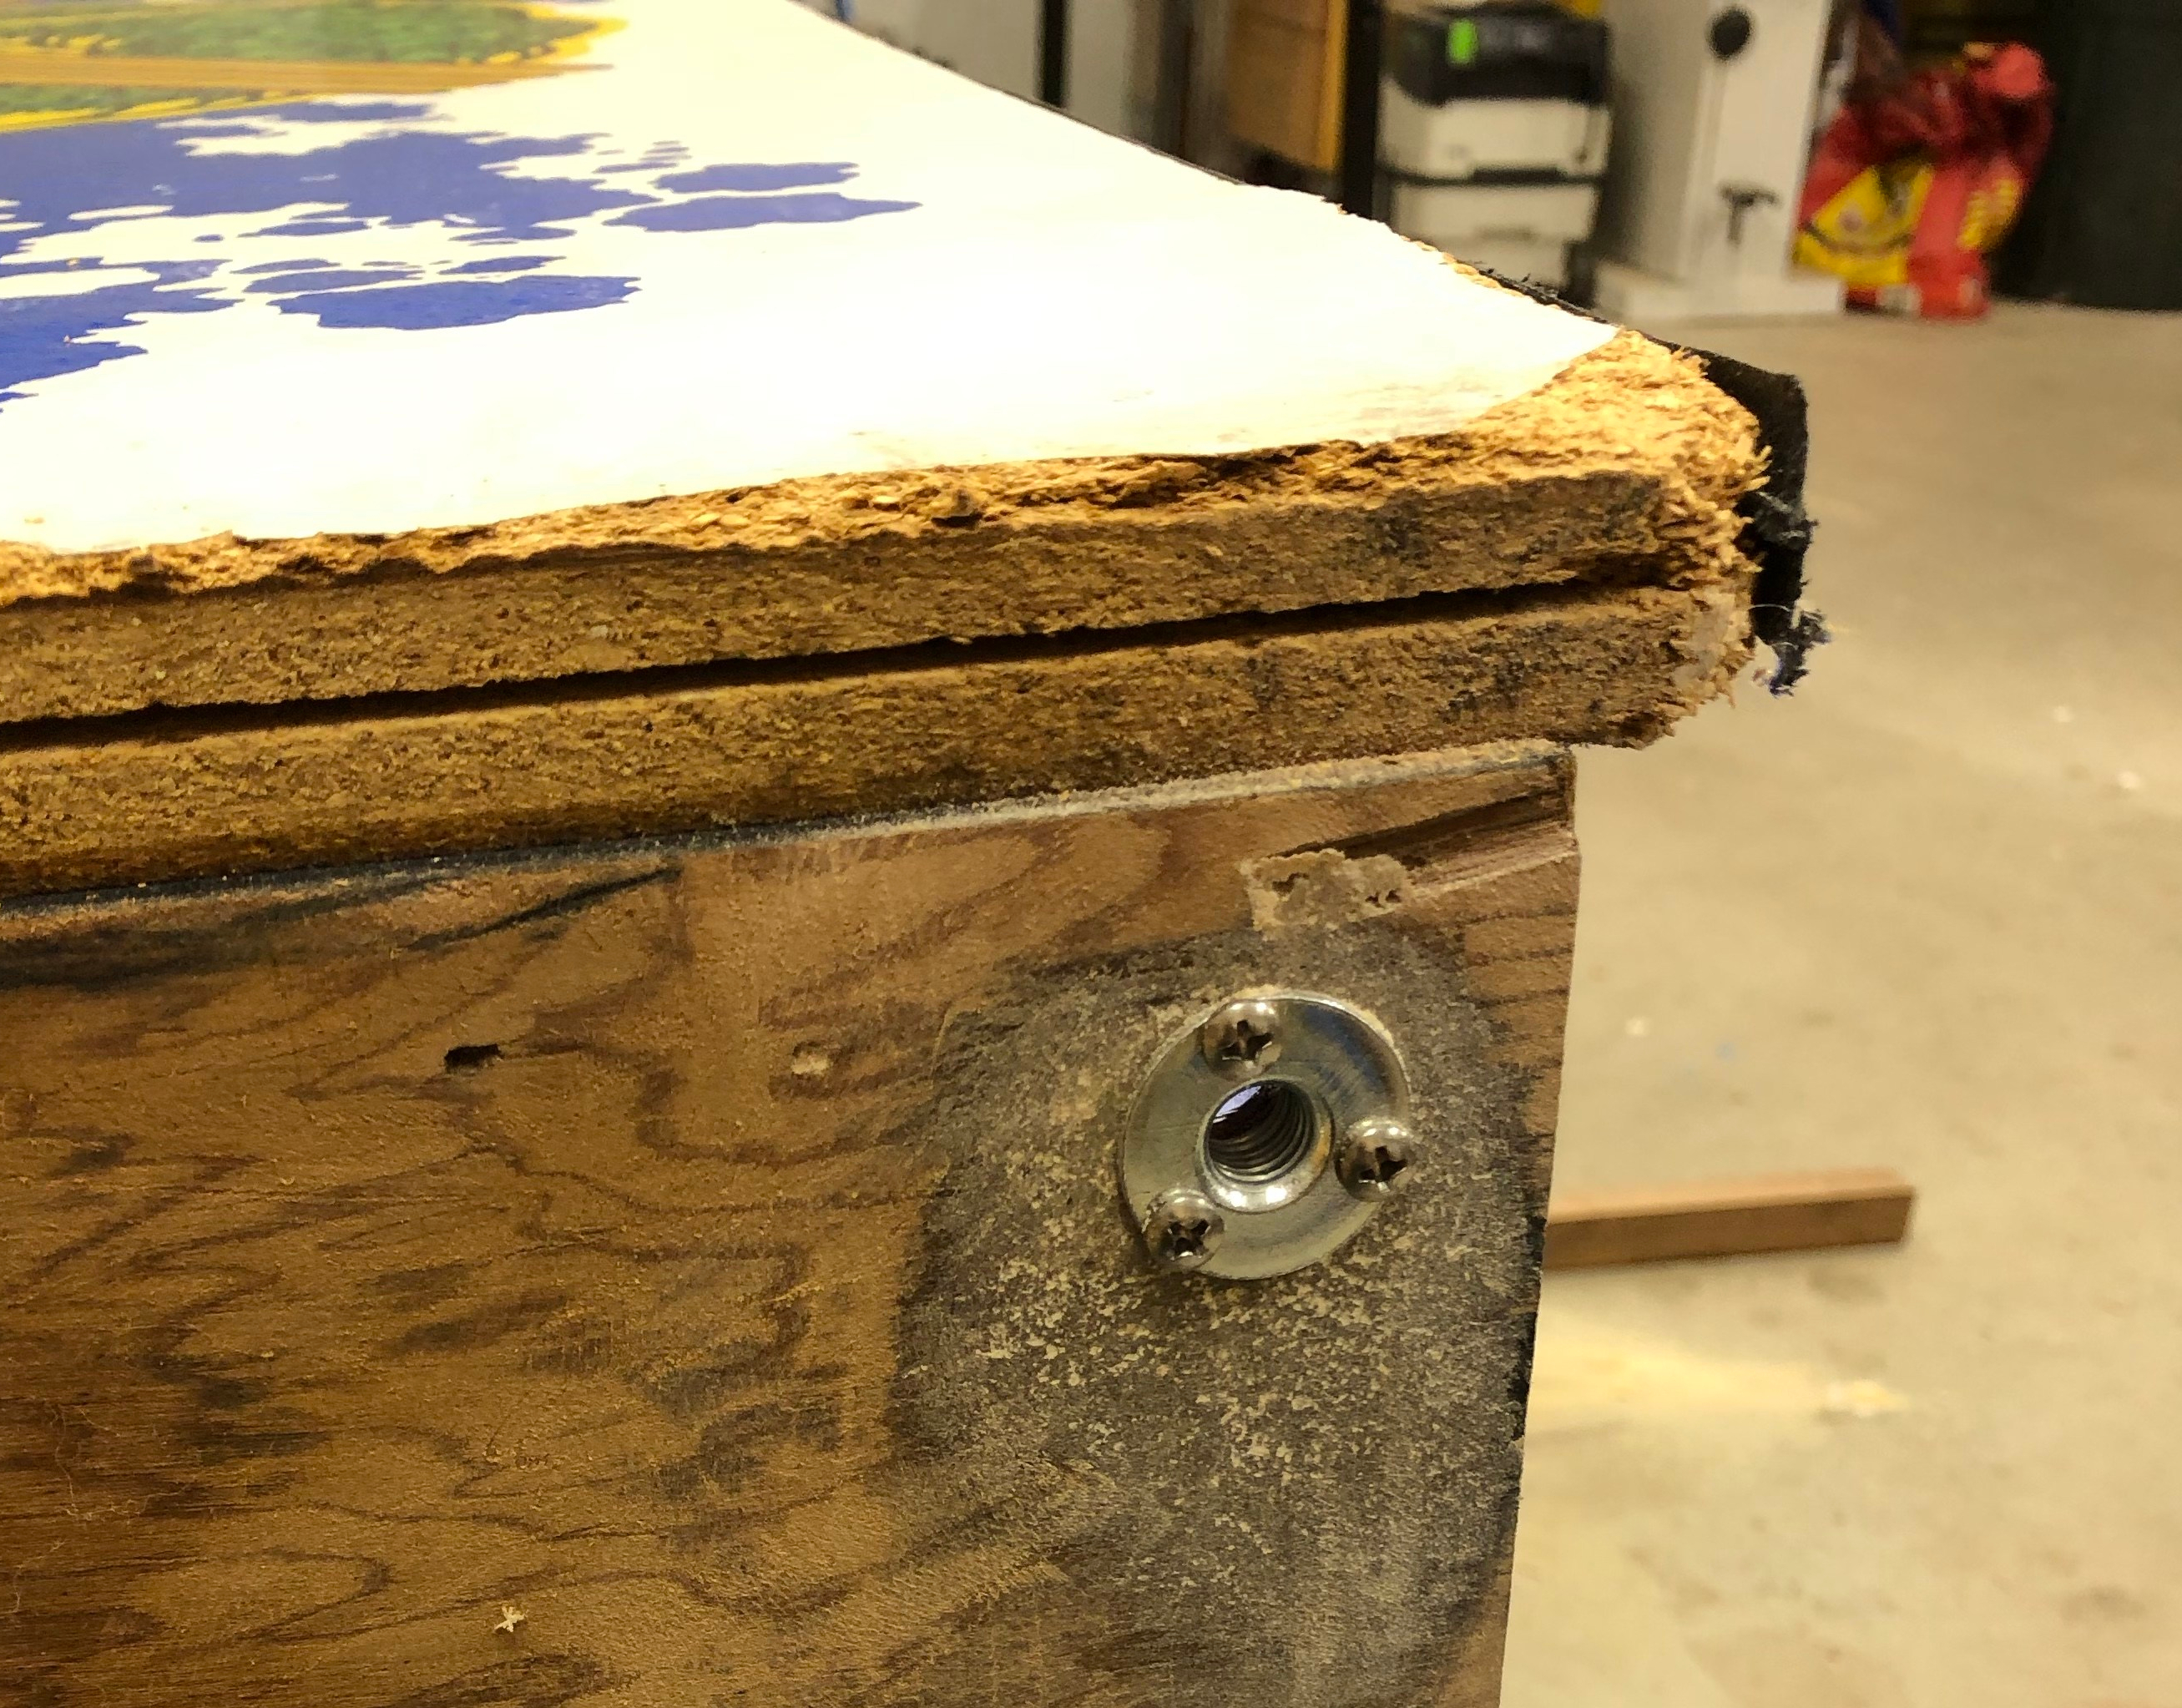
Here is the particle board expansion – can’t see it in the picture very well.. but its all bumpy and pebbly. It’s expanded up to 1/8″ at spots beyond the T-molding.
Keep the T-molding in place and use it as a guide. Power sand with 80 grit paper and a slow sanding speed. Don’t concentrate on a single spot – work your way back and forth over the entire area and continually sneak up on bringing the surface into a uniform flatness right up to the edge of the old T-molding. I did avoid the artwork however..
This part was chewed up too It got sanded and filled with epoxy/wood filler. I was using particle board dust which is good for some of the larger areas. For the smaller holes I had to switch to wood flour (its just very fine saw dust – most of the epoxy manufacturers sell it) The particle board dust was too chunky for the small dings.
This rear corner was chewed up pretty good – over fill it and sand it to shape later.

Can’t really see it – but this part is very important in my opinion. Seal the particle board with a wood stabilizer. There are a number of companies that make it.
I use Smith and Company – CPES – It is a 2 part epoxy and solvent solution. You mix it and brush it on heavy to really wet out the wood. It penetrates into the fibers and the solvent flashes off. What’s left is the epoxy to cure and stabilize the wood fibers. I slathered this on all of the bare areas and along the edge where the old T-molding came out to firm it all up. Its perfectly fine to add a second coat too. It goes on like water and wicks into the material.
CPES is not for everyone – You need a carbon respirator because the fumes are nasty. System3 makes a similar product that is a little less volatile. Minwax Wood Hardener is another variant that is not epoxy based. I use CPES because its on my shelf – I’ve heard good things about the other two. The point is – the particleboard has already been compromised by moisture. The stabilizer will help prevent any further damage and strengthen what is there.
Finish sanding with 220 grit paper to clean up around the crappy areas.


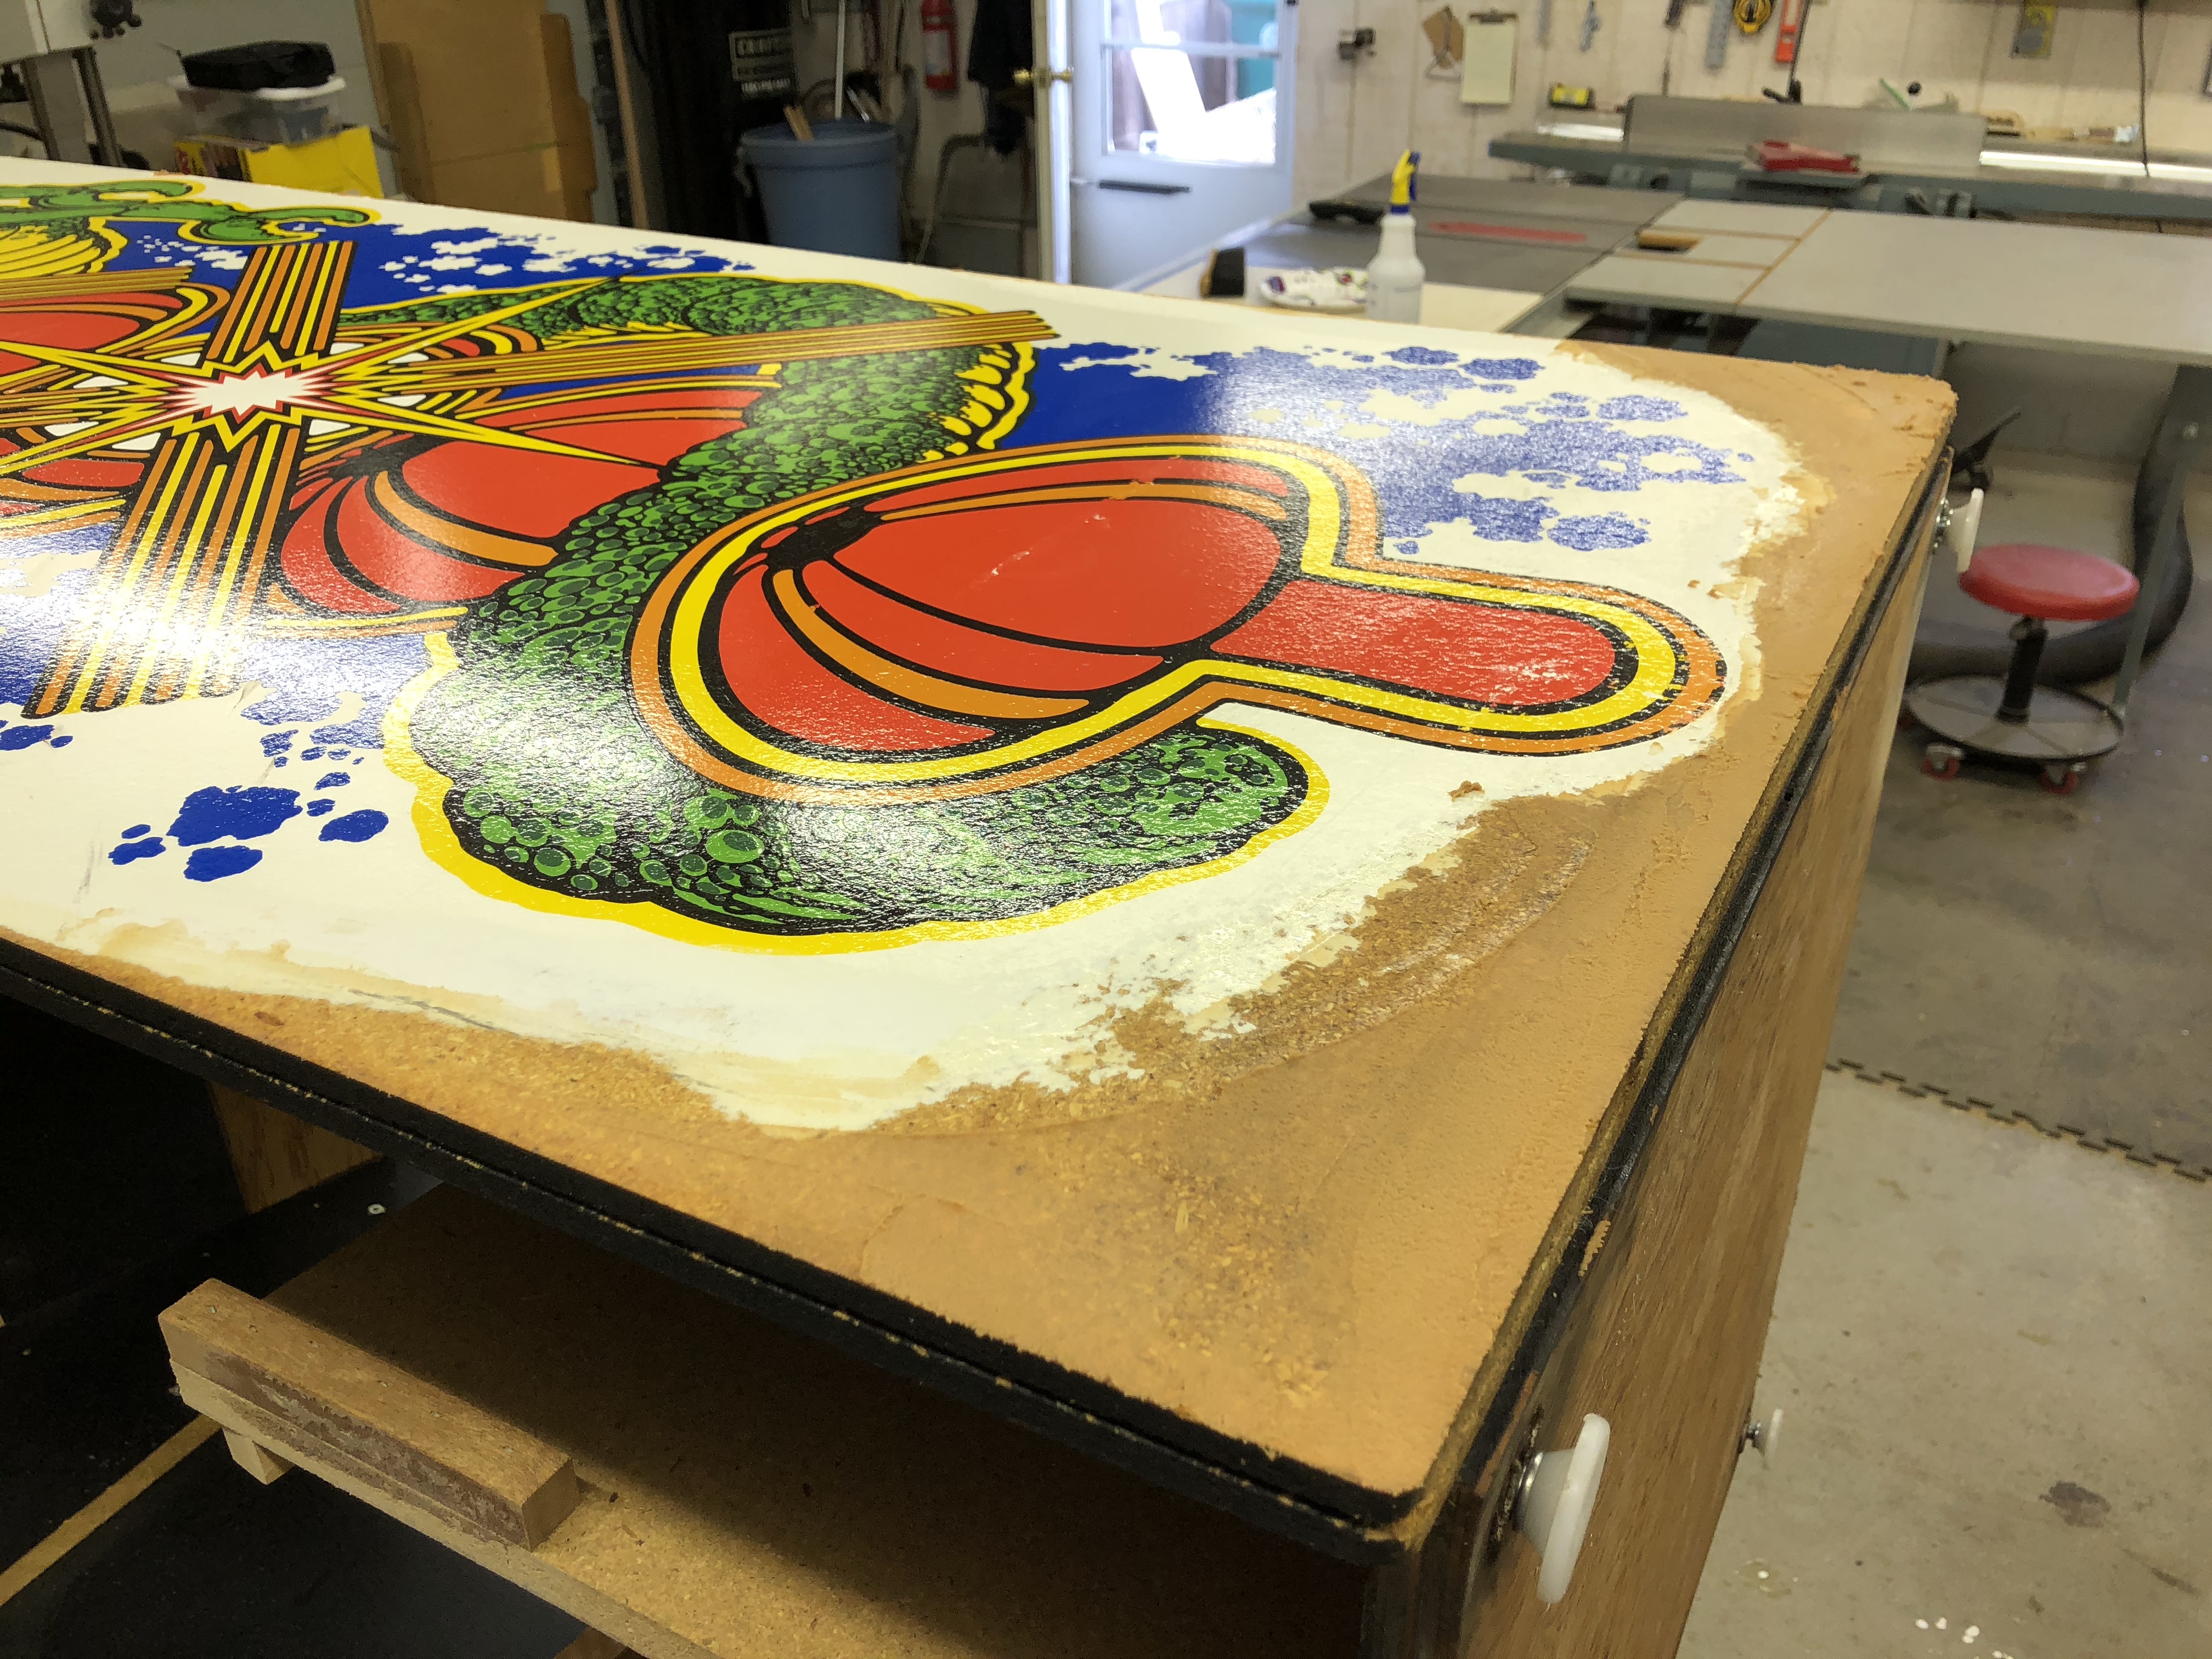
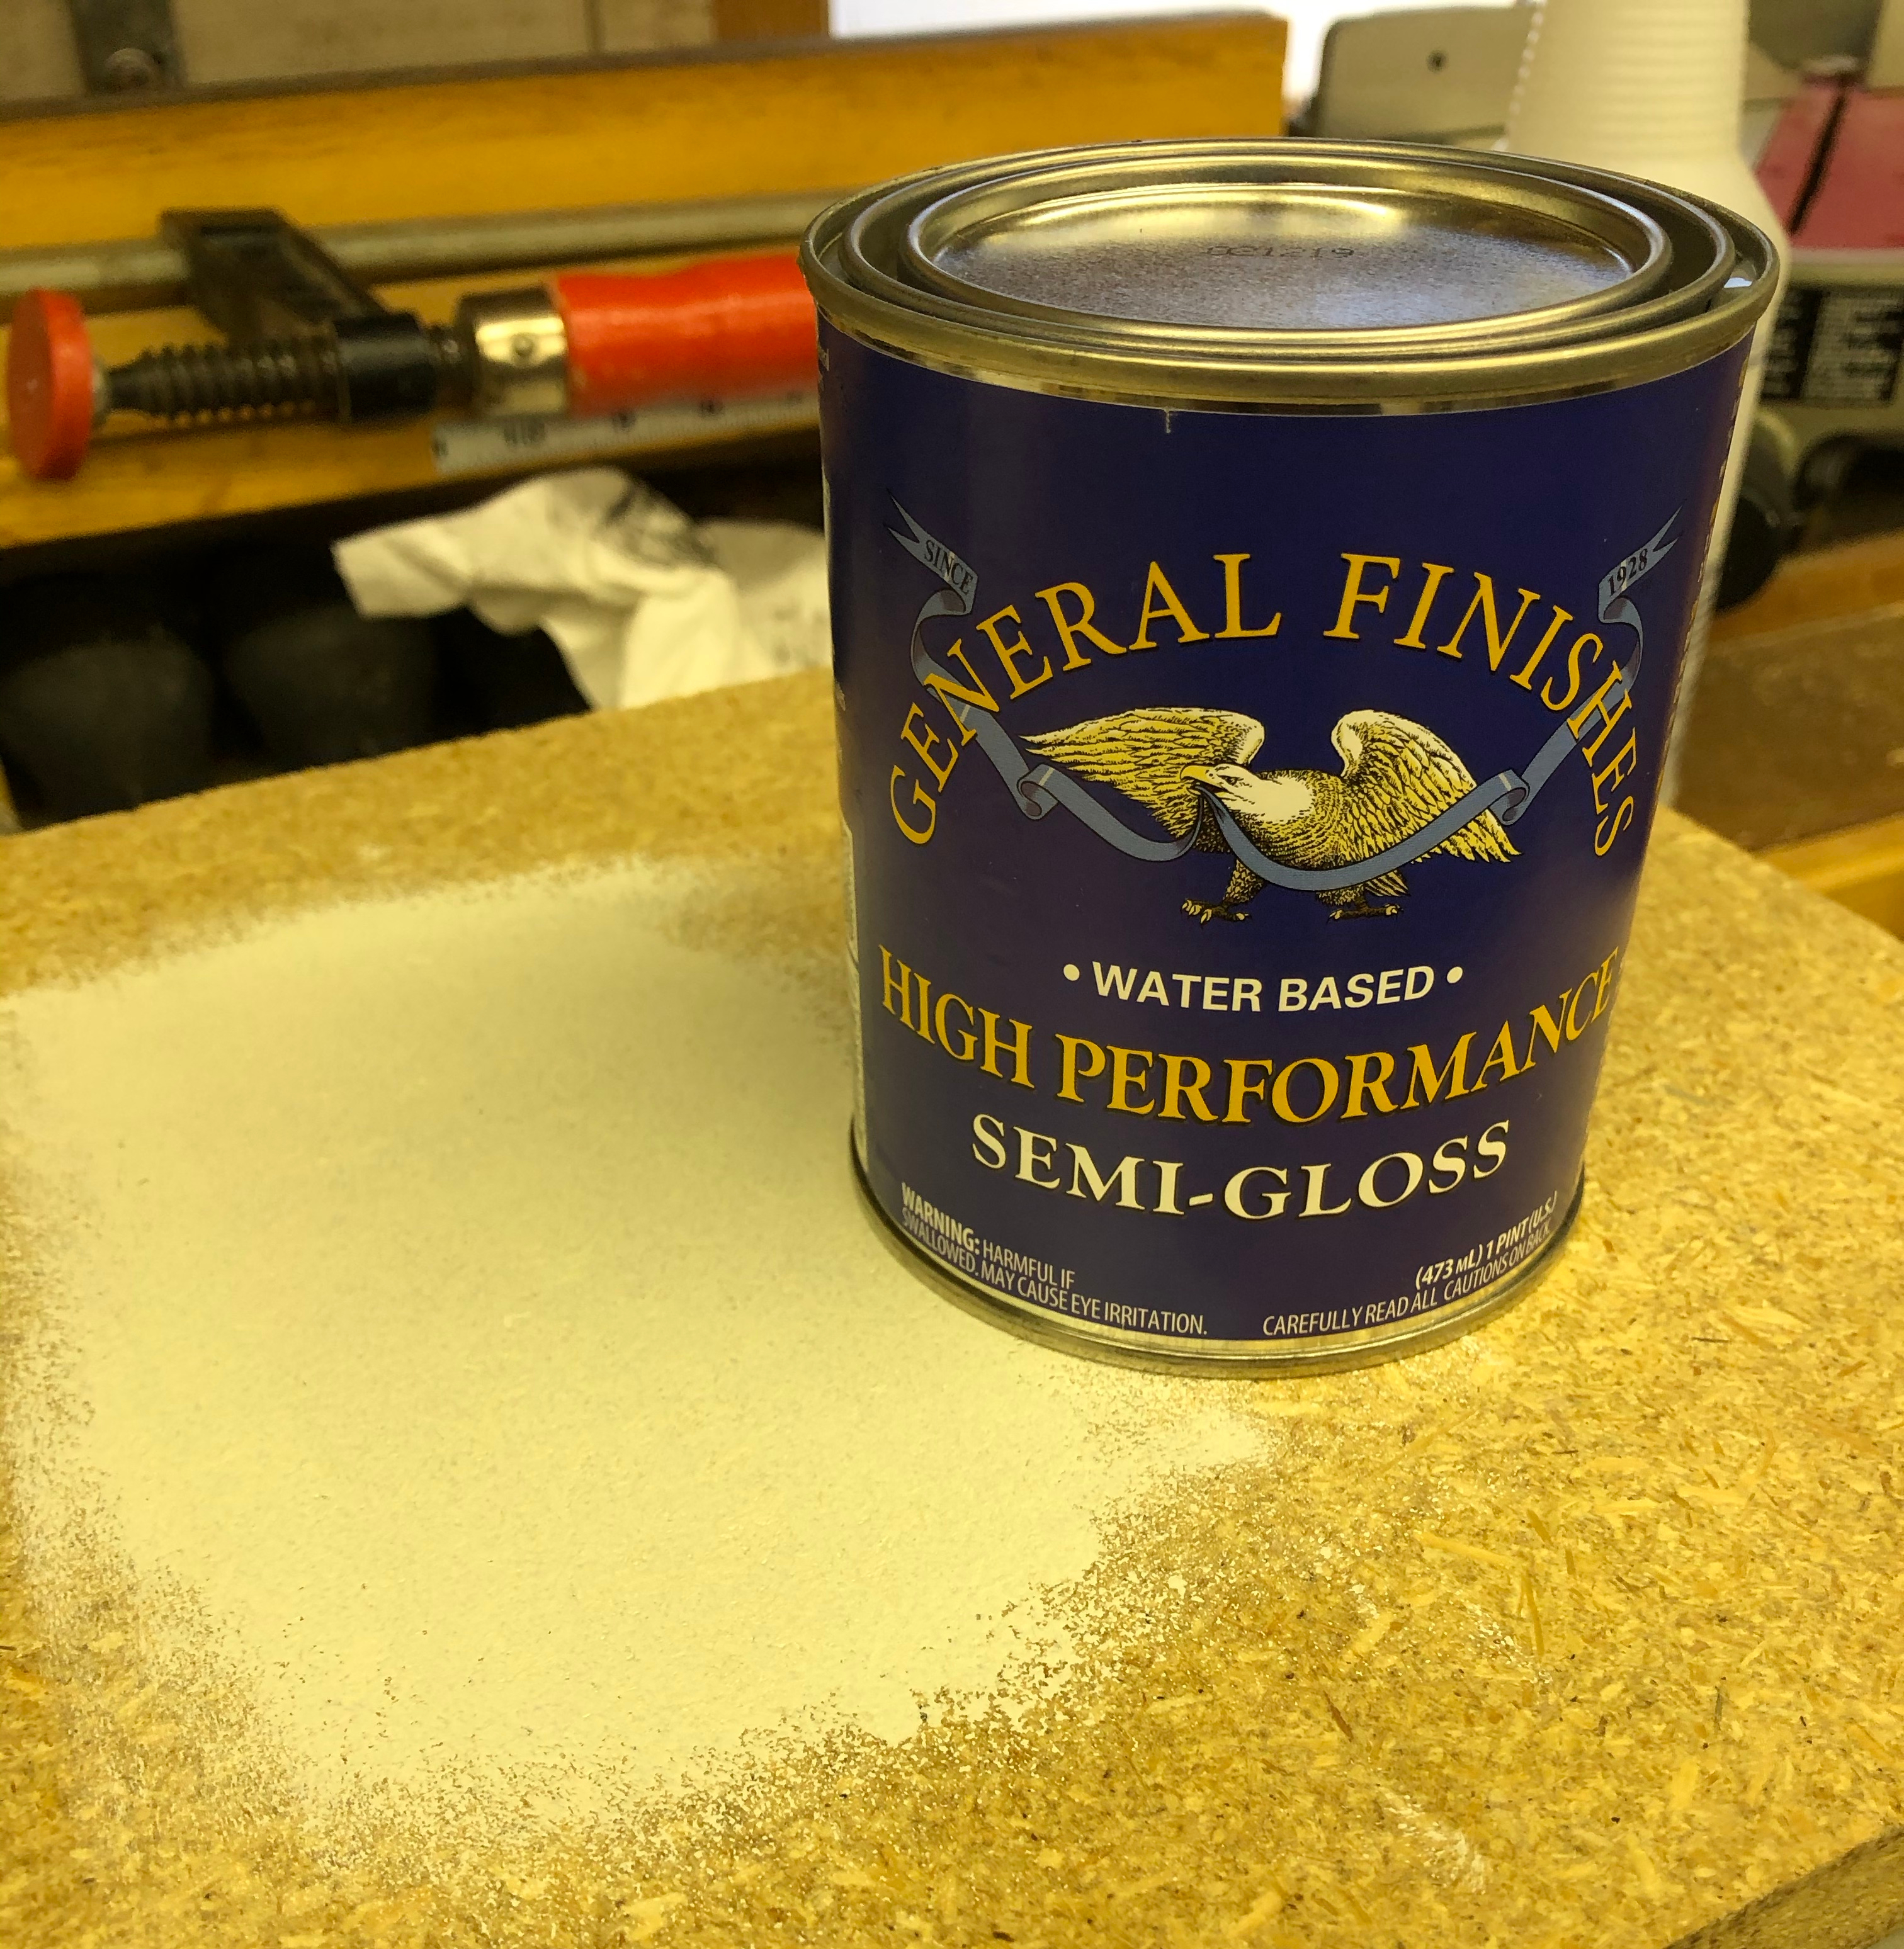
Now to paint the white areas. I took a shot and tried something that worked exceptionally well. Home Depot sells $5 paint samples that they can color match and mix. The Behr Marquee semi-gloss worked better than expected. I brought in the tiniest little chip from the white part of the side art and they mixed up the little container. Its a perfect match.. You have to look VERY hard to see the difference. If I can find a way to do it without cutting into the original artwork – I may try color matching some of it too.. At $5 a try – the price is right.
It didn’t happen without a little trial and error though.. My first pass used a brush.. I ended up with thick gloppy paint and brush marks. So I wet sanded that off.. I had some Floetrol from other projects. It is a latex paint conditioner that thins the paint a bit, but more importantly it helps the paint to self level and eliminate brush marks. You can add 10-20% of this stuff to the paint. I also switched from the brush to these High Density Foam Rollers. The combination of the three really worked great.
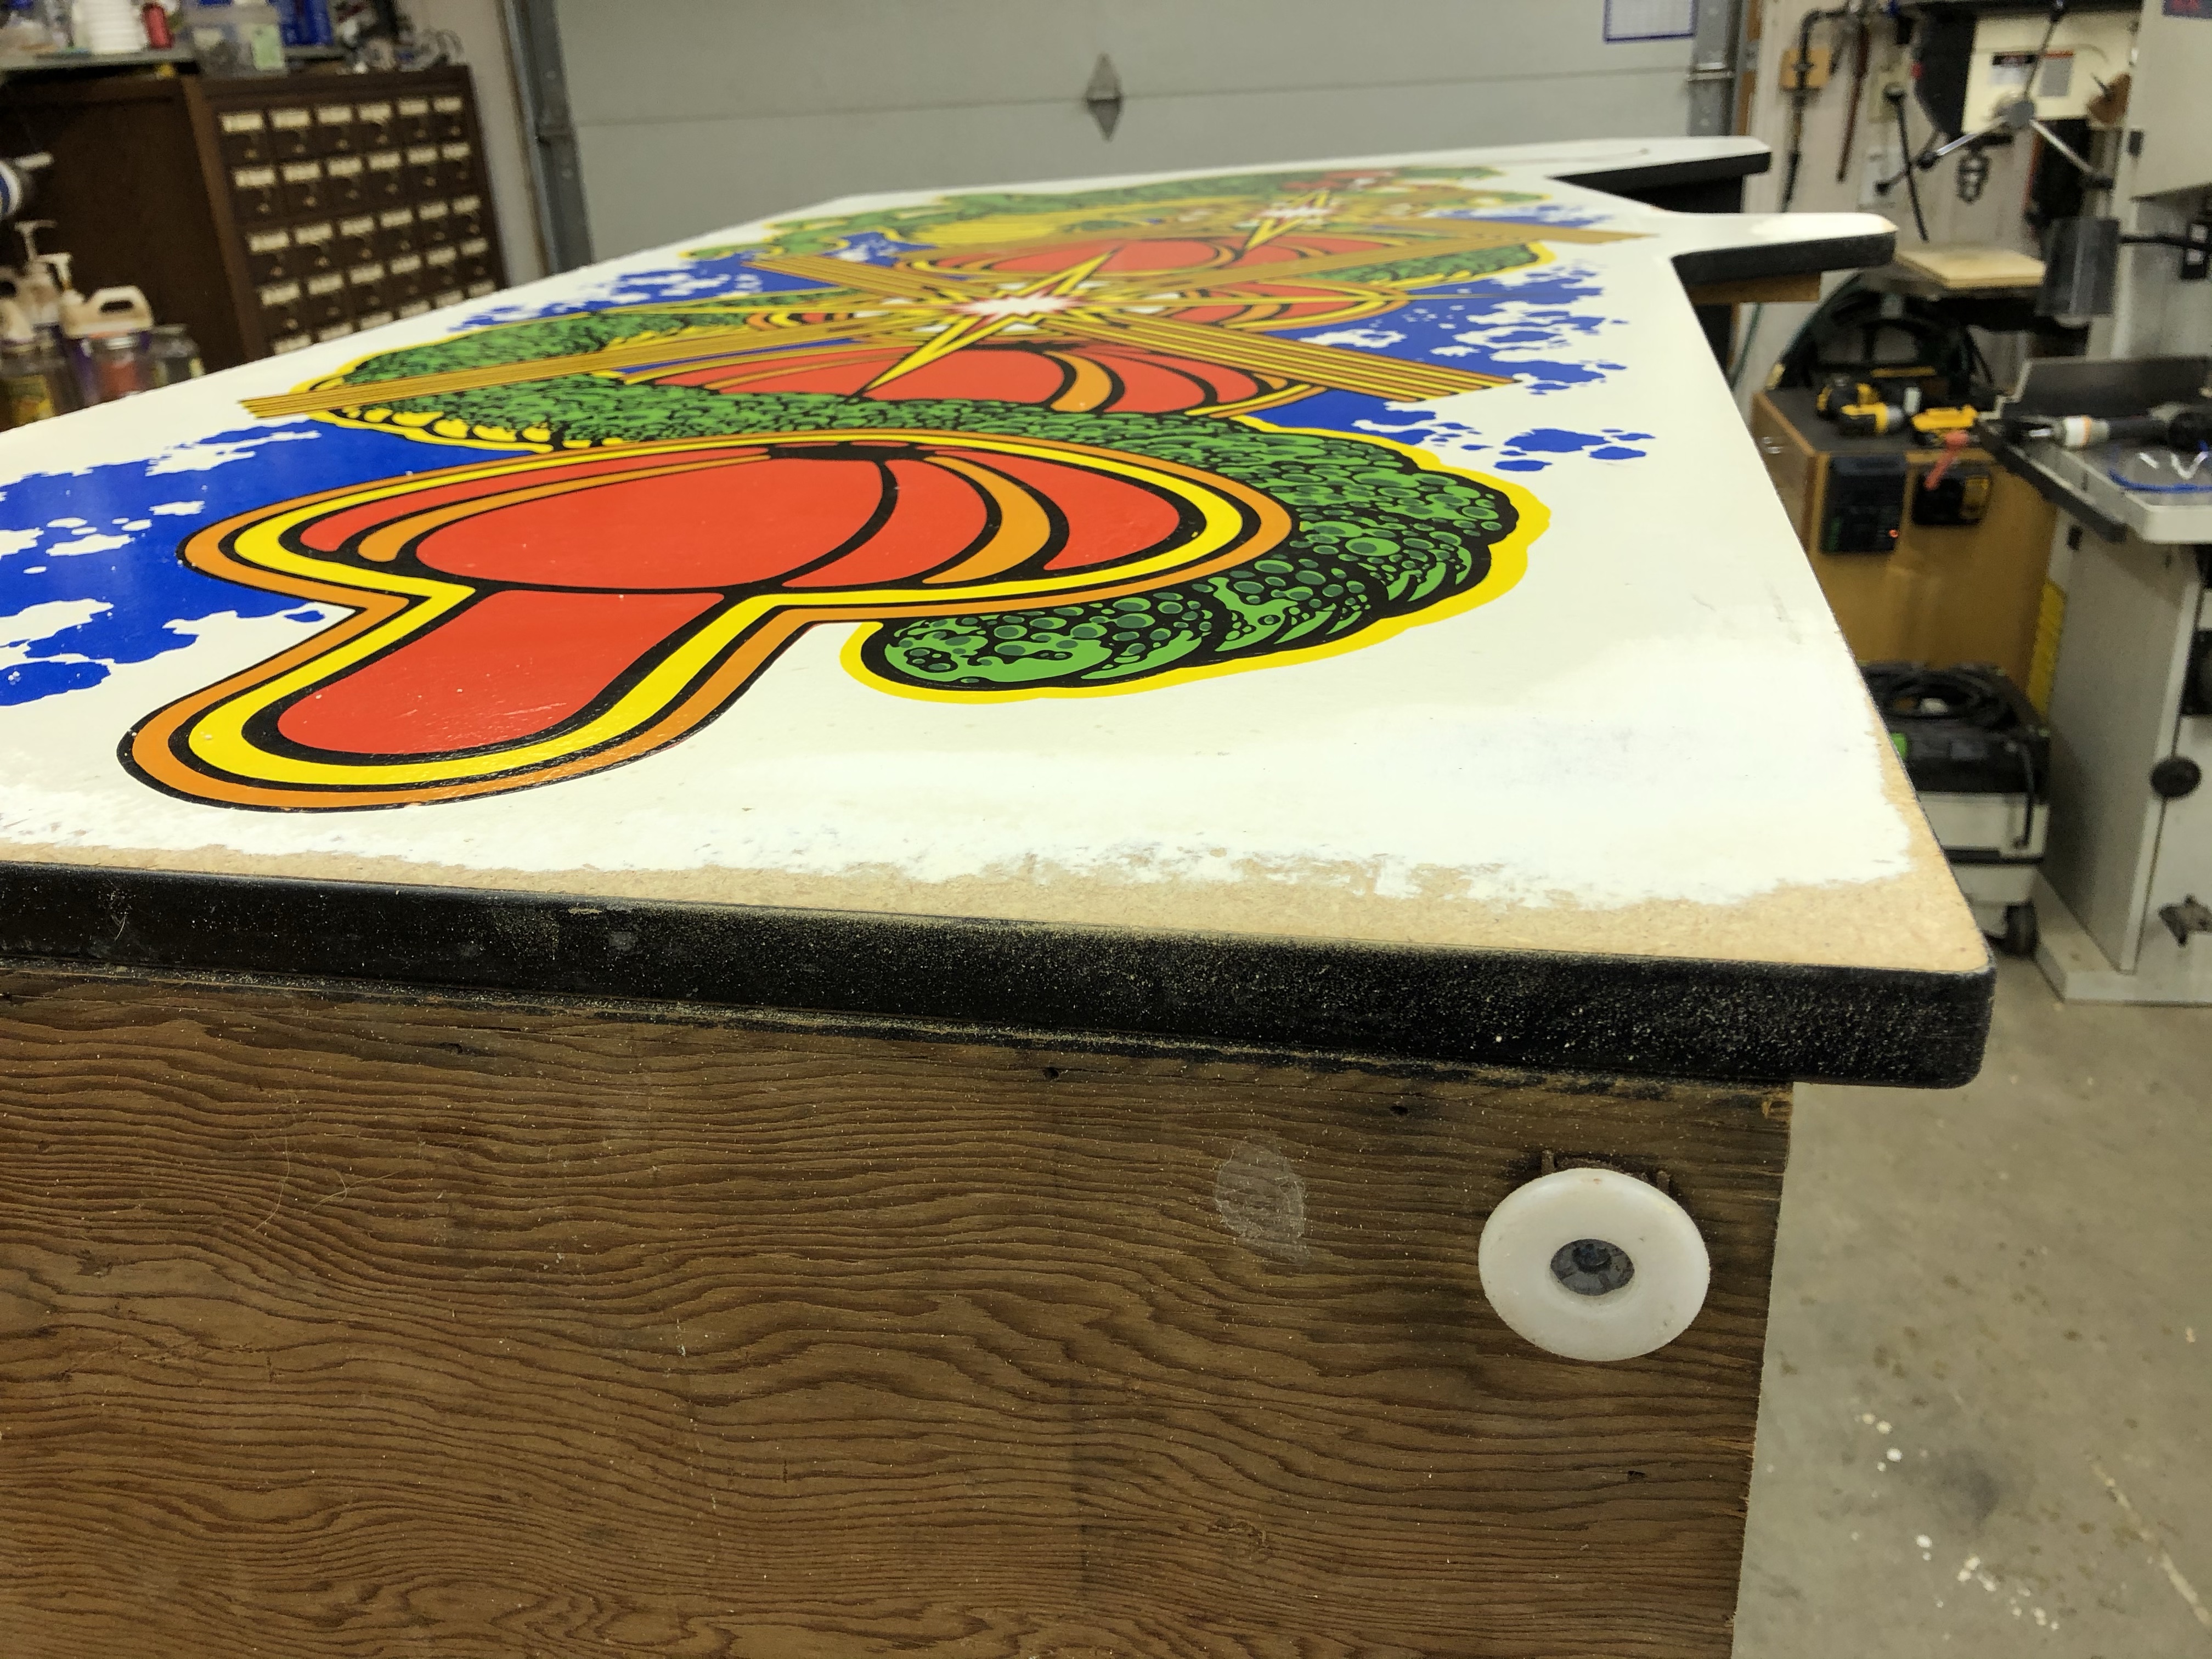
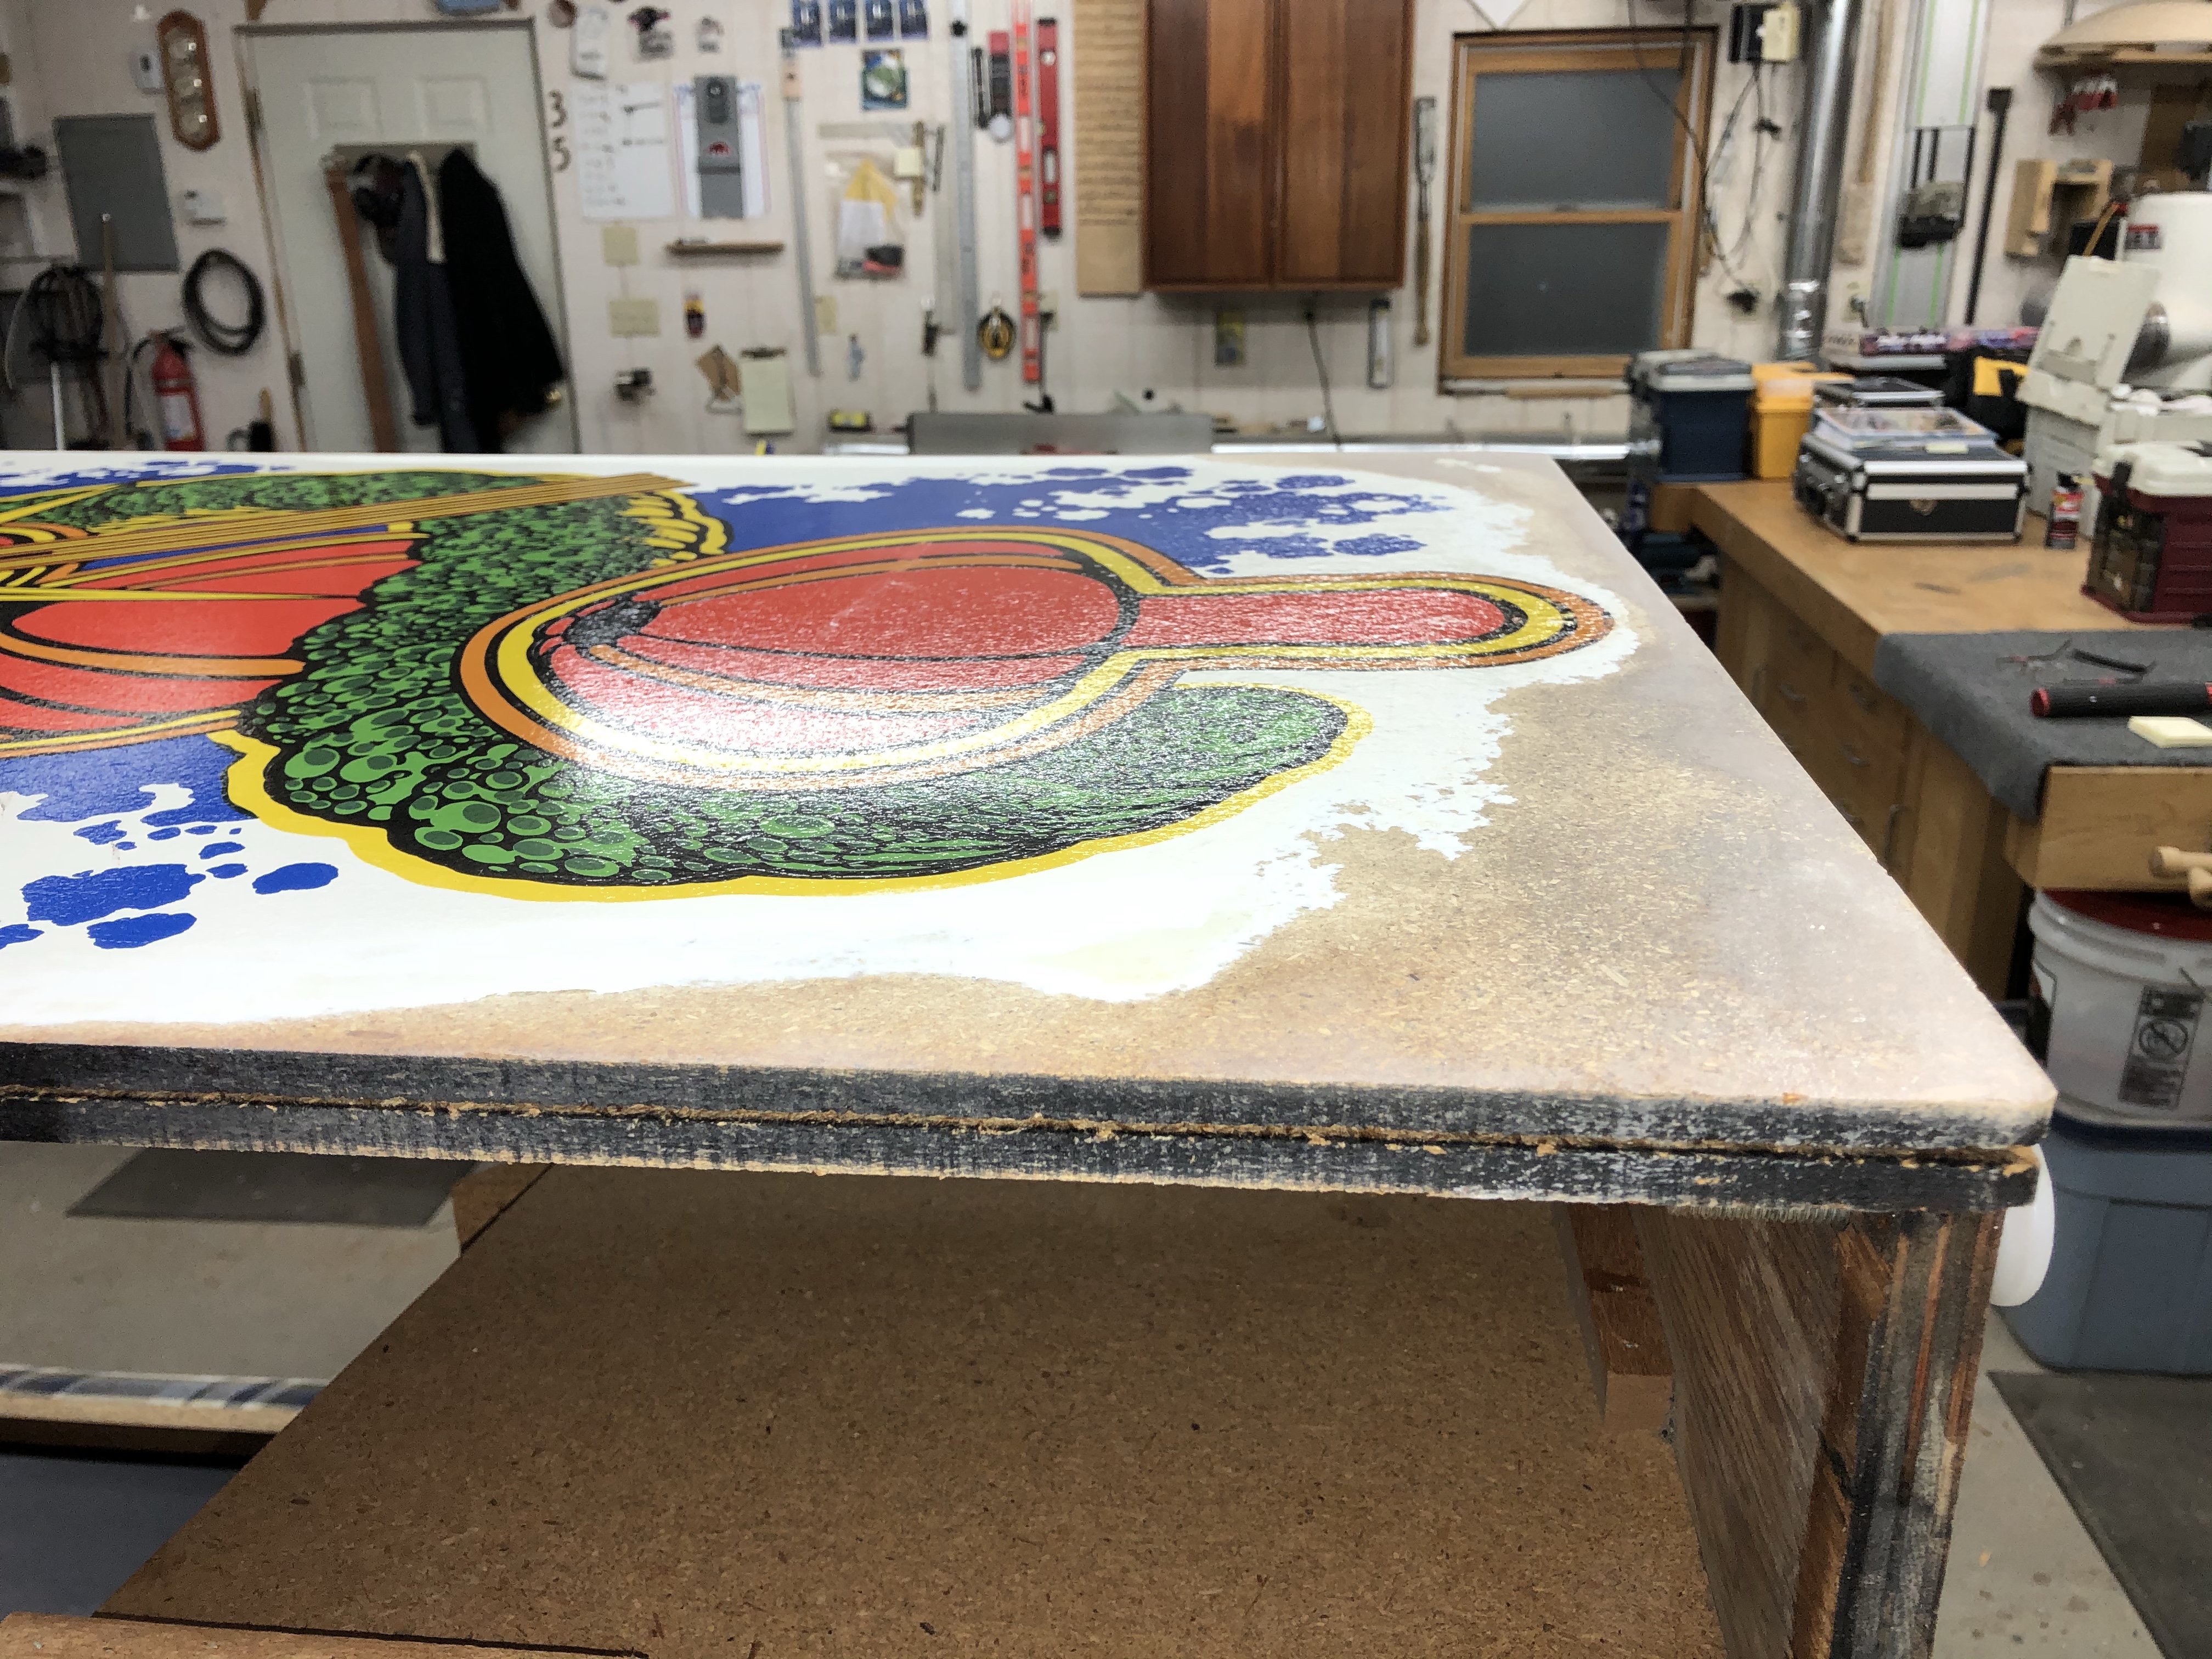
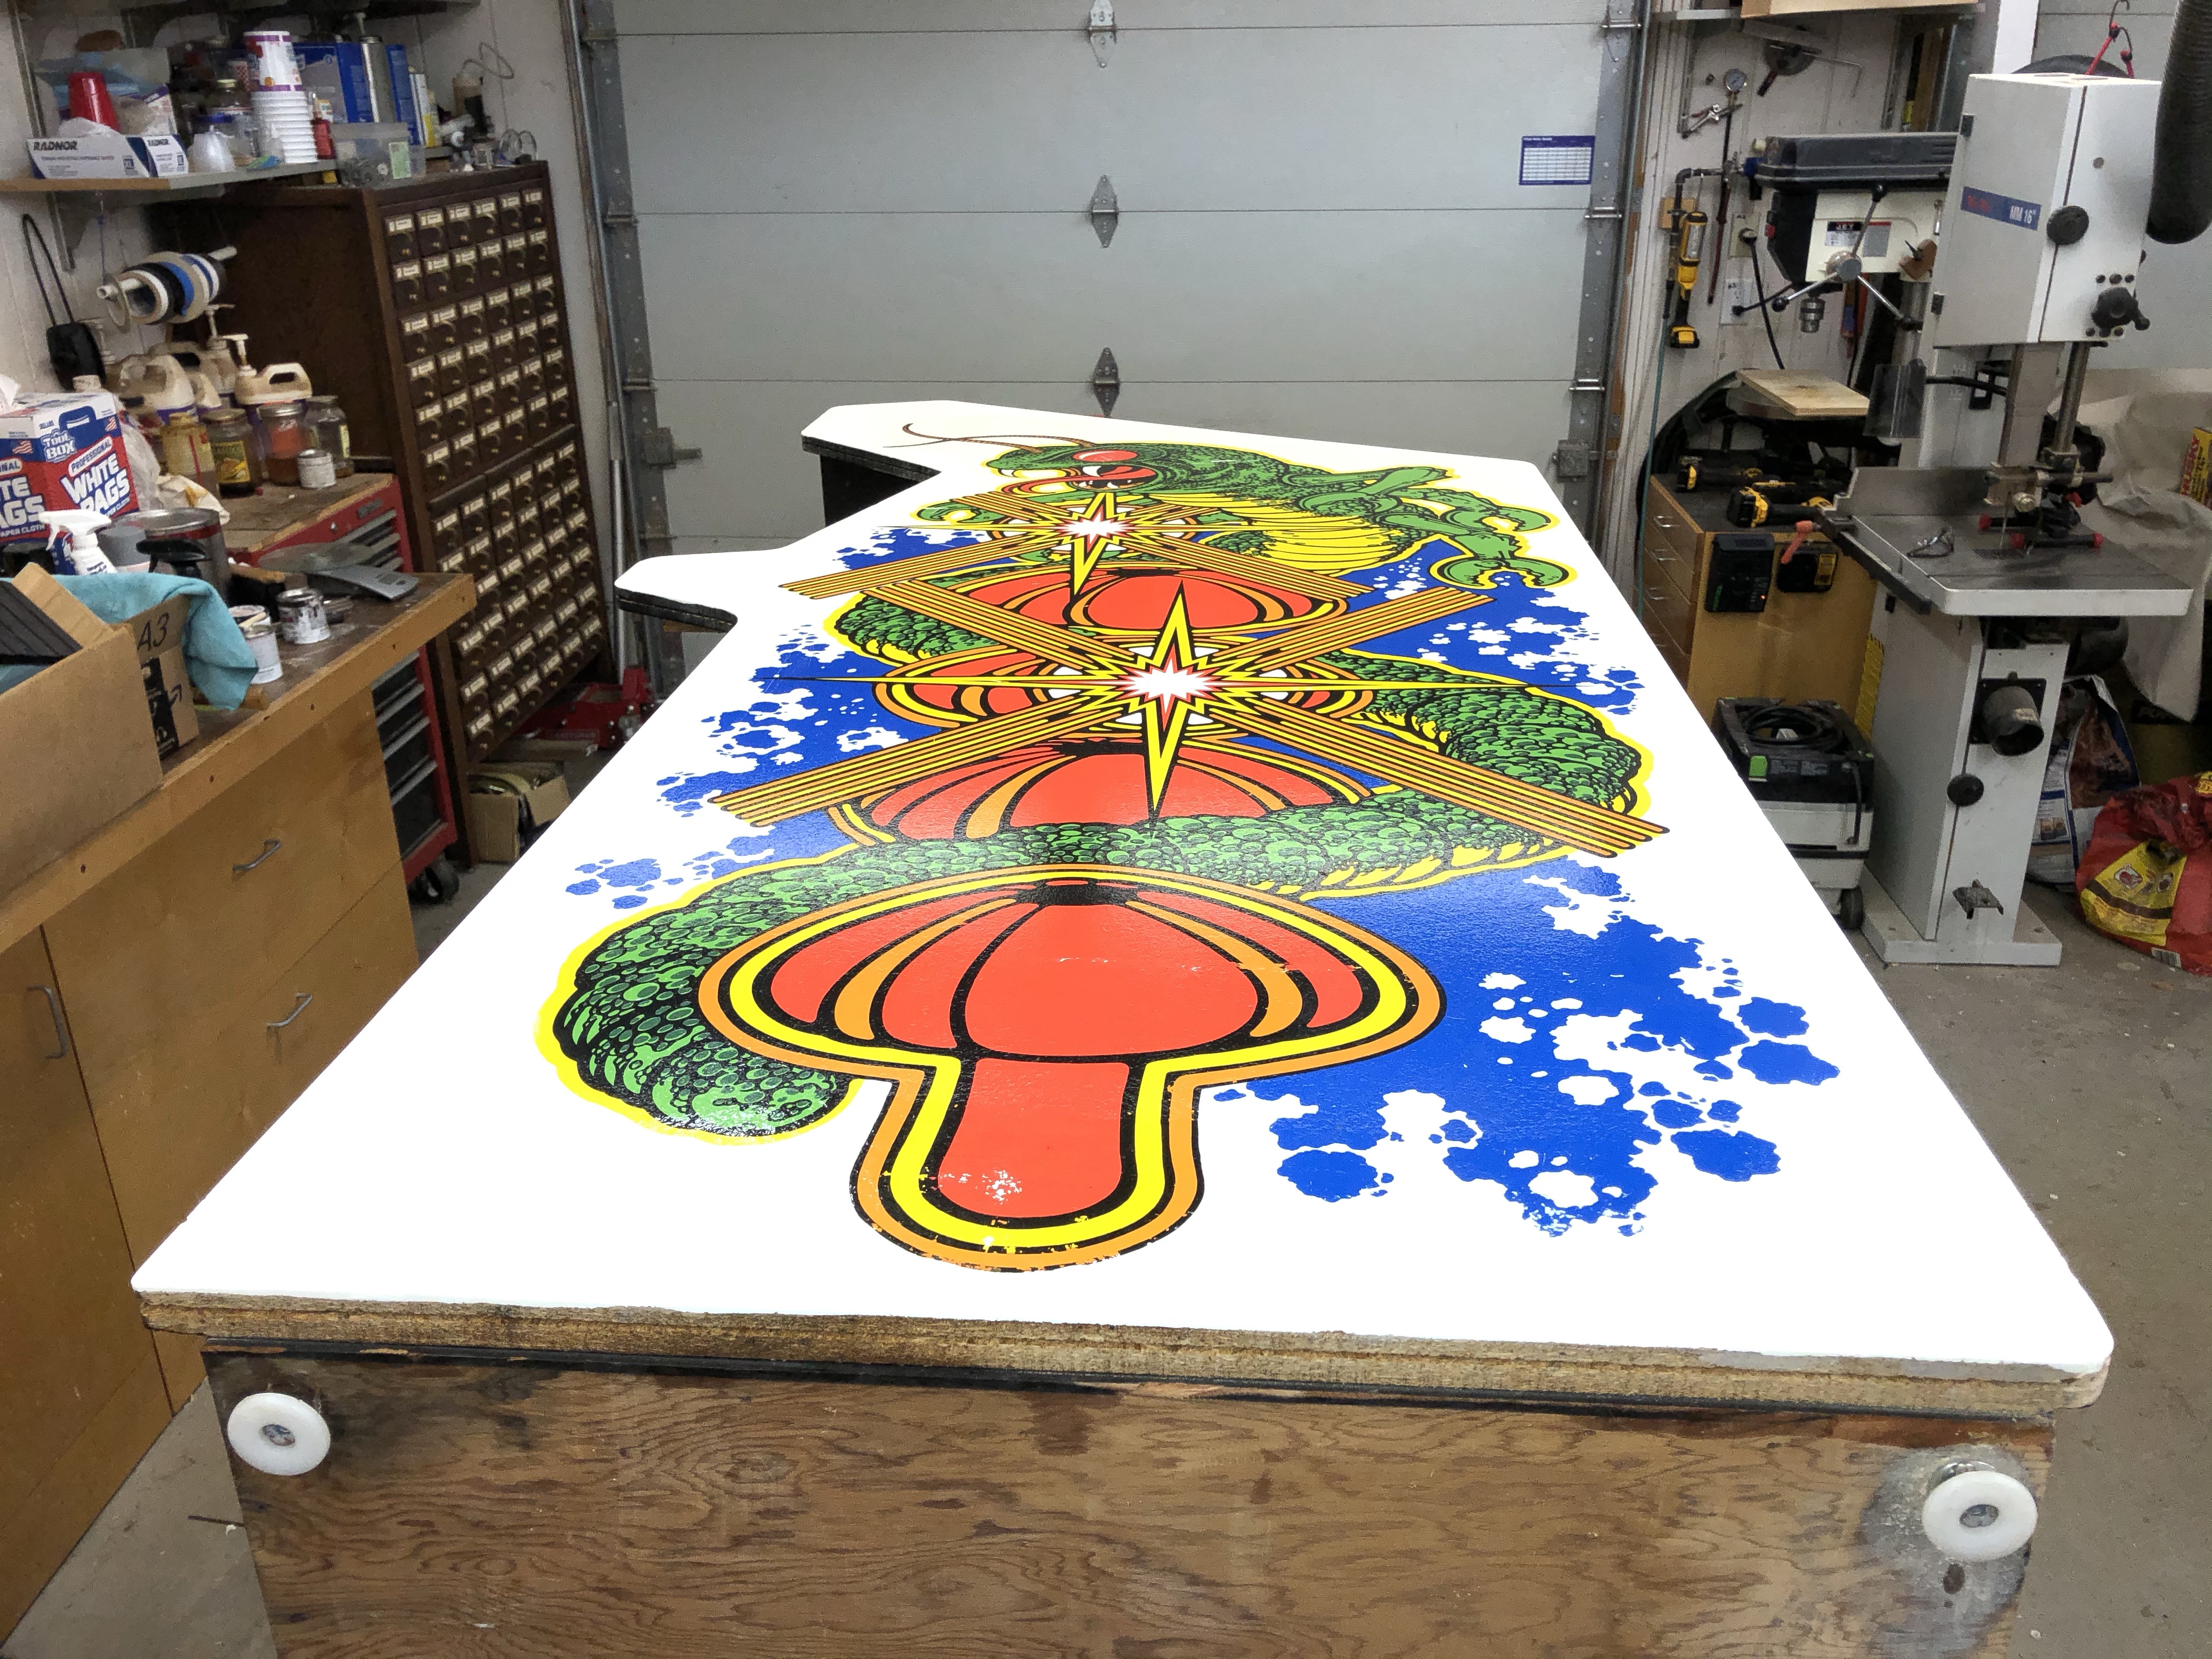
After the white paint – I rolled on black around the edge (like factory original) so the T-Molding would blend. The new T-molding is a very nice replica of the original Atari flat stock. The lighting isn’t the greatest here – but I give this side an A- overall. In the bright light of the shop – the color match is nearly imperceptible. In a dimly lit game room. It will be impossible to see. I hope I can get the crappy other side as nice as this one.
Now for the bad side….
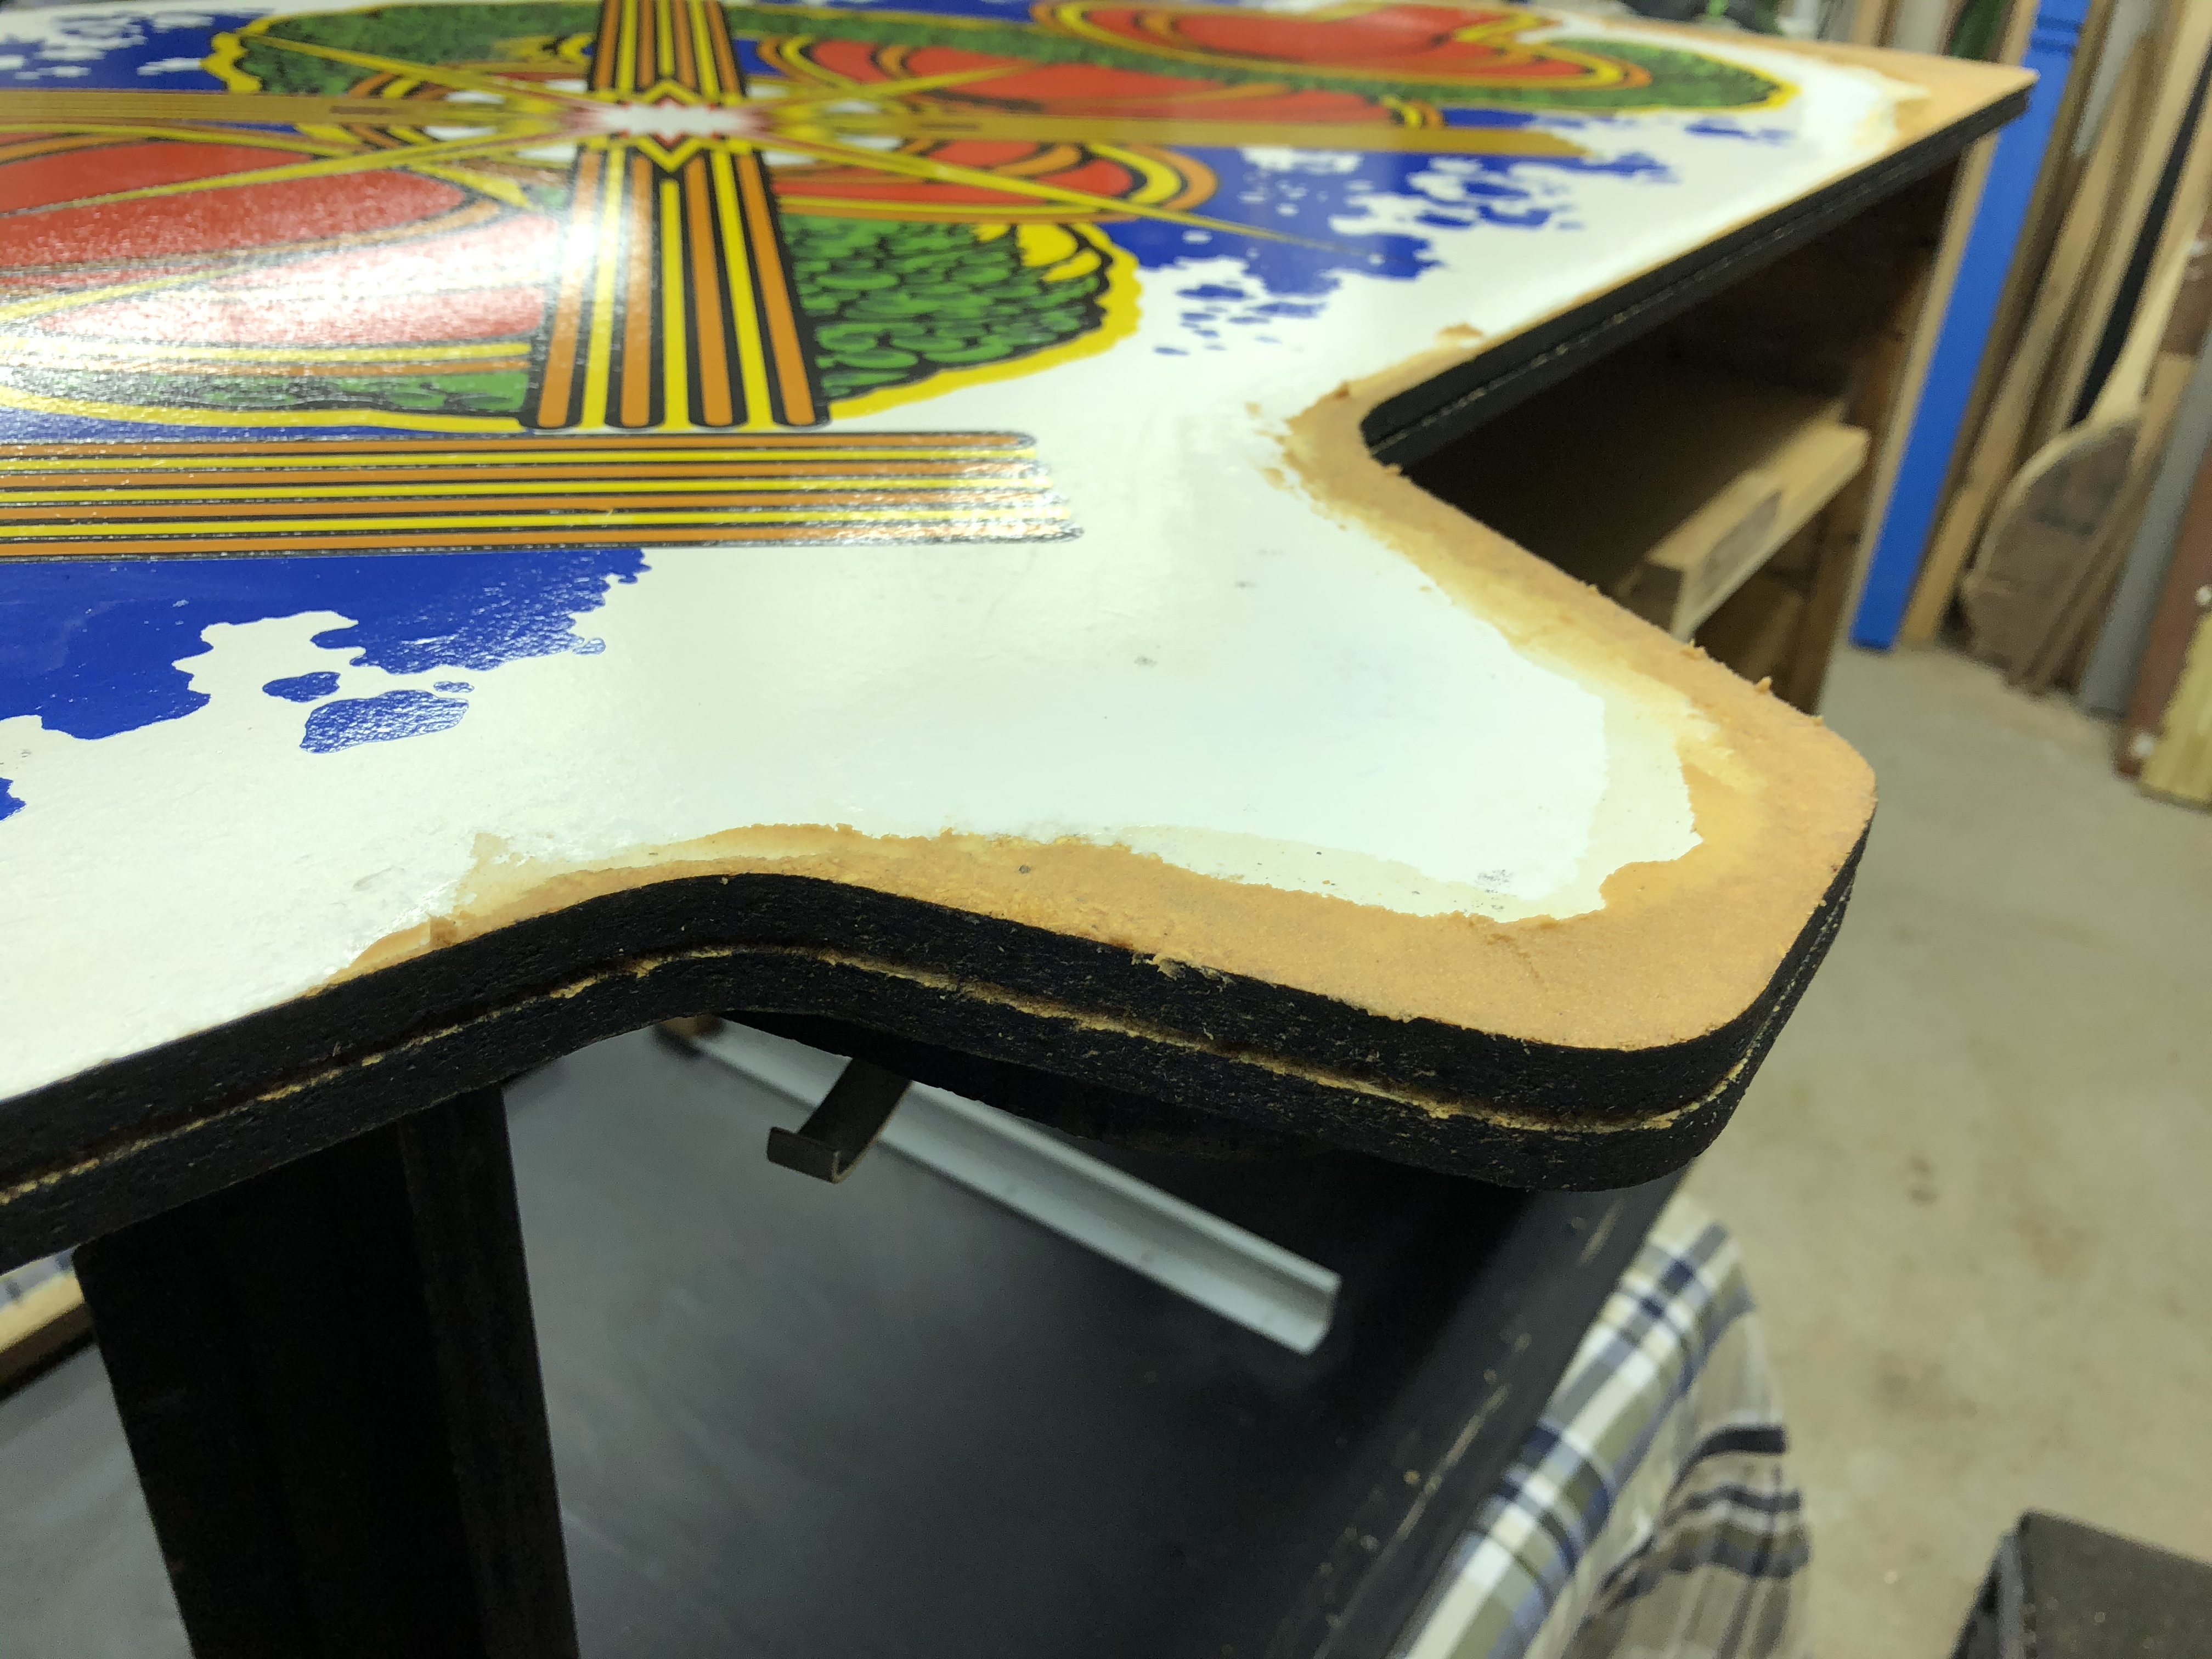
Having practiced on the better of the two sides. This side had particleboard that had expanded quite a bit larger than the T-molding. This line is very noticeable – it was 1/8″ along the bottom edge and the surface of the panel has a pebbly texture to it..
I put the T-molding back and sanded the side down to the edge of the molding as a guide (same as the first side) and generally tried to keep the area as flat as I could. The artwork is a bit raised due to the wood expansion – but its a trade-off – it stays as is..
Once it was all leveled off, it got a couple coats of CPES. After it set over night I mixed up epoxy and wood flour and skimmed on a coat to fill in the texture of the particle board and filled in all the dings around the edges. I let this cure overnight.
The goal is not to add to the surface – more to fill in the texture – same as Bondo. Epoxy is just stronger than Bondo and will add some stability to the material and limit moisture absorption.
Looks like a big mess – I was a bit nervous about it myself..
But it worked out nearly as good as the first side. The color match of the paint is right there. I had to roll on a 2 coats, wet sand with 320 to blend it a bit, then roll on another coat and wet sand with 600 to blend it a bit.. Then added here and there where it was thin.
After that I ran into a problem that took me about a week to resolve. The color match was great – in flat lighting. If you caught the light from the side to see the gloss – you got several different glosses. Shiny glossy original, the scuffed areas where the latex meets the original surface, flat areas, dull areas, etc.
My first inclination – spray on semi-gloss clear (standard Rustoleum) Did a quick test spray on the newly fixed areas. It turned the latex yellow instantly. REALLY not a compatible paint. I had to sand it off and repaint. Thankfully I only did a small area..
I tried a water based spray on clear coat Minwax Polycrylic – On a test piece this time. It just beaded up like water on a windshield.. Fail…
I even tried buffing and polishing compound used for auto detailing, but it just didn’t seem to work right with the different materials.
Final answer: Wipe on (or brush) water based polyurethane. Quick wipe with a cloth over all of the repaired areas and just overlapped the artwork a bit. It leveled the sheen to be a lot less noticeable. In flat light – you can’t see the repairs. I’m going to mess with this a bit more. Maybe a light rub with extra fine Scotchbright pad to see how that works. But this sealed up the surface and took away most of the differences in gloss.
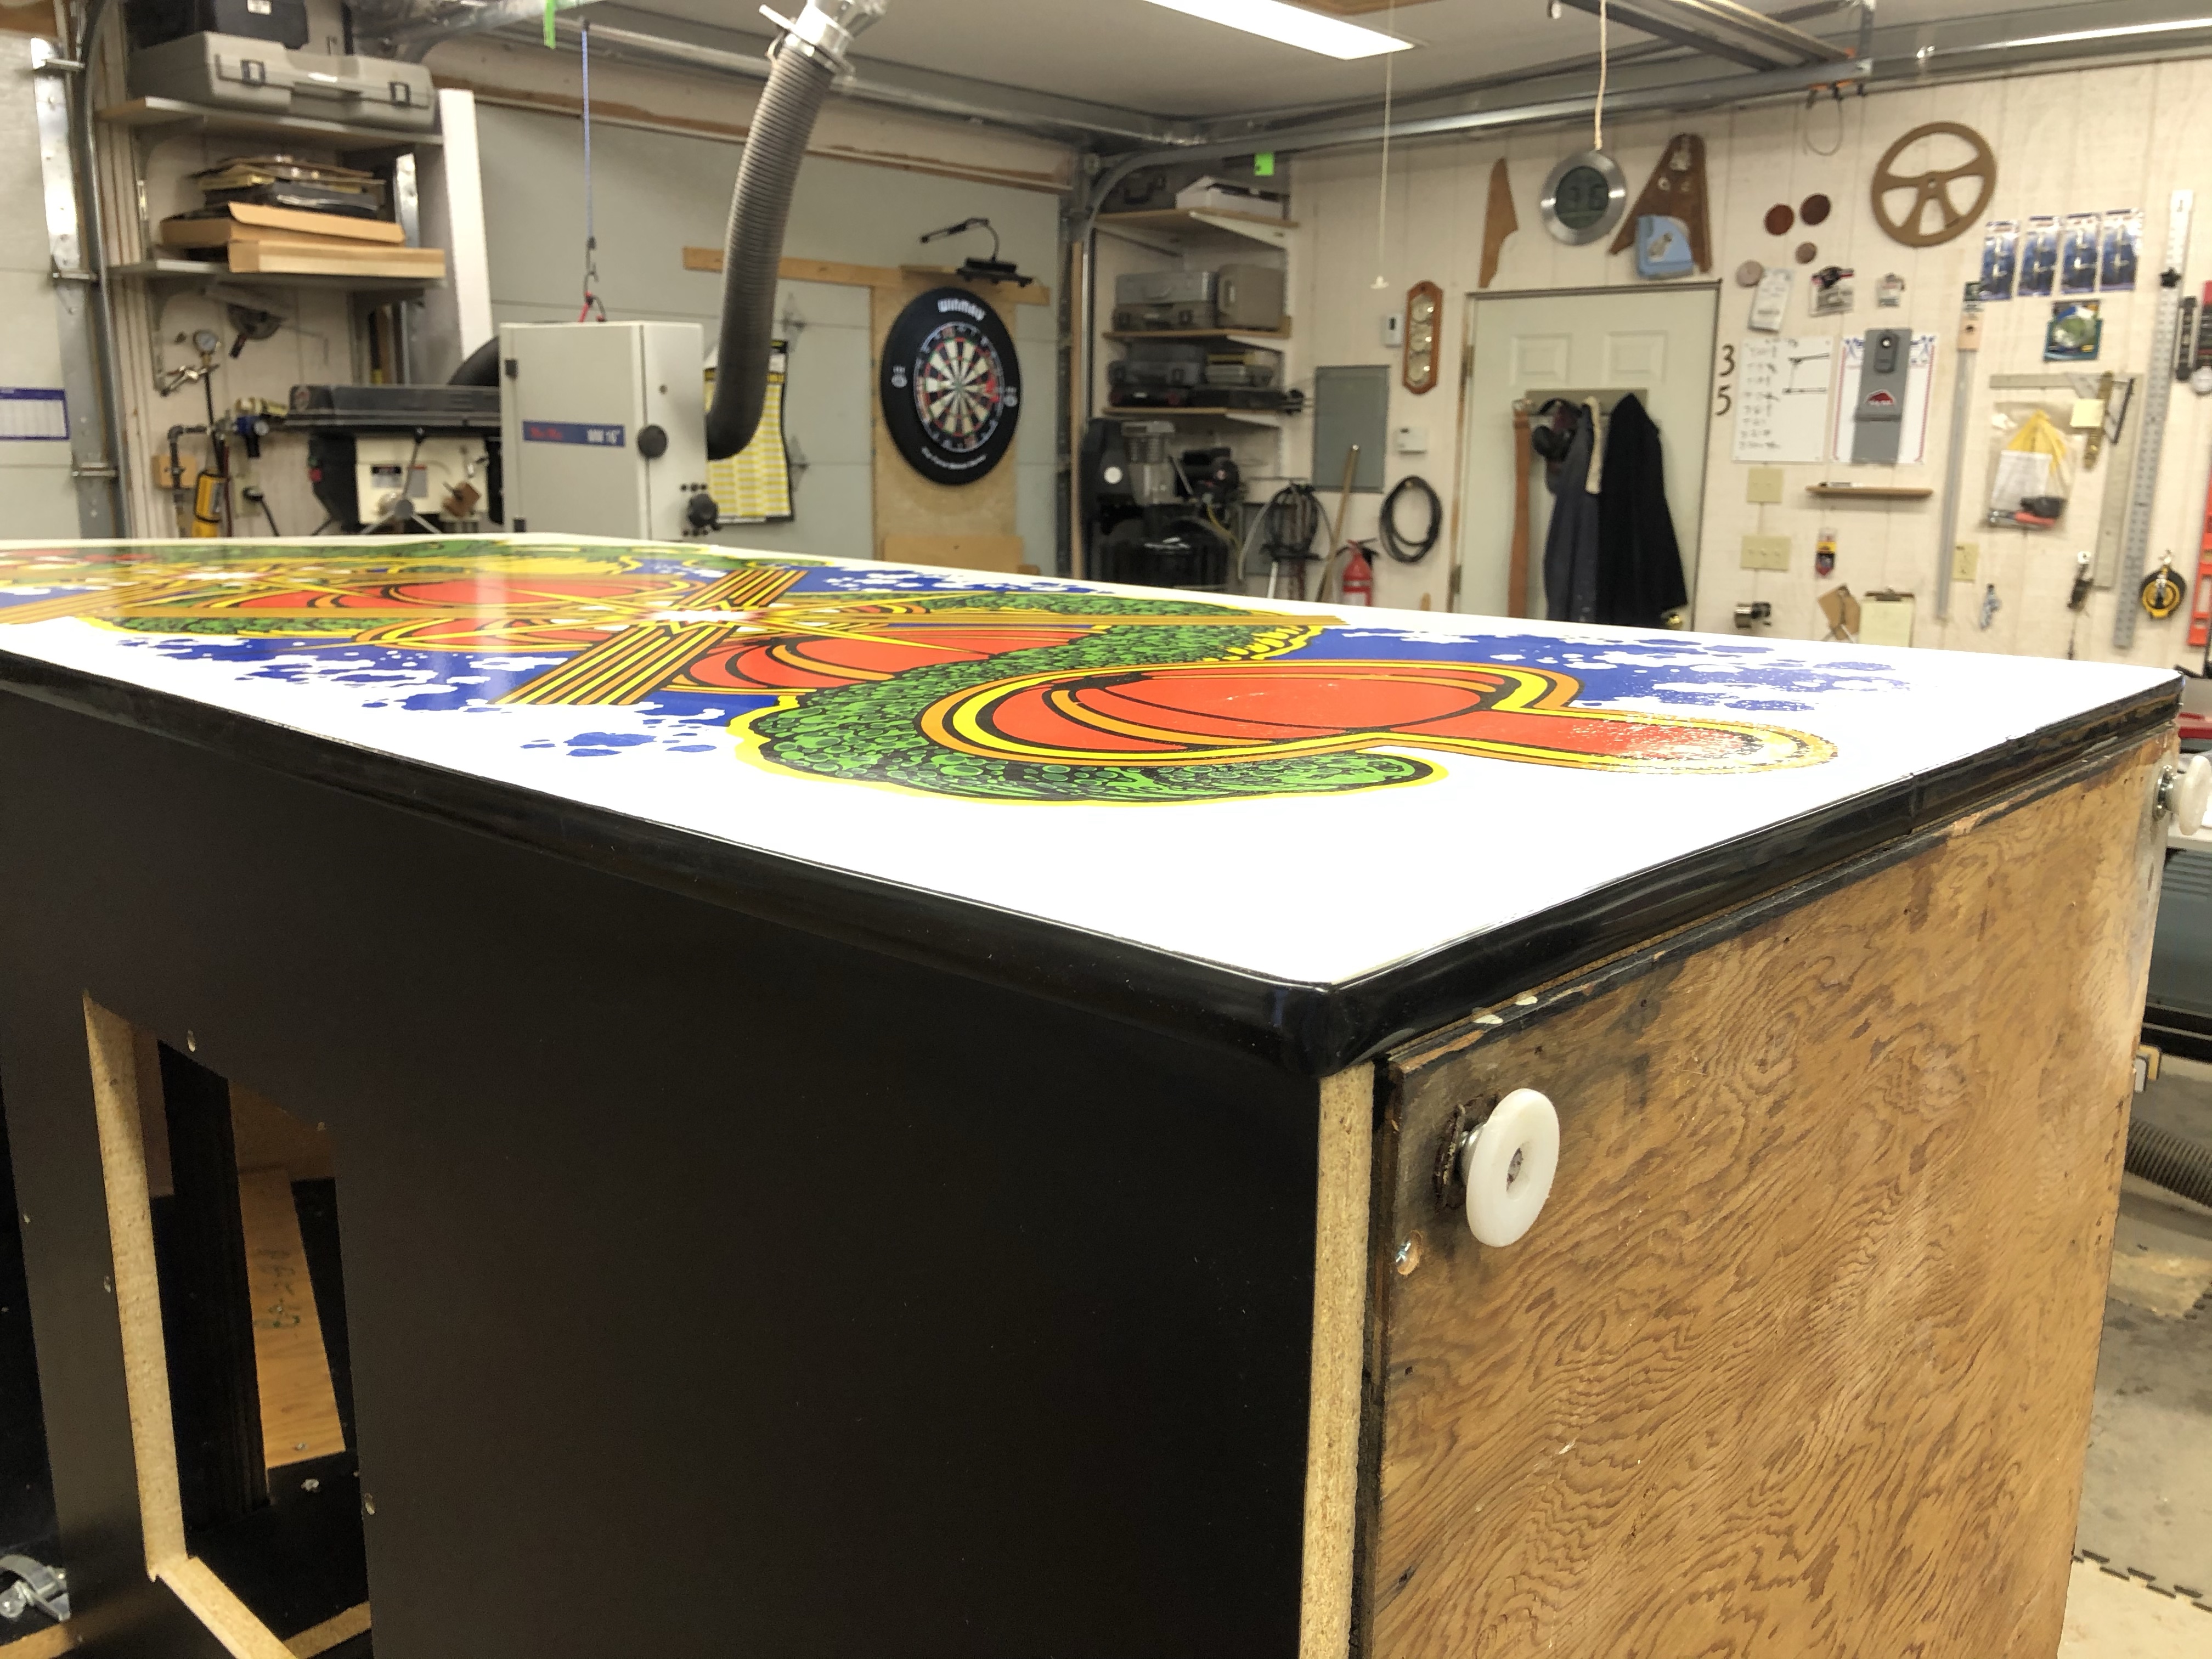
New T-molding on and a good 1/8″ of expanded particle board removed. I painted the edges black before adding the T-molding of course.
If you run a flat hand over the bottom area – there surface is not flat. The wood below the artwork had puffed up a bit. When its upright next to the floor. Looks like new.
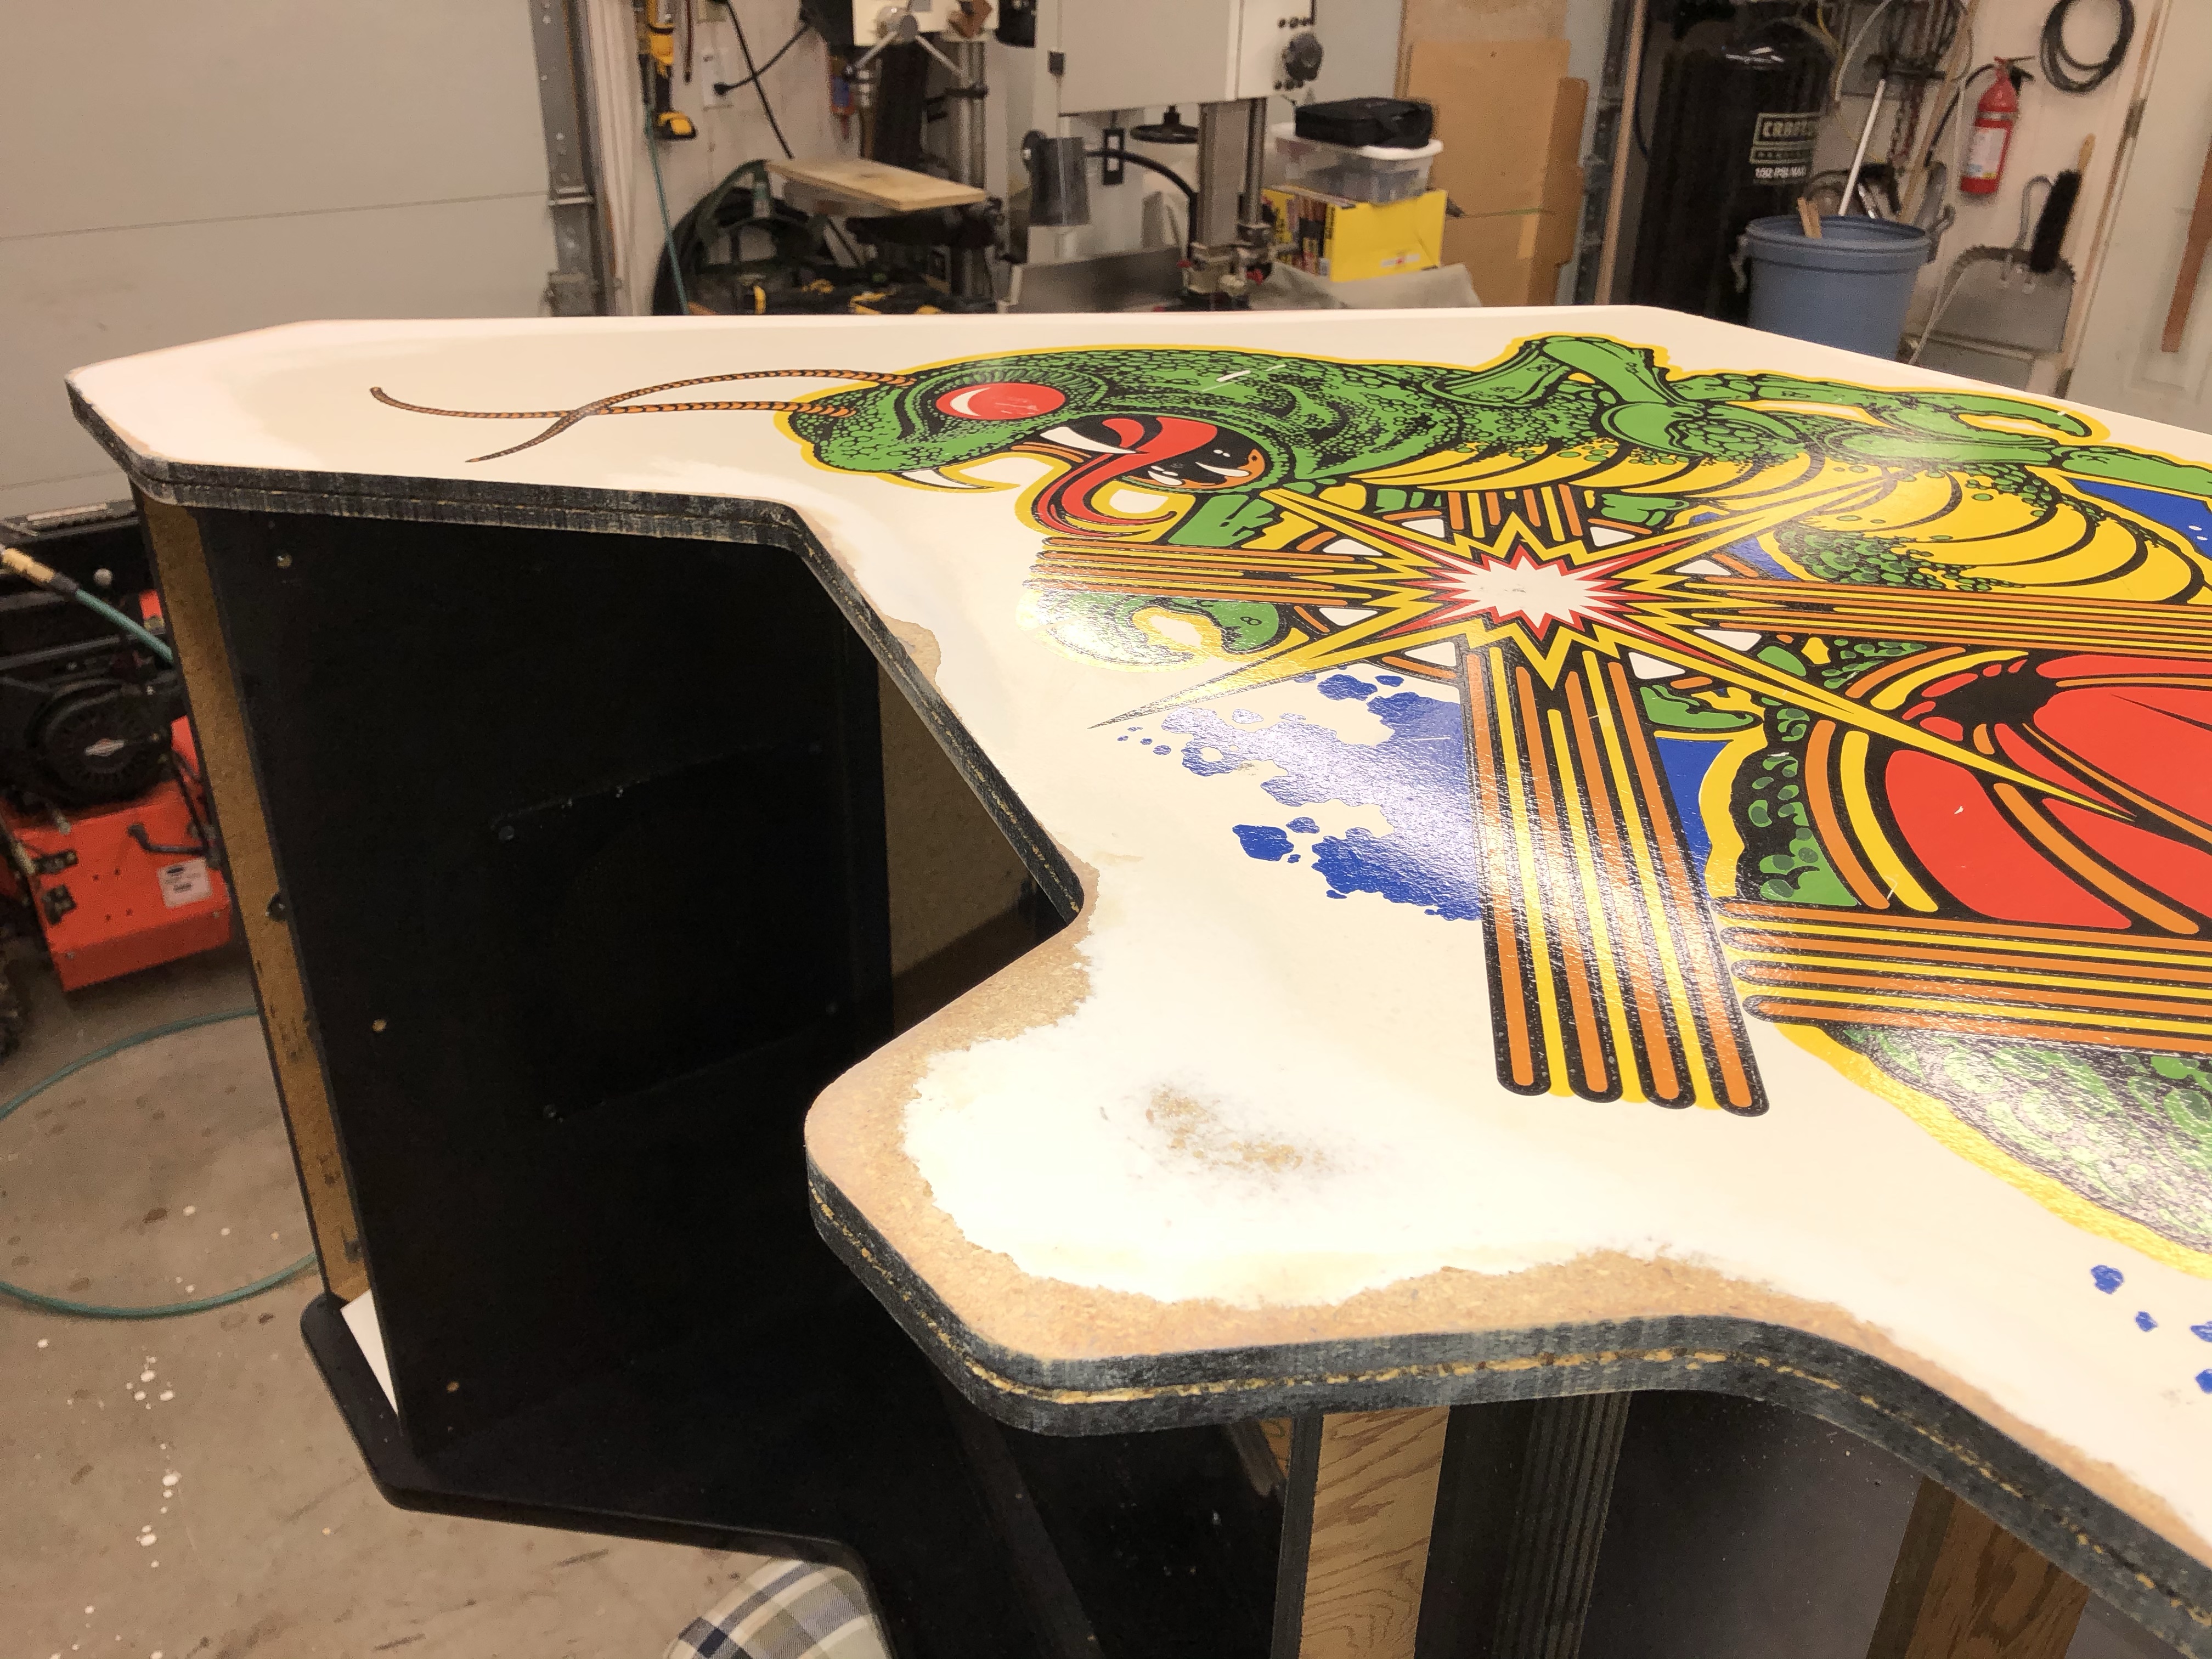
I still need to go back and correct the side art itself. There are many black lines that are easy to correct. I also found a very good match for the yellow. The other colors I’m going to try to color match and use the sample paints from HD. But I wanted to get it on its feet again.
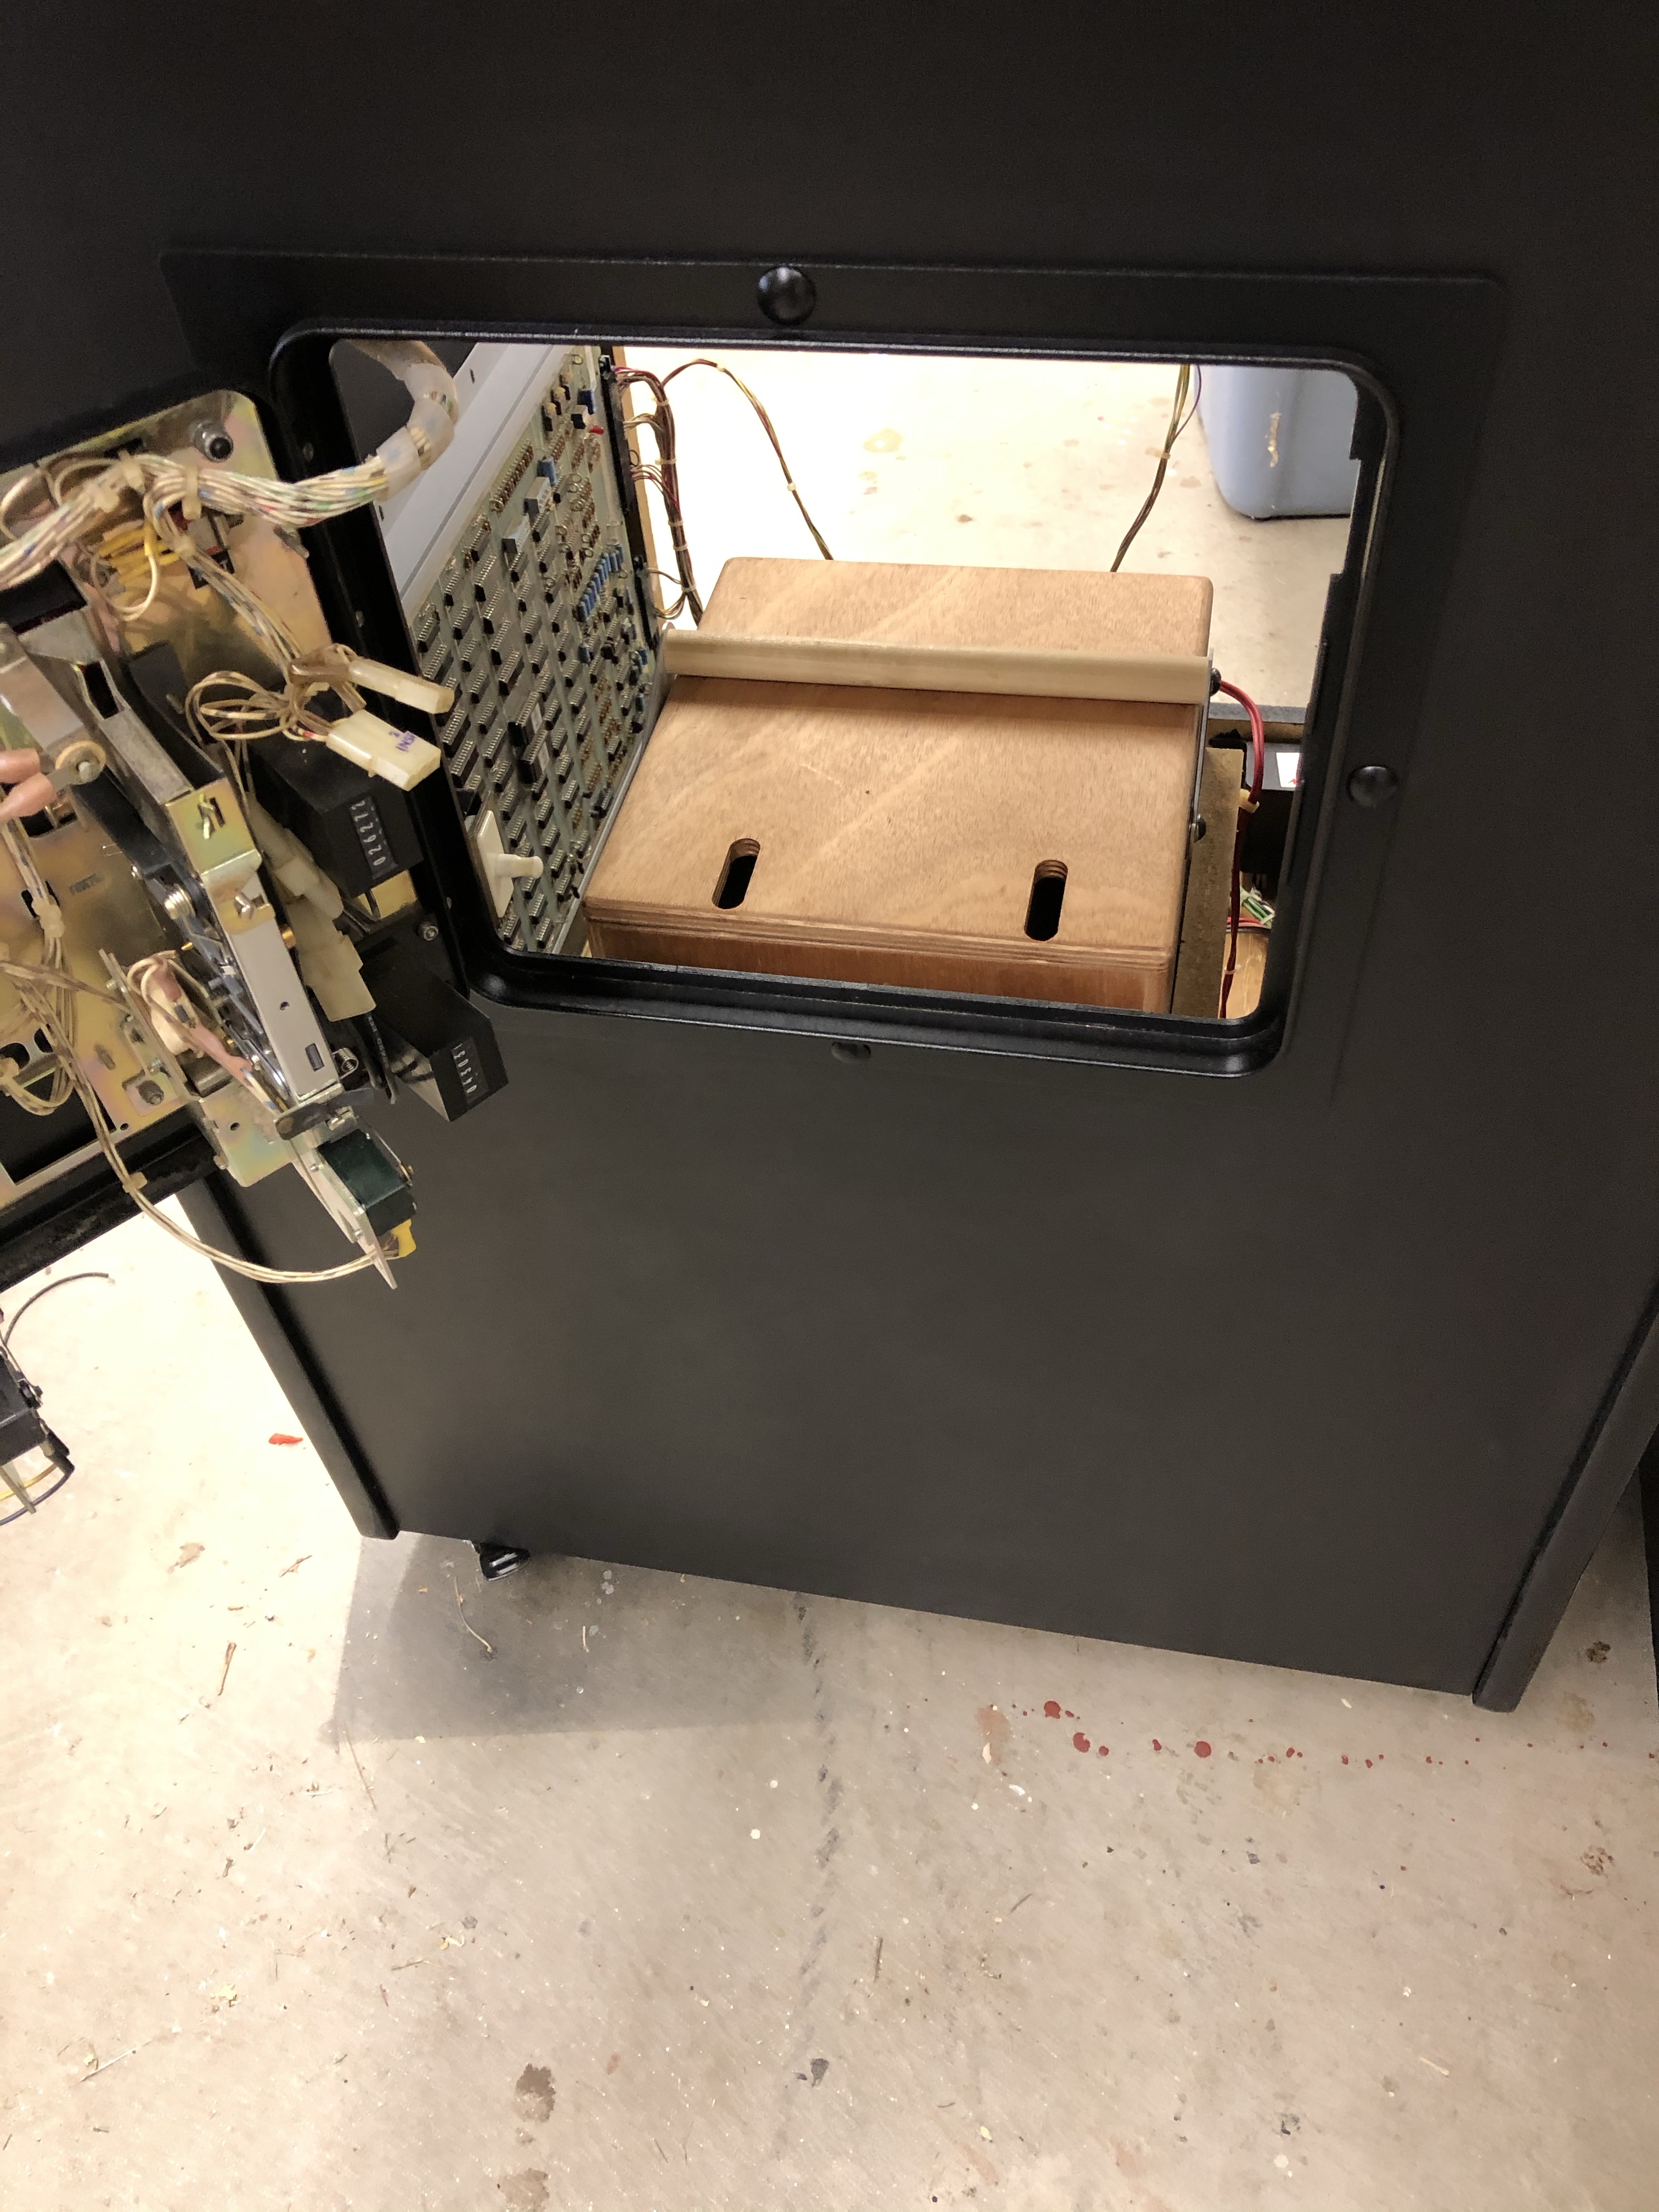
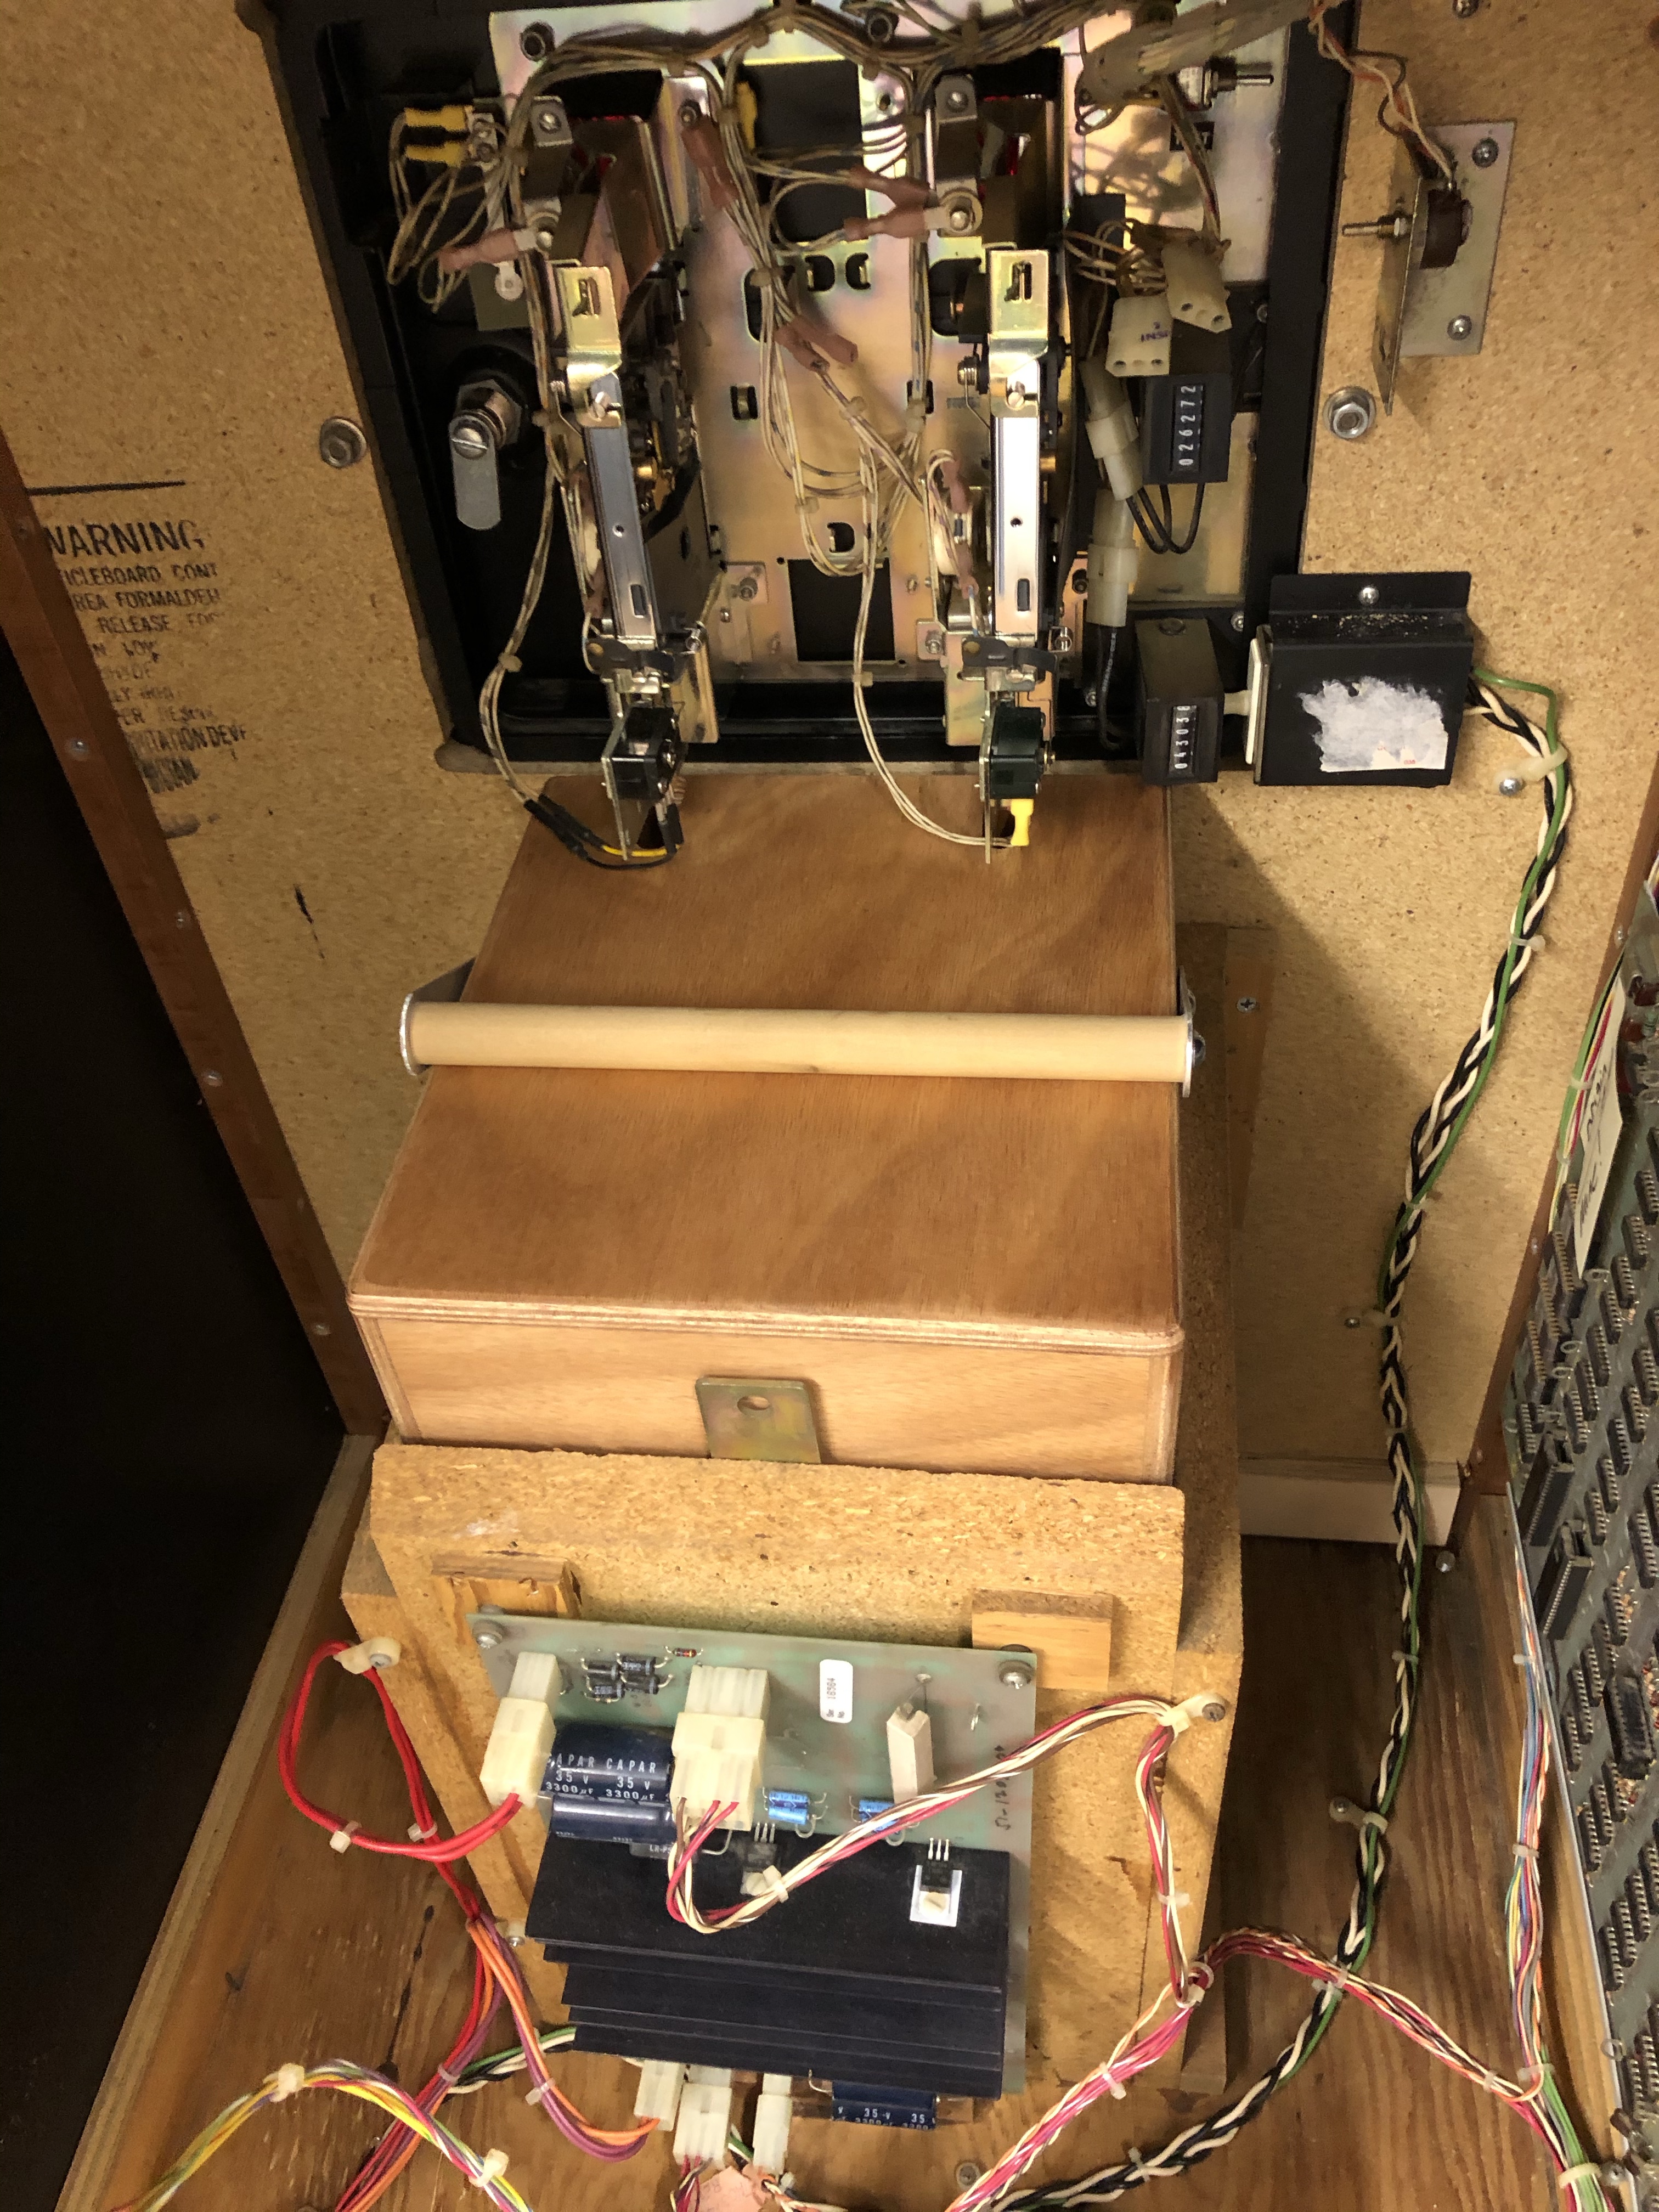
My machine did not come with a coin box, and the originals are pretty ratty looking. So I’m a little off script in that I made one from some scrap materials laying around the shop.
This is left over from a boat I made – its marine grade Okume plywood. Really nice to work with. I created a quick model in Sketchup and put it together over the course of two evenings.


A few pics of the parts and getting assembled – Simple box with a 7 deg slope to match the coin box mount in the machine.


Here are 2 small strips of aluminum, rounded to the radius of the washer. The were drilled and used as the arms of the handle.
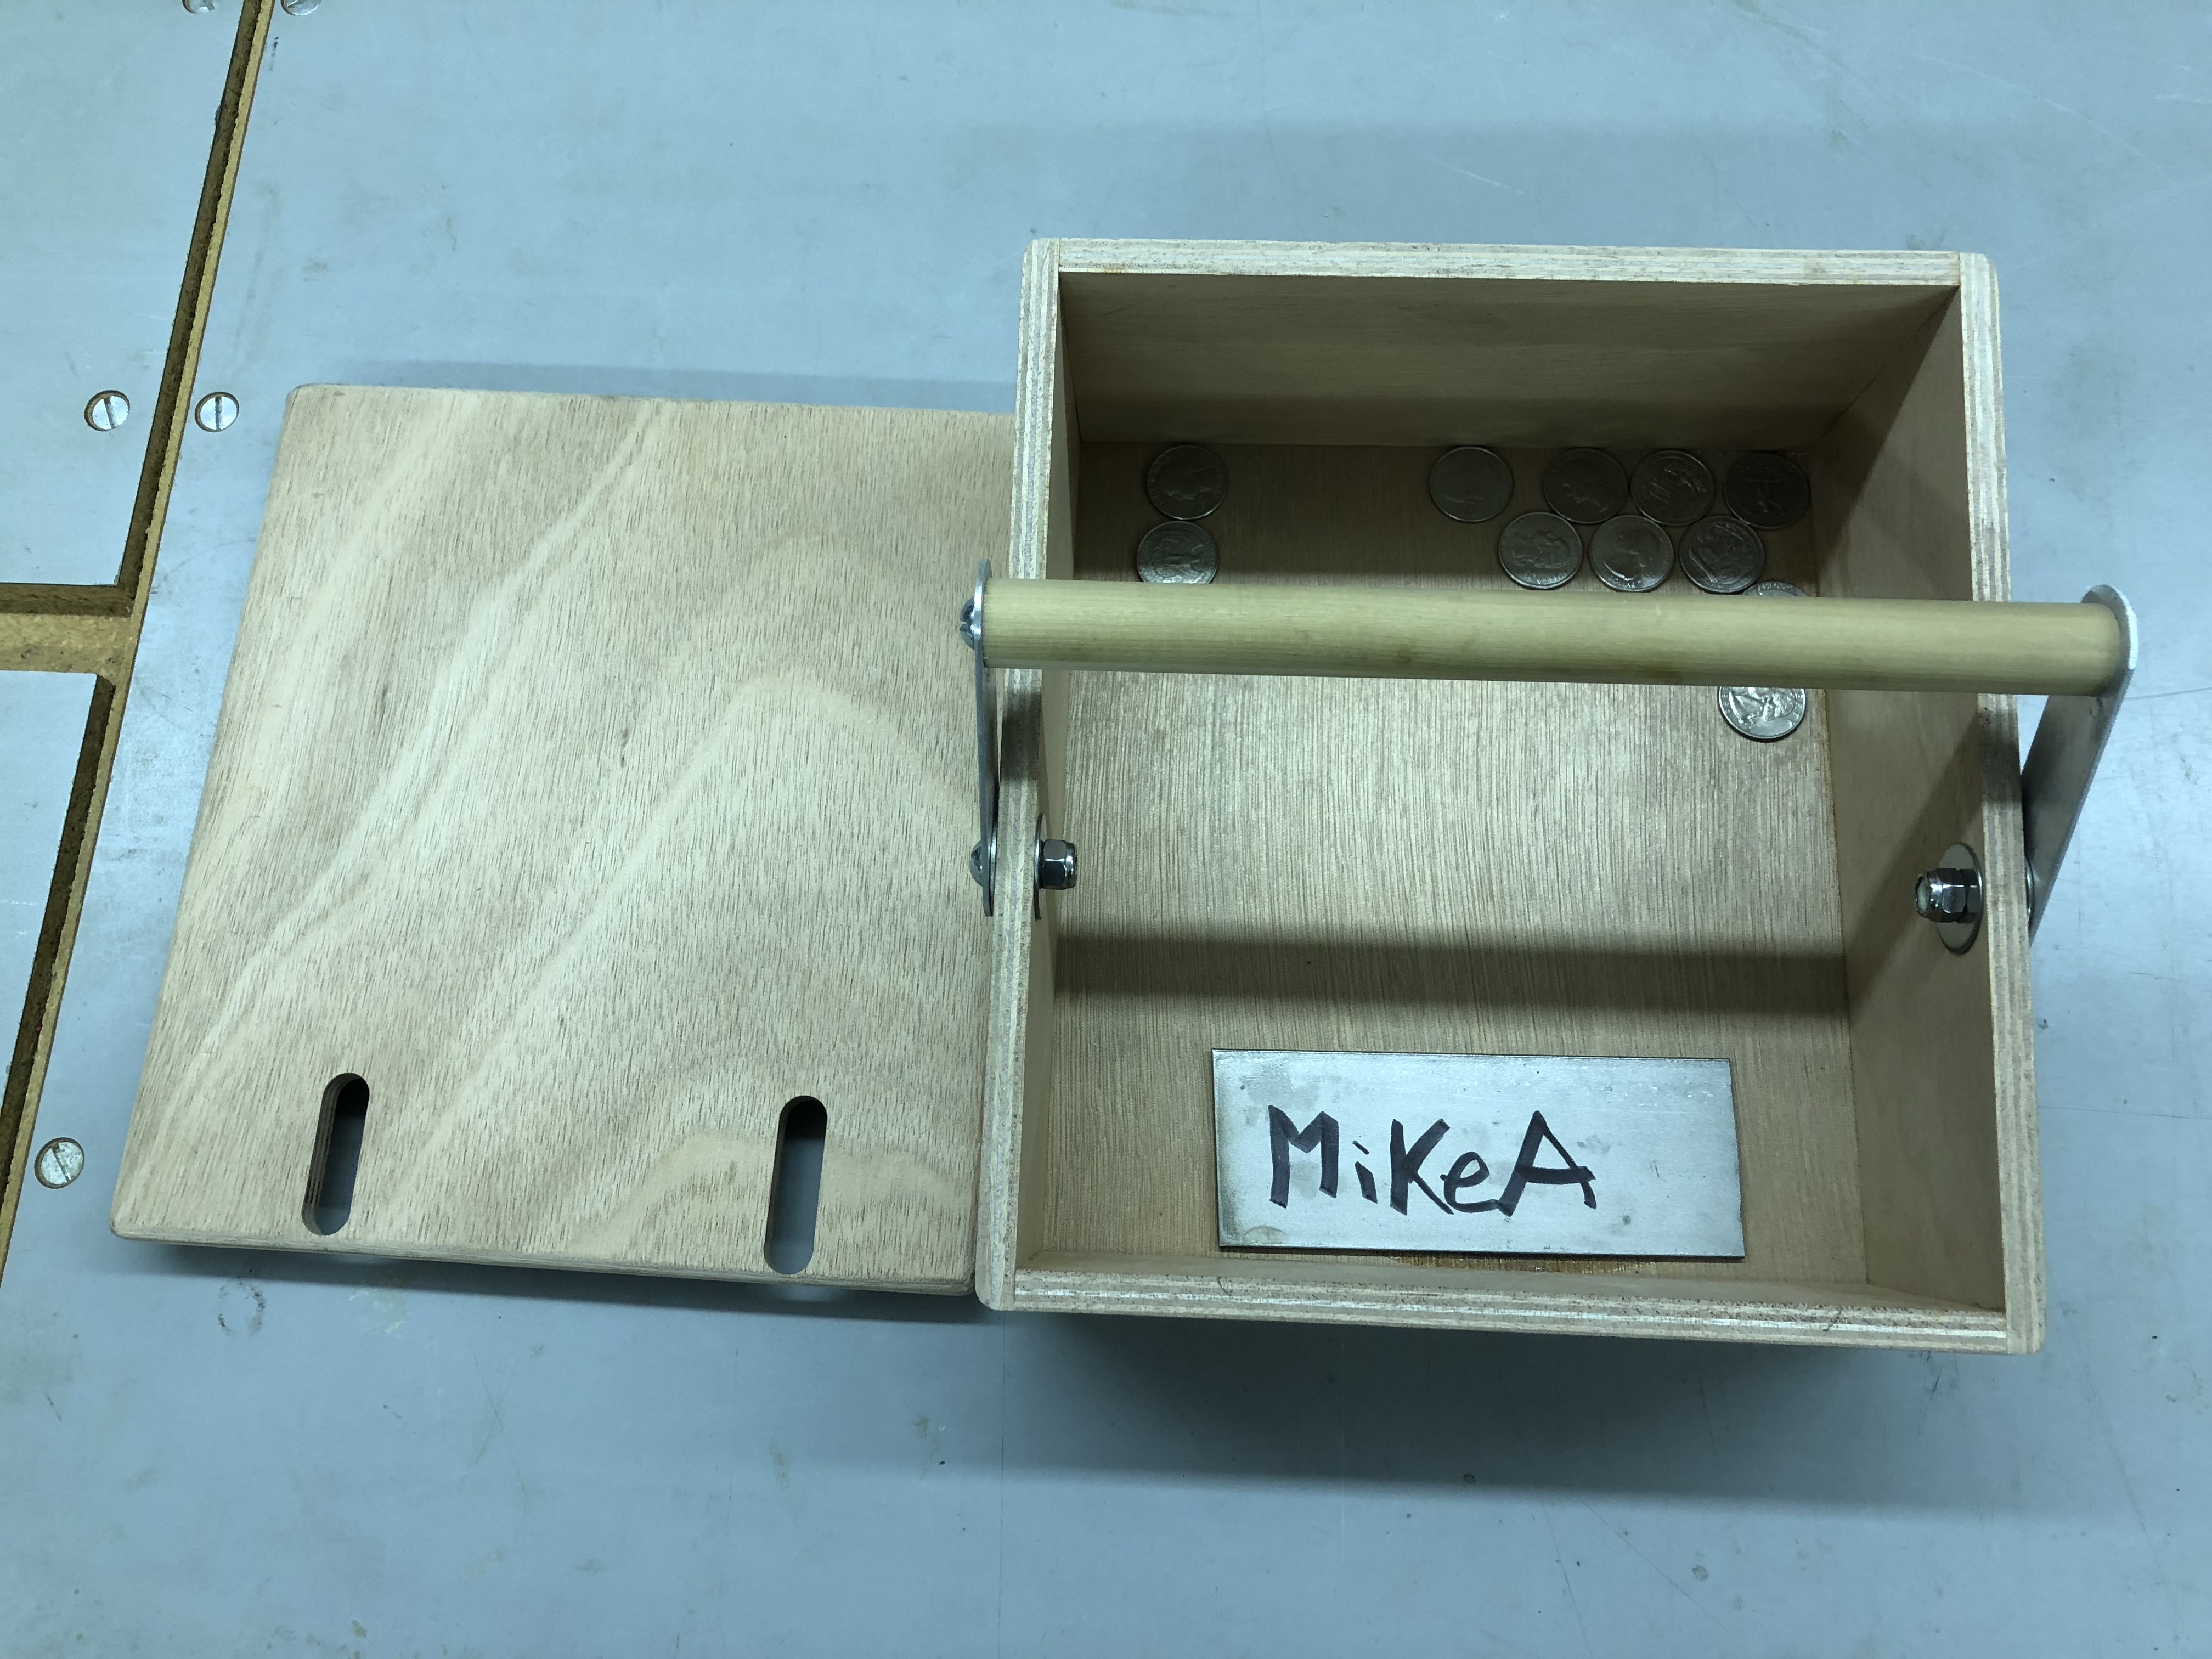
Per MikeA – it would not sound right unless there was metal for the coins/tokens to hit. So I give you the MikeA 304 scrap stainless steel sound bar. Every time you feel a little poke in the head – Centipede got a coin.

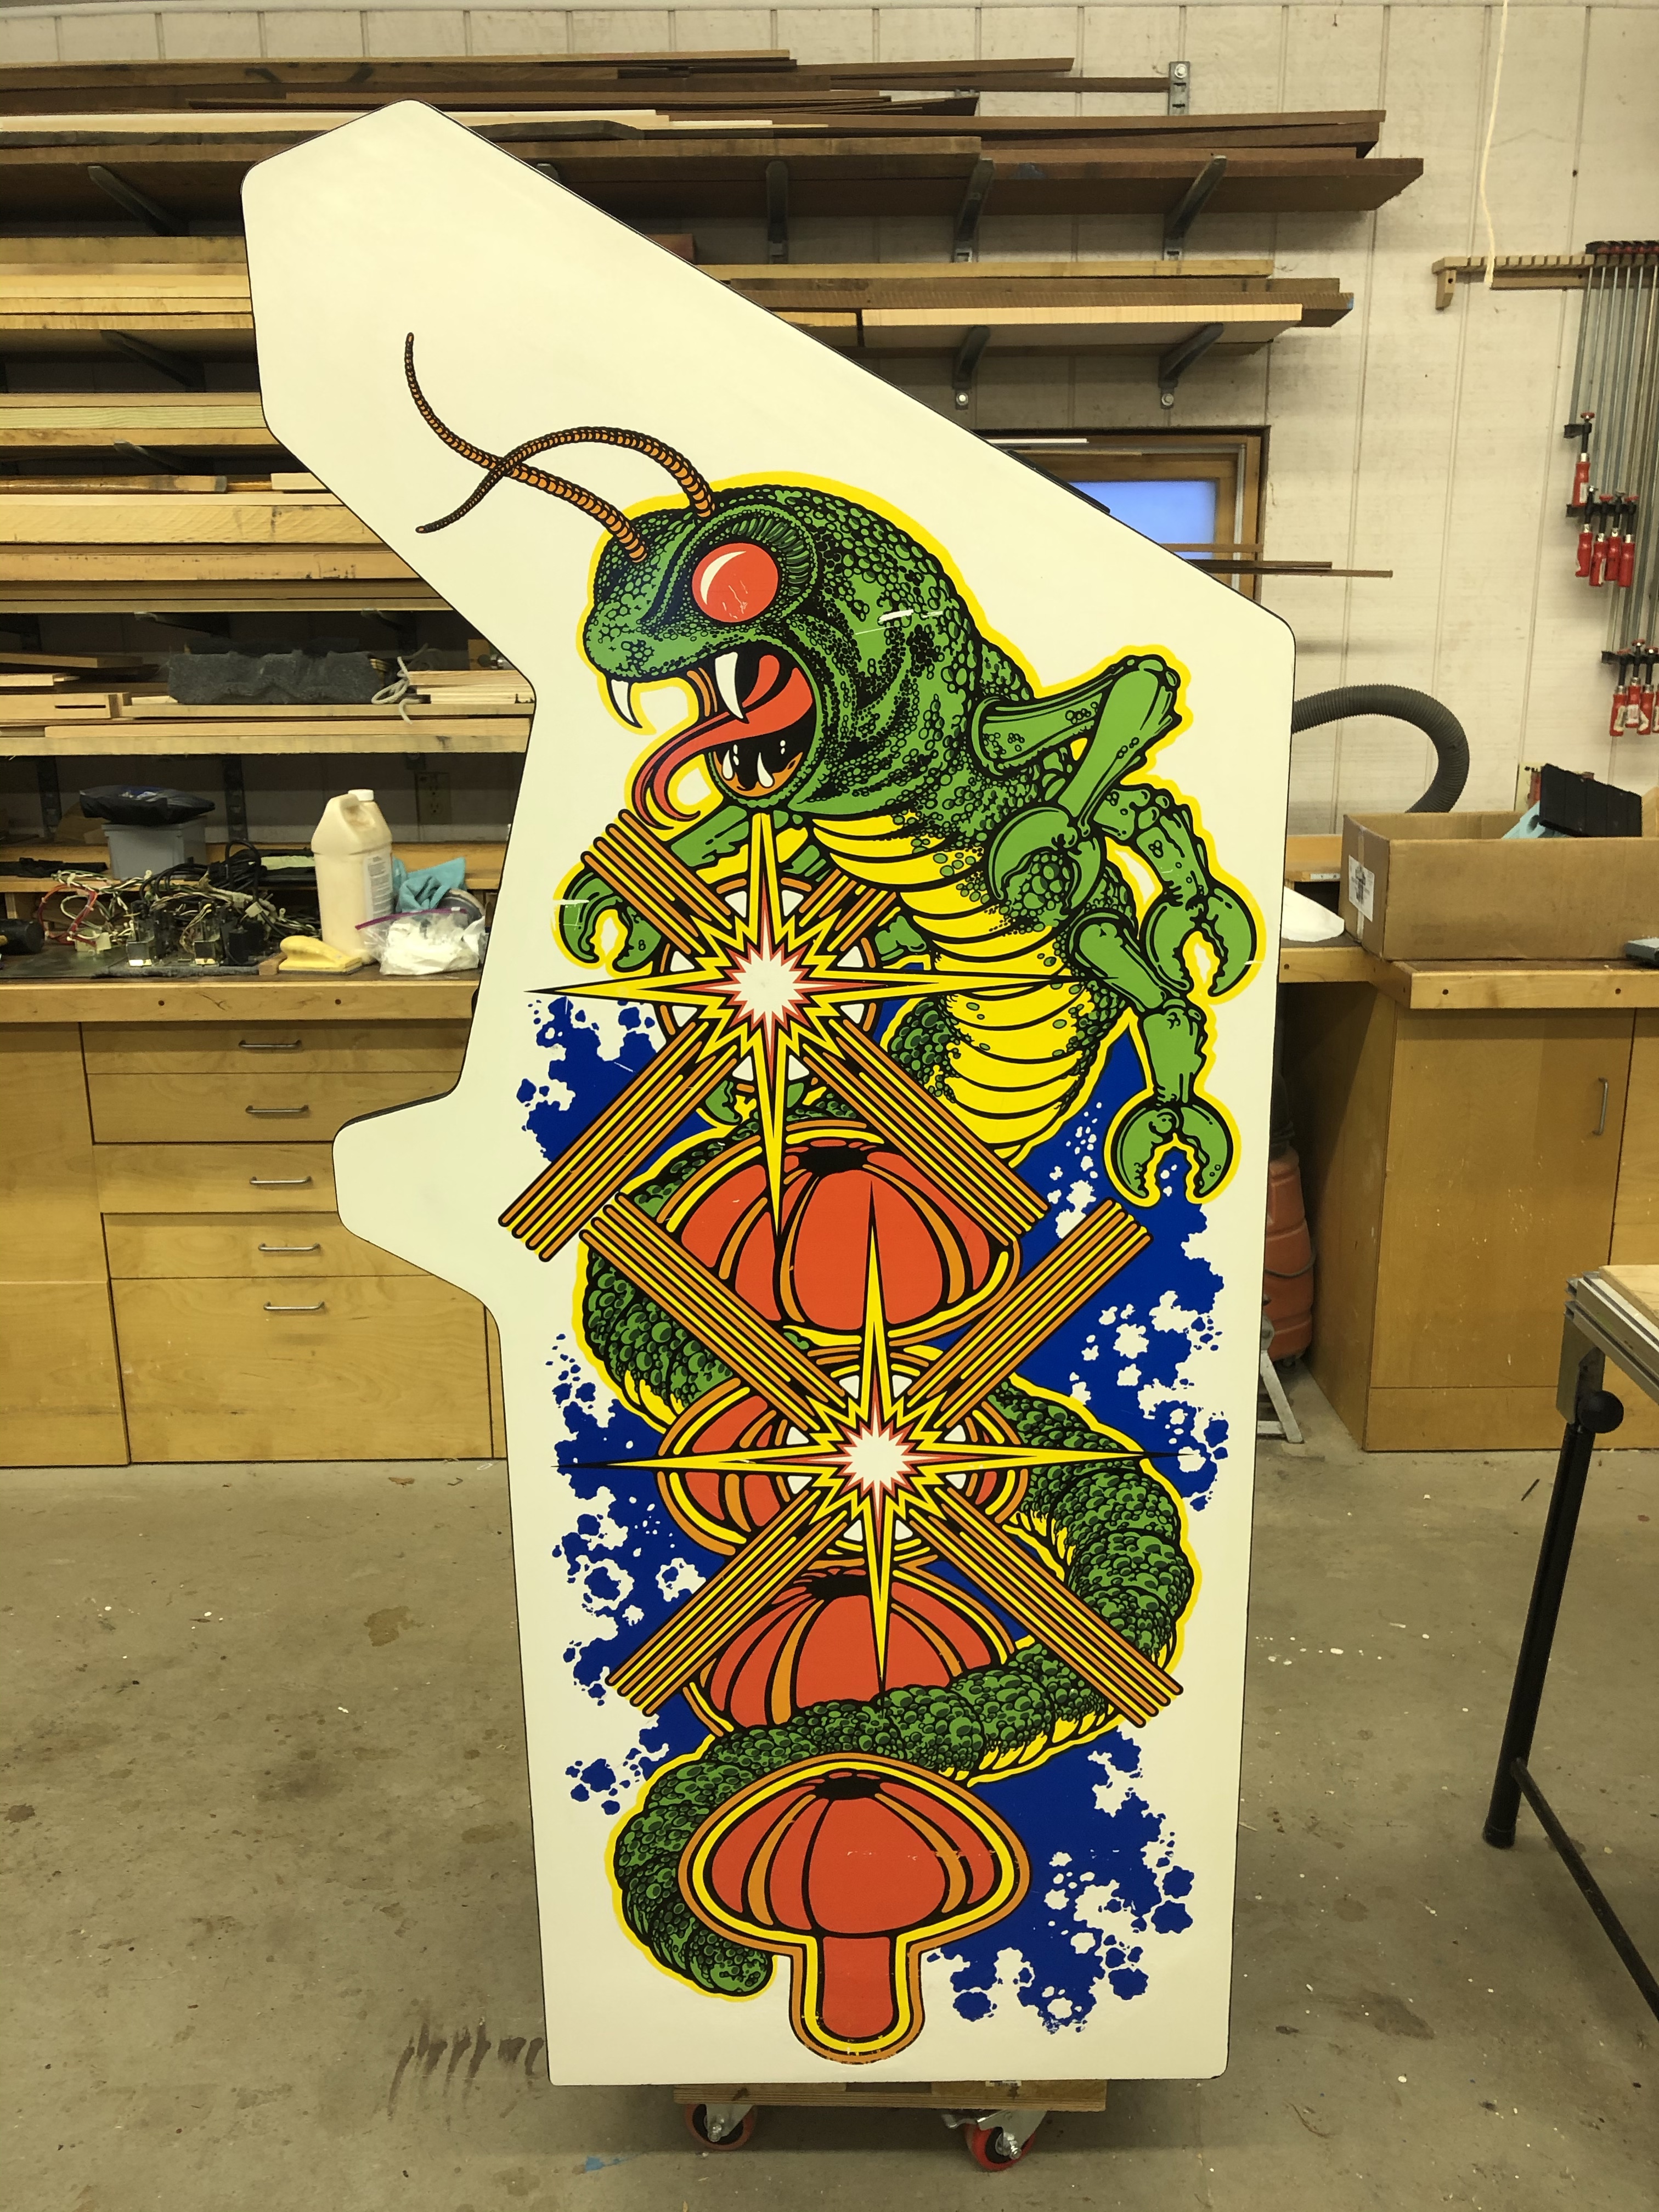
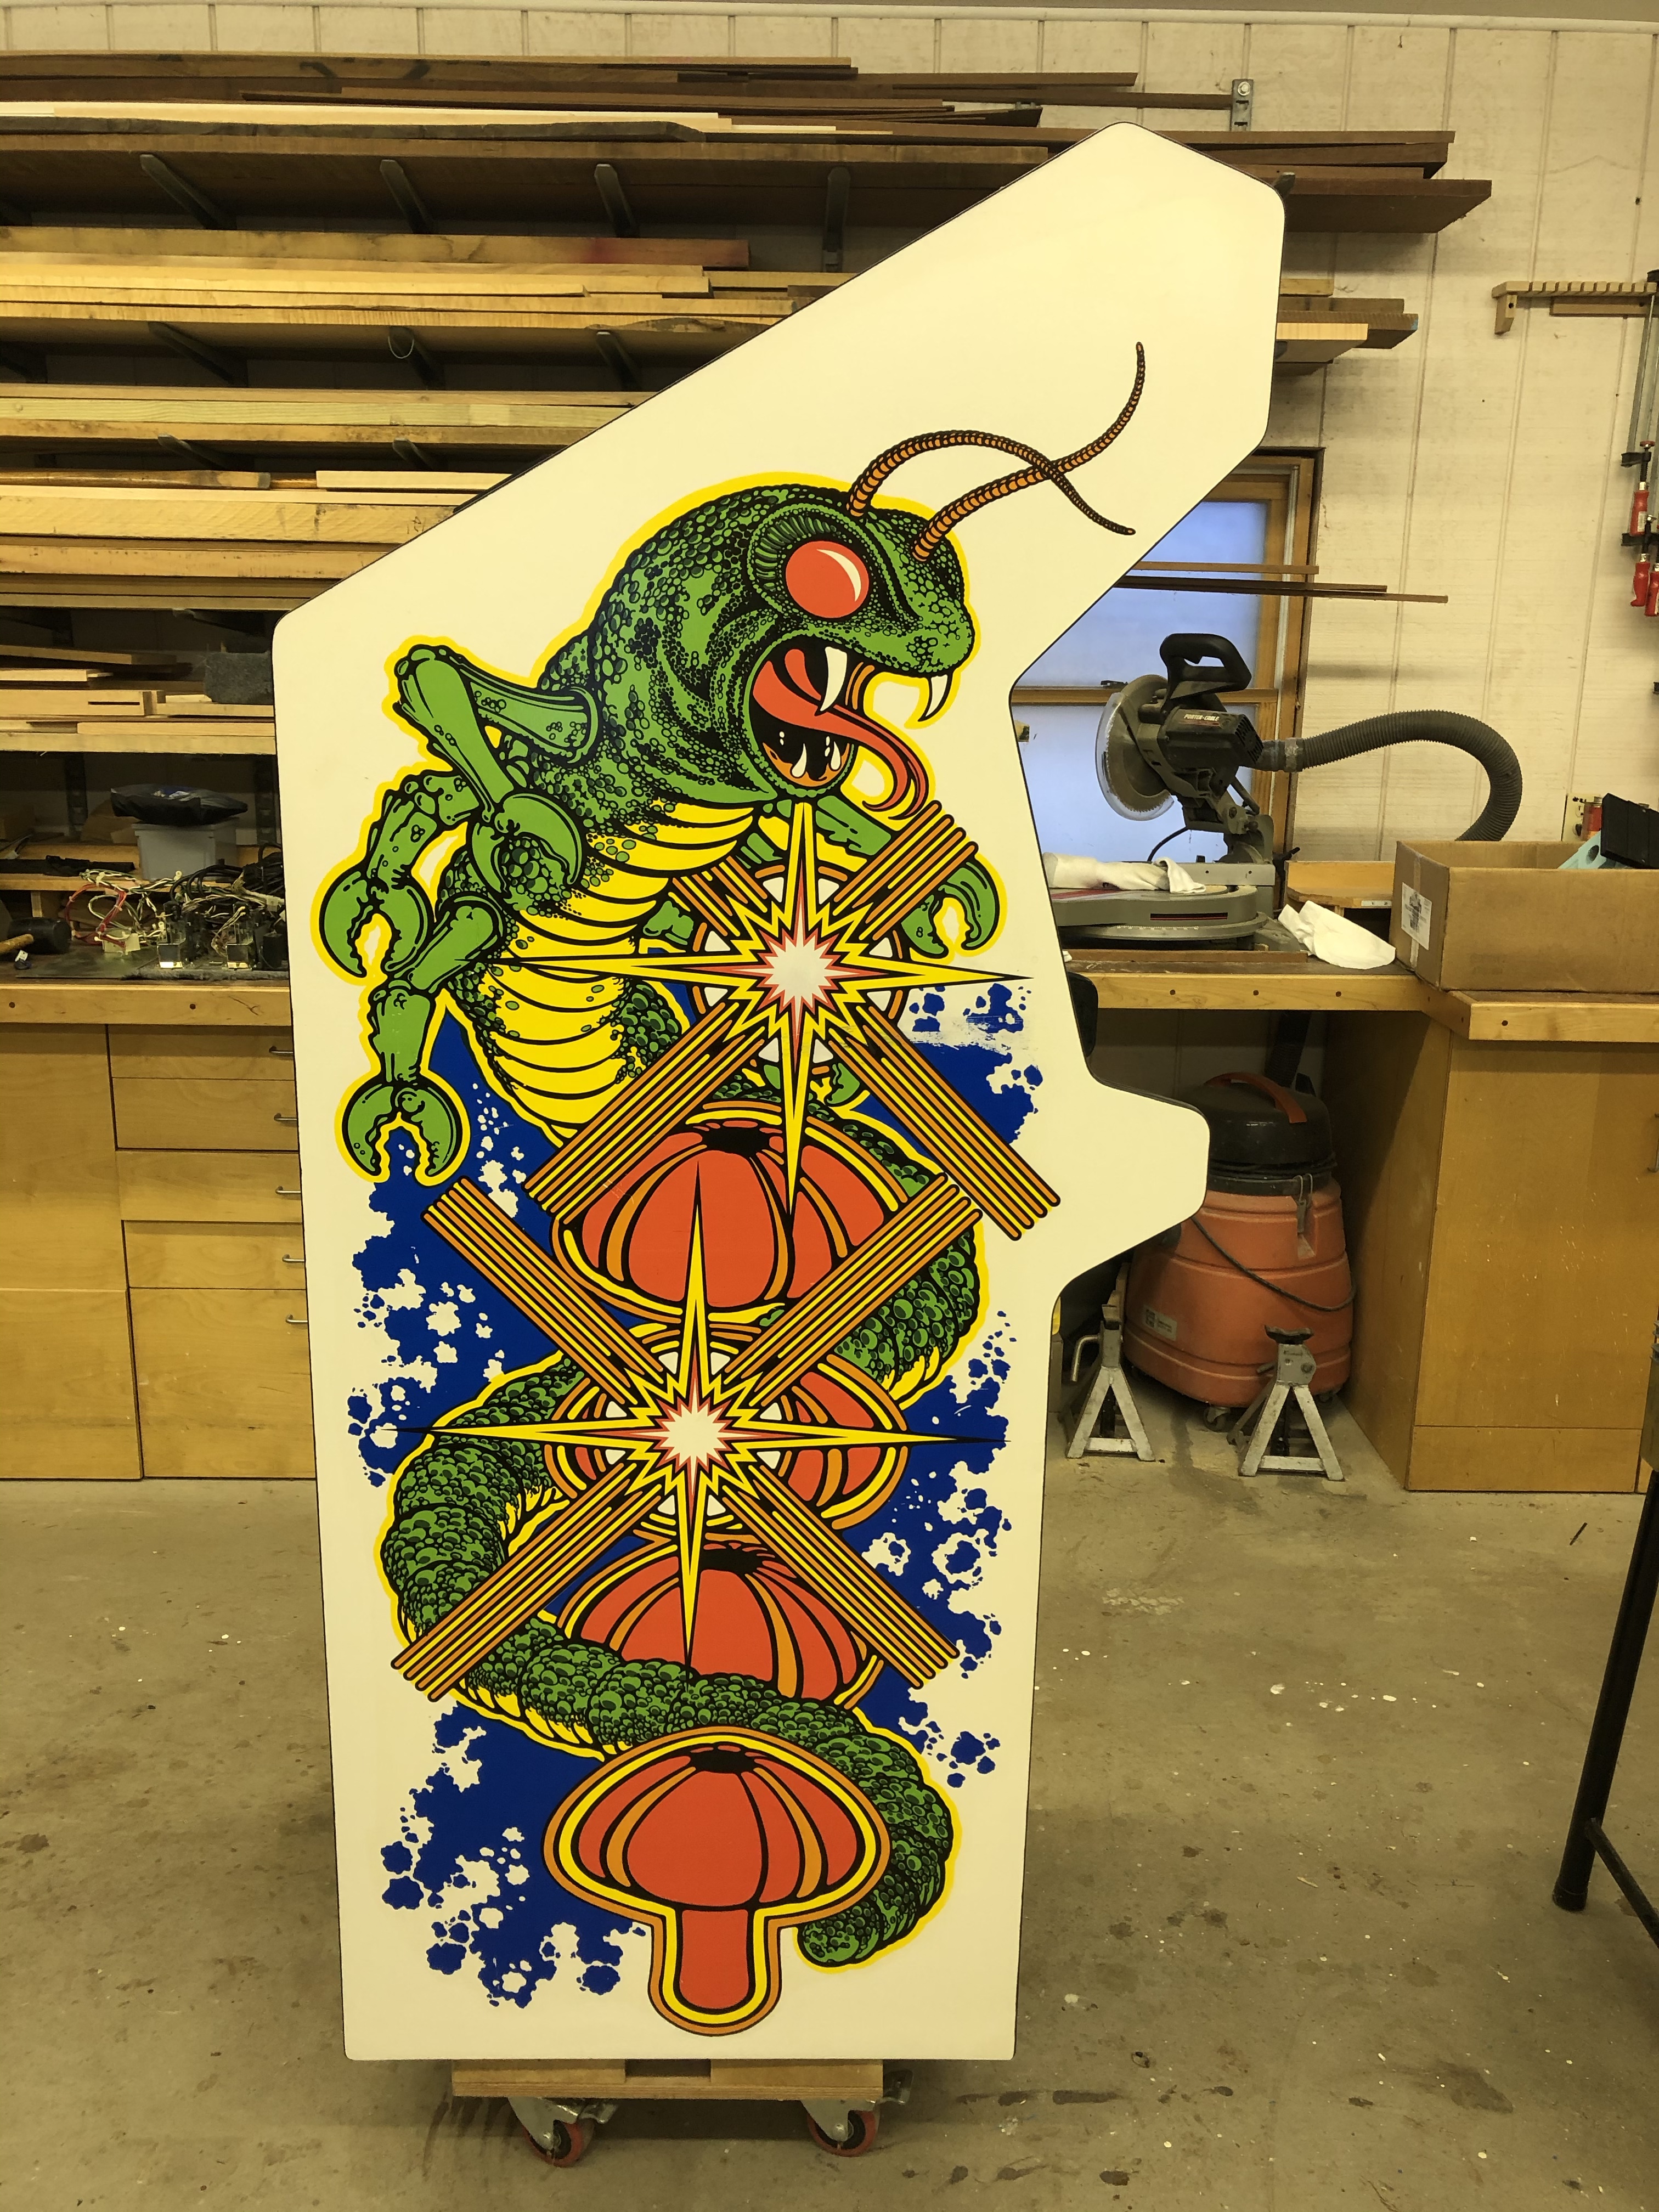
[…] Cabinet and Cosmetics […]
Can you share the paint codes for the Centipede white please? Such an amazing blog! I’ve been in the hobby a couple years now and picked up a working Centipede a couple months ago that needs a lot of cosmetic help. Your blog has taught me technique and provided inspiration. Thank you so much!
You really want to color match to the paint on your cabinet. Cut off a chip, bring it to Home Depot and have them color match to one of the sample paints. I used a satin enamel. All the cabs age differently.. I’ve had them match for a number of projects and it they are very accurate.
Looks great I am doing the same right now. Going to try all your putty, paints and sealers suggestions. Any other updates or changes you might have left out?
Hi – Not on Centipede – everything I did on it went very well. I still want to touch up the artwork.. but I have a bunch of machines now and they are all getting fixed up too 😉 Centipede is my favorite of all time. Glad you are saving one!
interseting thread