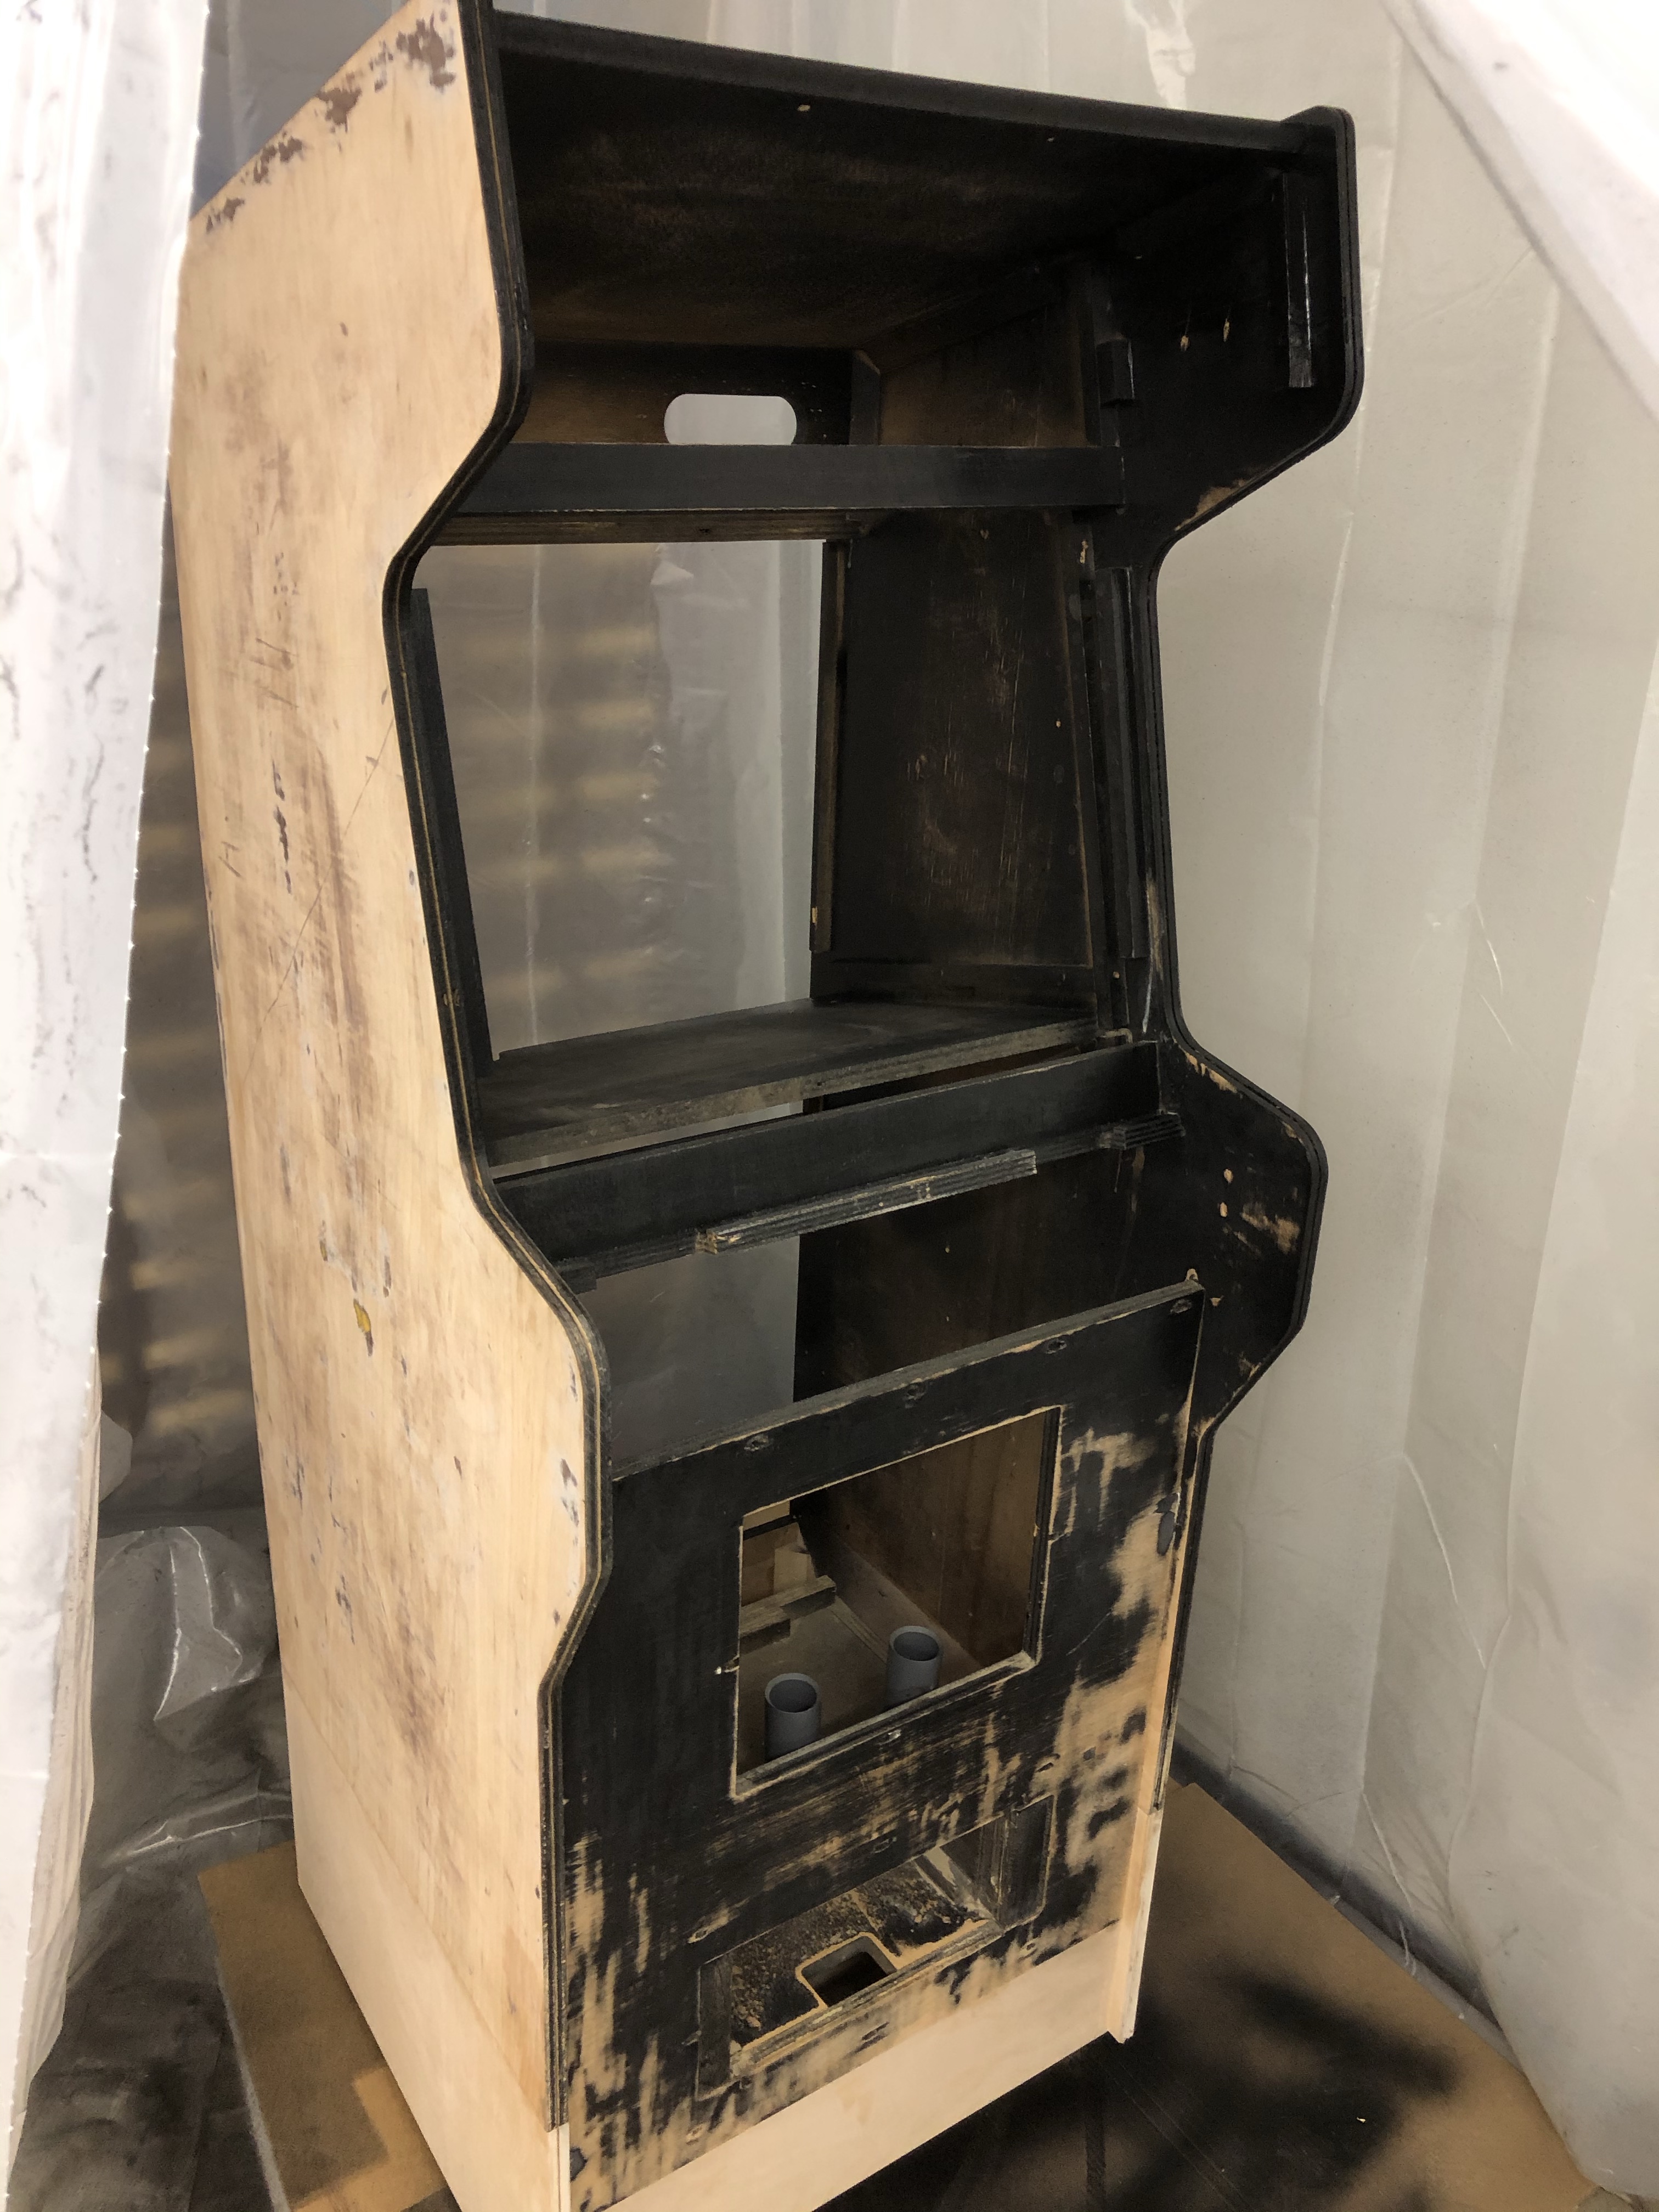
Of the few cabinets I’ve been inside – this one is pretty well constructed..
Williams used plywood and actual dado joinery on Joust. Centipede is particle board, butt joints and staples. Galaga is MDF.
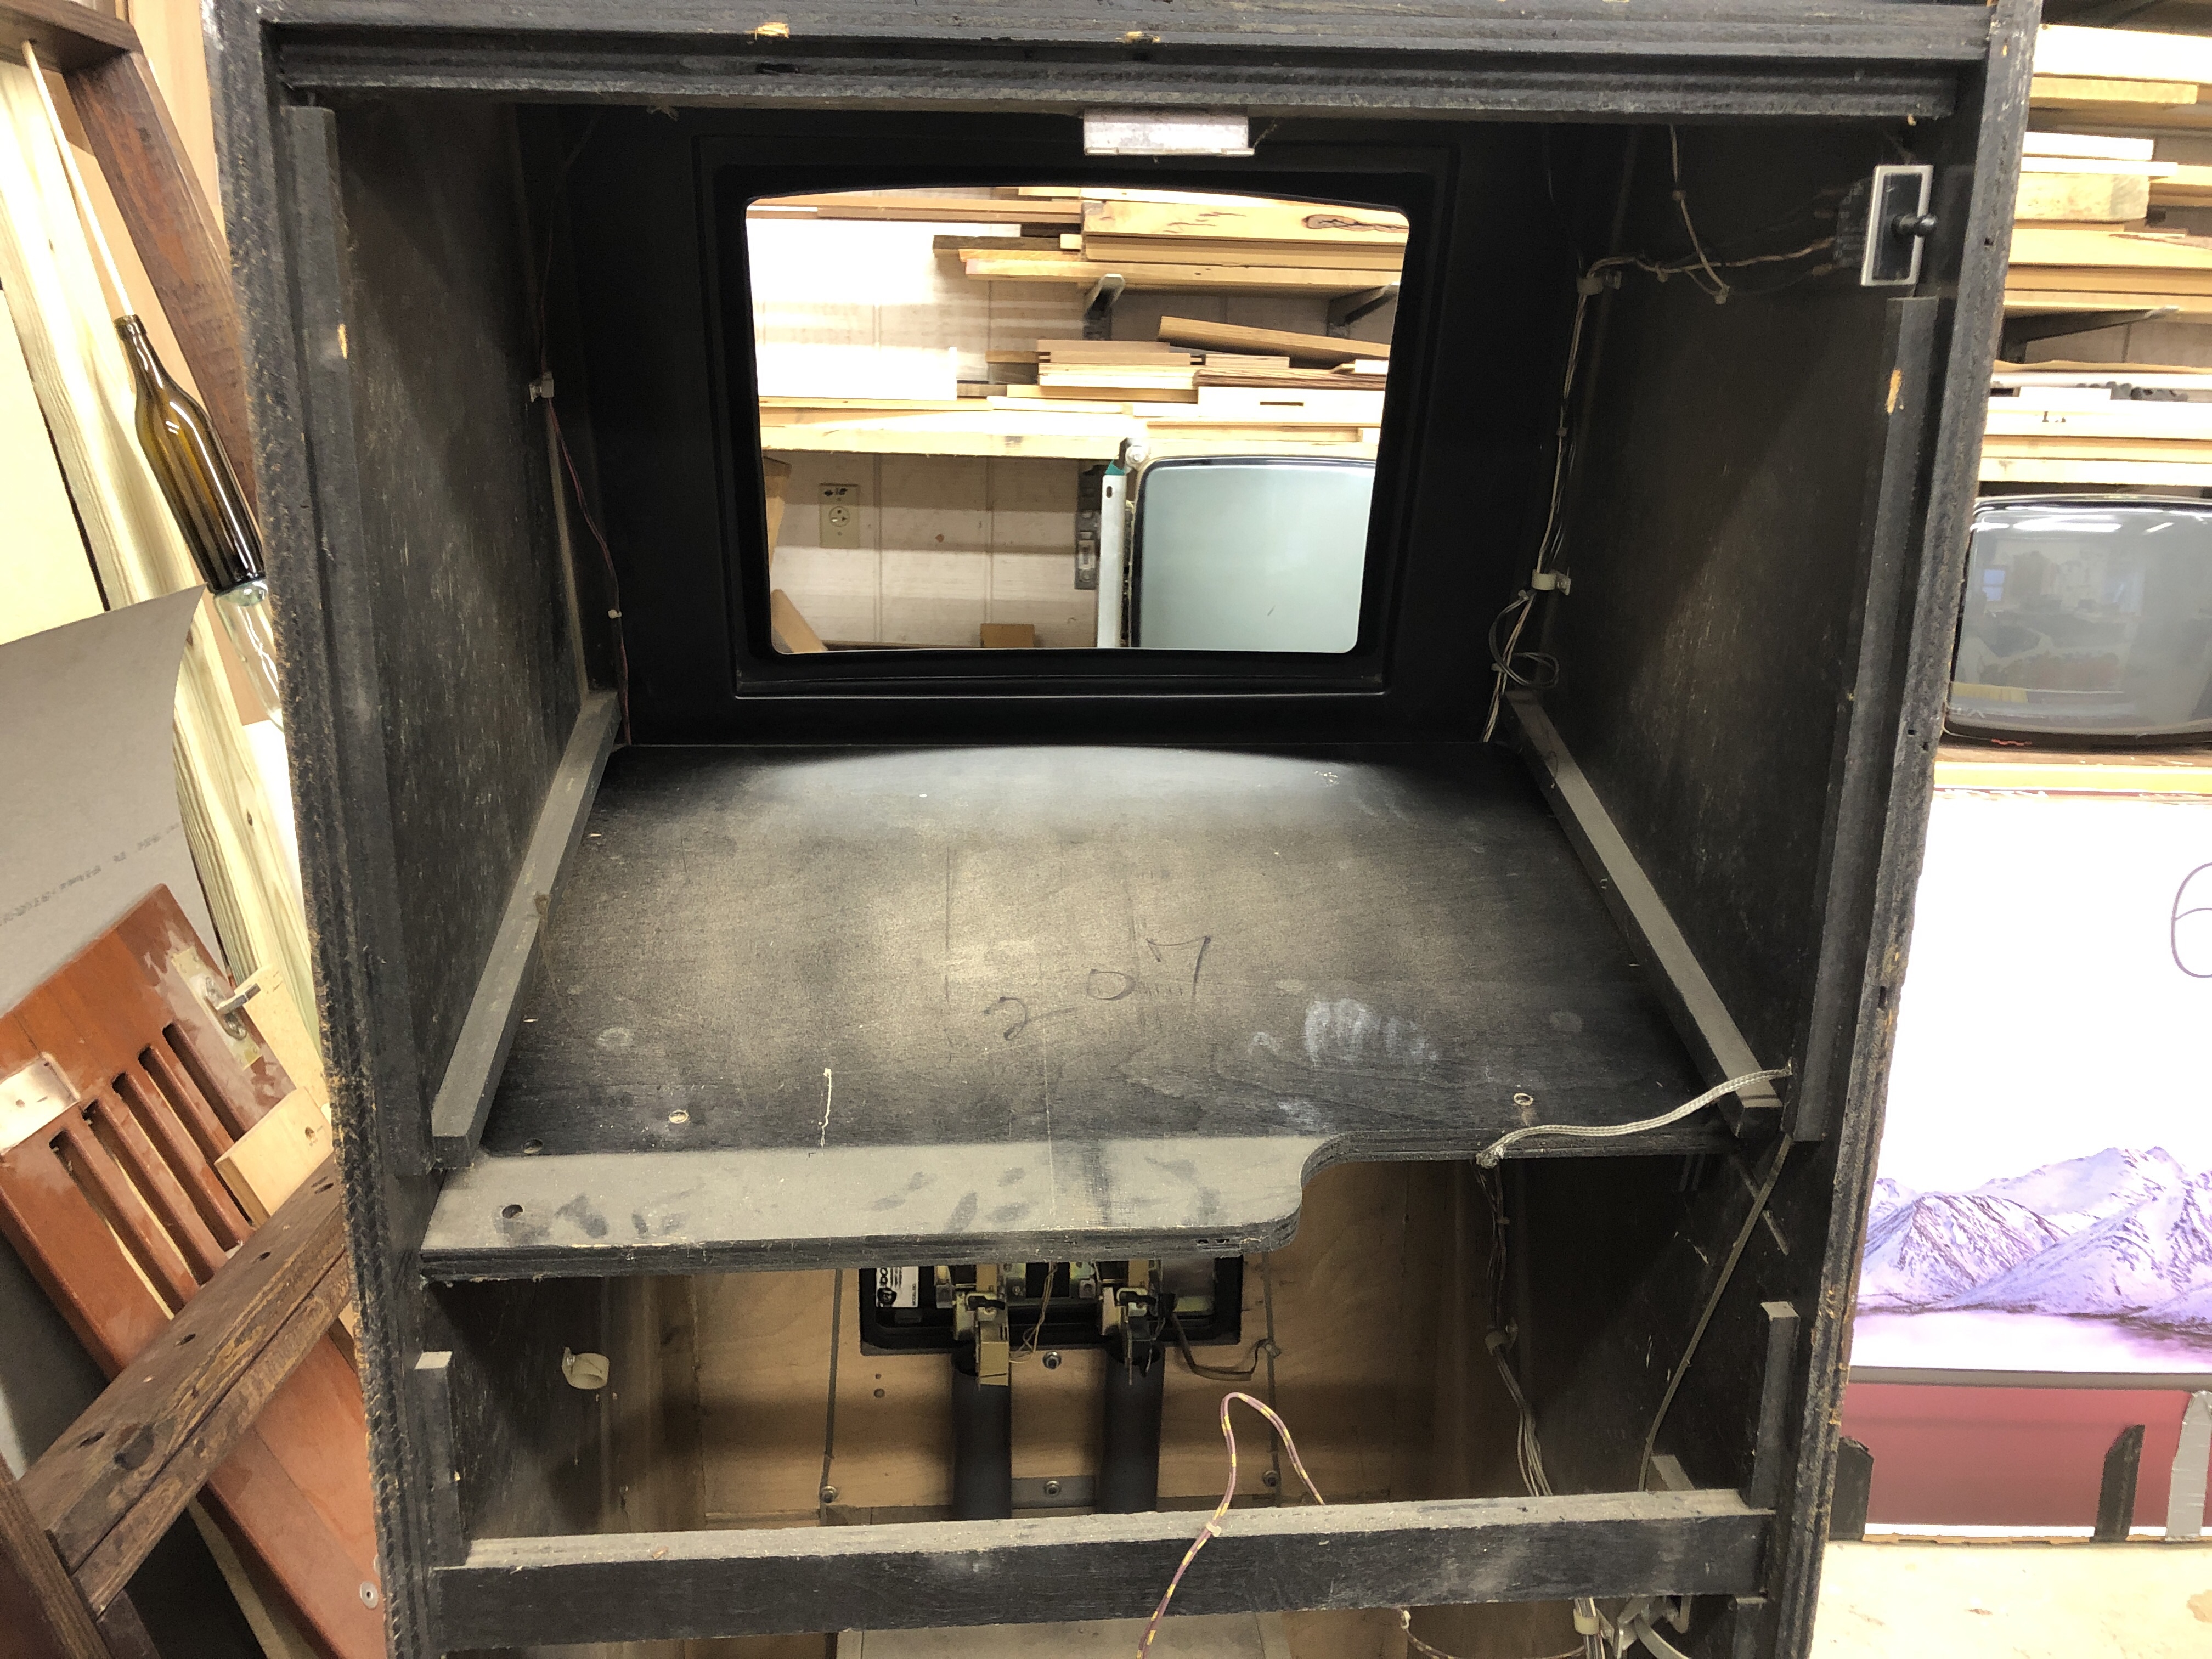
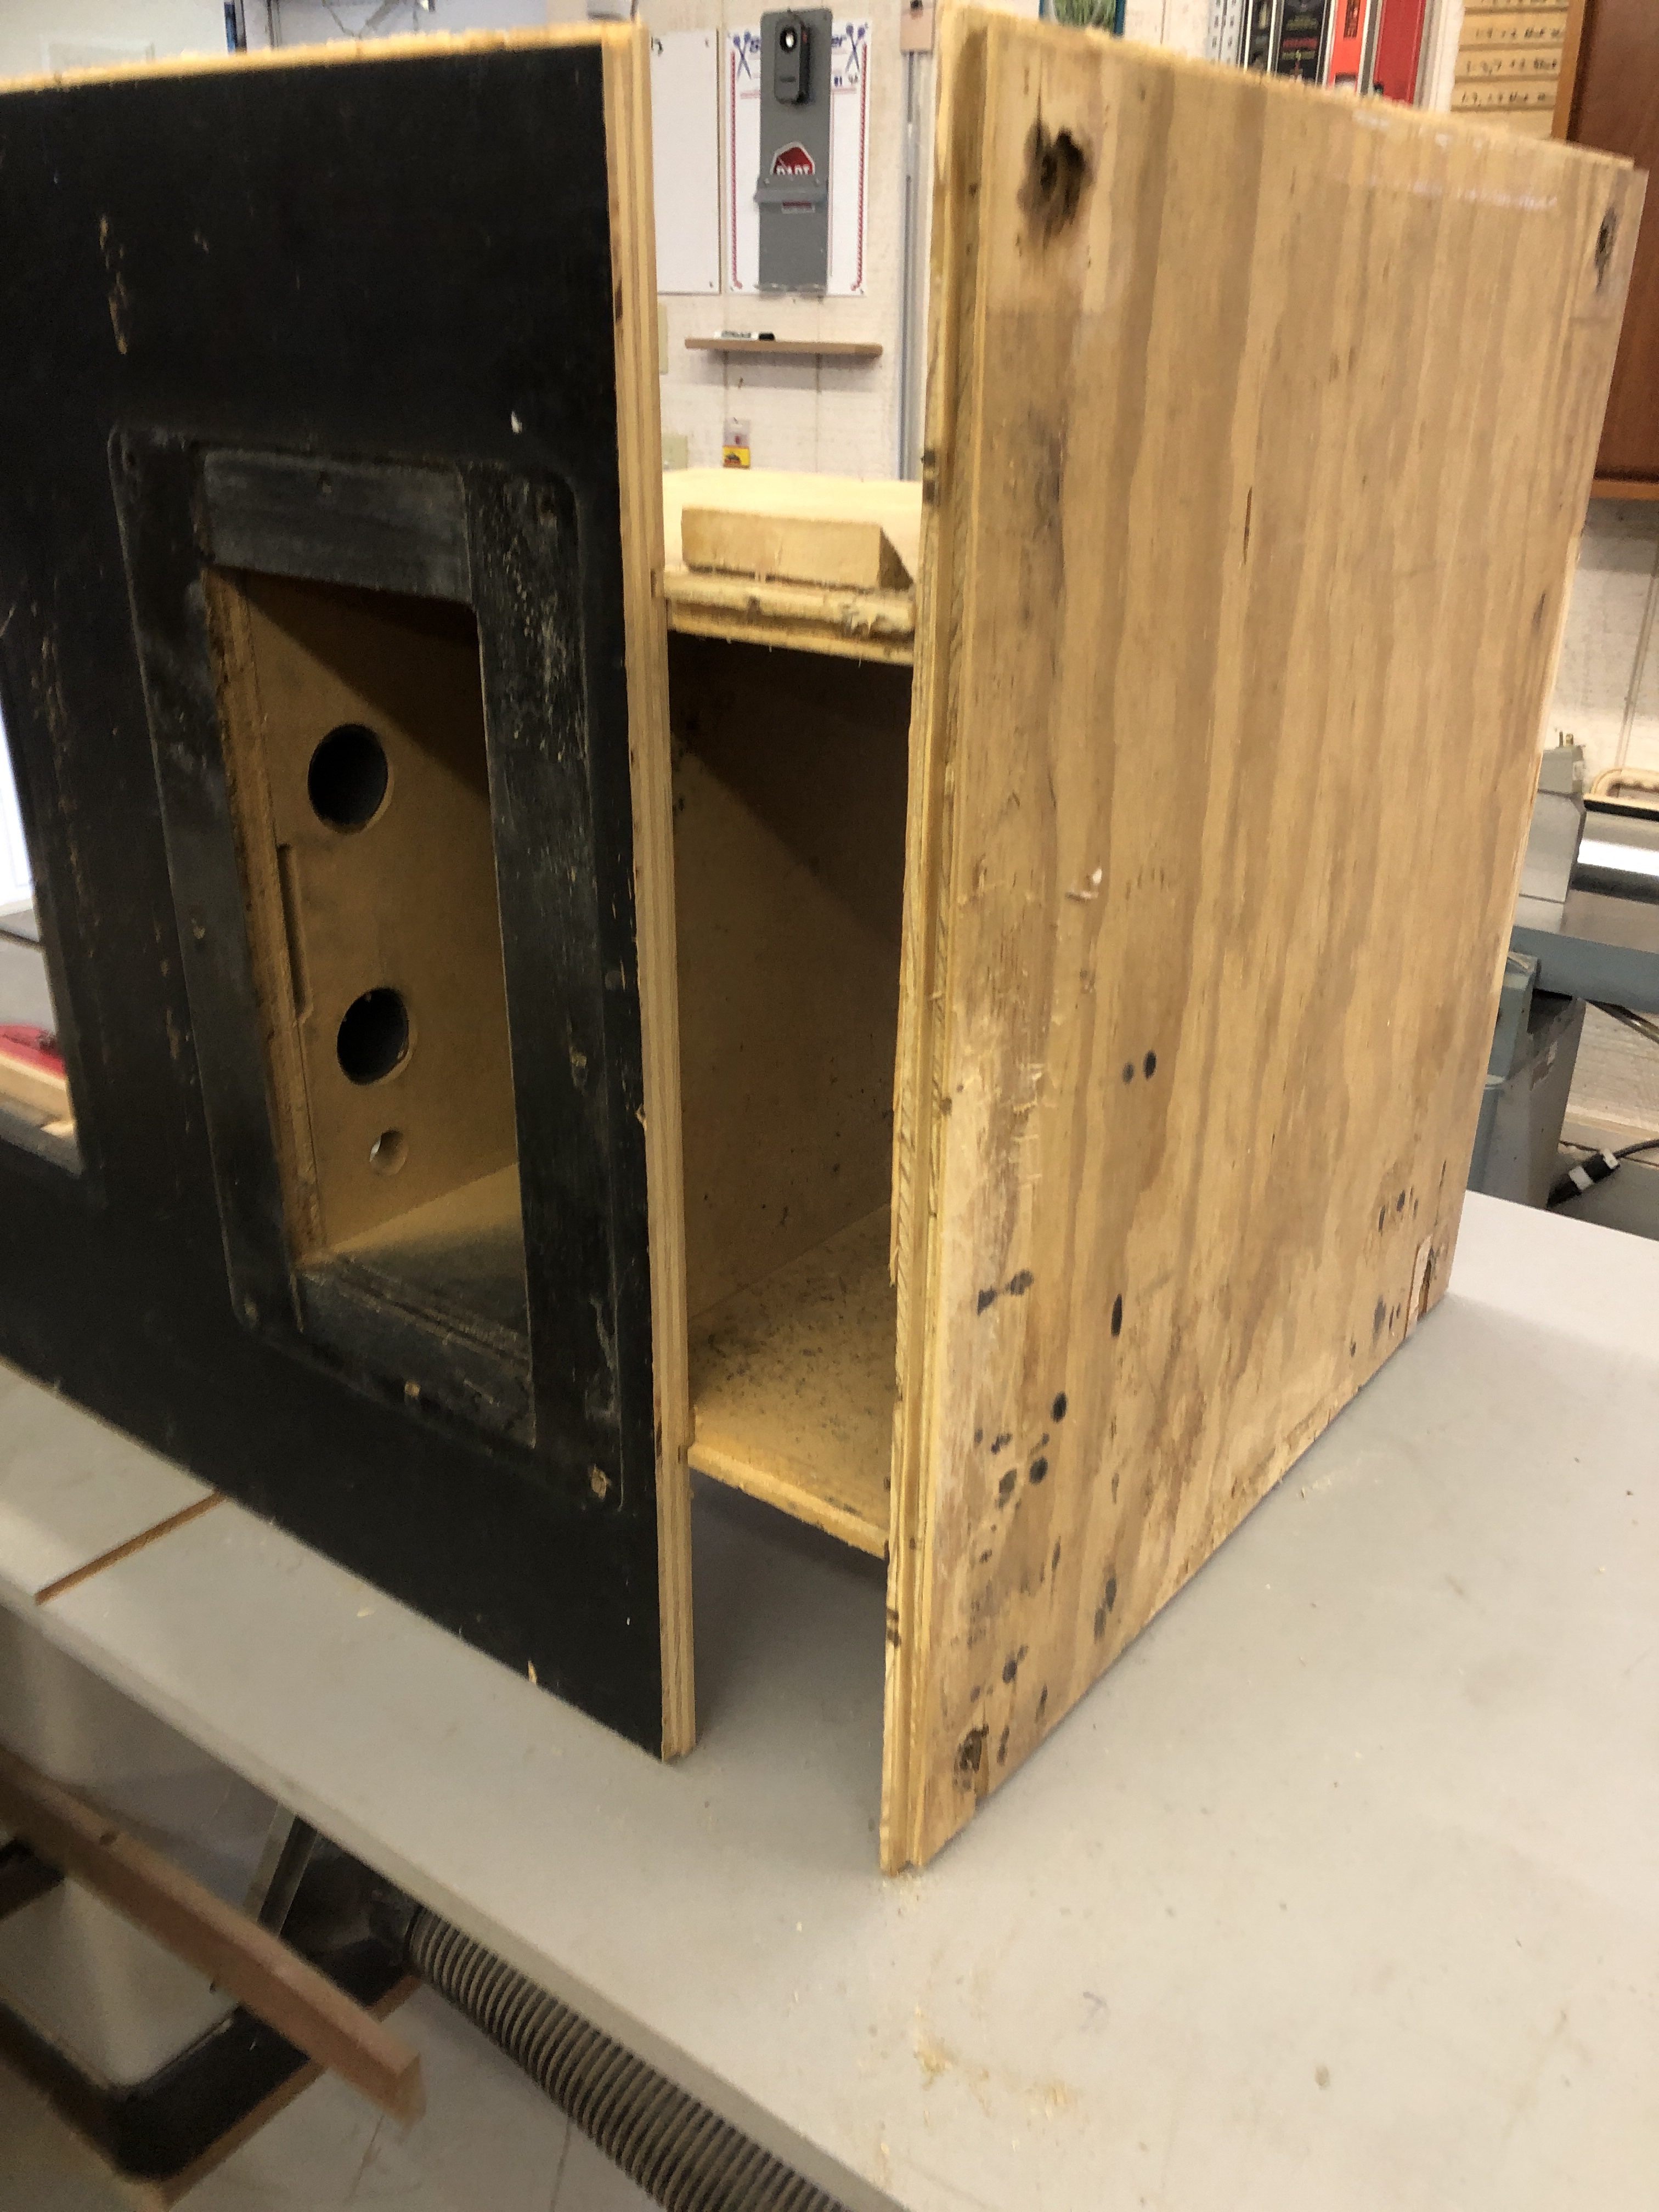
What makes it nice is what is going to also make it difficult to get apart. They used actual joinery with glue. Hopefully I can knock the sides apart and get the front off. One really nice feature of this cabinet is the monitor is on a plywood shelf. Unplug the power and video and slide it out. Super simple.
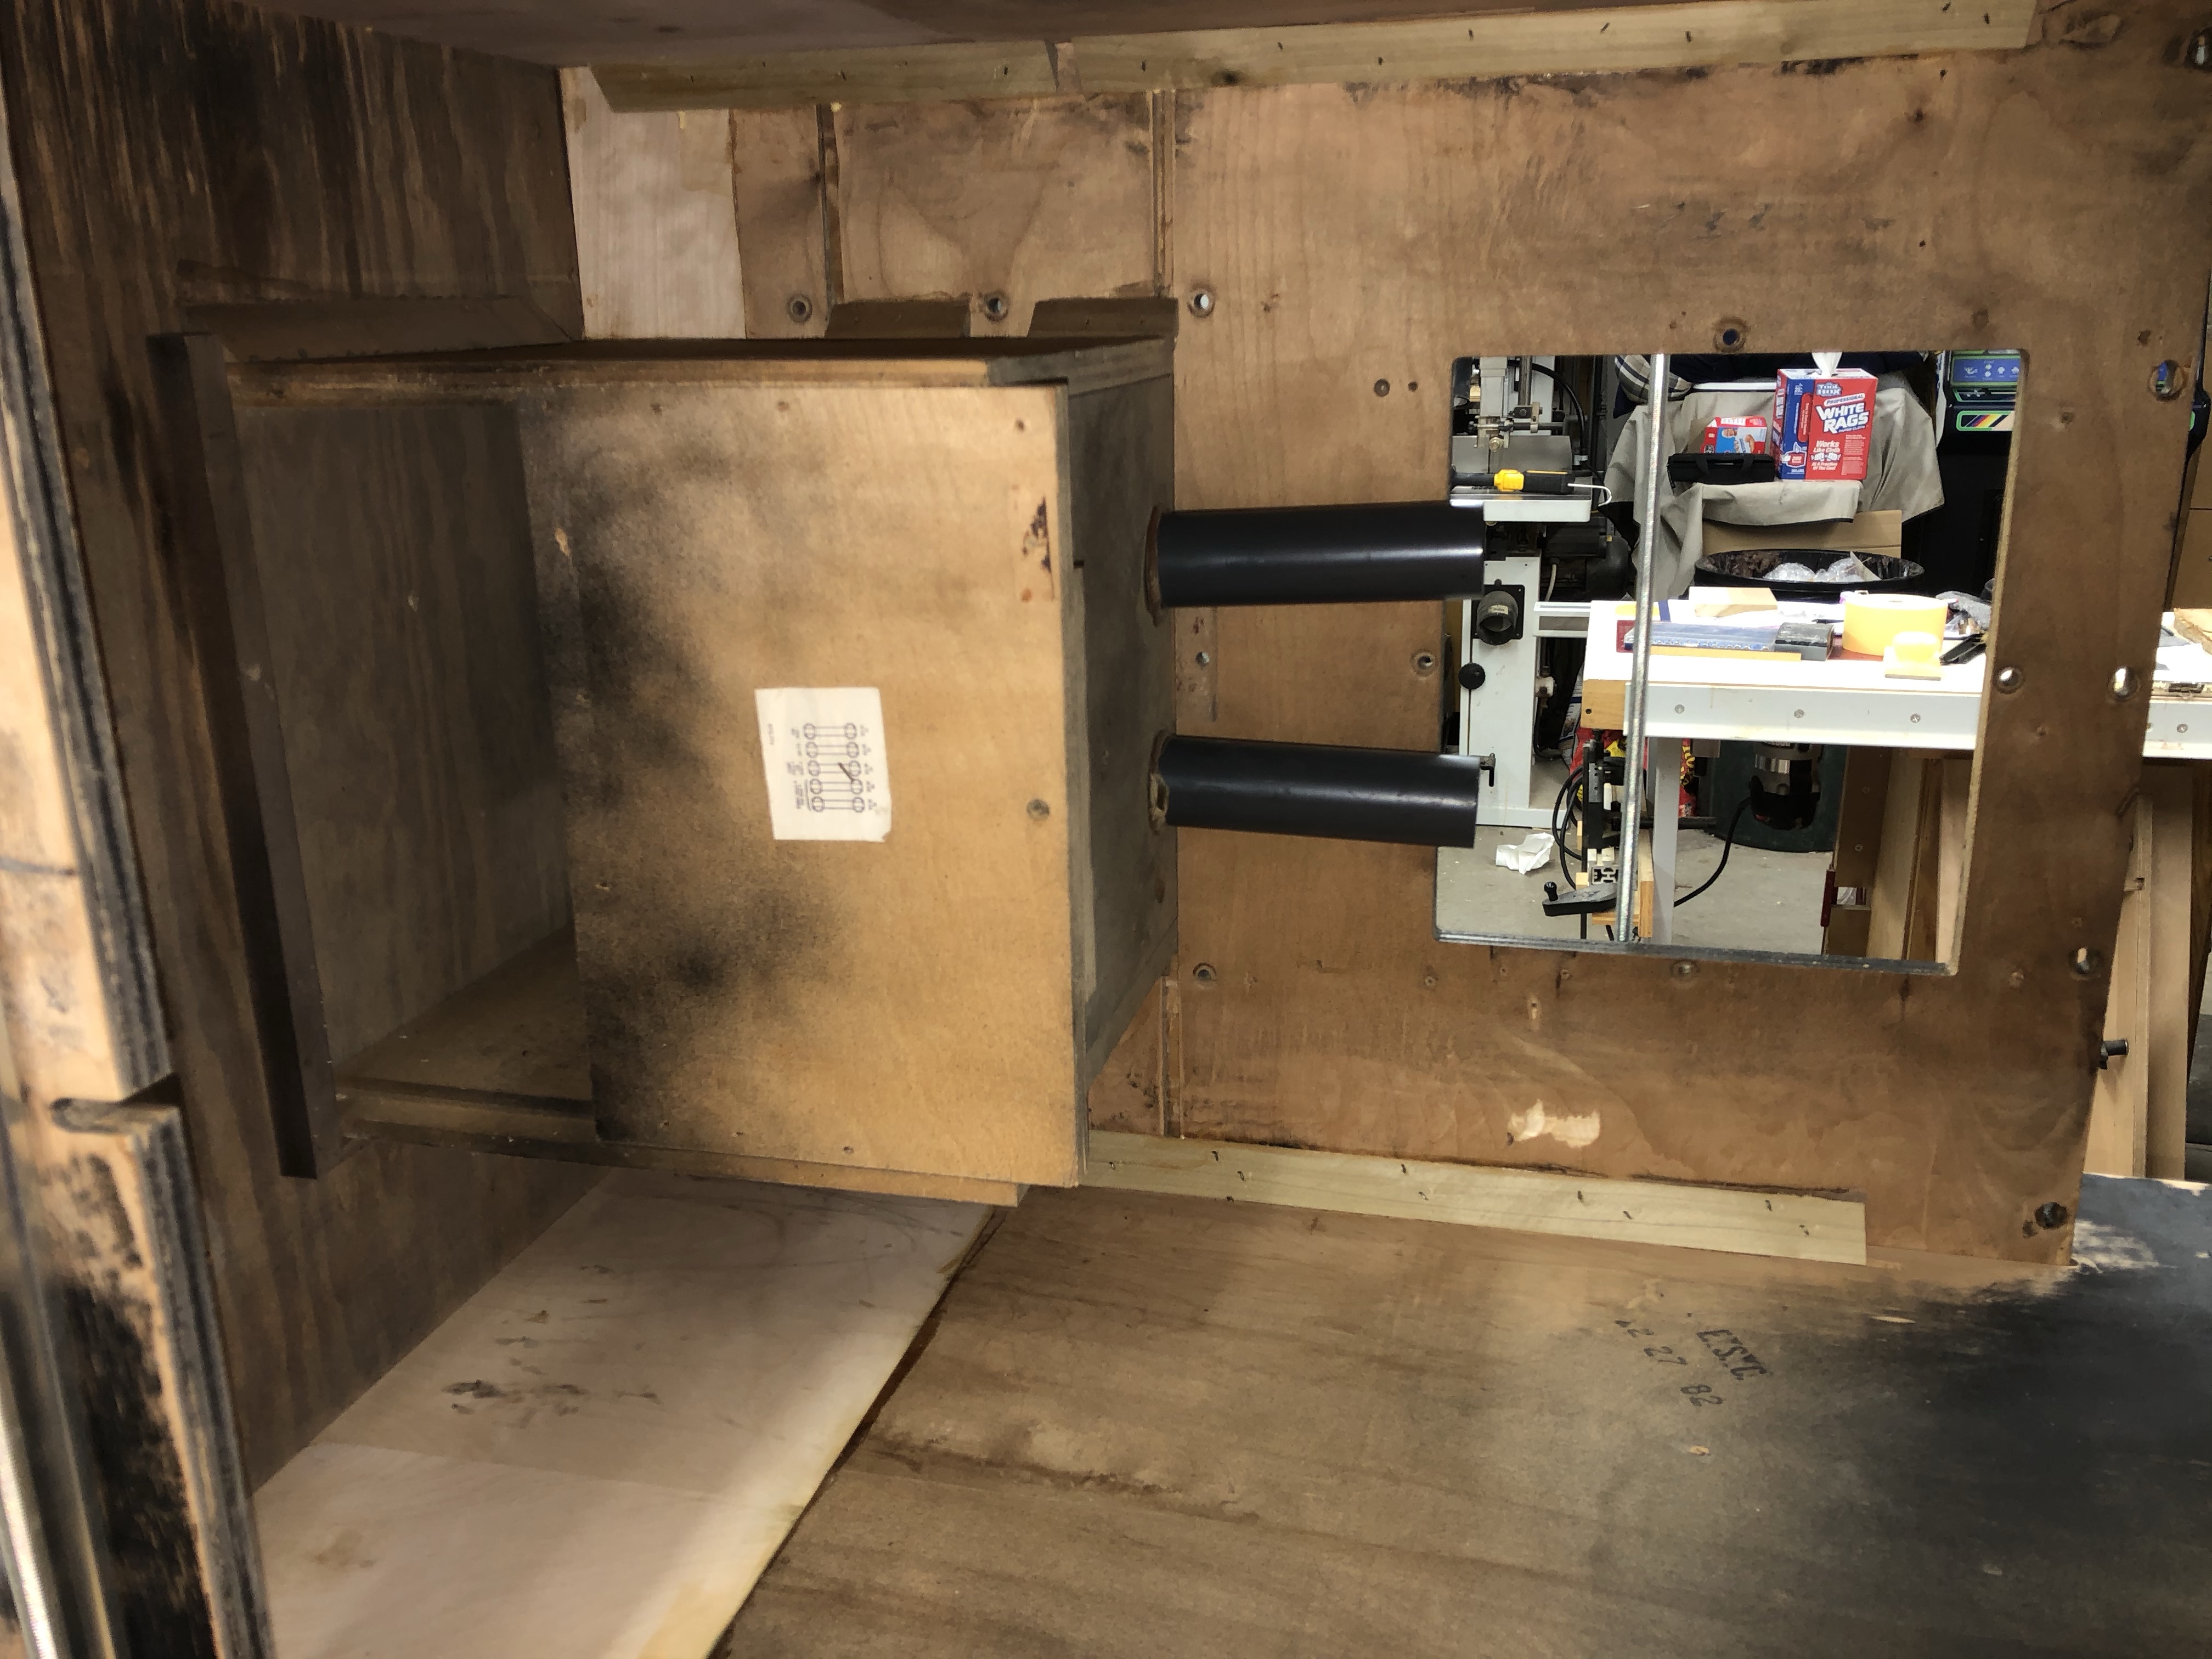
It has this fun feature.. A built in mirror behind the marquee that is angled down toward the screen.
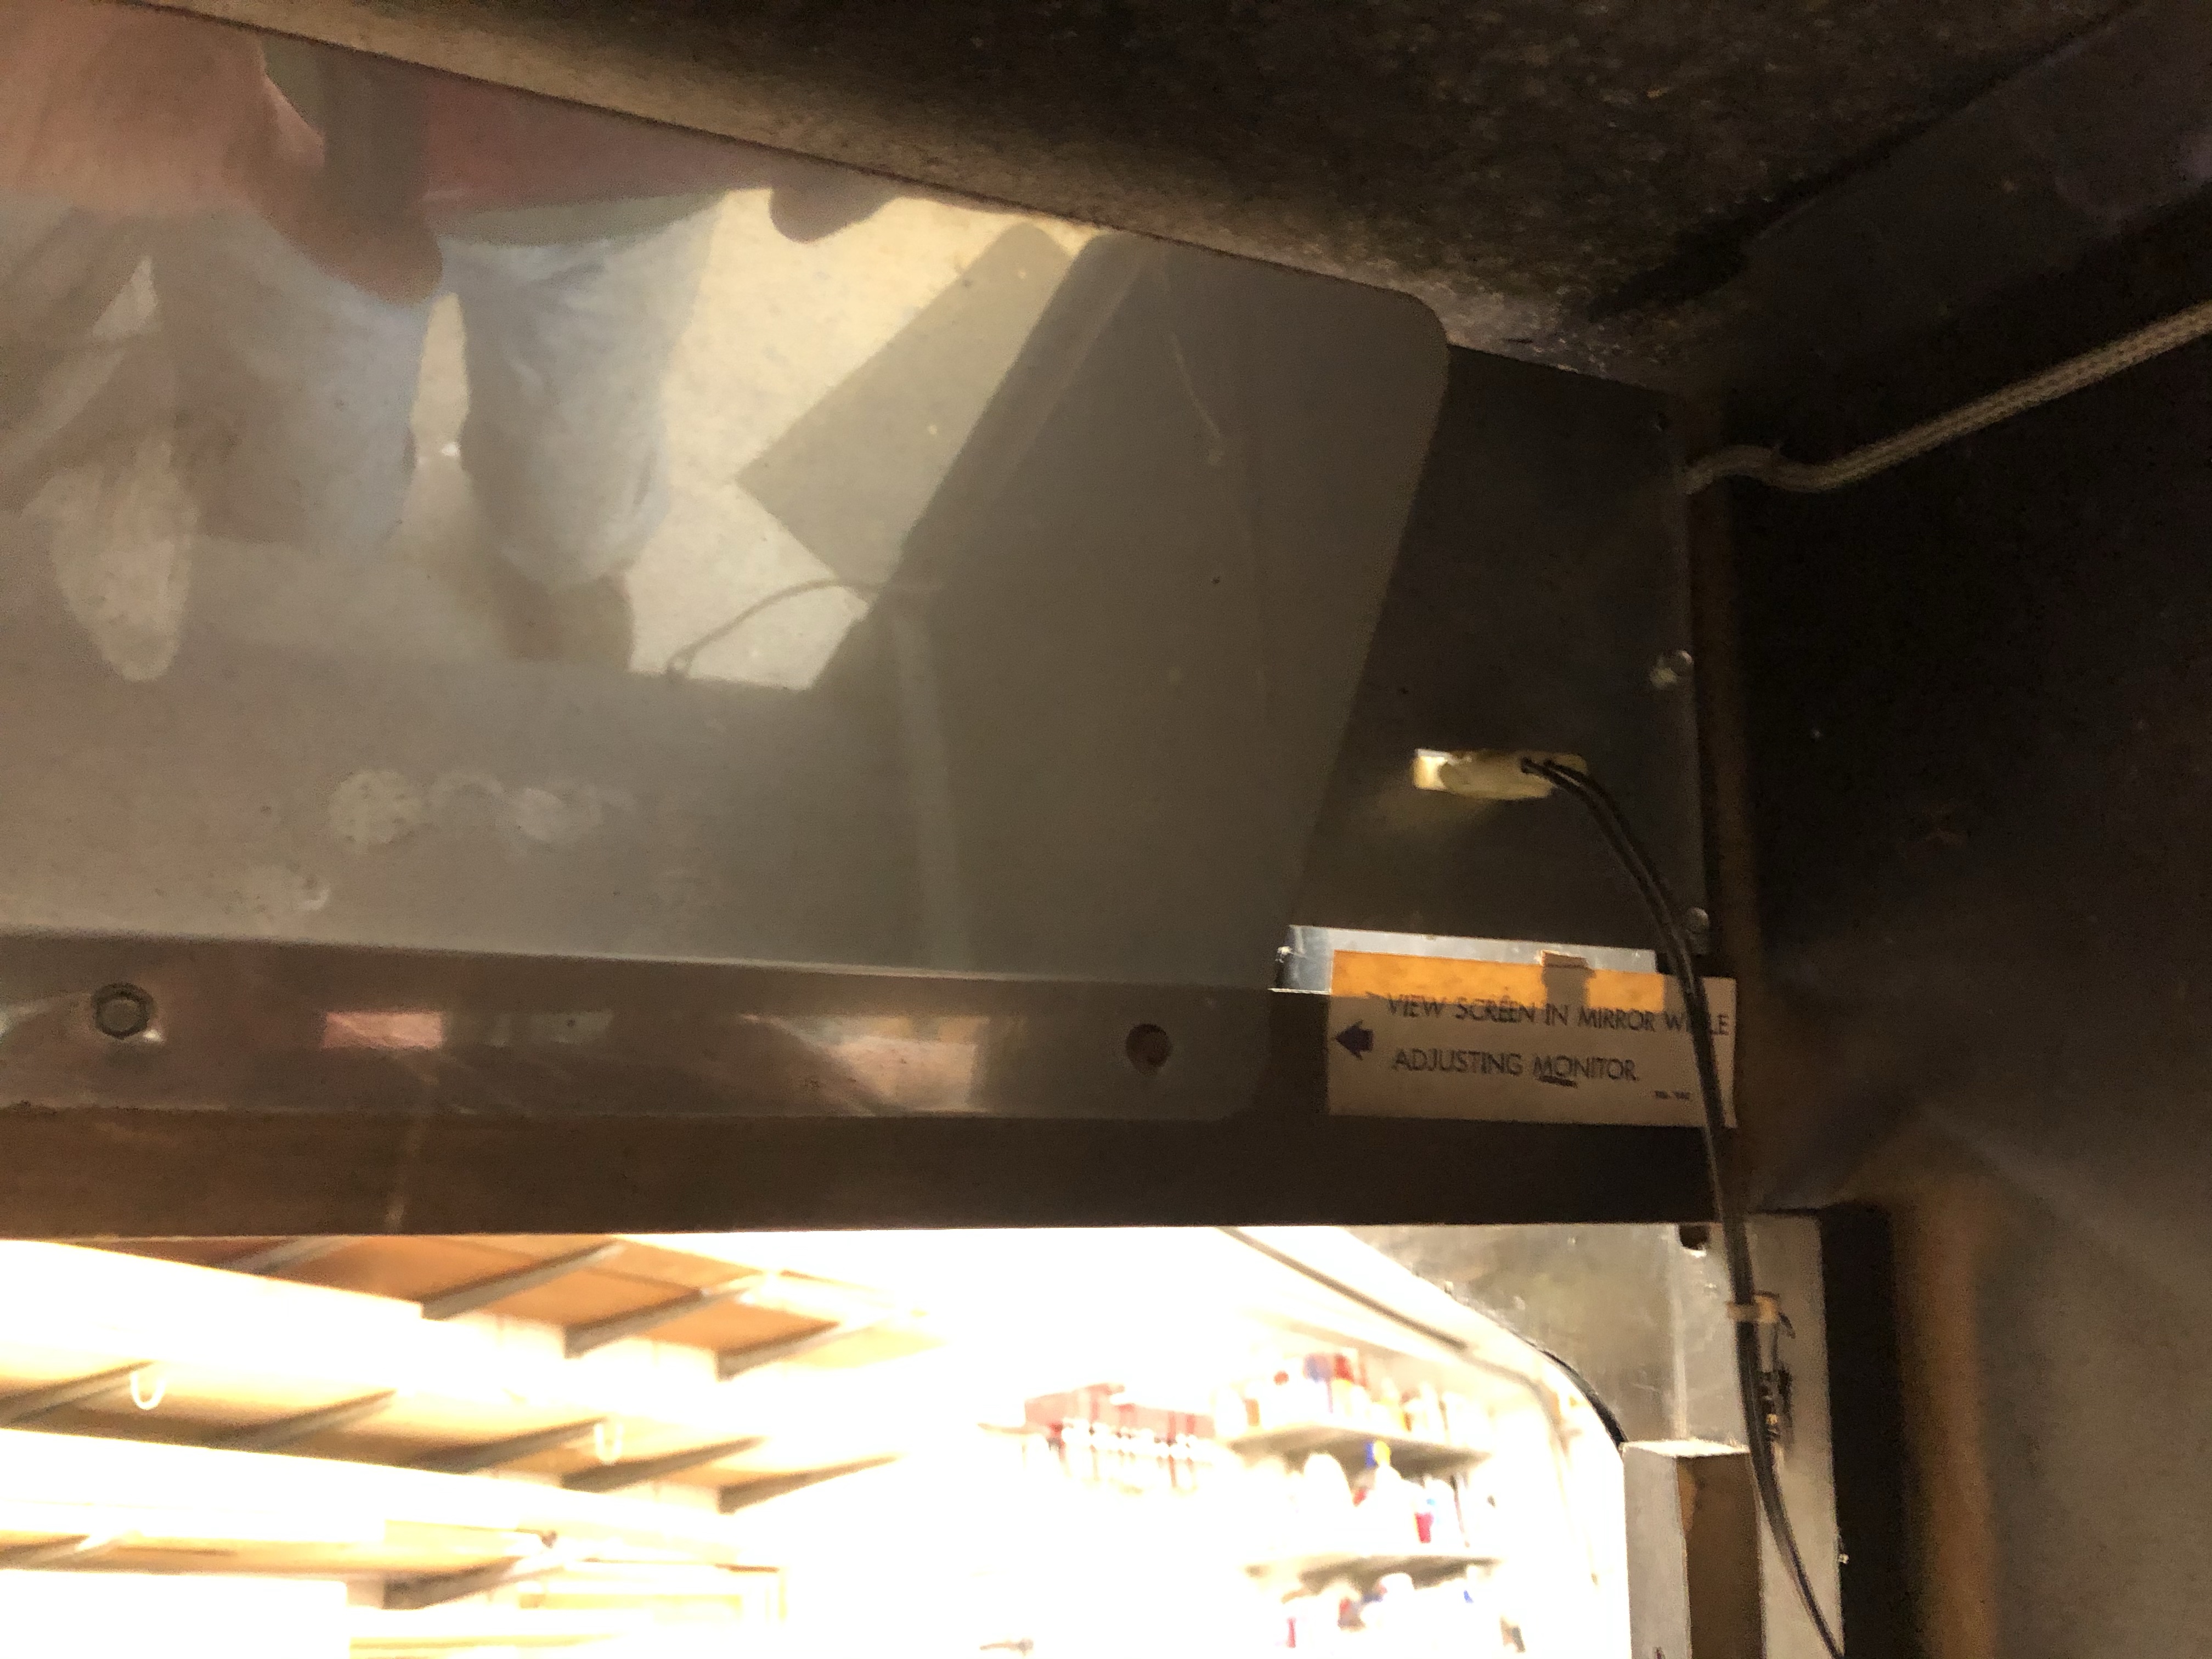
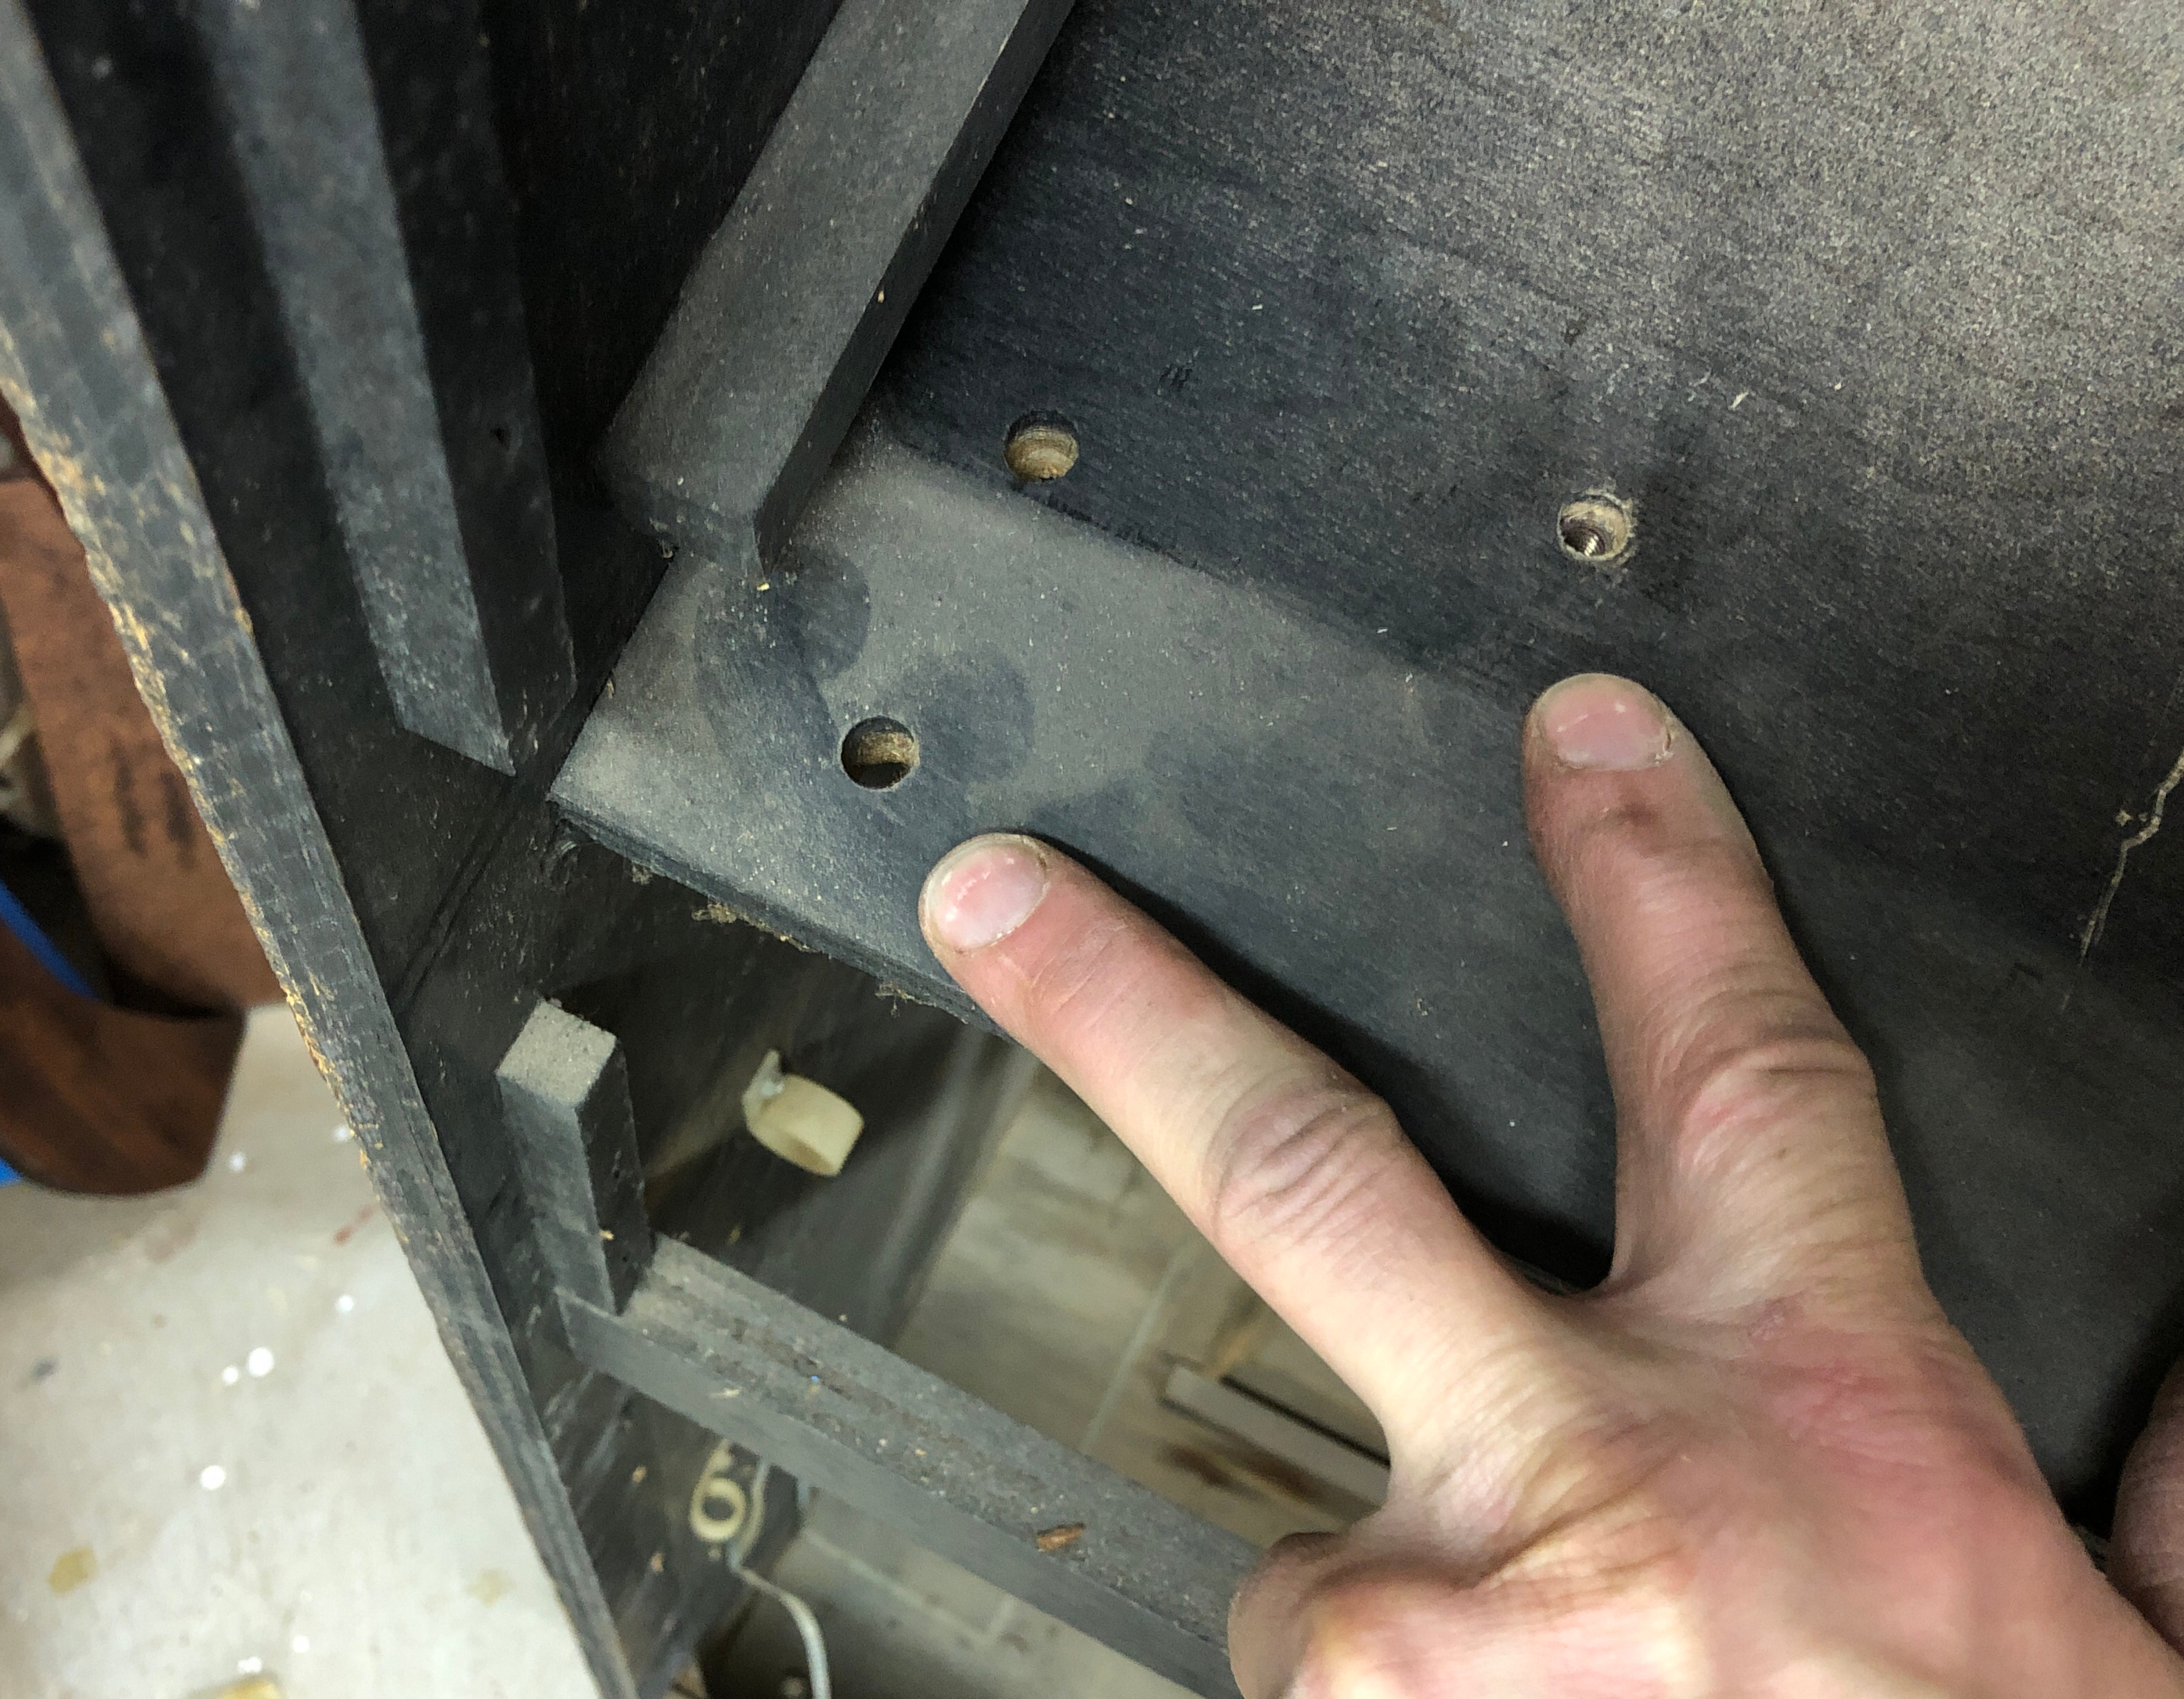
You can slide the monitor backward by unbolting it from the forward hole and putting the bolt in the rear hole so it doesn’t slide onto the floor. That distance gives you a little separation so the mirror can see the screen – very clever!
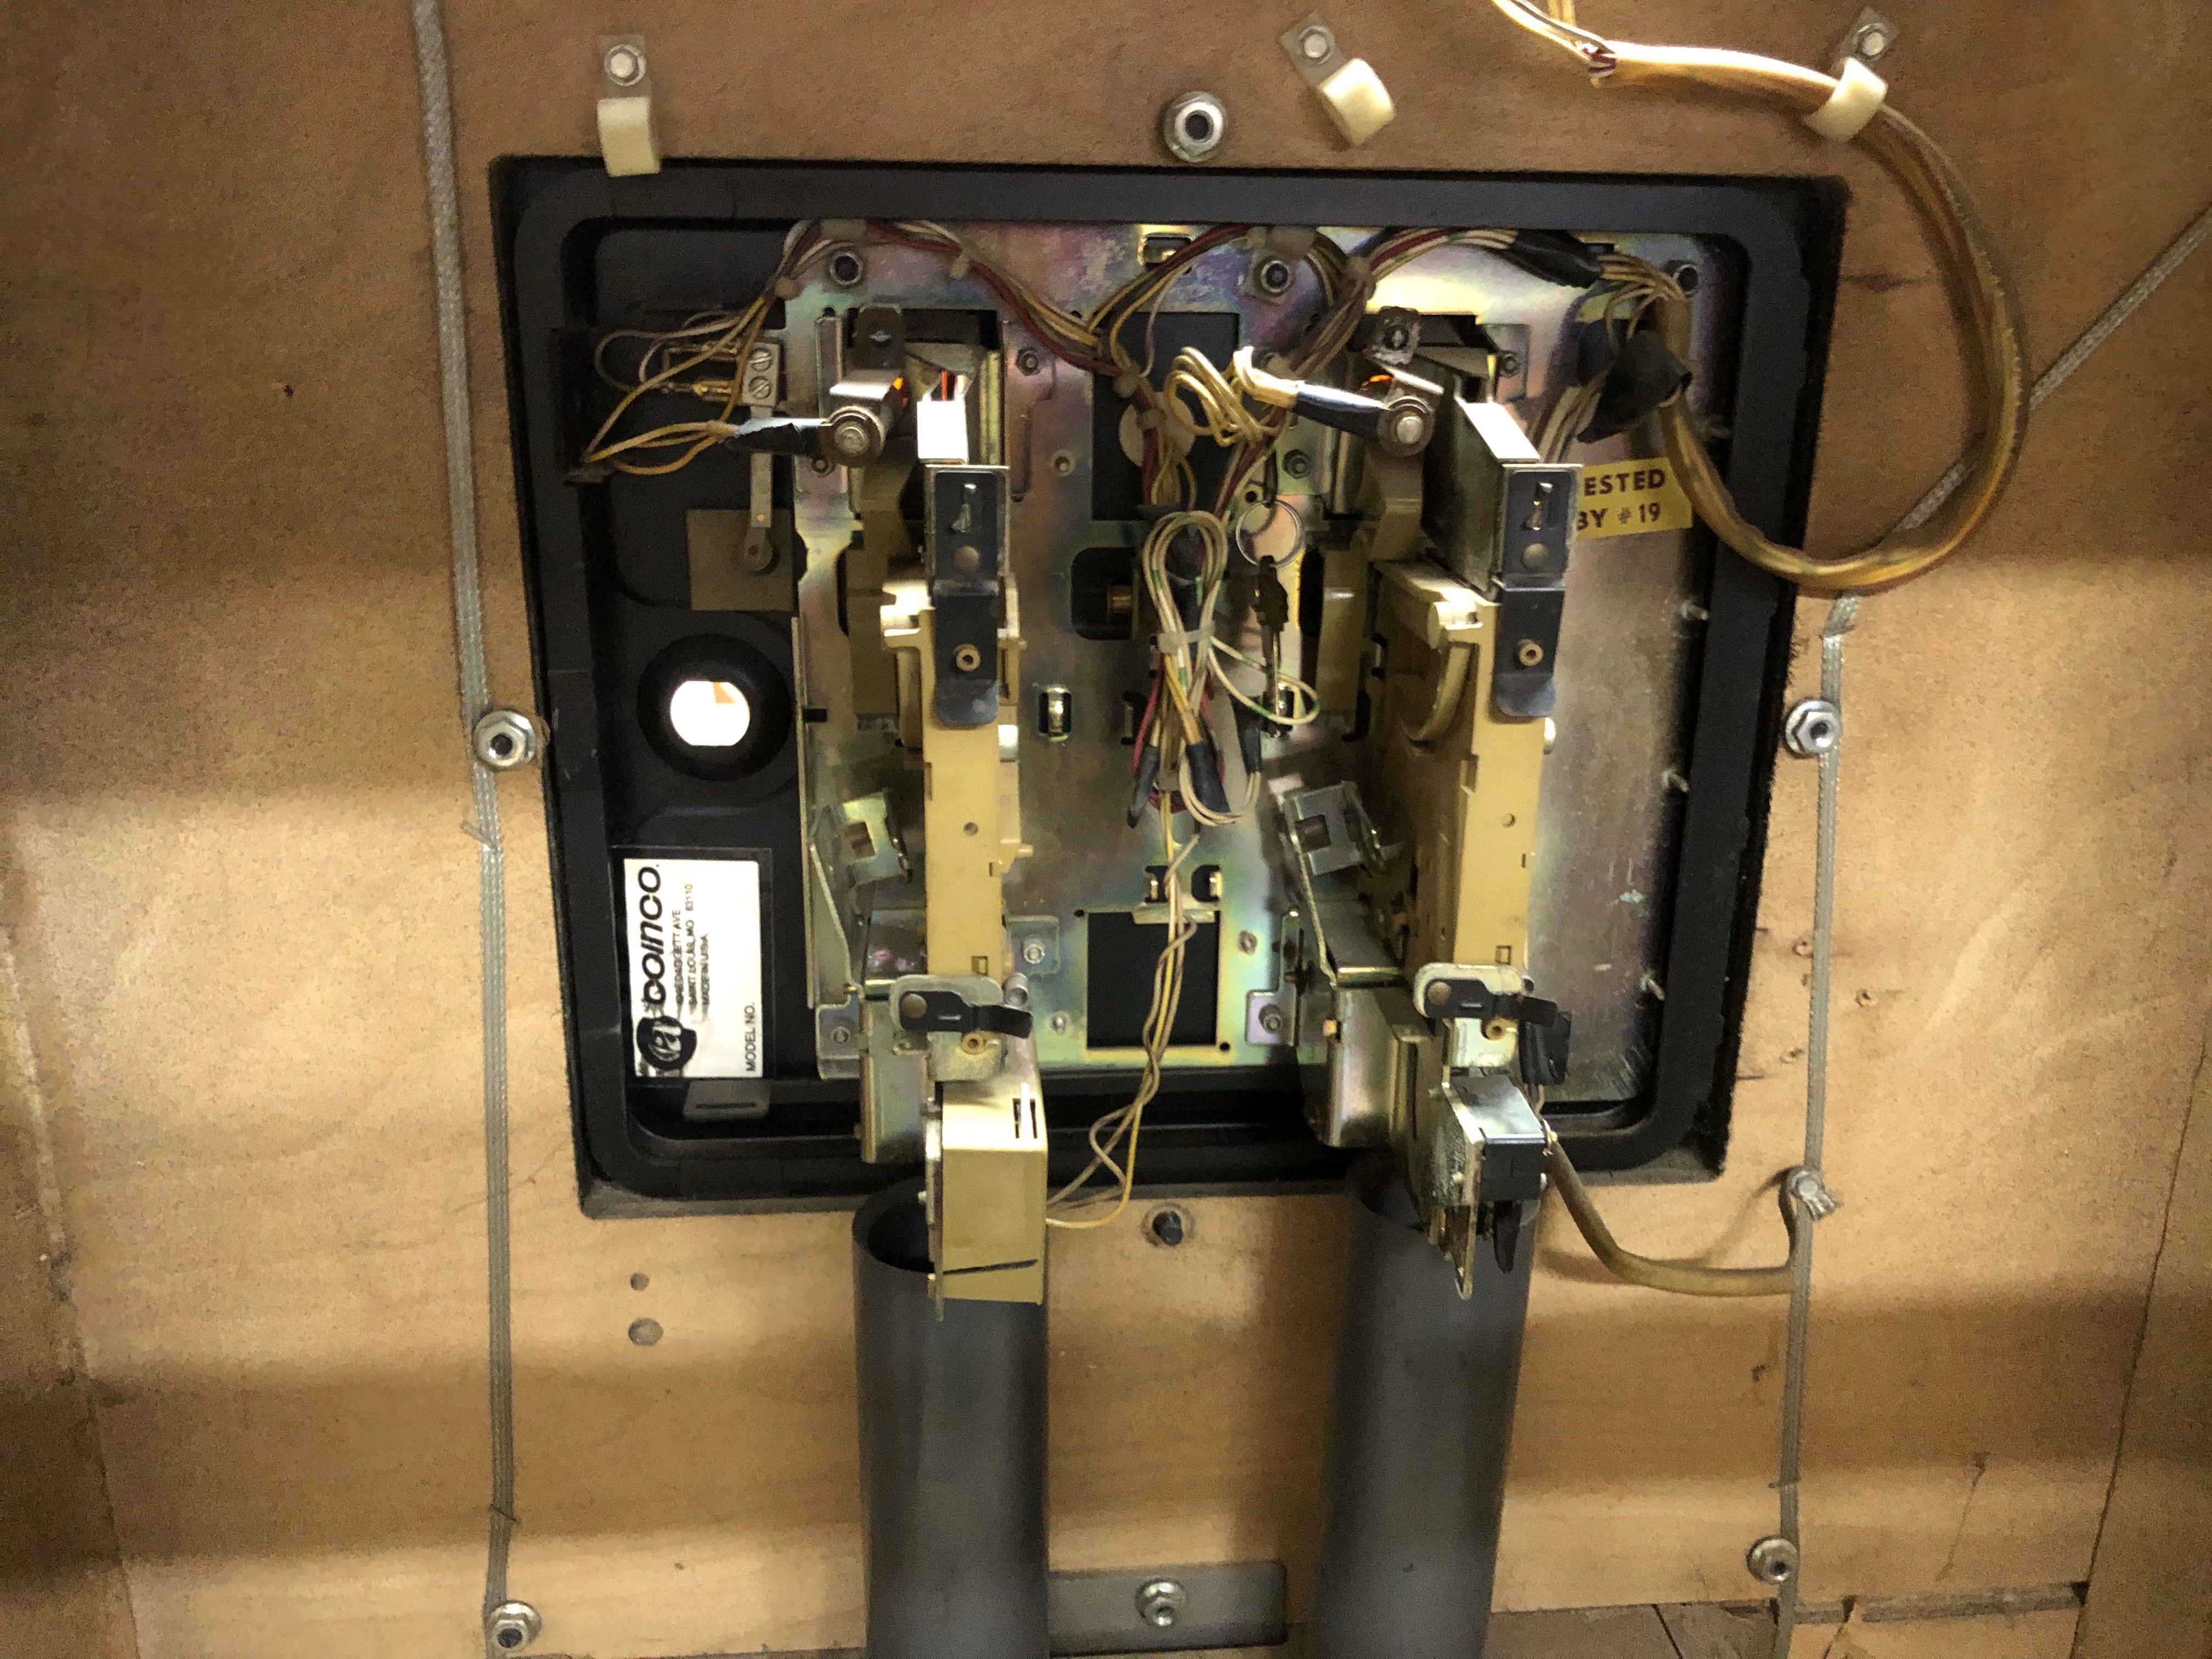
Coin door is all there – but in need of some straightening out and a fresh coat of paint.
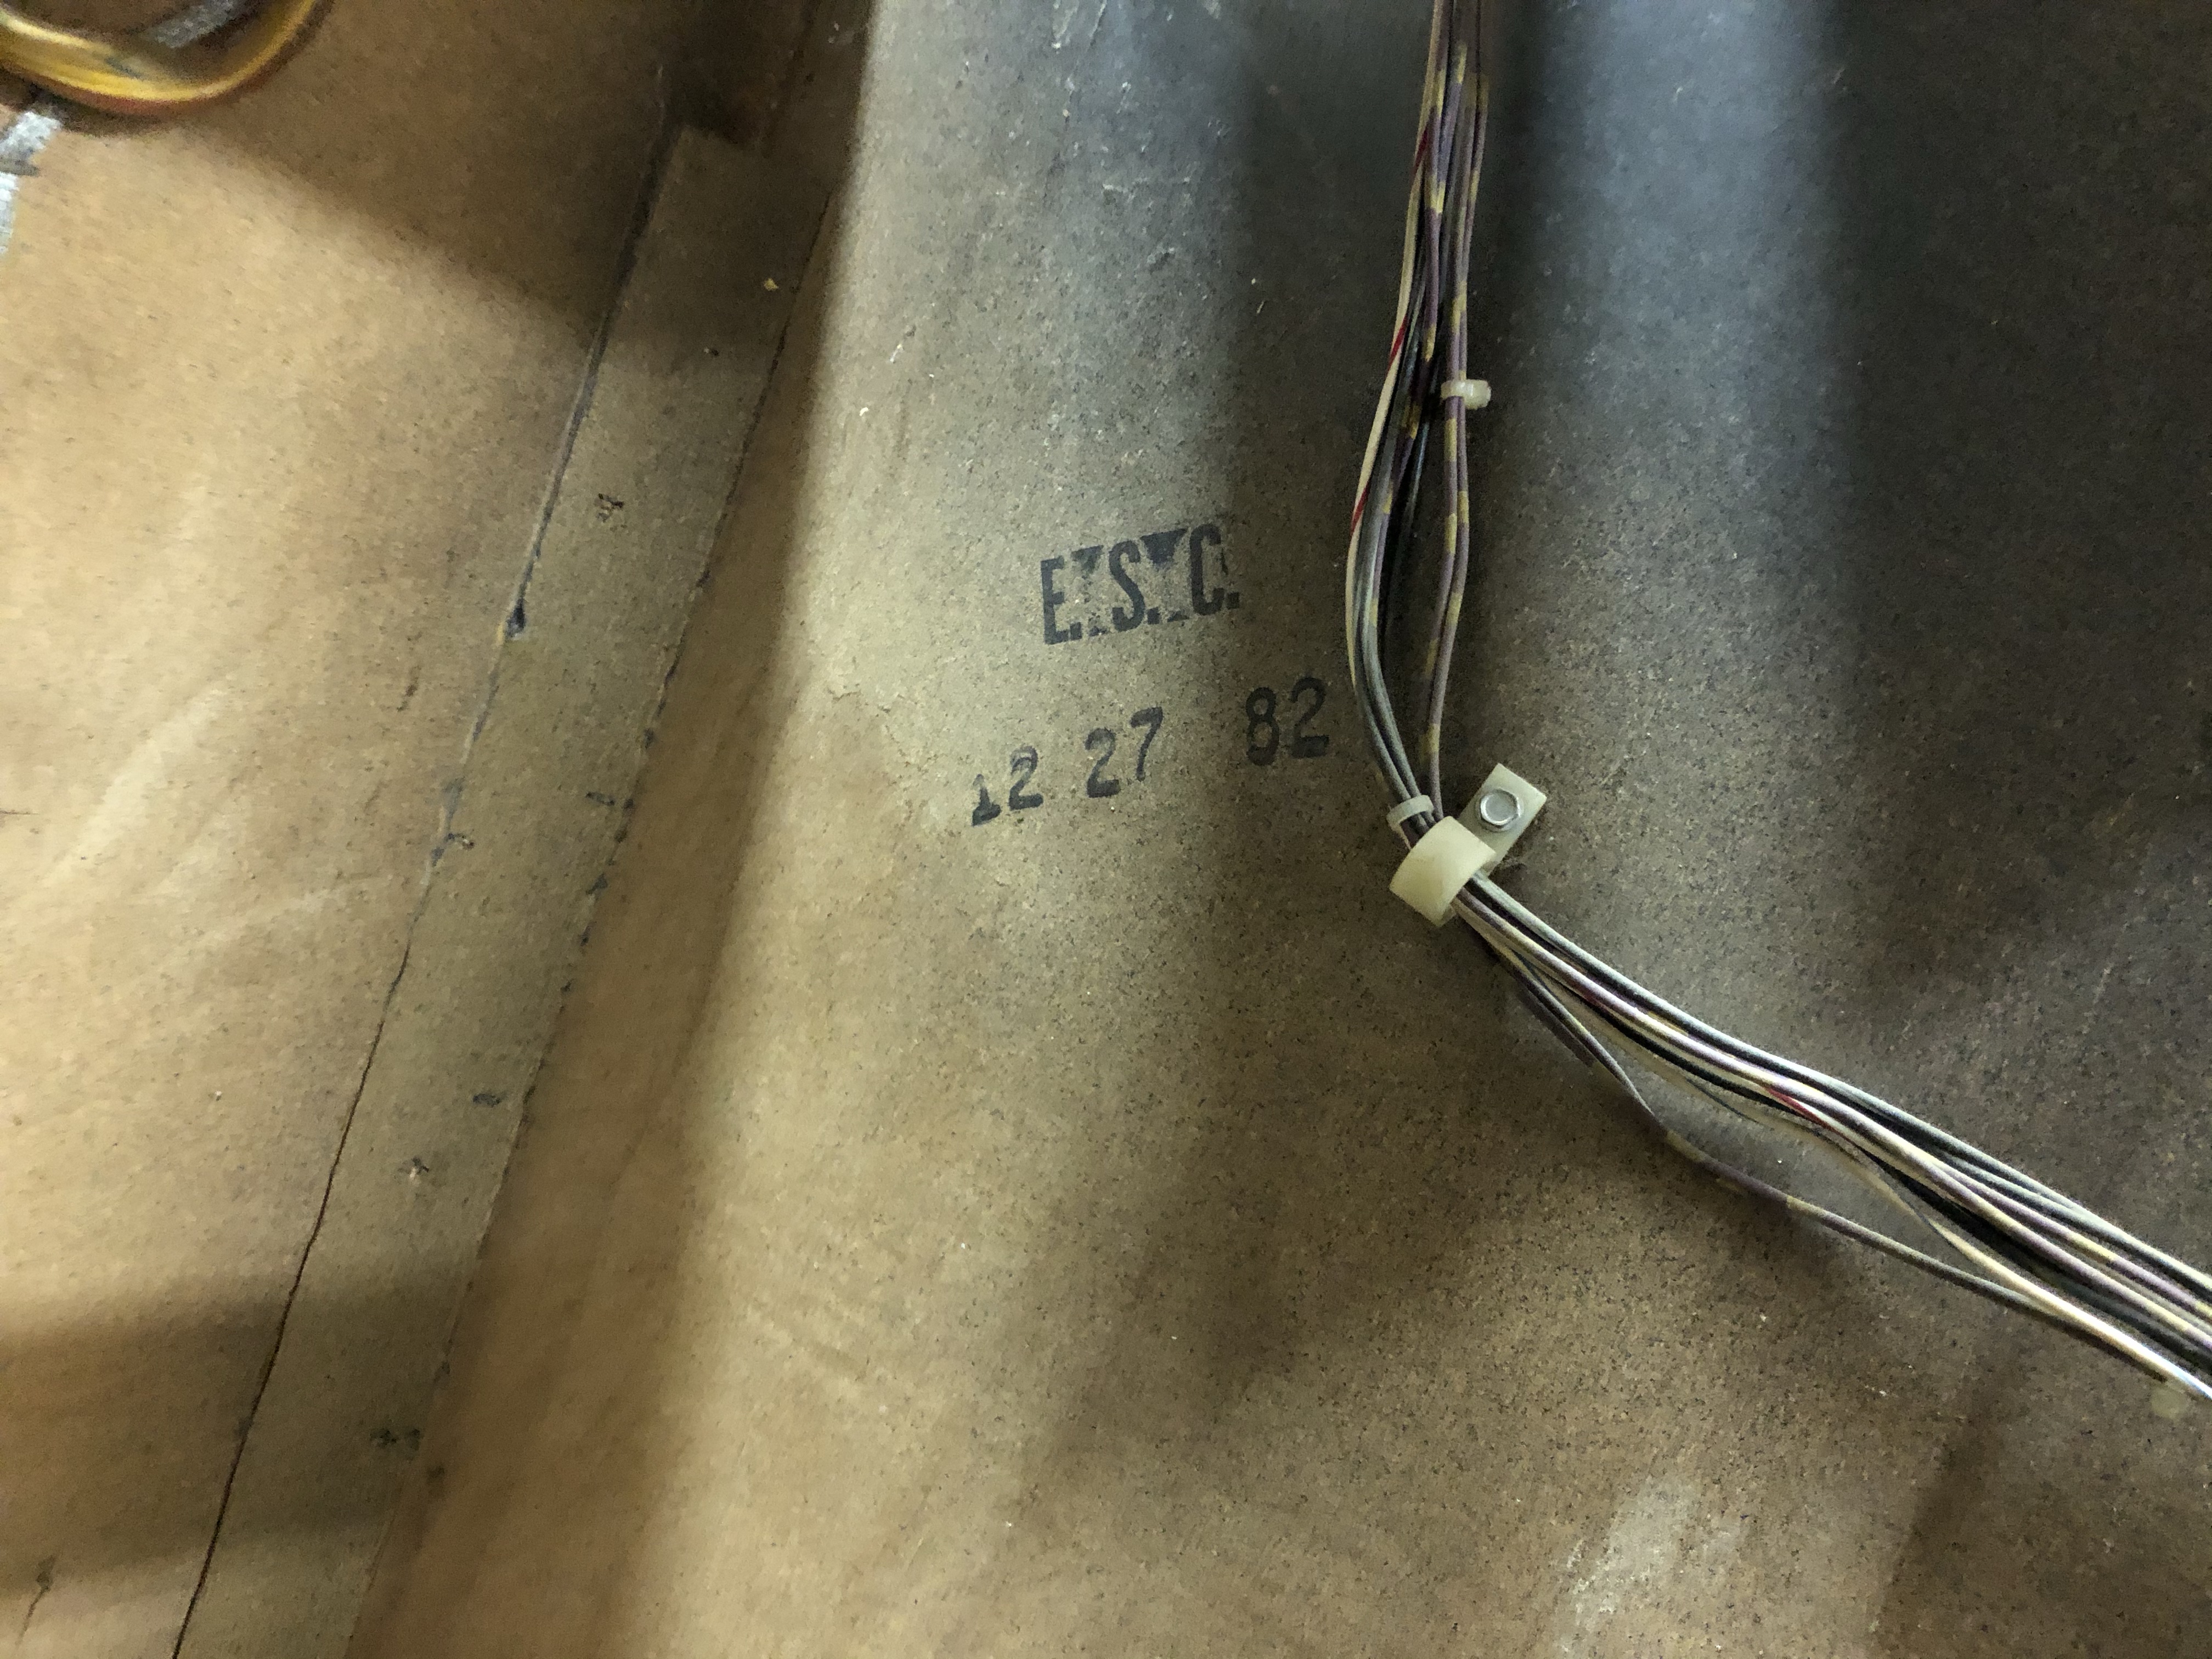
Merry Christmas Joust cabinet – 1982.
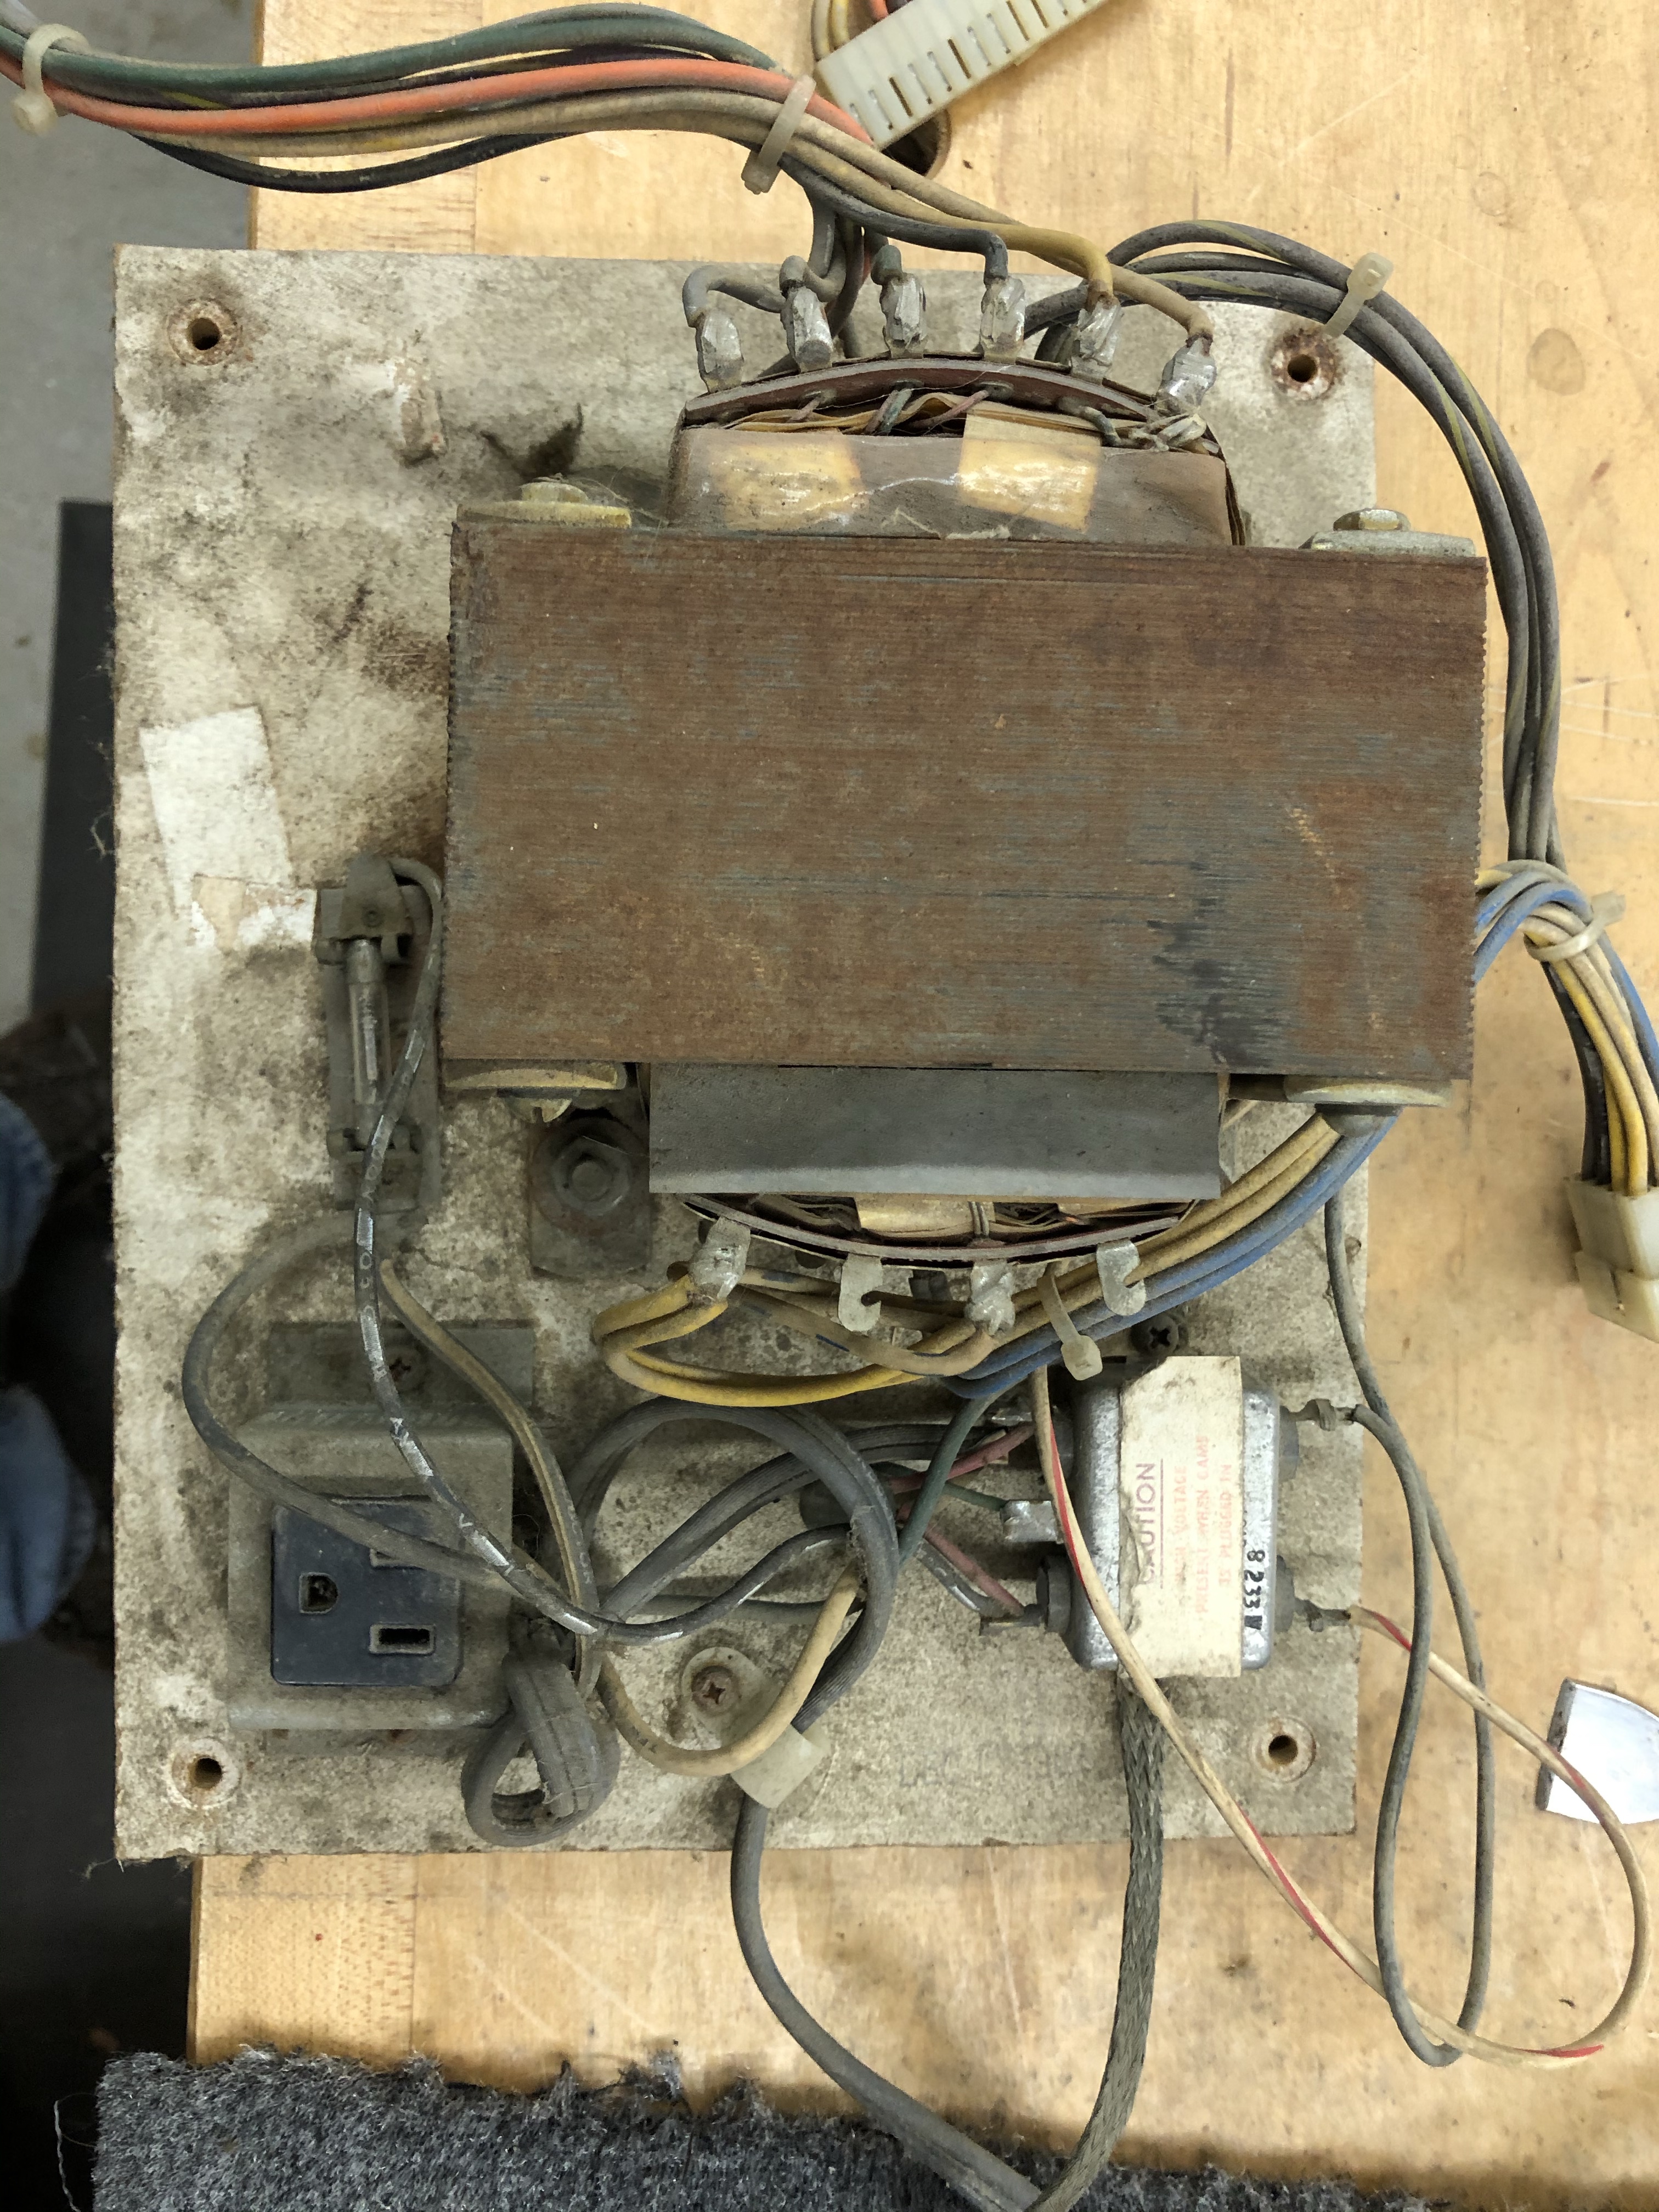
Here is the power brick – need to clean it up and test it.. Its really just a transformer with a cable.. The Atari power brick has much more to it.. Maybe I’ll check the resistance on the winding’s before adding power. It doesn’t look trustworthy. At minimum I’m replacing the power cord and the EMI filter.
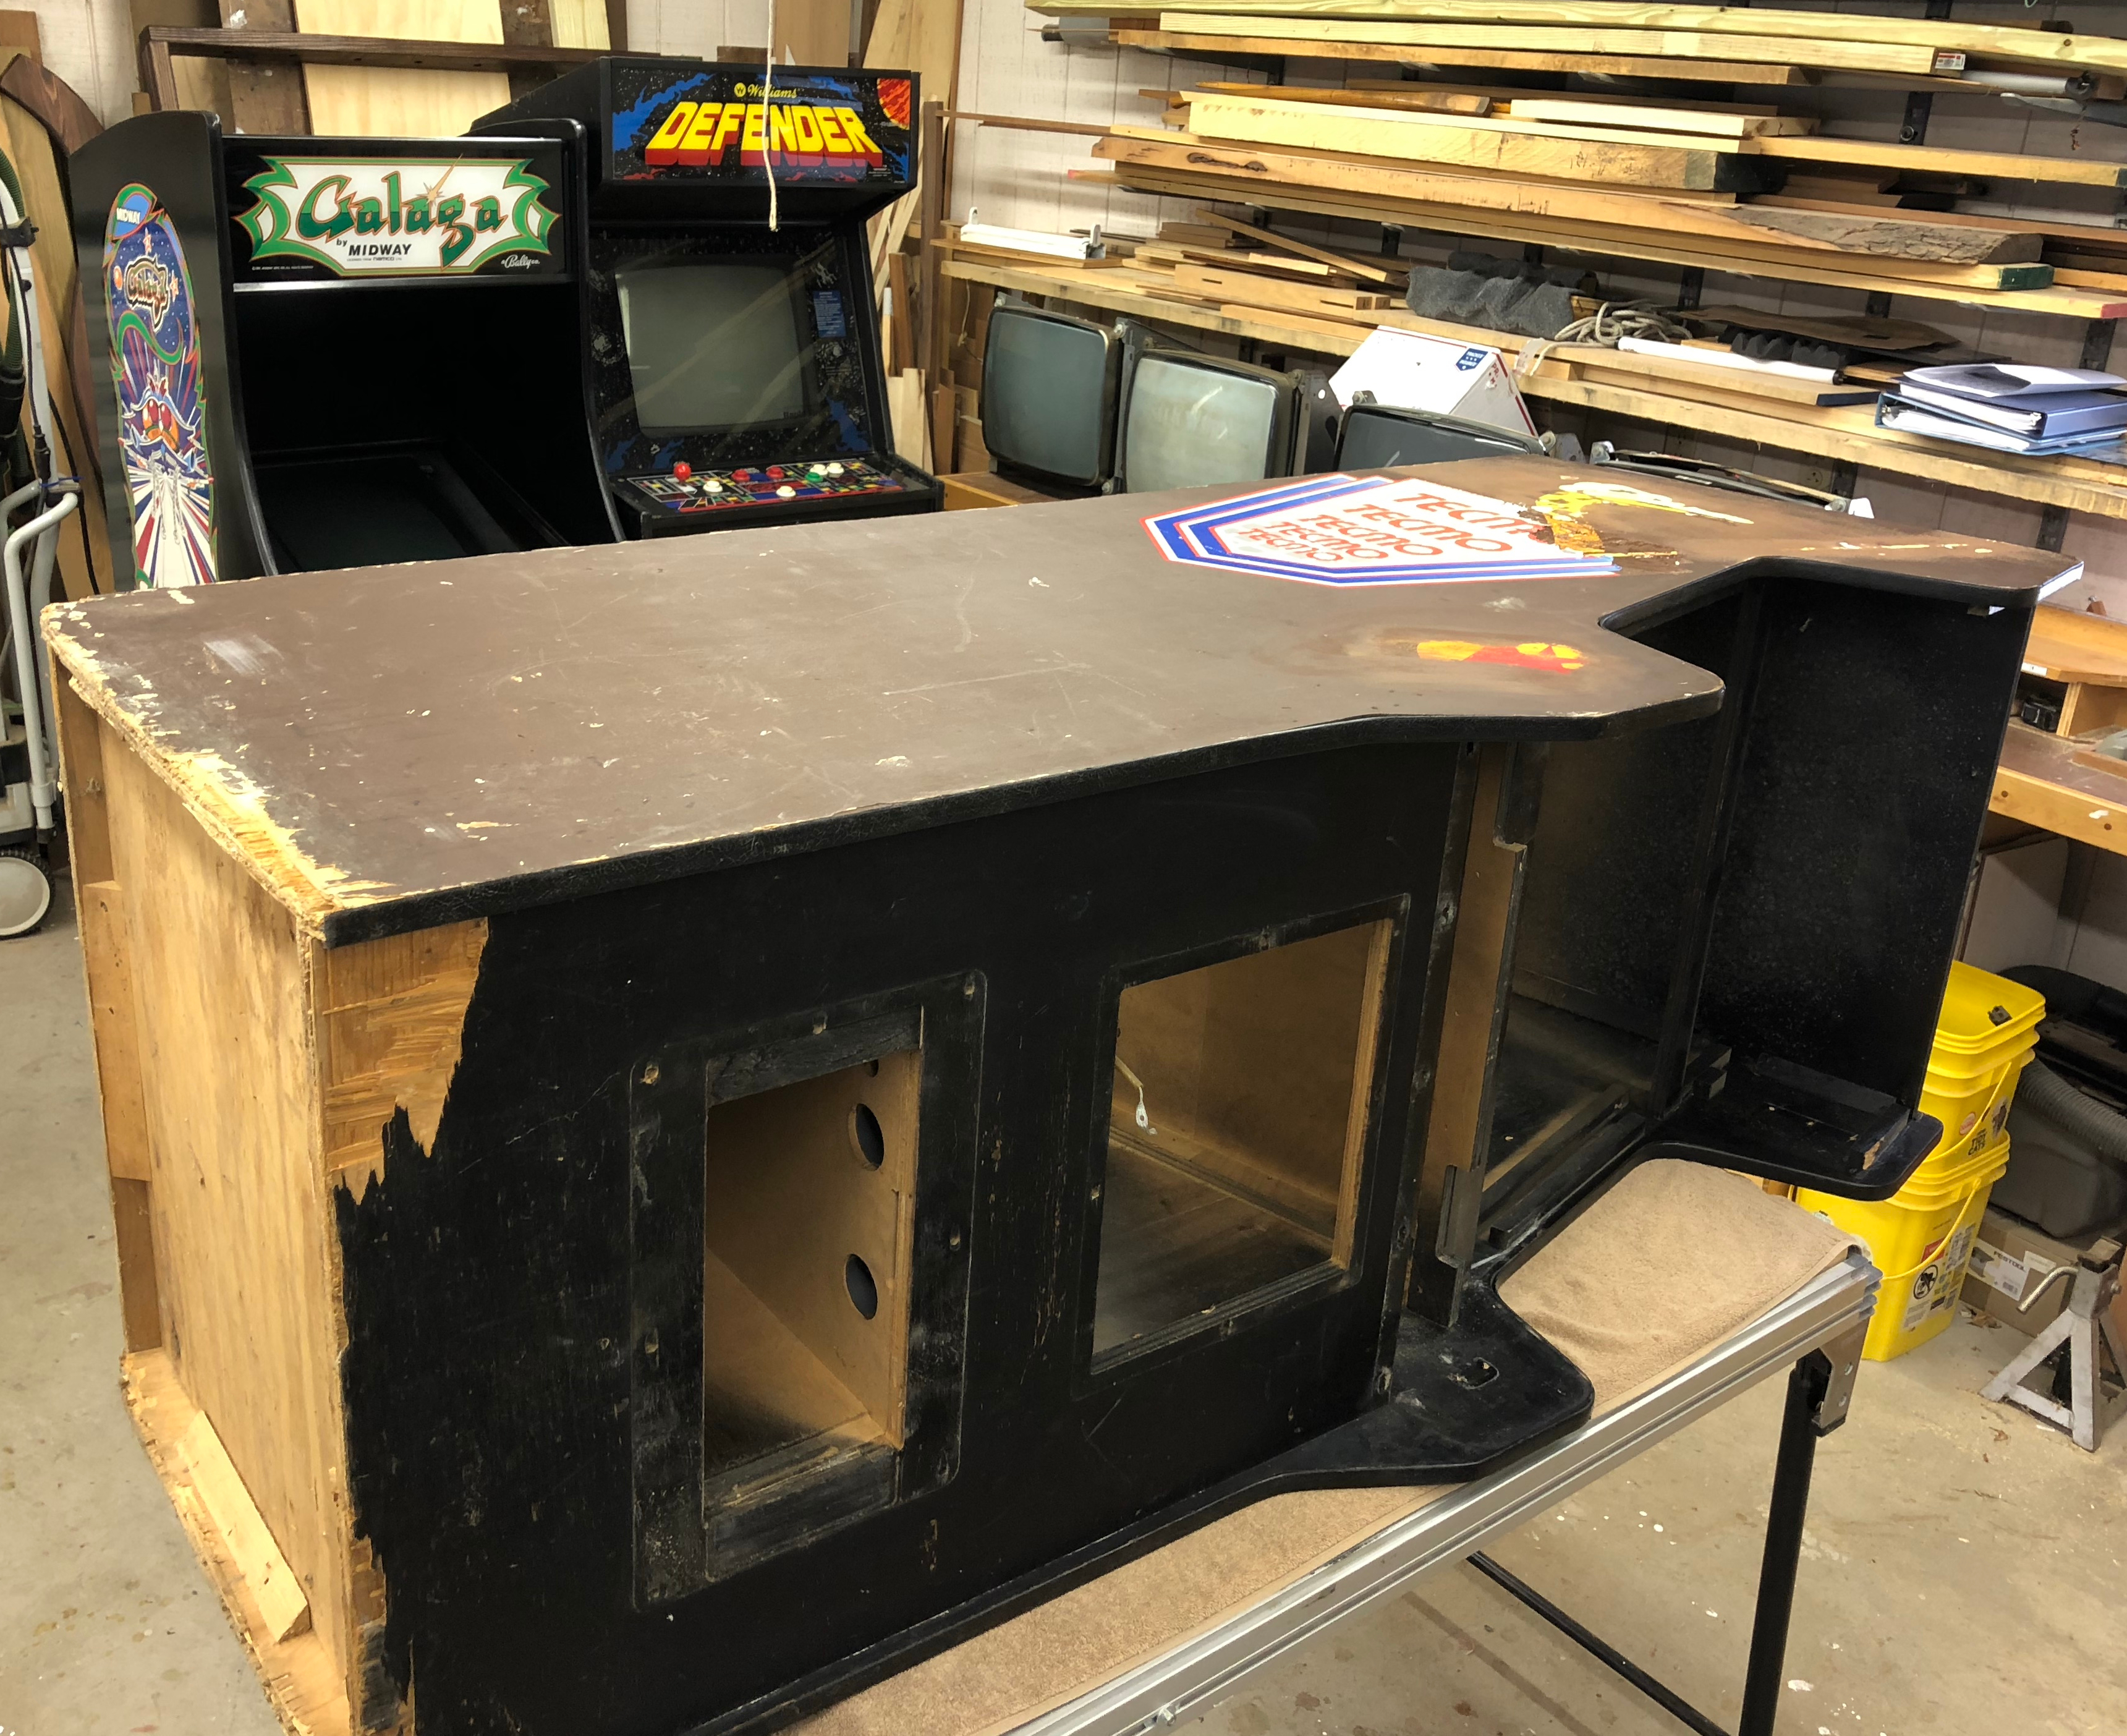
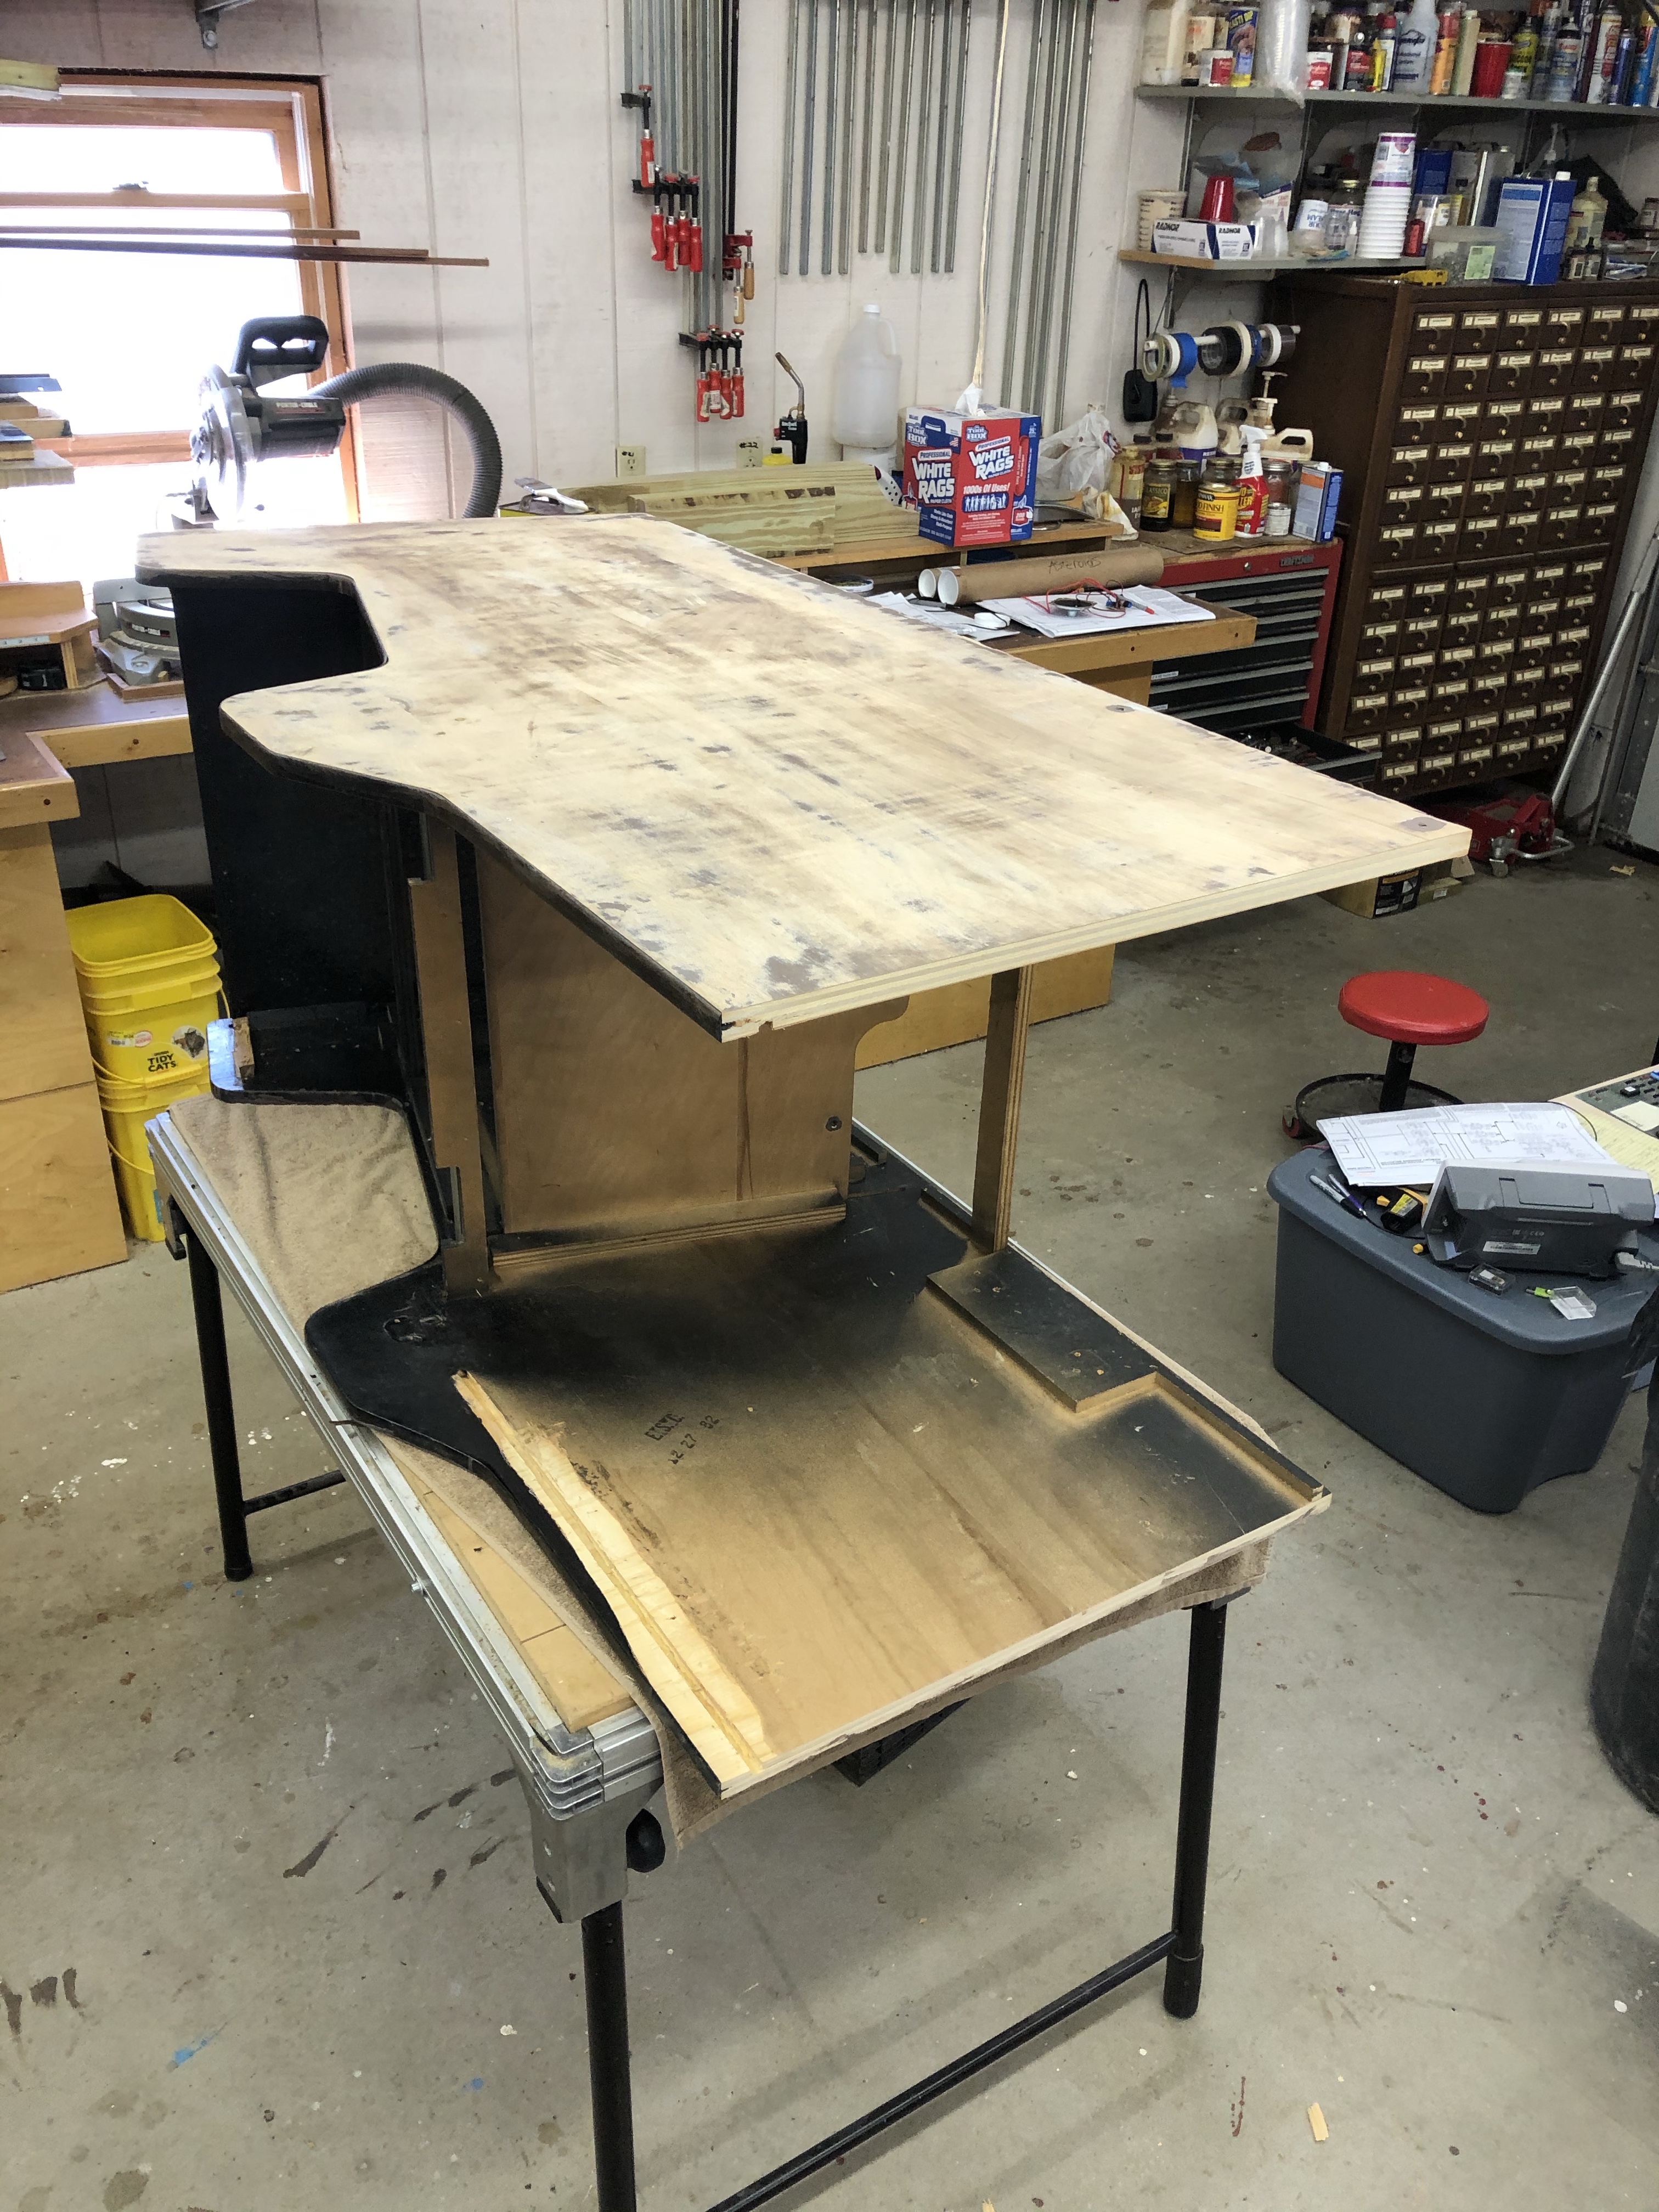
Patient up on the operating table. The guys in the waiting room just need monitor work – no major surgery like Joust.
Here’s the plan:
- Remove the front coin door panel
- Remove the botton
- Cut 12″ off each side and replace with new plywood
- Cut 6″-8″ off the front and replace with new plywood
- Sand everything, prime, paint, stencil in Joust sideart

I might have replaced this back panel and the front coin panel, except if you look close here – the cabinet serial number is stamped on the part. Same for the front coin panel. Notice the staple too…
This type of repair isn’t for everyone. It took me a while to figure out the best way to get this cabinet apart and not completely destroy it. Williams made a solid cabinet. The material is plywood, they used dado joinery, glue, staples and corner blocking.
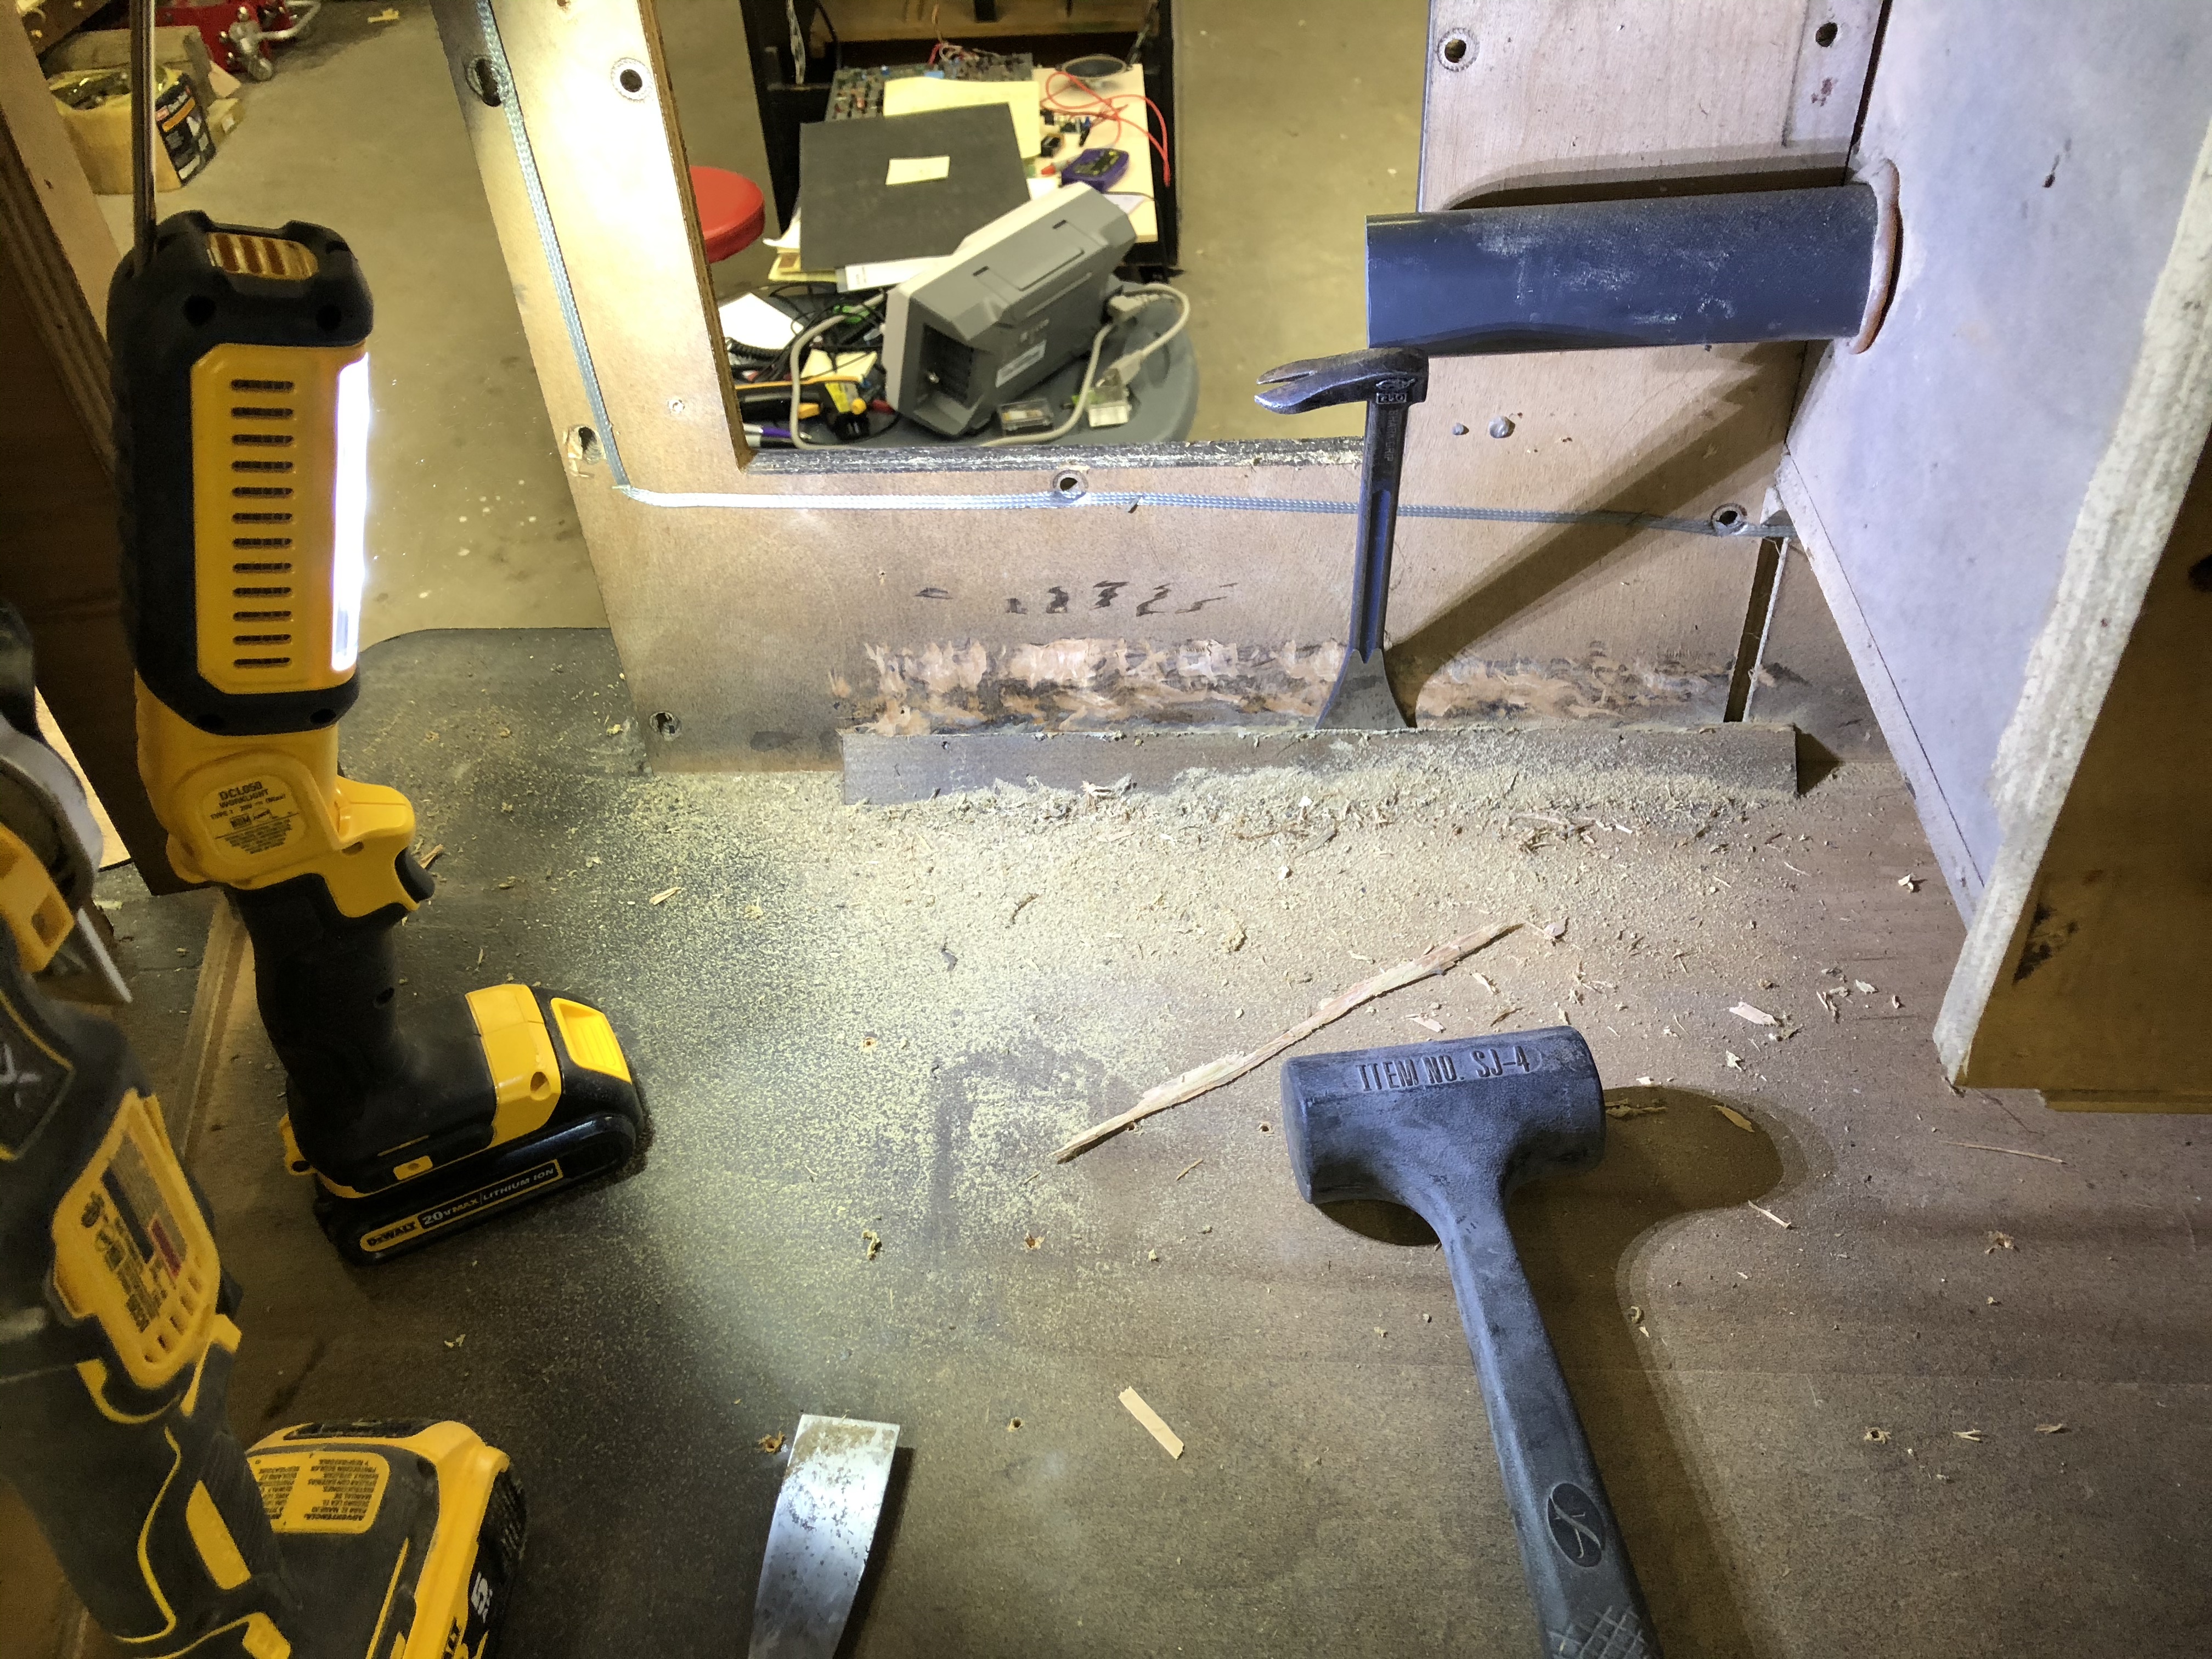
After messing with it a bit – here is what works best to get this apart. The inside corner blocking needs to come off first. You can use an oscillating multi-tool saw and a pry bar to get them out. Best to work slow and try not to shred the plywood – but you are going to in some places..
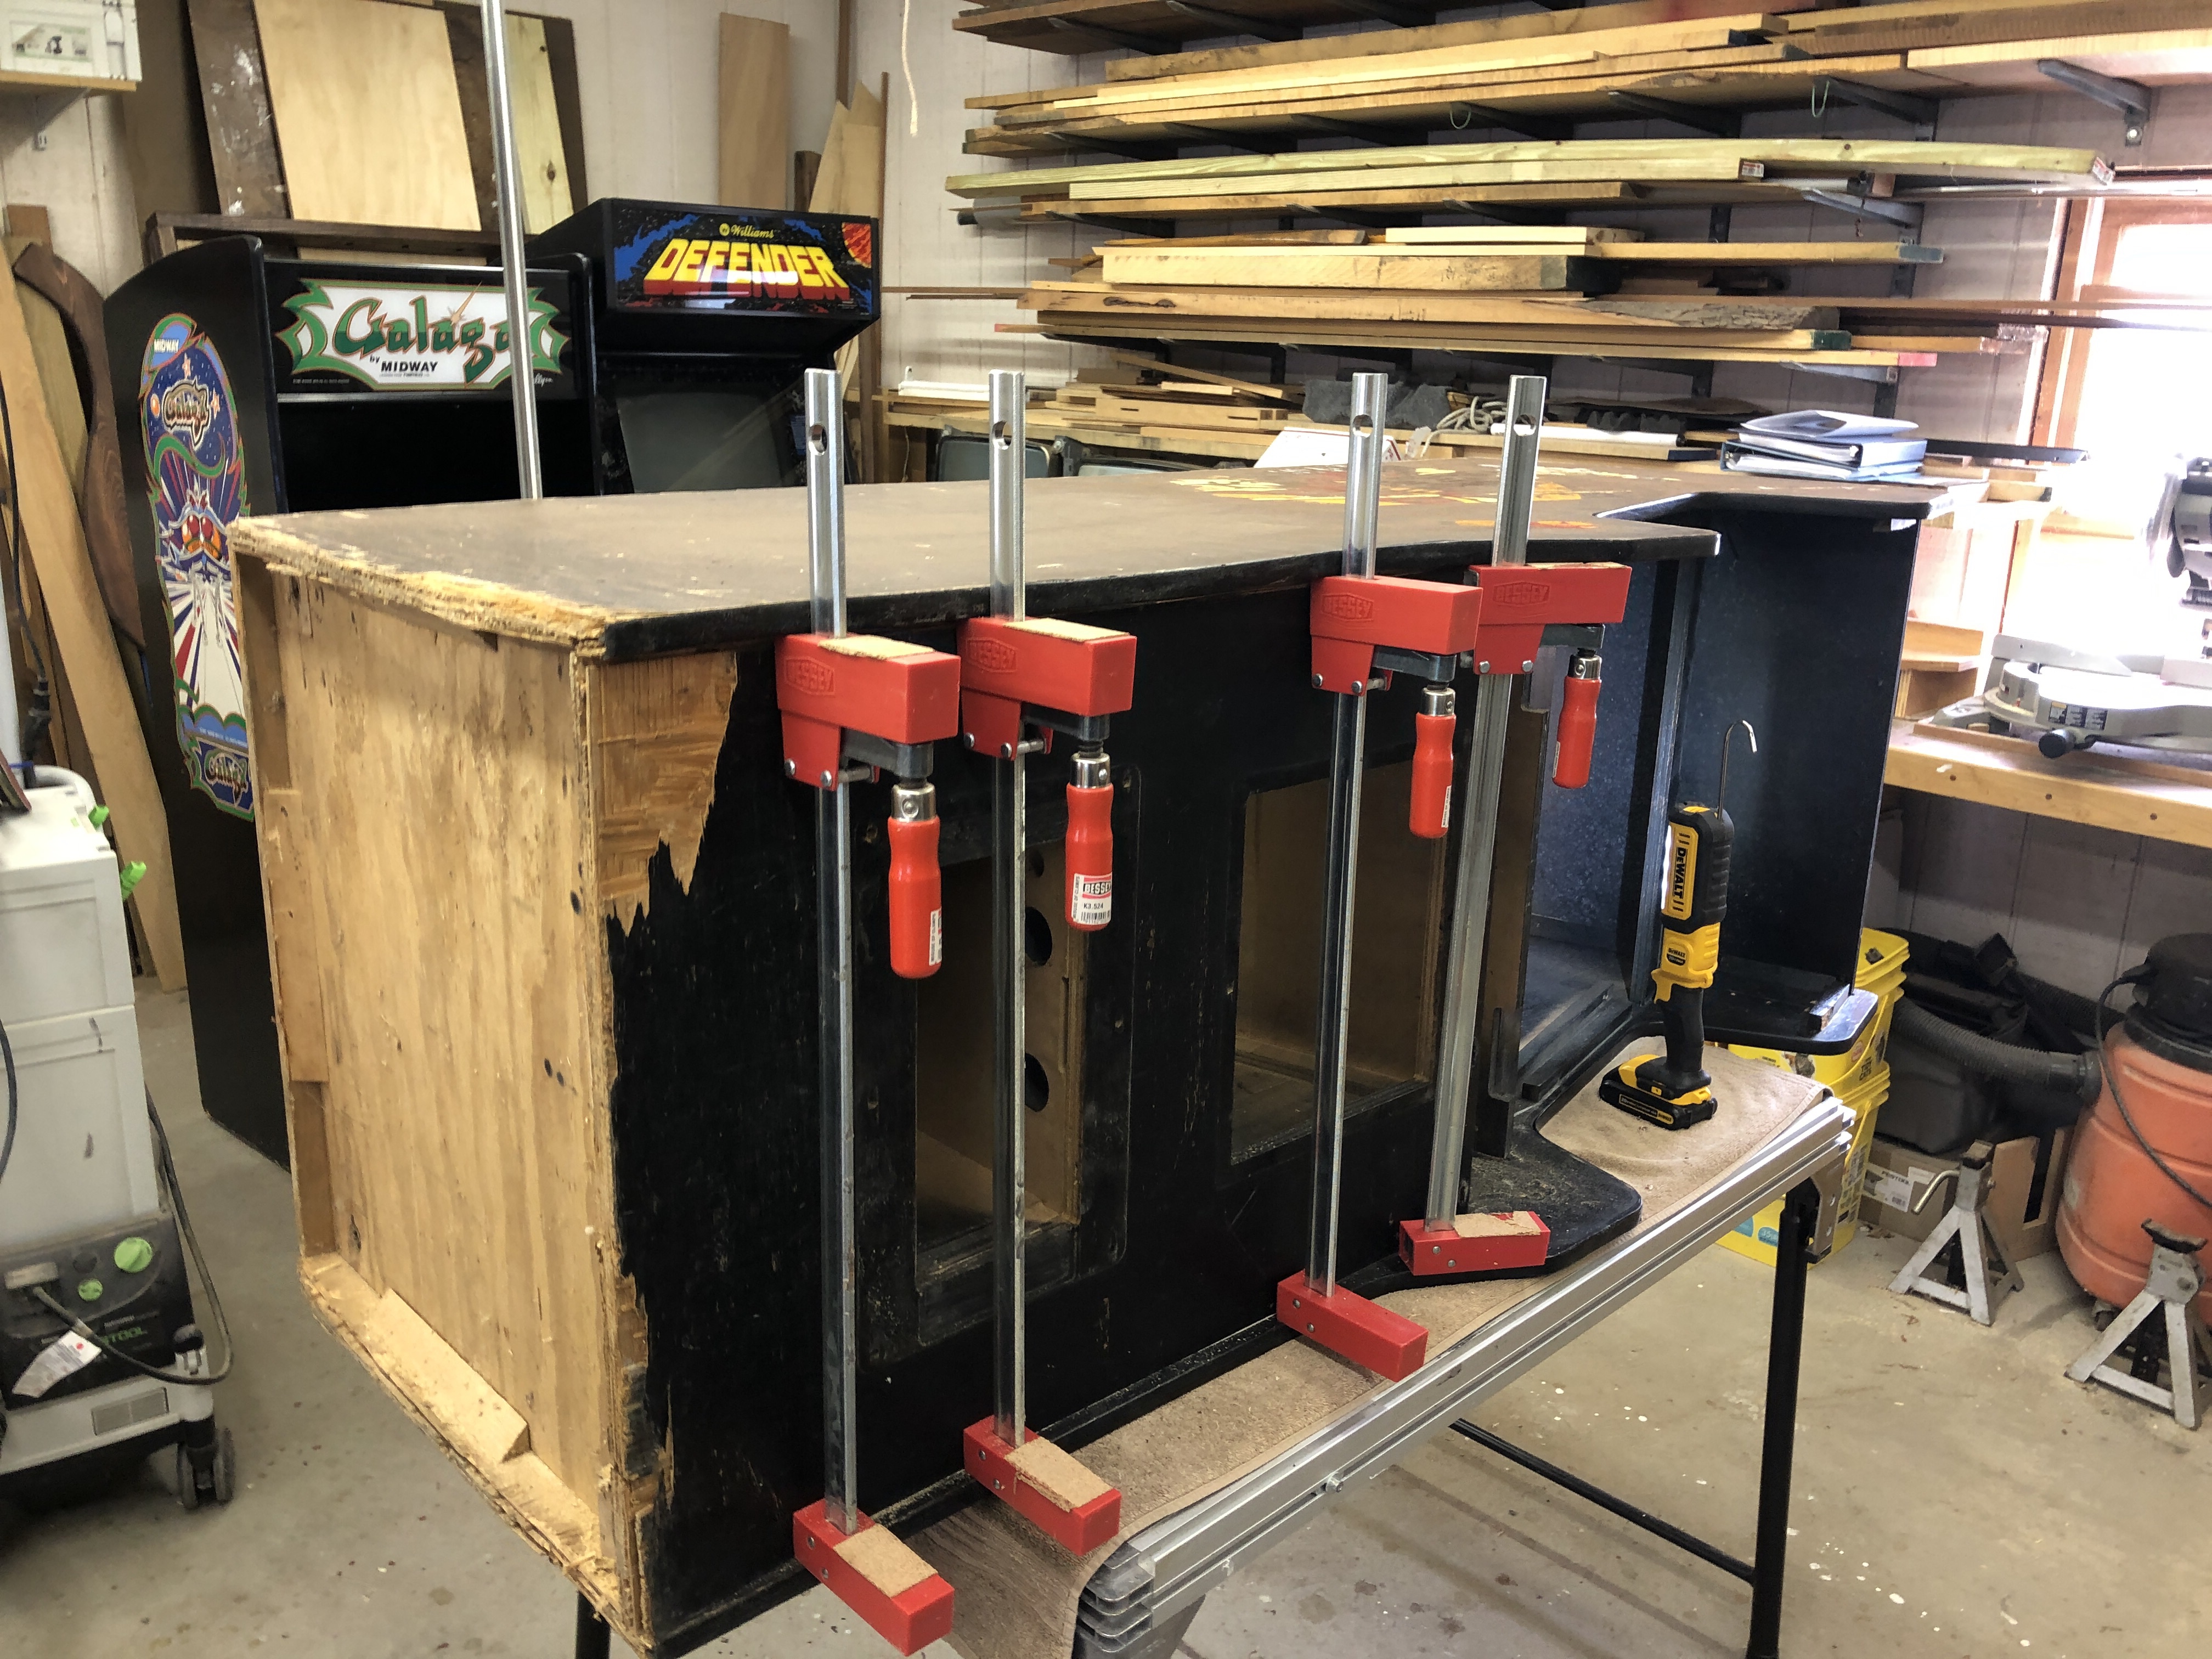
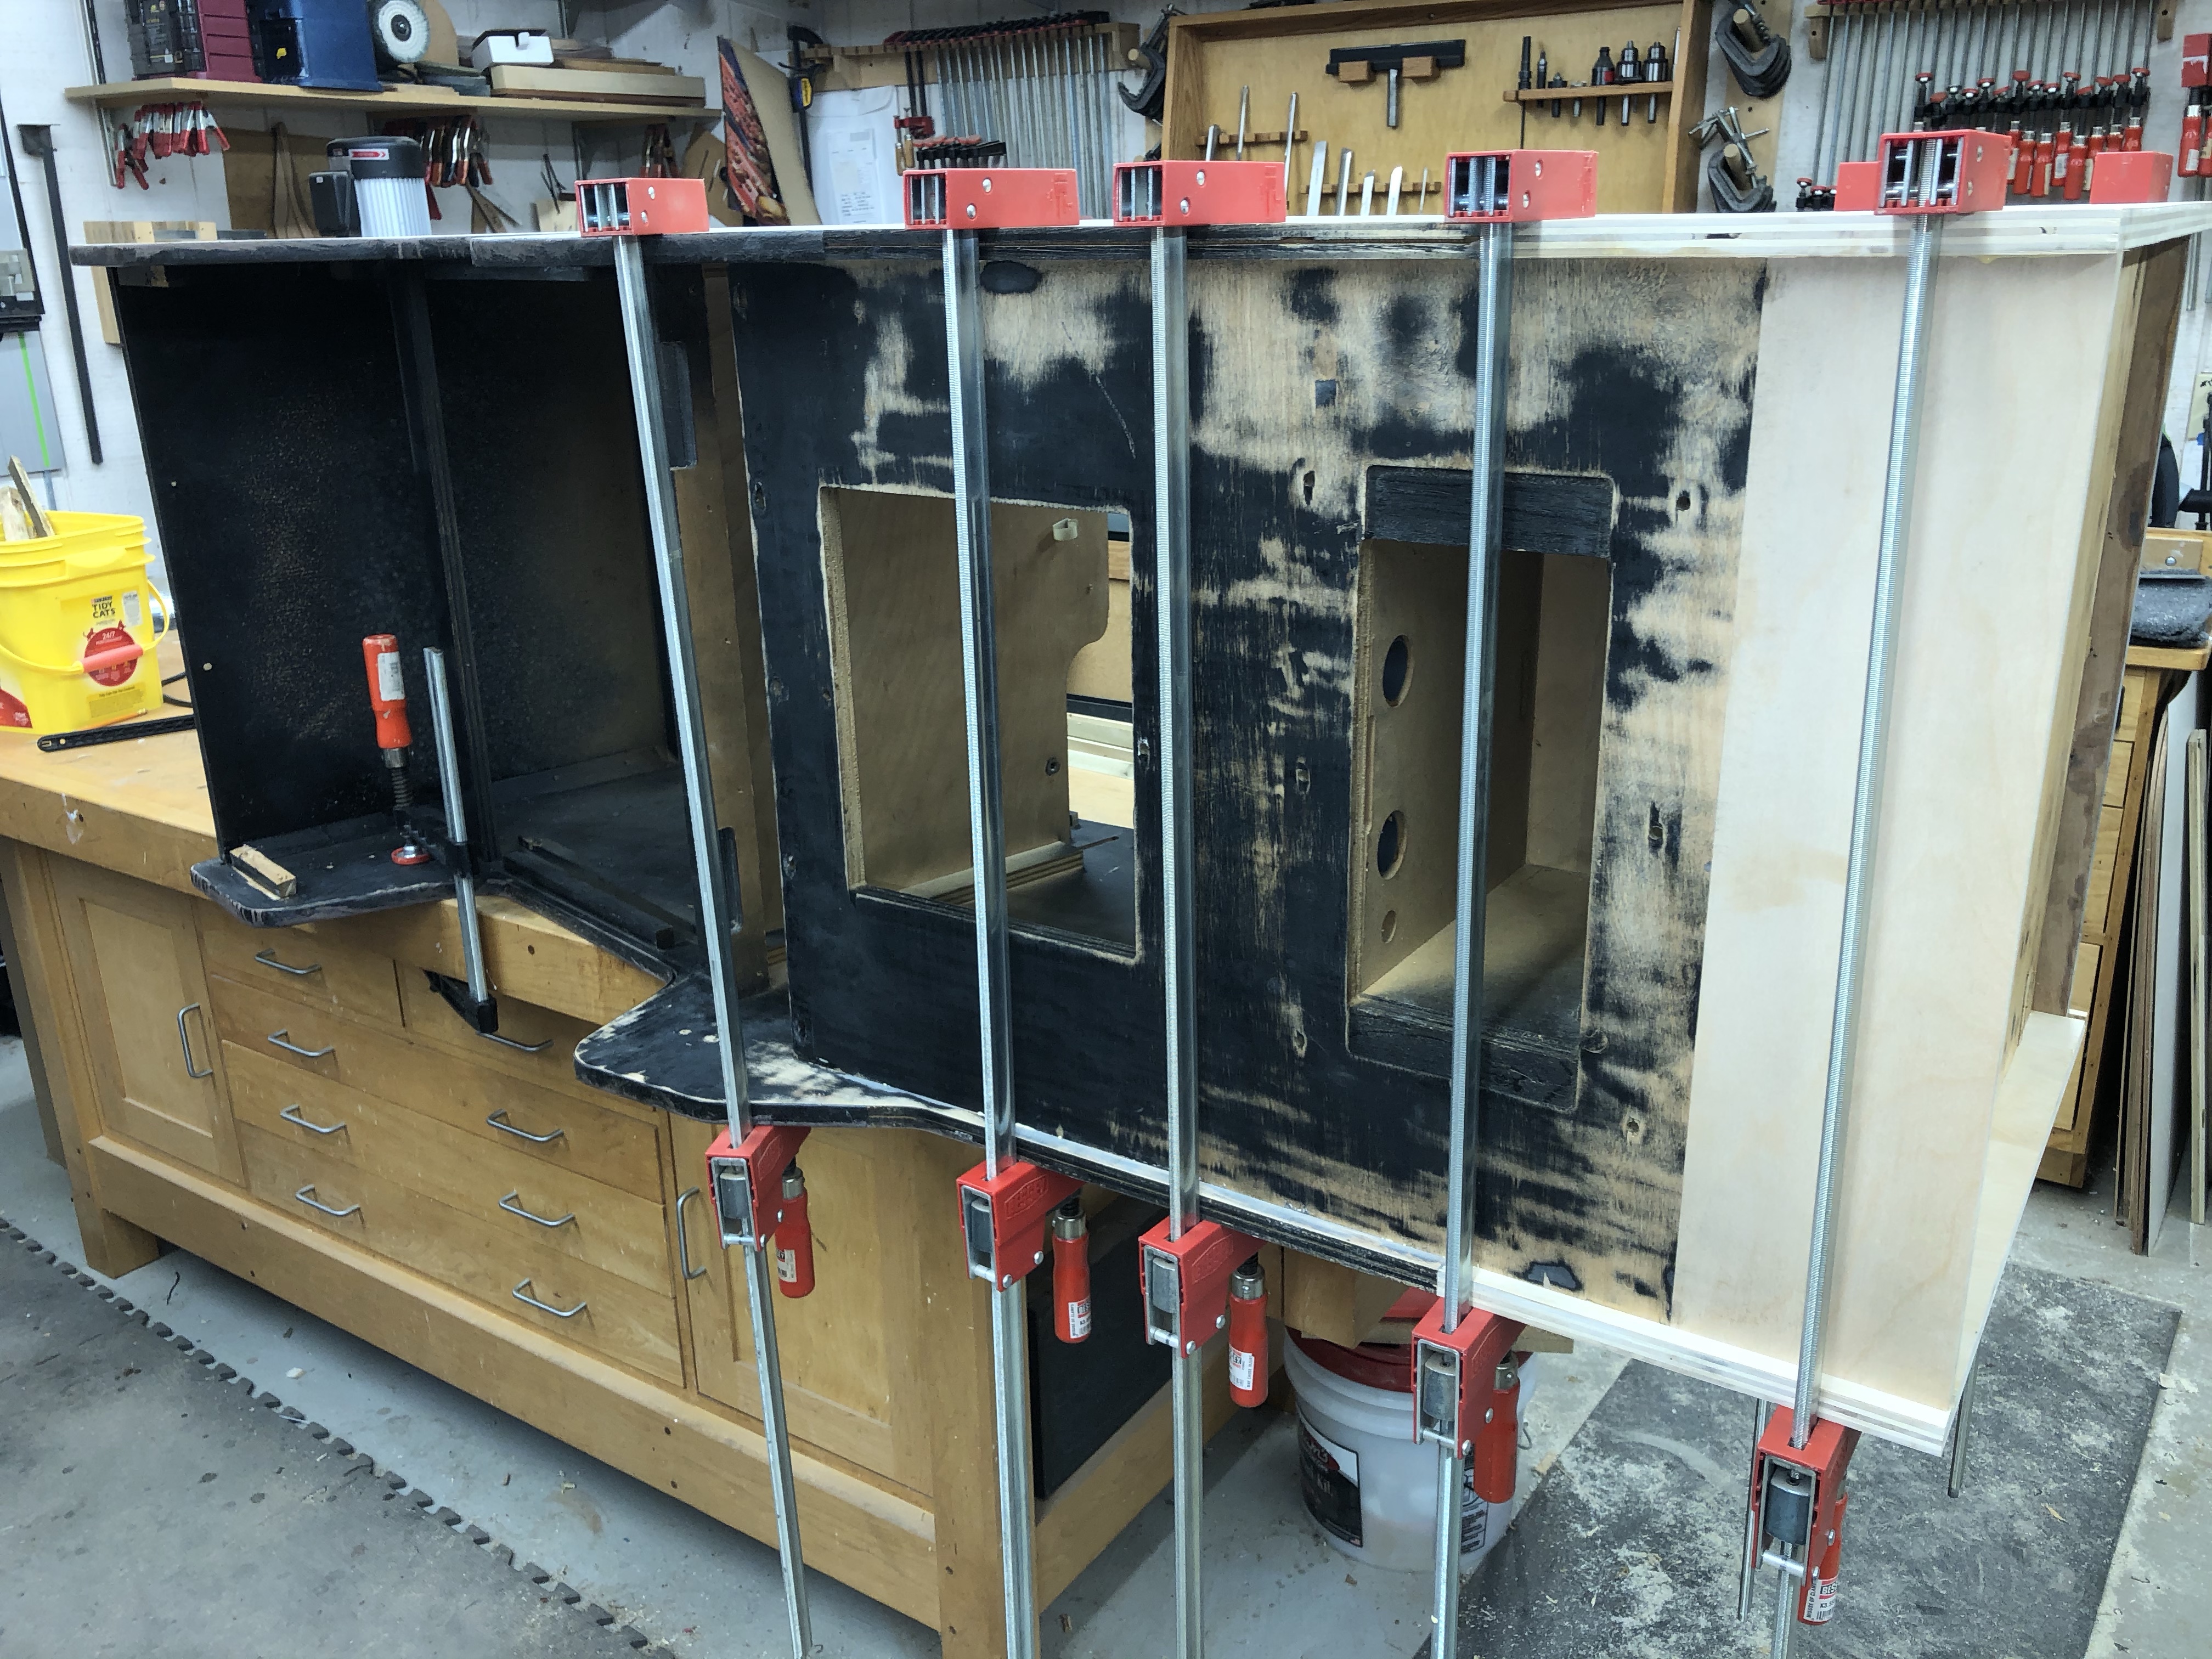
My clamps have reversible heads so that they can push the sides apart. Use a bunch of them to spread the load evenly and work slow. As it crunches, cracks and pops – use the saw, putty knife or blade to help things work apart. Try to locate the staples and cut through them as you see them. The front and bottom will have to come off as one section because of the way the coin box is designed.
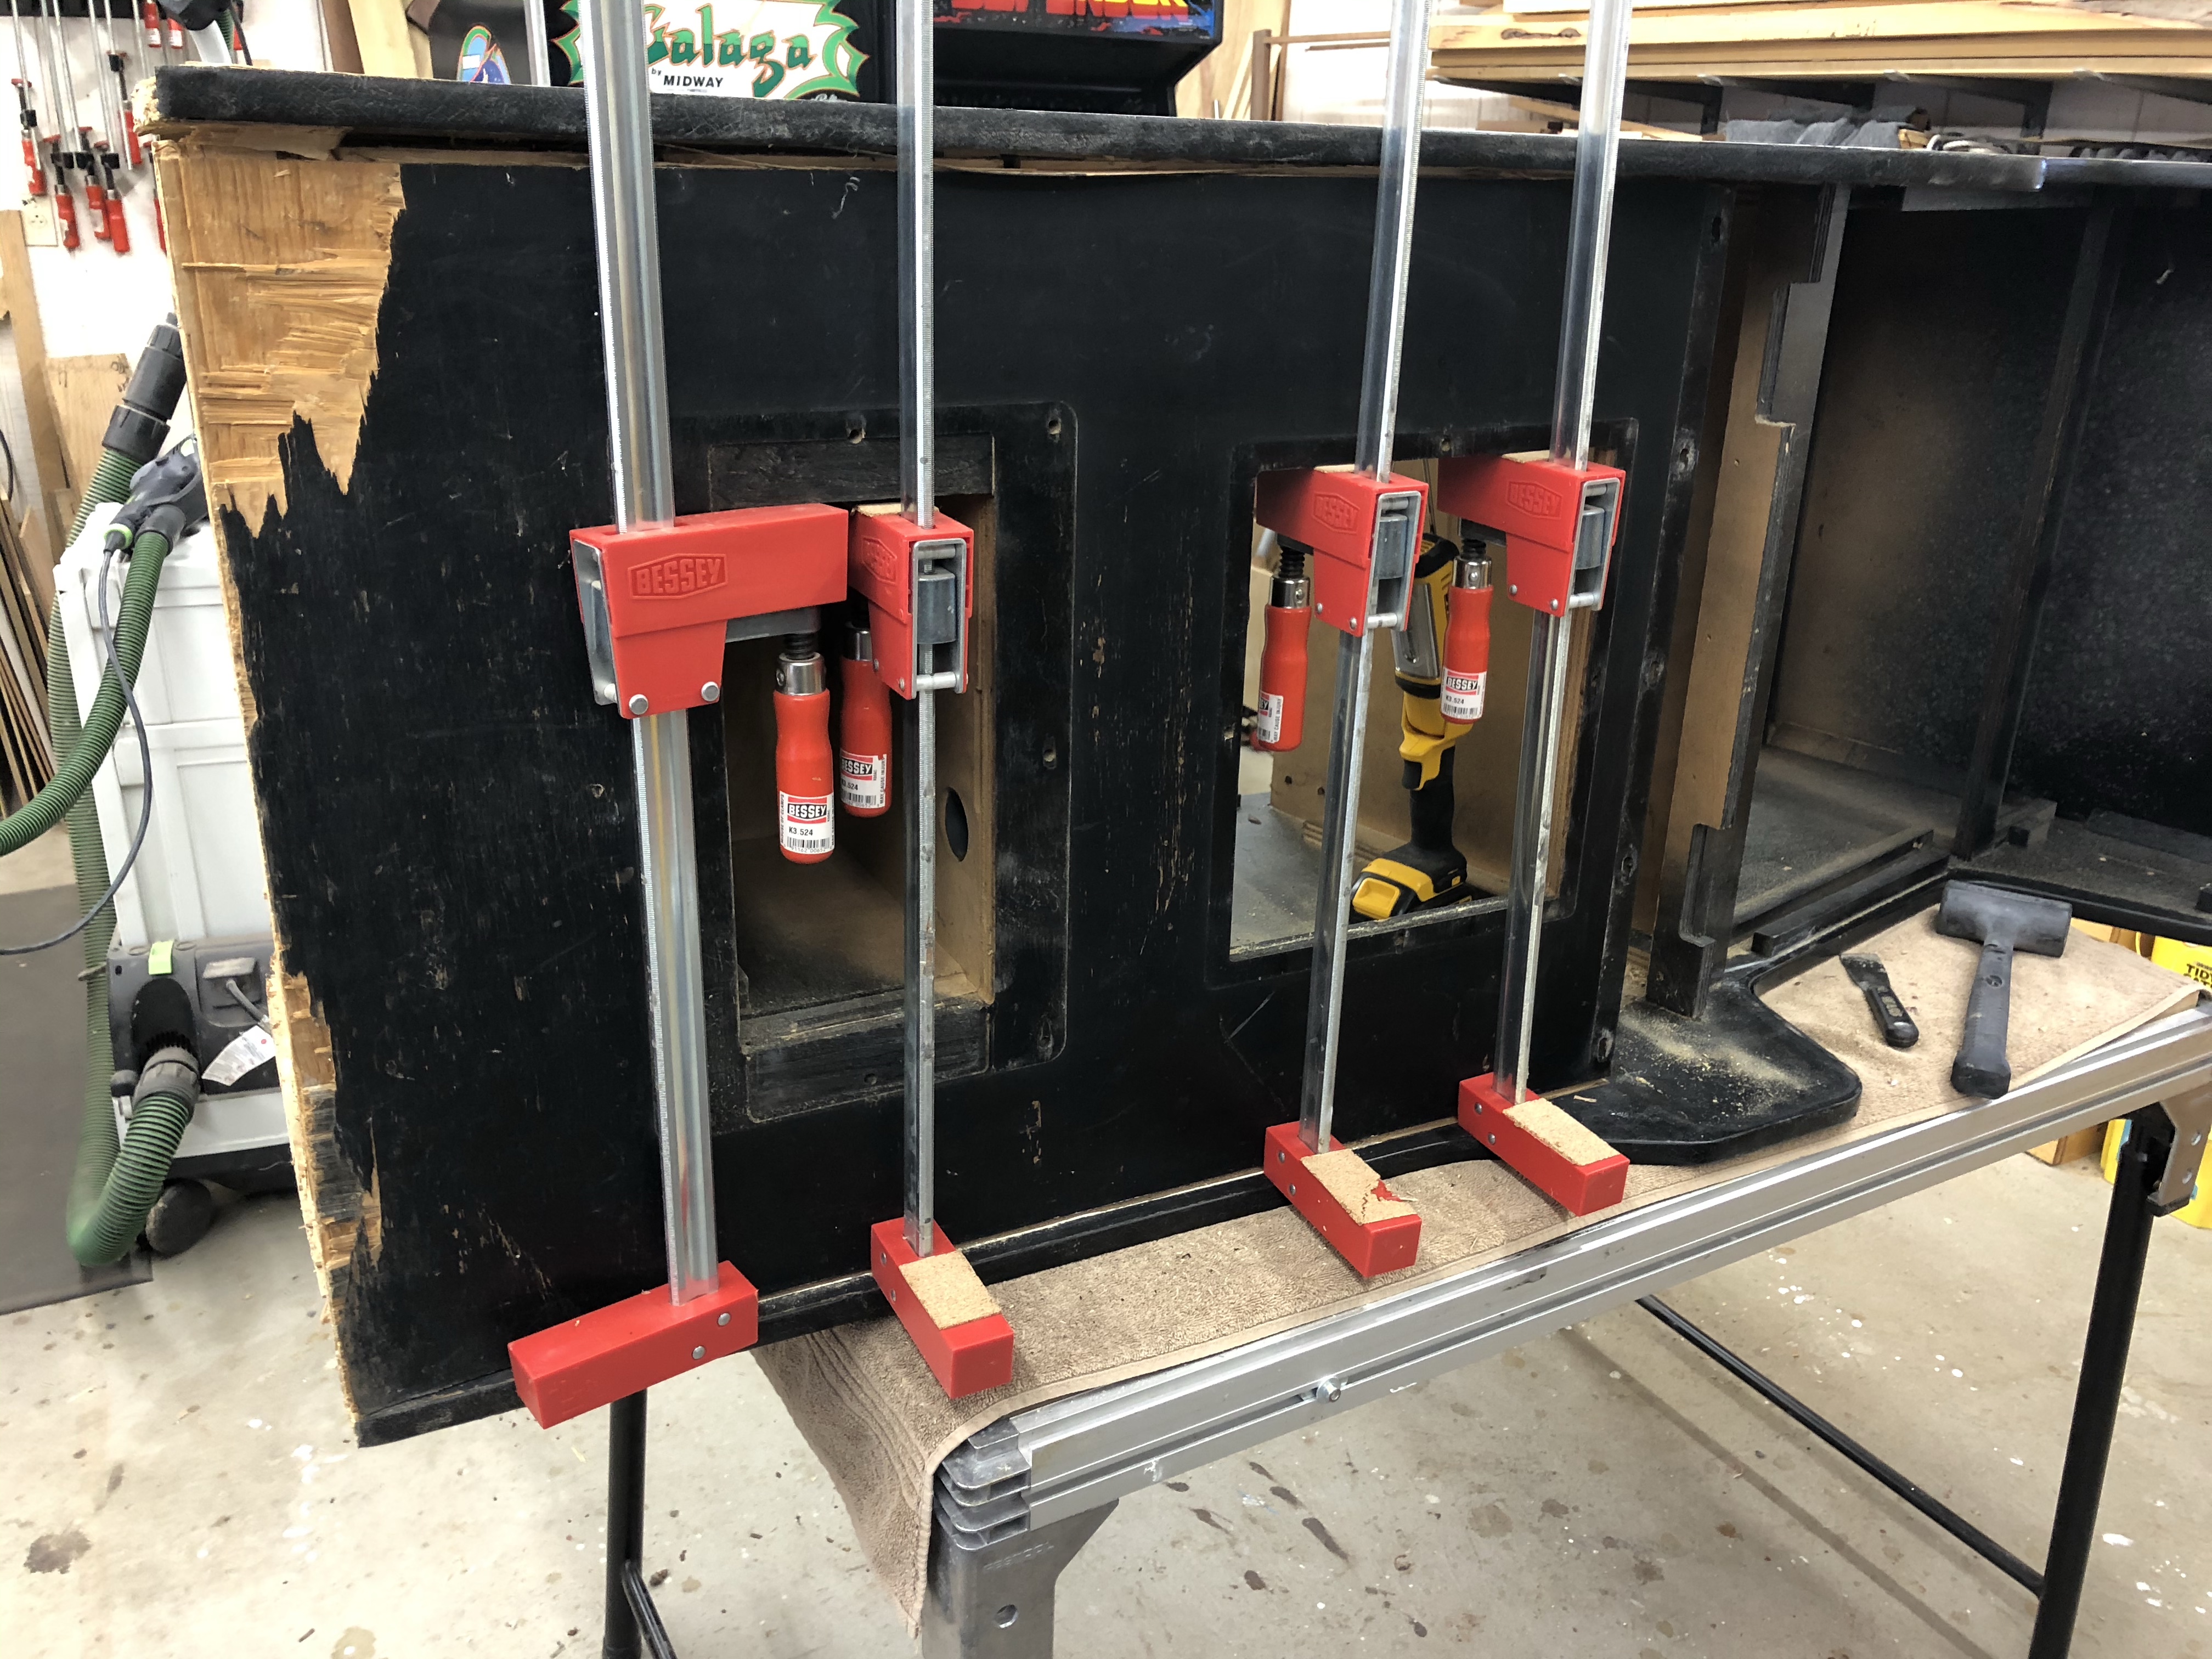
Well – the top is loose – but the bottom is still on – more clamp spreading from inside the coin door panel. Had to do this across the bottom as well. As soon as you see a staple – cut it inside the joint. Next time I’ll try a magnet or stud finder to see if I can locate them to dig them out first.

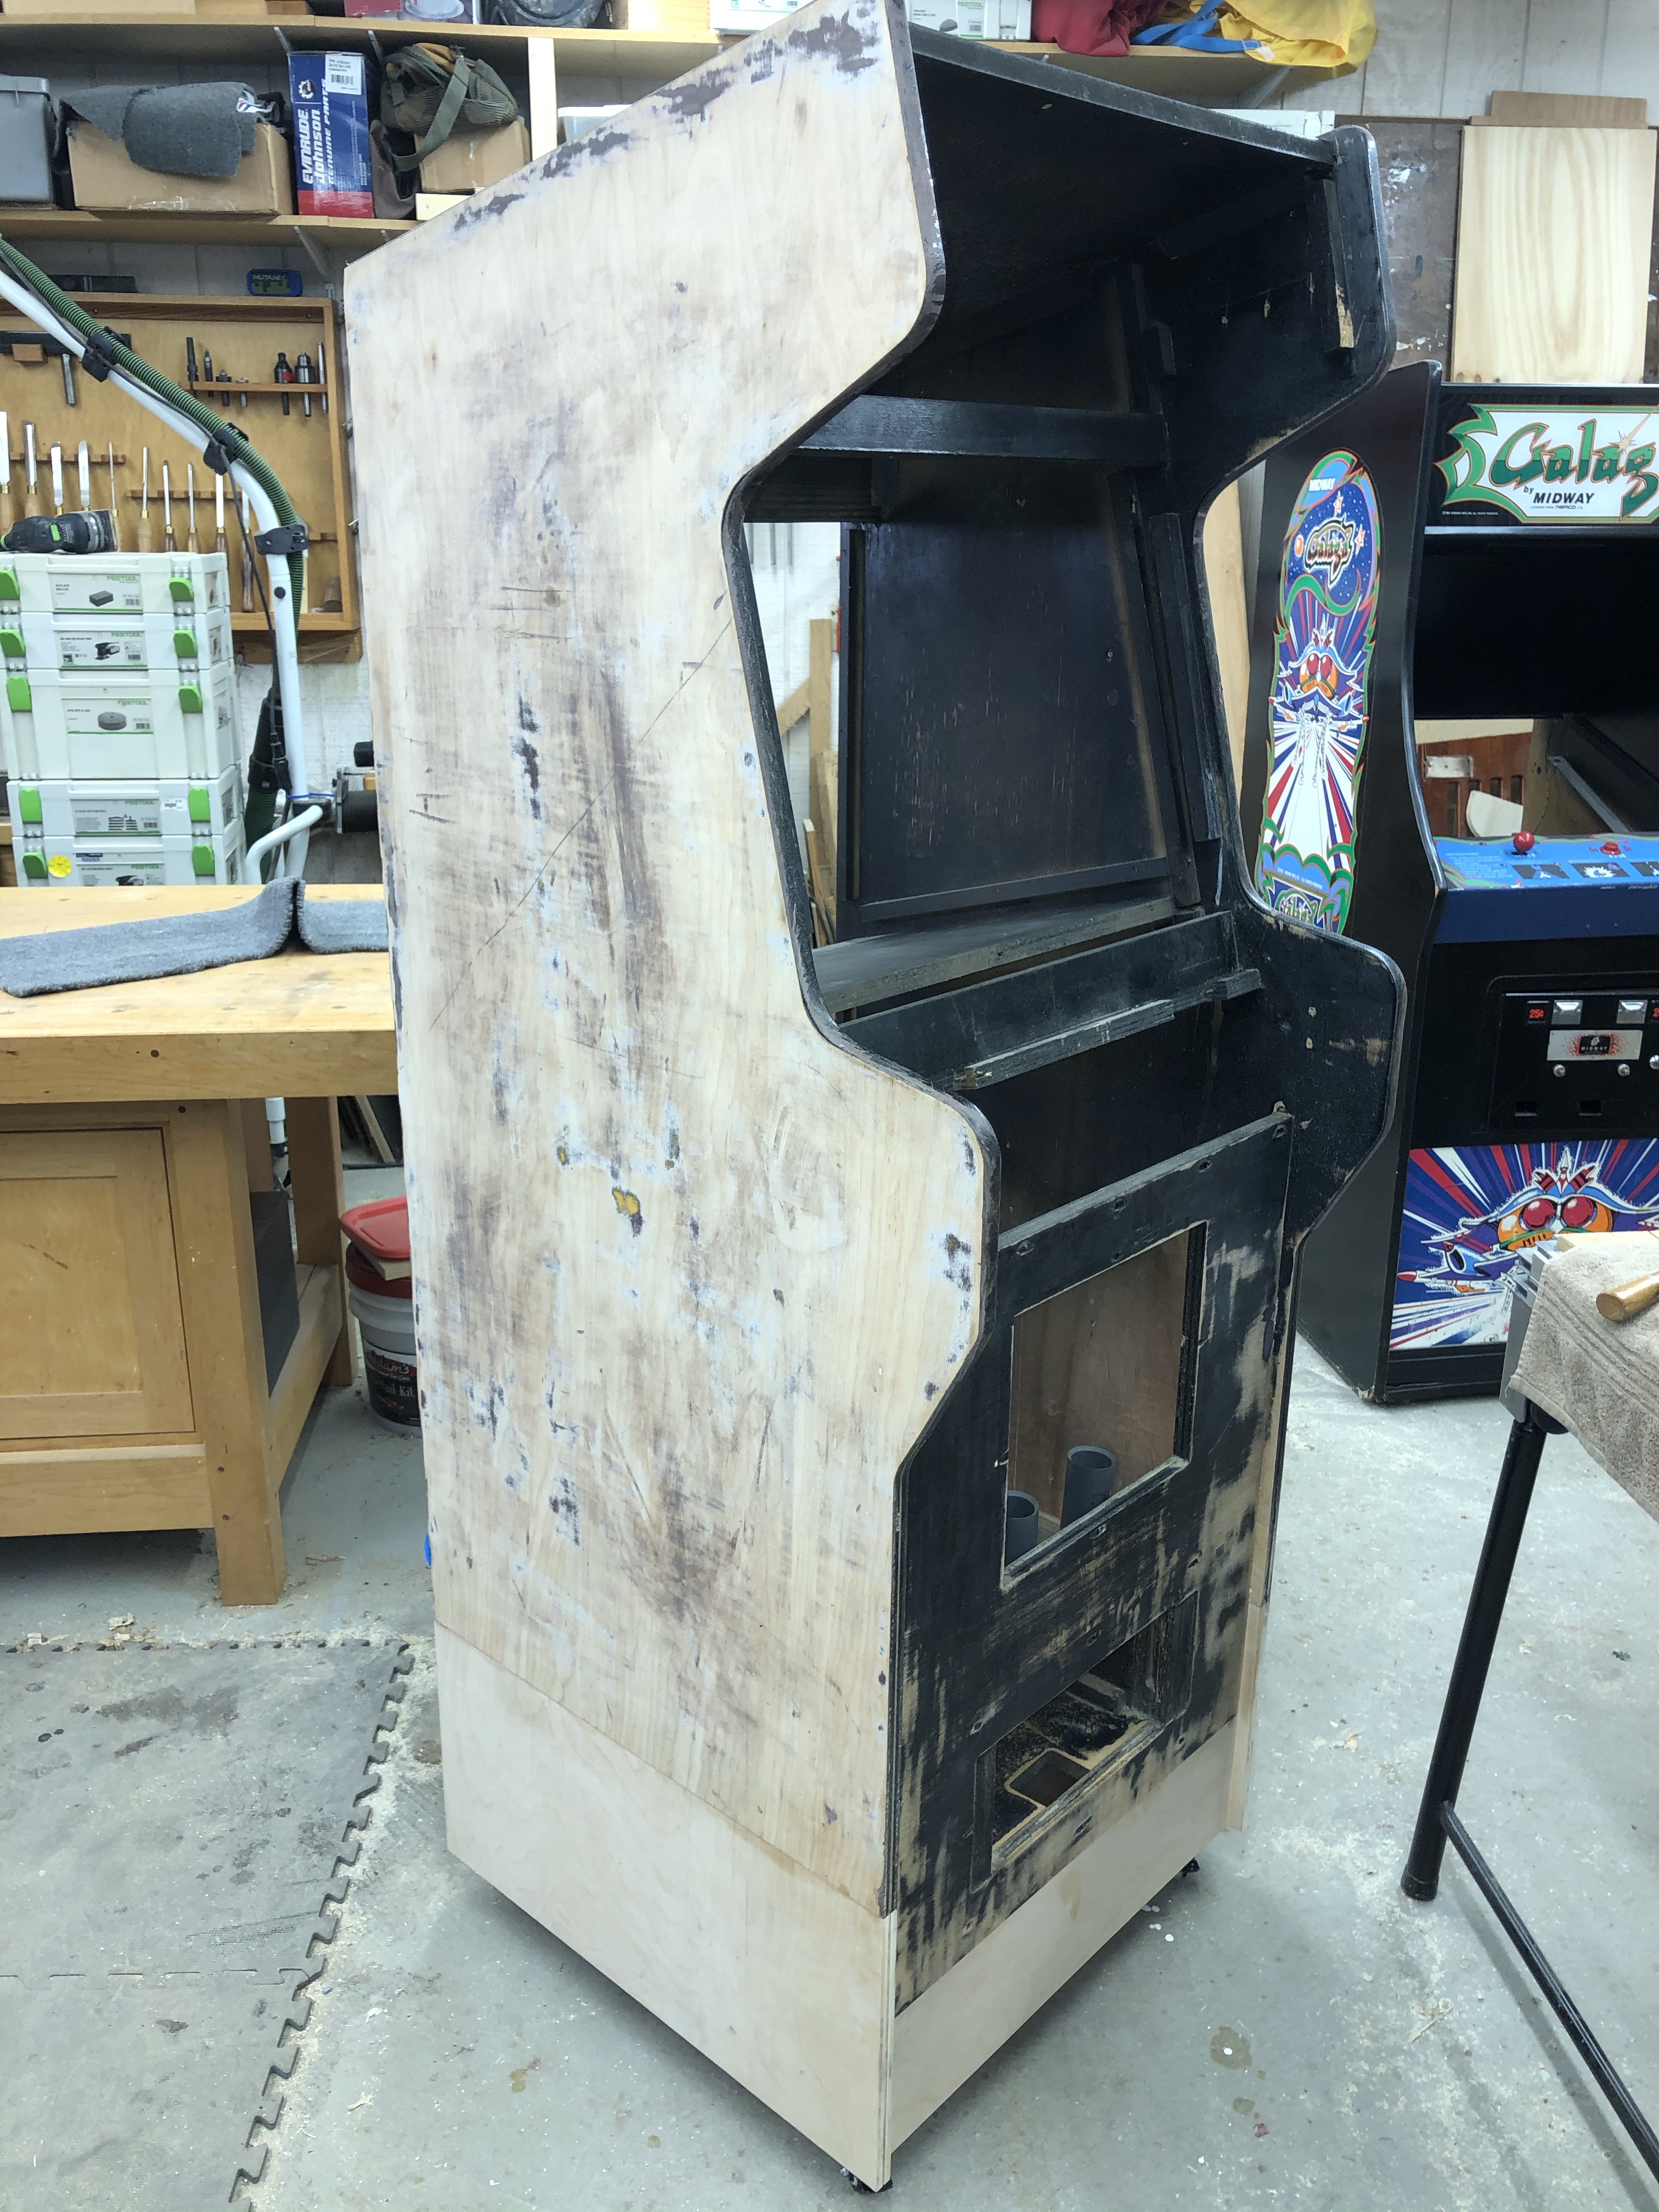
It’s apart – I’ll focus on the sides first while I formulate a plan for the front..

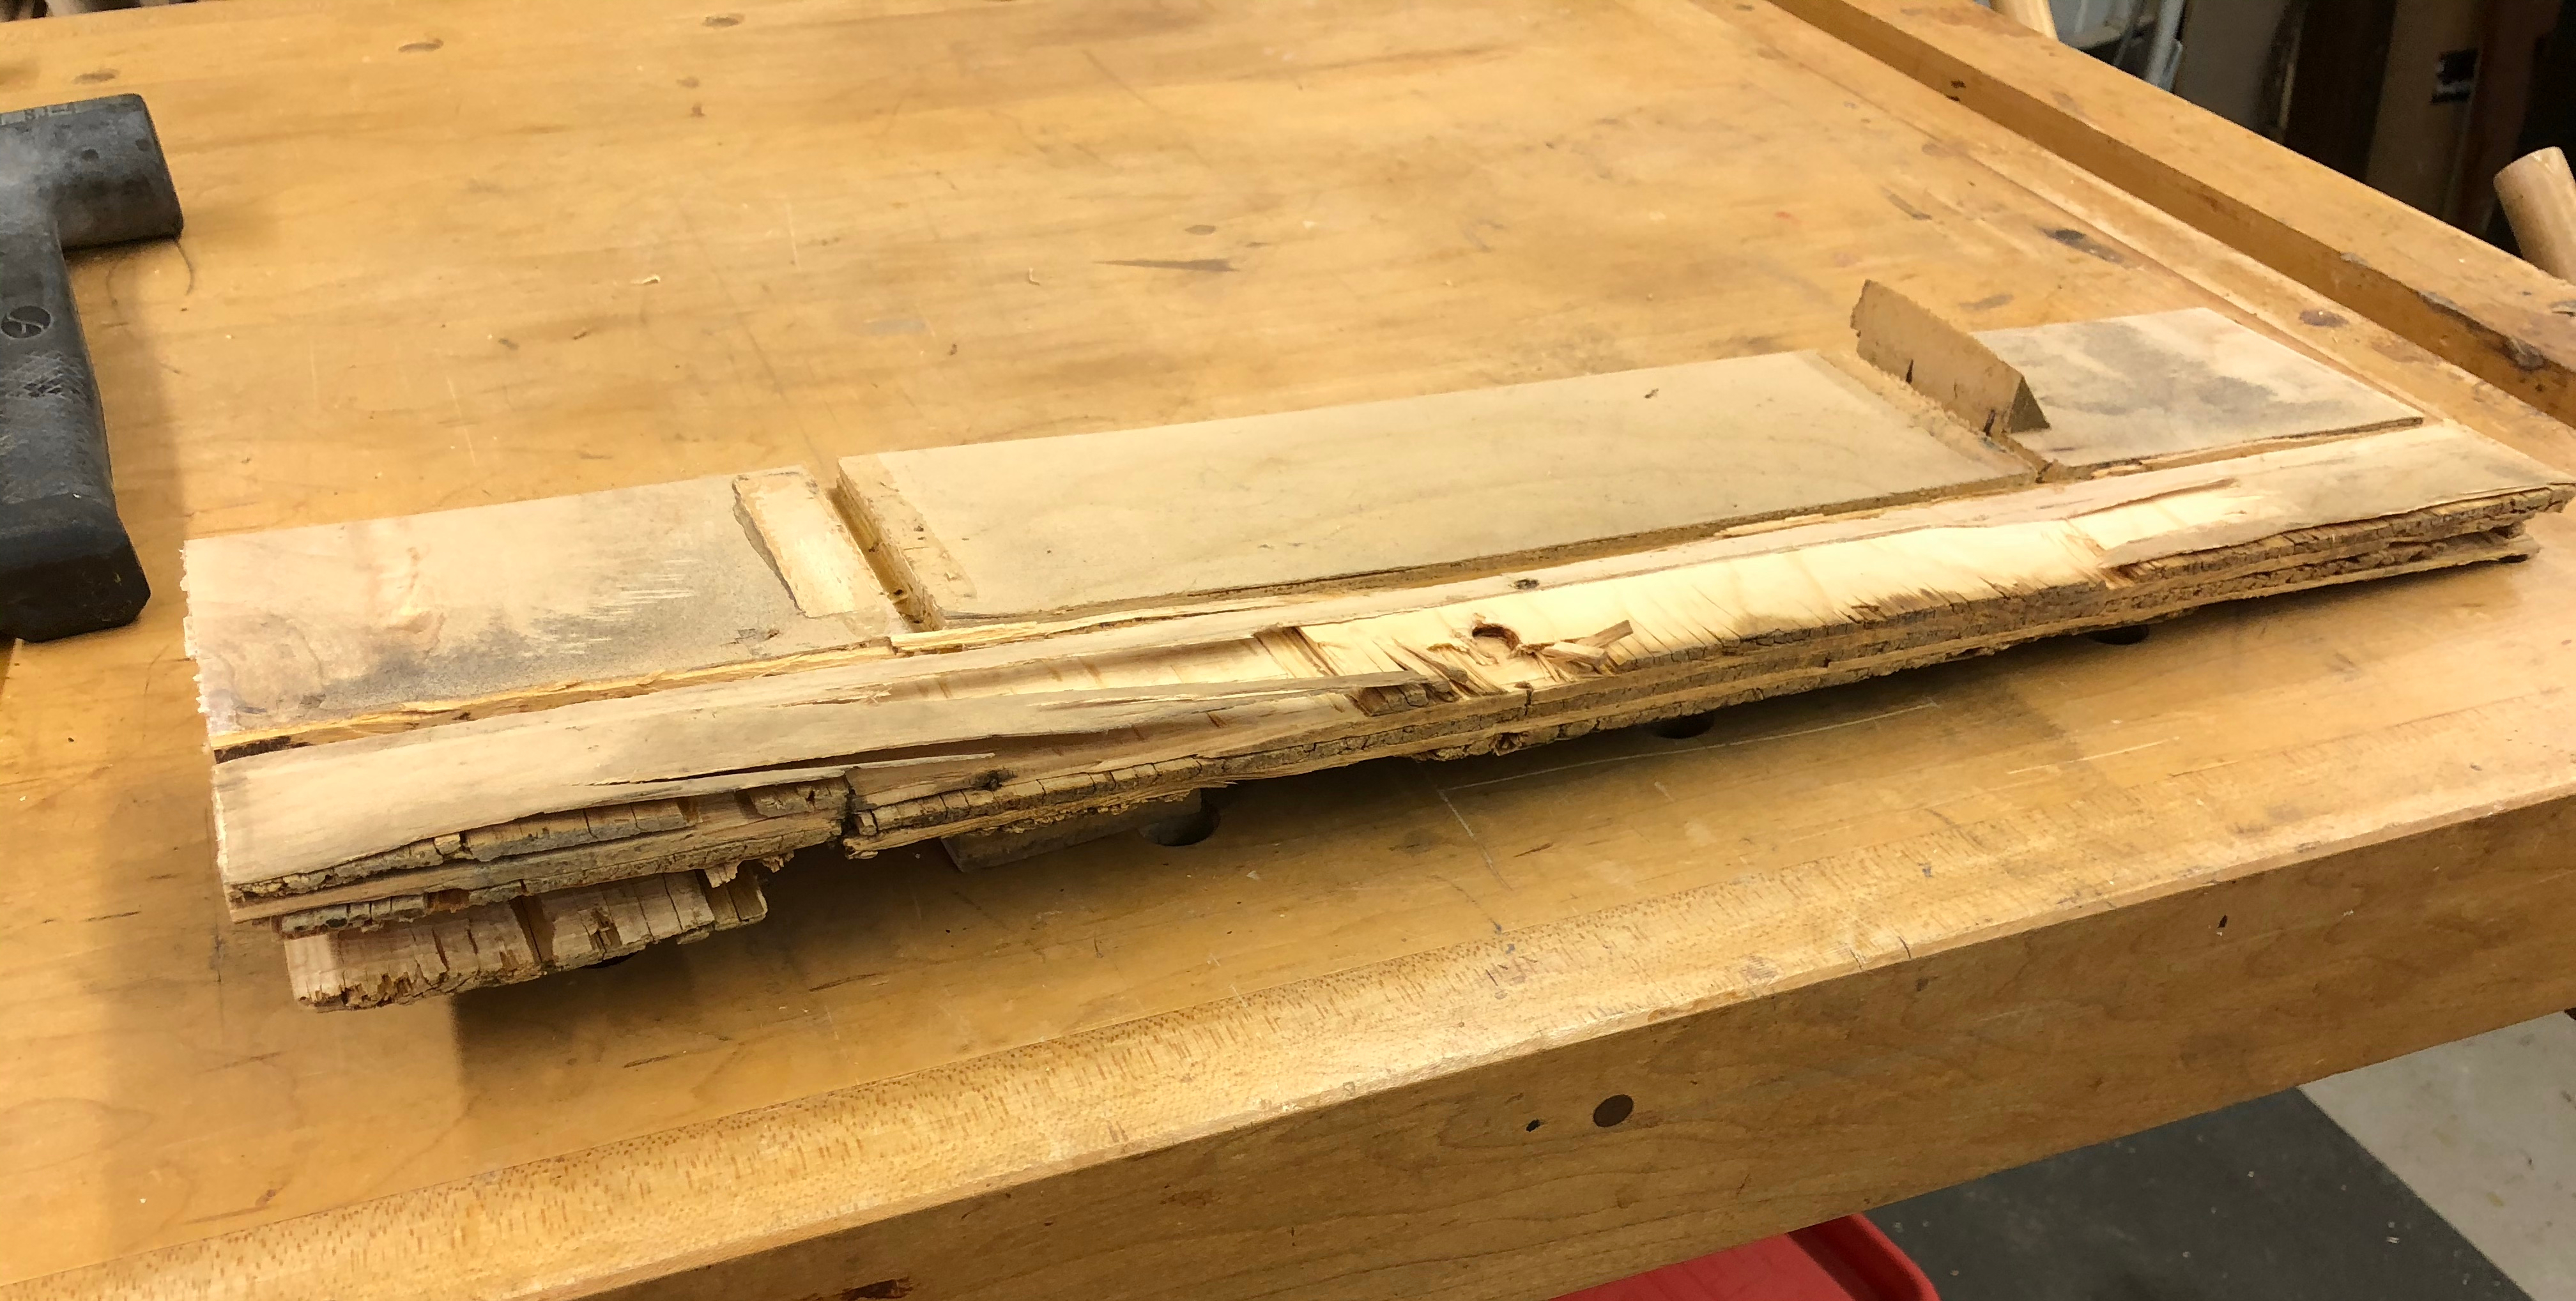
The bottom edge is trash. I’m using the straight edge to create a square reference point for cutting. Now I’m going to sleep on it and make sure when I wake up I still like this idea..

I started by trying to sand off the brown paint that was on top of the side art. It instantly gummed up the pad – sanding wasn’t going to work.
Next I tried a paint stripper that I had laying around for 20+ years – you know – the smelly stuff you can’t buy anymore.. that worked.. it took a few coats of paint some on … scrape a layer .. paint more on.. scrape a layer..
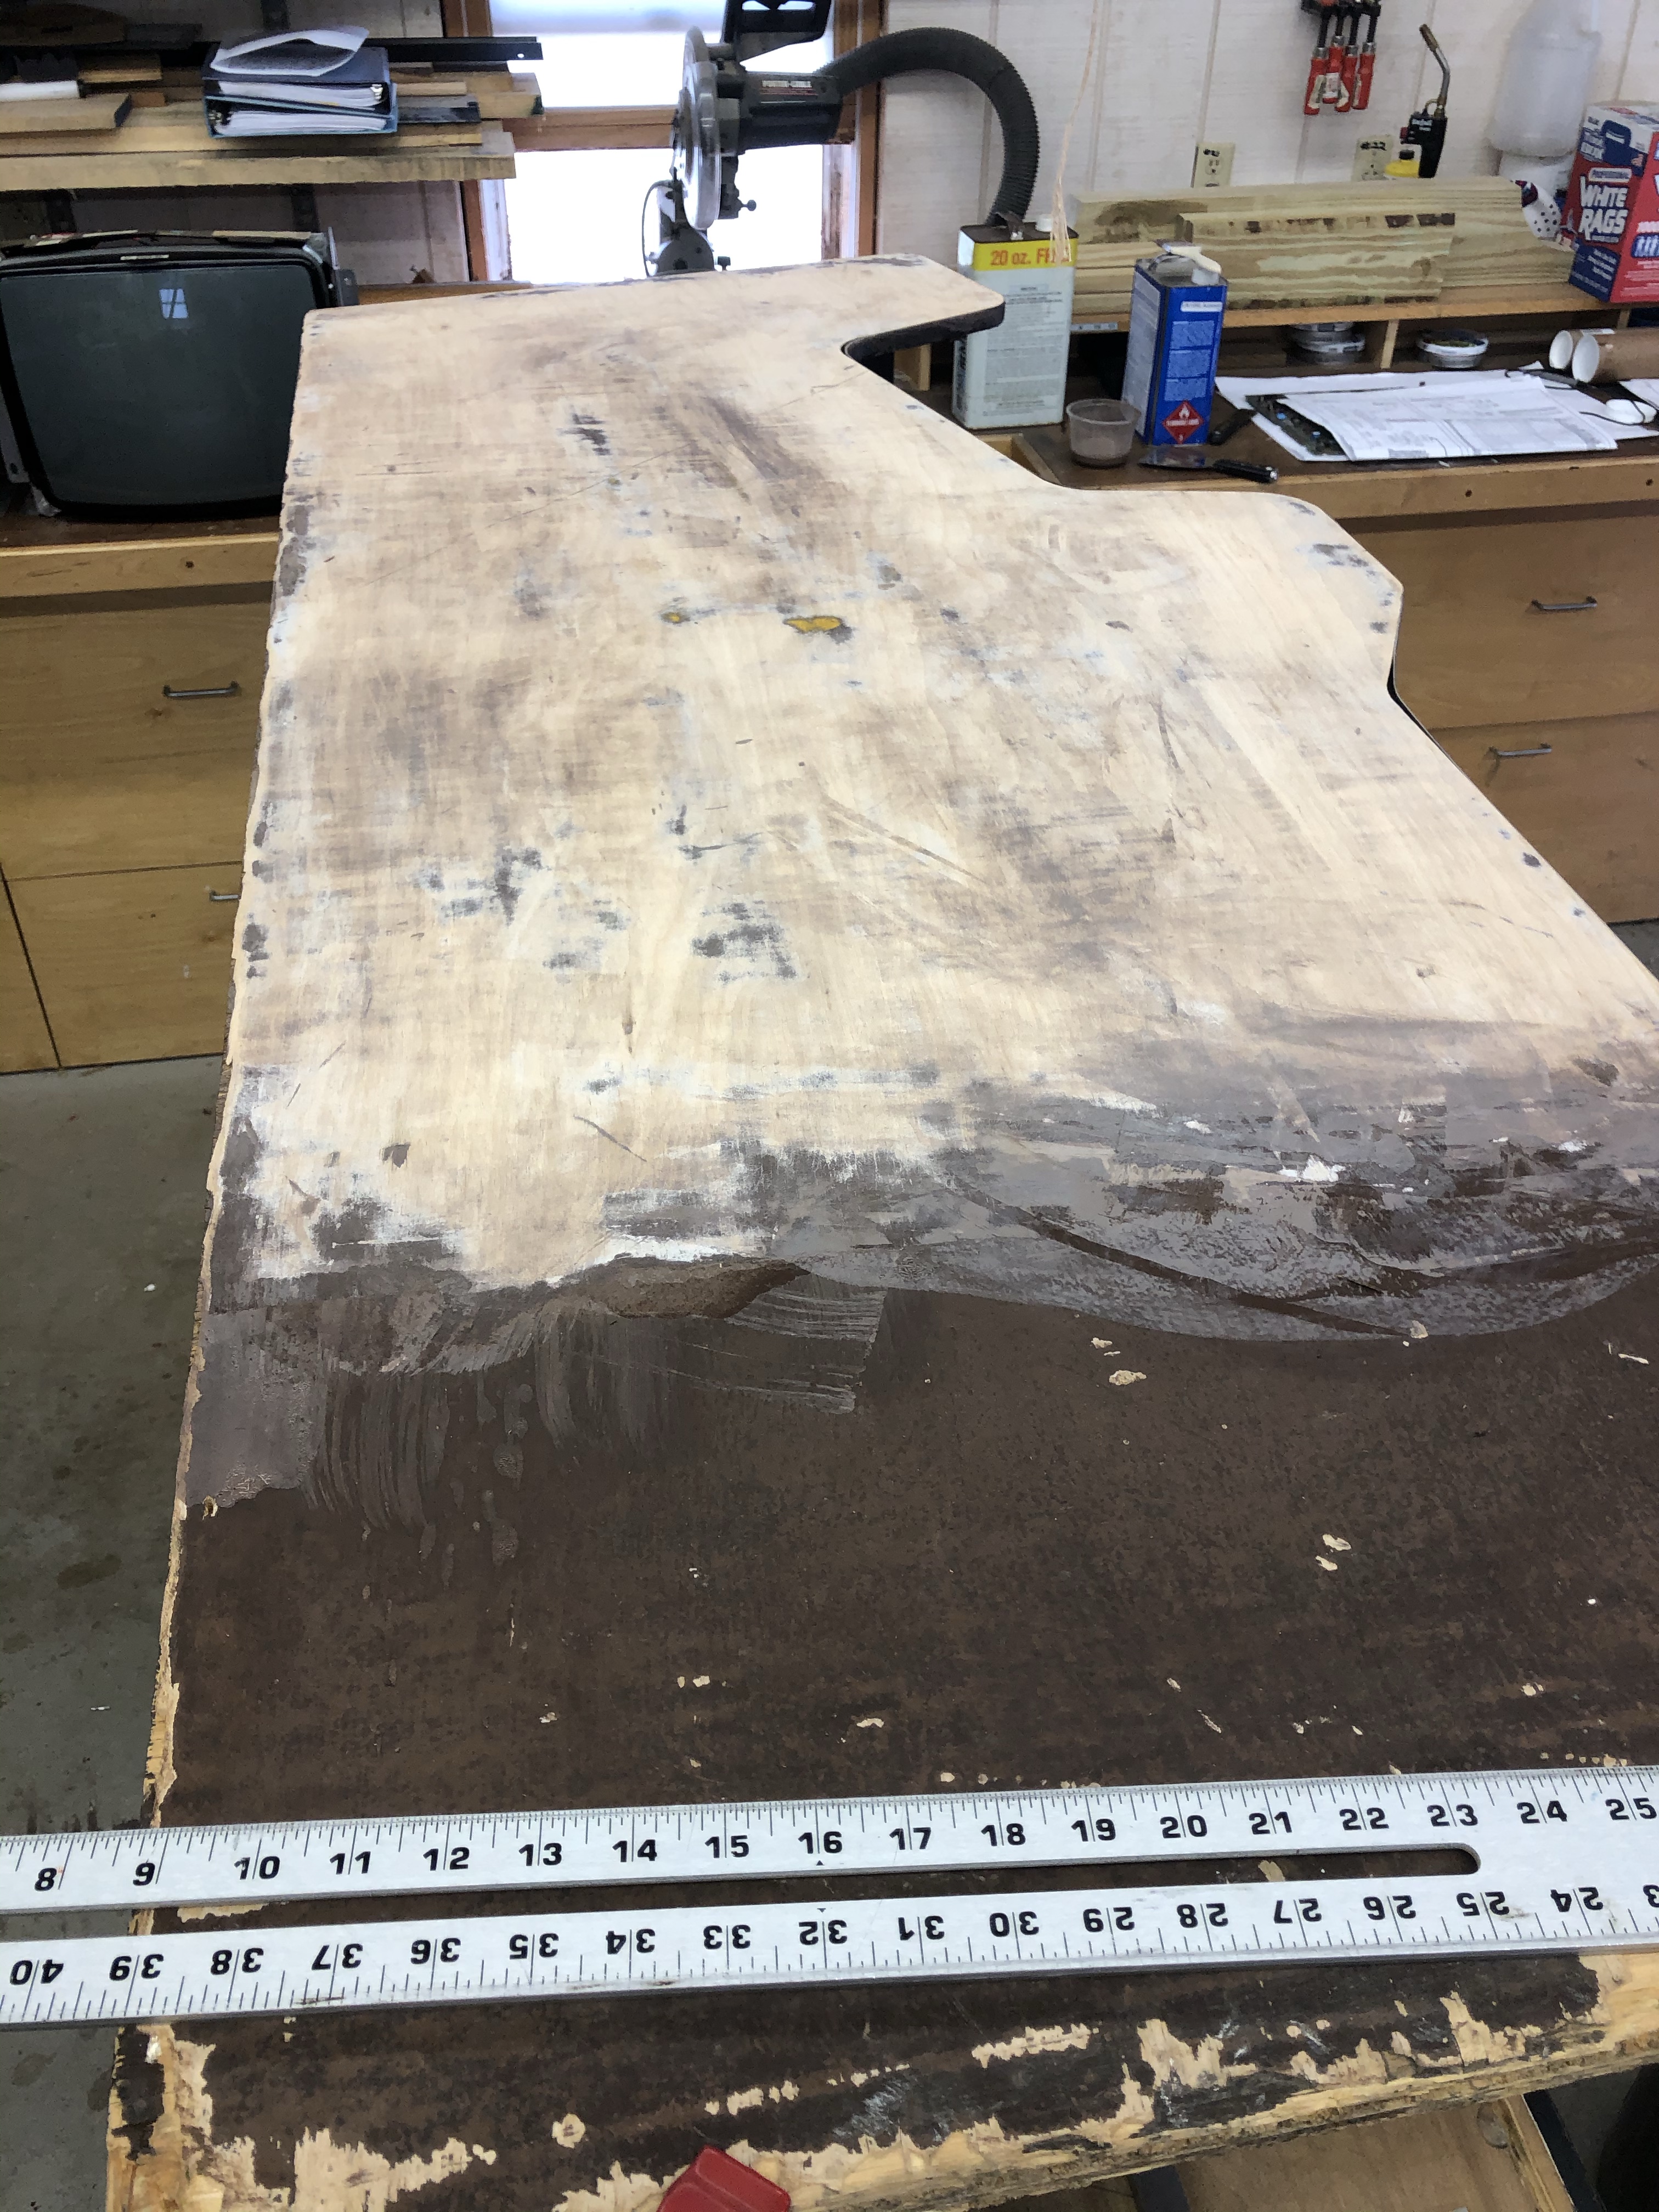
The original plywood was a good quality maple – its actually pretty smooth here even though it may not look it. It only took a few minutes to smooth it out with the sander after the stripper work was done. Williams used a primer under the original brown paint too.
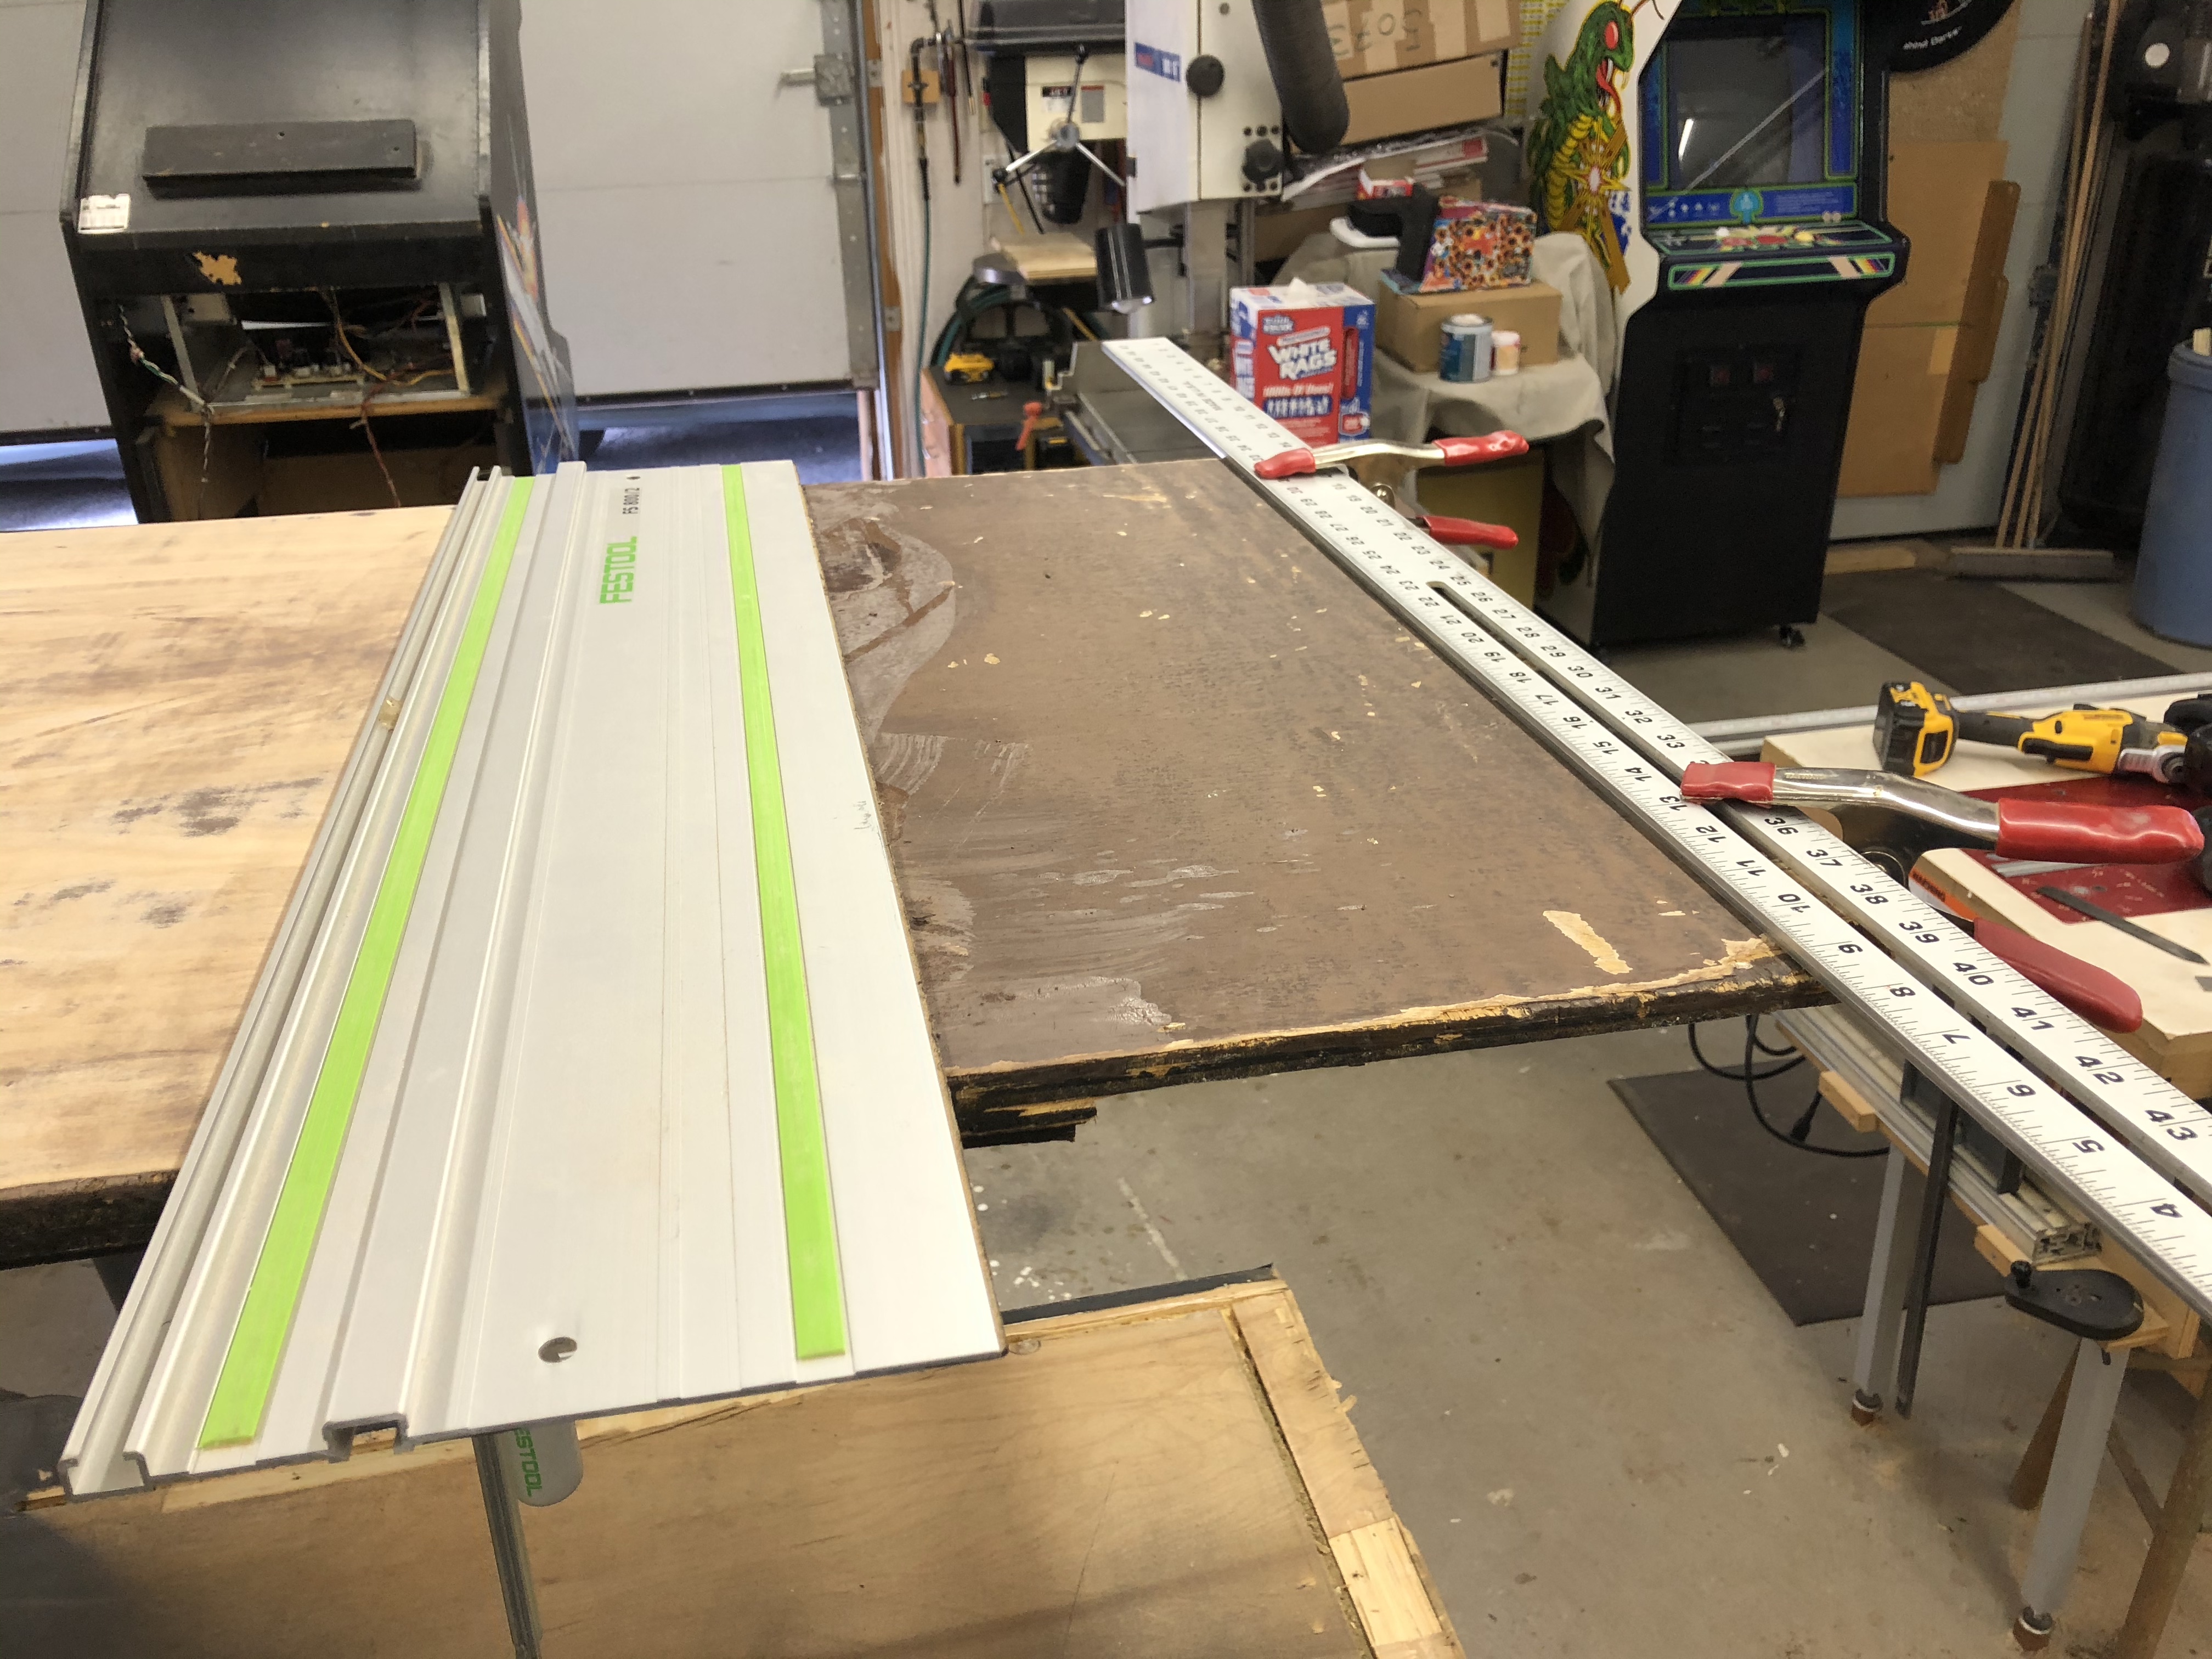
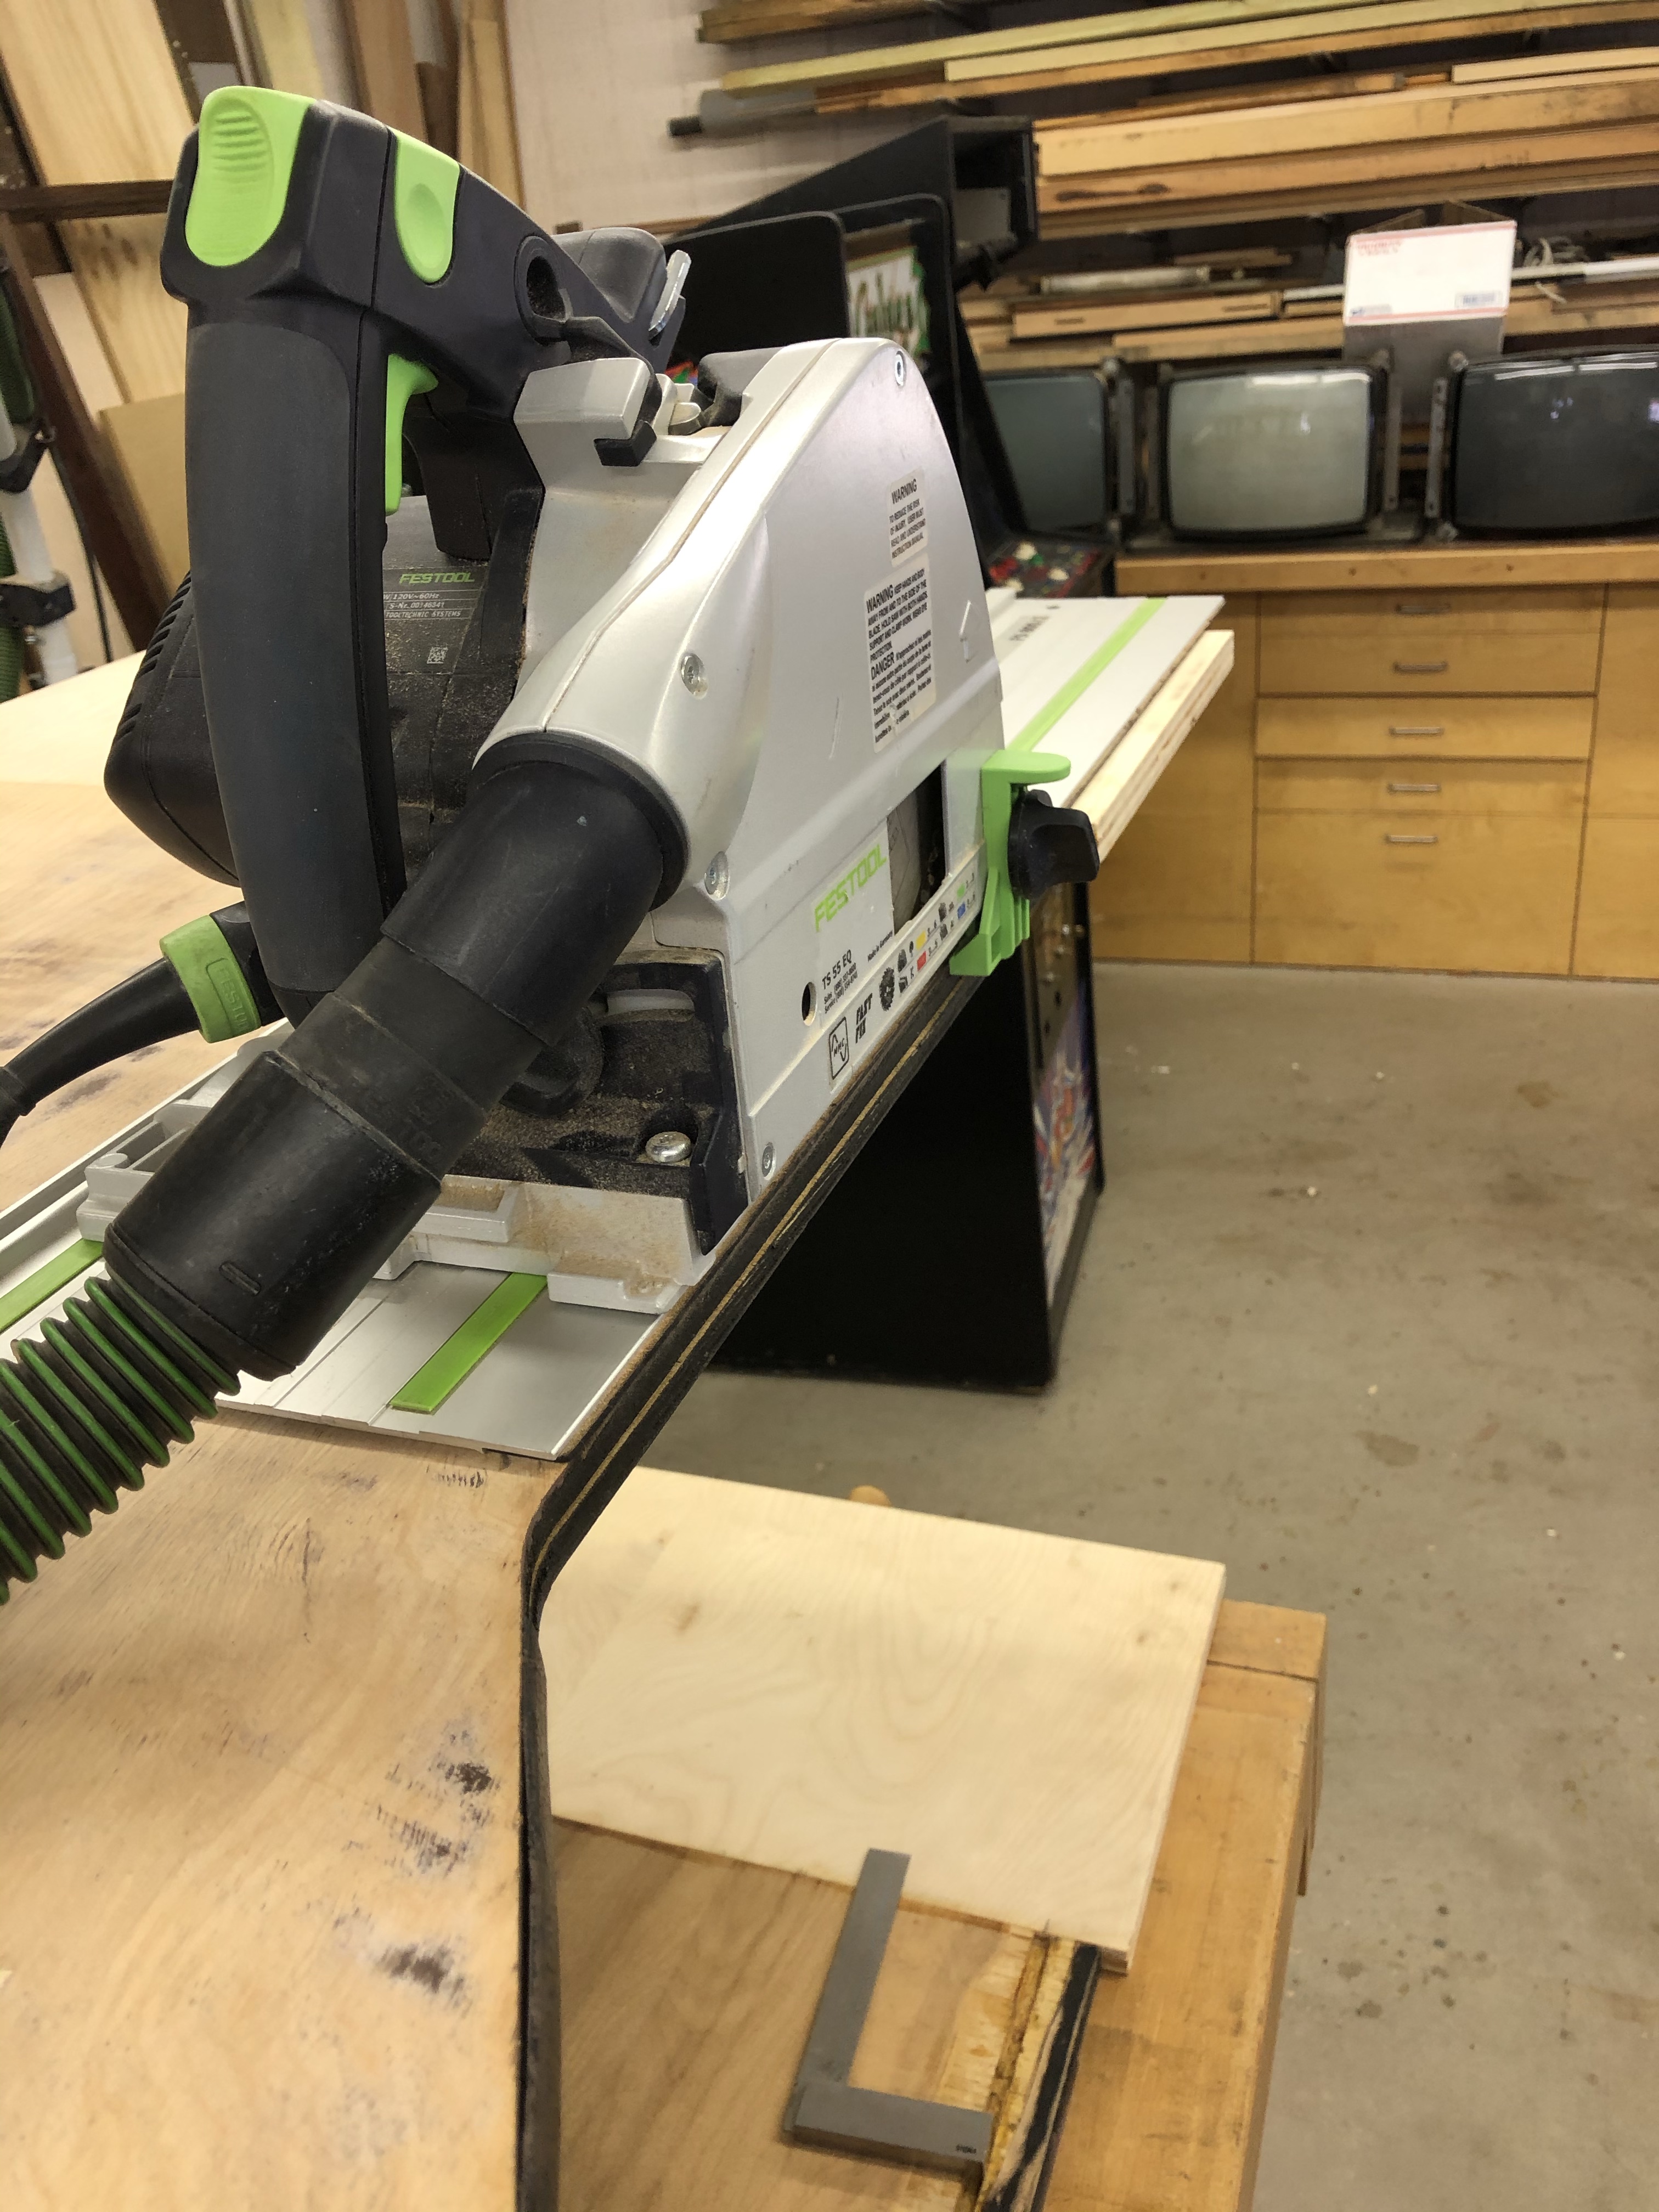
The track saw will make parts of this easy – 12″ off the bottom..
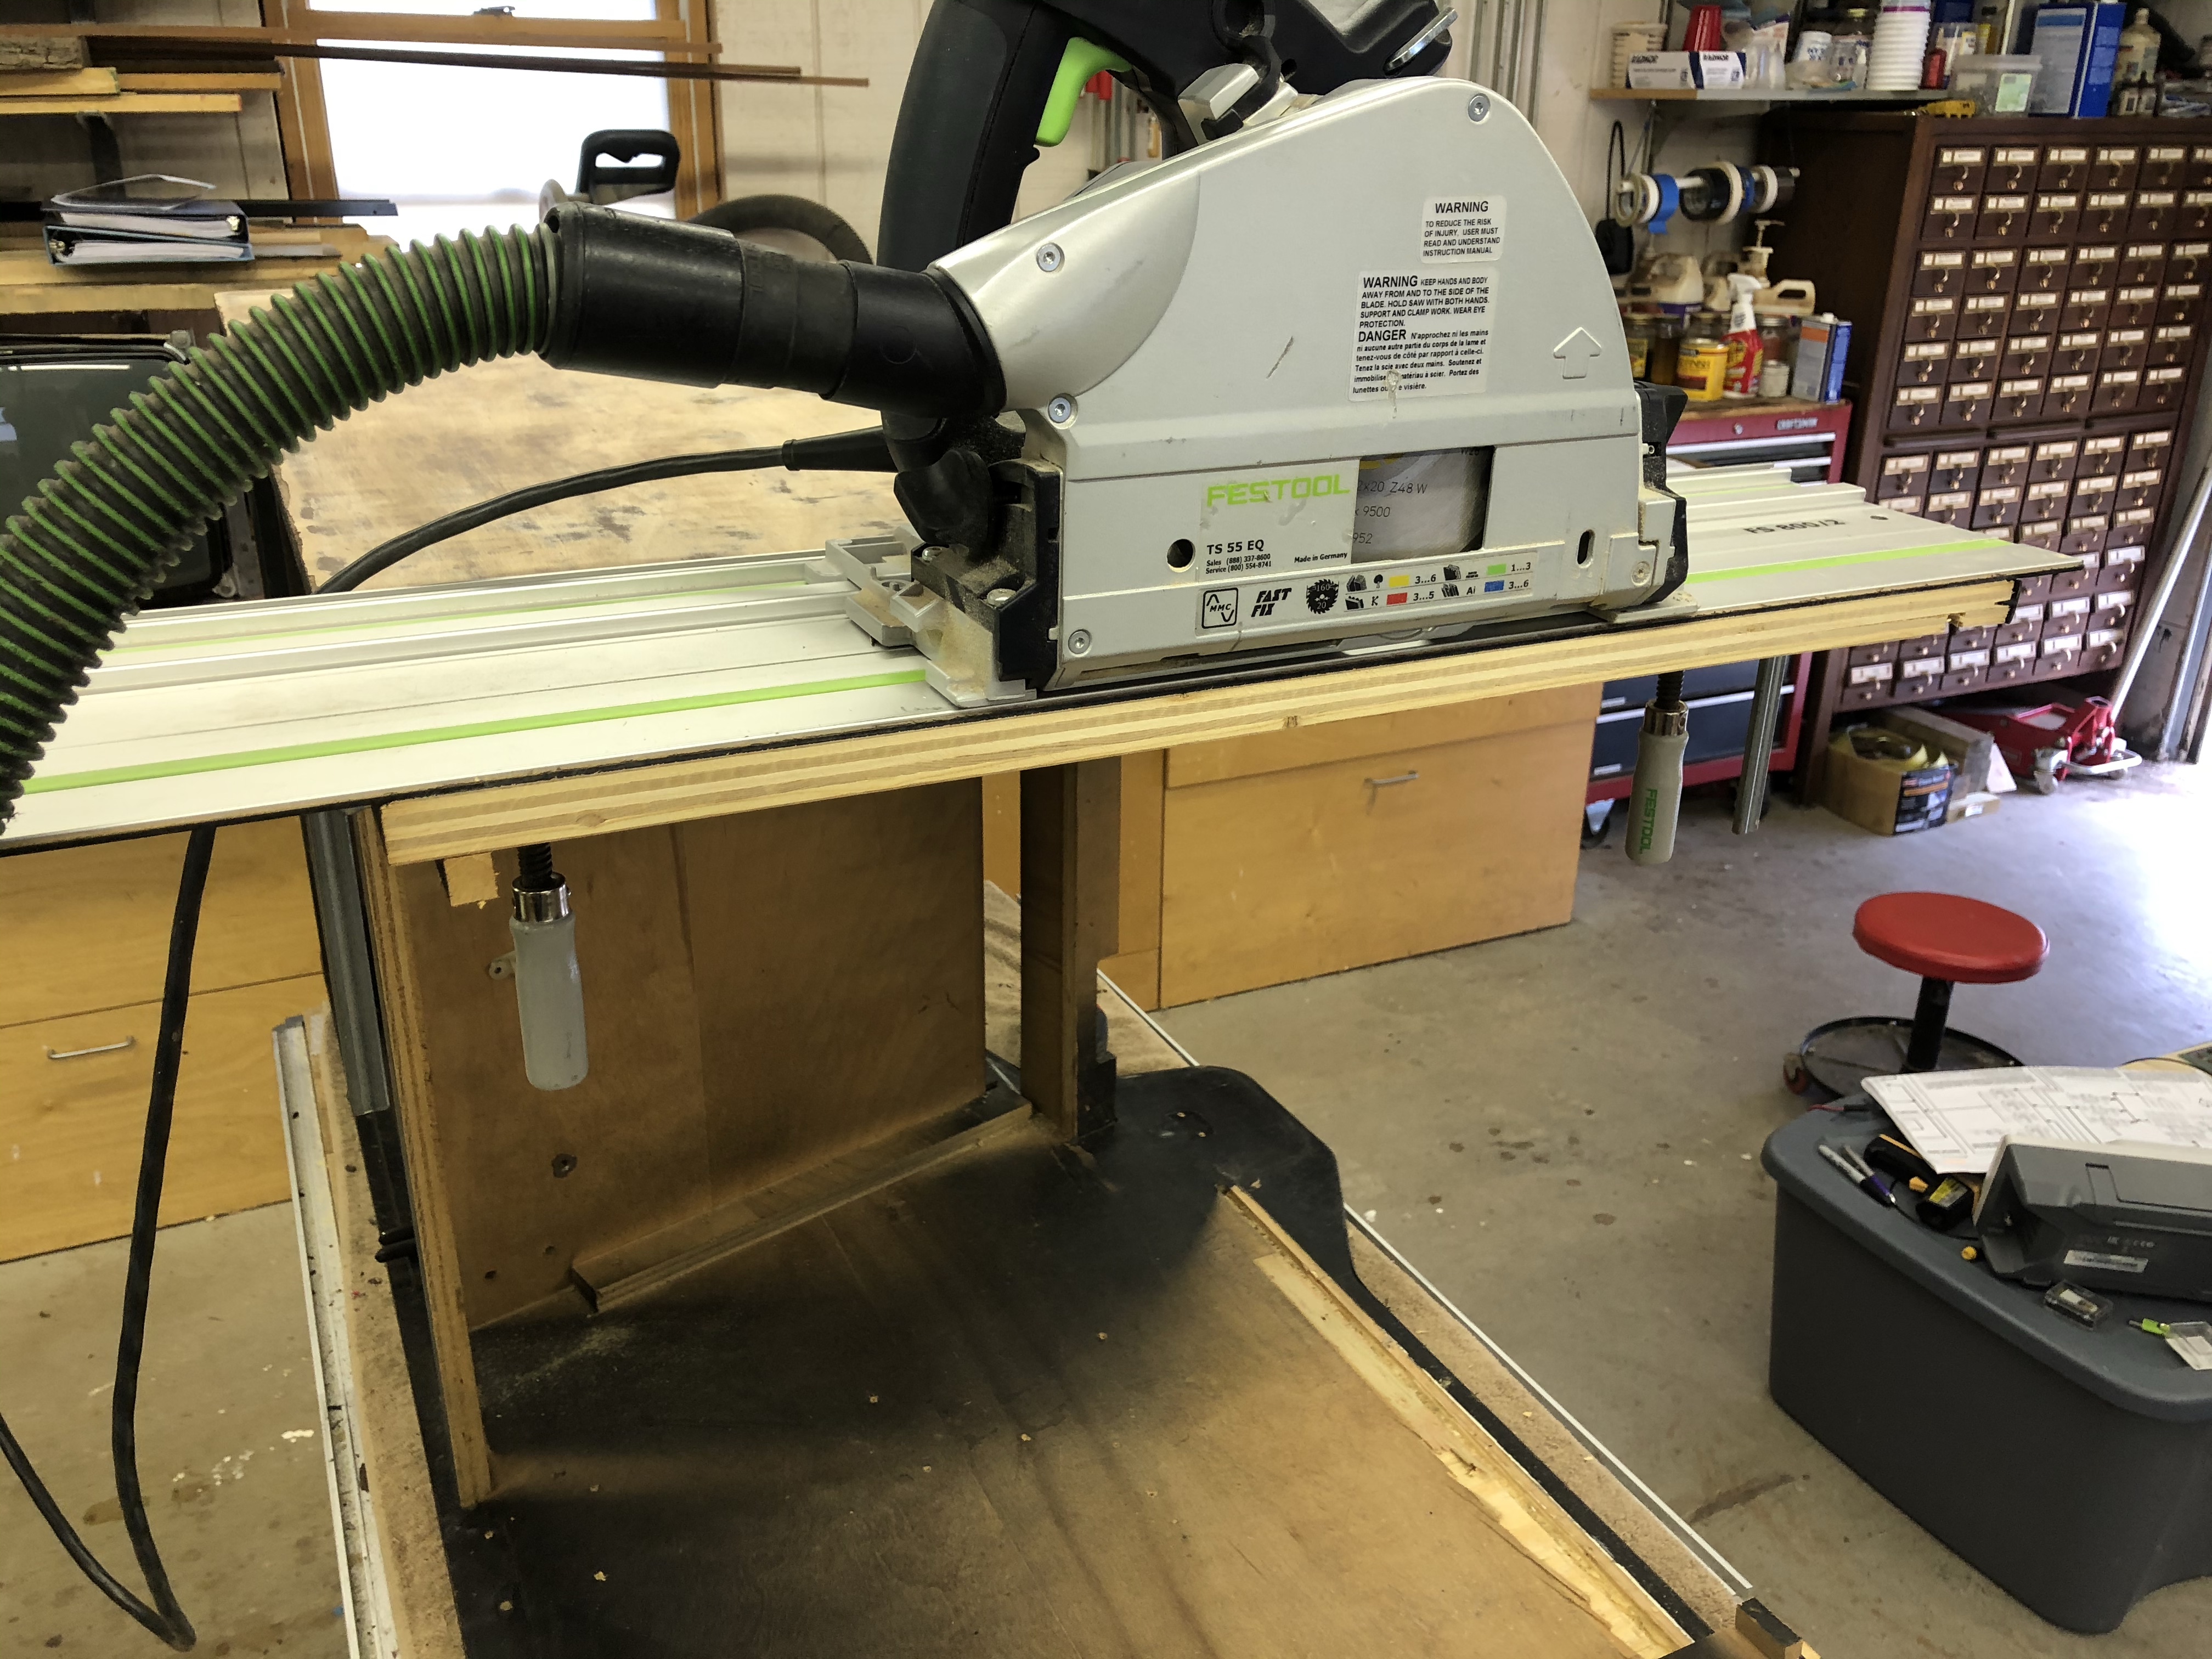
One thing I strongly recommend – if the original T-molding is there – leave it on as long as possible. It’s a great guide to keep you from sanding the corners round or dinging them up. While sanding the sides – once you start digging too far into the T-molding – you can see it.
Joust a foot shorter – is it a cabaret now?
Working on the coin door panel
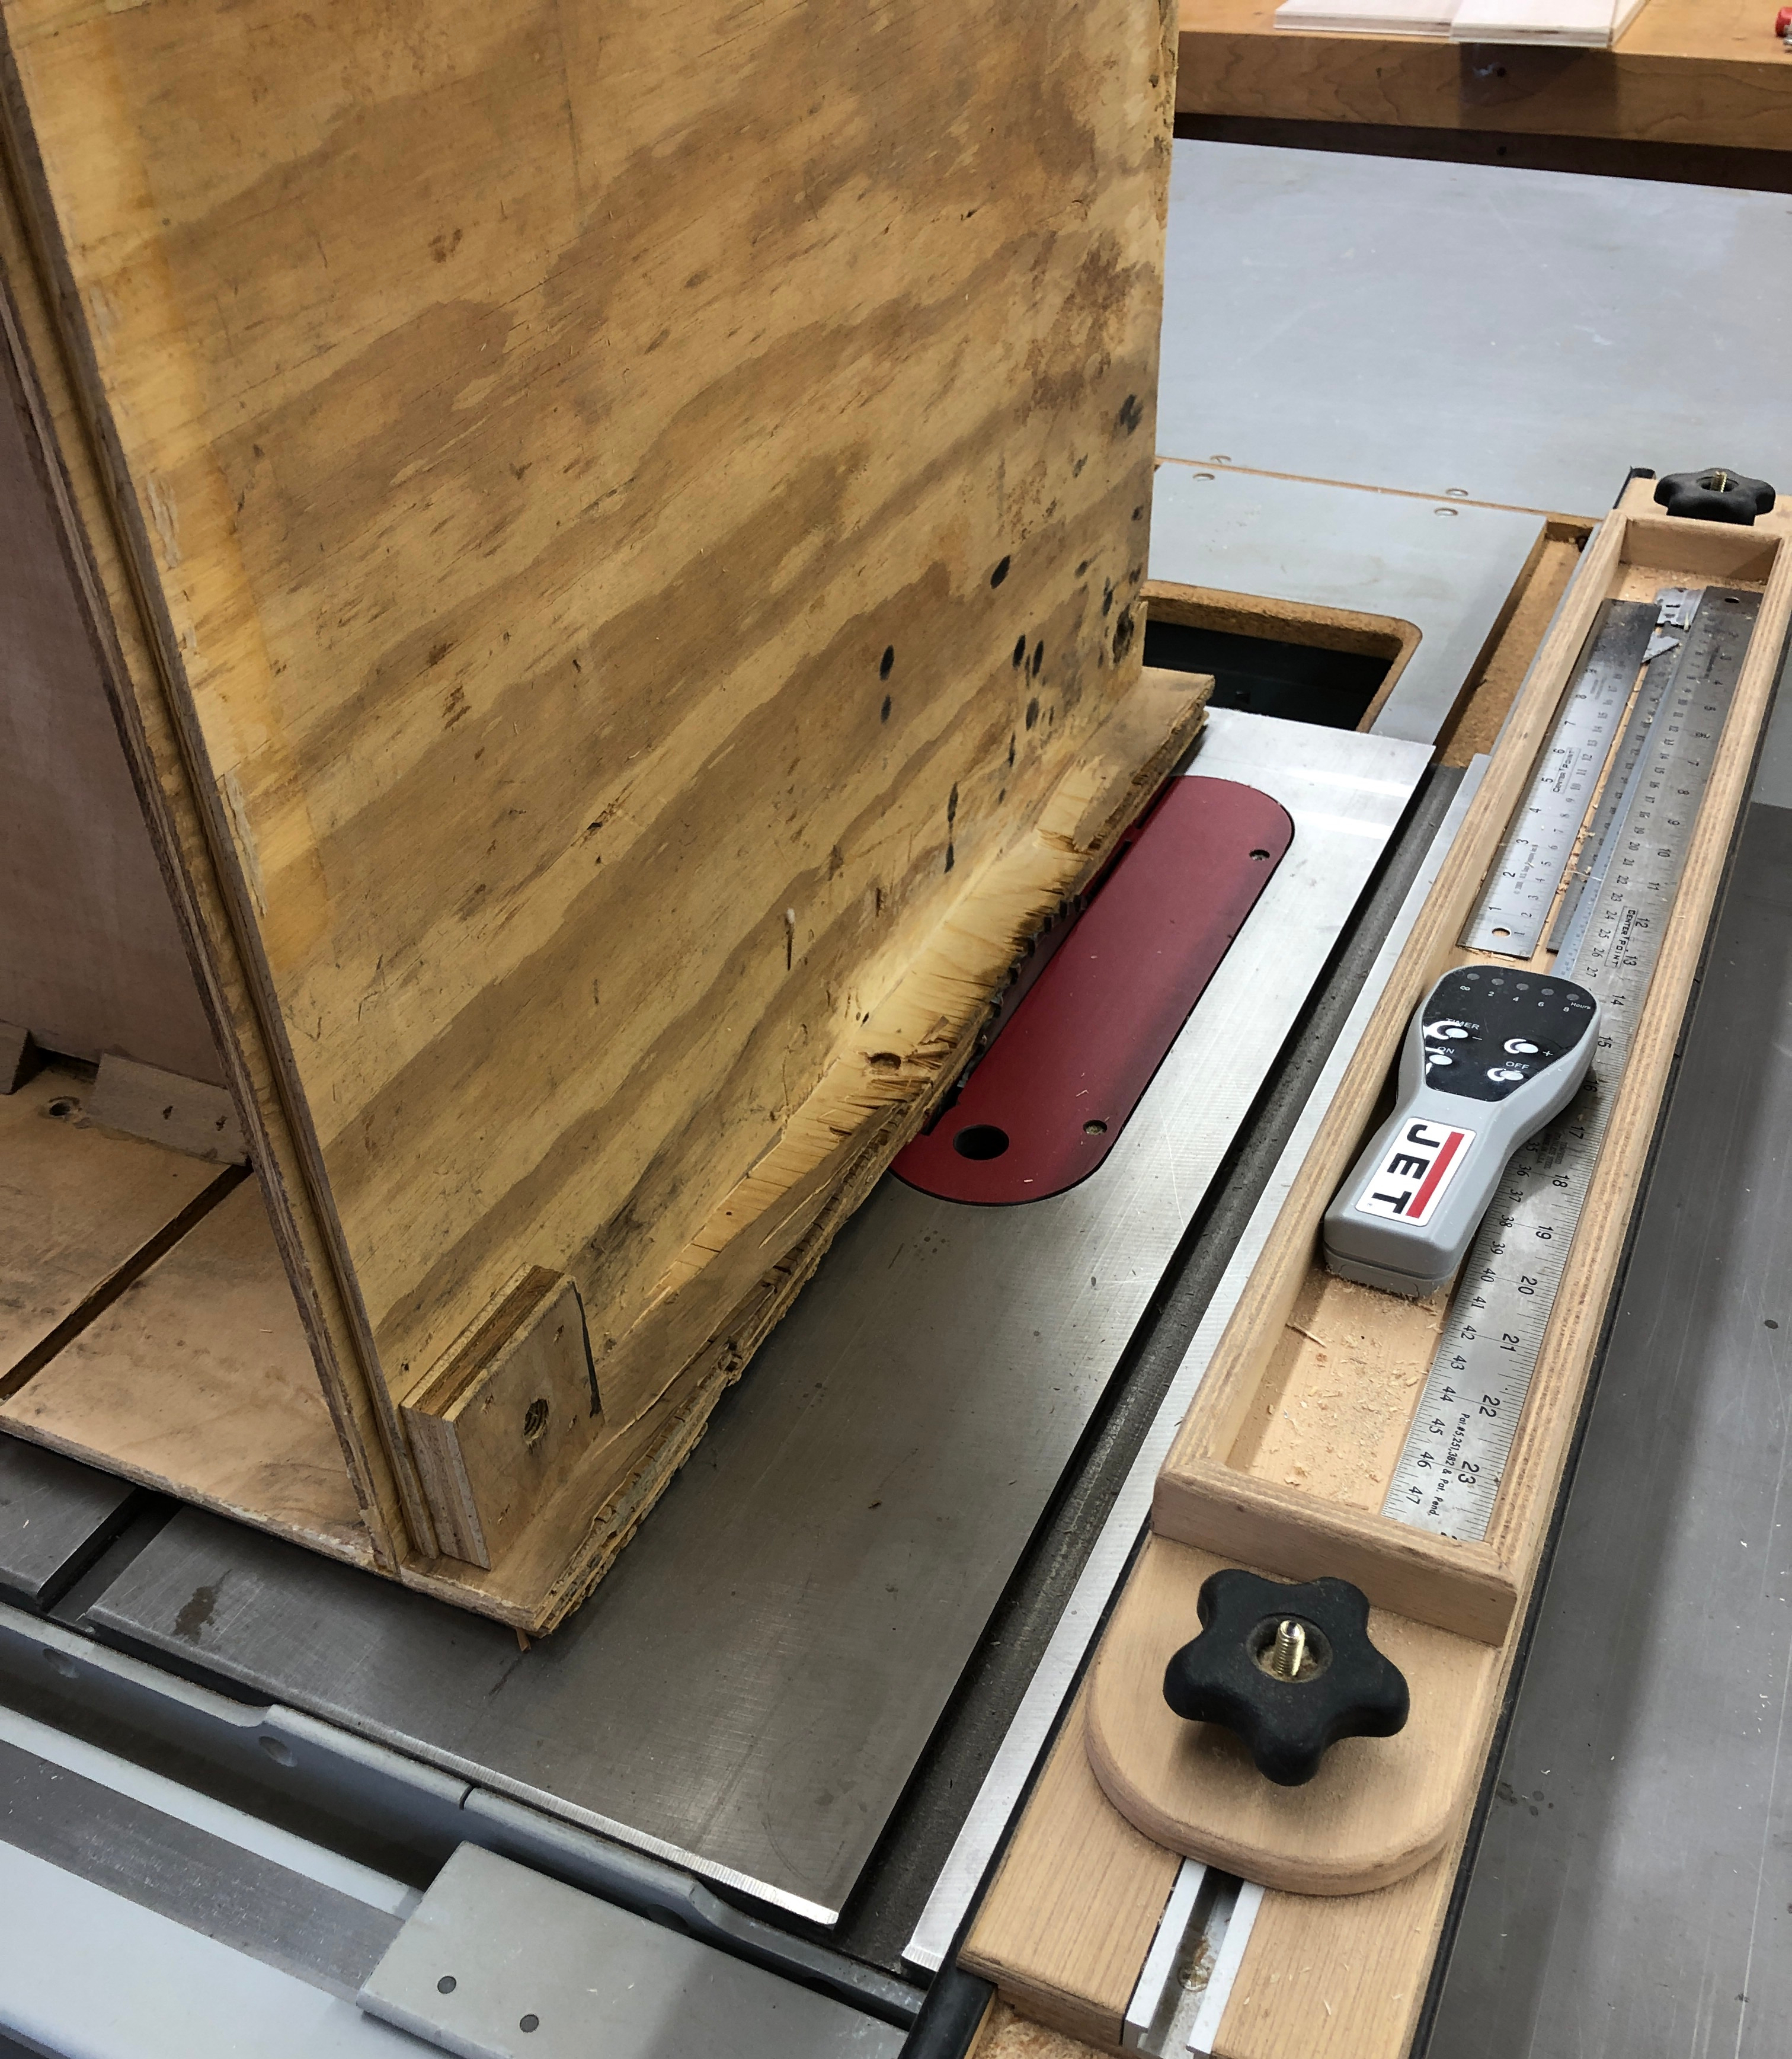
I decided to remove the lower 6″ of this panel. Simplest way to do it is raise the saw blade just above the thickness of the plywood.
and saw a clean line right across the front.
It knocked off pretty easily with a mallet.. Clean up the bits and pieces, etc..
The old part – this wasn’t repairable – if you wanted it to last.

I missed some pictures at the router table – but I cut in the dados on the back of the replacement part to match the original. I used thickened epoxy to glue this in place. It fills gaps and won’t come apart. Which pretty much means this is permanent. The important part on this repair is to know that plywood 40 years ago was actually 3/4″ thick. Today’s plywood is 1/32″ thinner.. If you look close – I’m clamping the thinner one from the bottom to push it up so that the face is flush. The part you see is the important part.
From the top – the face is flush with the new part AND its perfectly flat. A quick sand and repaint of the front and it will all be invisible. I still need to cut the rabbets on the sides. One other thing I did is I left it a little long. Once I determine the actual overhang relative to the floor panel, I can cut it to length. Its easier to have it a little bit too big and cut it down than to have it too small and try to add material.
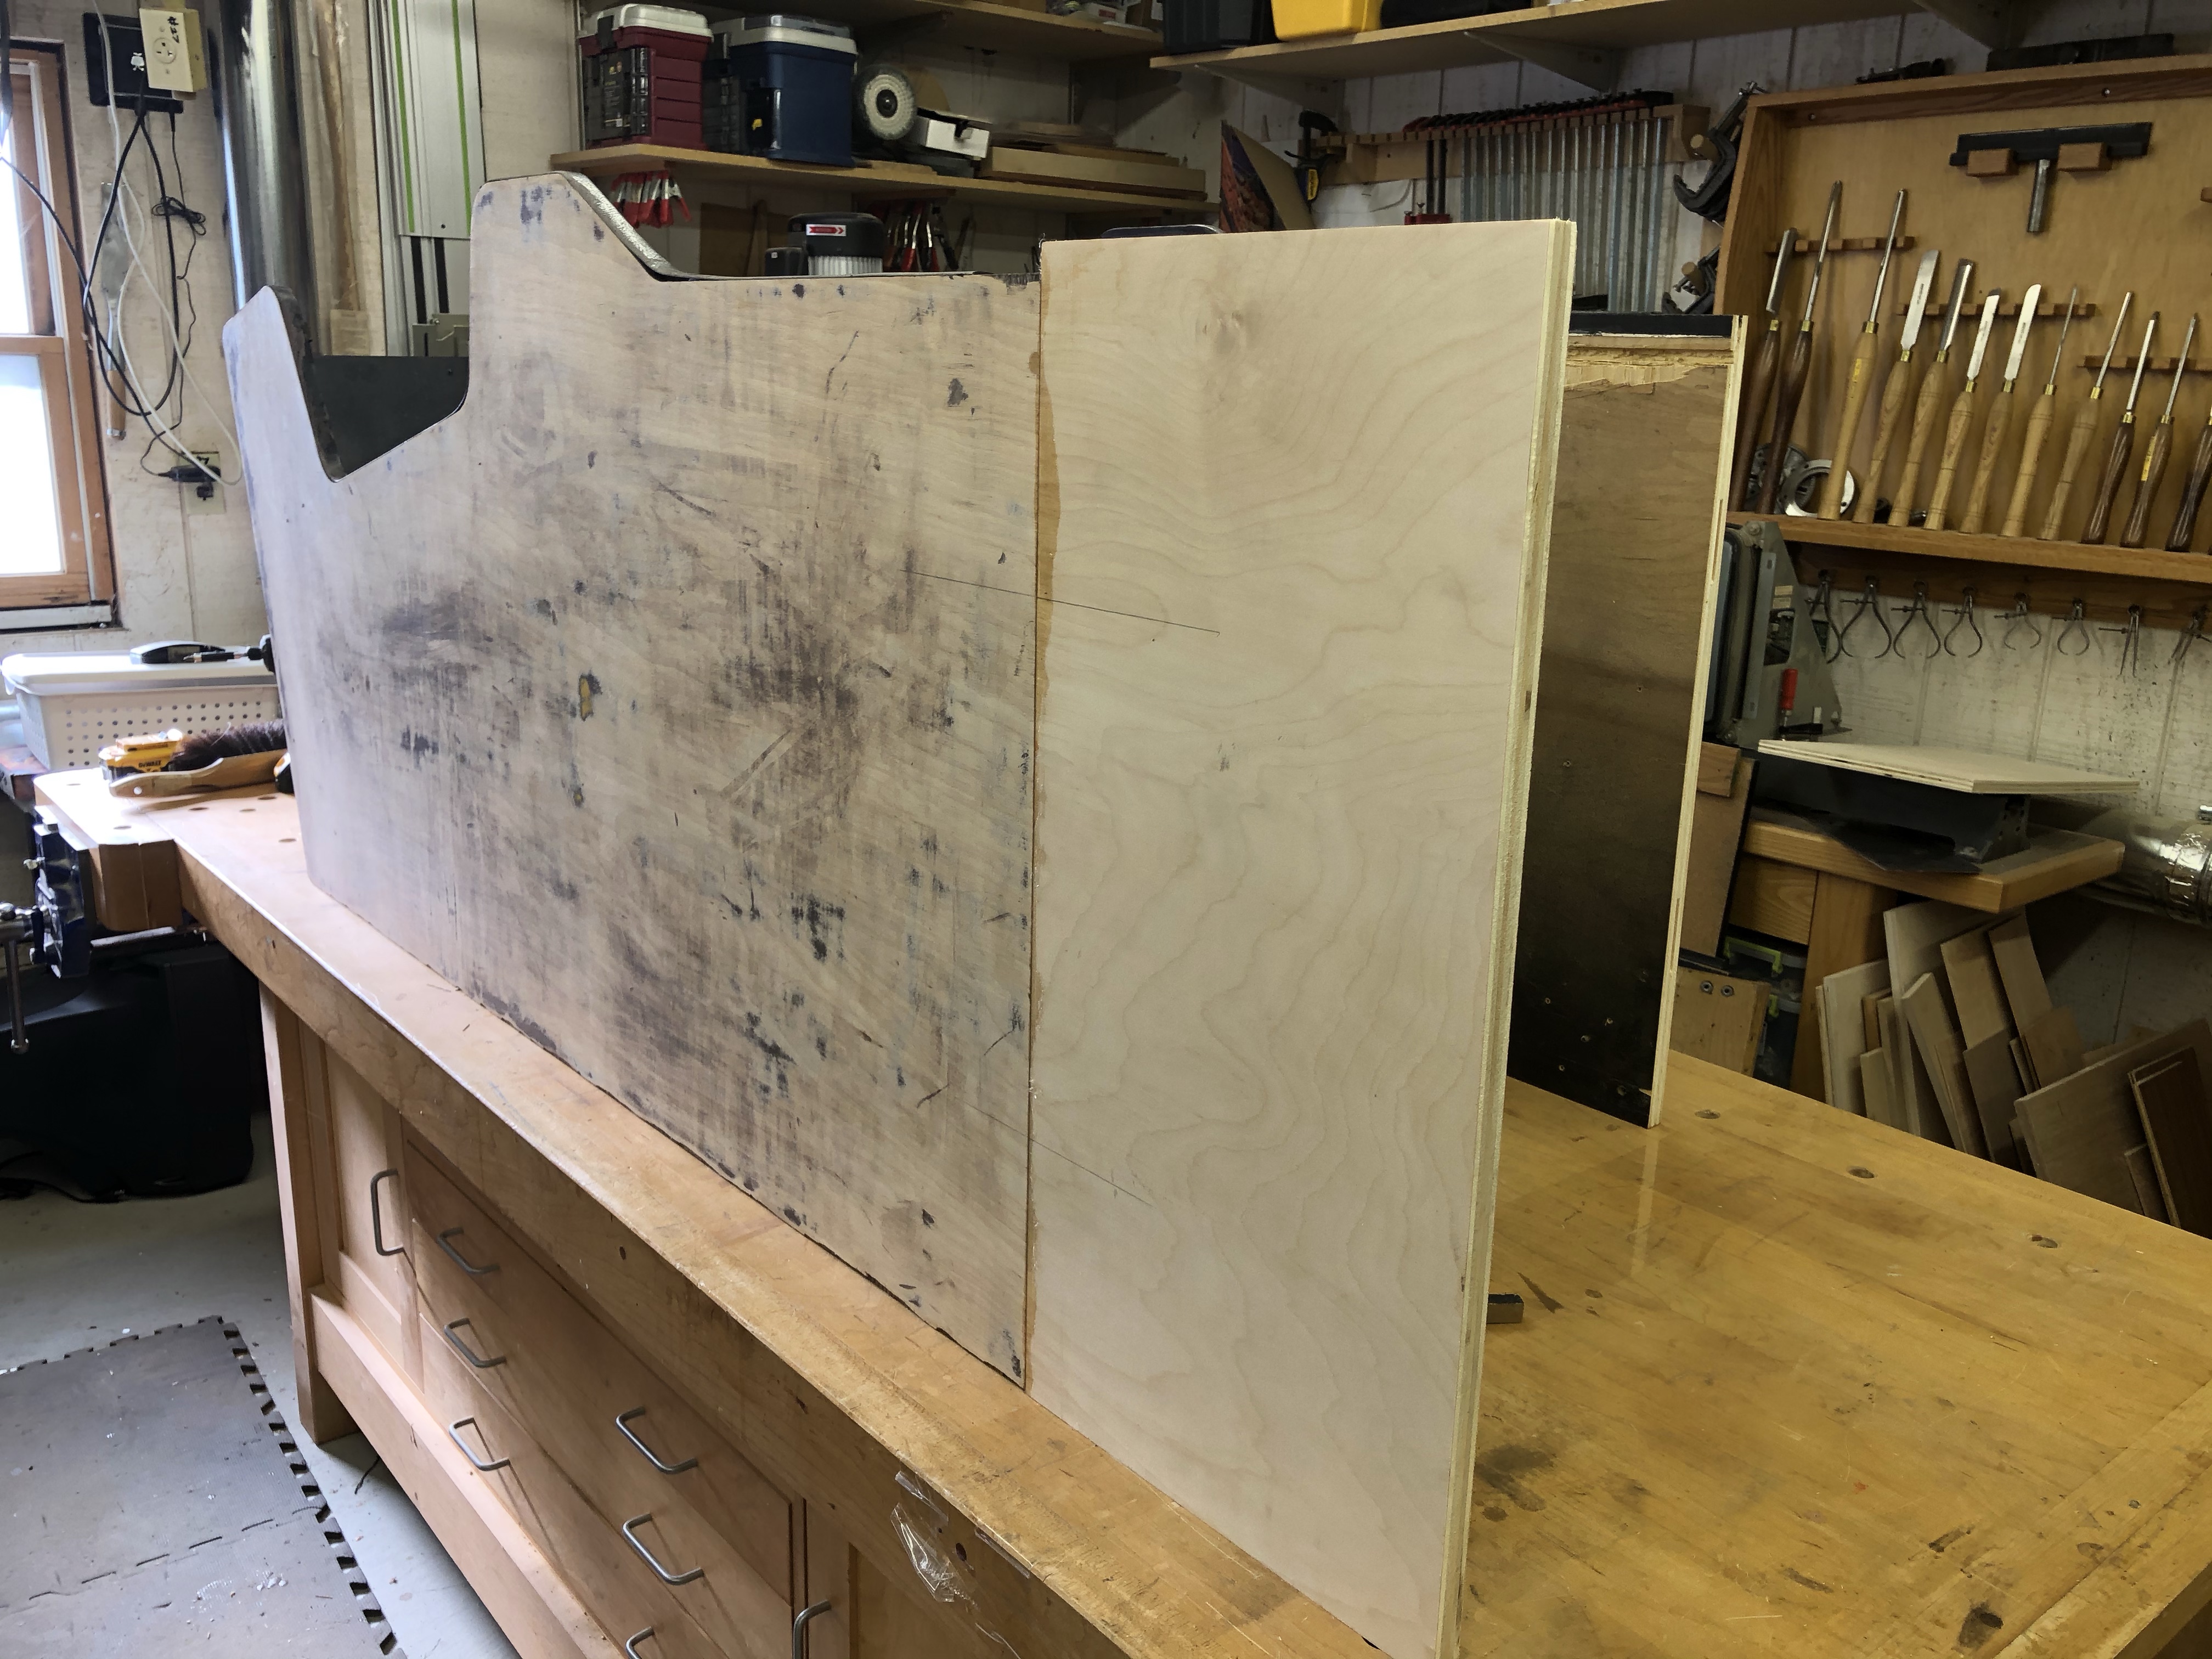
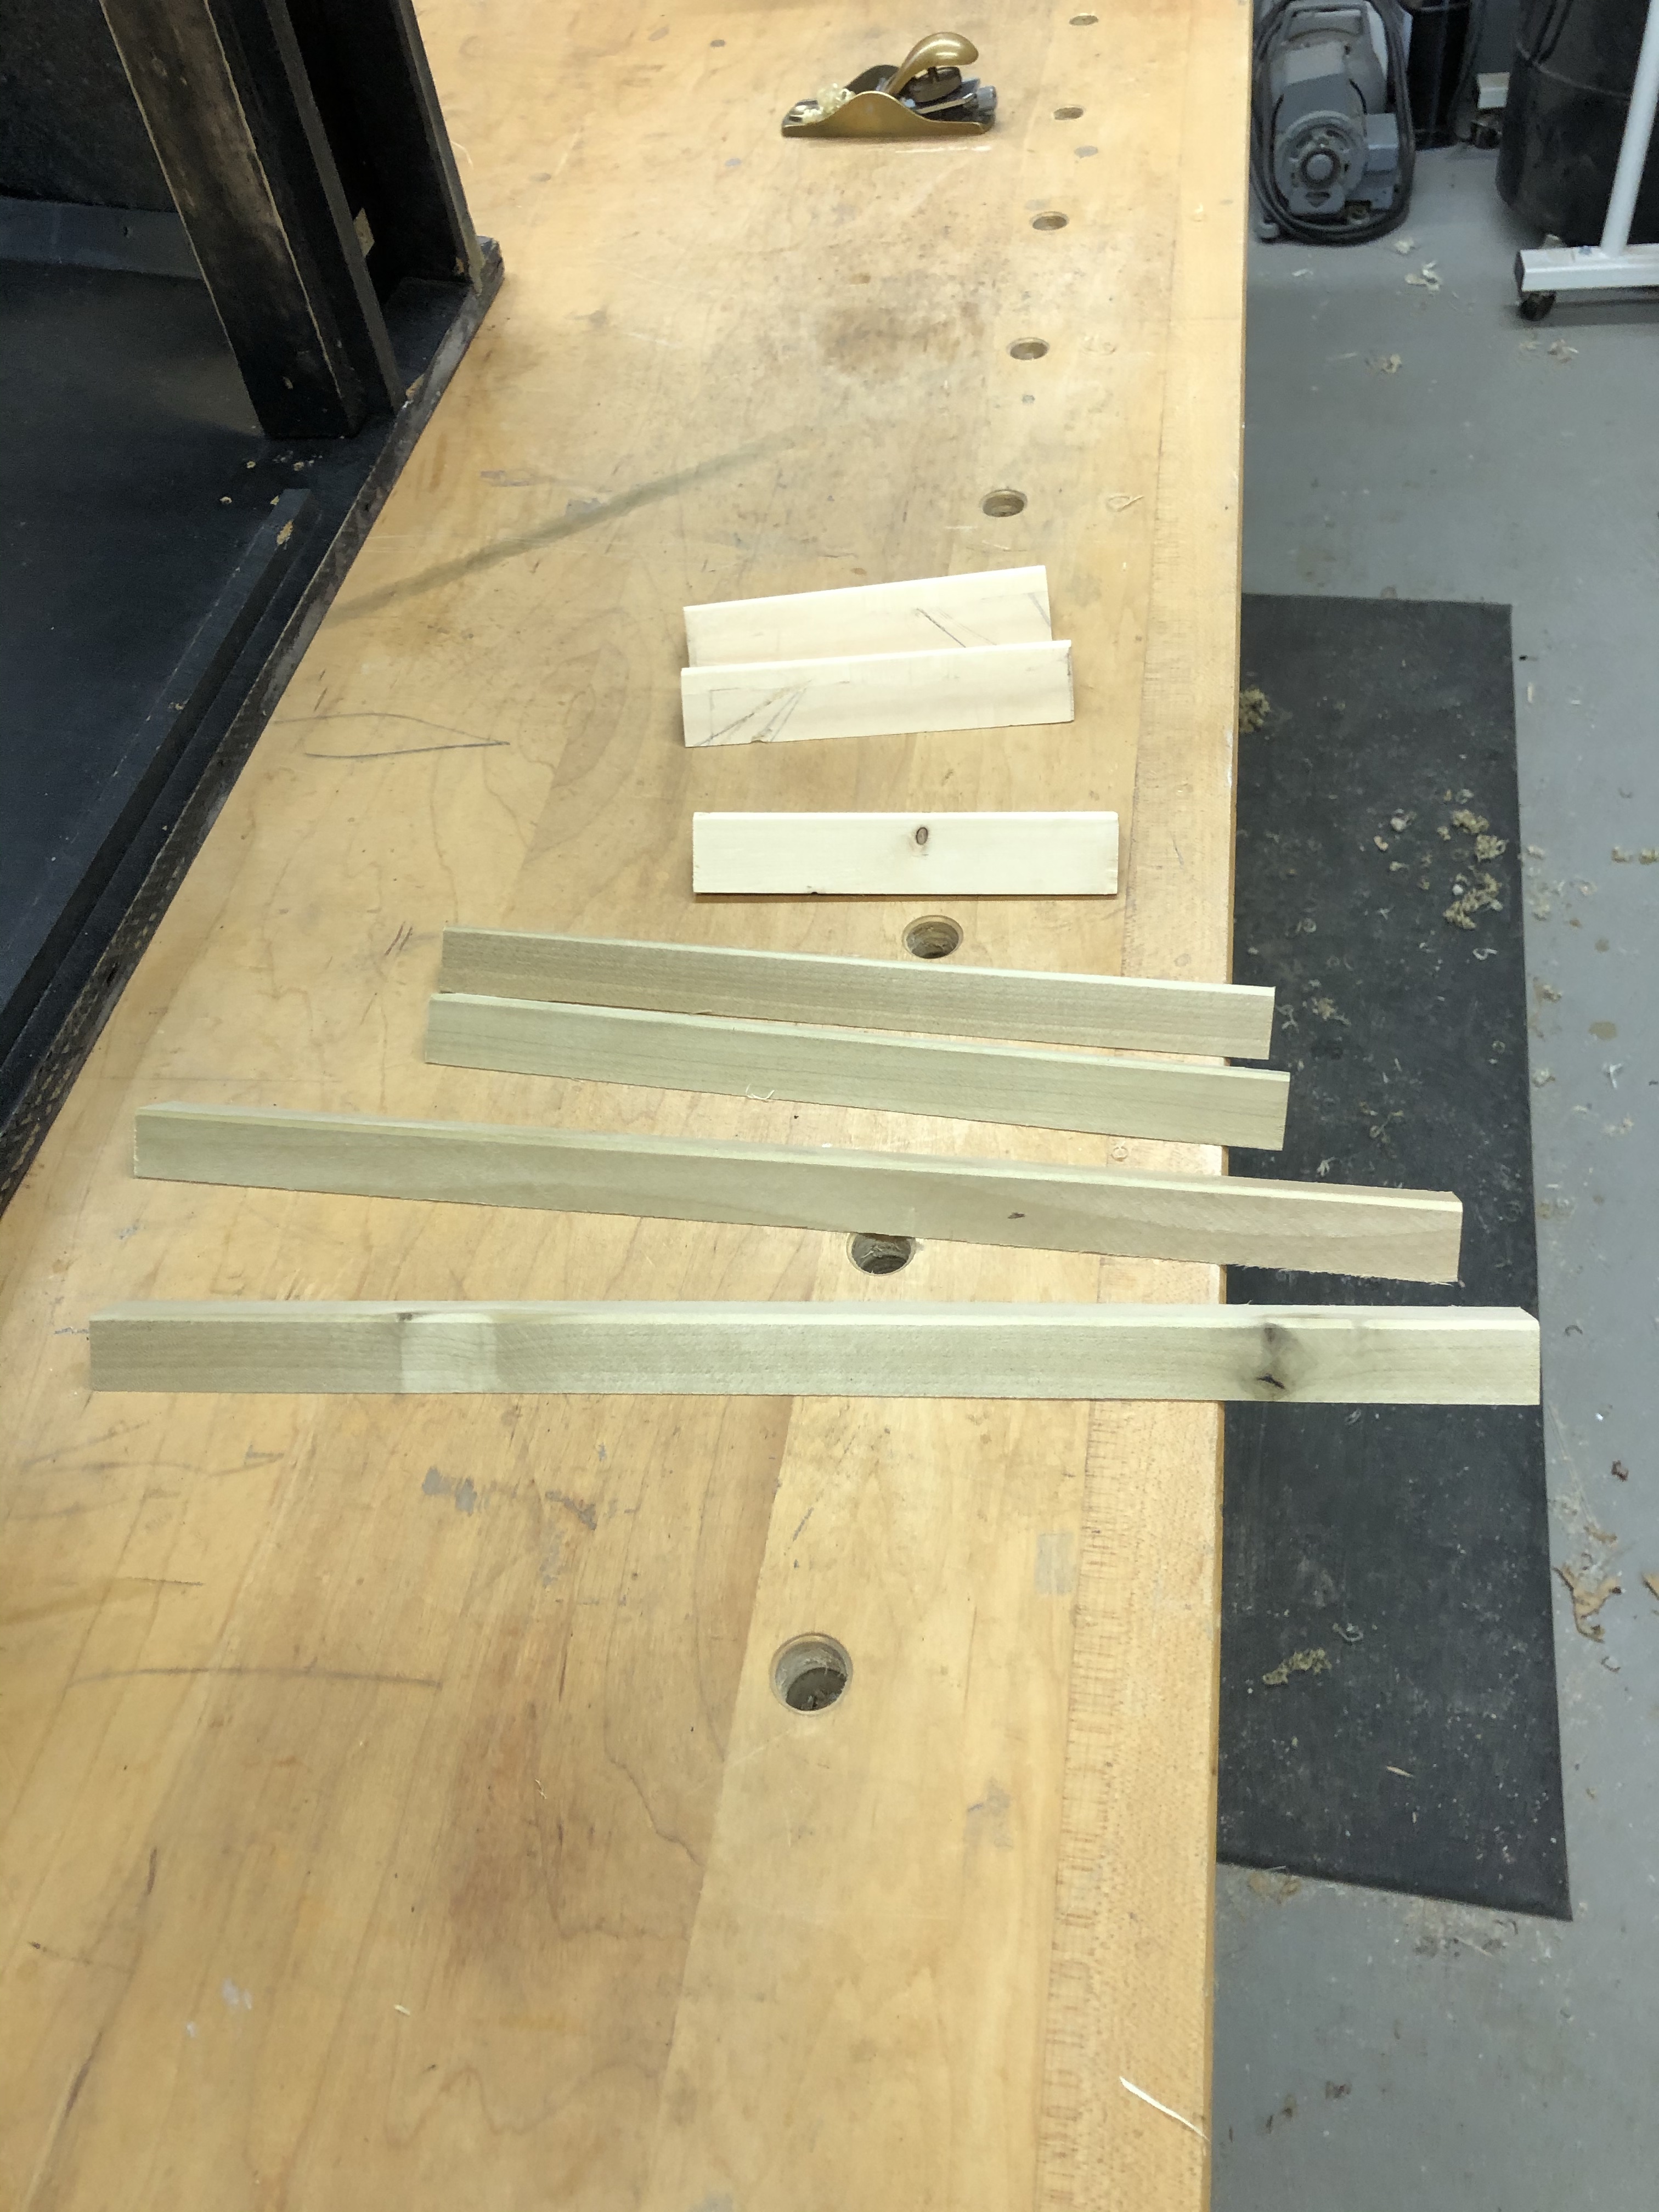
Blanks for the side panels.
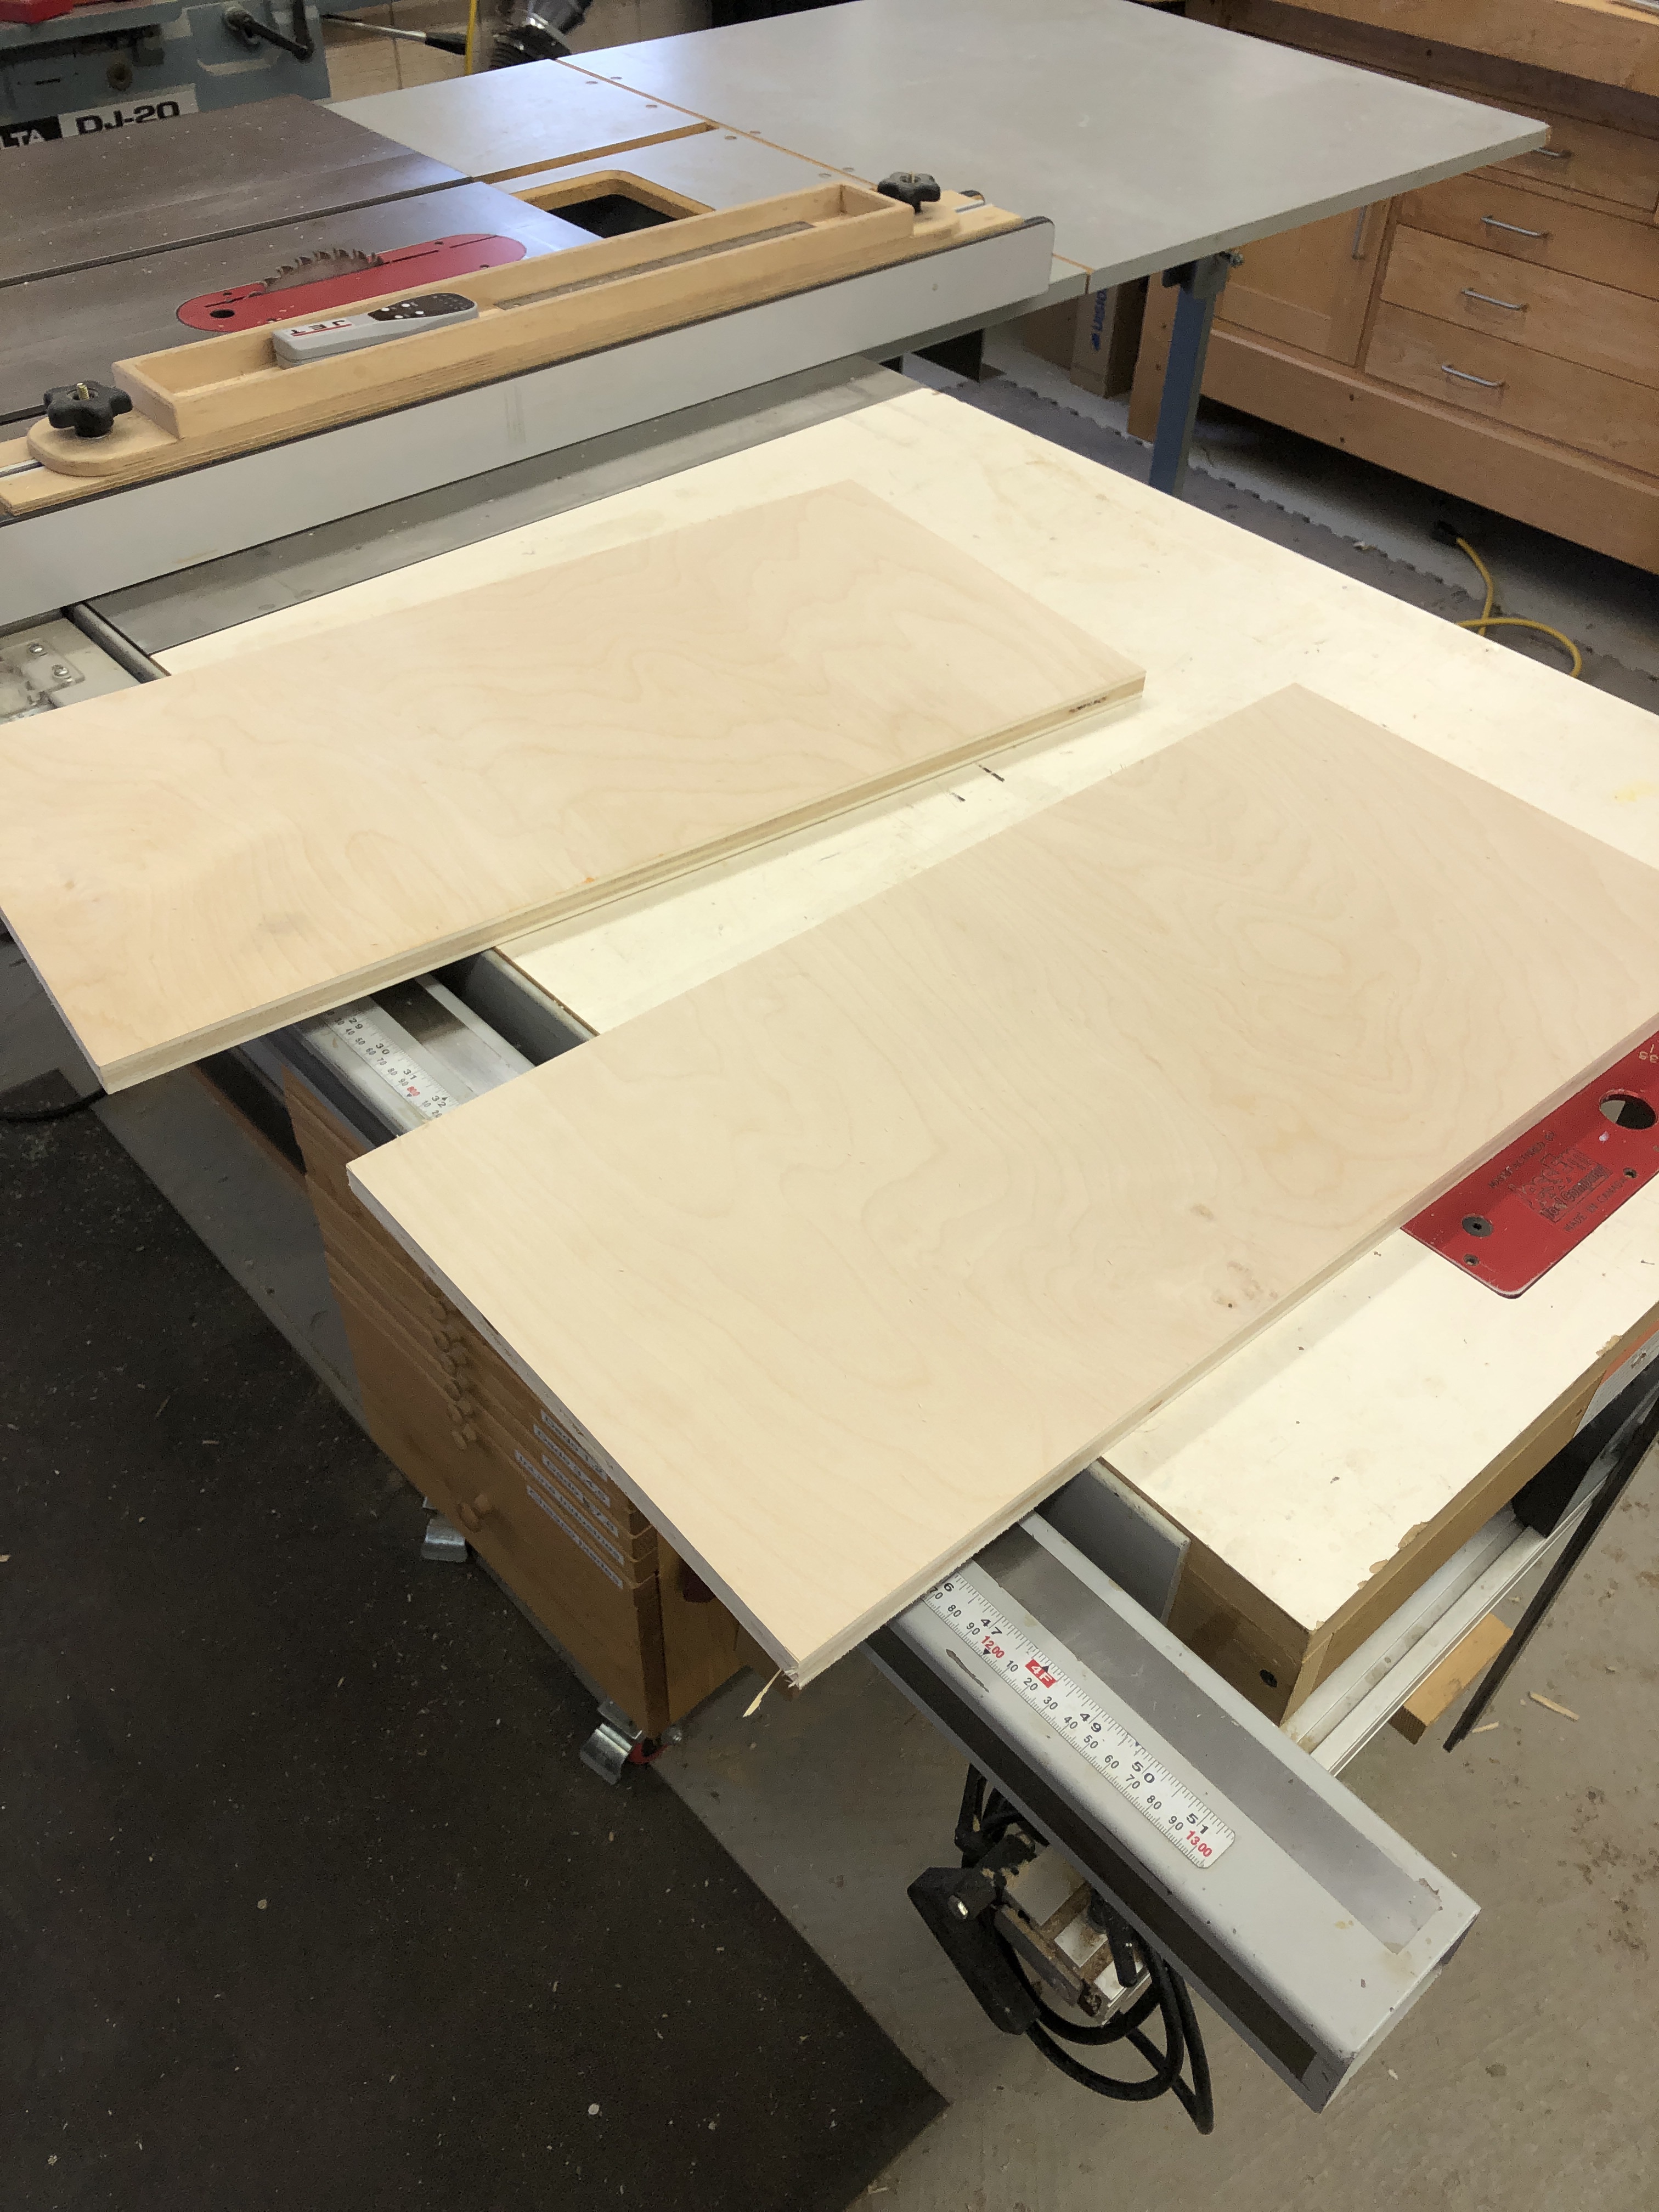
Originally I thought Joust was maple plywood – its actually birch. Doesn’t matter really – but its good information.
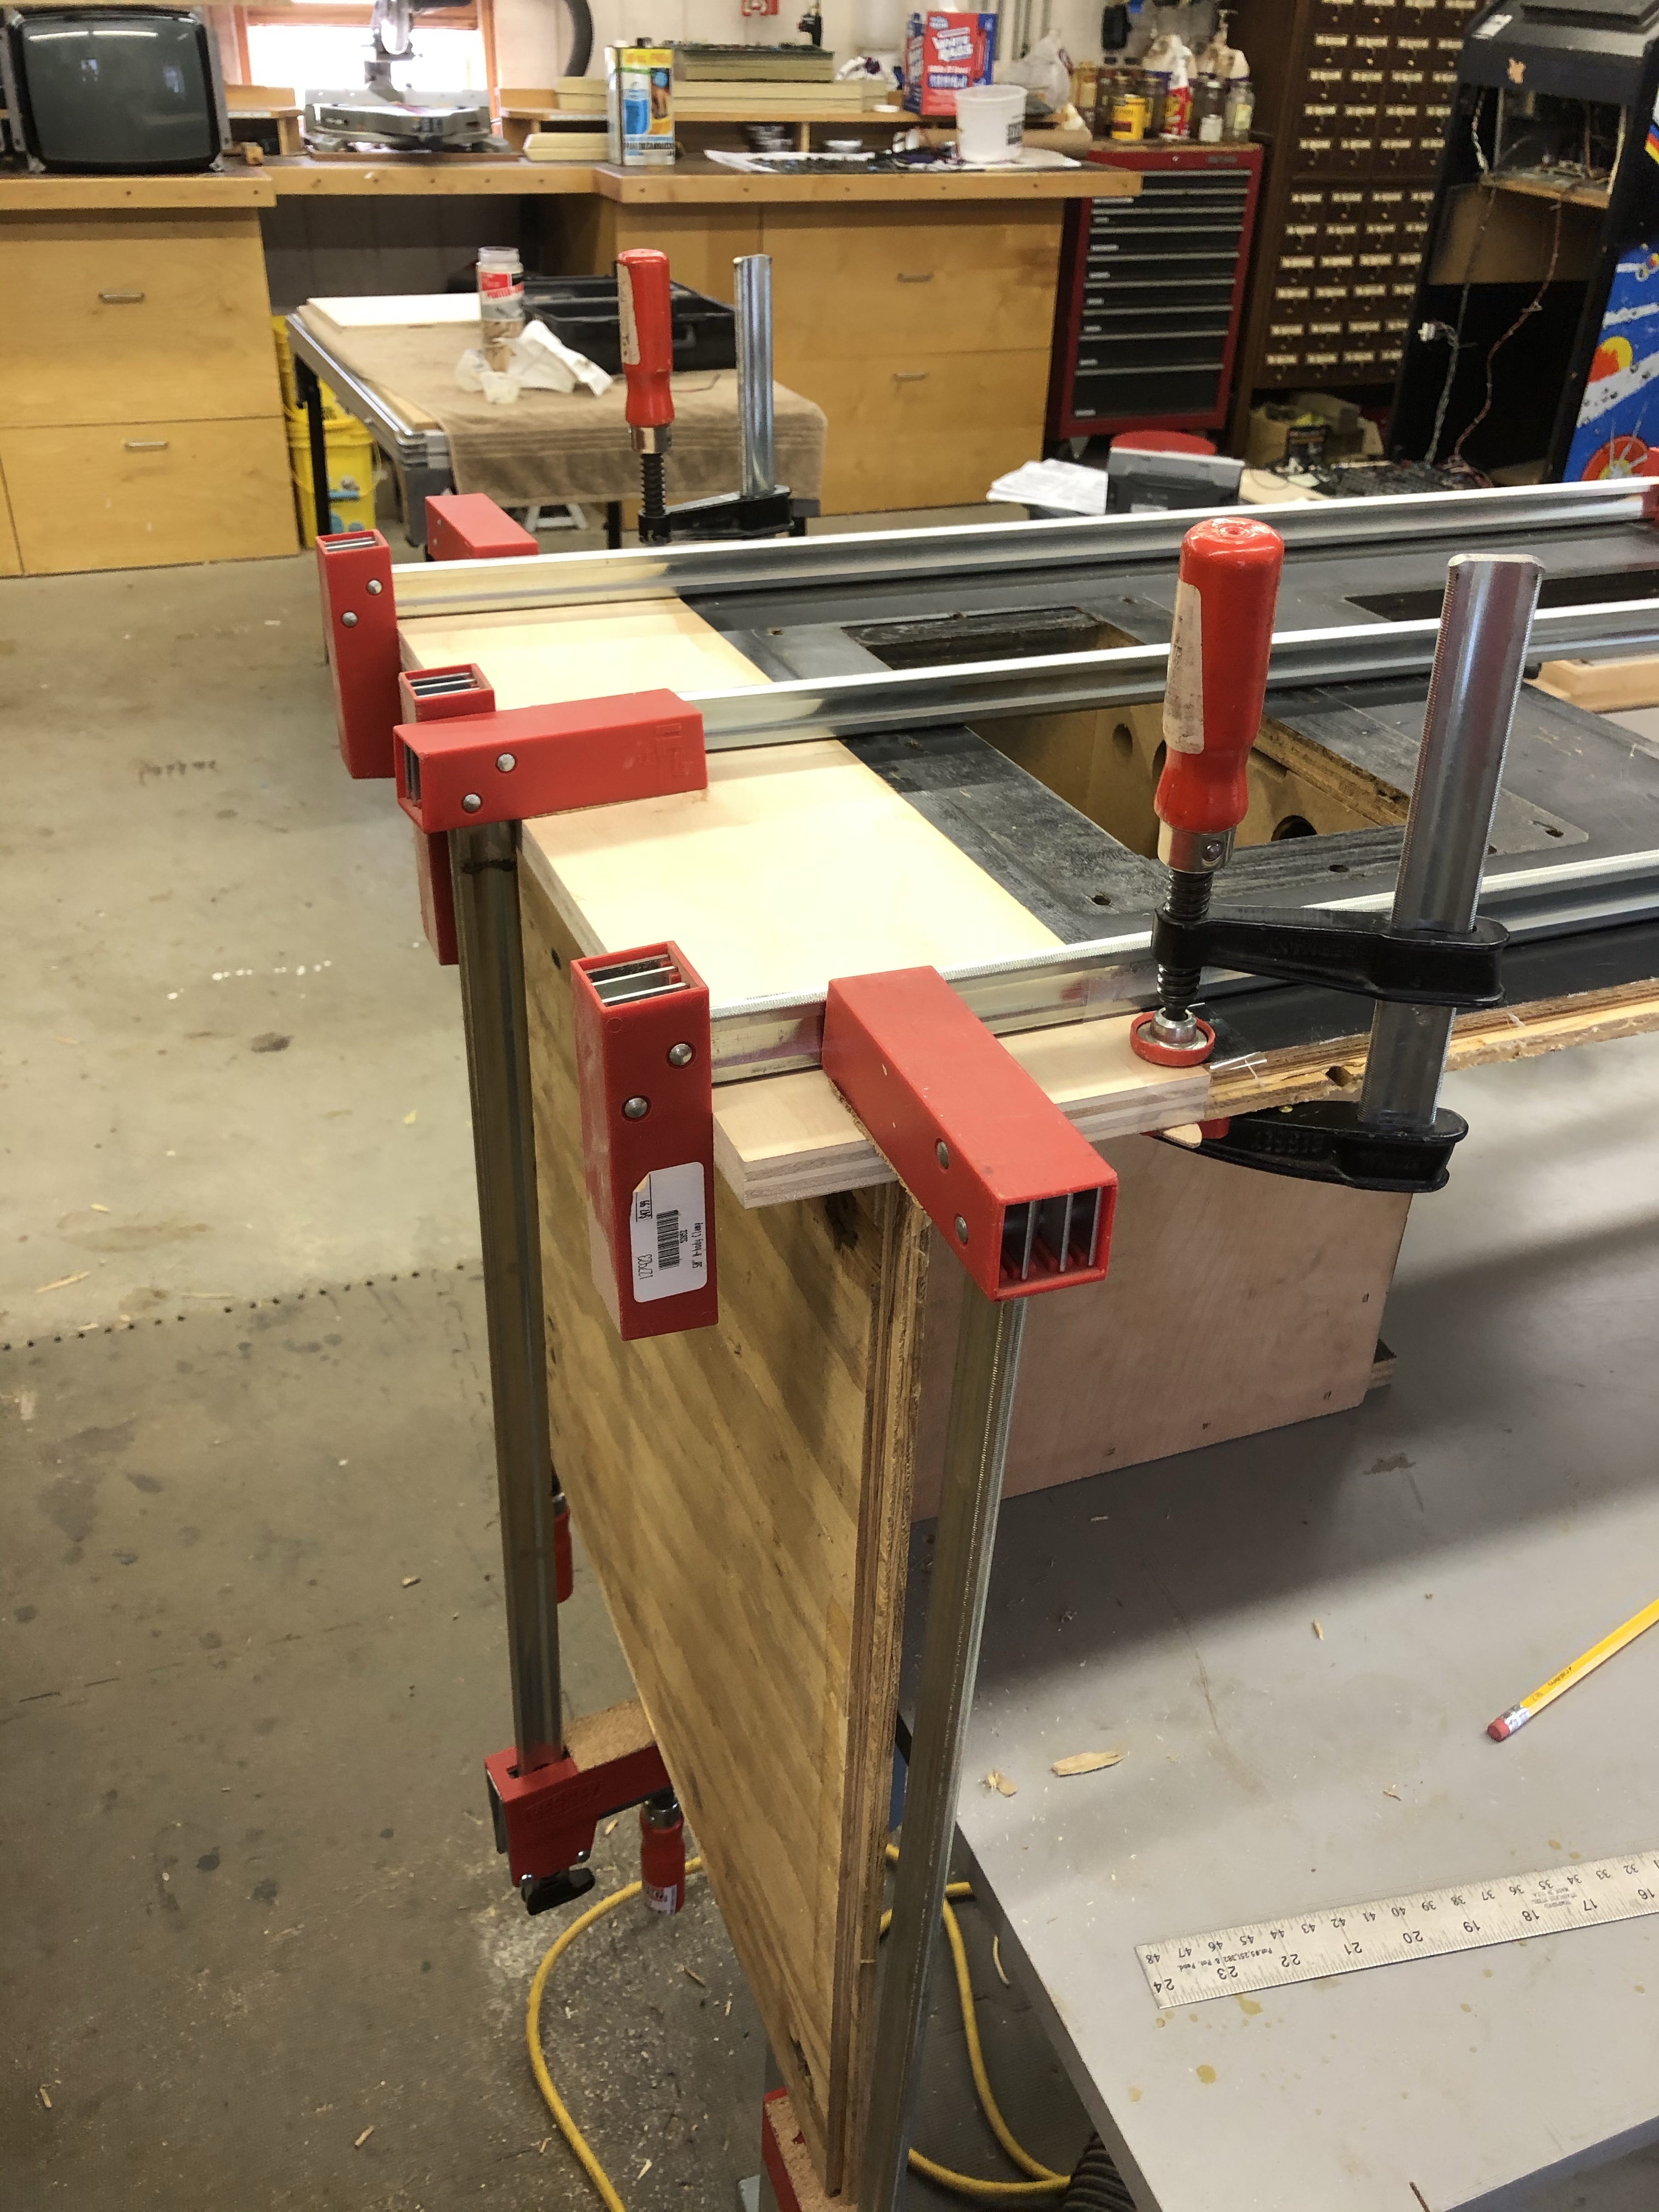
Here is how I’m adding the 12″ back to the sides. I’ve cut a couple biscuit slots for alignment. After putting it all together, I didn’t really need them. But they are in there. My bench is large and flat. I put down a few rows of packing tape (clear and shiny just under the plywood edge) to prevent gluing it all to my bench. Because the plywood needs to be perfectly flat – the board with the spacers is clamping it all down tight to the bench.
Add some thickened epoxy, a couple of biscuits and another long clamp to bring them together. This is the same situation as the front where the new wood is 1/32″ thinner than the old.. but it will be on the inside and the only part that will matter is near the bottom and it blend with the T-molding.
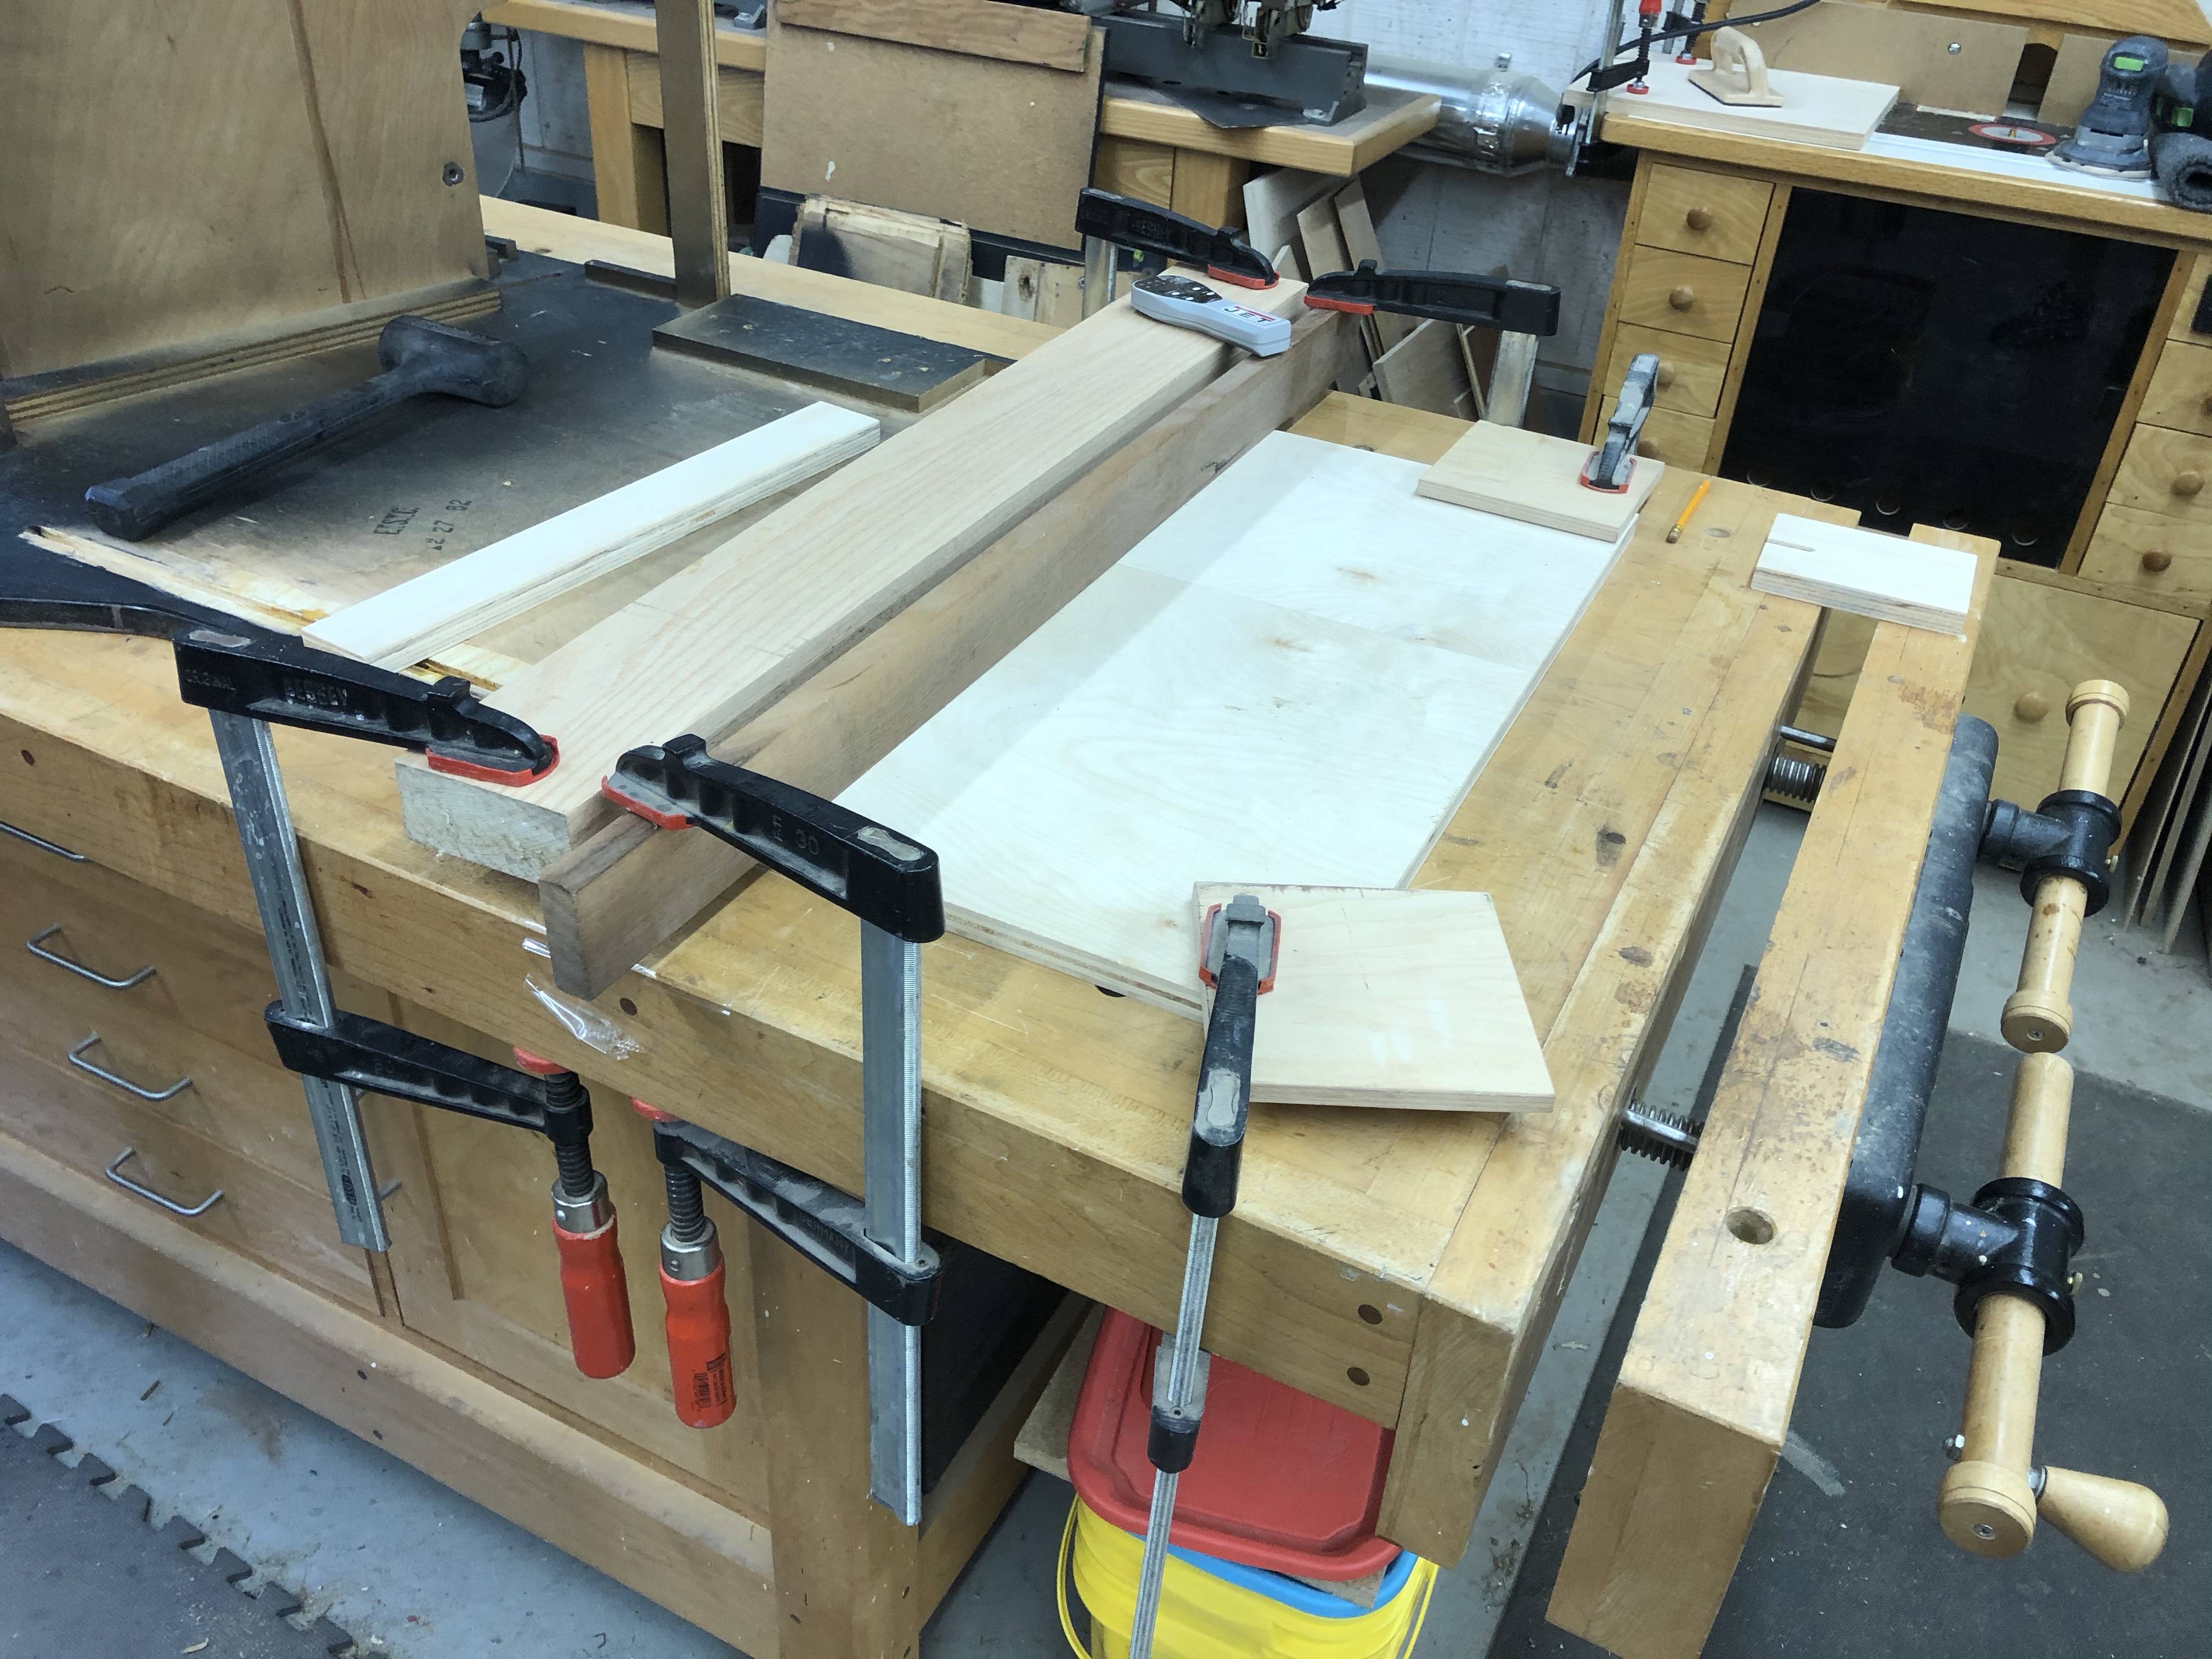
Everything held in place flat for epoxy to set up.
Pulled the clamps off – the face is perfectly flat and flush. Exactly what I was shooting for. I still need to cut the rabbets, fill some dings on the original black part, finish sand and it will be ready for a final paint job.
This one will be a little trickier because I need to cut dado’s on the inside to match the original parts for the bottom and coin panel to fit back into place. I purposely left the front edge over sized. This eliminates any possibility of getting that front edge out of line. I can cut it in place.
If for some reason I messed my cut across the bottom of the original side panel and it wasn’t square – I could have left this panel over sized on the front and the back and used the original sides for reference making it nearly impossible to mess up. Its actually easier that way.
Now to do the second side..
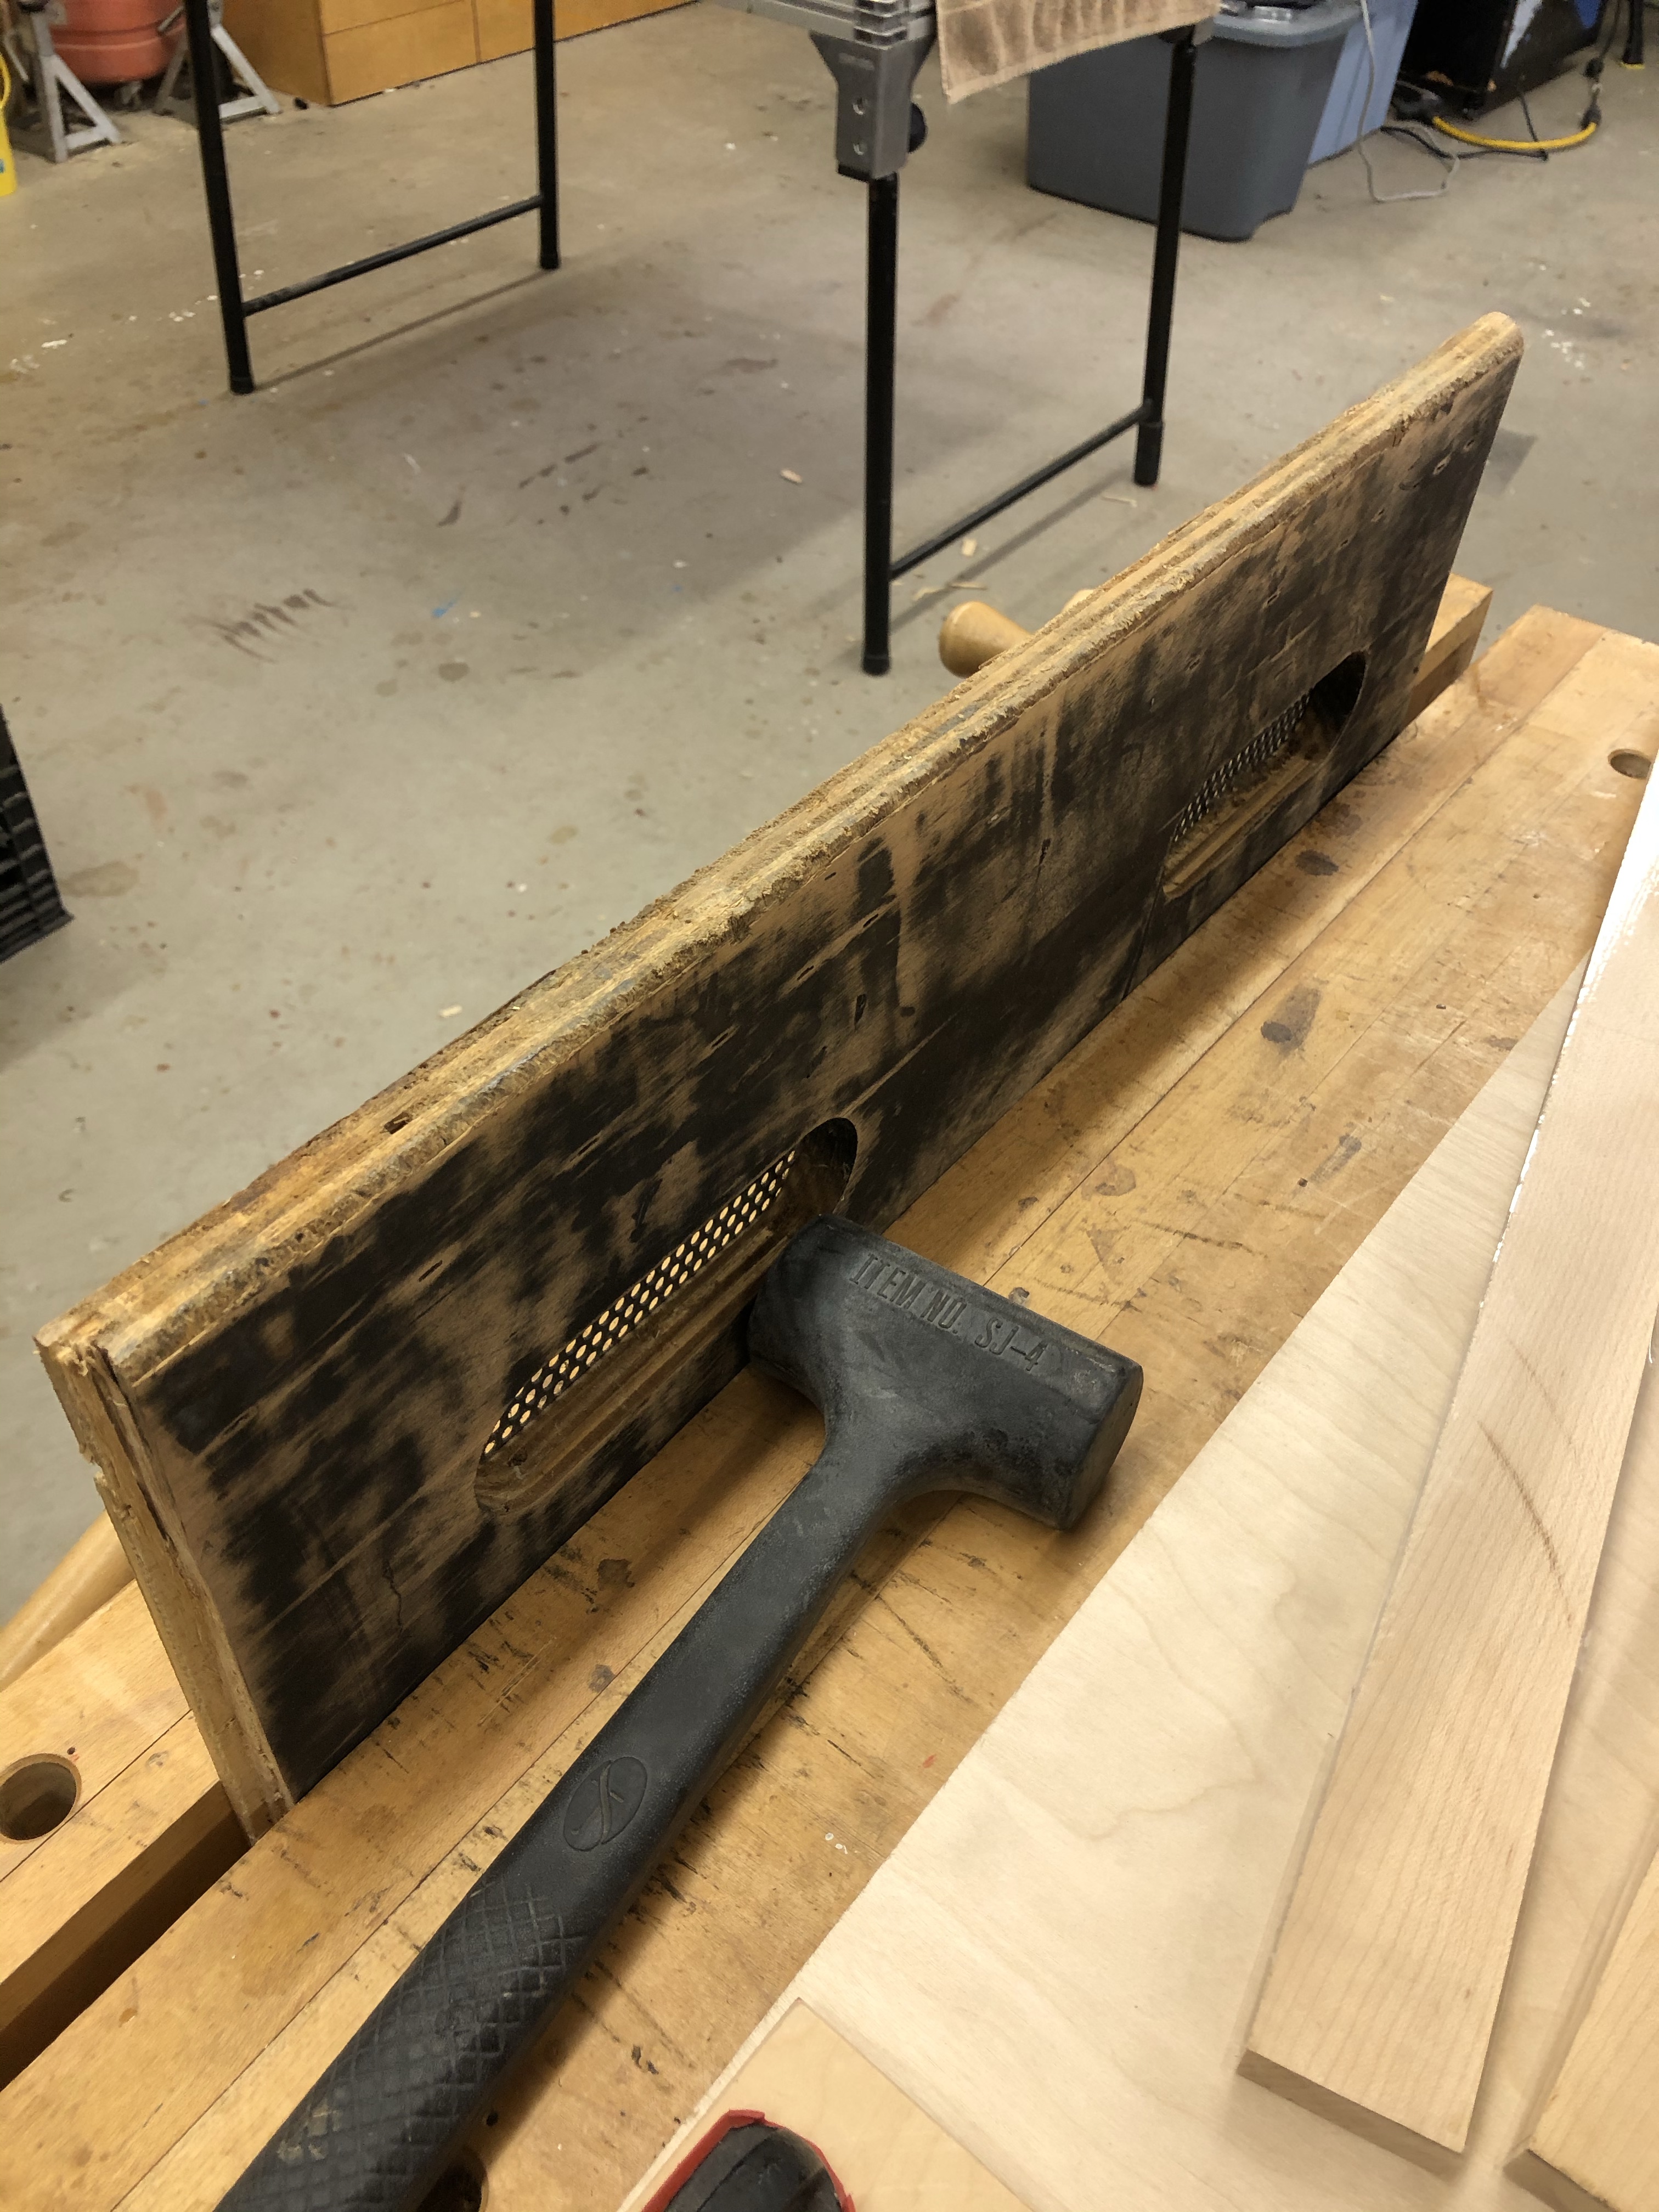
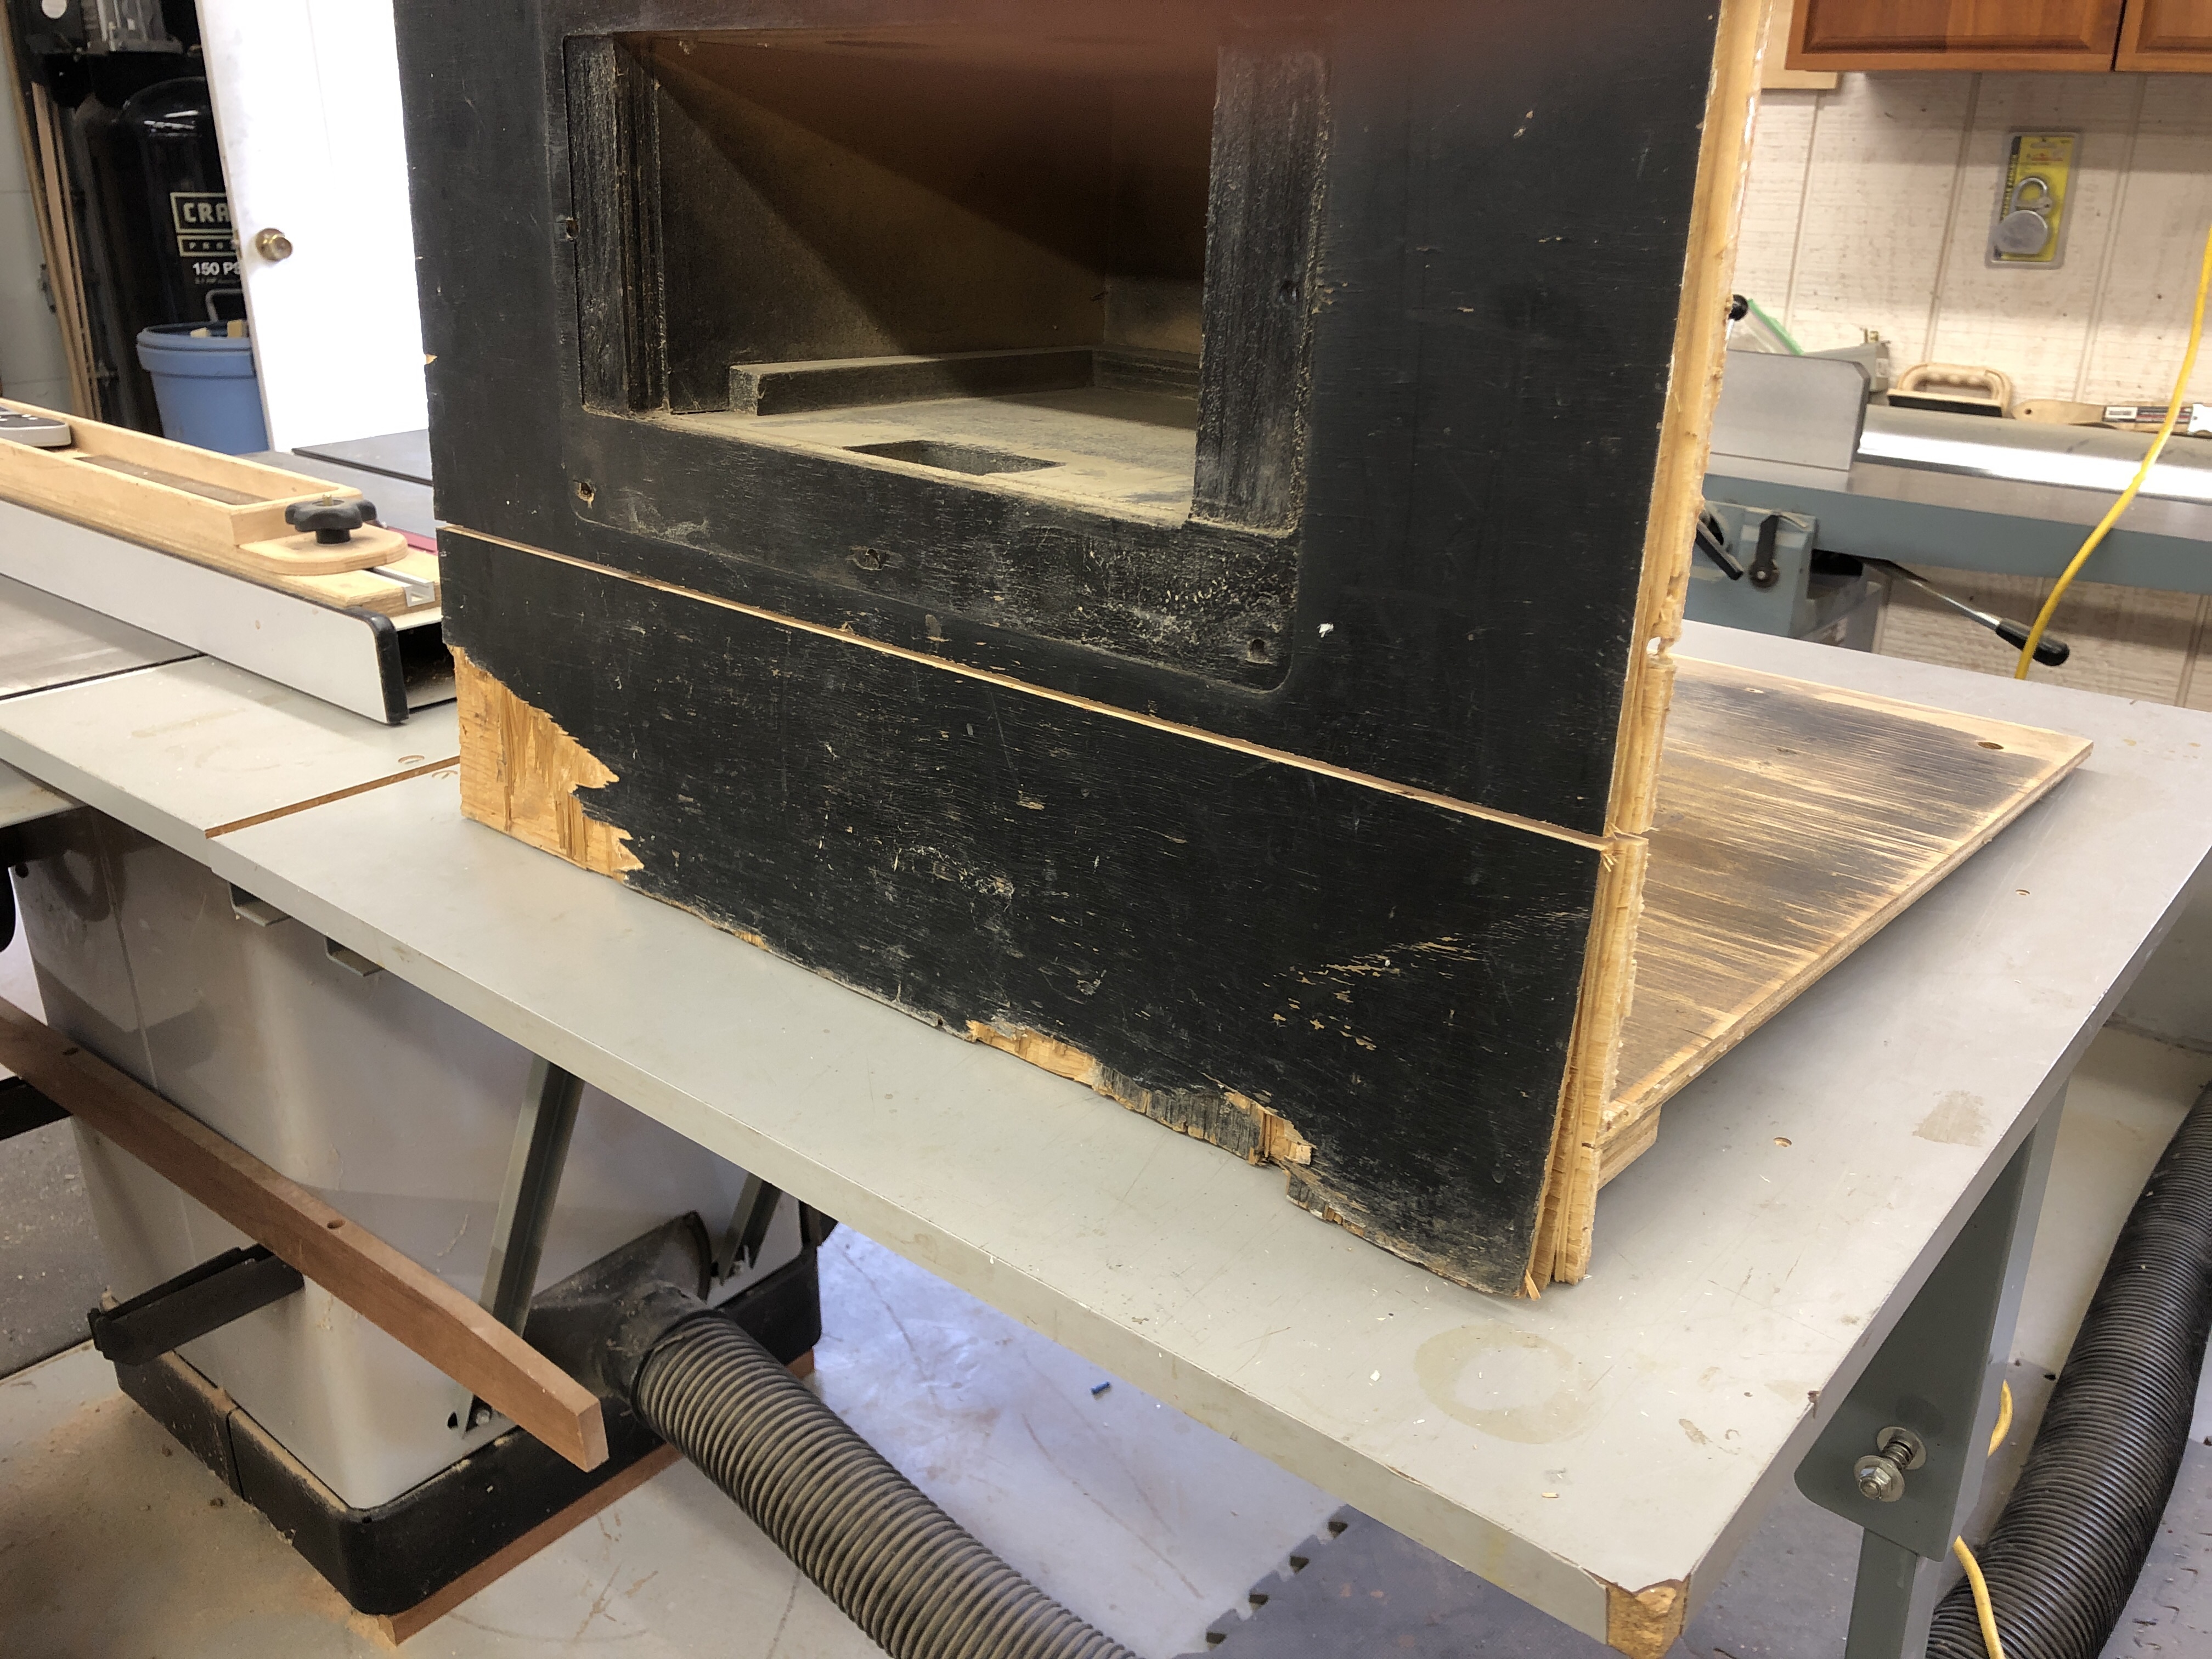
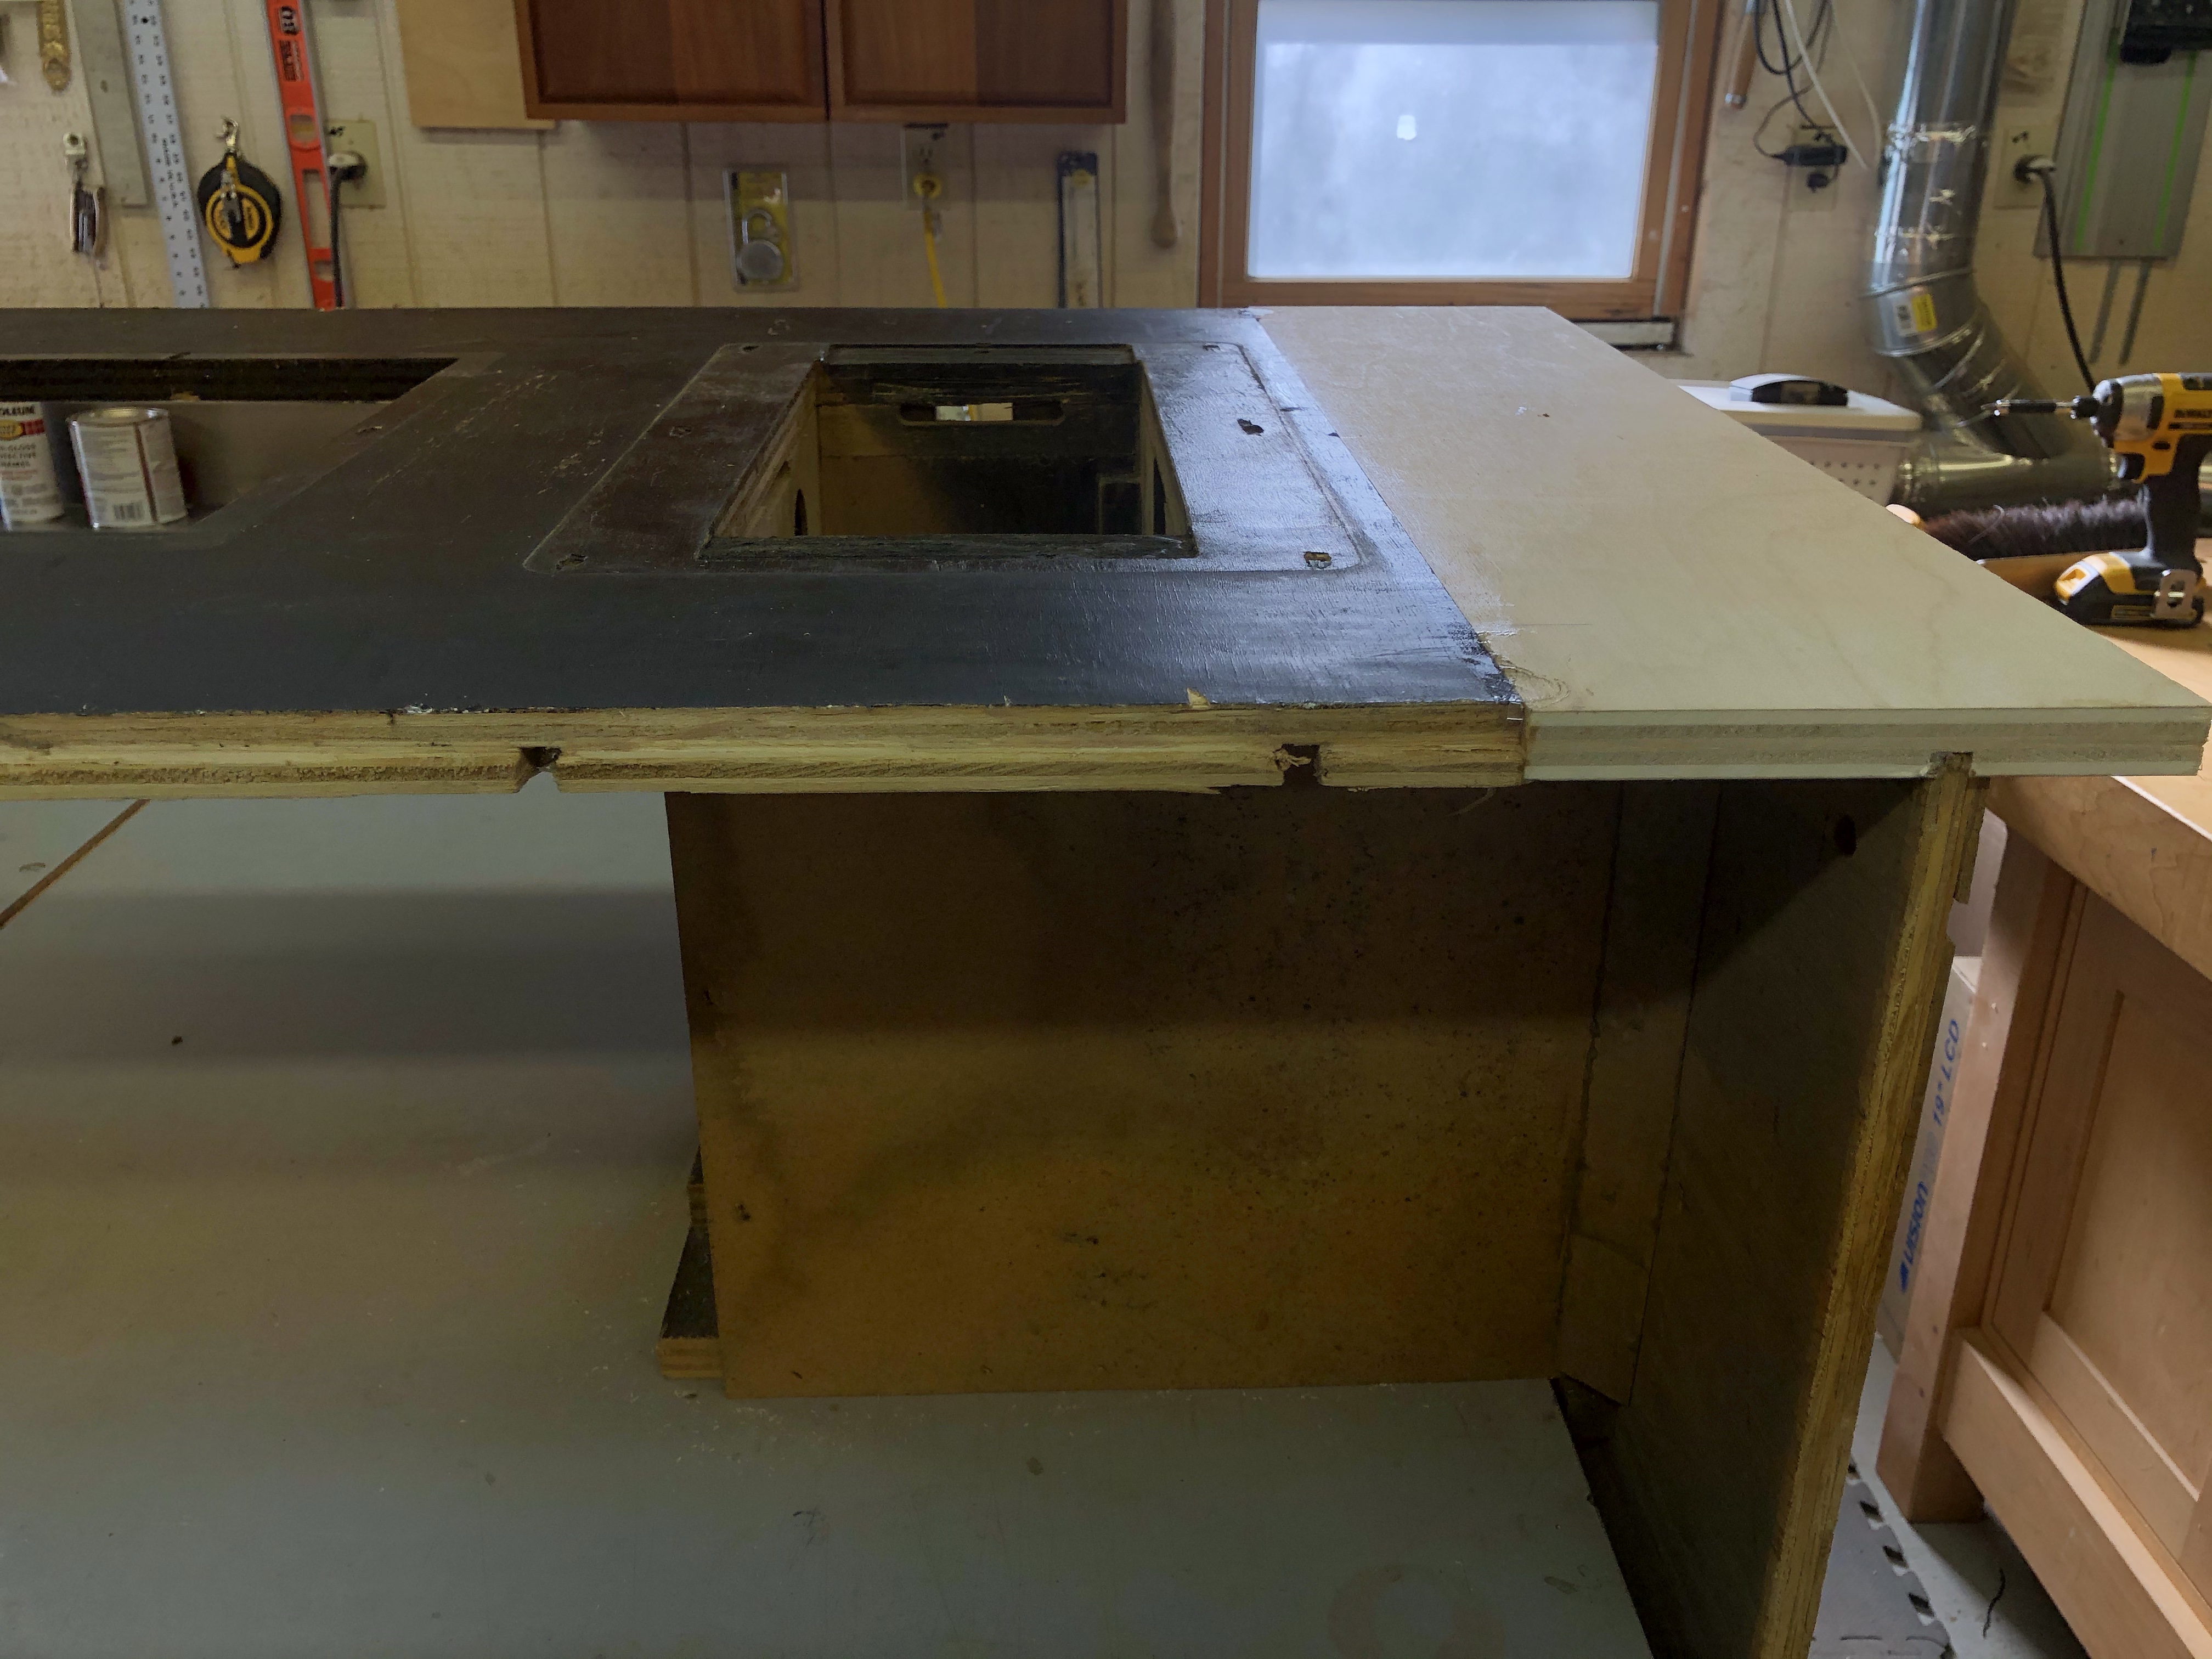
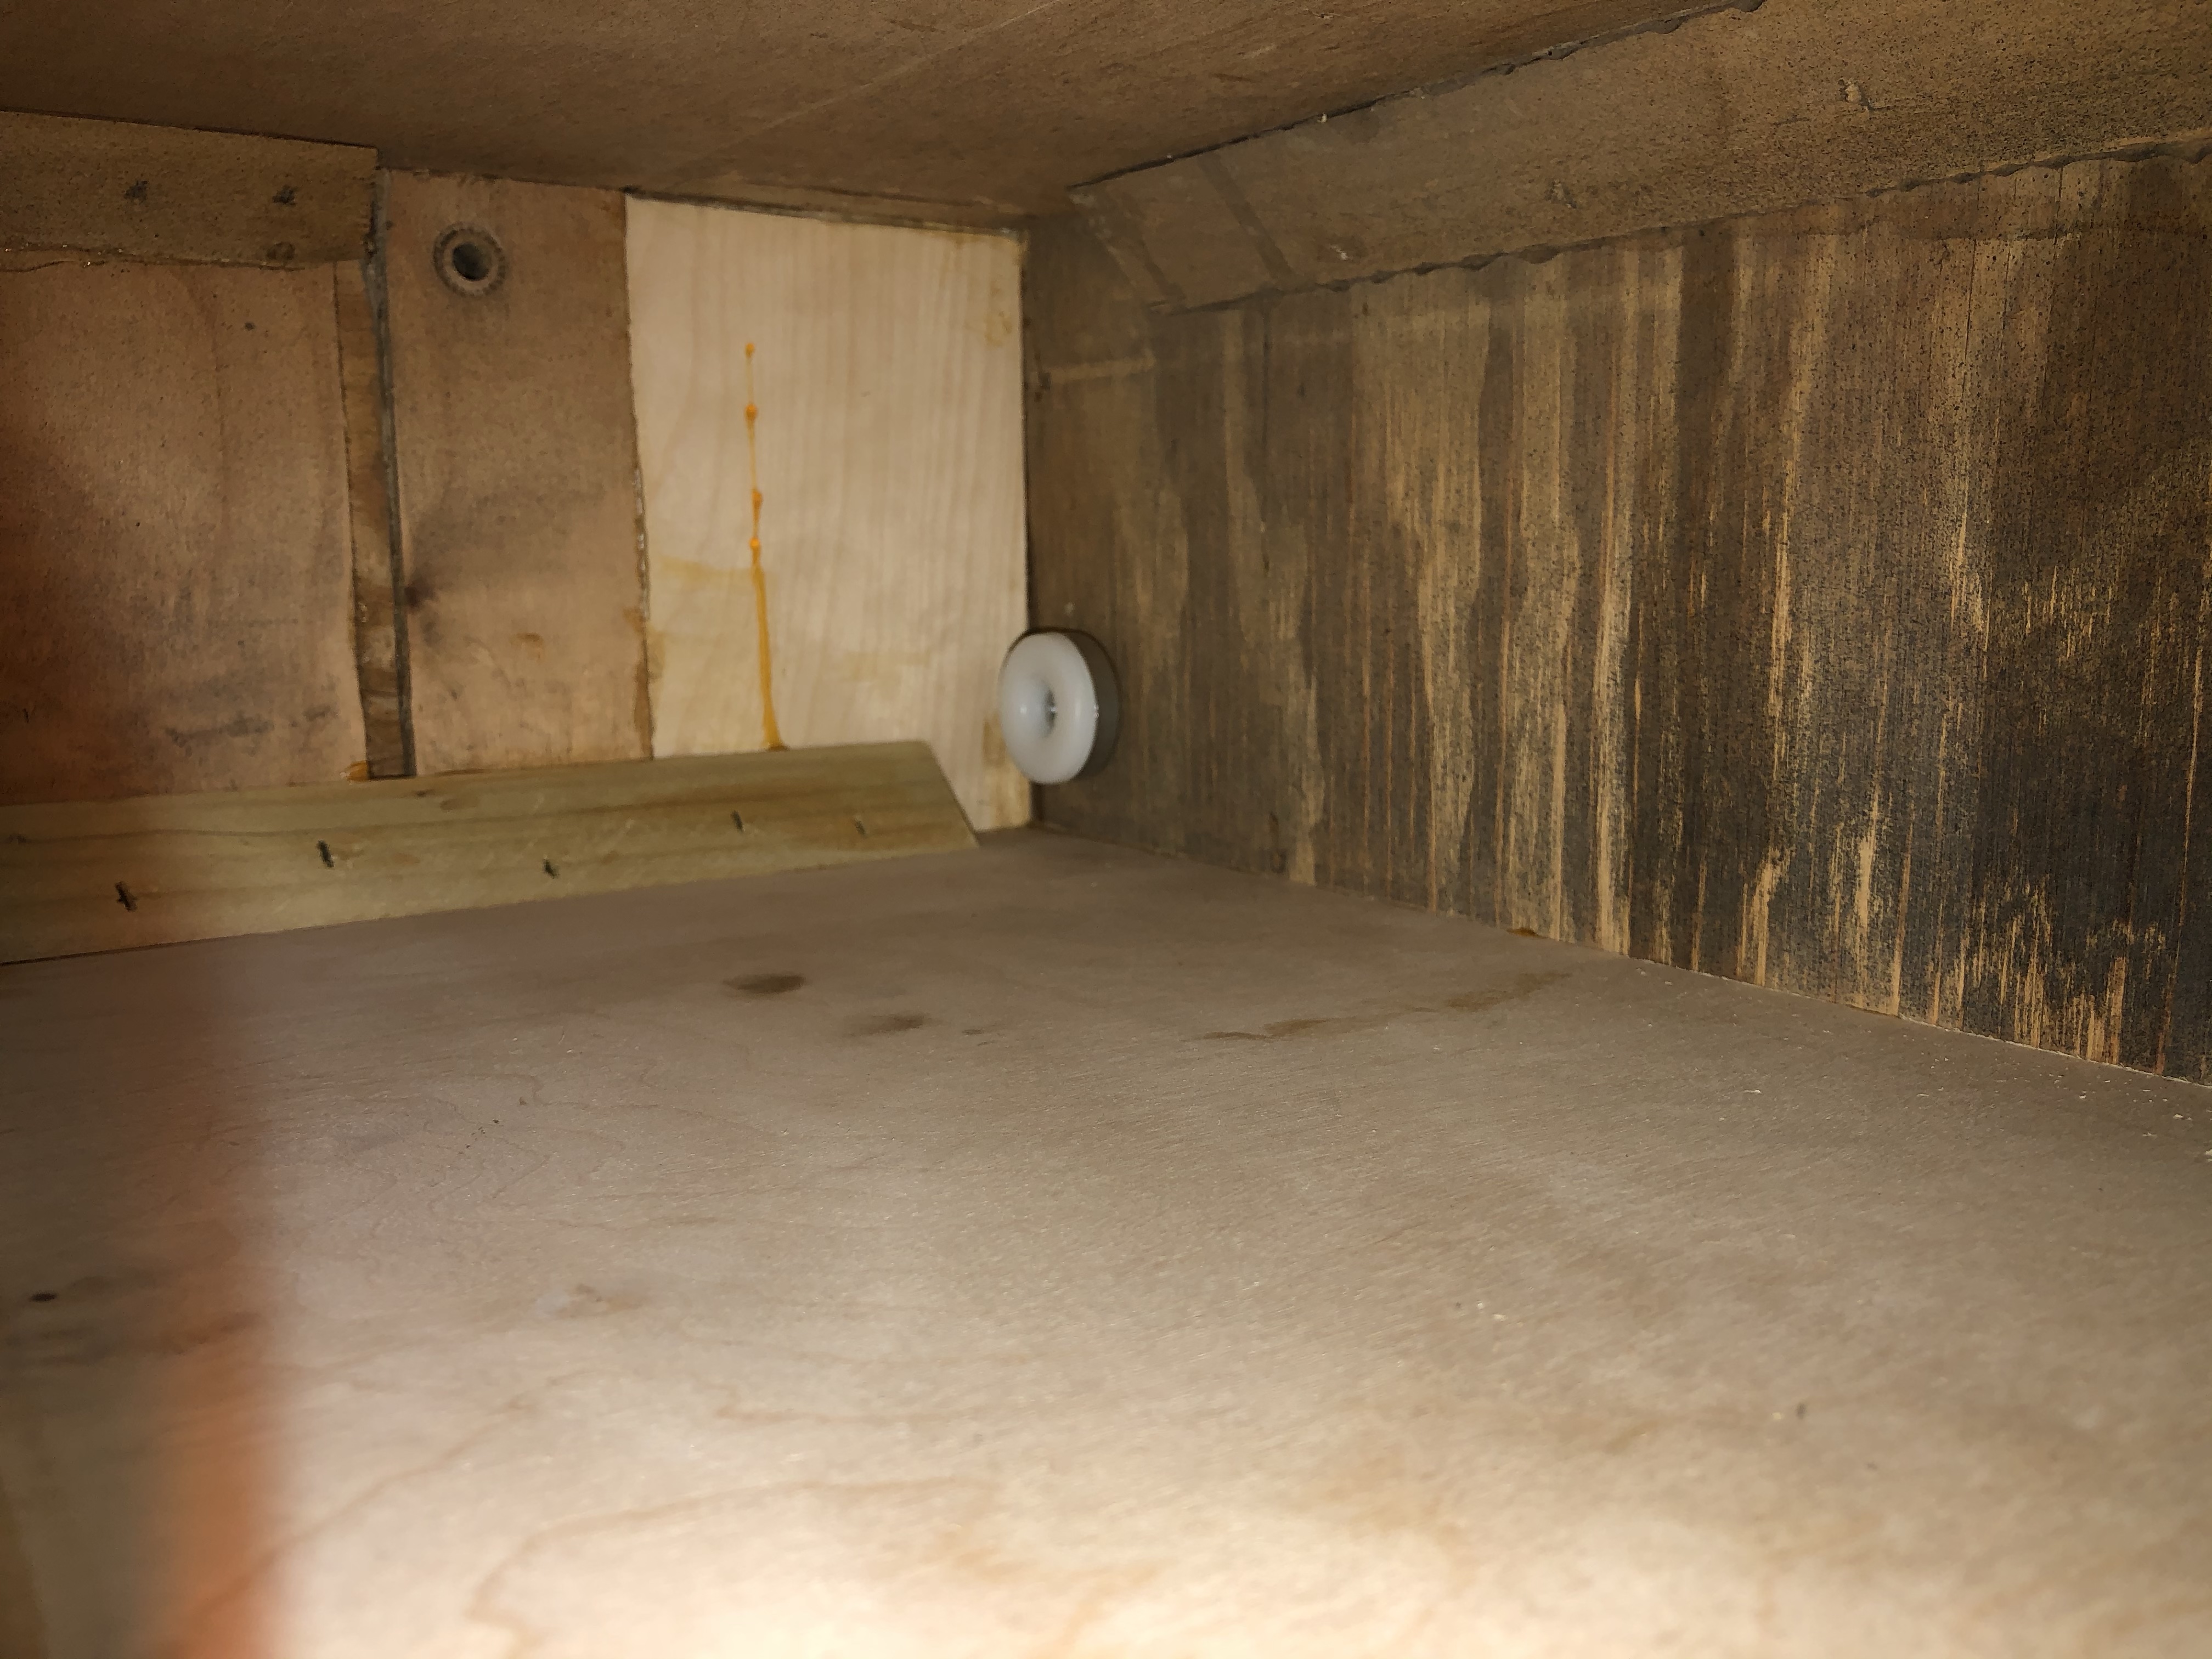
This is the lower rear panel The edge shown is the part that is next to the floor. Considering how bad the sides and front were – this is in relatively decent shape. The plywood is a little chewed up – but this part has a serial# stamped on it.. So.. I’ll preserve it.
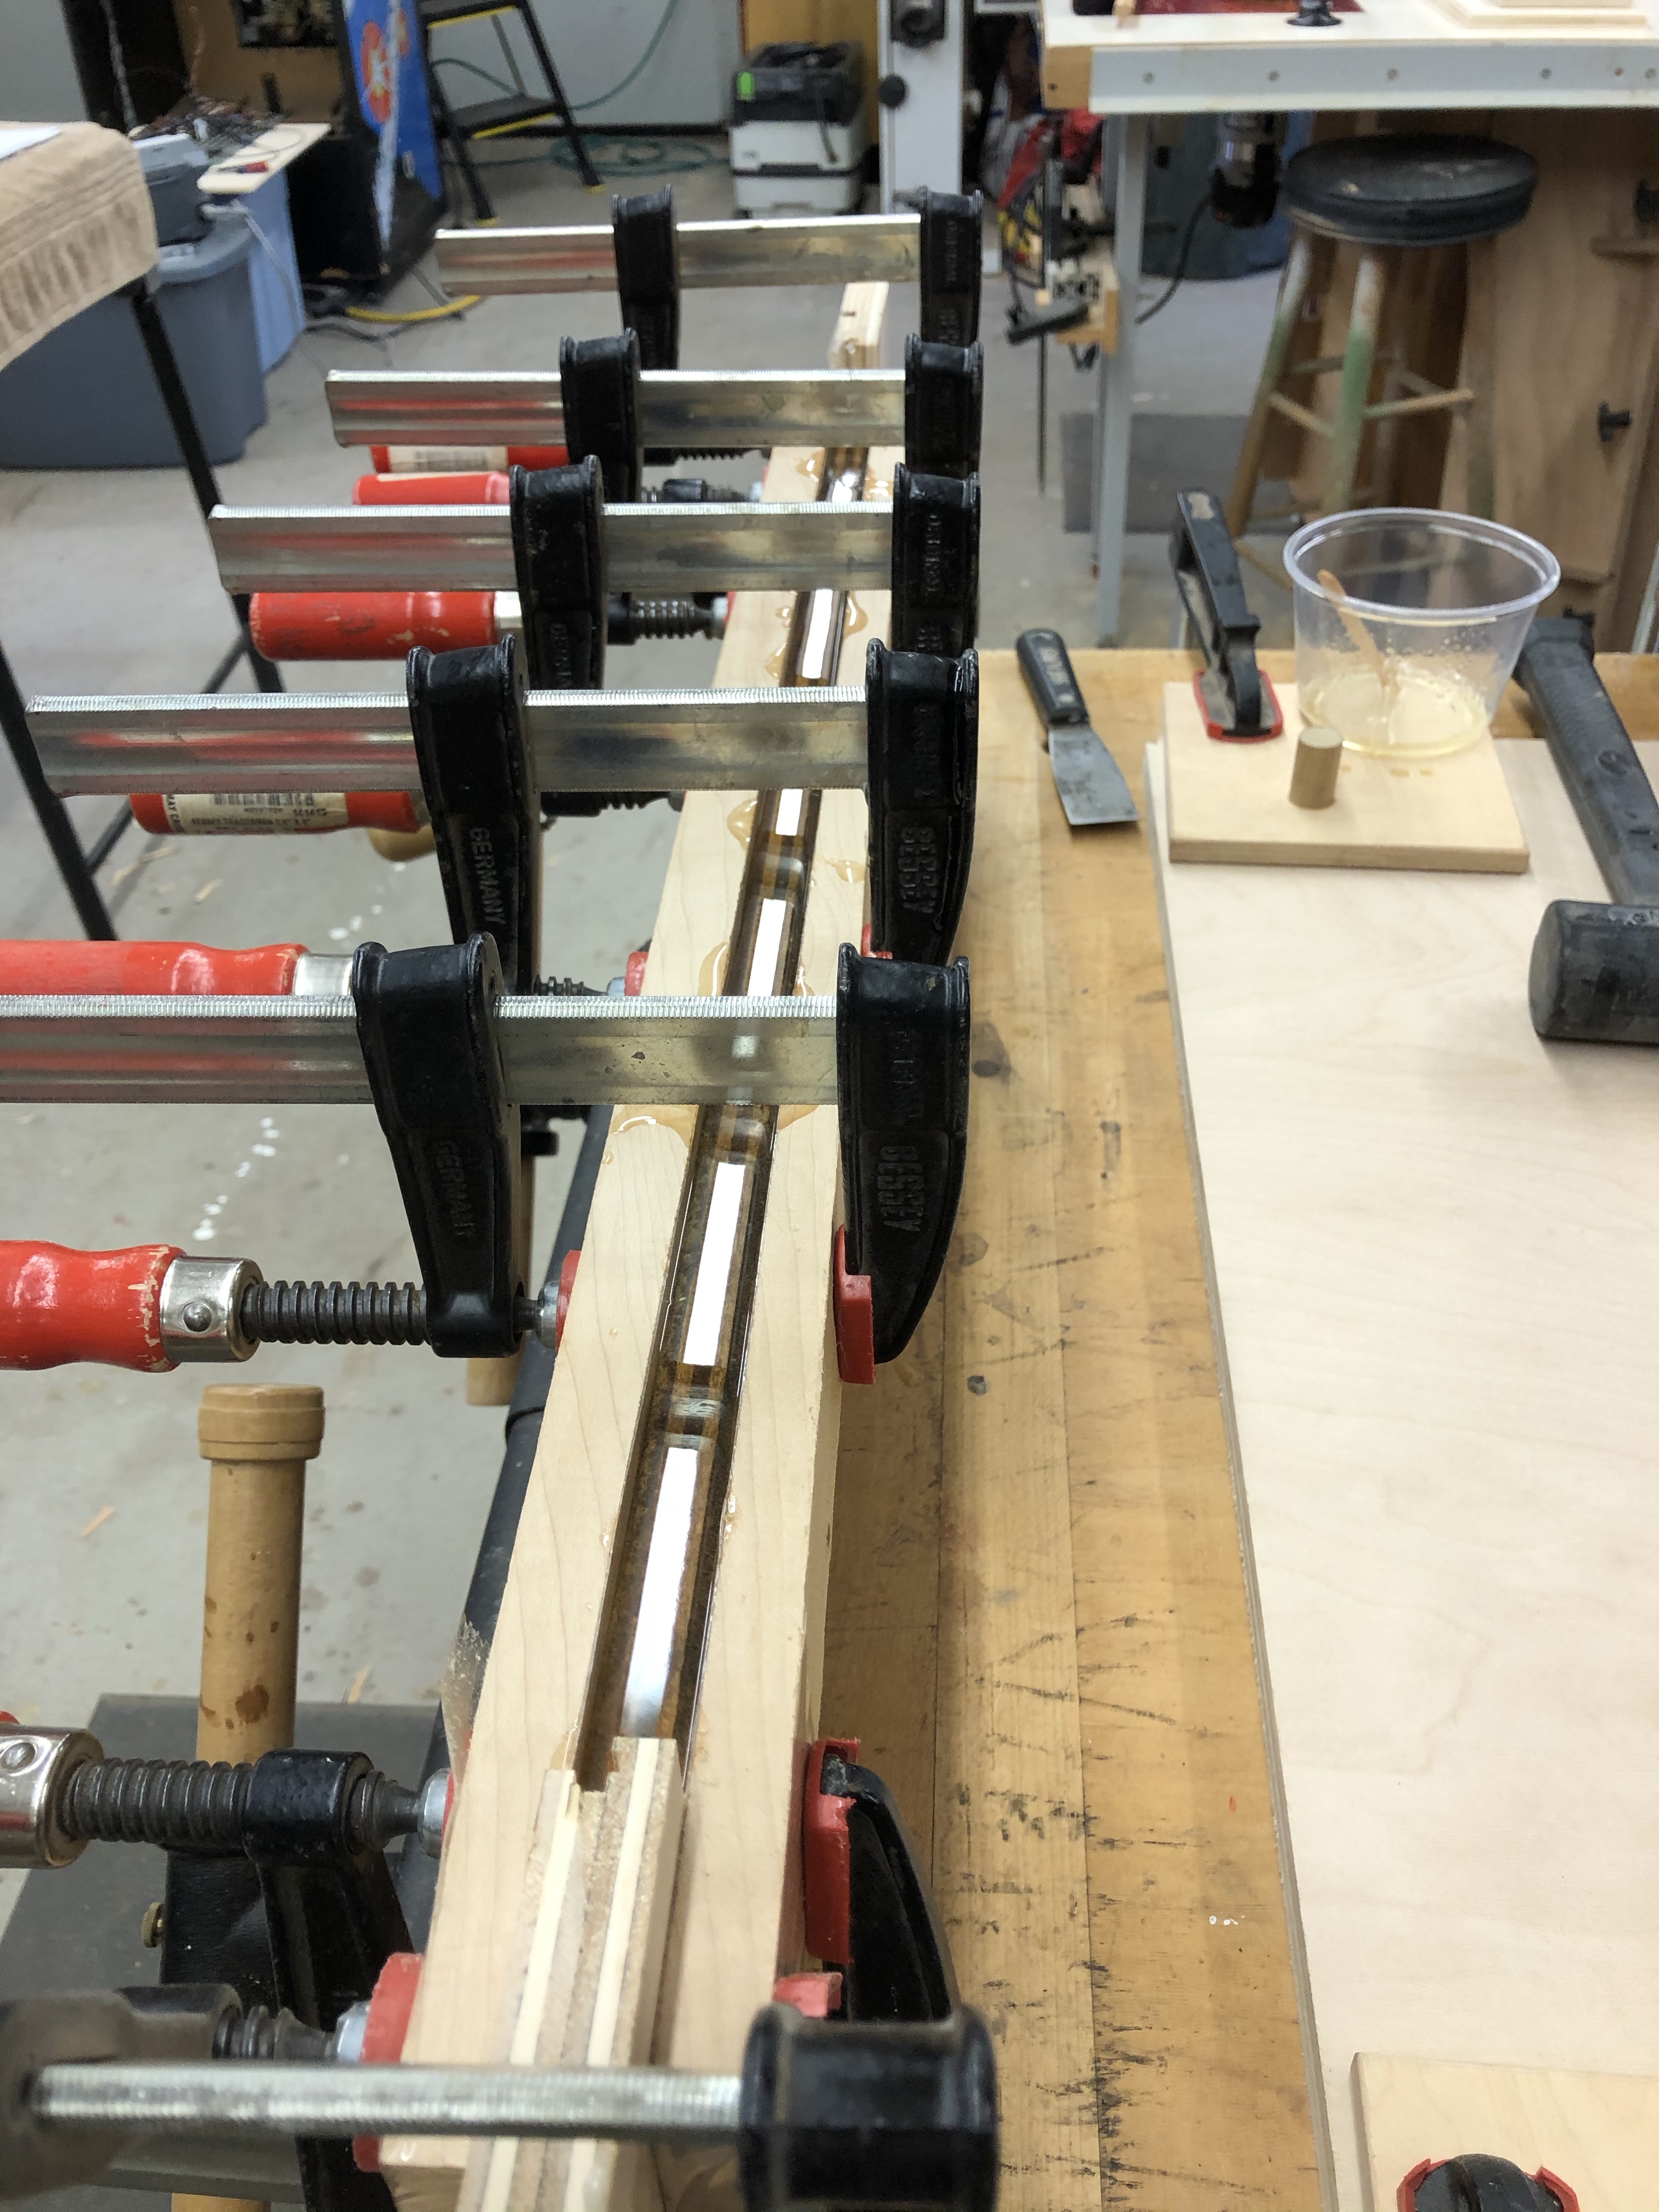
Skipping ahead – I used two boards that I covered in packing tape and cut some scrap for end stops. Clamp it up tight and filled the edge with epoxy. If you warm the epoxy with a torch (lightly brush by with the heat) the air bubbles will all pop and create a clear fill.
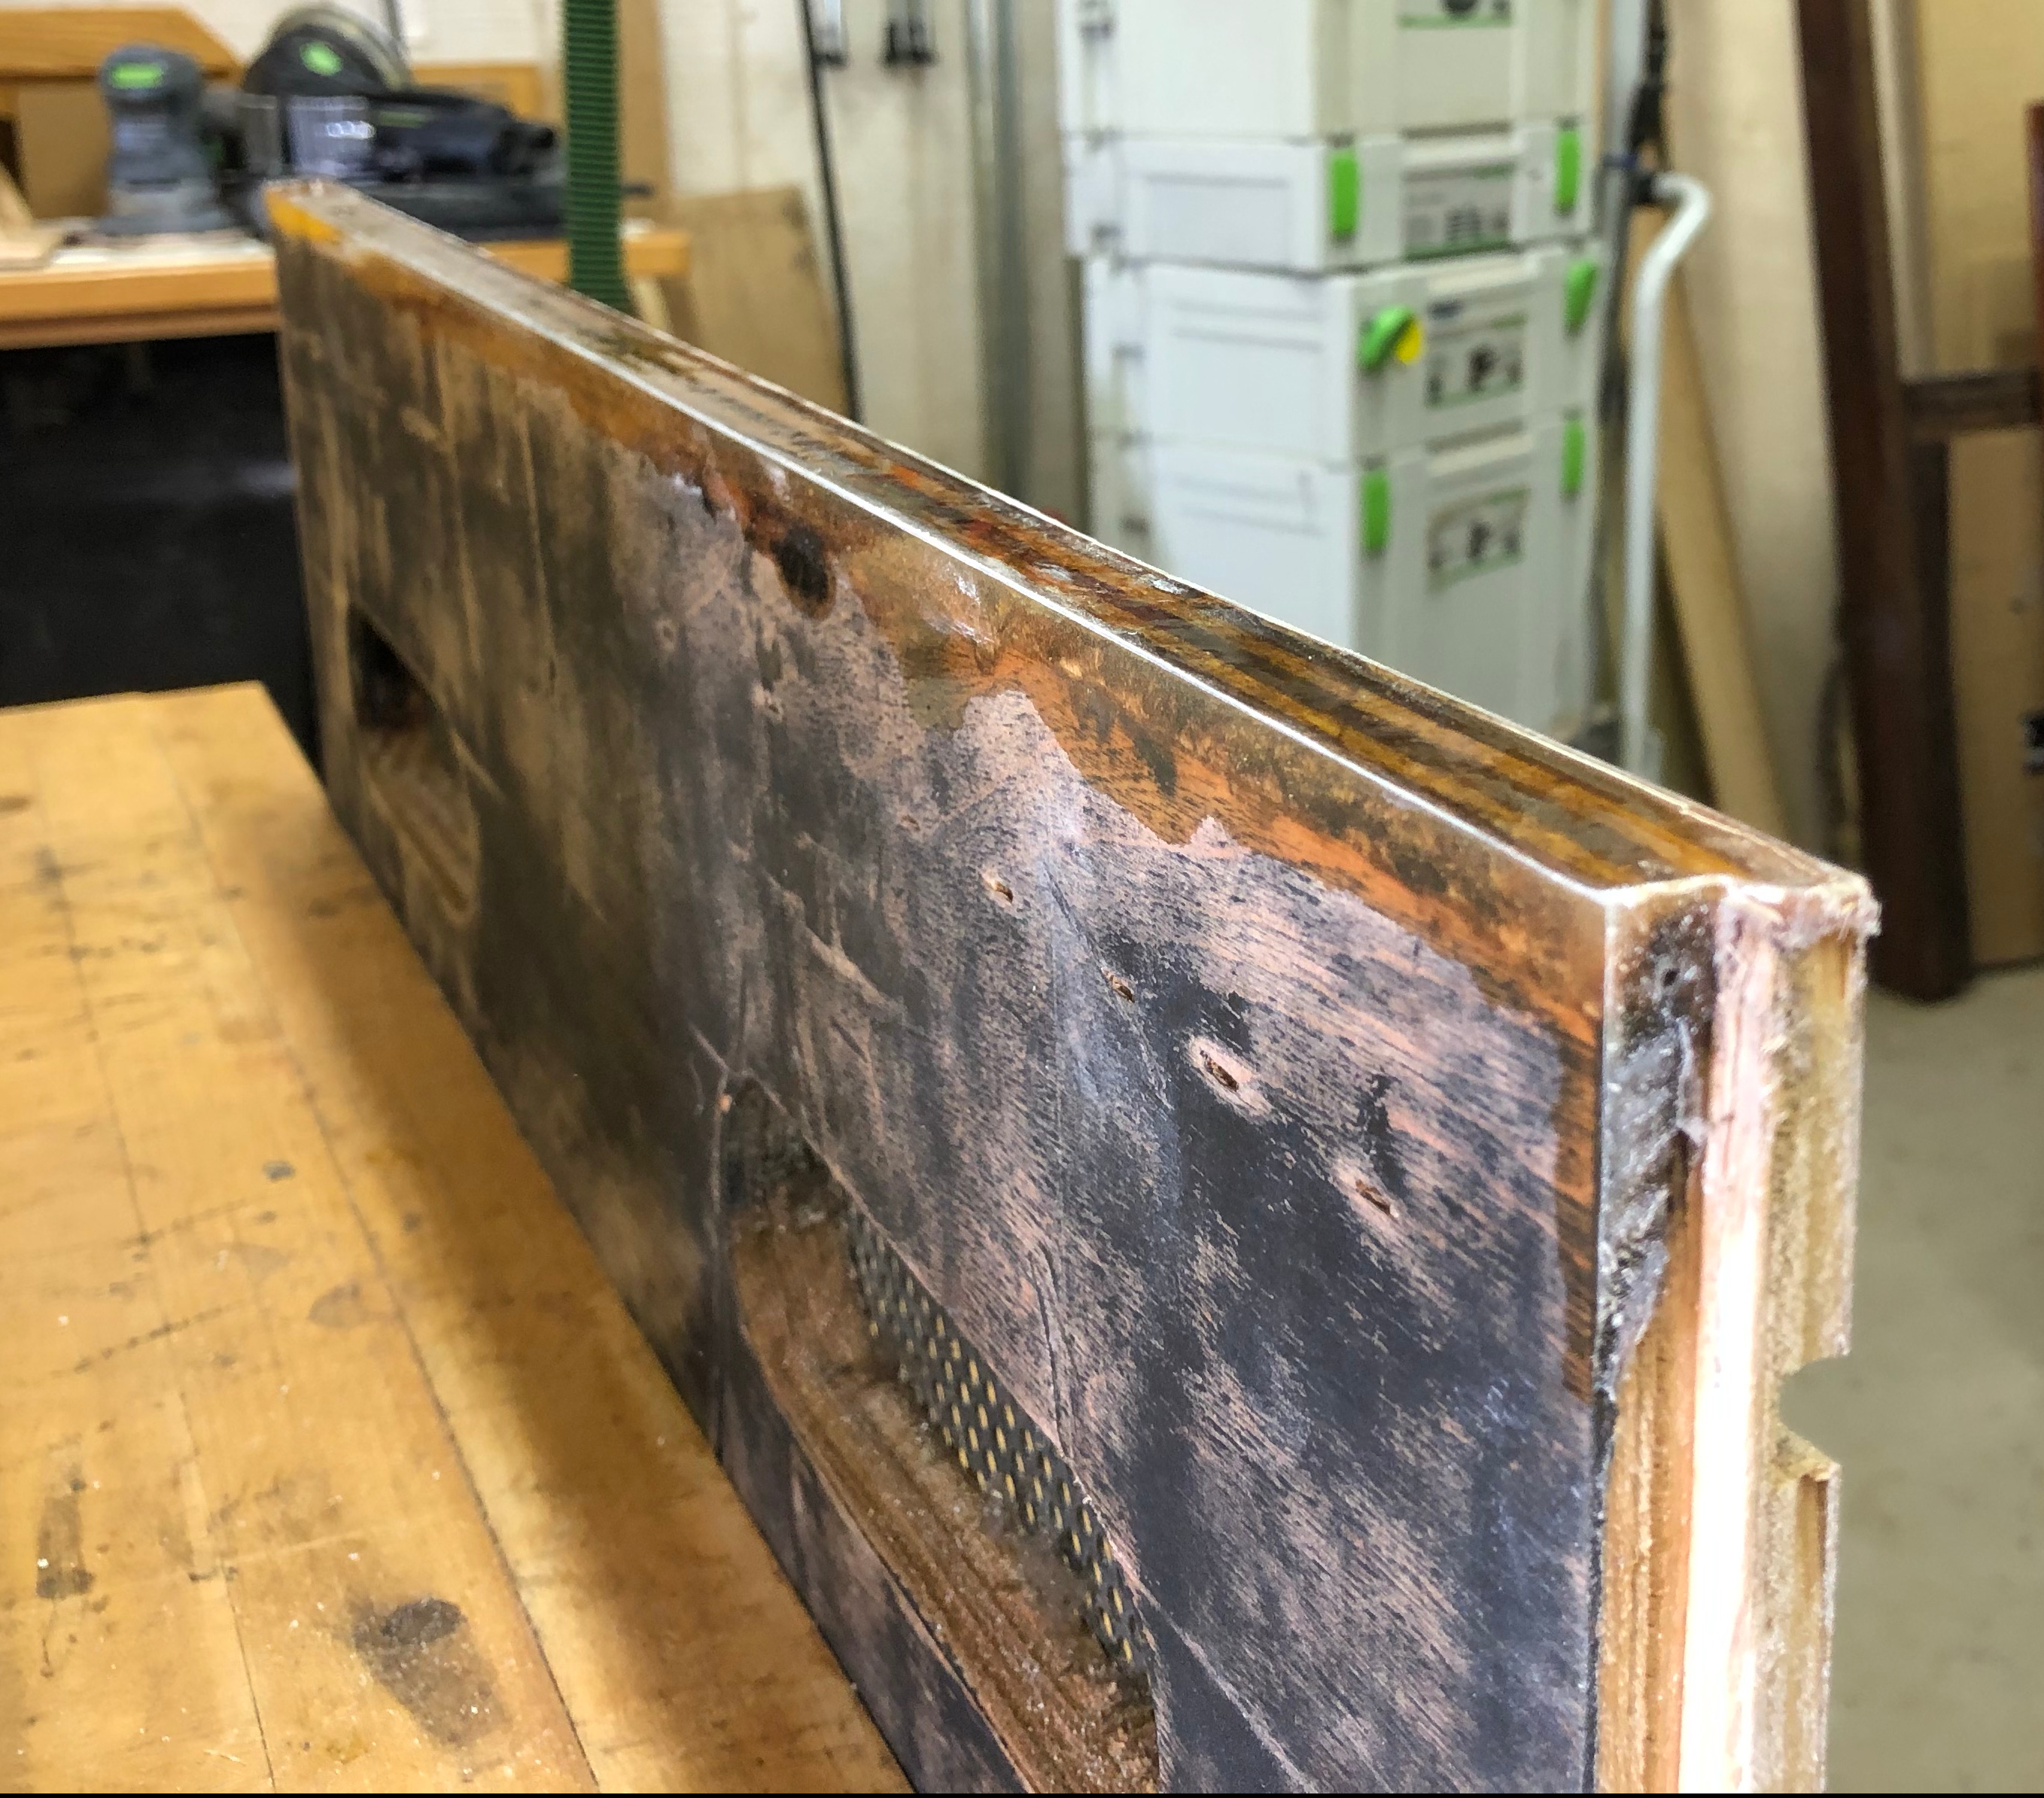
A little sanding, primer and paint – it will be better than new.
I purposely over sized the panels replacing the shattered plywood at the bottoms of the side panels. It’s possible to pre-cut them to exact size, glue them in place w/o shifting and have them perfect. But its REALLY HARD to do! If it’s off a little – what do you do? cut it off and try again? Add more wood? Its a pain..
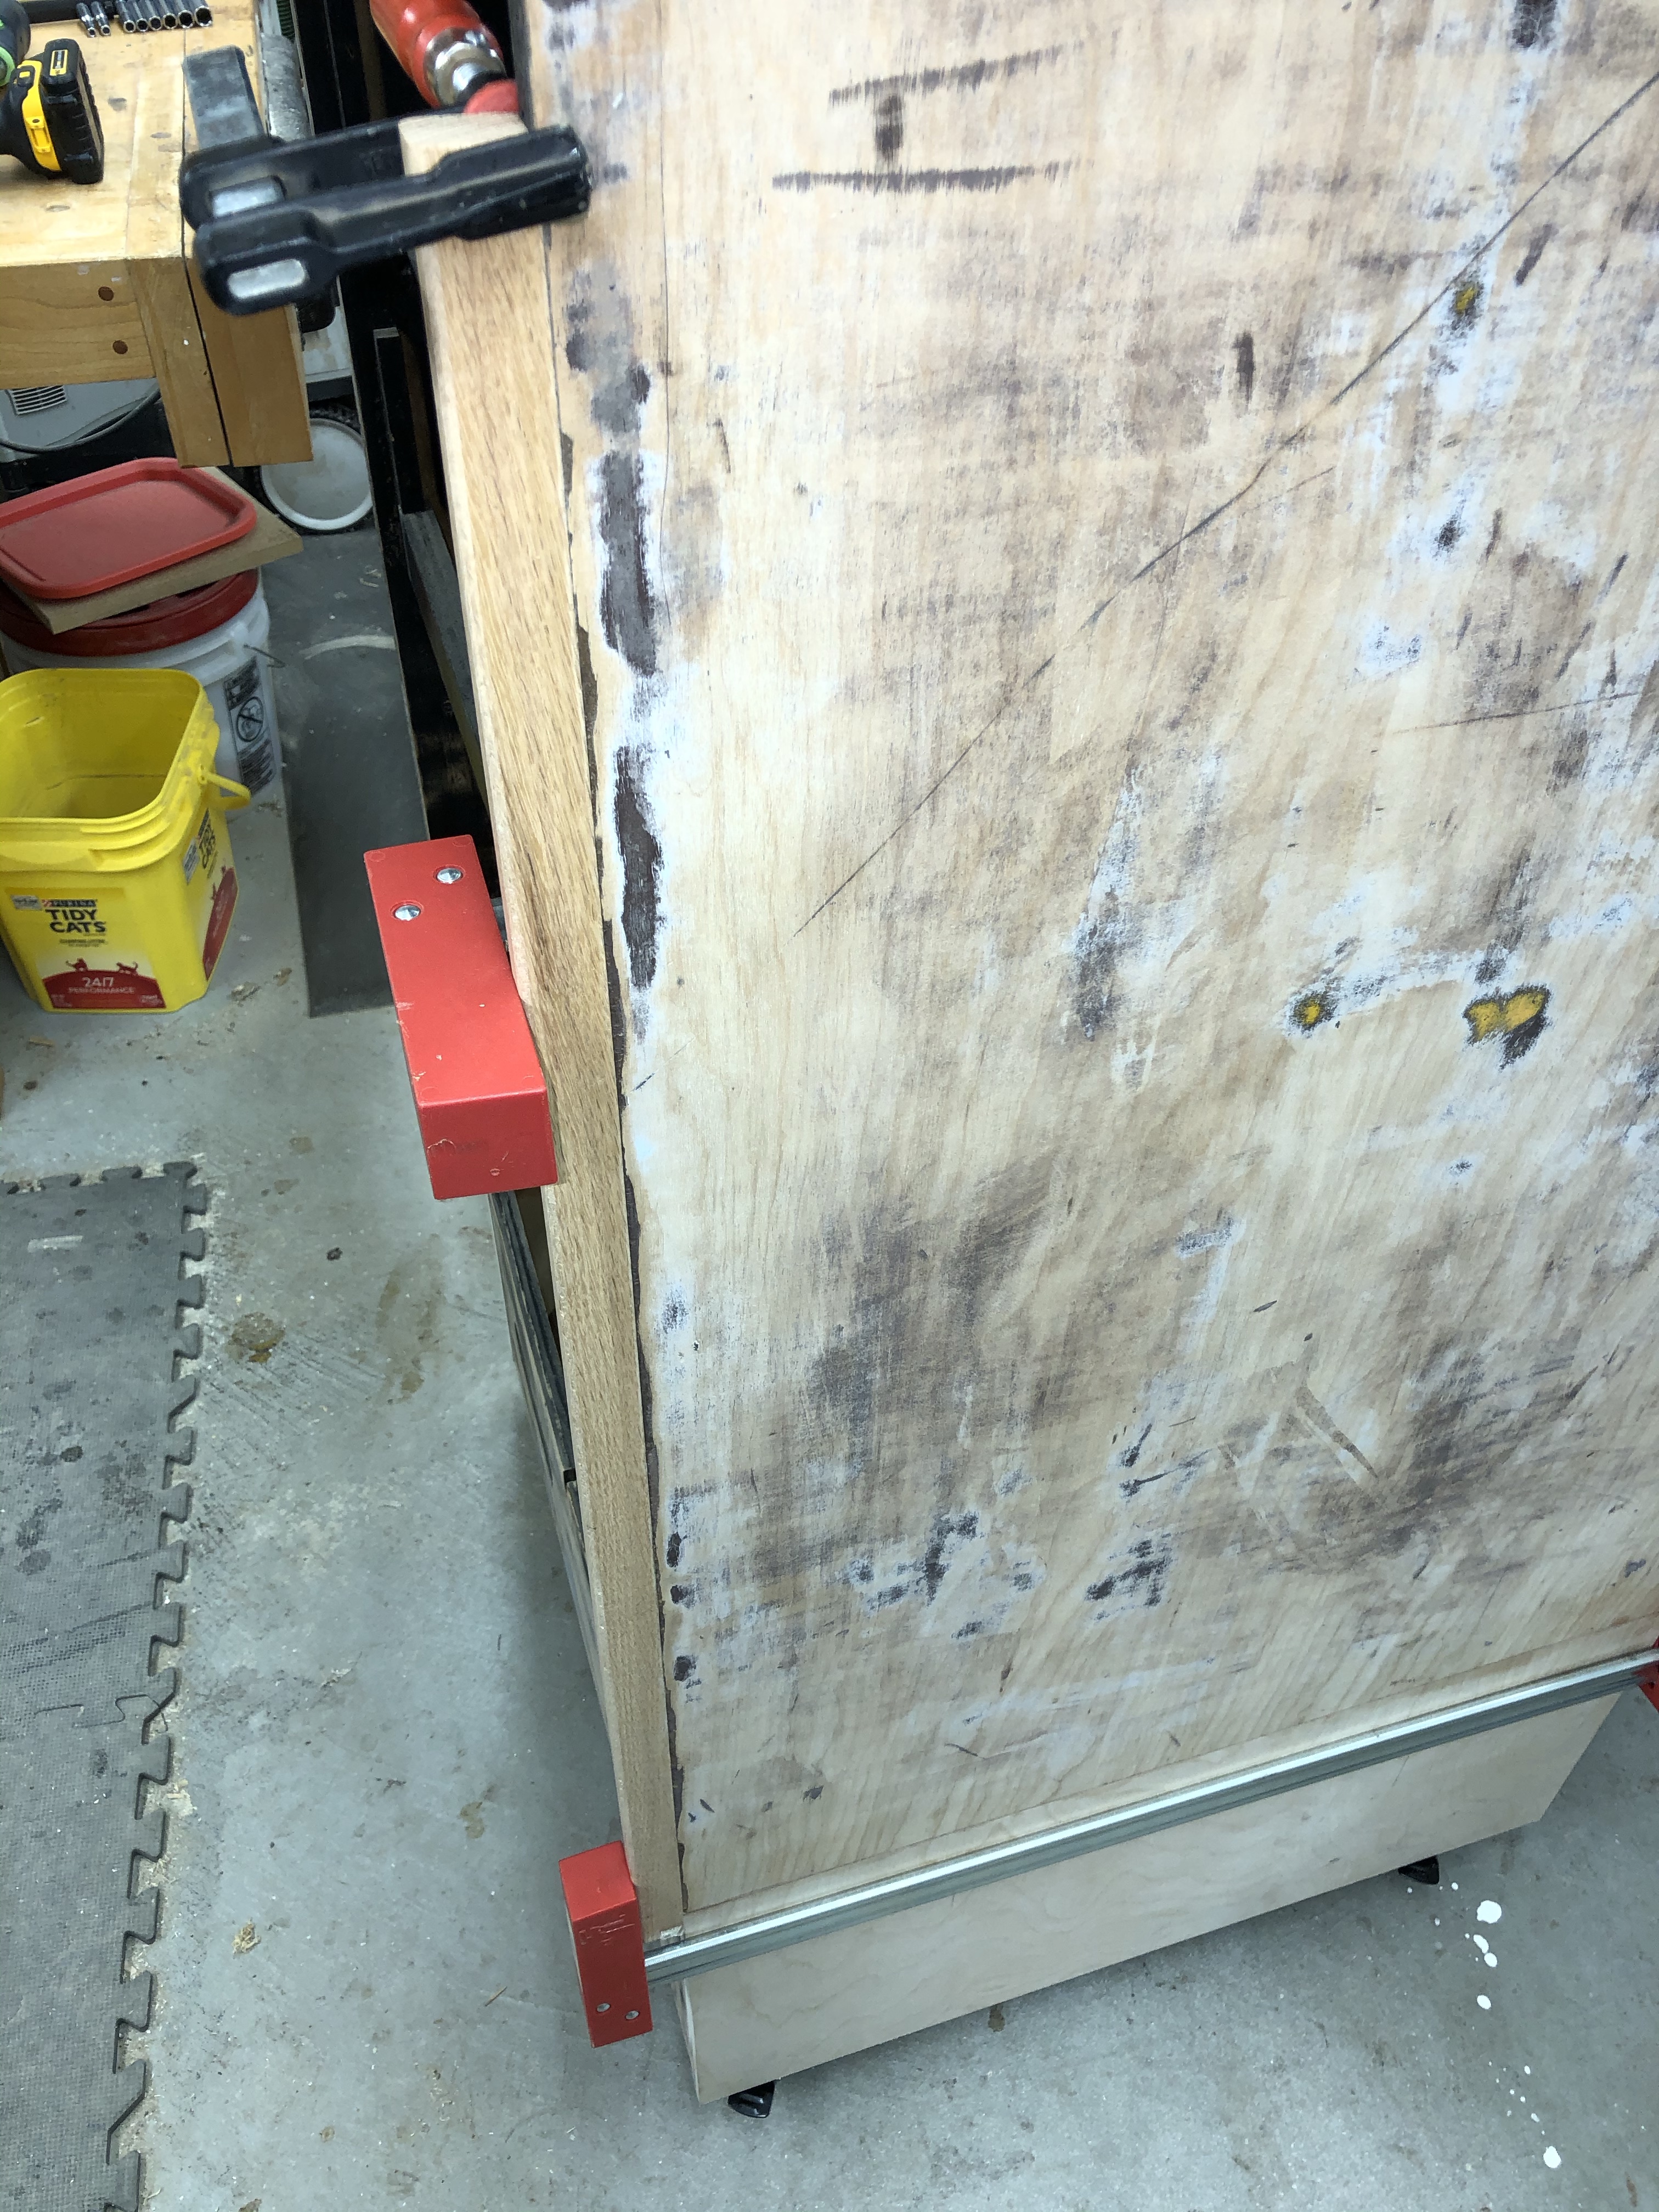
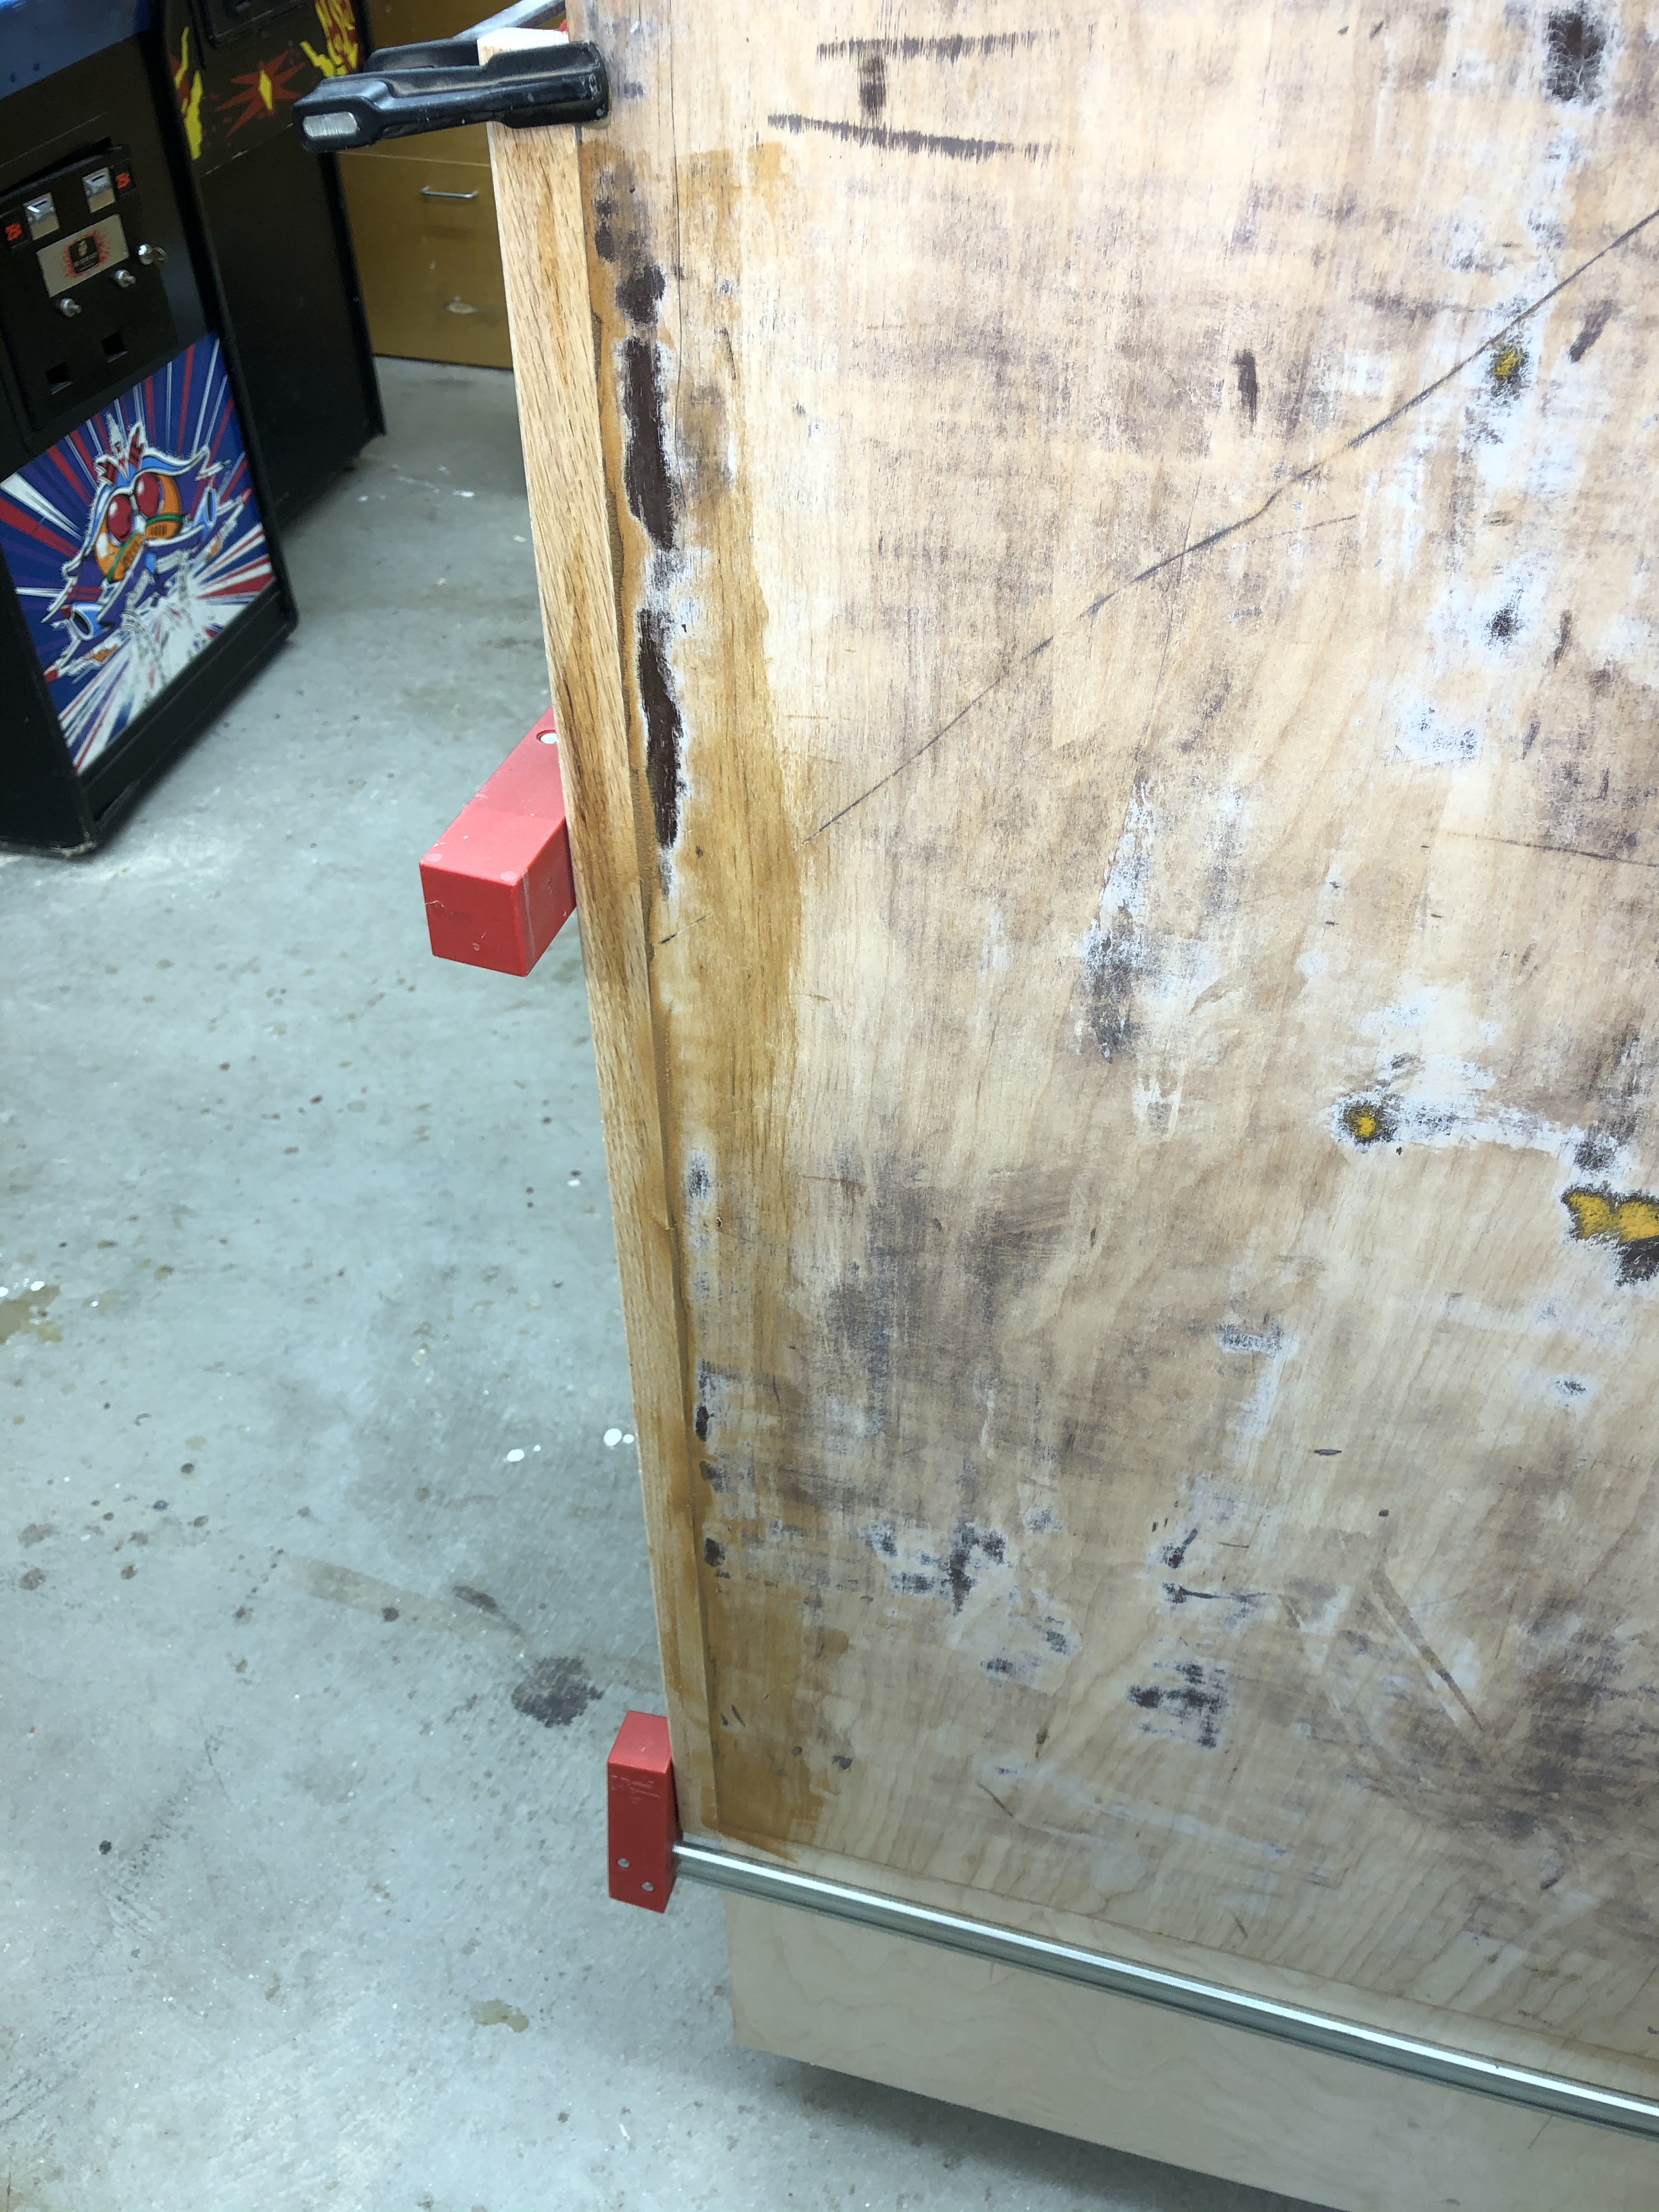
One reason to have a track saw (or equivalent) is that you can cut the panel in place – to the exact size. No thinking or planning. In fact – if you are measuring – your working too hard. Here the track is lined up on the front edge. Clamp and cut! No mistakes possible. (ok – none probable)
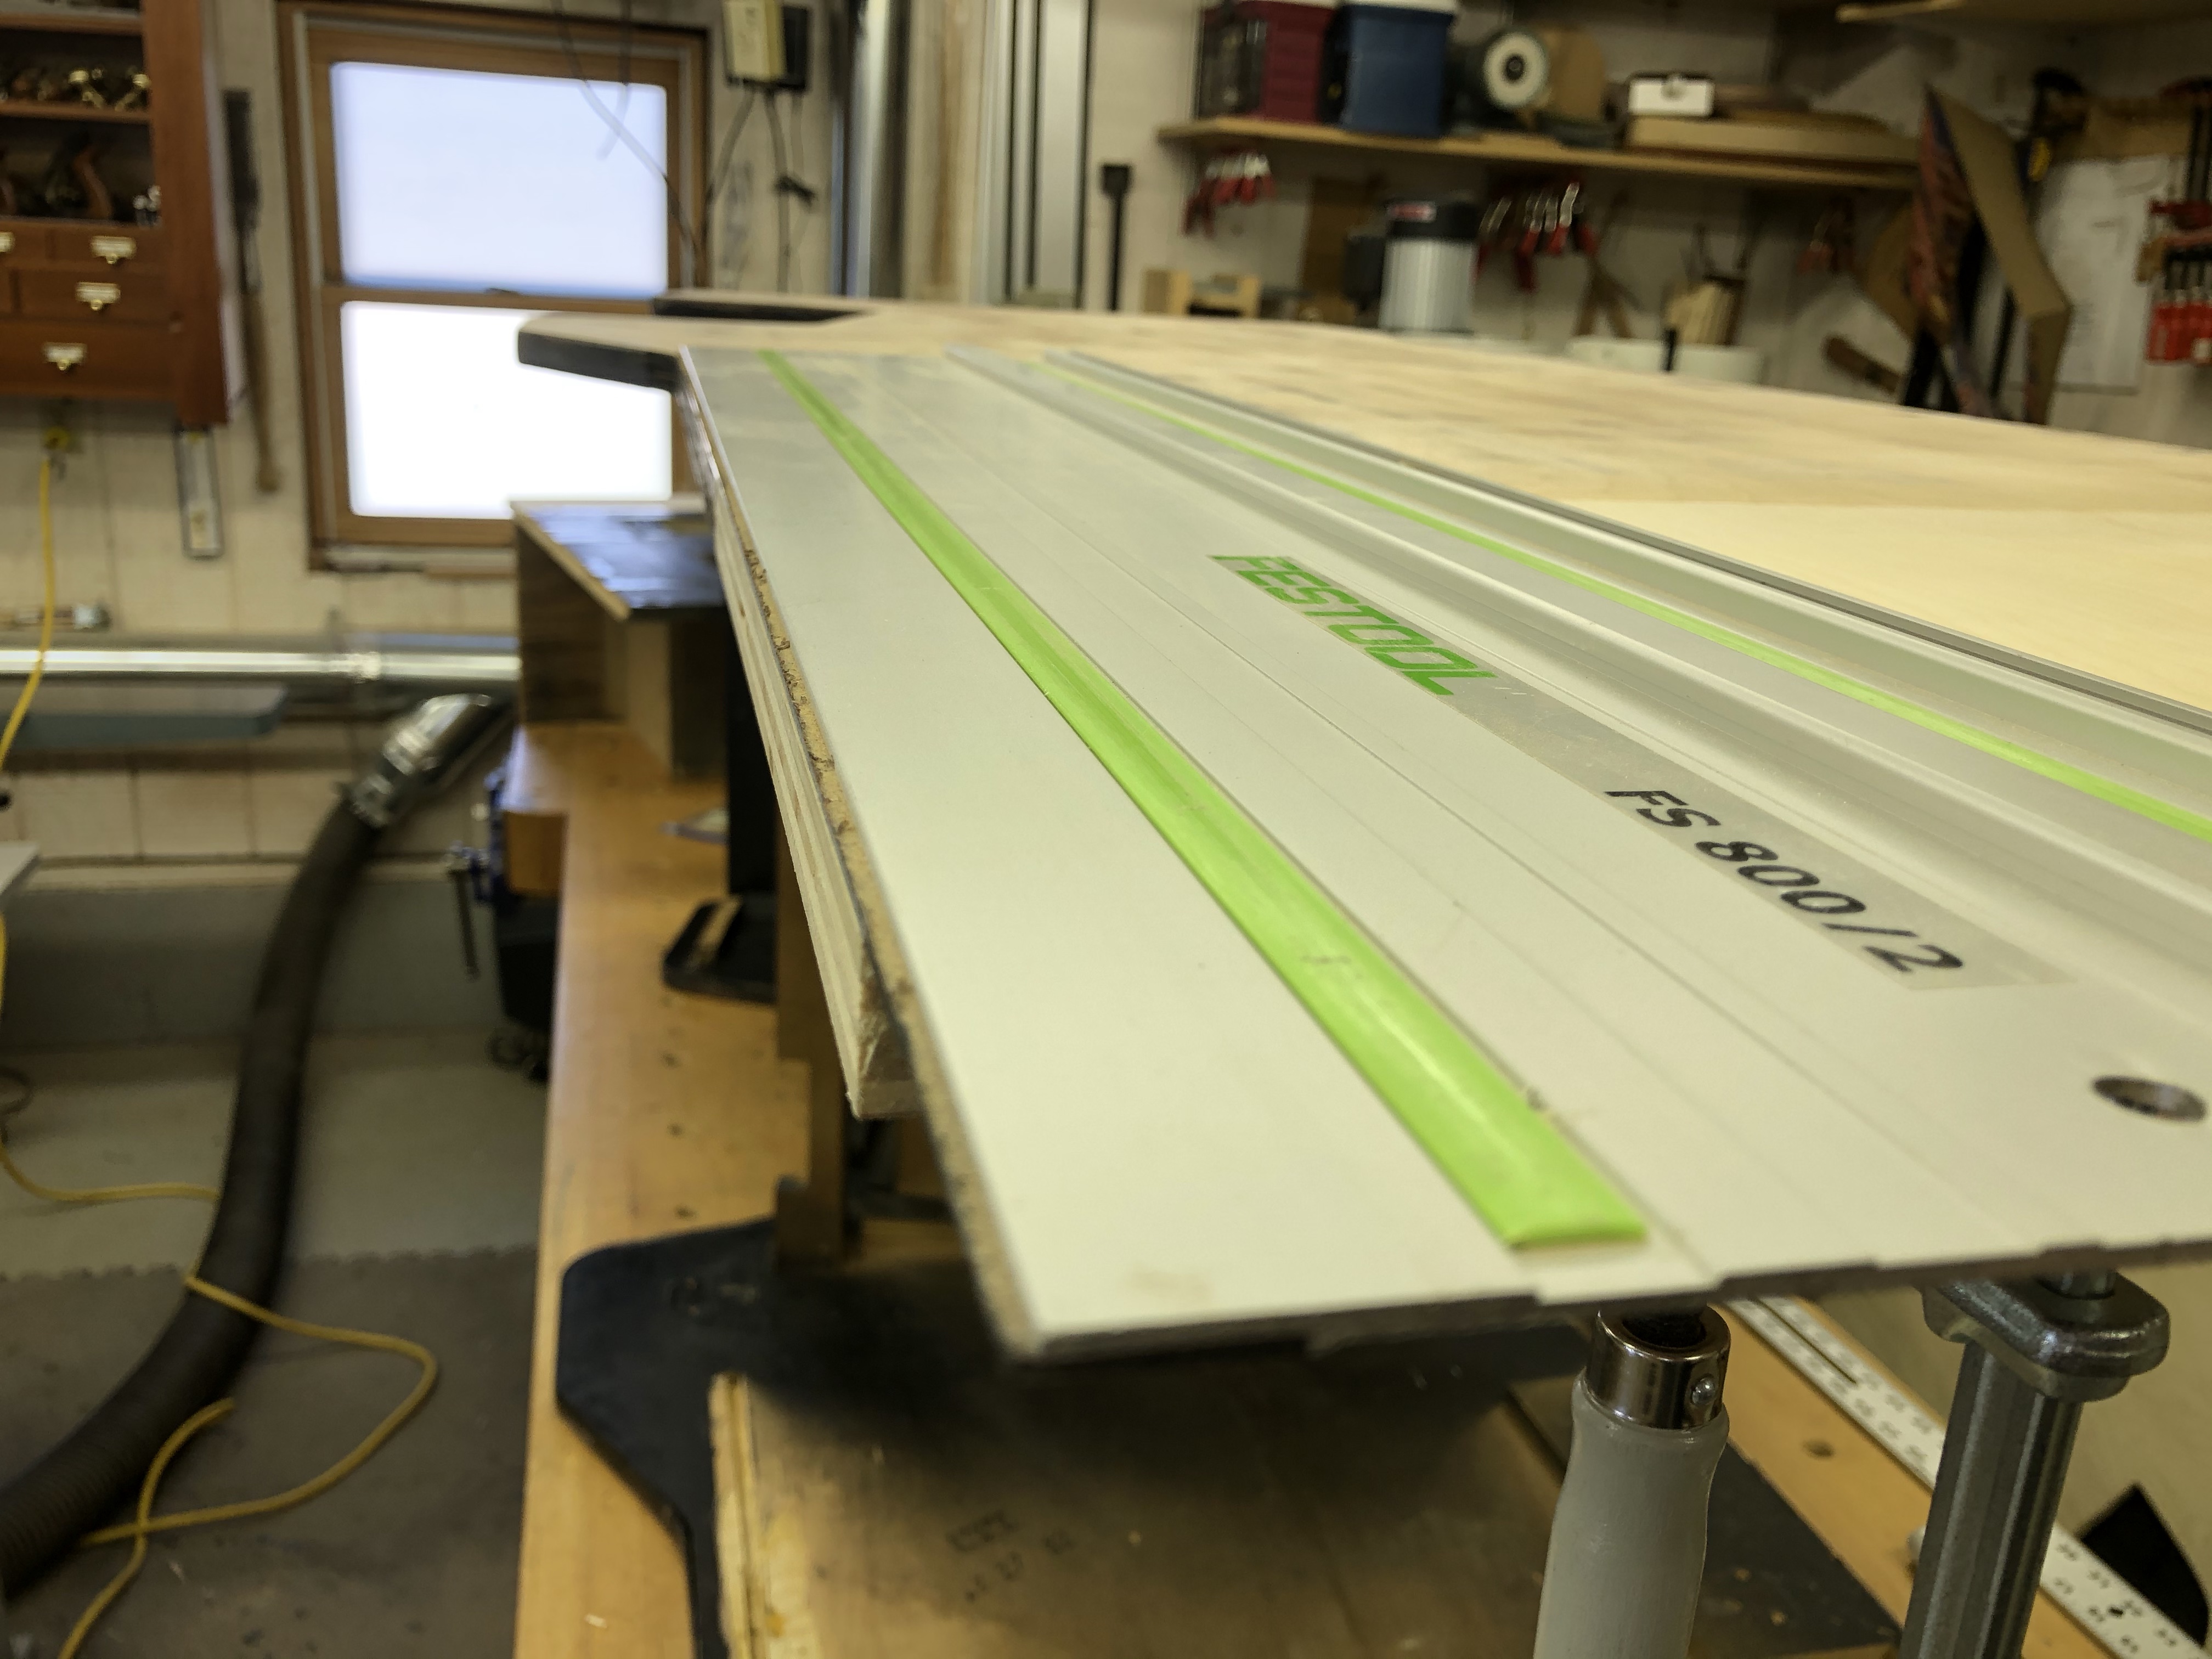
Perfect straight line – it will not have even the slightest hump in the T-molding.. I cut the front and back sides this way.. When I’m ready – the bottom will be cut to length too.. Almost no thinking involved.
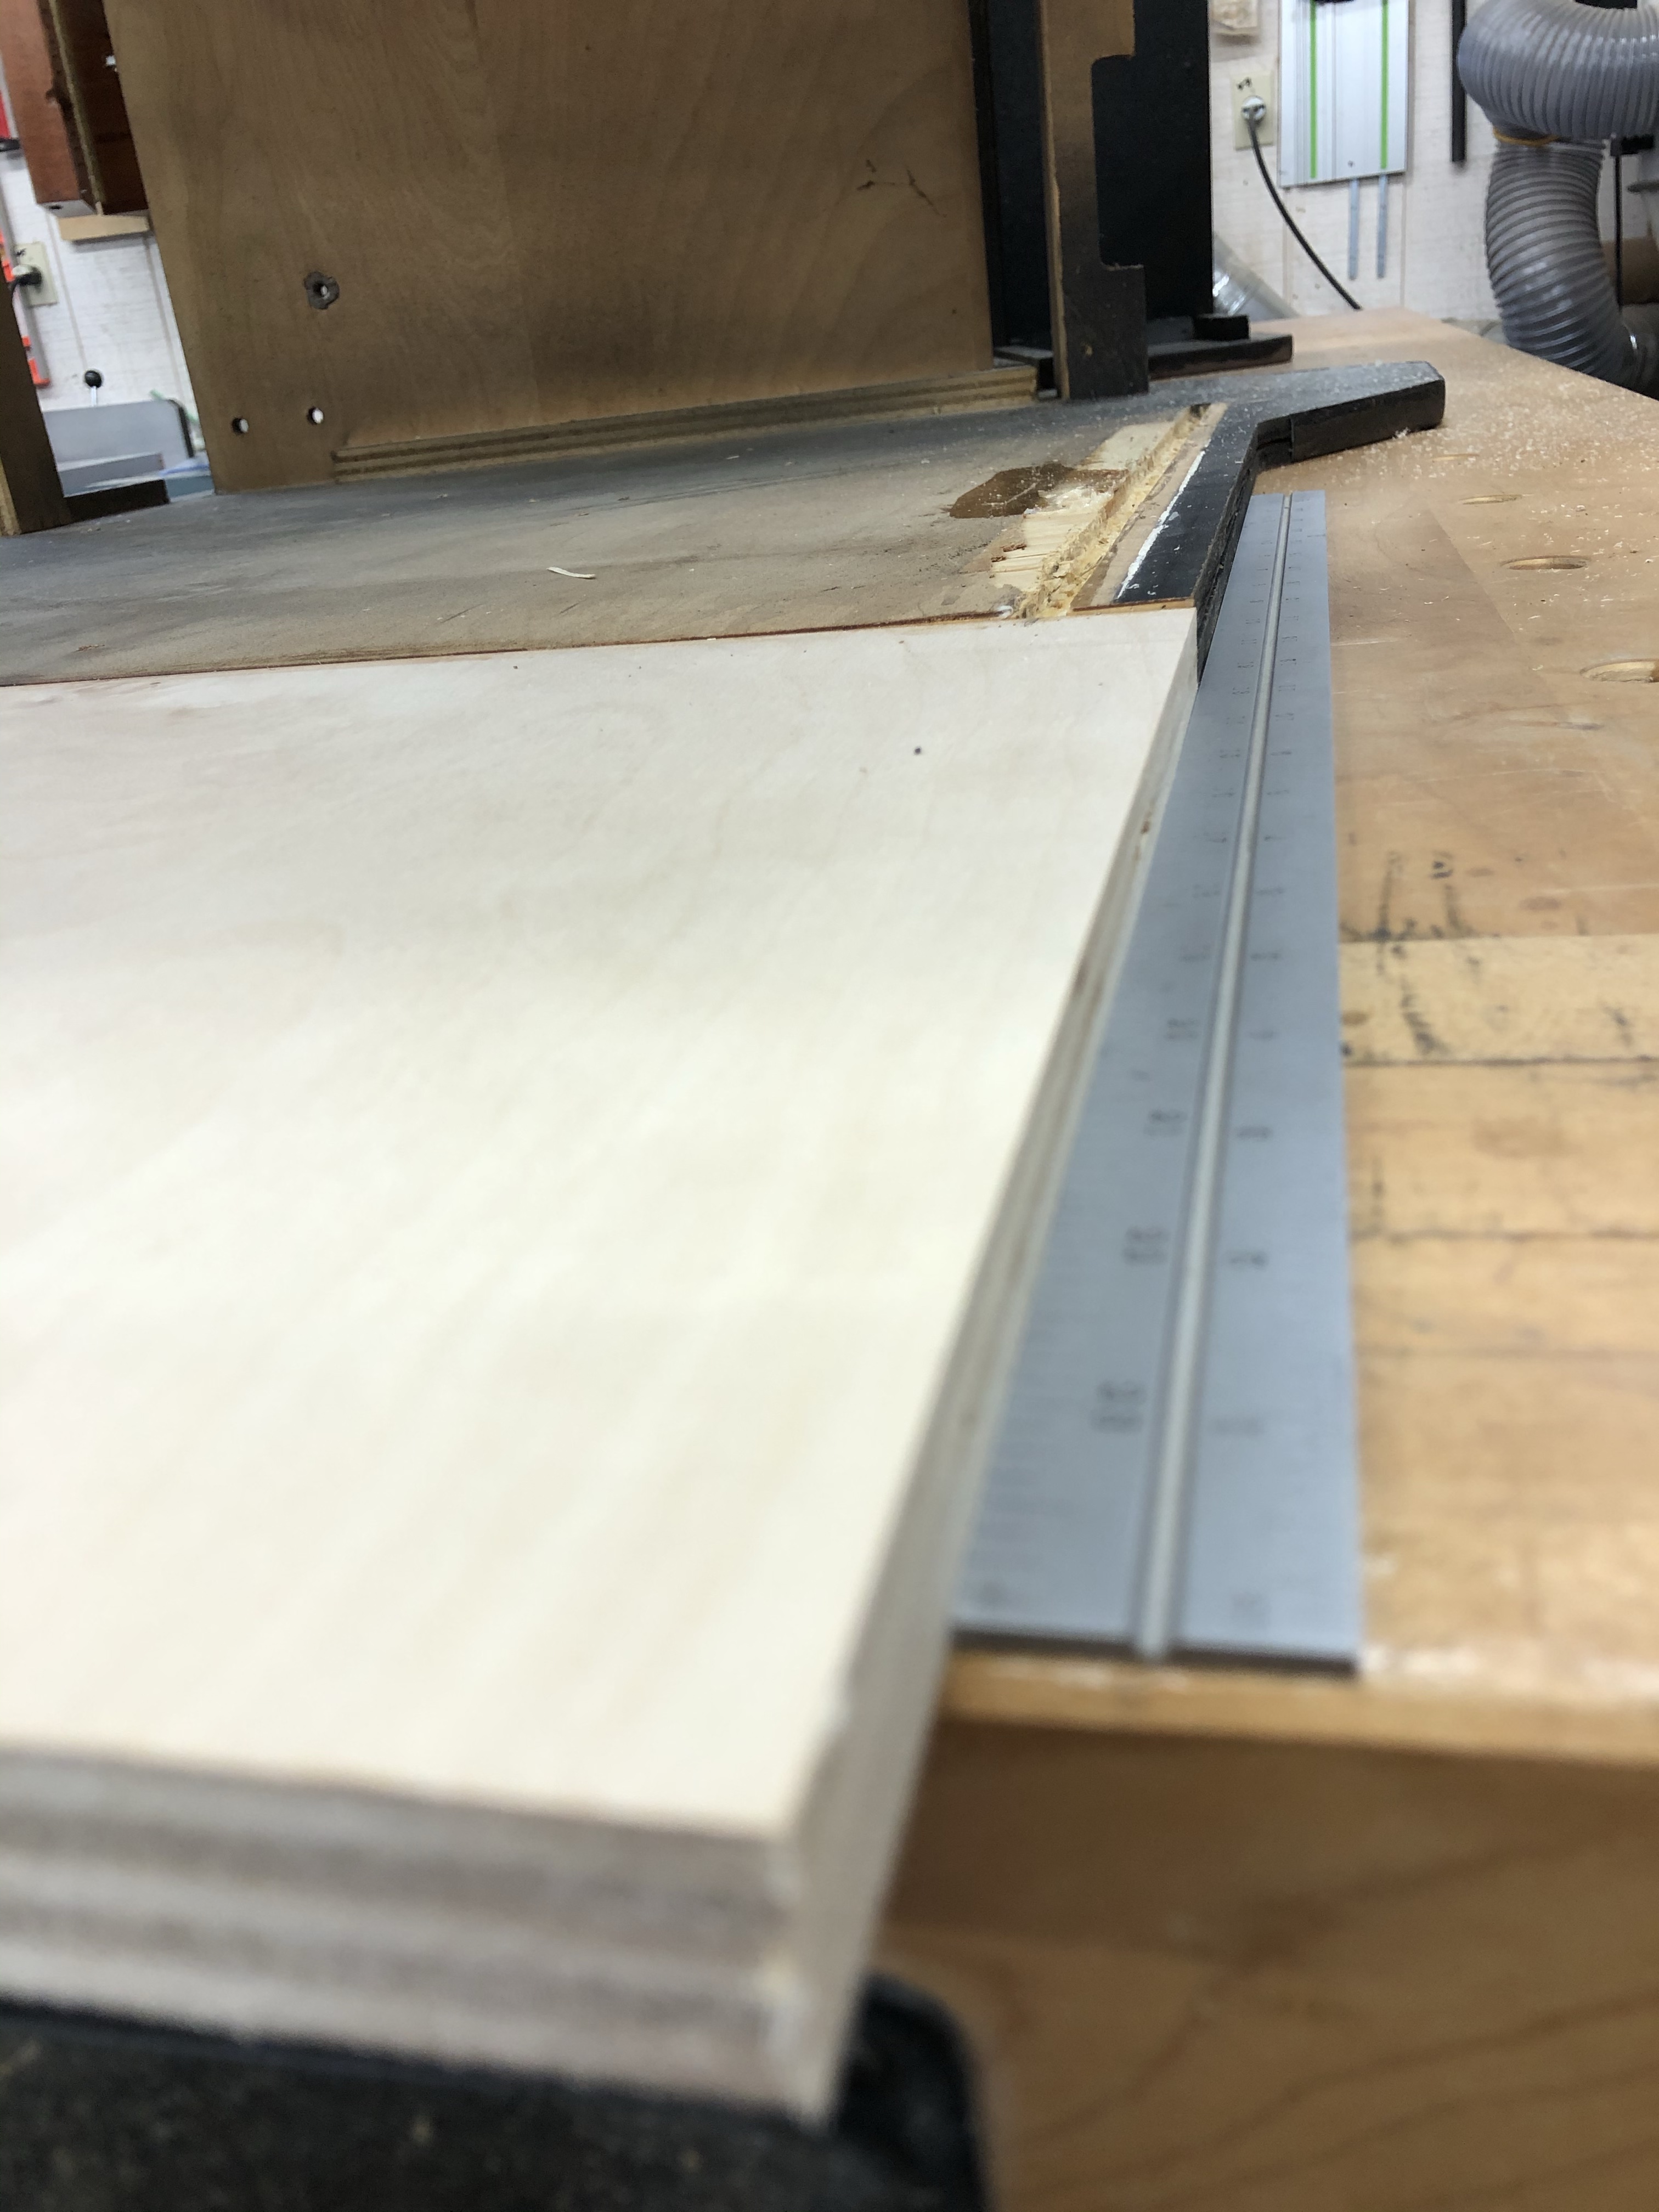
No gaps!!
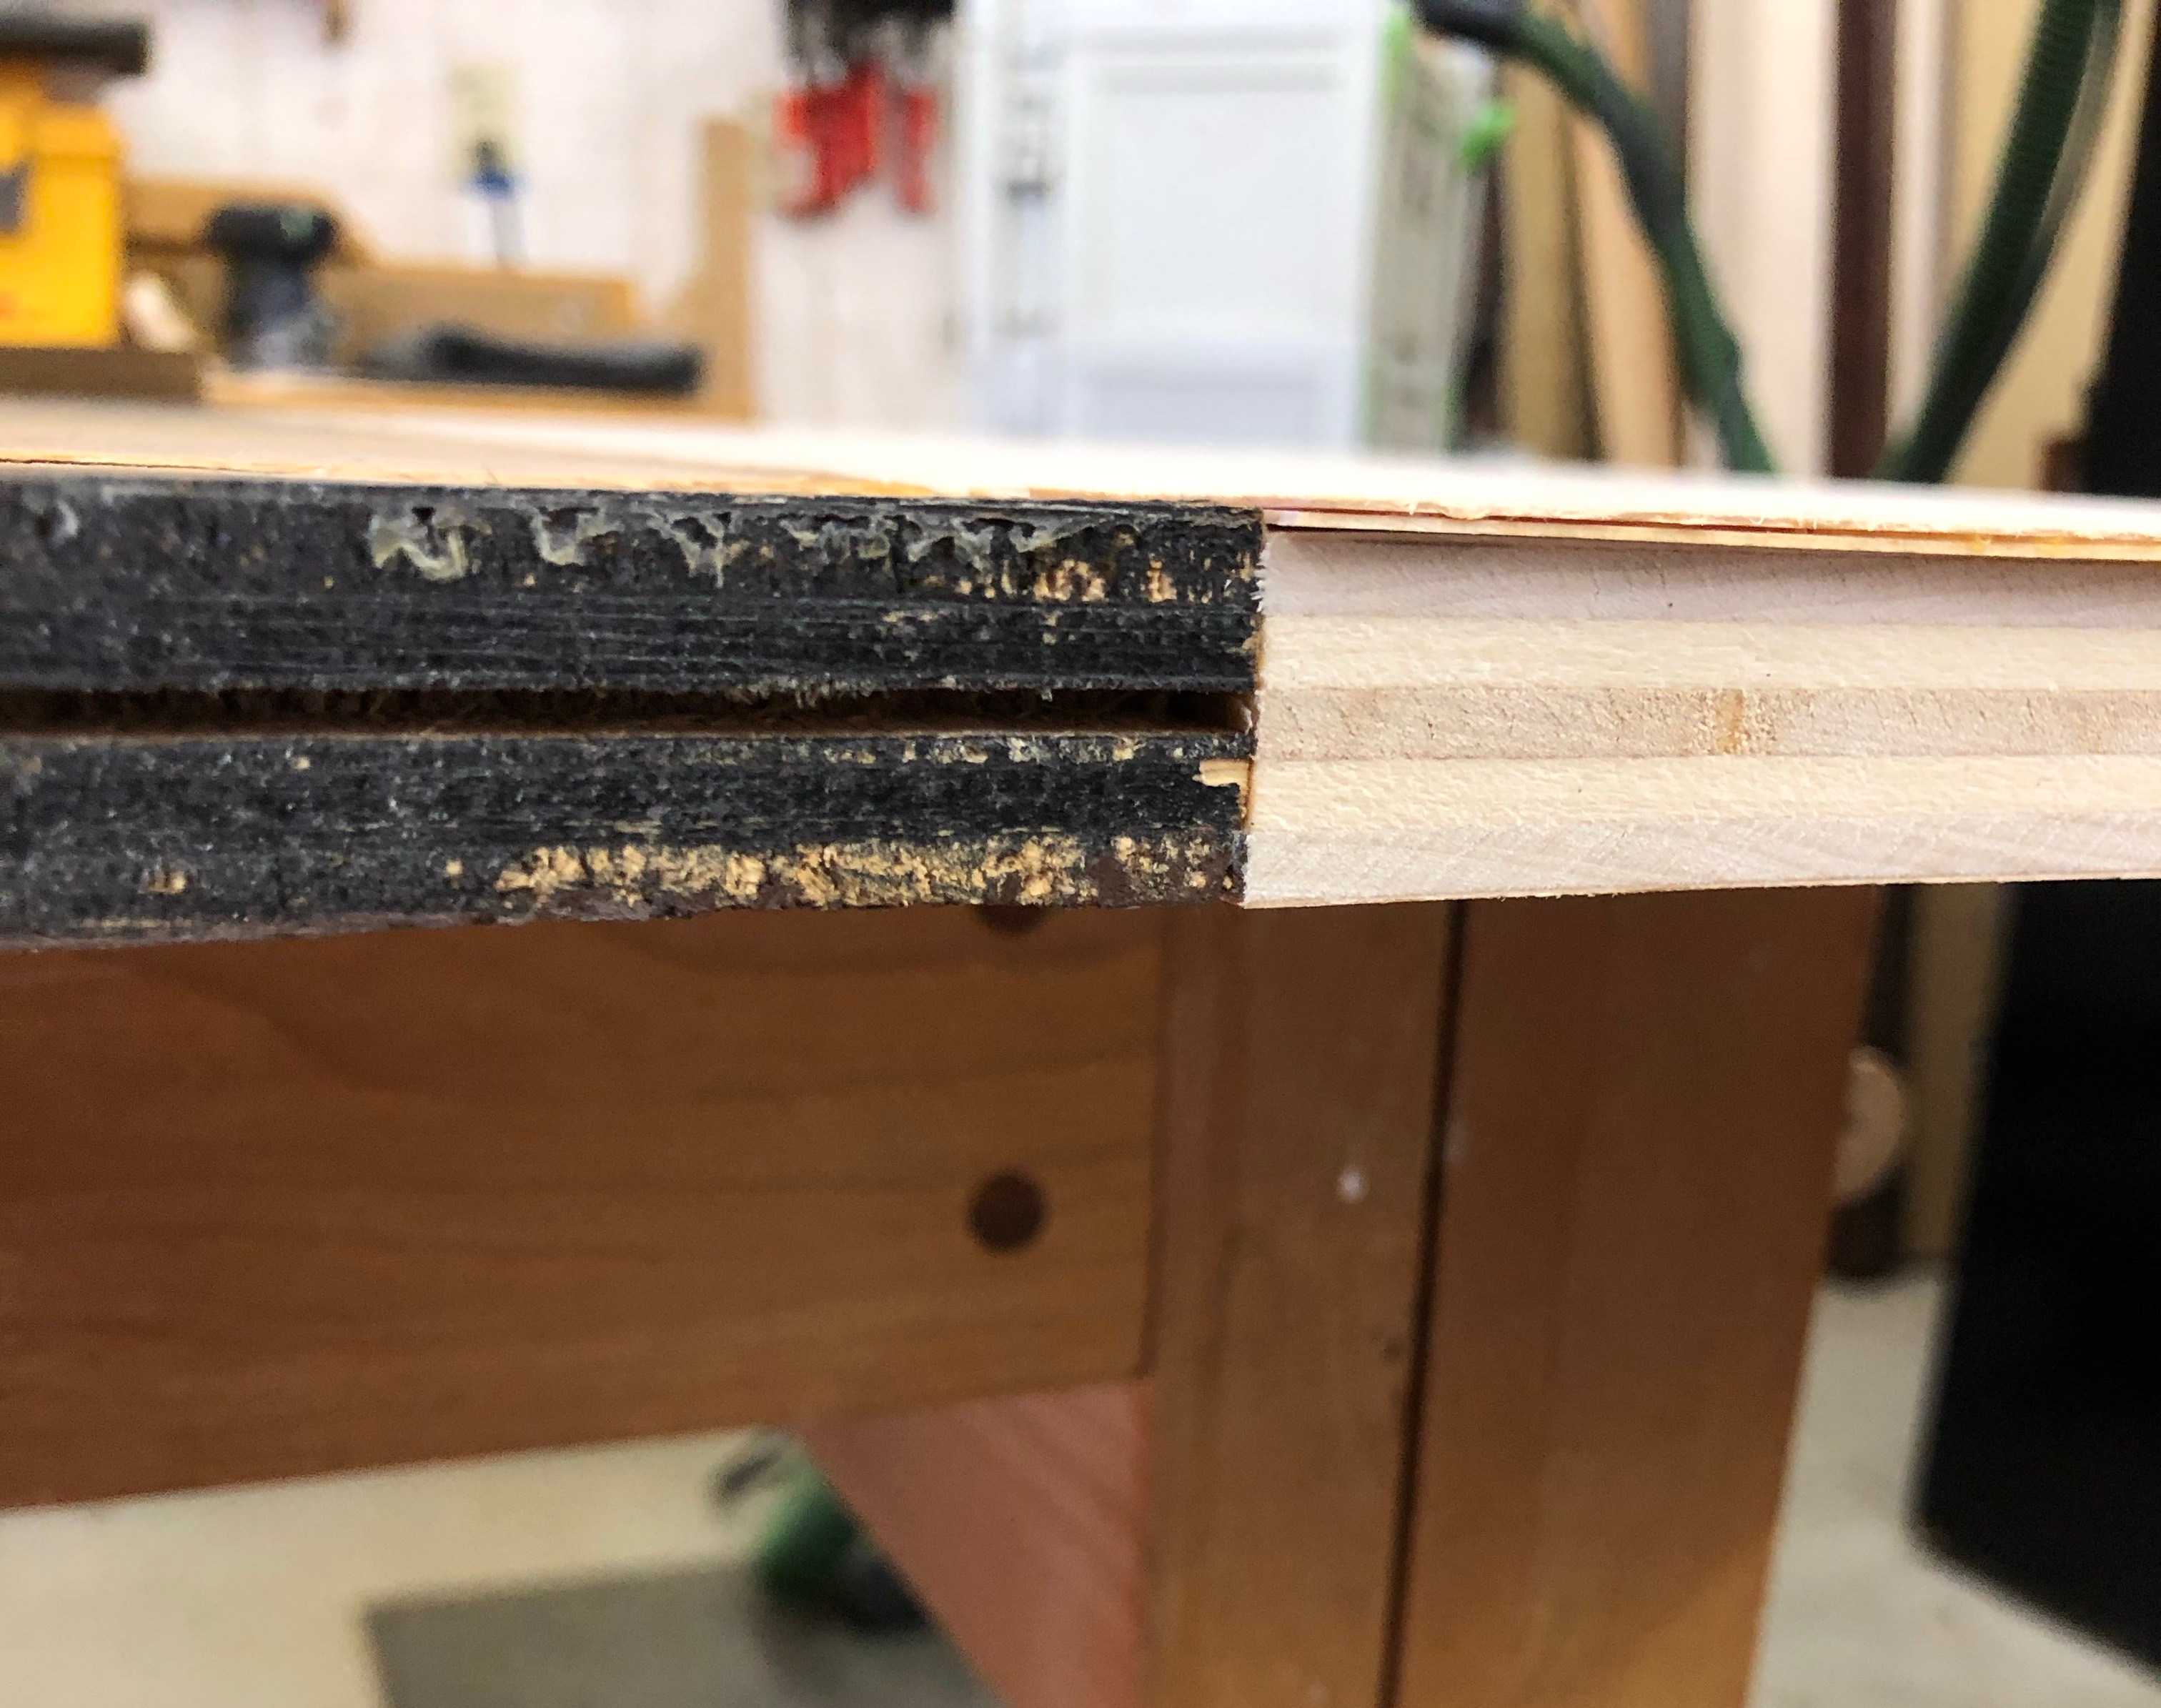
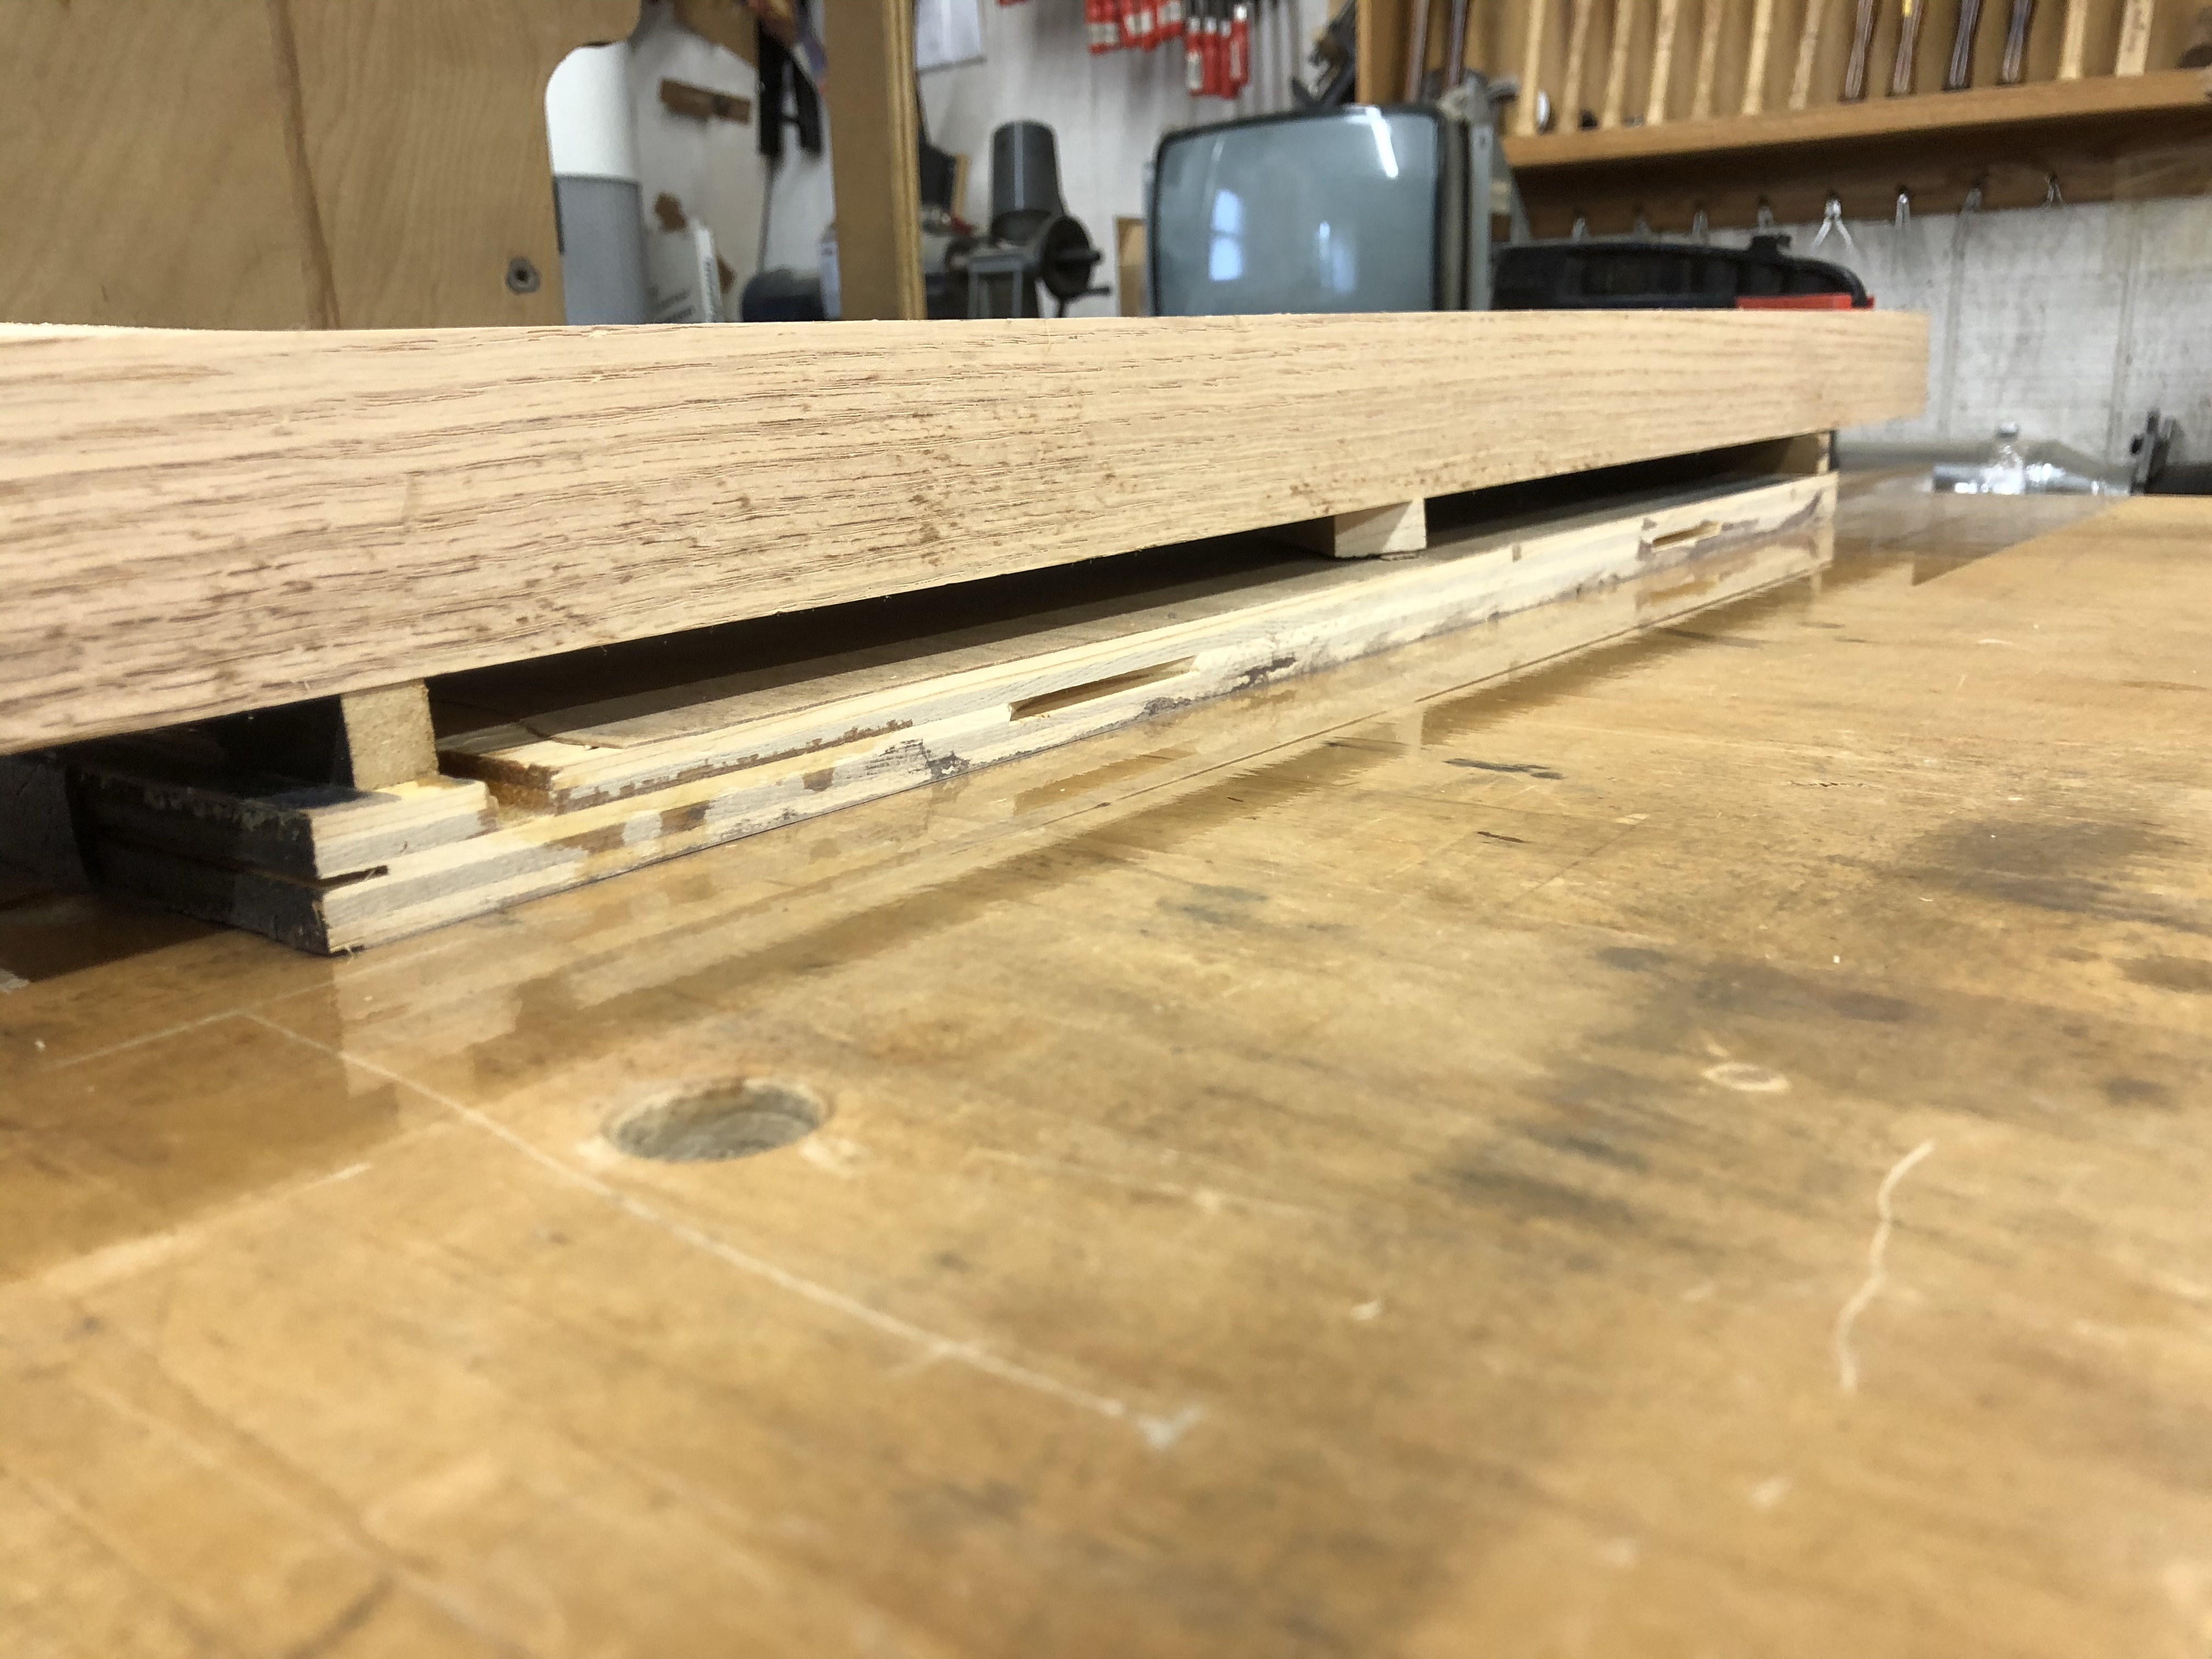
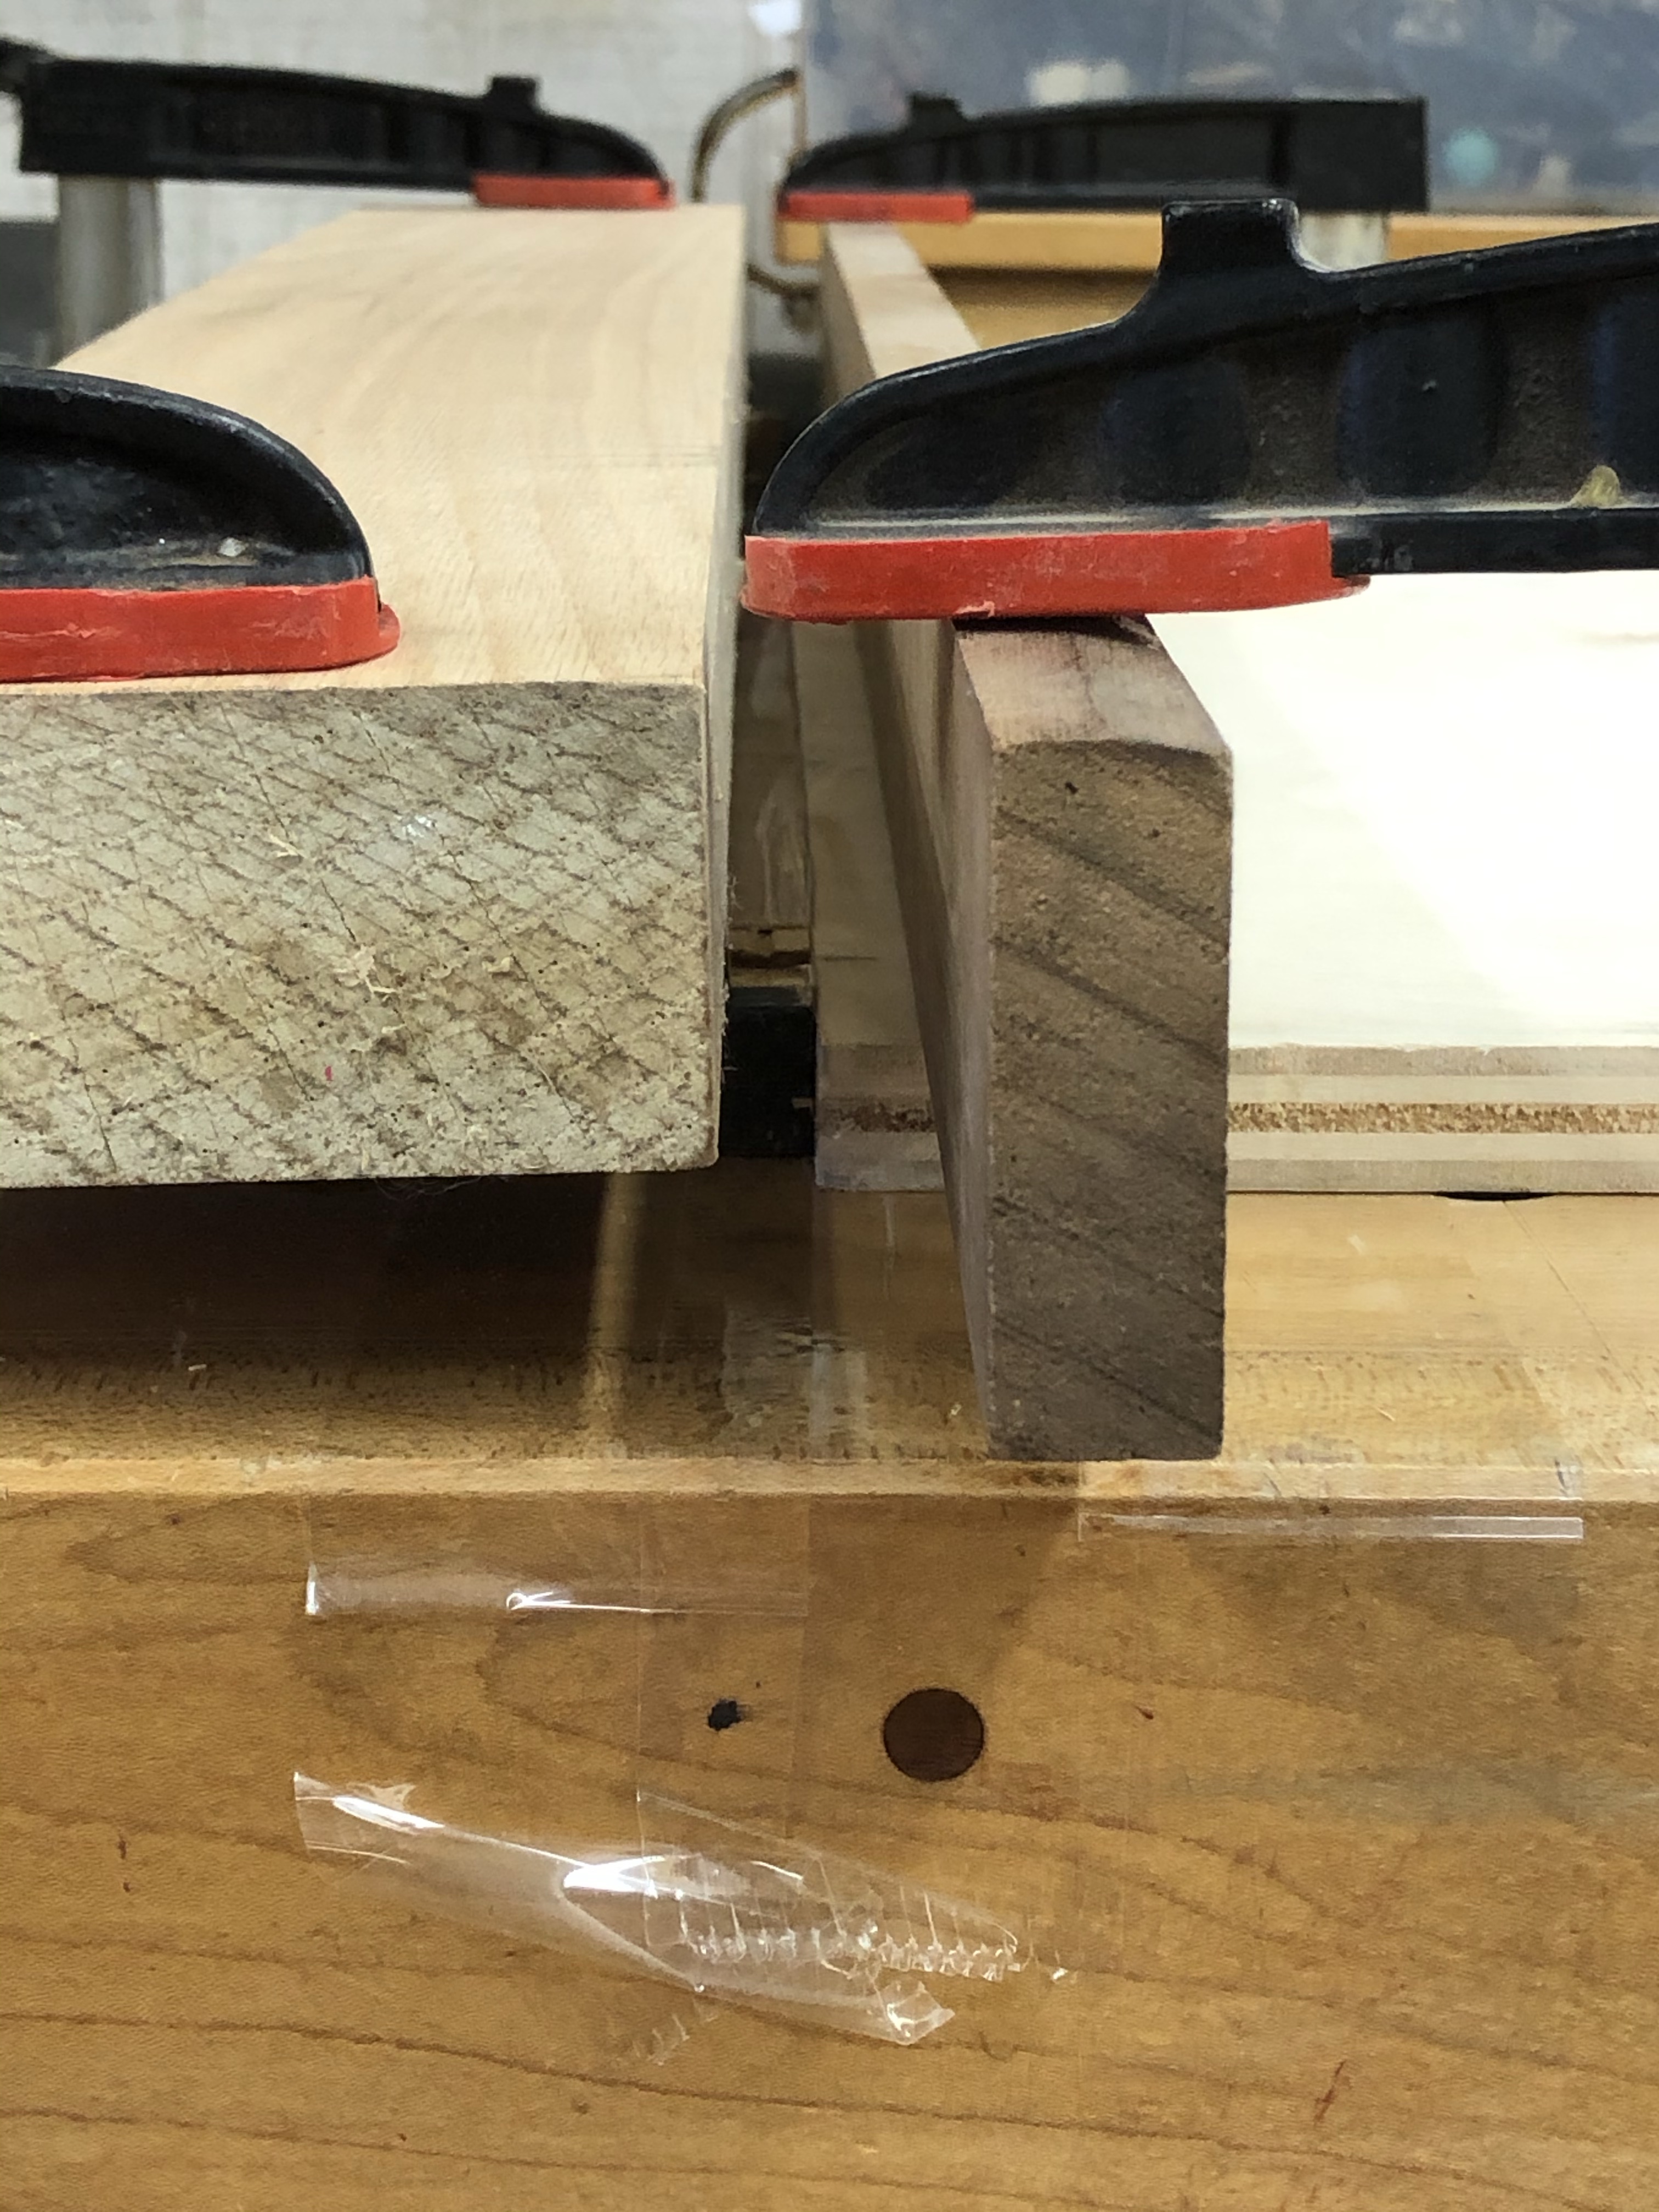
Here is a different issue: The bottom is the outside face of the cabinet side. Its perfectly flat/flush to take the side art. However – because 40 year old plywood is 3/4″ thick and modern plywood is 23/32″ – the new stuff is too thin on the INSIDE face. To fix this – I added two pieces of veneer to shim it up to the proper thickness.
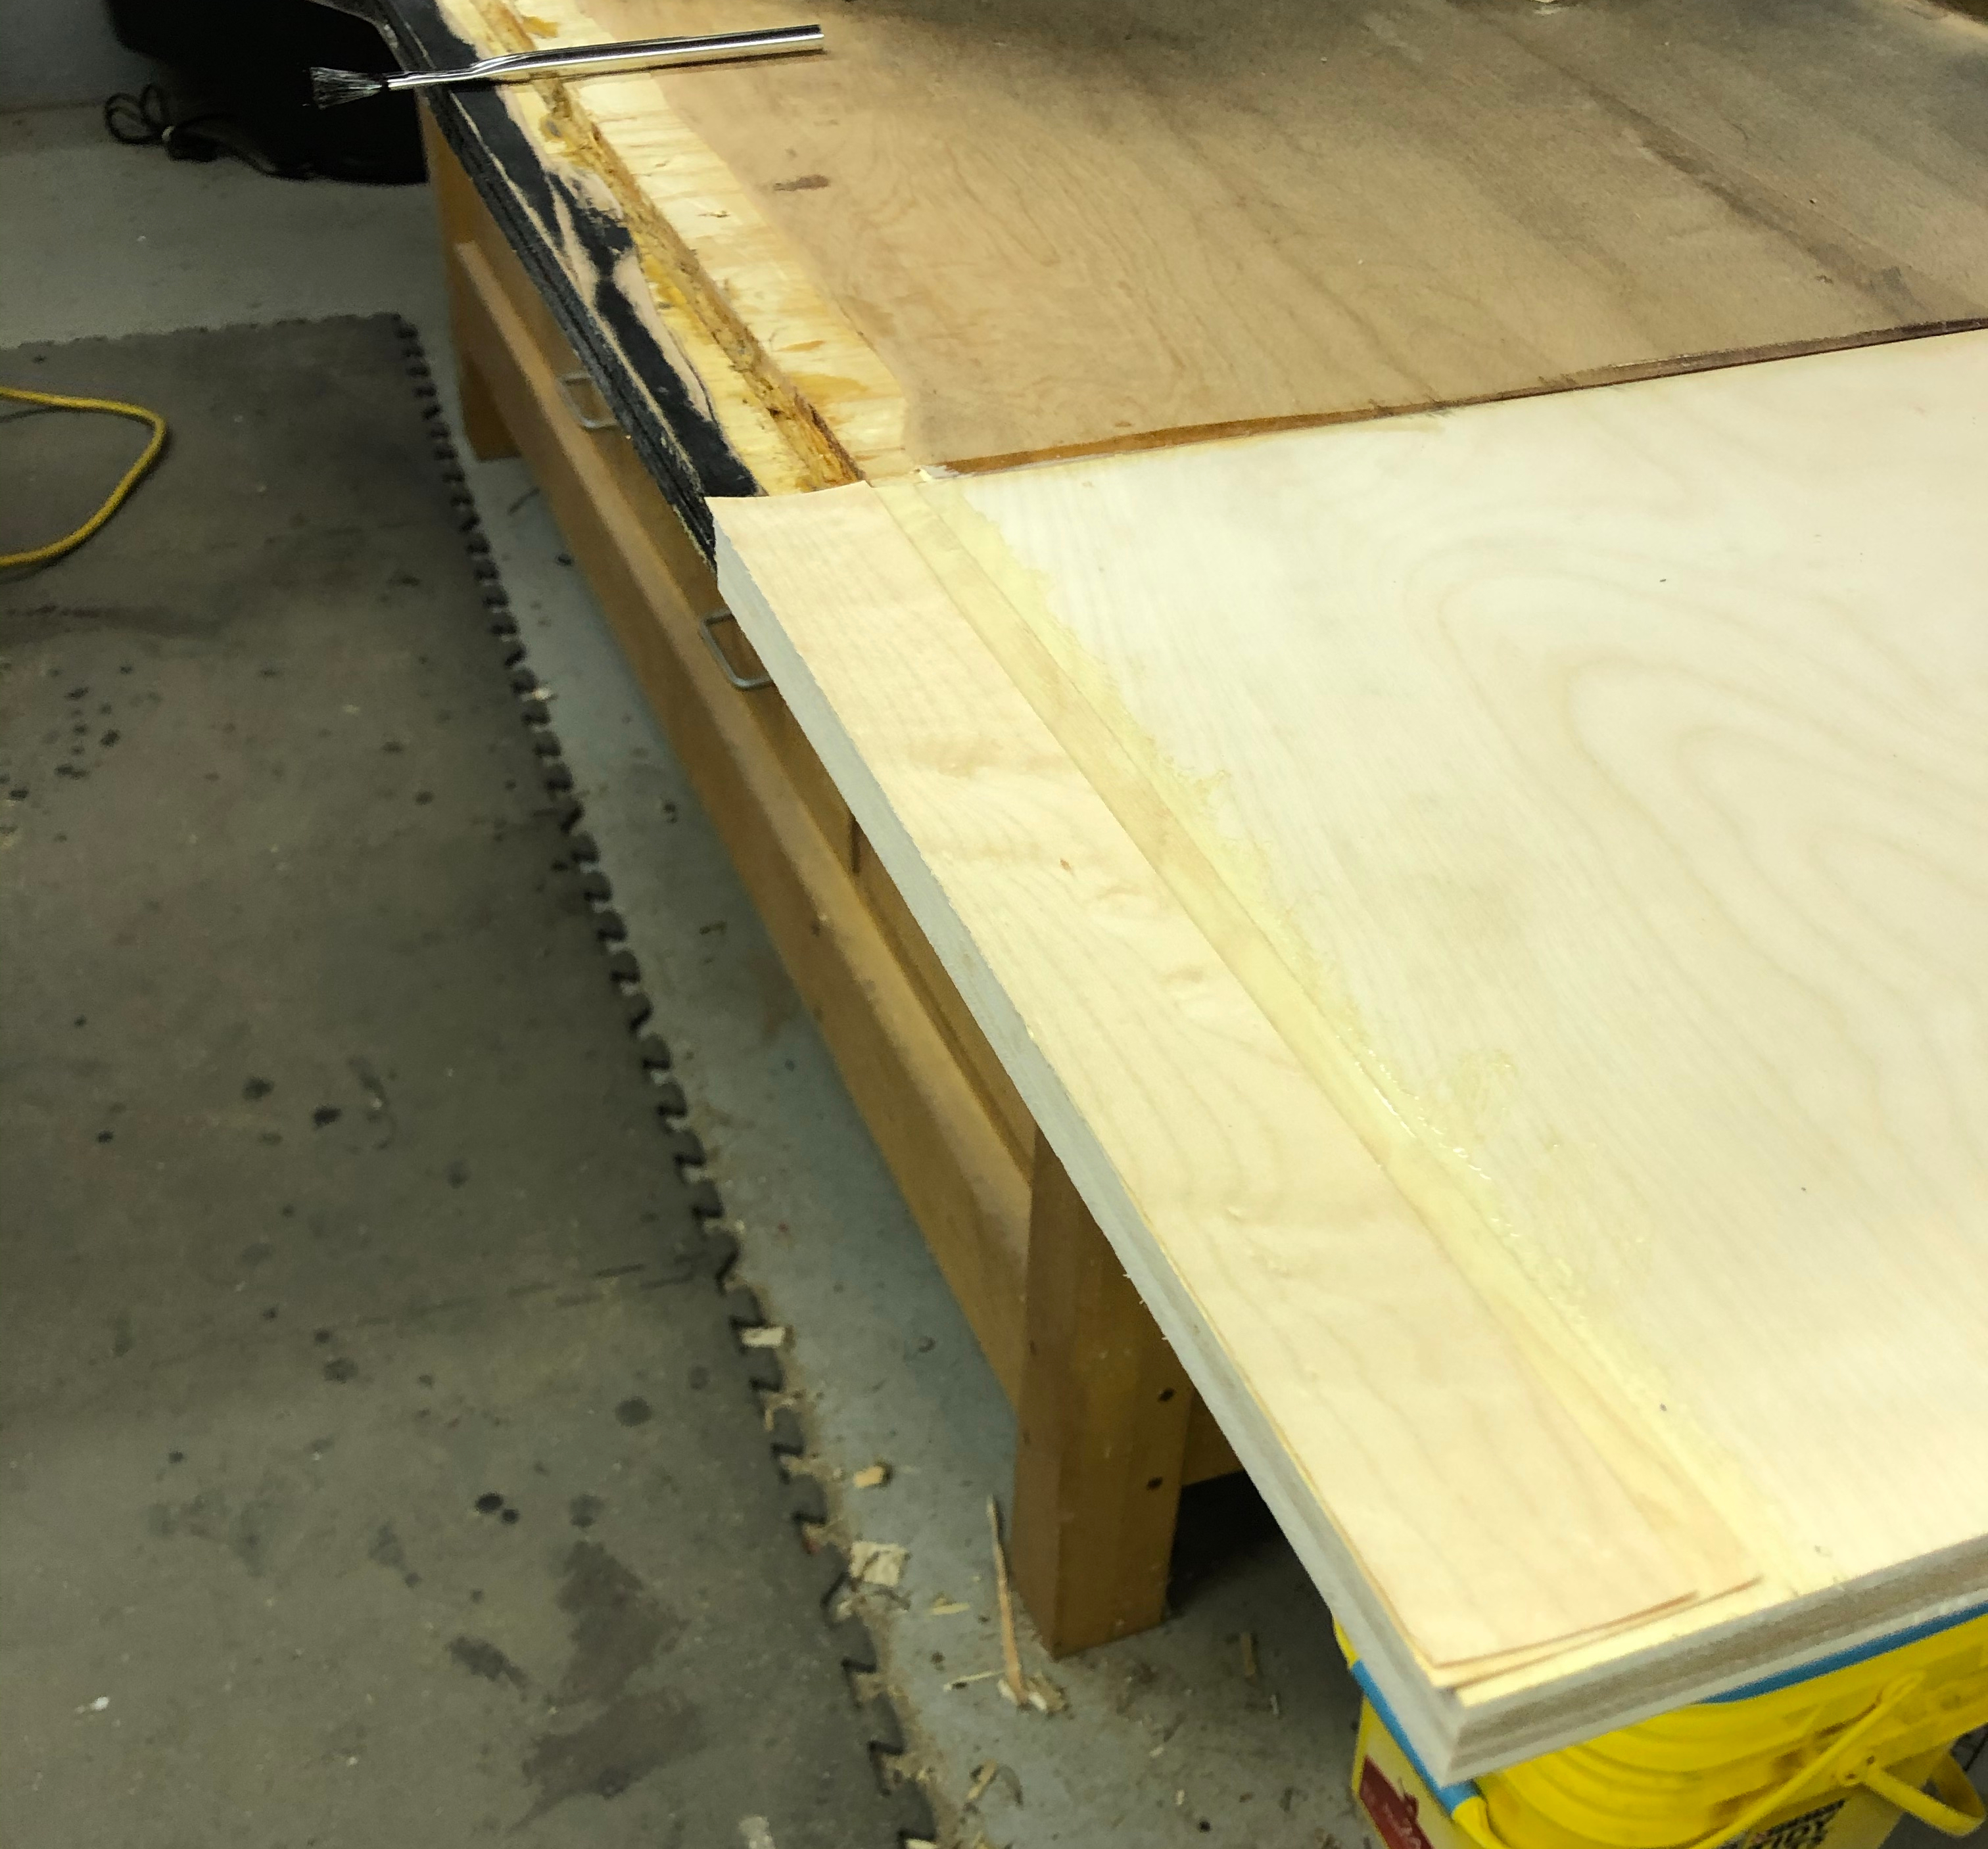
Normally I would not care because its inside the cabinet and no one will see it.. Except…The coin door panel meets this area in the front. If I didn’t shim it to the same thickness, there would be a gap where the coin door panel meets the sides. I only need to shim the front edge where the panel meets.
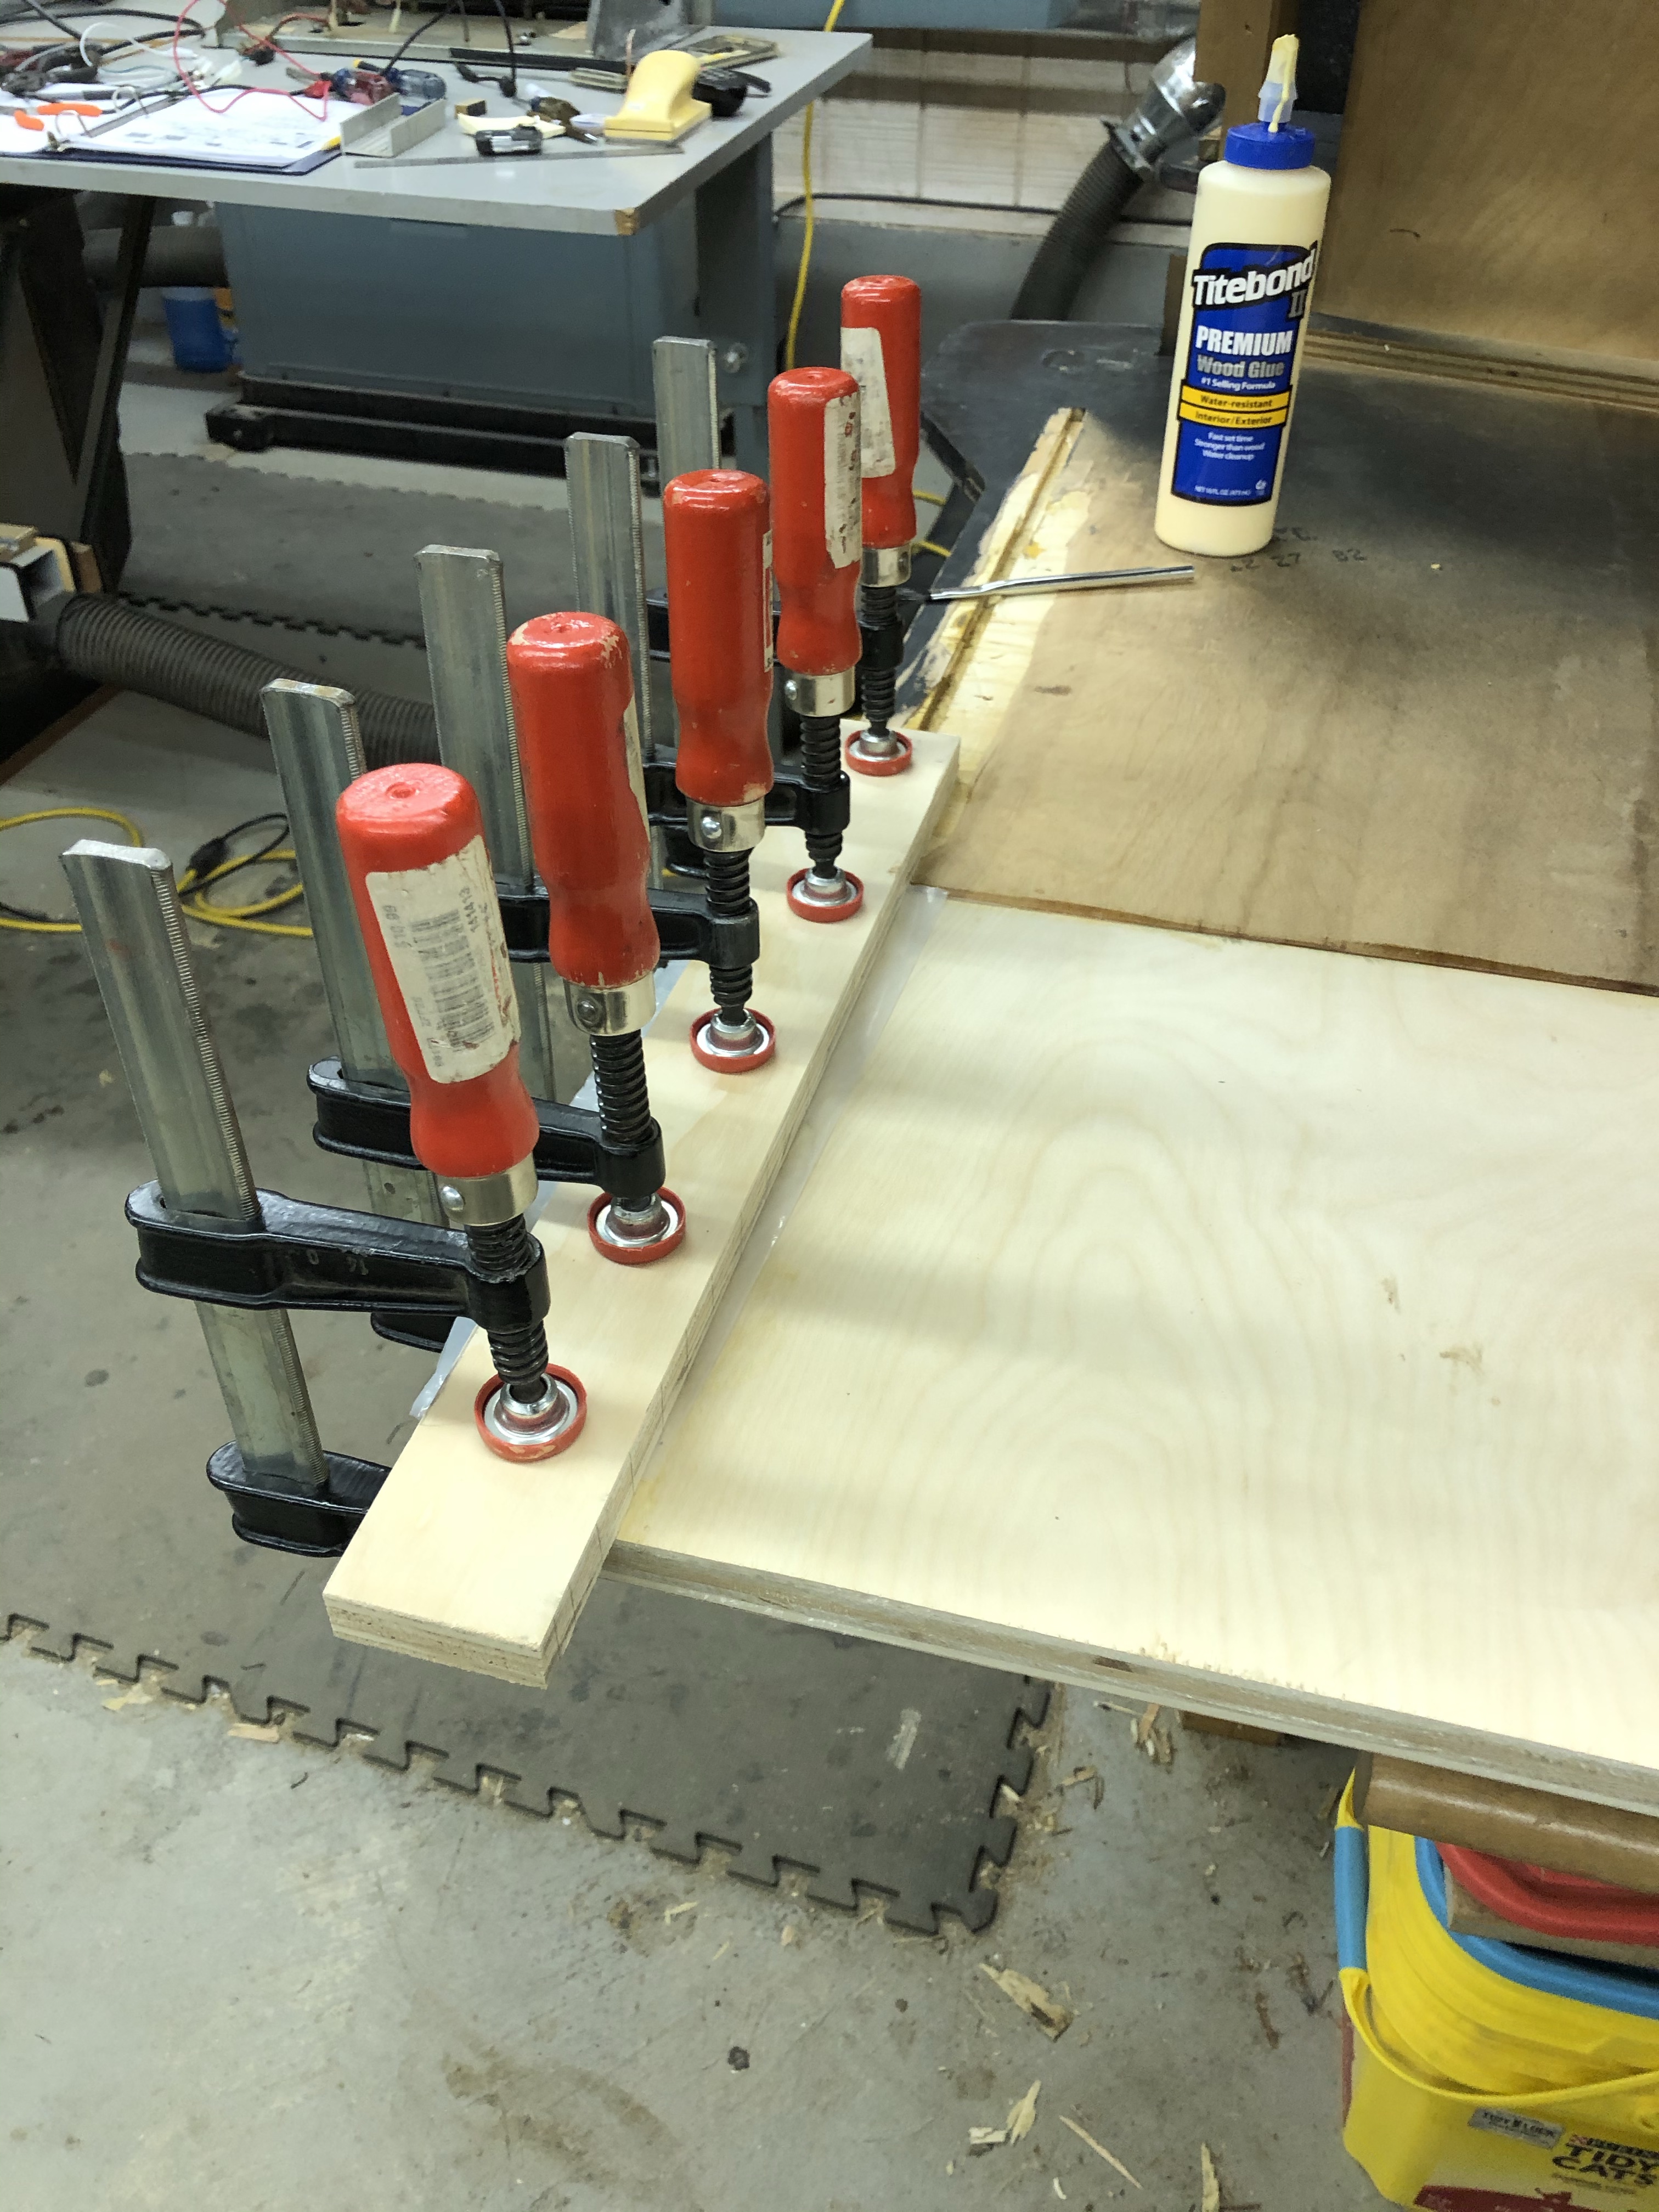
Two sheets of veneer, some yellow glue, plastic sheet to prevent gluing the clamping block in place and clamps. When it comes apart it just needs to be sanded to shape and filled a bit. Then I can finish the 3/8″ dado’s all around and prime everything for reassembly.
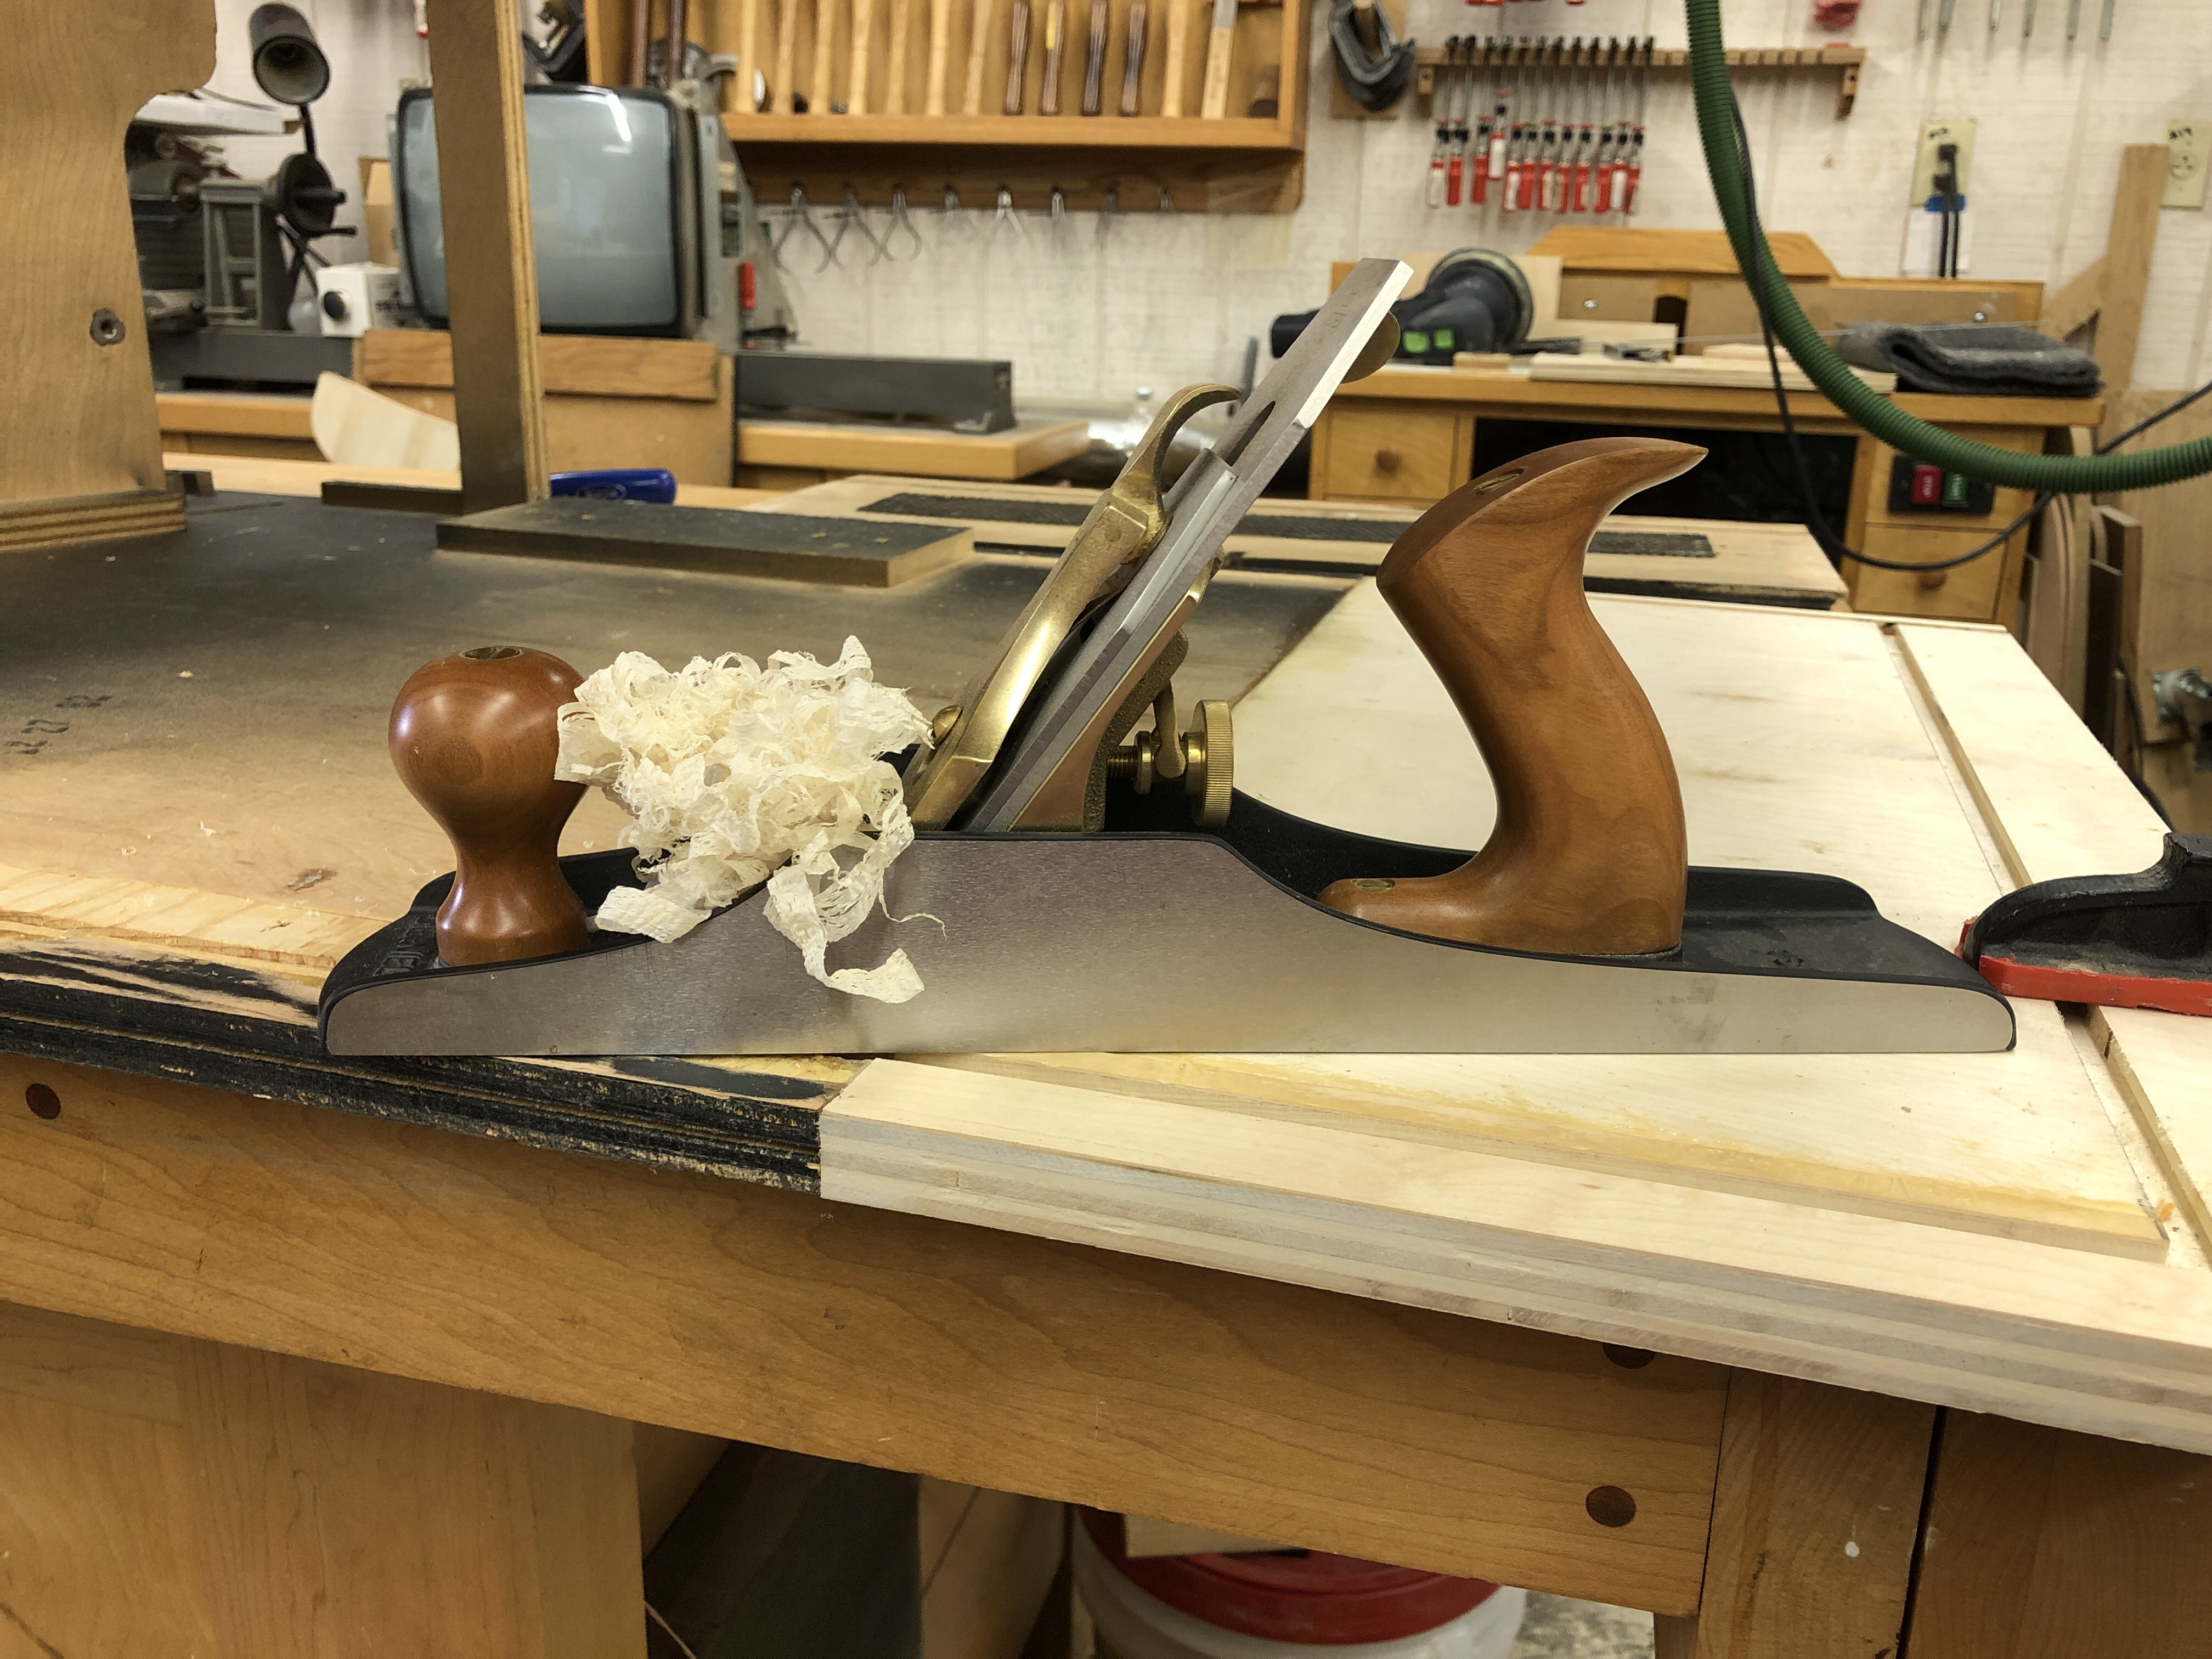
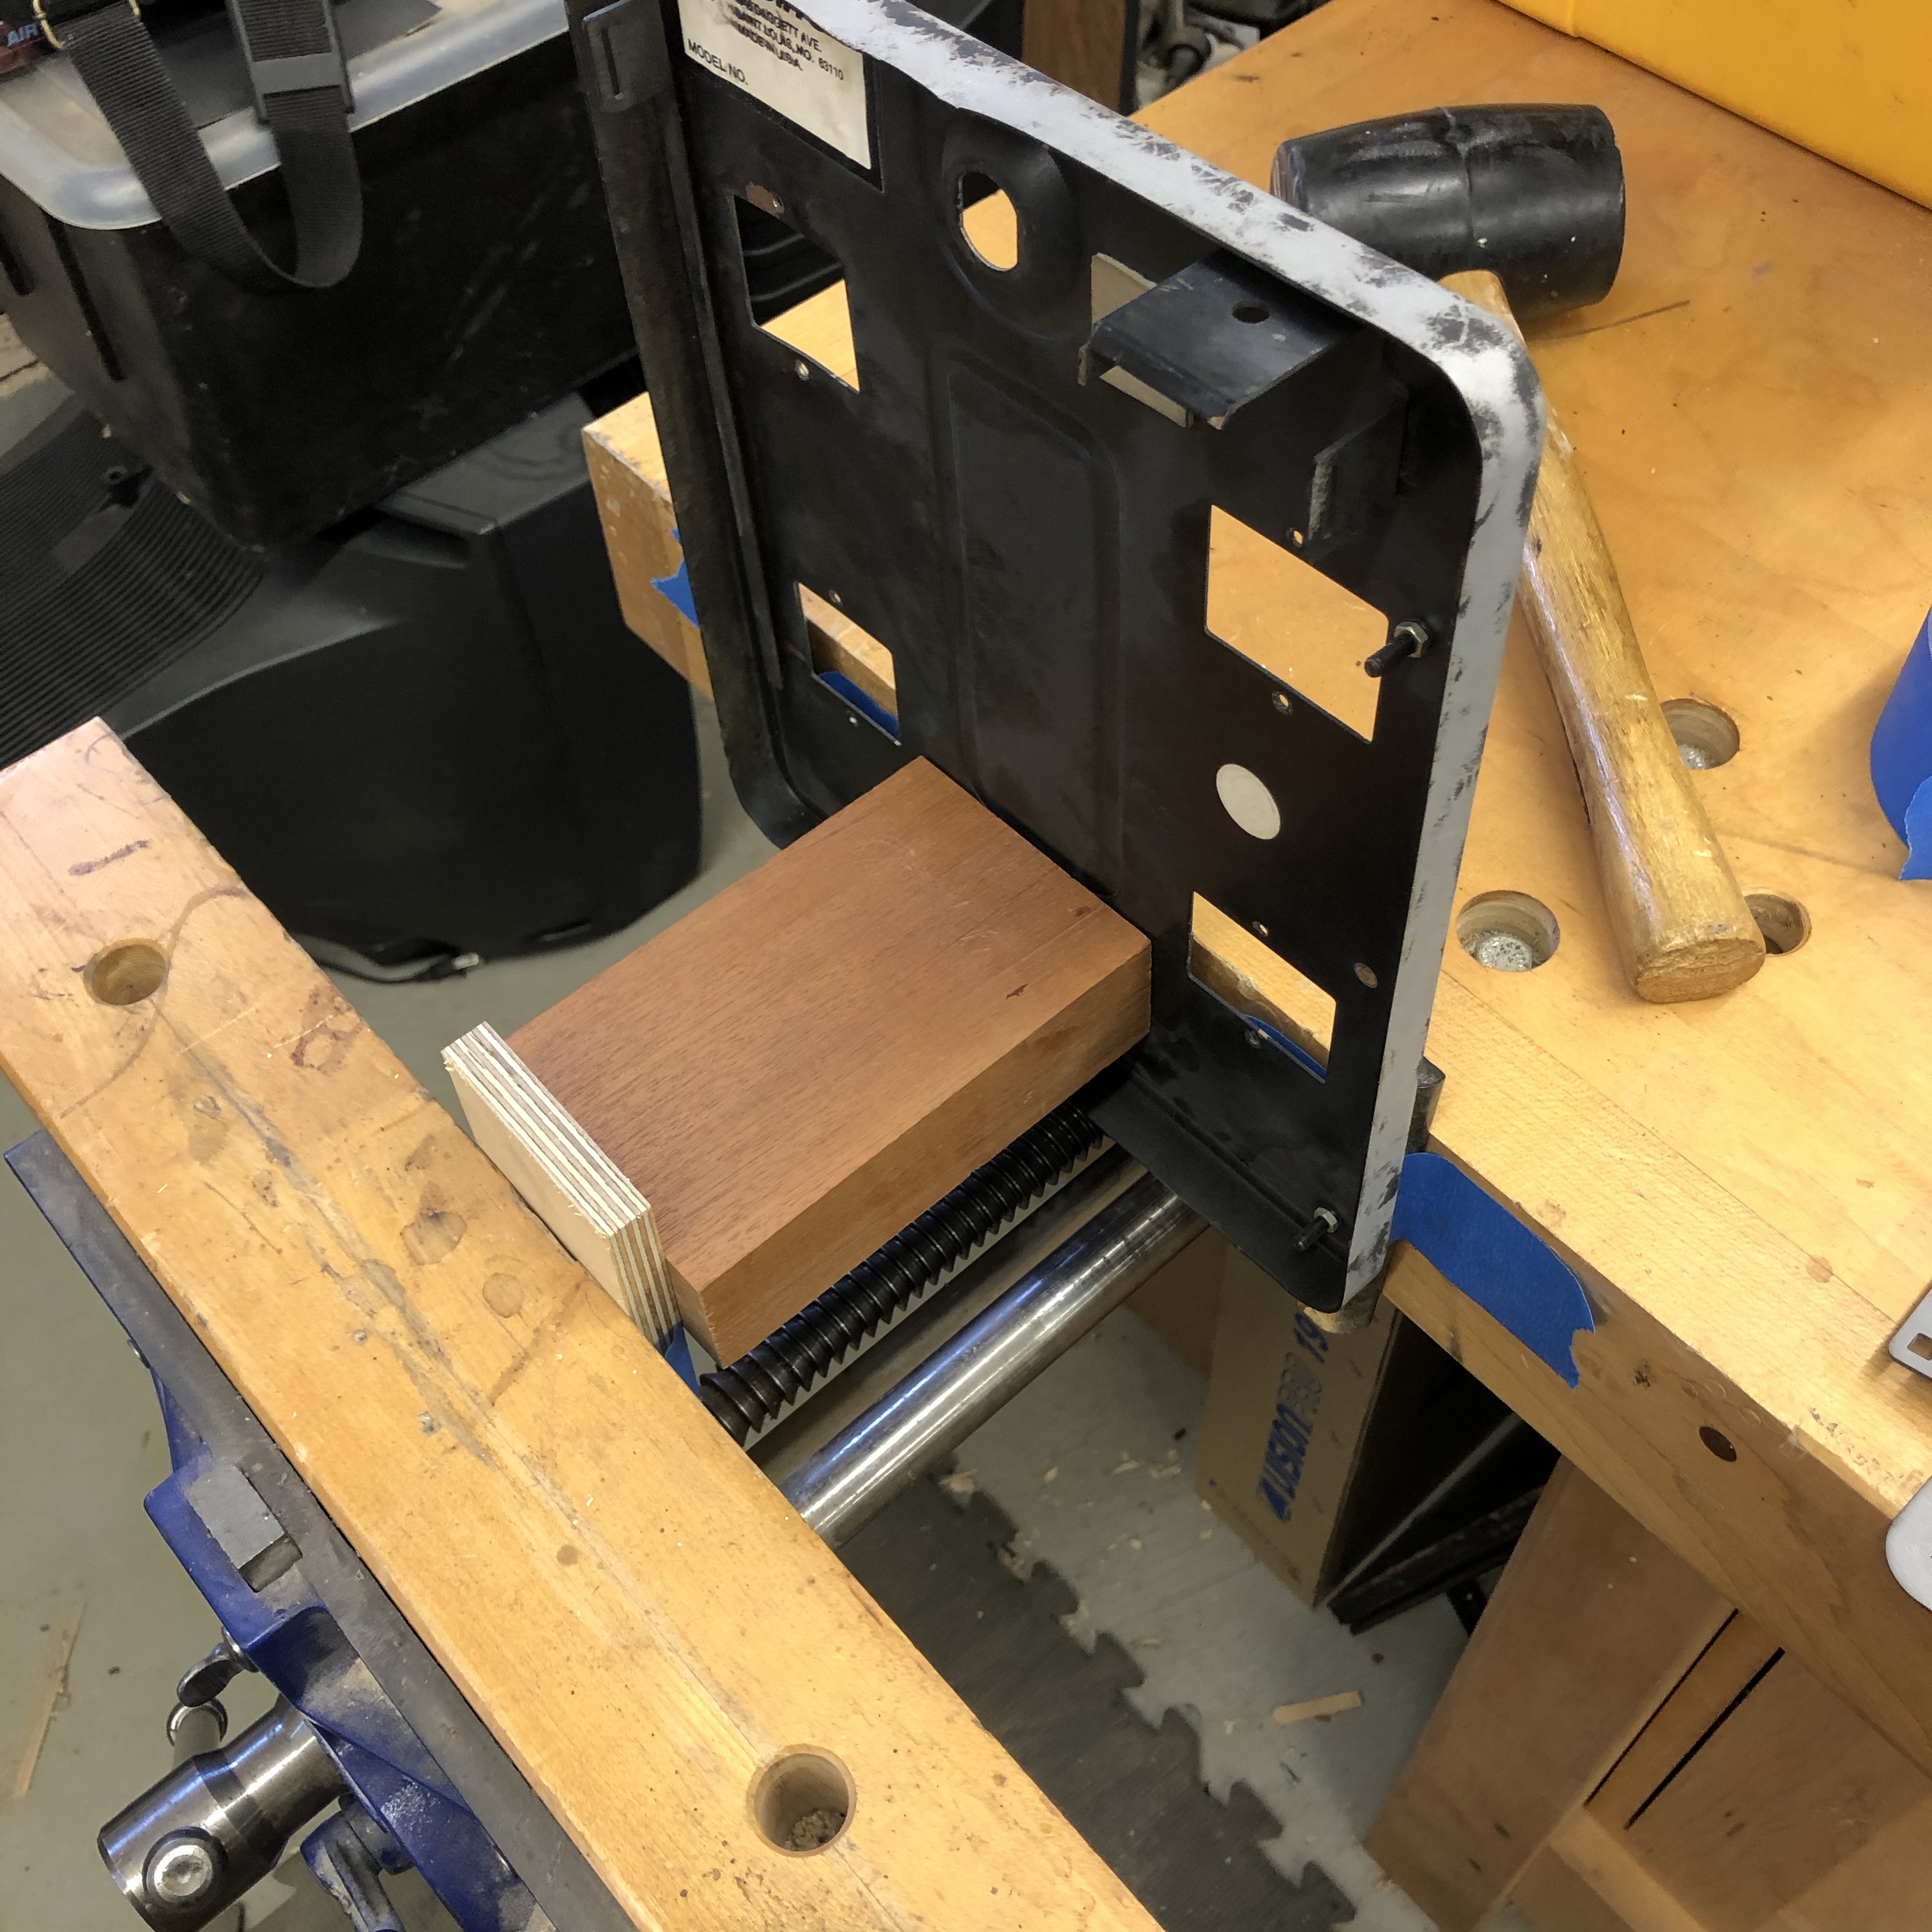
Here is something I’ve never seen on an arcade cabinet restoration forum – So let me show you the old school way… Once the veneer was in place – there was still a hump between the old front edge and the new veneer.
Now your thinking – why not just sand it? You could.. but what happens is you end up rounding it all over and taking away too much material. The end result usually is a concave surface right at the seam.
Above is a #4 hand plane – The shavings are set to thinner than paper. The way it works is you are shaving just the high spot without cutting into the low areas. This is how boards were flattened 100 years ago before all of the modern machinery.. Flattening this transition area took about 60-90 seconds.. A hand tool is much more effective than a power tool in this instance and does a better job..

The original veneer got damaged in the old area.. You would be inclined to fill with Bondo.. I would not.. It has zero strength. Epoxy with wood filler is a much better way to repair this problem. Epoxy is stronger than the wood it is holding together. This area needed to be repaired because it would show where the coin panel meets the inside face.
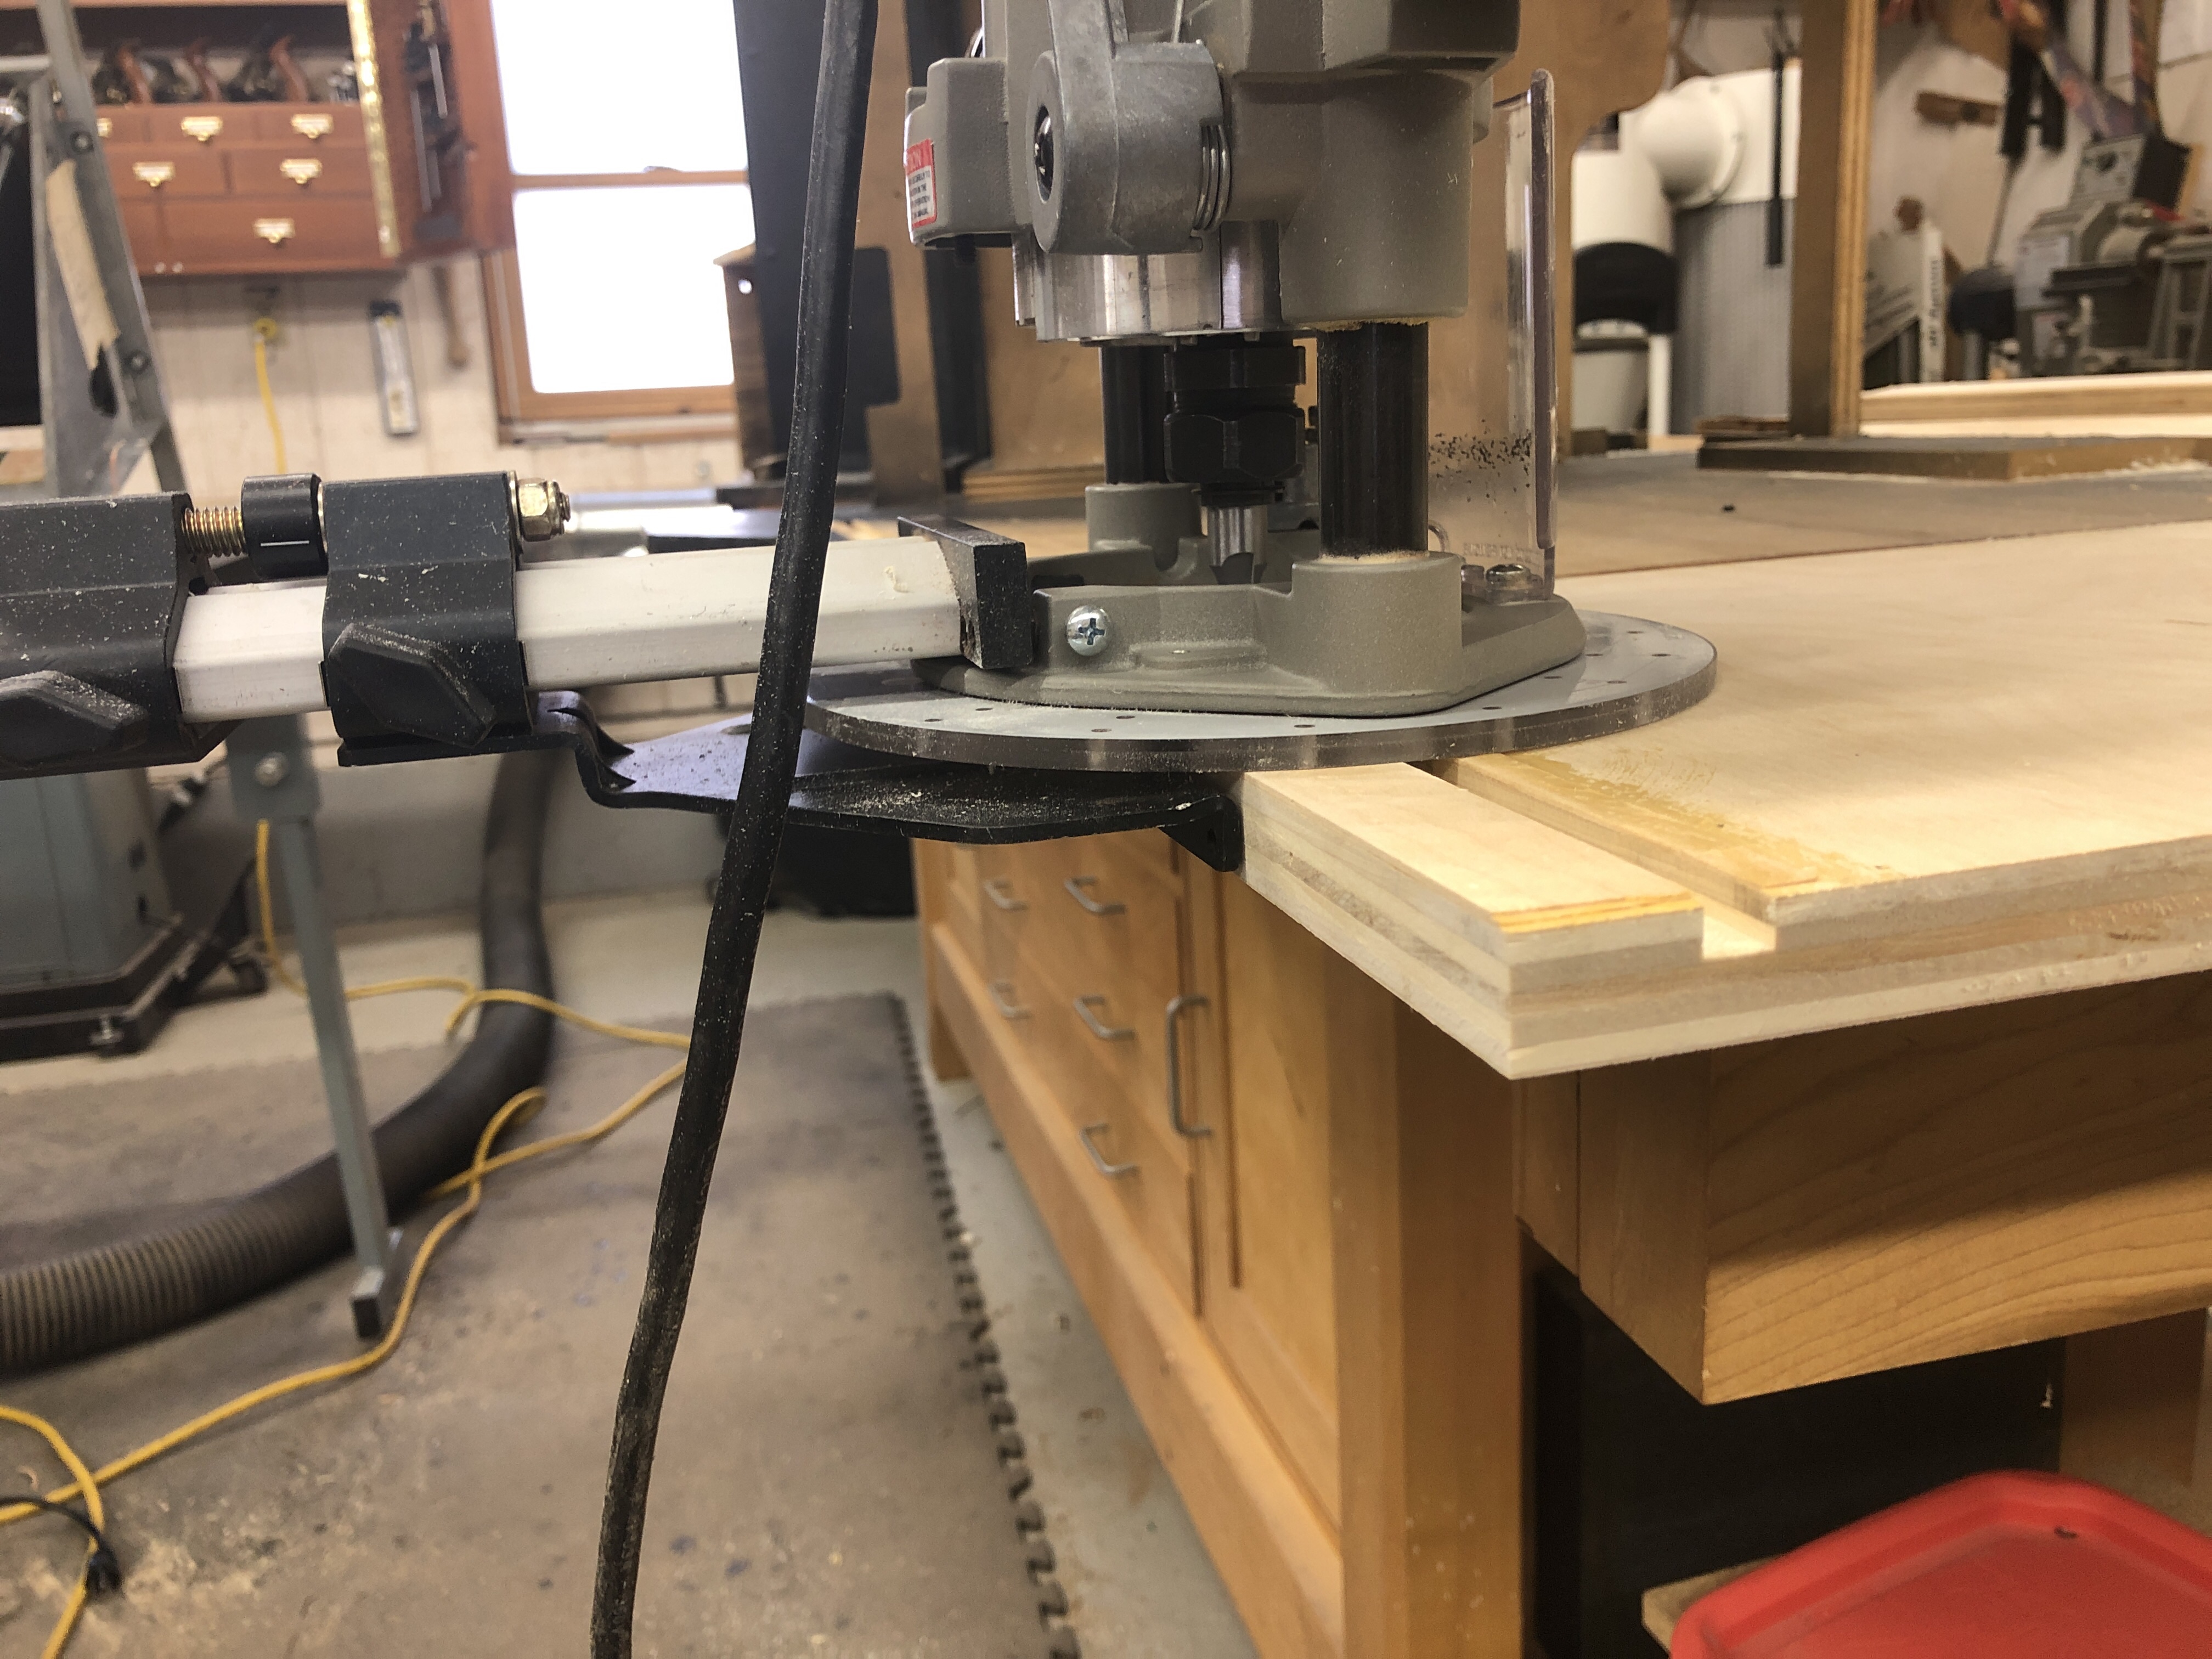
A little out of sequence – Router with edge guide cutting the dado’s,
Williams cabinets were pretty well constructed – here are replacement corner gussets. The original’s got destroyed during removal (as they should have)..
Not a huge fan of staples – but this is the appropriate use of them – gussets, glue and staples.
Joust cabinet all glued up and clamped up… Need to cut the T-molding slots and add blocking for the feet. One thing will change from the original: The blocking/feet will protrude from the bottom at least the thickness of the foot – there is no way I’m letting the bottom of this cabinet get destroyed again. Williams originally made is so the cabinet feet recessed – which destroyed the bottom of this in the first place.

I made the leg leveler blocking about 1/2″ thicker than the original. The screws in the blind nut go through pre-drilled holes into the bottom and there is a little glue to hold it. Once the feet are in place – they will not be able to retract to the point where the plywood can hit the floor and get ruined.. again..
To line up the hole – hold the blocking in place from the inside with the leg leveler. This made it easy to screw in too…
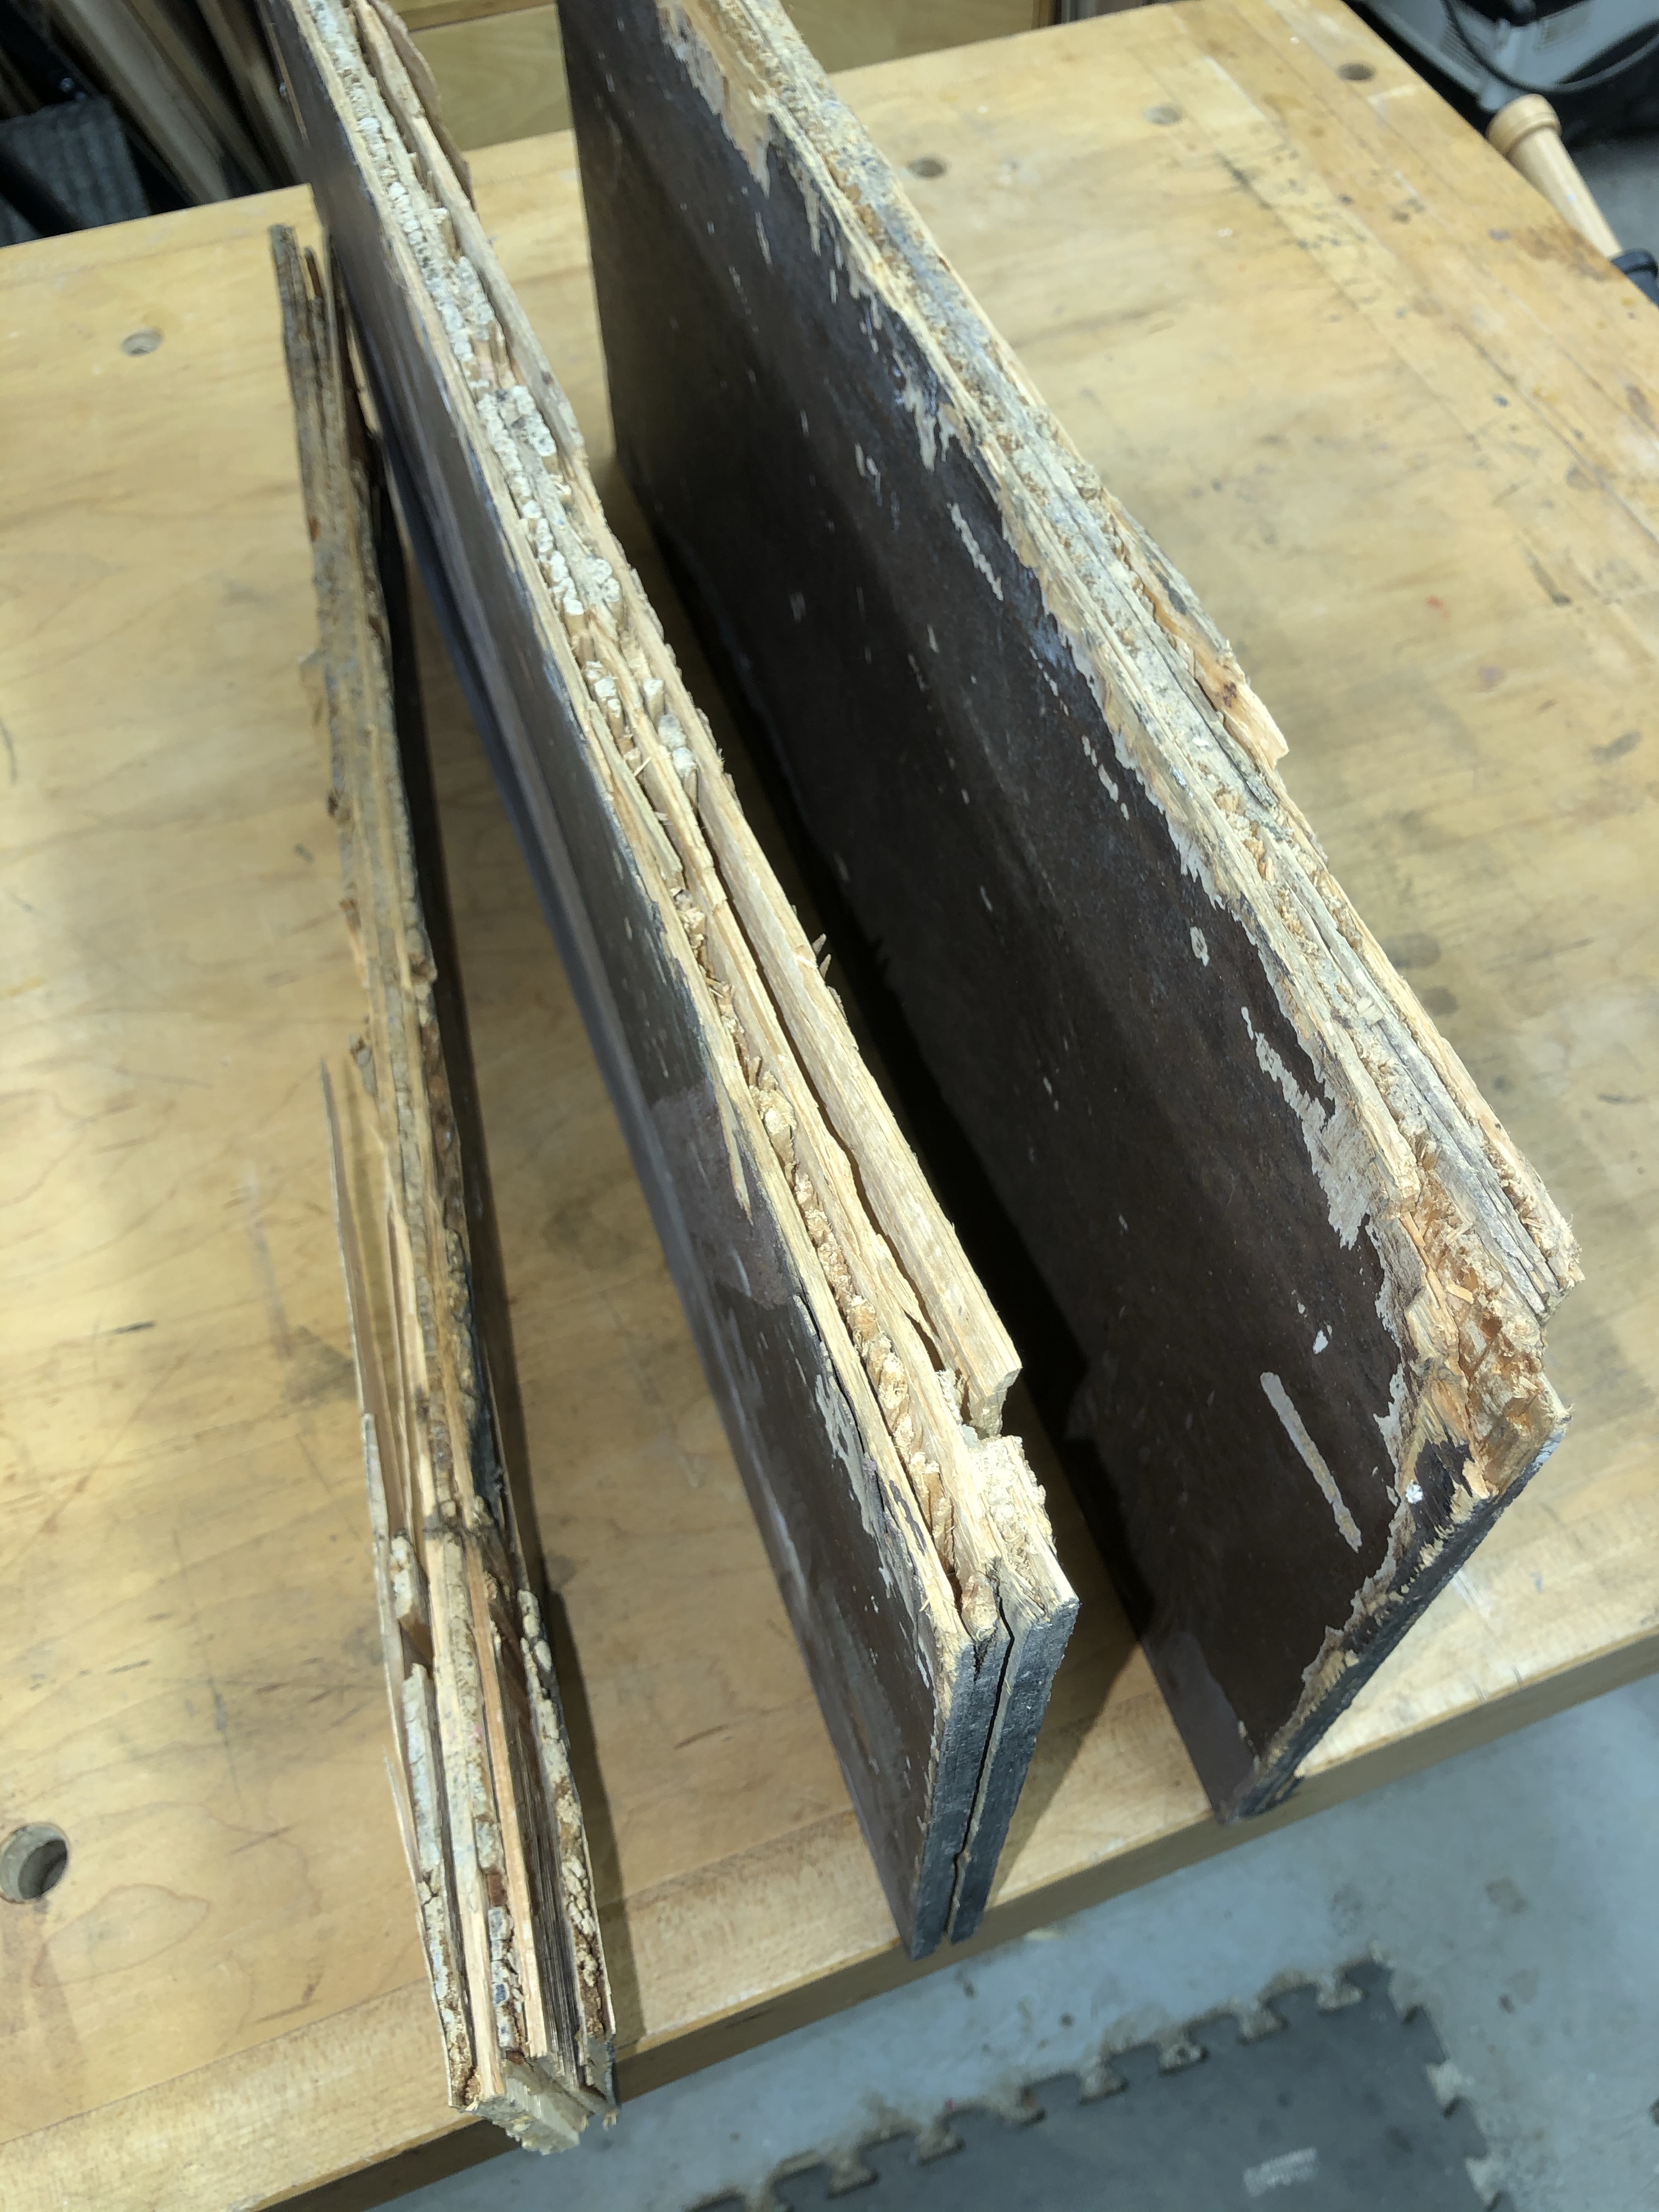
Here are the old shattered edges of the plywood. They are actually worse than this looks…
Cabinet back on its feet for now – I have a few more dings to fill and then I can prime/paint.
I’ve showed this little trick in other posts, but it’s worth repeating. The rear edge of the plywood is banged up from 38 years of existence (brown patches at rear edge). Many would leave it and the rest would use Bondo to fill in the voids. I’ll use Bondo under very limited circumstances – and this isn’t one of them. Bondo has no strength and this area will get hit again or it will flake off. It is not an adhesive.
That said – I have a piece of wood which has packing tape on it (clear in this case) clamped flush and tight to the rear edge. Epoxy will not stick to packing tape and it leaves a smooth surface.
Next I skimmed in 2-part epoxy thickened with wood flour (very fine saw dust). All of the low areas get filled in with glue that is stronger that the wood. Once it cures, pop off the form and finish sand. Its a good way to clean up dinged edges.


Reached a milestone today – cabinet got its first coat of paint. Here is the Kobalt HVLP spray guy I use. I picked it up at Lowes years ago and it does a decent job.
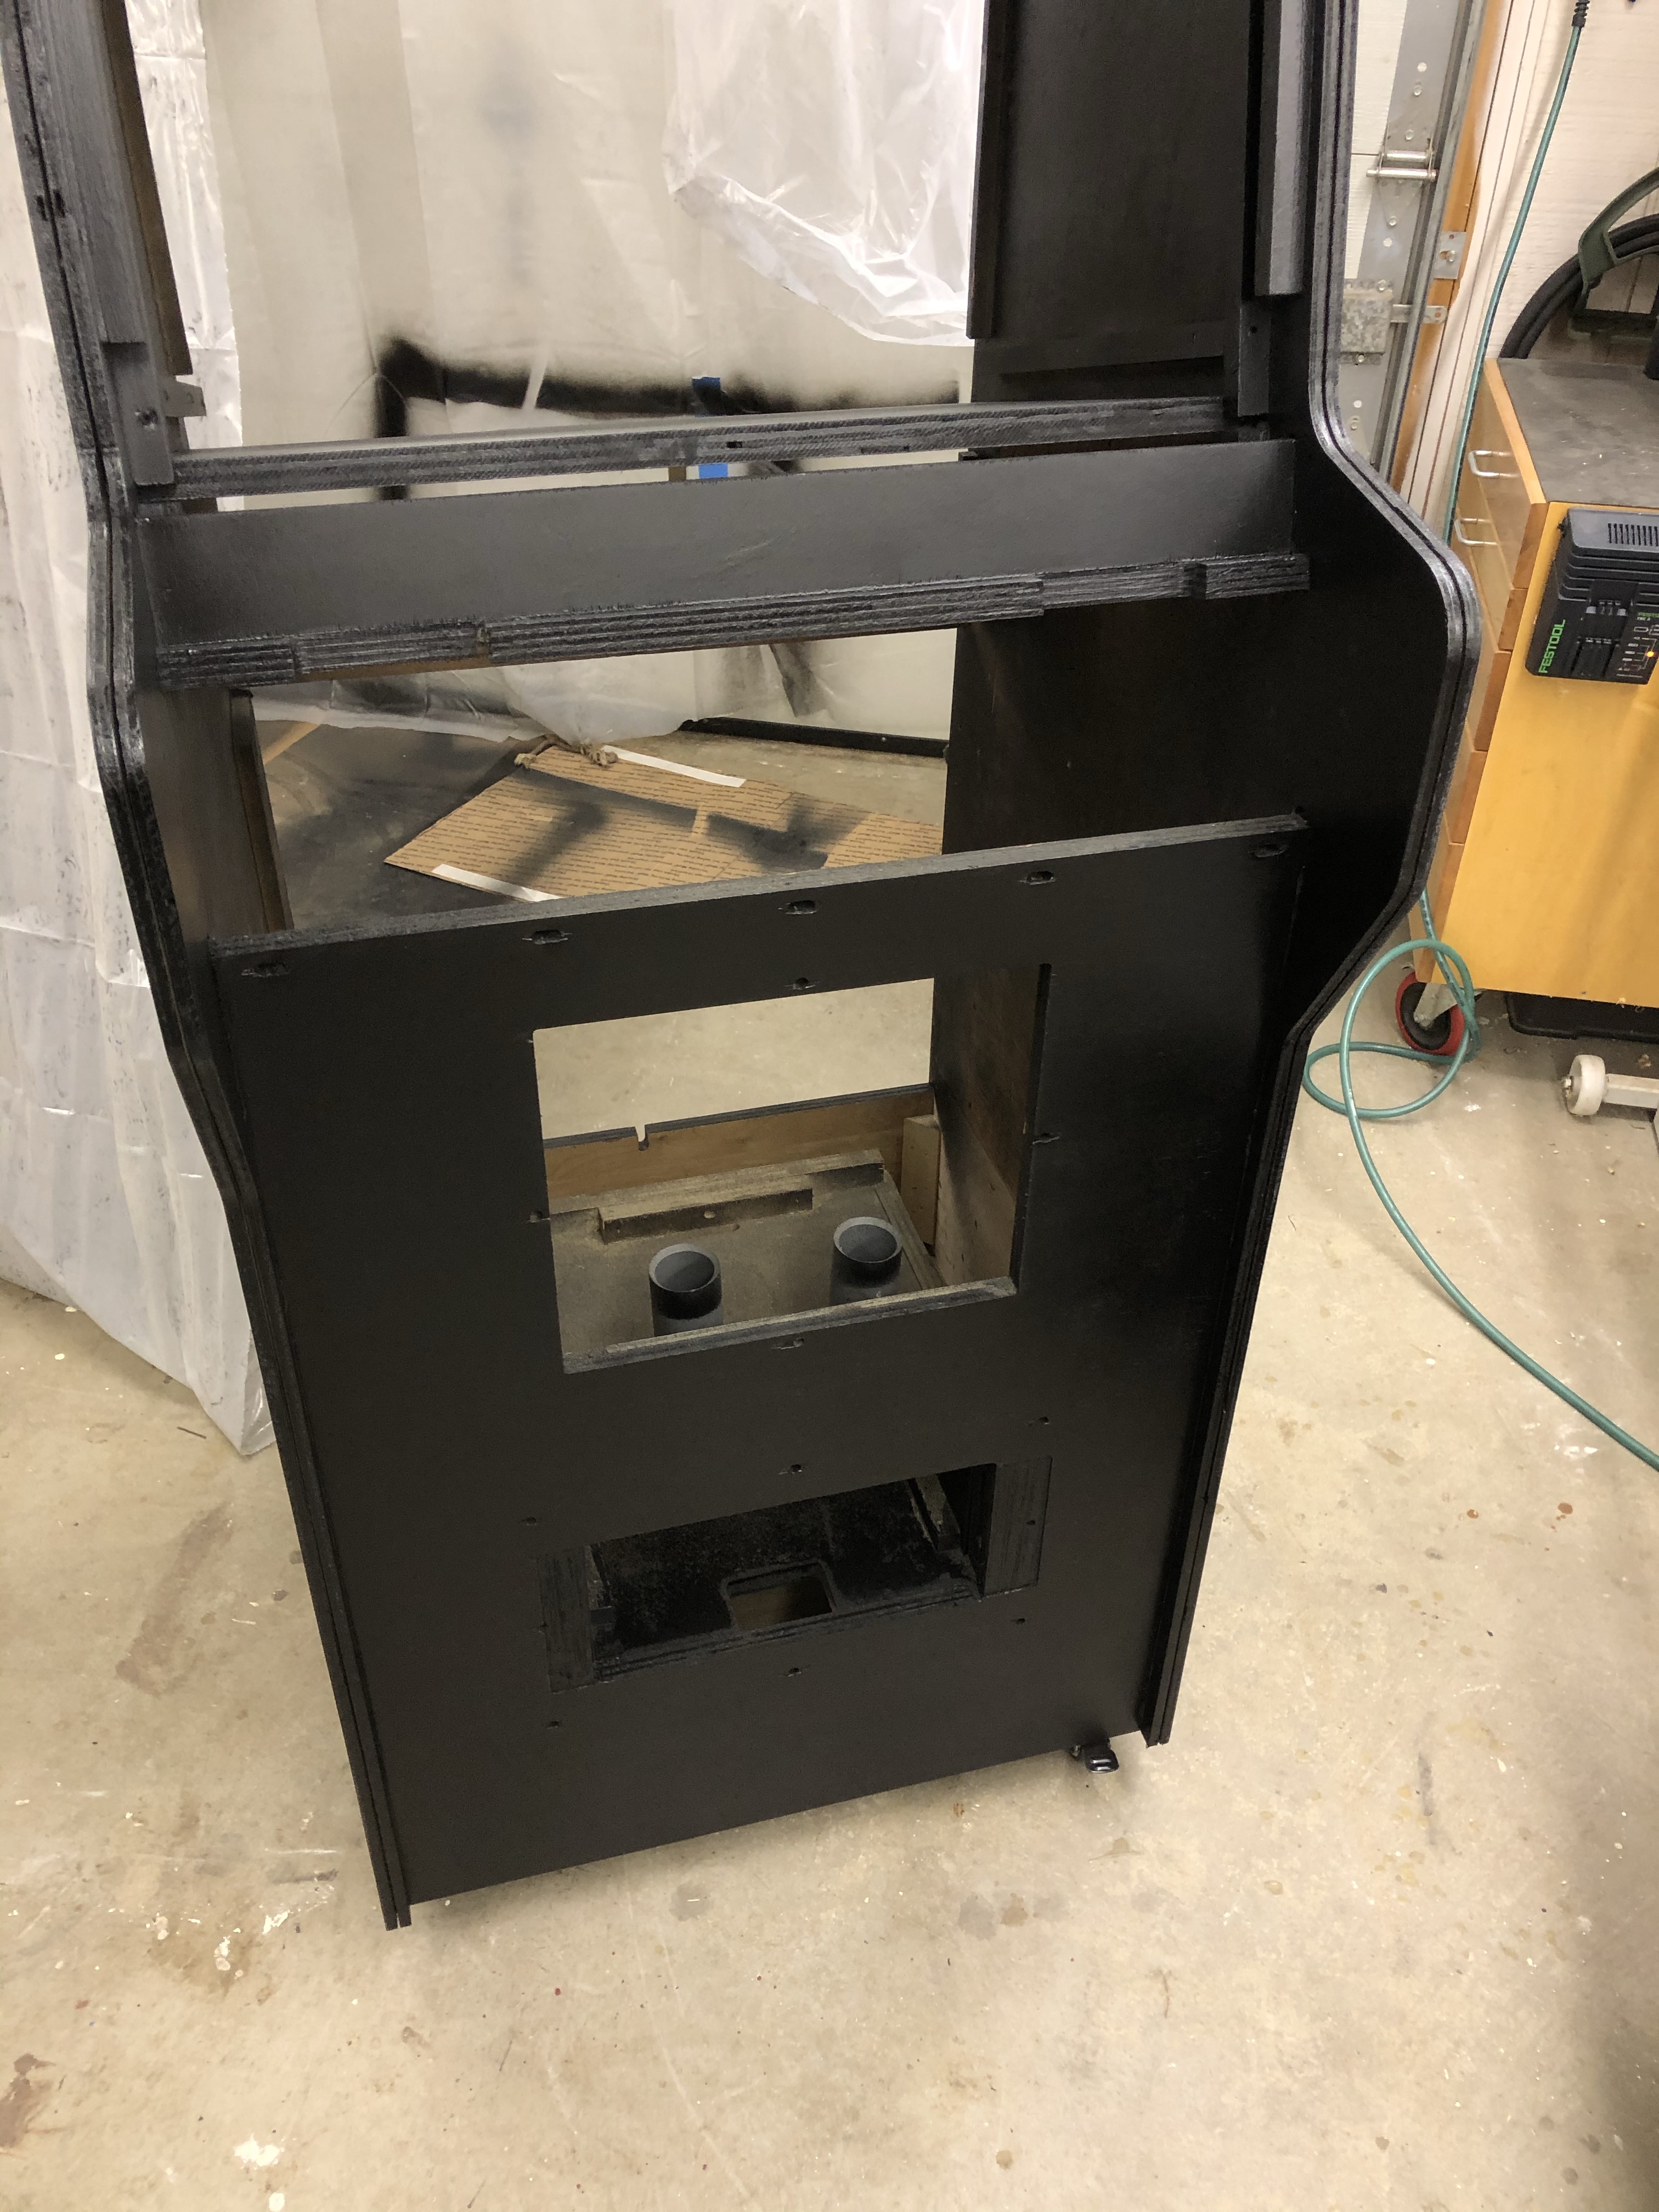
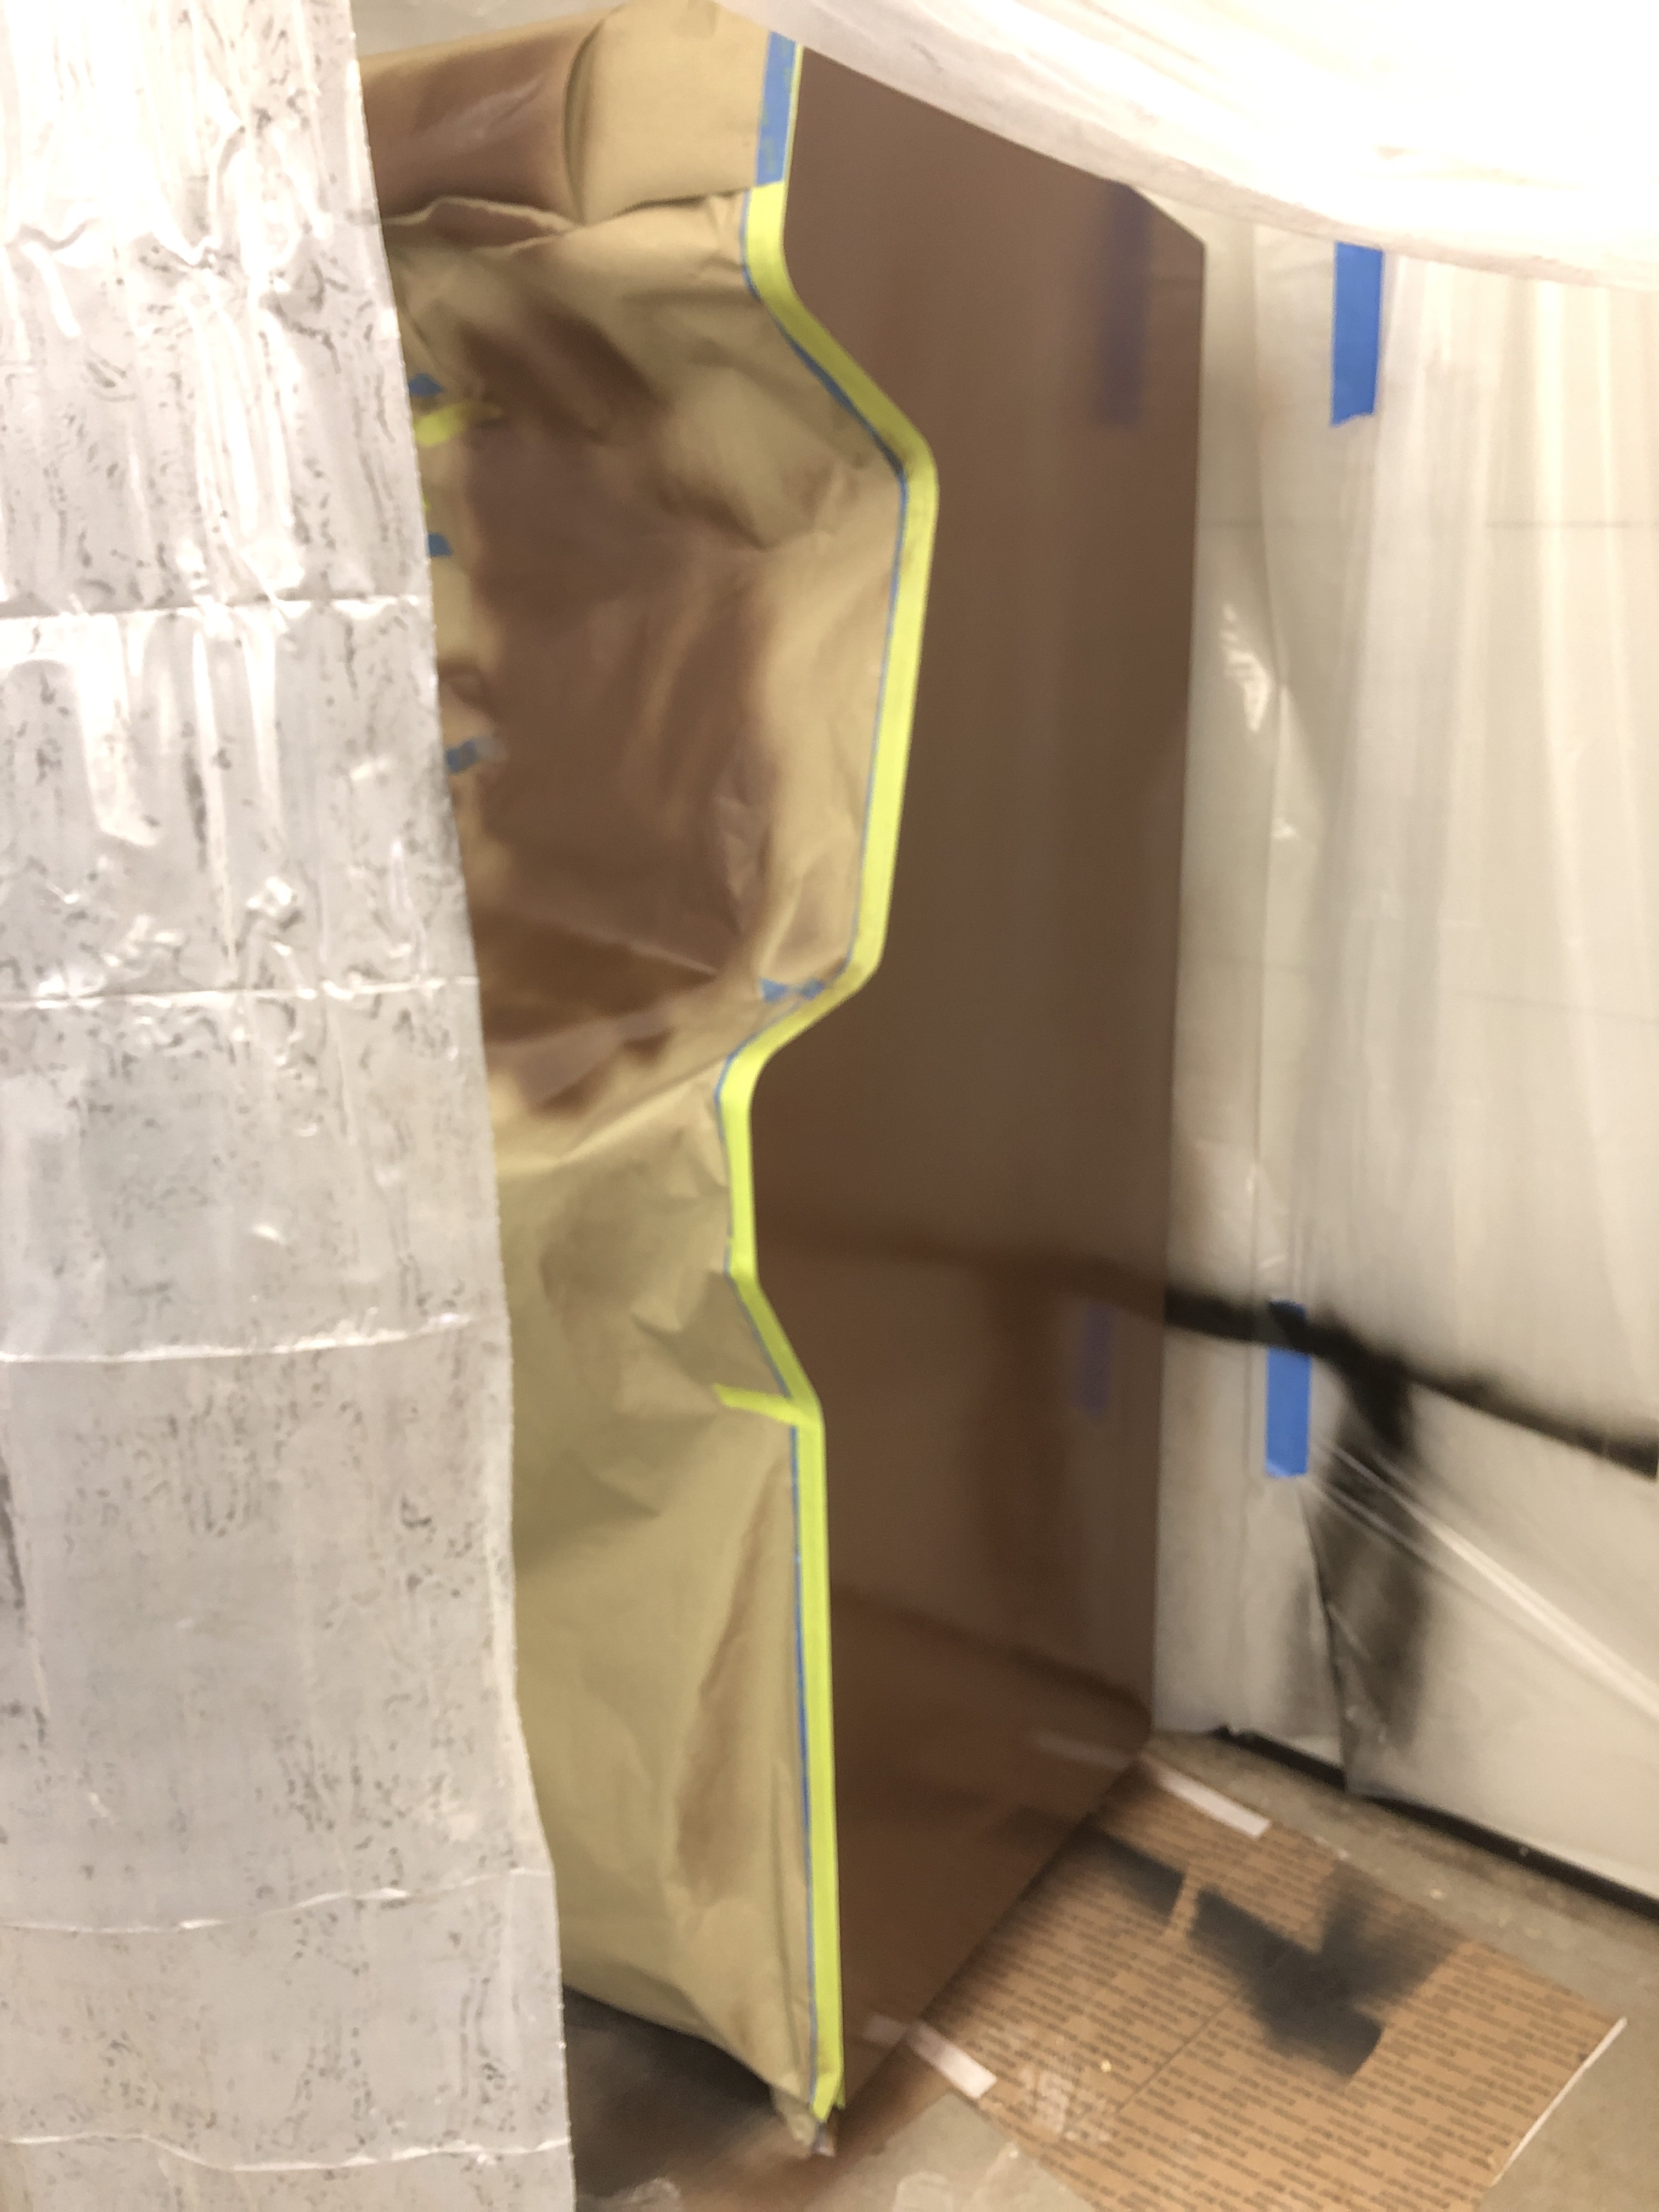
I used Rustoleum satin black oil-based paint reduced with a little mineral spirits. The back doors got painted and my temporary spray booth is set up near the front of the shop. HVLP is nice because there is very little over-spray.
Before…
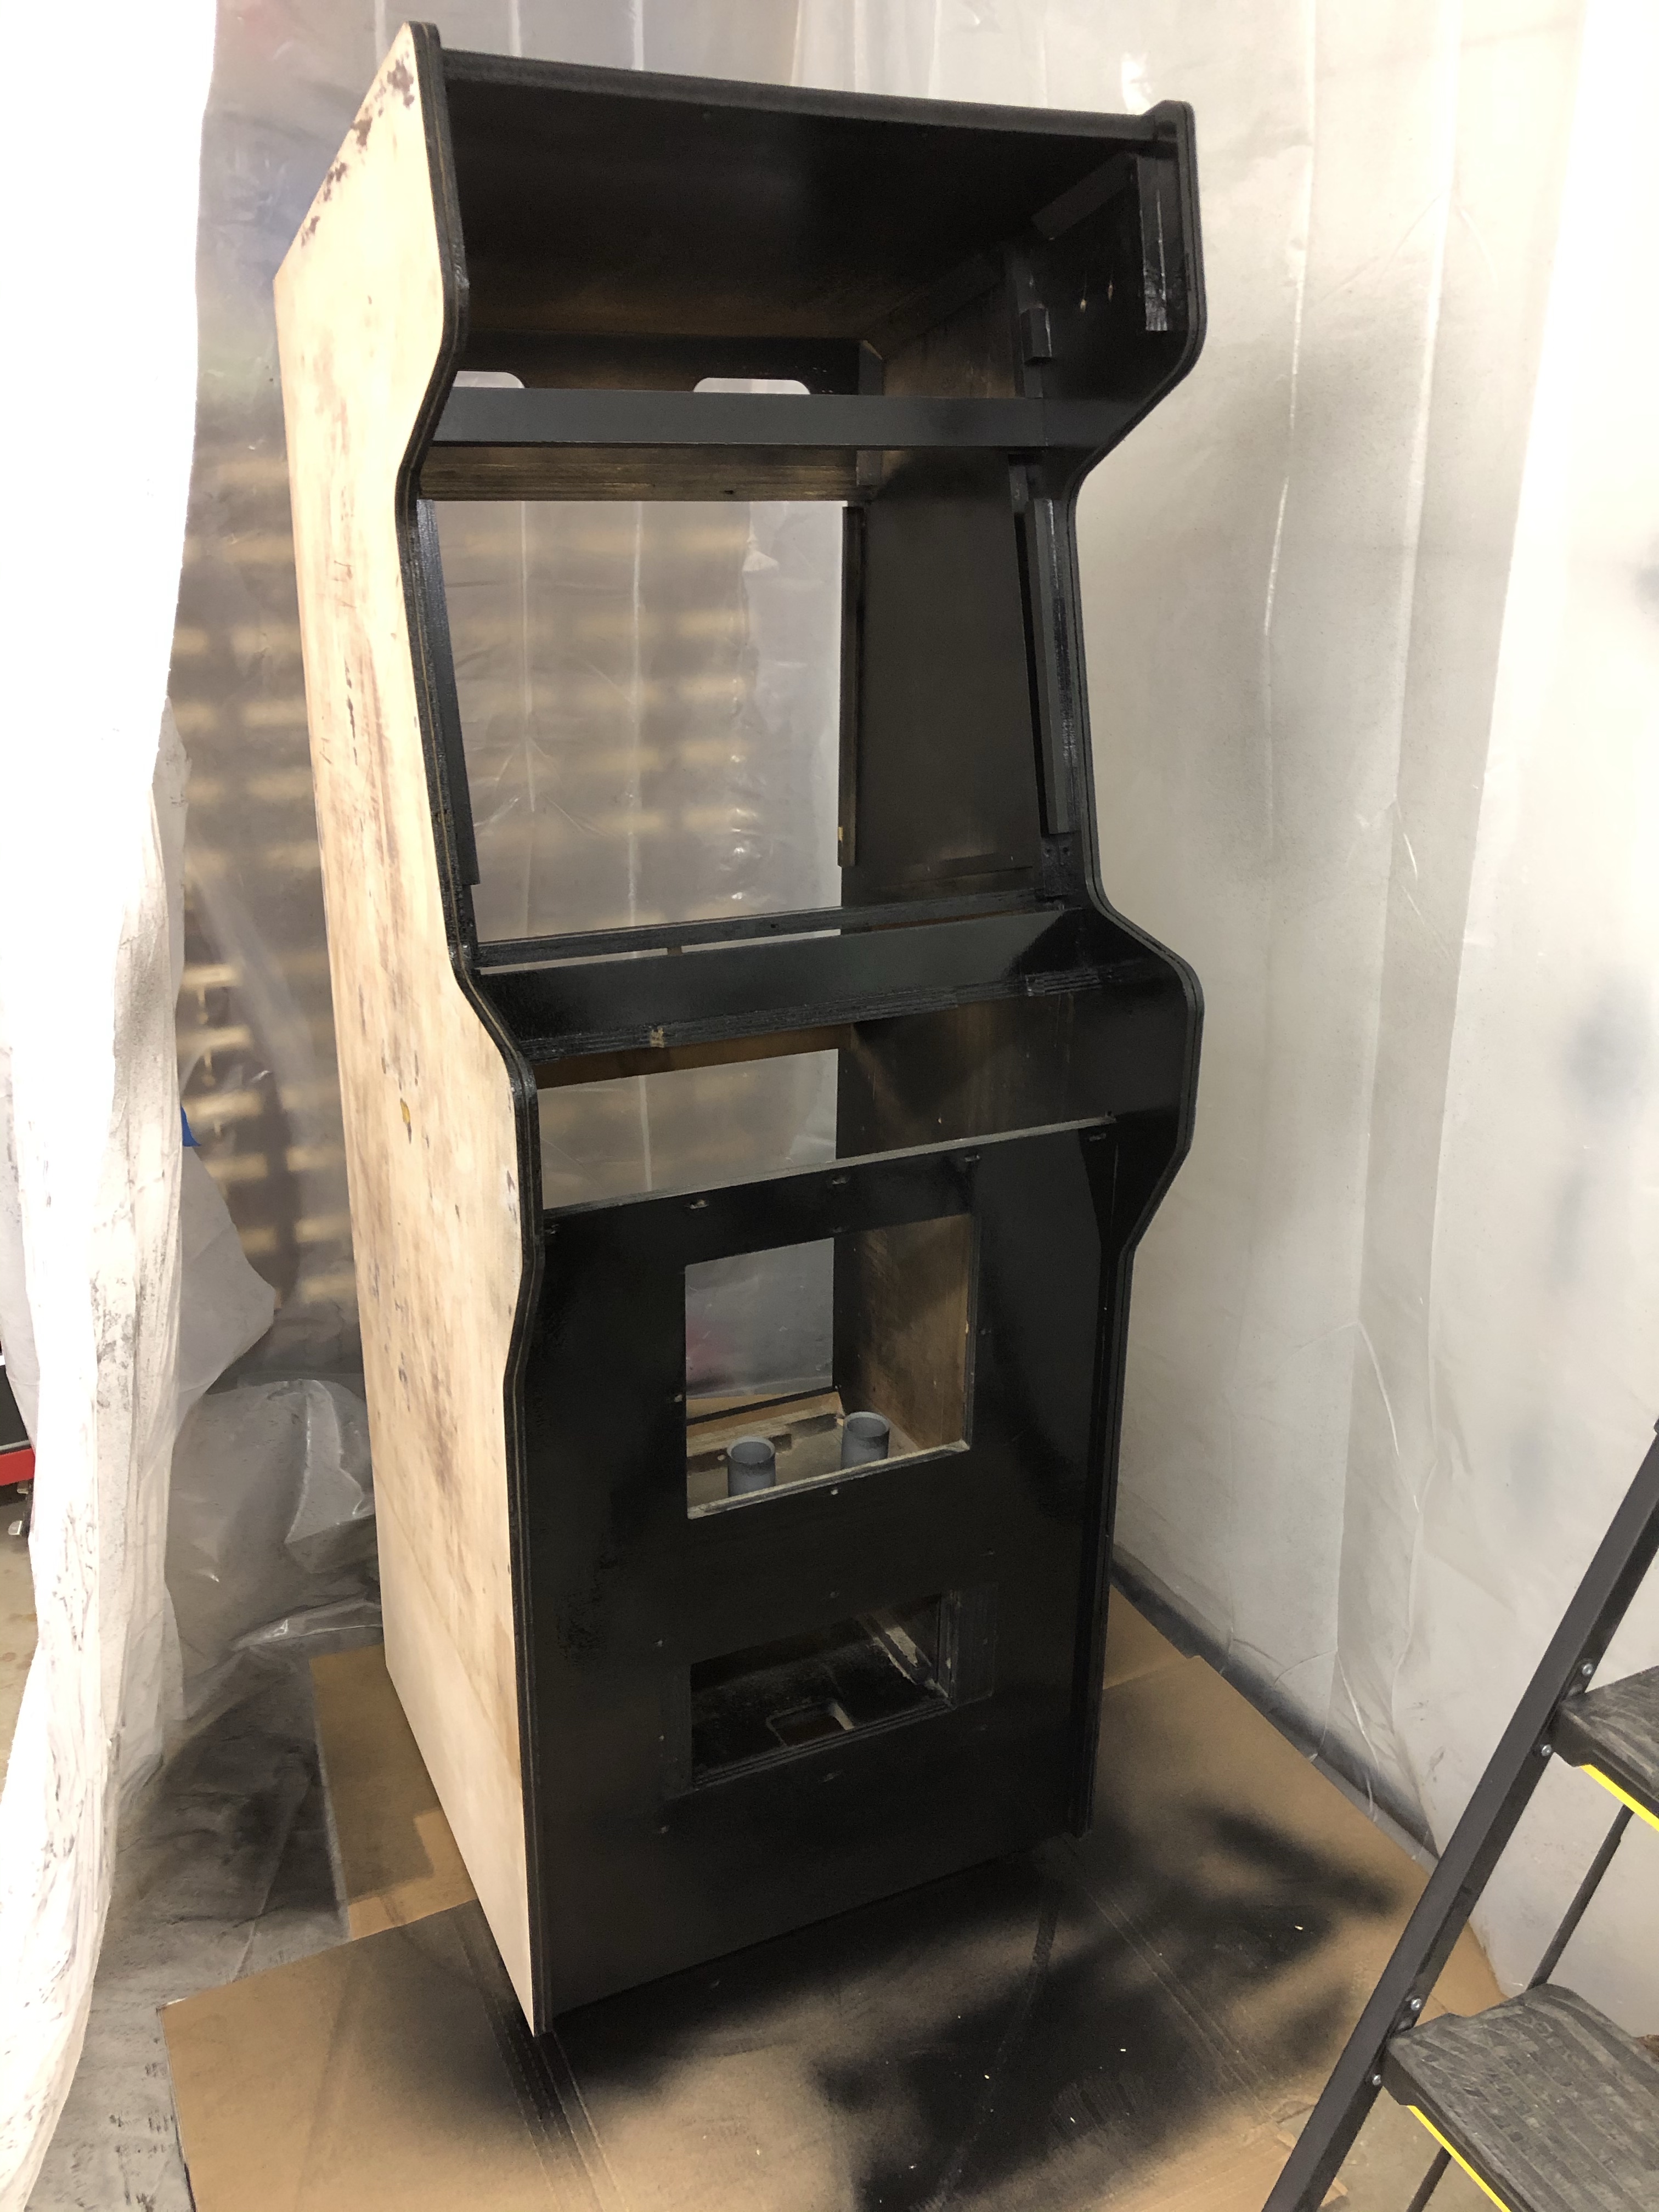
And after… Its still wet here. The satin black tones down once it dries. The coin door panel needs a sand and second coat of paint to finish it off.
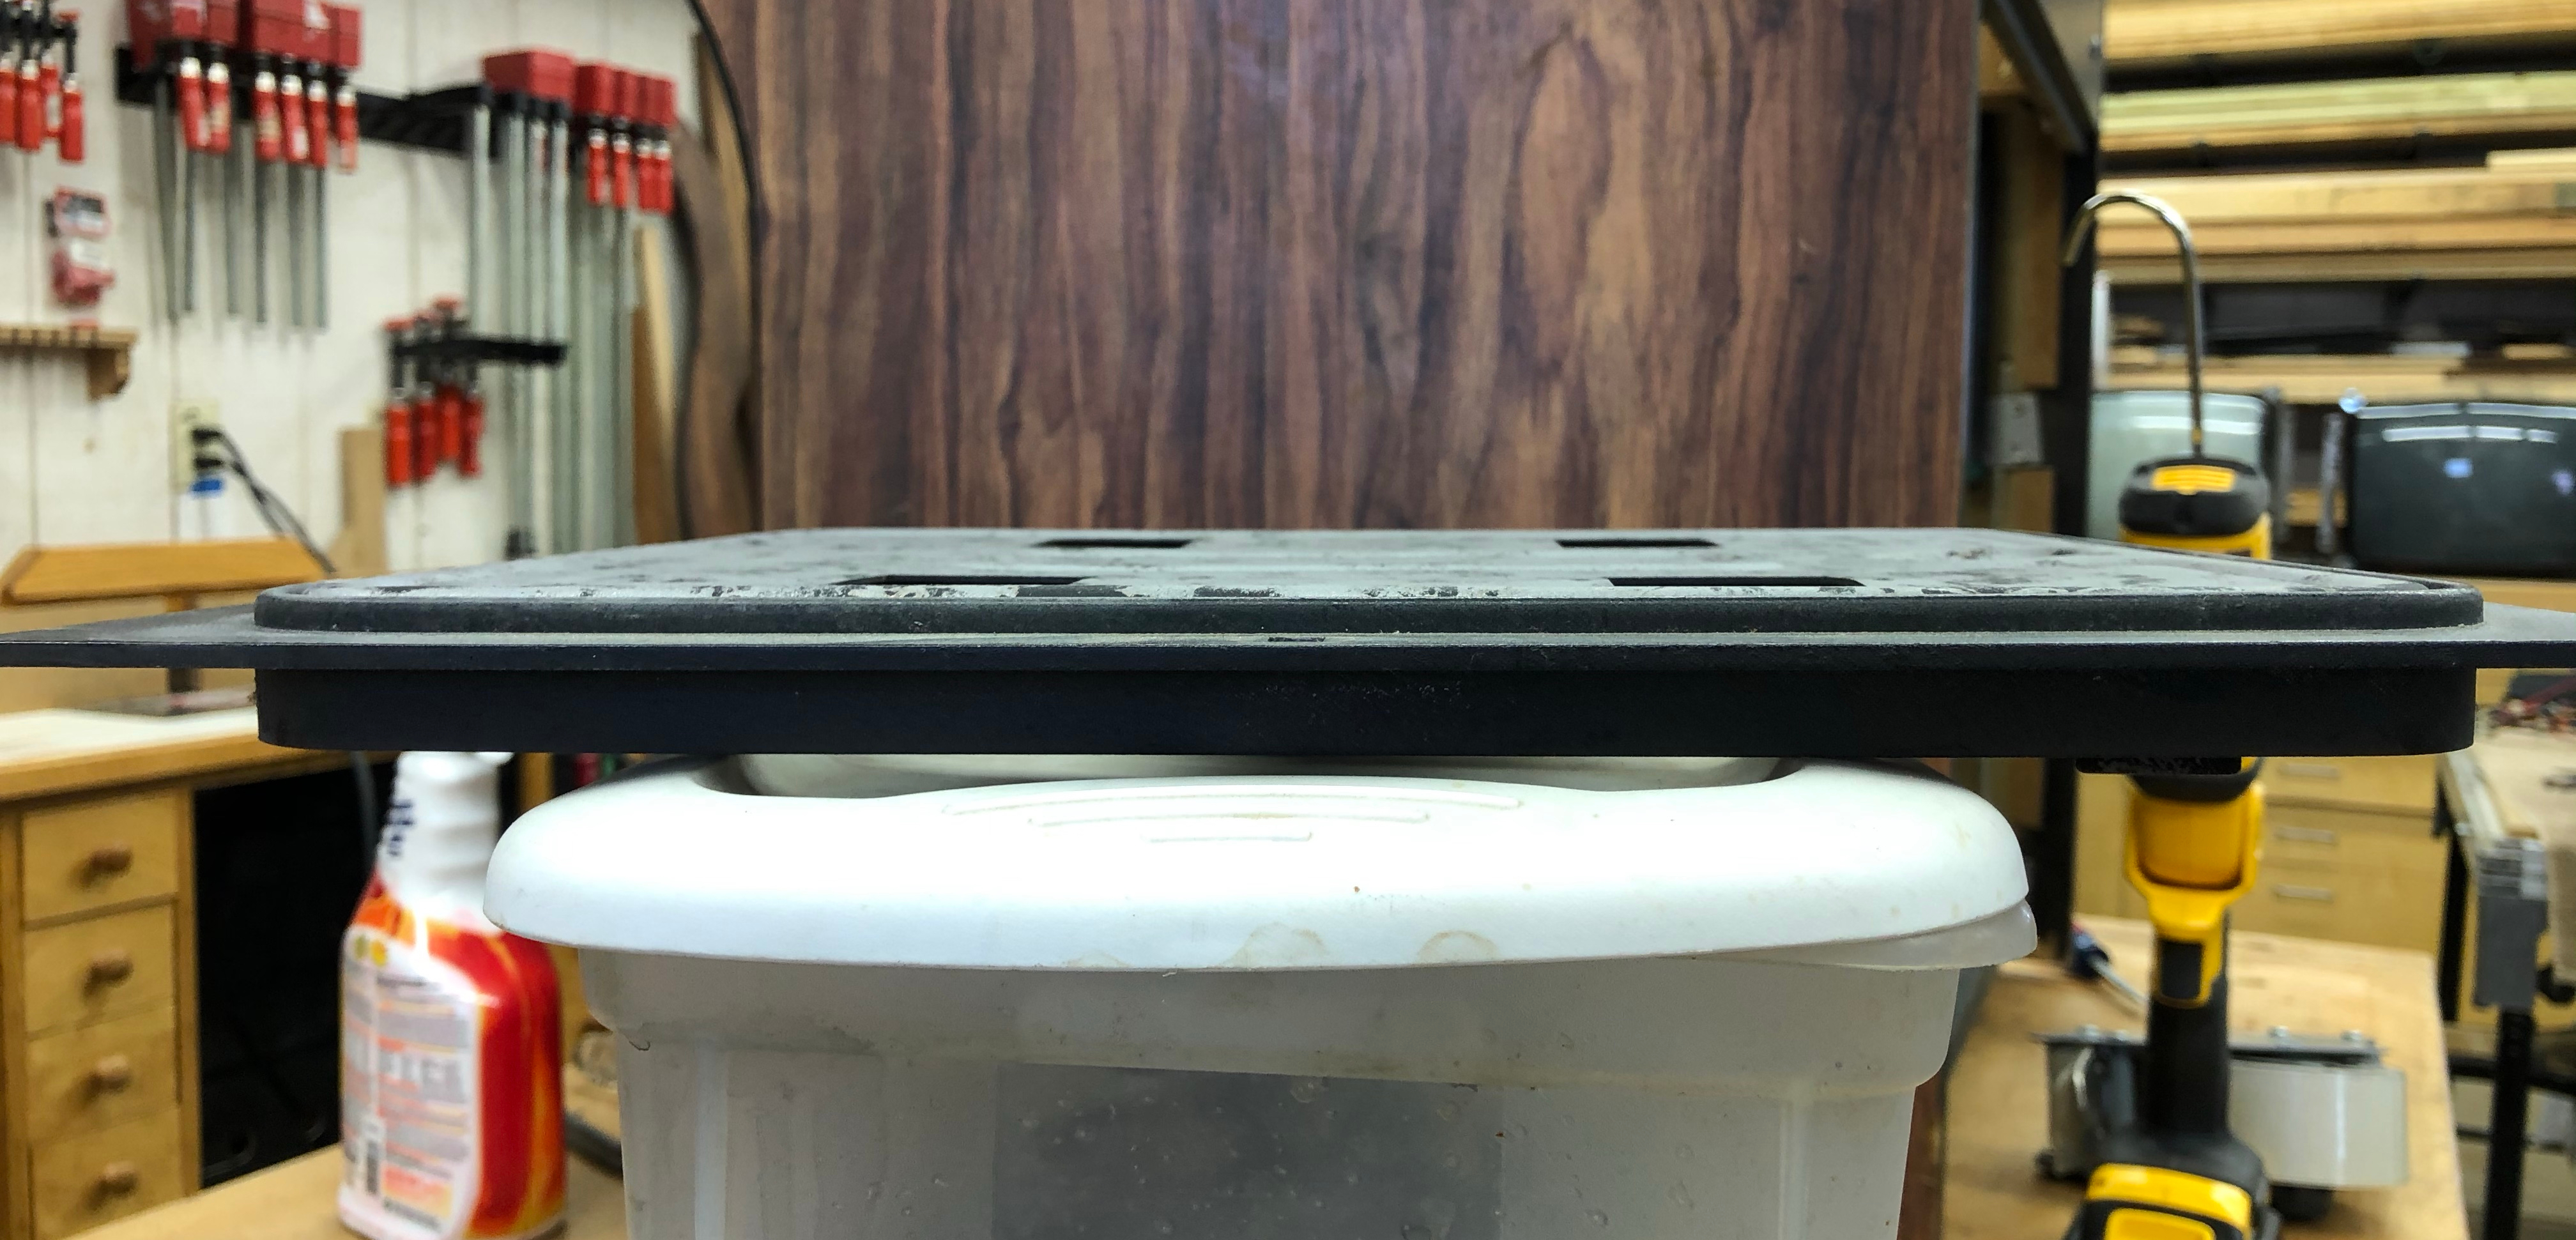
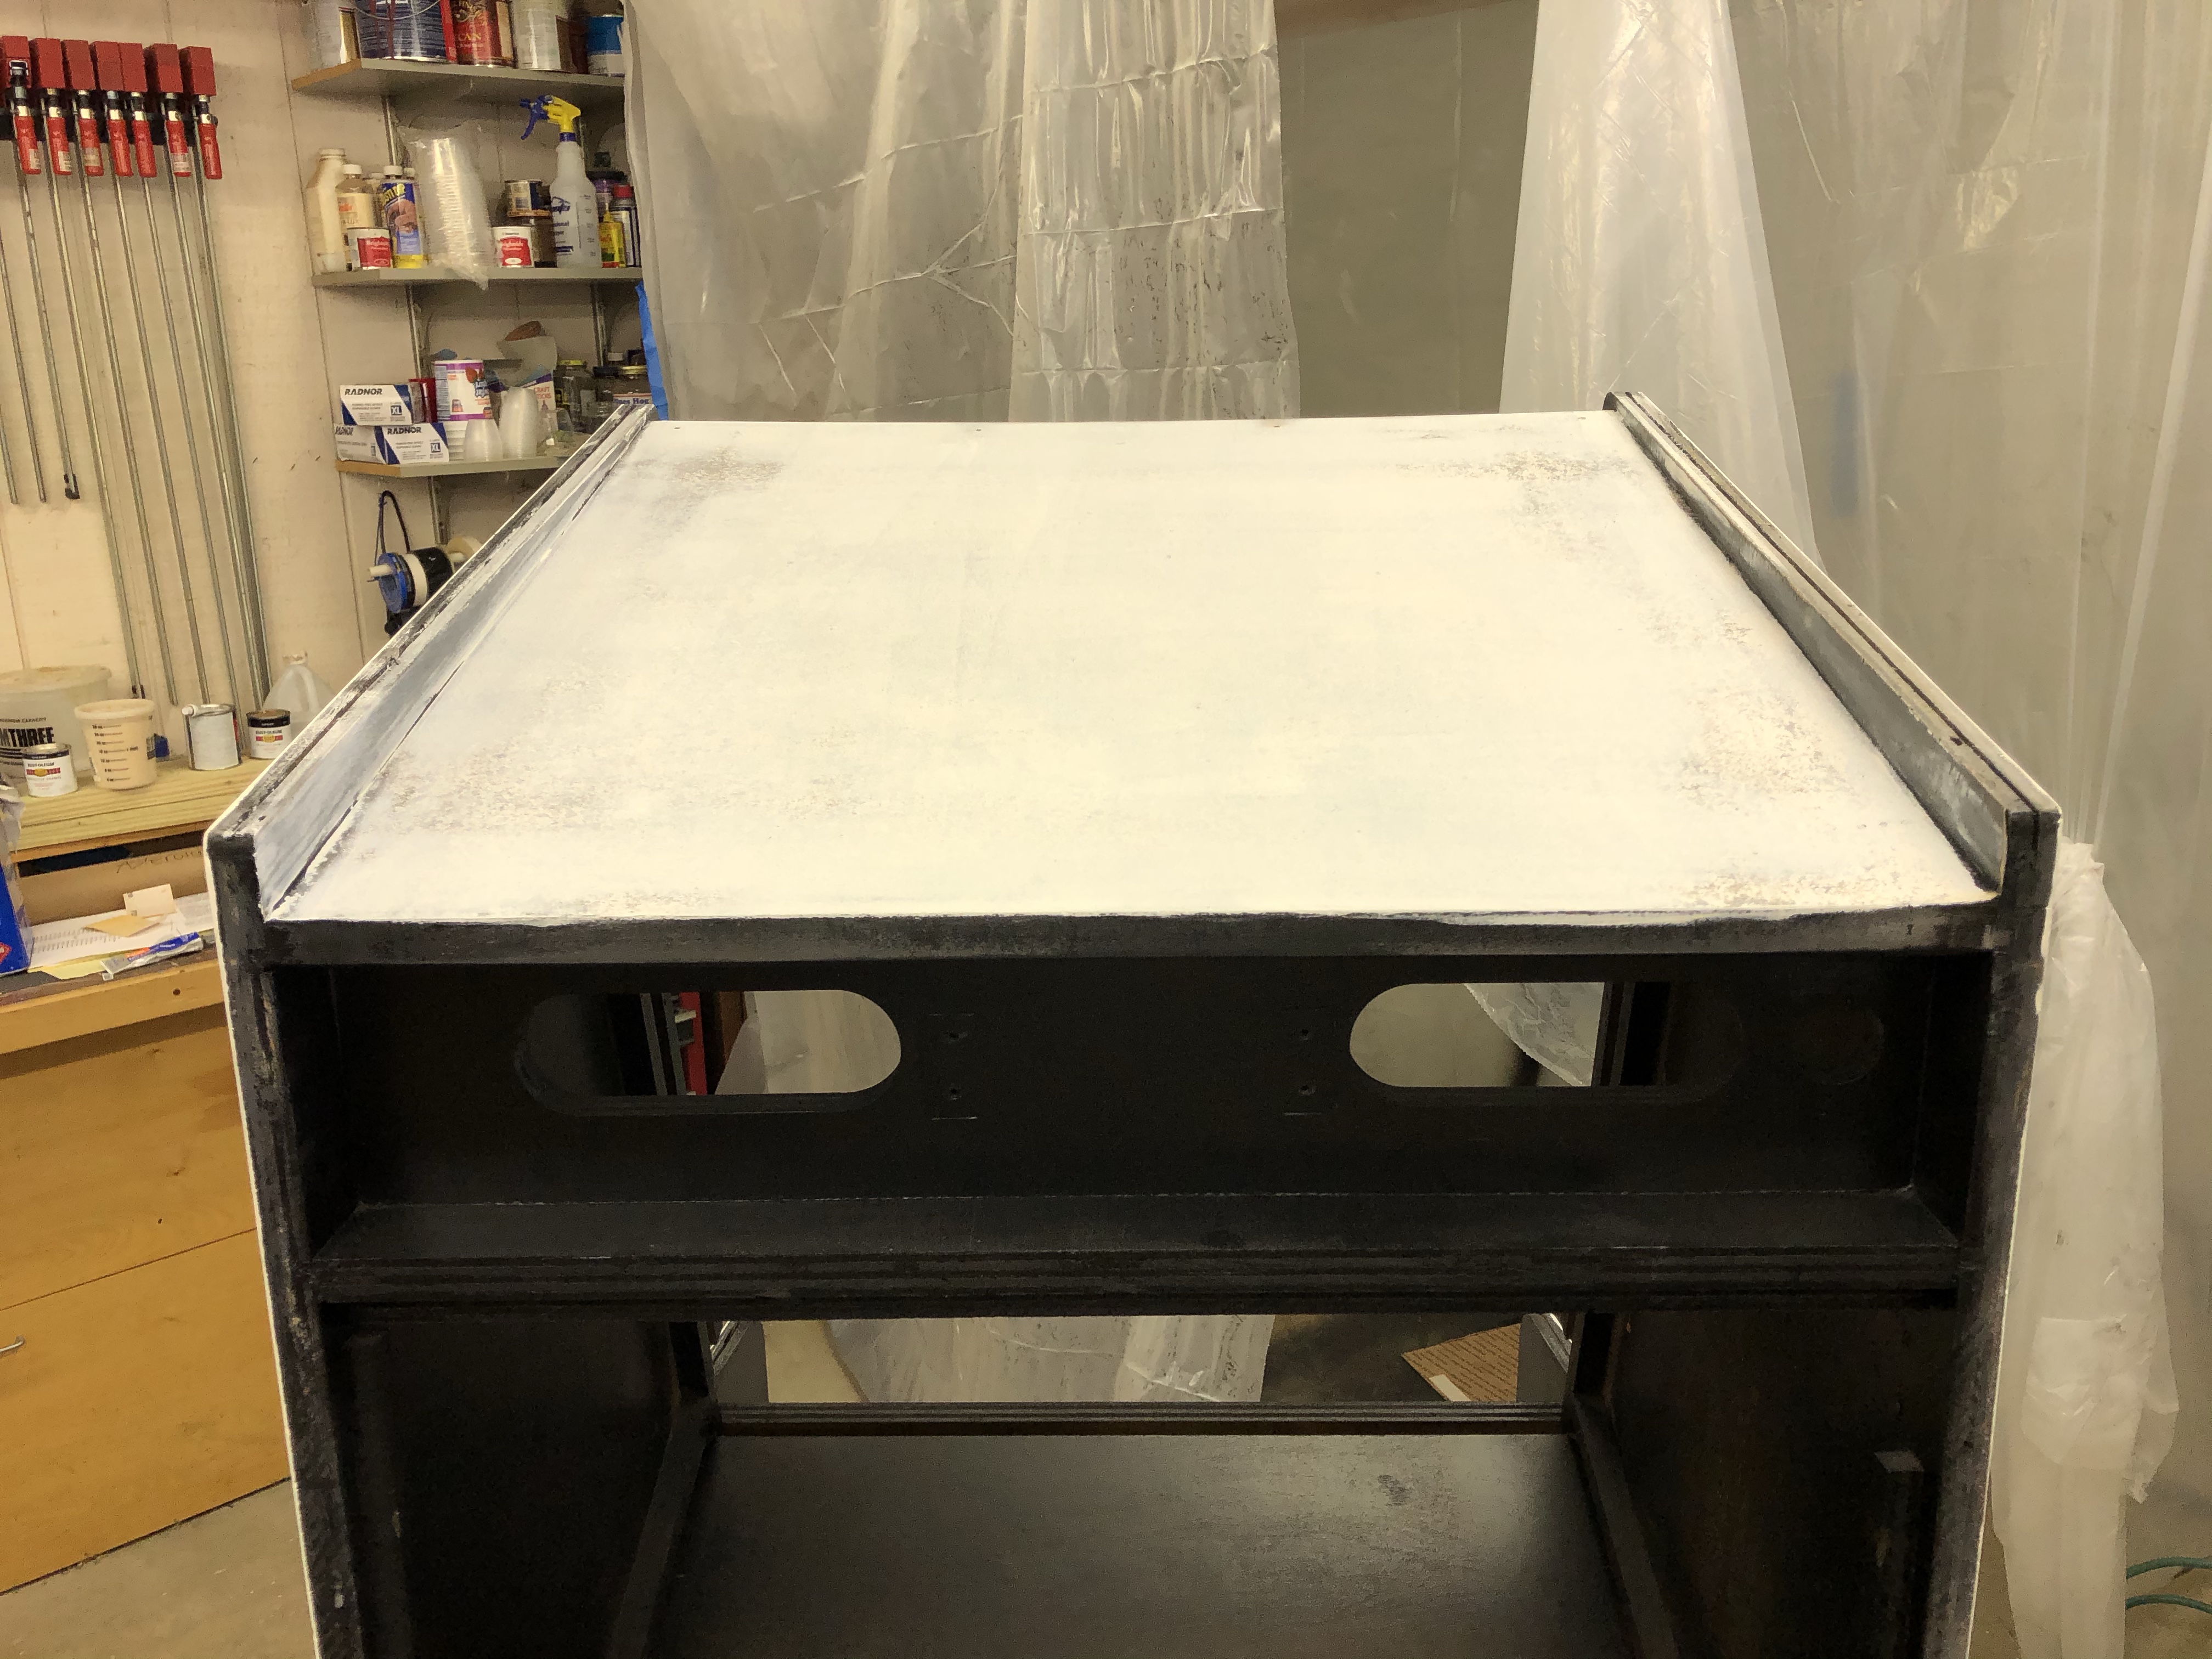
The top is made of MDF and has that pebble texture from years of humidity and absorption. I’m not crazy about how it painted up. There is a little too much texture for my liking. I’m considering re-sanding, sealing and repainting. A wood hardener/epoxy sealer will firm up the MDF so it will provide a more uniform surface. Having to spray another coat of black makes this an easy decision. Using the spray gun takes a little practice – but cleaning it is a real pain. If I’m going to spray more black – I’ll maximize the effort and get the top a bit nicer. Even though you will almost never see it.. I’ll post some before and afters on the top once its done.
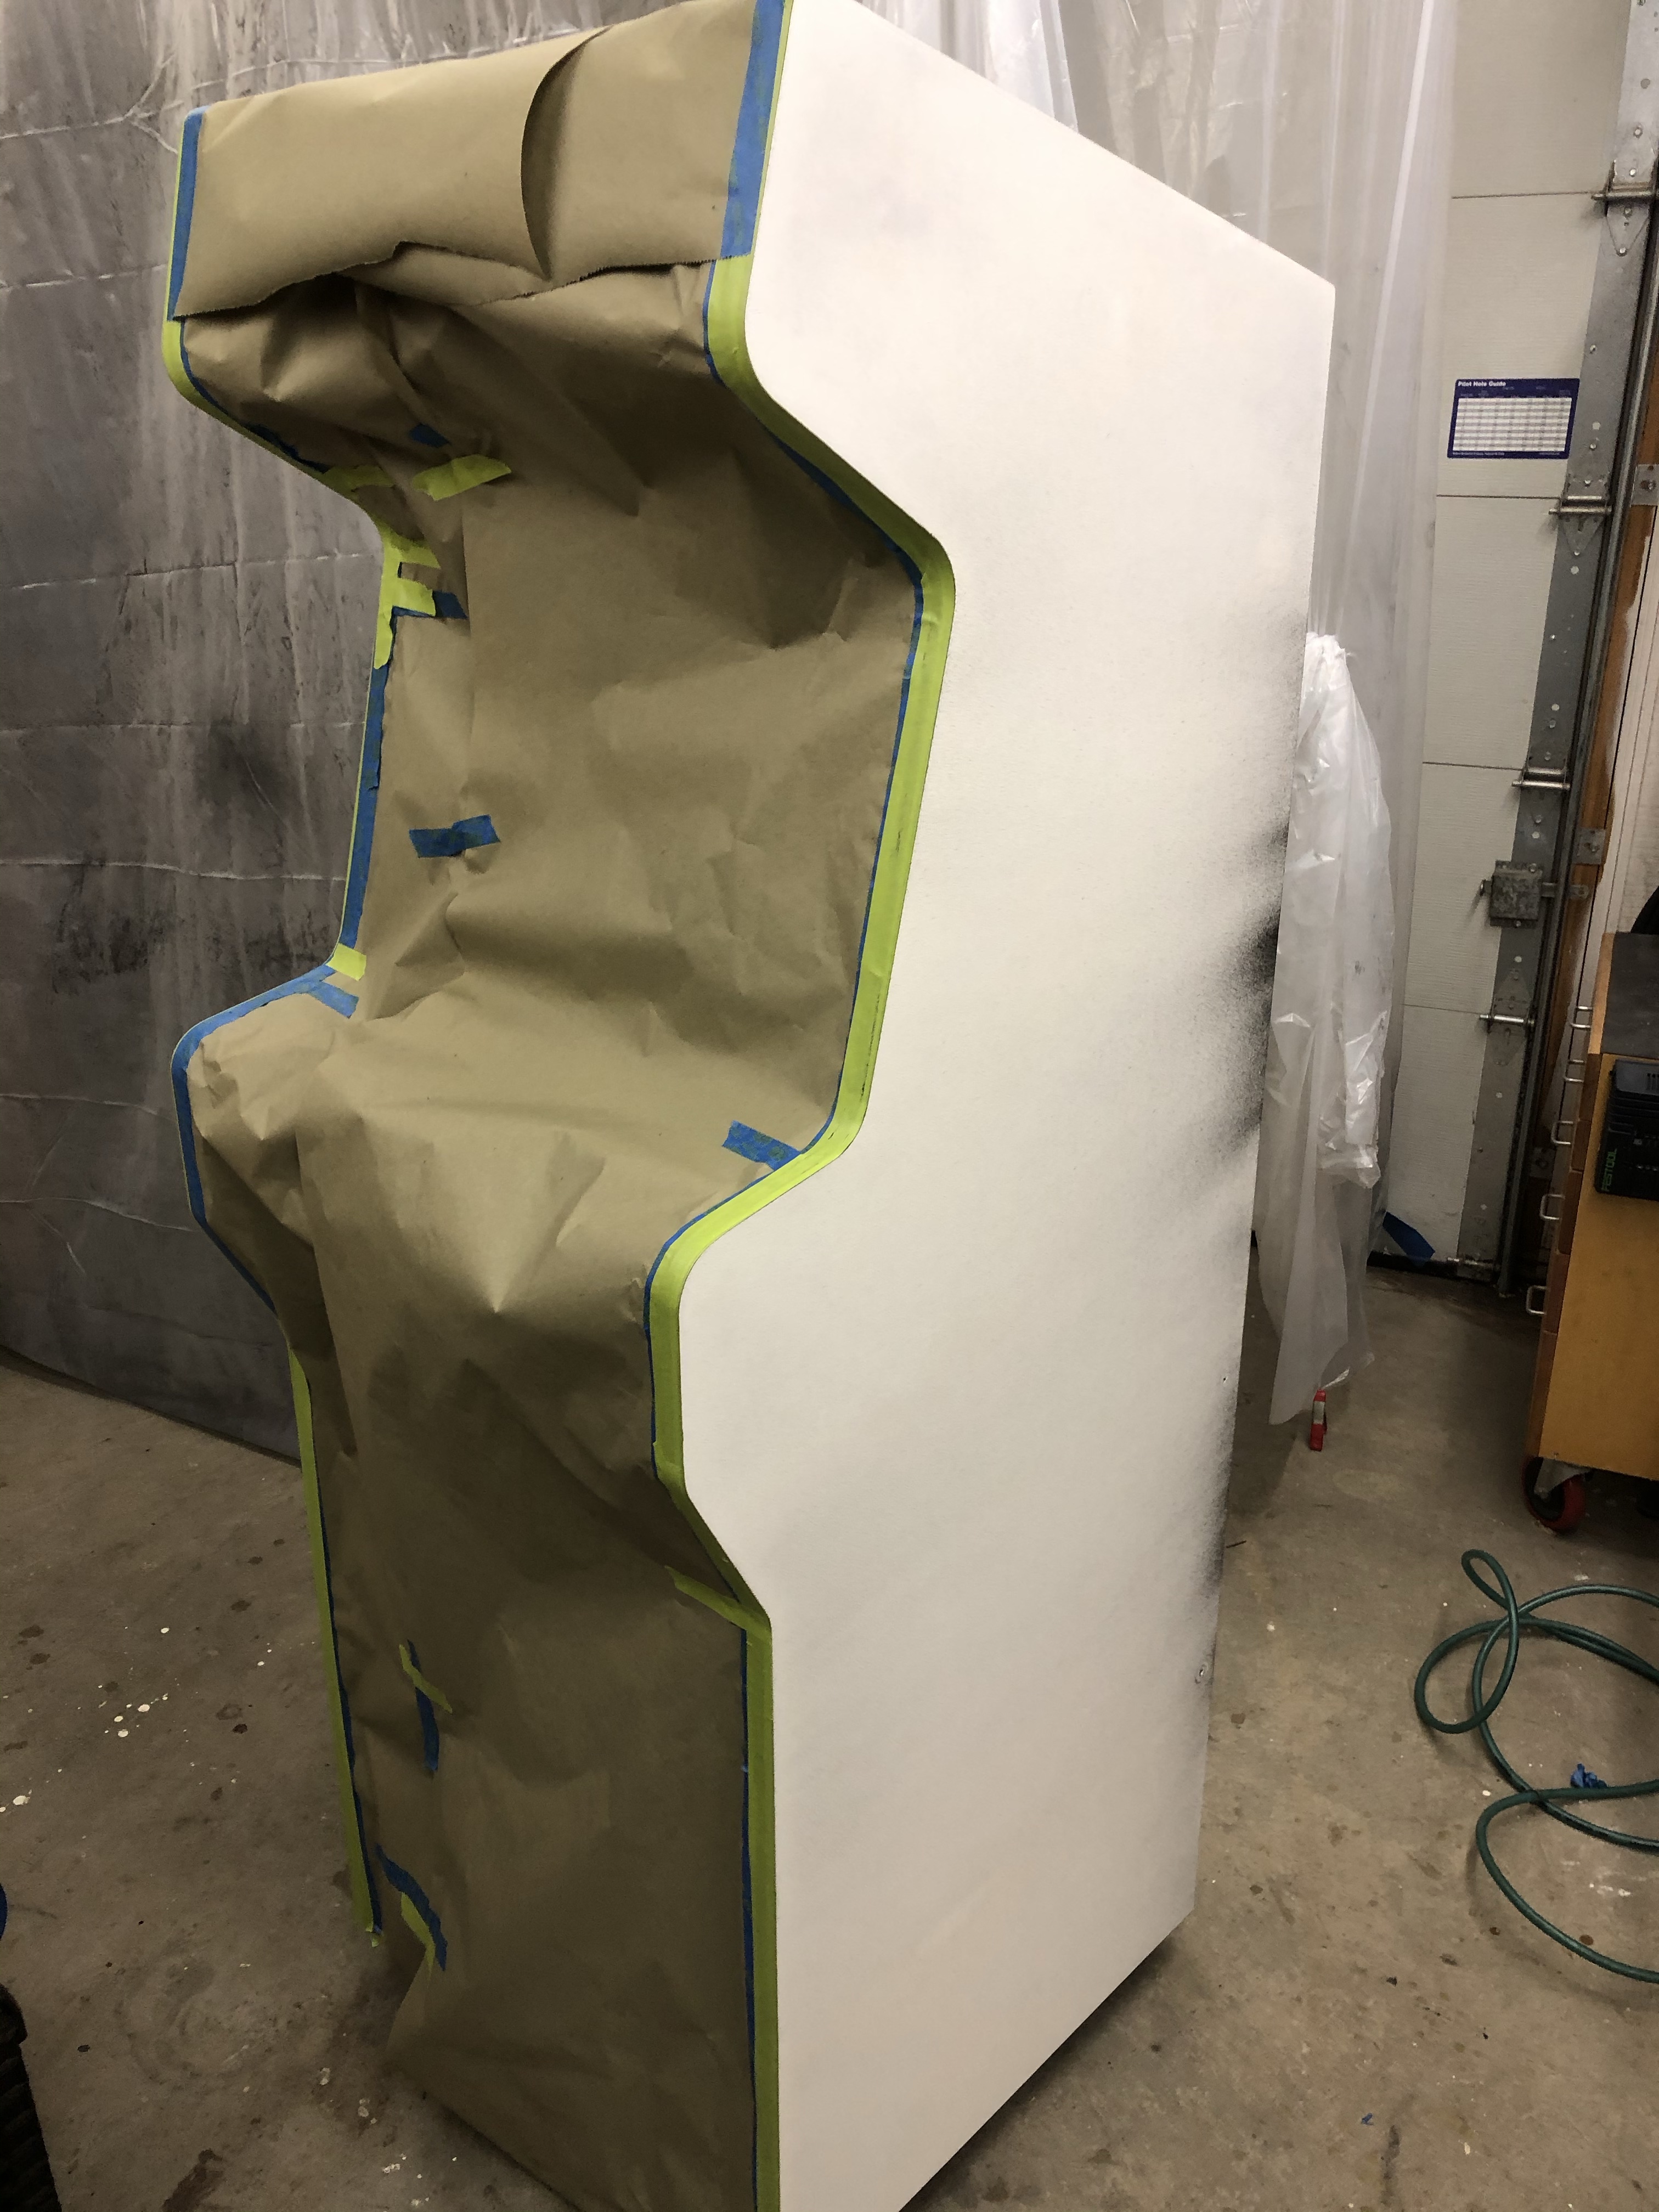
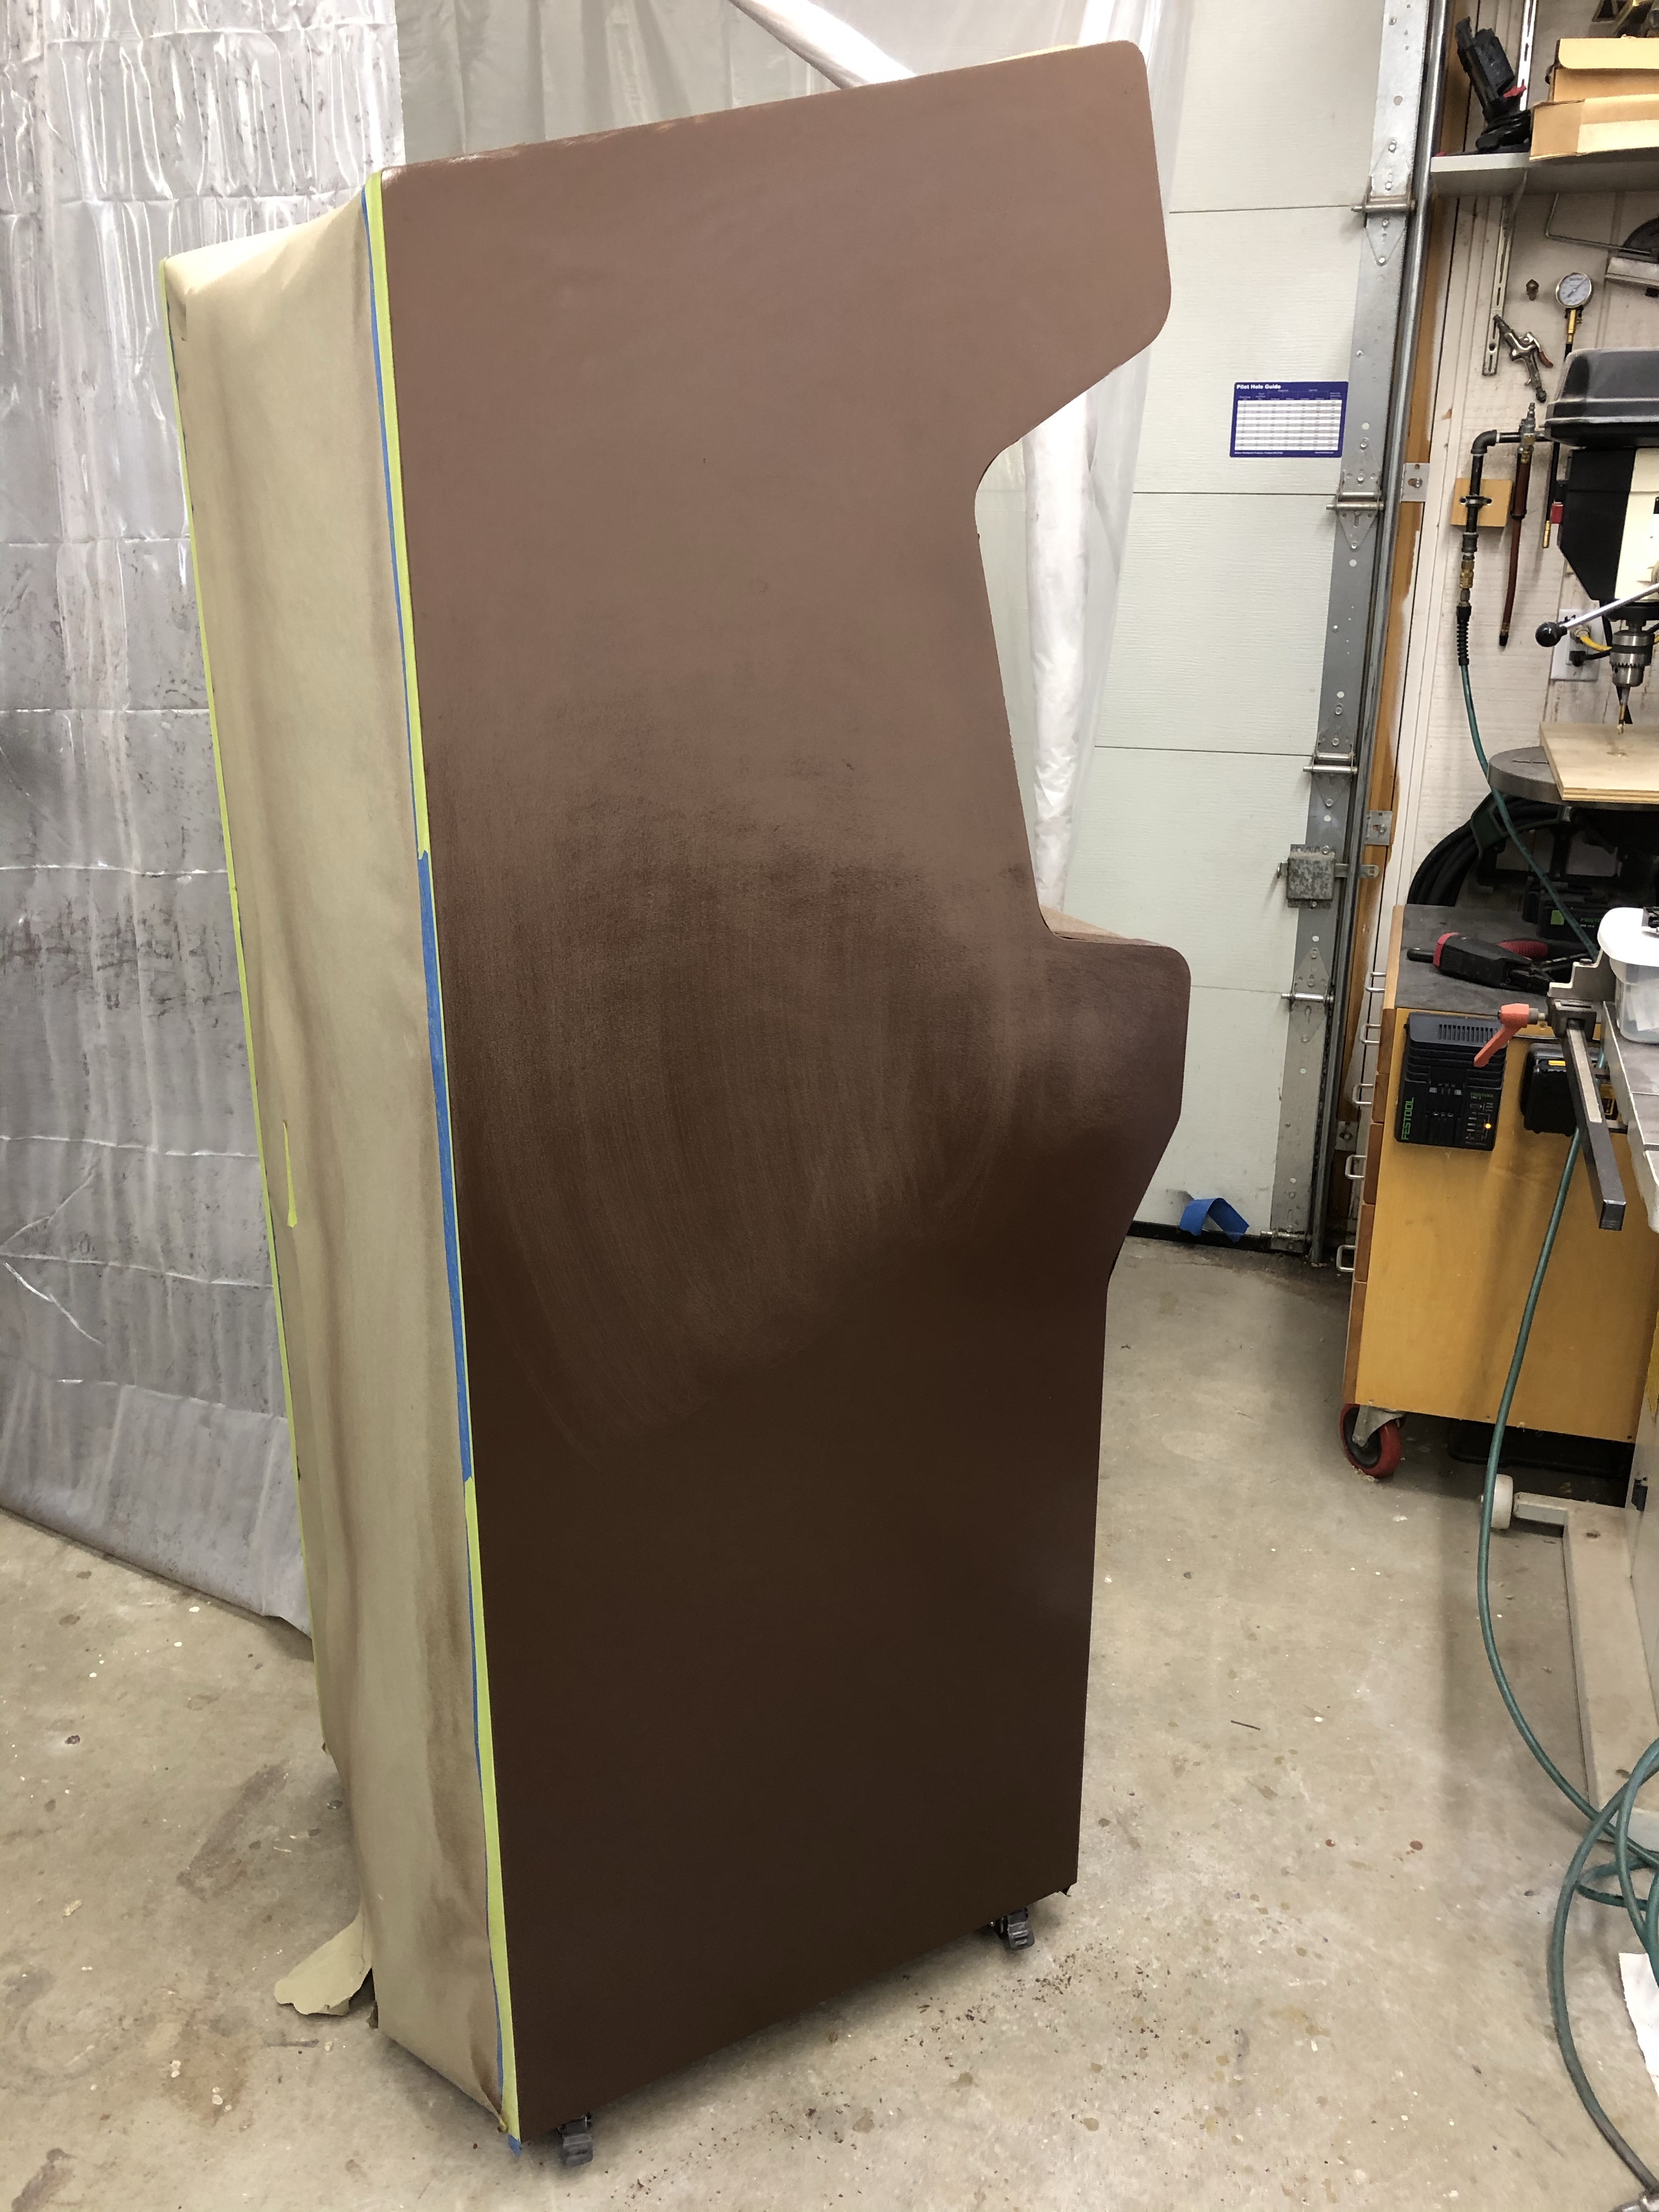
The sides will get a coat of primer, sanded and then a color coat of “Joust Brown”.
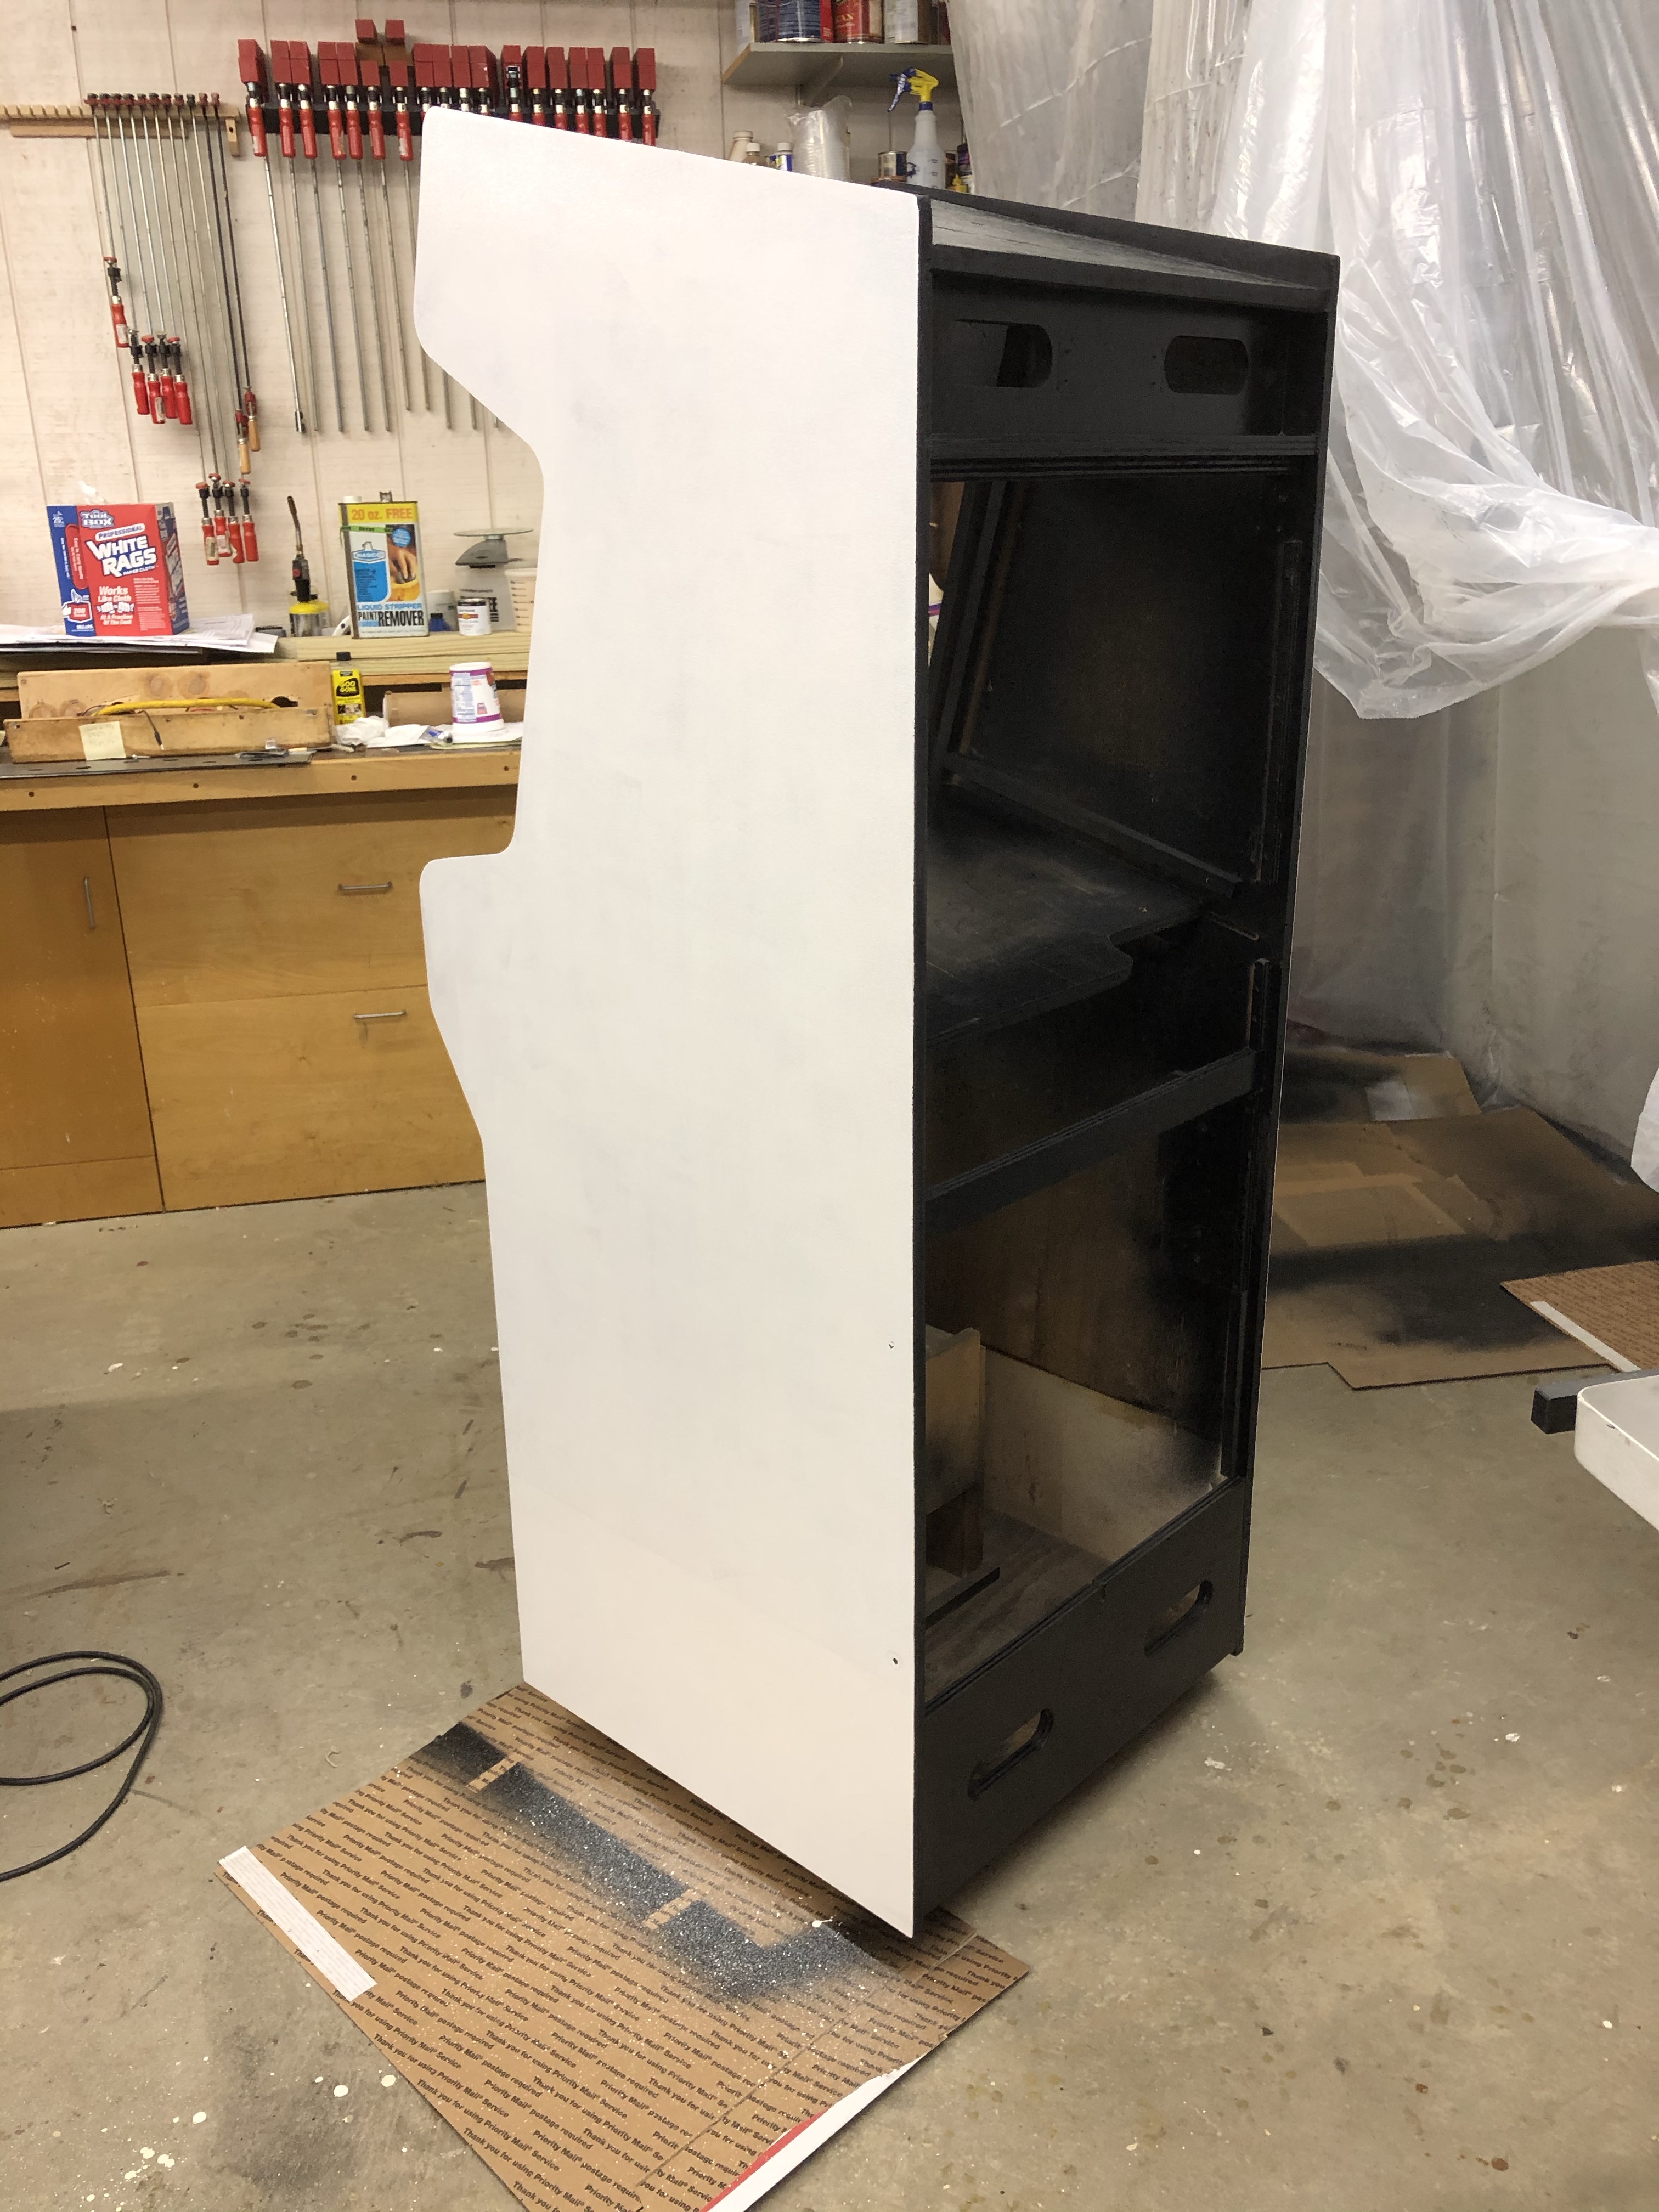
First coat of primer on – I’m using Kilz oil based primer. The color coats are oil based and compatible. It is also sandable. For the stencils to work right – I need the surface as smooth as possible. A sandable primer gets me there.
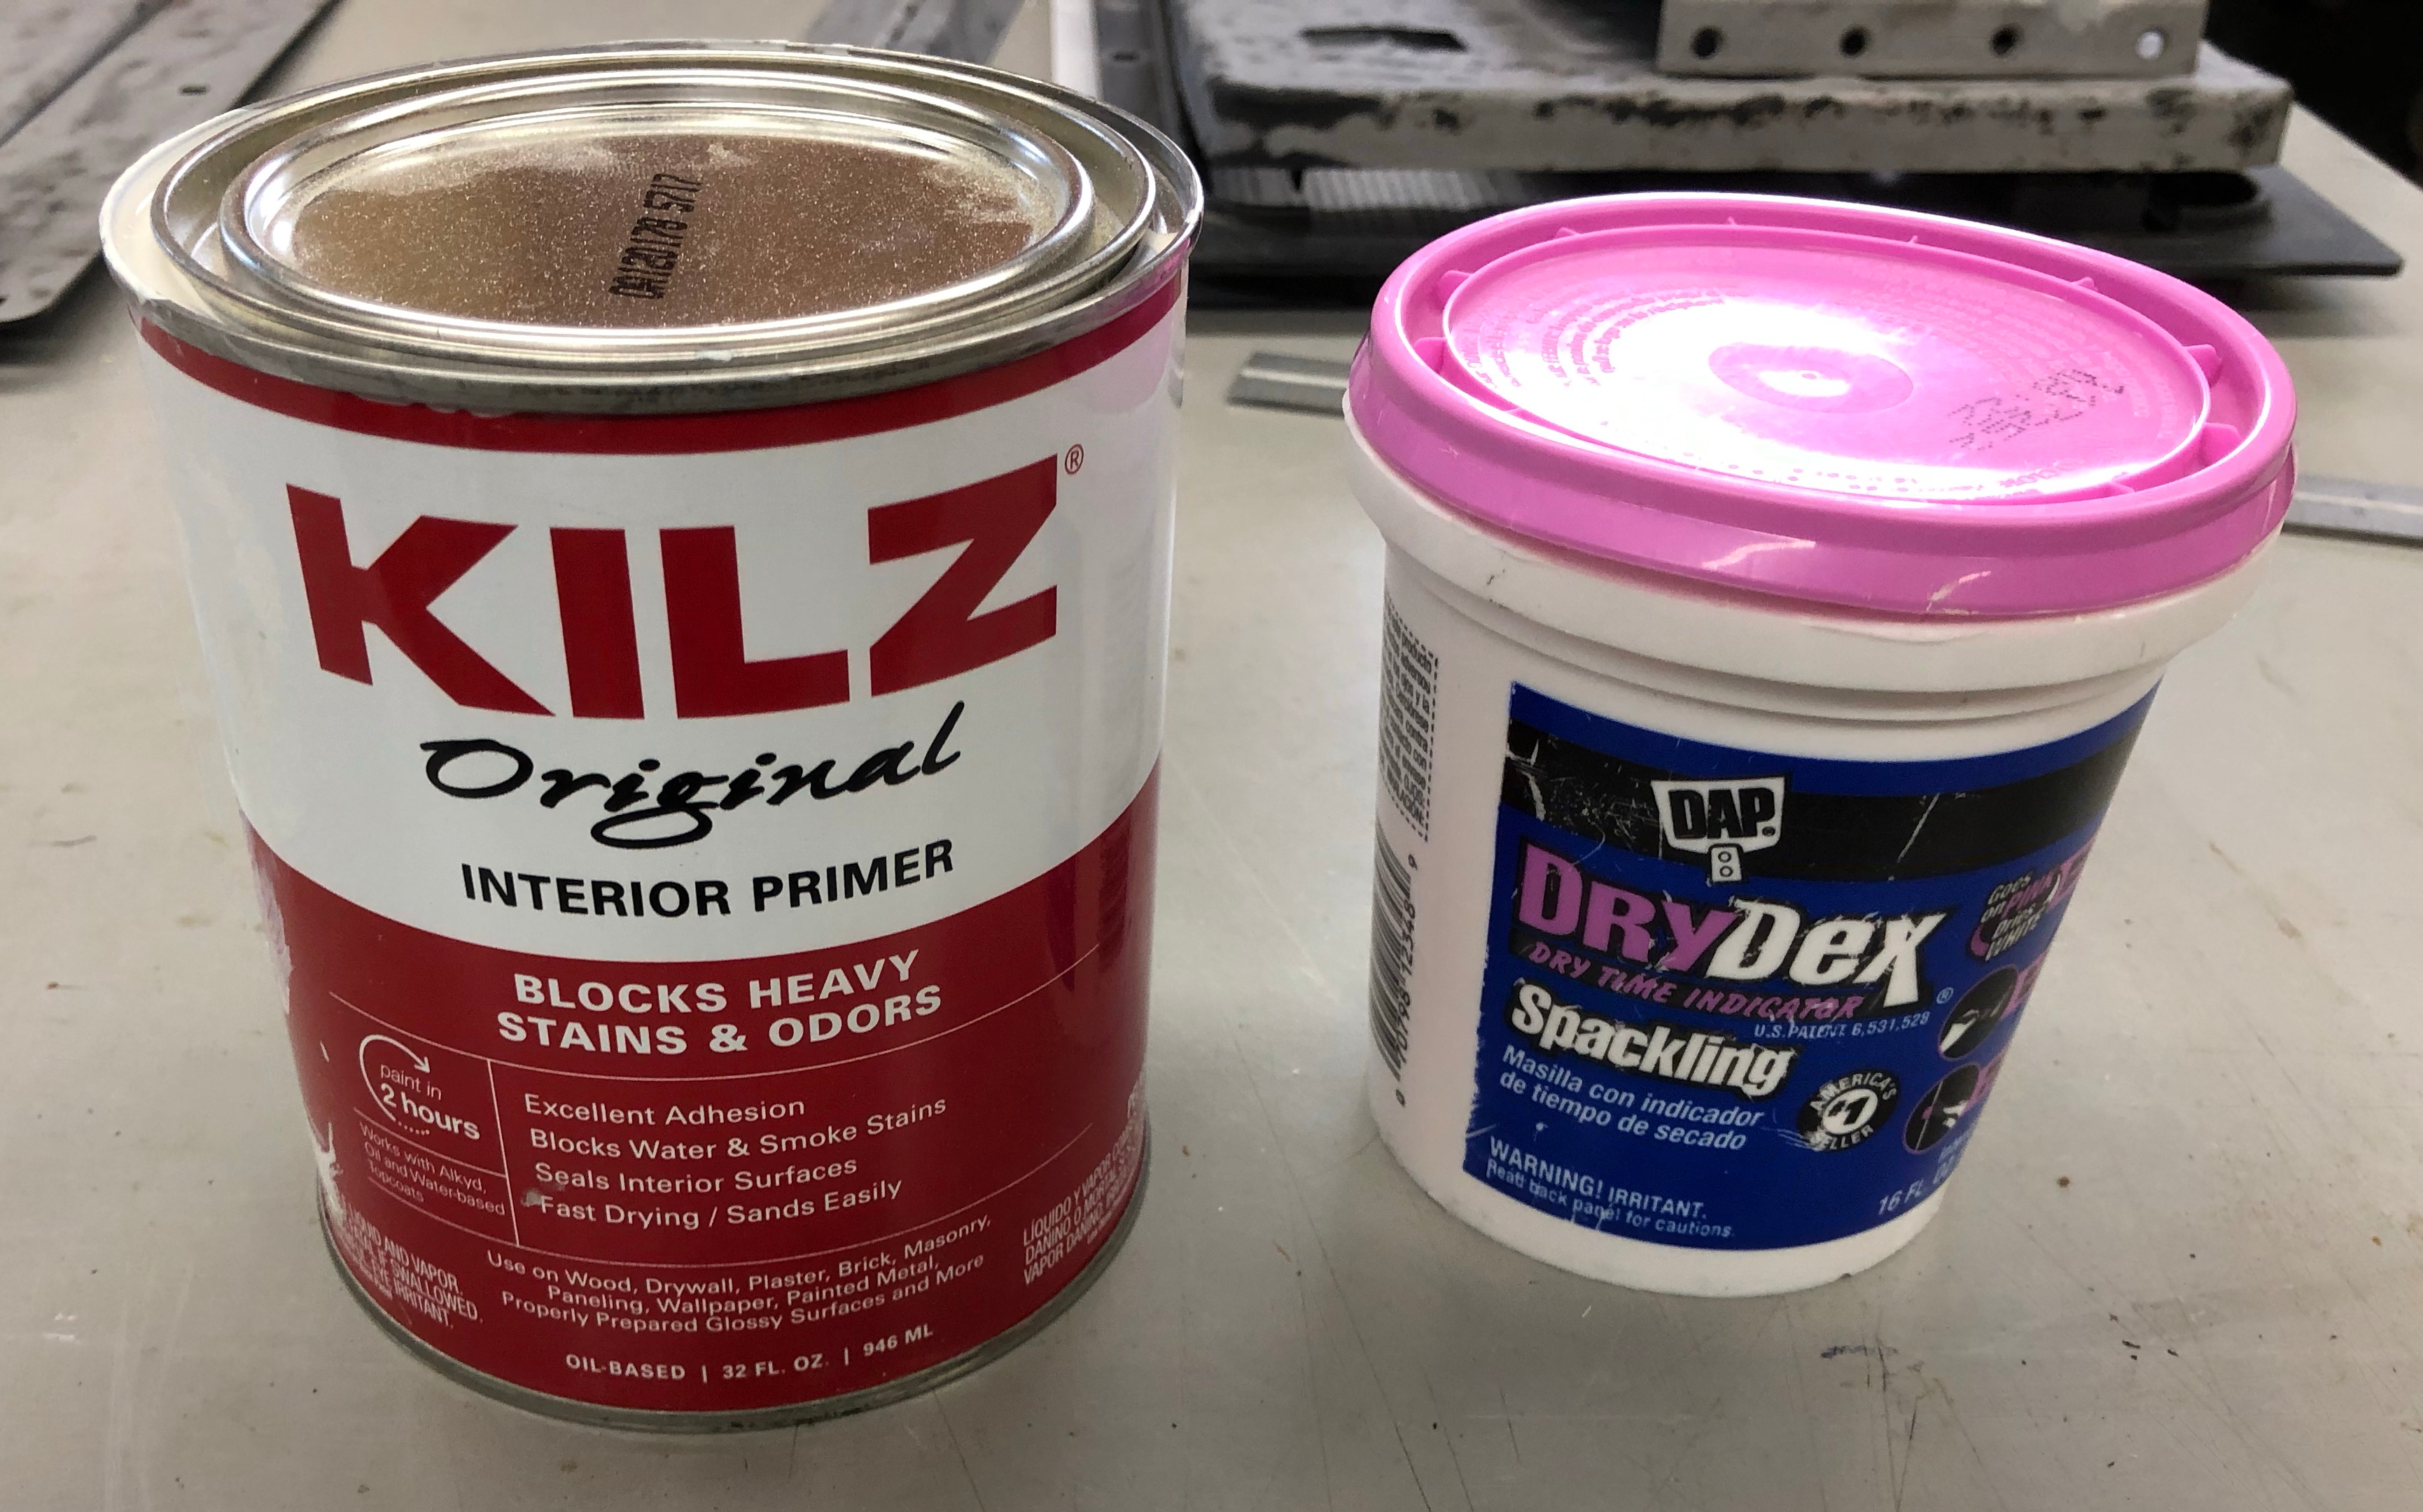
Kilz goes on pretty thick and leaves a fair amount of texture. I sanded to 180 grit with the power sander to knock it down and finished by hand with a soft sanding block at 220 grit. Power sanding is great – but you can’t feel anything. Hand sanding will let you know how smooth the surface is – you can feel it and hear it. There were still some surface imperfections on the sides – a couple of scratches and dings. Very very small – but just enough to skim on a little spackling compound. (yes the same Spackle used in drywall repairs) For filling a scratch you could make with a thumbnail, on a flat surface then needs no structural strength over primer.. its good stuff. It’s not the same as drywall mud. Its more dense but just as easily sandable.
I’ll resand and reprime to make sure the surface has a consistent texture.

My next part is something I’ve wanted for a while – a media blaster. This one cost less than $70. But you need a big compressor. One that can push 7+ CFM at 90 psi. Mine is a 60 gallon, 11 cfm at 90 psi. If you have a big compressor – then this is worth the money. There is a less expensive version that does not include the siphon hose attachment. Do NOT get that one. I filled the little tank twice in about 10 minutes.. The siphon is a metal tube you stick into the media and it sucks it up a rubber hose. Surprisingly it works great.
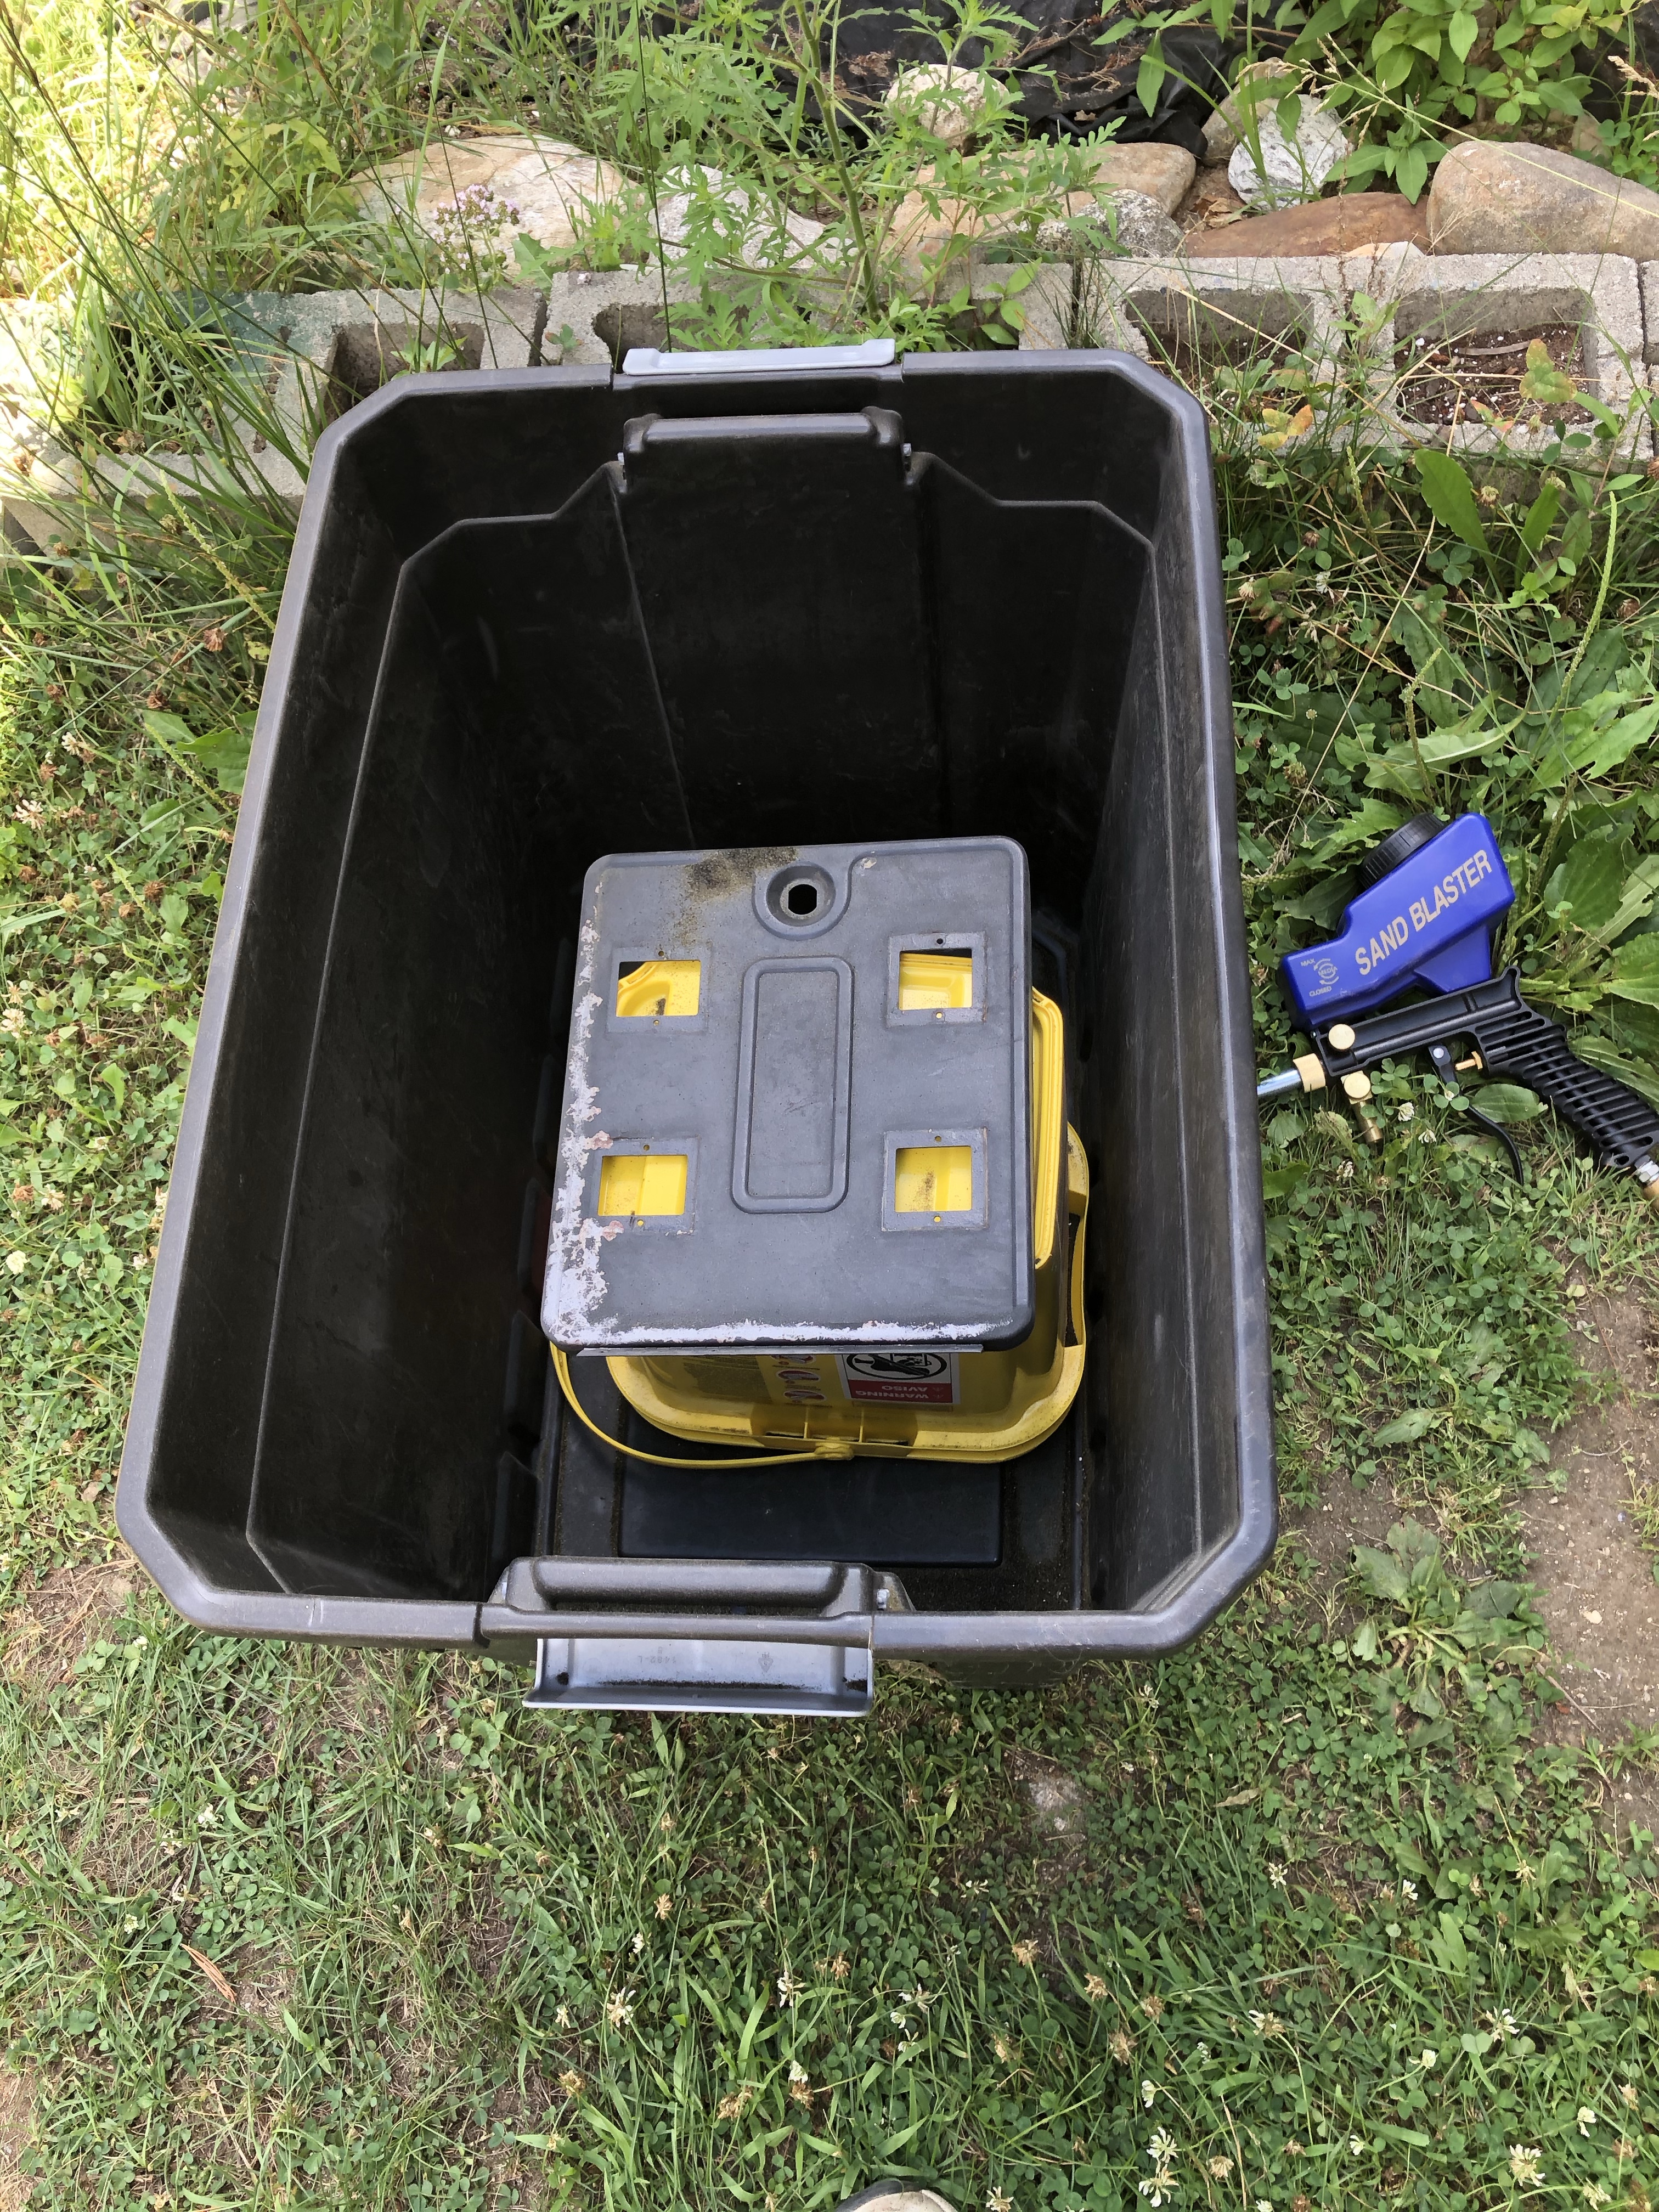
My plan was to try to contain the blast media like a cabinet – but this really just made a sandstorm as it blew back up at me. That said – it still worked reasonably well. The media I’m using (coal slag) is single use so there is no reason to save it. Next session will be freehand behind the shop where the coal dust can be raked into the grass.

The coin doors were pretty beat up and had some paint blistering with rust. I could have kept going and got every last spec of paint off. A small amount of hand sanding to make sure its all smooth is all that is really needed here. This door has a little shape issue where it was likely kicked at some point.. I’m planning to press it out and fix any dings with Bondo (yes – using Bondo for its intended use – metal surface imperfection repair)
Same for the coin box door. It cleaned up pretty nice.
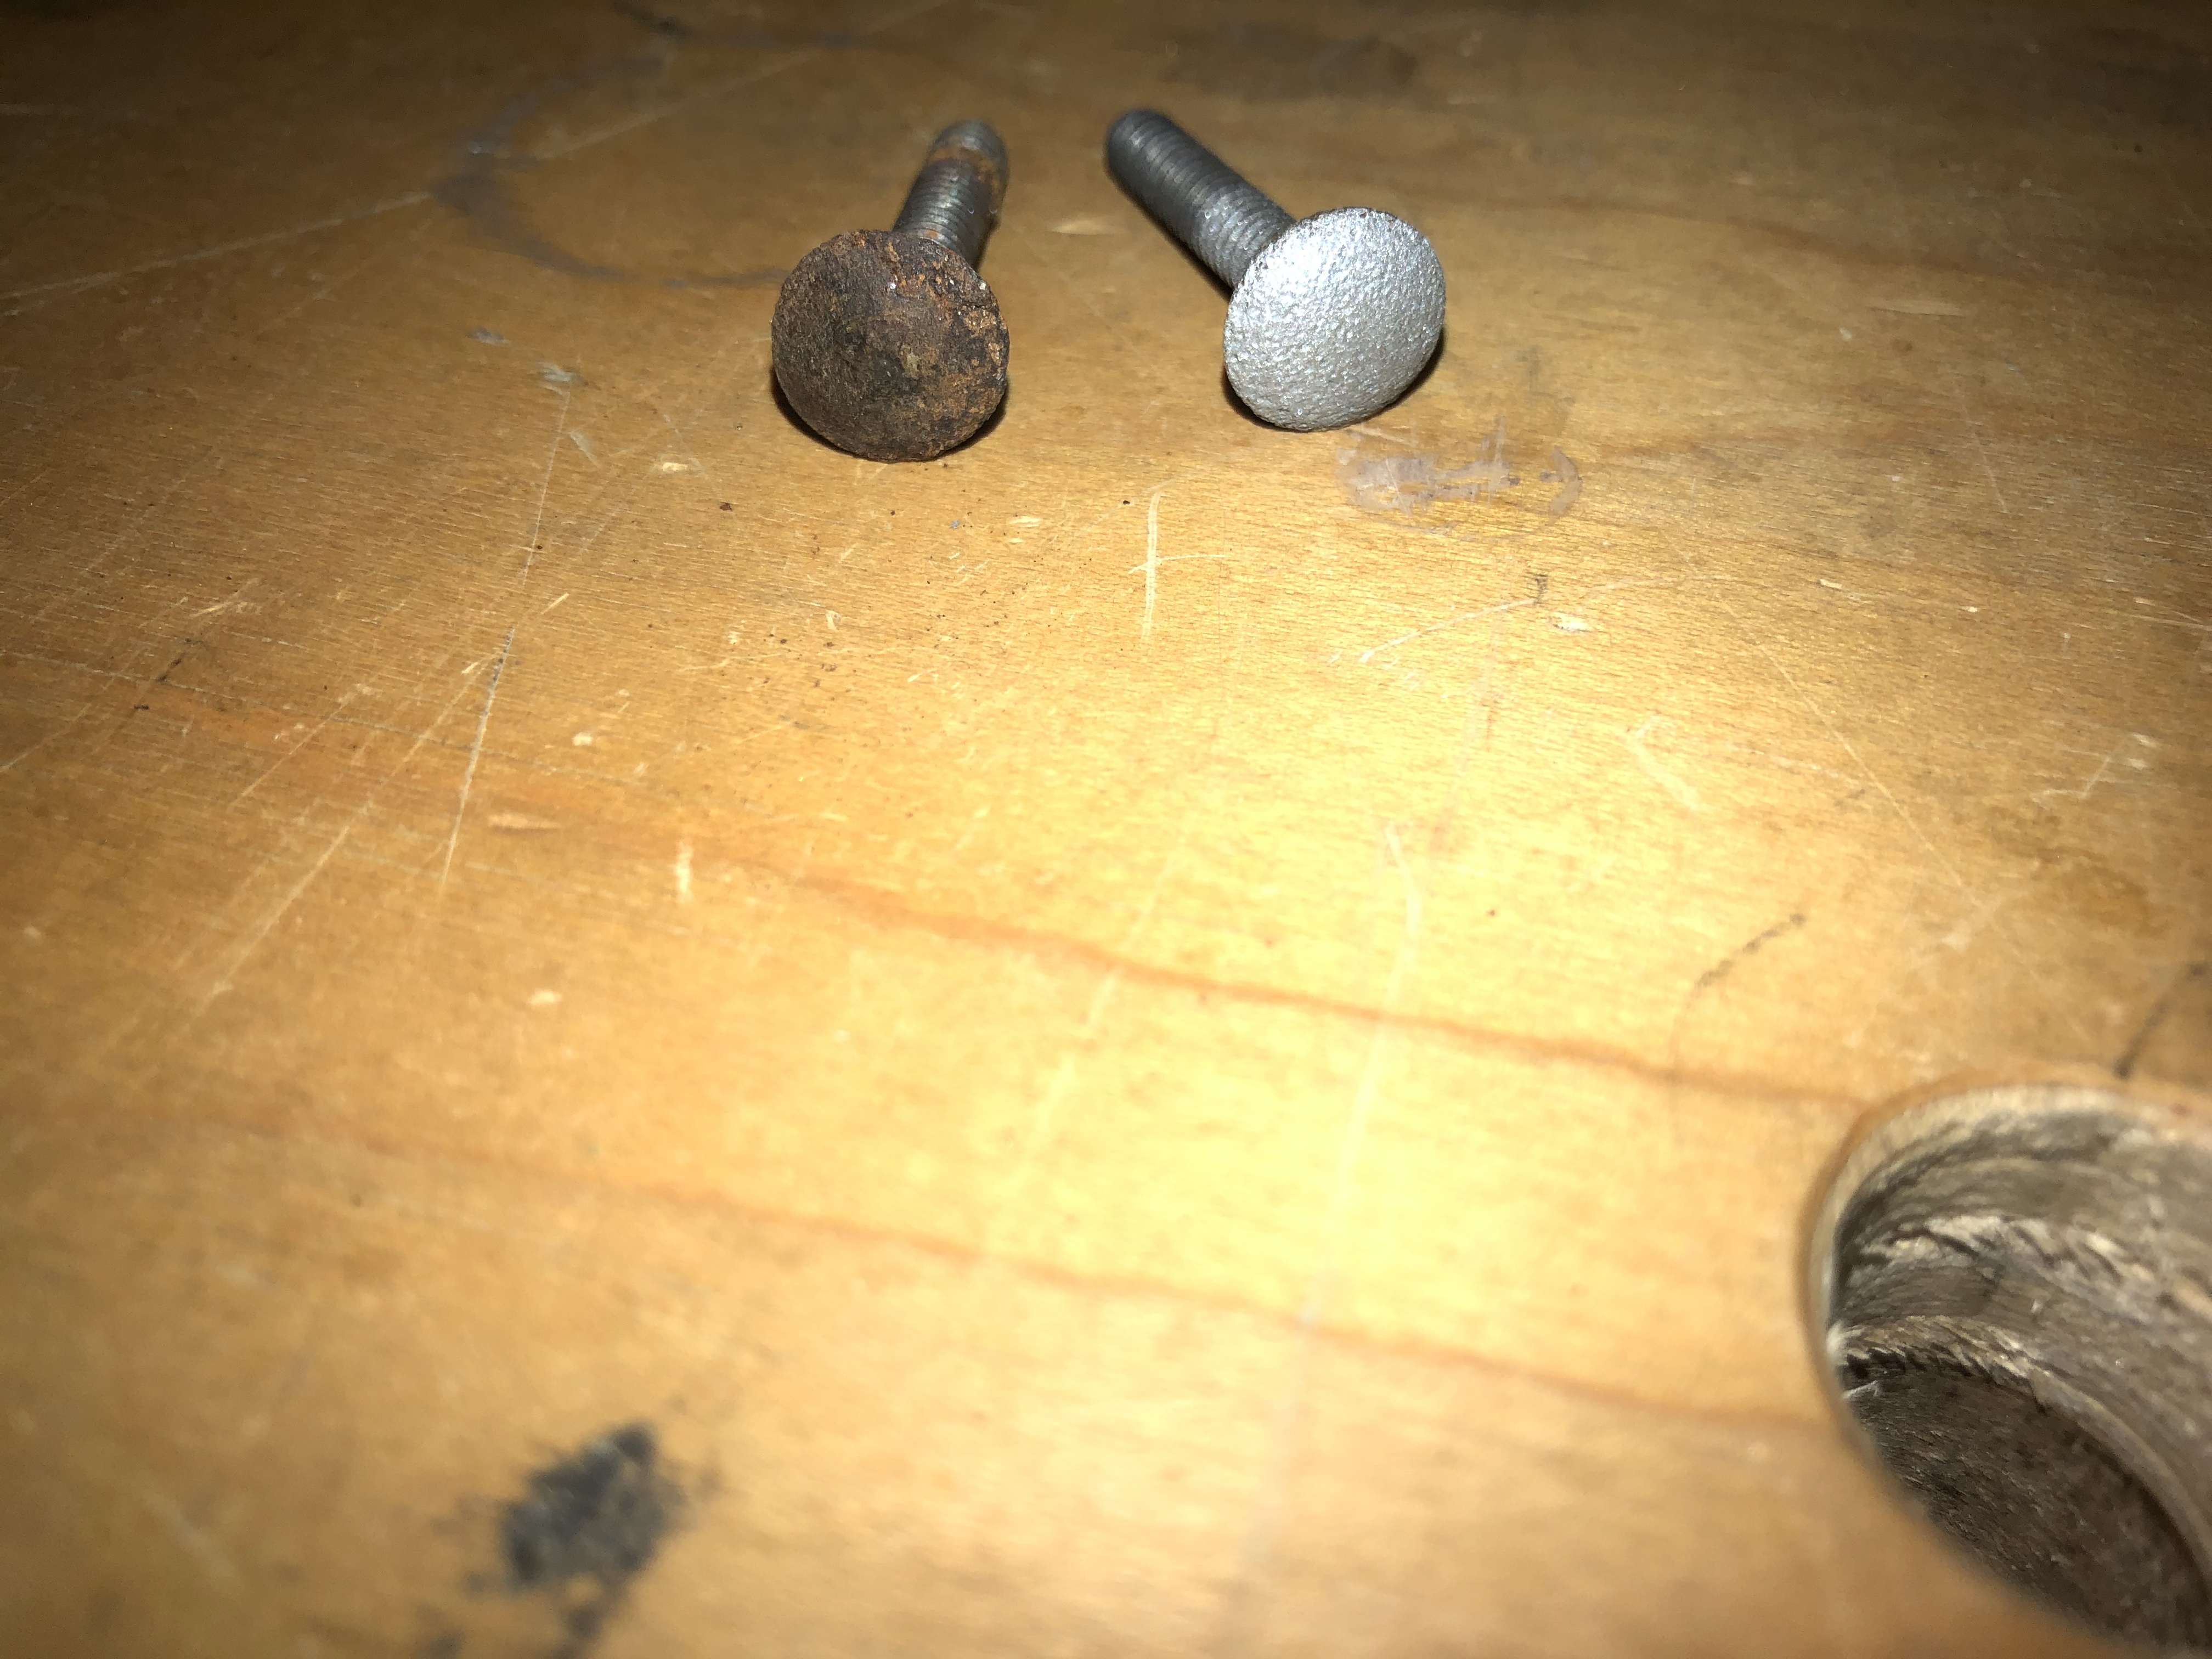
Even carriage bolt heads were simple. A quick shot and the rust was gone.
The coin door was pretty concave. It had is share of kicks over the years I would say. Using a straight edge on the inside and outside will tell you where to give it a nudge to flatten it out.

I taped two small spacers on the face of my bench vice near the outside edges of the door.
After that I used a block of wood and nudged the low spots just a little past flat to allow for some springback – you get the feel for it pretty quickly. If you go to far.. flip it around and nudge it back. Just go slow and work your way around until all the low spots are pushed back into position. Look straight down and watch the bulge. Go around the perimeter with the straight edge and check all sides. The outer lip may need a few taps with a rubber mallet to get it flat again. The lock area is likely to have some screwdriver hacking and bending. A block of wood and a hammer can tap that back without smashing up the metal.
How do you know your done? Sight across at a very low angle – the different ridges across the face of the door will stack up evenly on this sight line. If it was still concave (or convex) – this angle will show it to you. Check with the straight edge too of course. NOW… its ready for a quick hand sand and some paint.
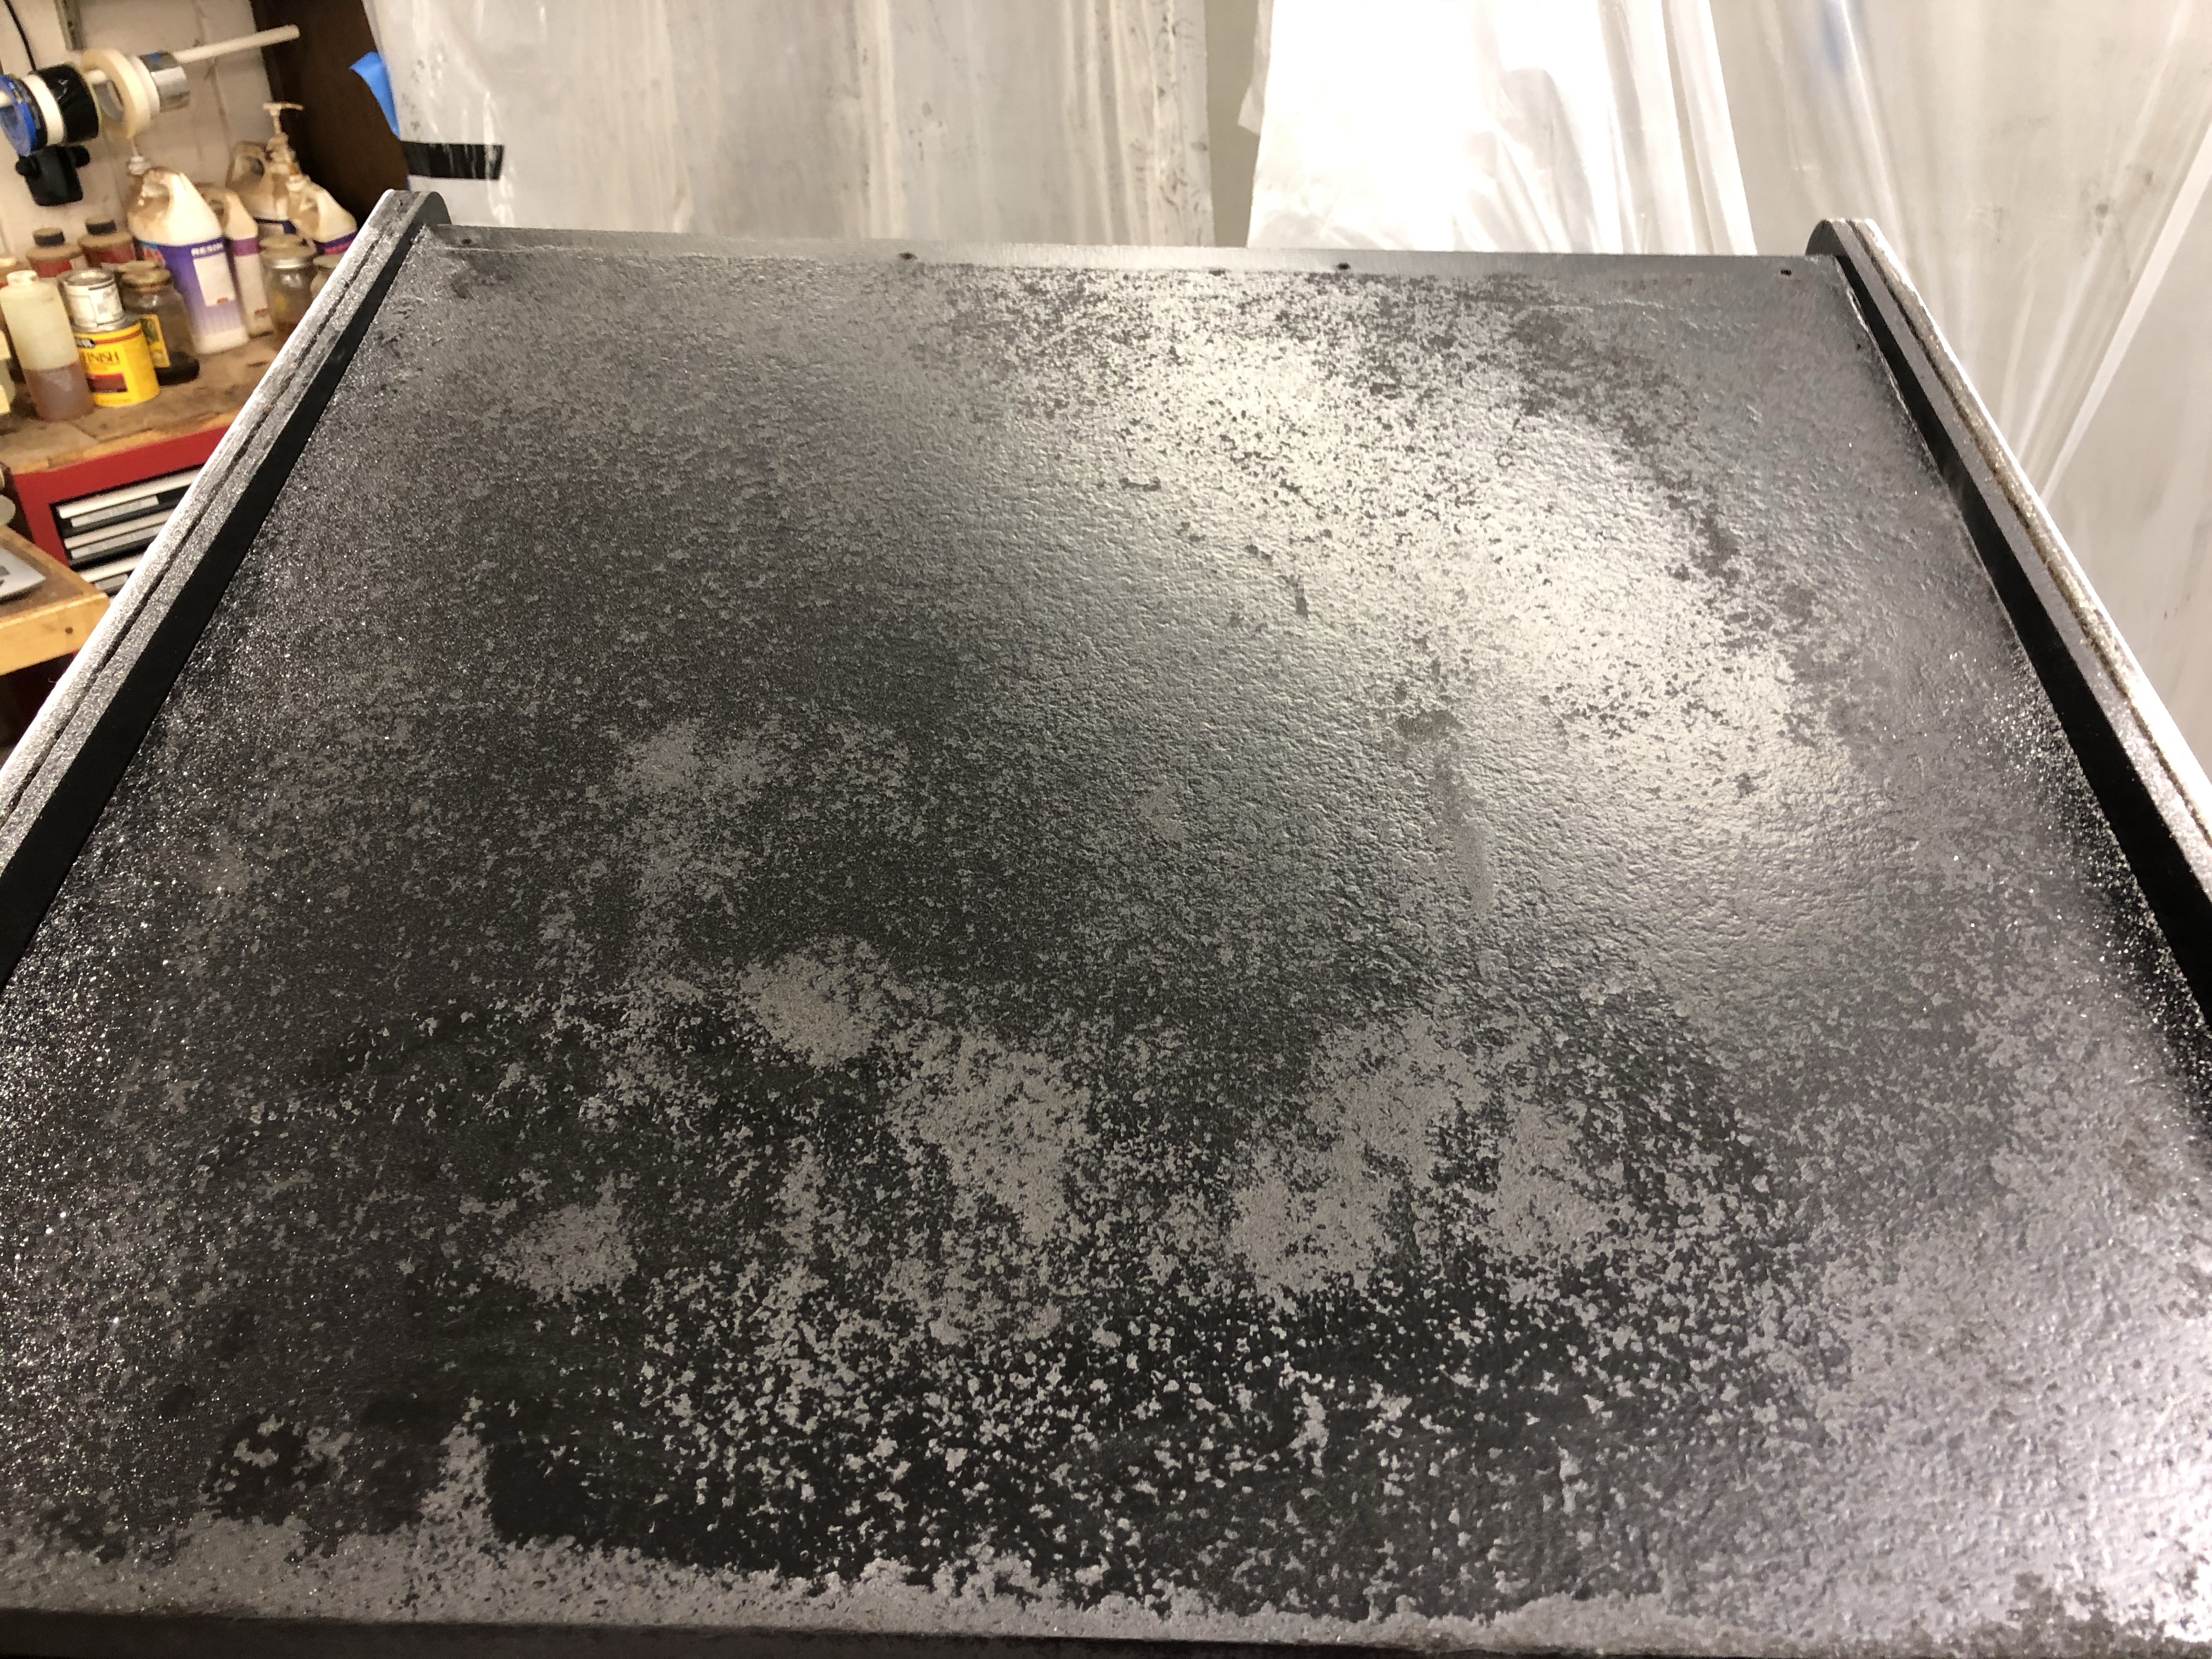
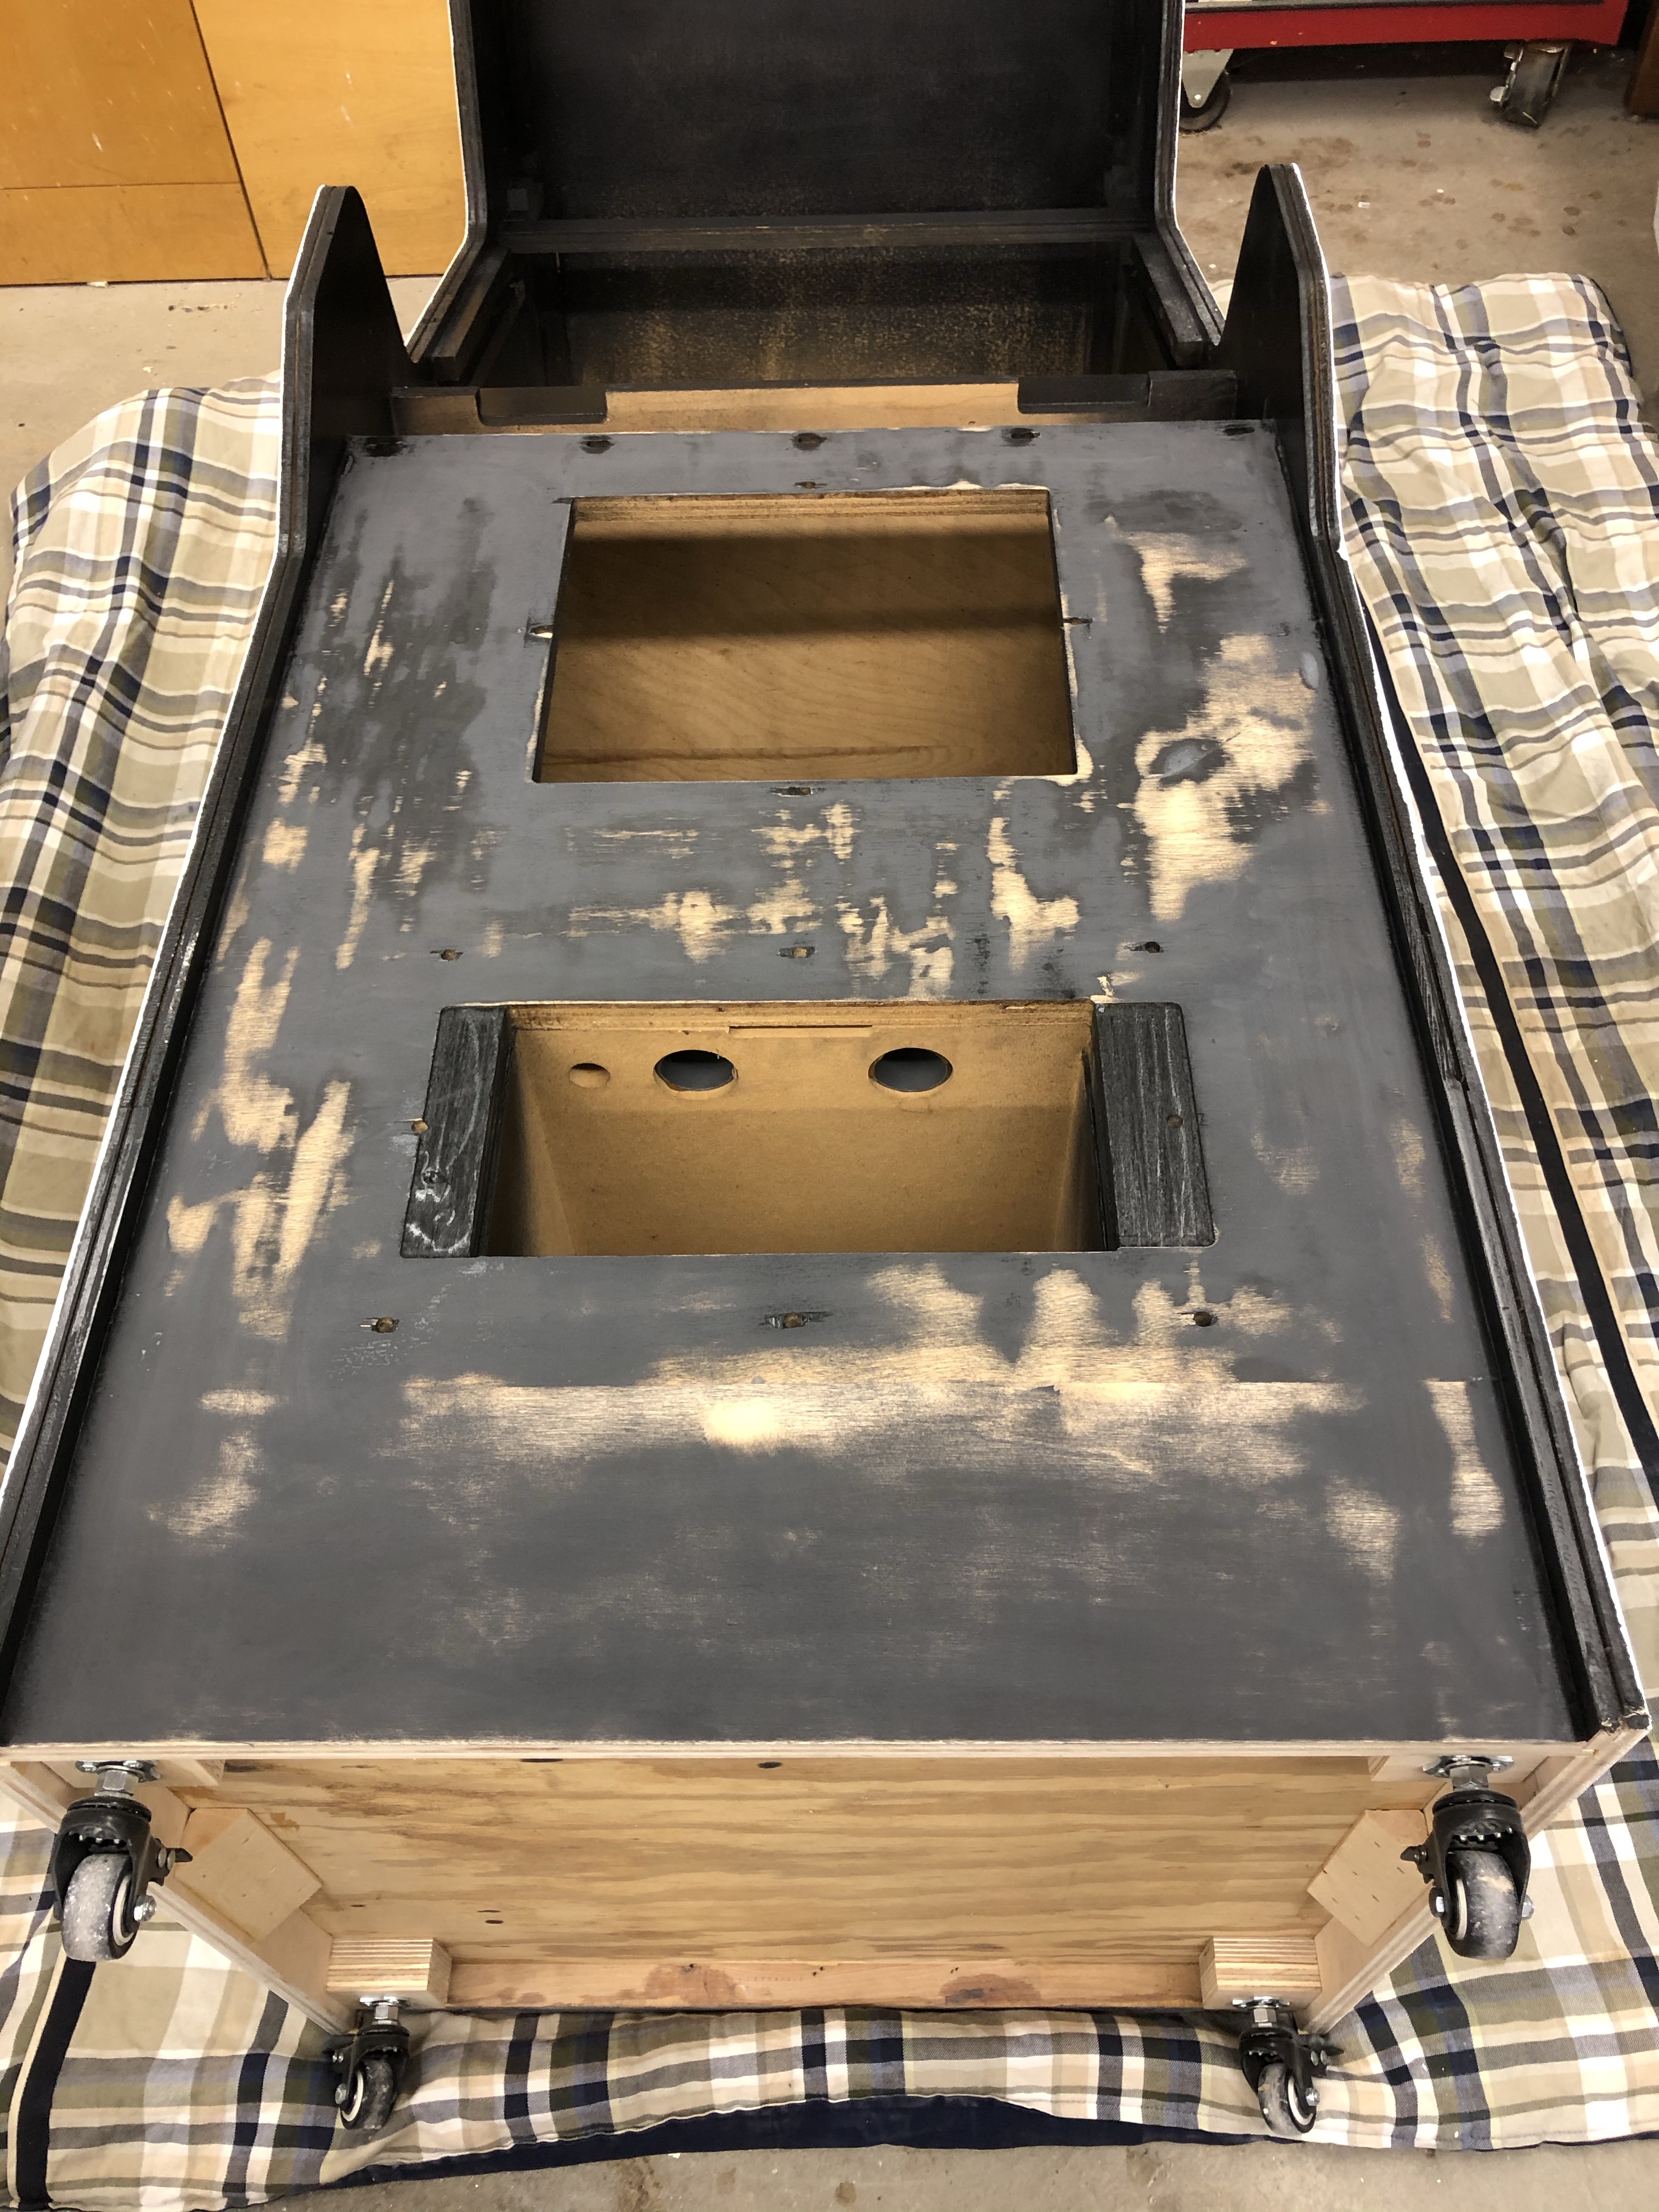
Thankfully I was mistaken and the top panel was made of particle board and not MDF. (The edge looked like MDF..) This looks terrible. This technique should work on MDF too.. But all things being equal – particle board is better than MDF.
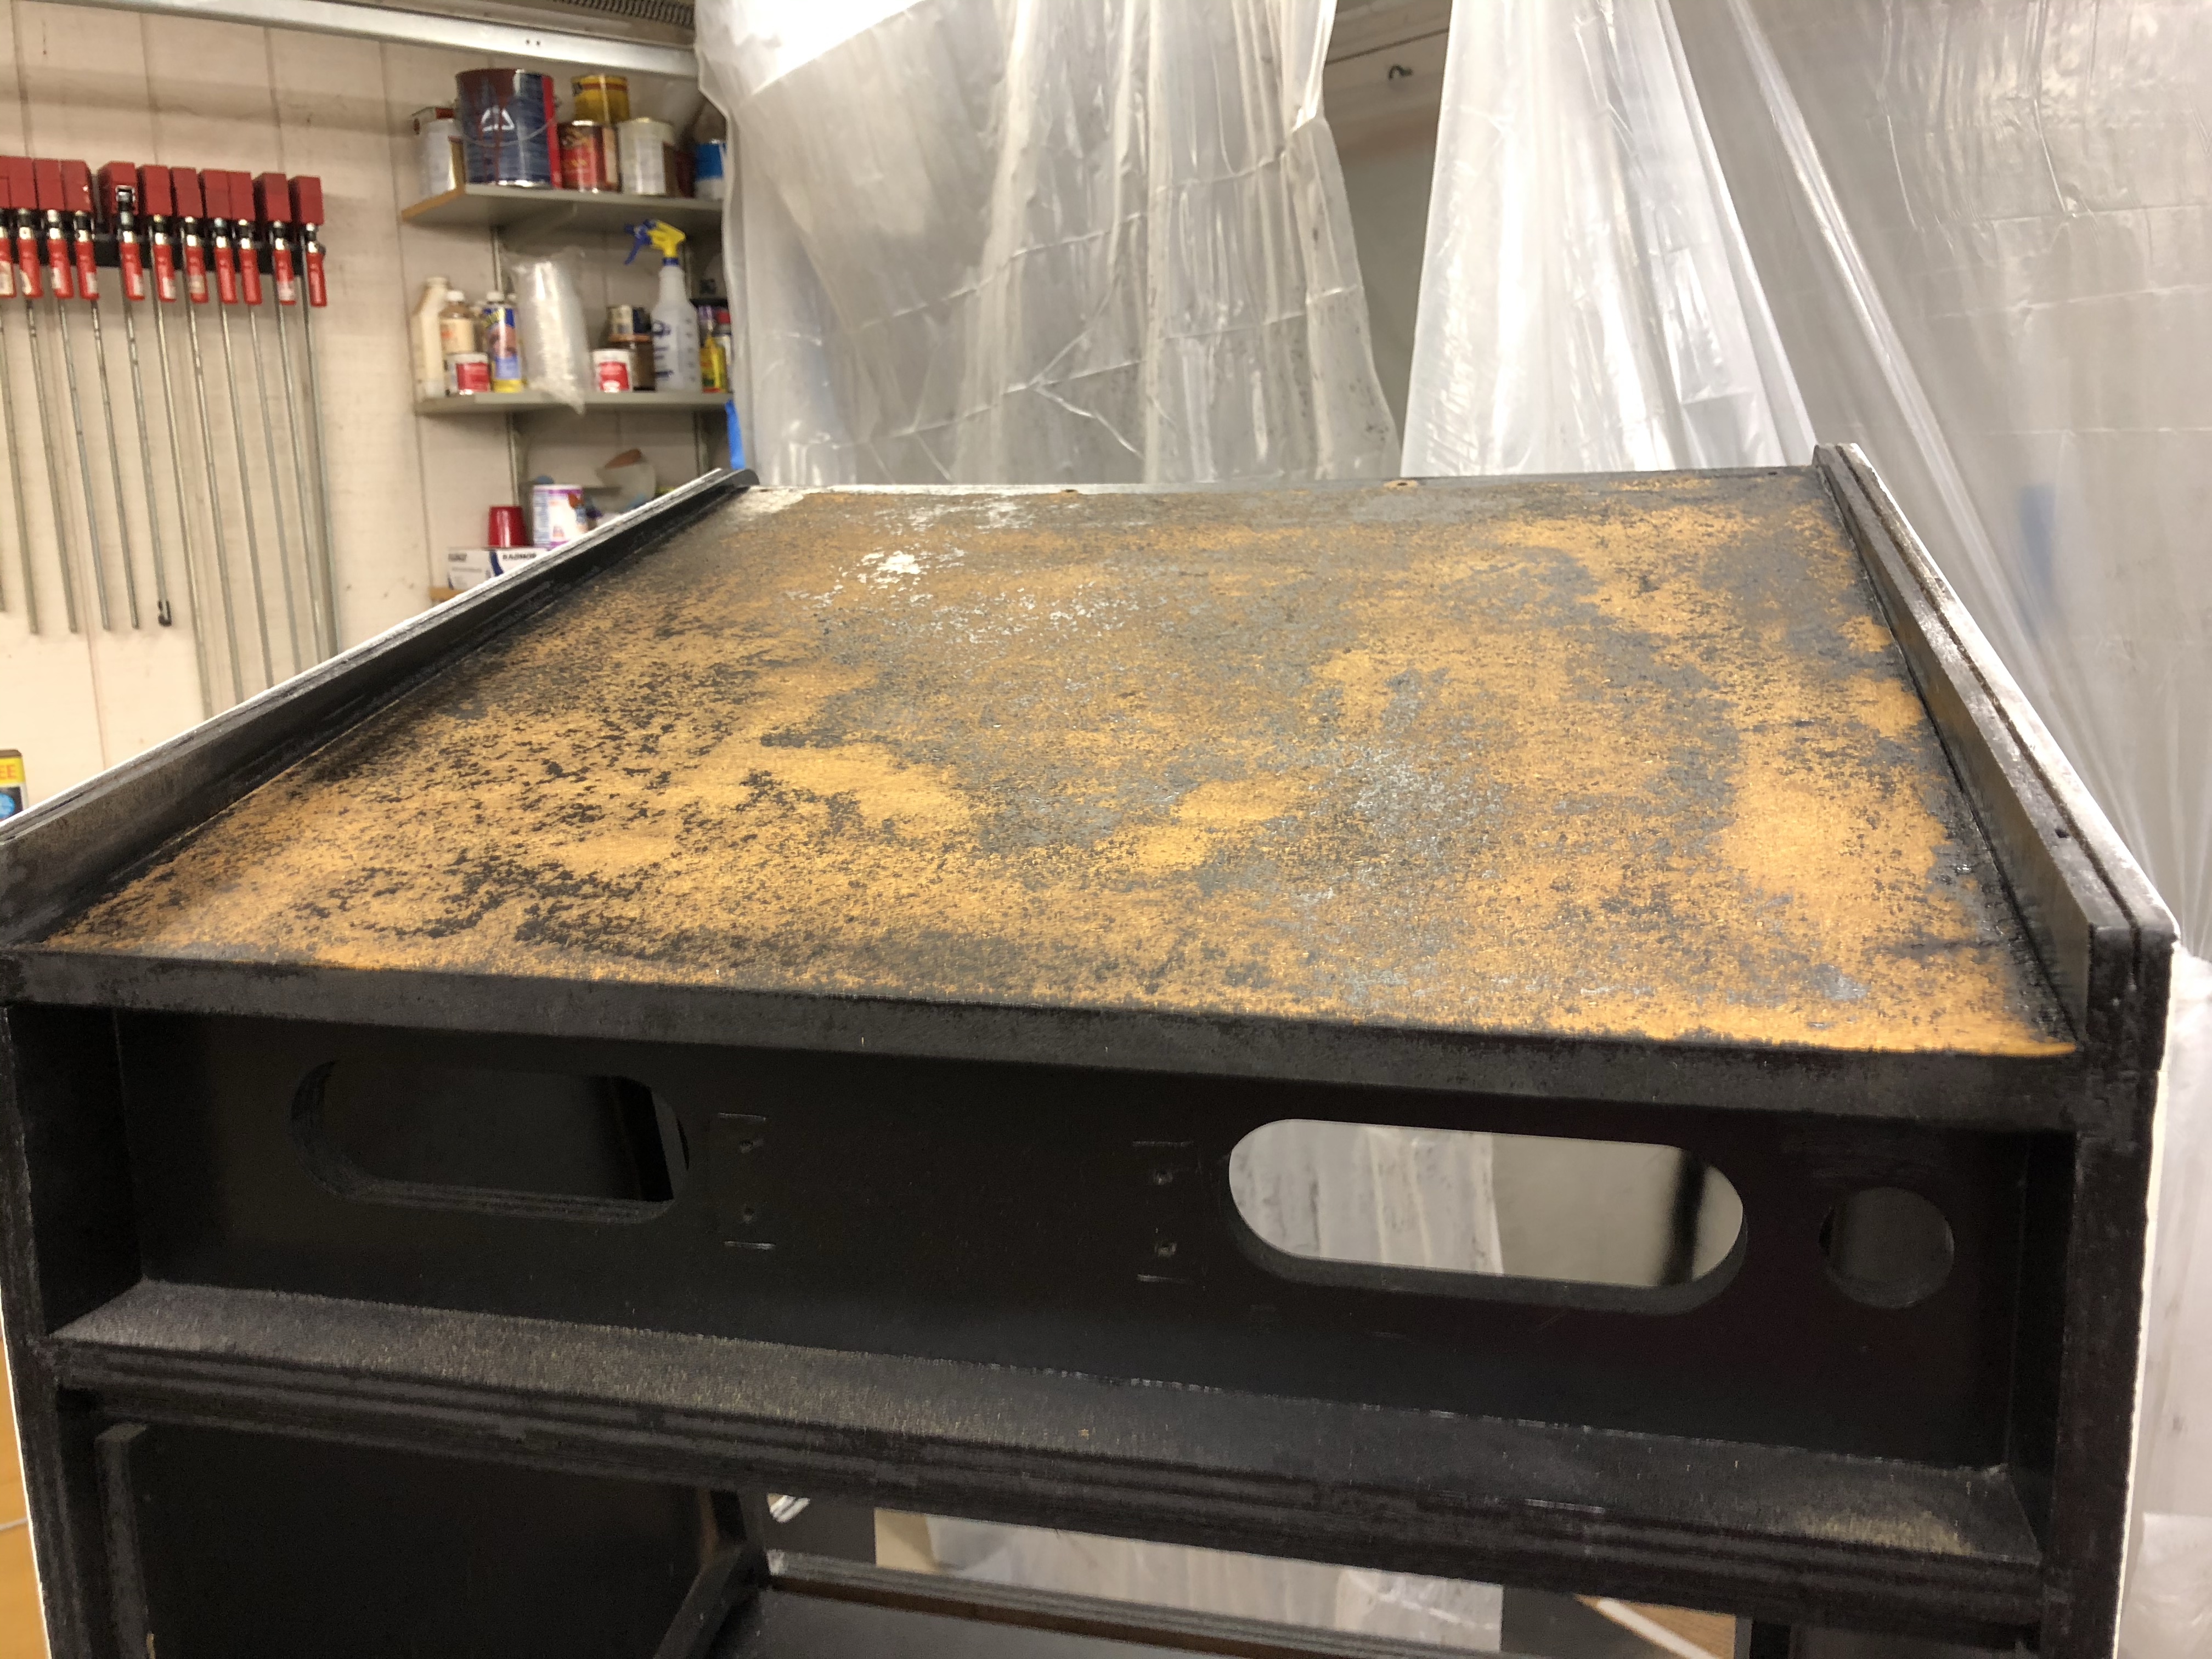
I used 80 grit paper and re-sanded it to as smooth as I could get. The surface texture varies considerably, but at least it is flat. I personally use a product called CPES that is an epoxy based wood stabilizer. Two coats got brushed on to lock down the wood fibers. There are many wood stabilizers available. Very necessary to fix this up! Once its set – sand again to smooth things up.
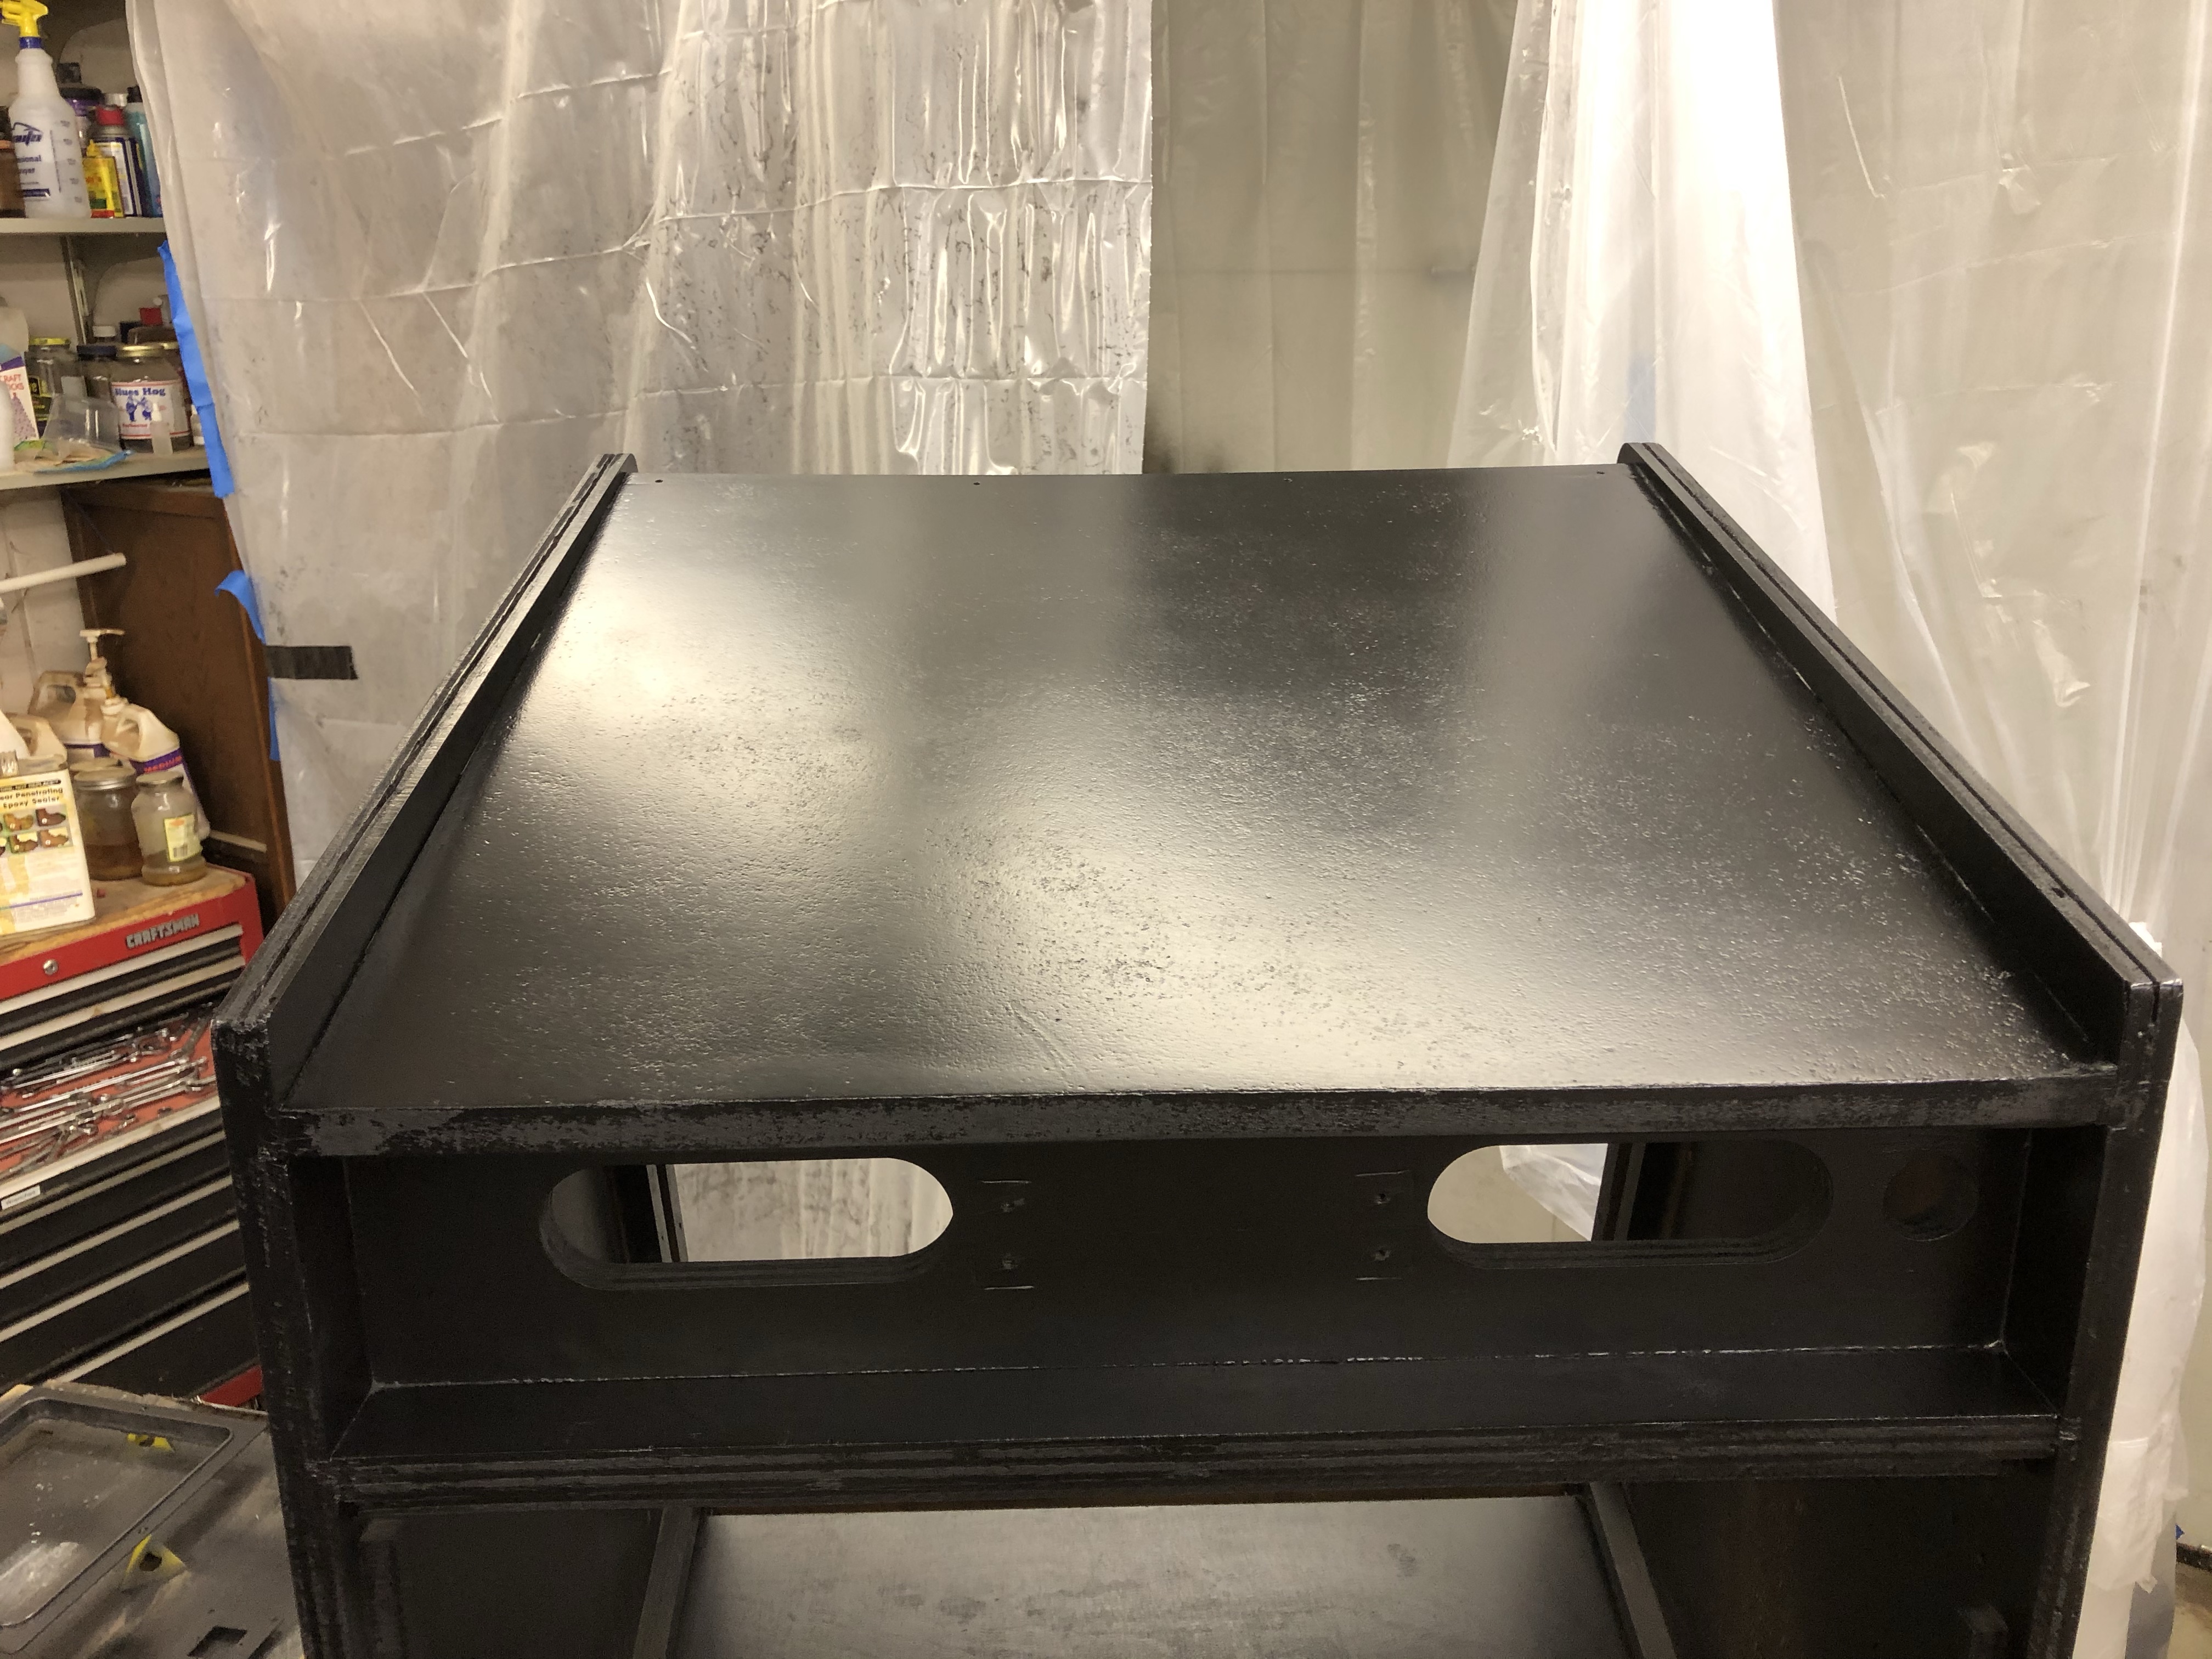
After that – 2 coats of Kilz oil based primer. It’s sandable, has some filler properties and evens out the texture. I’m not trying to make a mirror – just an even texture like it was originally.
I knew the coin door panel was going to need a second coat based on how the first one went on. Sand down the high spots and generally smooth out the surface.
After repainting, this is much better..
Coin door panel ready to go as well.. Next up is sanding down the primed sides. The original Joust had a very smooth base color coat for the side art stencil work.
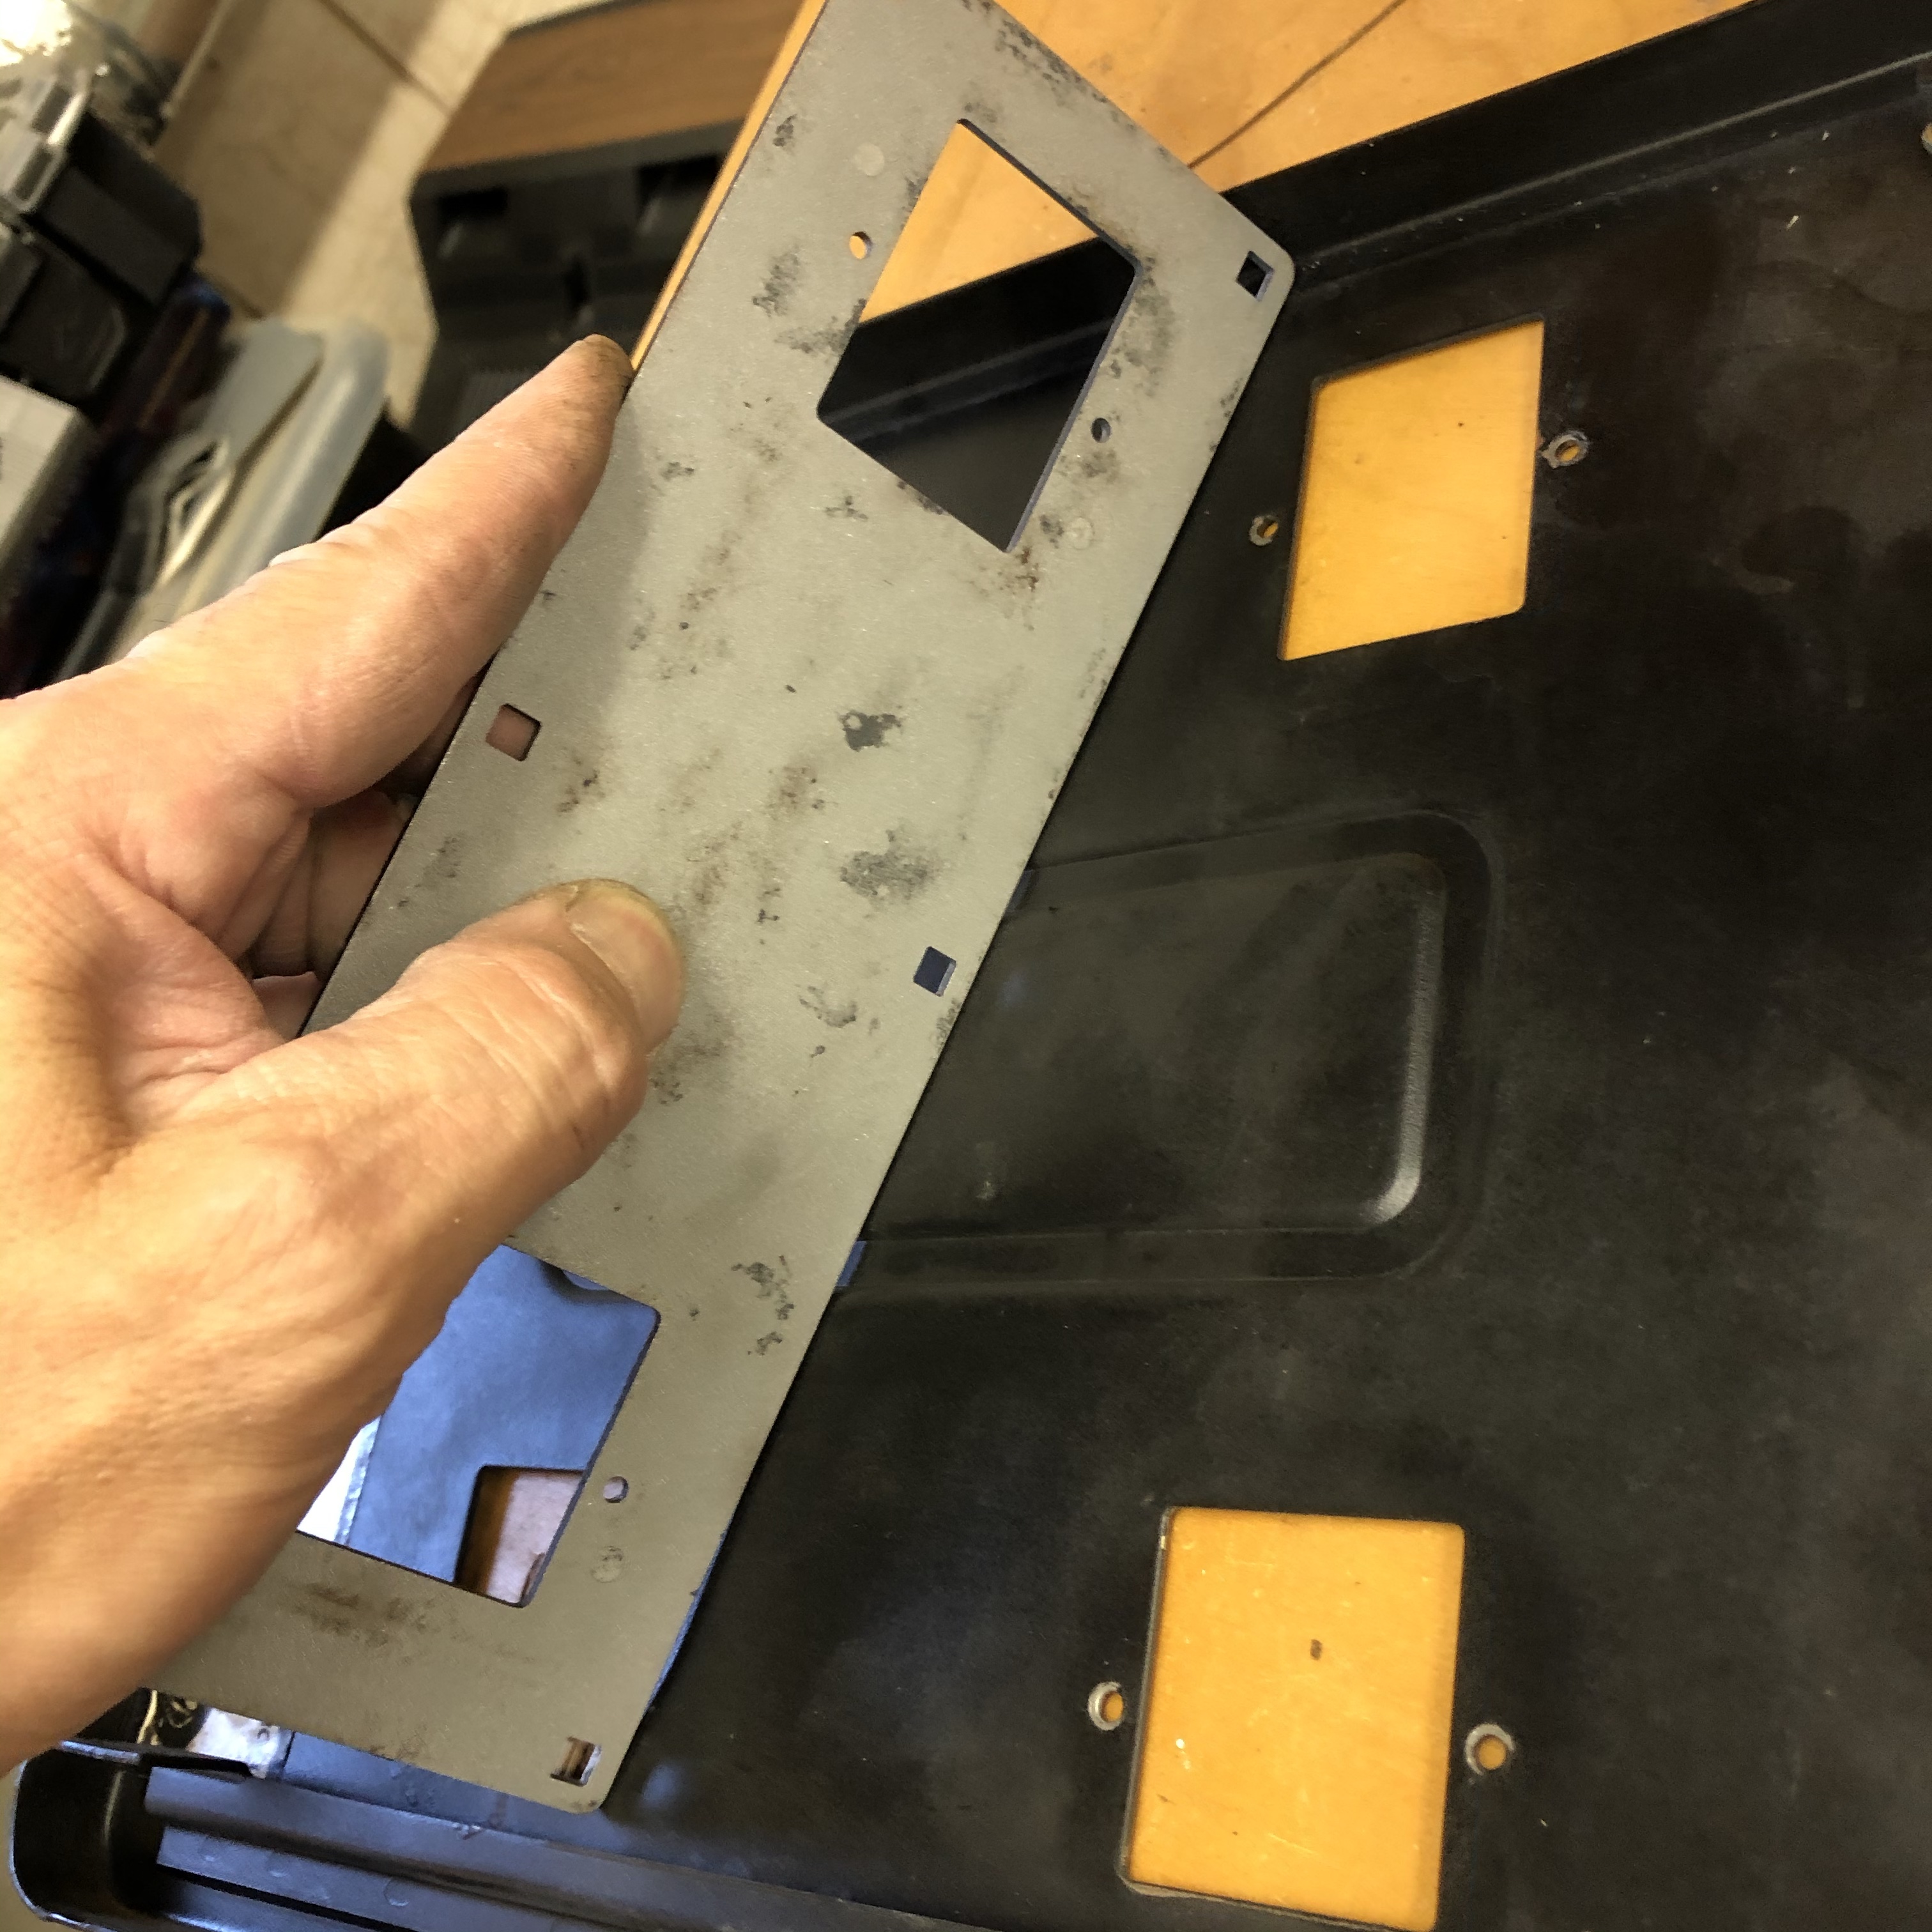
During all of this I’ve been working on the metal bits..

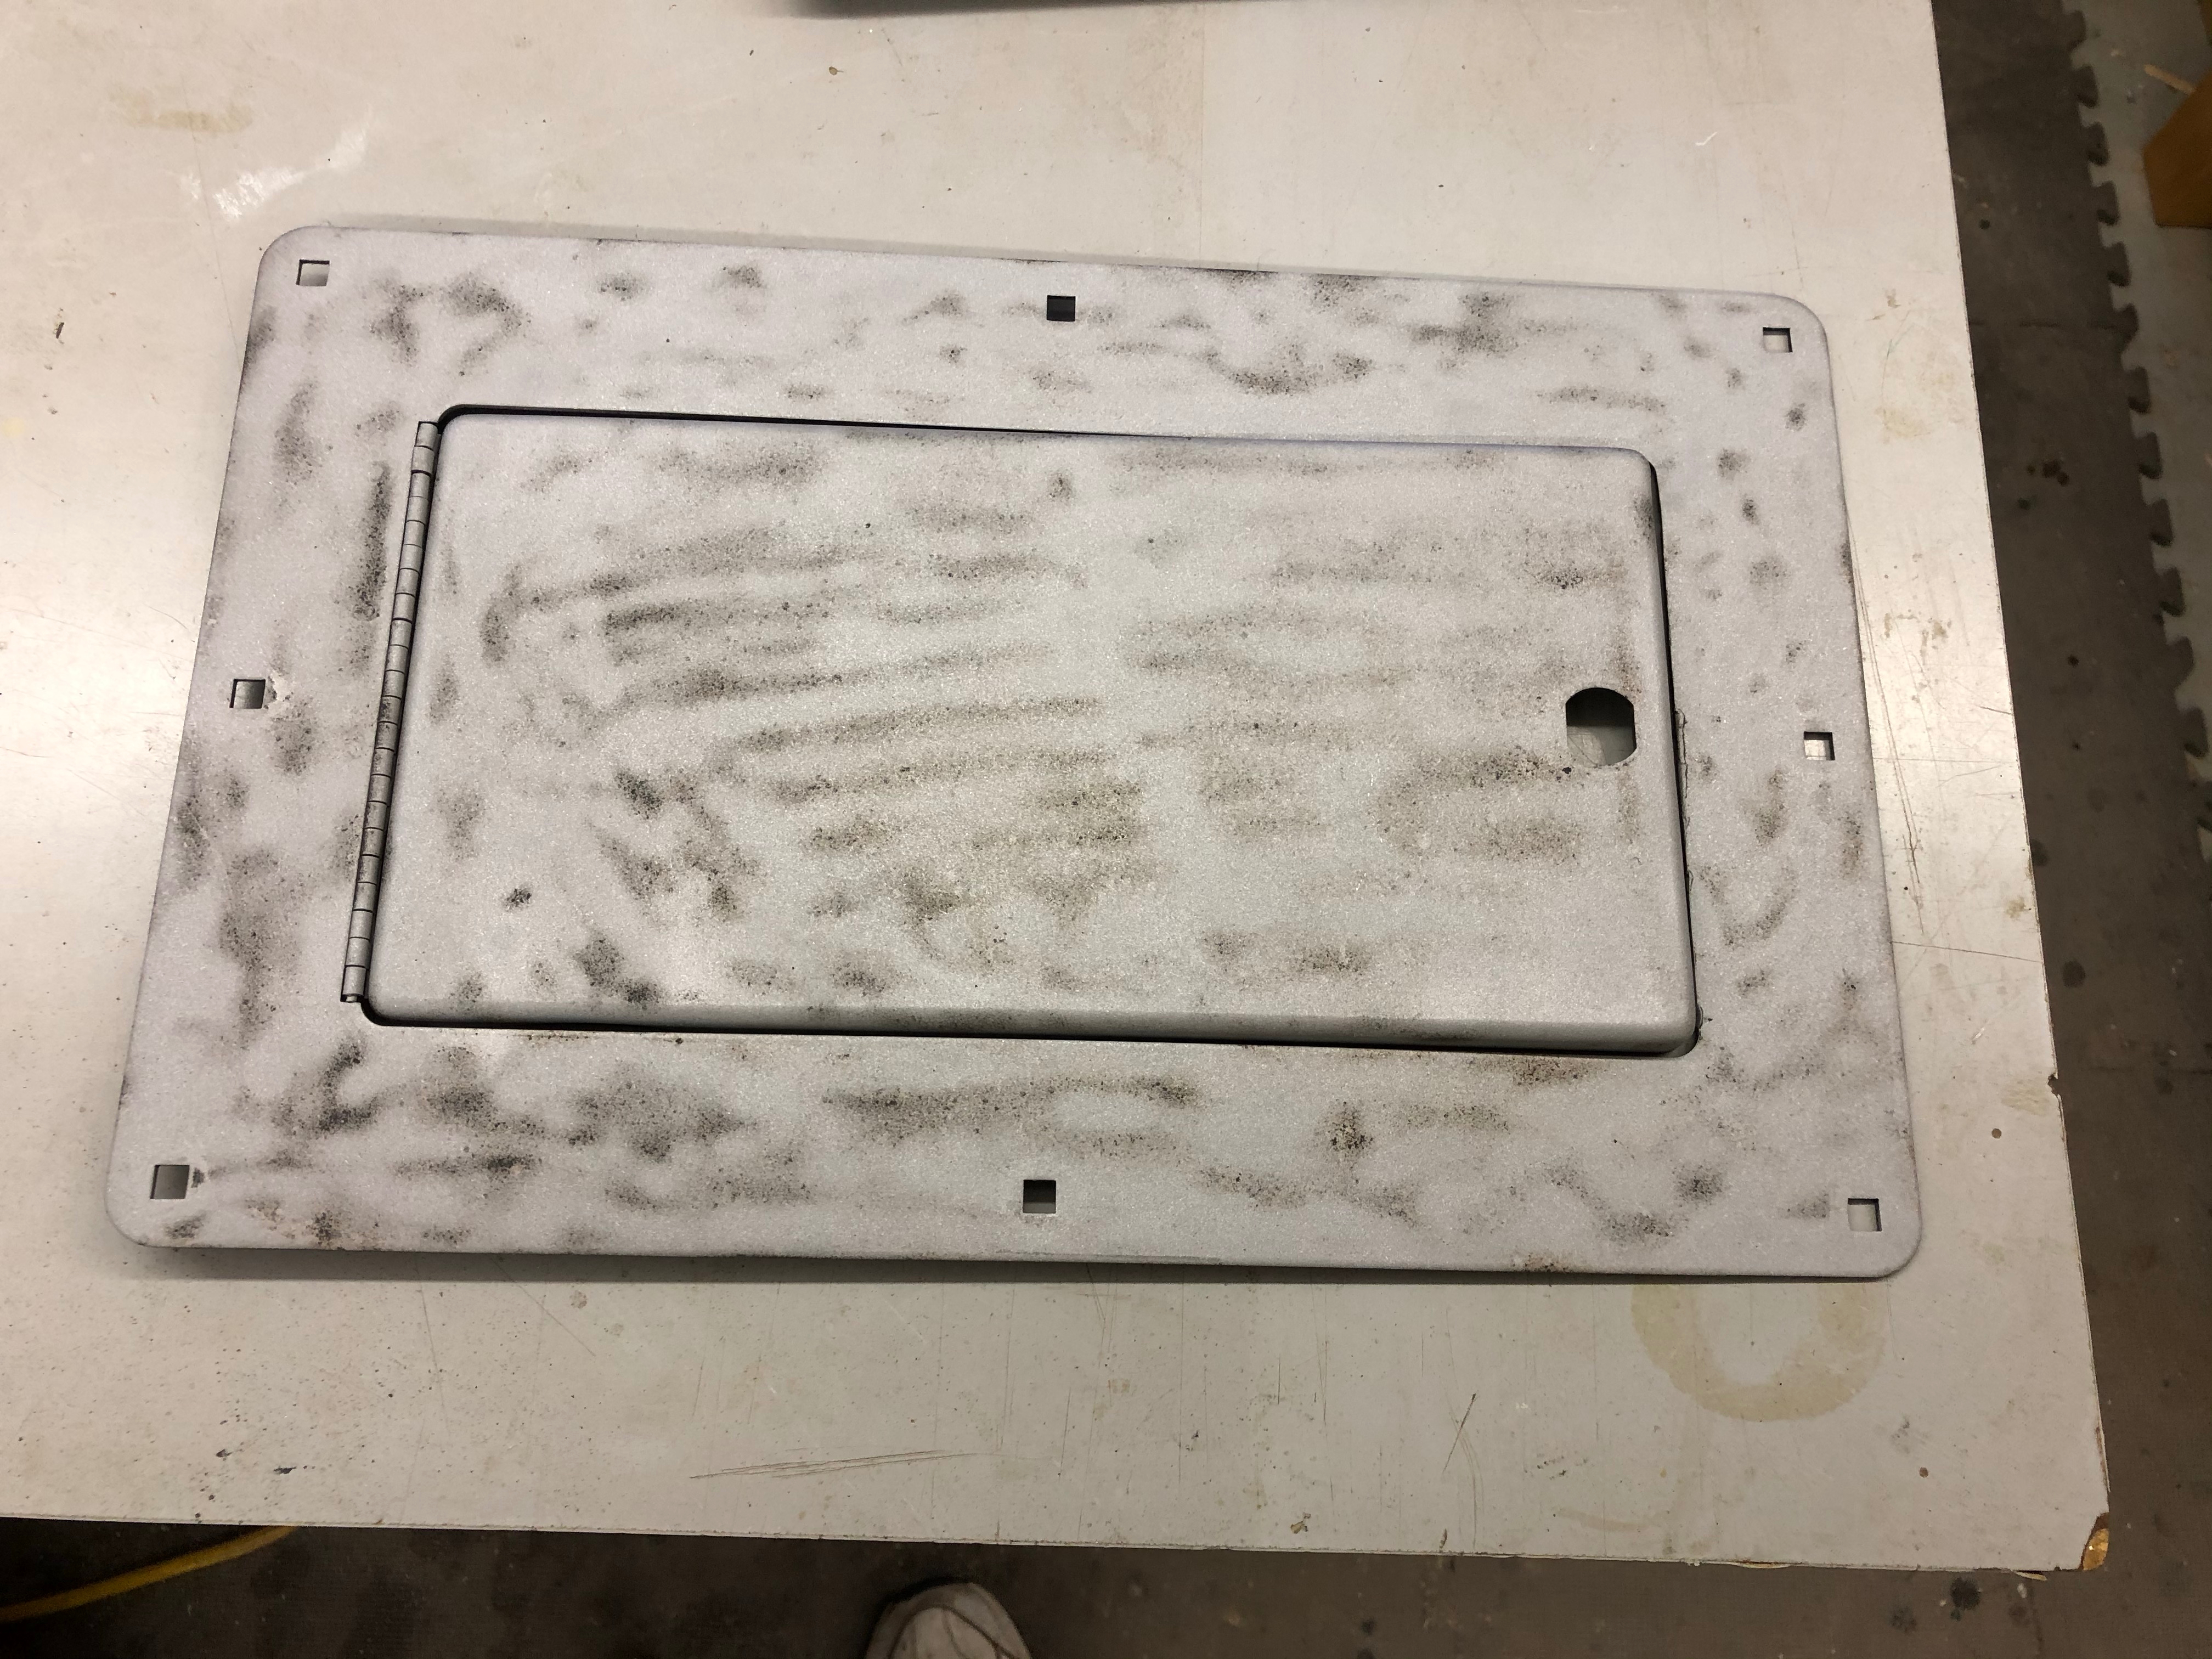
These are Joust upright and Joust cocktail parts mixed together. They were pretty ratty. Sandblasting and paint and they are good as new.
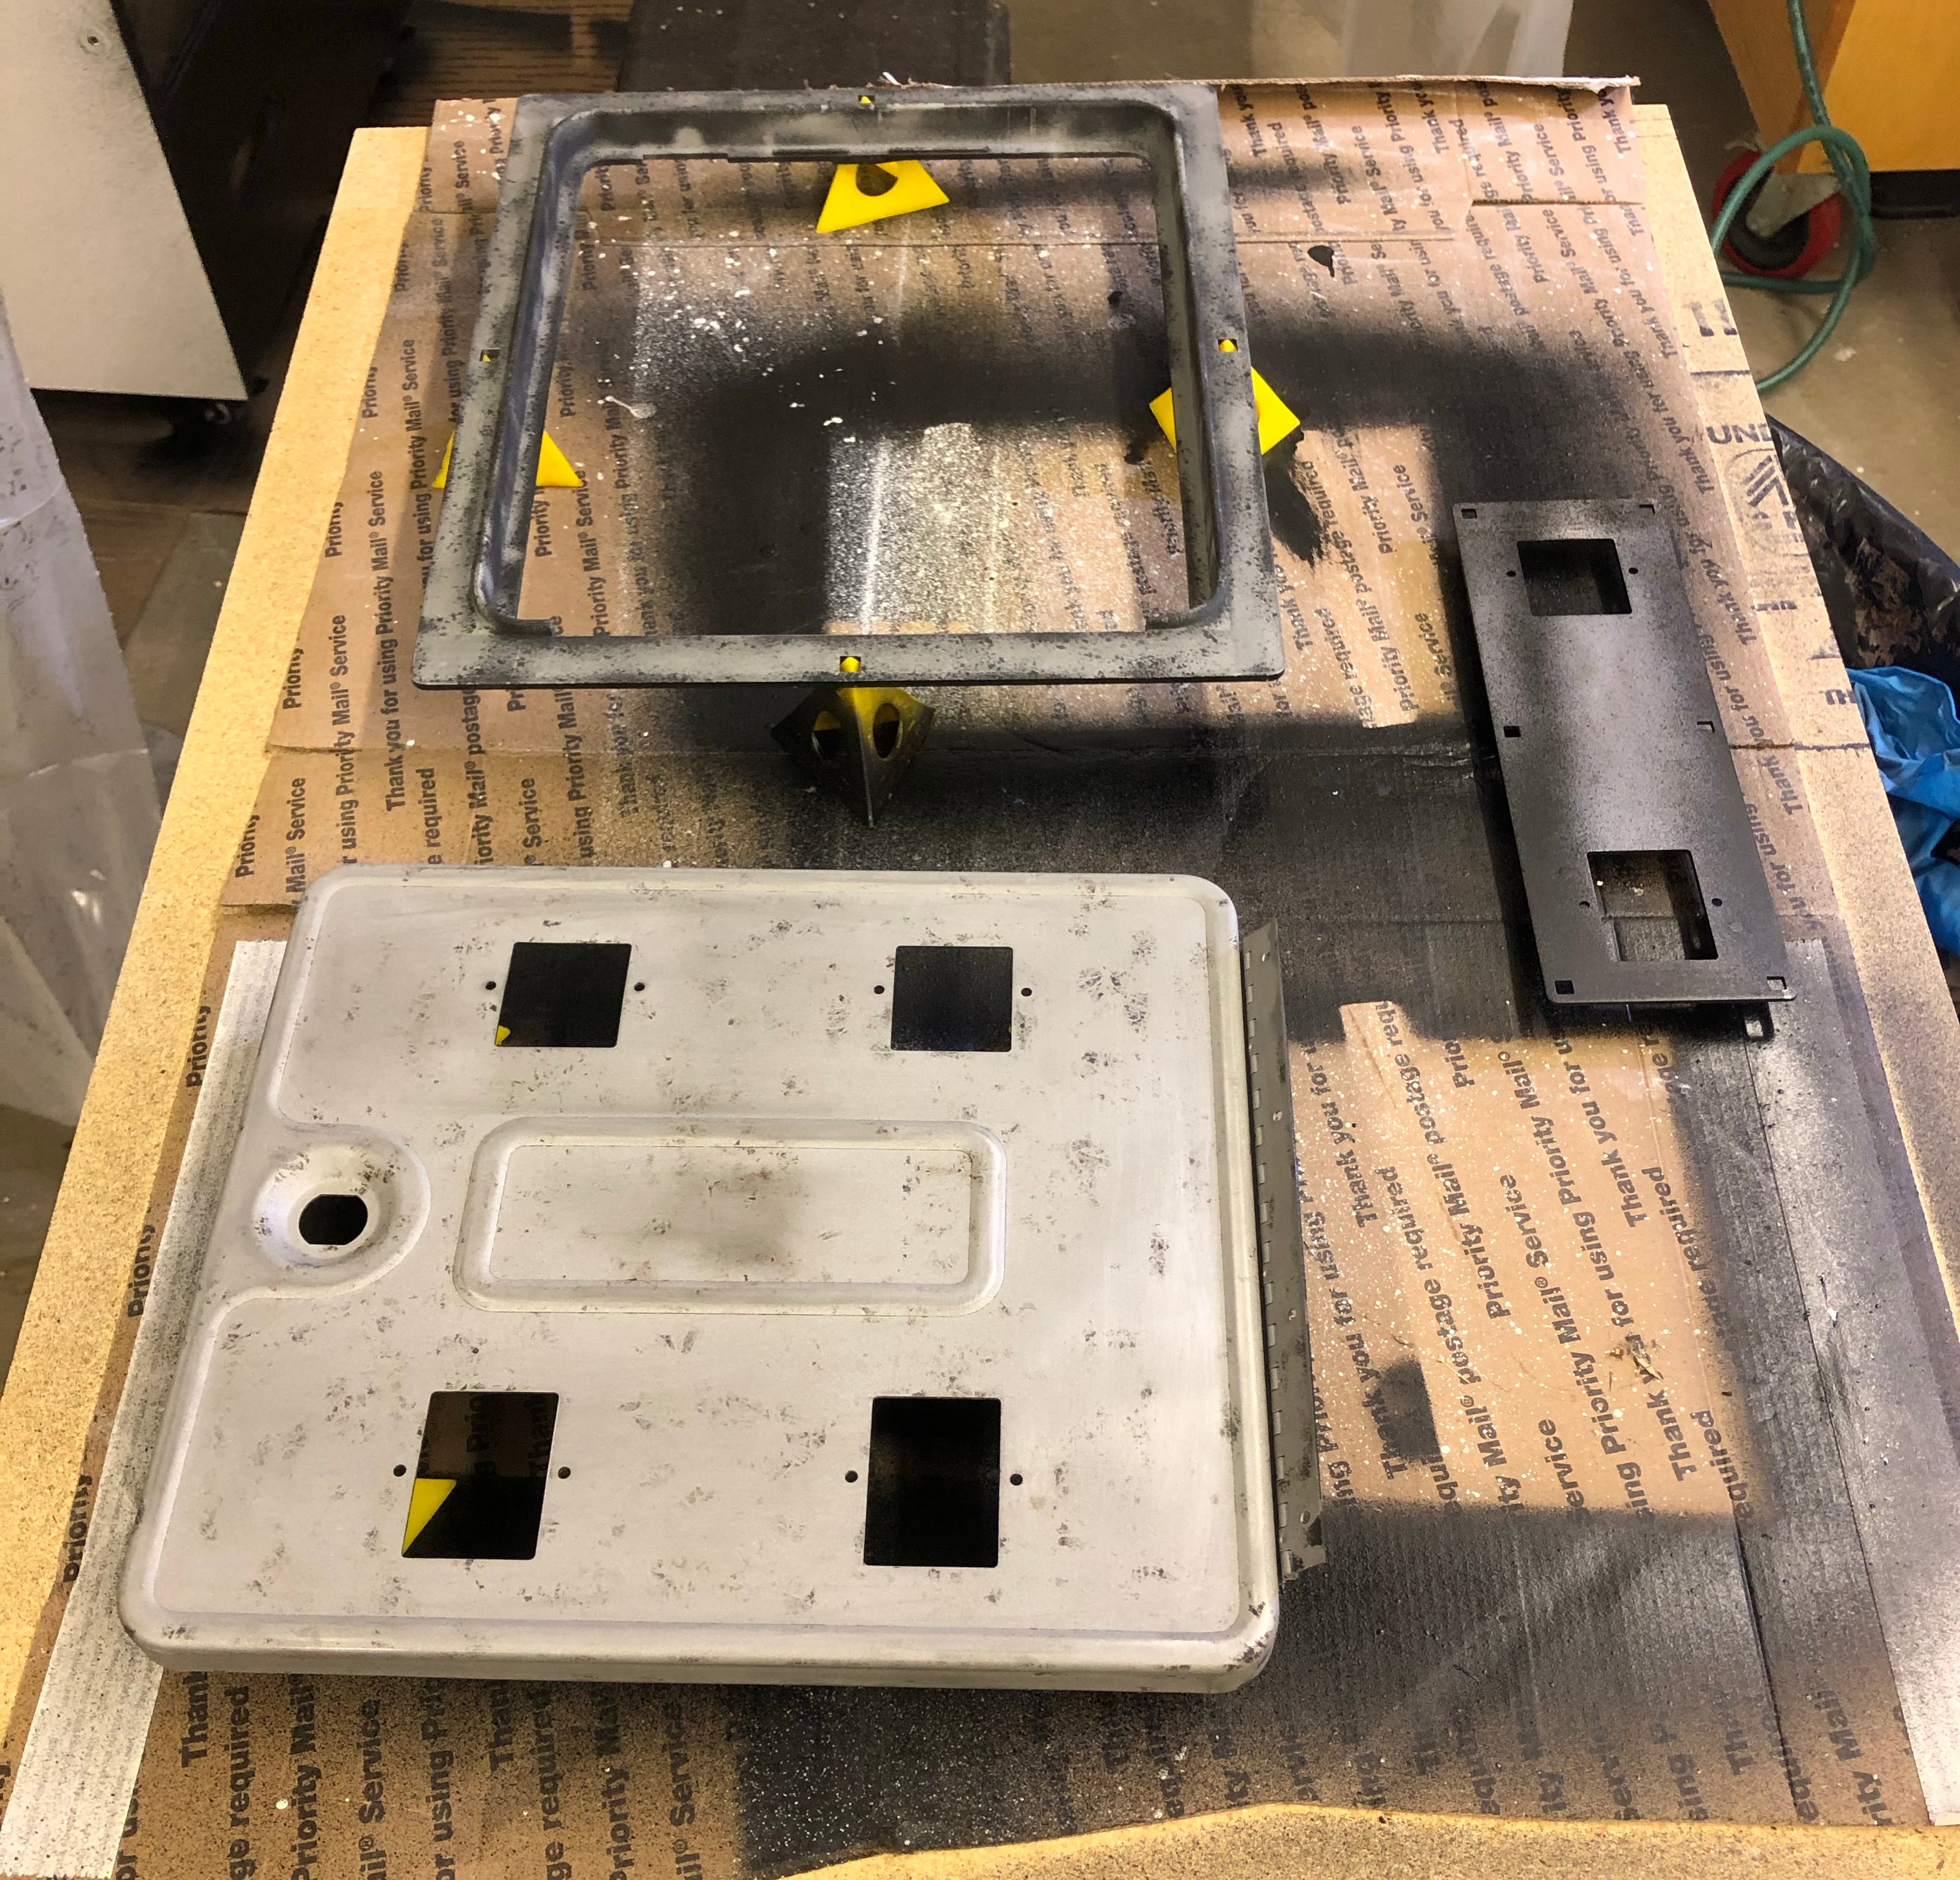
These cleaned up quite nicely.
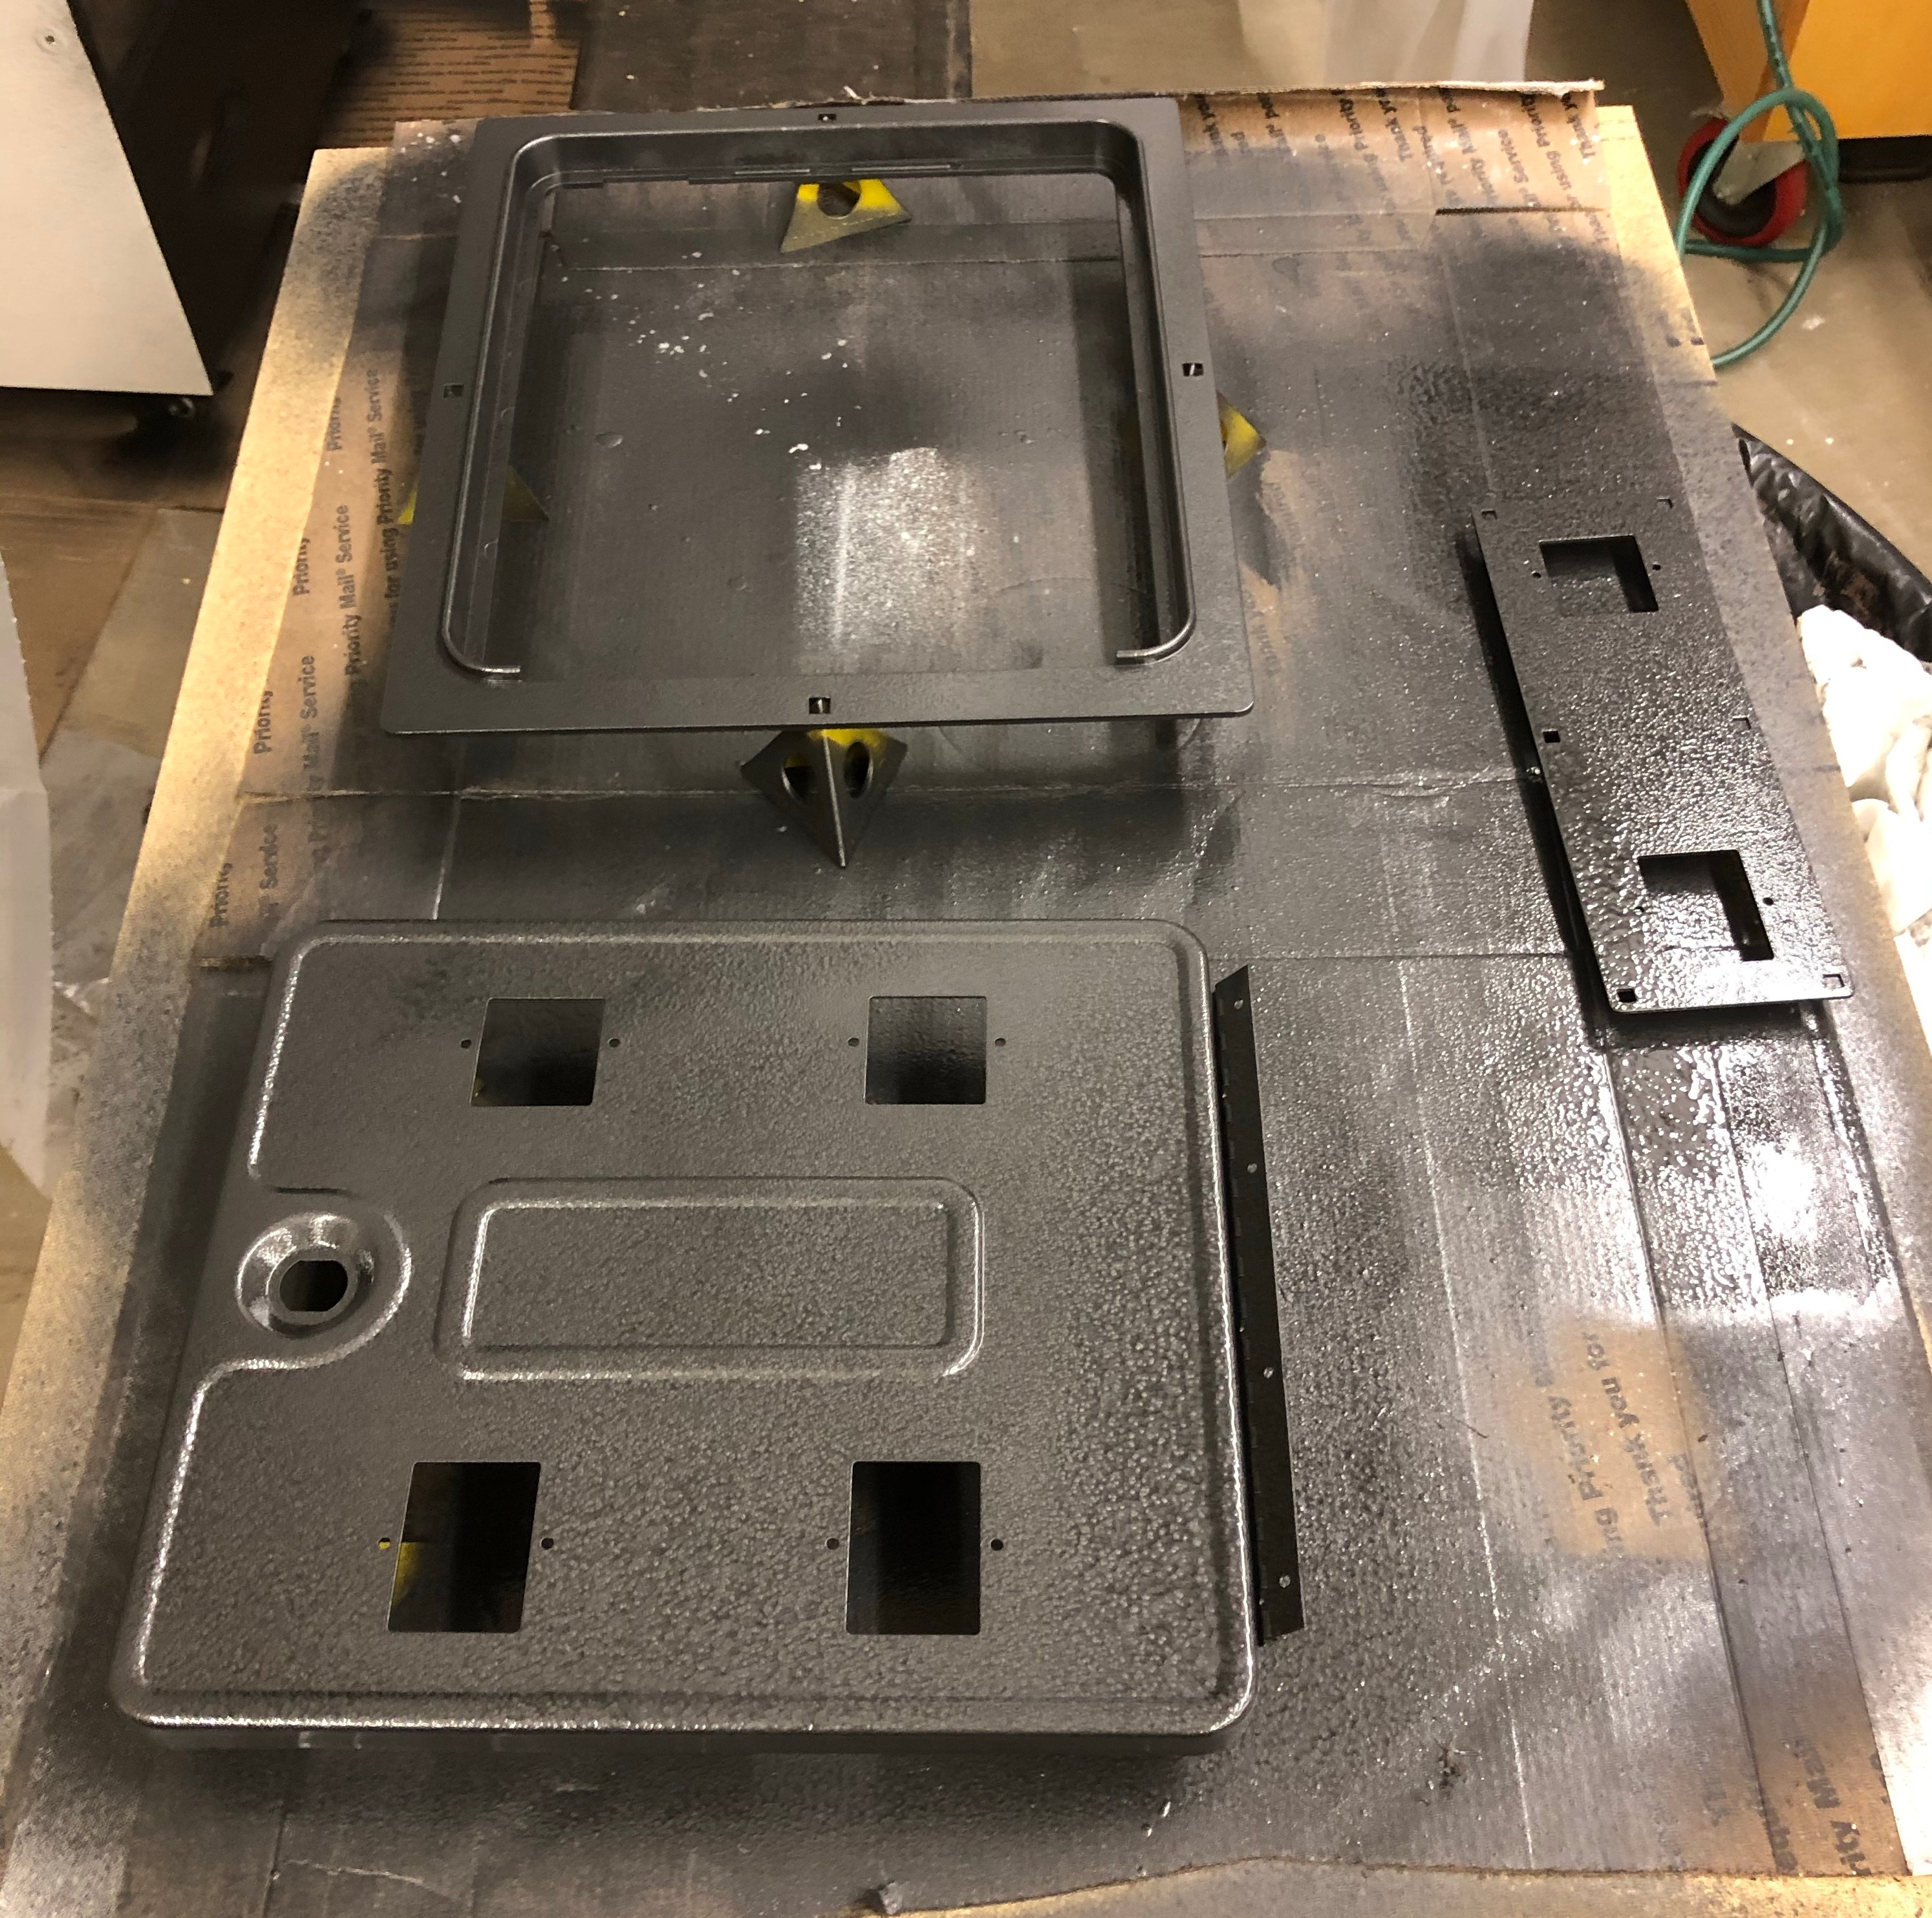
And then this horrible thing happened.. Researched showed the hammered finish paint worked well for coin doors – it doesn’t. (I should have done a test piece – I know better) Also – the can says black paint and it came out charcoal colored – its no where near black. I can see this type of paint being useful for some stuff.. But not for this..
I’ll be re-blasting these and repainting. Digging a little deeper I found a video that shows a great way to get back the original textured finish.
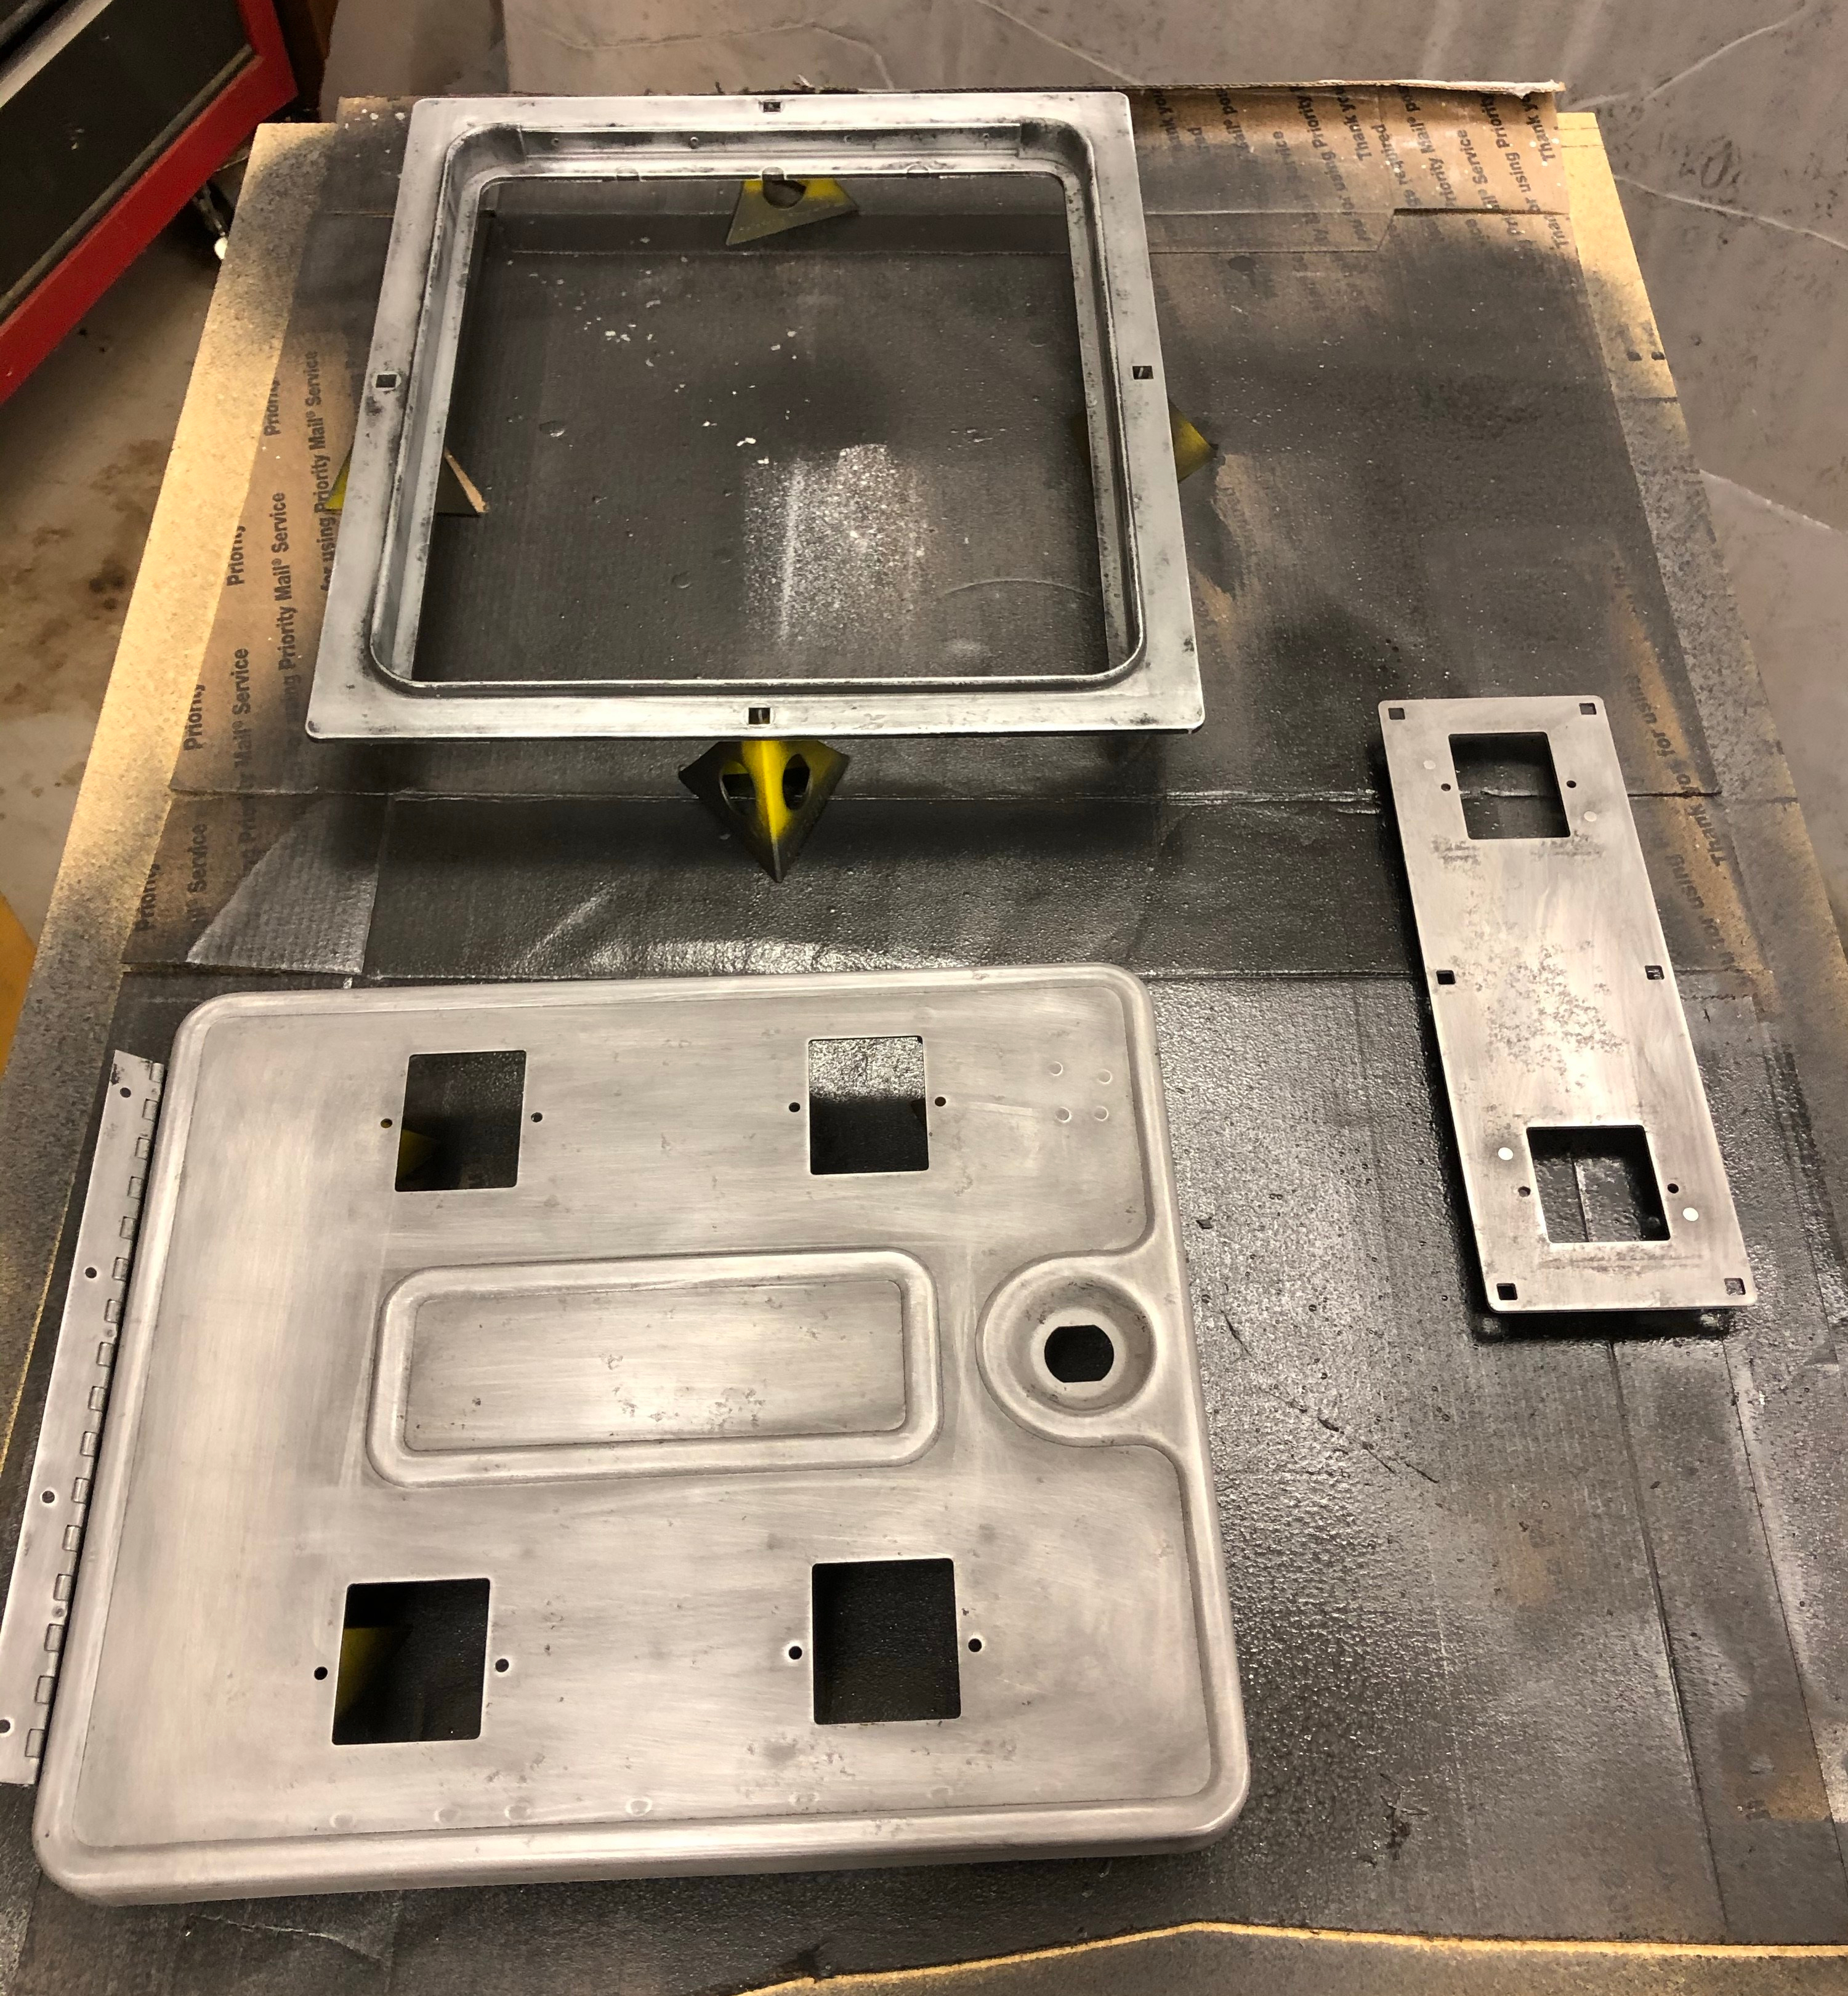
Sandblasting fresh paint is WAY easier than sand blasting 40 year old paint. It took me longer to drag the air hose and sand blasting stuff outside/inside than to remove that crappy hammered finish paint. Maybe 10 minutes for 4 pieces.
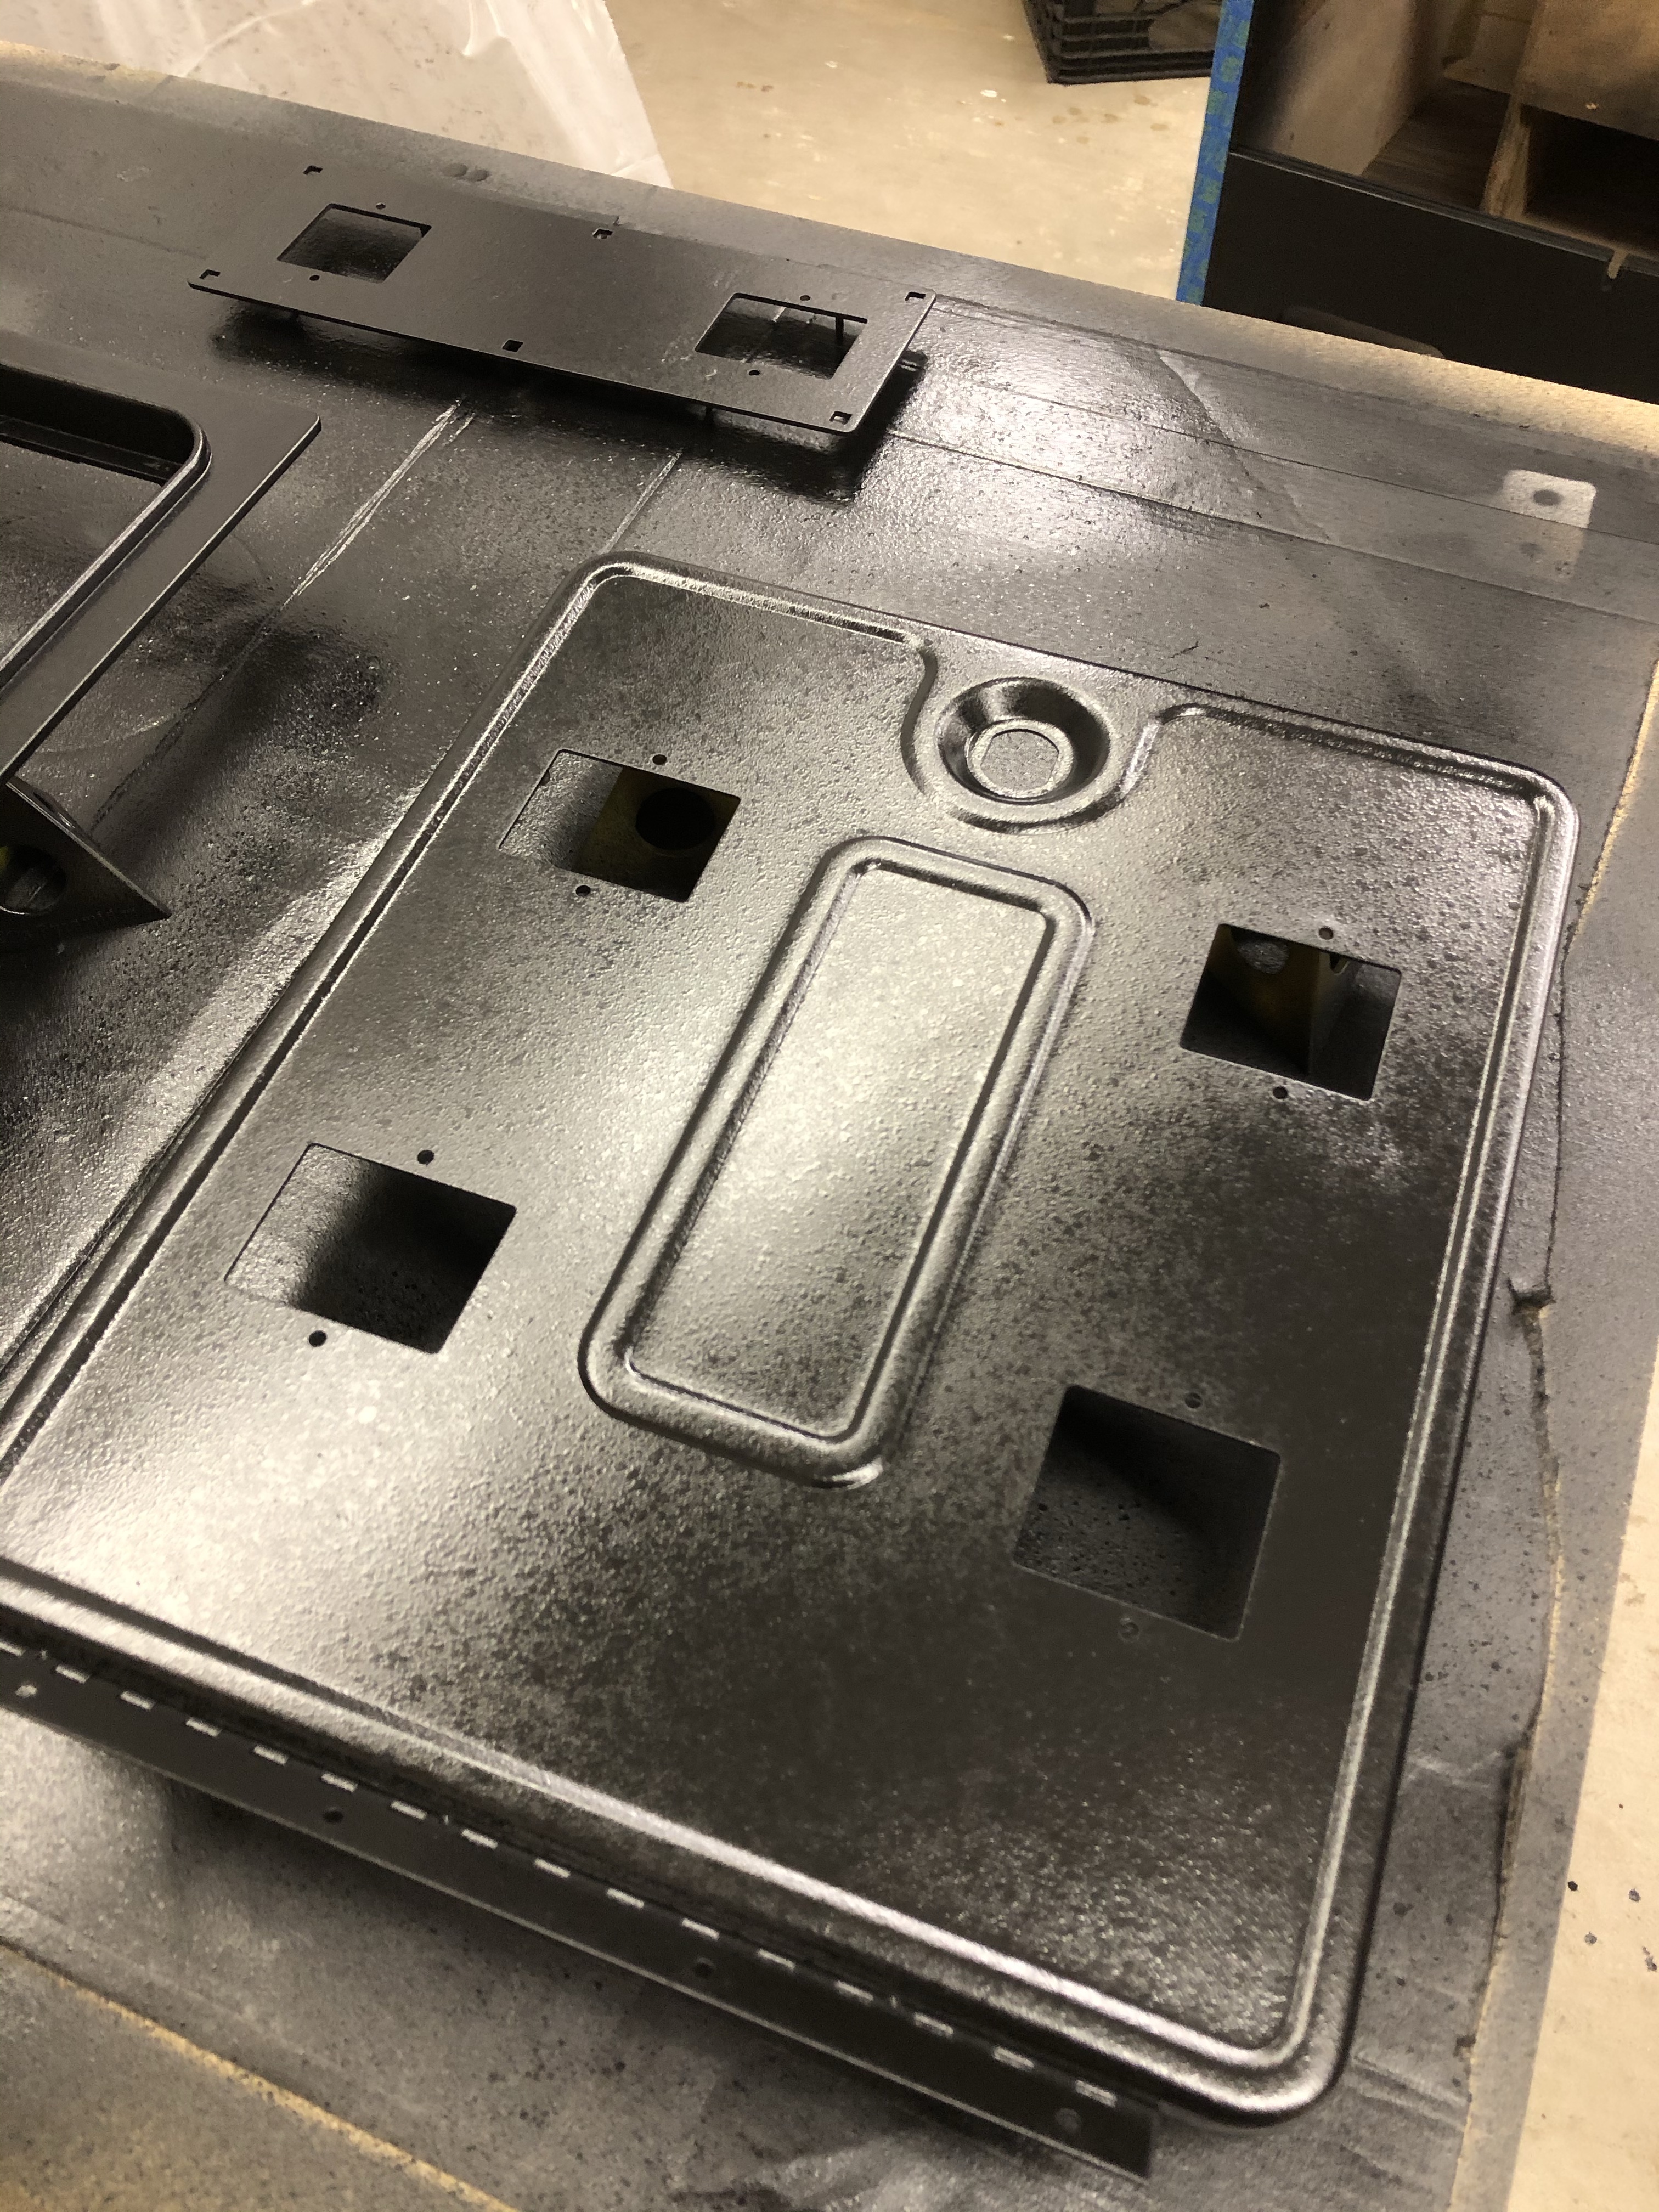
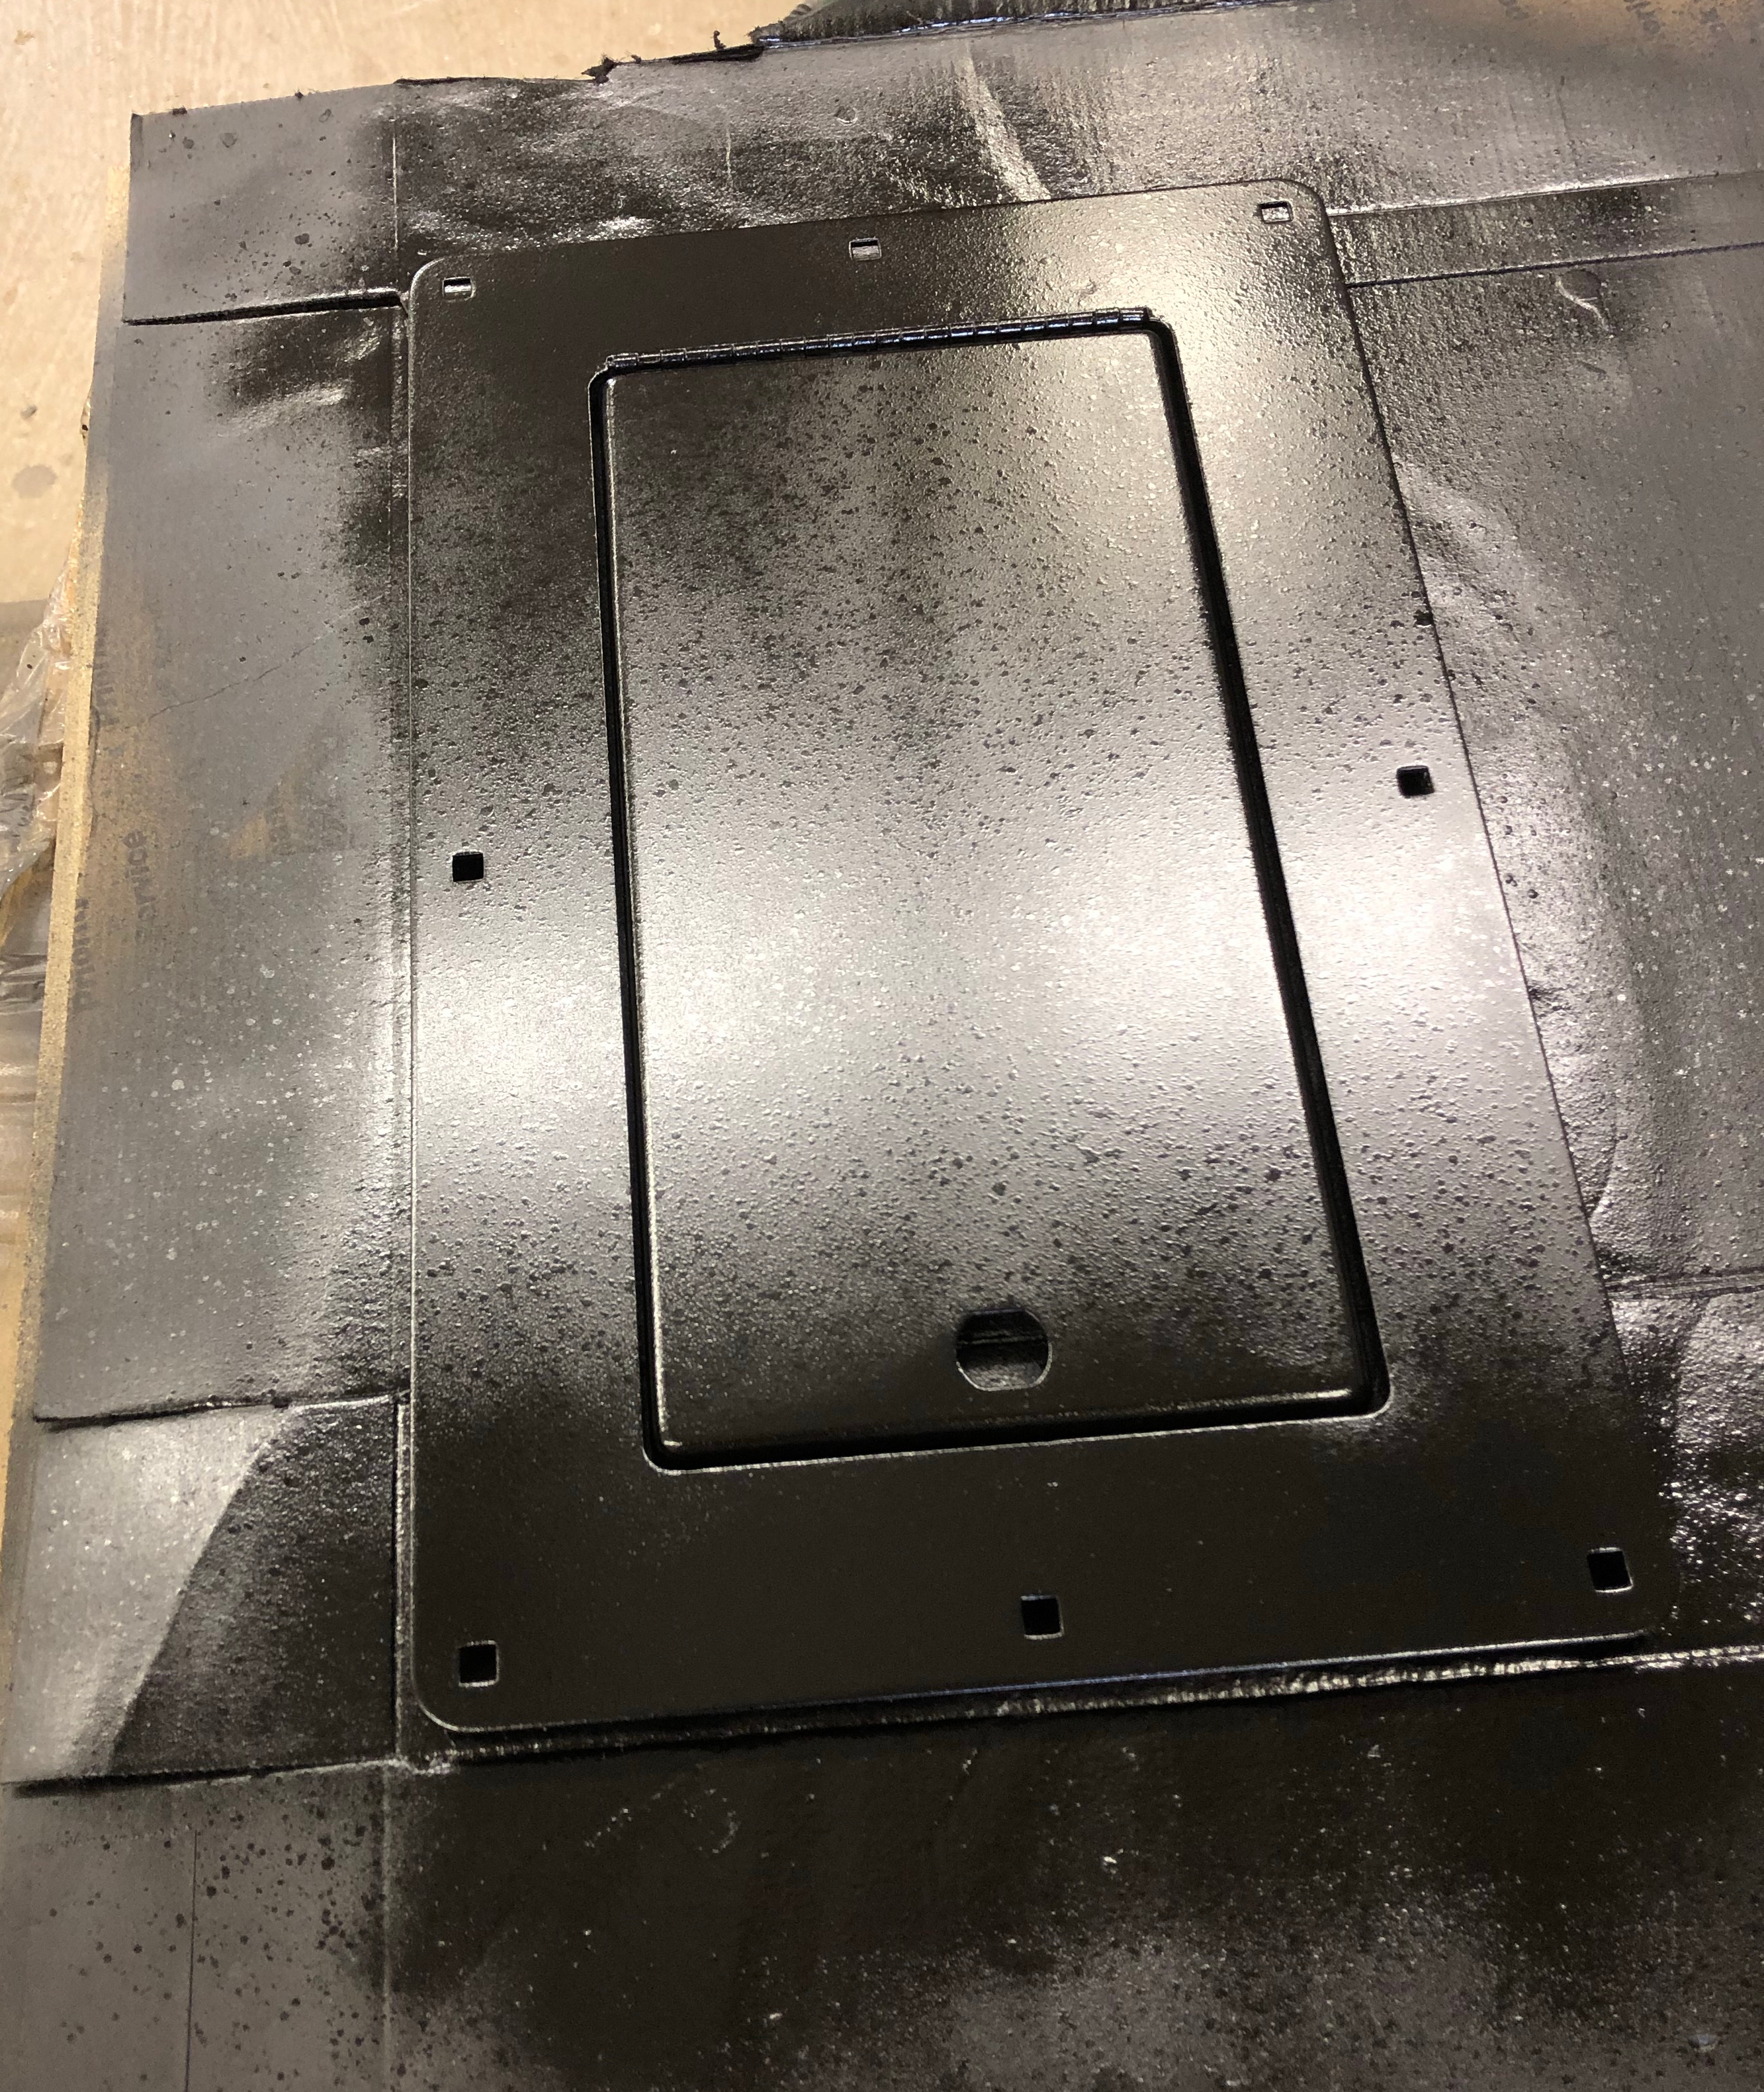
Here is the completed door – its still wet so the gloss still has to tone down a bit. I used Rustoleum Satin Black paint. Spray in the base coat smooth as you normally would and wait 30 min or so for it to set up.. To get the texture – you have to spray a second coat – but EVER SO LIGHTLY press the button so the can barely spits out paint. The little spitting gives the exact texture. Holding it just right requires a little practice.
I got the info from this video: Bryan Kelly Coin Door Restoration
He did it with two different paints. I just used Satin Black and it looks great. All my surface metals that were textured get this going forward.
Well worth the rework.
4th times a charm if you include the crappy hammer finish paint.
Because no build thread is complete without sharing mistakes.. this cash box door put up a fight. It was the first part I painted with the spatter/texture technique. When you are barely pressing the nozzle and its spitting paint dots, a little puddle of paint builds up just below the nozzle on the rim of the can.. and then a big blob of paint falls on the part.
I waited for it to dry and re-sand blasted it..
Then made the same exact mistake.. again..
Re-sand blasted it..
Have to make sure the paint can is never OVER the part.. spray from around the perimeter..
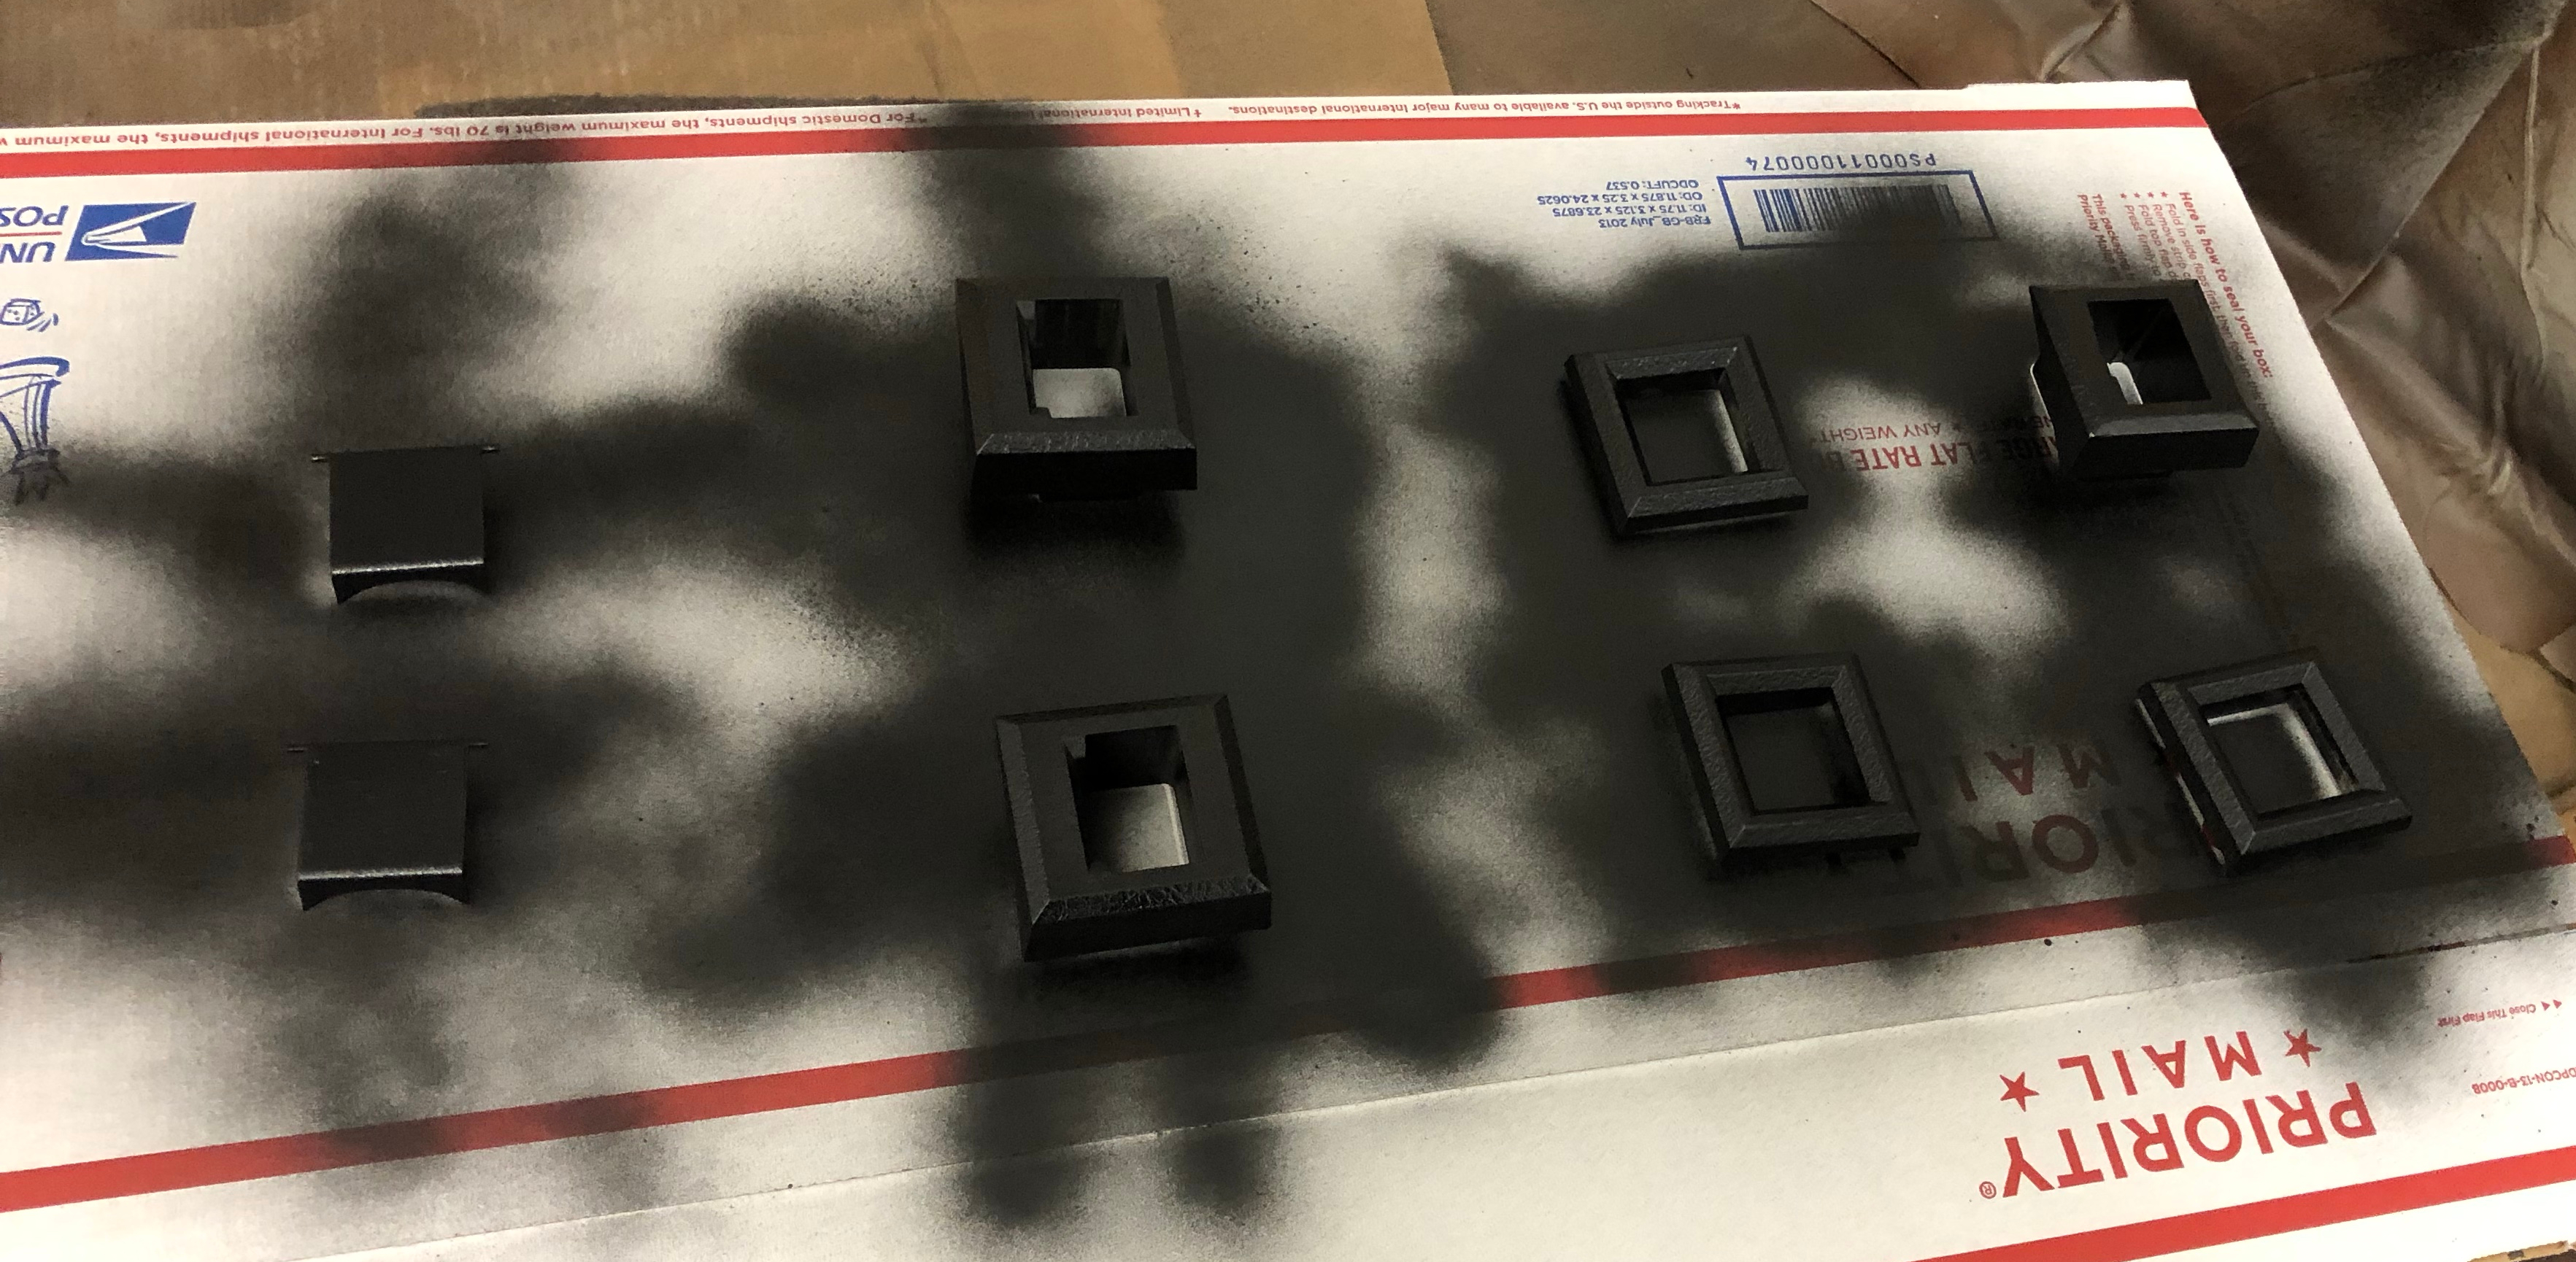
Since everything else was getting some touch-up. These coin slot bezels got a quick hit of paint too..
The primer took some work to get smooth – this is before sanding. I used 80g with the power sander to knock down the high spots, then 120g to smooth it a bit more. Finished with a soft sanding block and 180g by hand to make a perfectly smooth surface. In total it took about 3 hours for both sides. Best to sand in ‘layers’ to sneak up on the final finish vs. trying to get there all at once.


Here are the paint codes that I used. The base color I was able to take from the original (which was under some other paint) and from someone else who did a restore. It should be accurate.
First coat went on nice. The HVLP gun worked well. However I’ve done finish work for years and it still puts up a fight sometimes.. There were some thin spots, but there should have been since its supposed to go on thin and I planned on at least two coats. I’m pretty sure the originals had a very smooth base coat so that the stencils would lay flat for the additional artwork.
The second coat.. not so much.. it orange-peeled on me. I’ll be hand sanding both sides with 120g to re-smooth it and likely 180g to remove the scratches. I probably needed a little more mineral spirits in the paint. Thought I had the mix right.. The upside is 3 coats of paint.
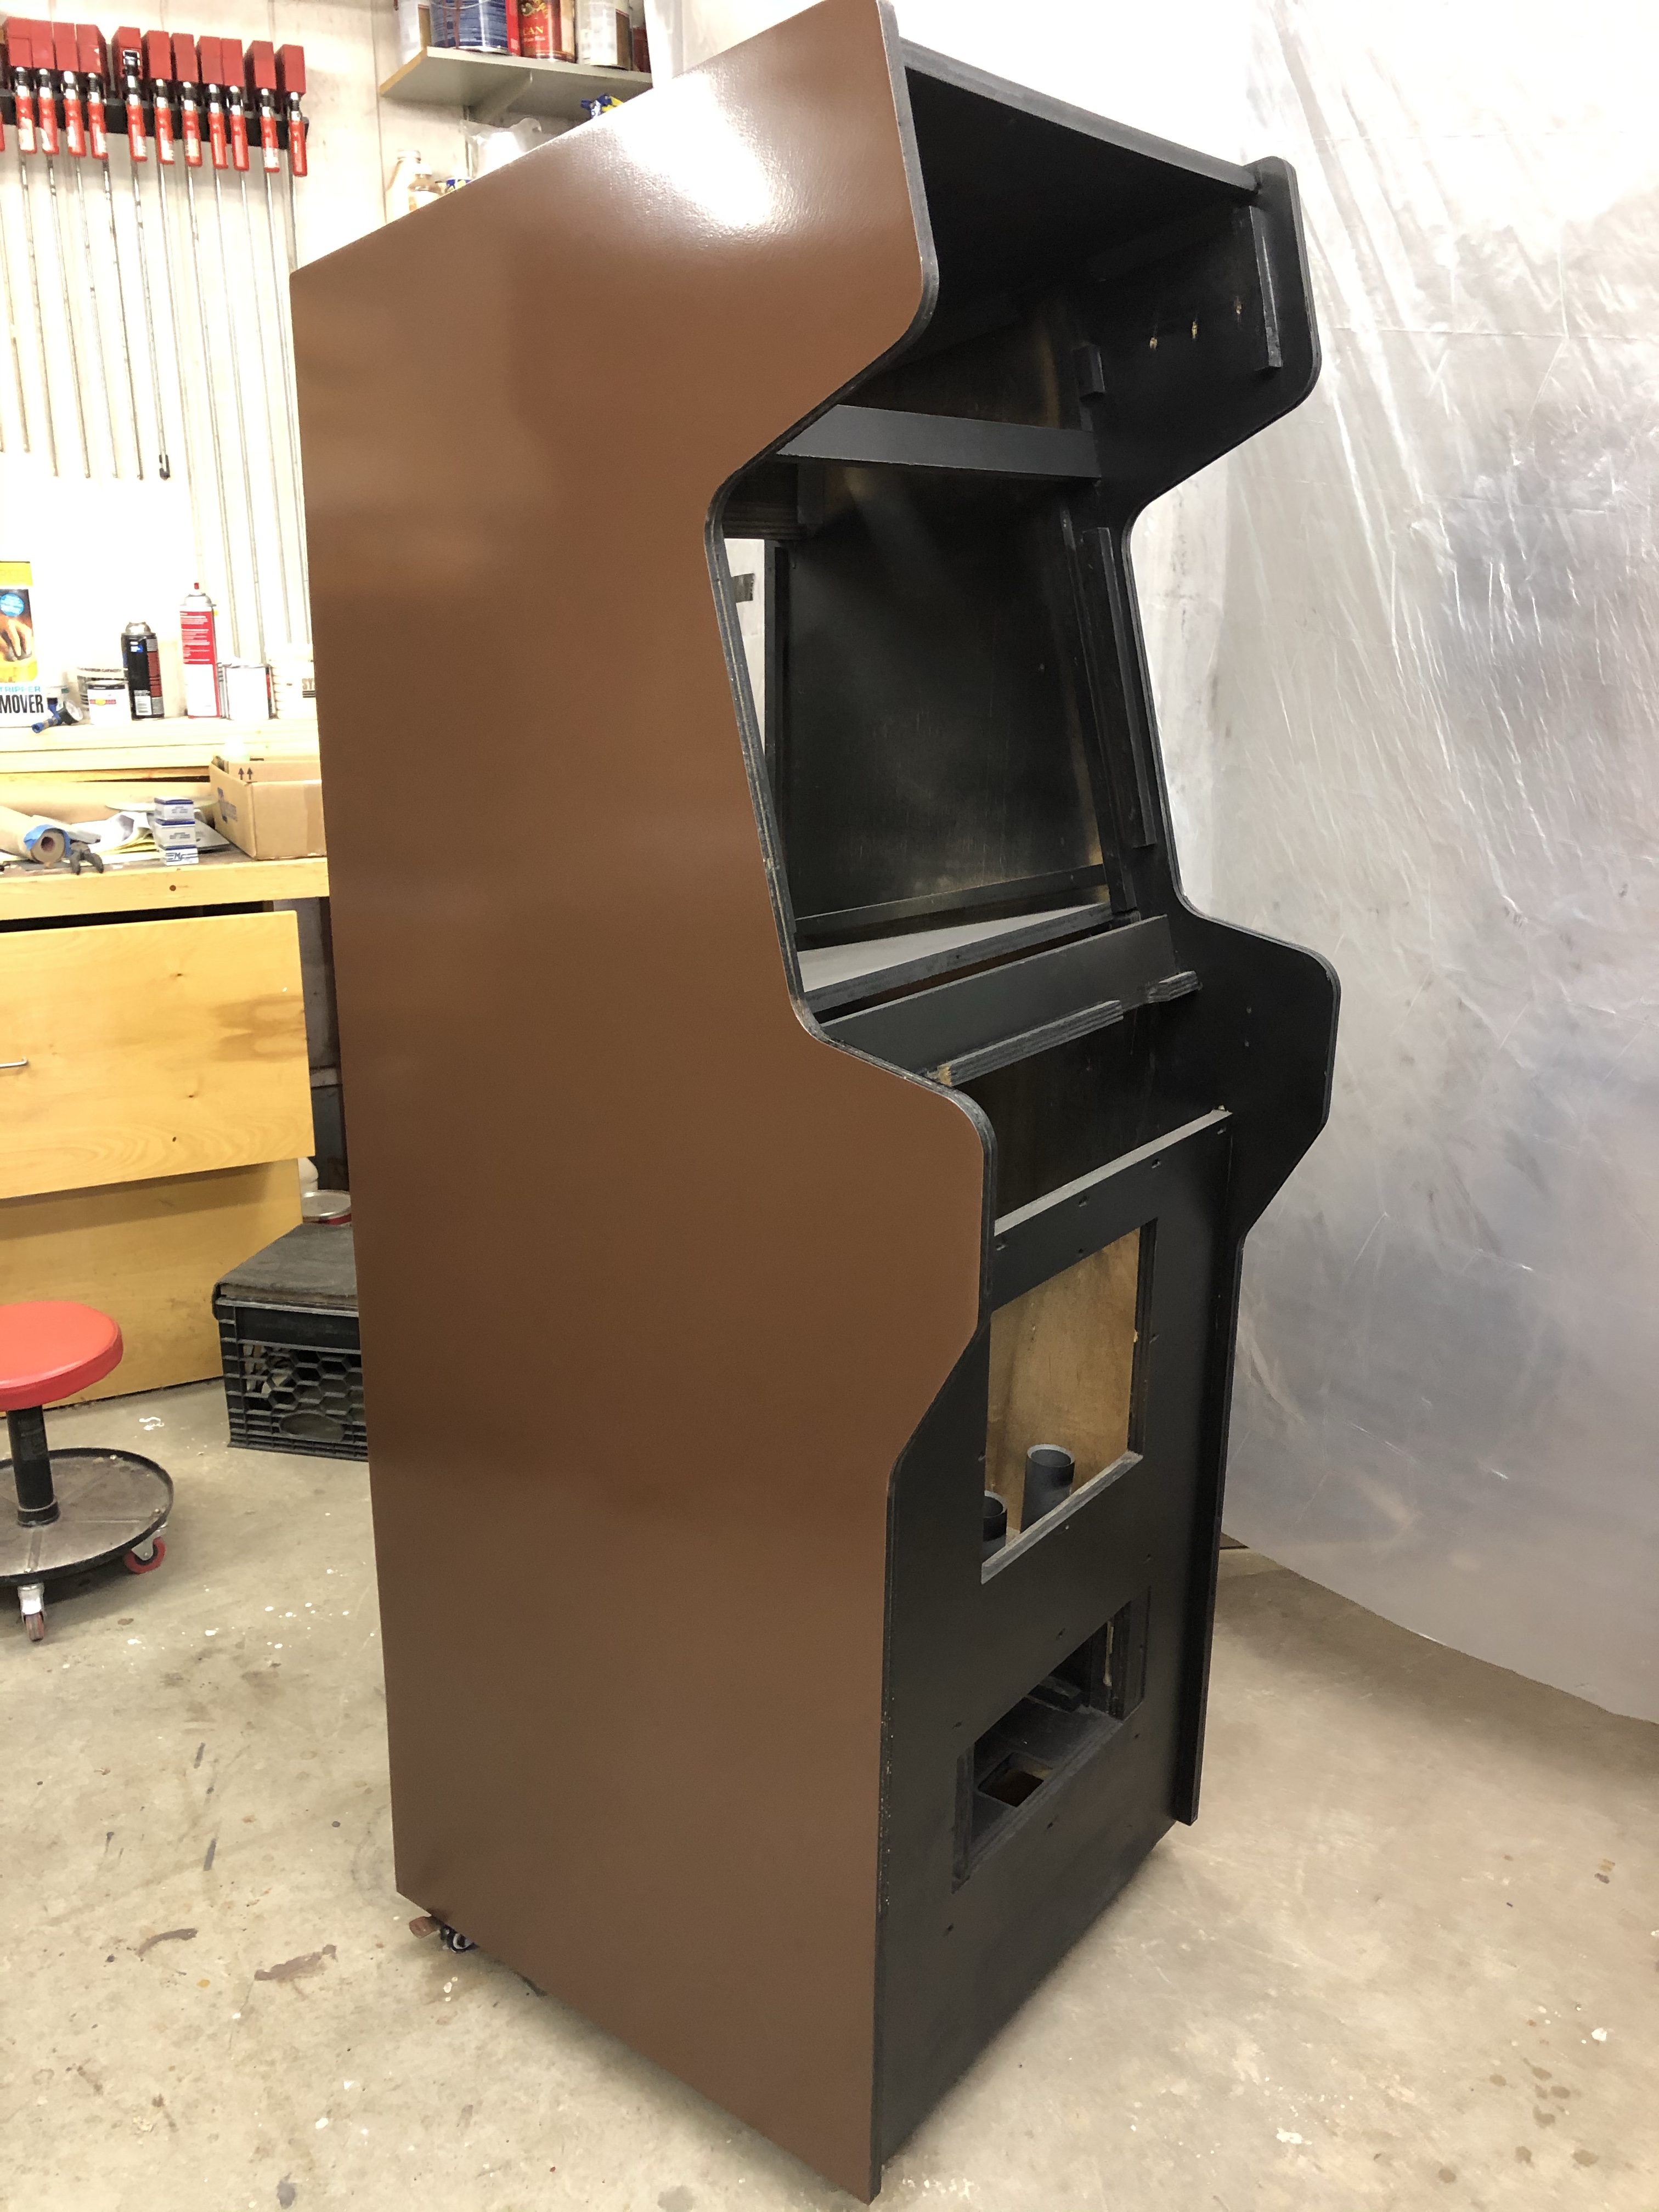
At long last – the cabinet tear down and restore is complete. Spraying paint after a long layoff is not like riding a bike, it doesn’t come right back. Its like playing your favorite game from when you were a kid.. after a few years you are just rusty but eventually it comes back. 5th coat was a charm. The 4th one went on fine – there were just a couple of thin spots and some of the fine sanding scratches were visible through the paint. I was going to leave it alone and the OCD in me said do it again.. Glad I did.. The feel for laying down a coat of just the right viscosity paint coupled with the right flow and coverage finally came together.
Black and brown are boring to look at.. But I can now start putting this cabinet back together while I wait on the stencils, CPO, etc.. Compared to the plywood shattered mess this once was – I’m pretty pleased with the outcome.
