Got a request to fix a bunch of Bronze Age games. I’ve oddly had some success with them so I gave it a go.. I’ve always like Breakout style games too..
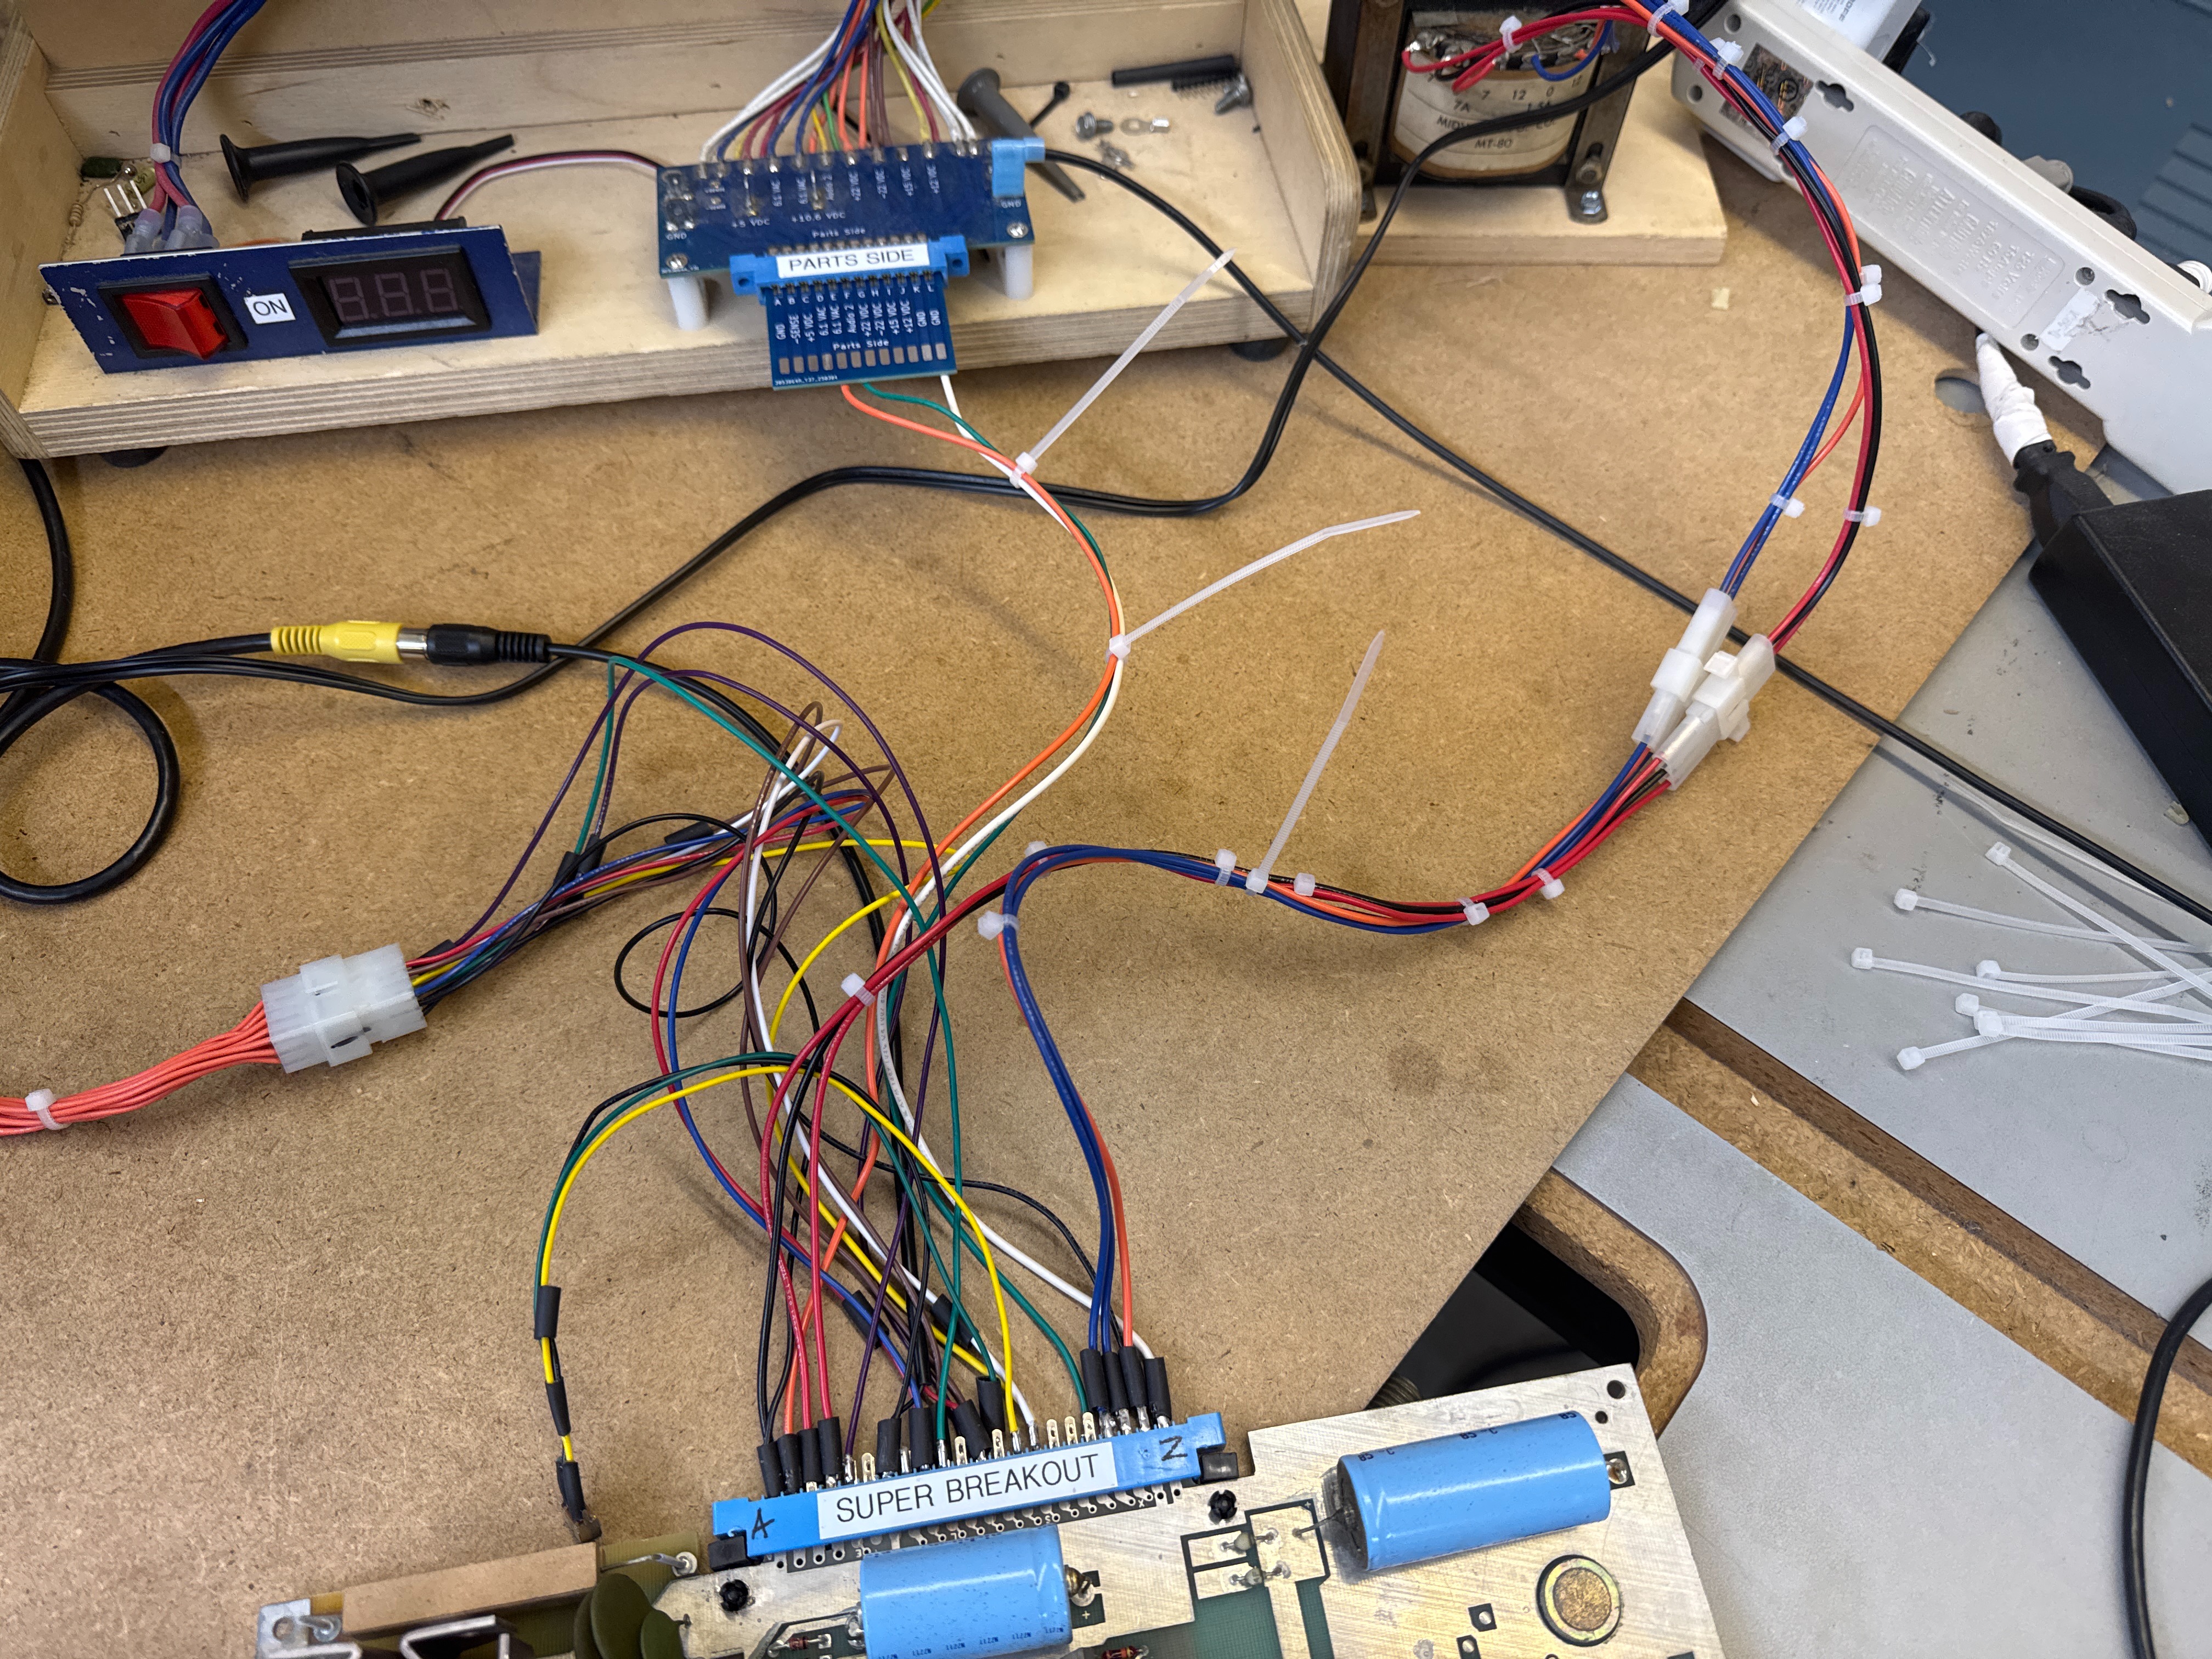
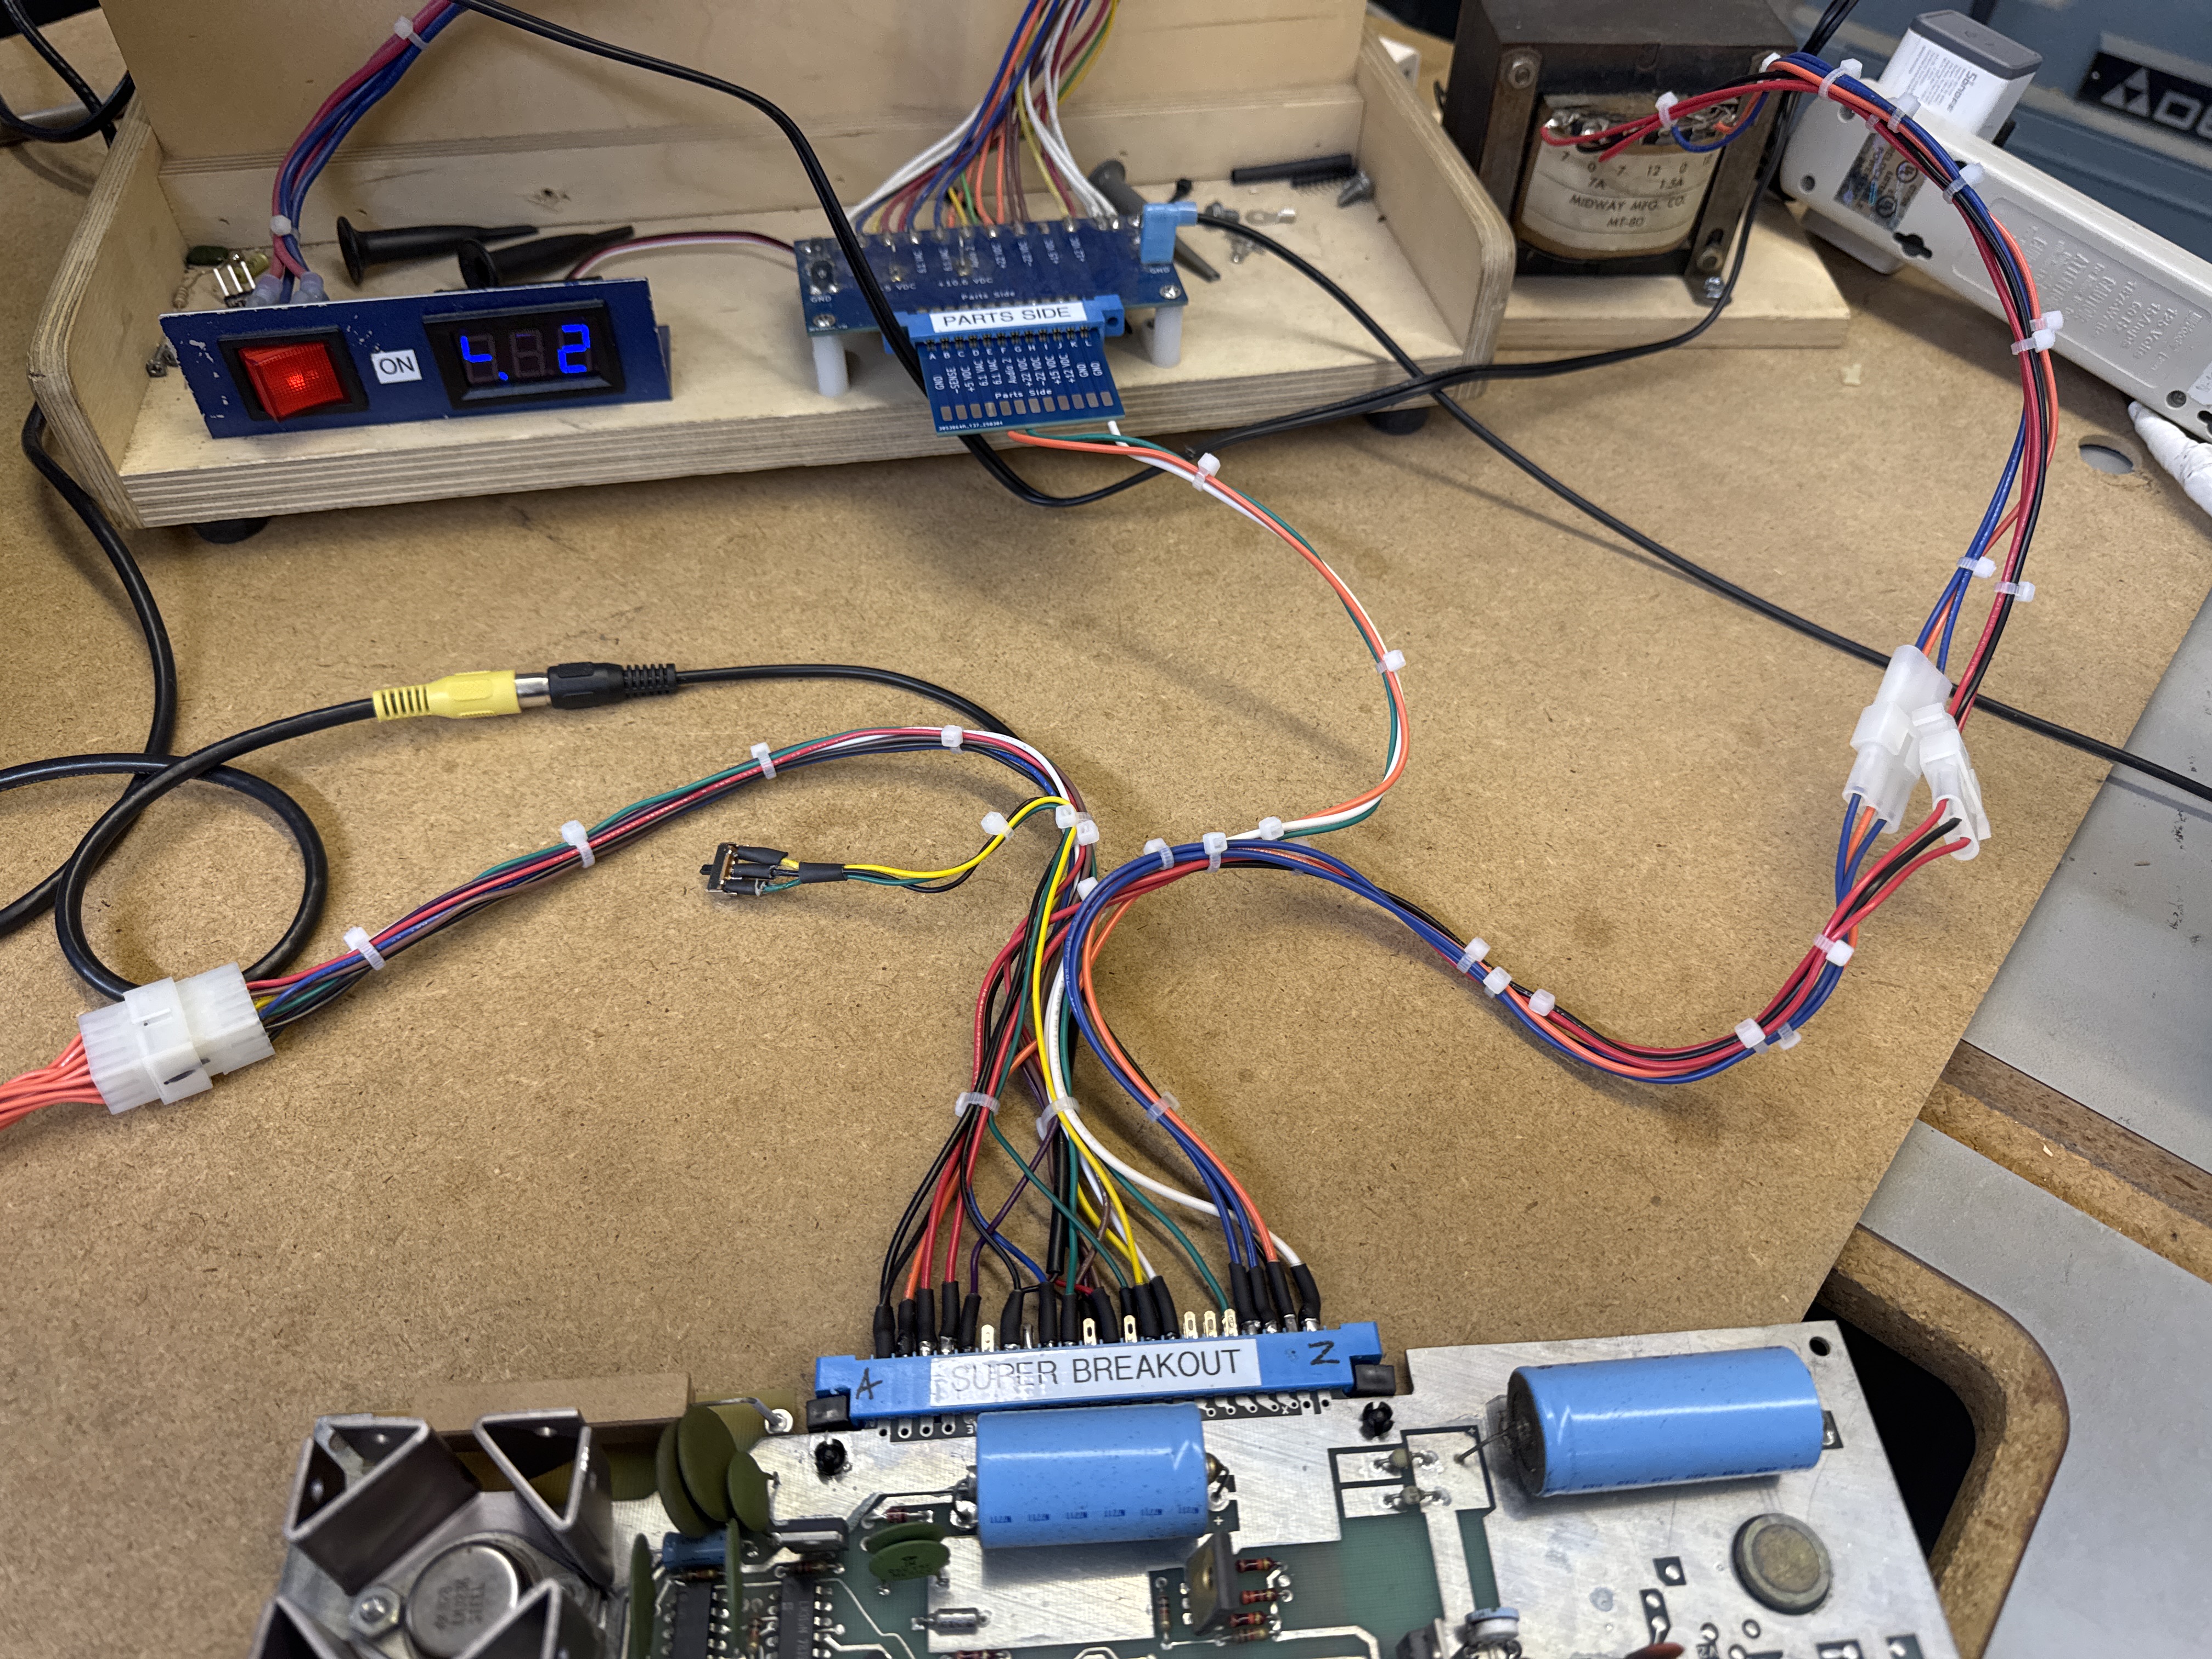
Per usual – I had to create a bench adapter for this board. Here it is pretty far along. I leave all the wires loose and do not shrink the heat shrink until I verify the adapter is 100%. Zip ties clean it all up once it is ready. One big difference is vs. newer boards is power. Super Breakout wants AC voltages. To run the board properly – I try to use the original voltages when I can. In this instance – I have a transformer that was originally from a Pacman that has been very useful for a number of older PCBs. I have it plugged into an adapter I made for the power brick so that when I turn my test rig on, it powers up the transformer. My muscle memory has me flipping that one switch for everything – the transformer being powered on via the same switch is a big help. My test rig is just the audio amp for the speaker and supplies 10vdc to the game board in this config.
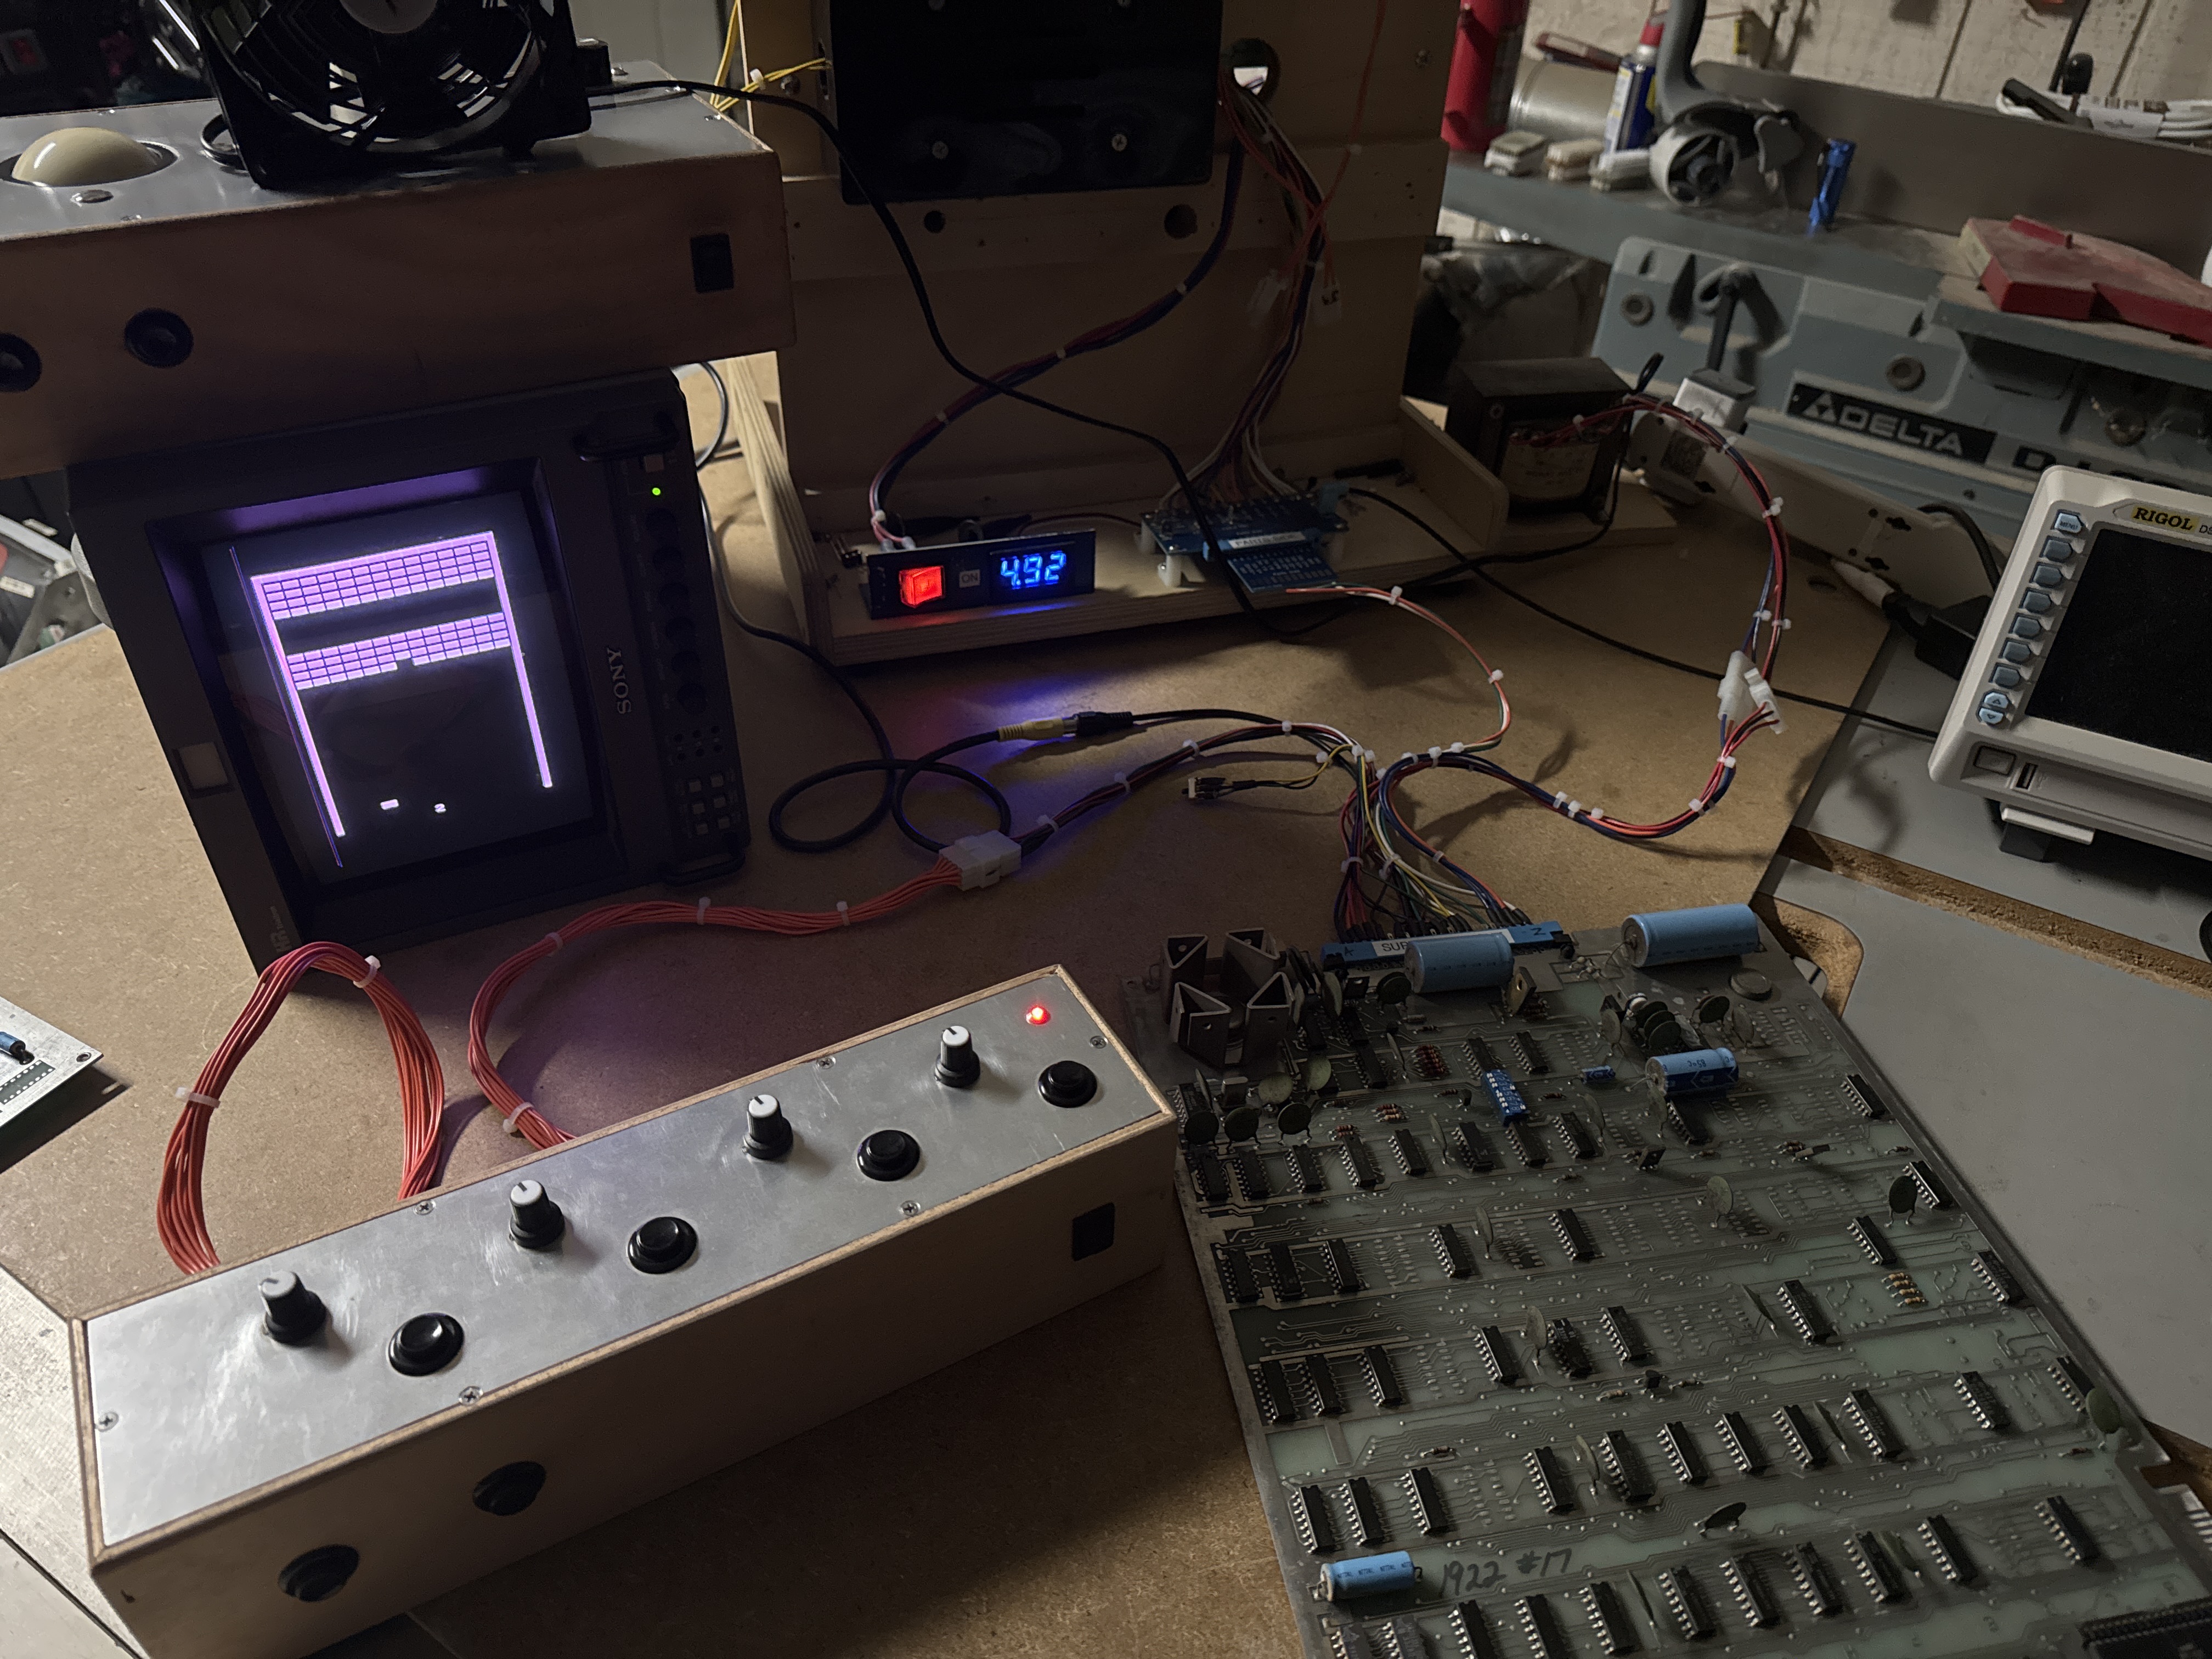
Another nice outcome – a third game board that I can use with my ‘Warlords’ test controller. The other is Pong.
Board #1 – In for repair
Received Condition
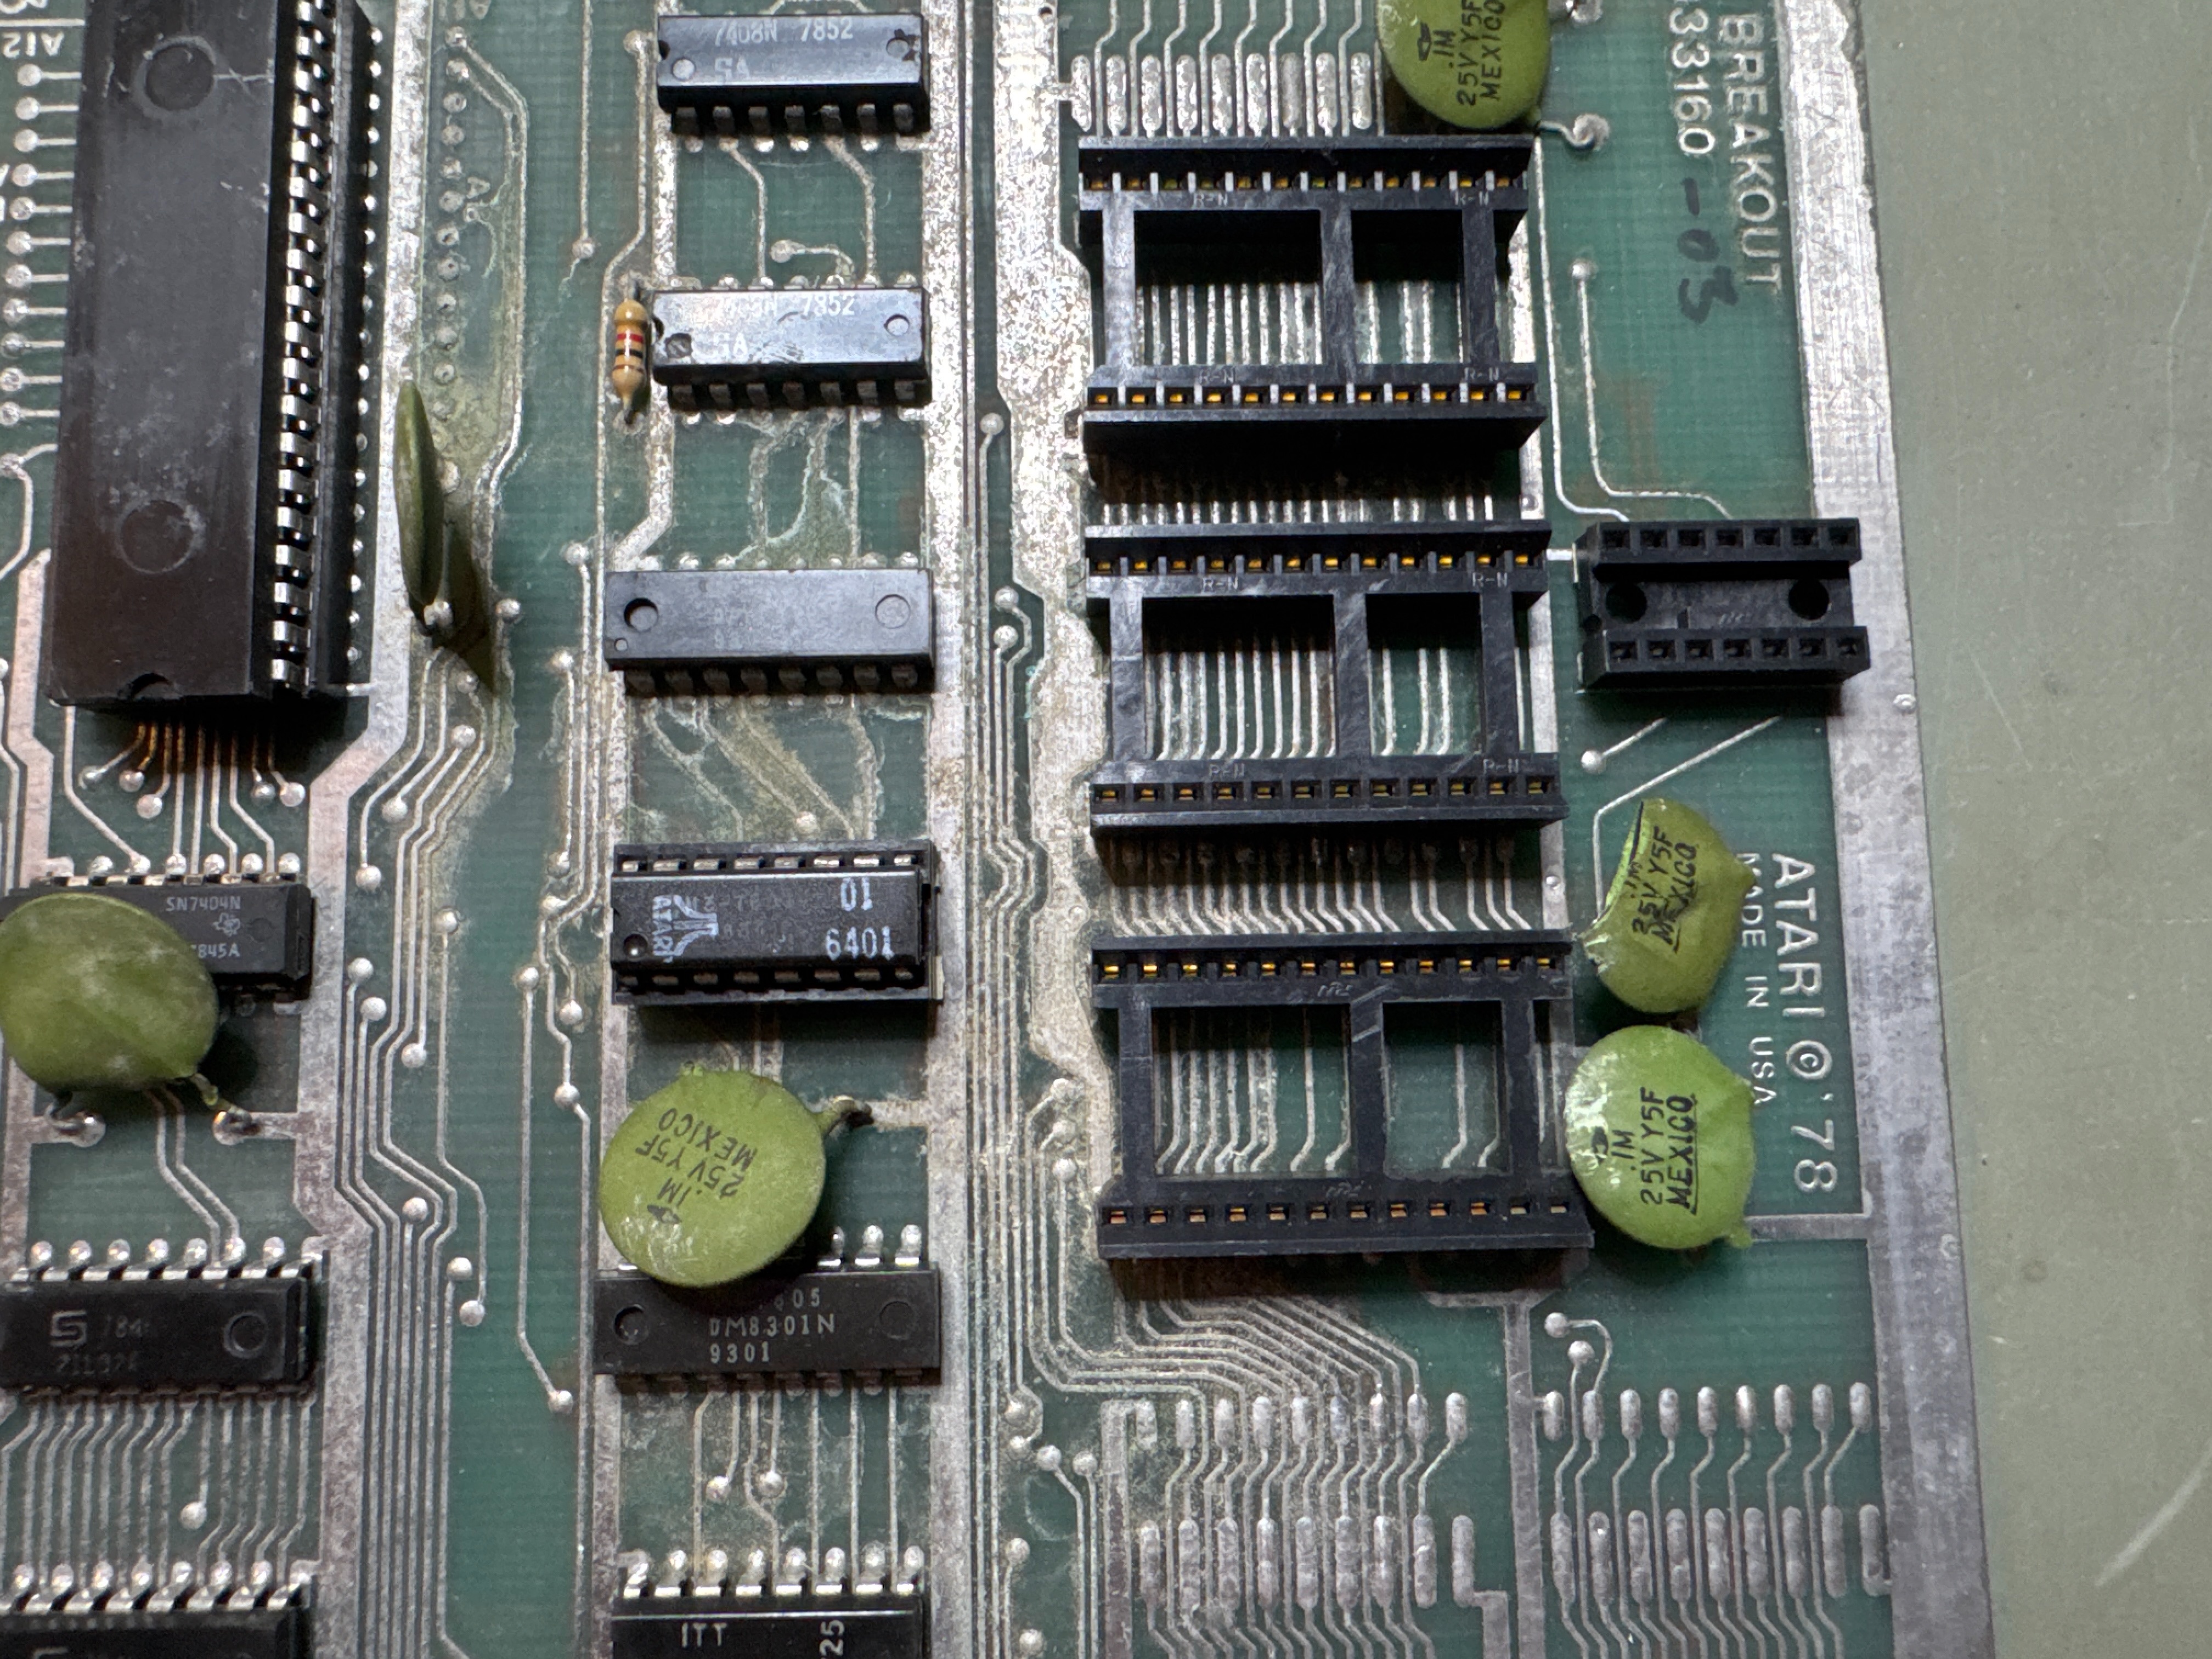
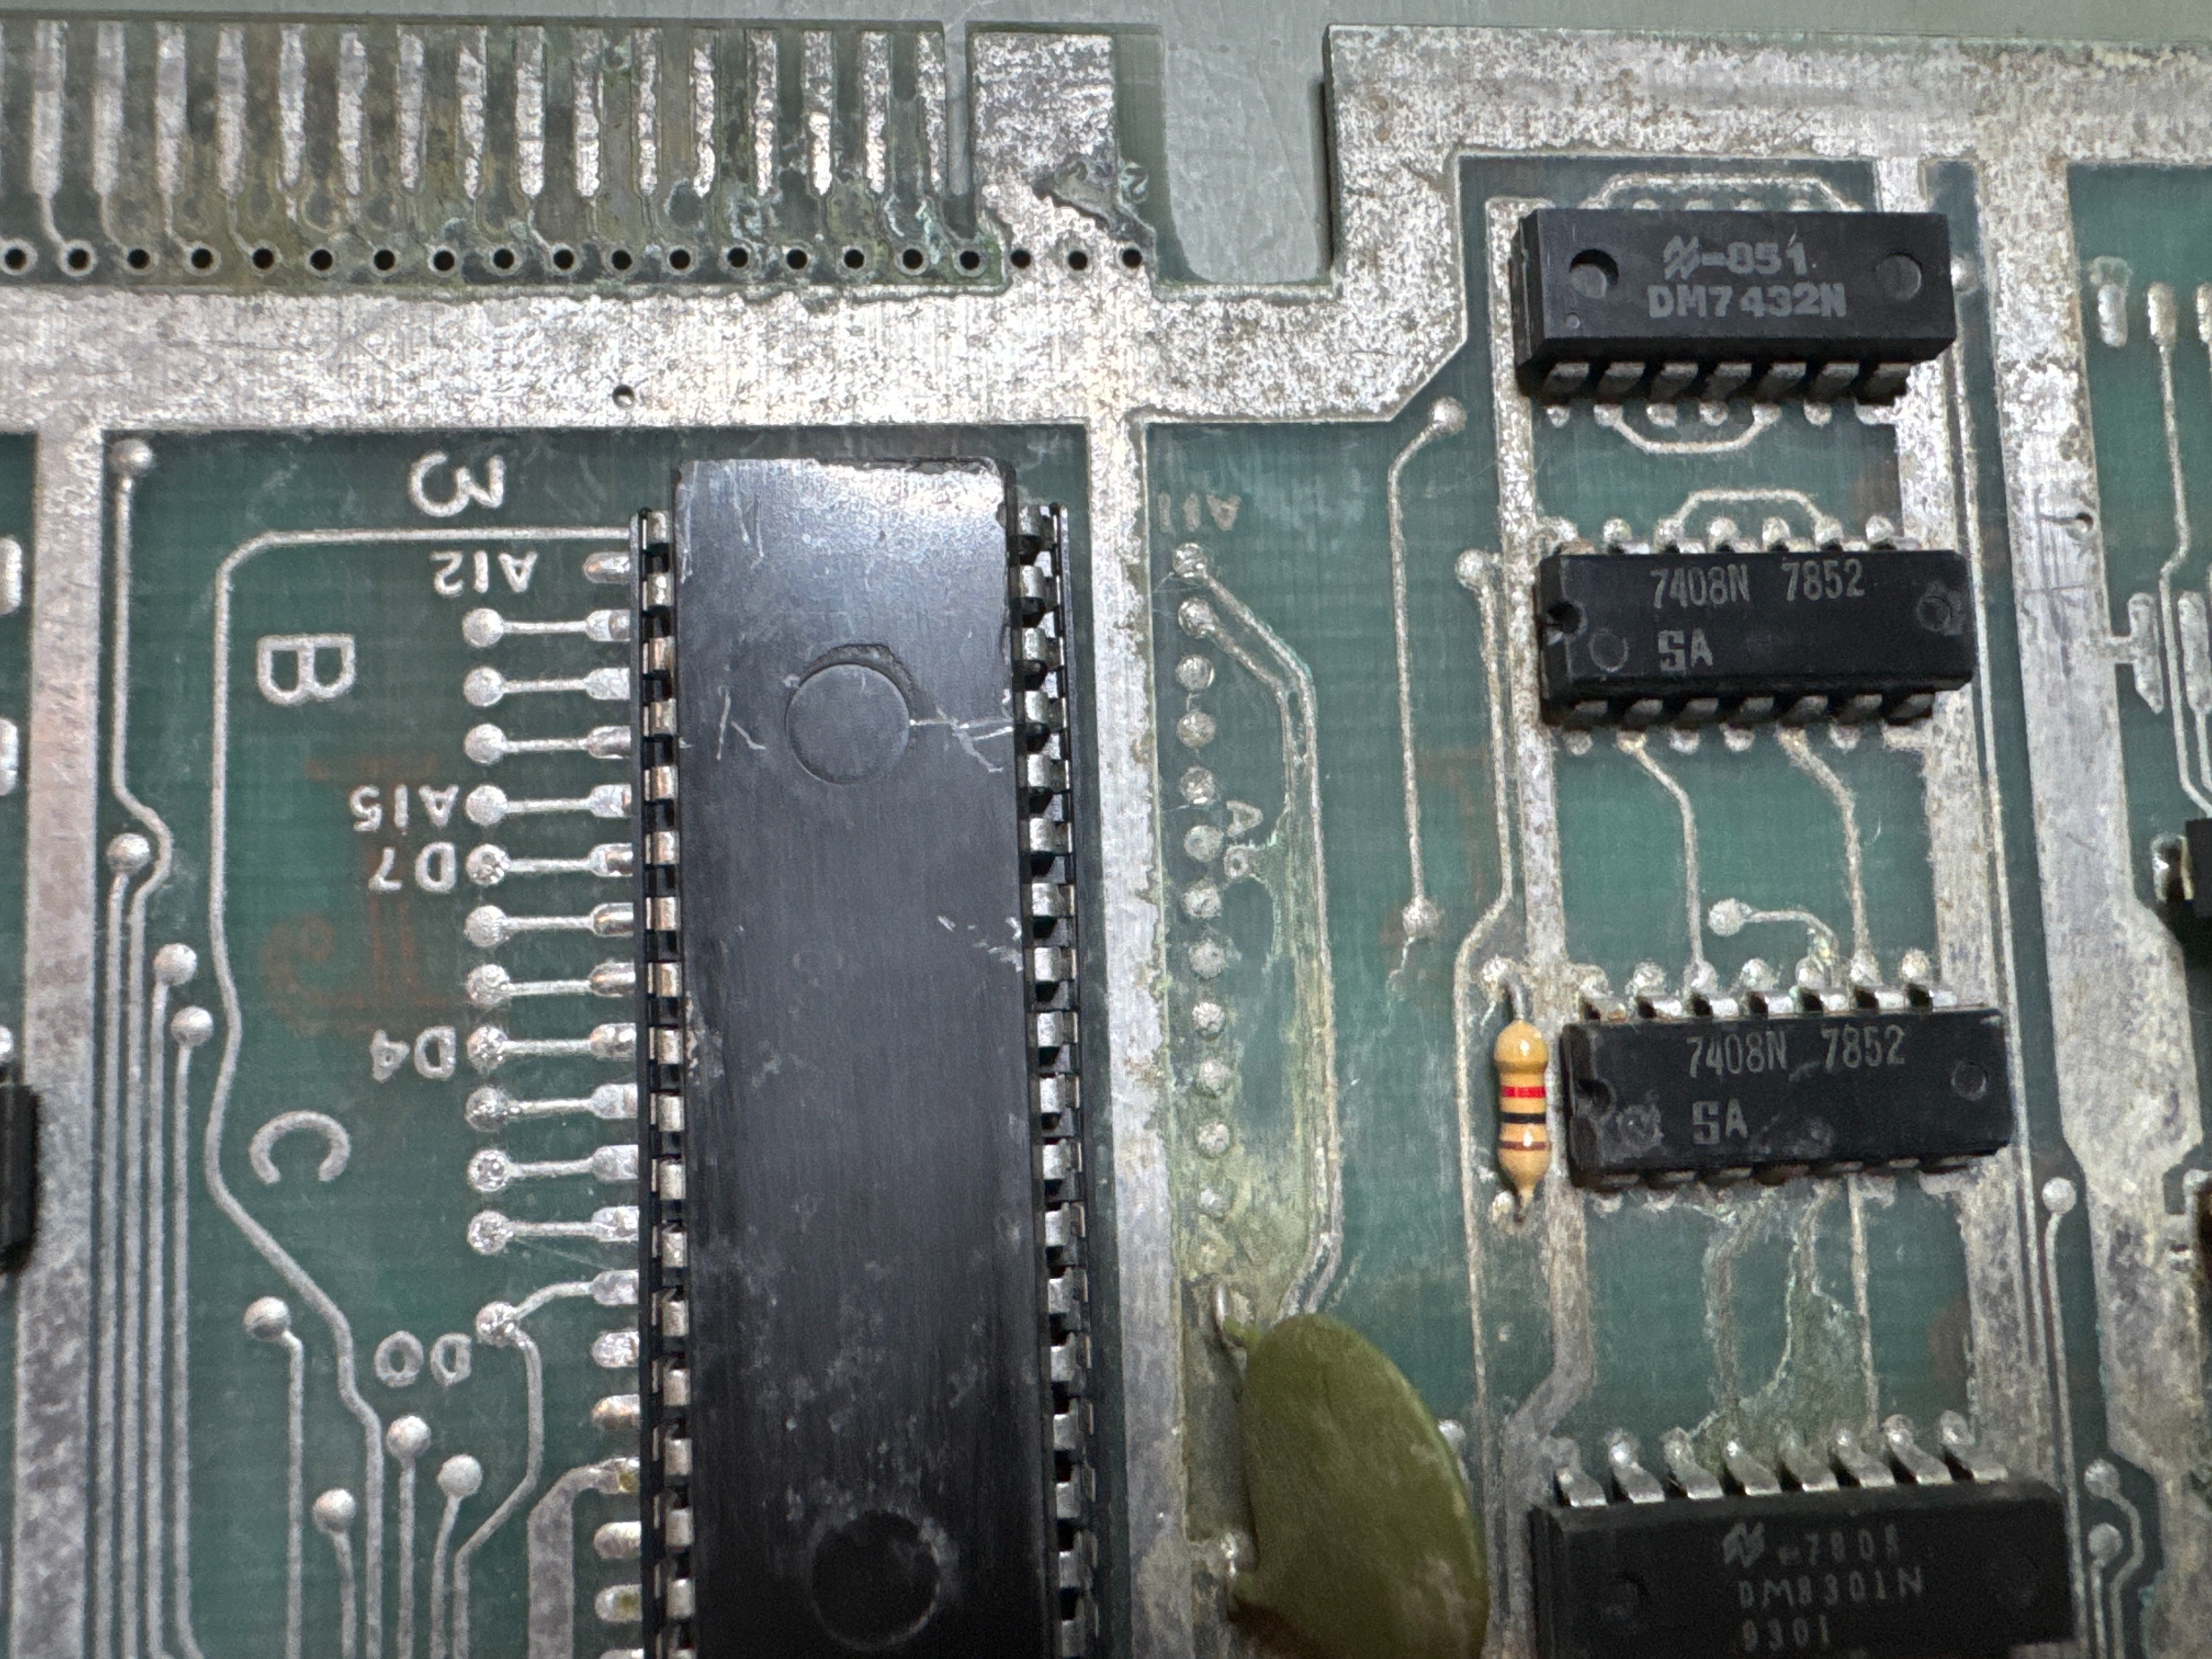
This one was pretty dirty / not sure what you call this stuff.. But chasing issues here was not what I was up for…
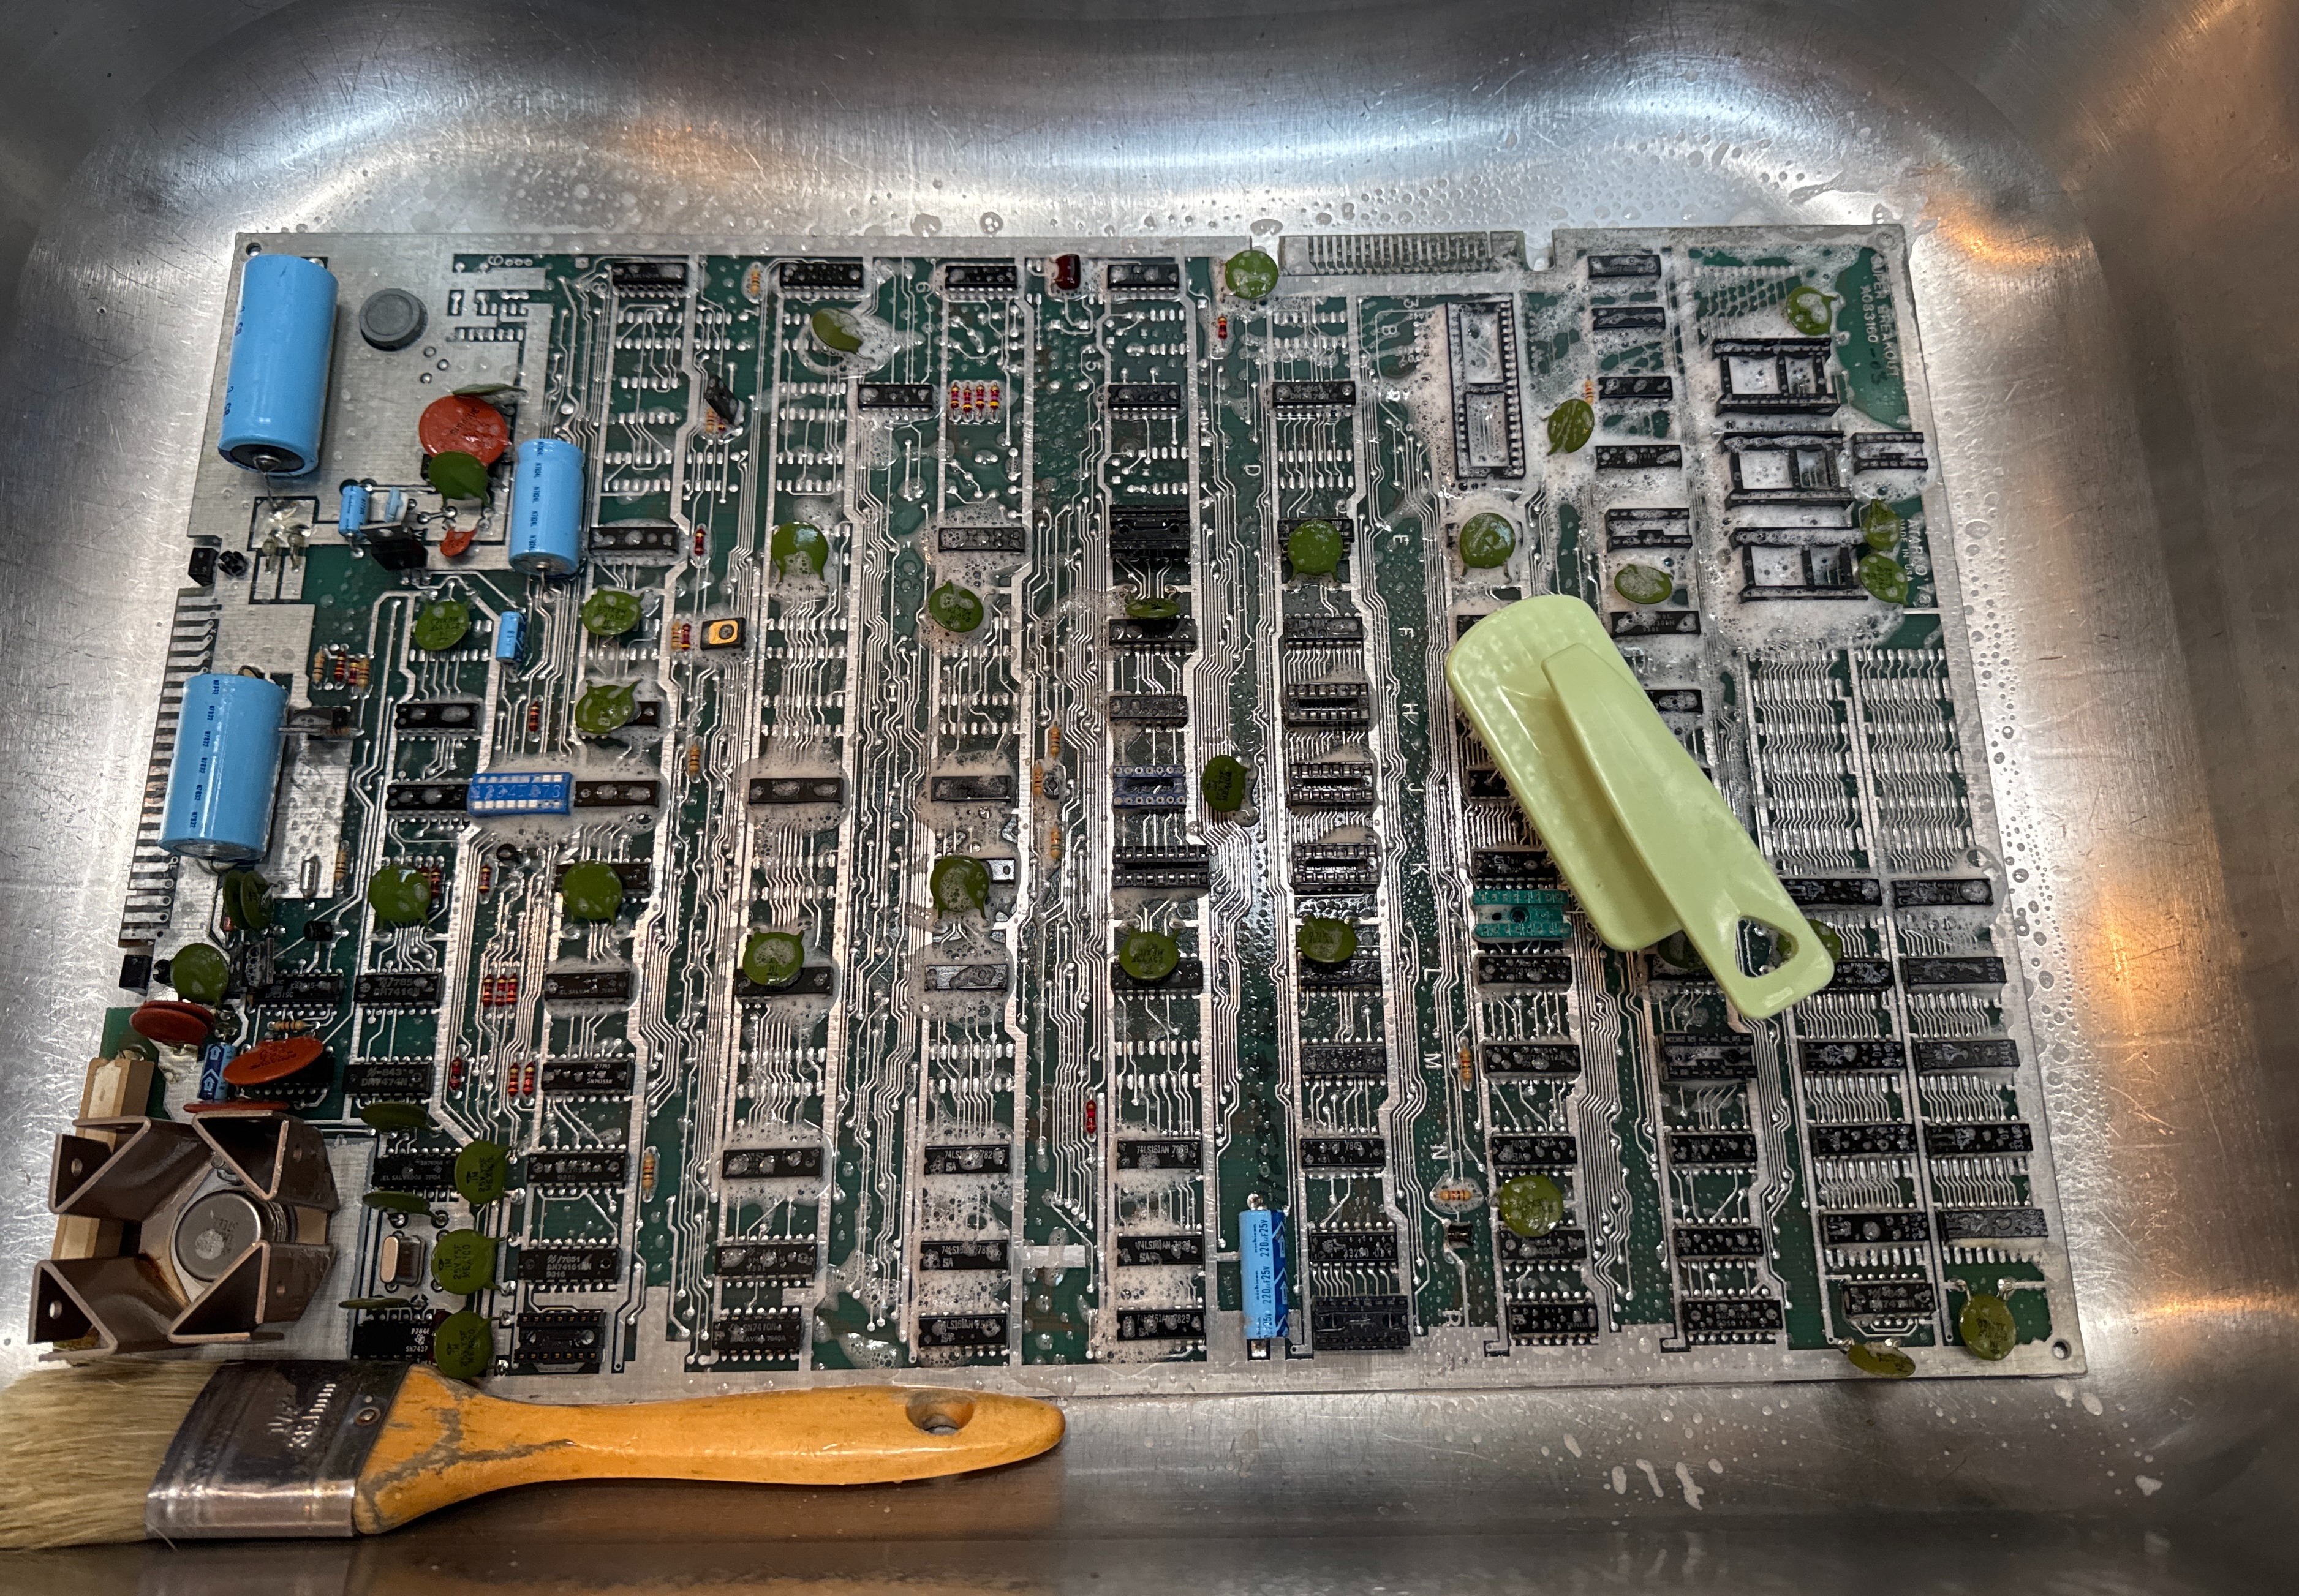
It went in the sink and got a good cleaning.. it helped get a fair amount of the crud off.. I went over many of the traces with a fiberglass brush to clean them up.
Chips cleaned and Deoxit applied. Many sockets present, both machine pin and other odd types. Overall condition good aside from the corrosion.
Repairs
- Diag beeping identified suspect RAM at J3 and K3; sockets added during diagnosis, but RAM was not the fault.
- Bad address pin found on LS157 at H2 pin 7; replaced.
- Following LS157 replacement, bit 4 showed bad on CATBOX; beeping out confirmed bad 2102 RAM at 3F; replaced.
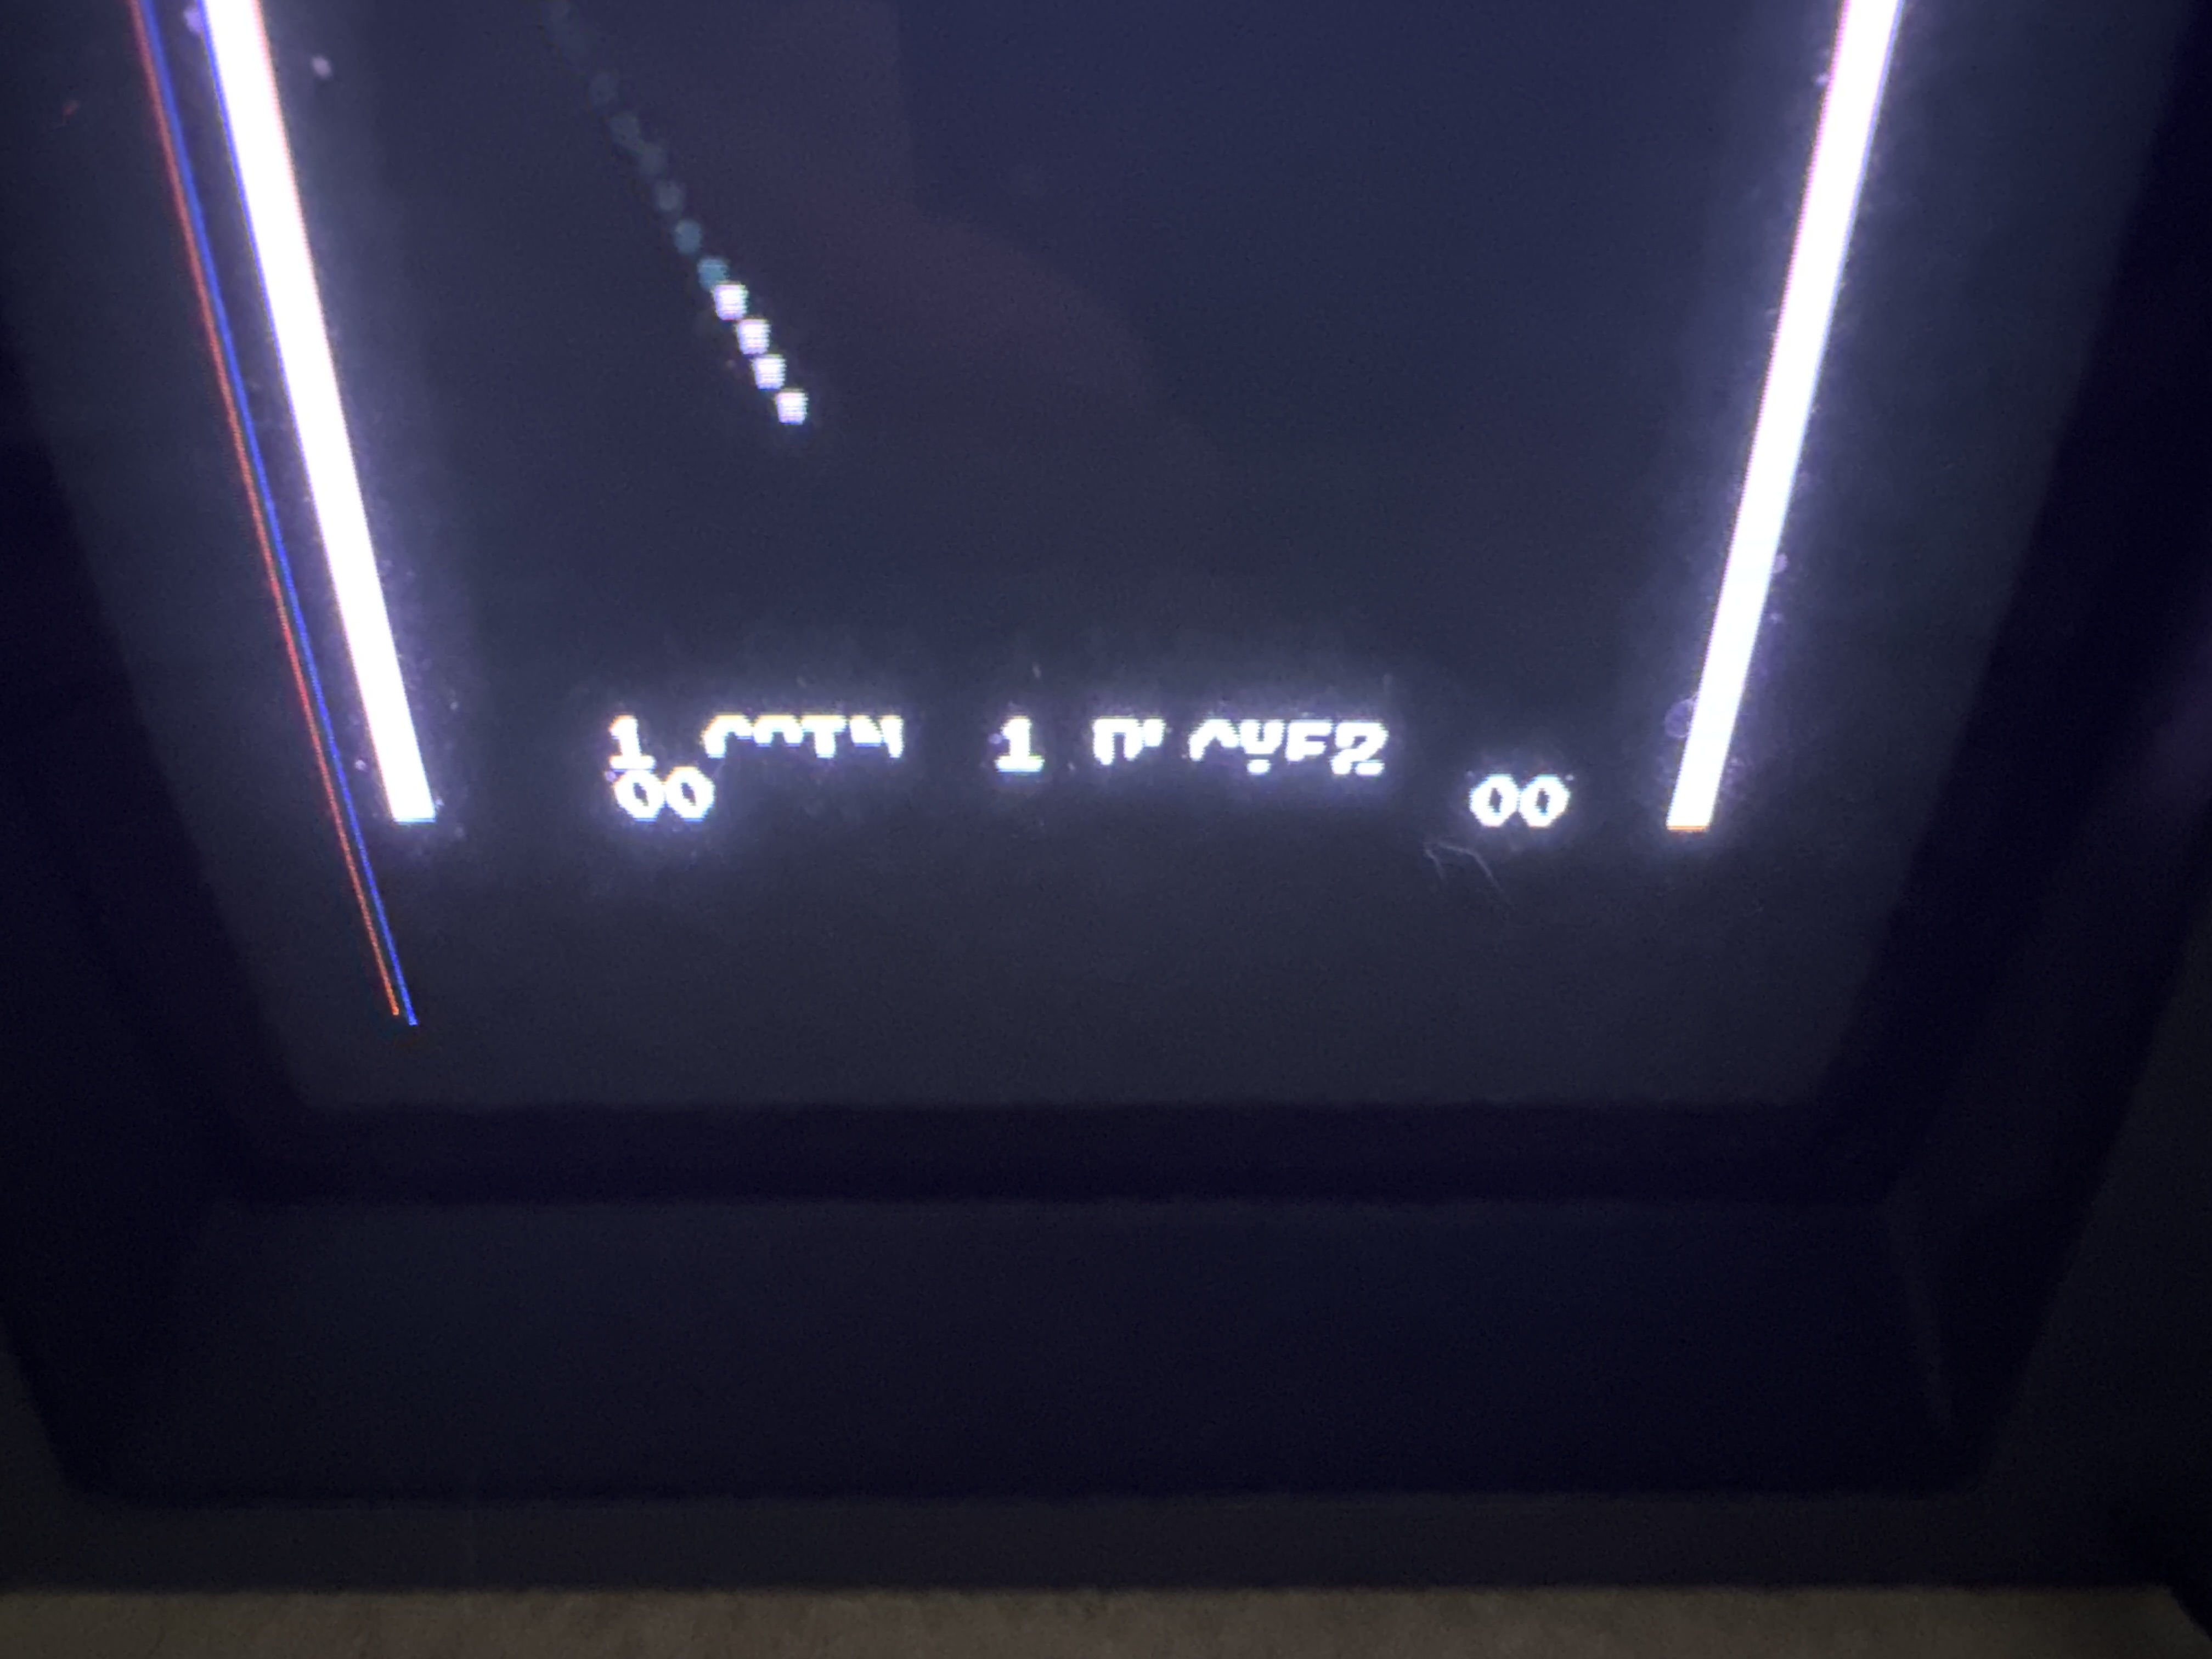
Partial character corruption traced to bad PROM at P4 – this one was interesting. At first I didn’t know what to make of it.. I happened to go into diag mode at one point and when you rotate the paddle, it cycles through the character set. As it turns out, many were good – but you could rotate back and forth through the bad letters. At that point it was obvious it was a PROM and not some other chip.
Board Works!
Board #2 – In for repair
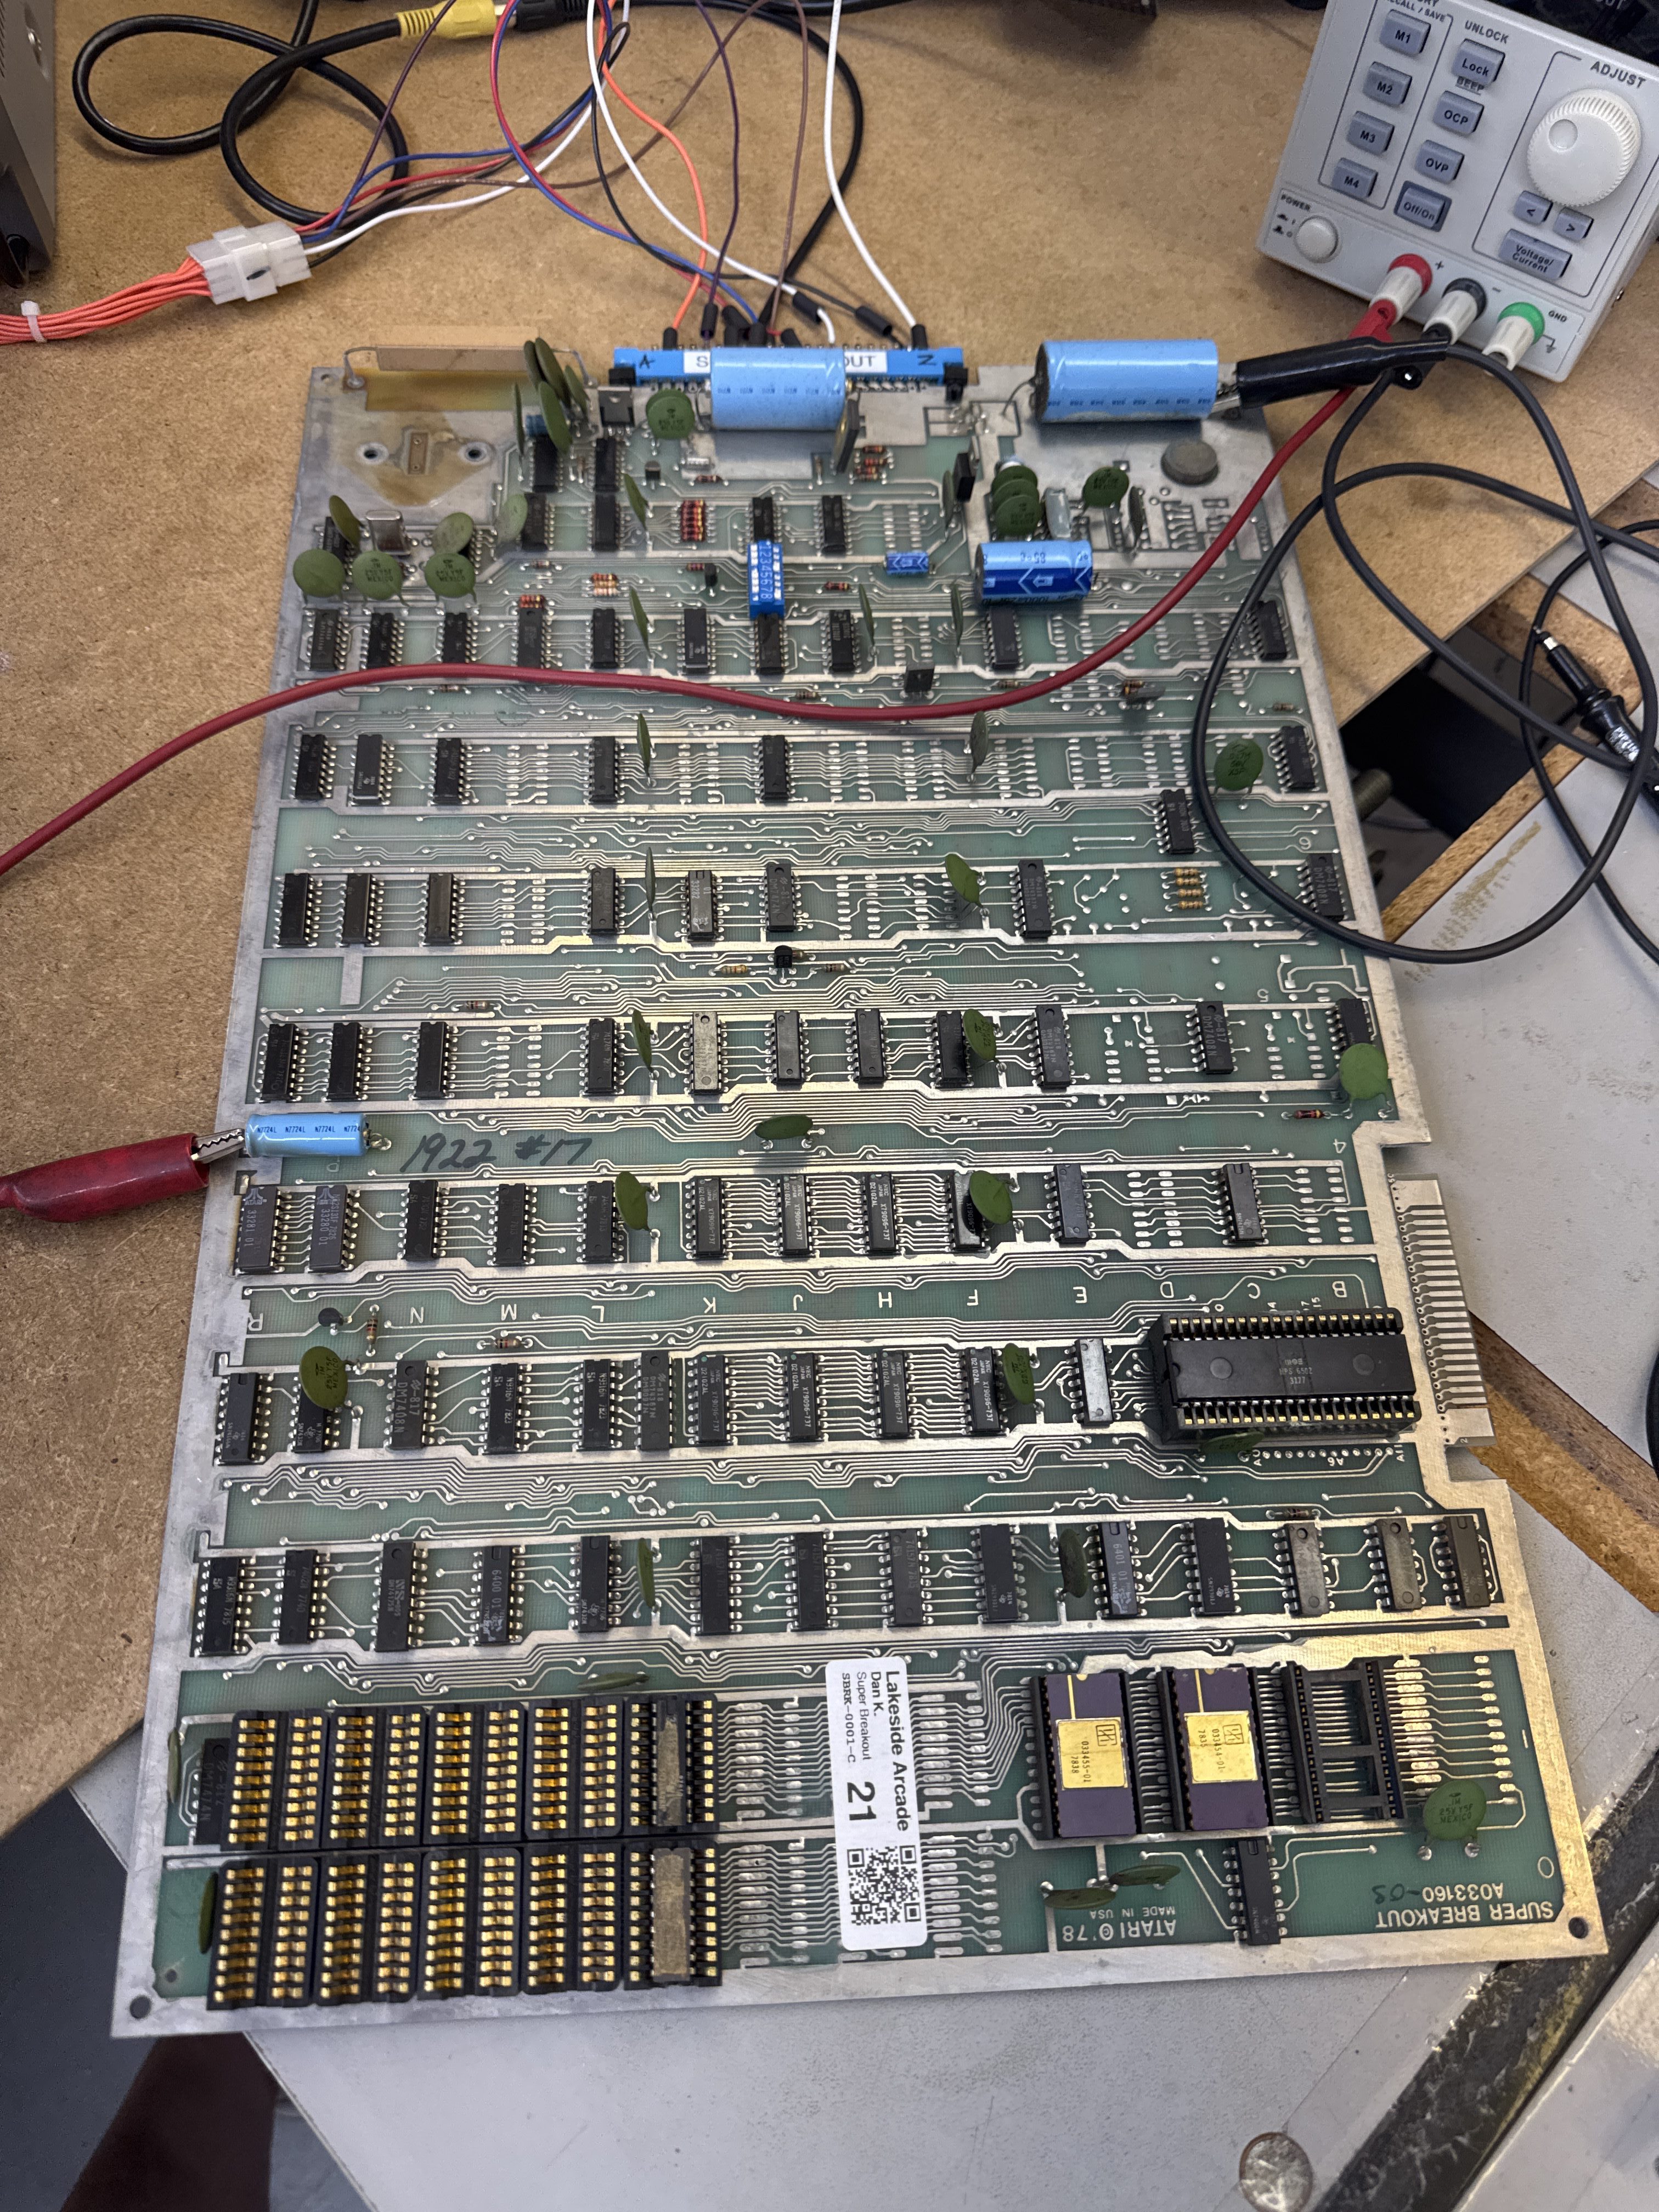
This one was actually the one I started first – it came with the one above. The heat sink was missing and the first thing I found was that the regulator seemed to be bad introducing a weird voltage and waveform.
- Replaced faulty power regulator with unit sourced from a non-repairable donor board supplied by the customer.
- Fitted heat sink to power regulator.
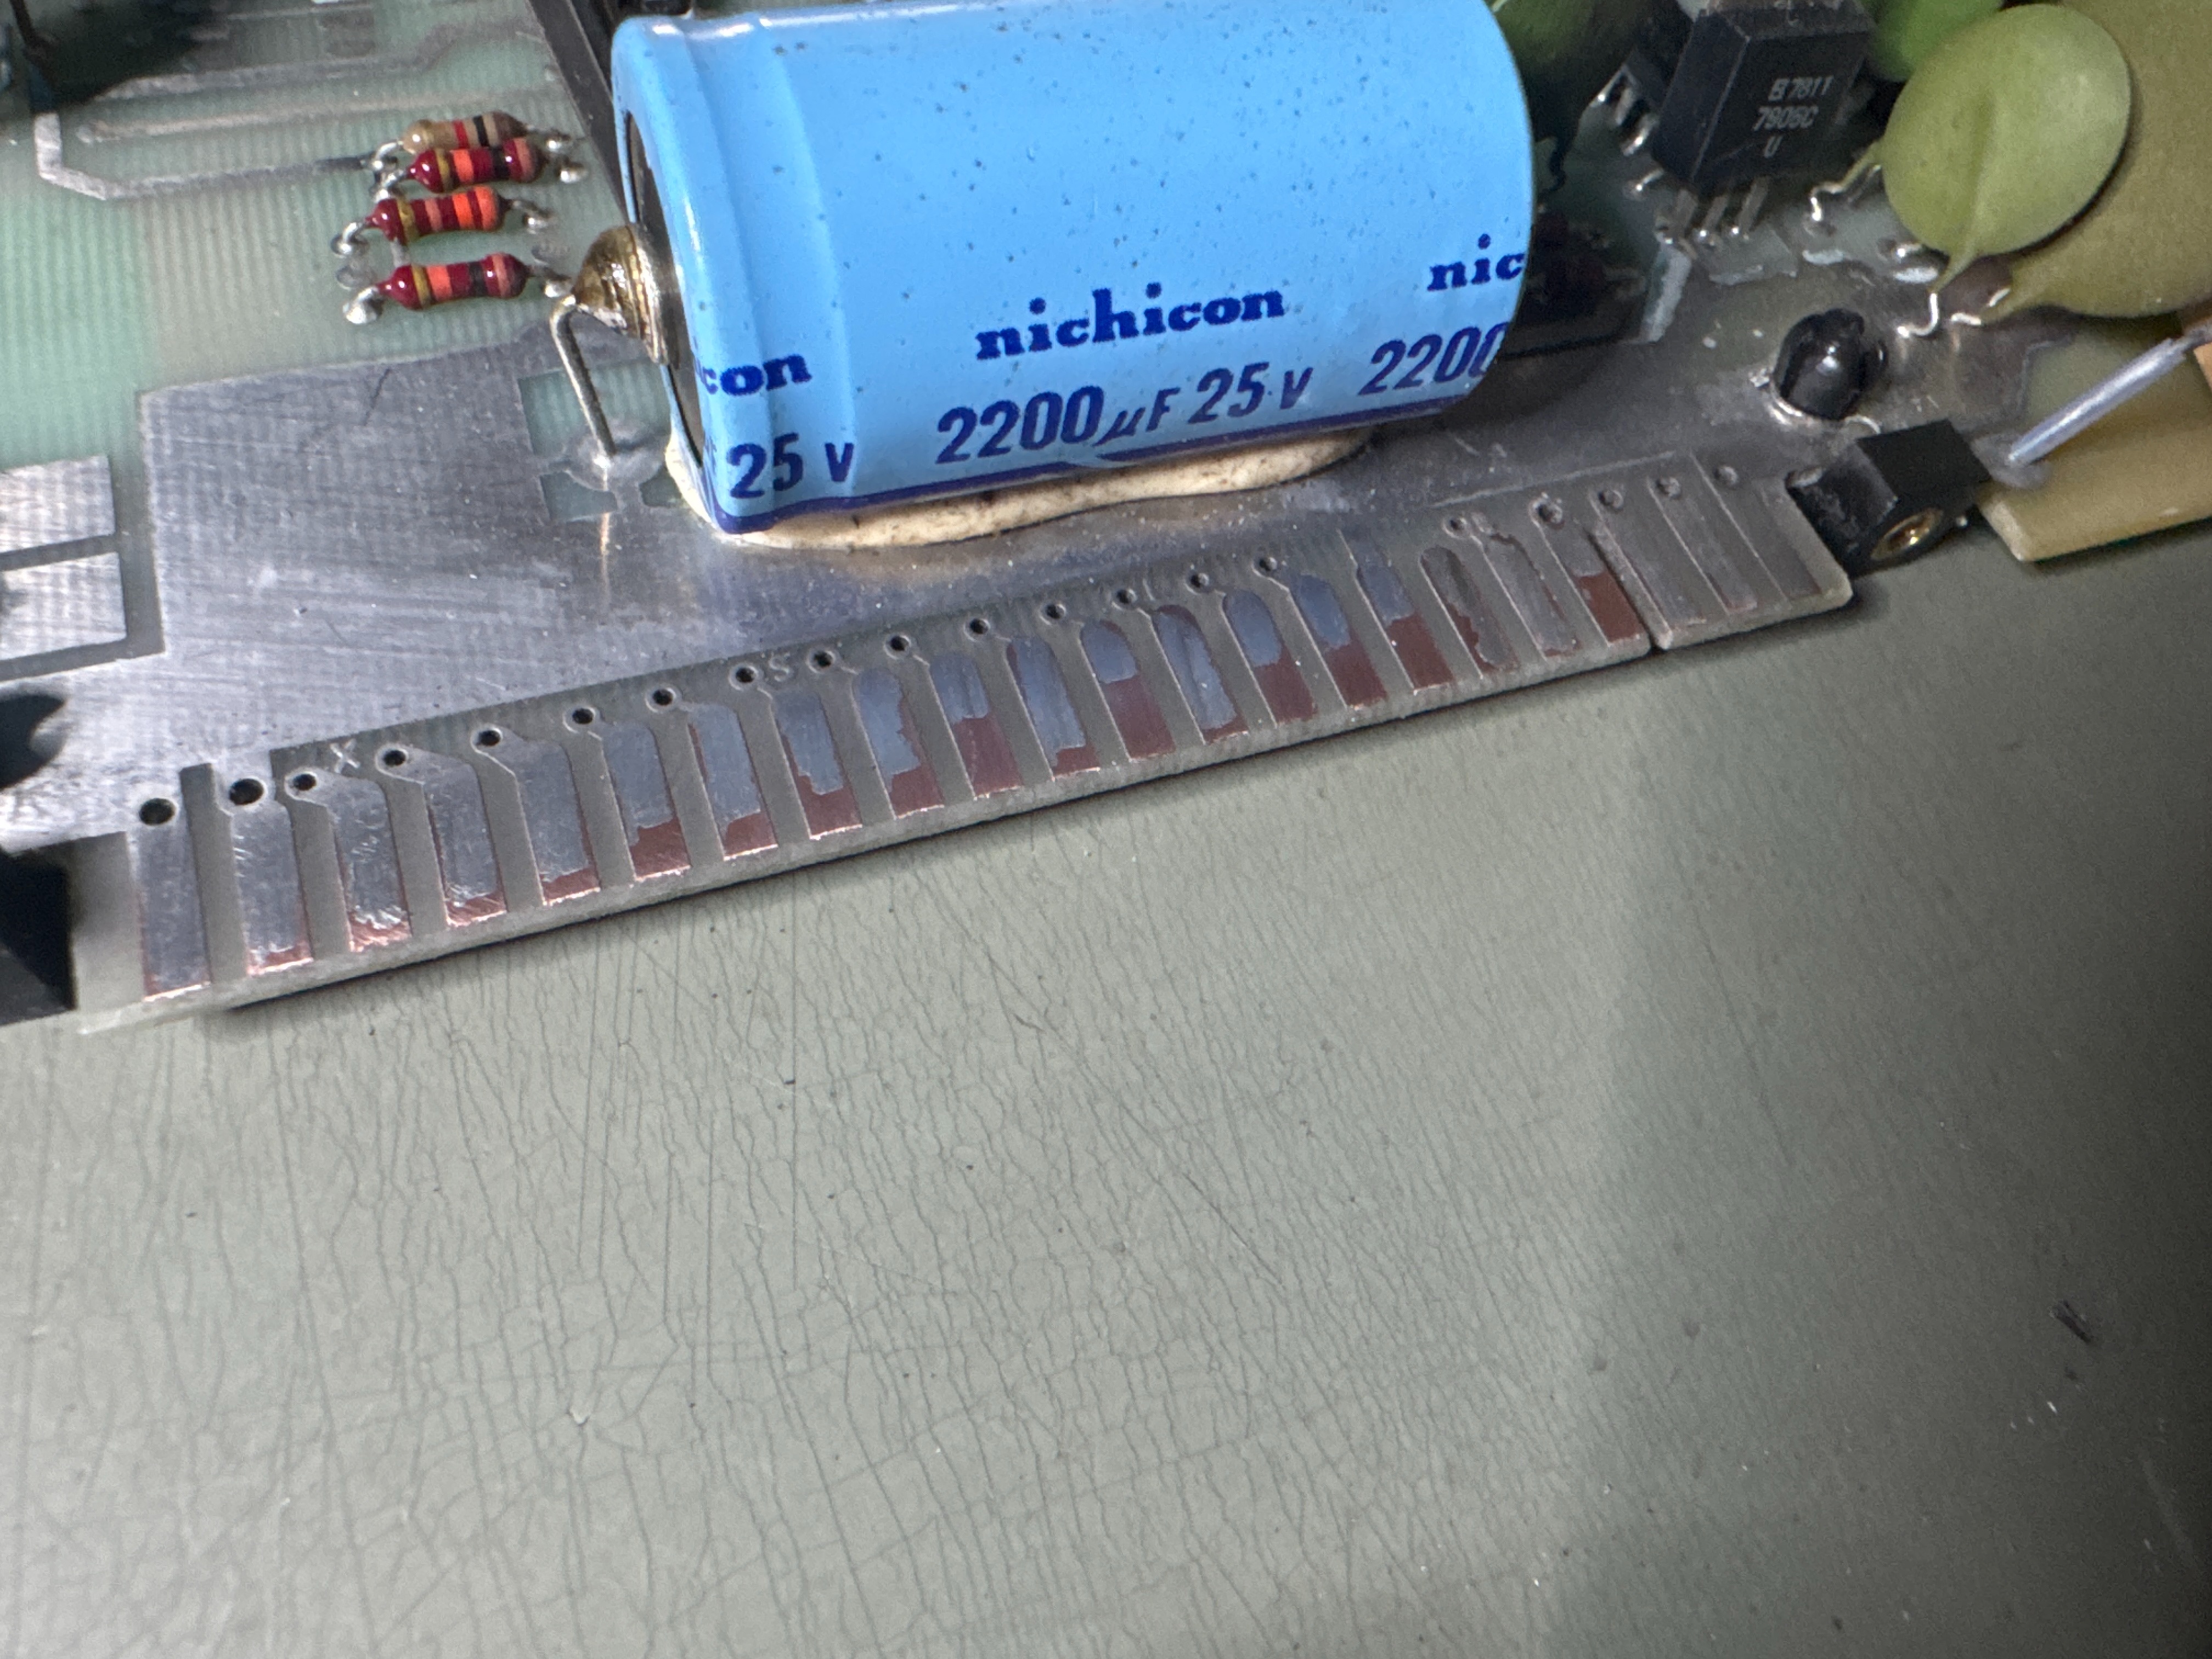
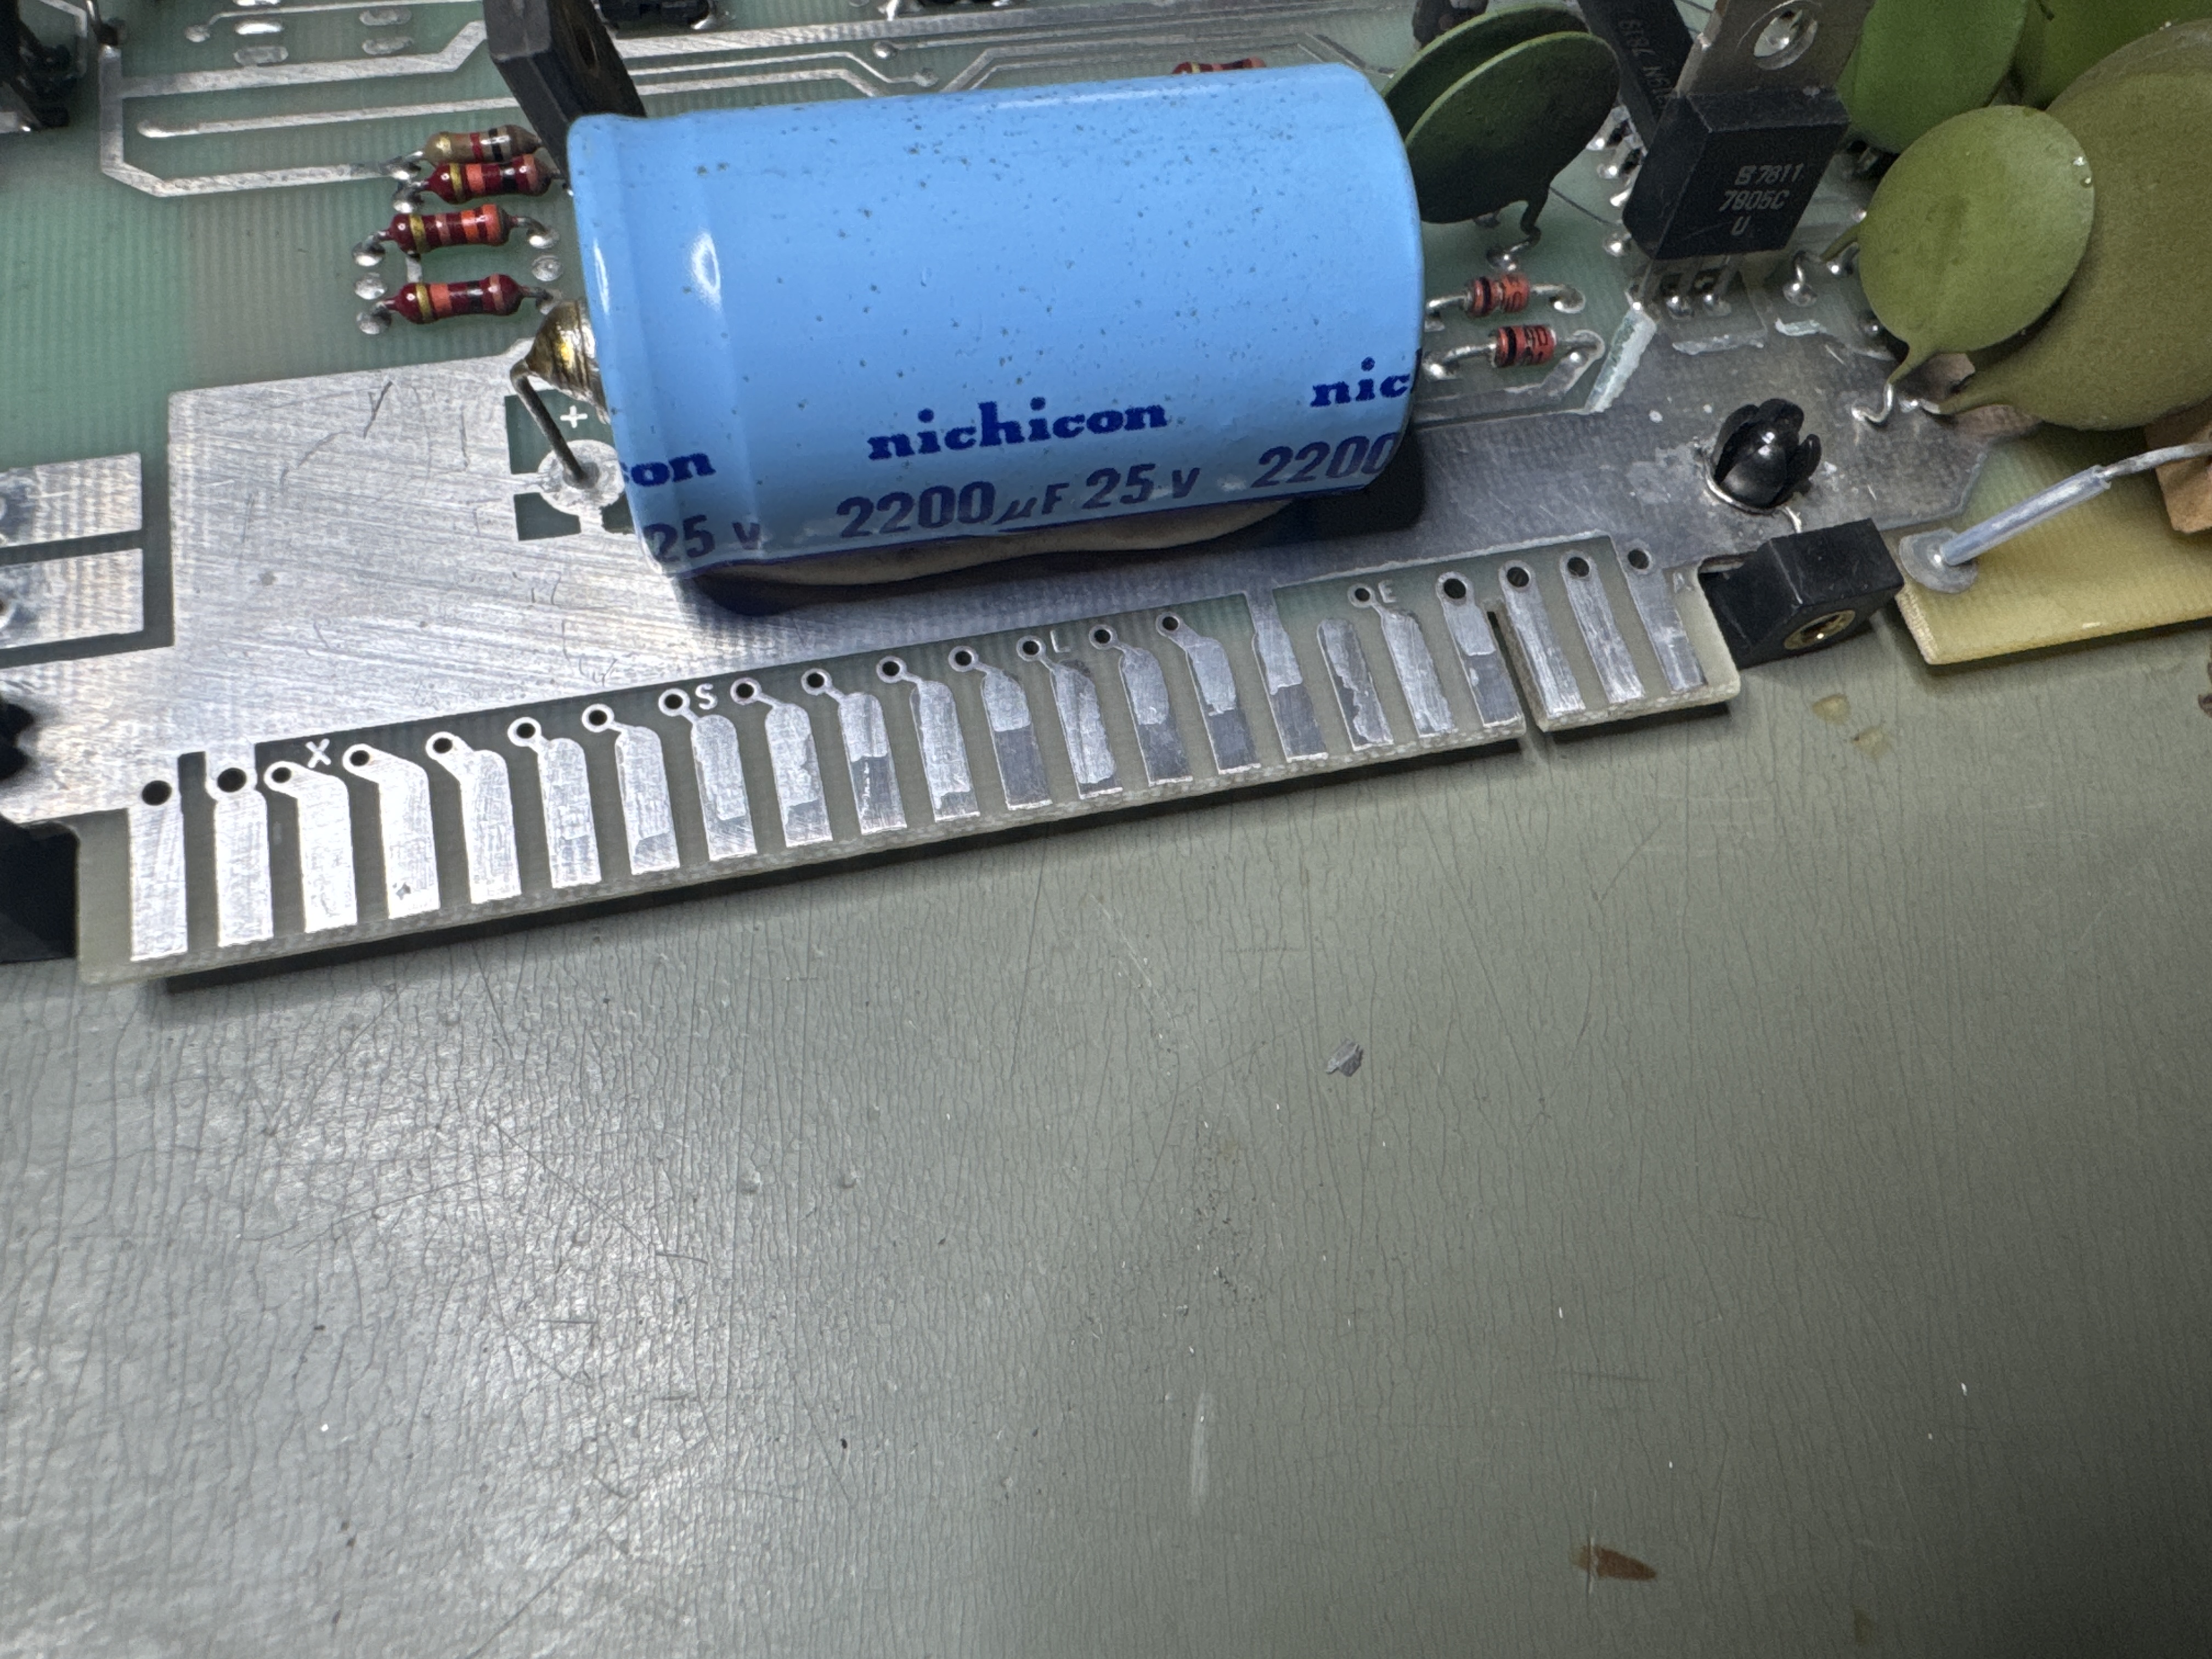
The edge connector had its tinning flaking off, I cleaned up and retinned with liquid tin.
Full board maintenance and testing performed.
Board has an interesting mix of sockets and ROMs. First ROM set is on PROMs; second set is on ROMs. All are original — possibly a factory mix-and-match situation. I’d seen the supersized CPU sockets before – this is the first time I’d seen a full set of them for PROMs. Notice the Atari Logos on them..
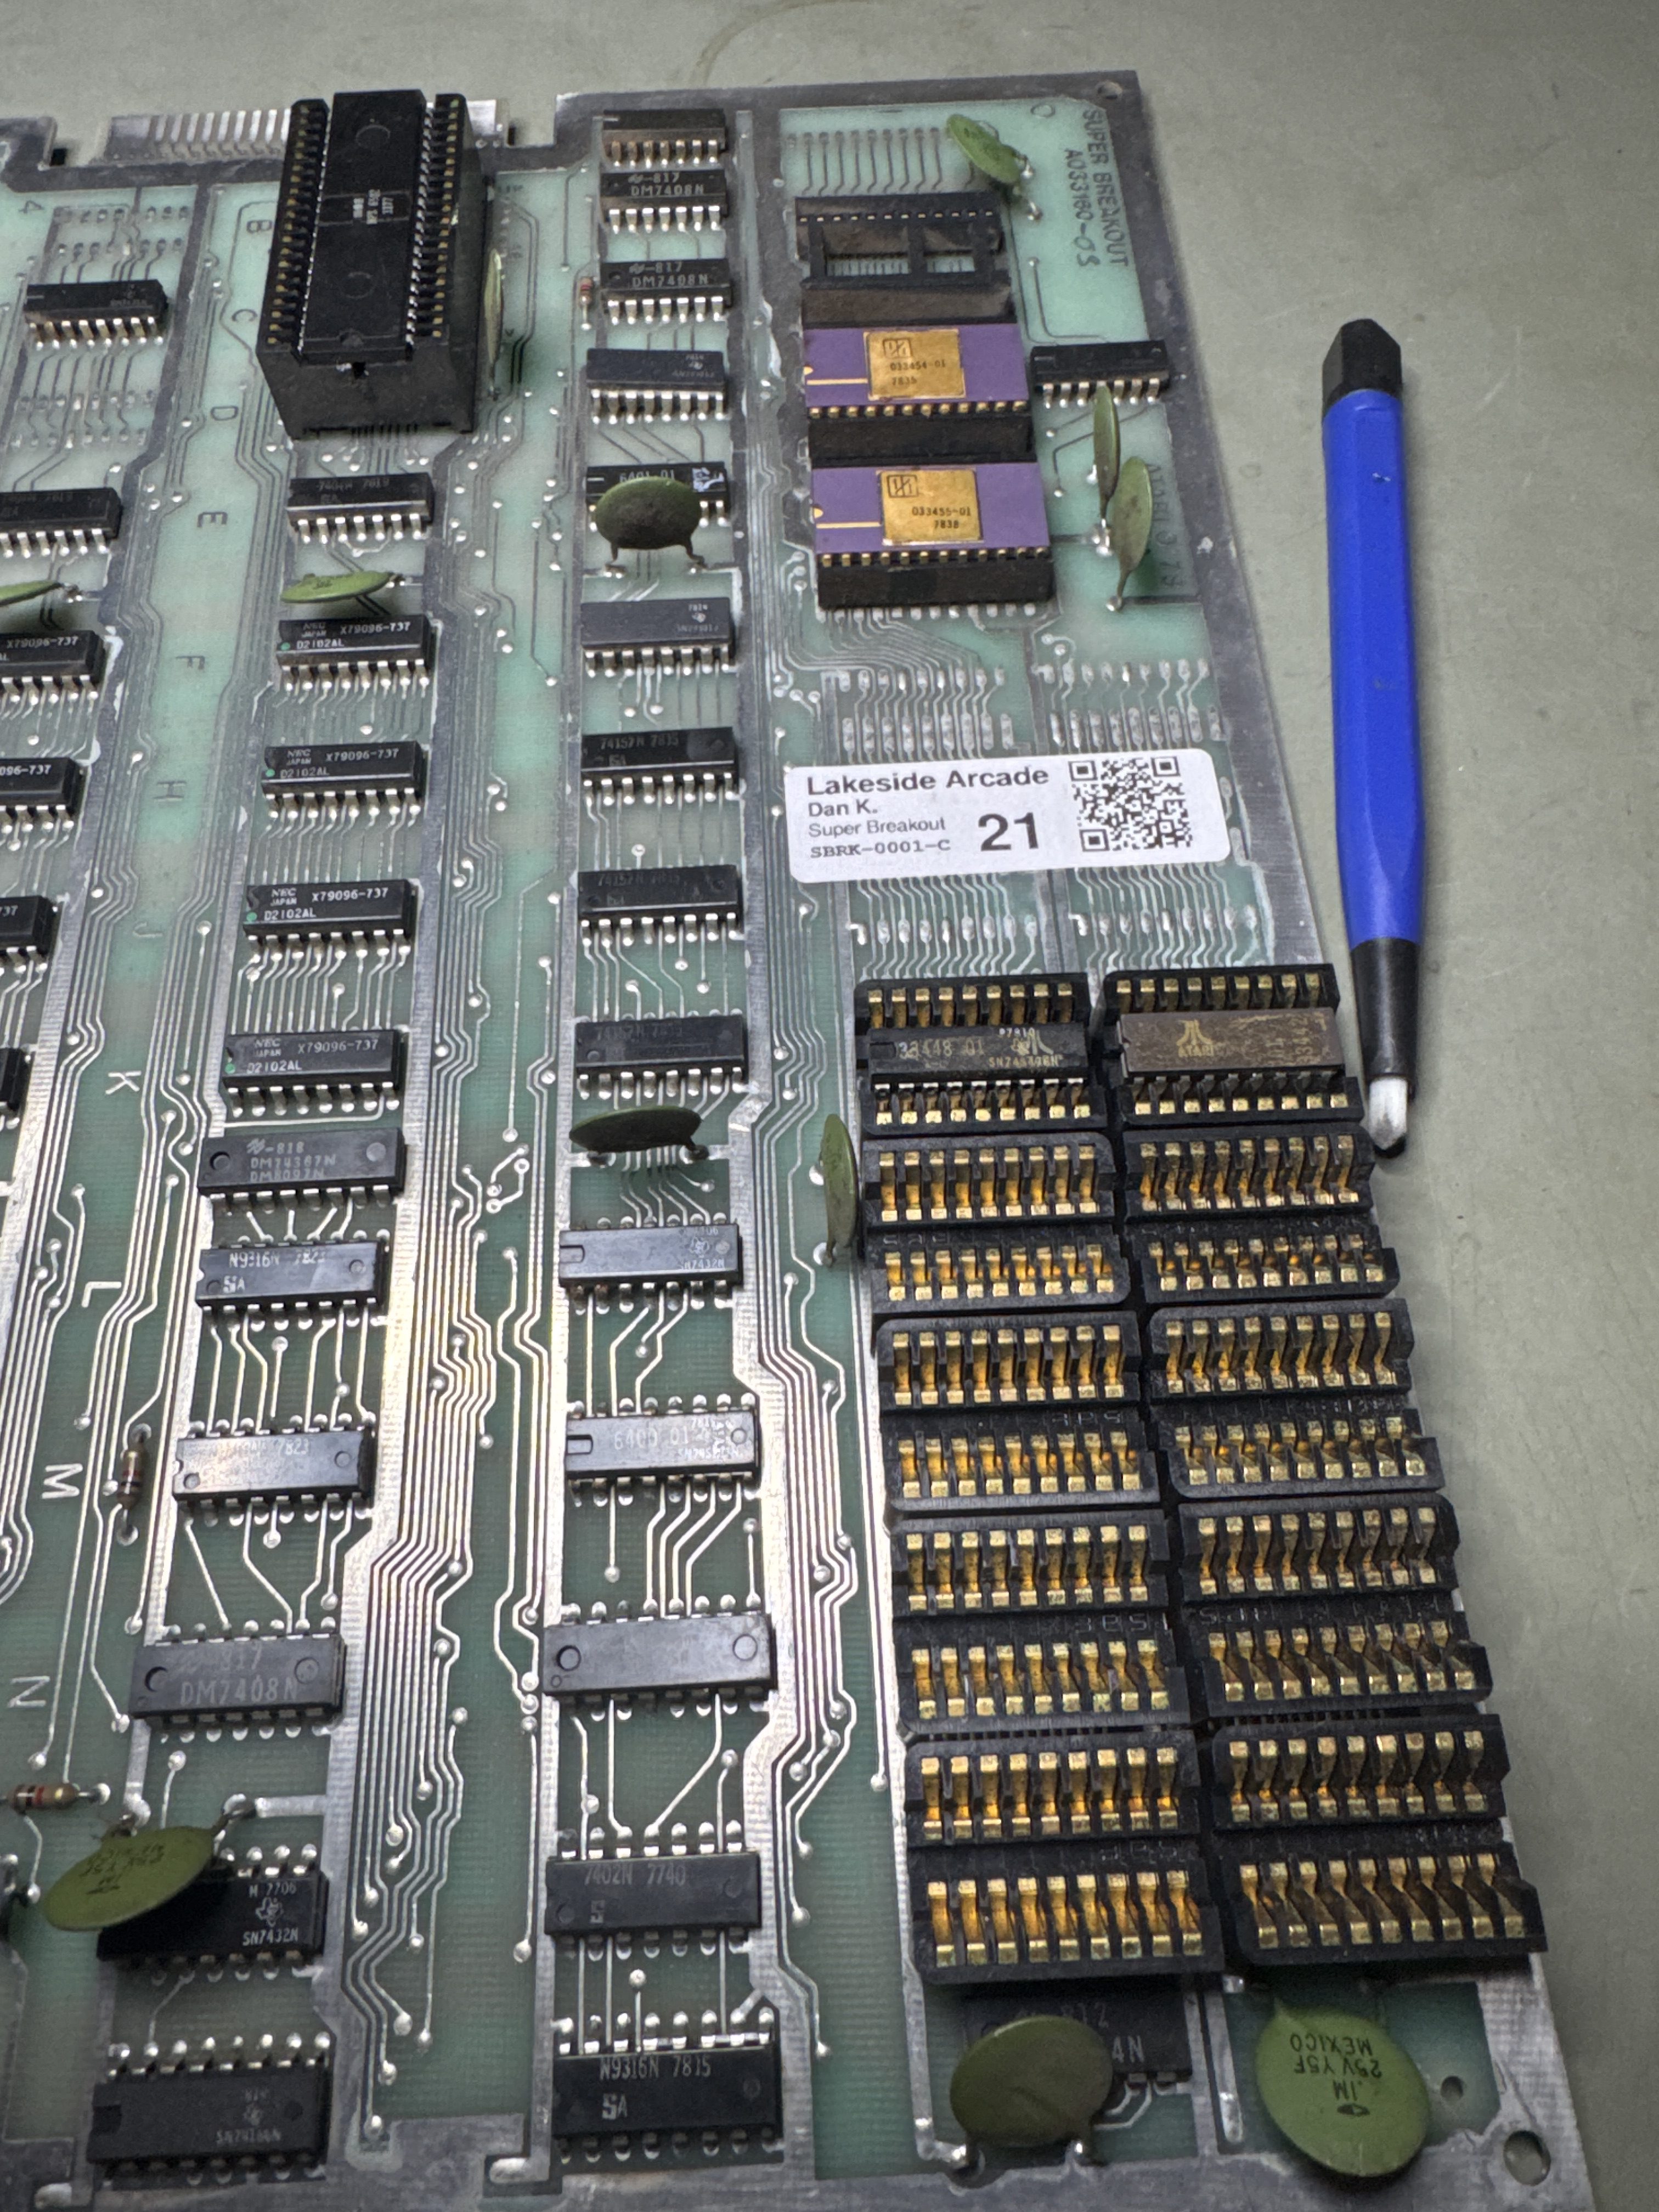
No further issues during testing. Burn in testing is a 6 day test period with 36+ hours of power on time.
Board Works!

