Basketball came in at the same time as Breakout. Completely different power setup, this board only needs the 10.3vdc connection. I made it so that I could go direct to the board with 5vdc from my bench supply. Clearly Atari learned from all of these different designs and developed the ARI and ARII to provide a more universal power and audio amp configuration.
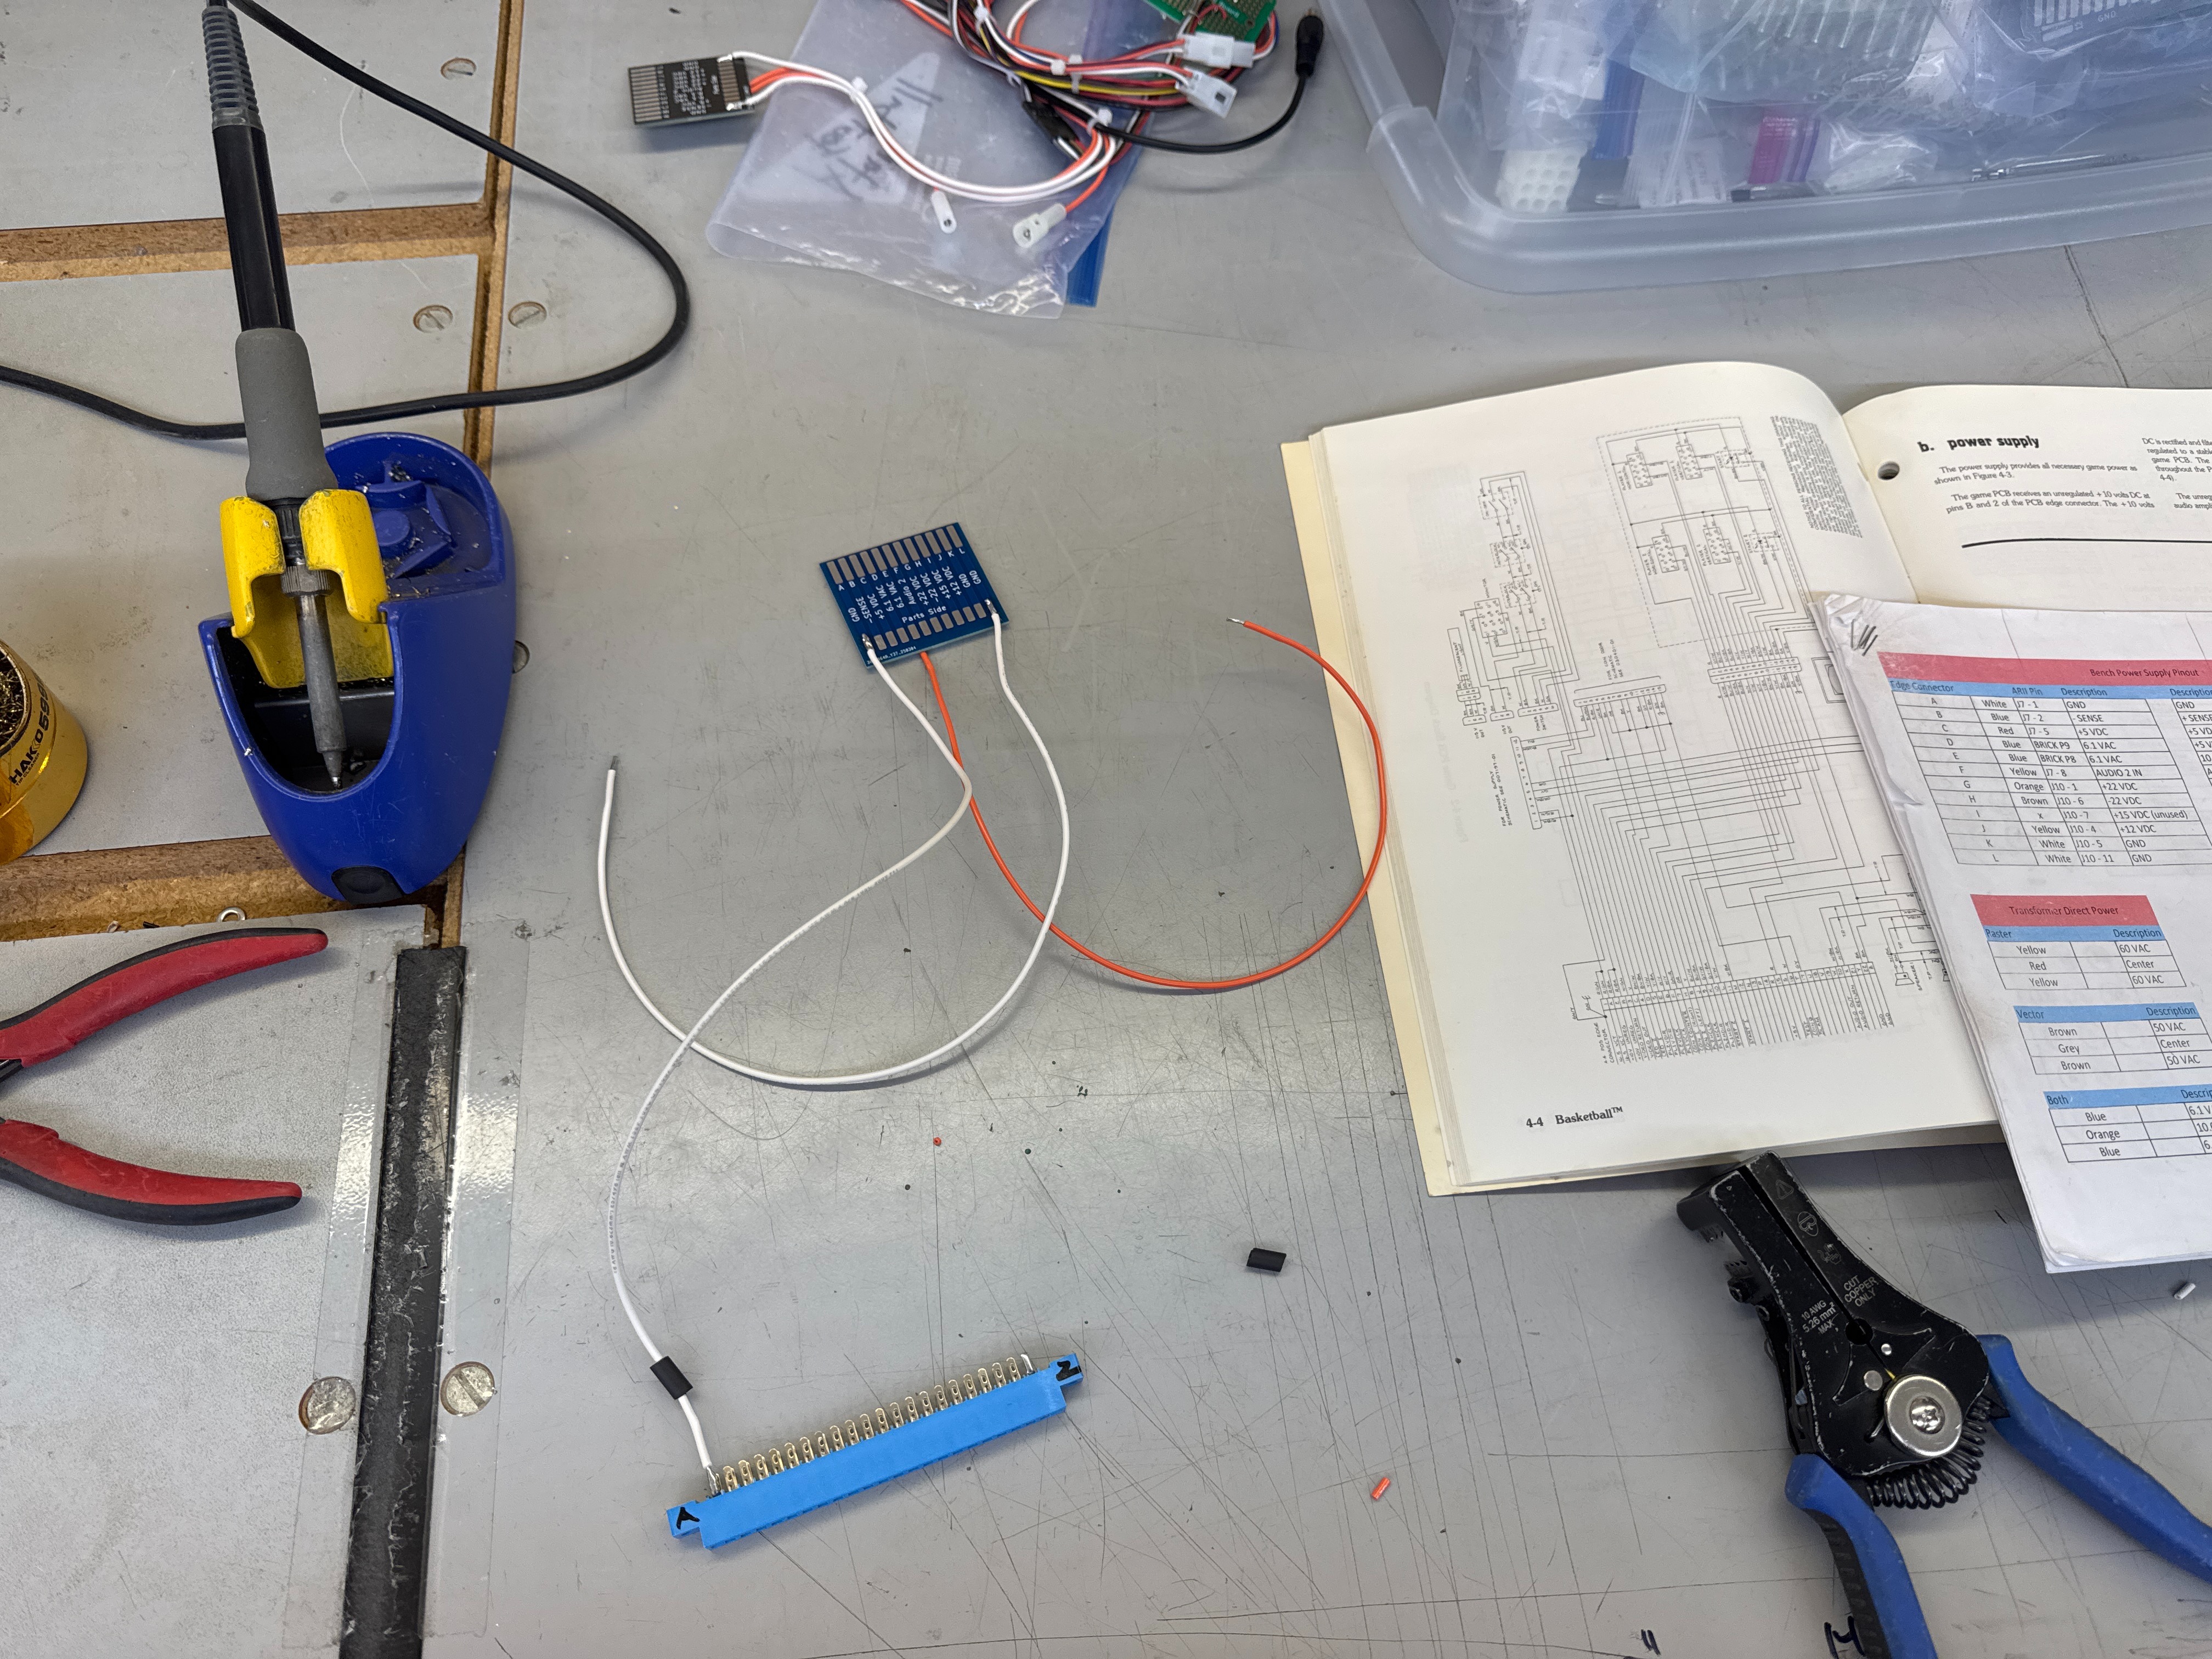
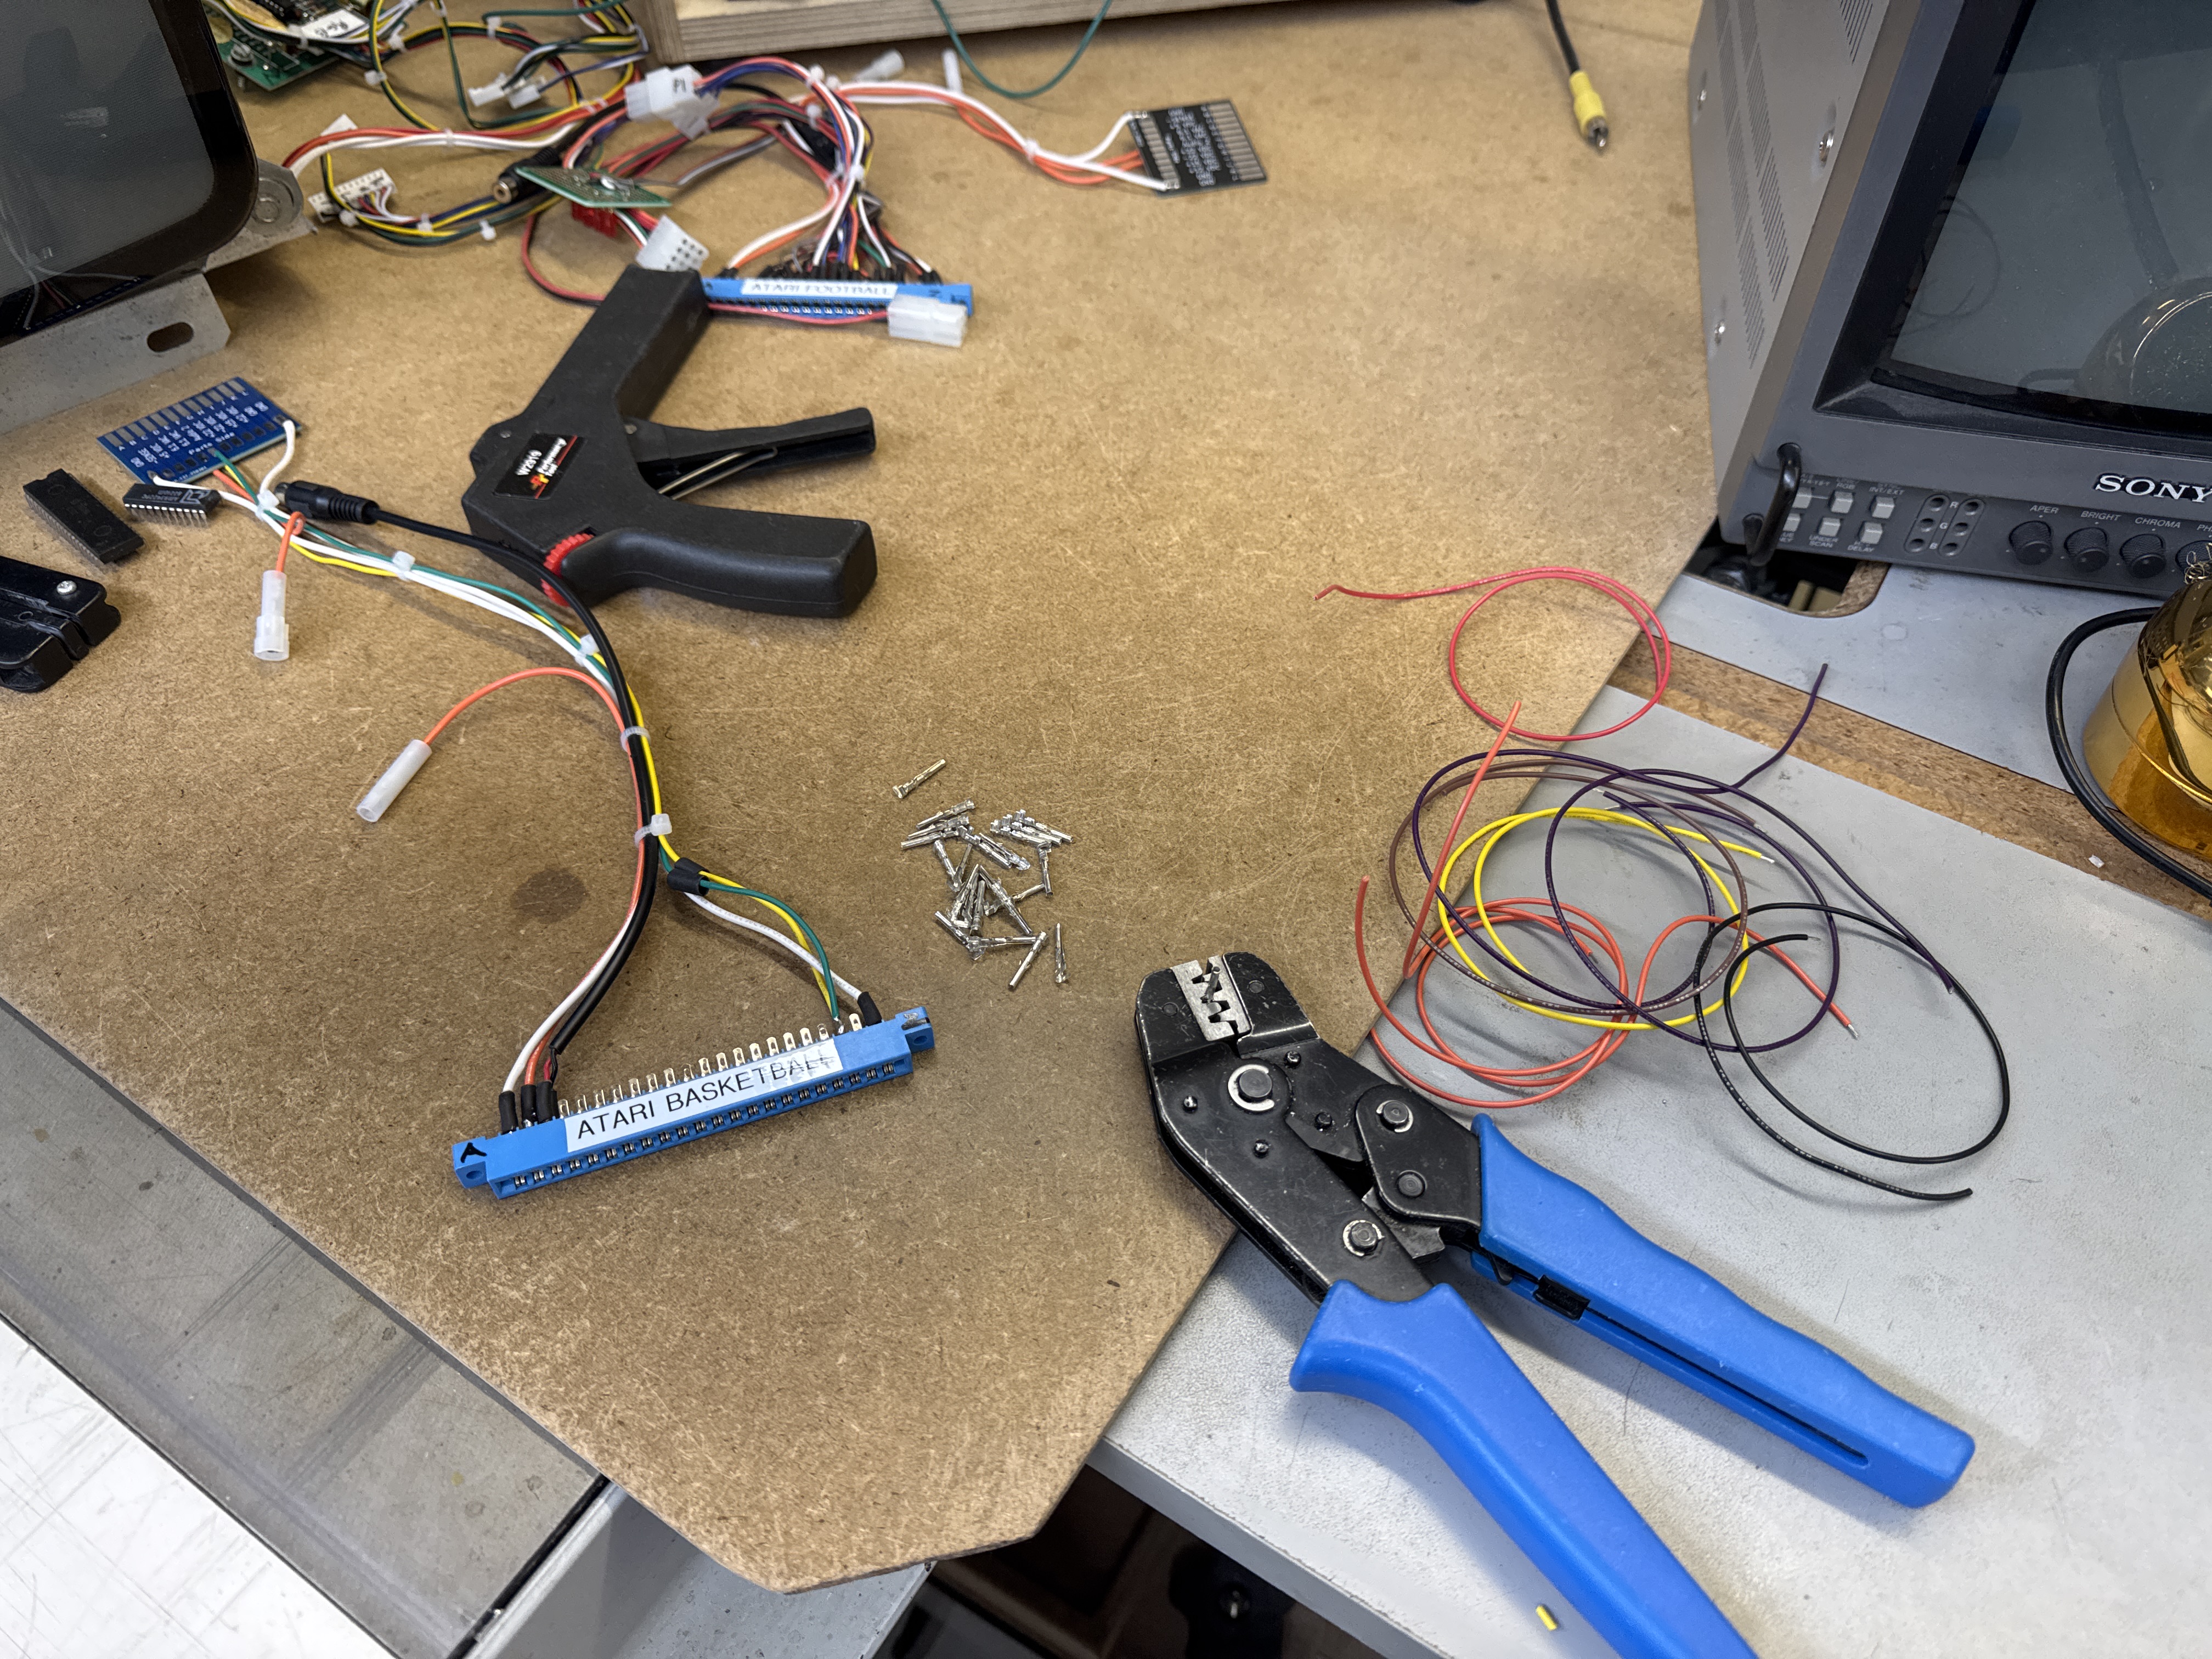
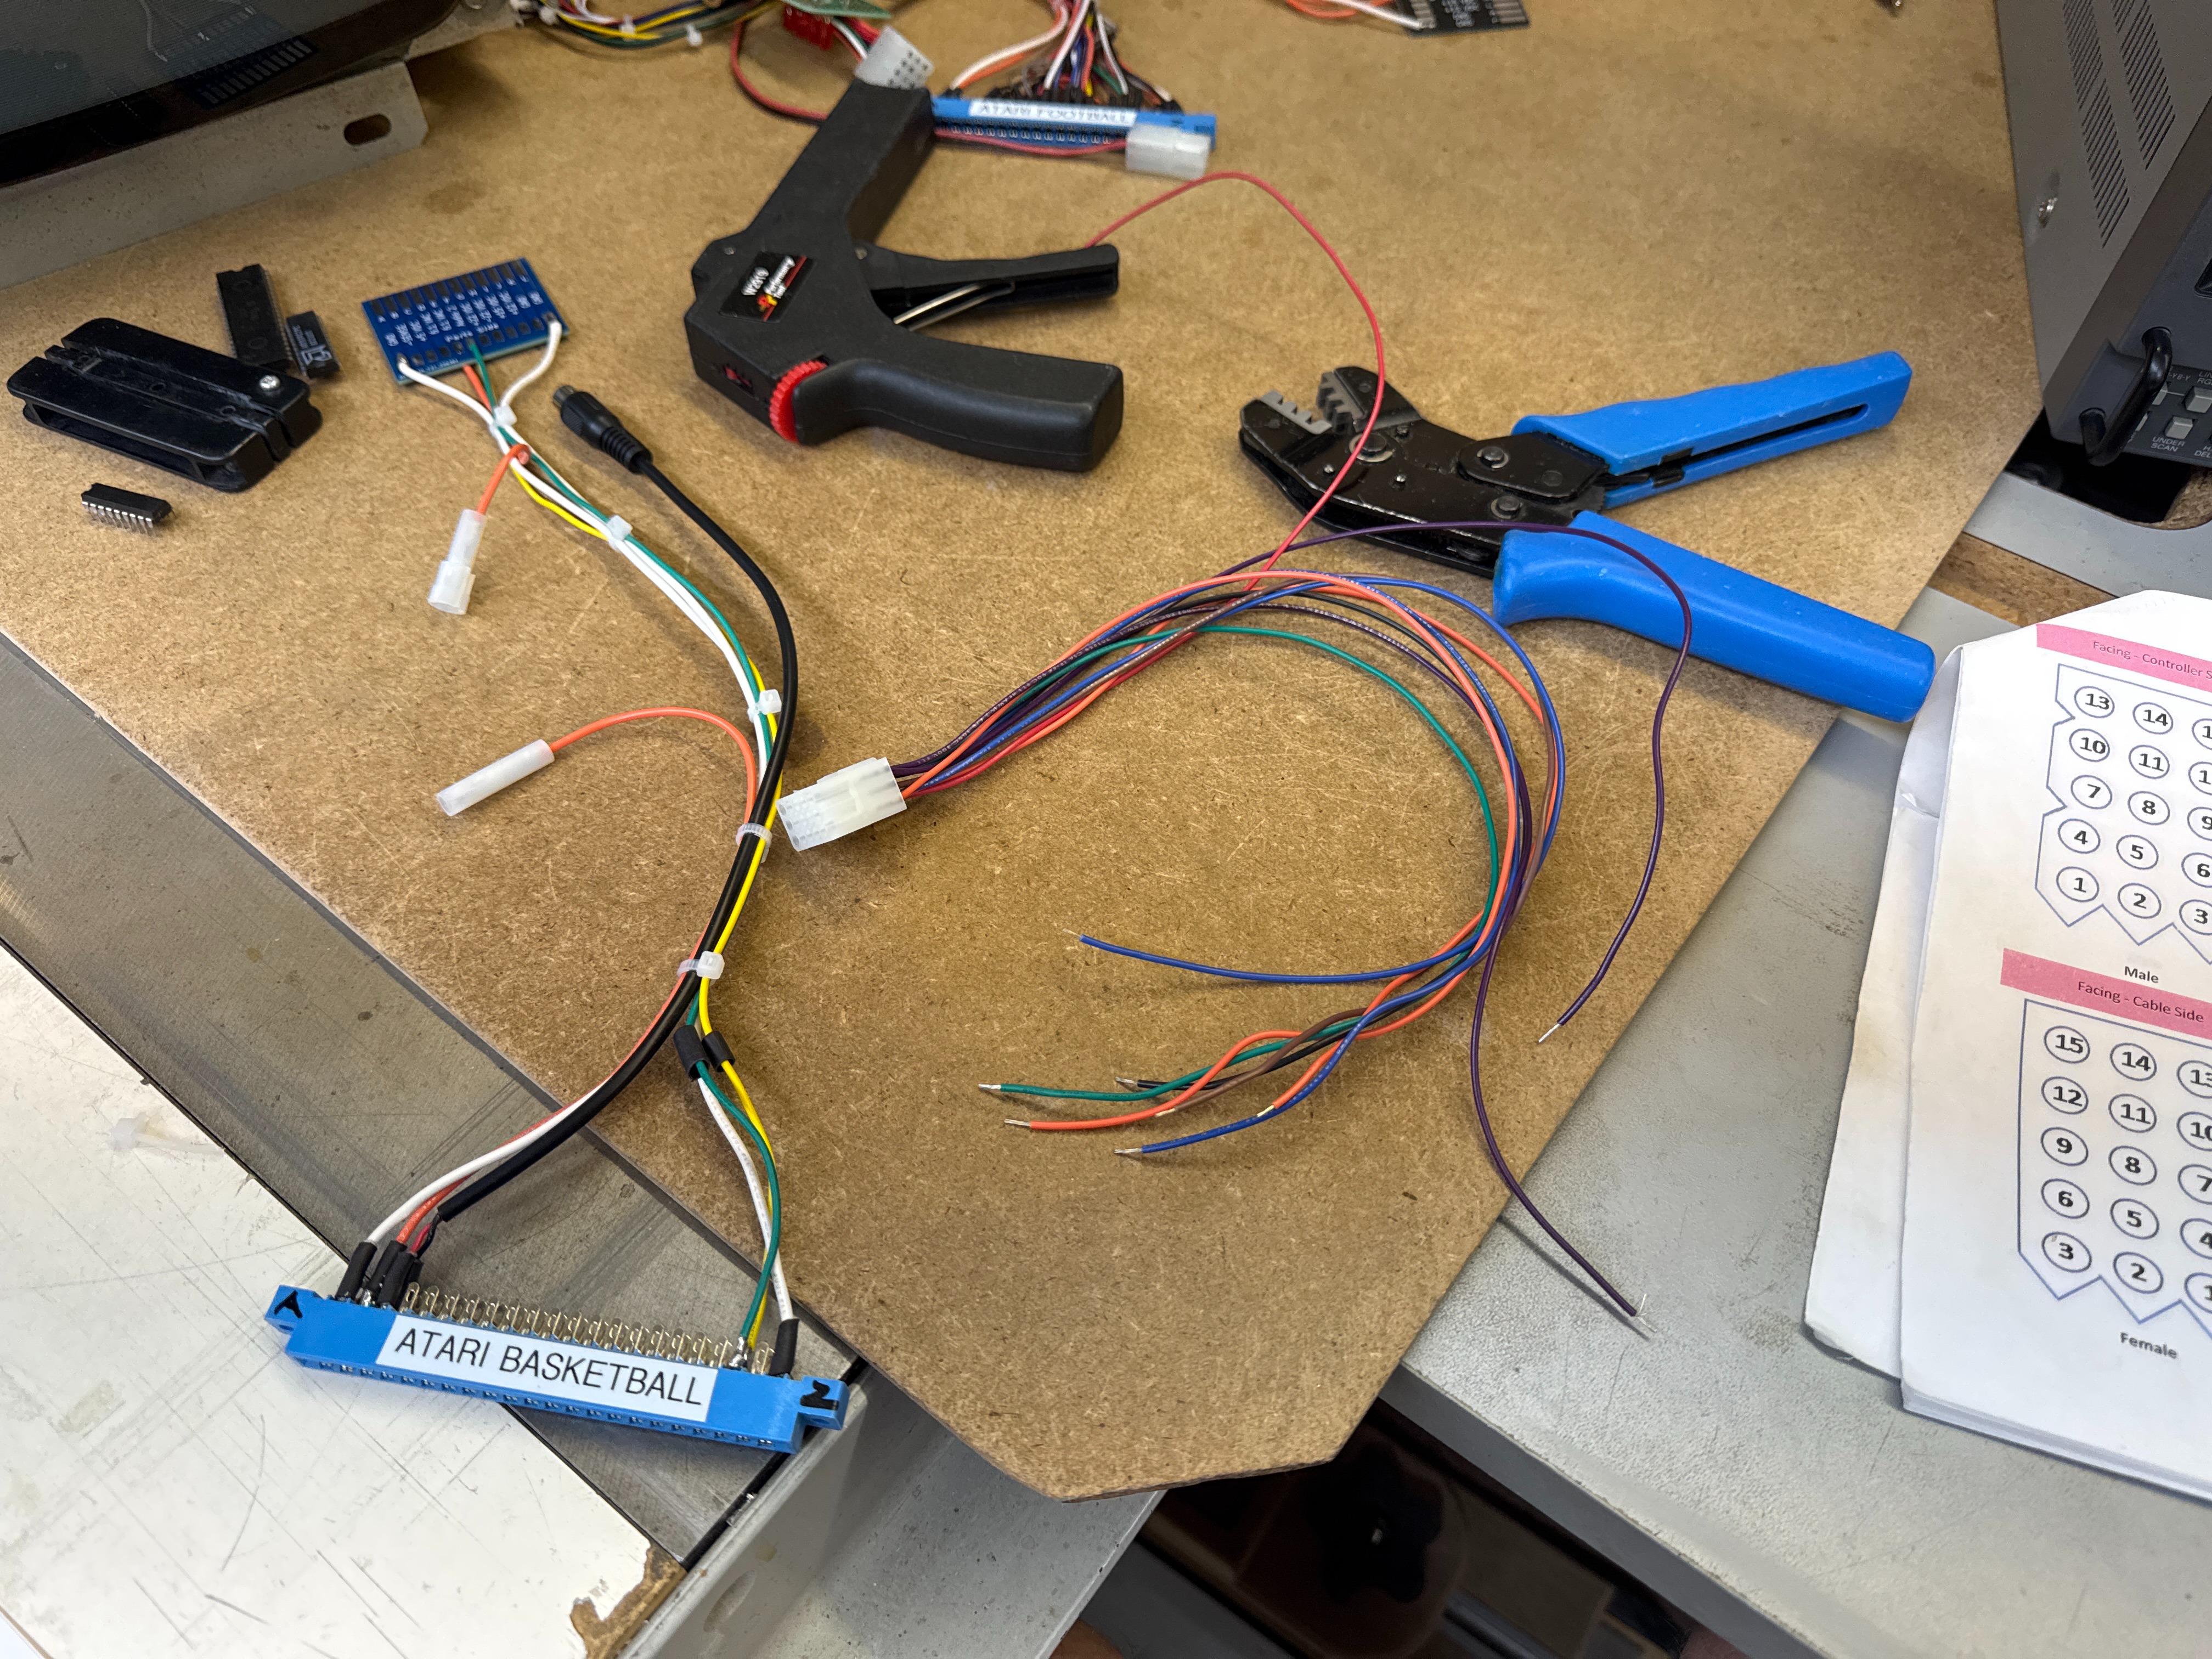
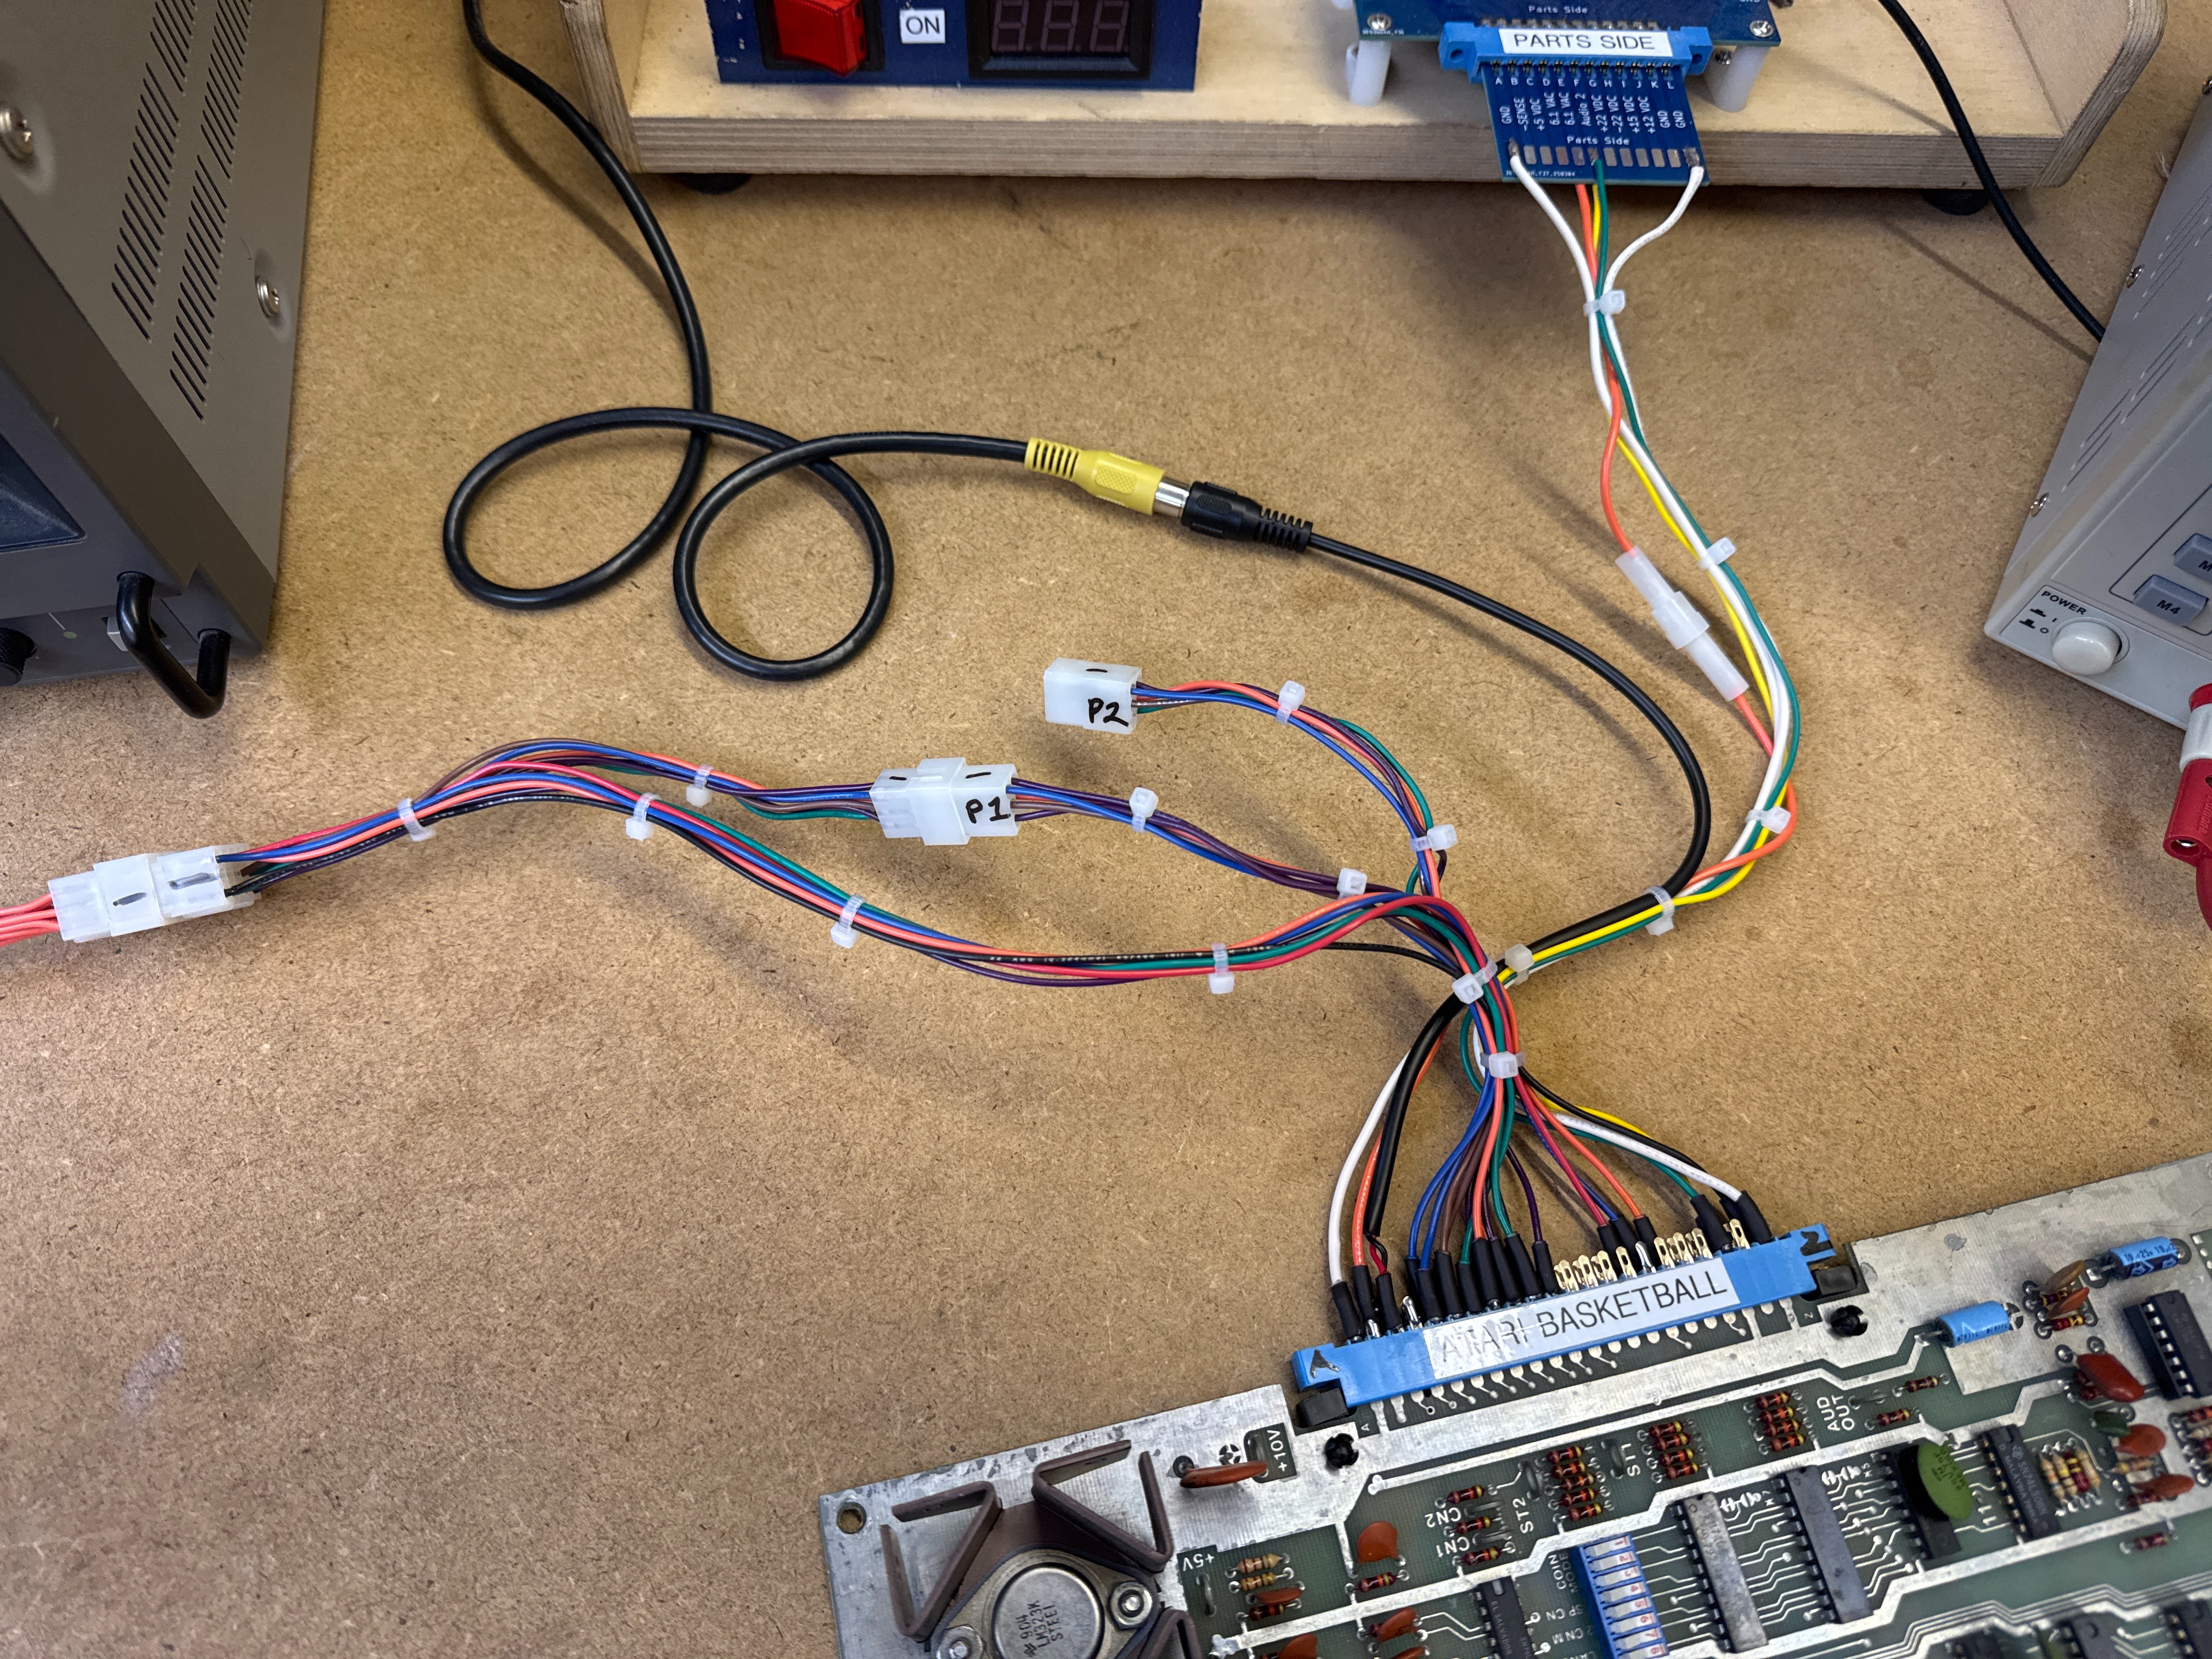
Above is the evolution of my bench adapter builds. Start with just power and video. Add controls once power has been verified. Basketball requires 2 trackballs.. I don’t need to play a game, just need to verify both sides work. The P1 and P2 connectors allow me to swap sides with the trackball for testing. Once everything is validated, zip ties clean up the harness.
Board #1 – In for repair
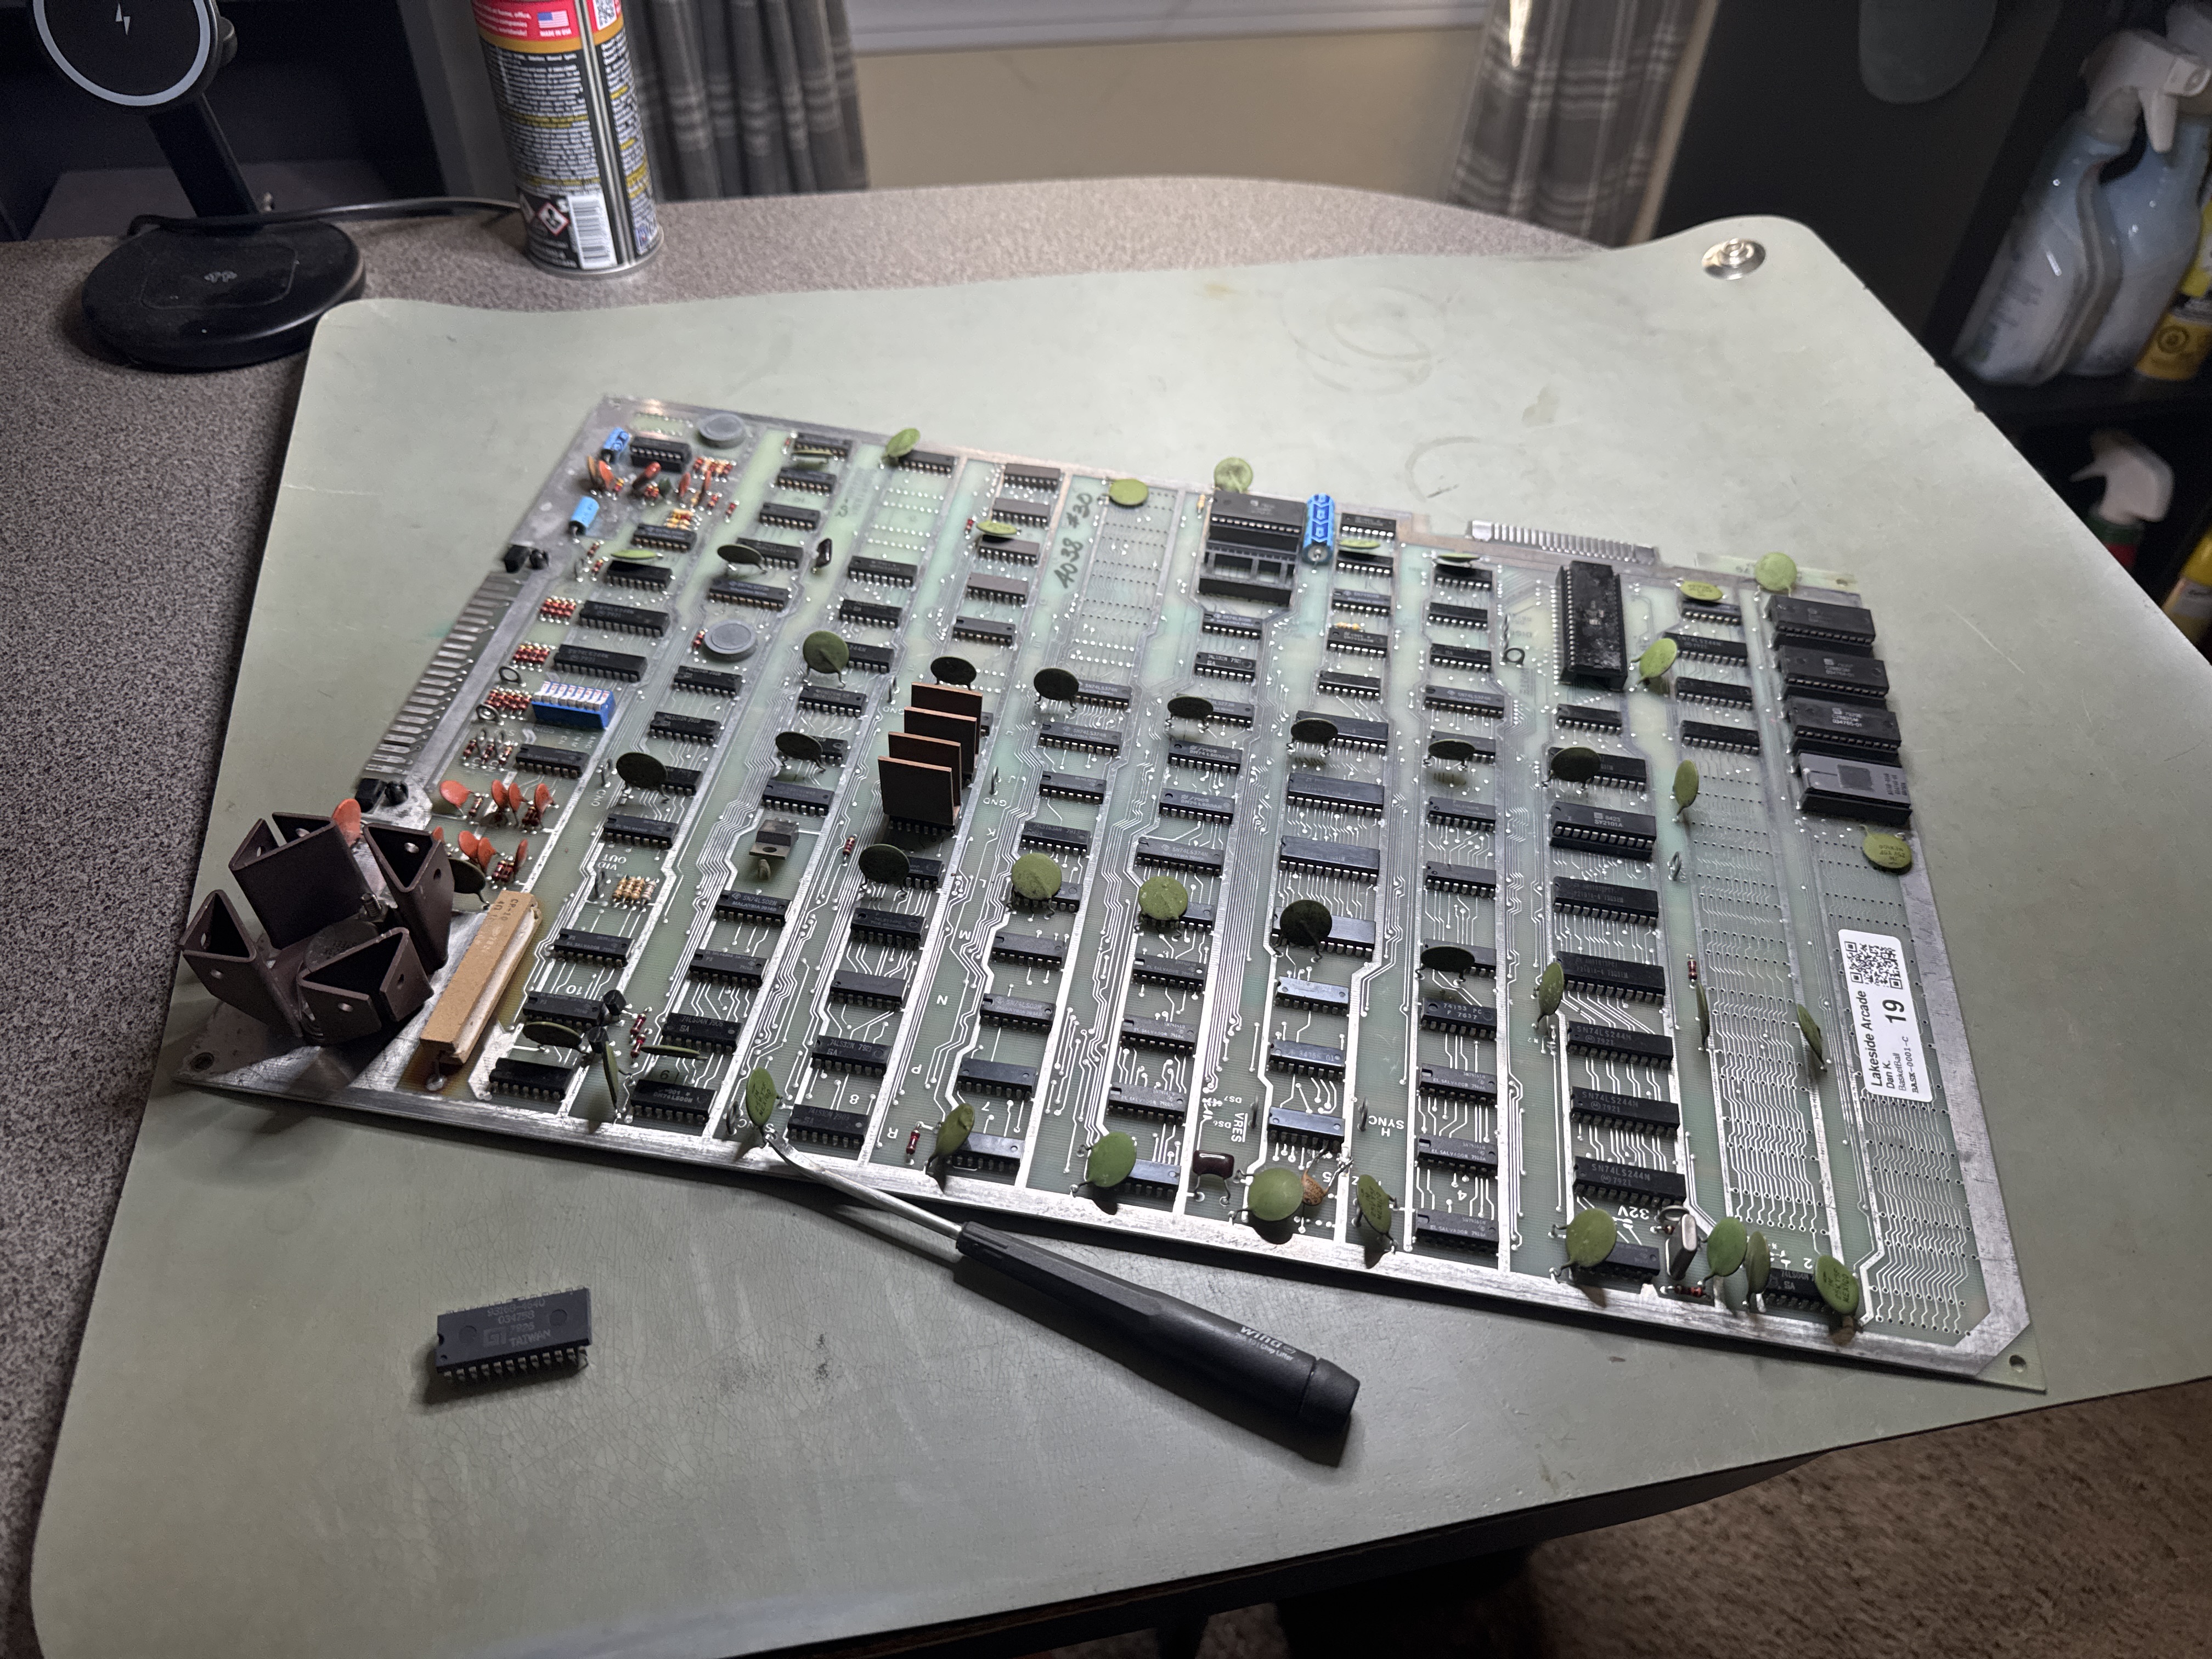
Not a lot of socketed chips on these early boards – but they still need their legs cleaned.
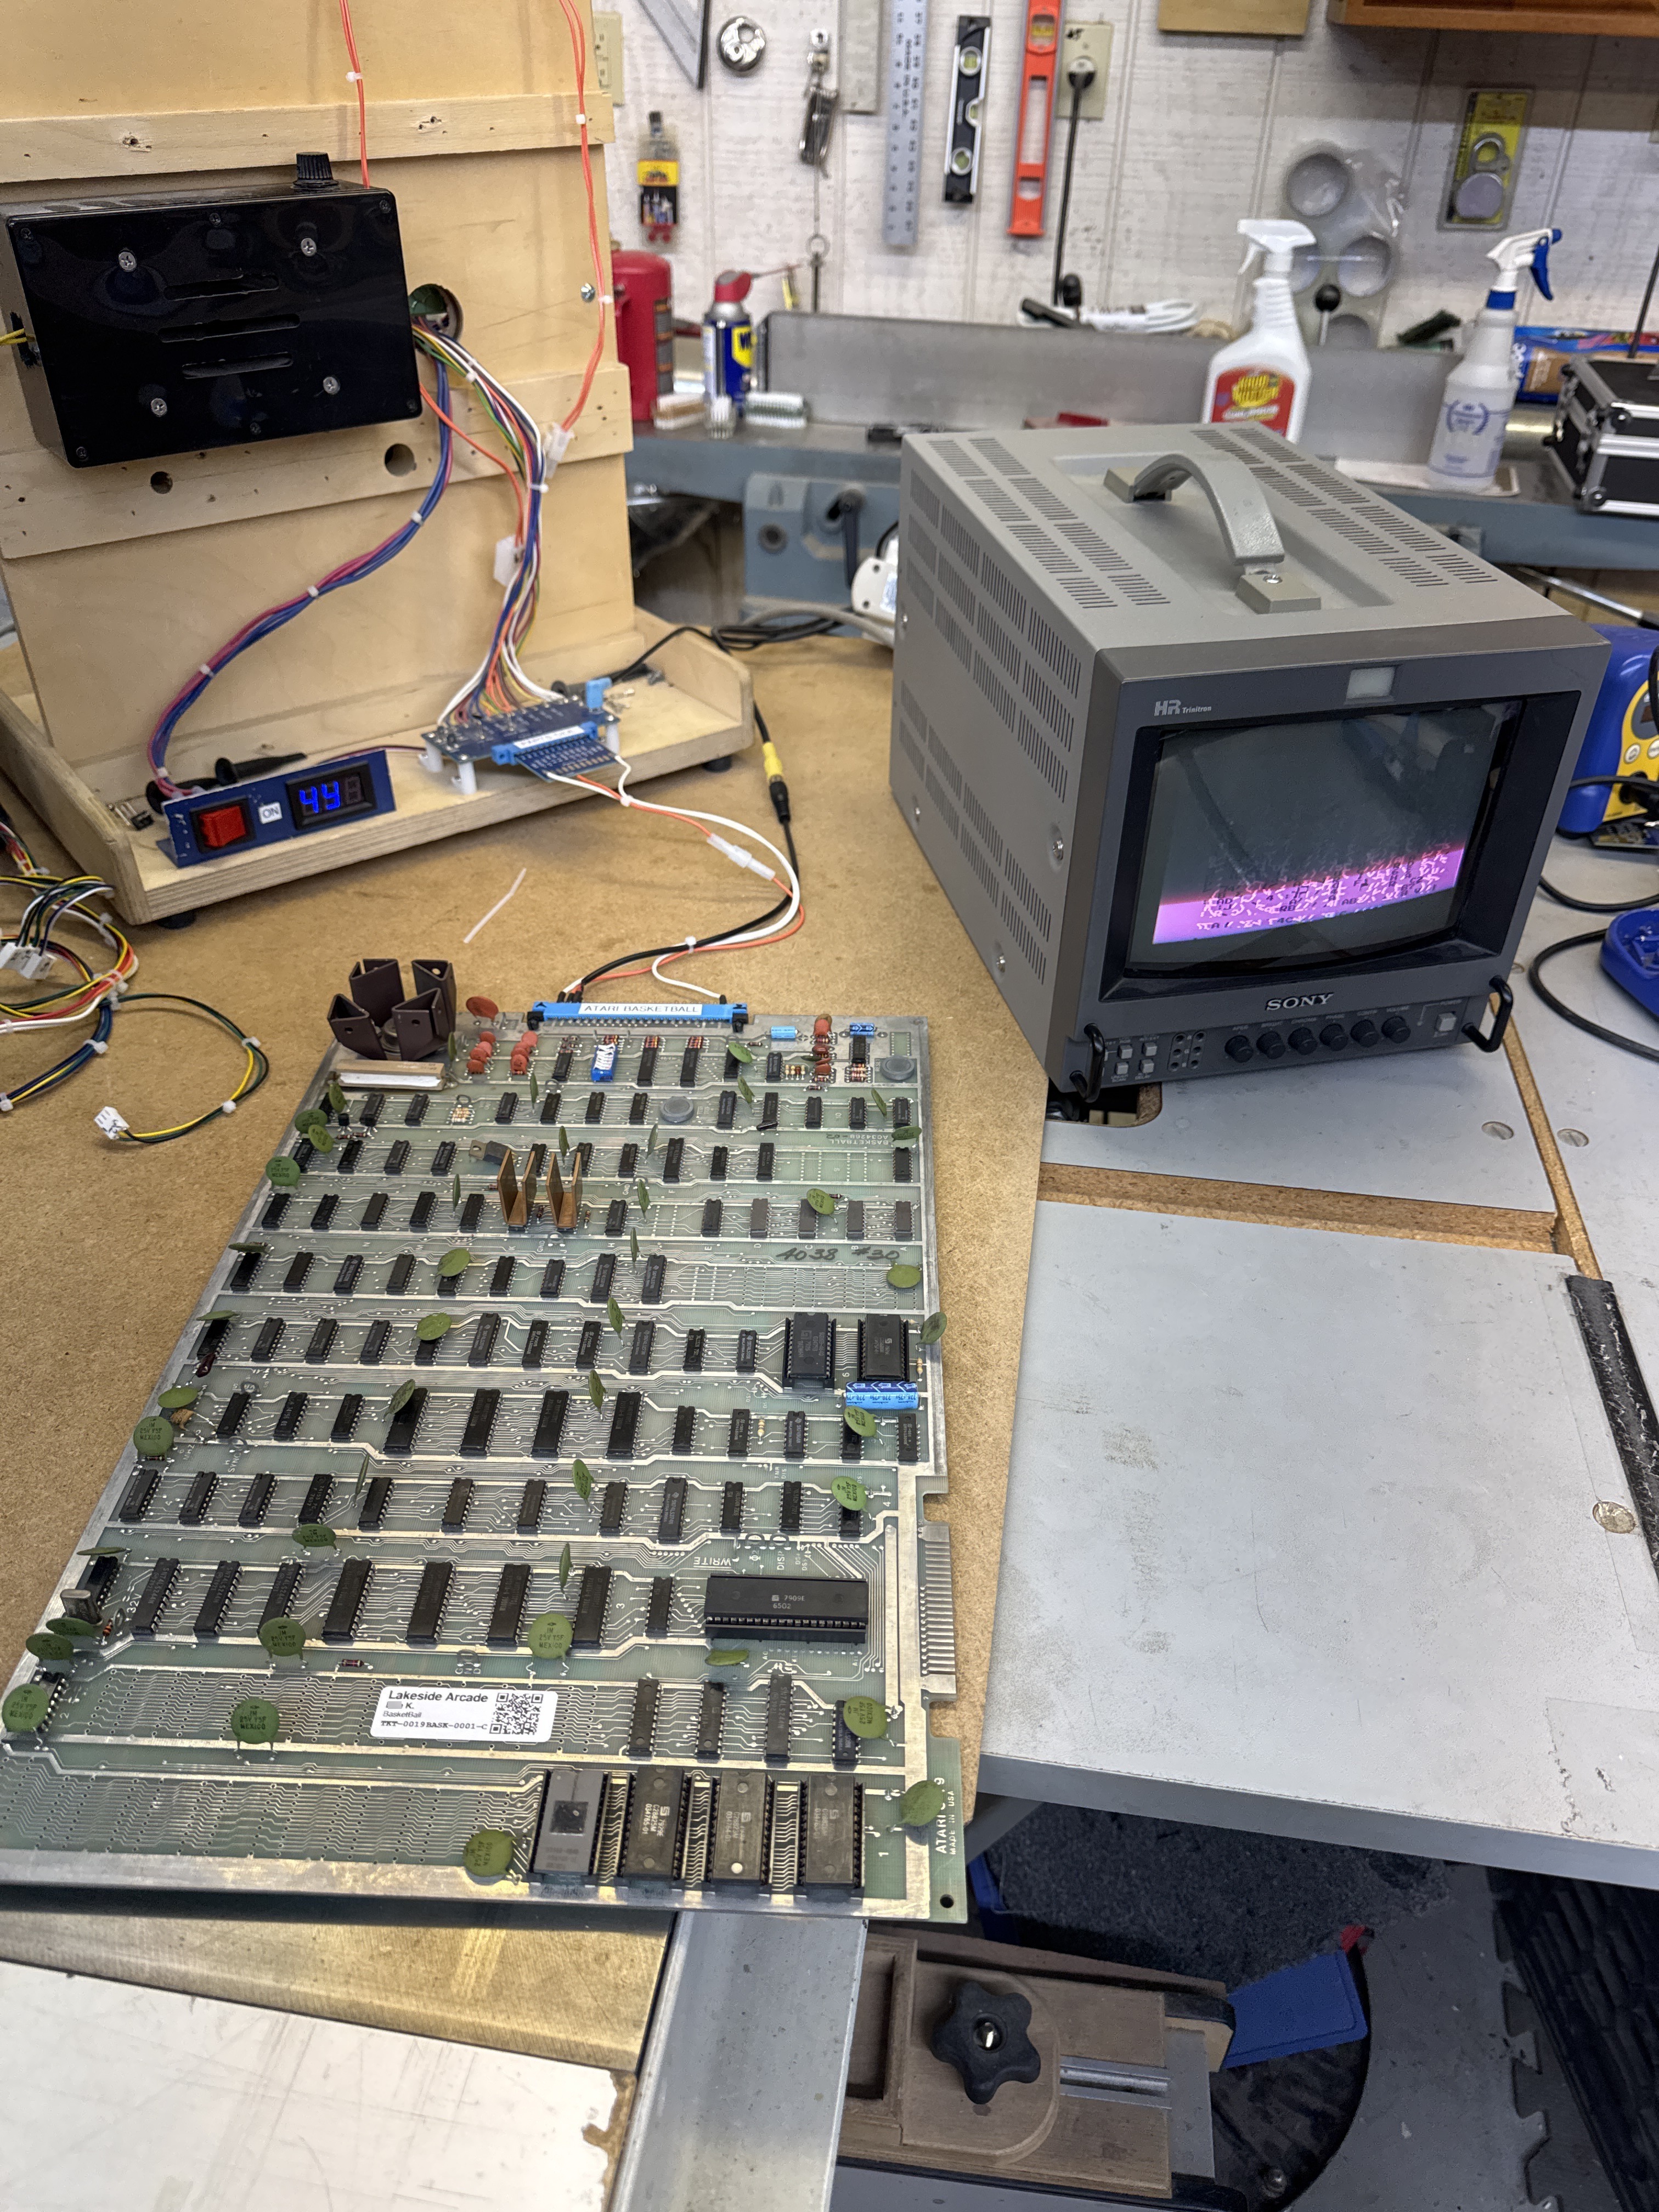
Board powered up to a screen of ASCII garbage on initial test. Clocks and other signals were present and correct.
- Built bench adapter for this board type.
- Wrote CATBOX config; ROM verified working on first attempt.
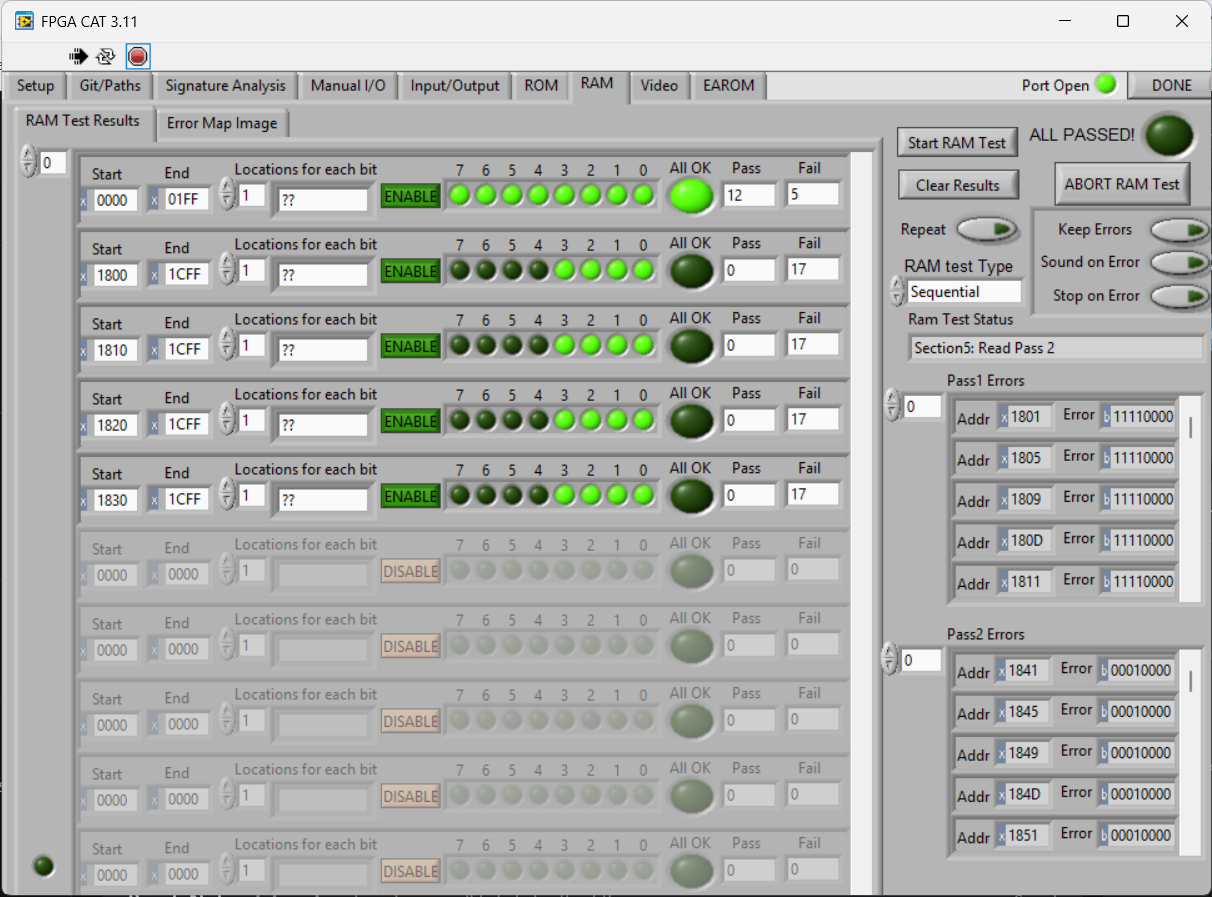
- RAM at H3 was bad and replaced.
- Board was stuck in reset; LM324 identified as the cause, holding the 74LS90 and preventing the reset line from lifting. LM324 replaced.
- Board requires the 10.3V input to power the LM324; voltage regulator could not be easily bypassed. I set up the adapter to bypass the 10.3v originally because the board was stuck in reset.. This was prior to knowing the root cause of the problem. Probably will not use that in the future.
- Trackball moved right at excessive speed; A 74LS191 was identified as faulty and replaced.
- A 74LS74 was contributing to the fault and was also replaced
No further issues during testing. Burn in testing is a 6 day test period with 36+ hours of power on time.
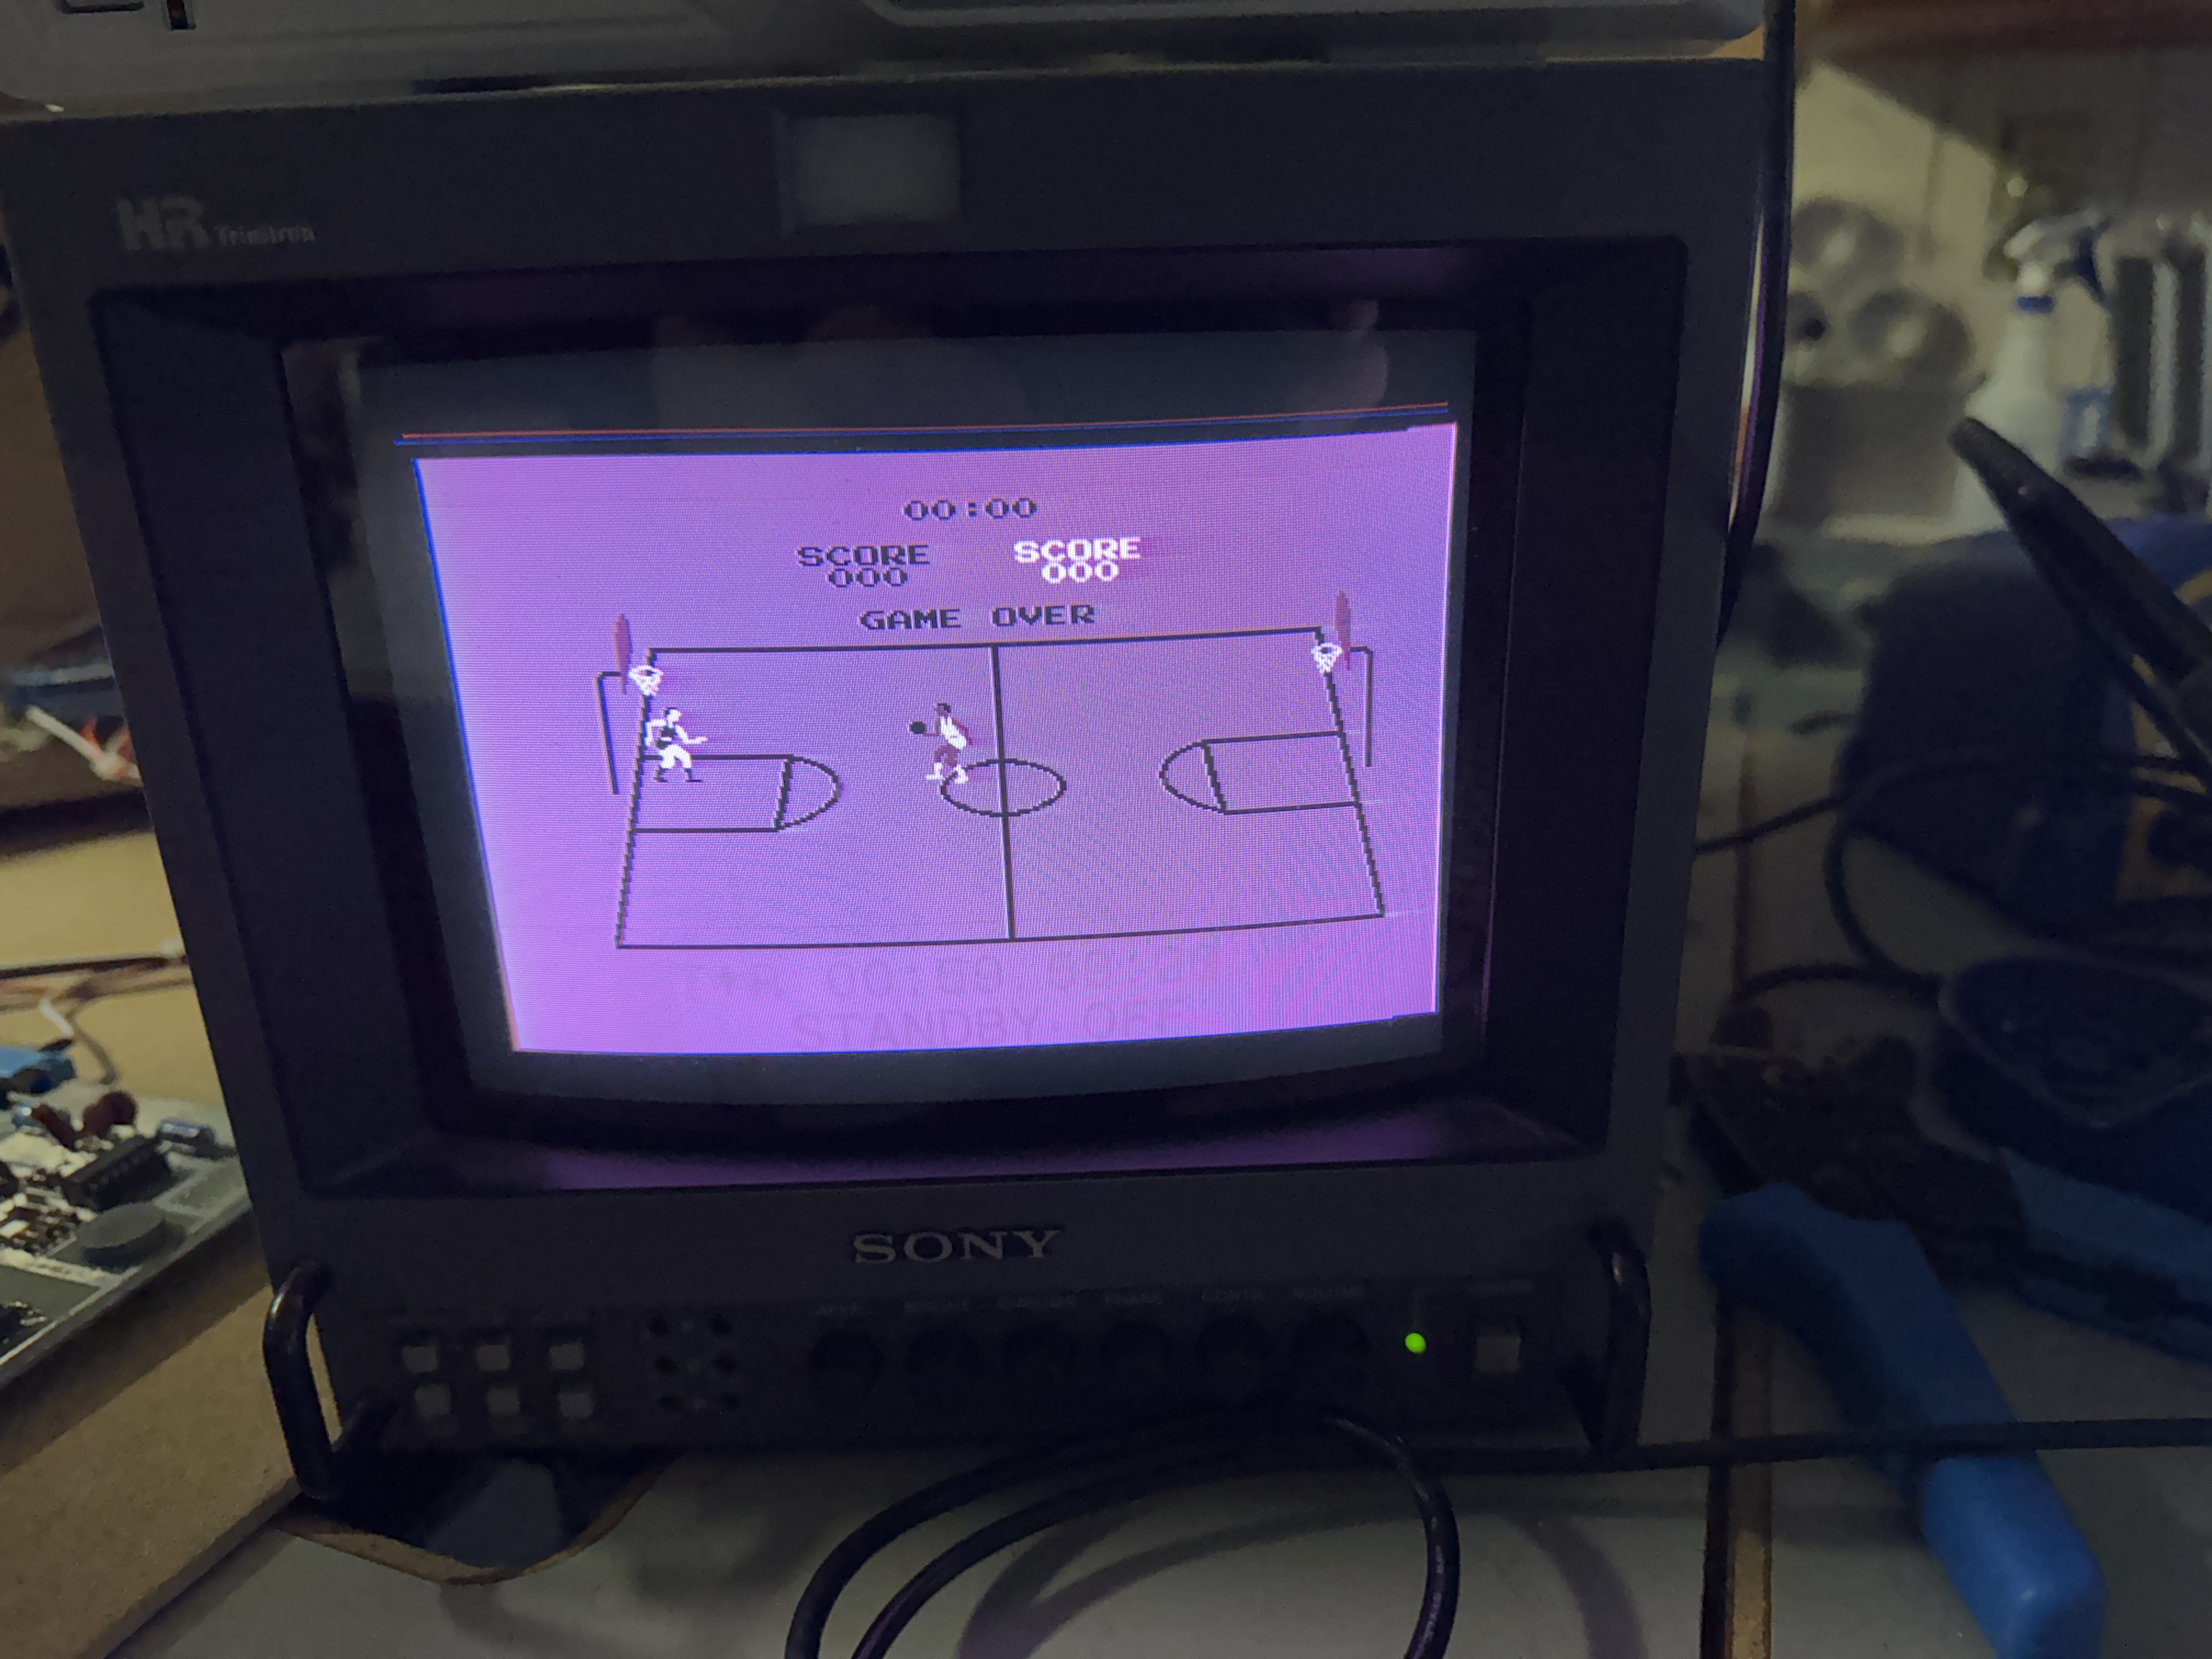
Board Works!
Board #2 – In for repair
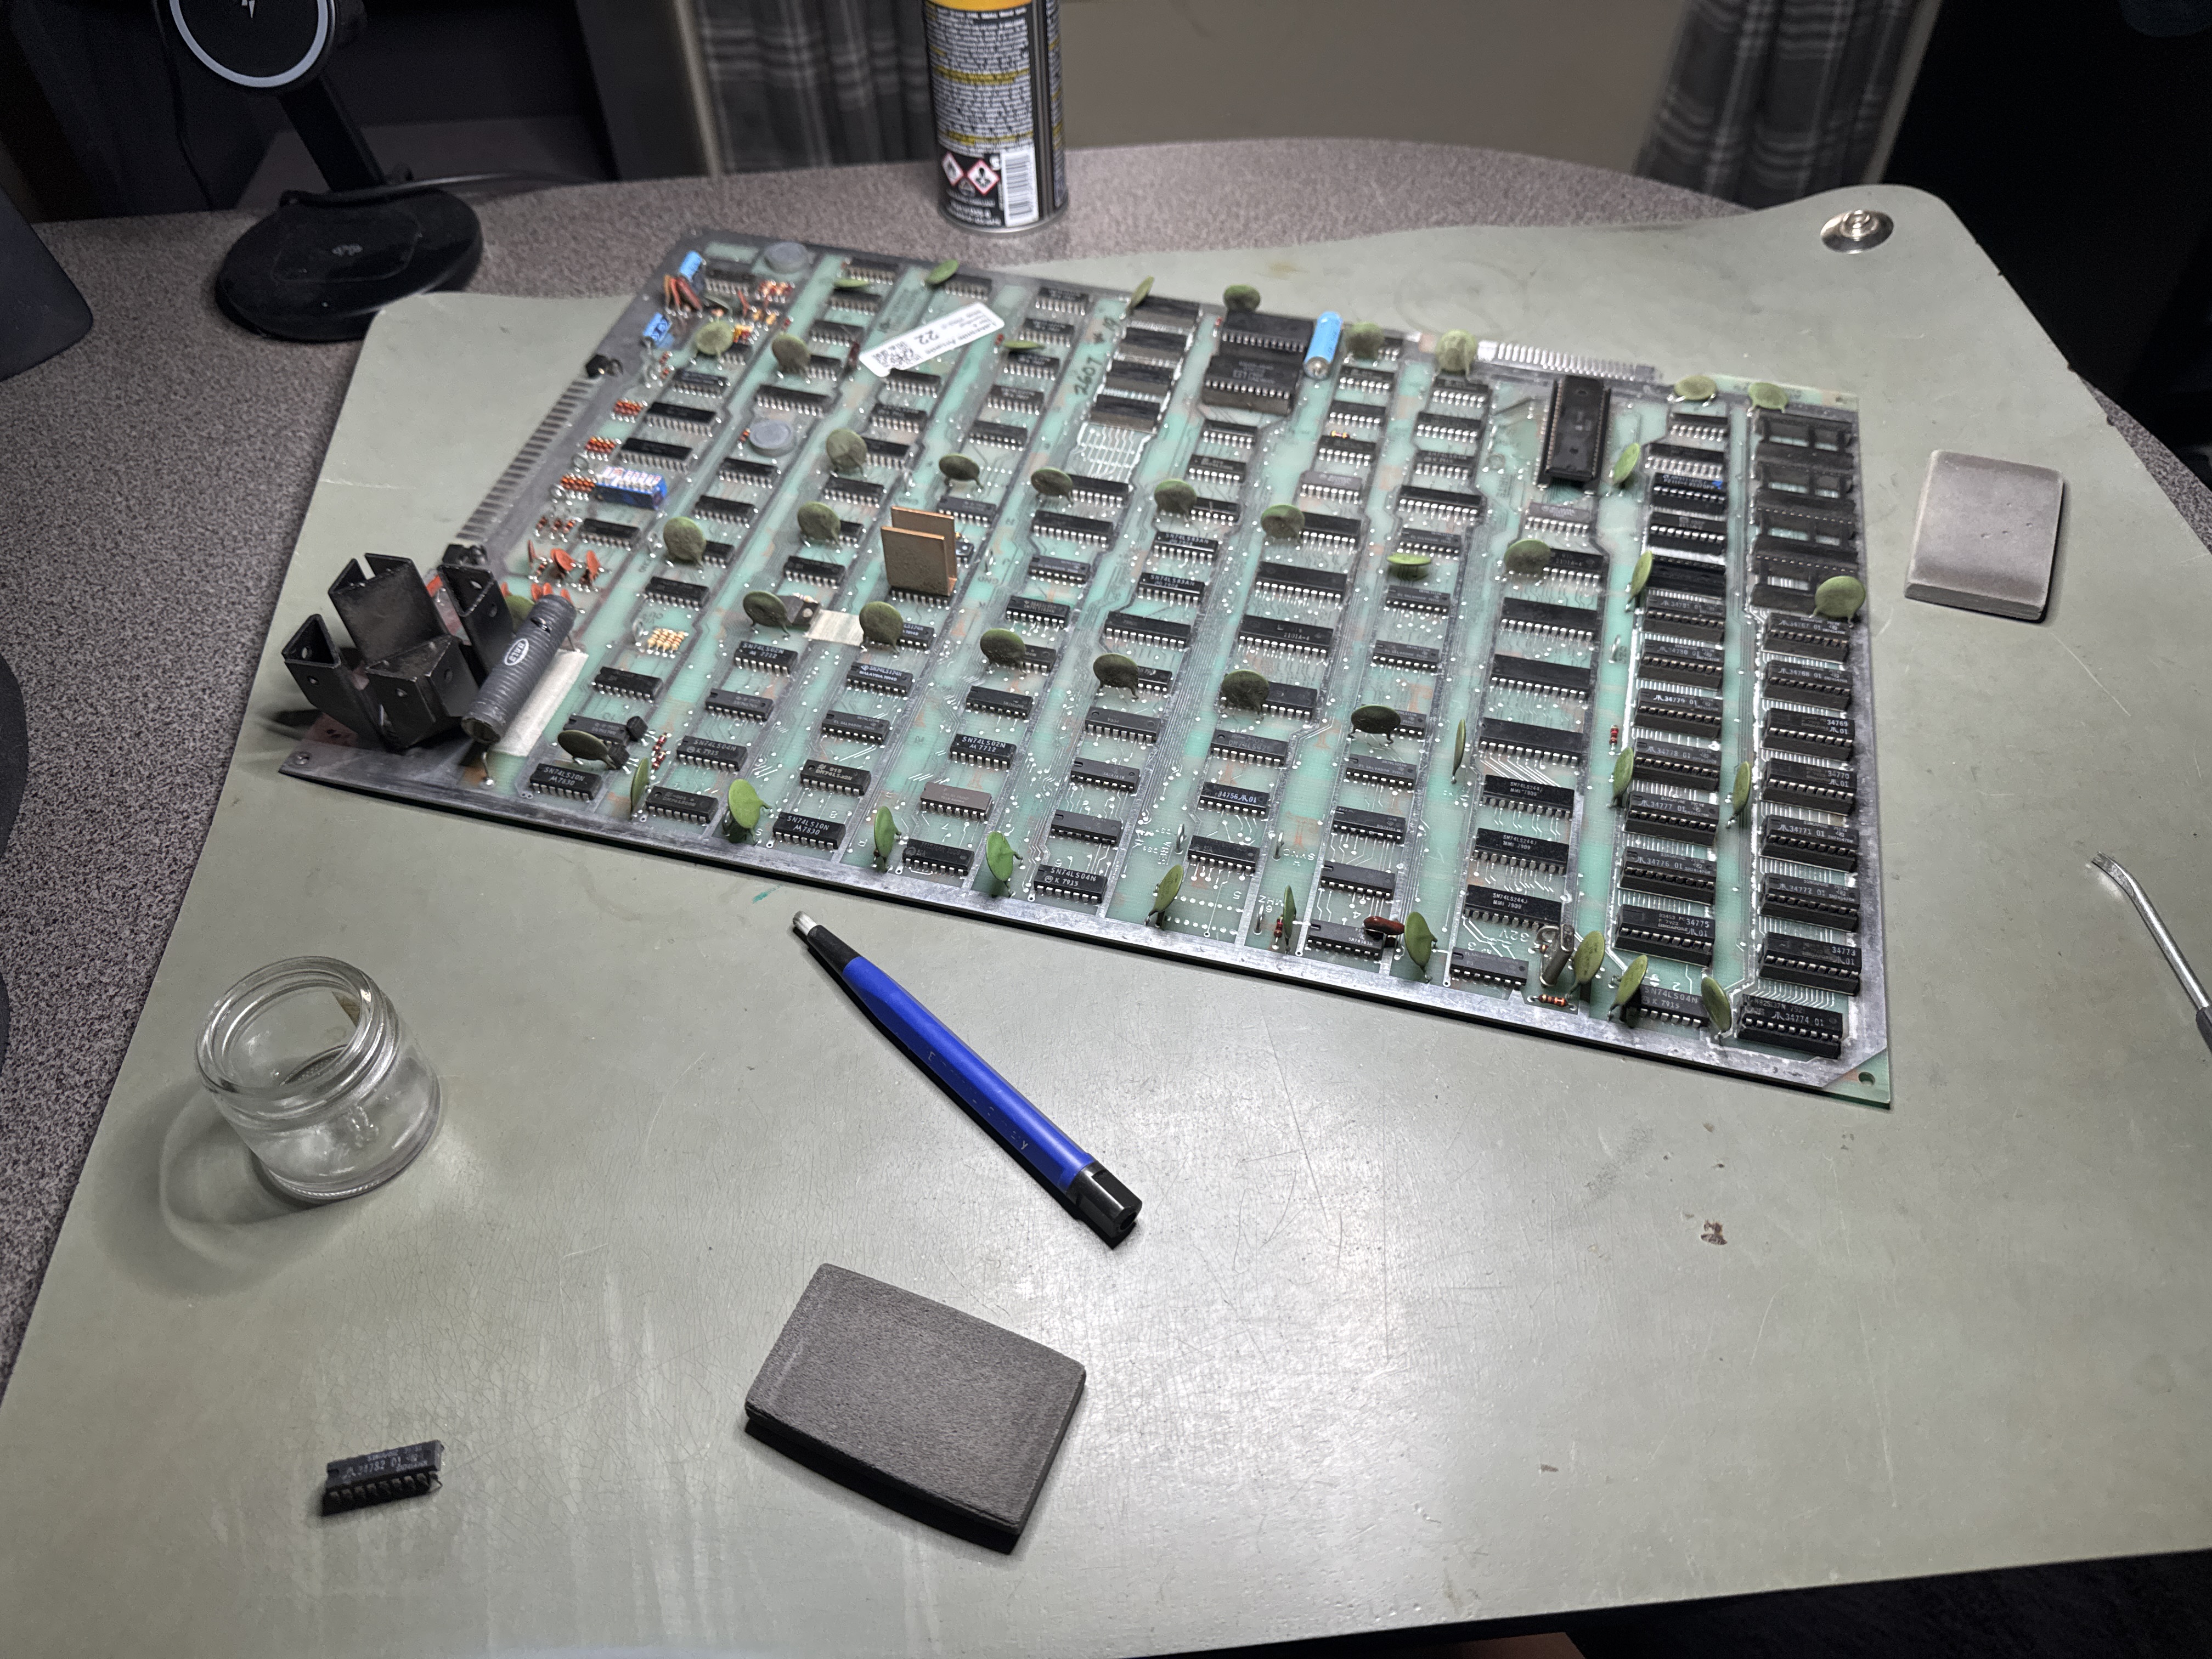
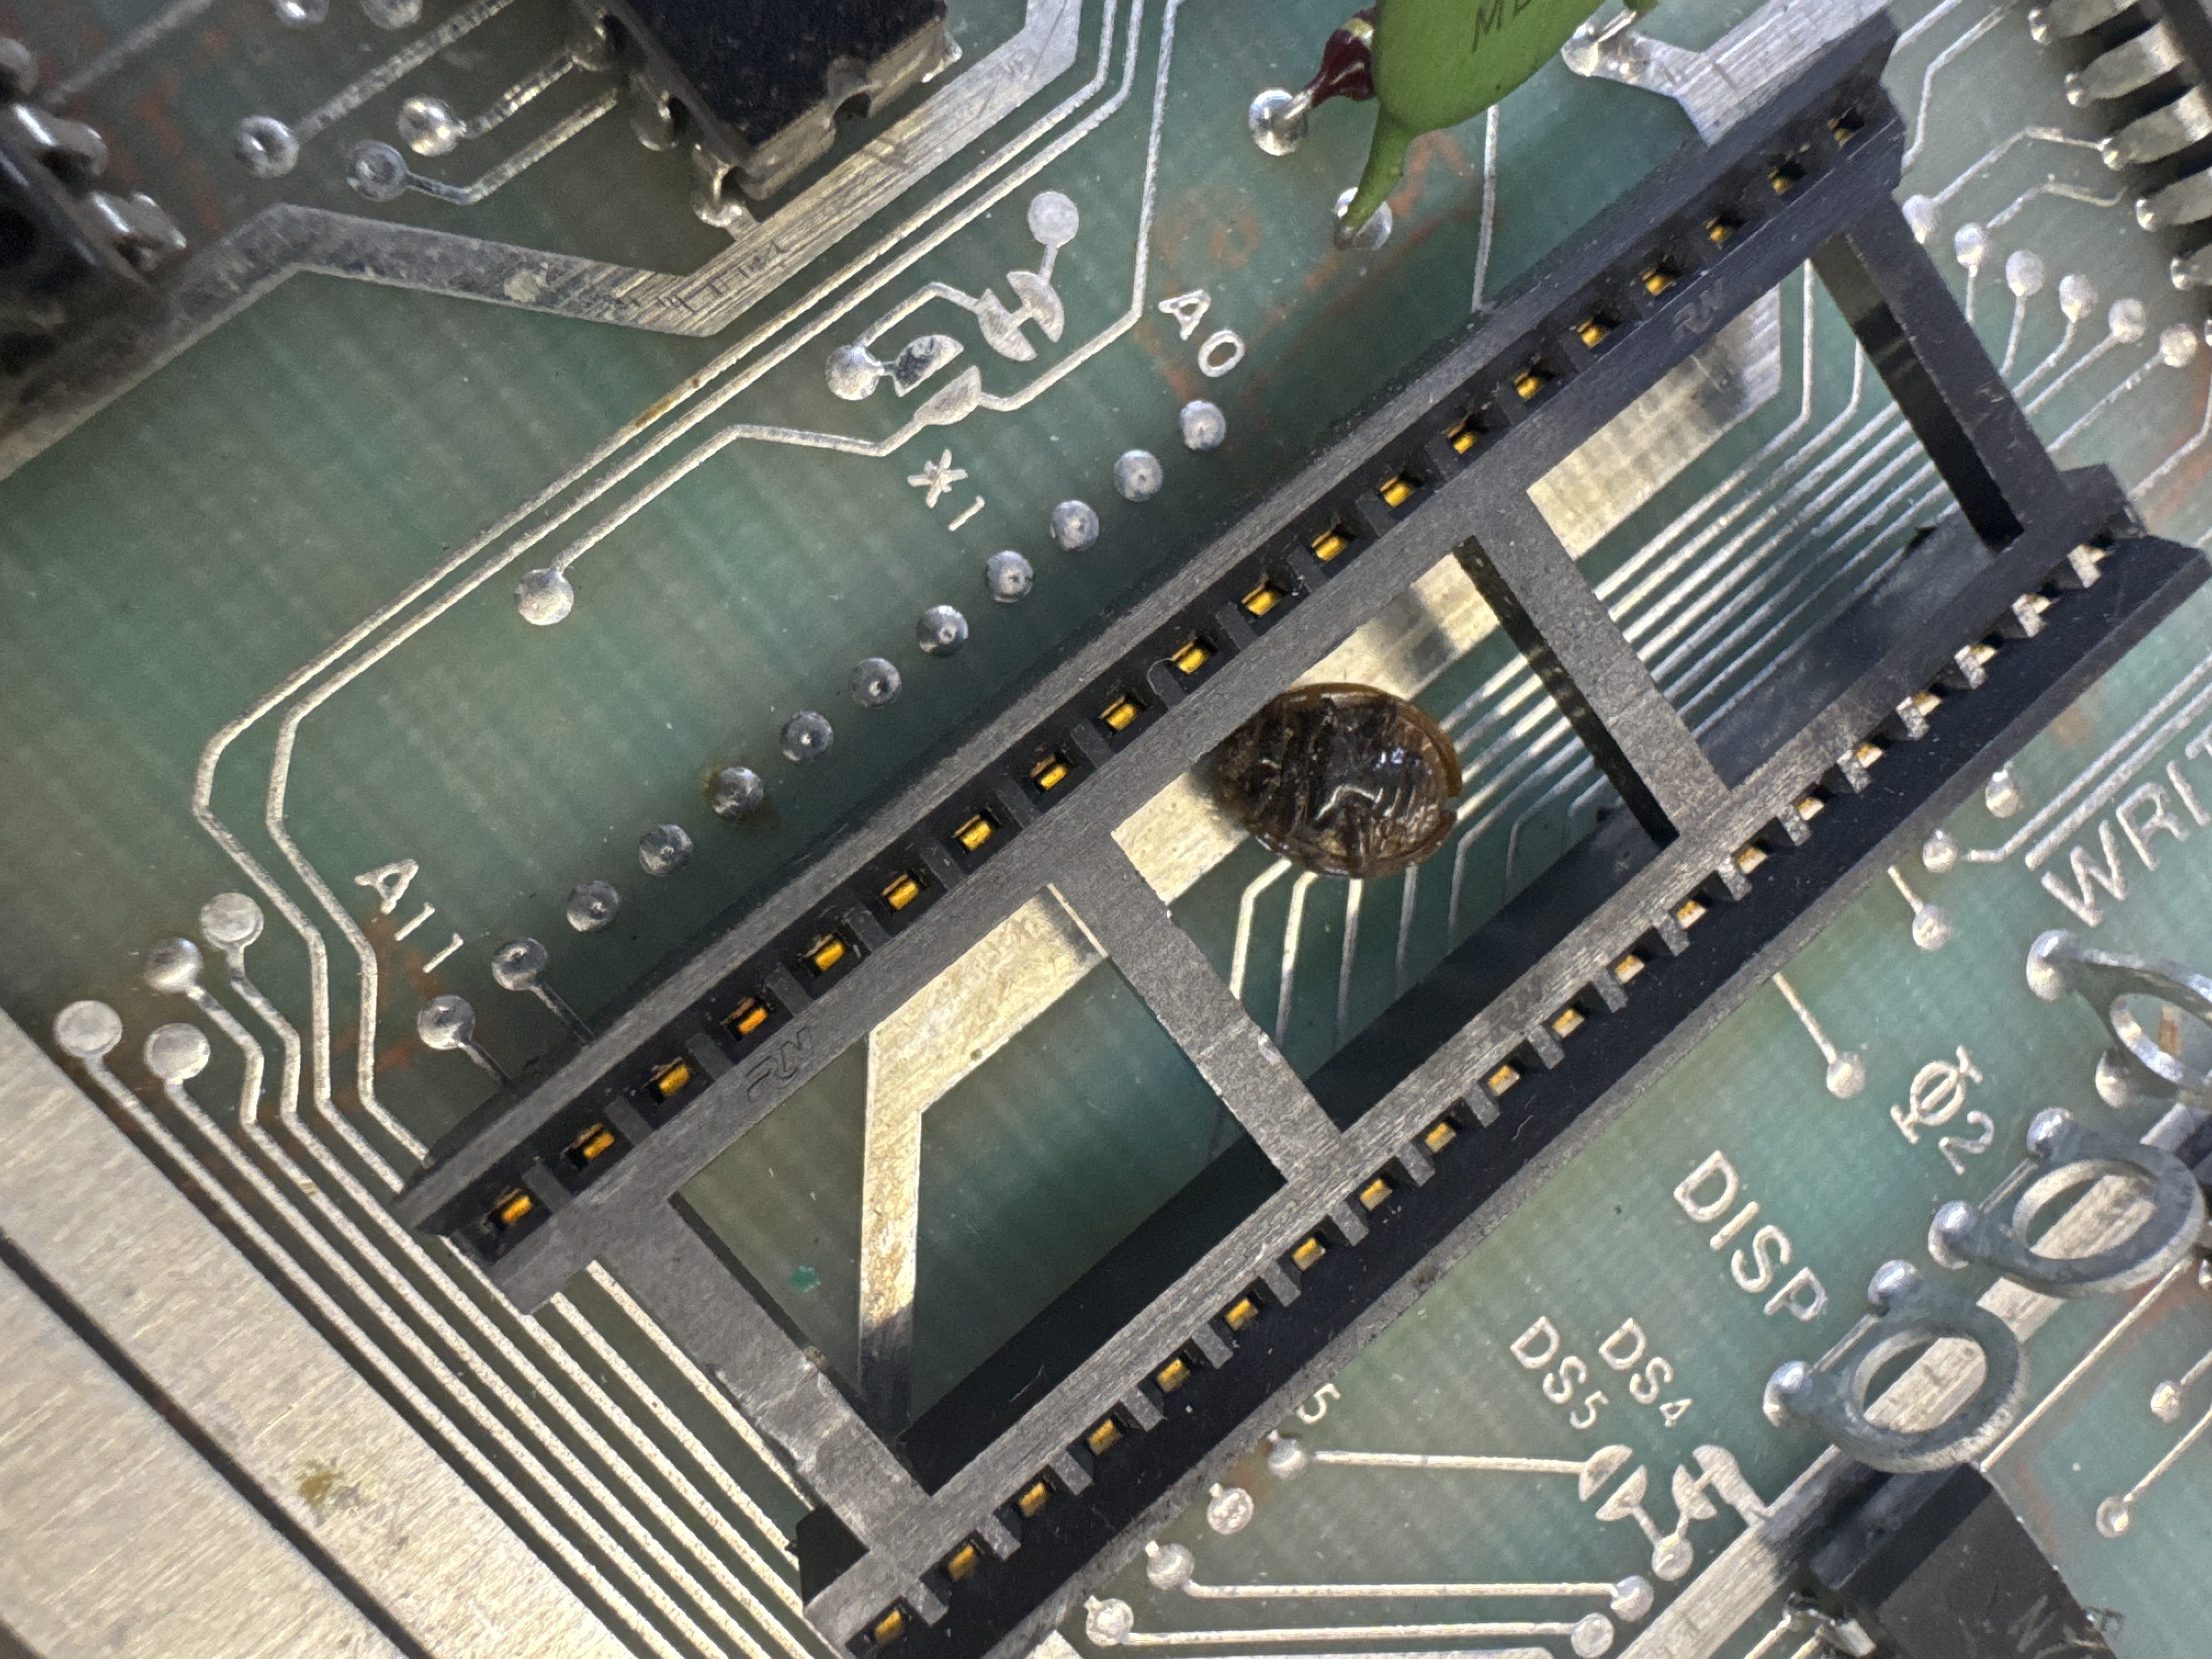
Did some chip cleaning – and you would be surprised how often I pull a chip and I find a dead bug under it. Board arrived with 16 PROMs installed rather than the standard 4 ROMs. The heat sink at J8 was detached.
- 2111 RAM @2E was bad; removal cleared bus issues.
- 2111 RAM @2D was bad with a 2-bit error; replaced.
Game booted – has a split sprite issue to troubleshoot – the backboard and baskets were messed up too.
- Bad LM323 regulator was outputting a pulse on the 5V rail; swapped from a parts board.
- Power resistor overheating traced to the faulty LM323.
- 74LS163 replaced; was causing split motion object.
- Heat sink @J8 reglued.
- 74LS139 failed; replaced.
Final Outcome
No further issues during testing. Burn in testing is a 6 day test period with 36+ hours of power on time.
Board Works!

