
My plan was to add Gorf to my list of games to repair, but the common enemy of Gorf is the U15 Astrocade chip which had not been reproduced and often failed… until a few months ago. Once it was available as an FPGA replacement, I picked up a couple AND ended up receiving a couple of Gorf CardRack systems for repair. While this was all happening, I traded some repair work for my own Gorf cabinet. My cabinet had not seen power in many years.. I’m going to mix in my cabinet repairs with the first CardRack repair in this log.
First step for me is to create a bench test adapter to work with my Bench Power and Testing Rig.
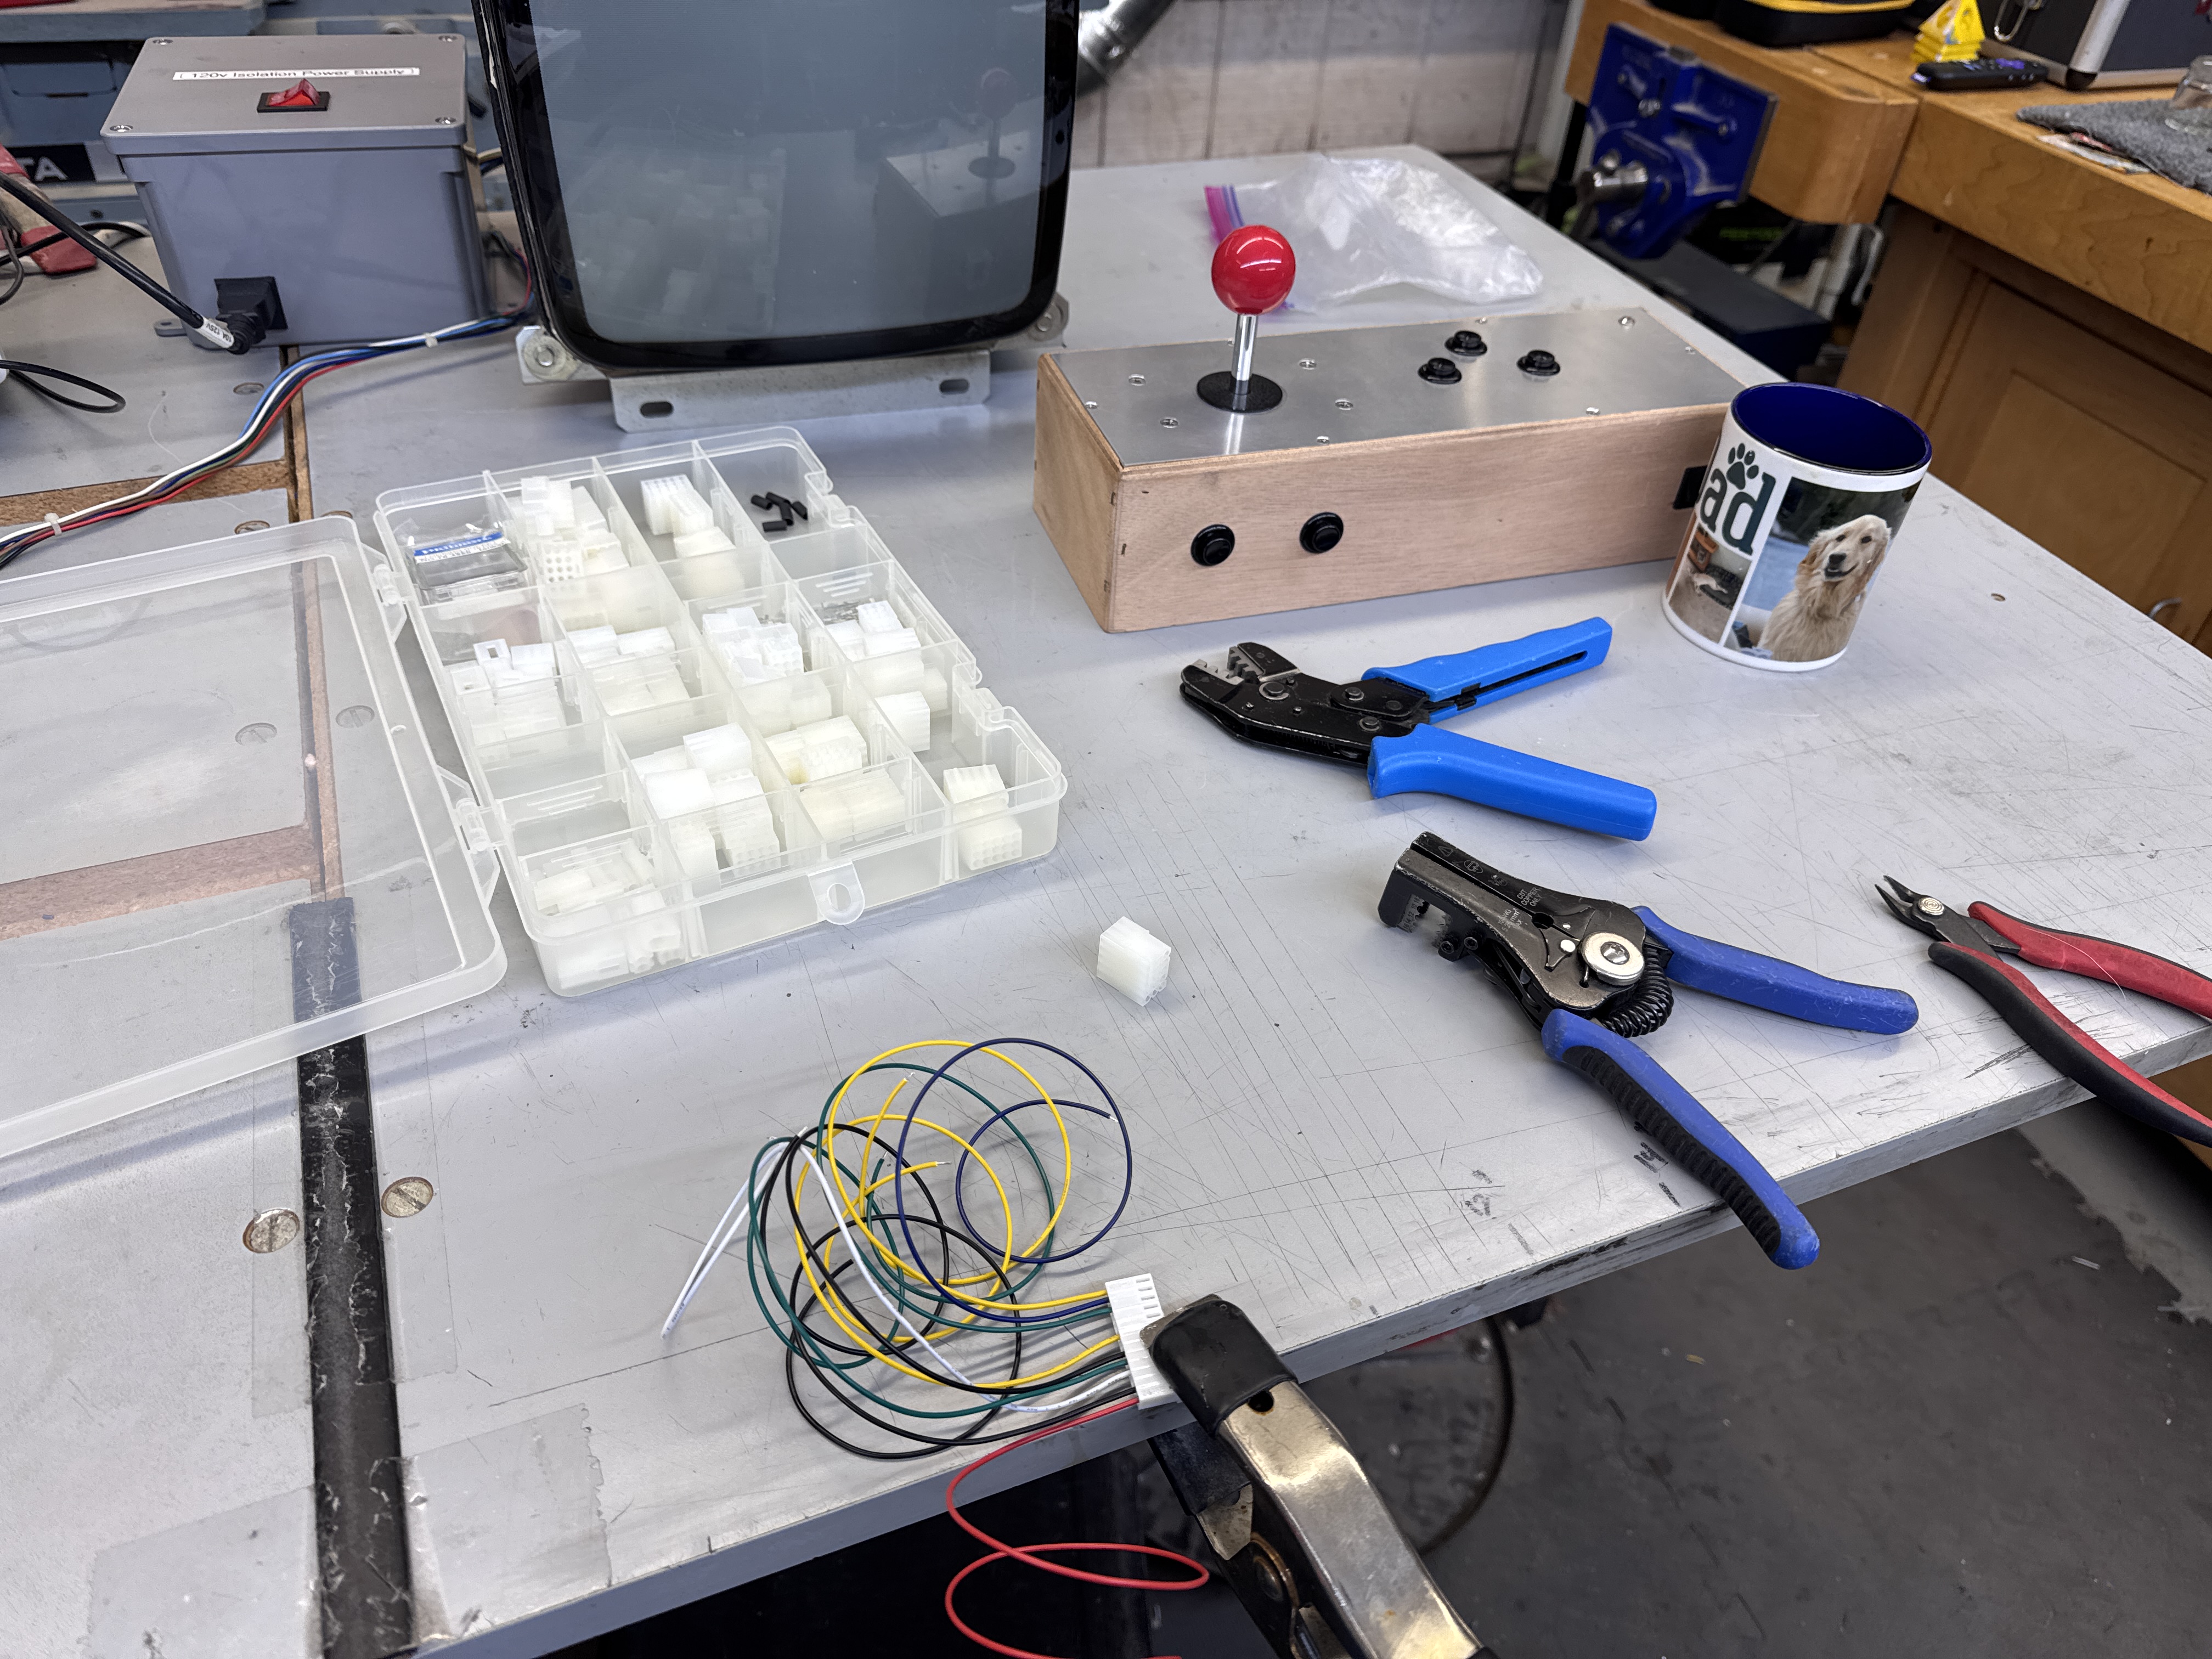
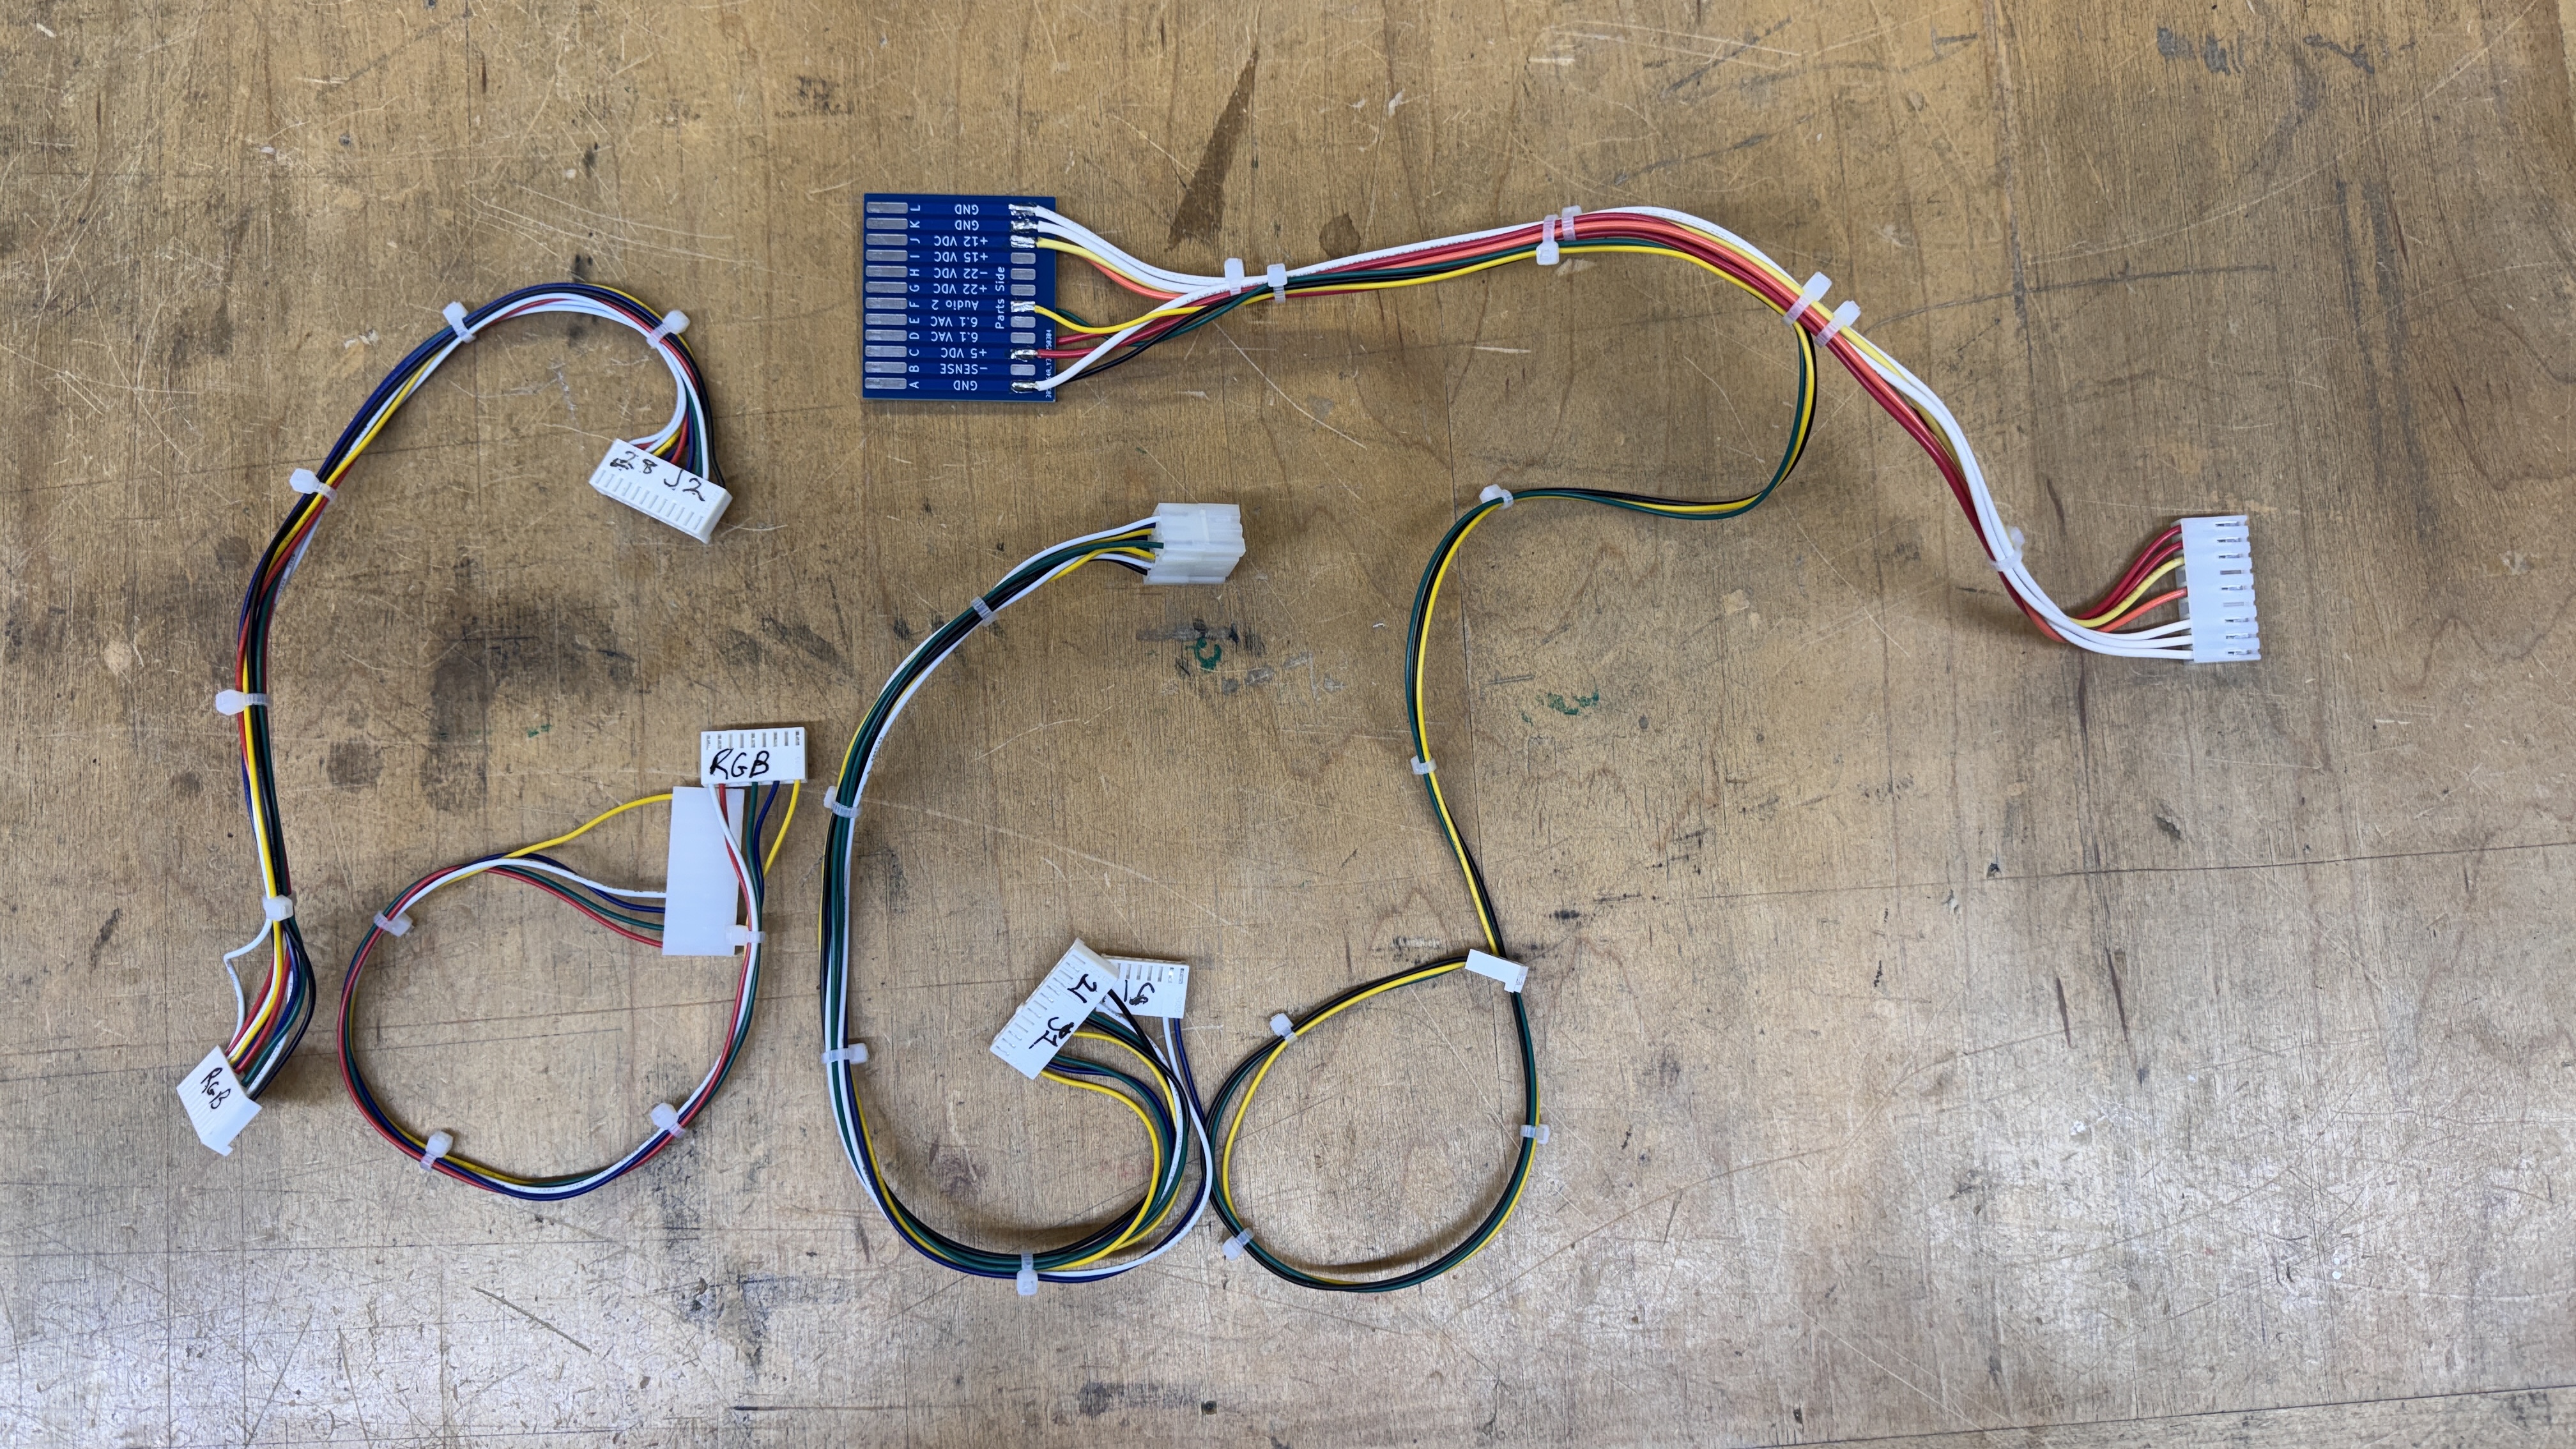

All of it was relatively simple. It only takes a couple hours to assemble and switching between cages and boards is very fast w/o having to stop and connect individual power supplies and jumpers all the time. Most if not all of my test setups are ‘standardized’ so that I have a lot of flexibility.
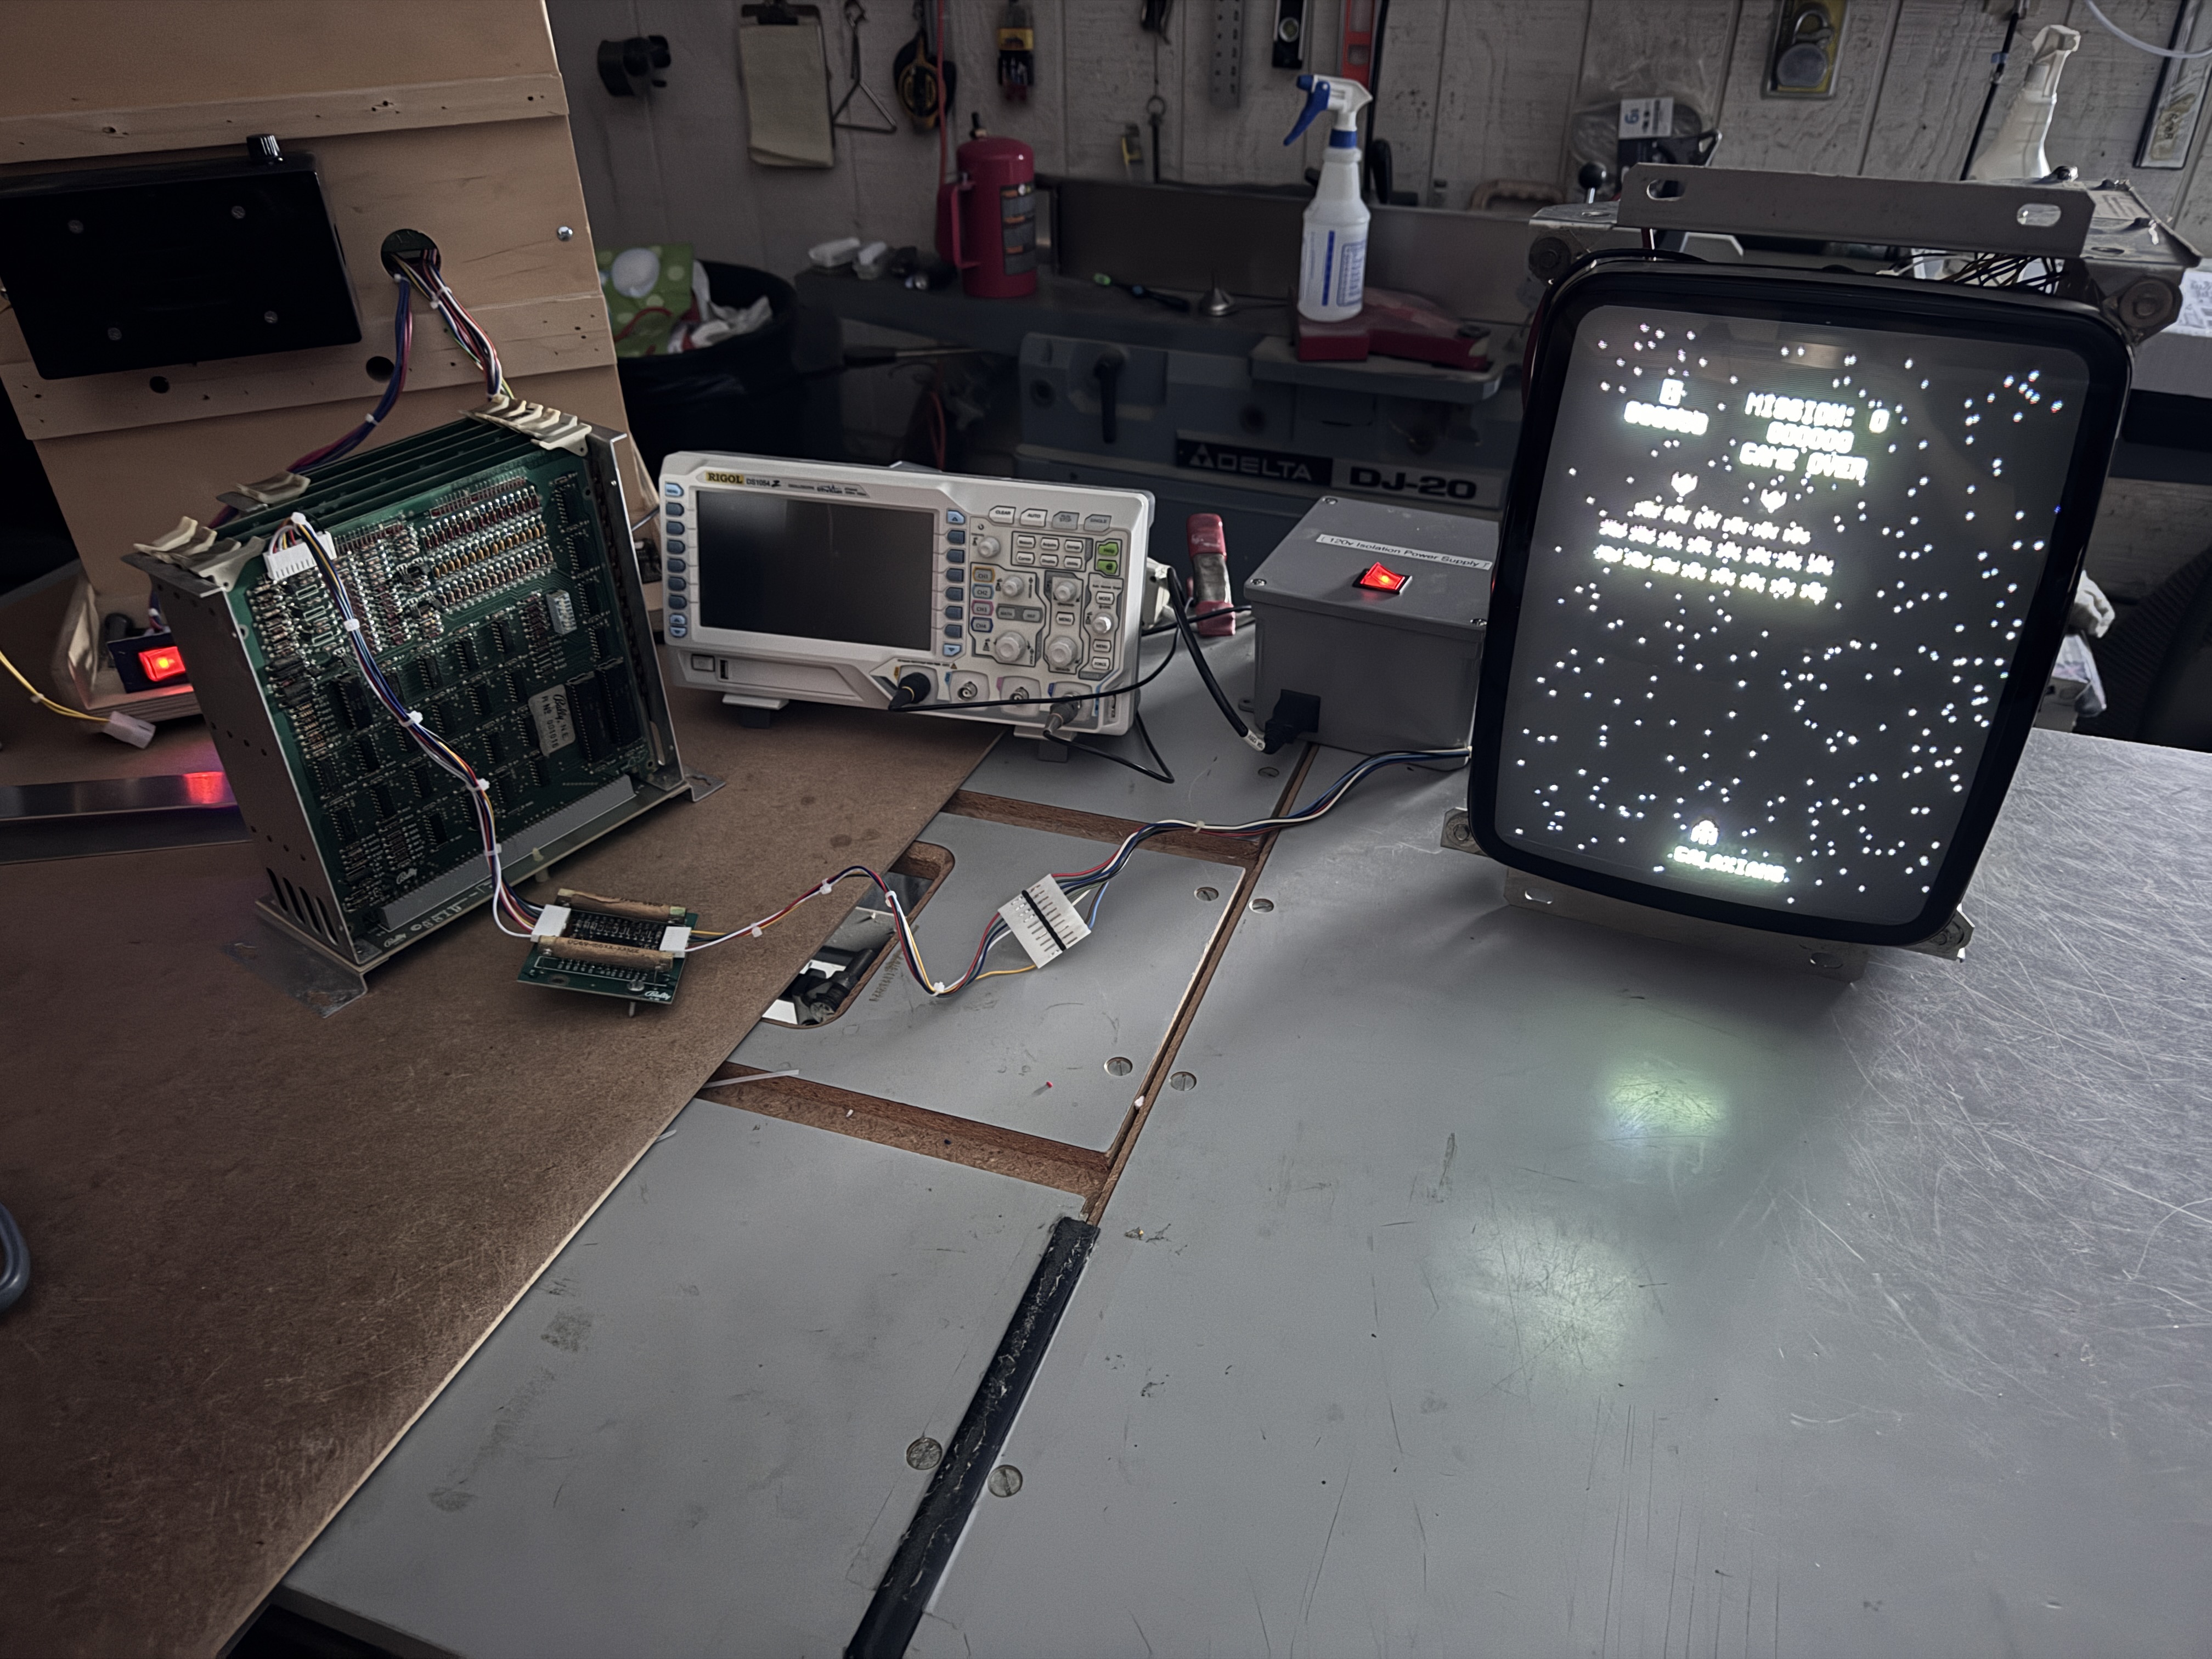
At this point I had 3 sets of Gorf boards.. All as standalone sets that had issues and did not work. I shuffled around boards in set #2 and #3 (same owner) and got set #2 working – it took a bit between testing the bench setup and finding a good combination of boards. Of course the boards with issues ended up in set #3. Having a working set (shown with just video connections above) allowed me to get all of the other connectors assembled and tested. Putting together the bench adapters usually includes a little debugging. Mine started with a rolling screen (Negative sync..) and then a mis-pinning of a control direction. Both audio channels plugged into the ARII and worked. As long as I can hear things.. it’s good!
With a working set of boards.. I decided to bring my Gorf cabinet to life.
Starting at the power cord and working my way in, I like to go through all the connectors – polish them up with Rust Erasers and give them a little Deoxit on the pins and in the headers.
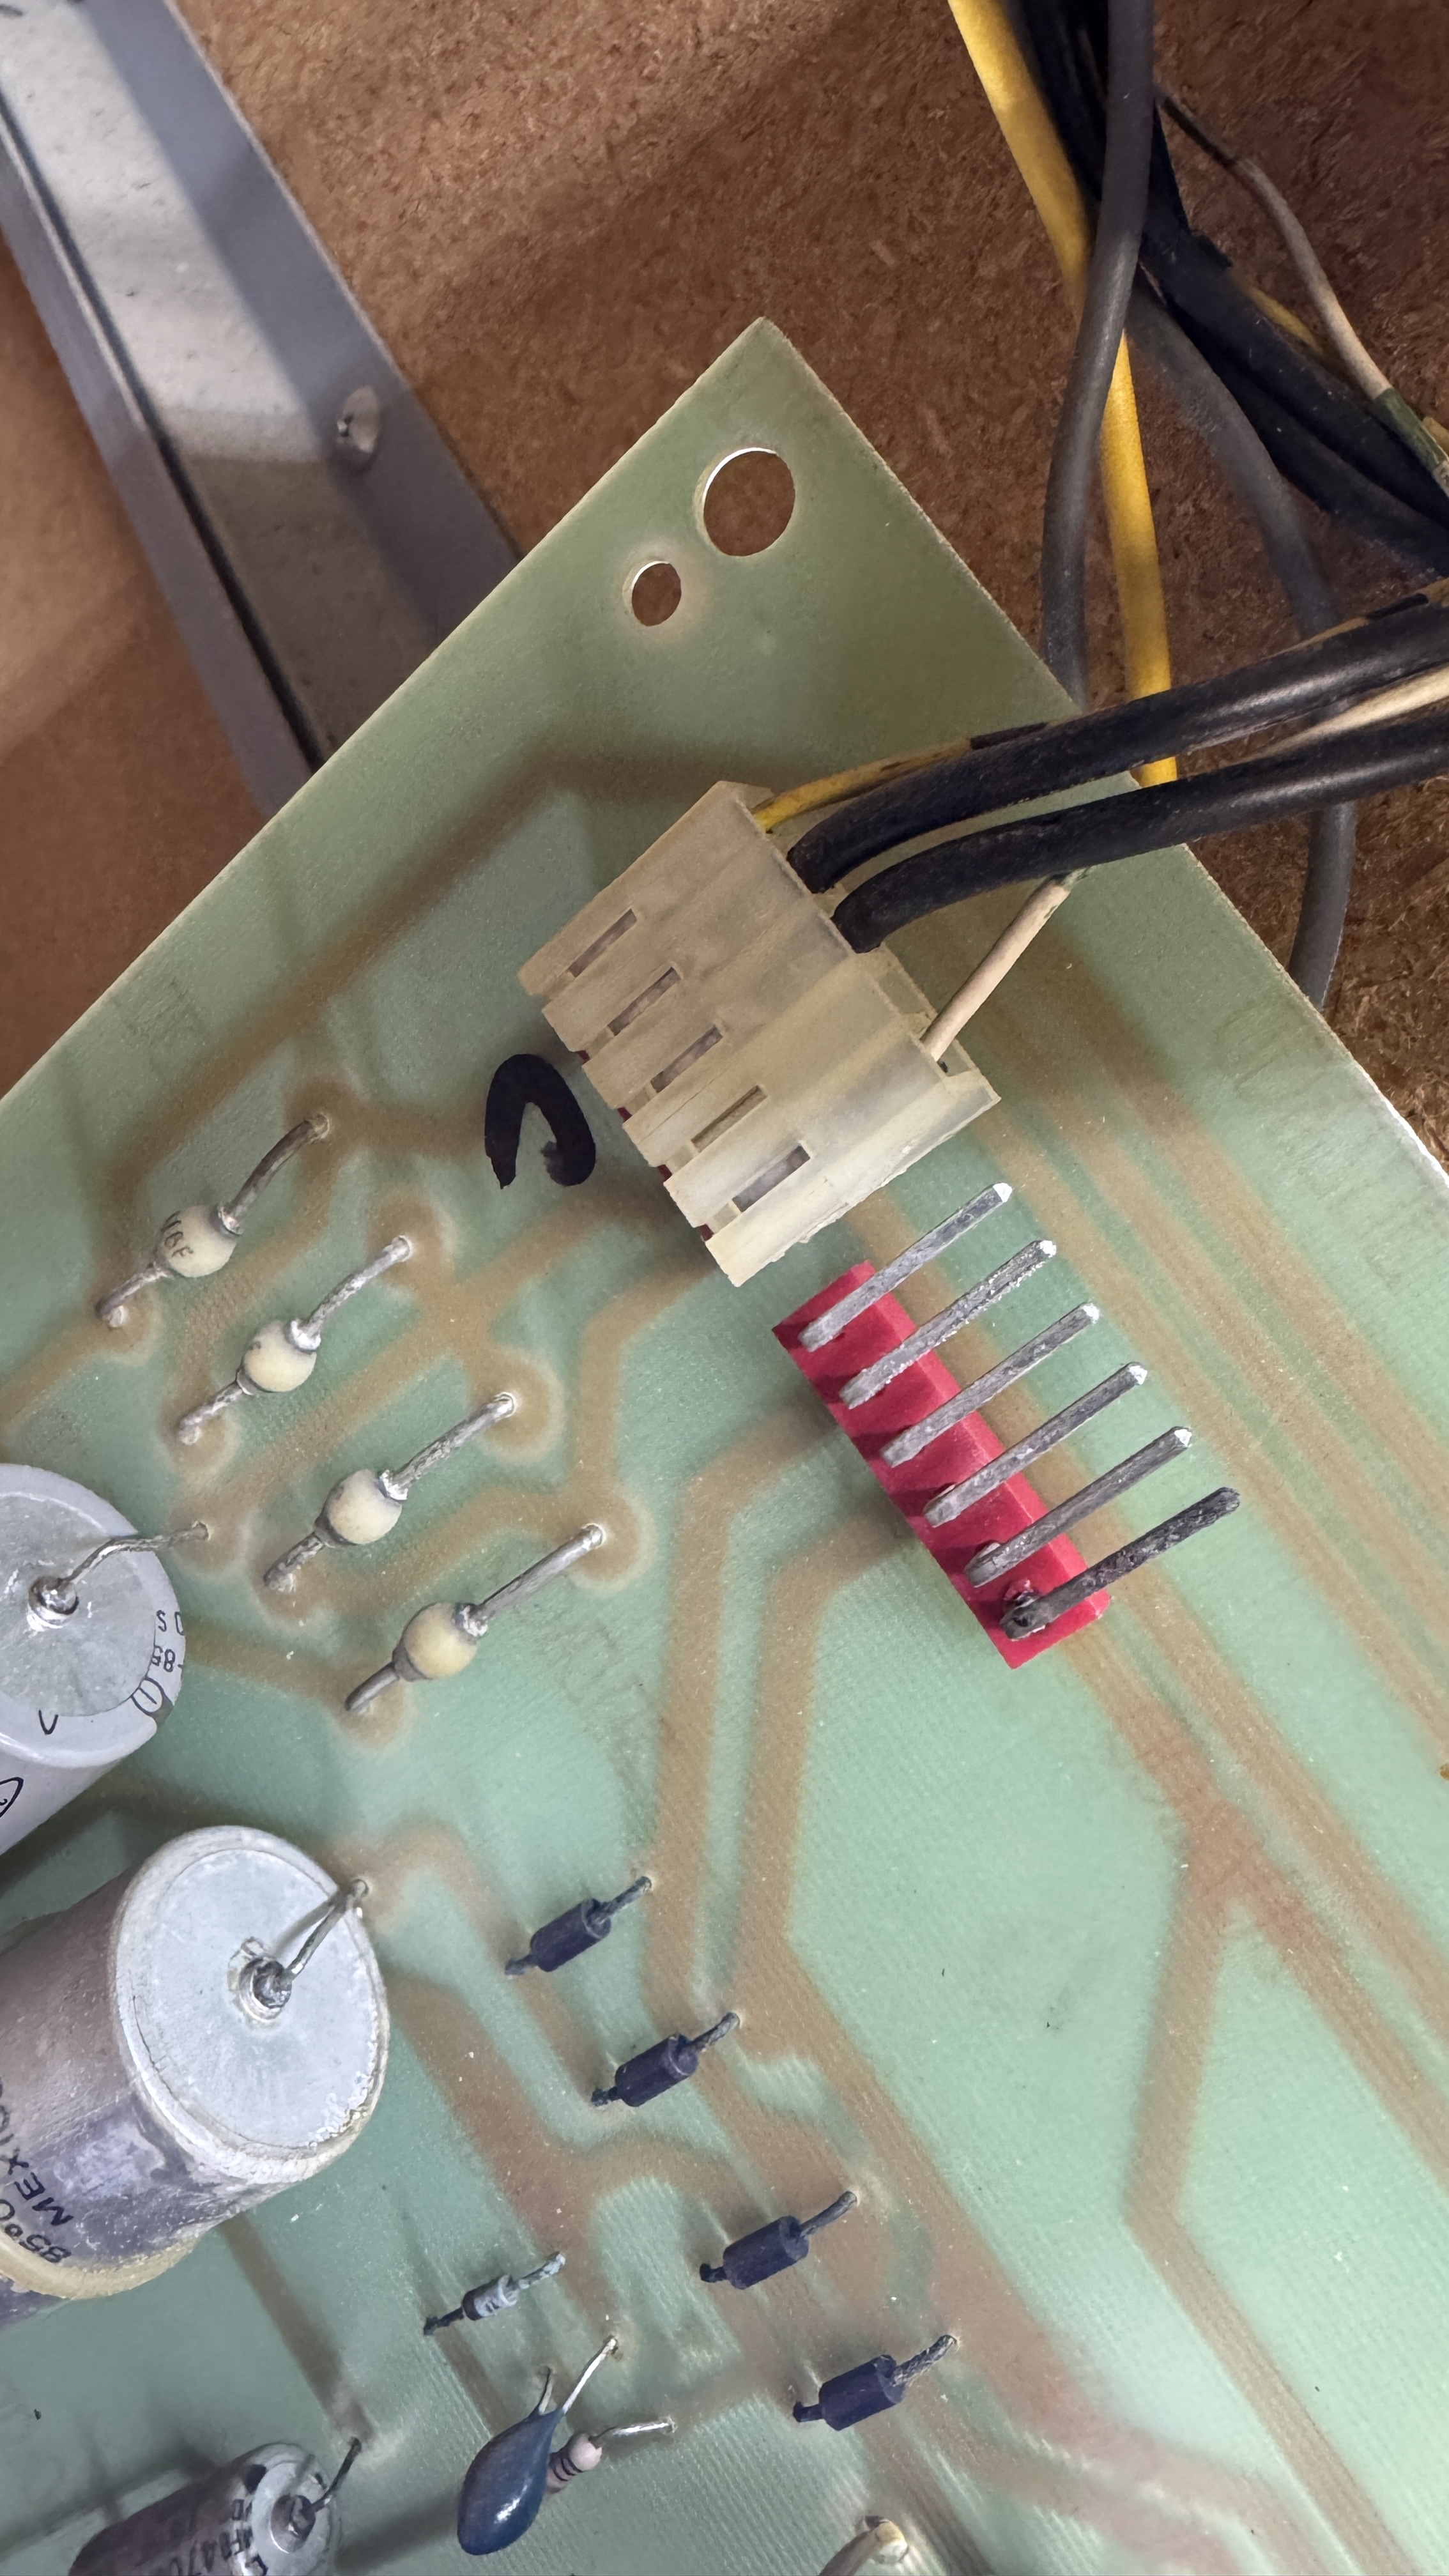
This mod was made to the power supply board. It was done because the harness supplies the incoming AC voltages on a single pin and they clearly wanted it to not burn up and the connector and attached the wires directly to the pins at the traces on the back. Makes for a non-removable board, but nothing was burned up either.
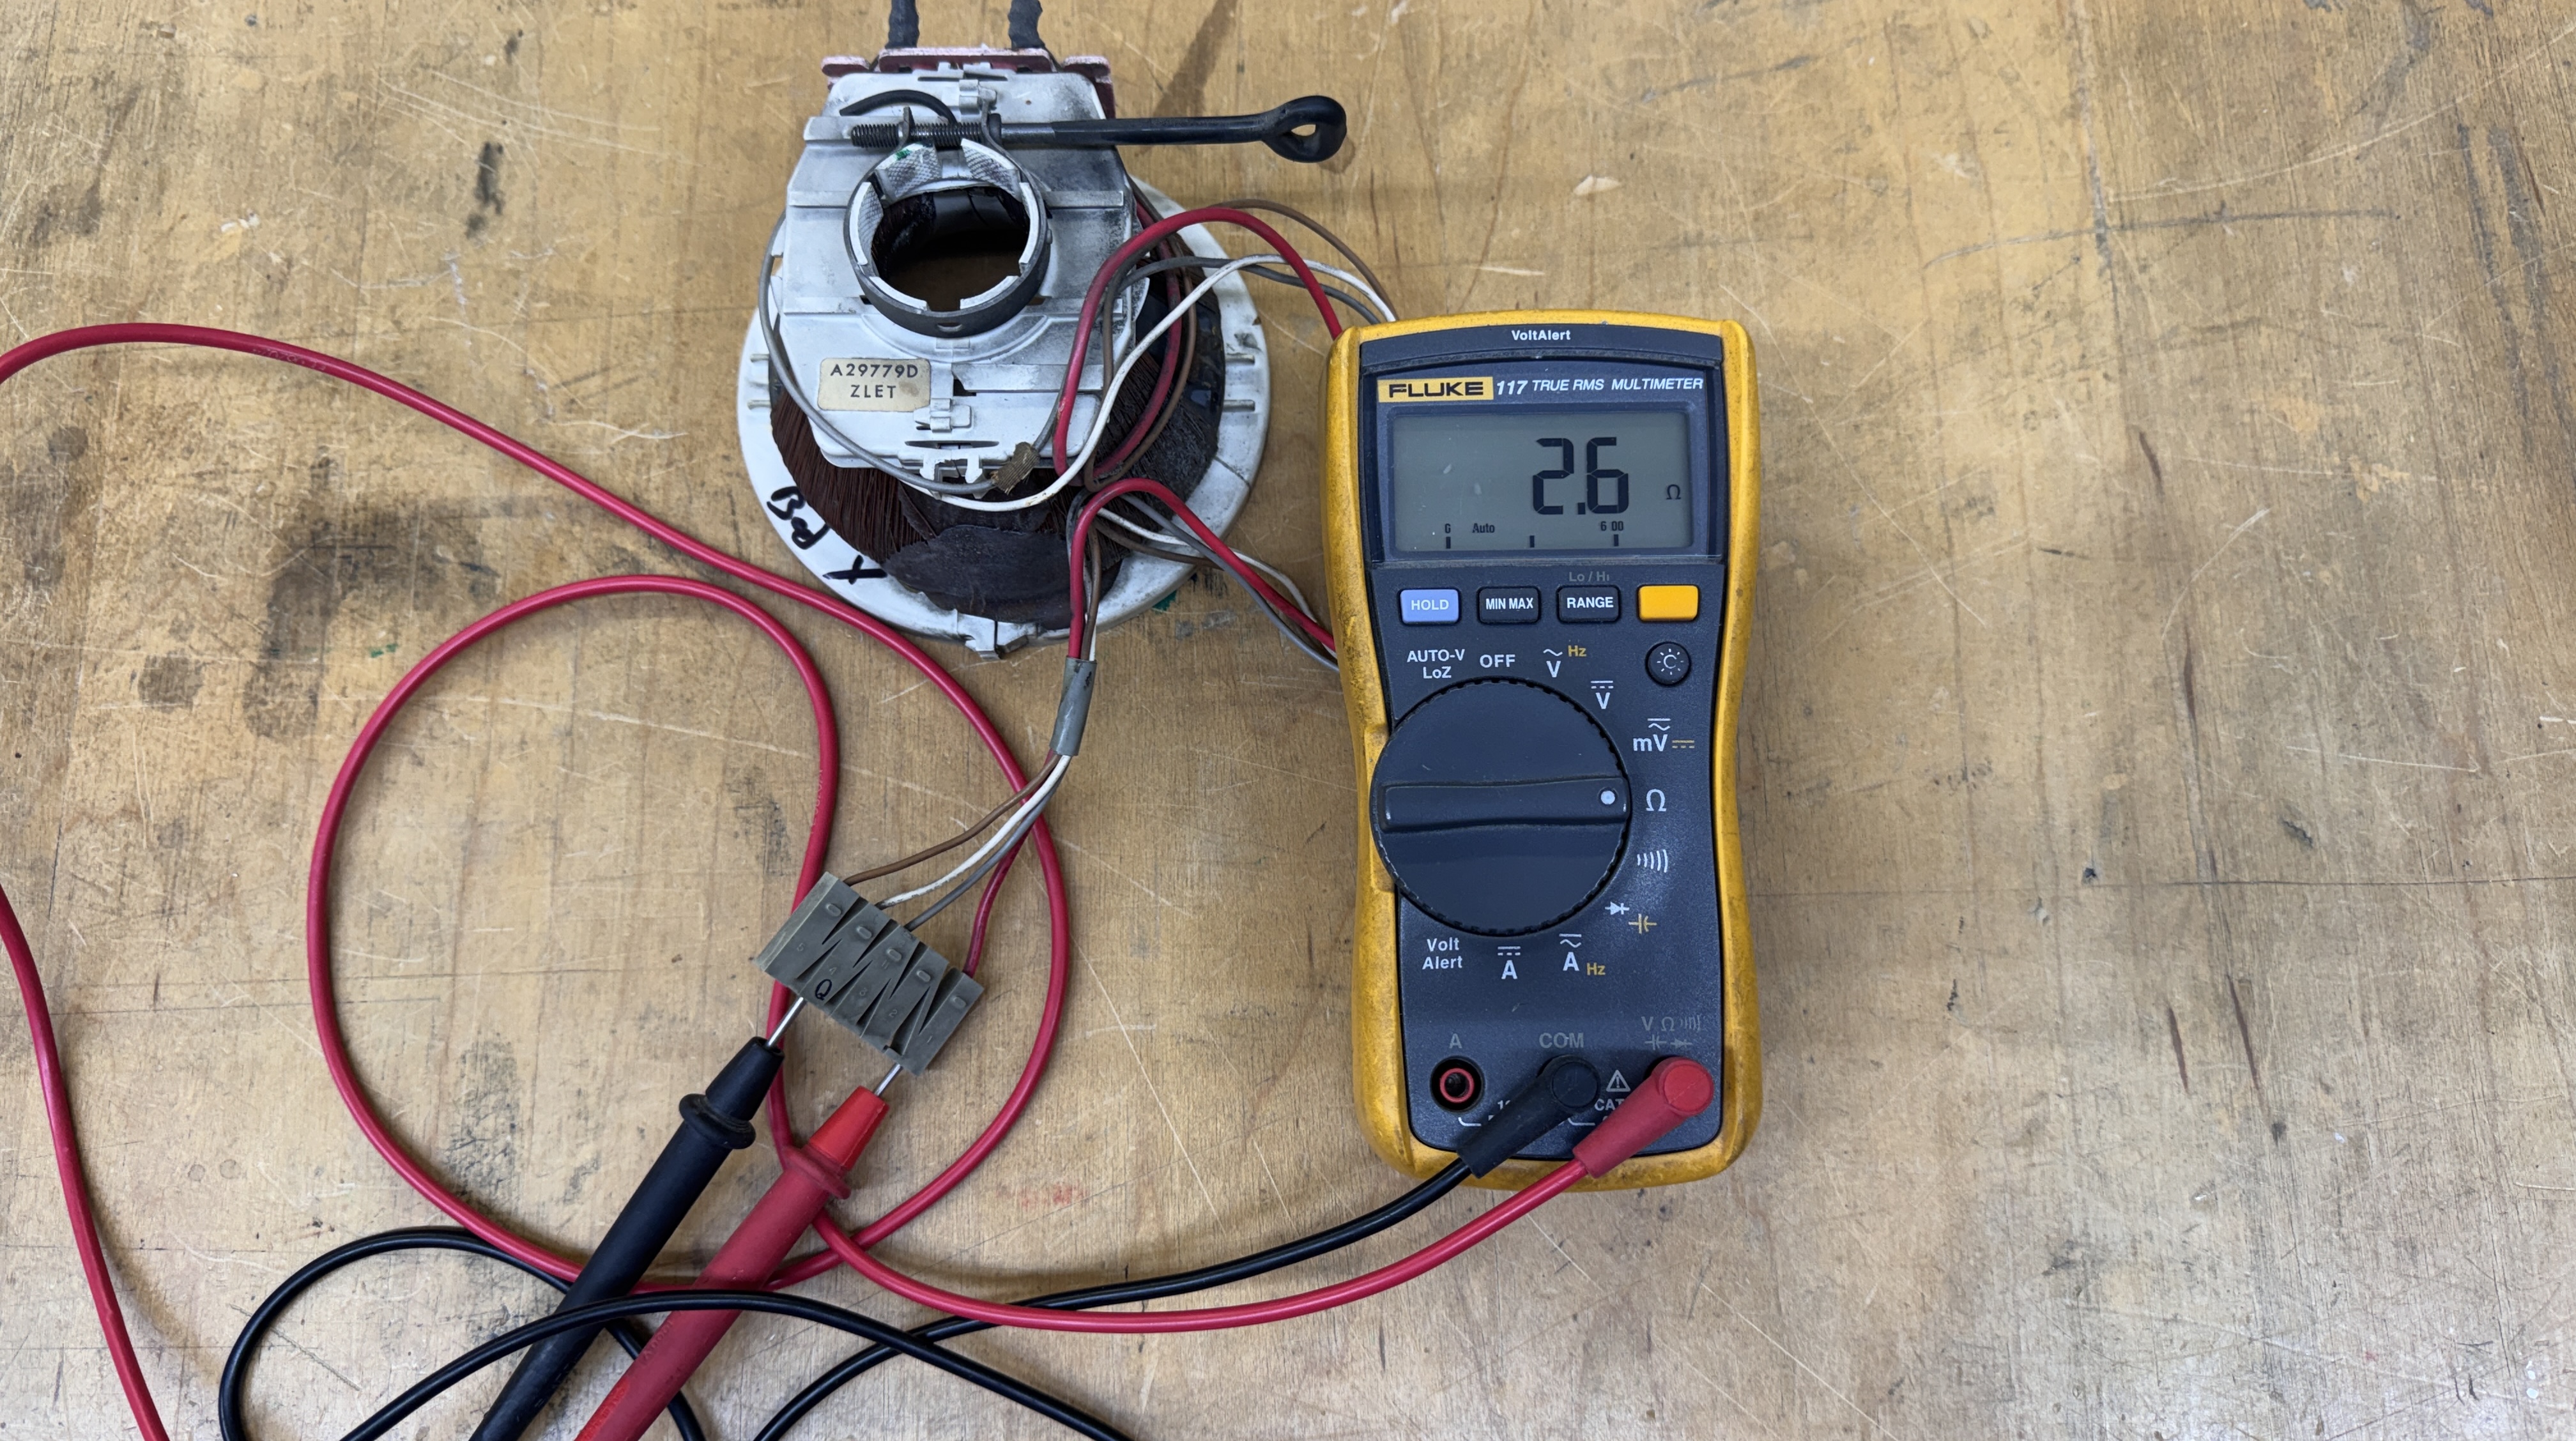
The header pins were pretty cruddy – but they polished up nicely. I wired a new Molex connector and looped the AC so that it would hit both input pins for each line coming from the transformer. Everything else on the power supply checked out. I did test all of the AC voltages – the transformer was pretty dirty. All of the fuses got pulled, checked and cleaned up too. I worked my way around all of the connectors and checked/cleaned. Powering up just the power supply board – no issues. All voltages were coming out of the board correctly.
Next I connected up my TPG to the monitor and powered it up.
Horizontal collapse – G07-CB0.
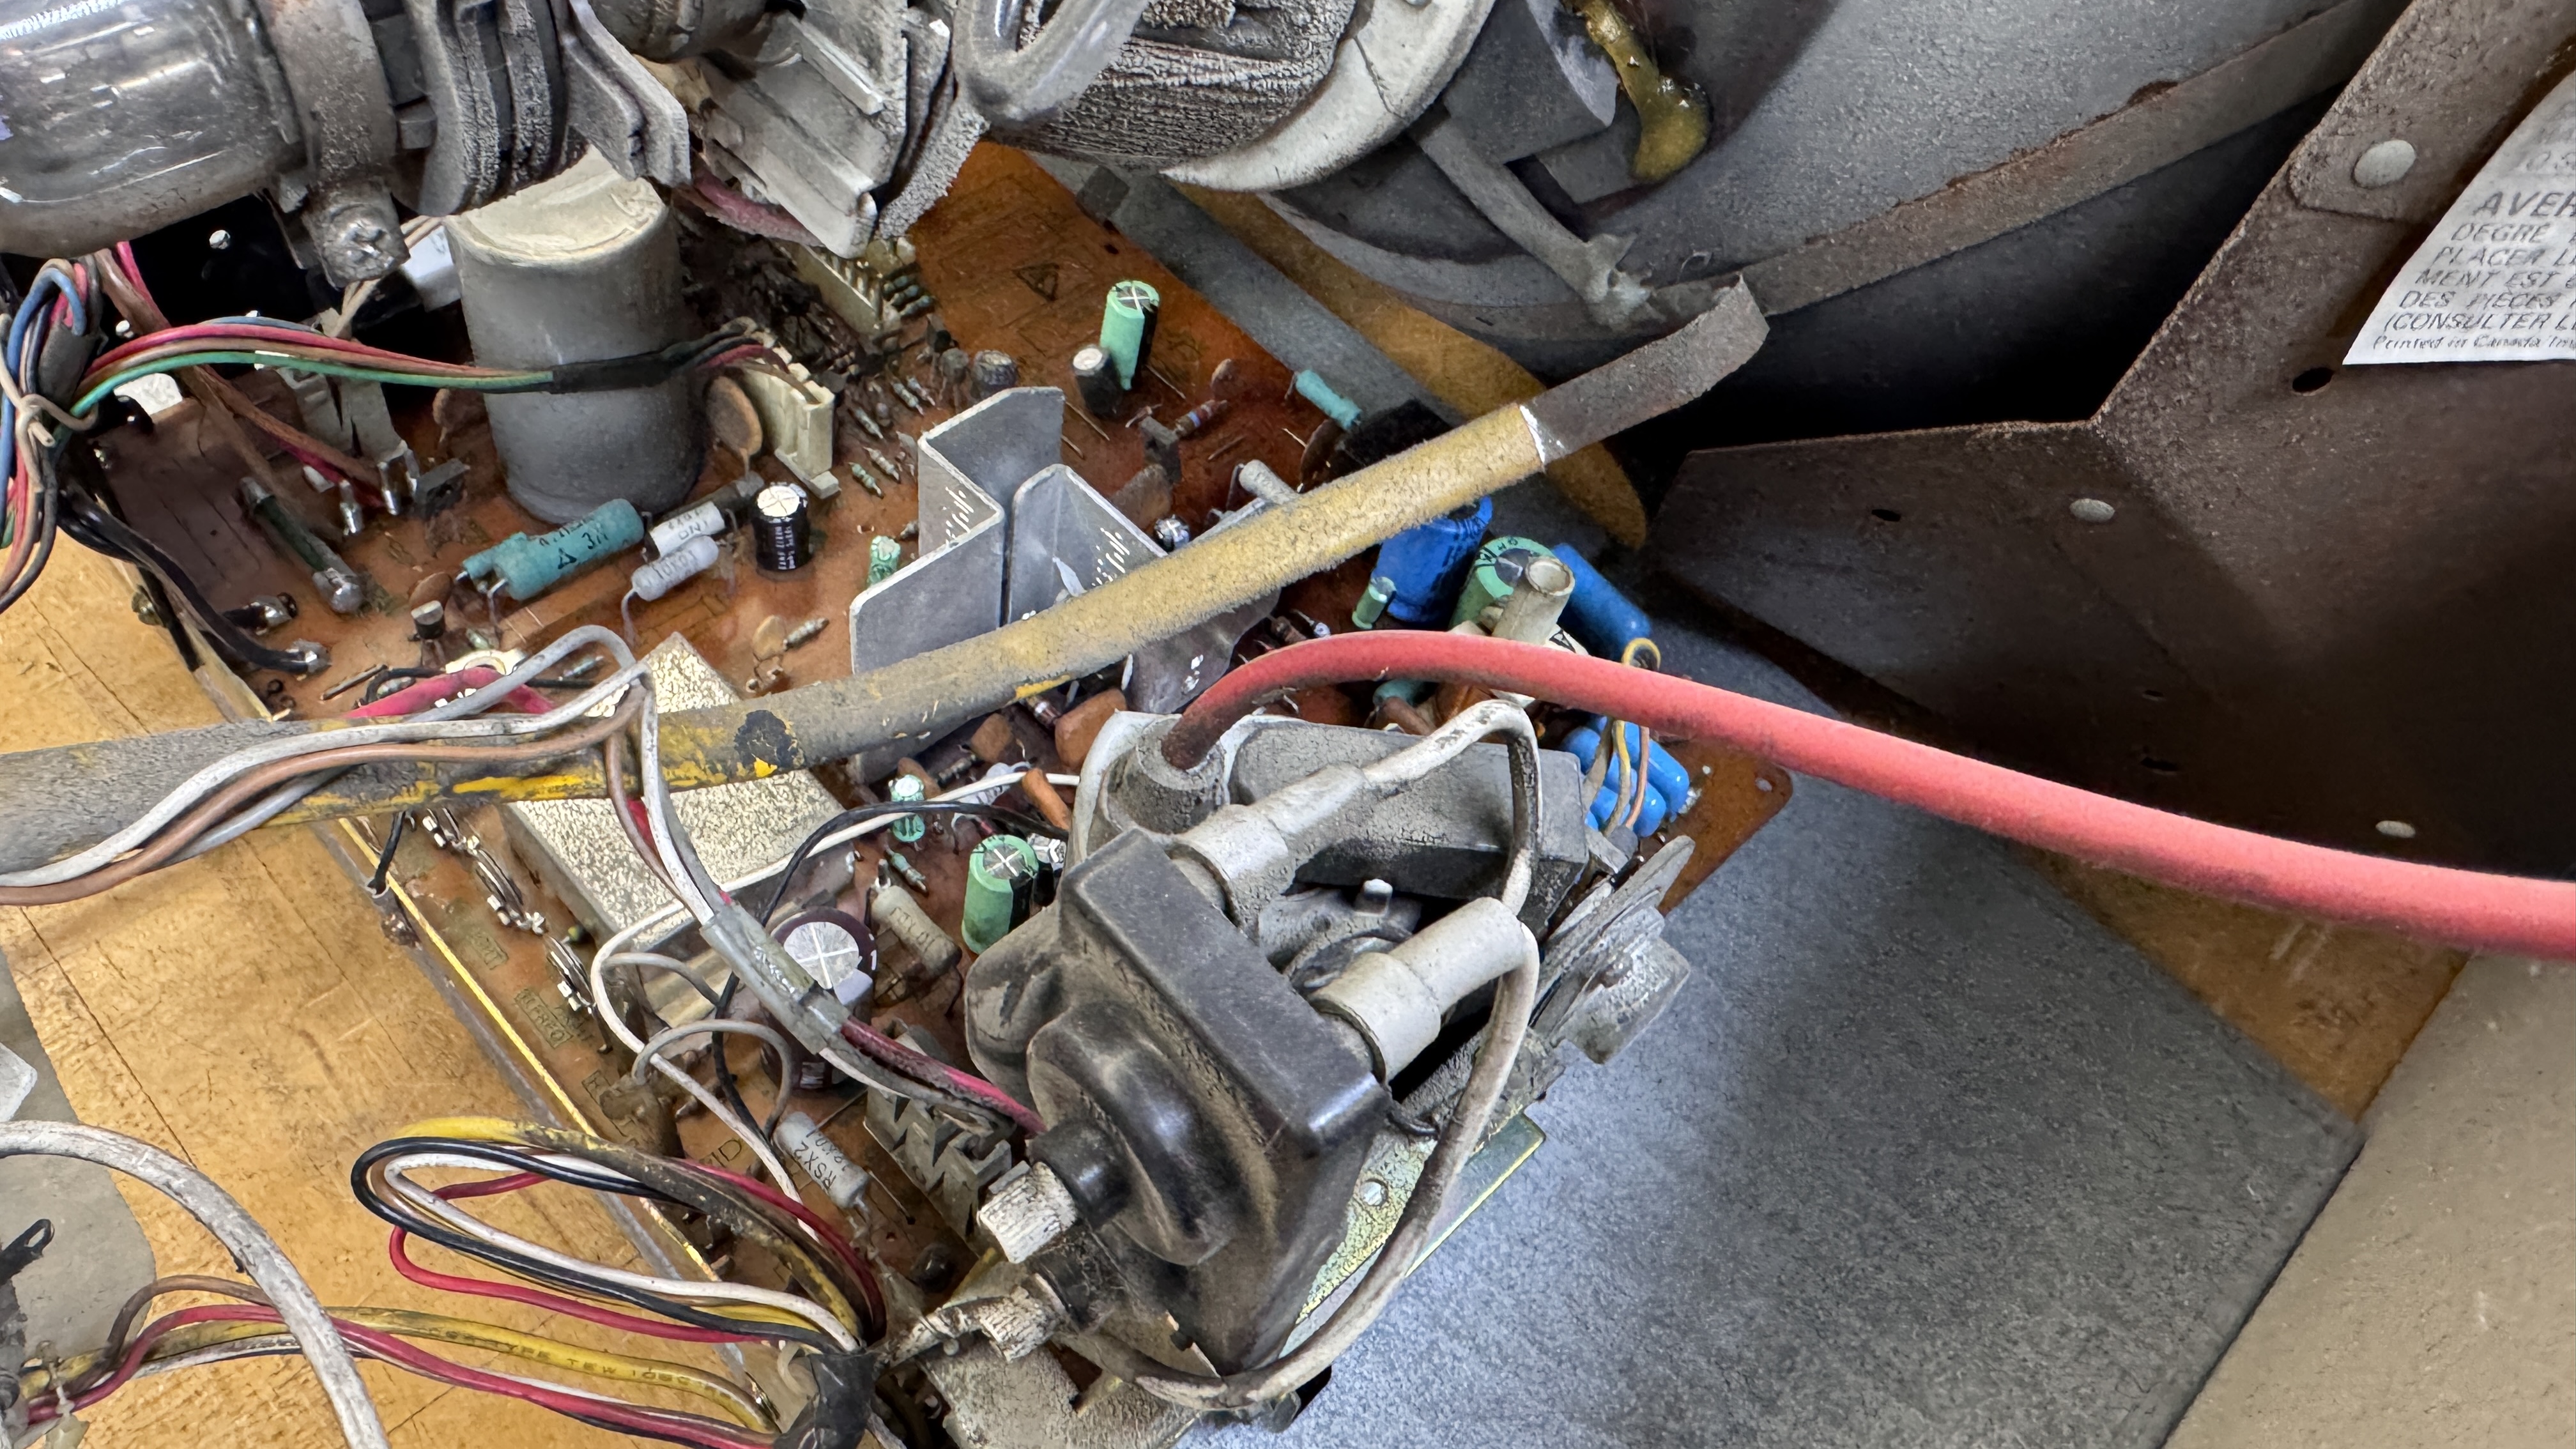
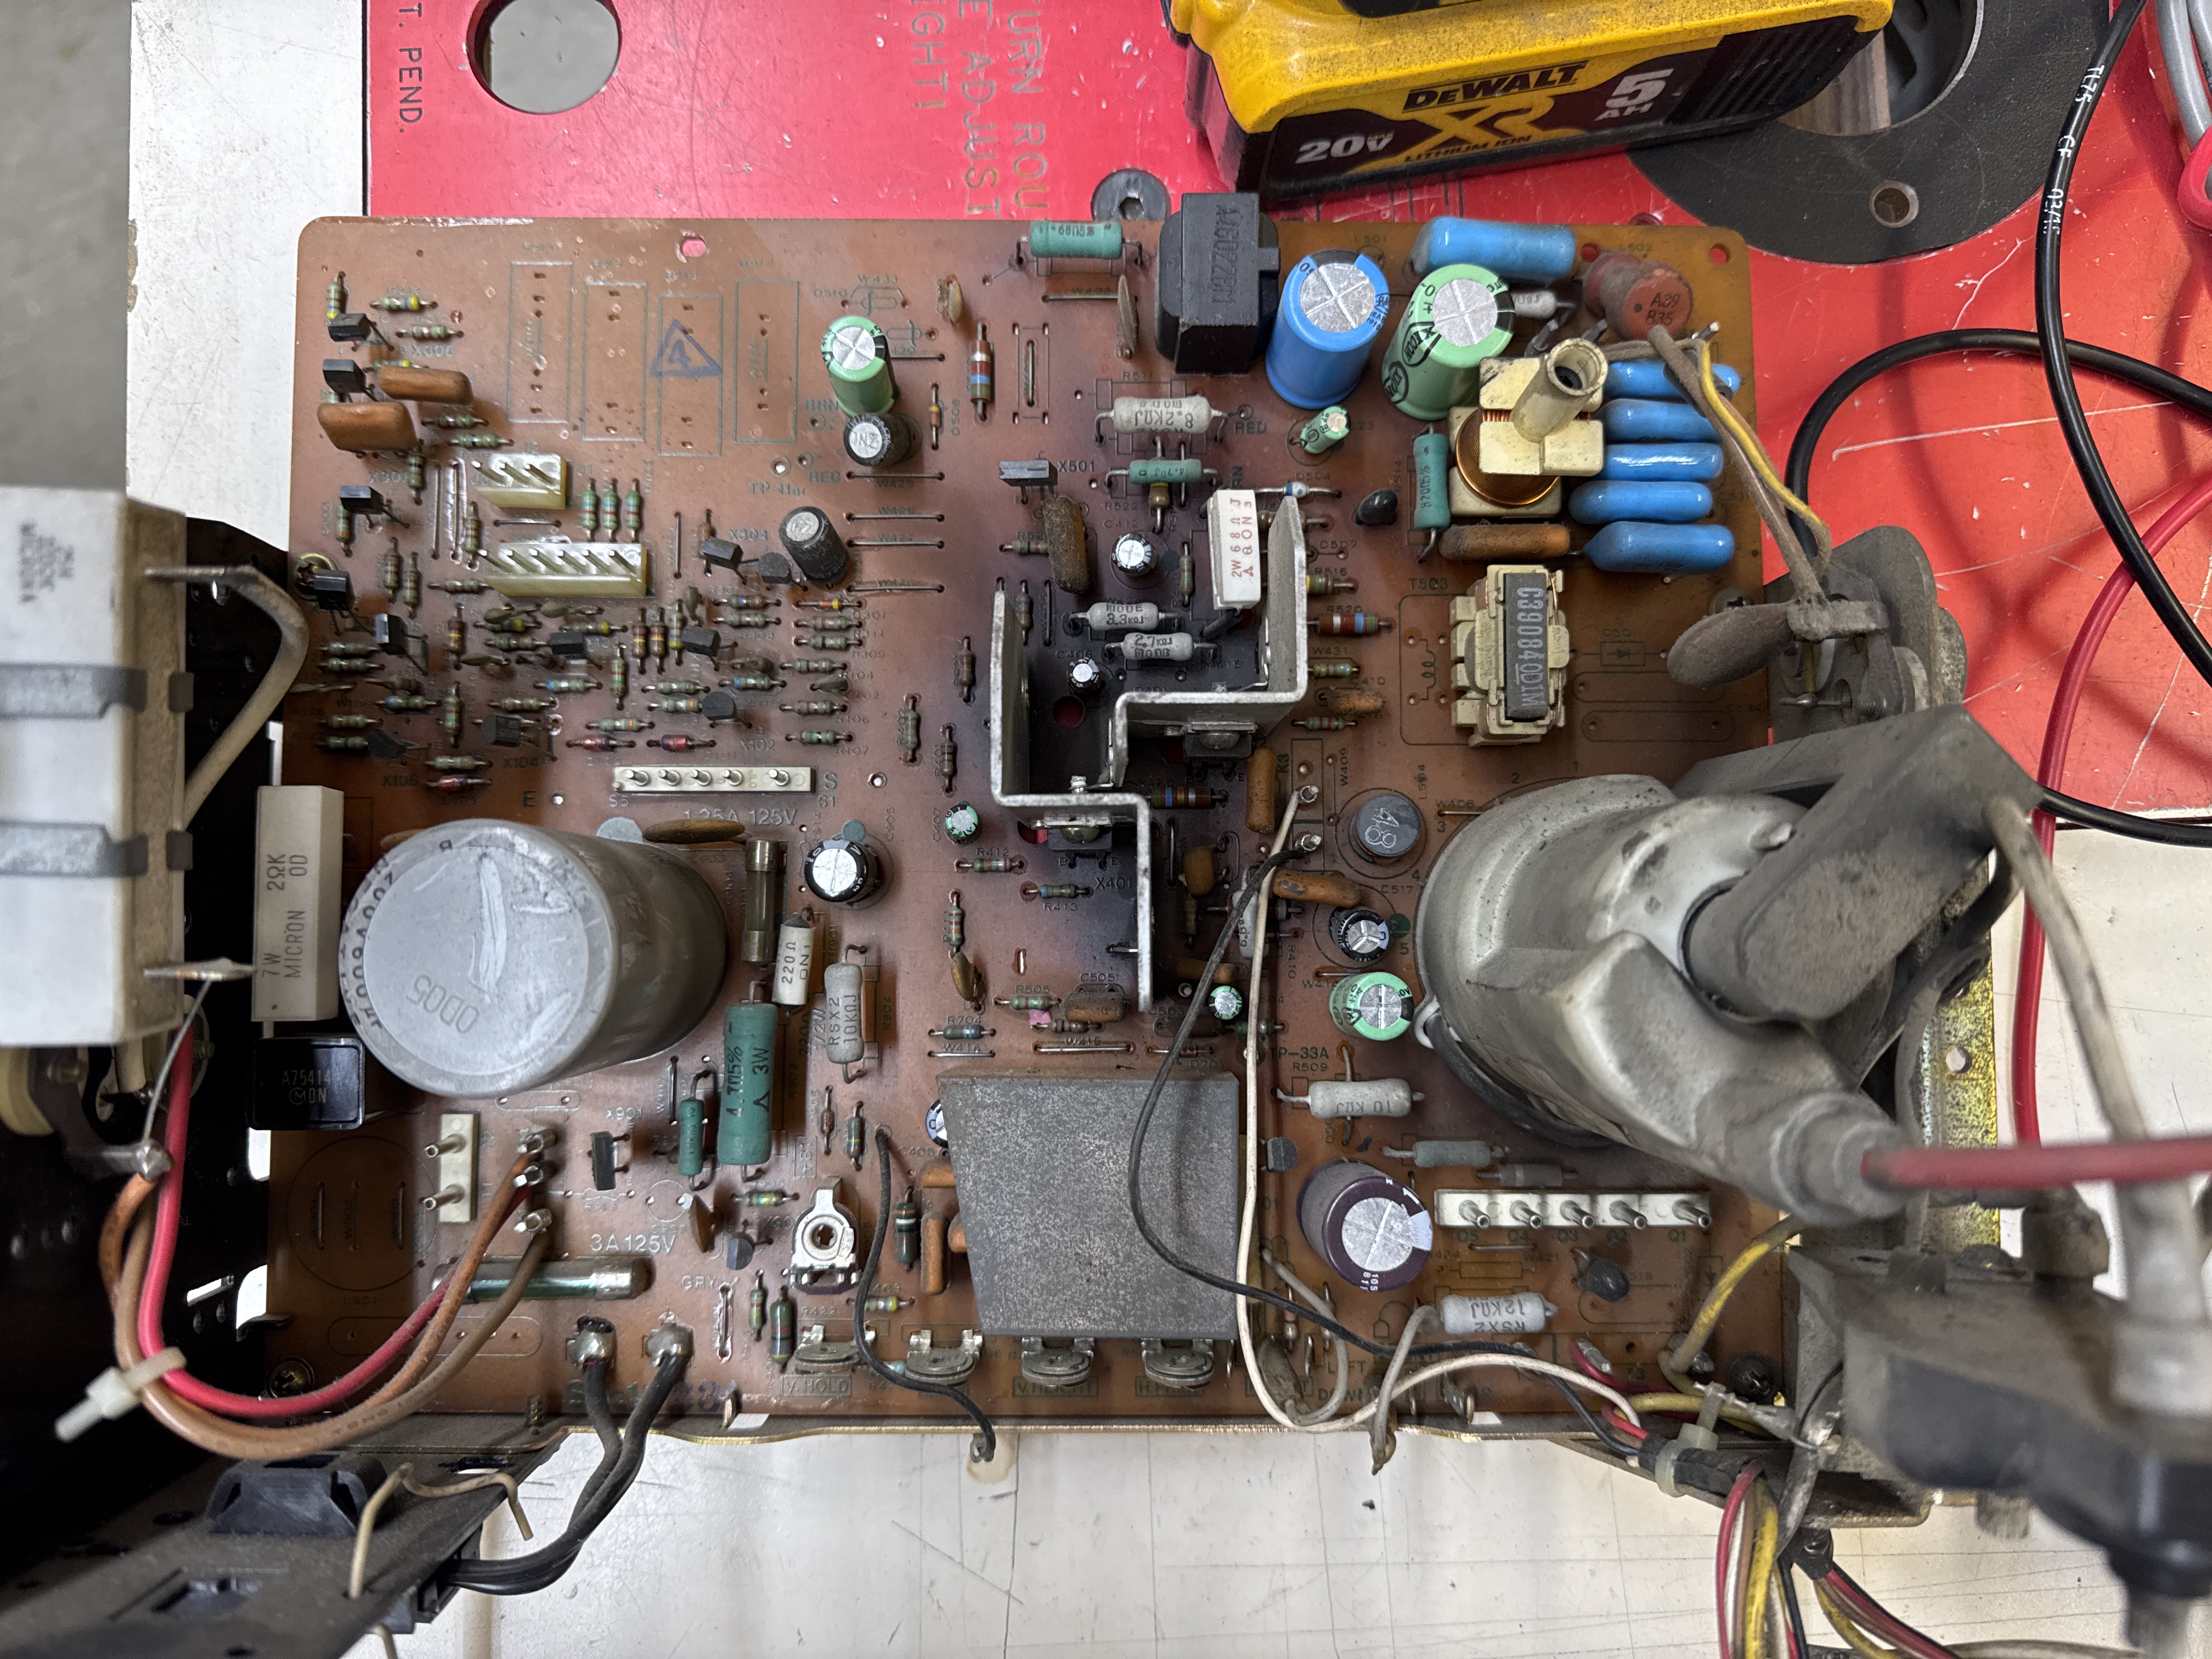
Chassis was plenty dirty and had a mixed set of caps. Had to take it apart – so it was getting recapped and cleaned.
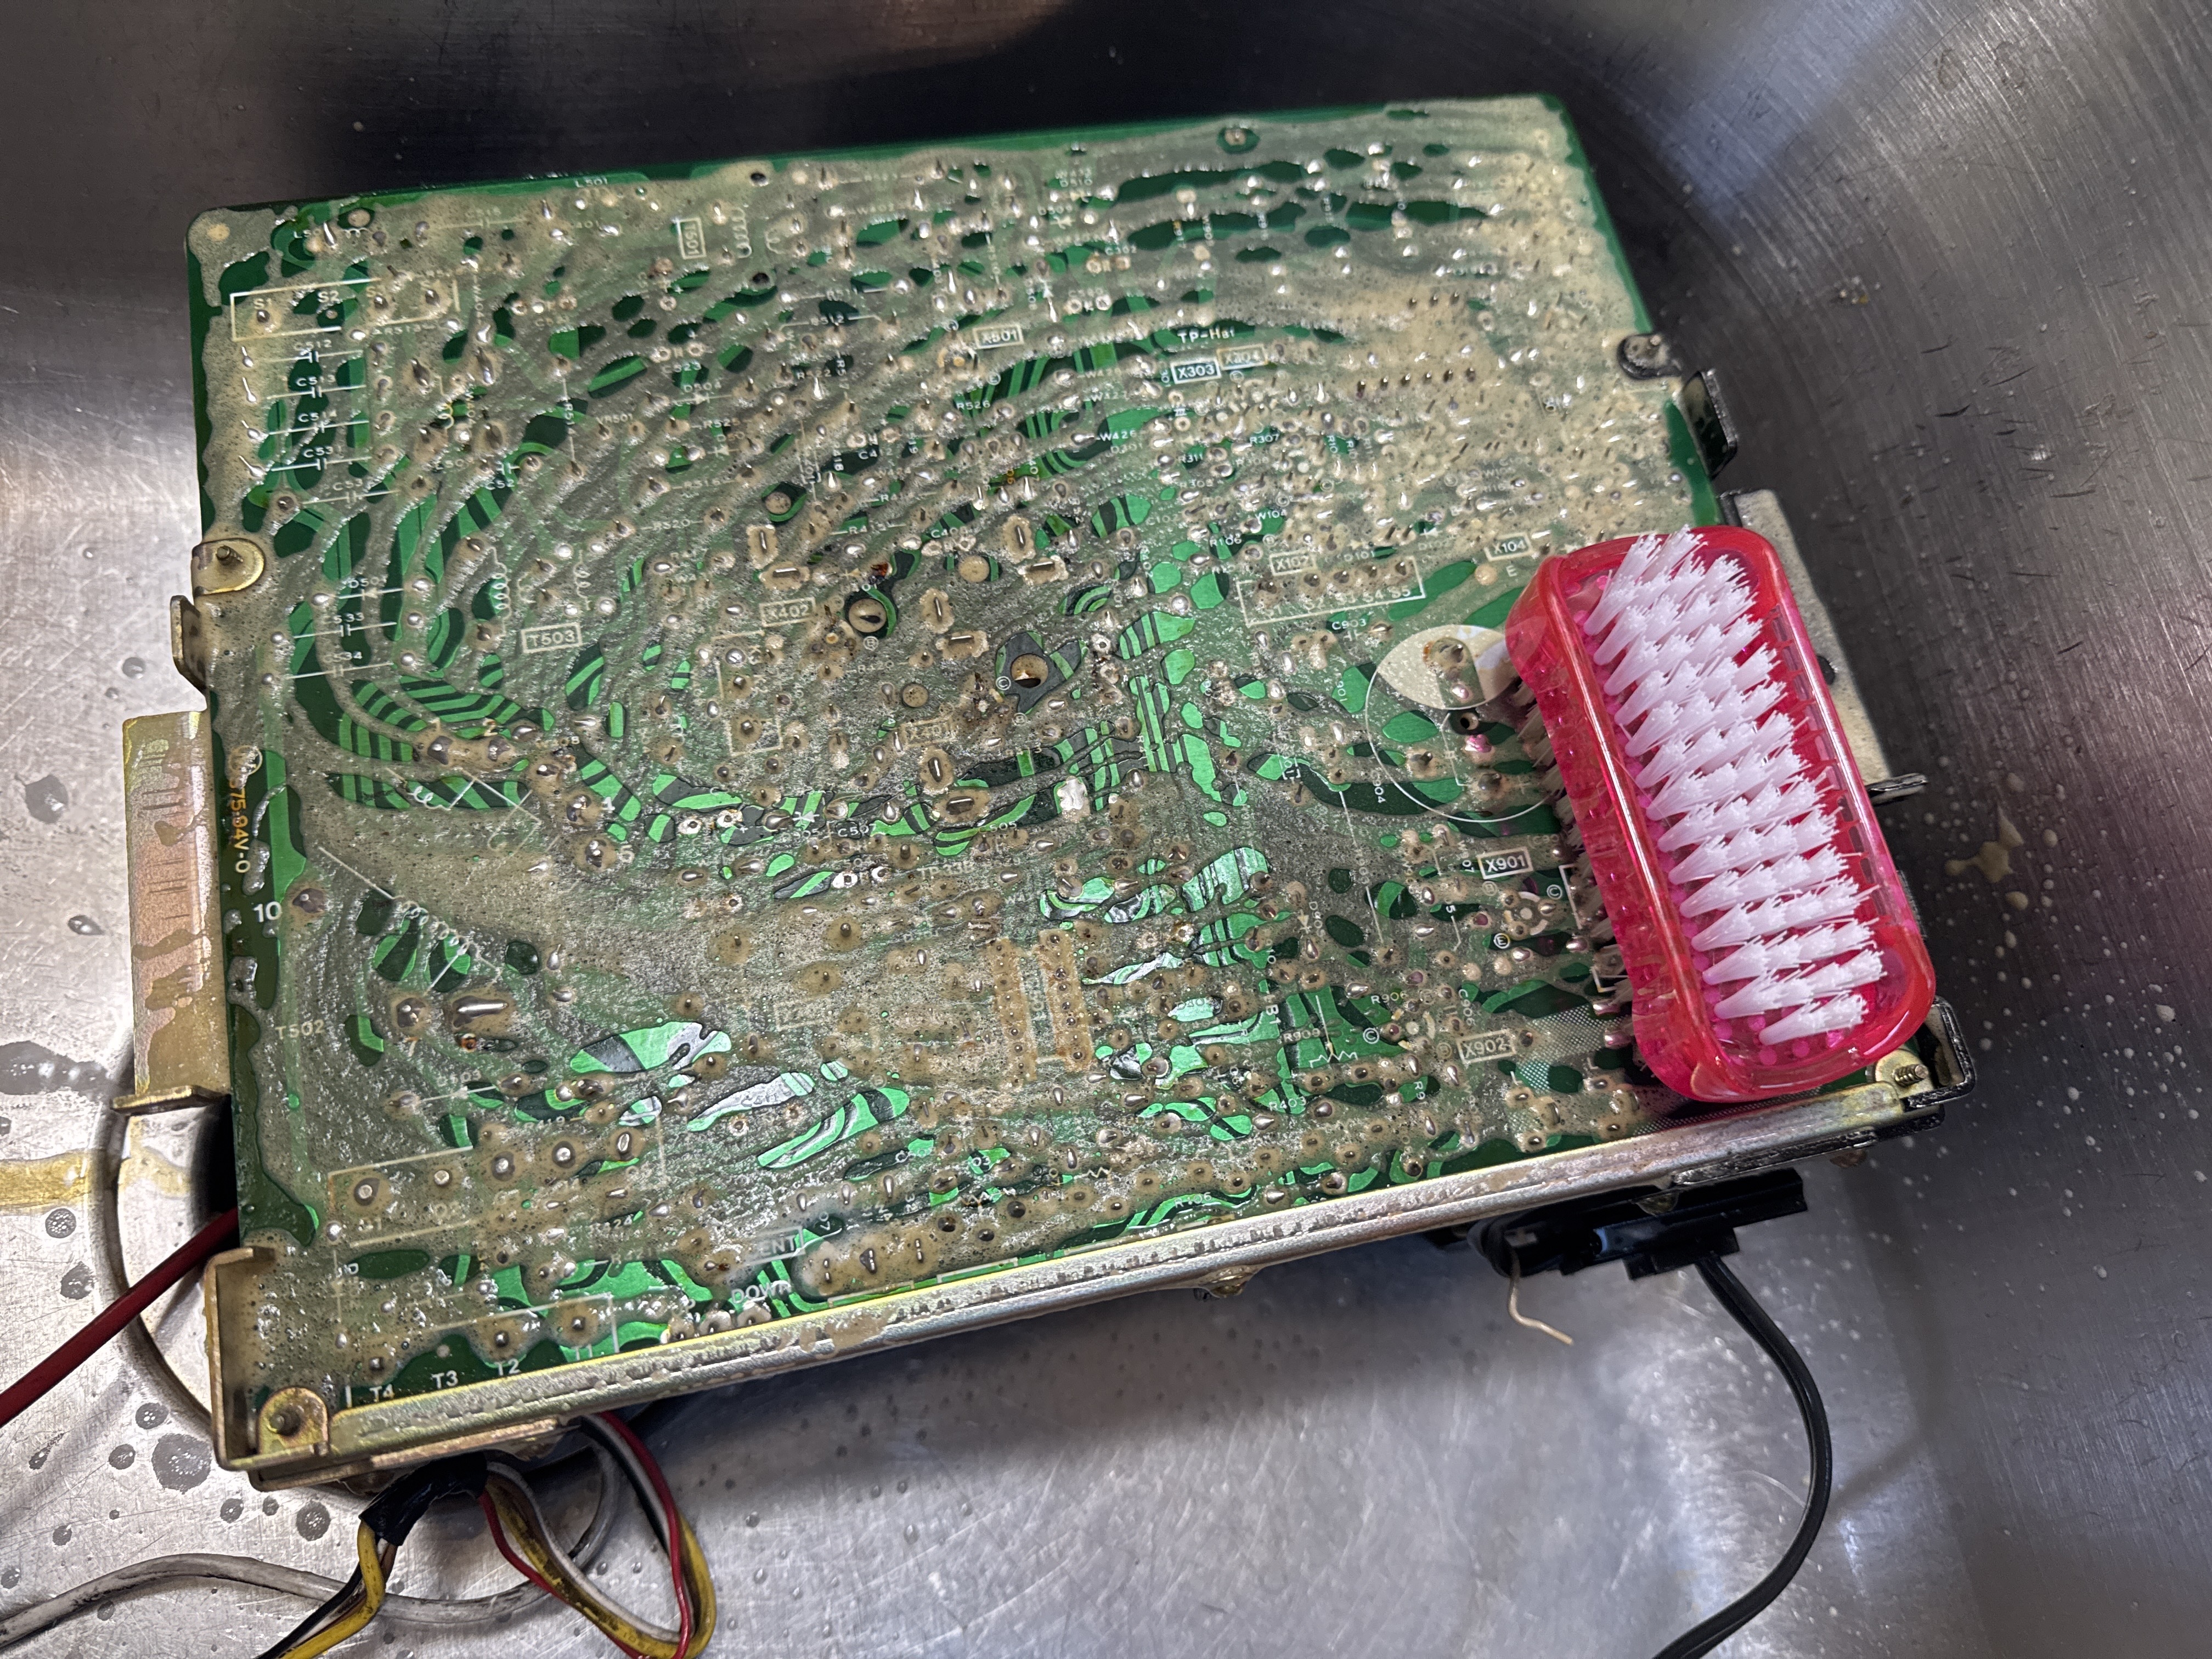
It was even dirtier than it looked. On occasion I will test caps coming off of a chassis just to see if any were bad. All were within spec as it turns out. I didn’t expect caps to fix the collapse. I tested all of the transistors, diodes and power resistors looking for the cause of the collapse. Nothing jumped out. Powered it all back up and it was still collapsed – but no smoke. So that was good. Put it all away for the night.. Woke up with.. “test the yoke..” in my head.

One winding good – other winding bad.. No visible breaks on the connections, etc. It went bad inside the windings. Somehow I had a yoke from a TV that had the identical readings sitting on a shelf. I checked them against my other G07 chassis. That is some serious good luck.
Problem solved. The colors on the tube are less than stellar. I went through and rejuved the guns – Red and Blue were the worst.. and got it up to “good enough” for now. The tube is pretty tired still.
Getting past the monitor issues – it was time to power up my cabinet with an actual boardset connected as well as the entire harness.
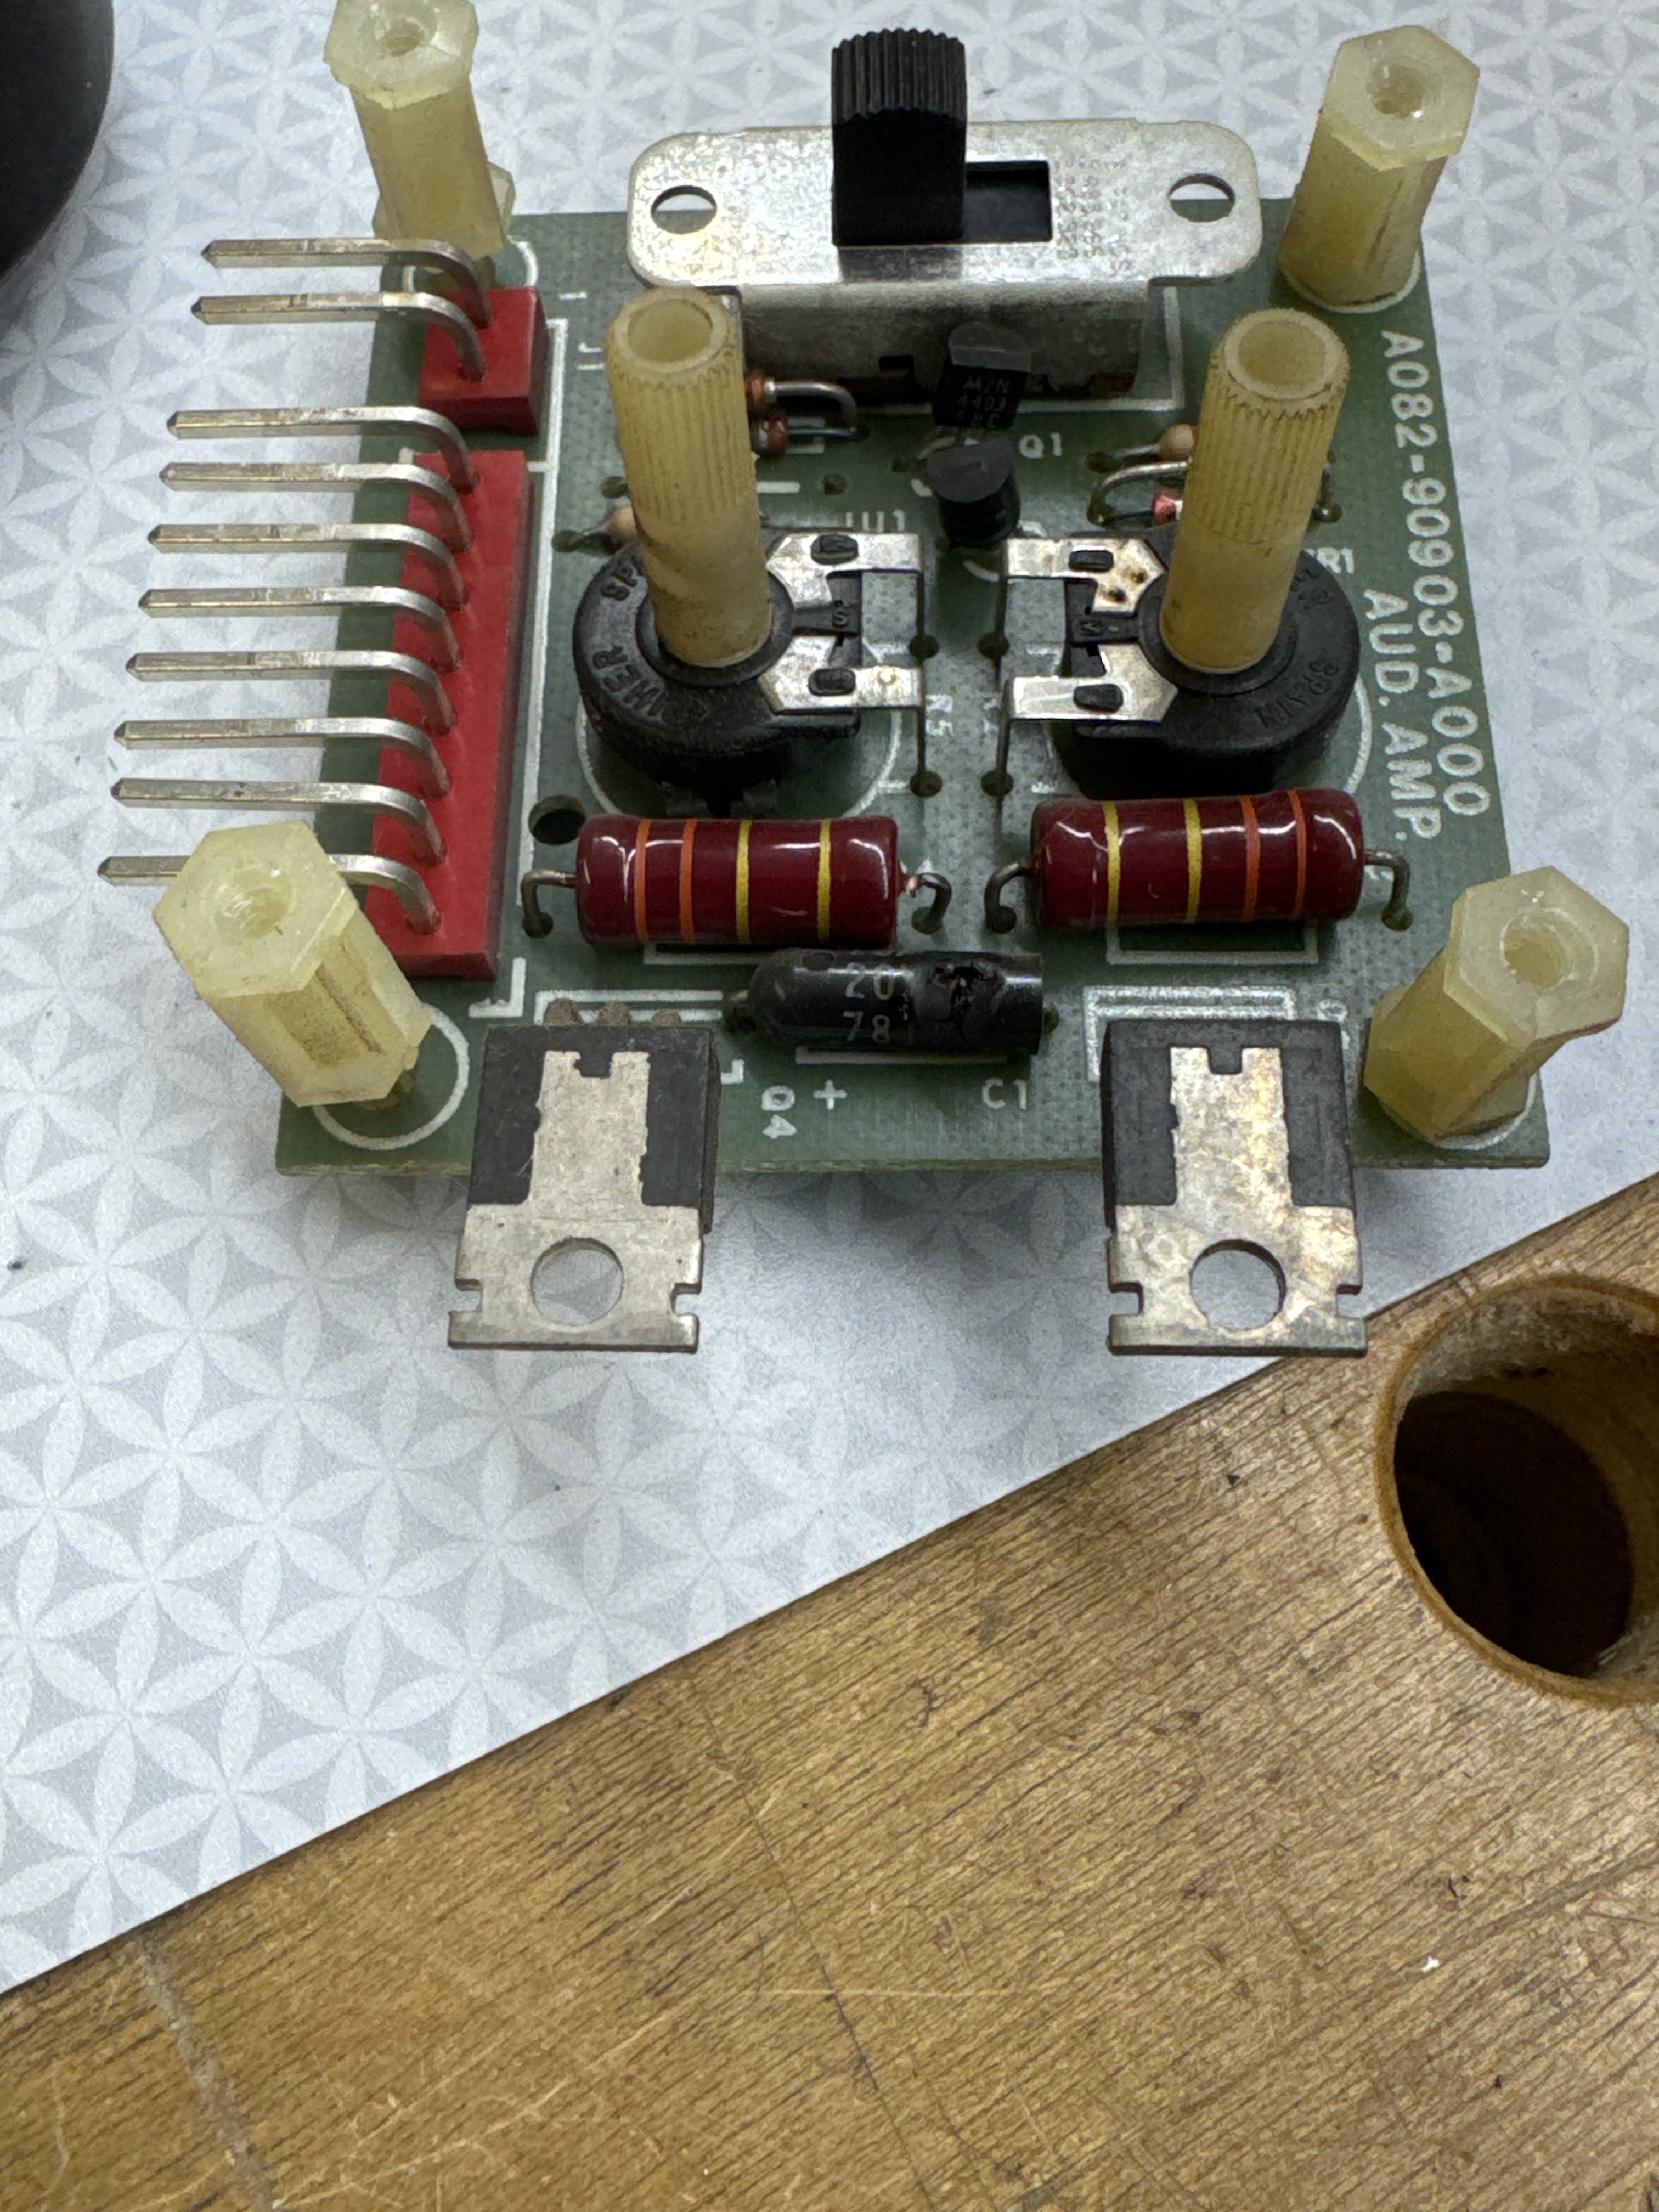
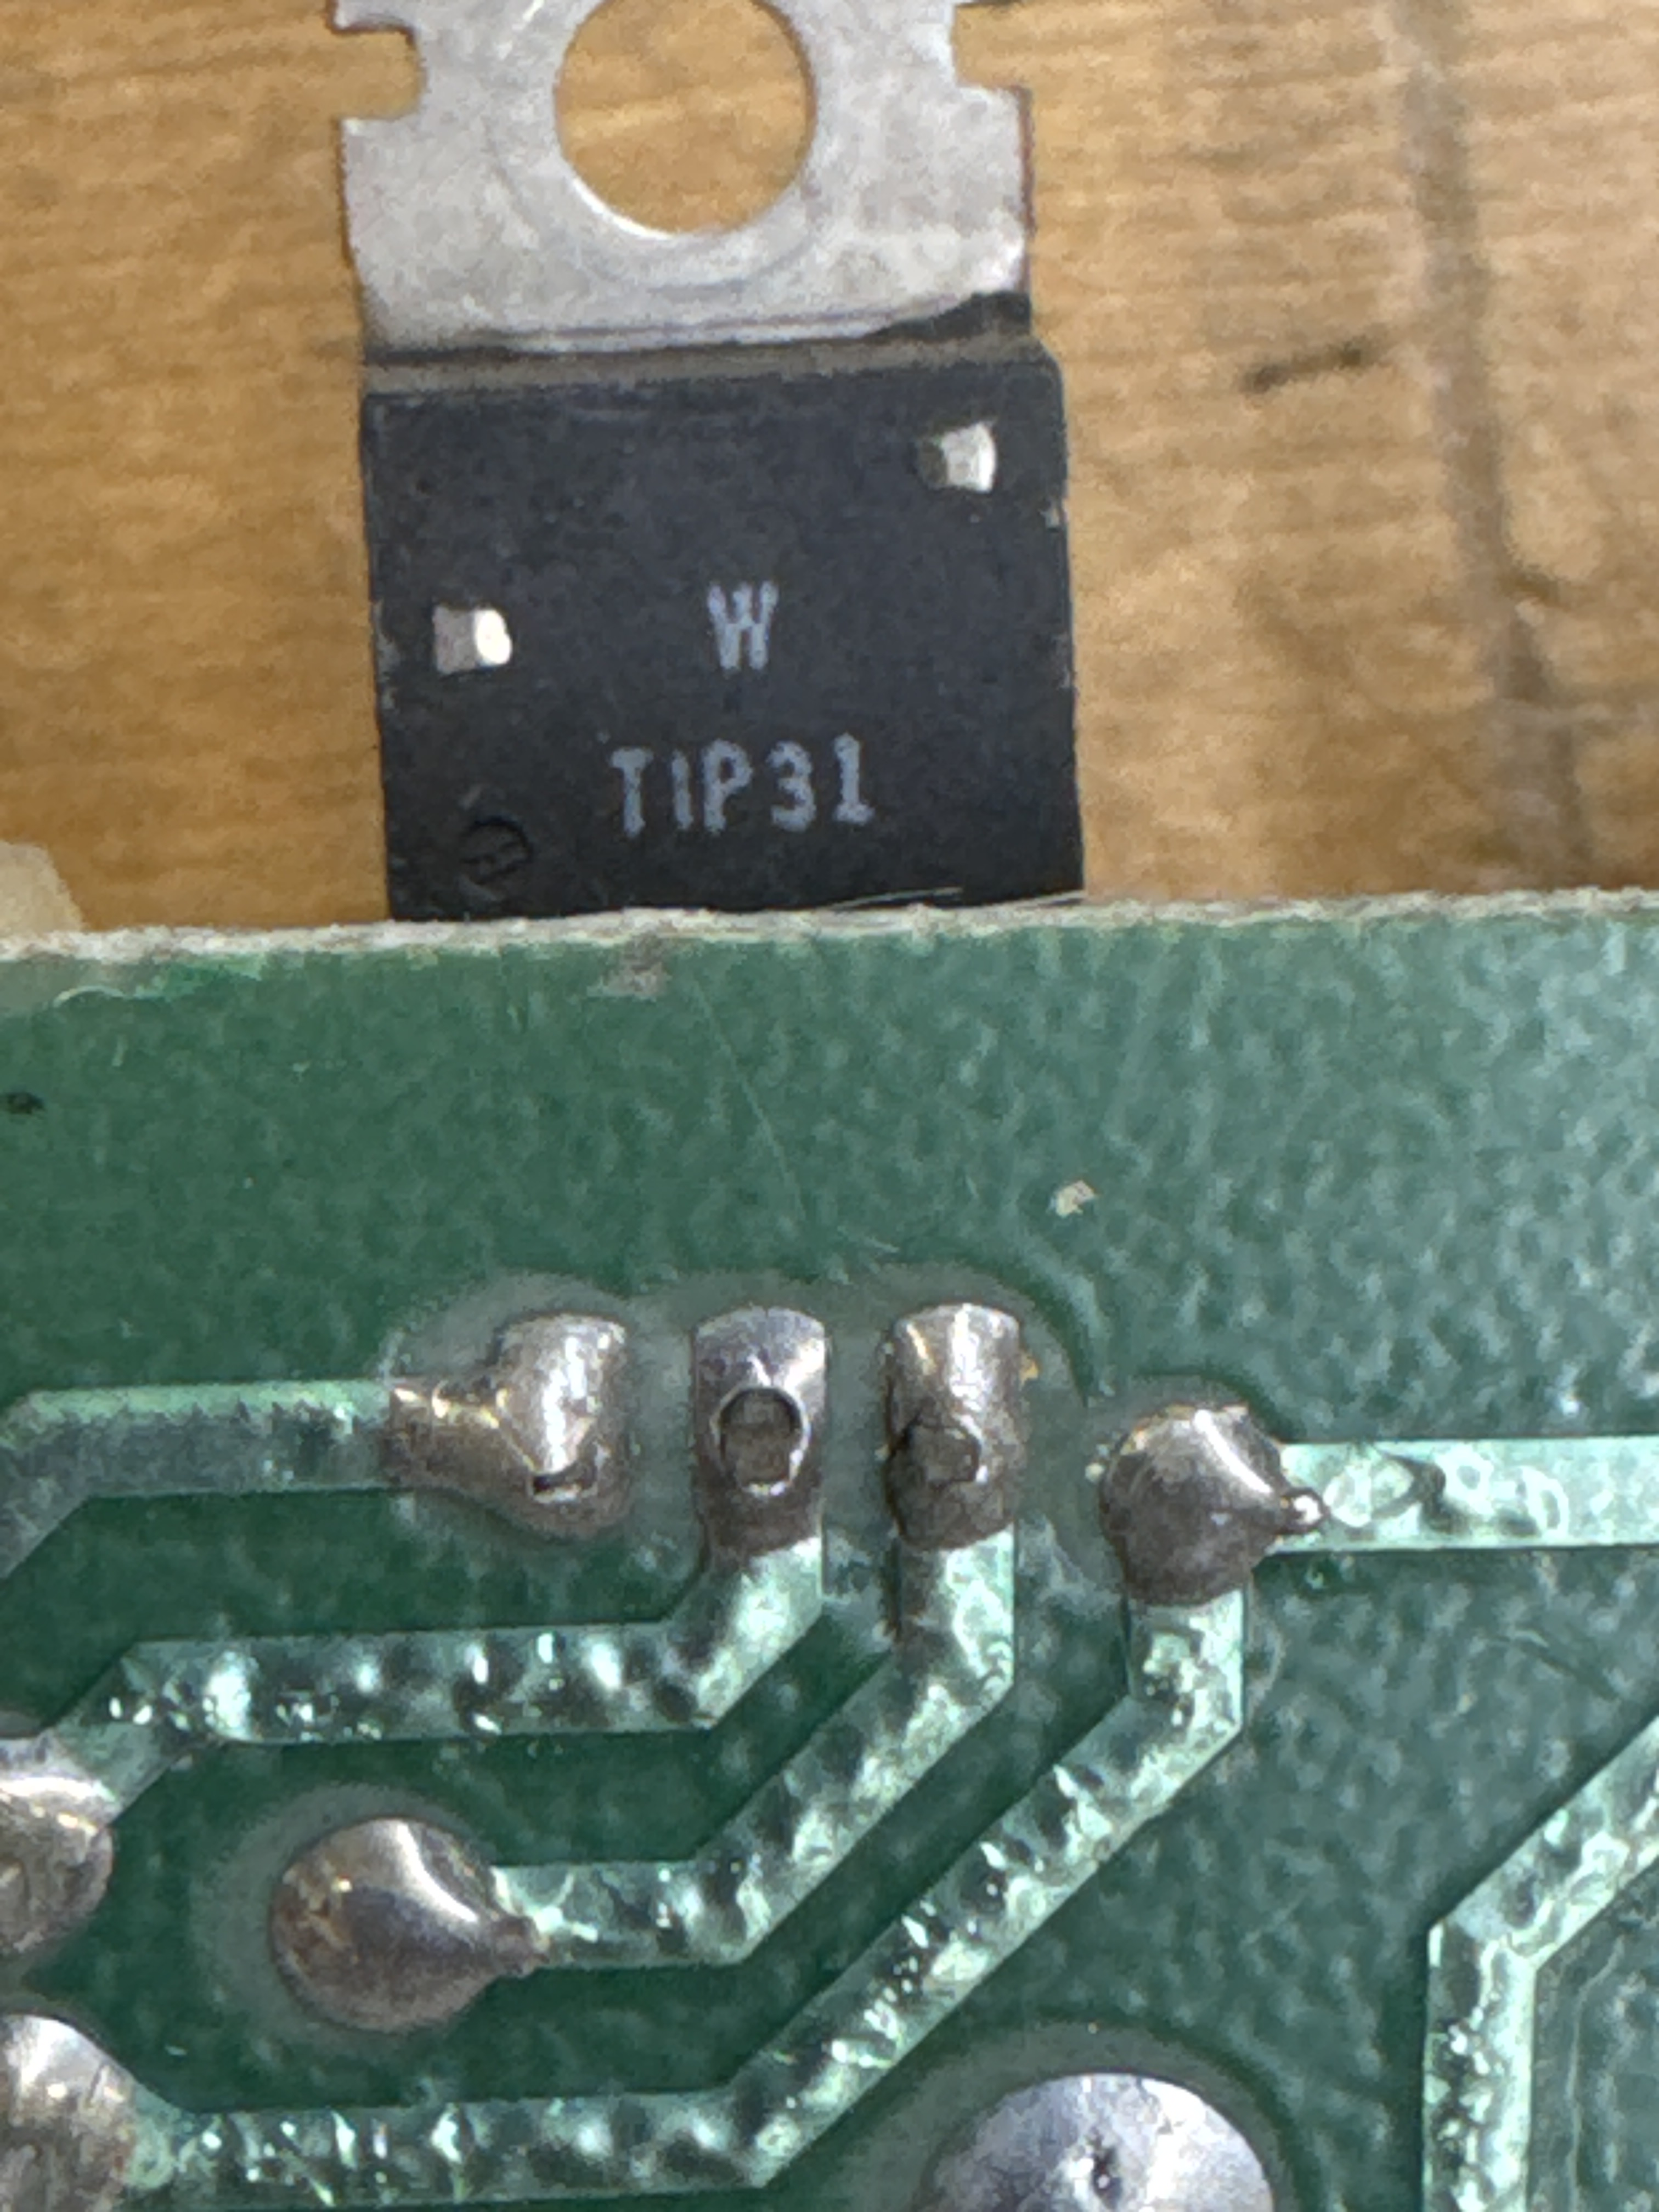
I was met with a loud POP and smoke. “no NO.. shut them all down!” A tantalum cap on the audio AMP board blew up – turns out this is a popular feature of Gorf. While I had it out, cold joints on one of the transistors.. Replacing the cap and putting it all back together.
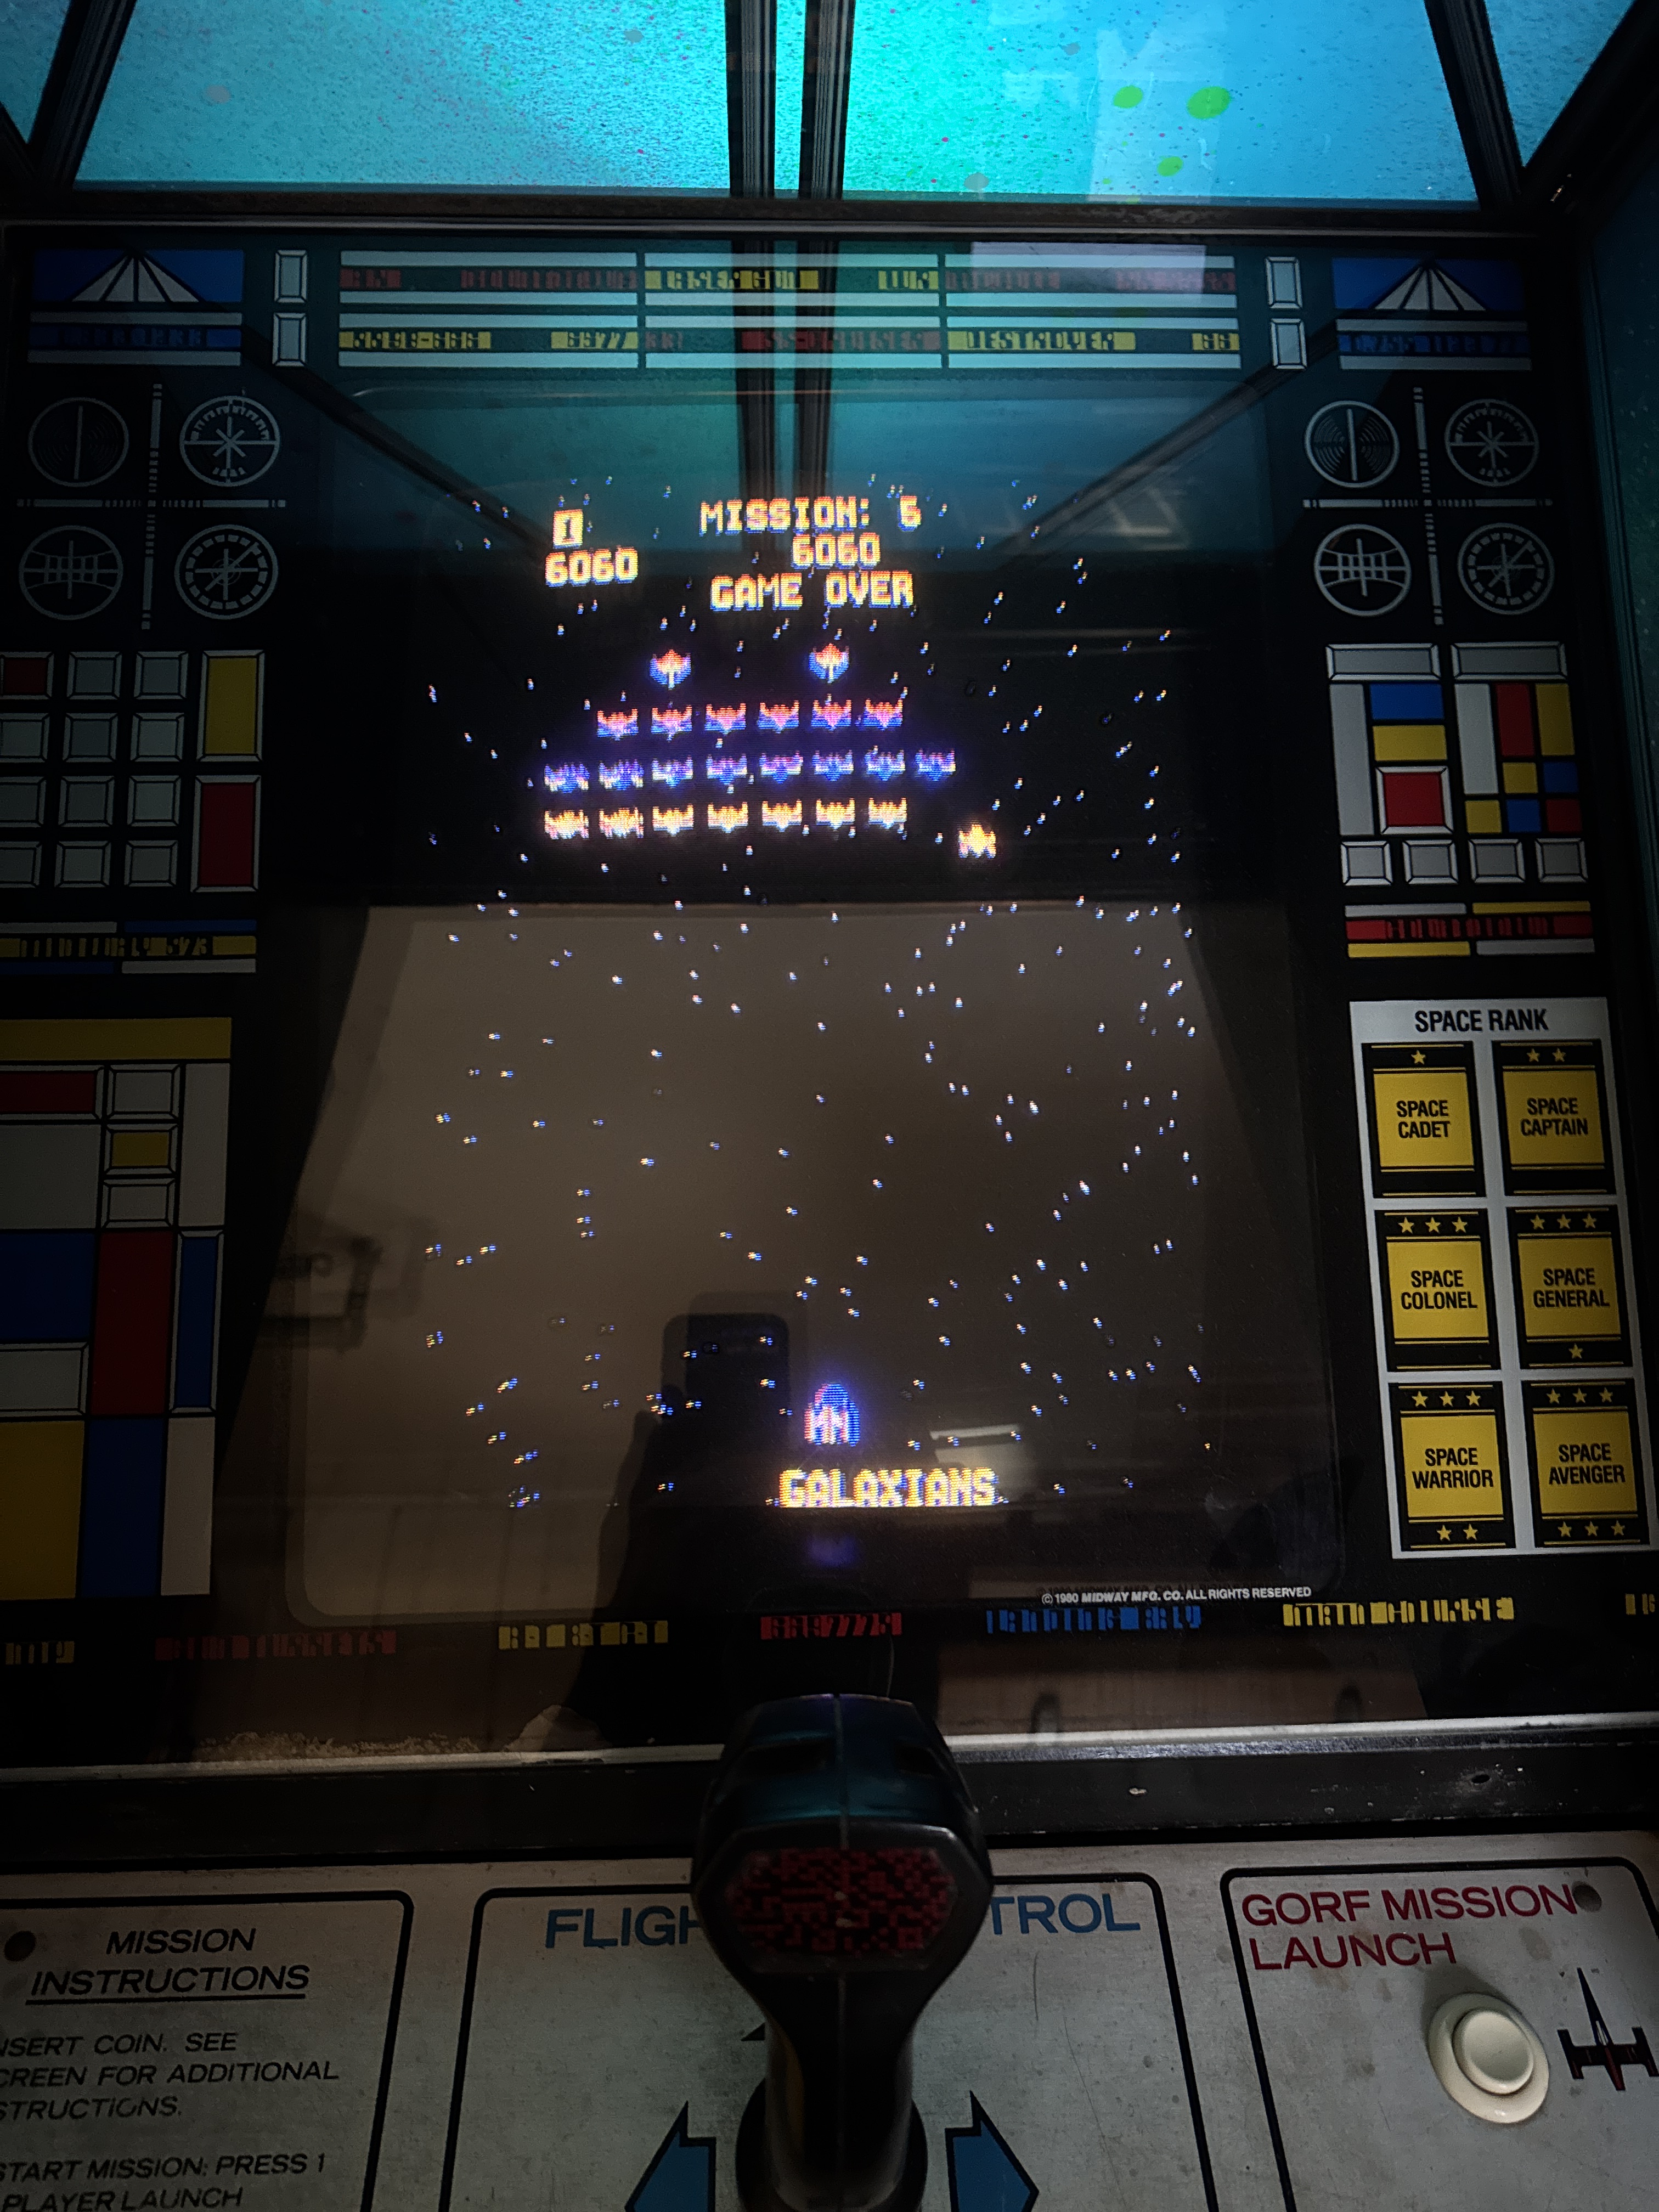
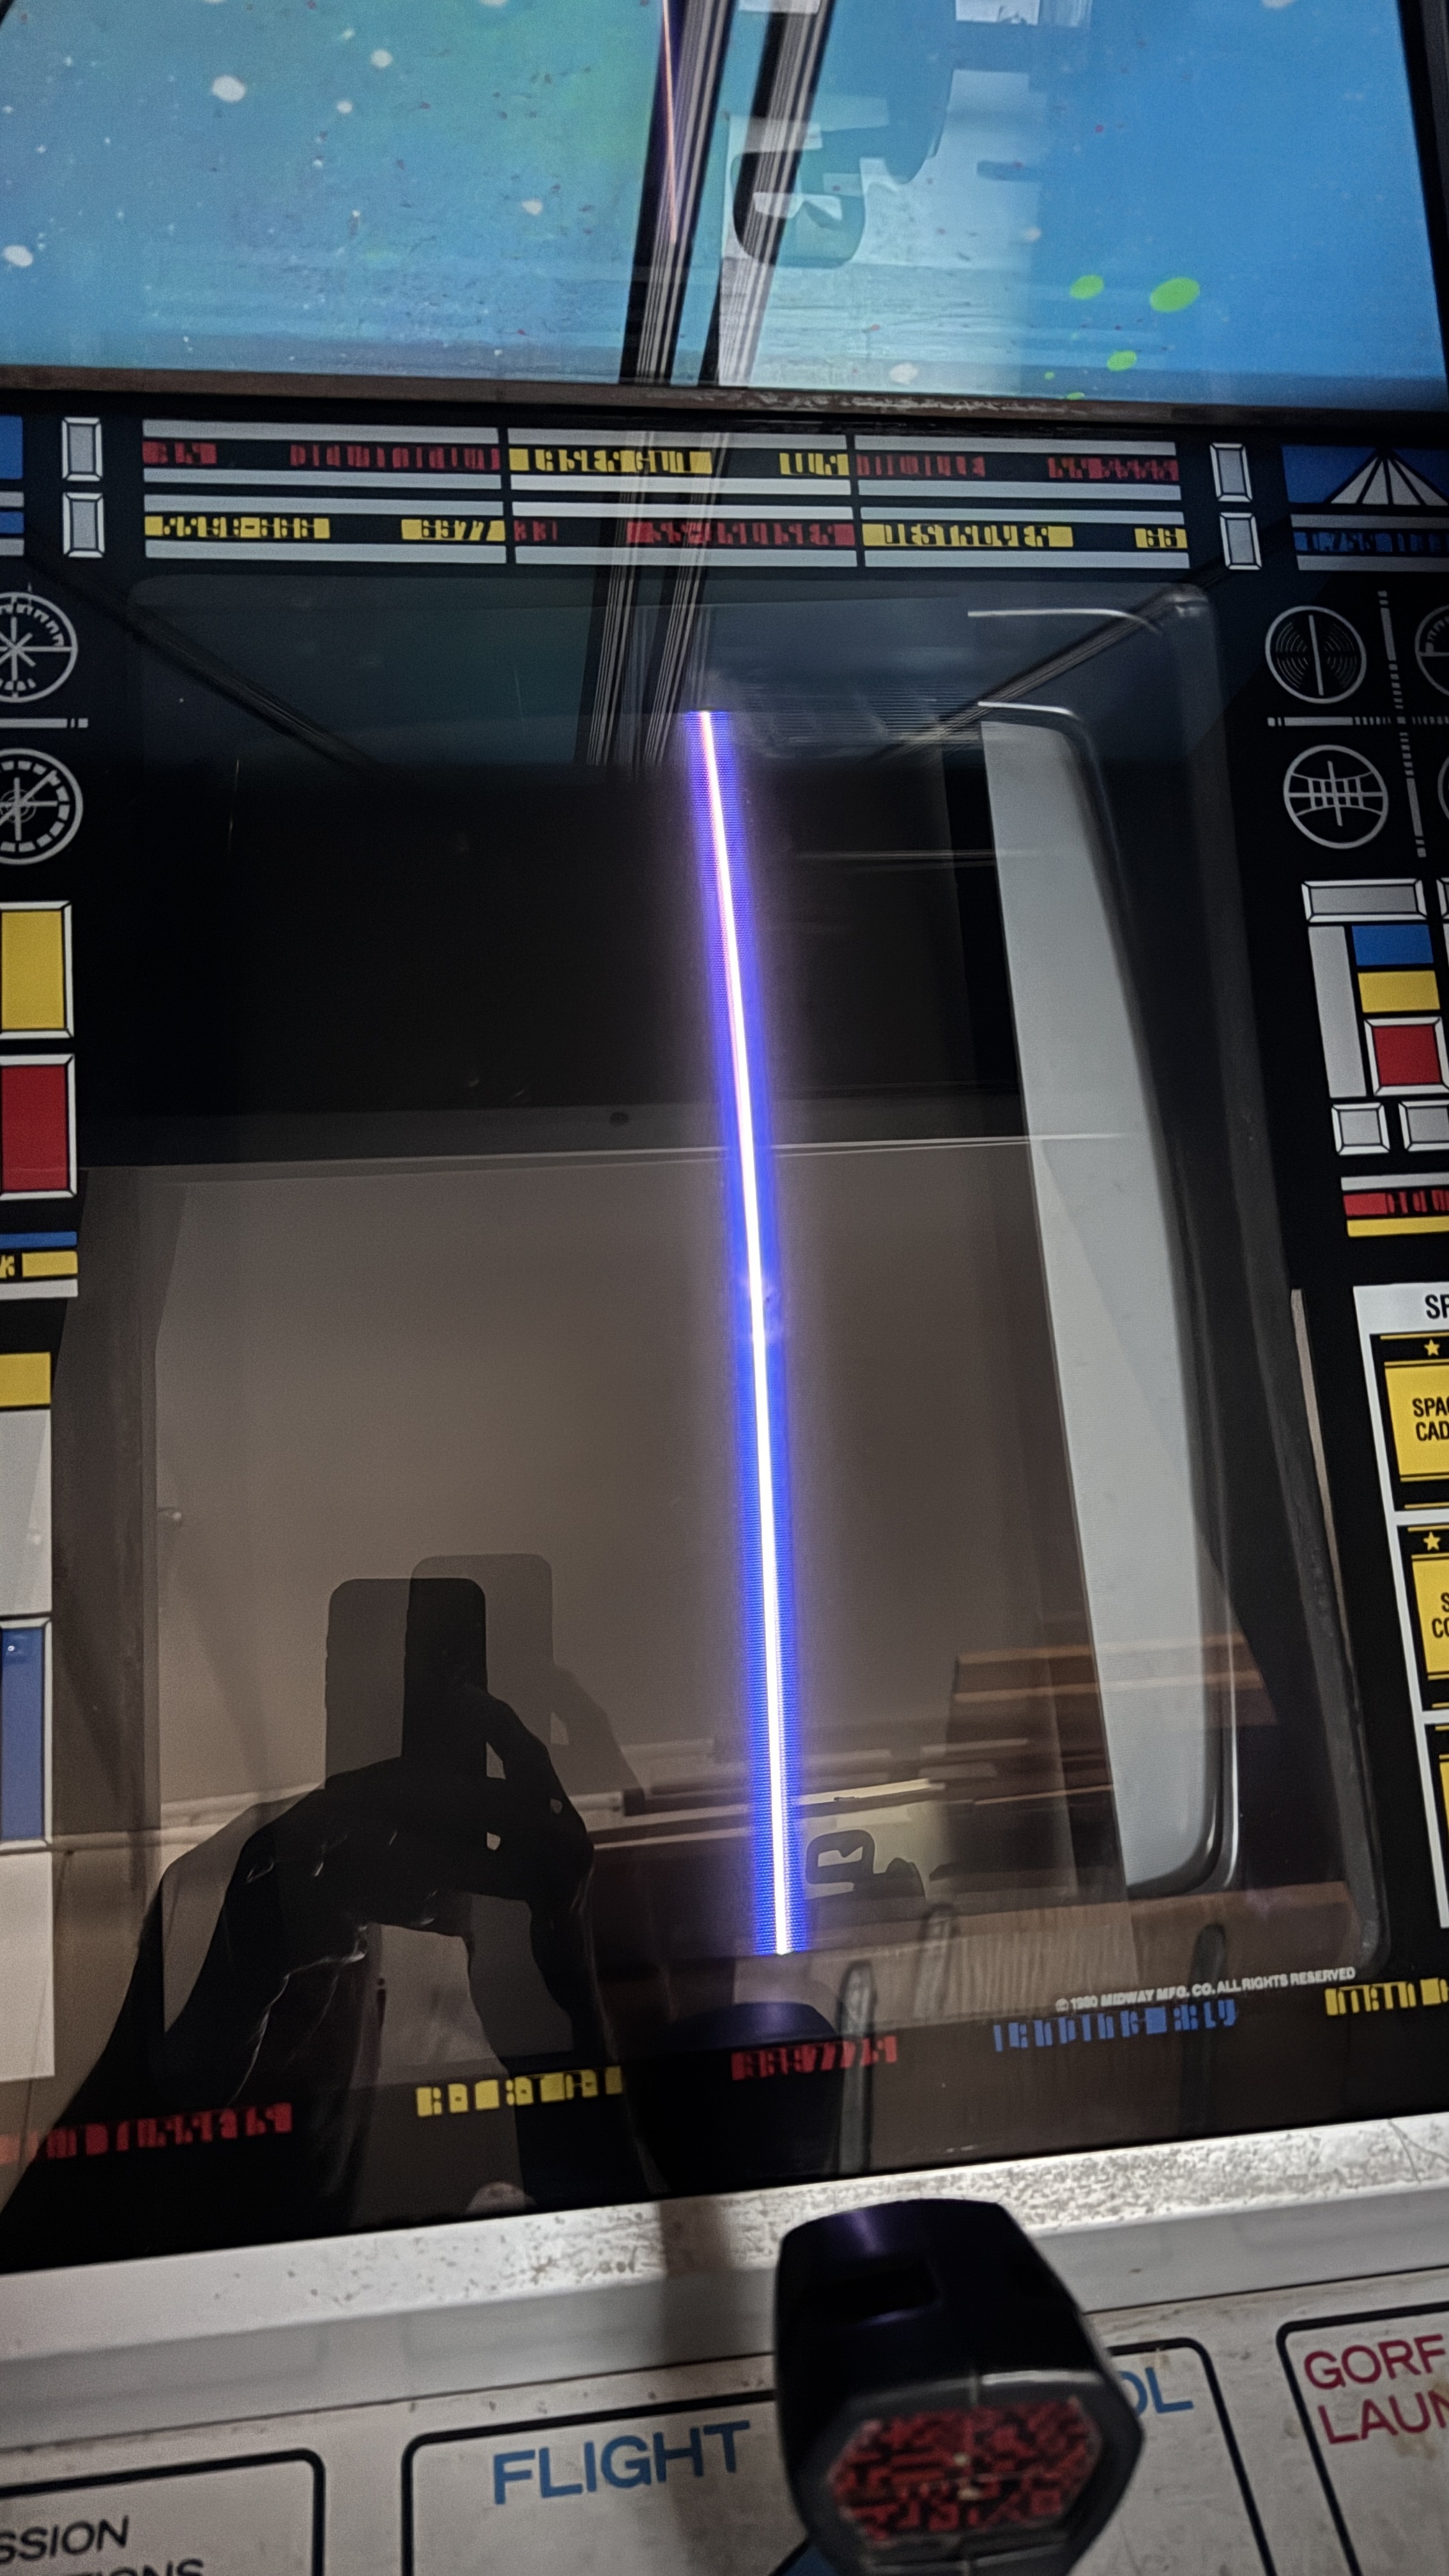
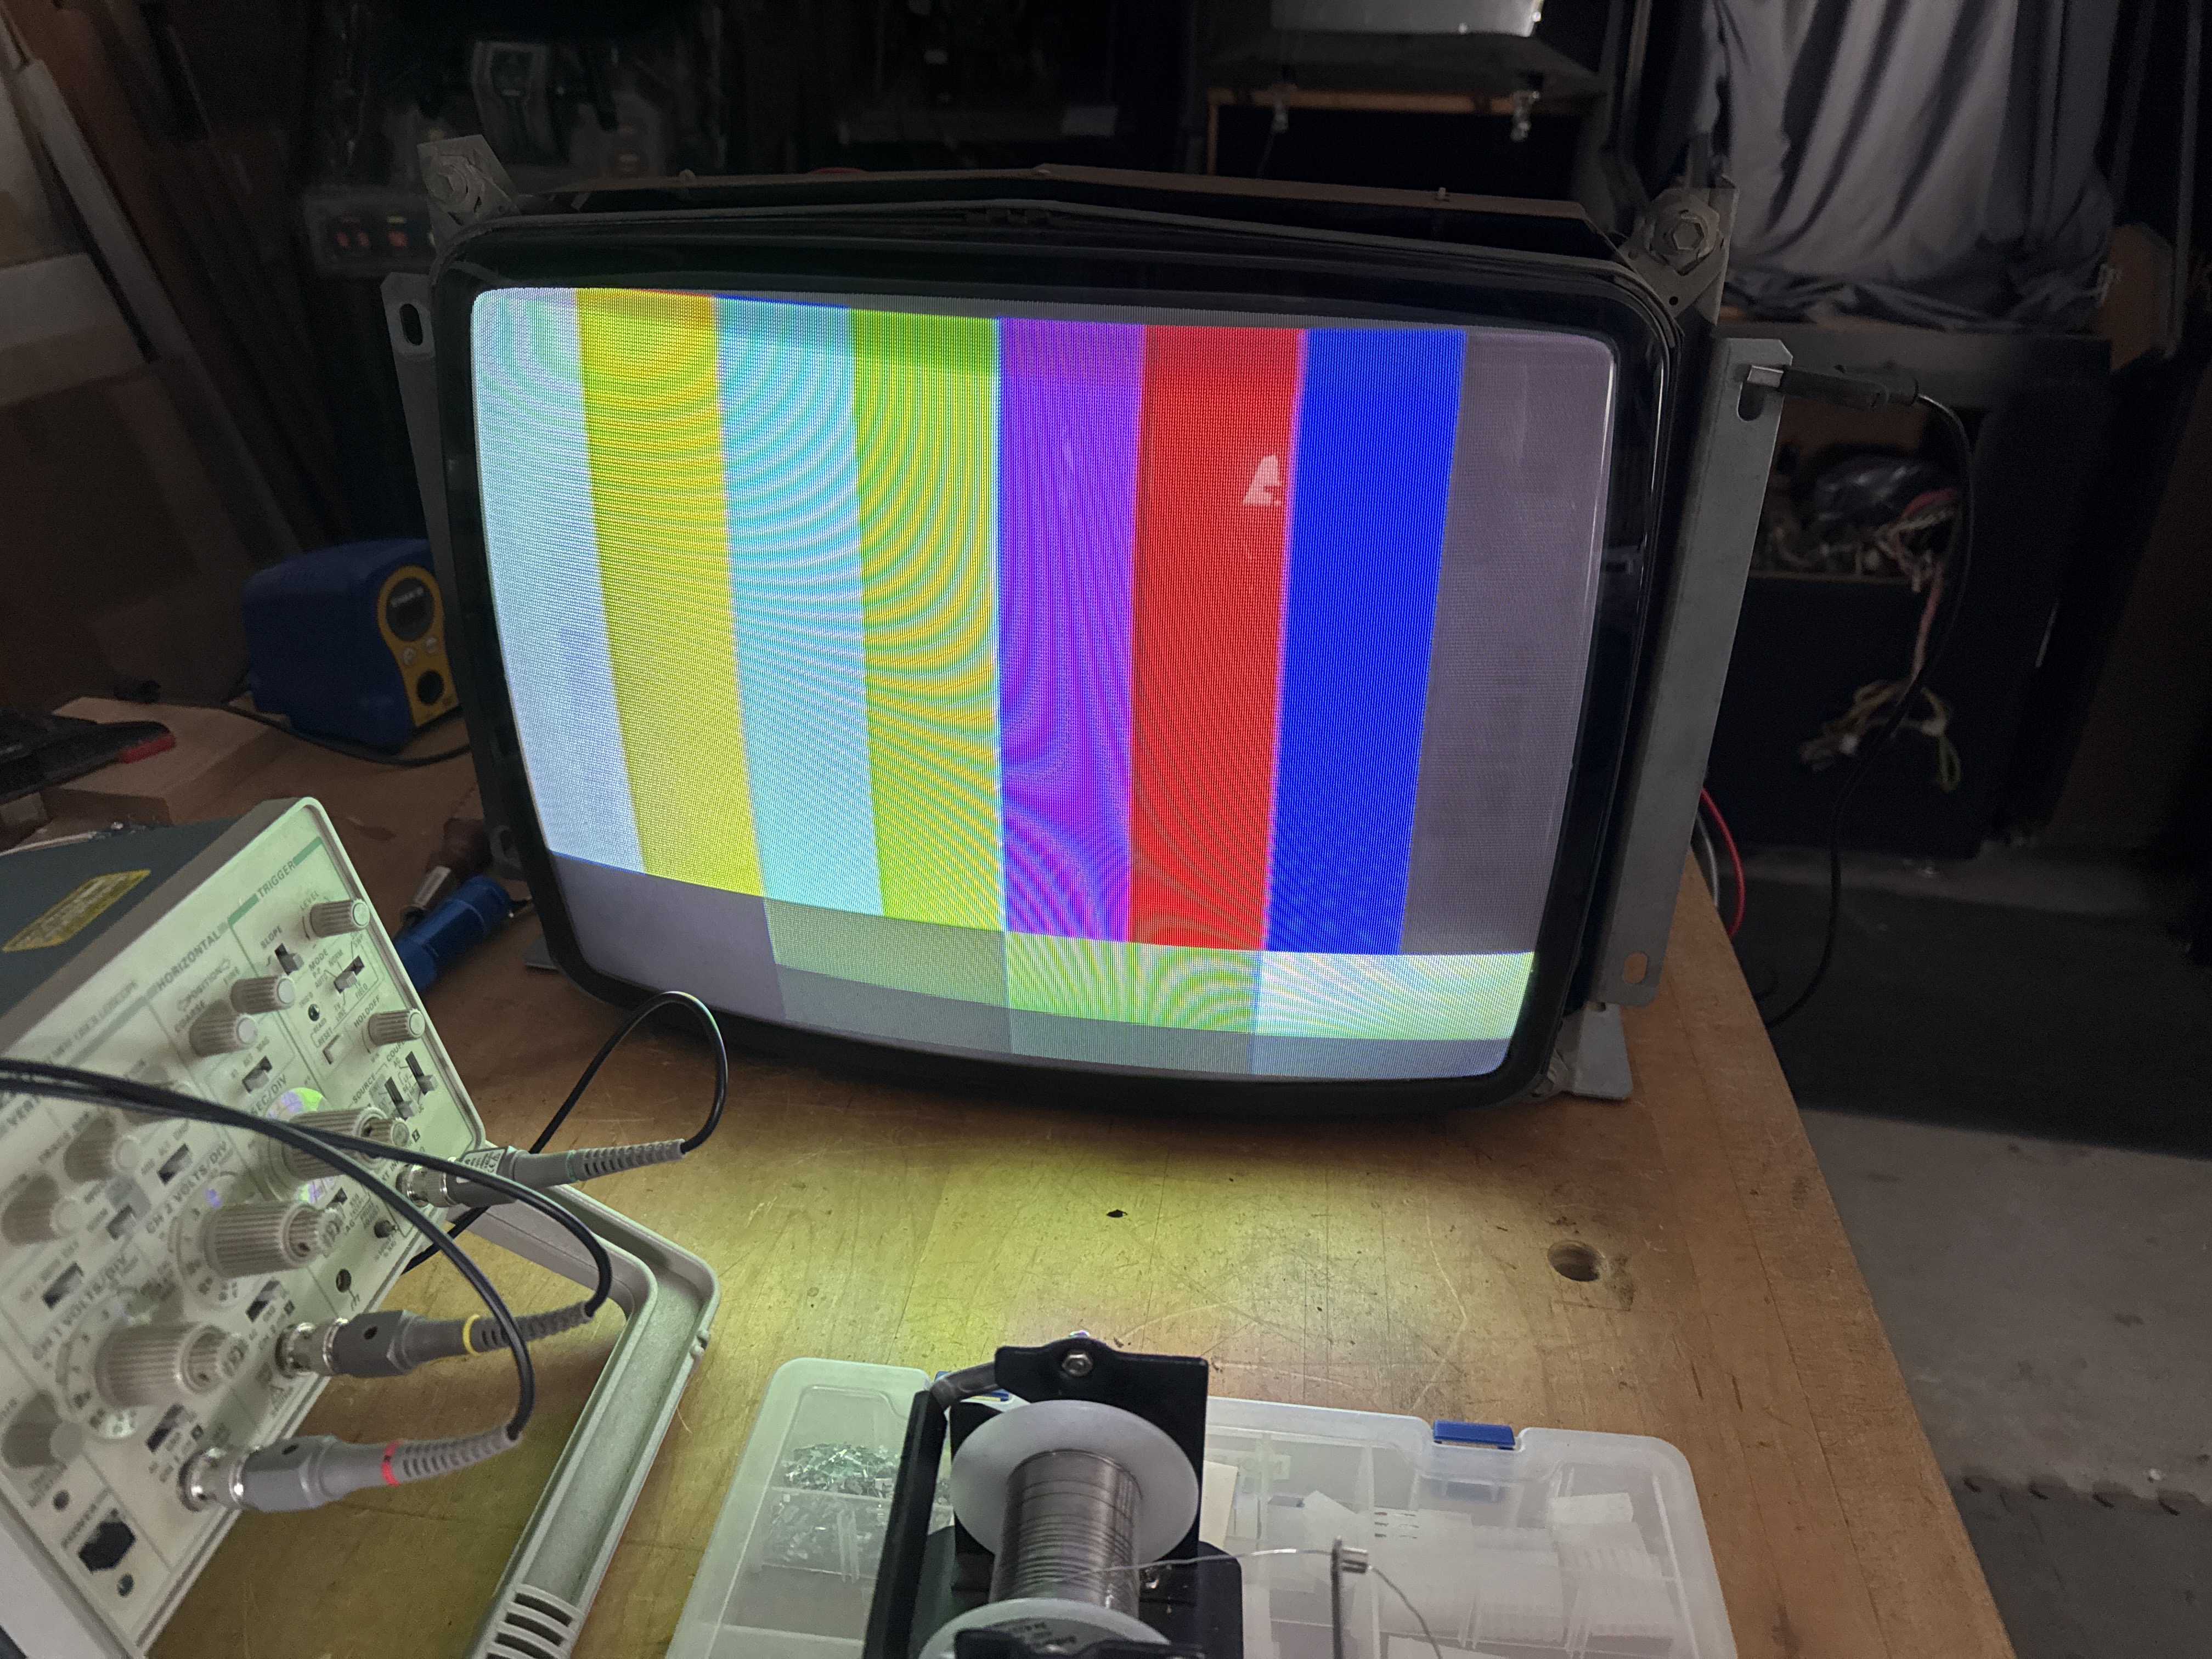
Real live Gorf! Nice.. The convergence is off after swapping yokes. I’ll save that for a different day.
On my cabinet I’ve had:
- Connection issues on the power supply
- Audio AMP blow up
- Failed yoke
– and now a failure that is also odd..
One of the speakers was not working.. at first I thought it was something to do with the audio amp explosion. After a quick check the PCB seemed fine. I pulled out a 9v battery – clipped one side directly to a speaker and tapped the other side to the second terminal. Plenty of speaker crackling on the ‘bad’ speaker.. so the speaker is fine. I did continuity testing from the PCB connector up too the speaker itself and there was a break.
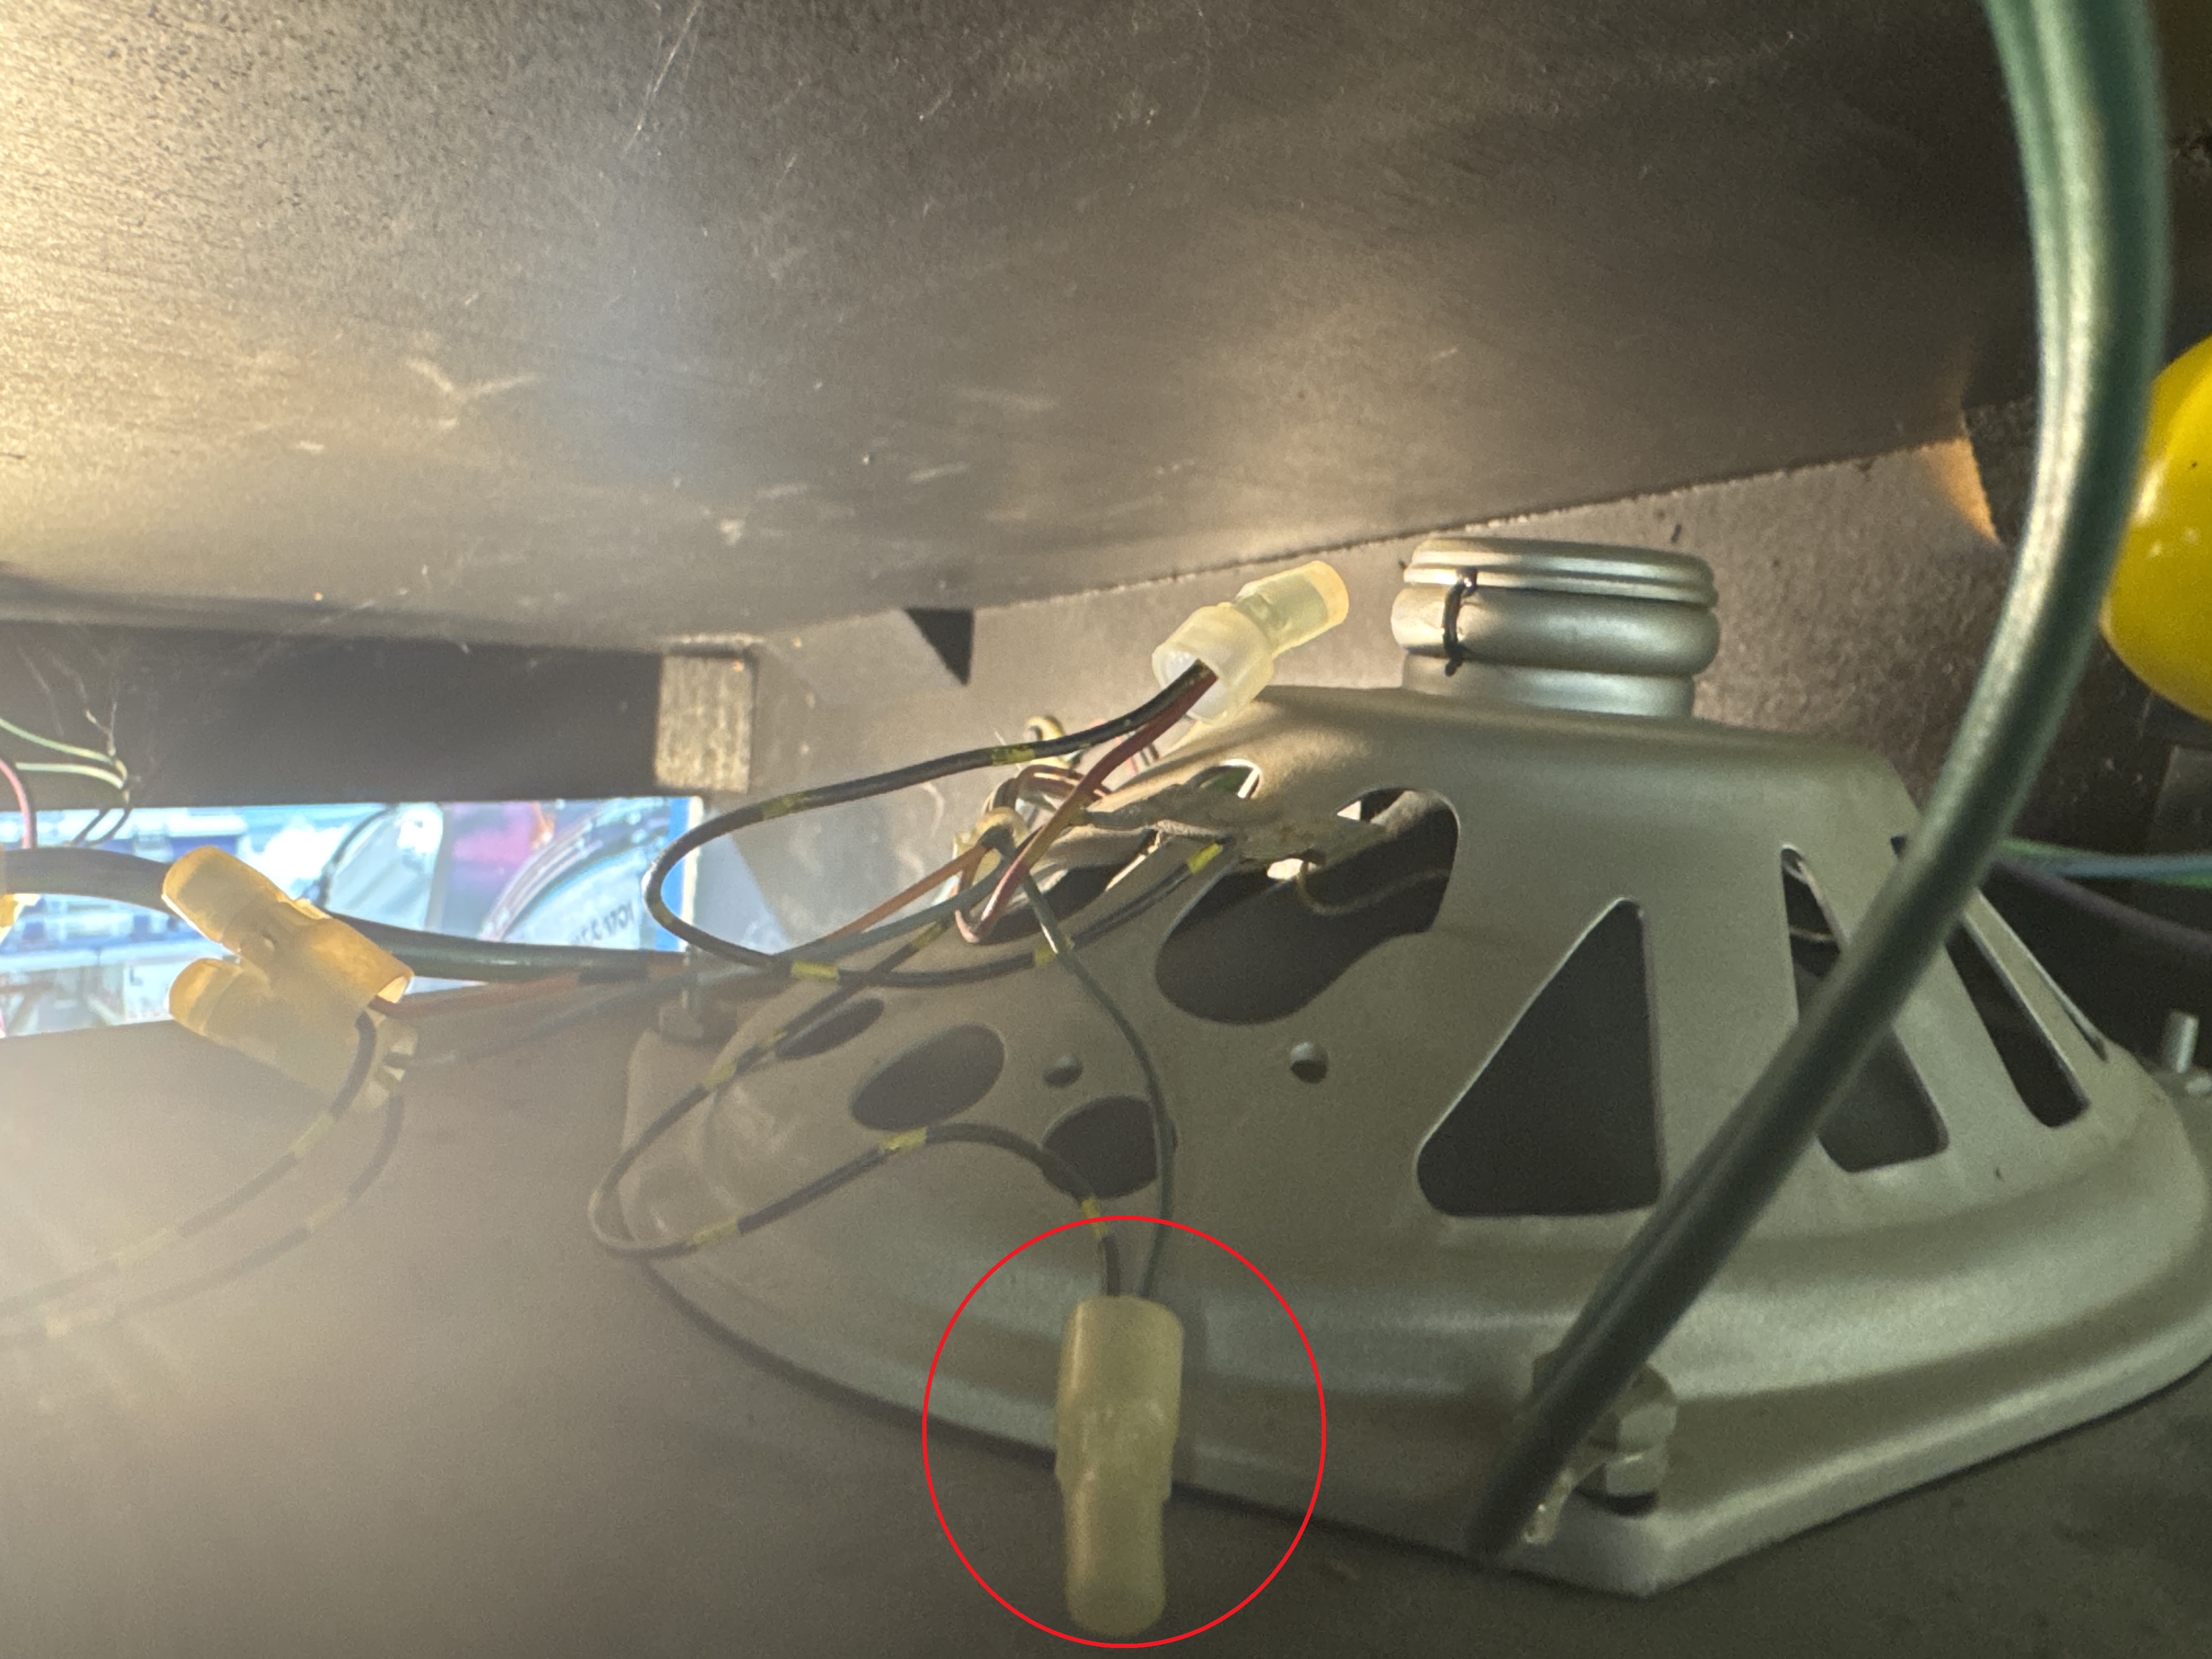
Factory crimp connector – failed?! or maybe it was never right.. I cut it off and replaced it.. Problem solved. Sounds out of both channels working correctly. Who expects a crimp connector that has never been touched to fail, not me..
My cabinet needs some cosmetic work and cleanup – but it can play Gorf reasonably well. Now to repair the boardsets.
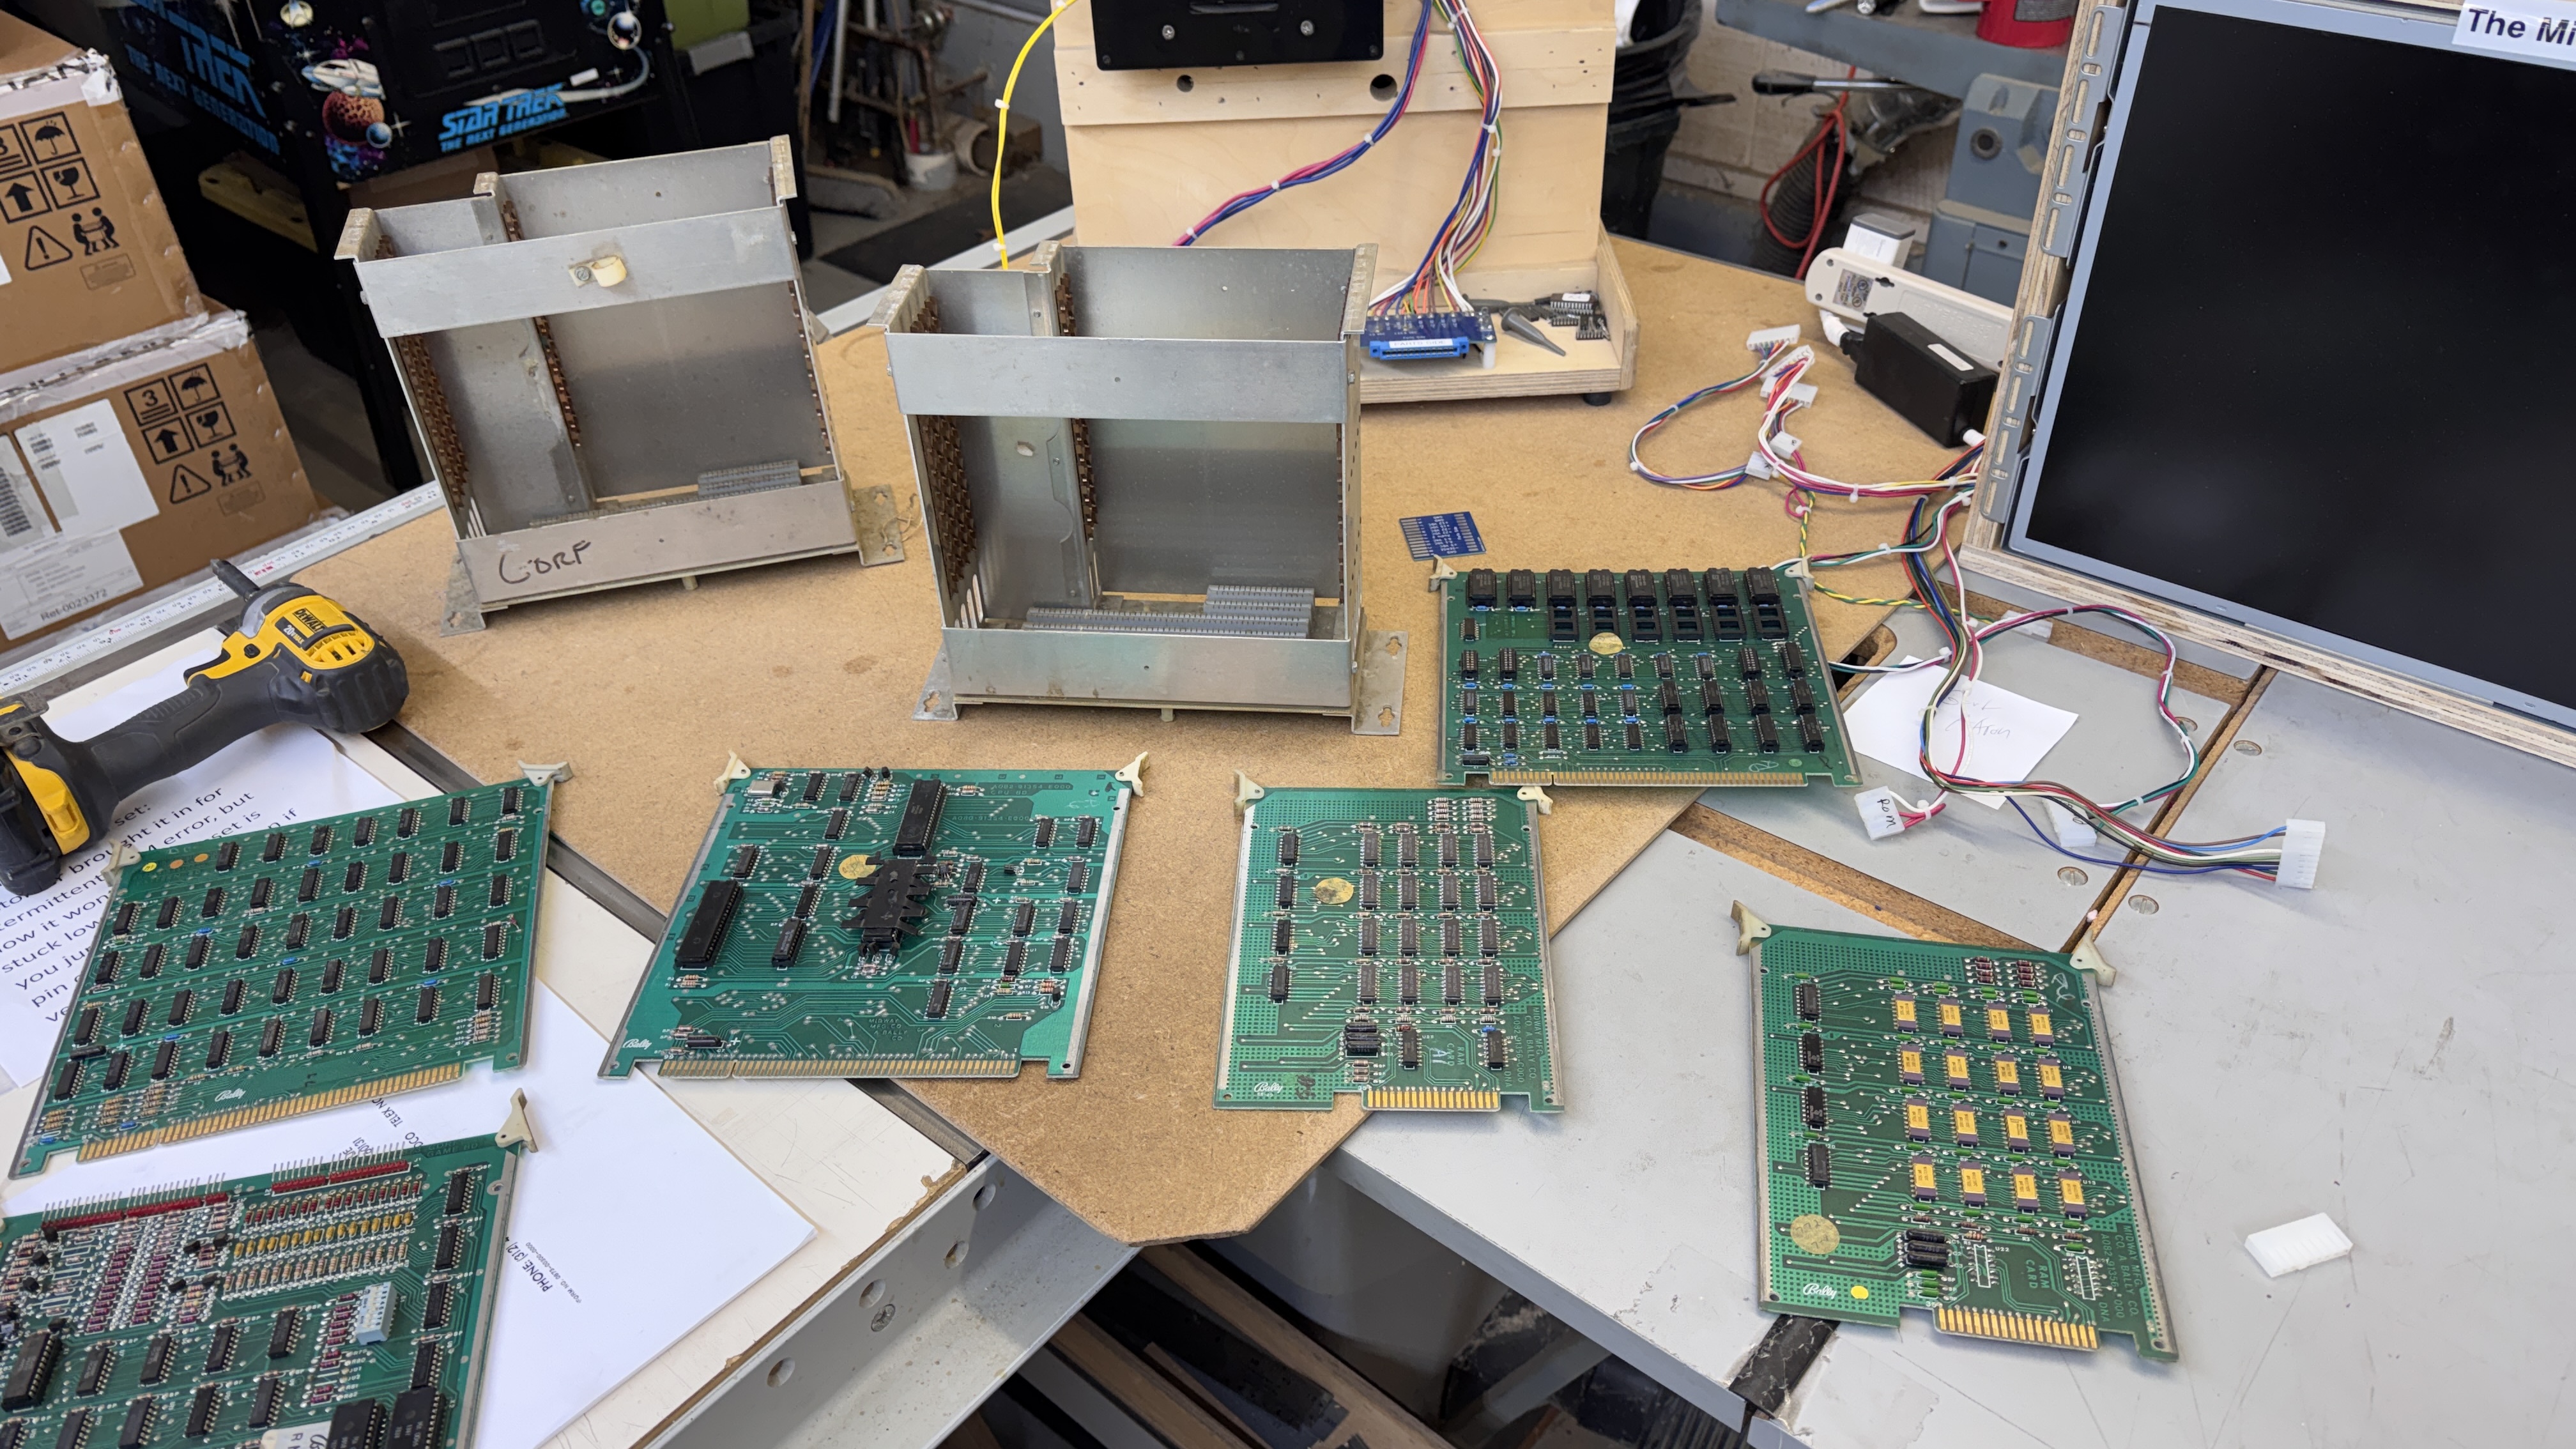
Board #1 – My Board set
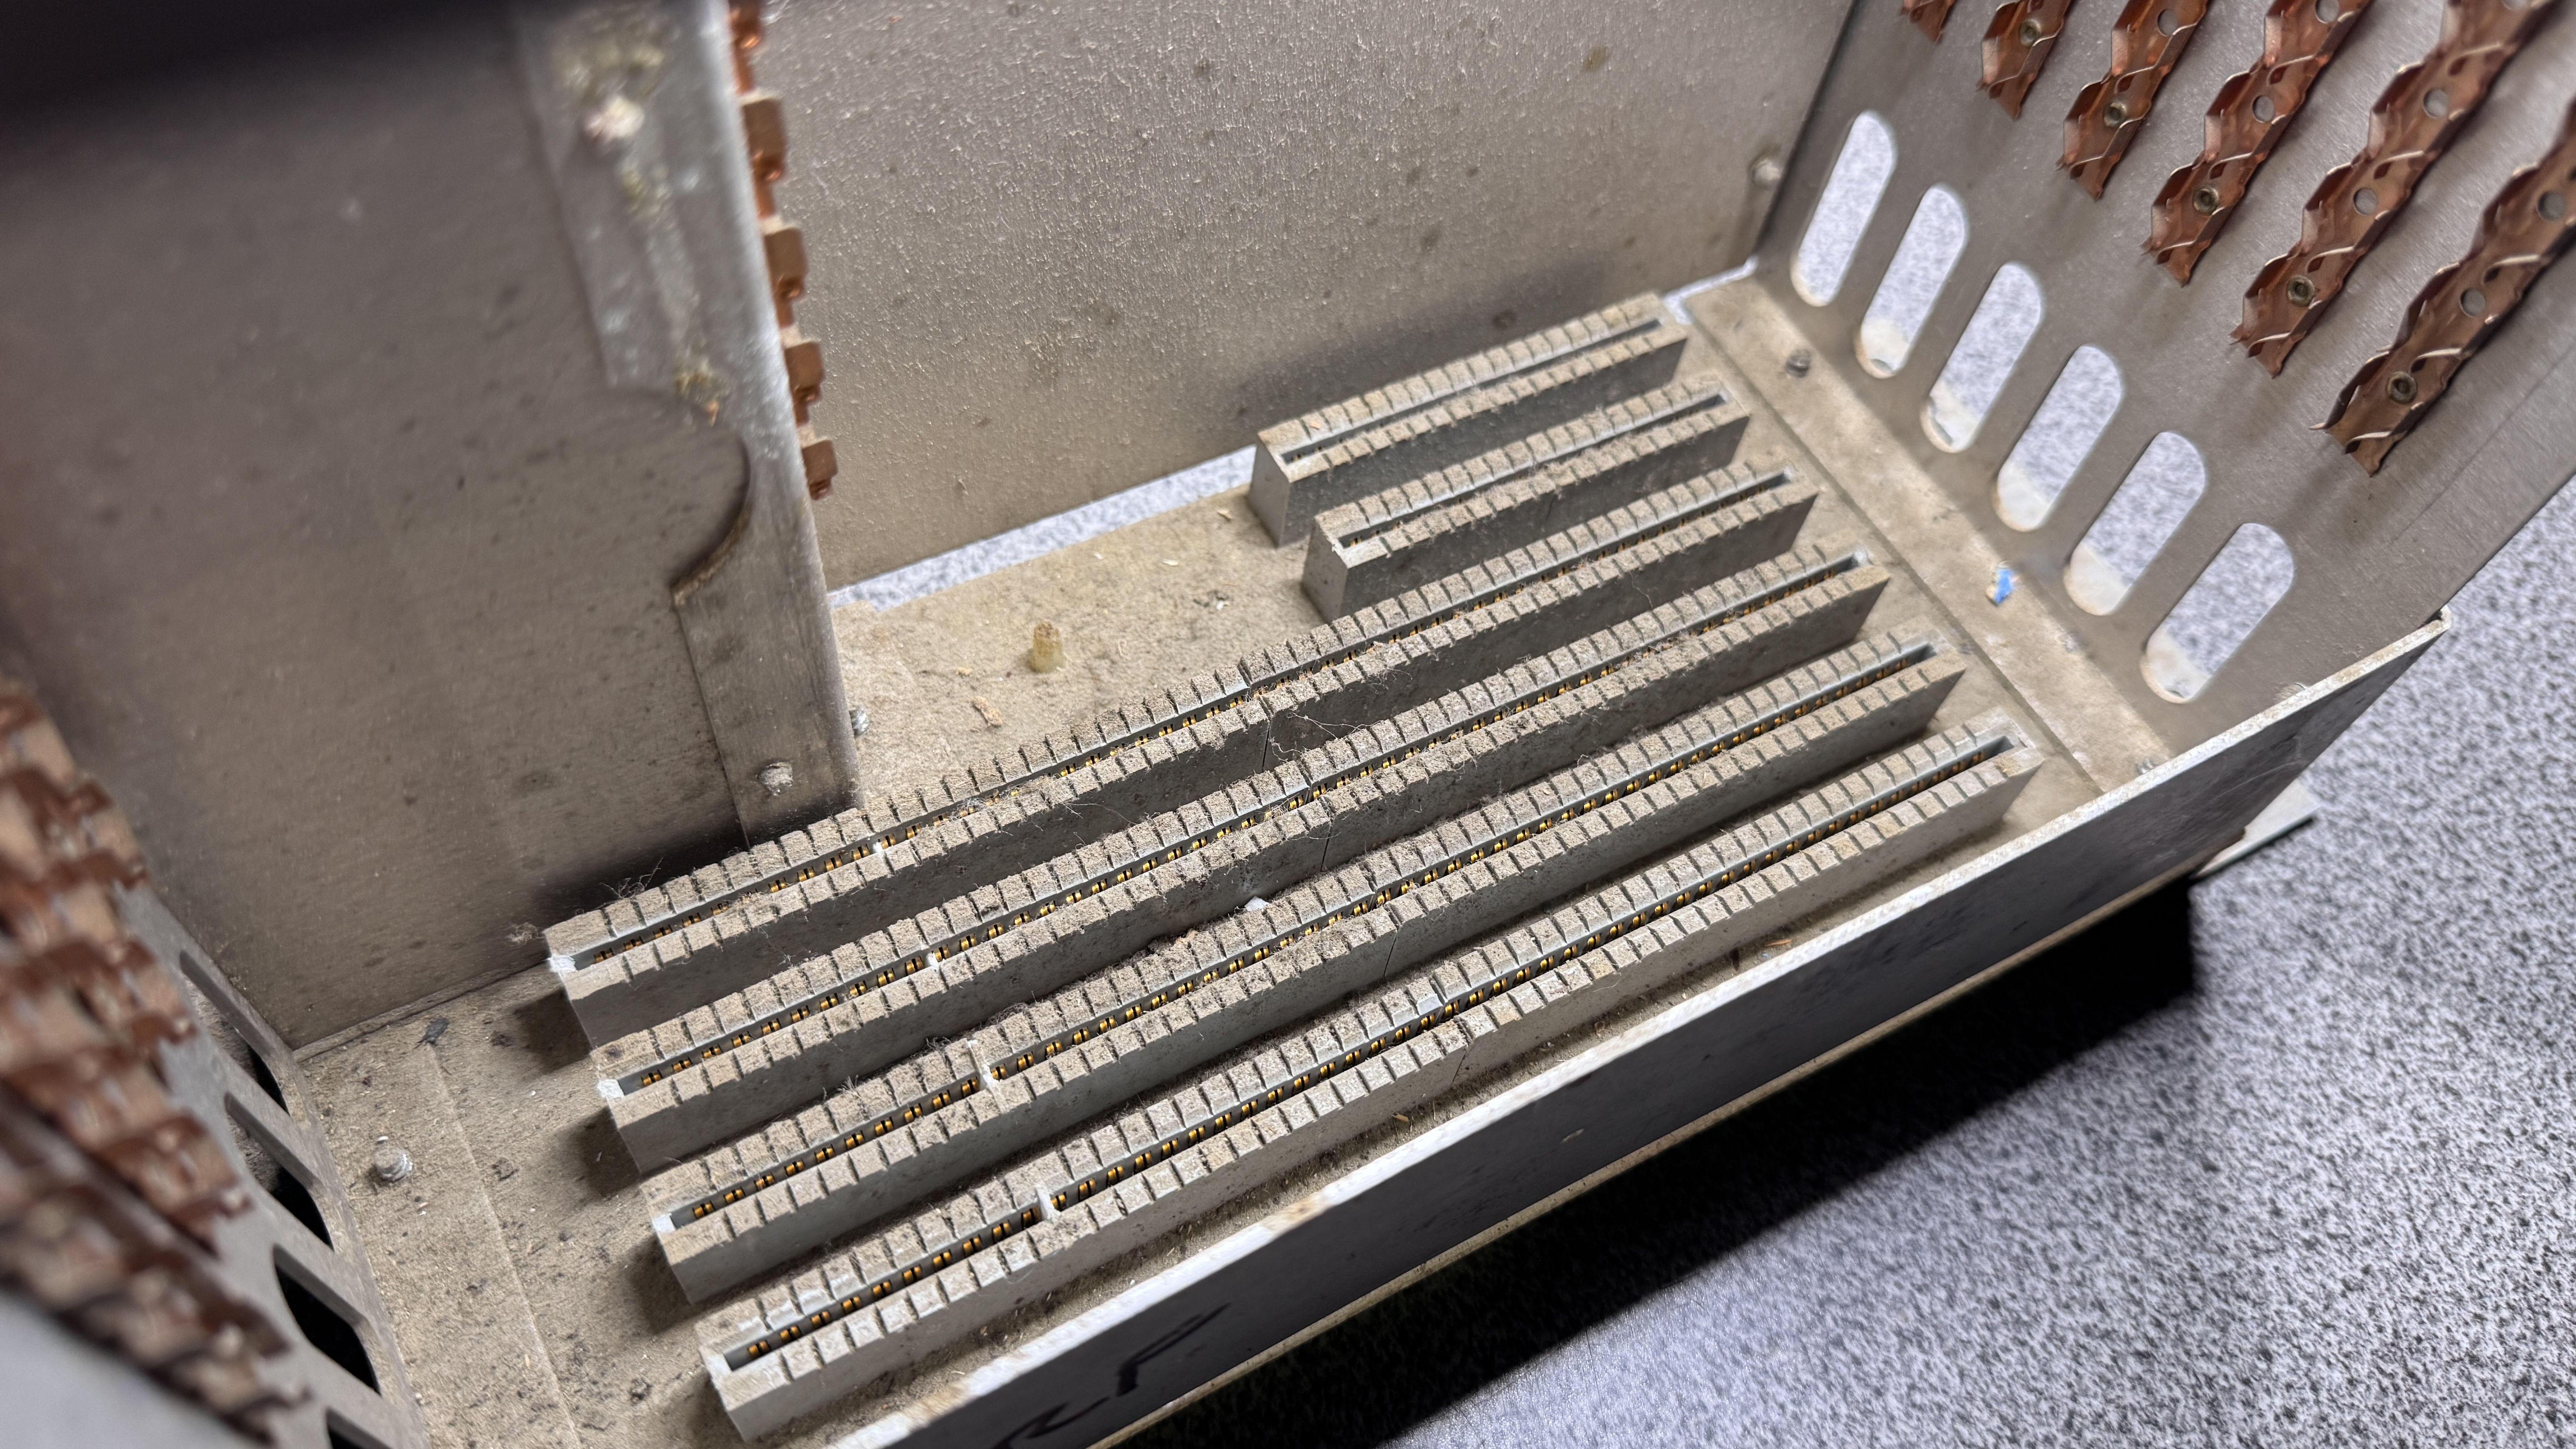
All of the cages look like this in the bottom. All got washed and dried with compressed air.
I had the luxury of Board Set #2 as working and proceeded to swap 1 board at a time of my set into the working cage.
Results – one RAM board killed everything. No video – no anything. My CPU board worked – but the colors were all blue for the most part (I was worried this was an Astrocade issue..)

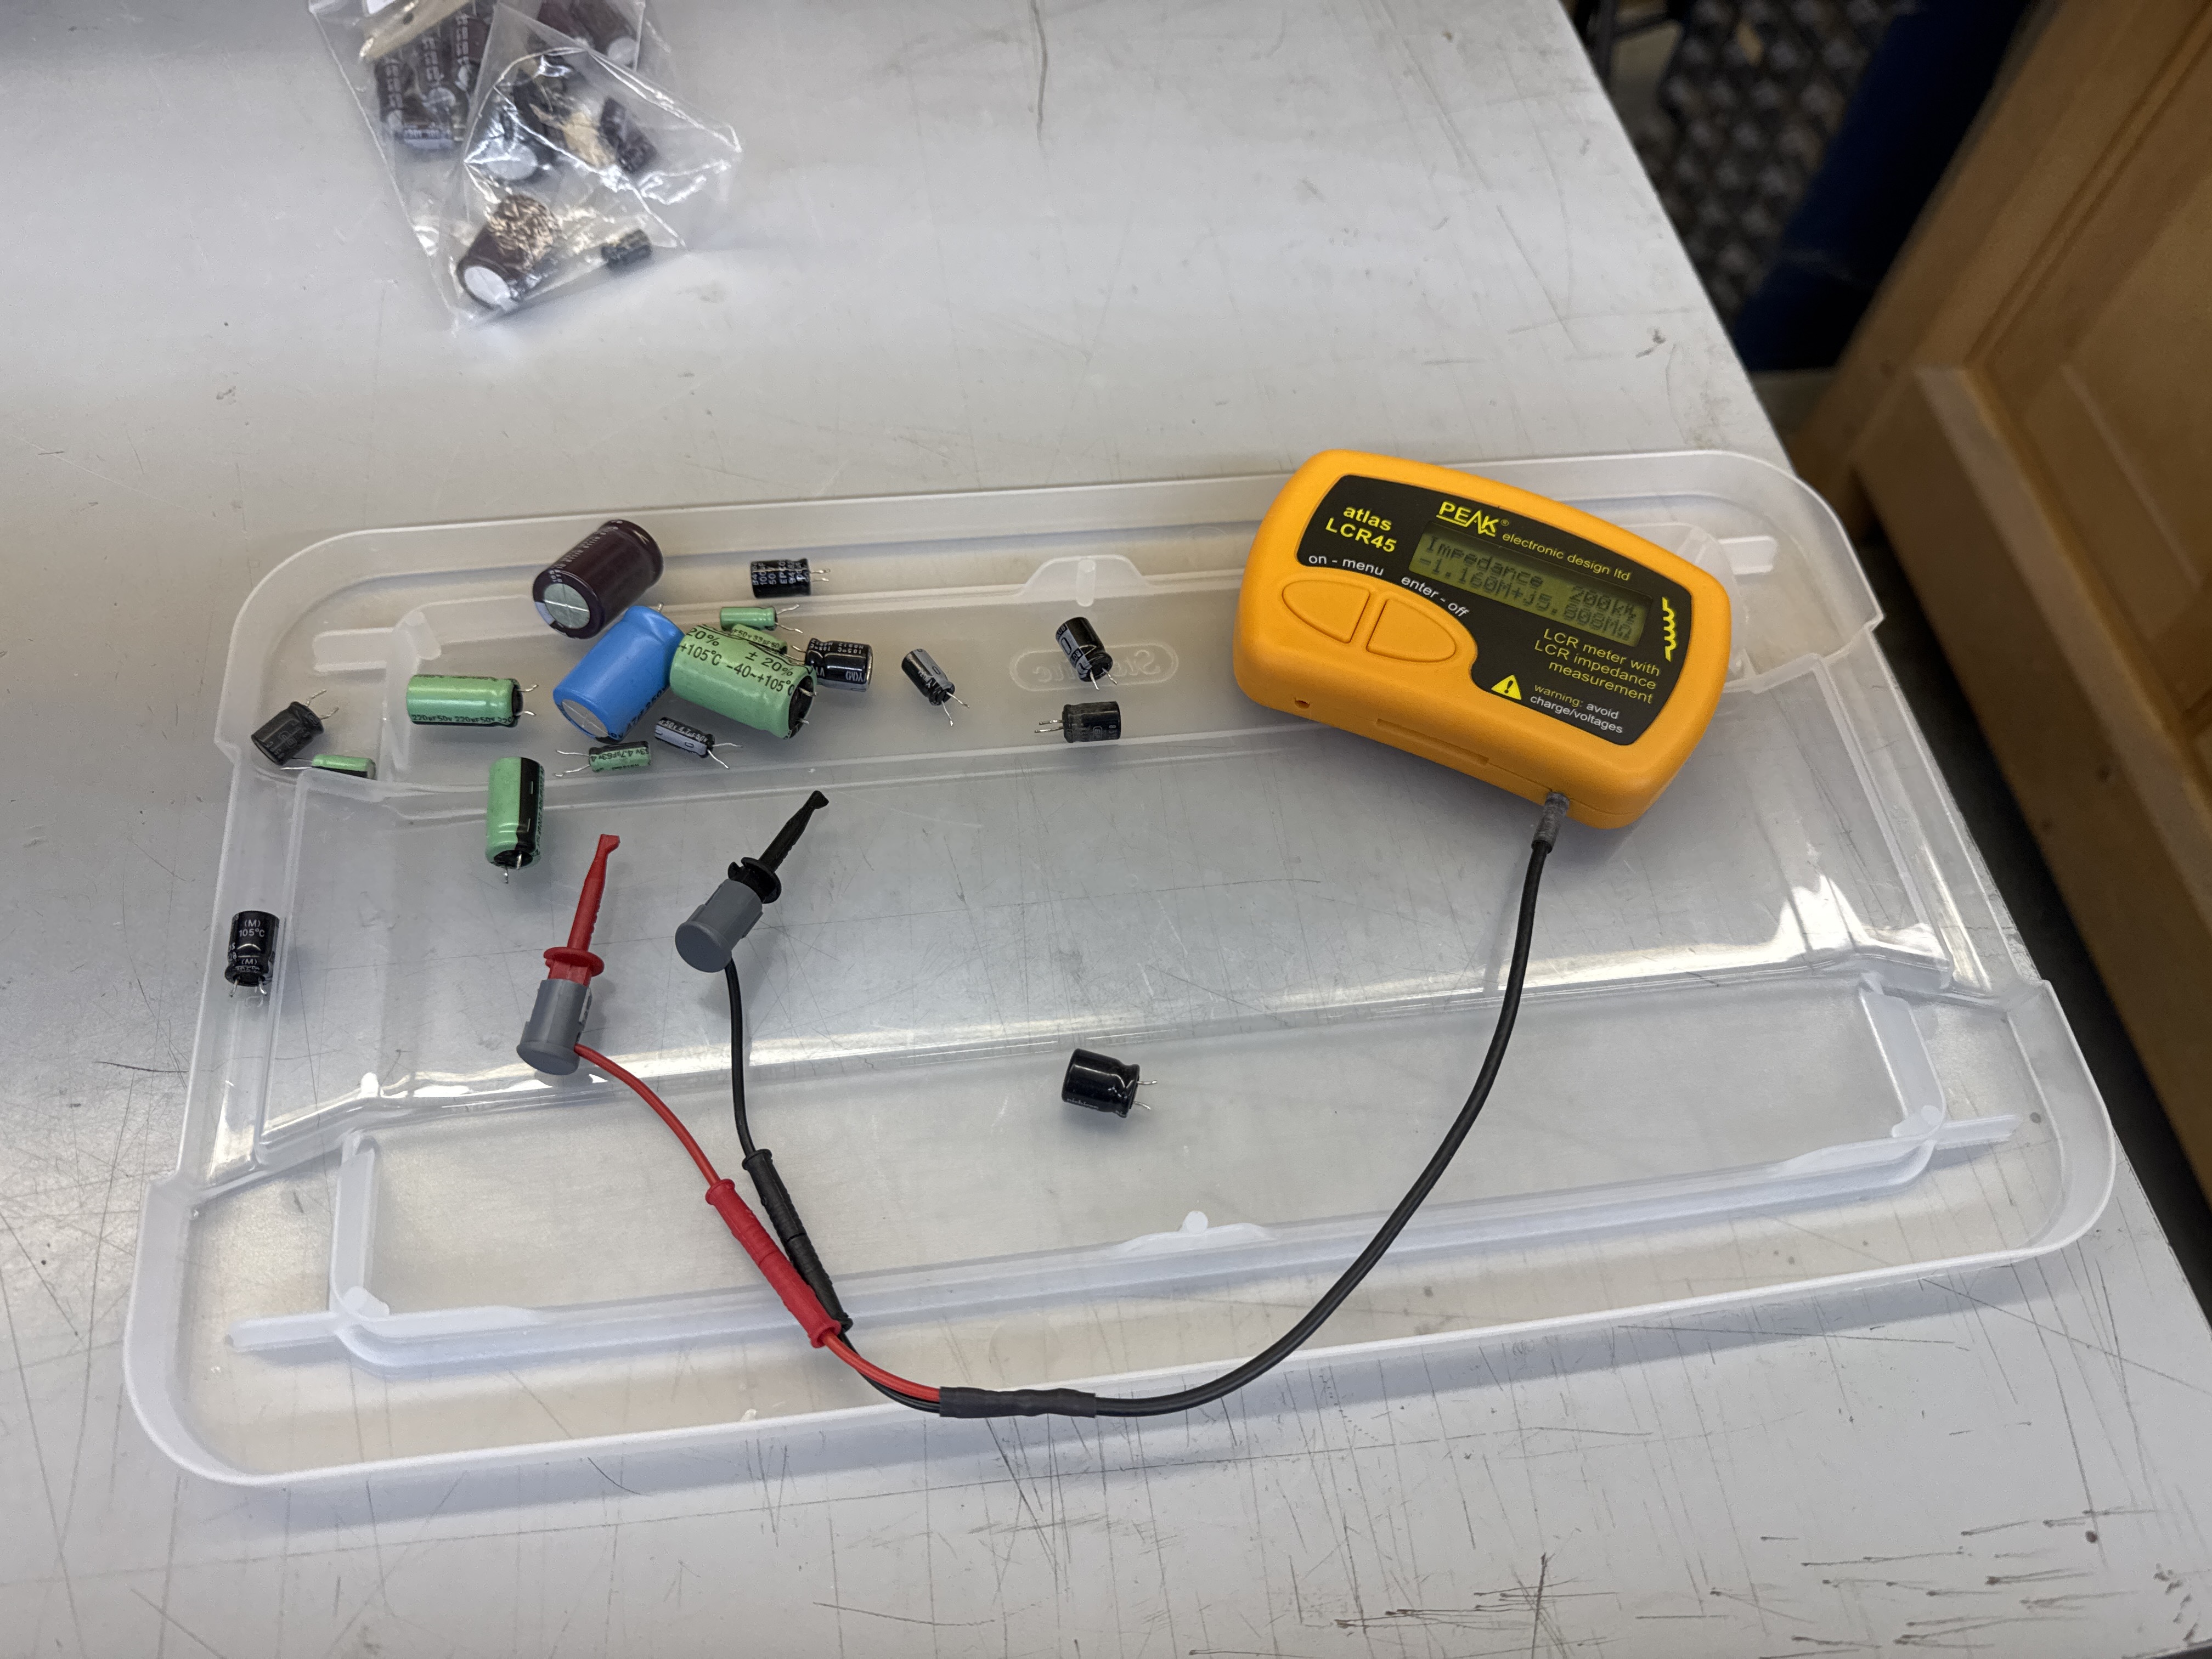
Since tantalums were a thing.. I tested all of them across all the boards – but specifically the ones carrying 12v.. Cap@C2 was shorted. Replaced it with what I had at the moment – but I want to put an axial in there when I get some ordered. RAM board fixed!
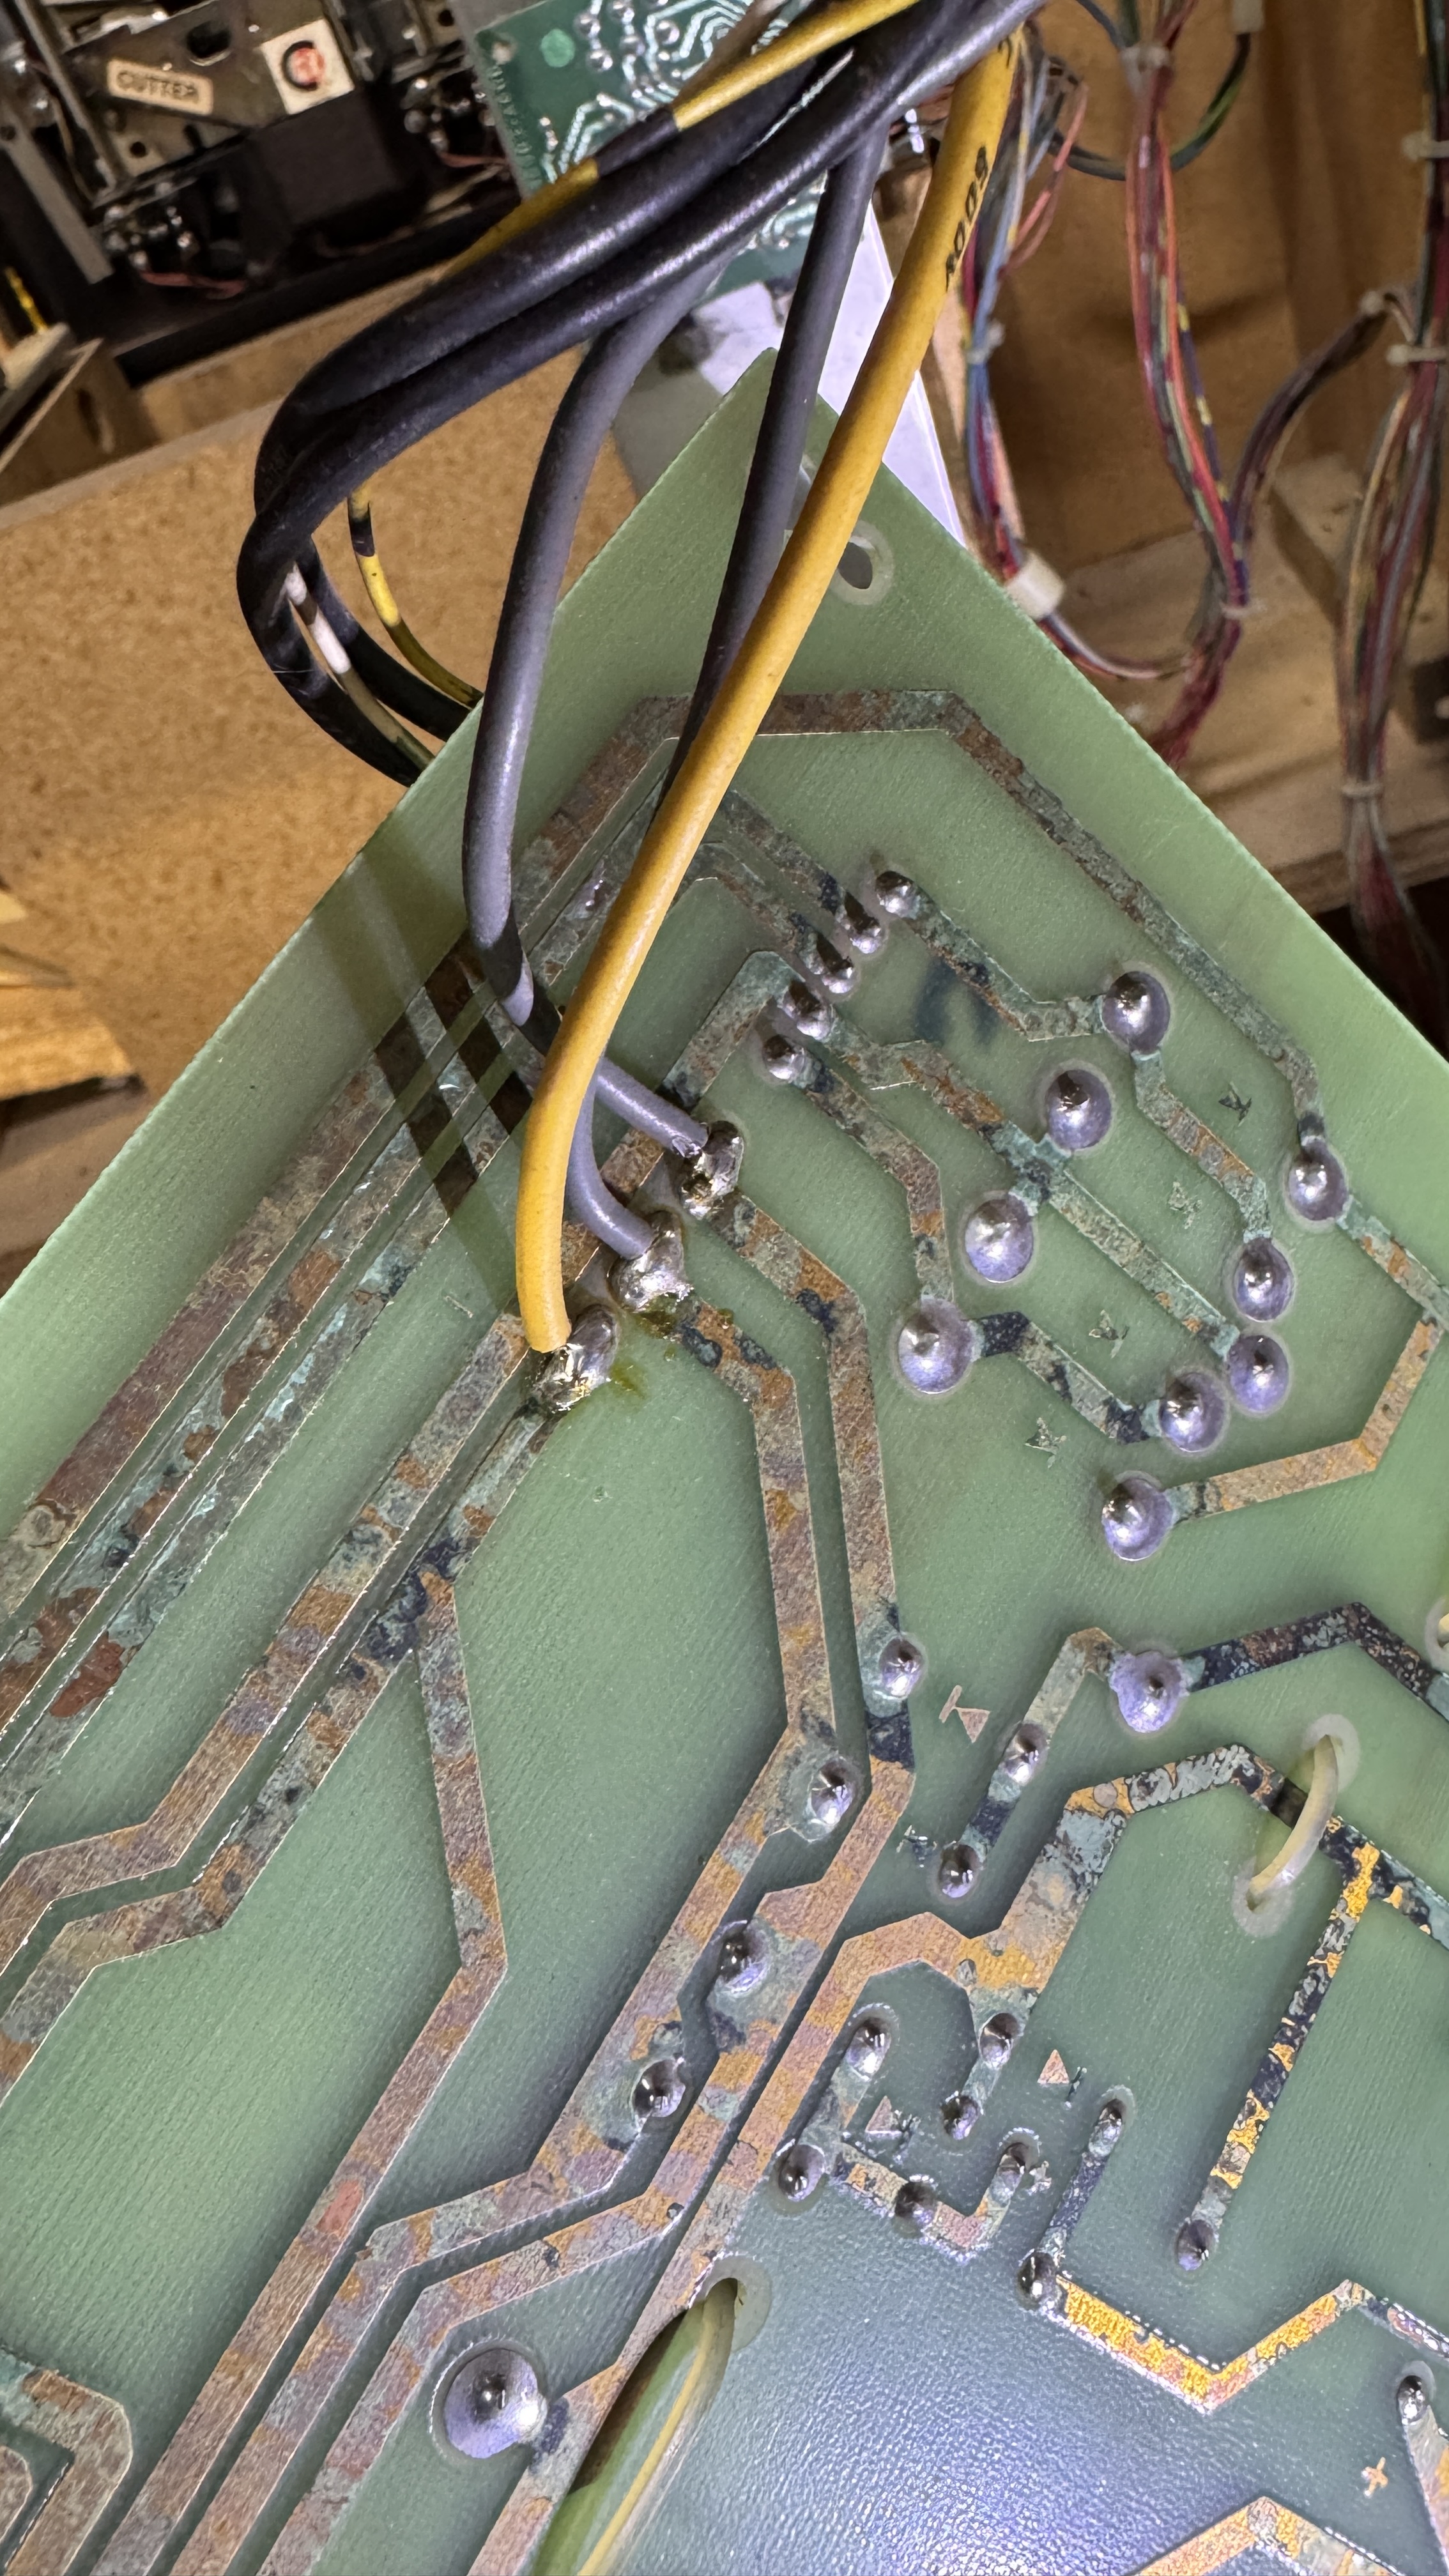
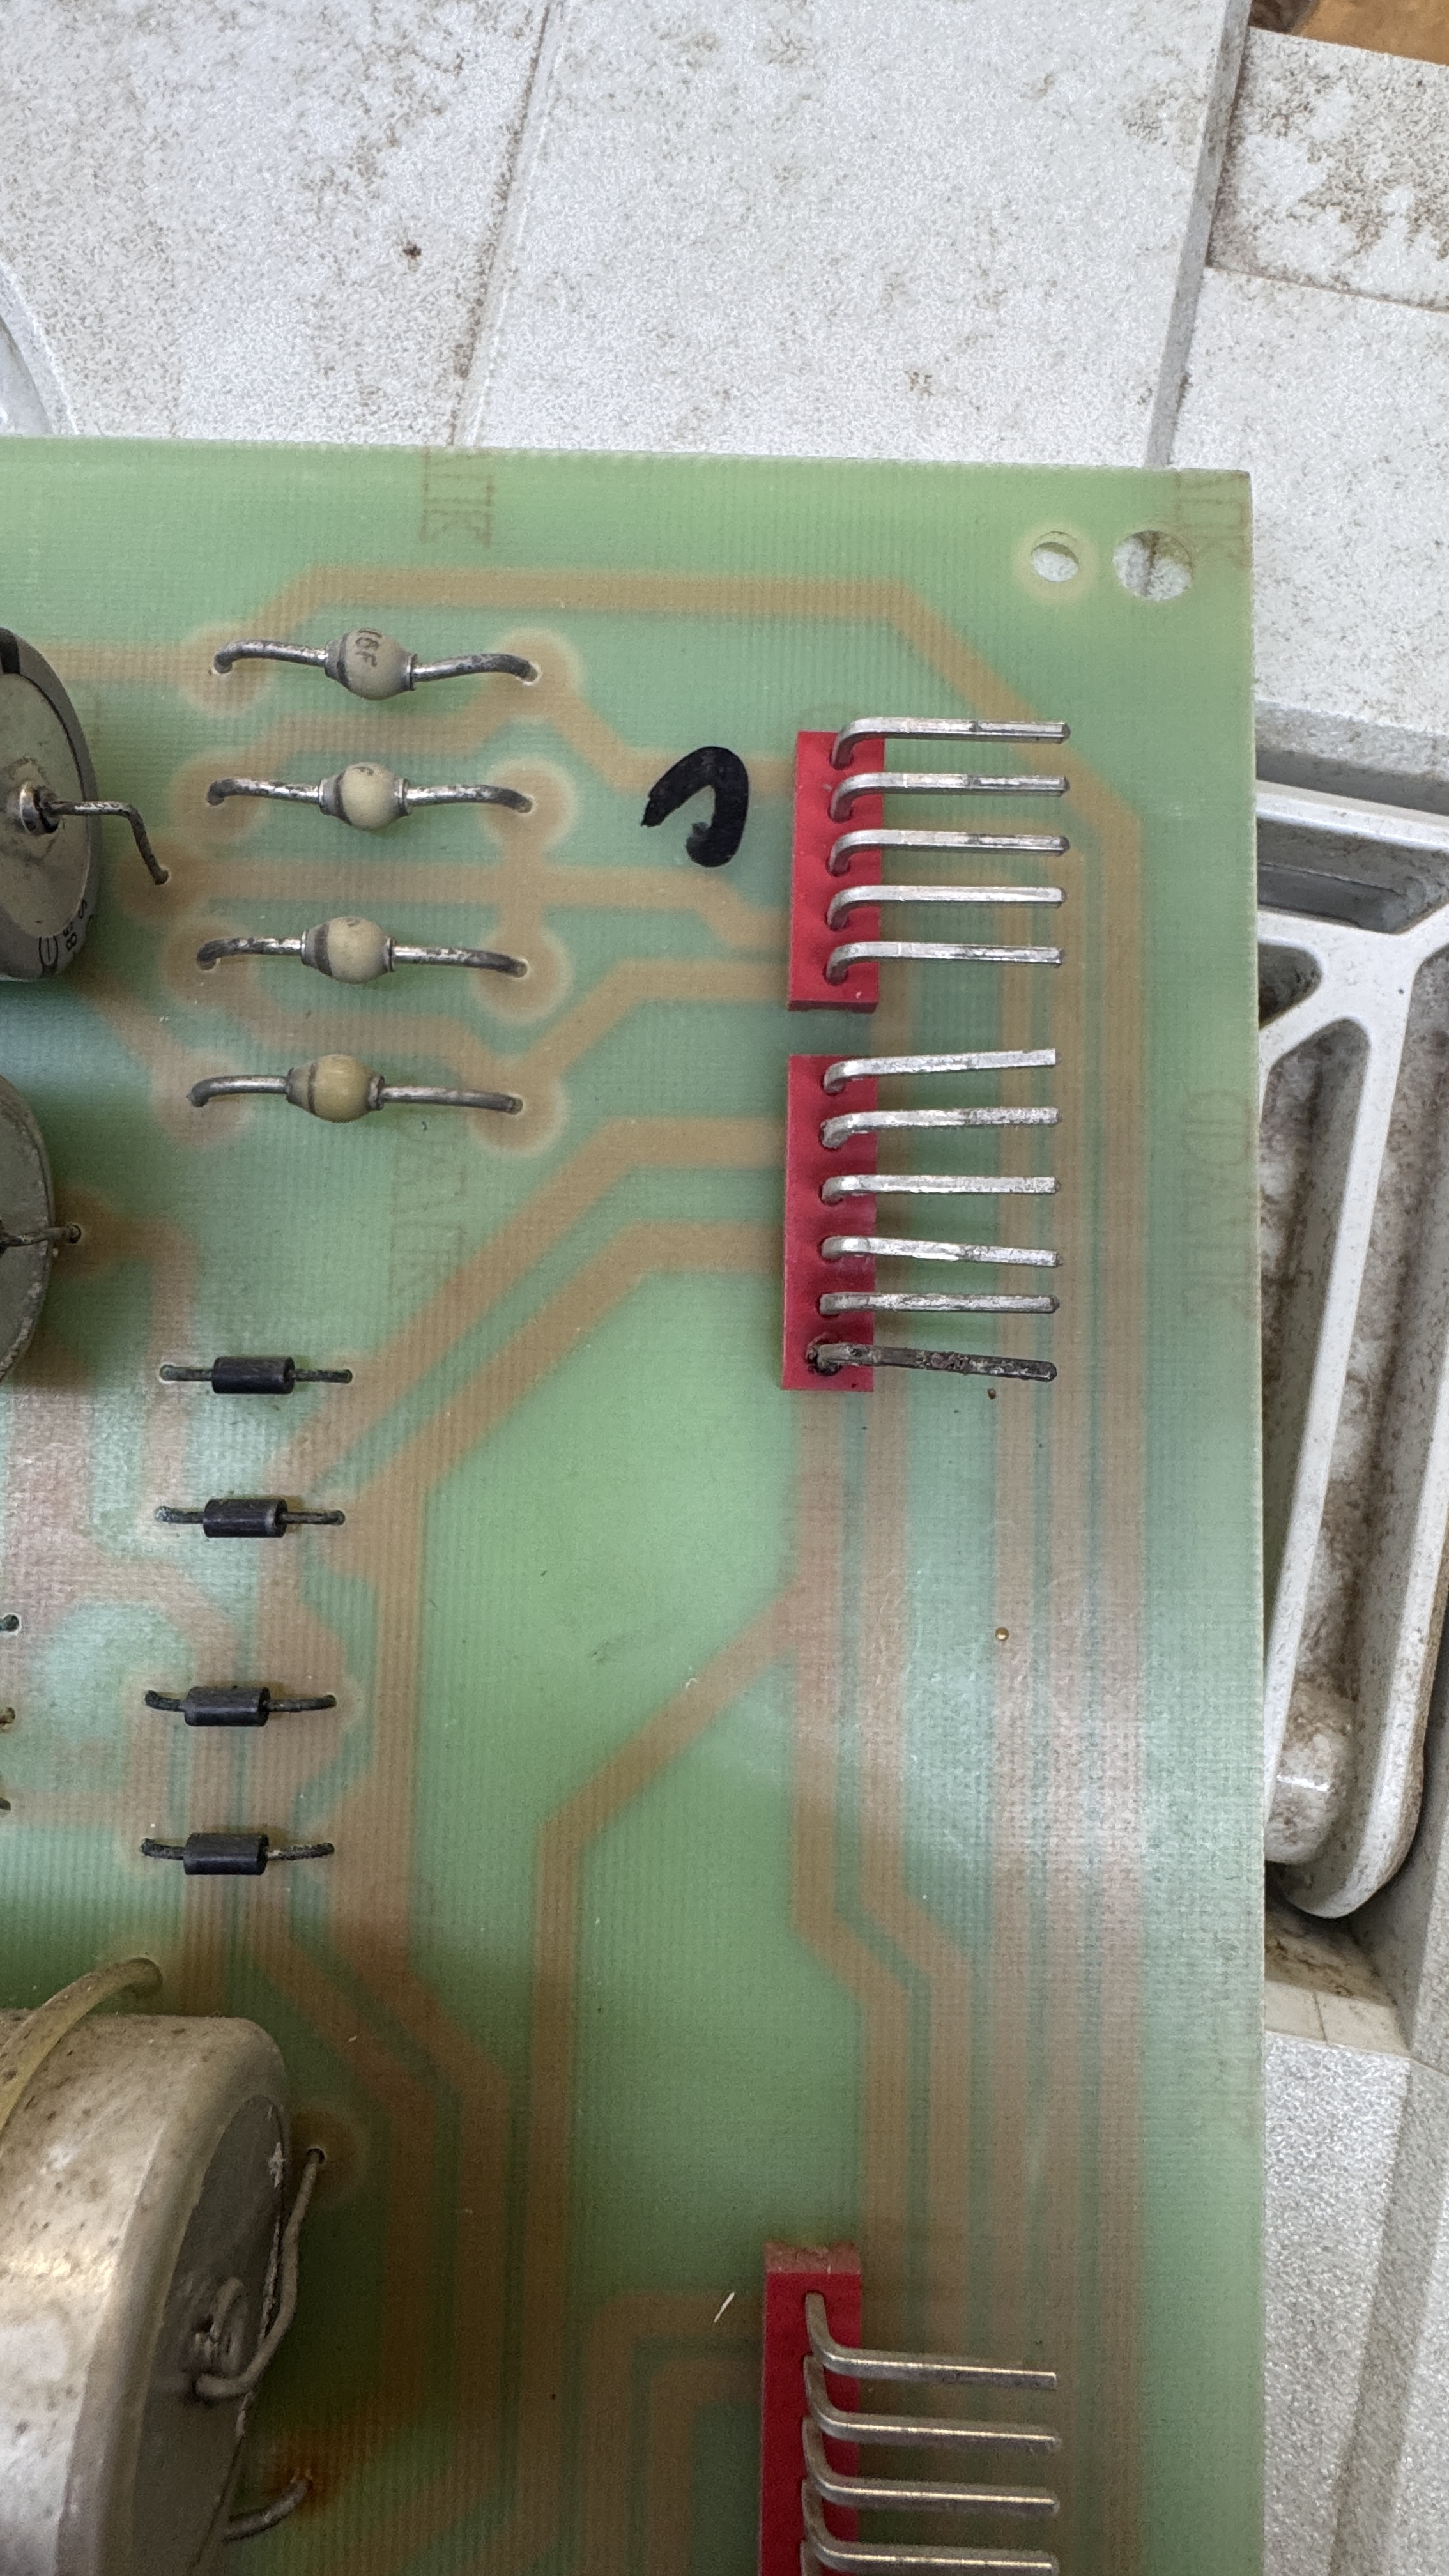
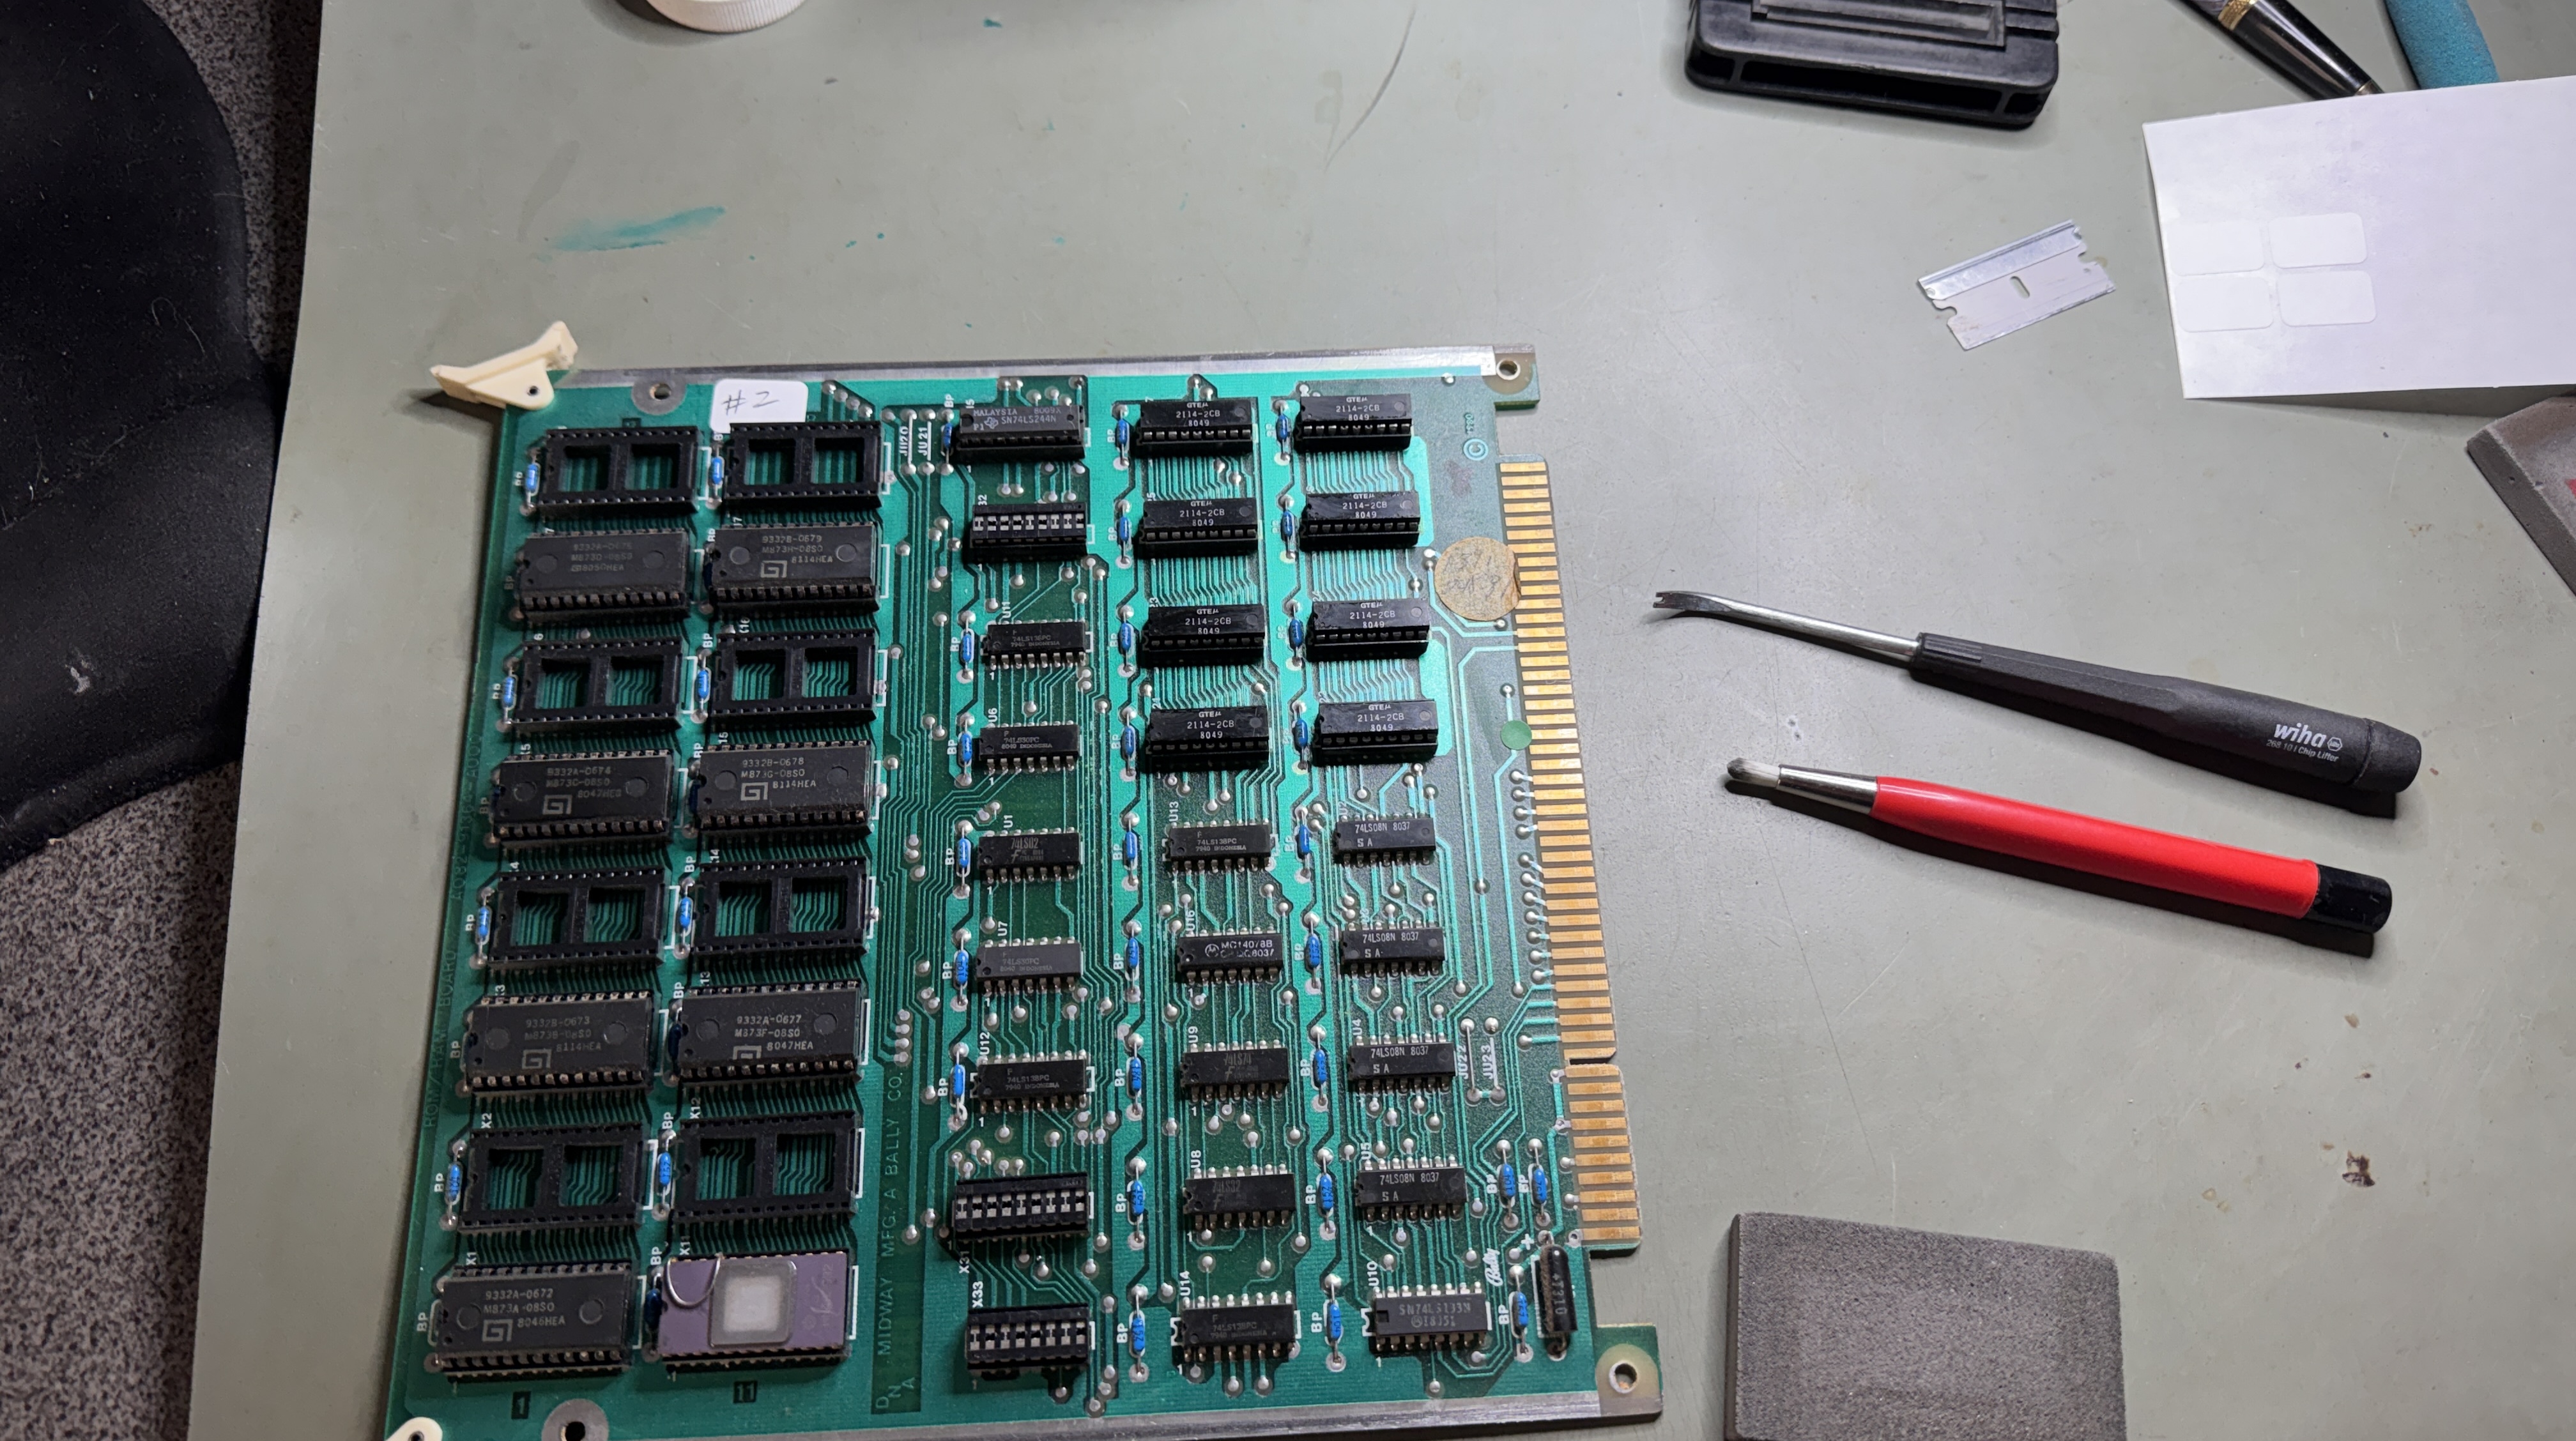
I remove, clean and Deoxit all socketed chips – I did that for my set and got lucky – when I got to the U15 Astrocade – It had a bent leg someone had folded years ago.. A mask 9332A ROM disintegrated when I cleaned it – They were all tarnished. I burned a 2532 – no issues with using it.
Boards work!
Board #2 – Sent in for repair
This was actually the first set I opened up. I had not built bench adapters yet. The set got cleaned and chip legs cleaned.
A fair amount of board Tetris happened to find one set of working boards, I also chip cleaned them.
This issue turned out to be a bad RAM and that board moved to the #3 set. I made this set a fully working set with all of the good boards from #2, #3.
Board #3 – Sent in for repair
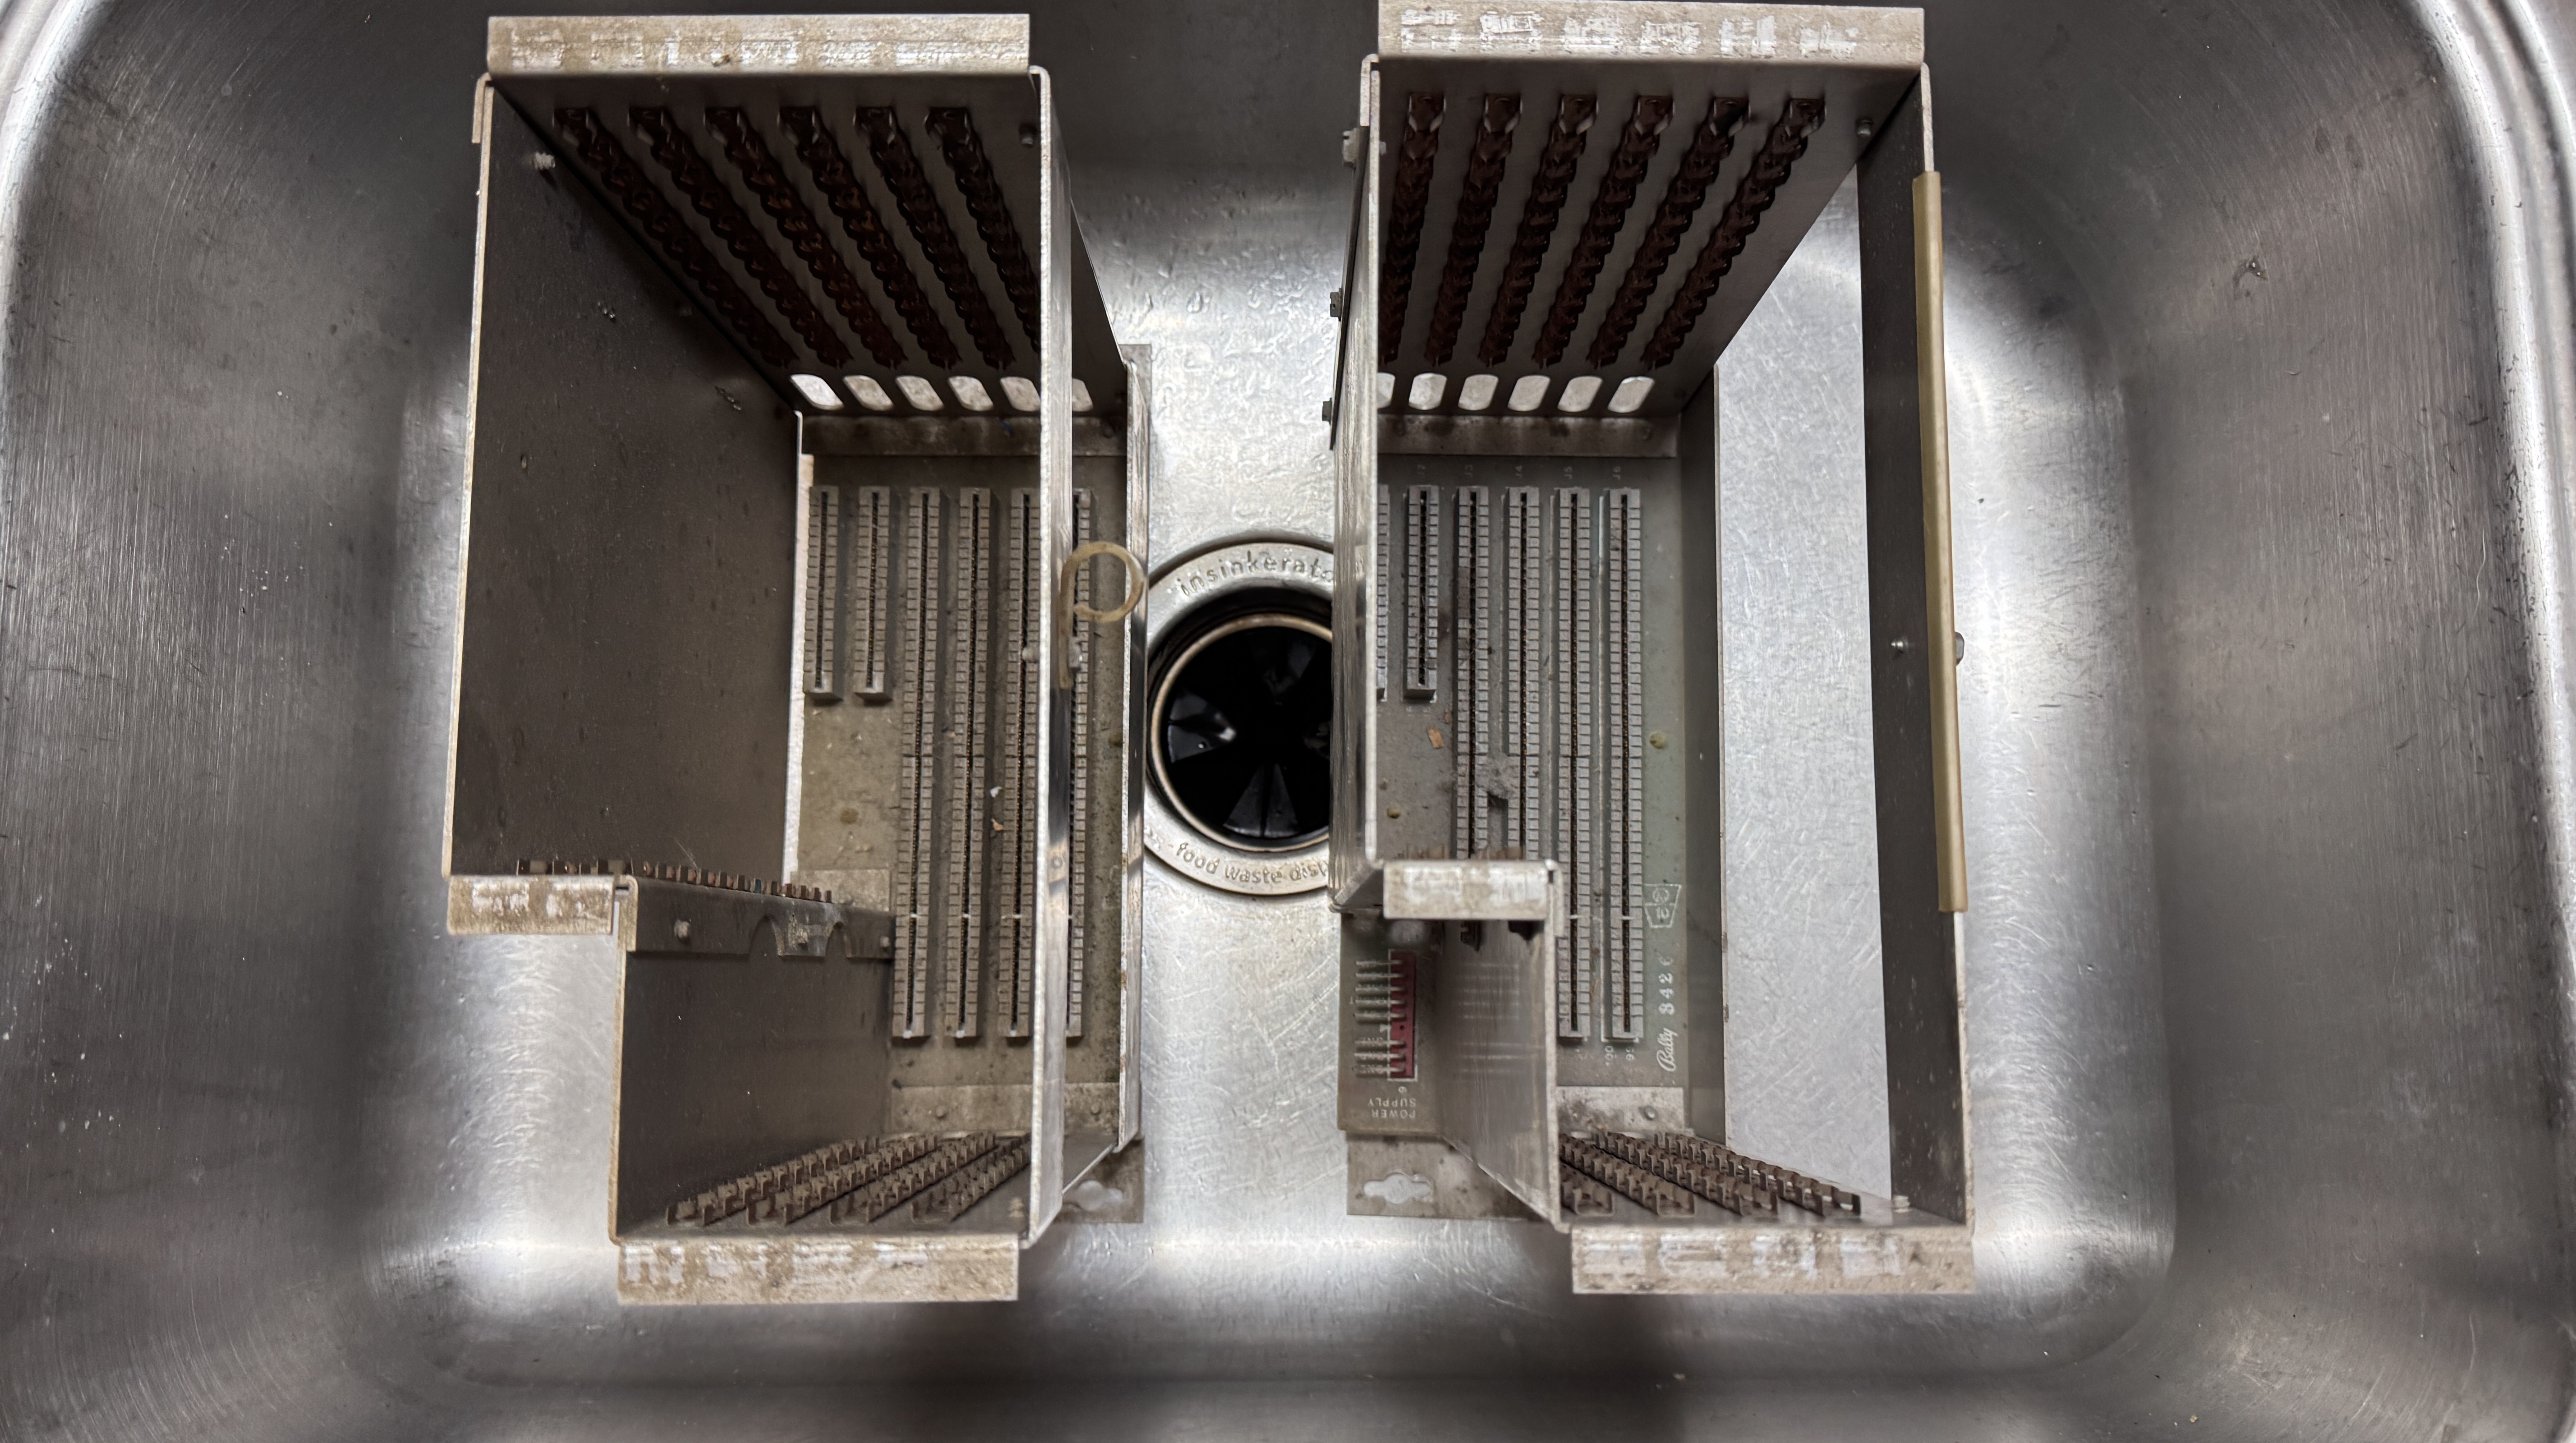
More cage washing..
This set got the non-working or “not sure” cards from set #2. Together they did nothing. Swapping cards around:
- CPU Card – no video
- One RAM card – issues
- ROM board – Broken chip legs
Many of the ROMs were mask ROMs with tarnished silver legs. Cleaning them broke 2 ROMs. Burned replacements.
One of the RAM cards caused the bad video from above. I planned on using the FPGA Catbox to do some testing, but wanted to try the Test Roms (thank you @HudsonArcade). Found a bad RAM@U14 on one of the cards and replaced it.
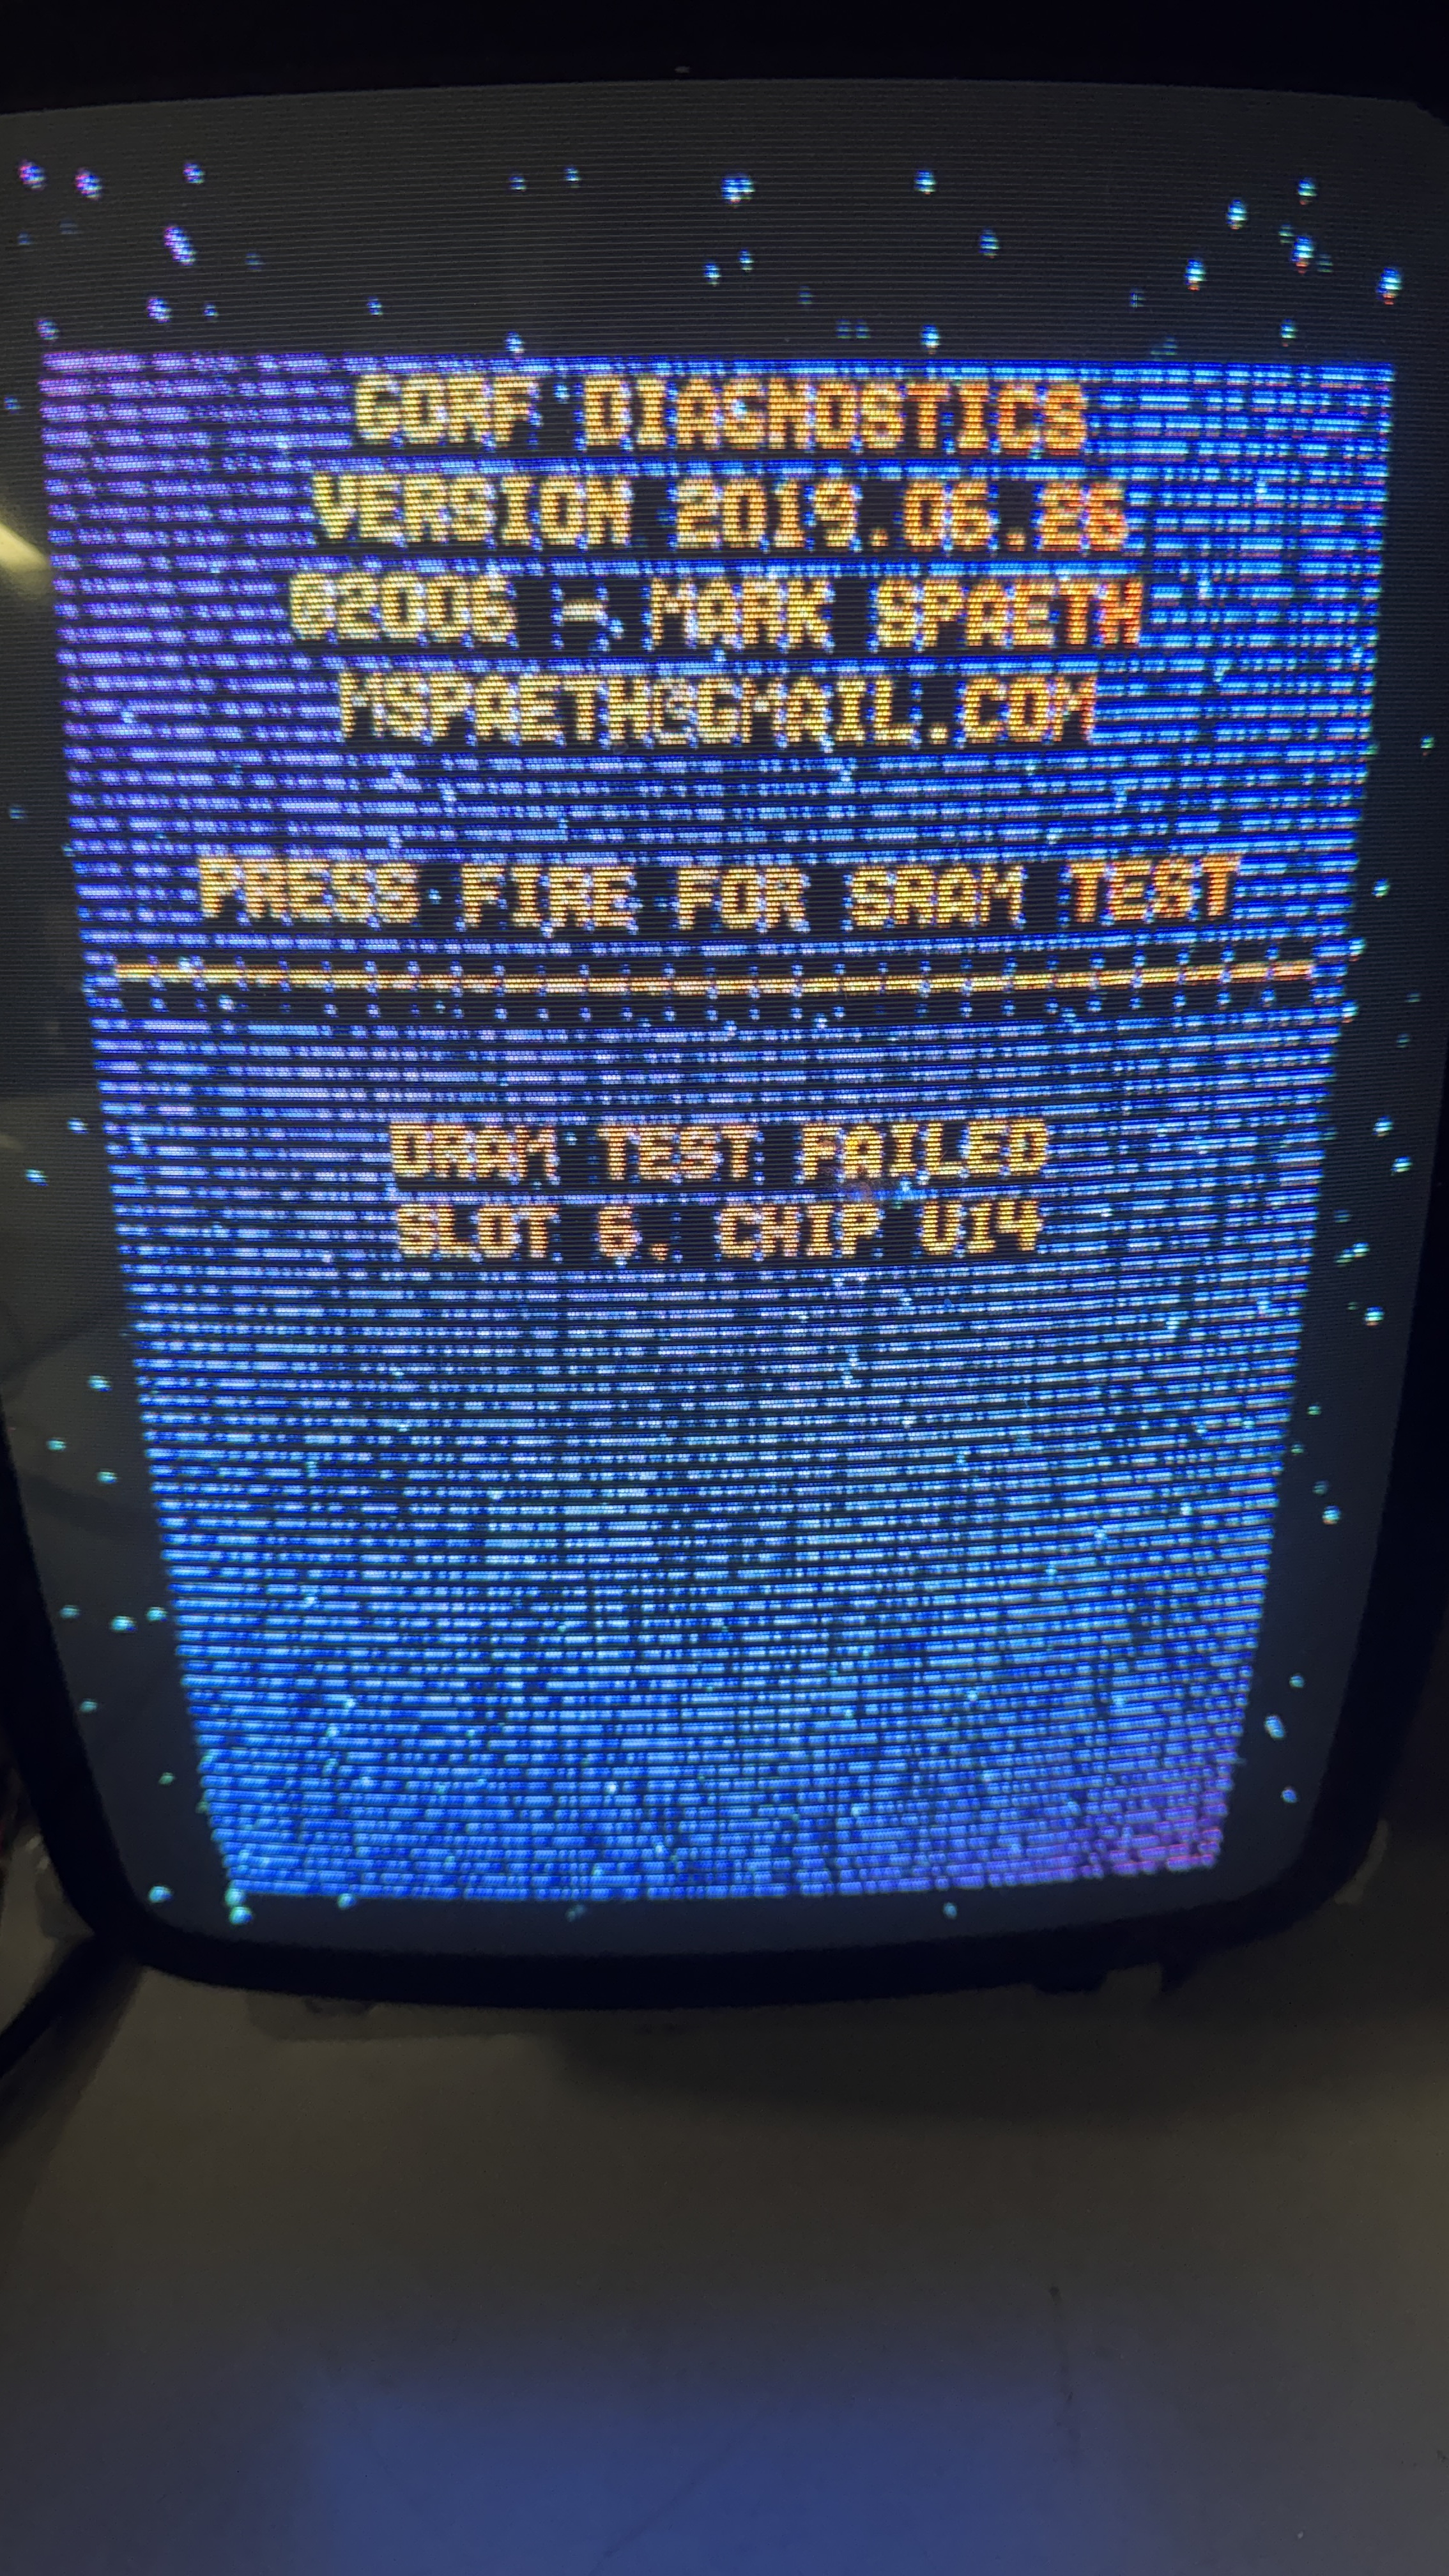
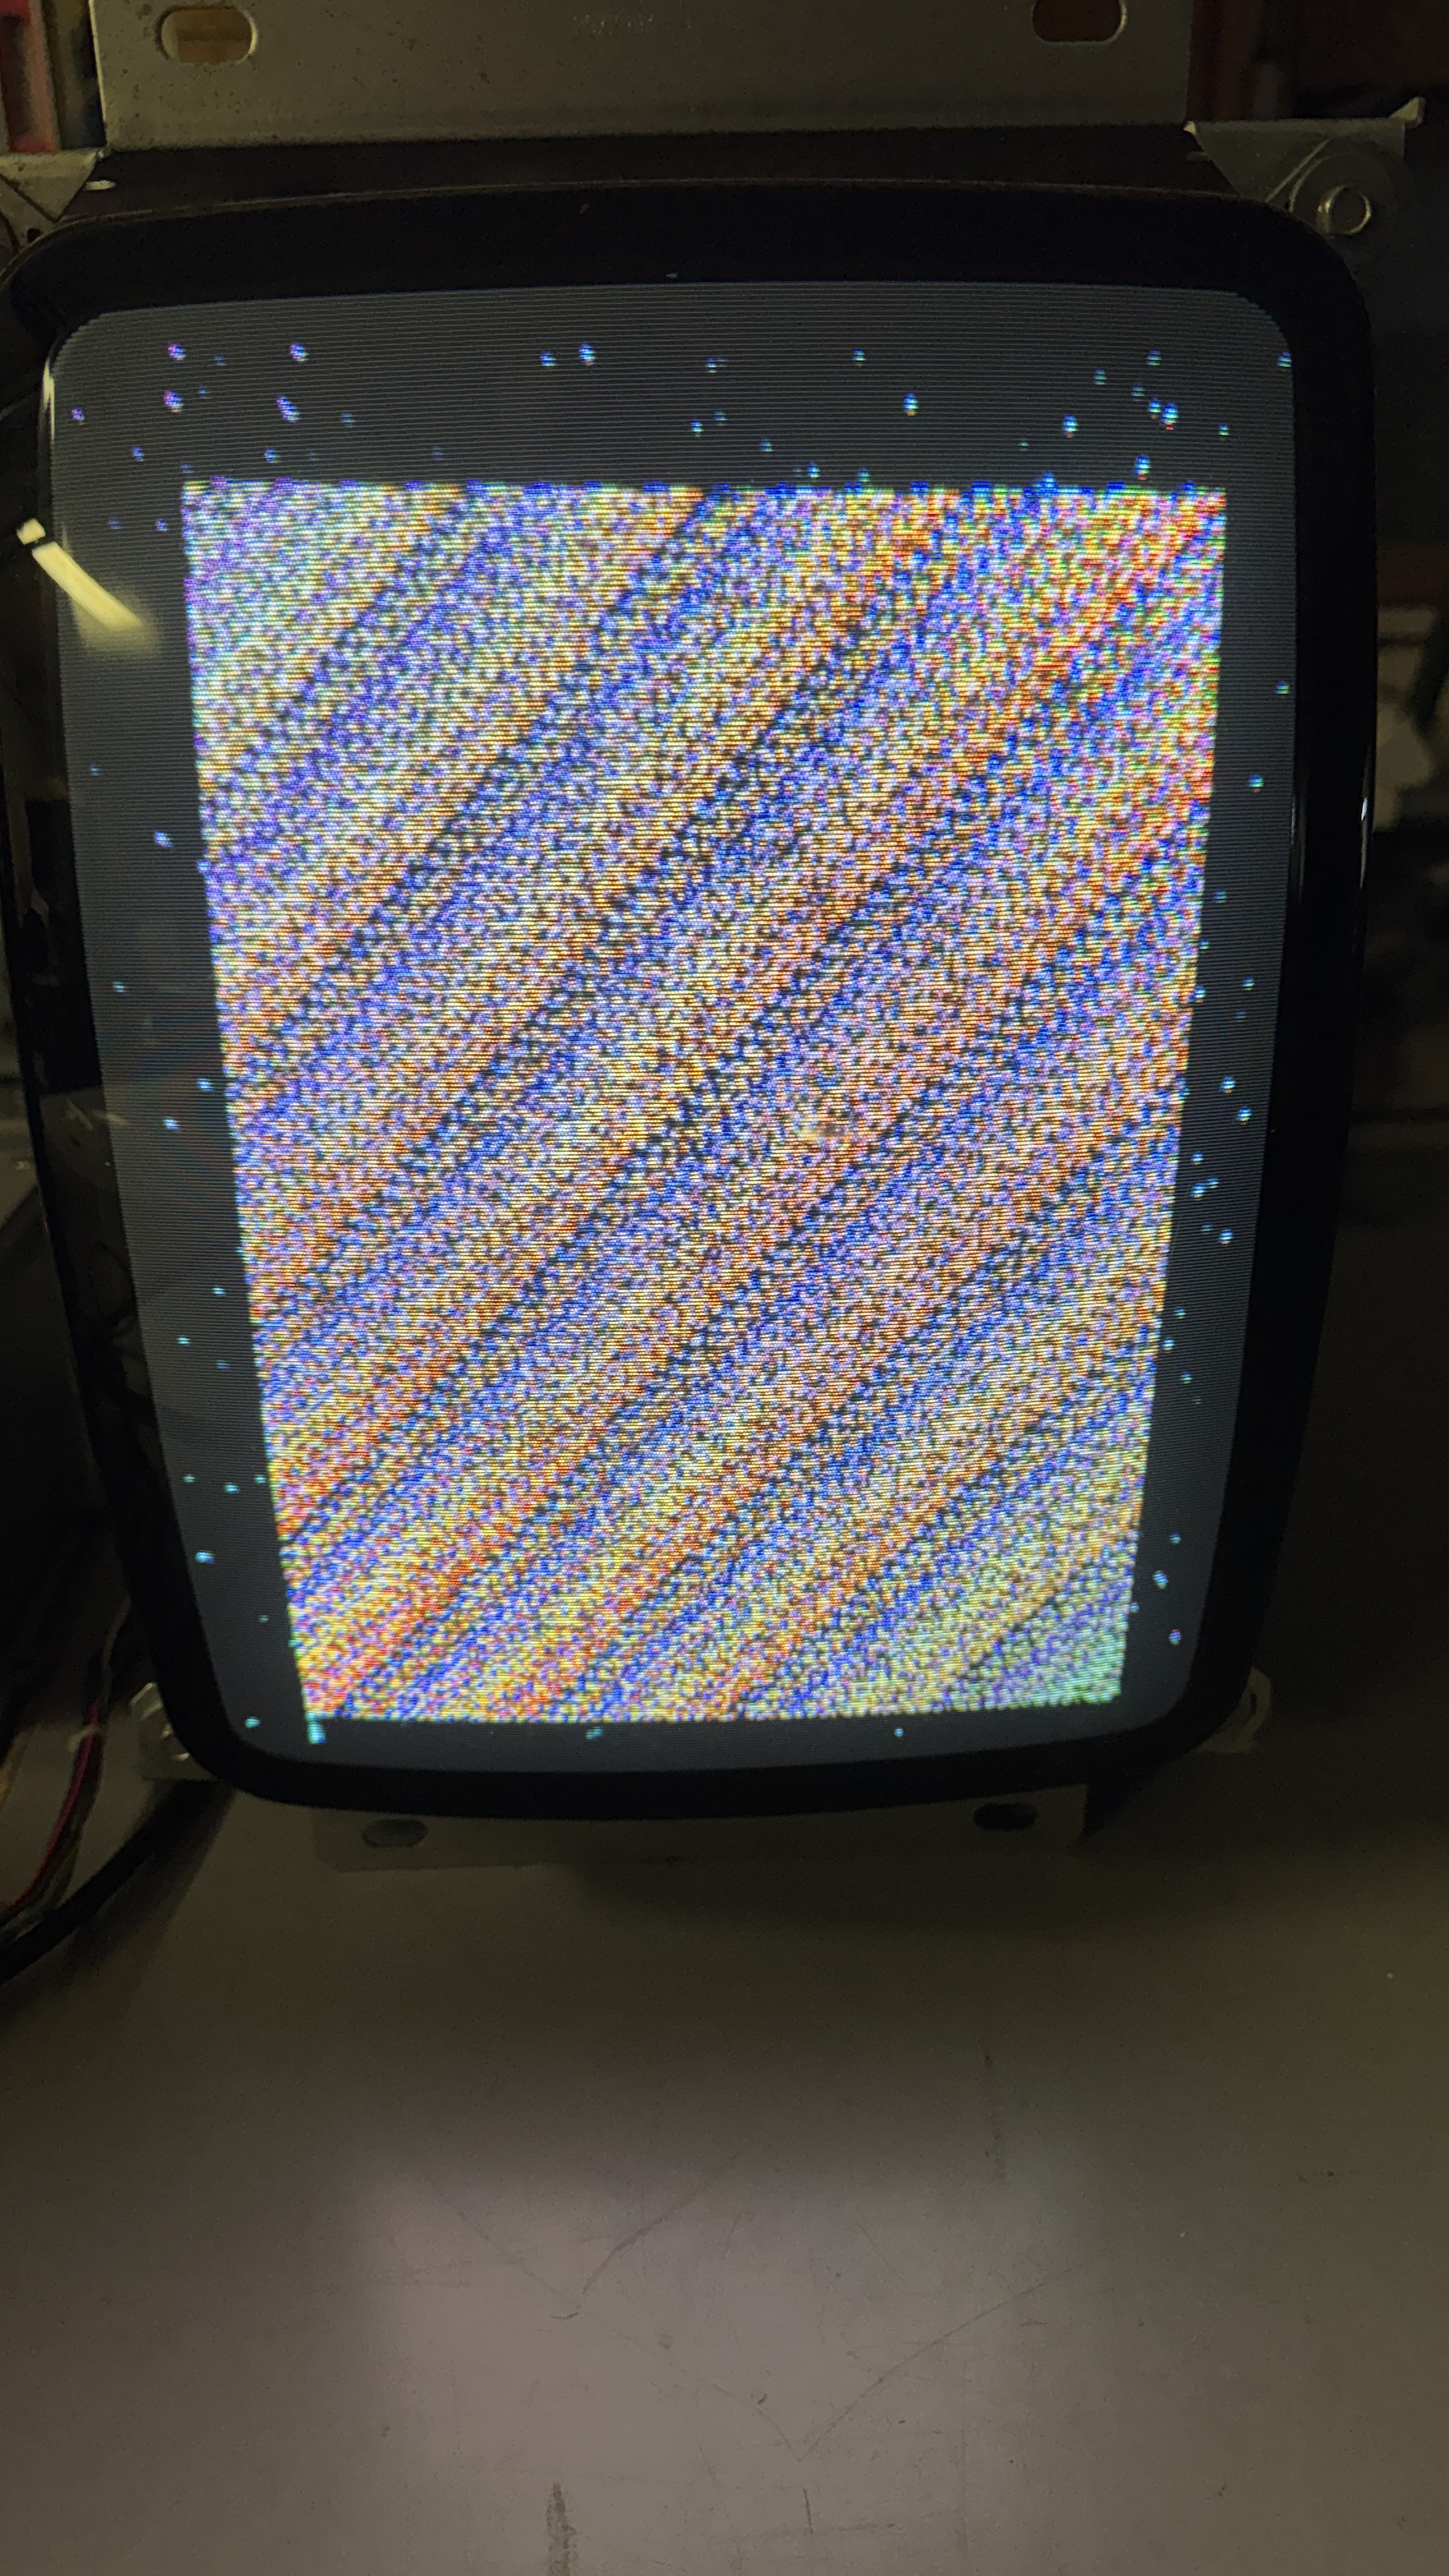
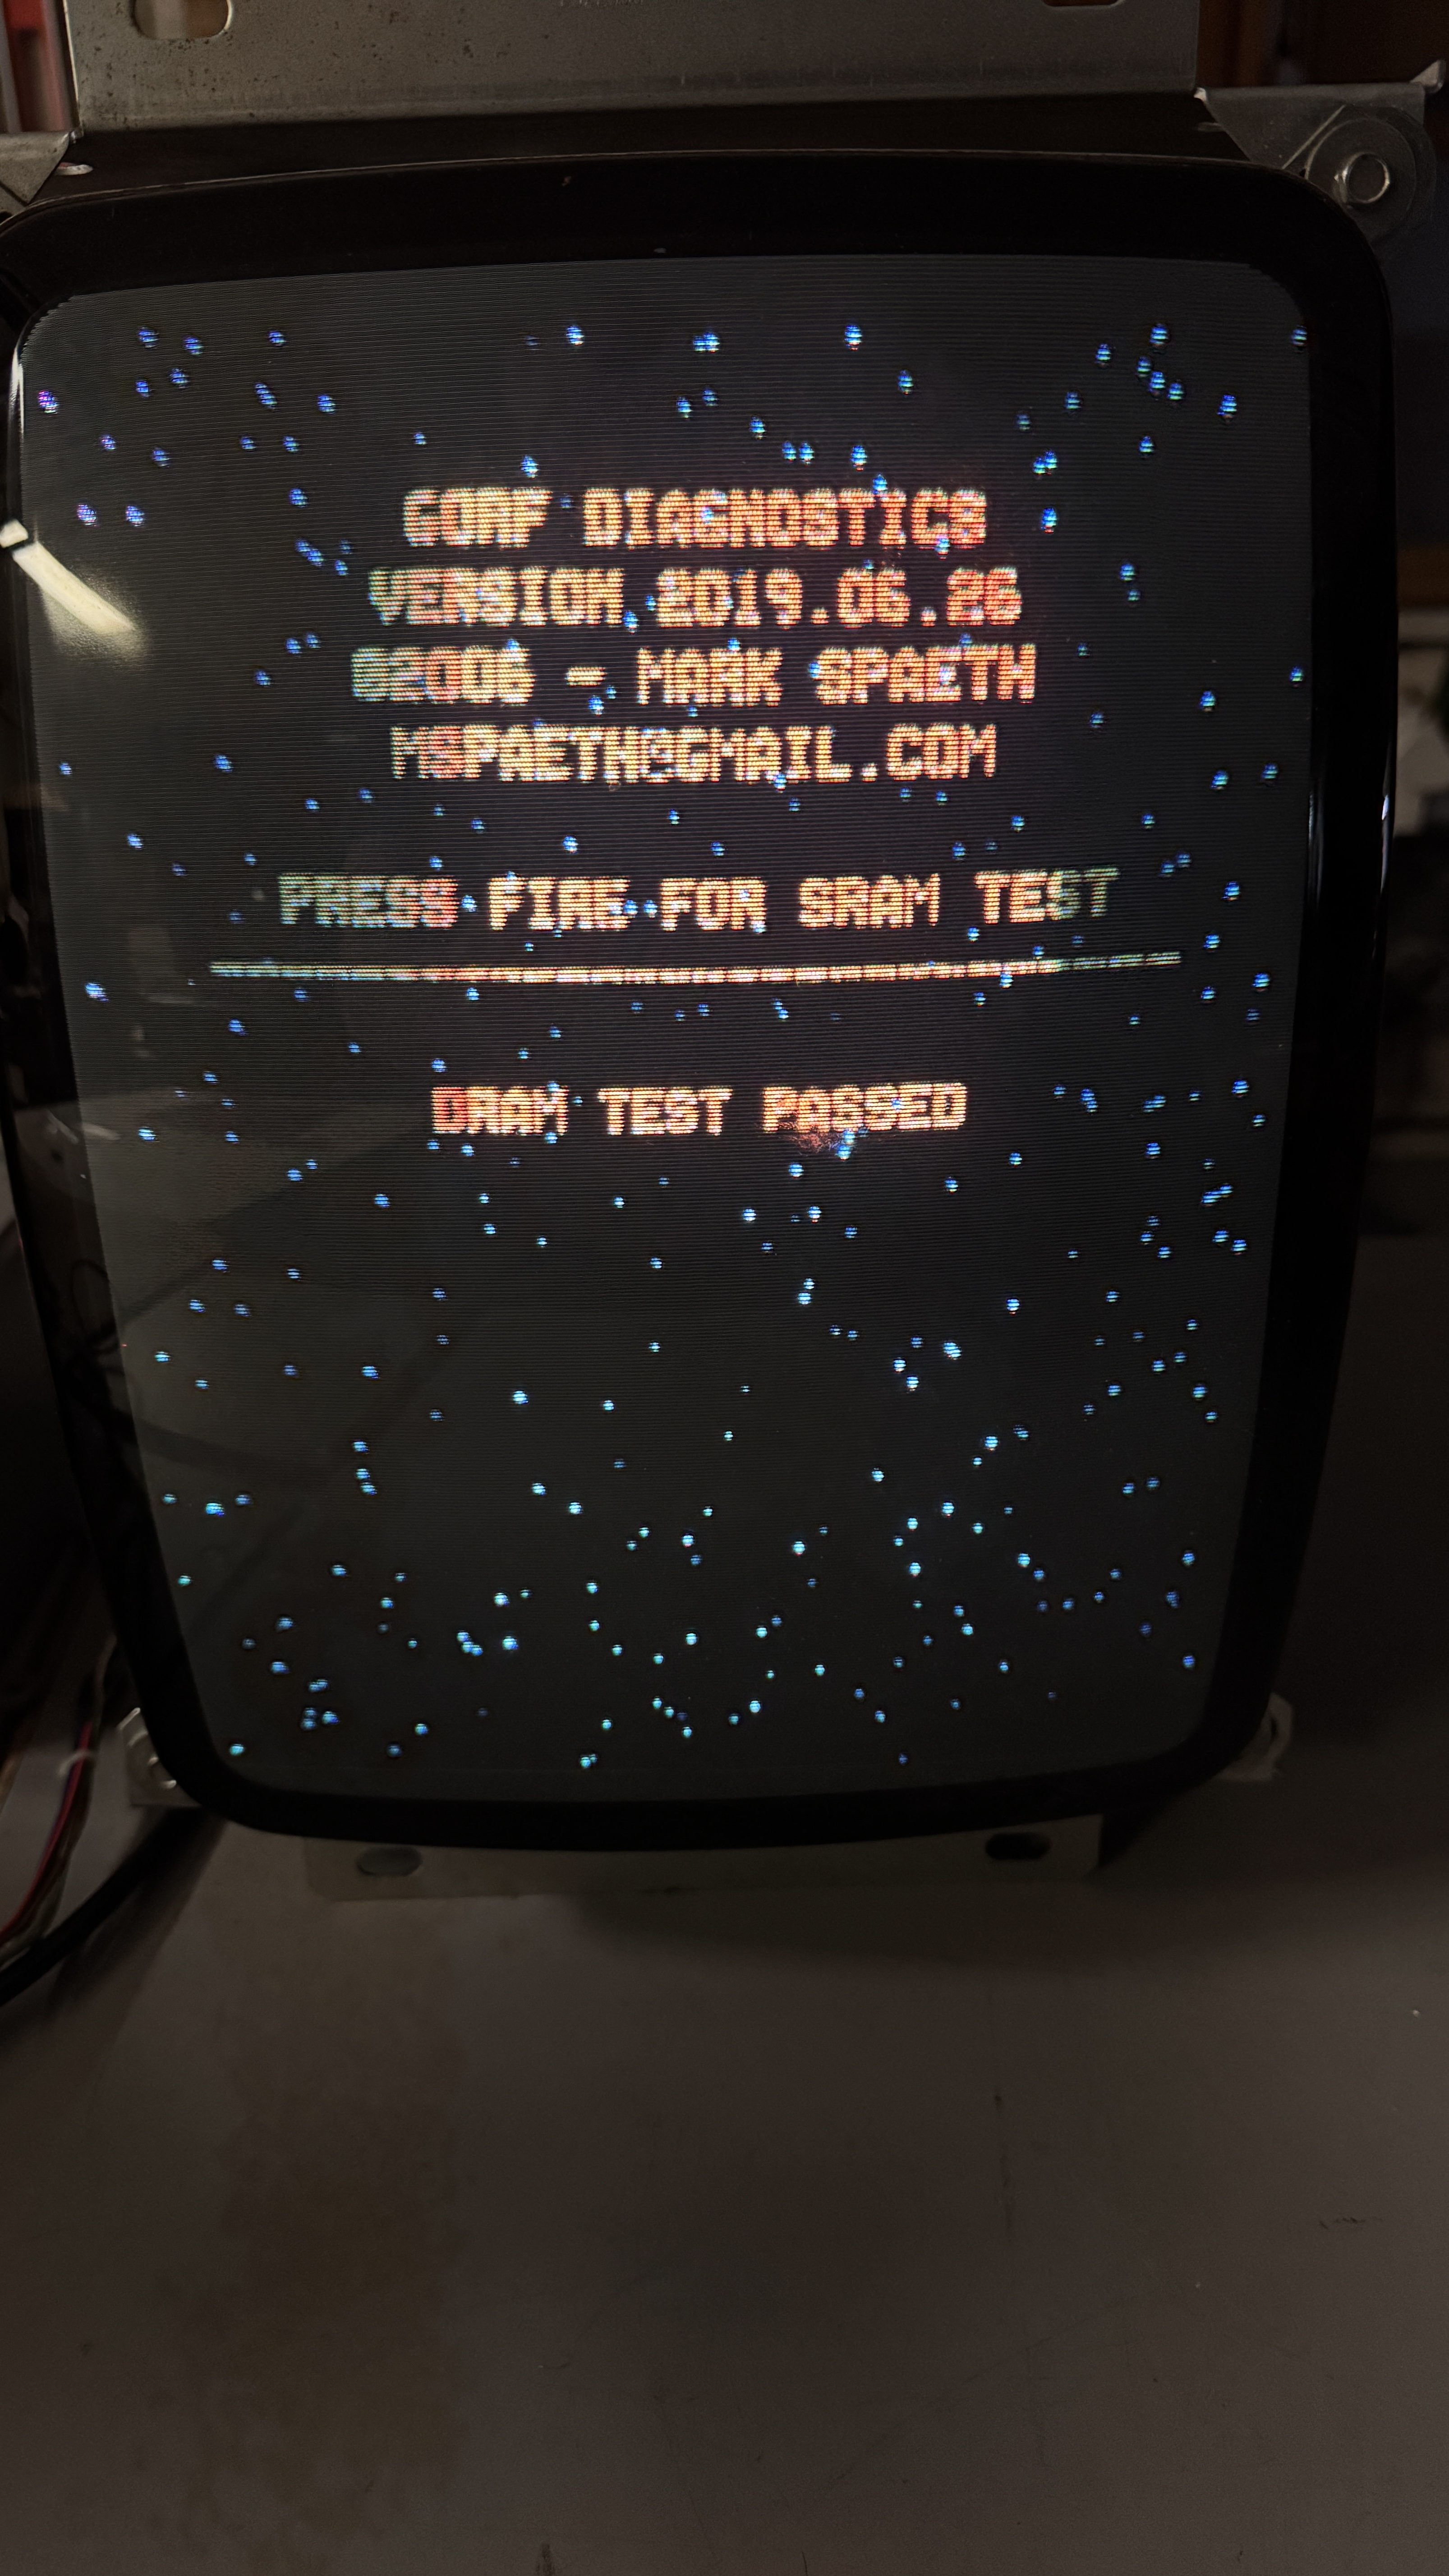
Here is the code finding the bad RAM. The second picture is the test code stepping through the RAM. The screen sort of barber pole’s a bit during the test. After replacing the RAM – test passed.
Last was the CPU board – It had no video. So I swapped in a U15 Astrocade from the other set and the board worked. Bummer.. but we have them now!
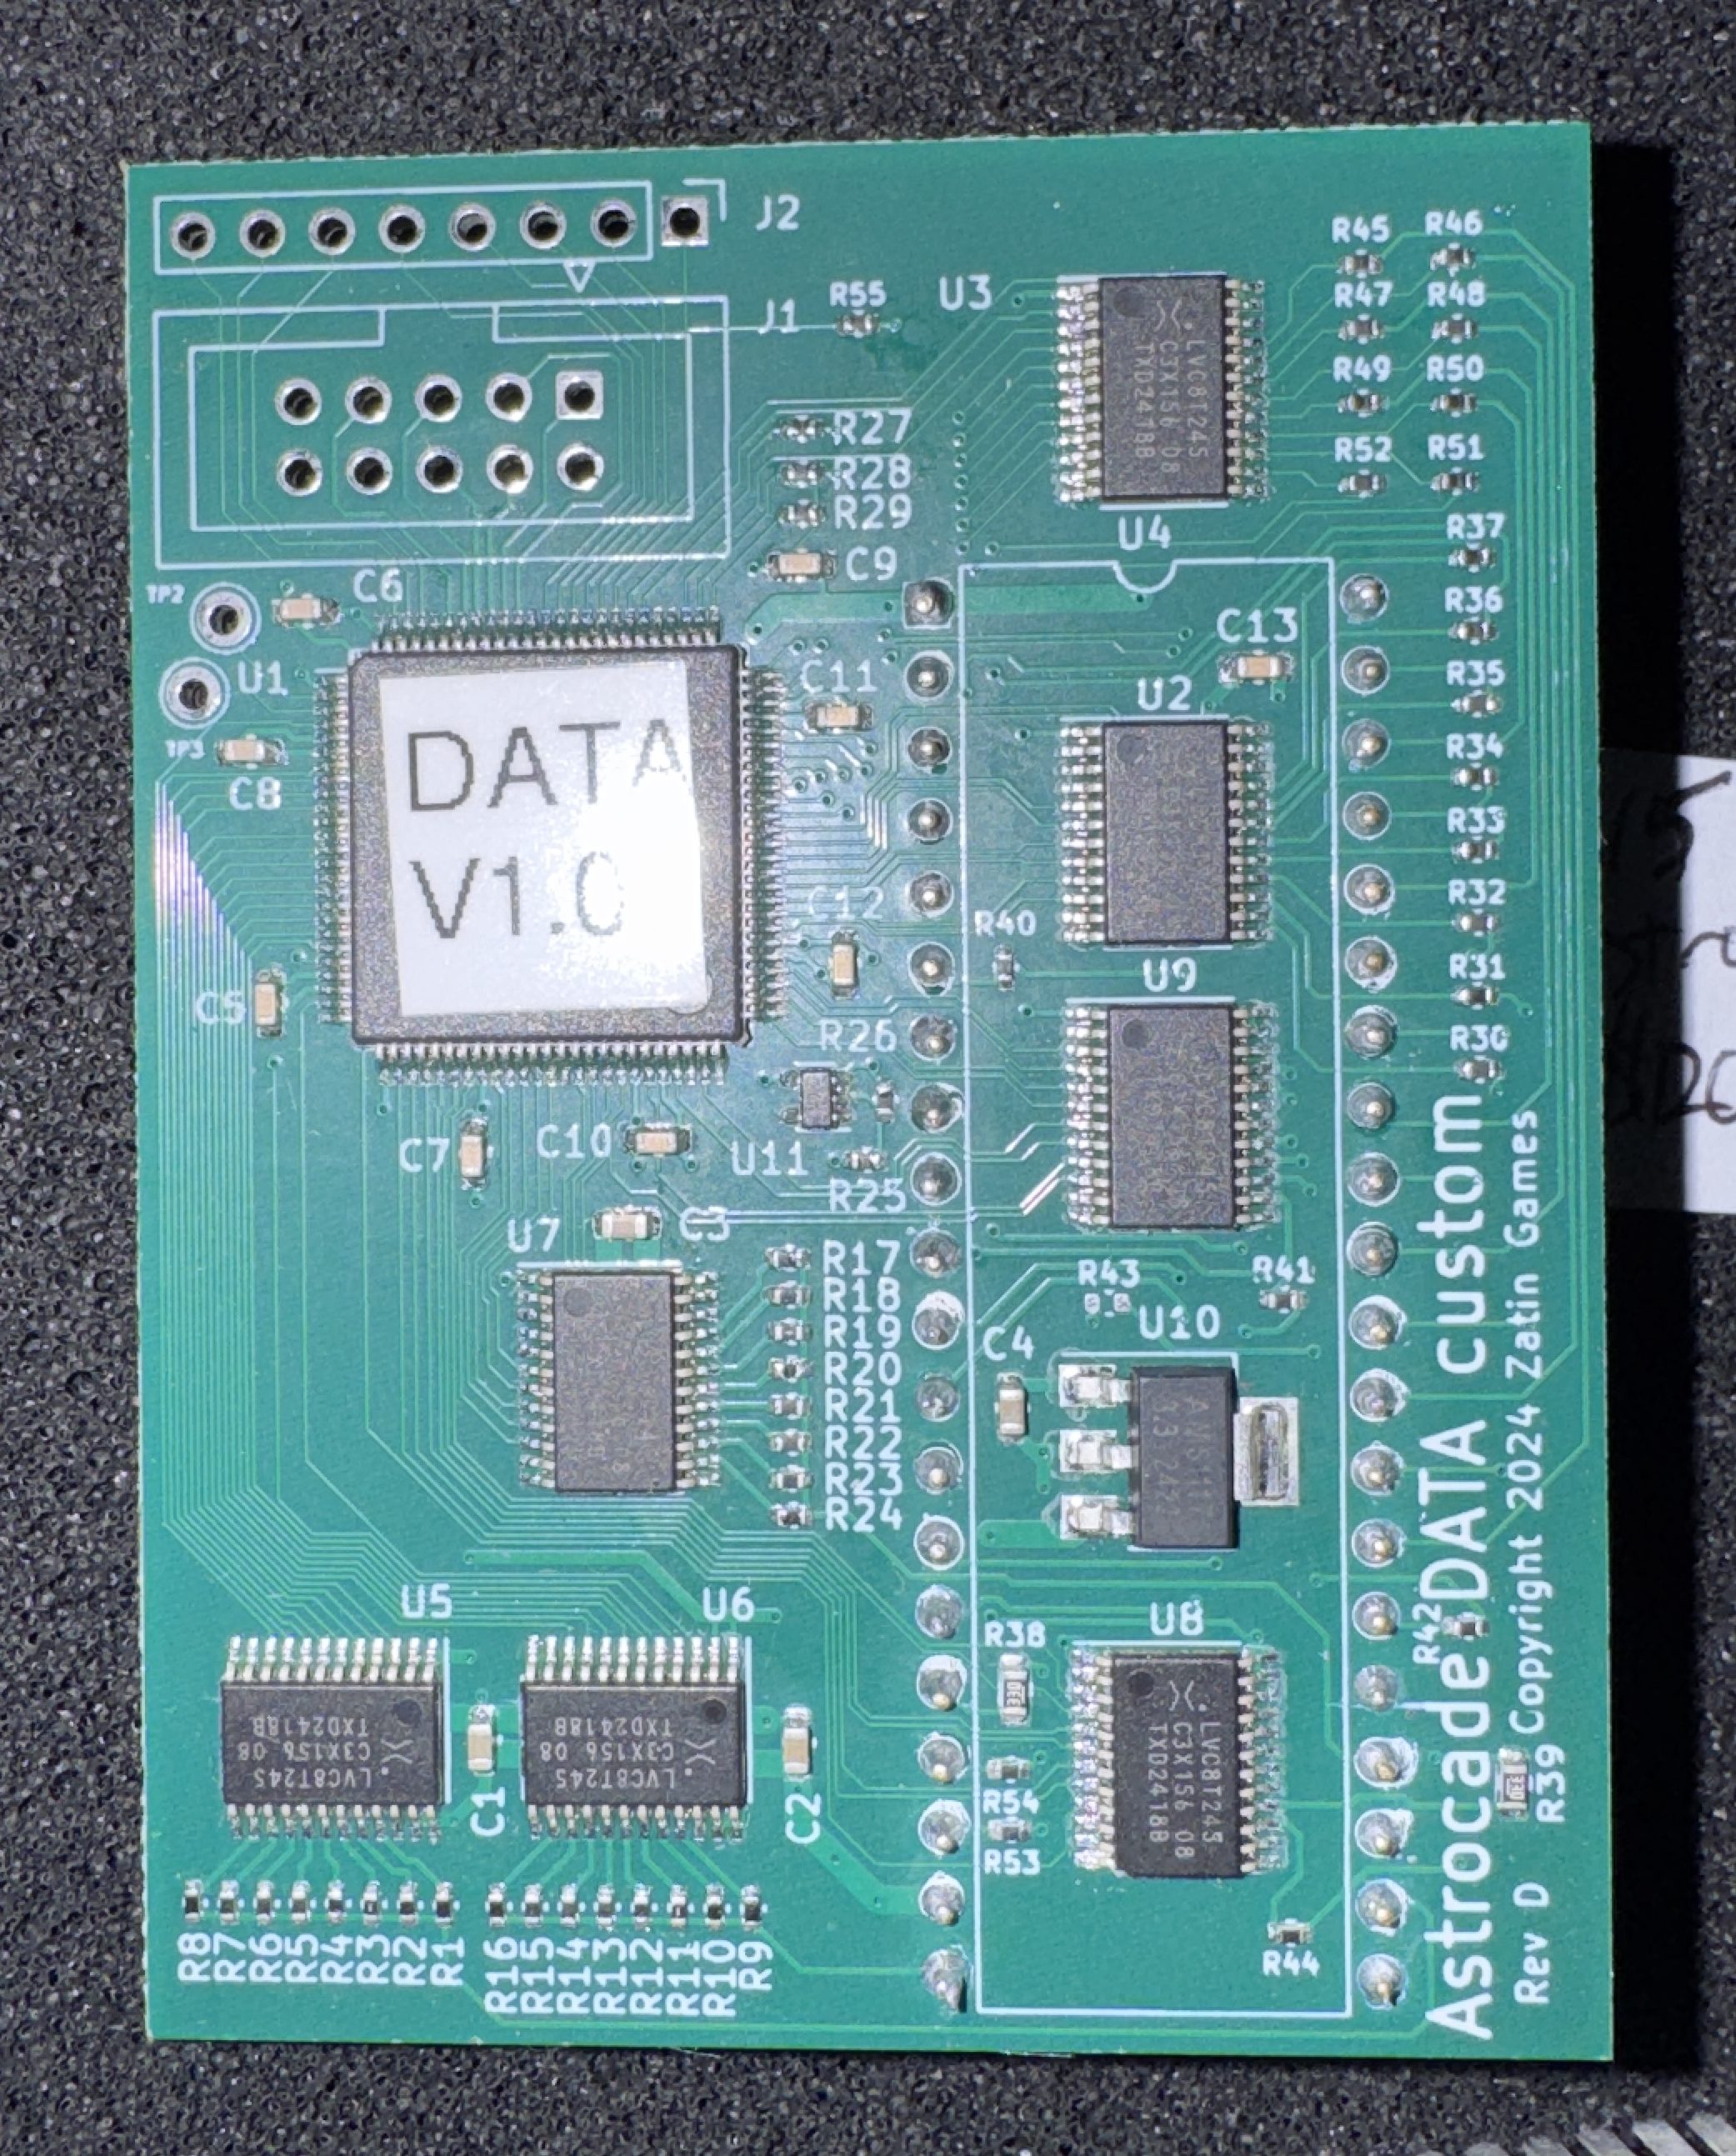
Here is the new replacement available from @BigDogs on KLOV. The design is by @toledoflyer on KLOV. I would not have started working on Gorf/Astrocade cardrack sets if this did not exist.
Once I installed the card – I had a very specific issue.
This particular issue of graphics artifacts is specific to the following:
- Only happens on the attract text scroll screen
- Doesn’t happen on any of the other attract screens – they were all normal
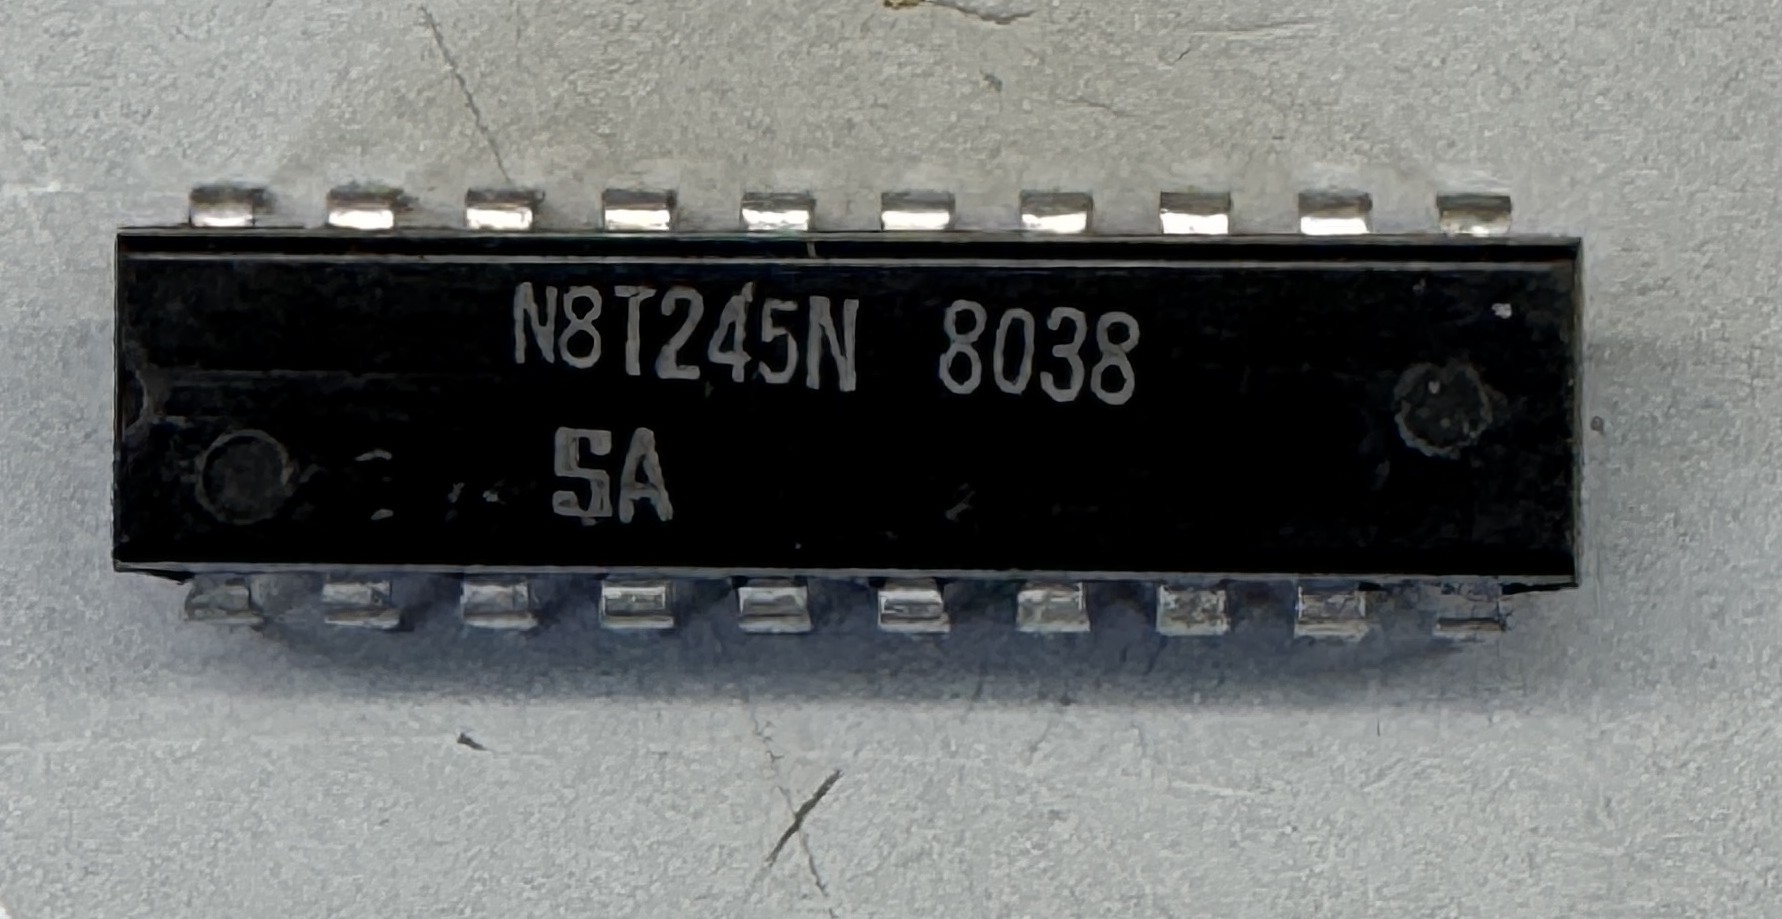
I contacted @toledoflyer and we quickly determined I had a (way) out of spec LS245@U21 on the CPU board. As it turns out, that chip is socketed from the factory. Maybe they had issues with it then? Popped in a new 74LS245 and problem solved – simple!
I did send the 245 to him so that he could test it and keep as reference – this issue had happened once before and had already been corrected in the 1.07 software release. I was an early adopter and had one rev earlier. The chip would have failed eventually so I was happy to know now.
Odd numbering scheme. If you have this EXACT issue with artifacts – a new 74LS245 should solve it. Your actual chances of running into this are pretty slim. Great support from an arcade vendor! Thanks for Astrocade U15’s!
Also thanks to @Jacklick on KLOV – he has a Video Series on Gorf from a few years back that provided me with some familiarity with the setup since this was my first CardRack game. I watched most (all?) of them while working on my cabinet and cleaning chips.
Board set works!
Board #4 – Sent in for repair
Now that I was working on Bally CardRack sets.. I pulled out a Space Zap that a friend had sent me a while back..
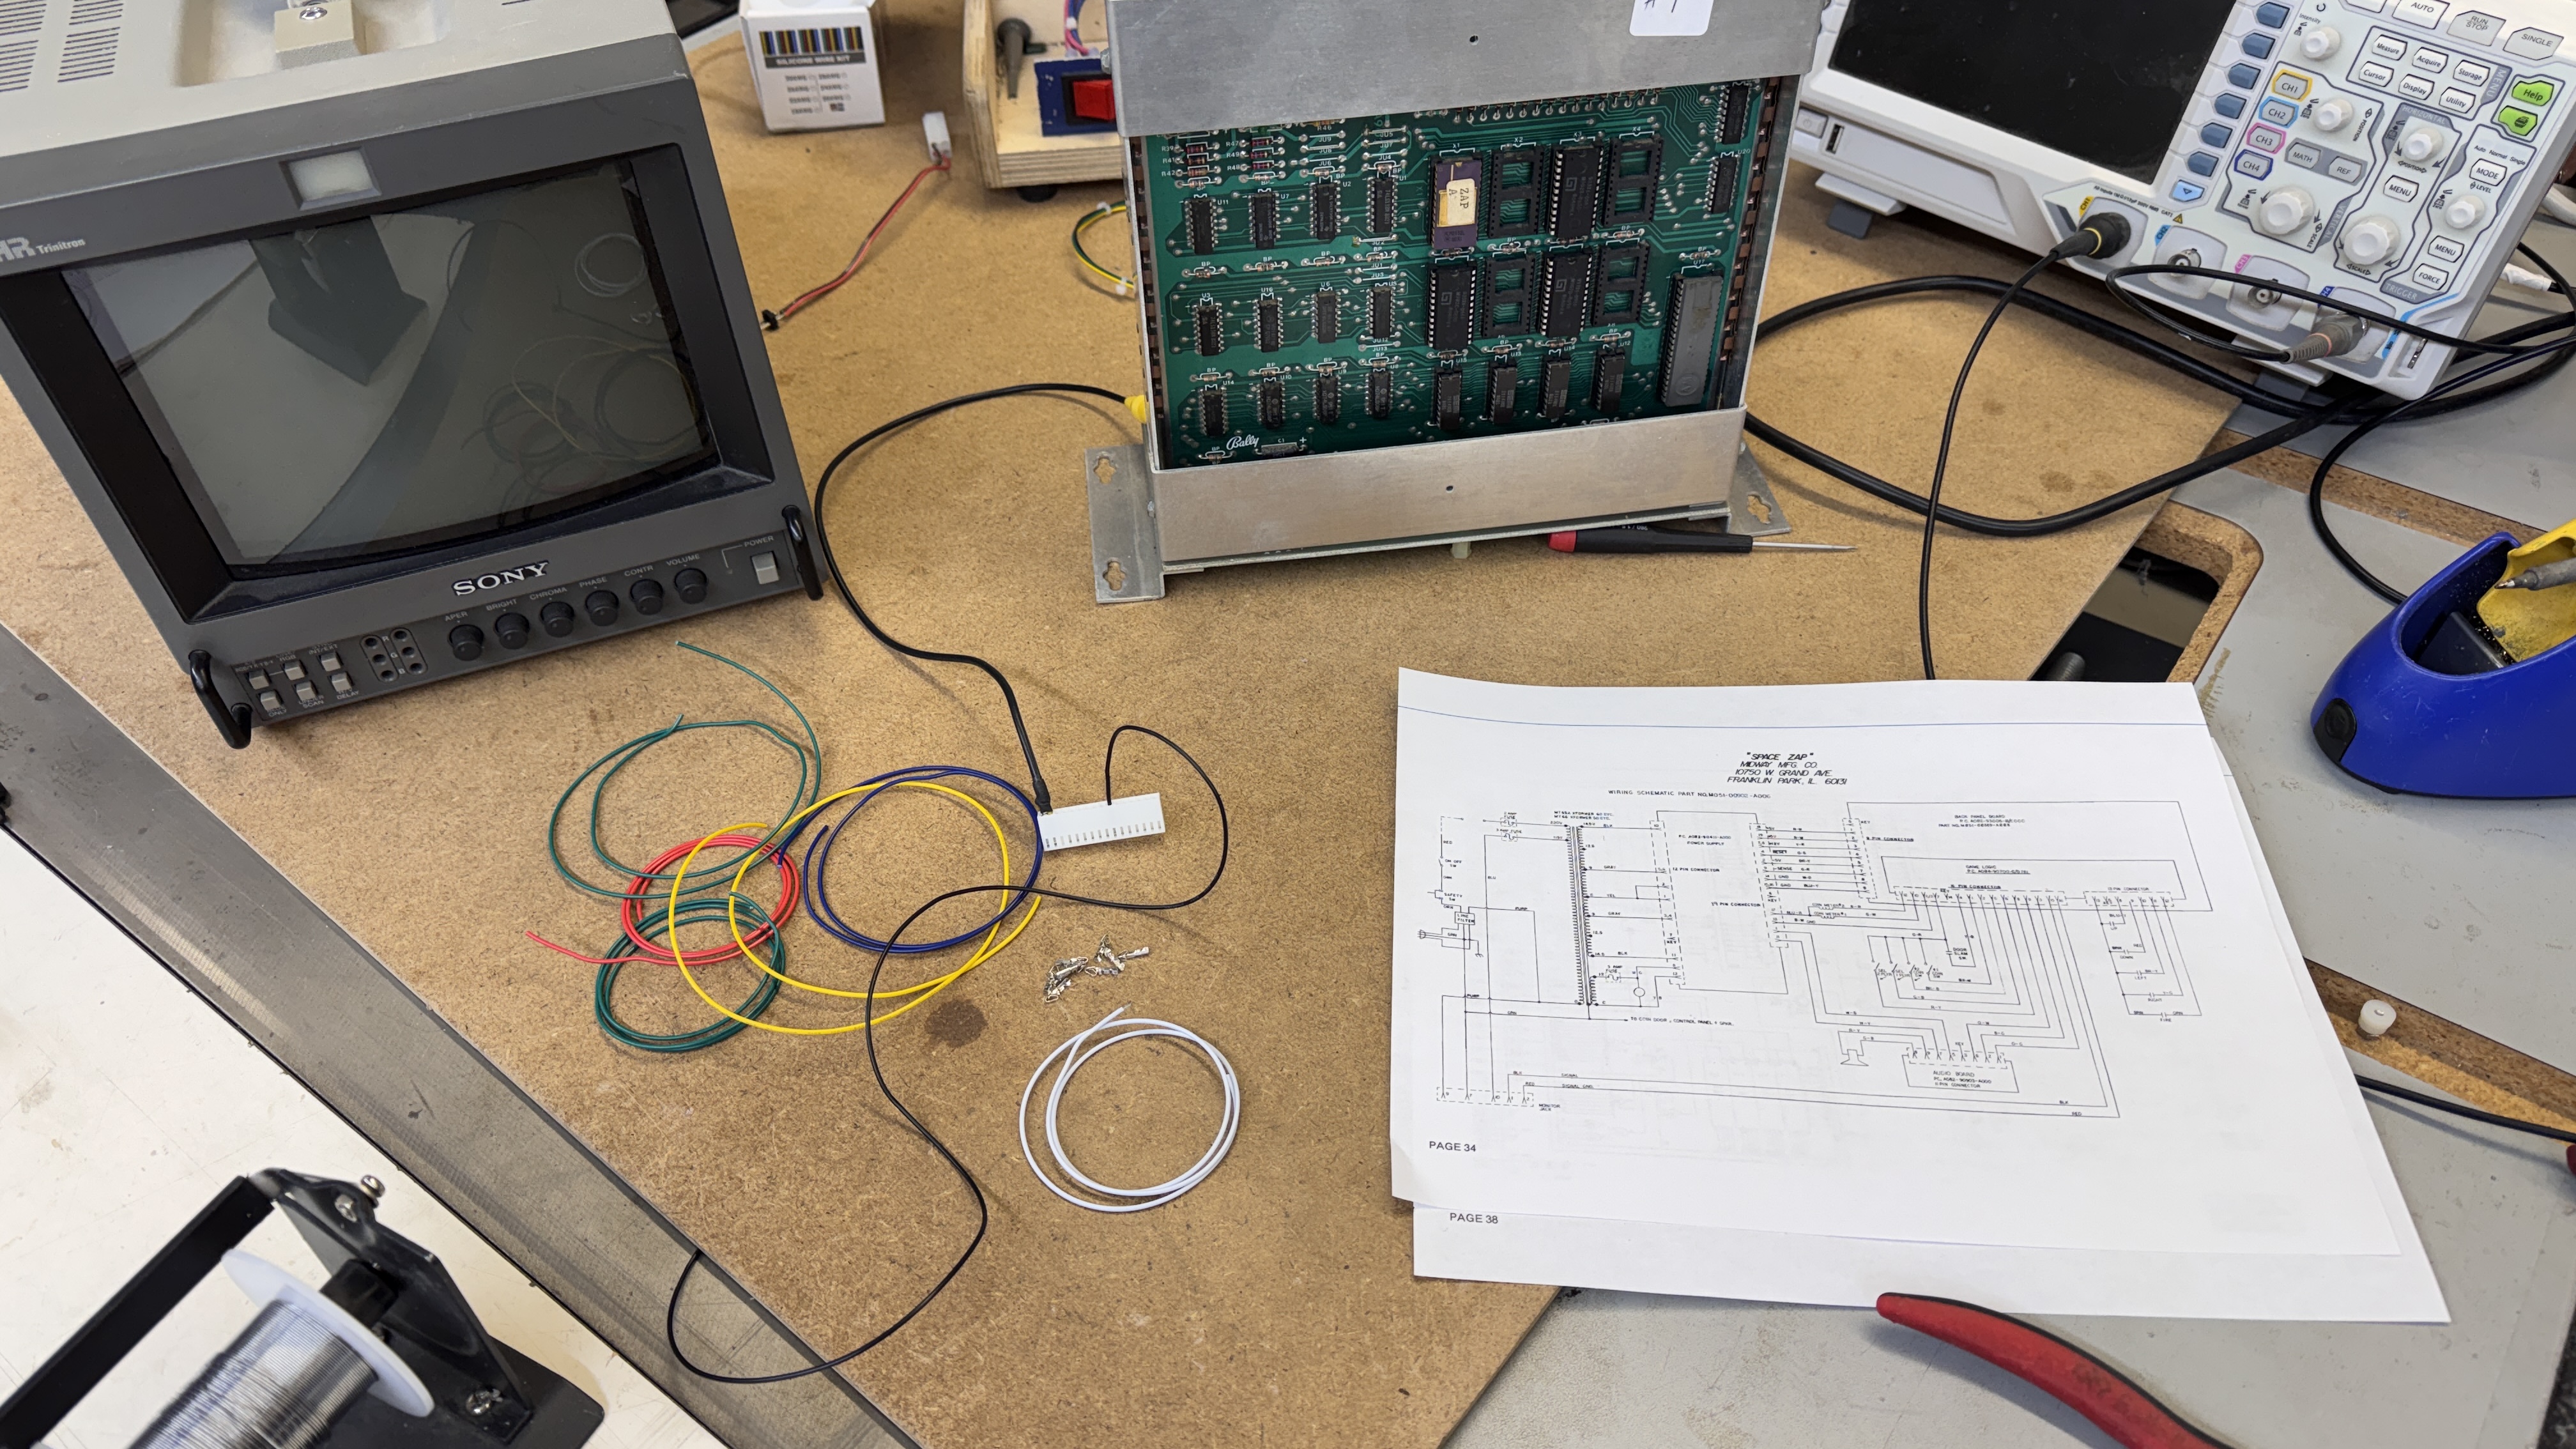
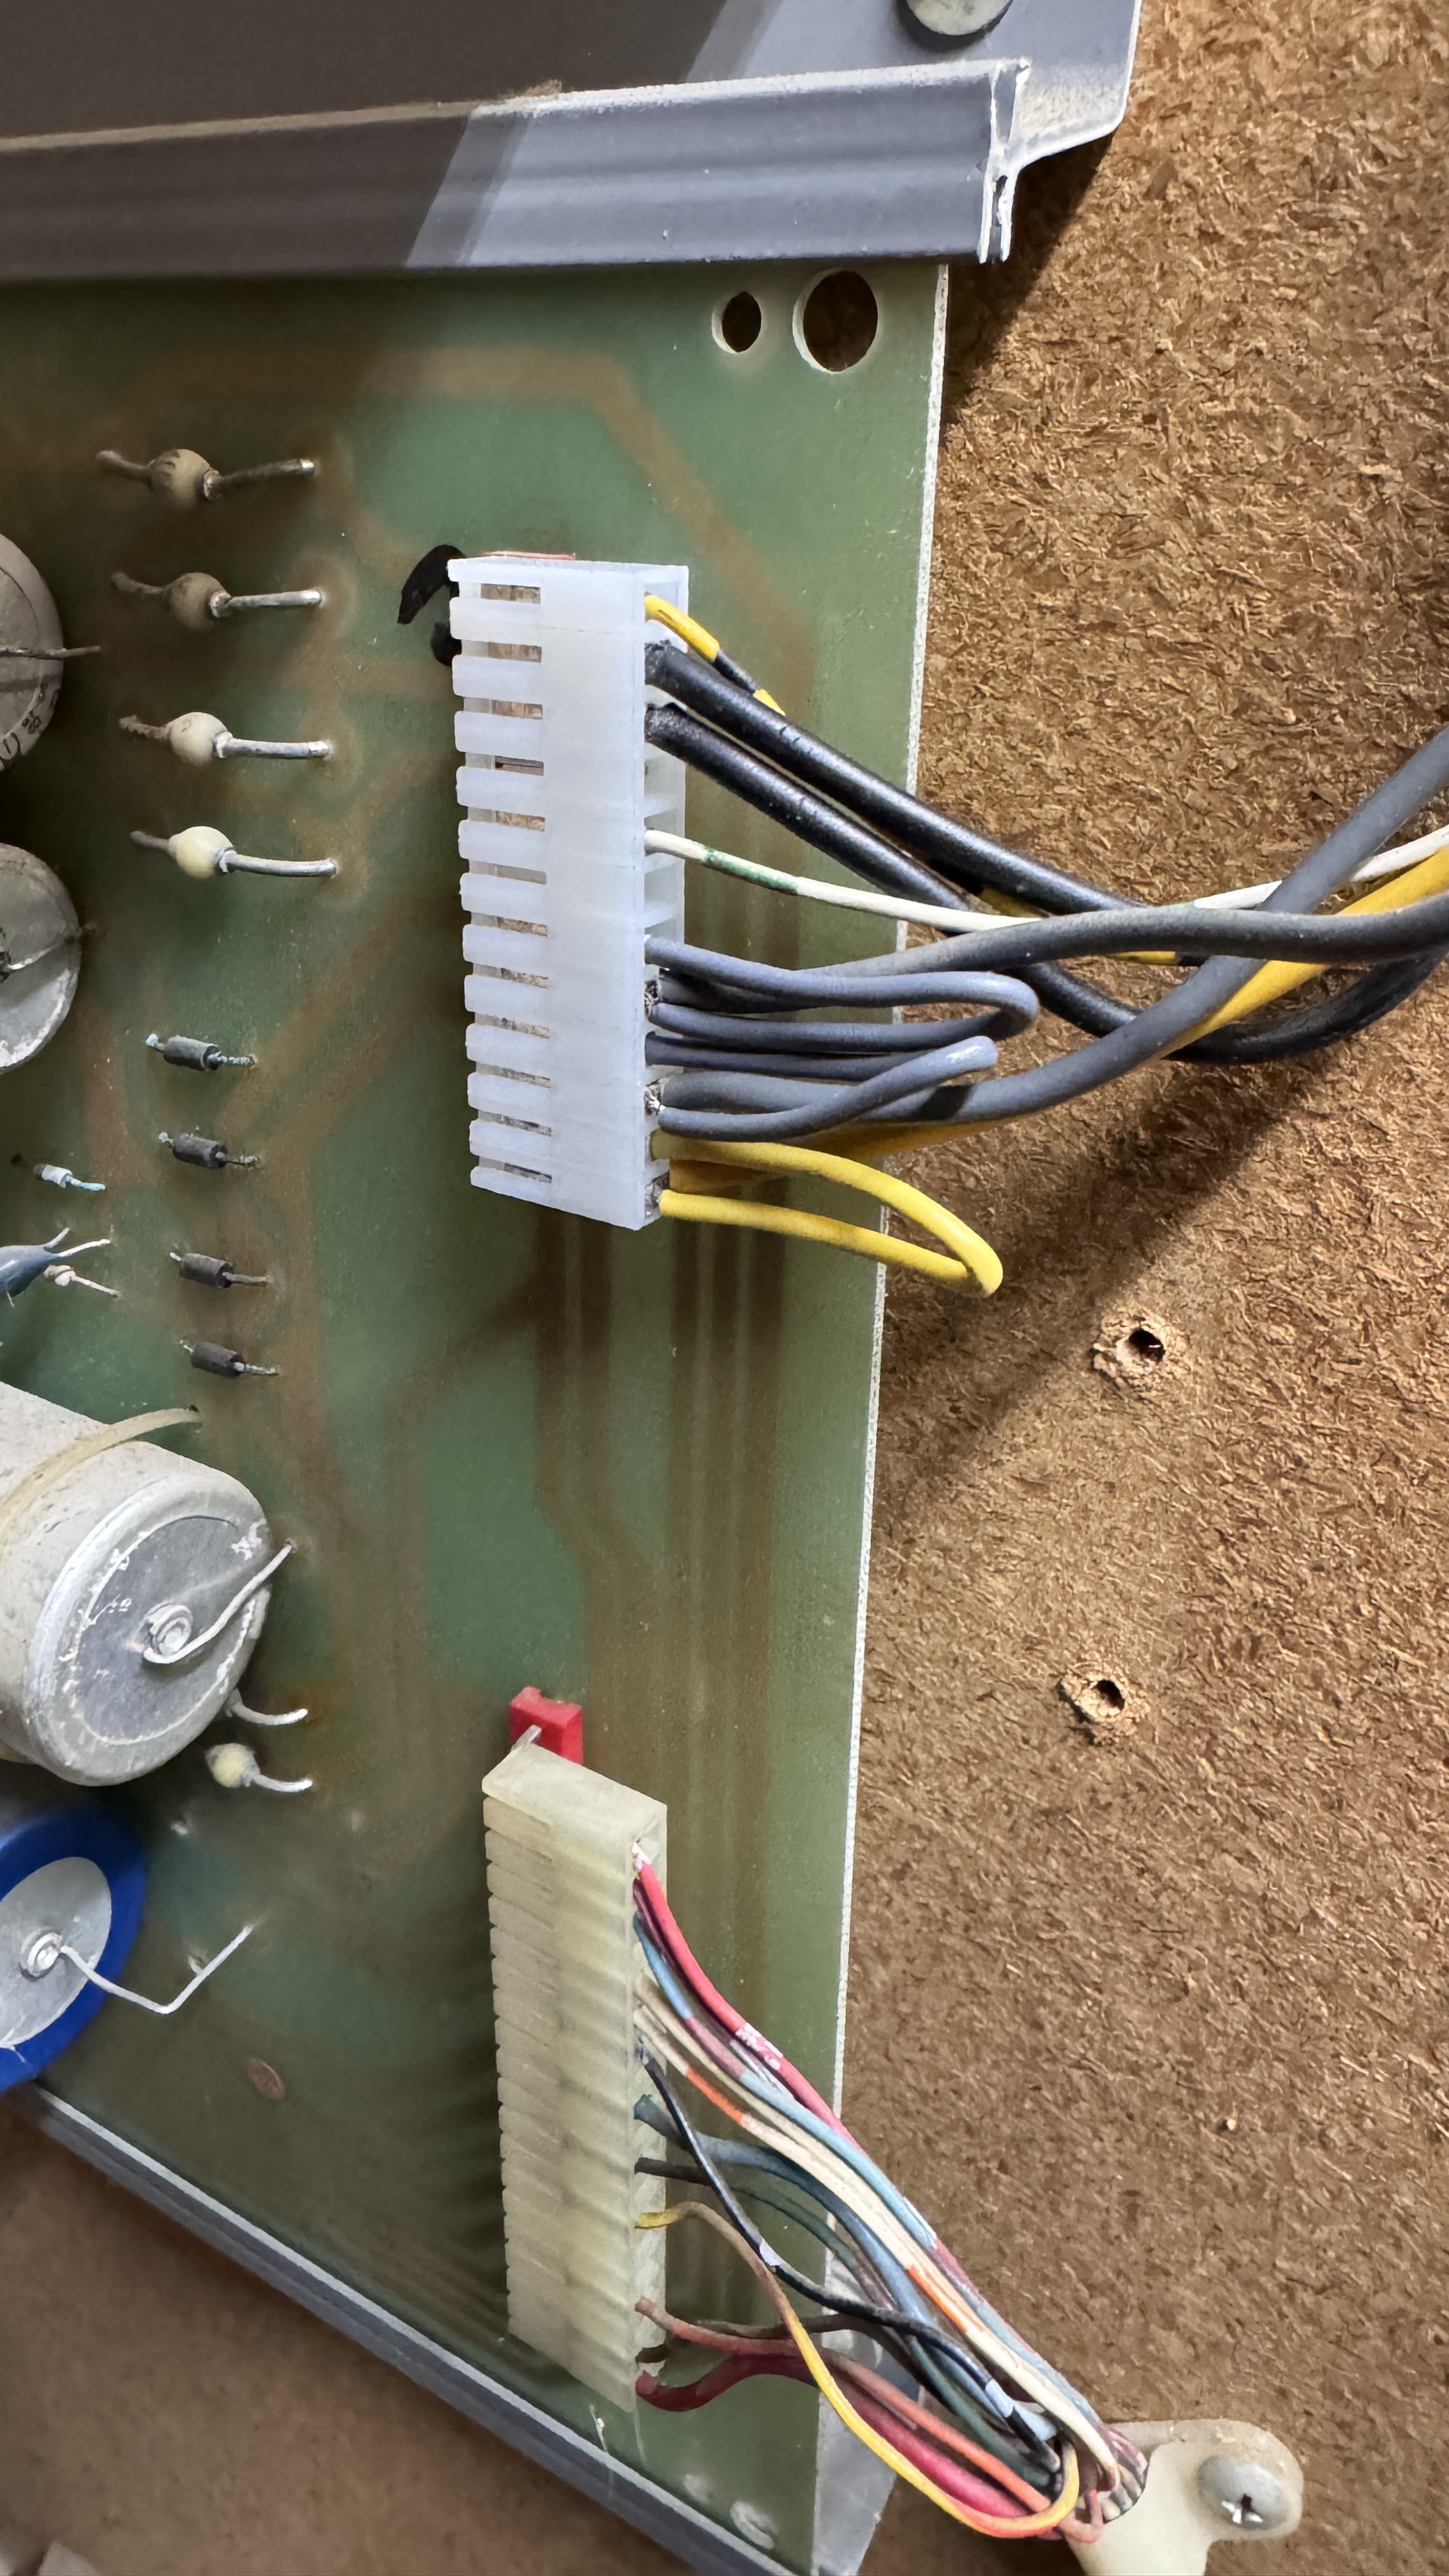
Power connections were the same to the cage – but the controls and video were 100% different from Gorf. More bench adapters.. which I really kinda like making.
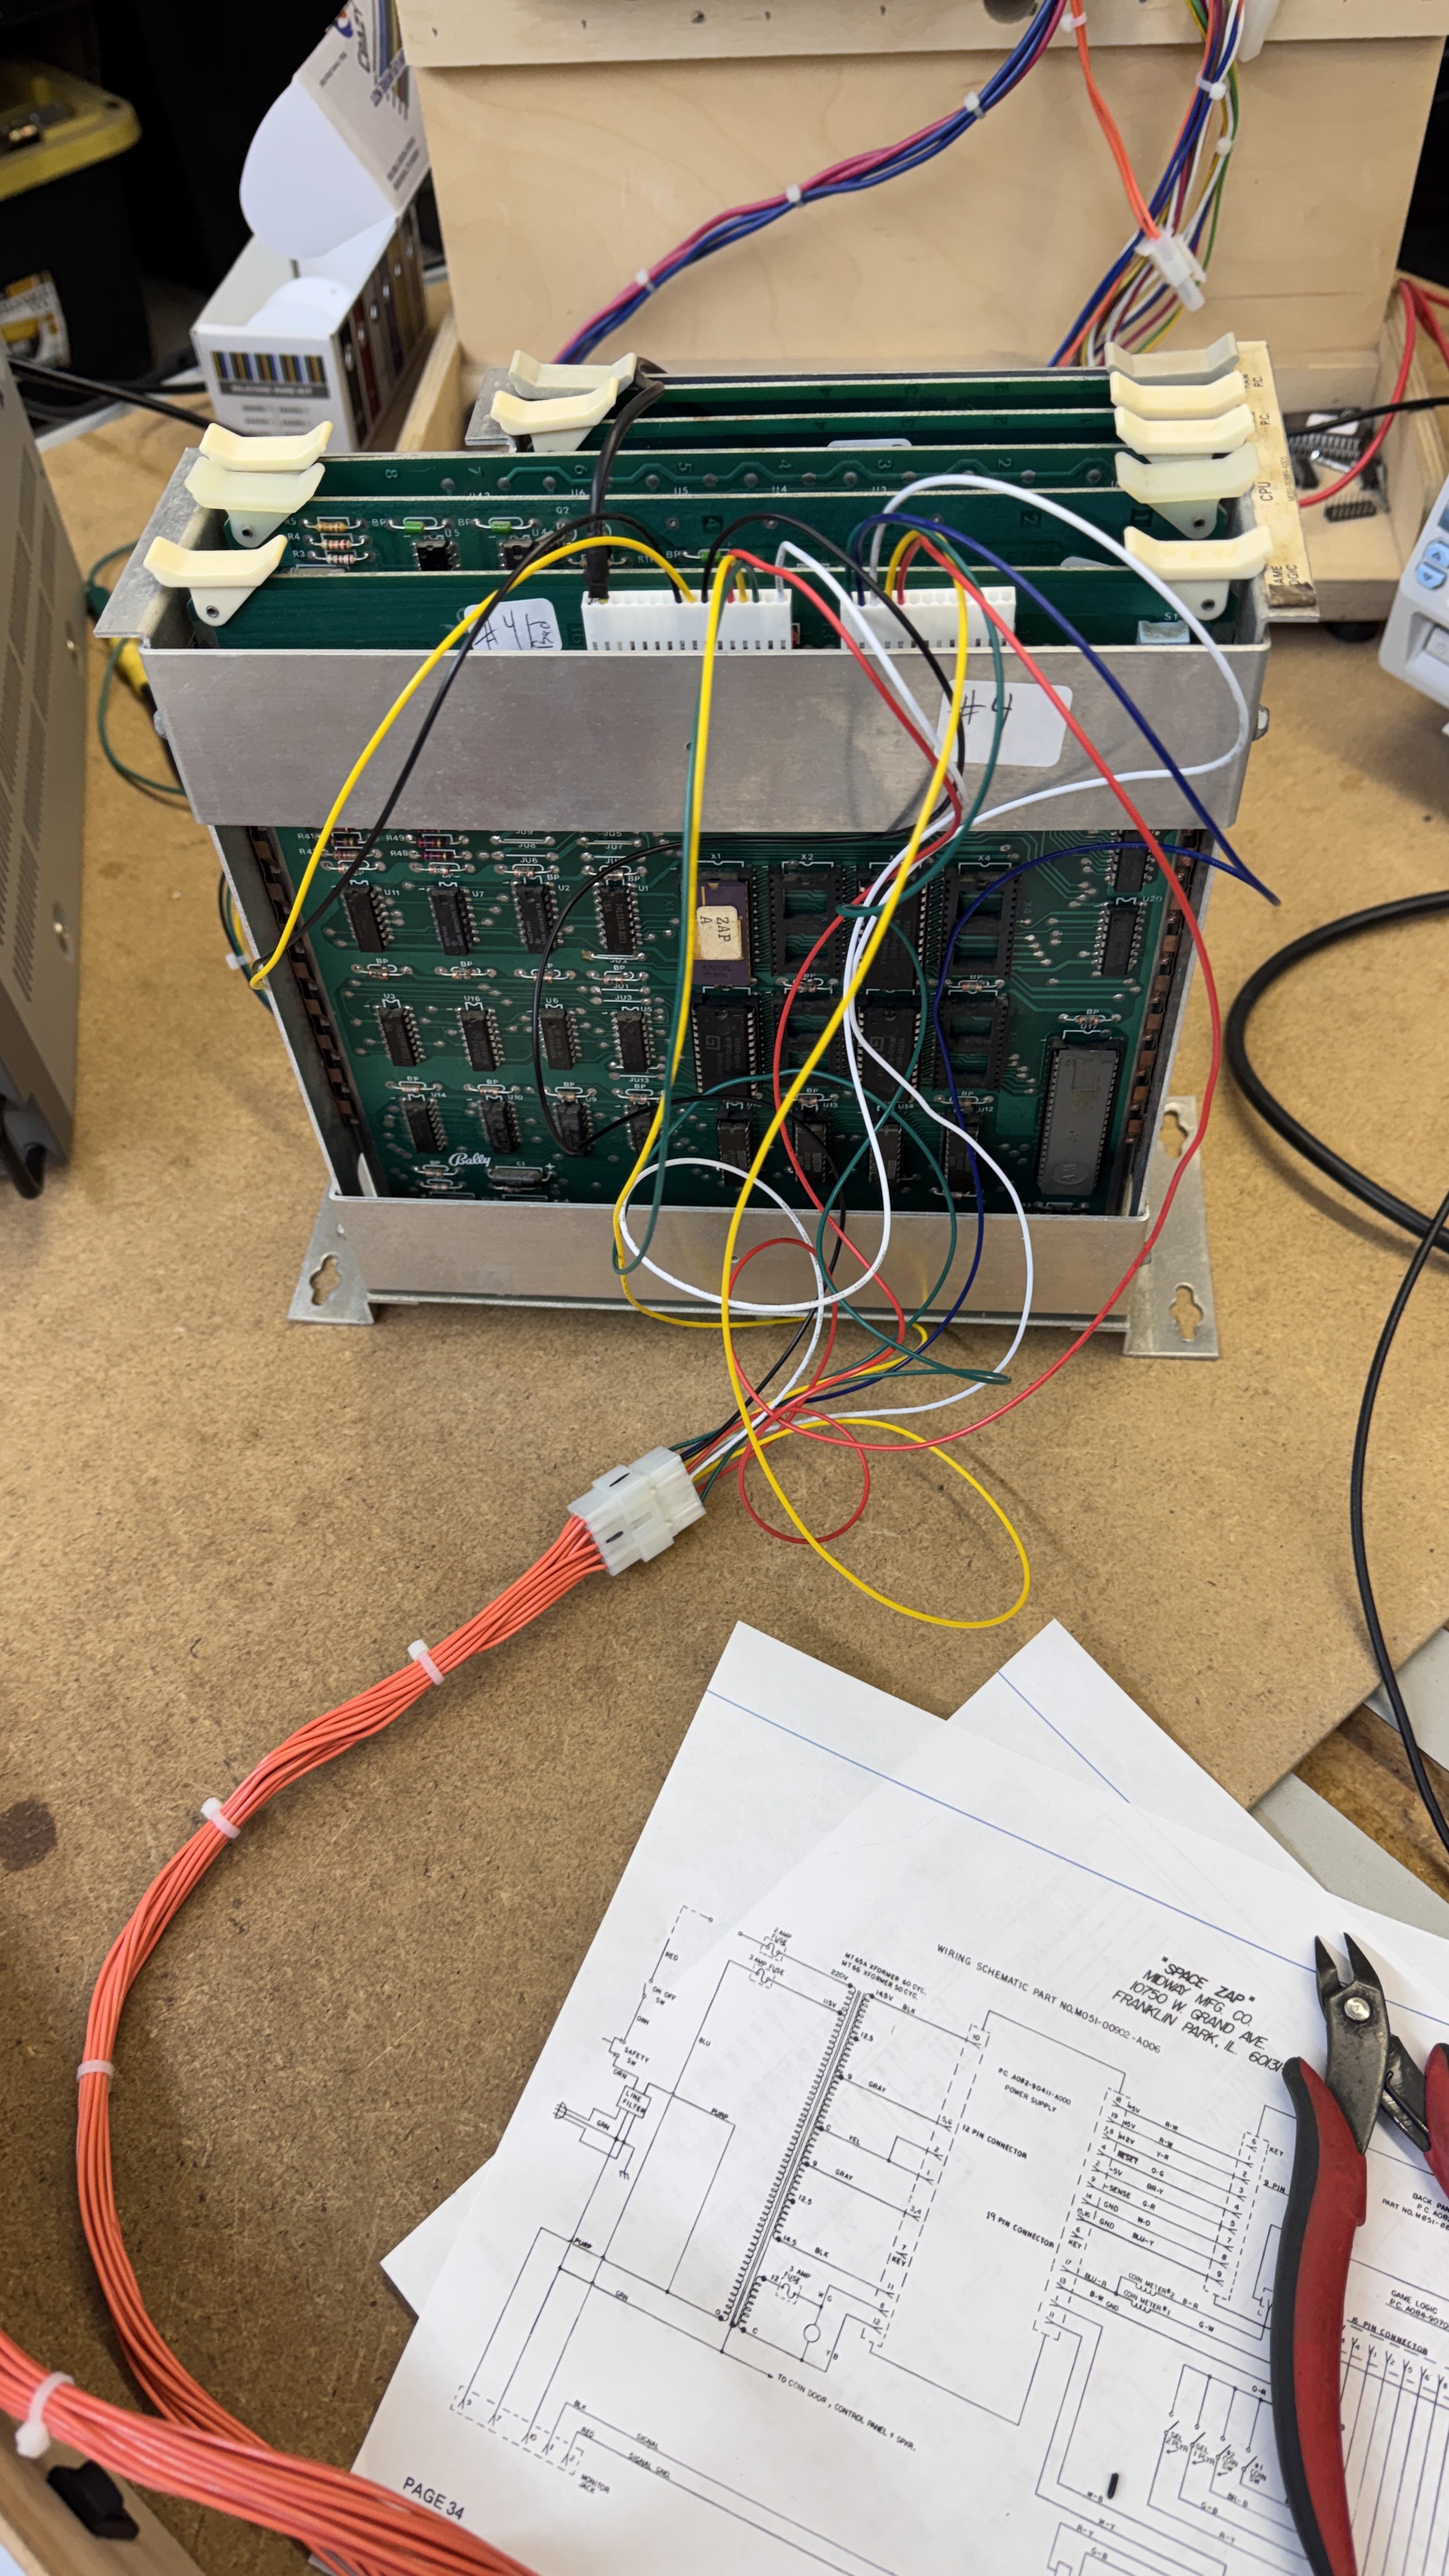
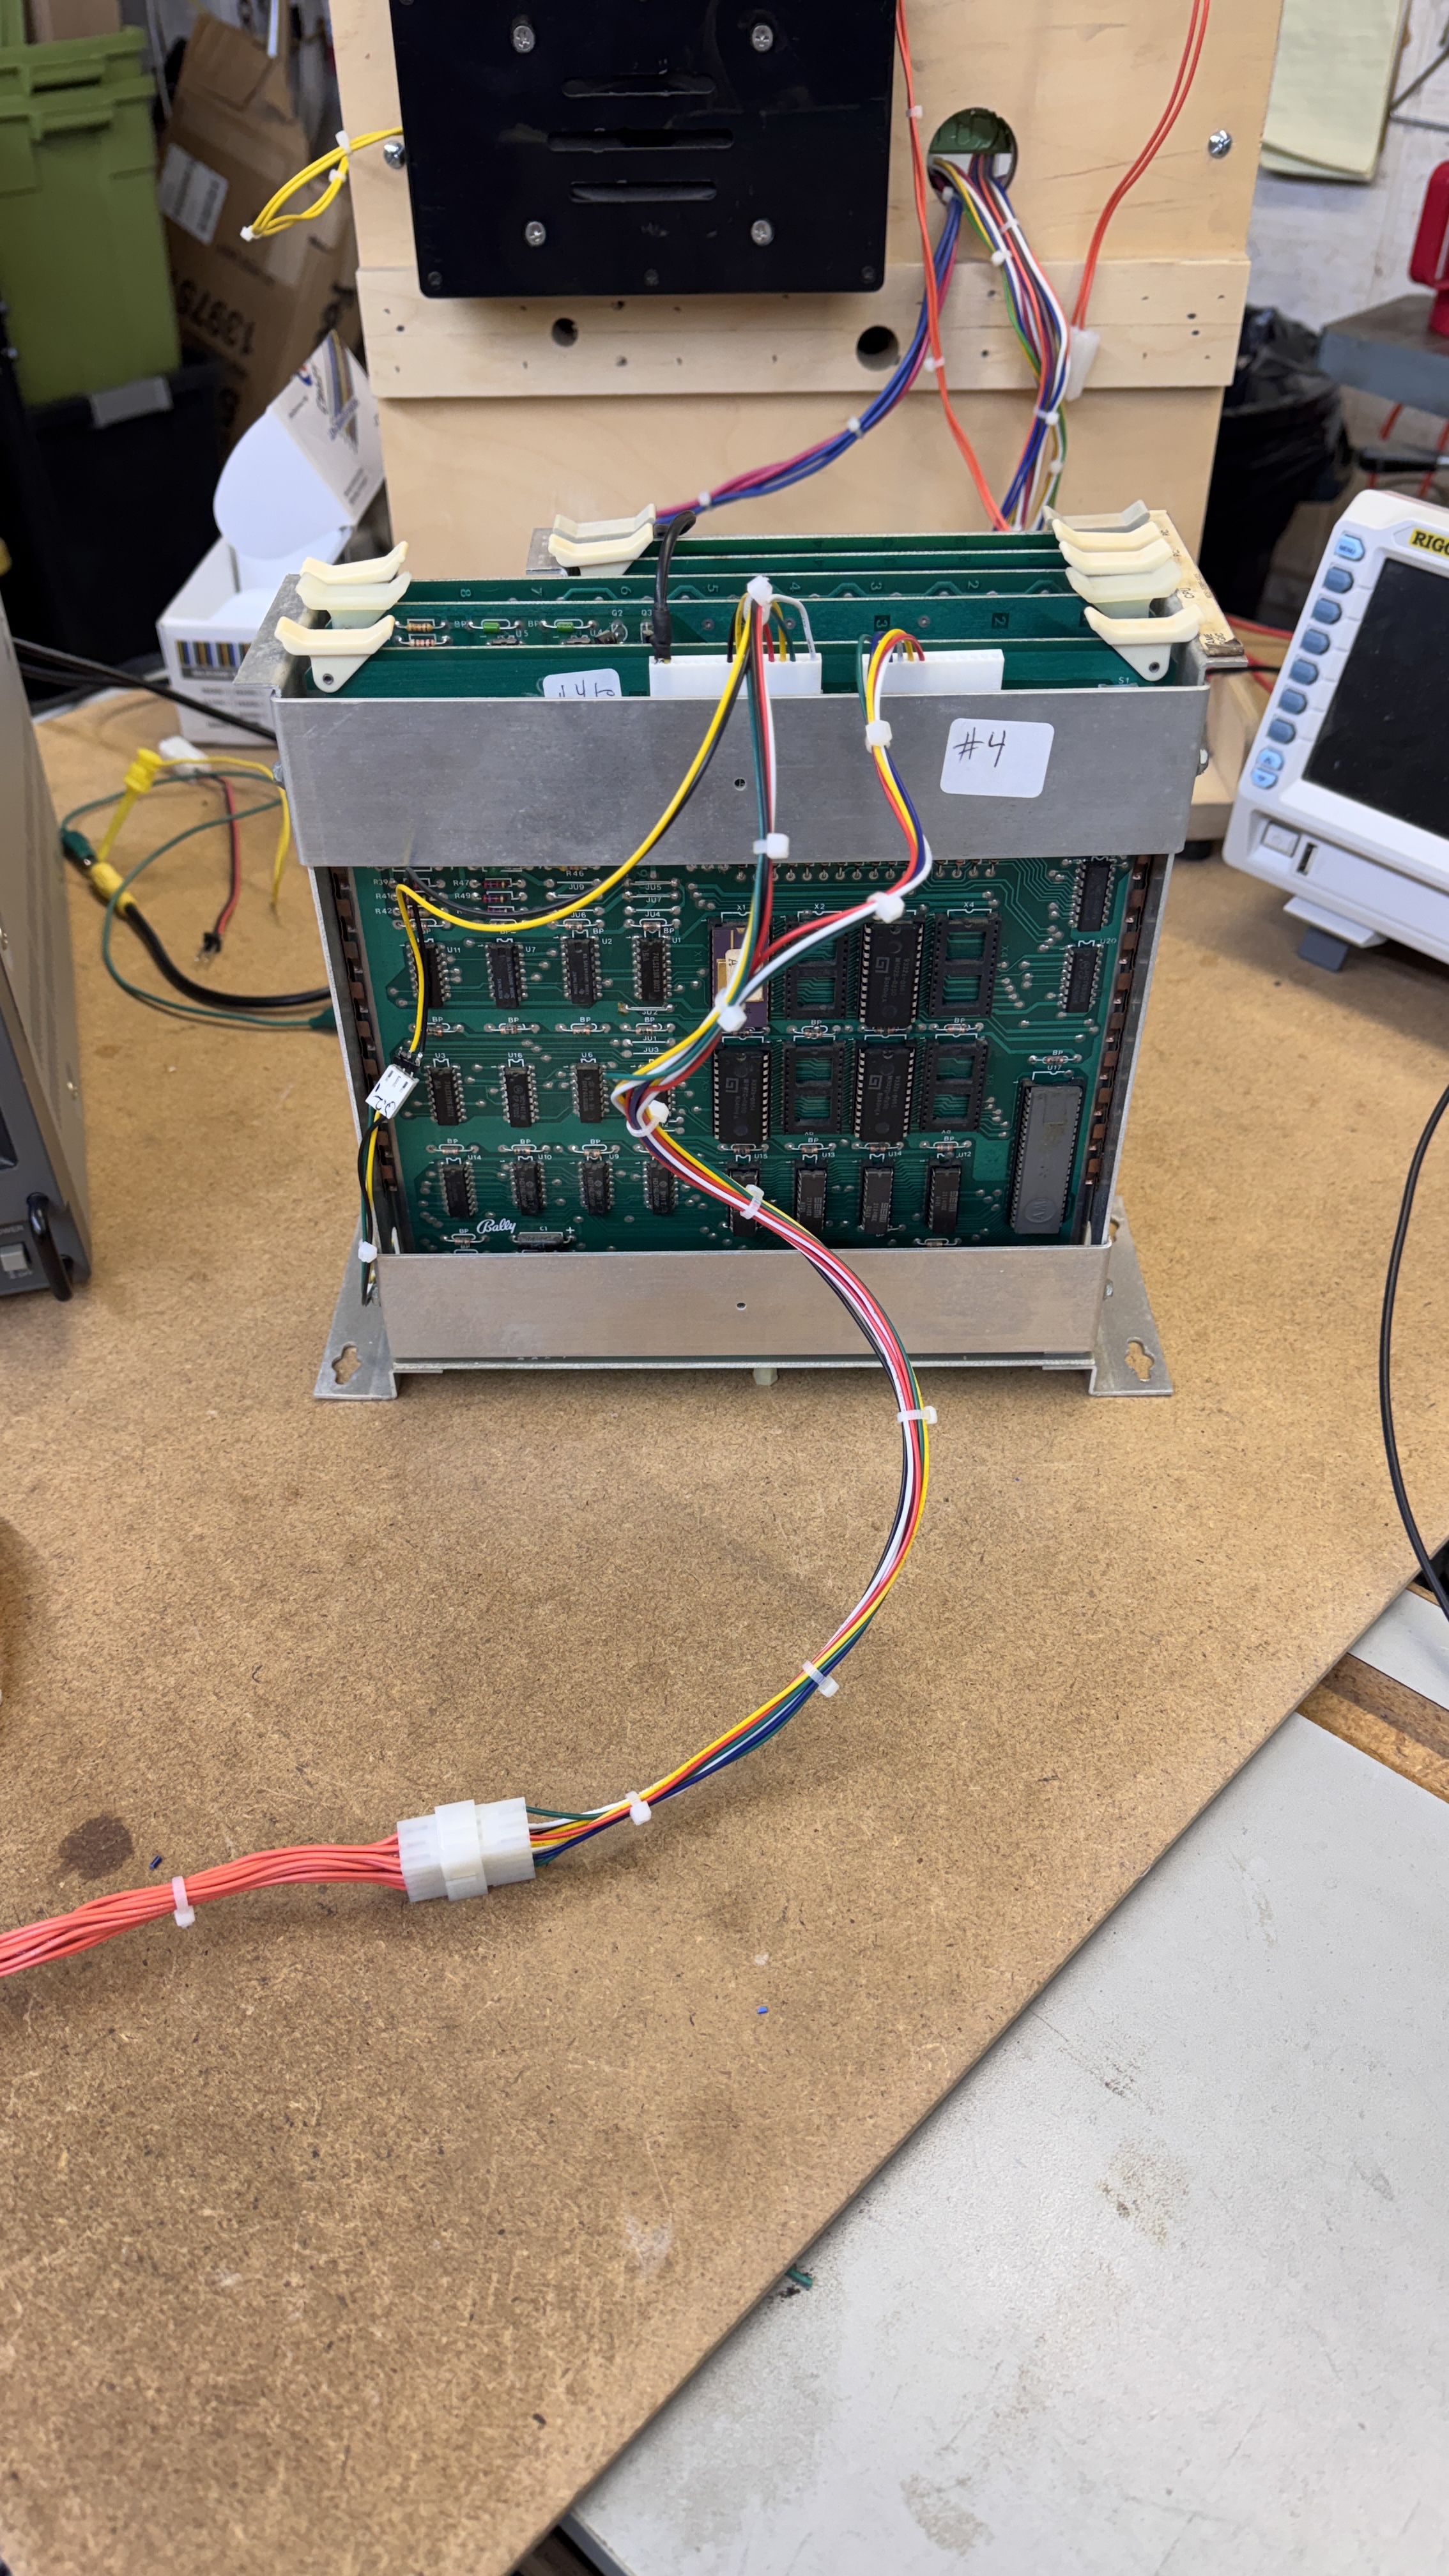
It grows into a jumbled mess at first – after I have it all tested and debugged.. cable ties clean it all up. Fully reusable Space Zap harness.
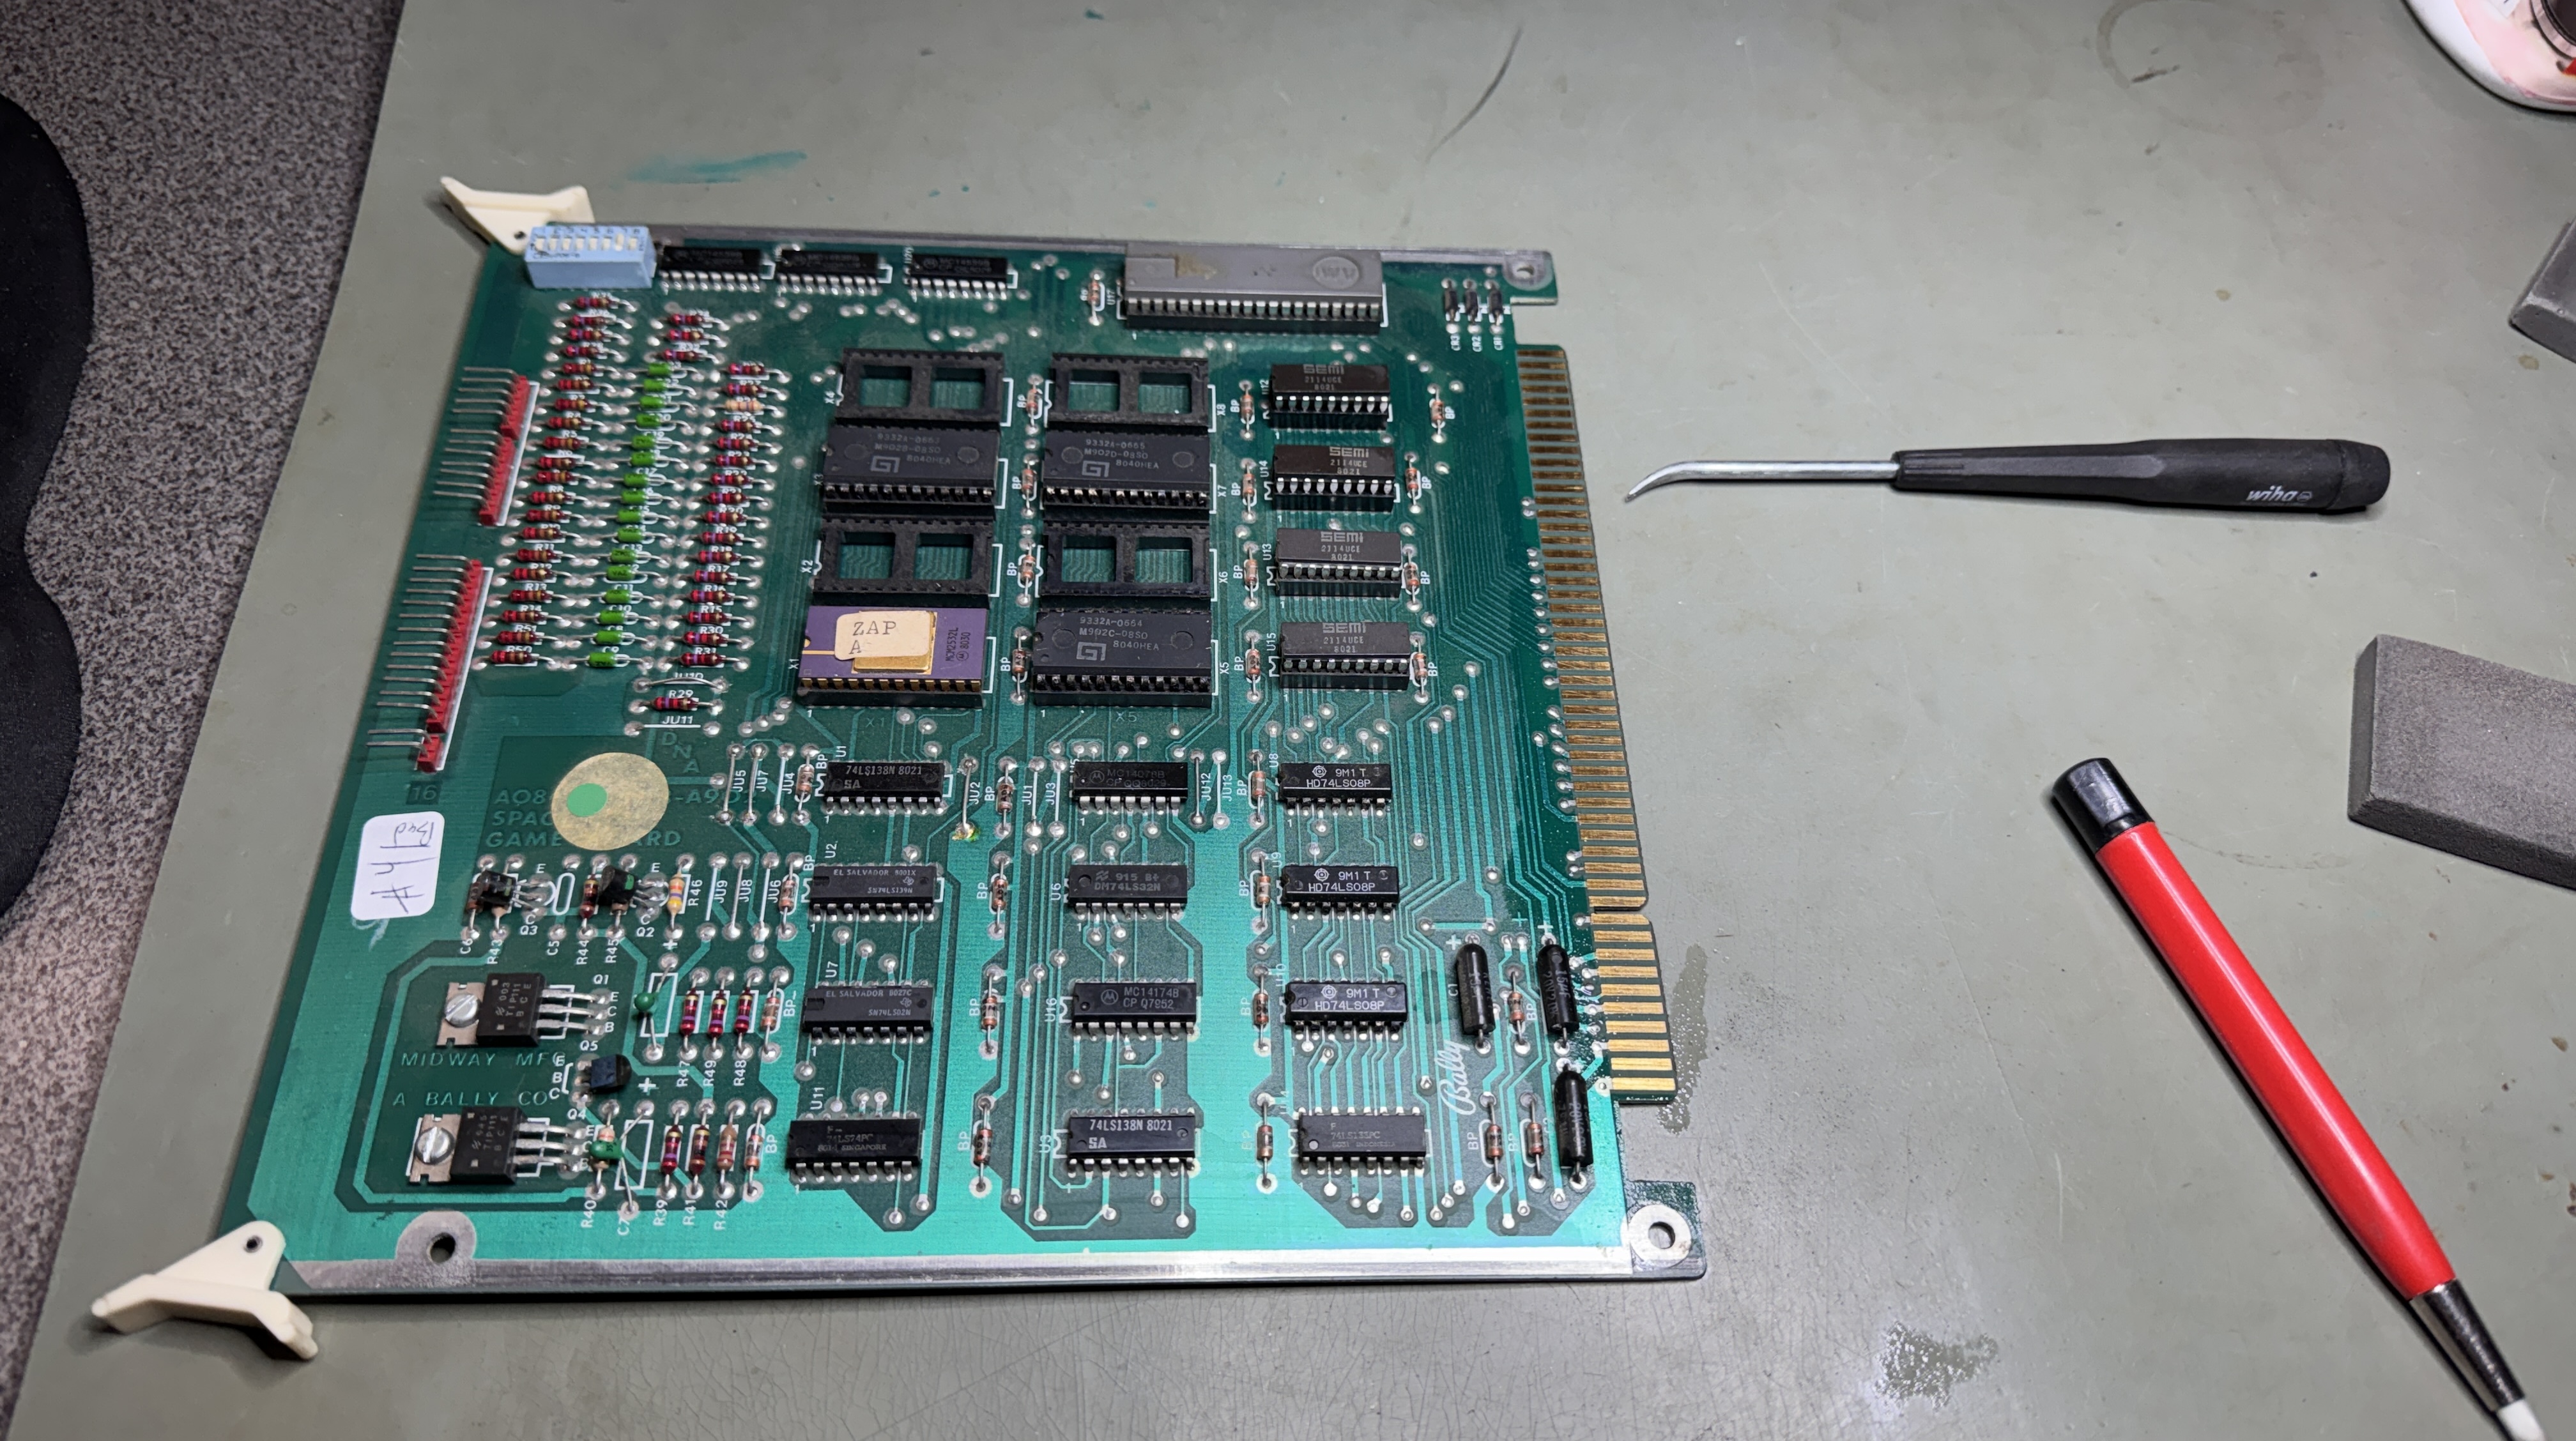
Al the boards got chip cleaning and inspected – I swapped memory and pattern boards around with the good sets and determined that this set only had issues on the CPU board. Swapped in an Astrocade and that was not the issue. Swapped in a Z80 – problem solved.
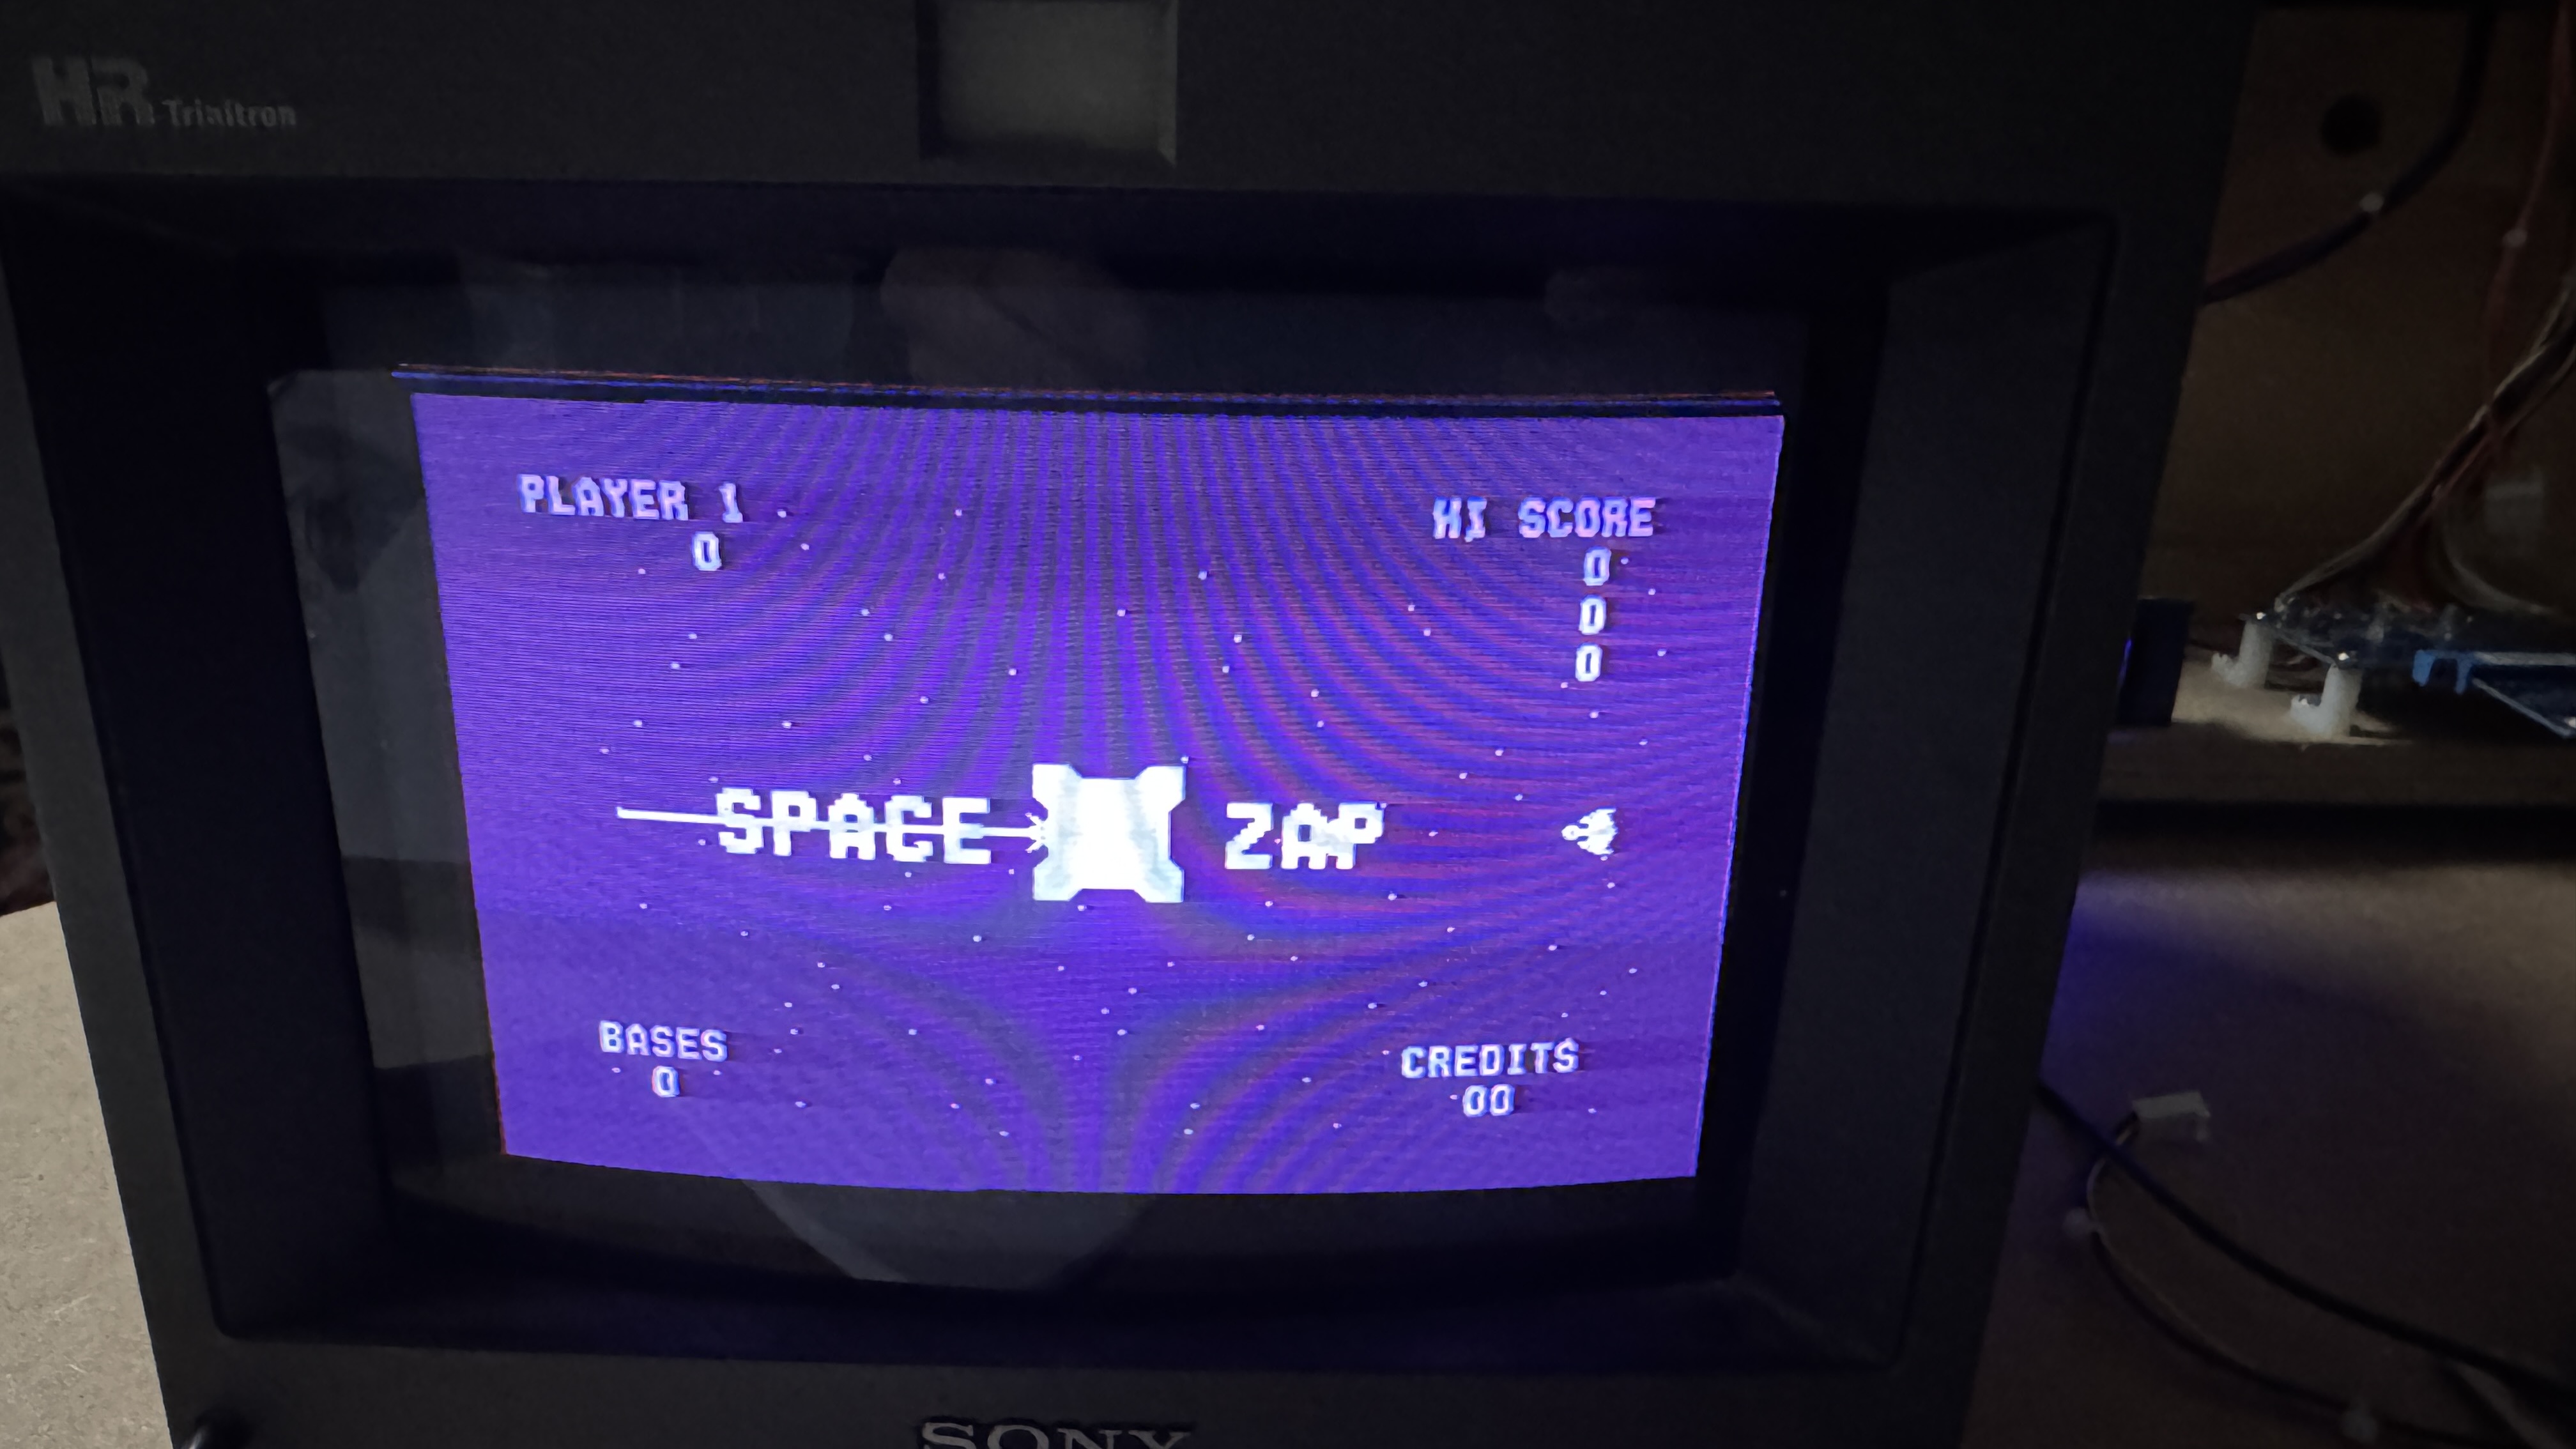
Space Zap is wired to my bench (single) joystick controller. Which is a huge cheat. You can Zap lighting fast with a stick vs the buttons of the original game.
Board works!
Board #5 – Sent in for repair
My guess is this one had not been checked in some time.
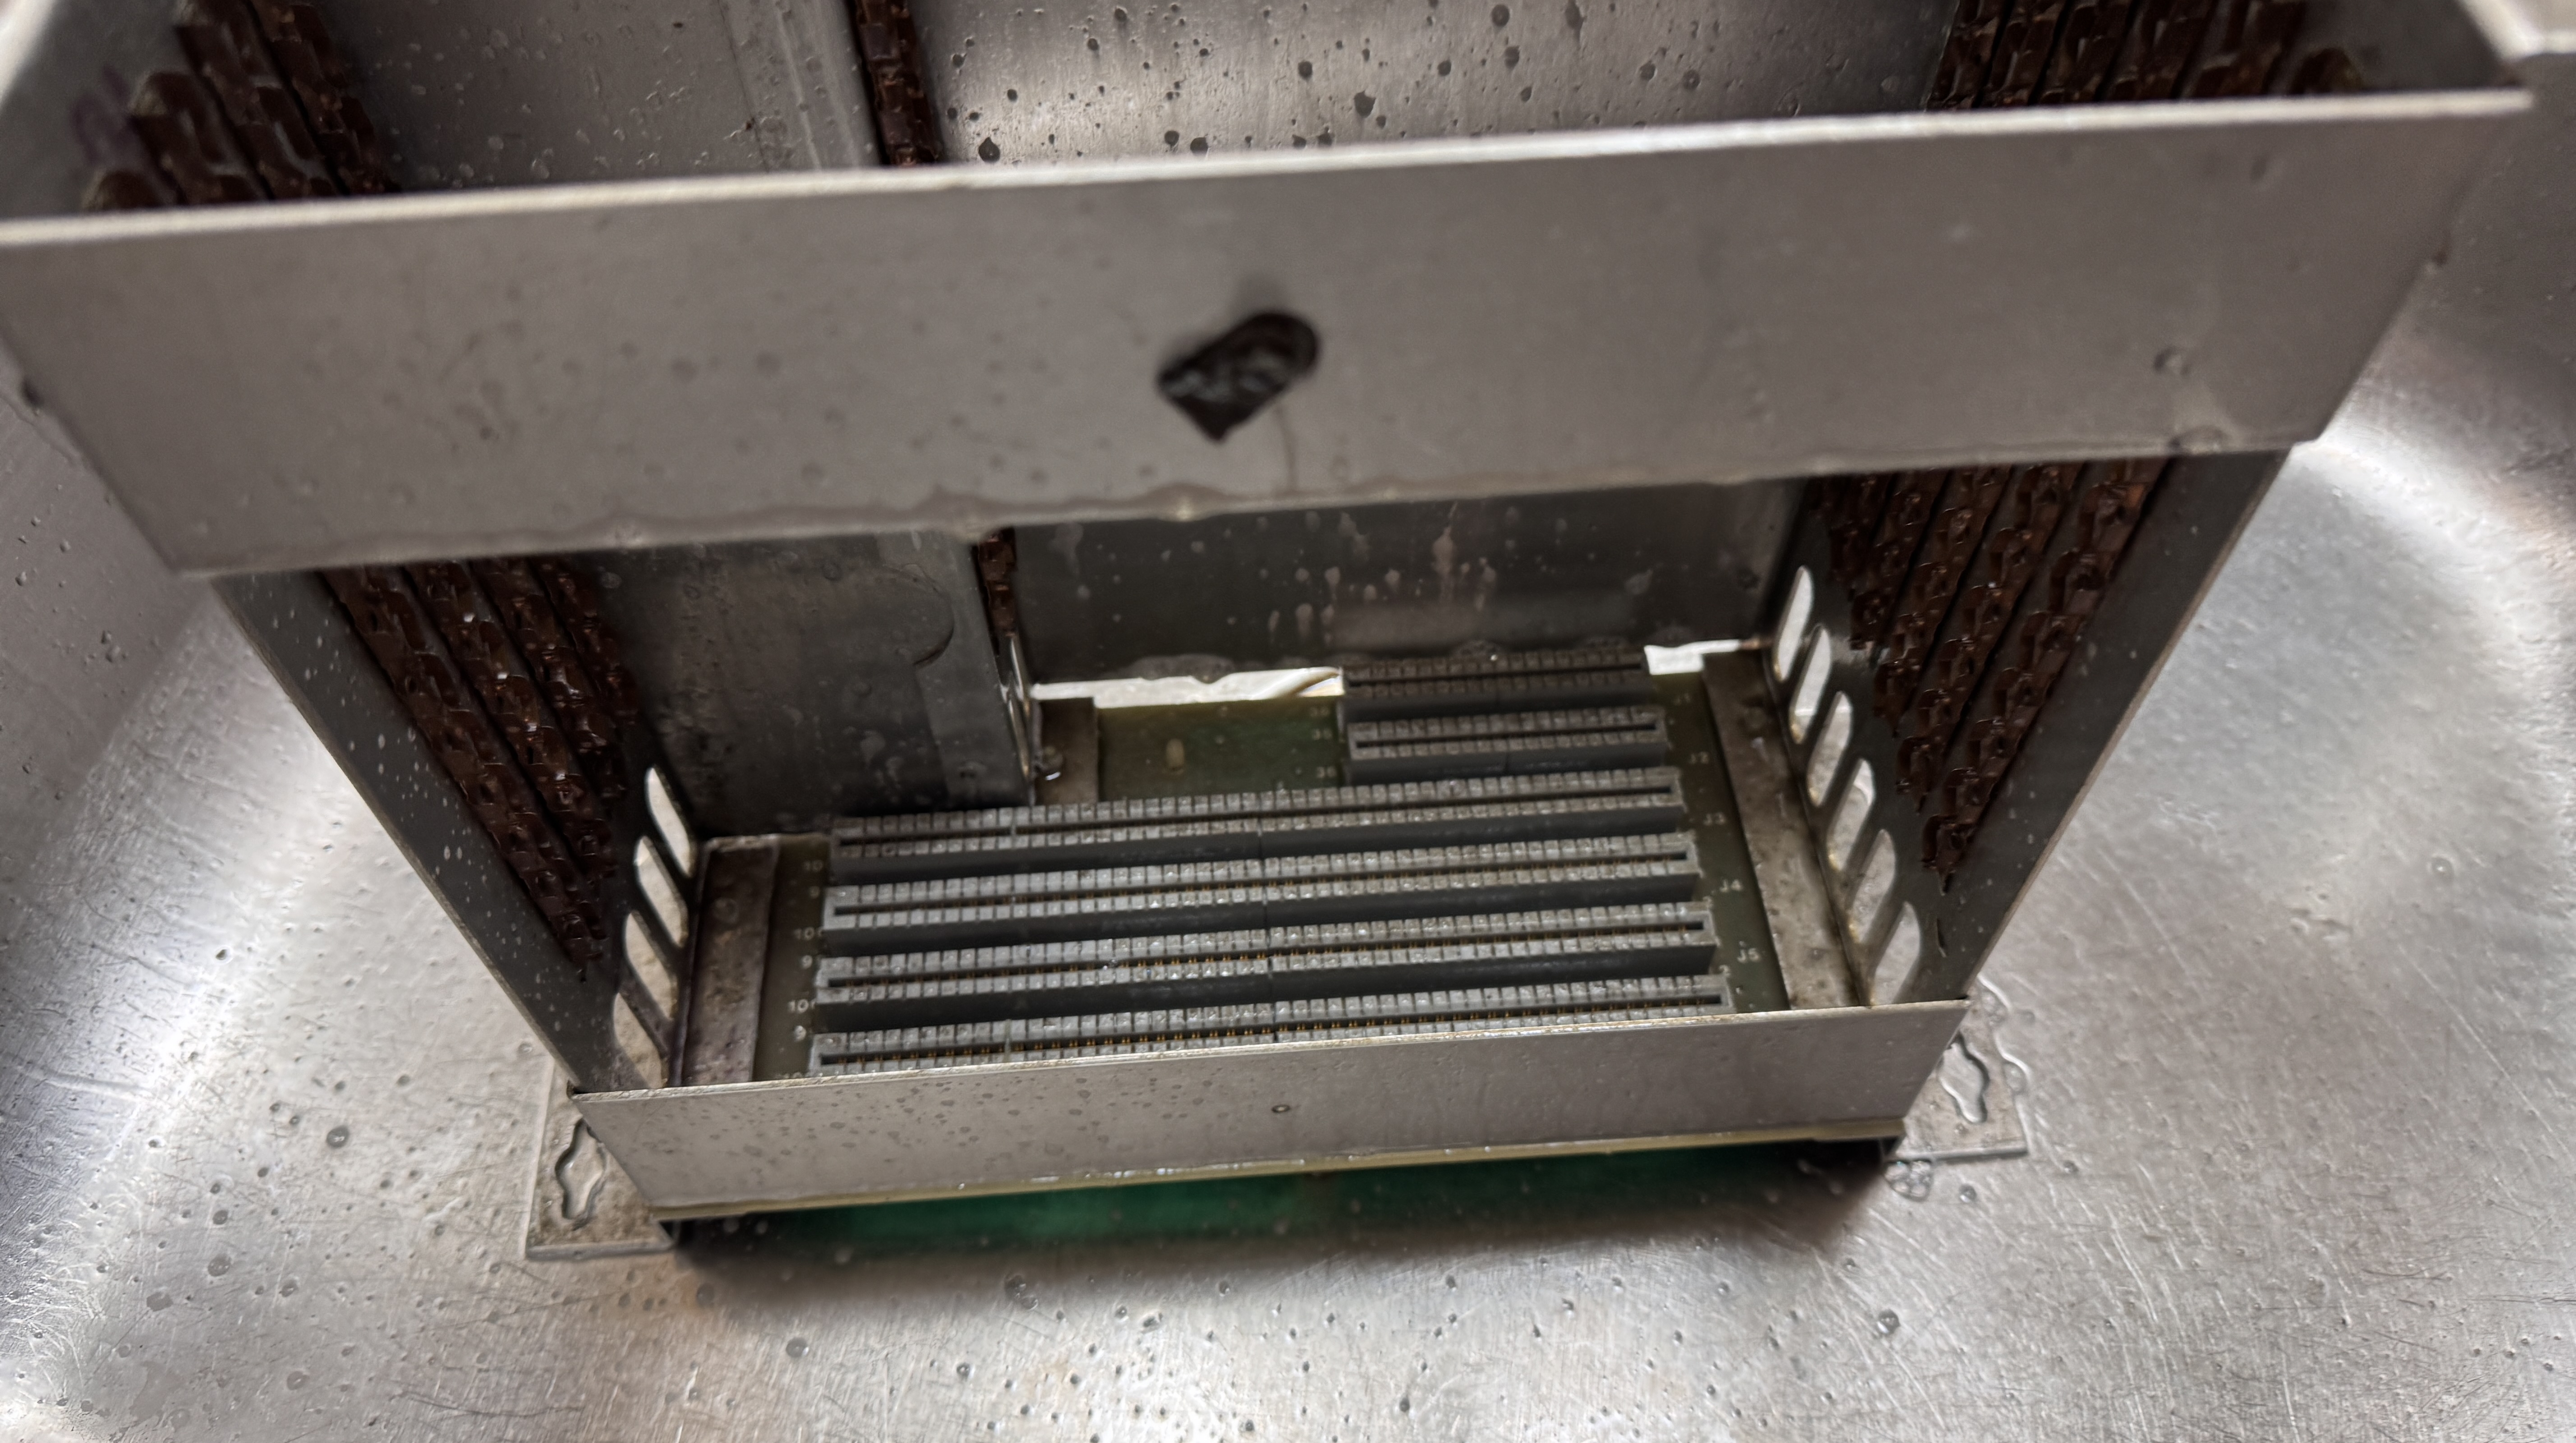
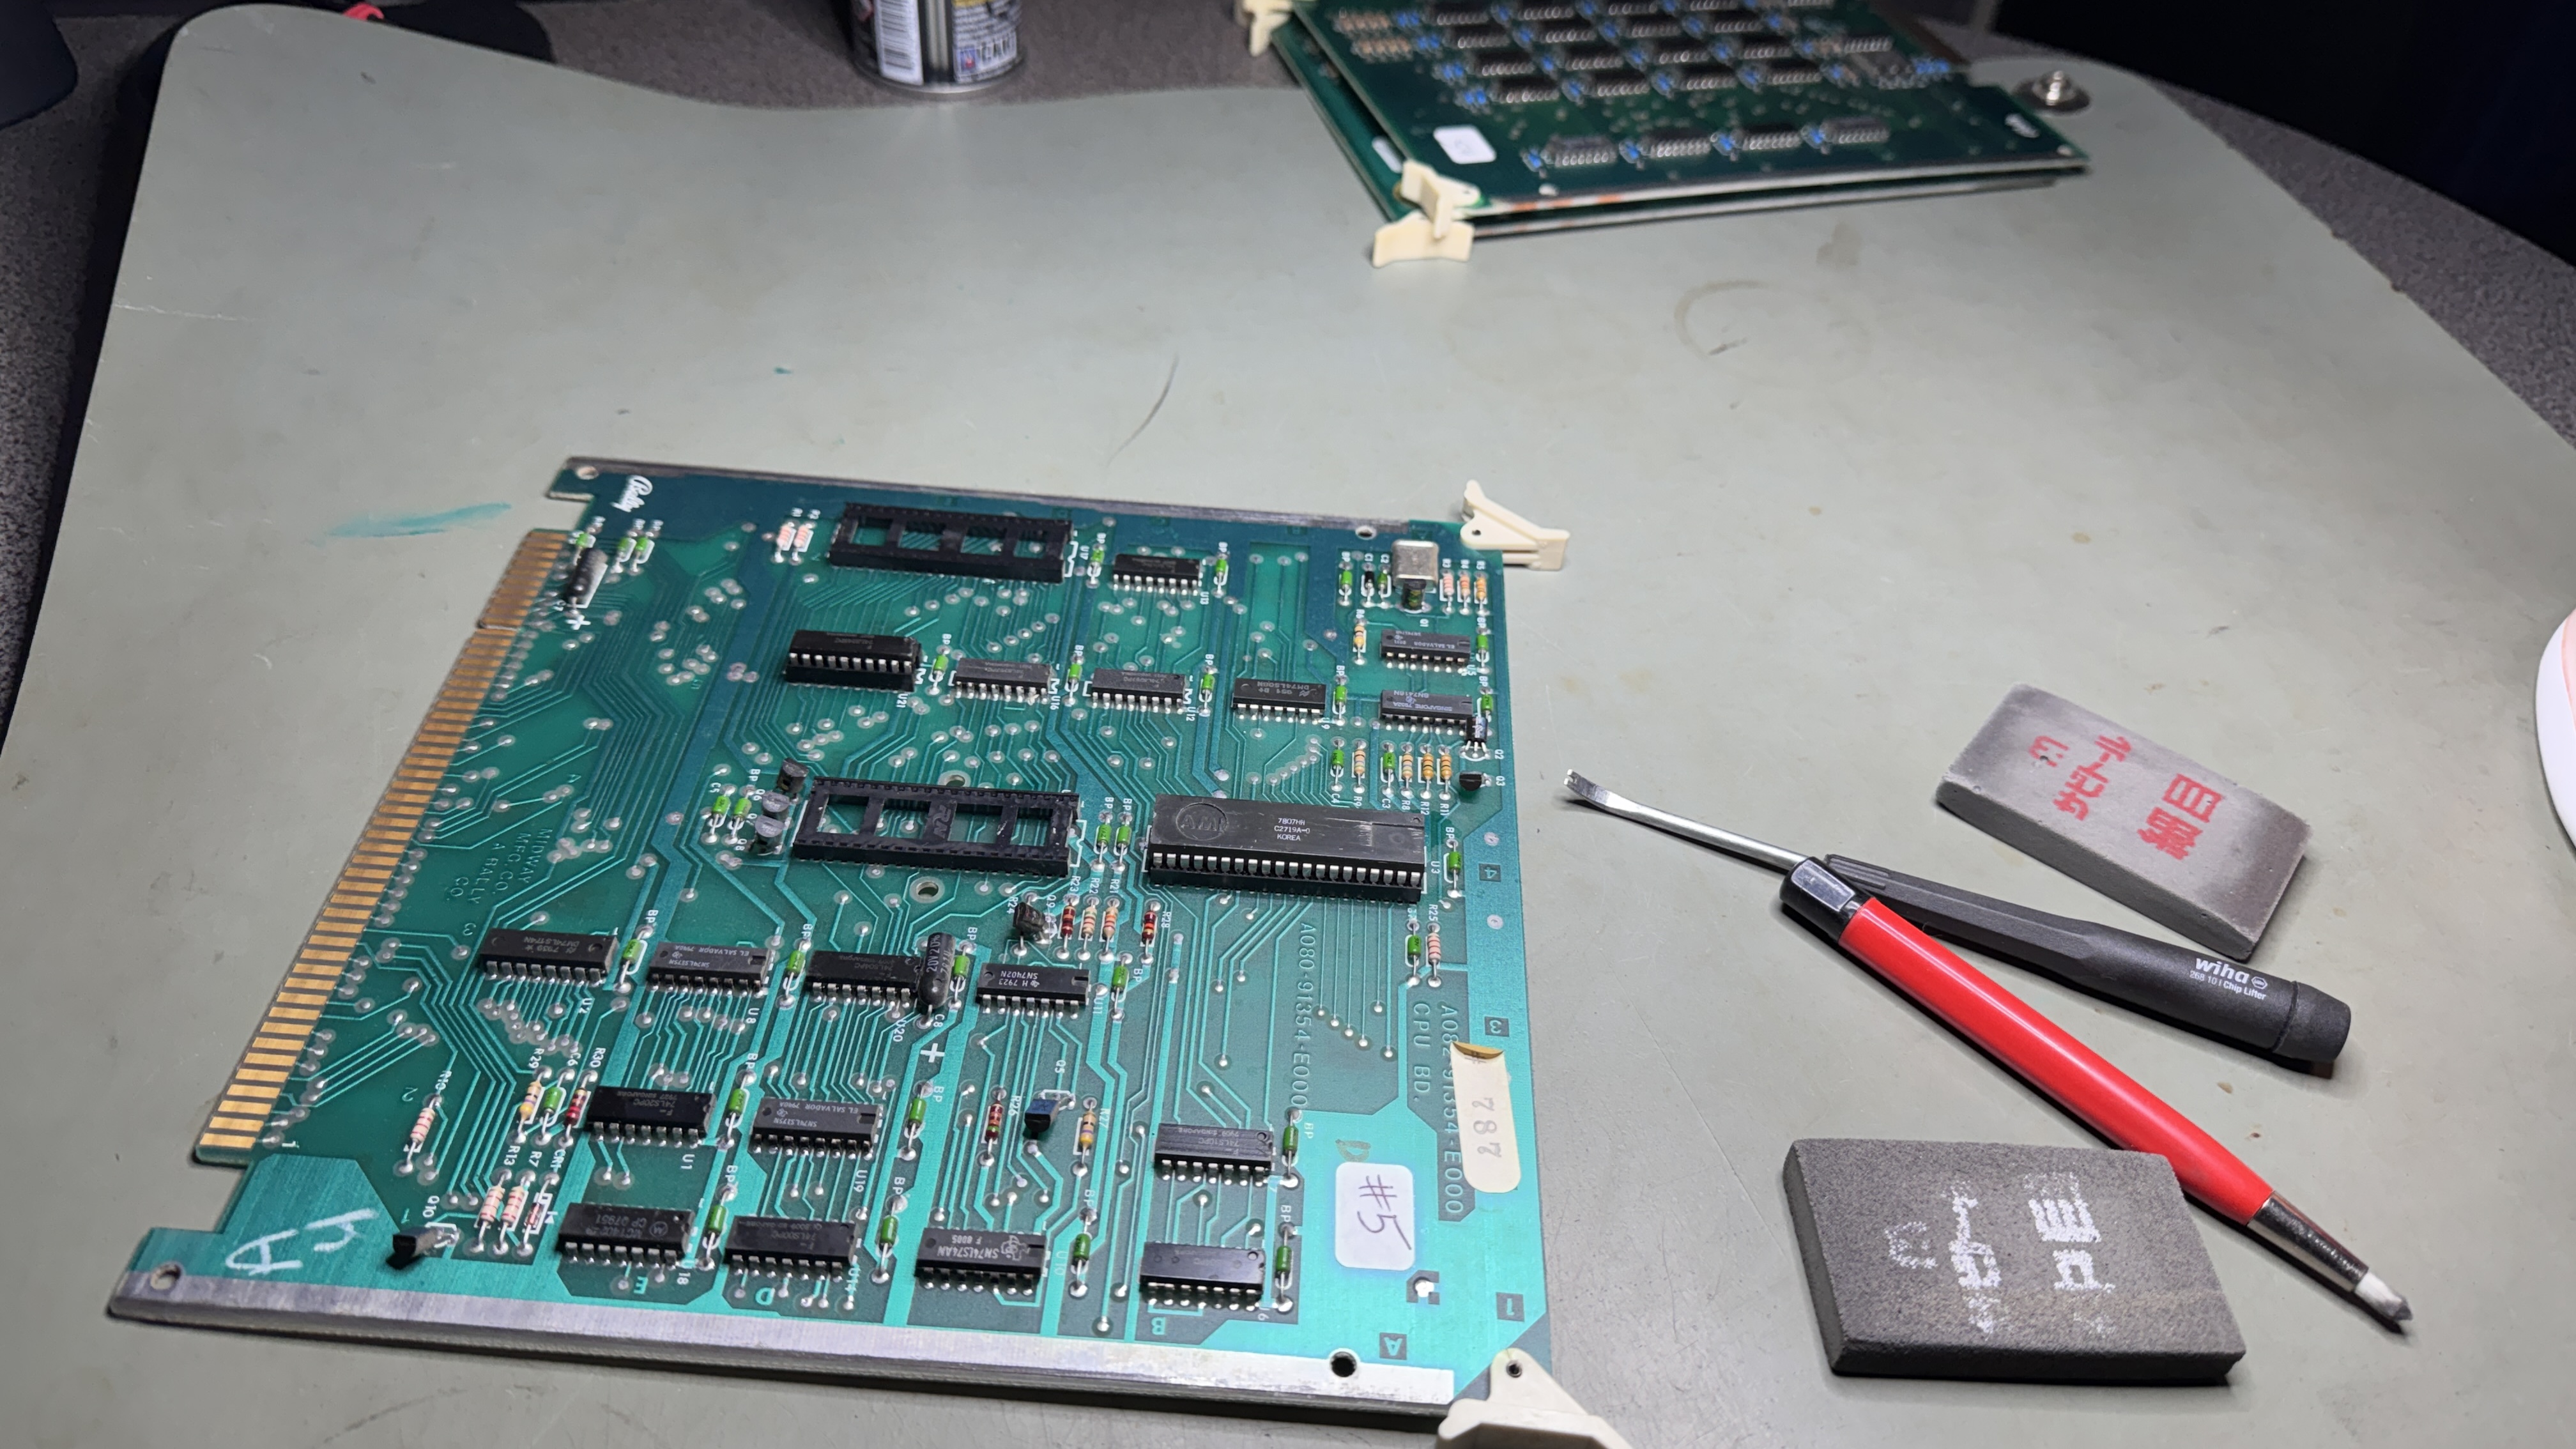
Before even powering it up I washed the cage and did all of the chip cleaning.
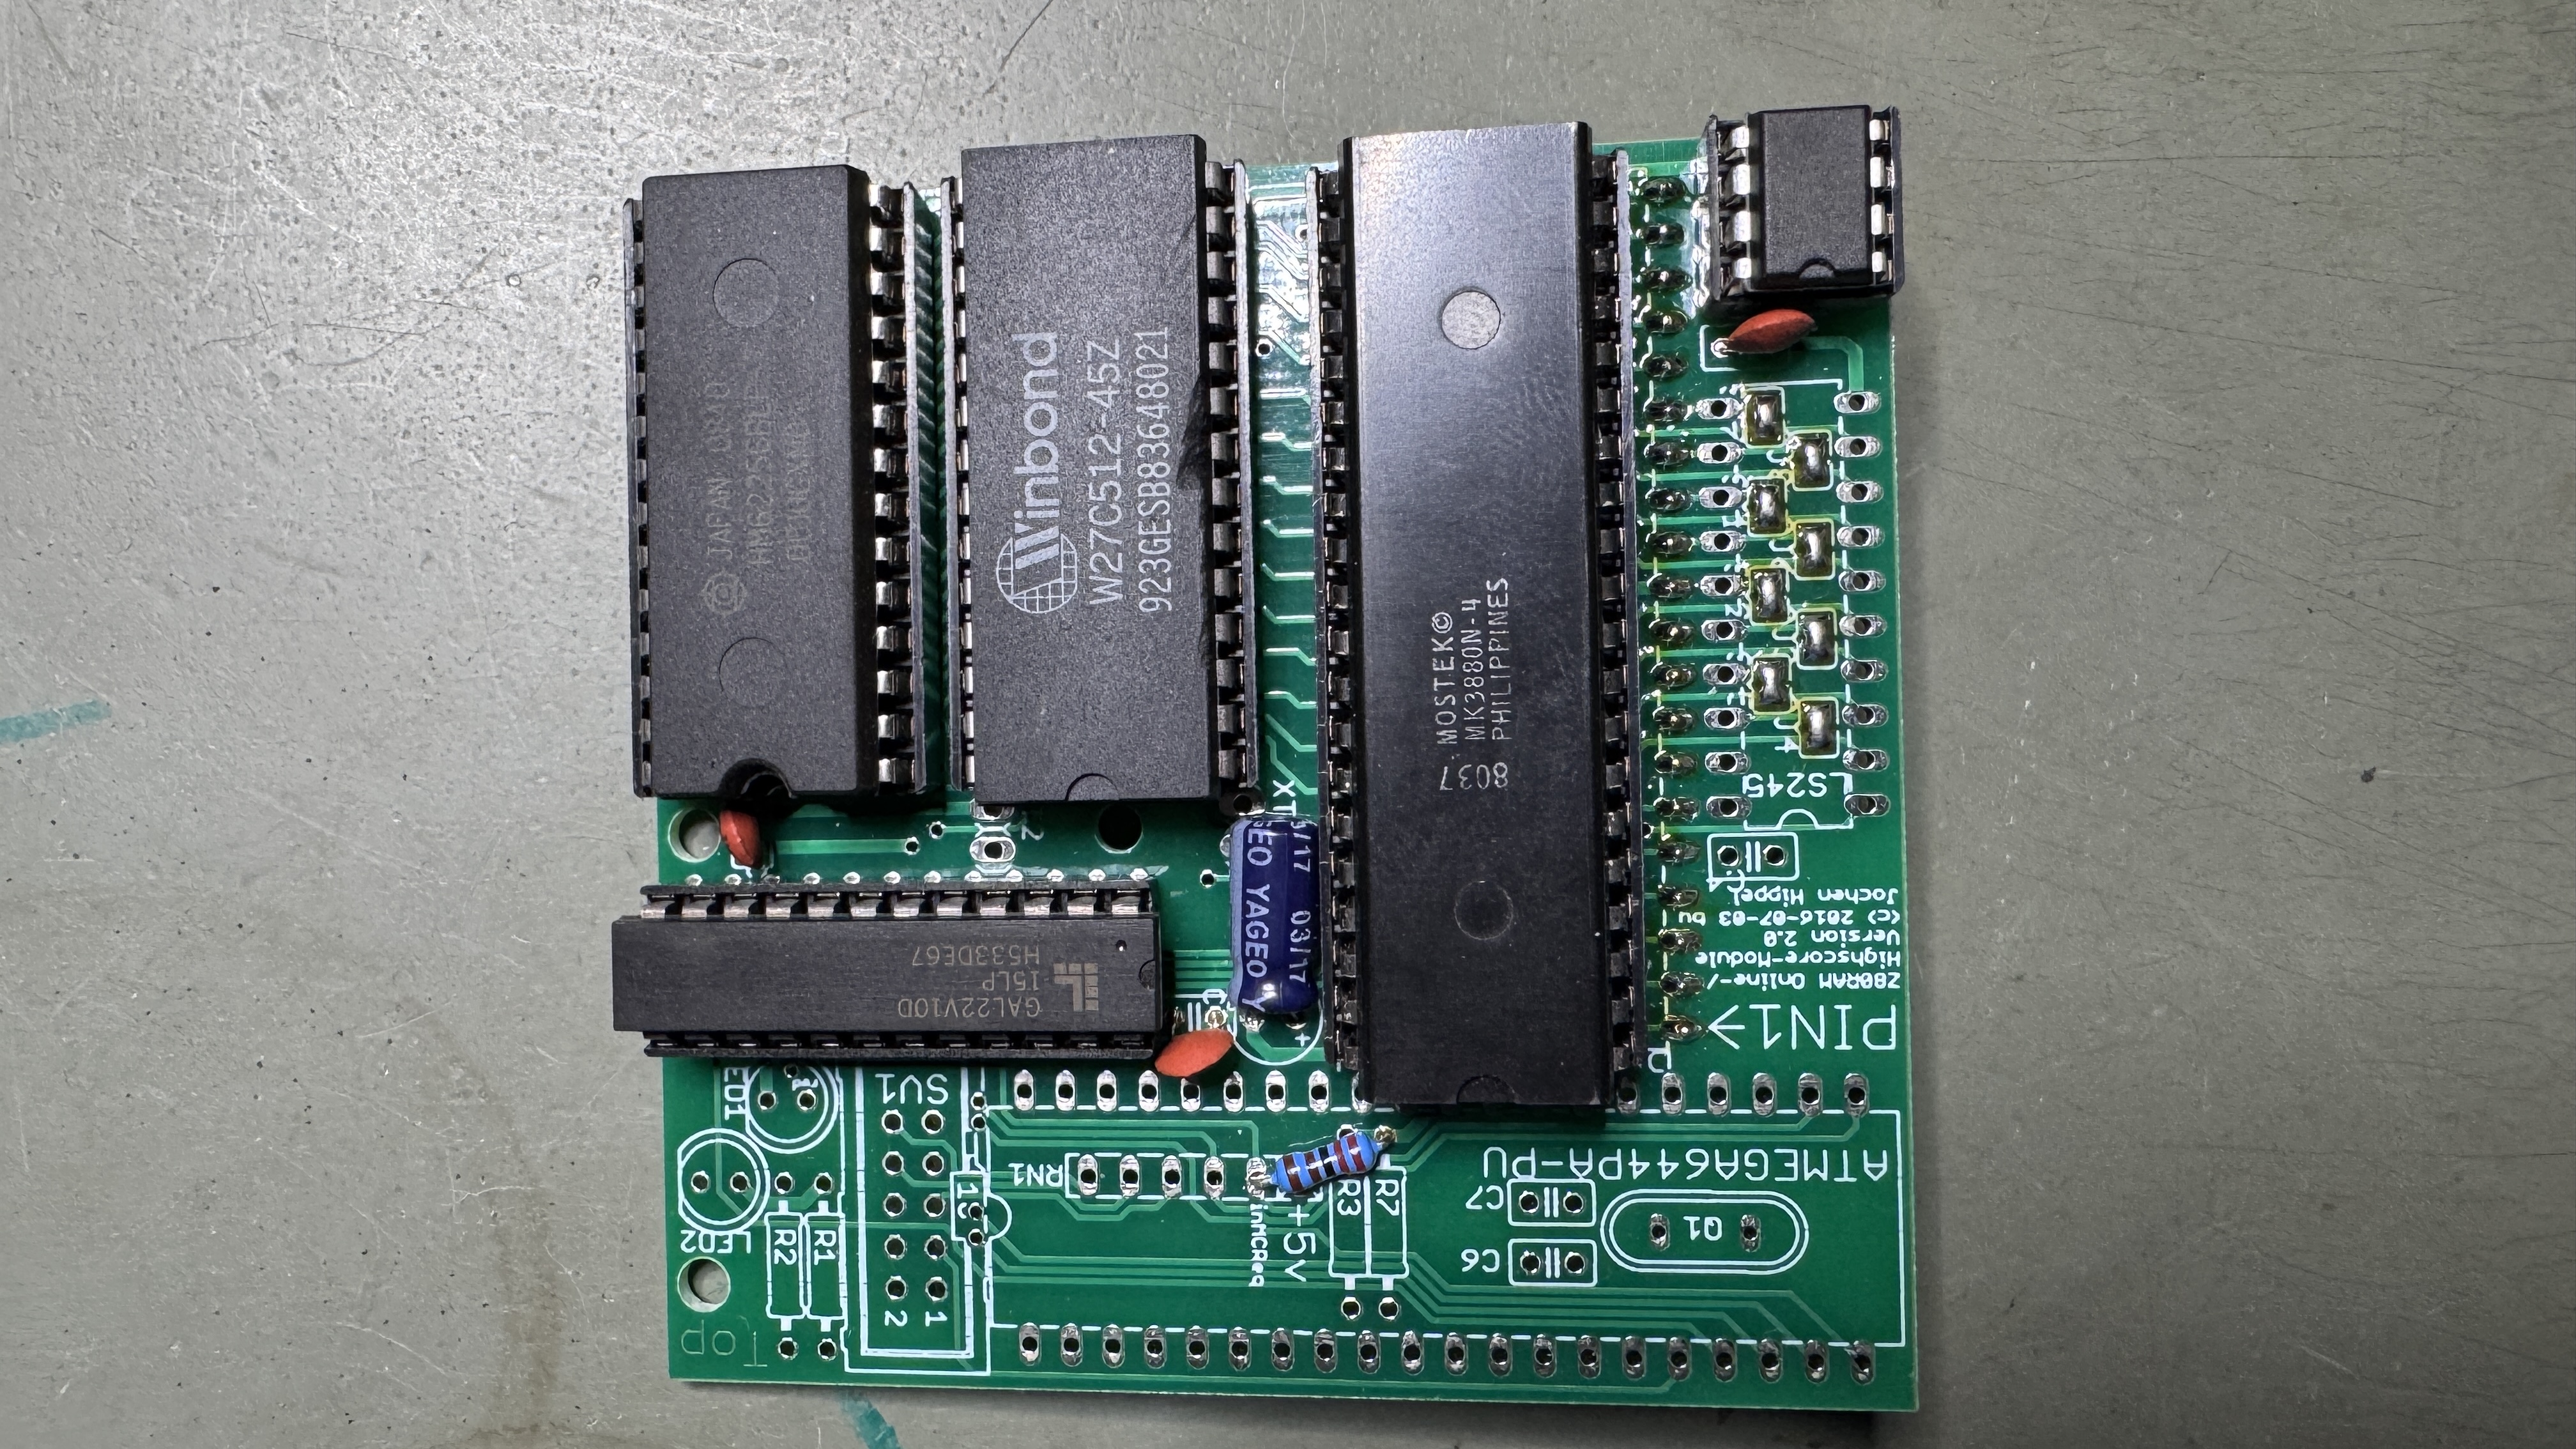
The interesting part was this High Score Save hit. It also has some built in diagnostics and overall was a nice addition to the cage.
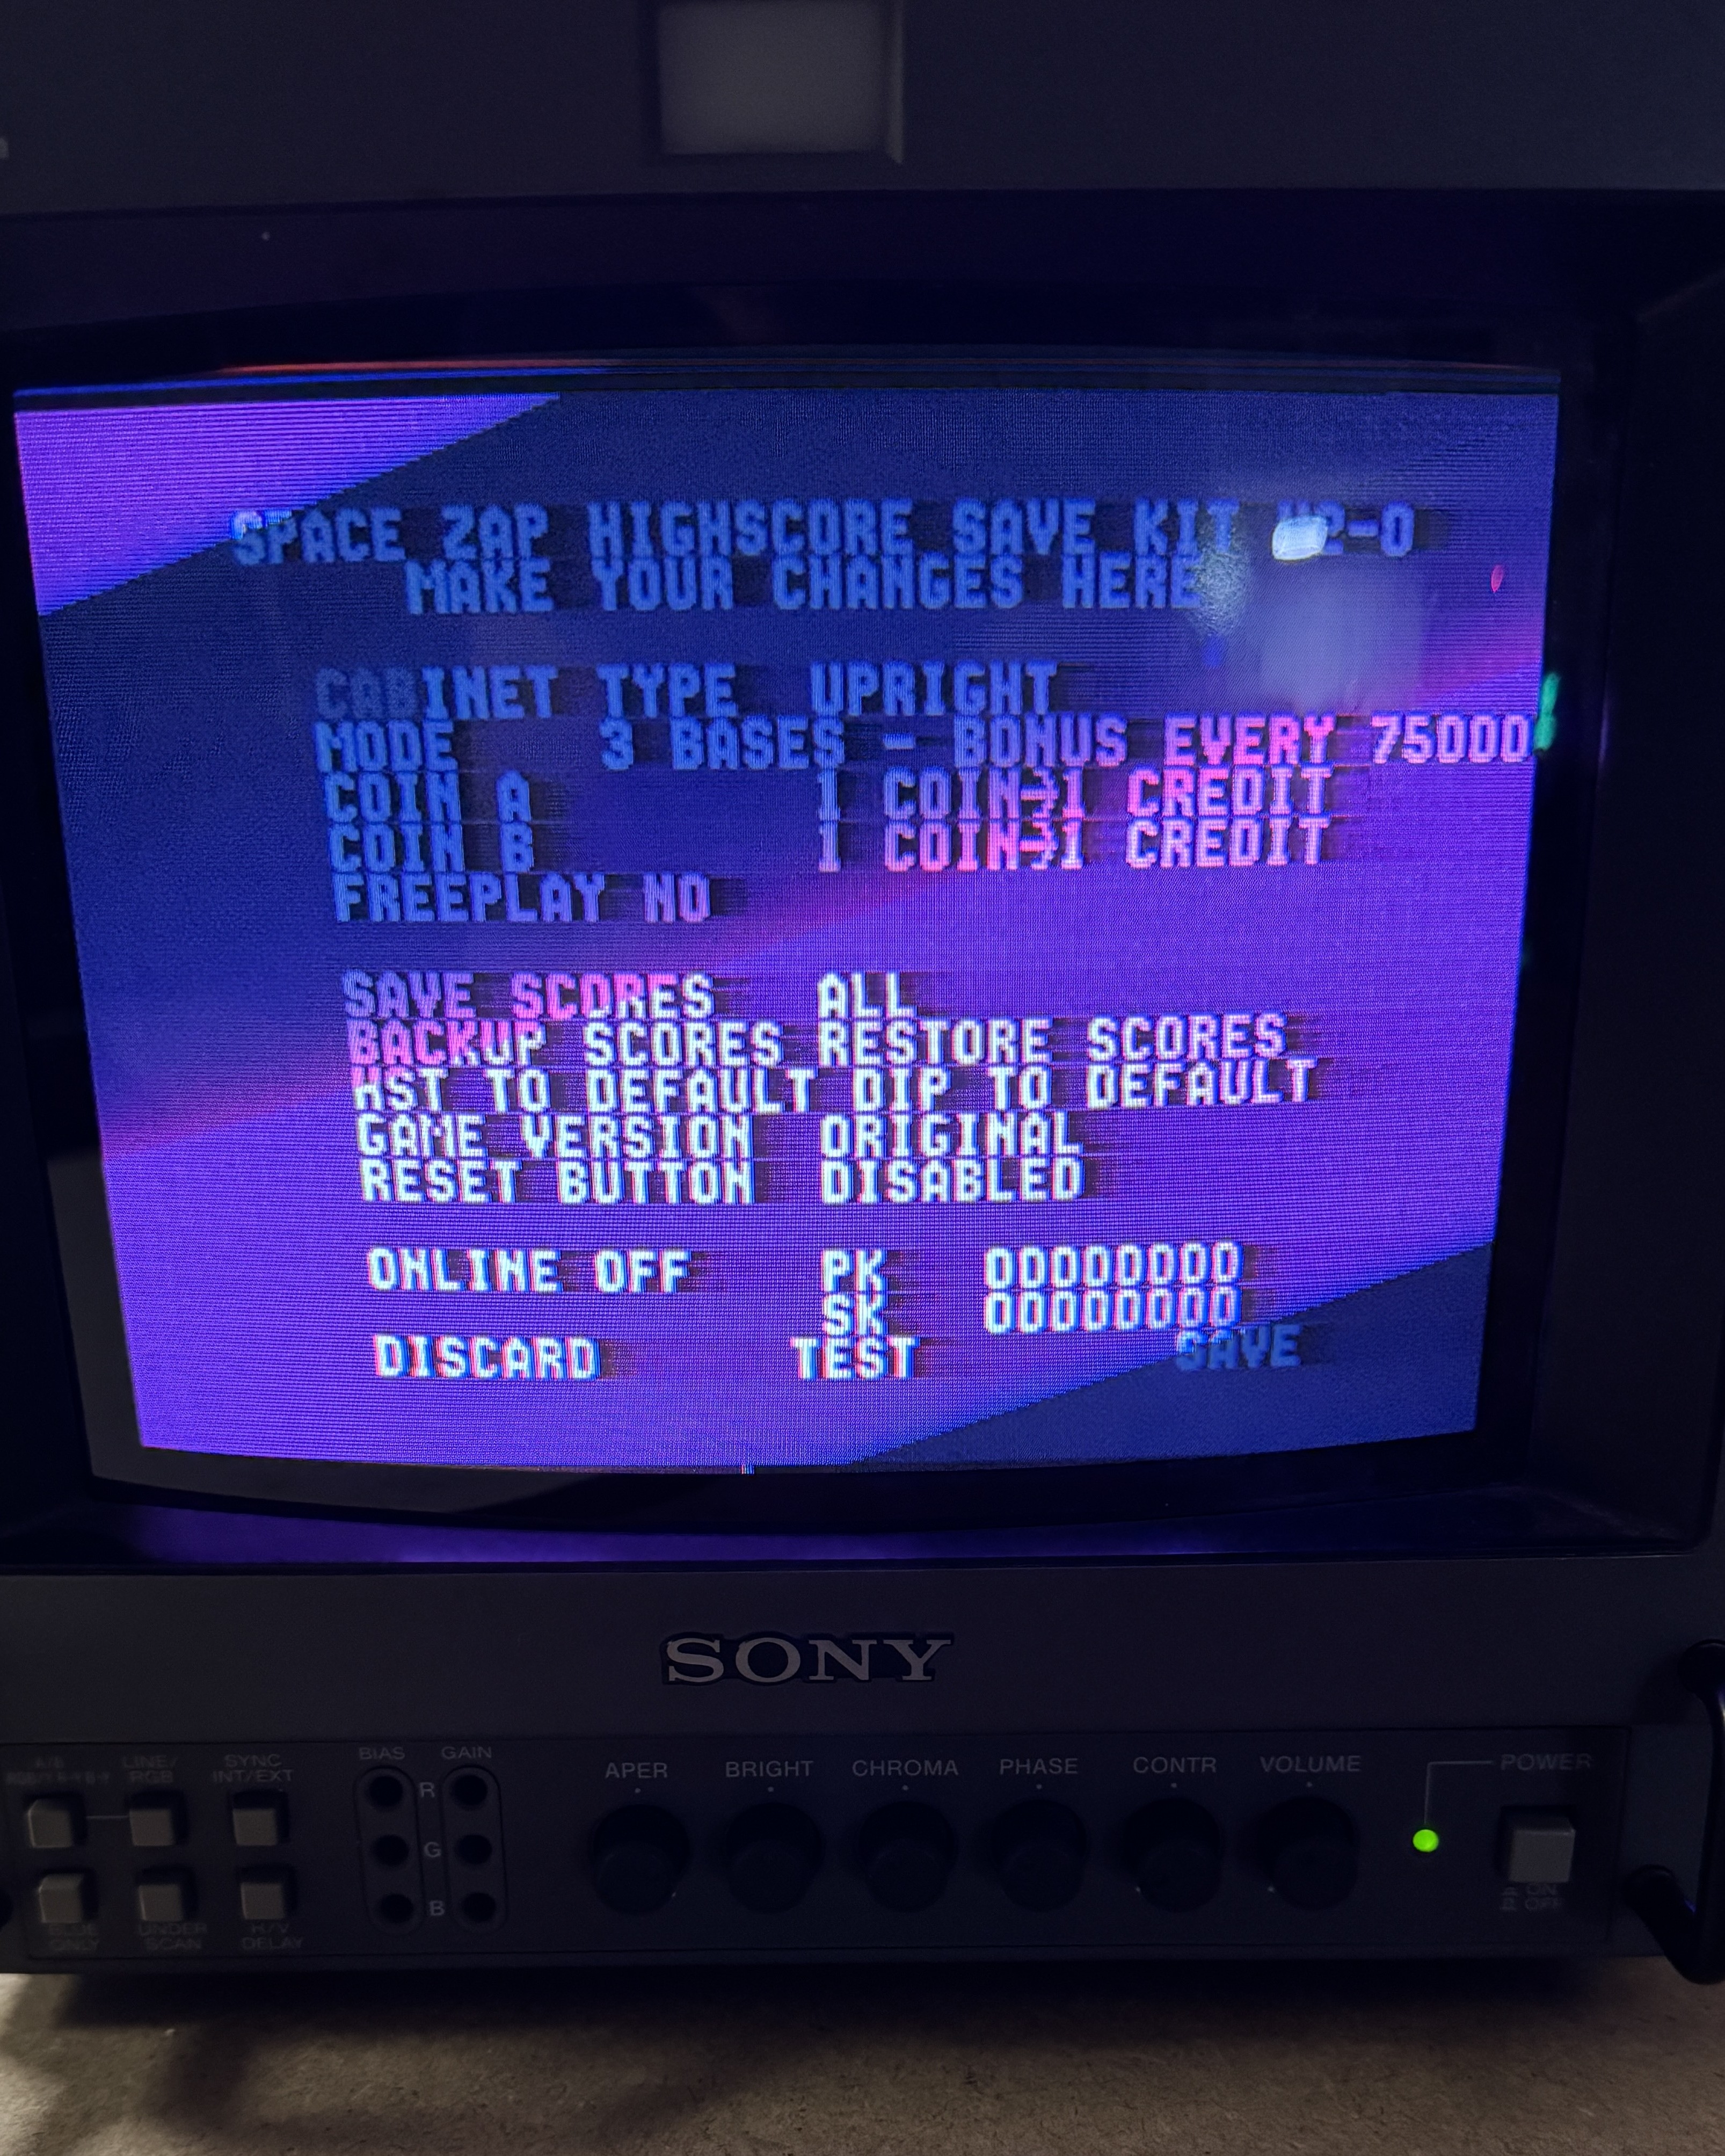
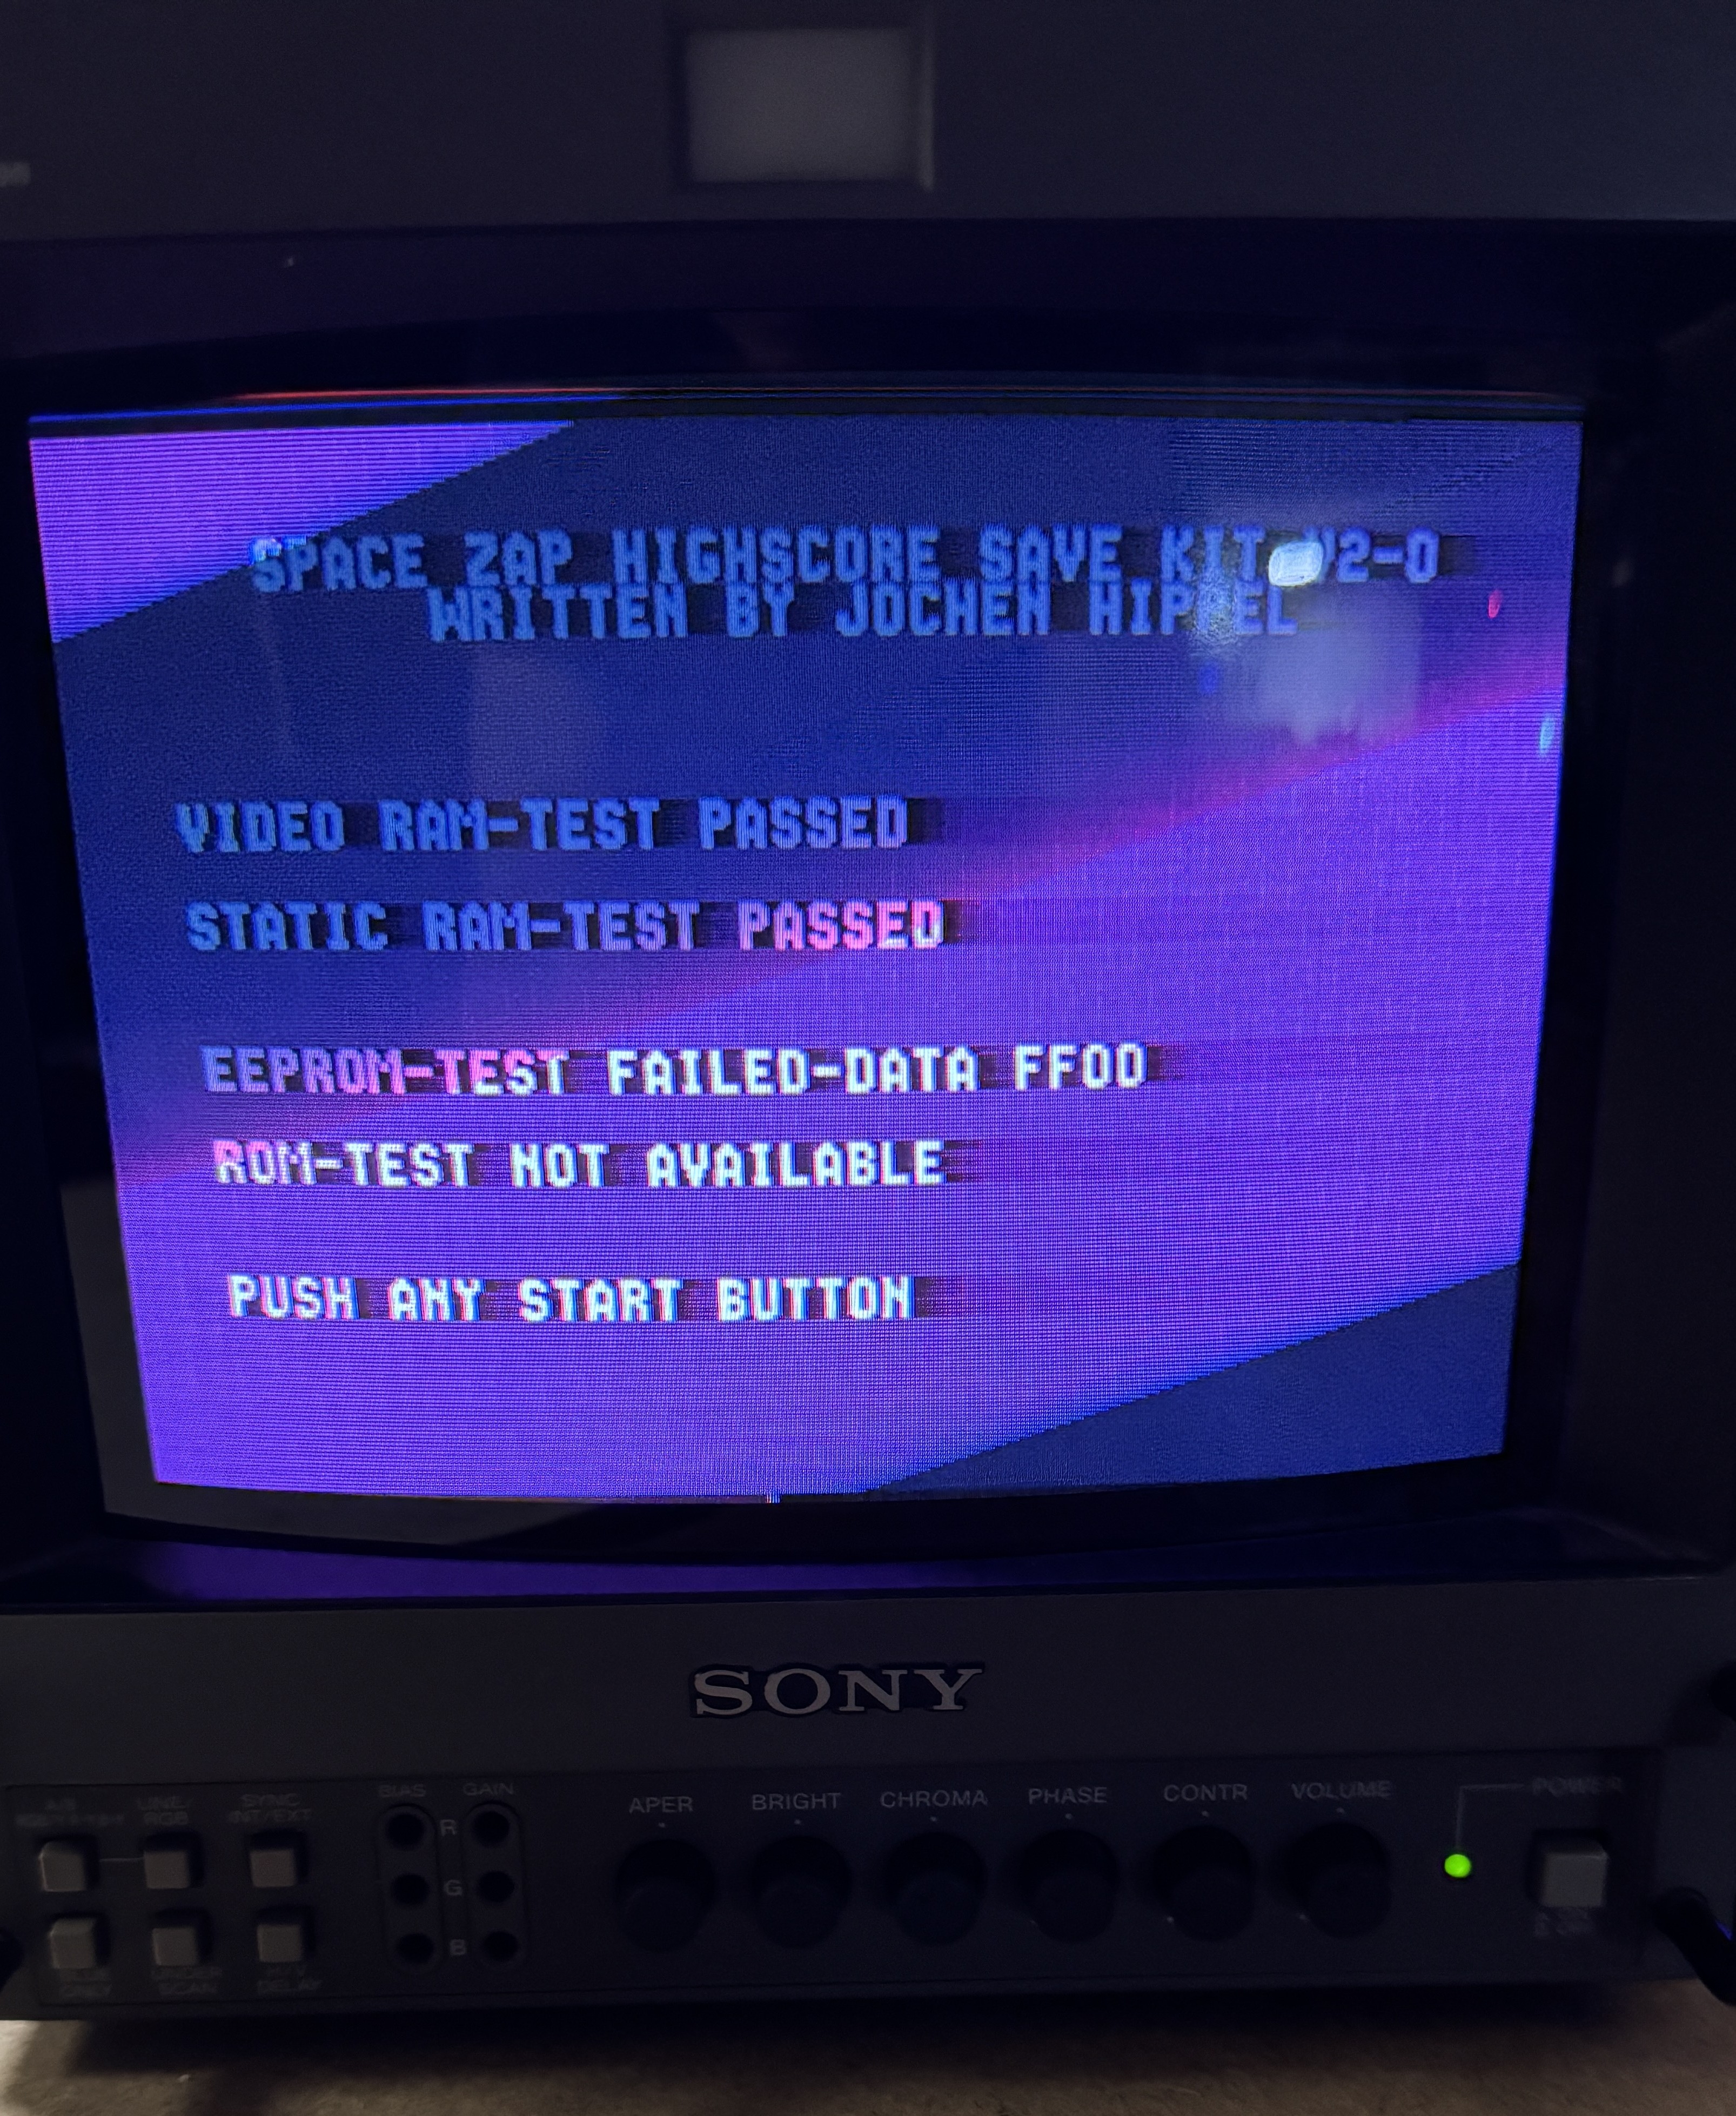
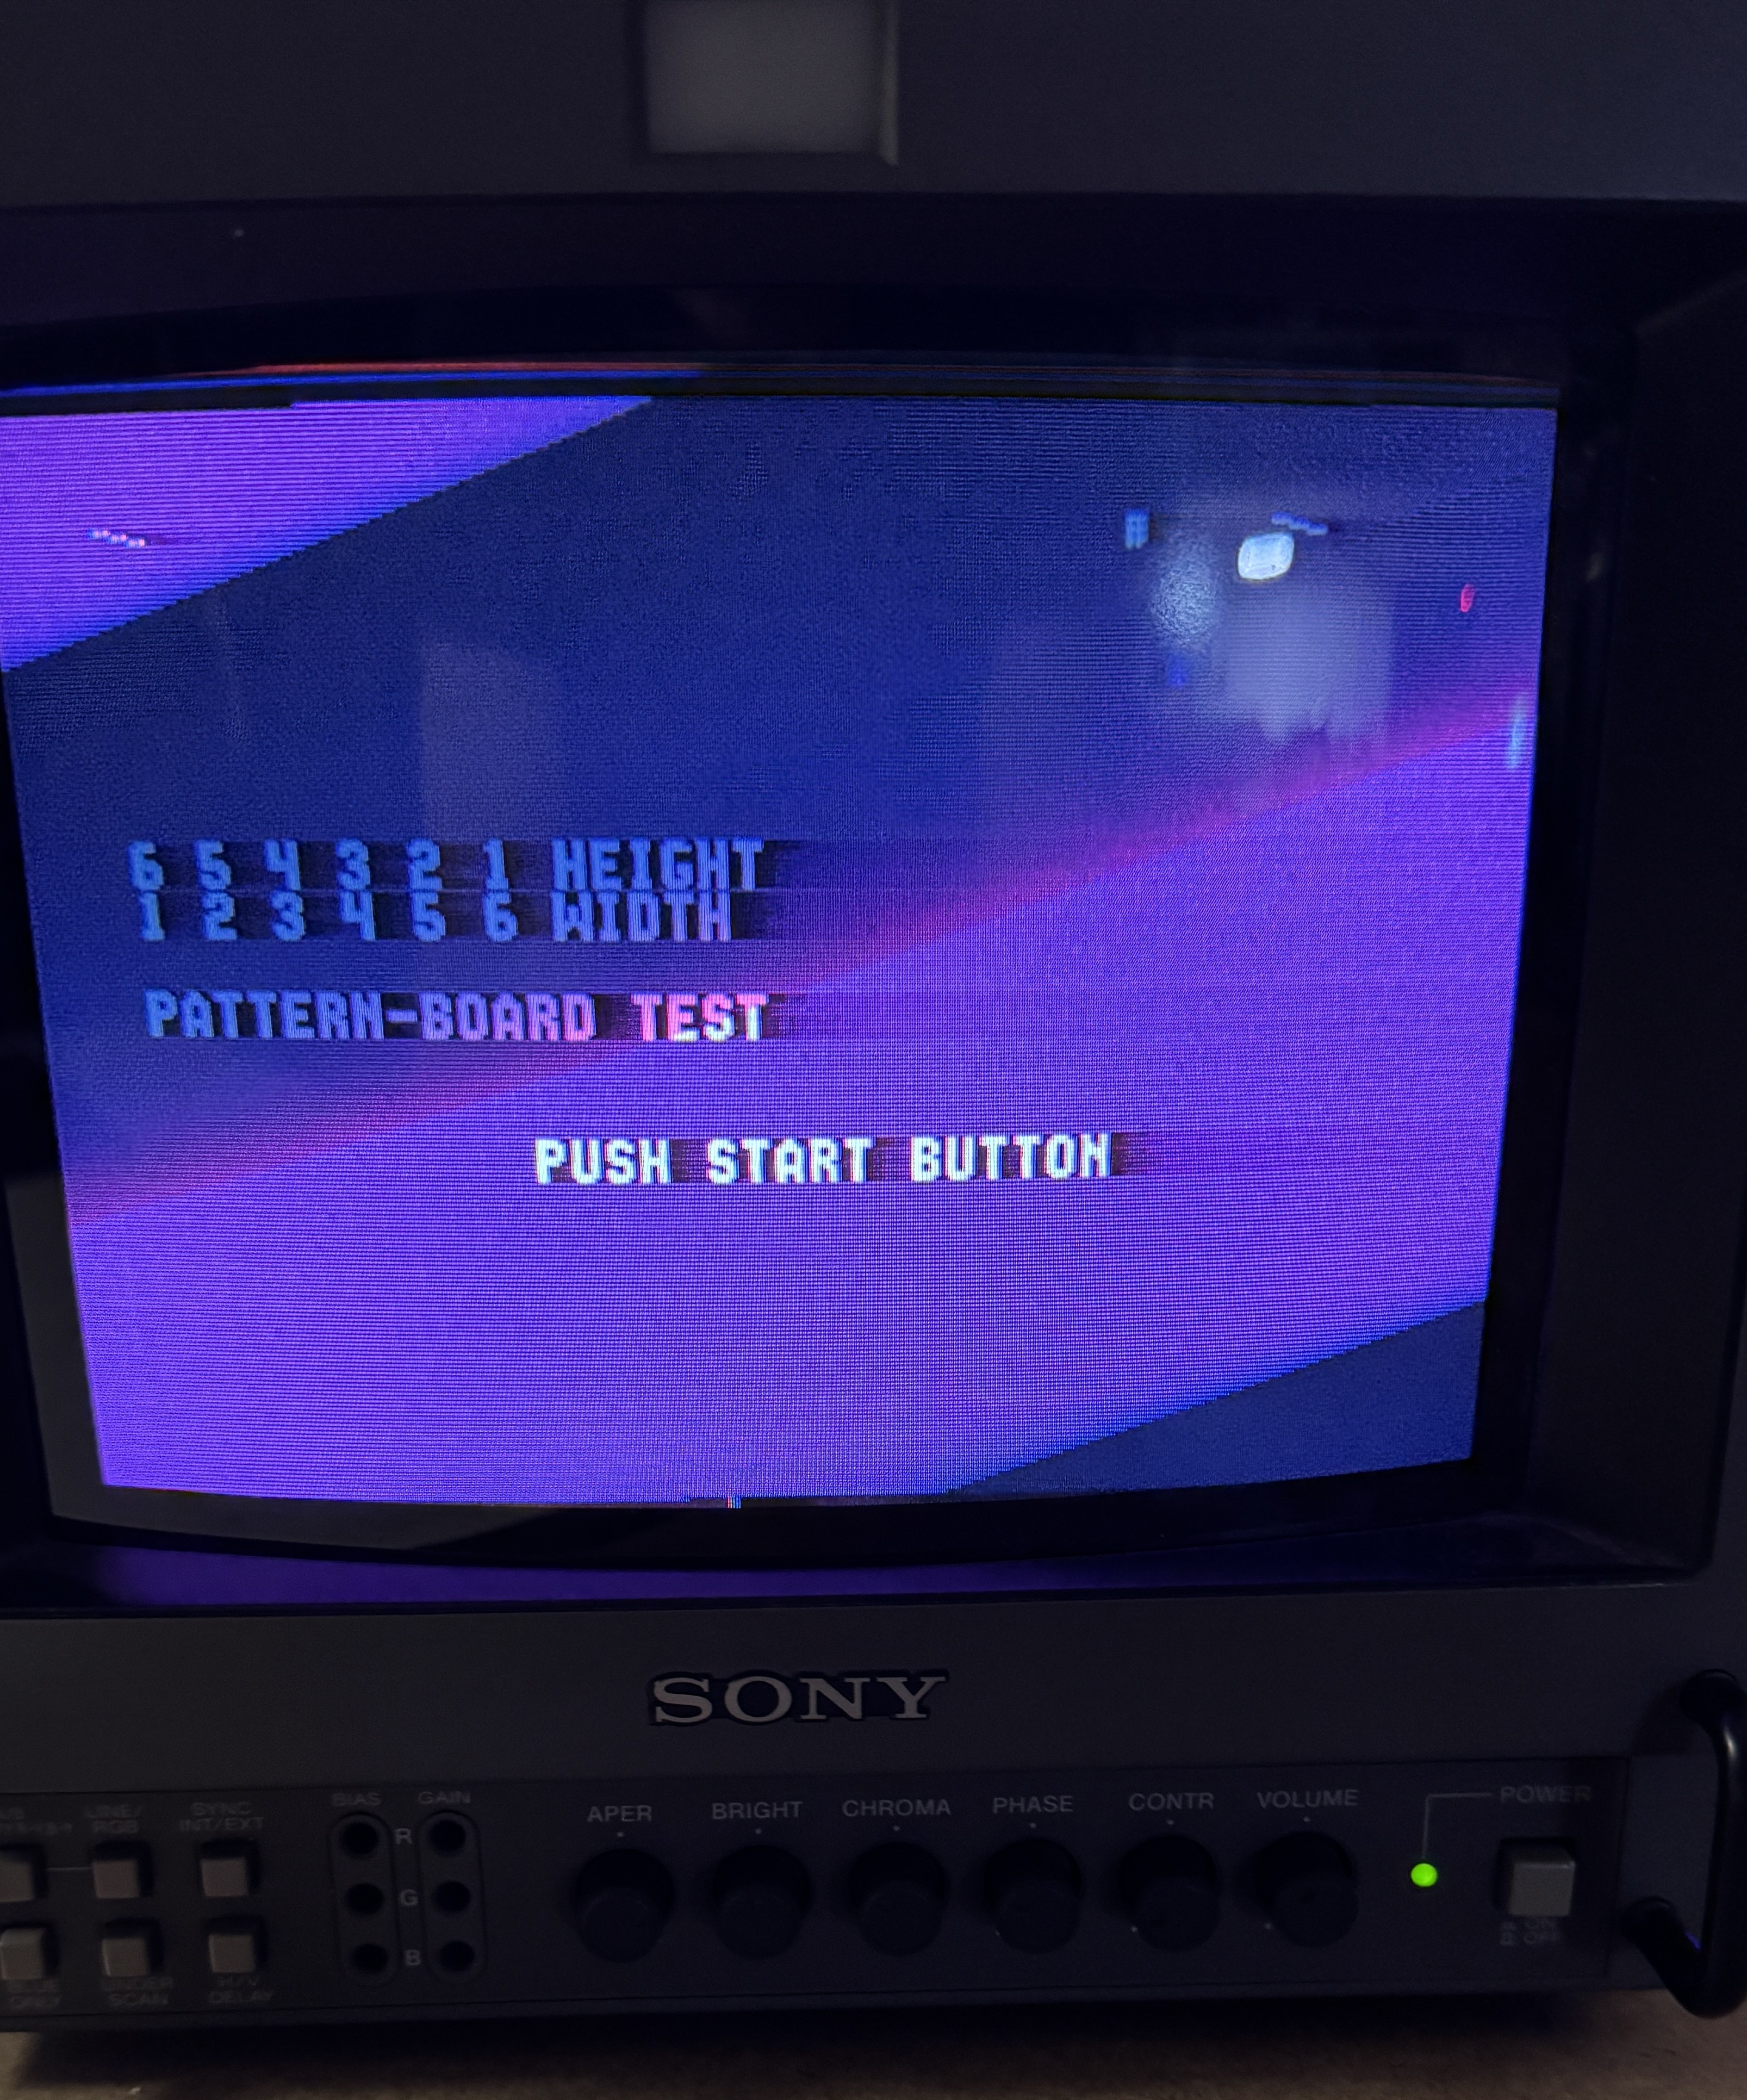
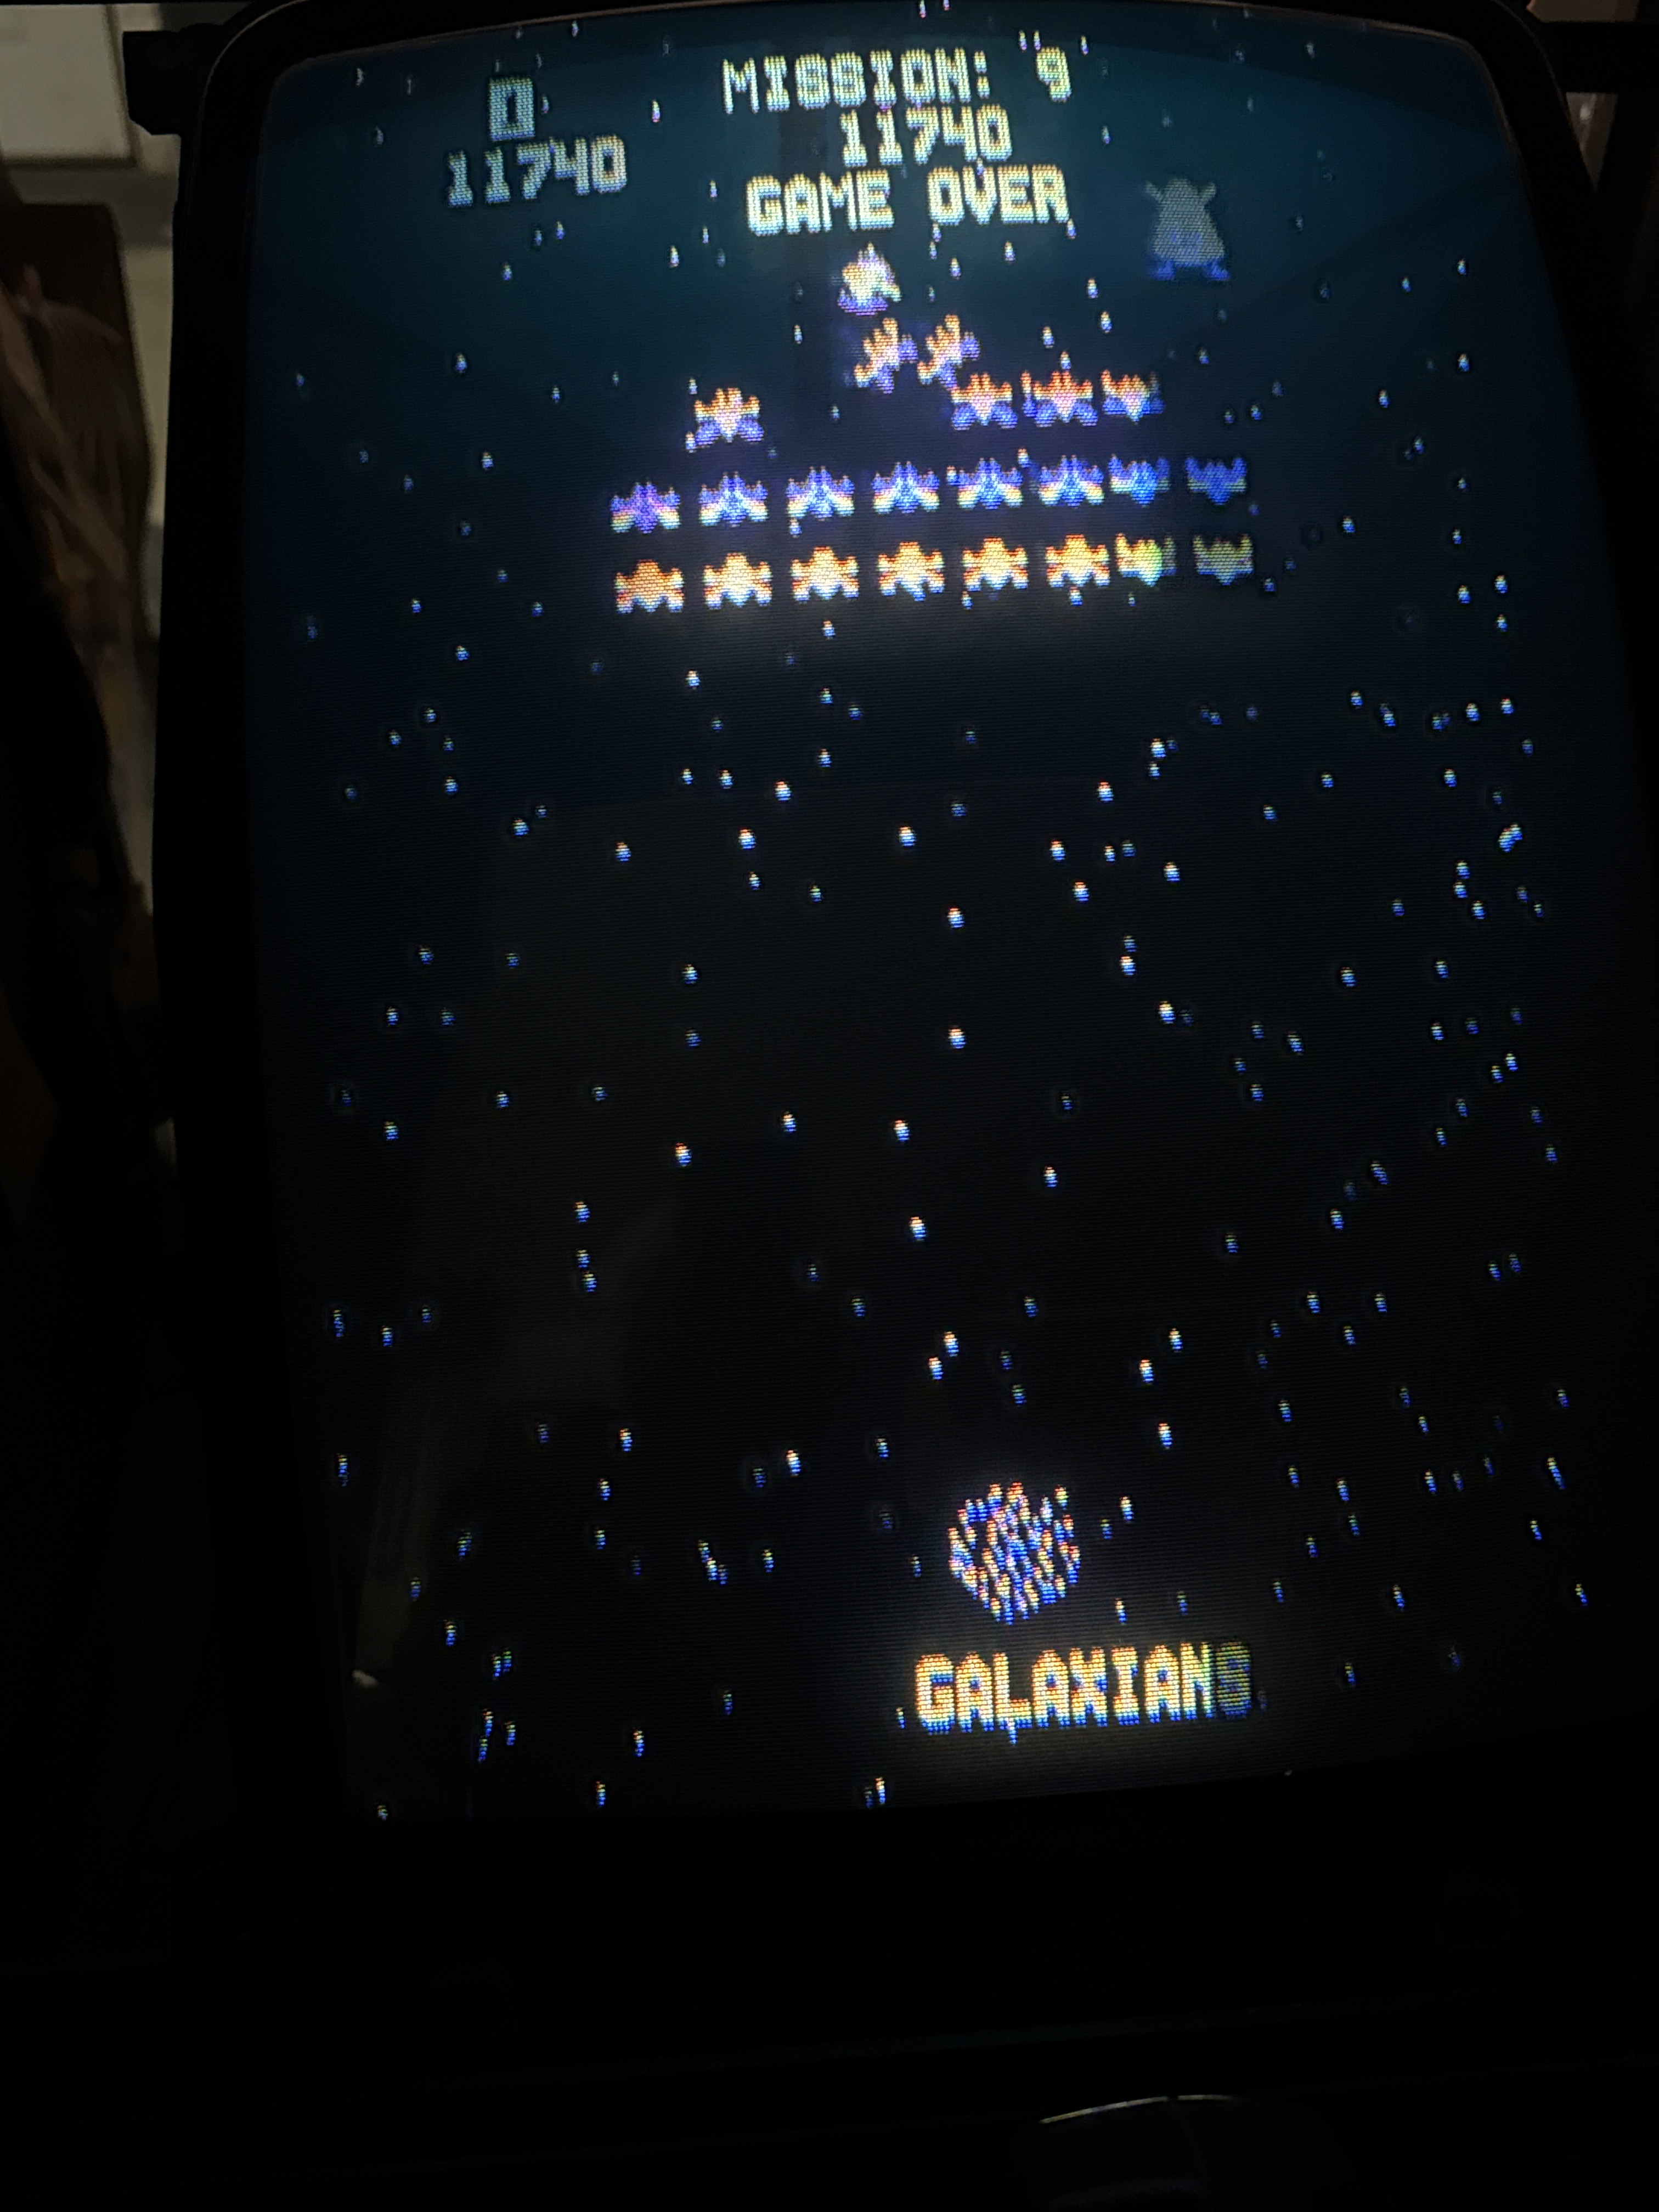
Here you can step through the freeplay setup and run tests. It says EEPROM tests fail – not sure what it is testing.. My high score has been on there for a week. I’d didn’t have a bad pattern board.. But it tests it..
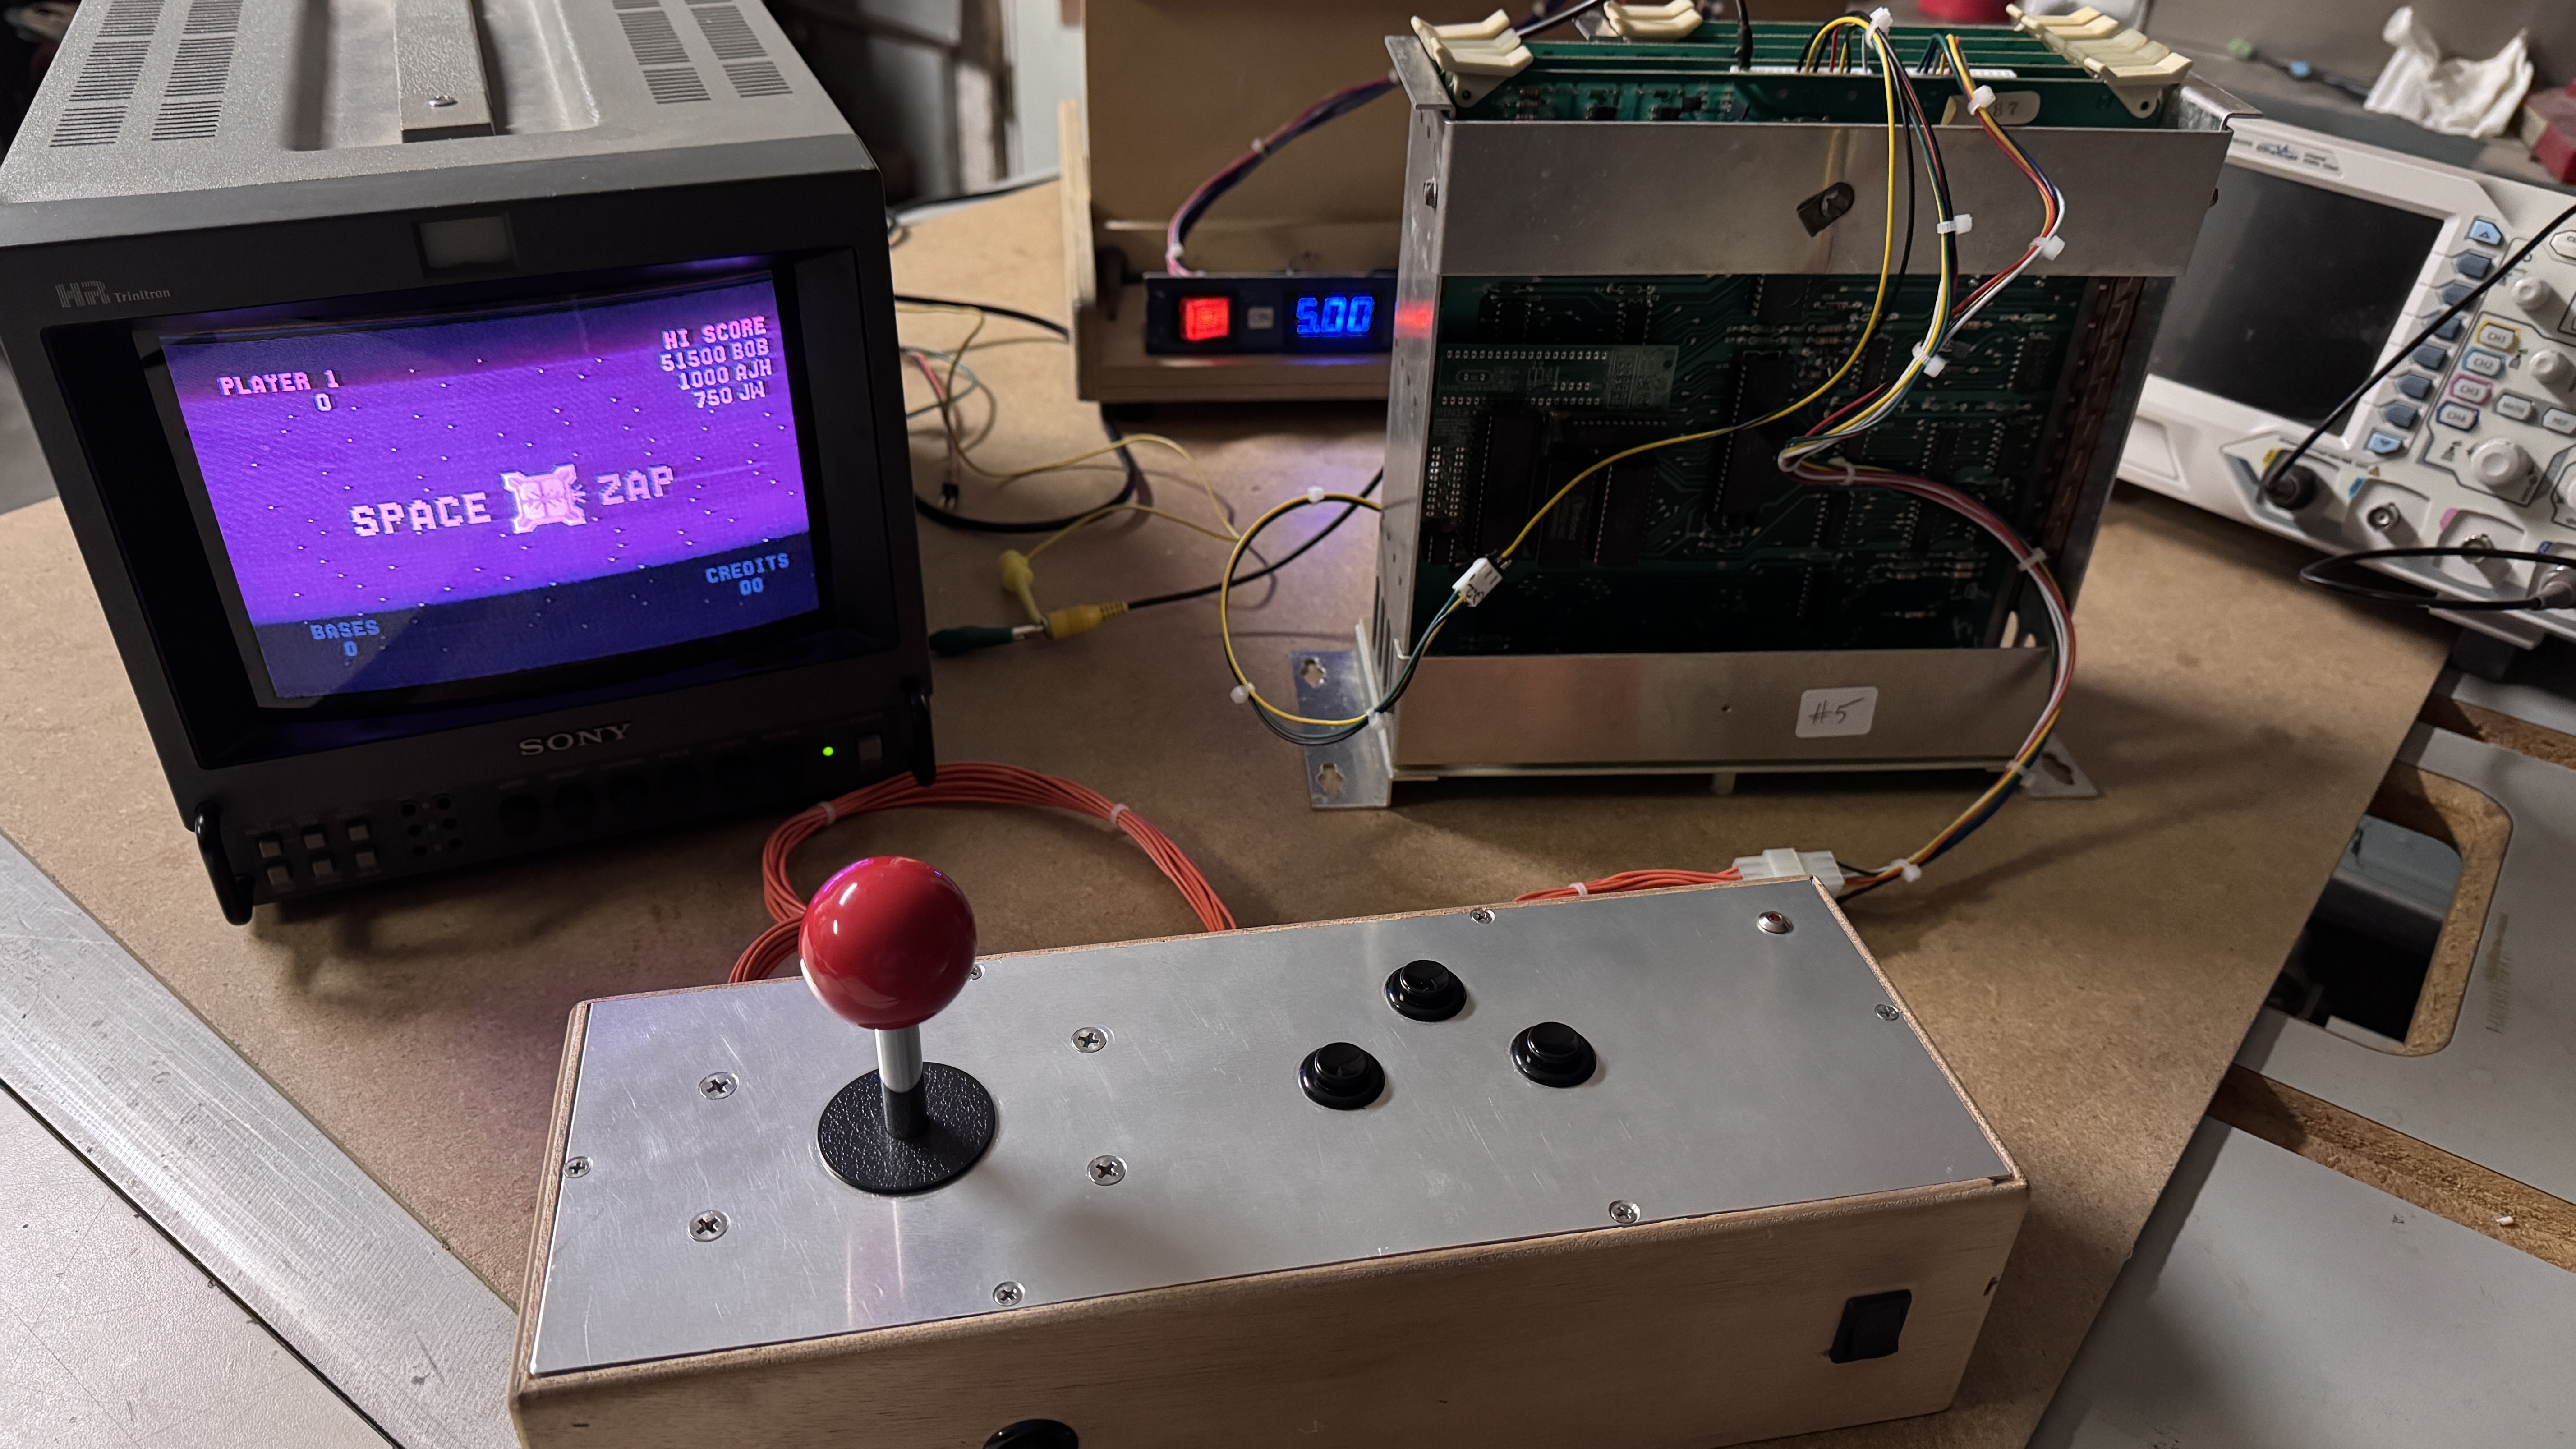
I didn’t have to repair anything 😦 – it just worked. But it was good to have 2 sets in the shop at the same time. I was able to swap and compare parts easily.. A couple of the Astrocade U15 originals did not have heat sinks.. I will be adding them.
Board works!
