I’ve have to diagnose audio issues now and then and it can be a real pain honestly.. I’ve been meaning to build an audio probe, just never got around to it..
Until I had to work on this board and finally stopped and made one.
It can’t be simpler really – its 2 wires and a .1uf capacitor (50v) + an amplified speaker.
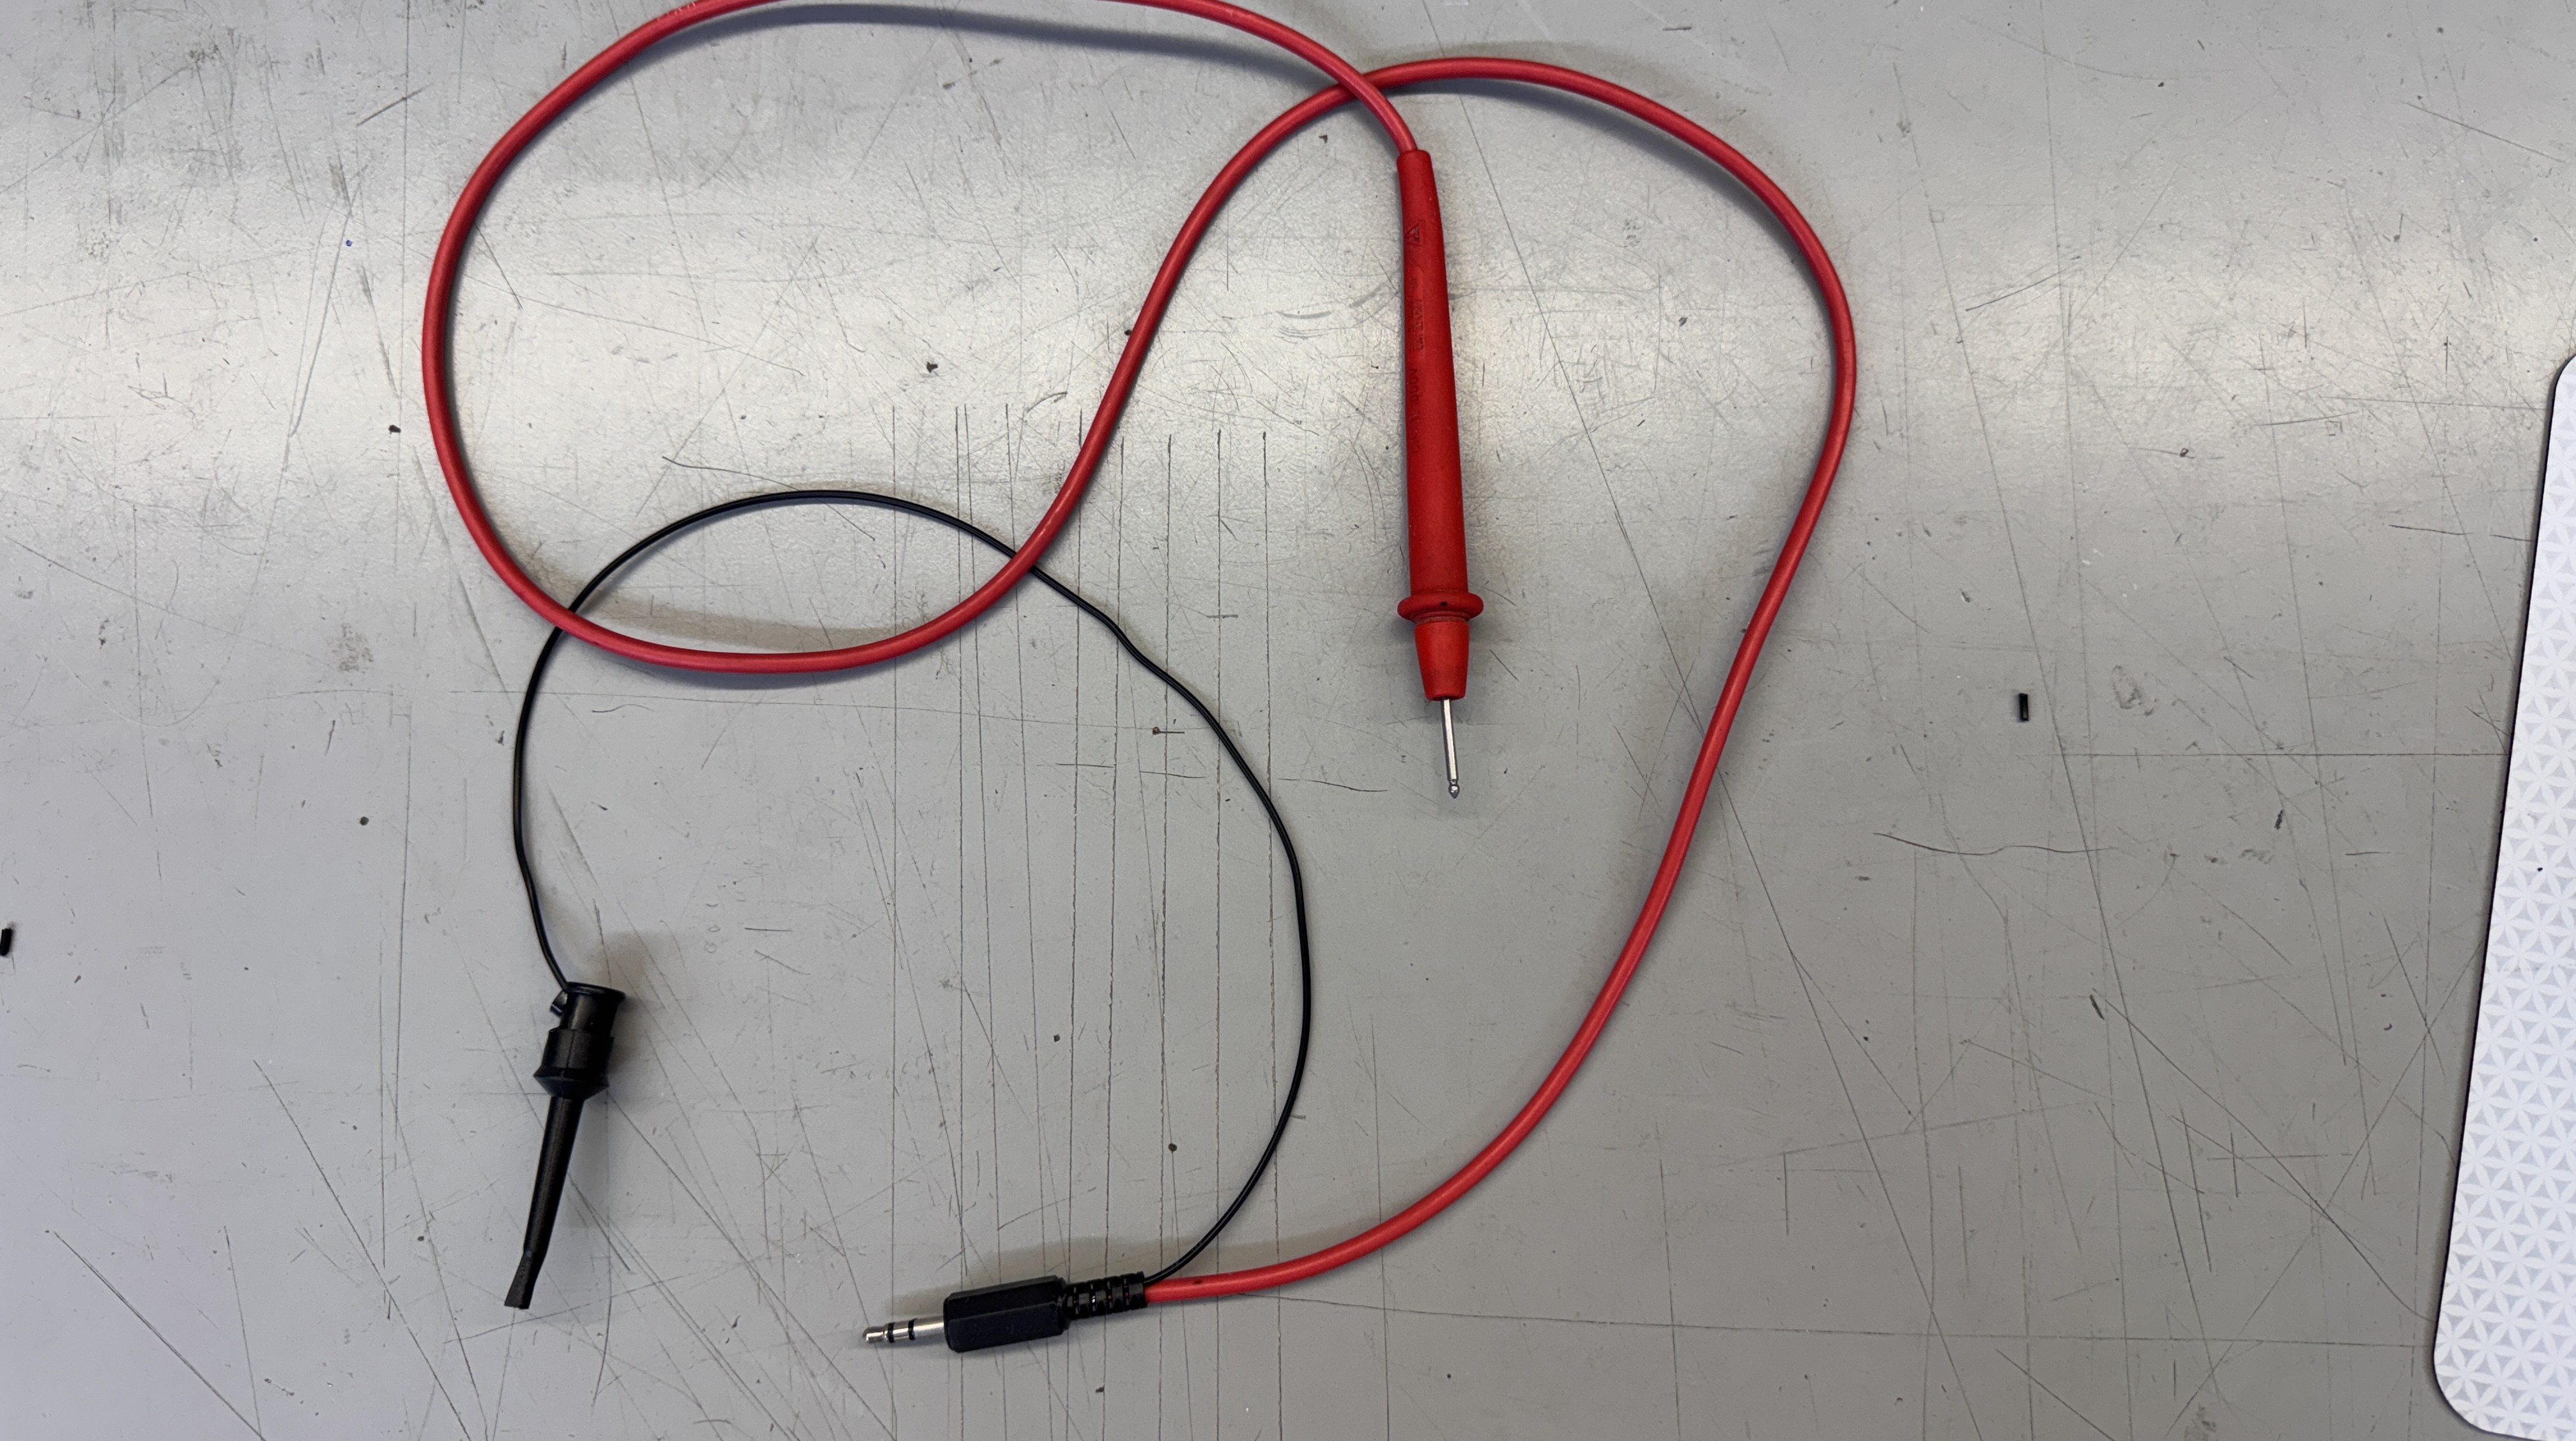
I used an old volt meter probe and cut the end off, added a ground wire and a headphone jack.
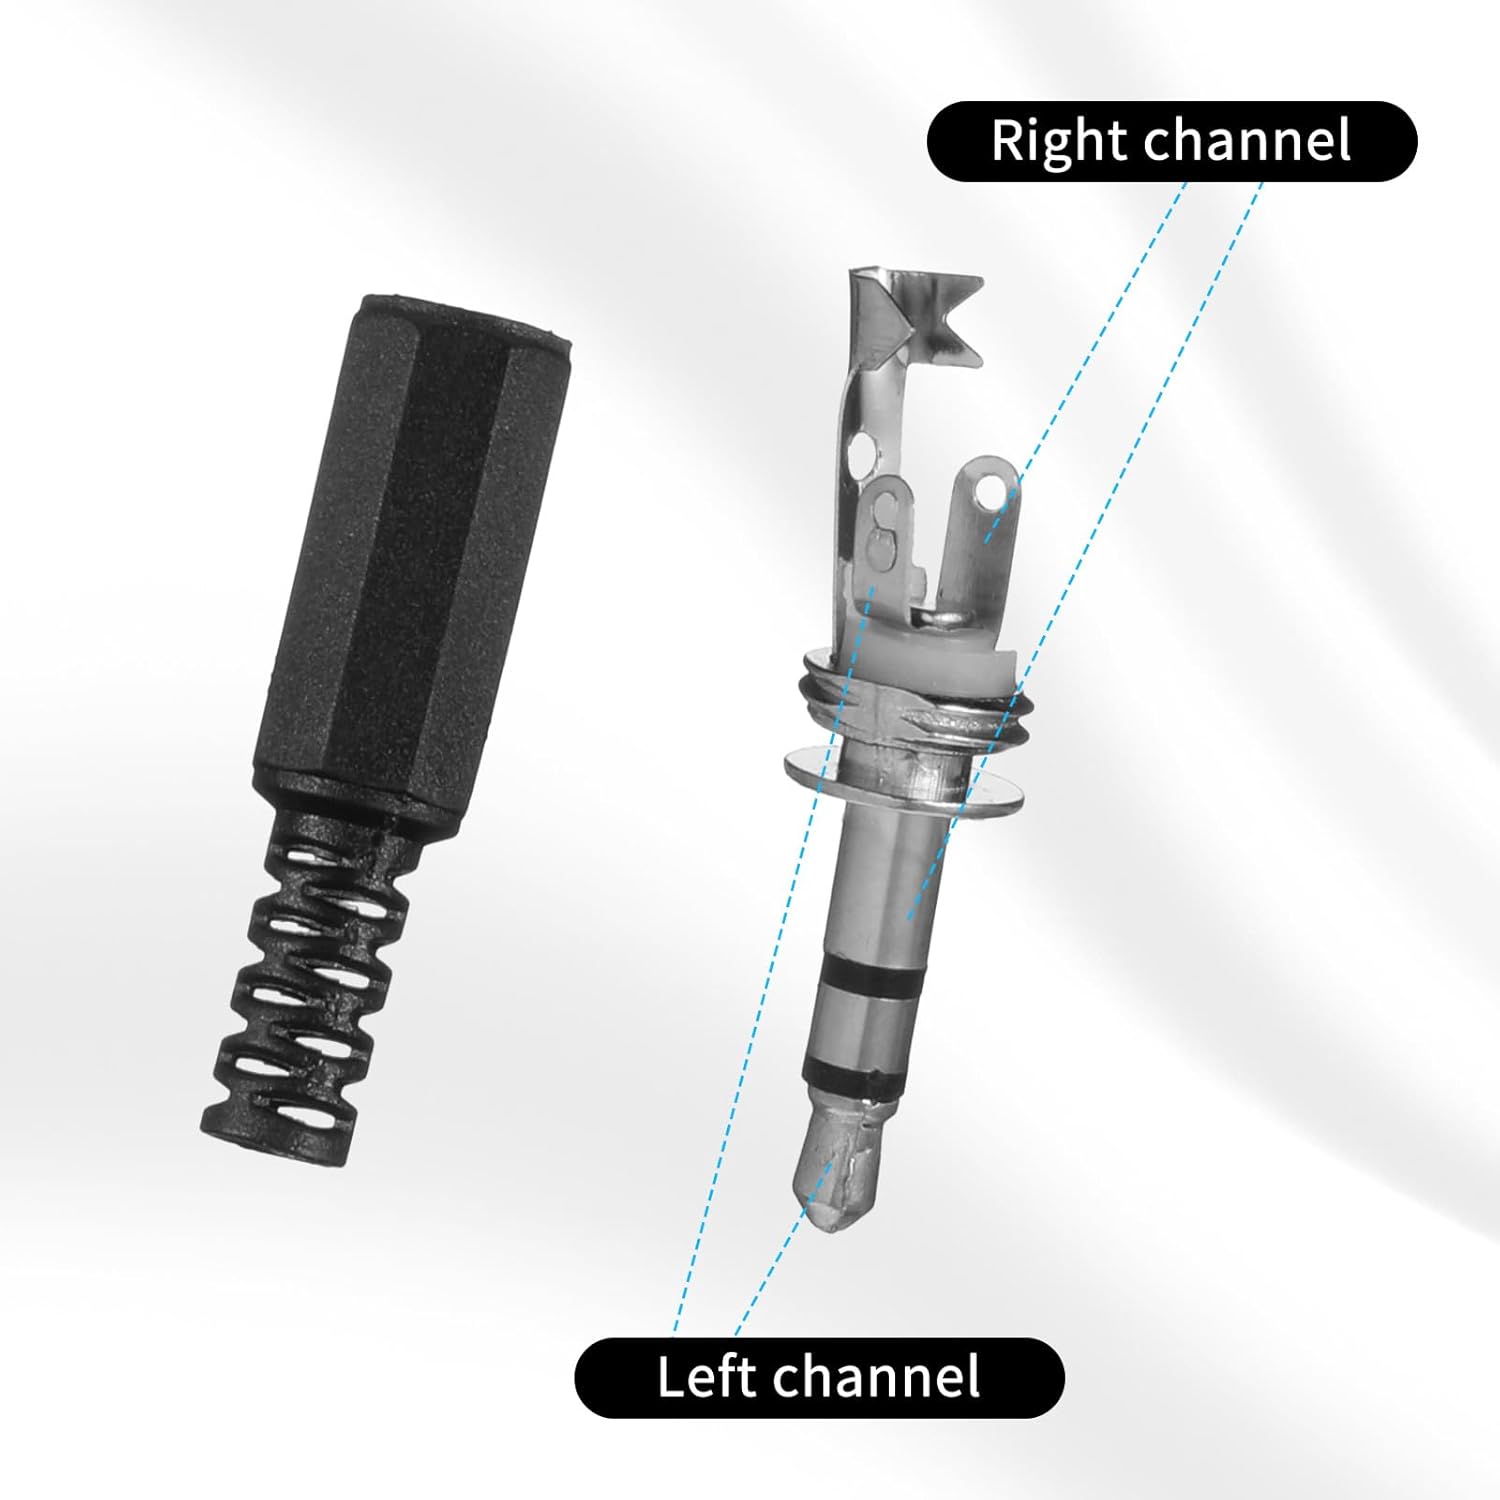
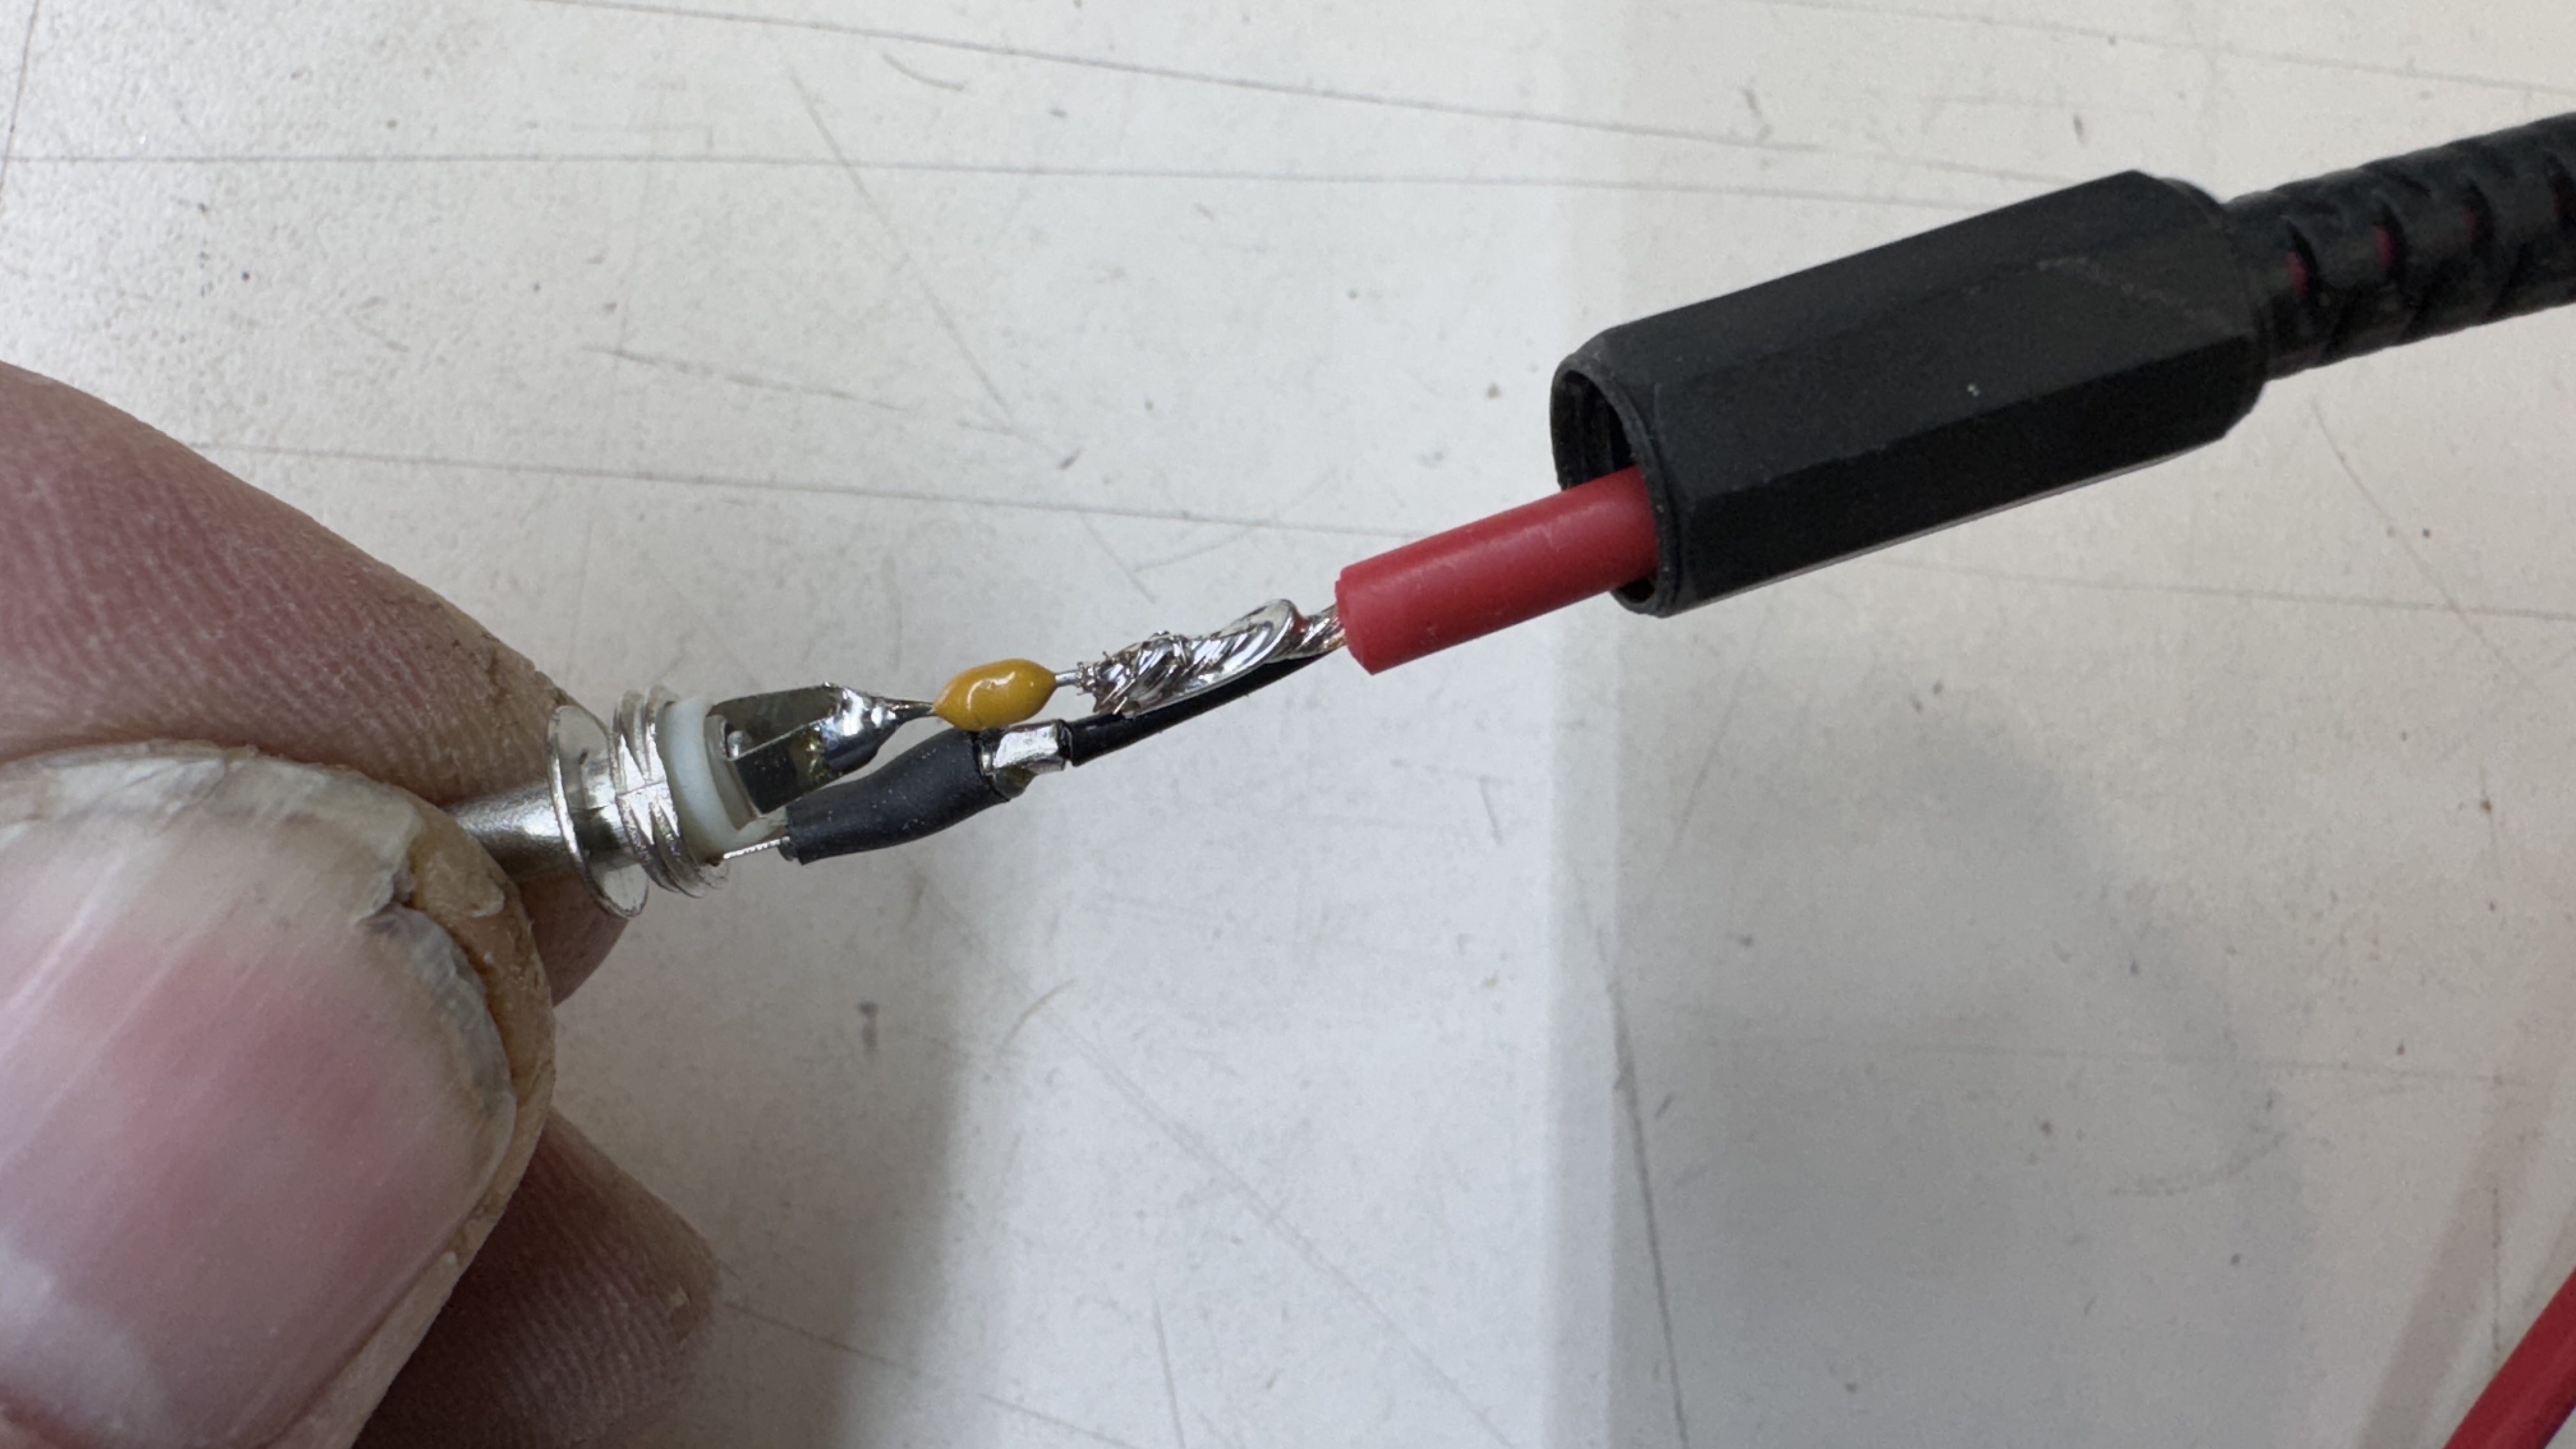
This all worked nice as it turns out.. I soldered, crimped and used some heatshrink tubing on the ground wire – which I made too short – I will make it at least 24″ long. For the probe to work – you need a .1uf capacitor. I looped one end of the lead through the left and right channel loops on the headphone jack and soldered it.. On the probe side, I looped and soldered to the wire.
All of it fits comfortably inside of the housing.

I picked this speaker because it was inexpensive with an audio jack and was rechargeable. It is really nice considering the low cost. The only trick is when you power it on – it is ready for Bluetooth. Press the power button once more and it switches it to the AUX input. I labeled it because it won’t get used often.
To test, clip the black lead to ground and use the probe to touch any pins that should be carrying audio signals.
It works amazingly well and you can follow audio all though the circuit to narrow in on the issue.
After posting about the audio probe, a few chimed in and talked about an audio injection probe for working in the opposite direction.. validating the amp circuits, etc.. after a little research and thinking.. I thought… can’t I use the same probe?
Yes.. Same exact probe. First ever Tempest playing the Black Eyed Peas ..
I’ll find an old phone – but sound injected.. It wasn’t very loud.. but worked enough.
(Not responsible if anyone blows up their phone or PCBs ..)
So I have a 2 for 1 deal in audio troubleshooting.

[…] Audio Probe […]