
I’ve worked on a couple of Tron sets, a Tapper and a Demolition Derby. These were for locals as I started to learn the boards a bit.. I got asked by one of my regular customers to work on a Tron with graphics issues. Here is the official start to a new repair log..
My test harness happened over time while working on the MCR sets leading up to this one.

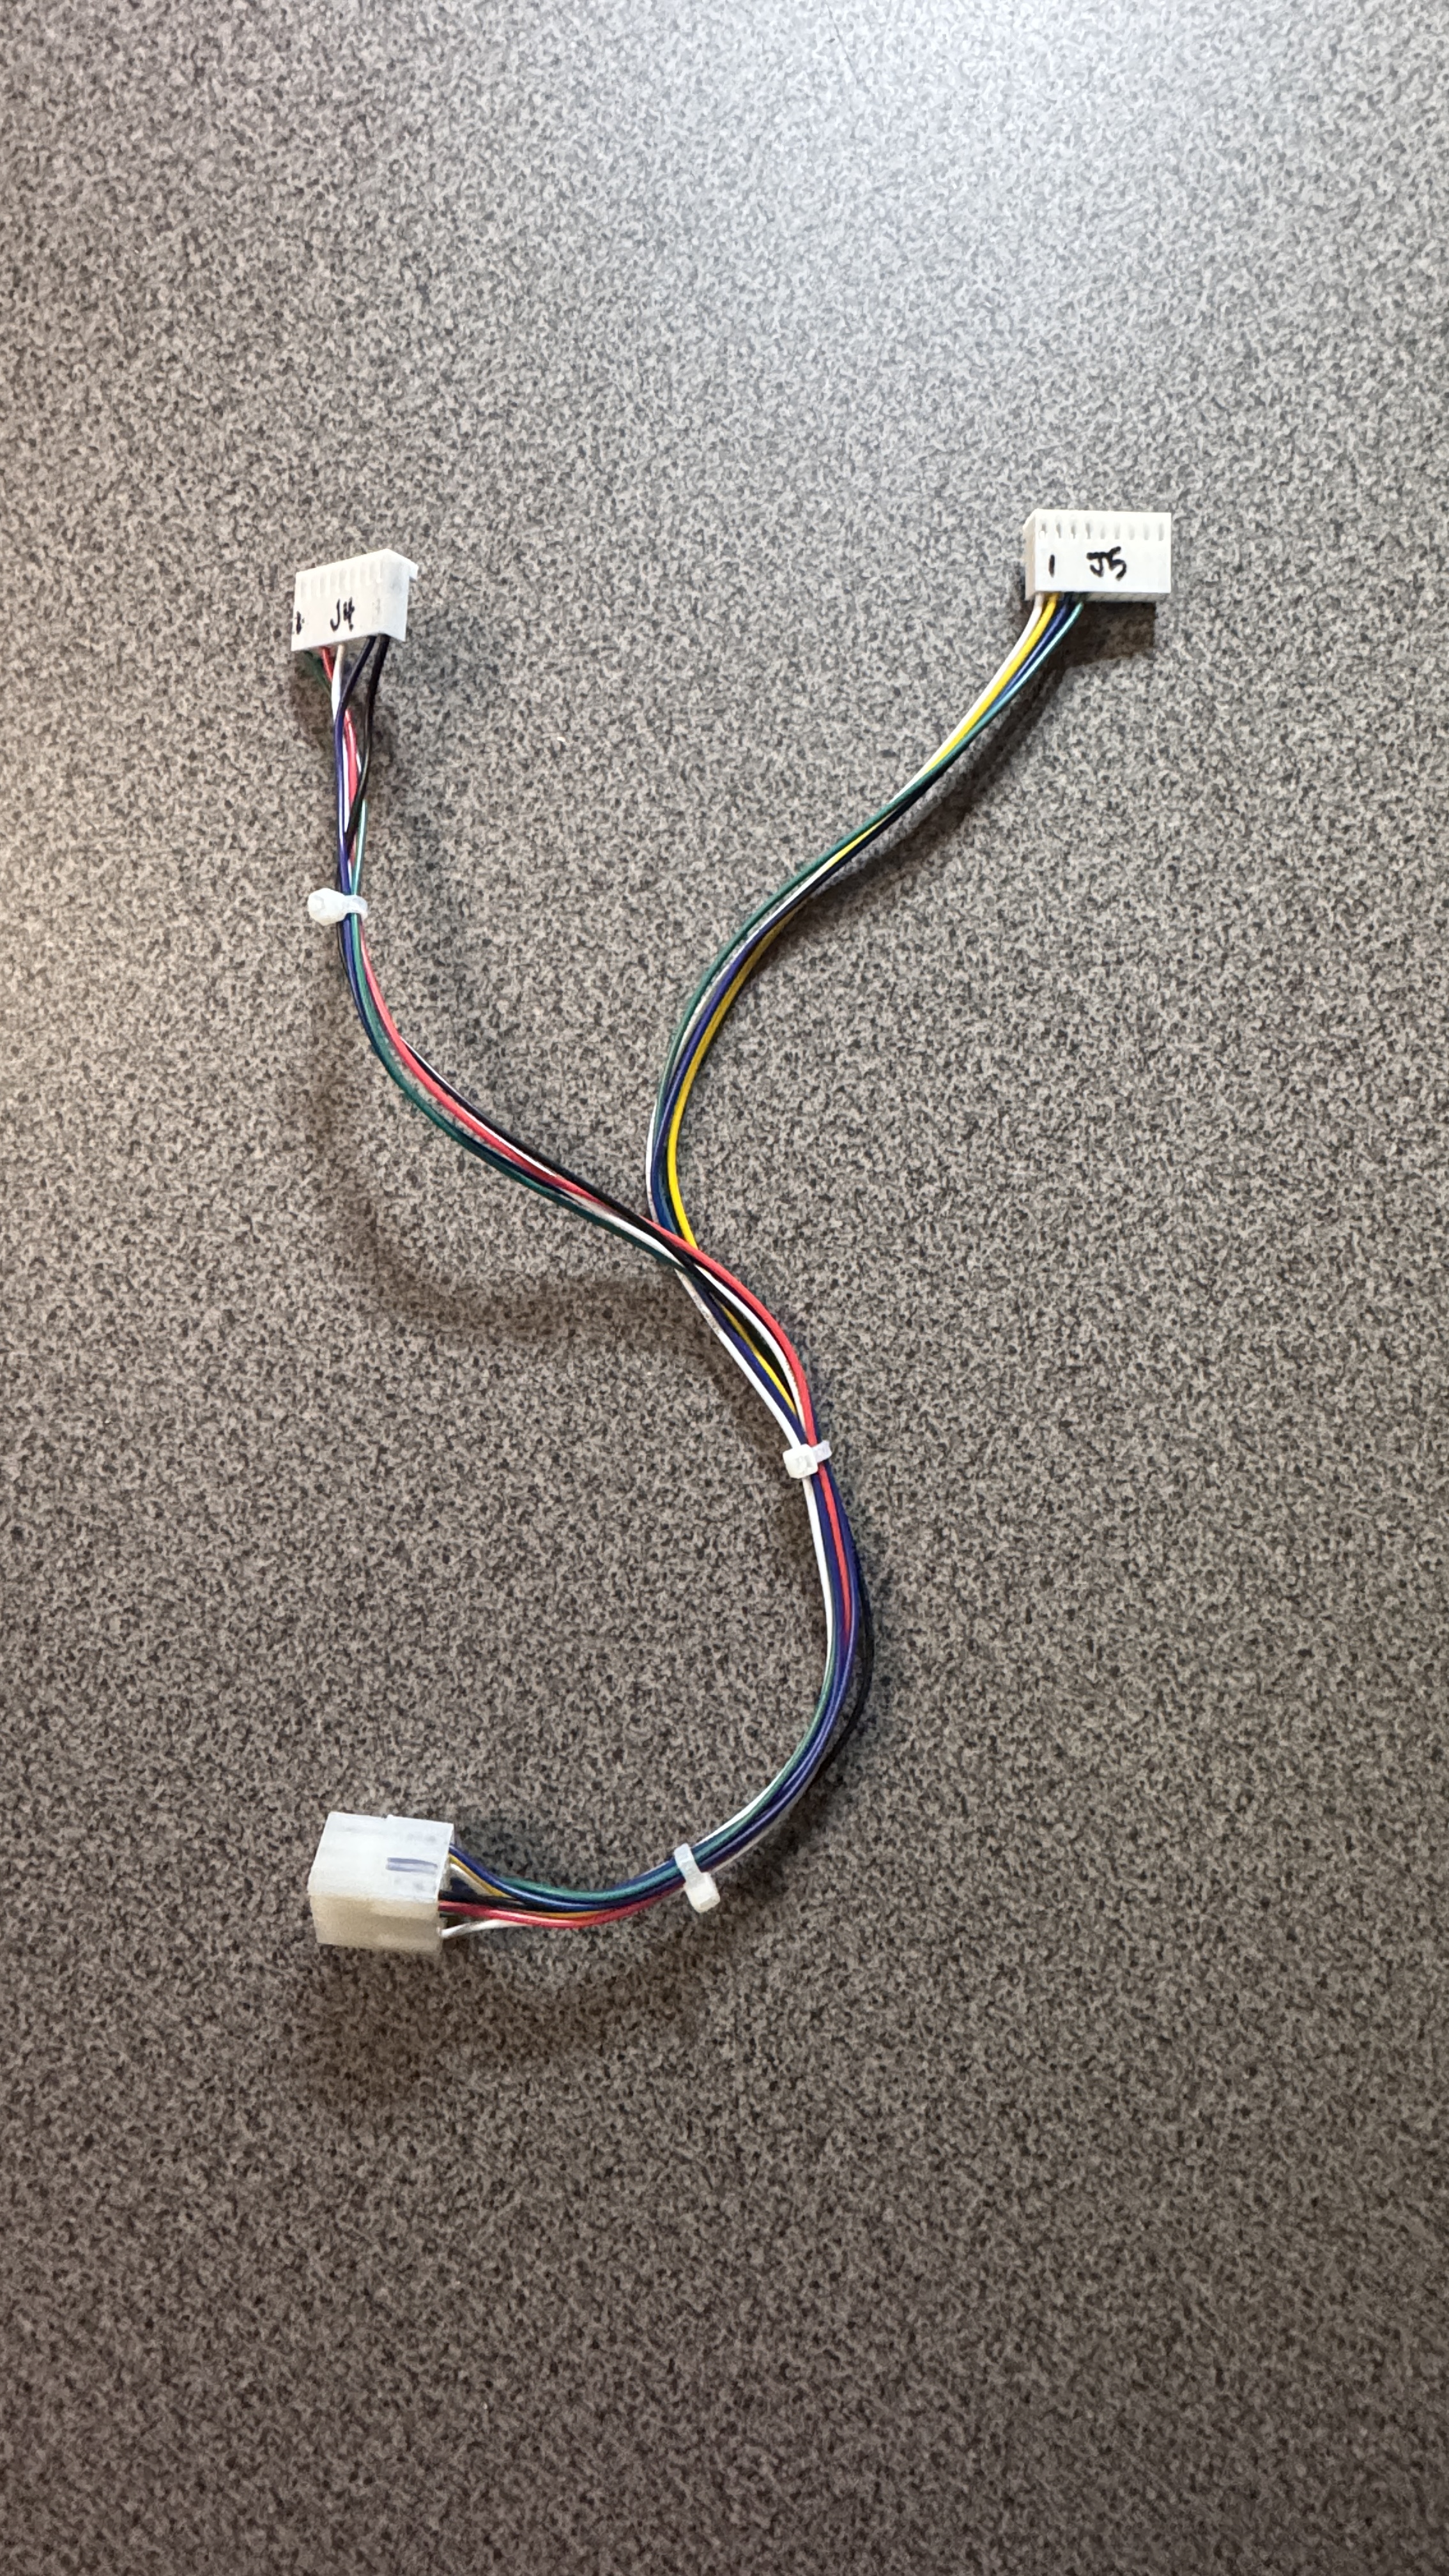
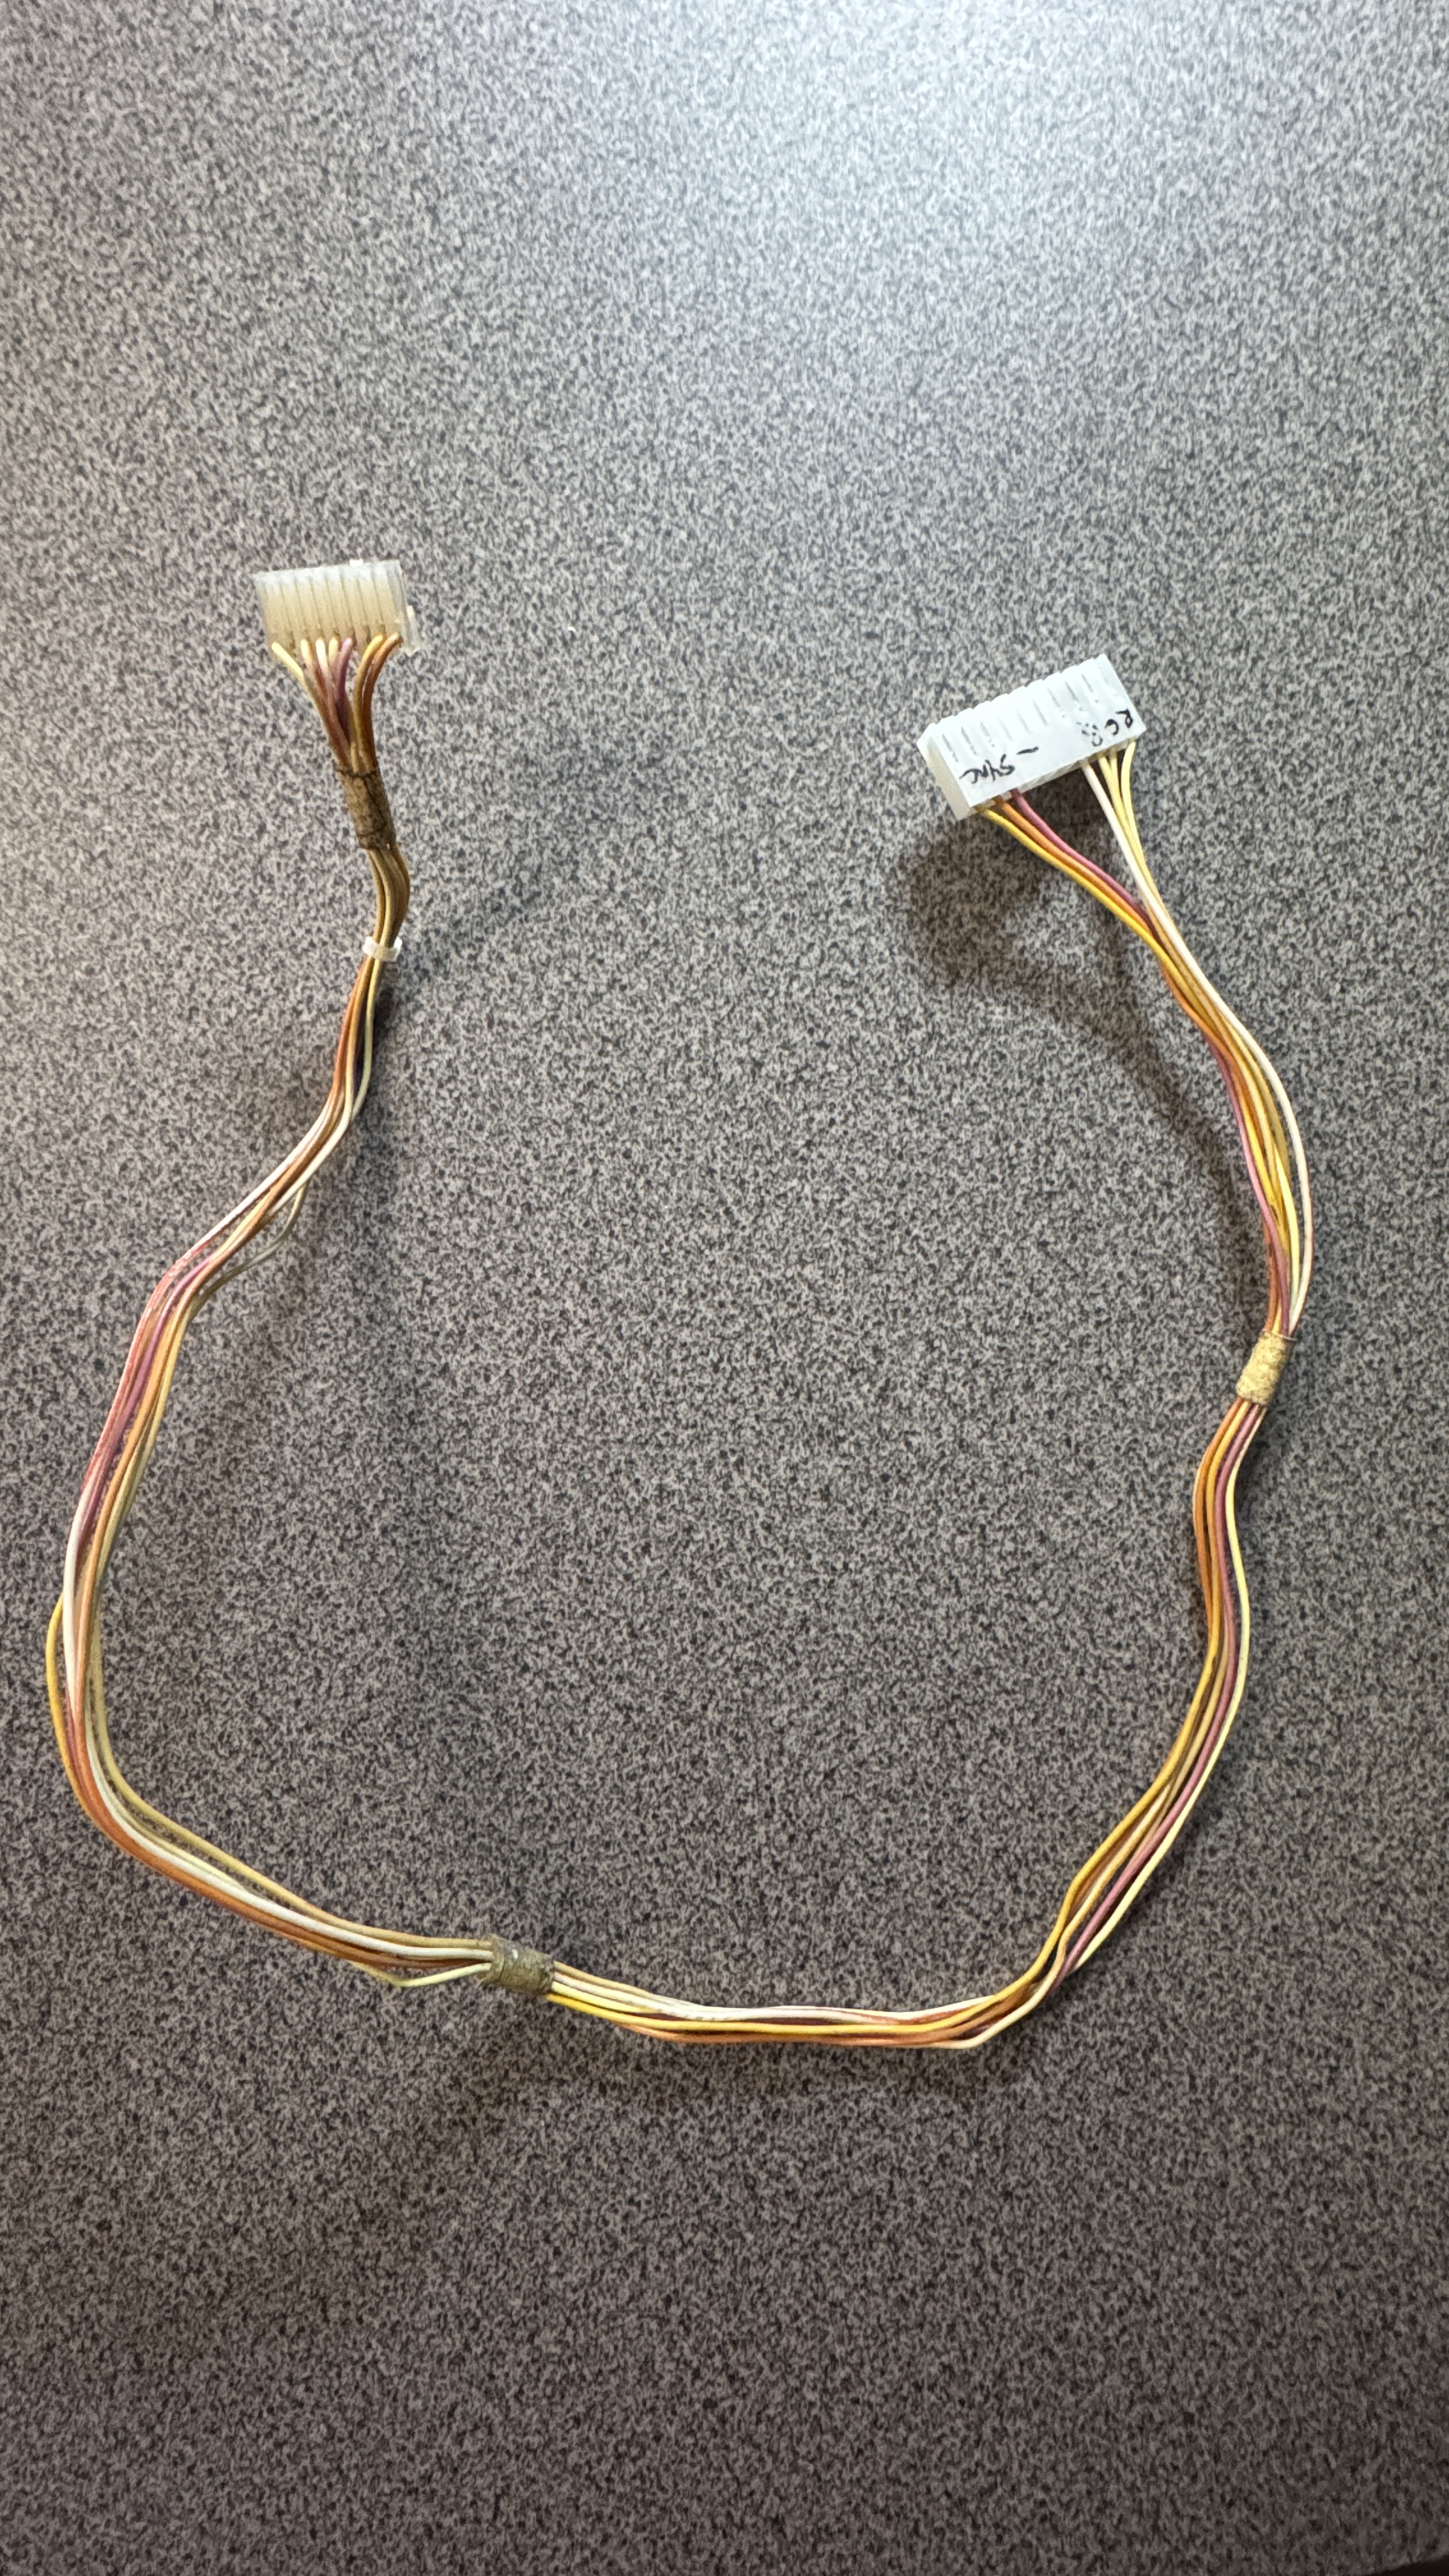
The power connection to my Bench Test Rig was very straight forward. The next connector is MCR for Tron to my single stick bench controller. Third connector is video to the monitor.
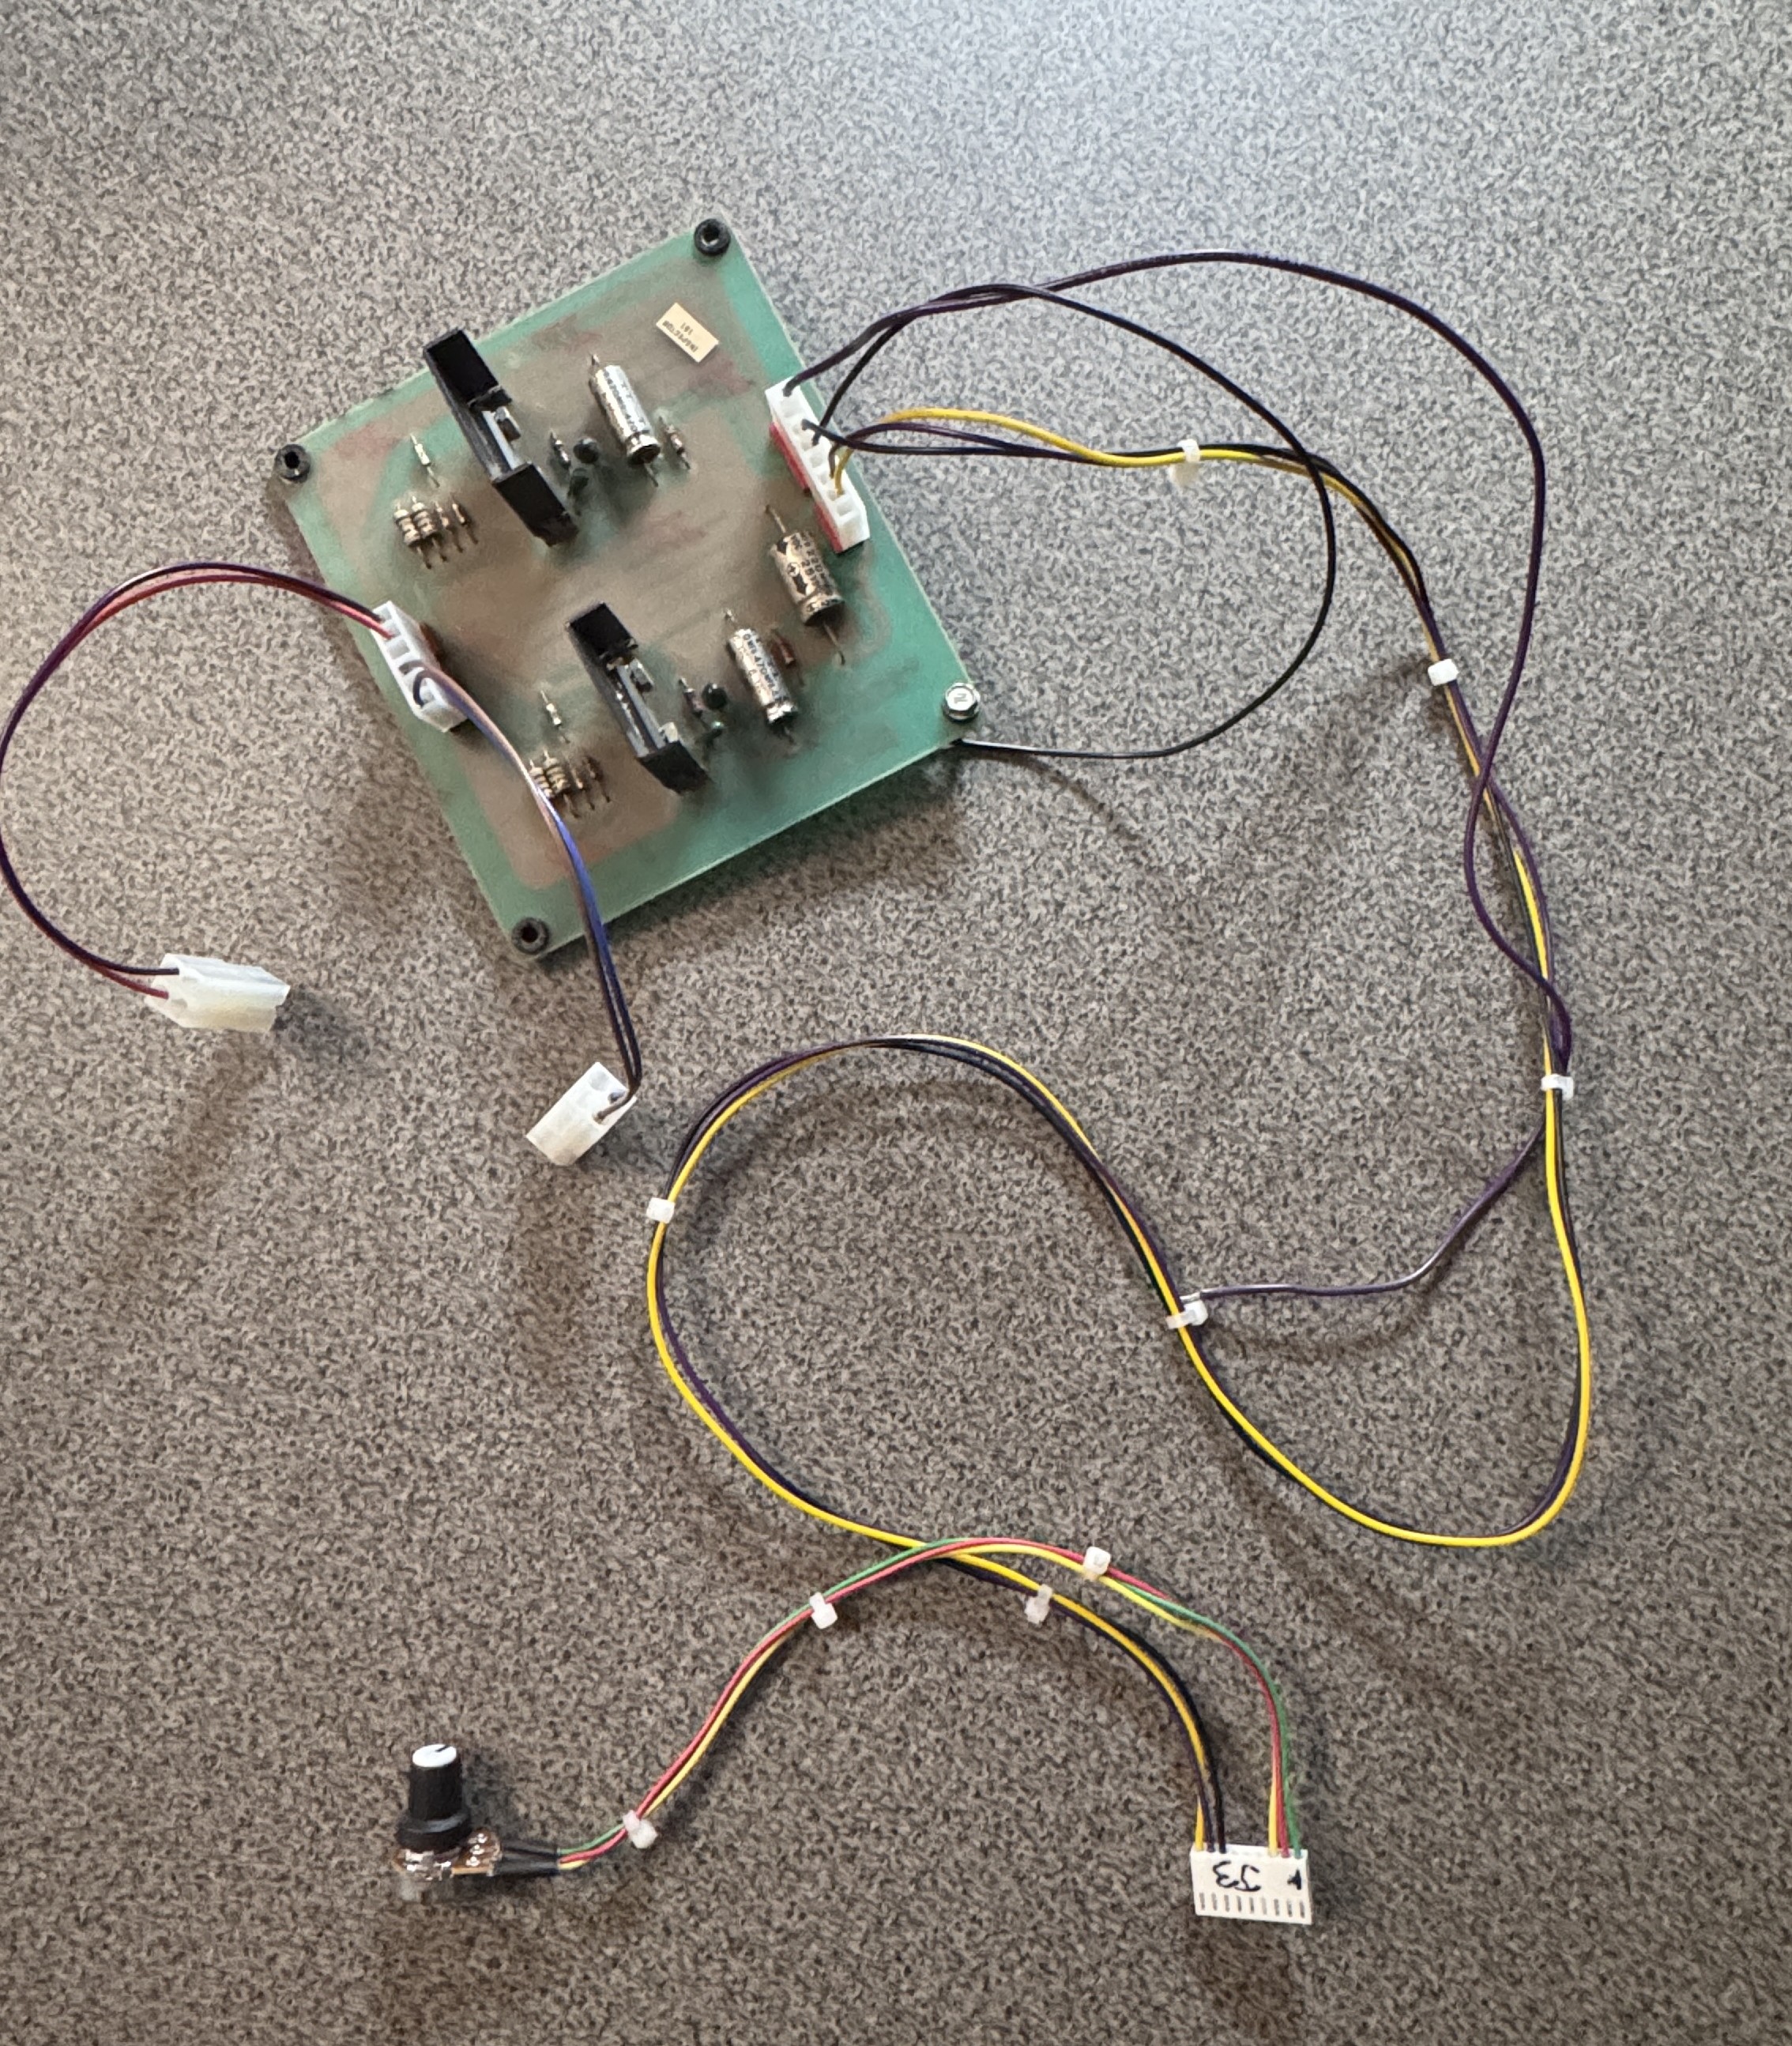
One of my buddies gave me this MCR audio amp.. I’ve incorporated it into the harness with a volume pot and dual speaker connections that match my rigs speakers. This need a bit of cleanup but works well enough to know the audio is working correctly.
Last part that was an issue previously is how to have a spinner control. Research showed that a Tron Spinner used is ~$200. I don’t really want that for testing and I’m not here trying to master the game. Because of how Bally designed their controls – a more traditional Happ Trackball was not going to work… I decided on a small experiment.
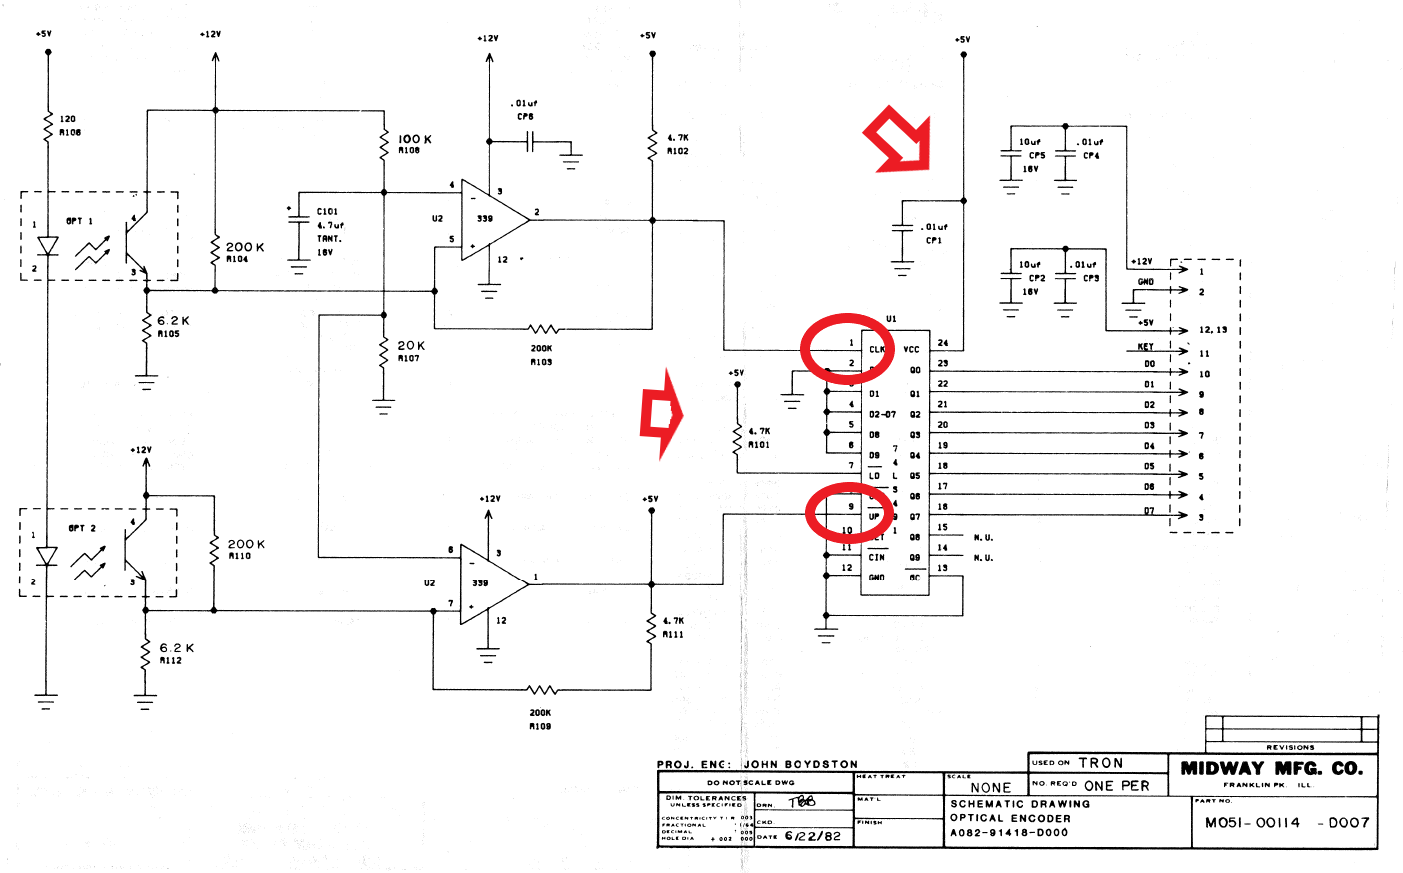
Here is the schematic for the Bally Optical encoder for the spinner.. The optics go through a LM339, get adjusted to 5v, etc.. But eventually just enter the 74LS491 encoder as clock and direction.. Just like any other optical signal. I picked up a 74LS491 (not common) breadboarded the chip to a connector, added the R101 pullup resistor and cp1 cap to the 5v line..
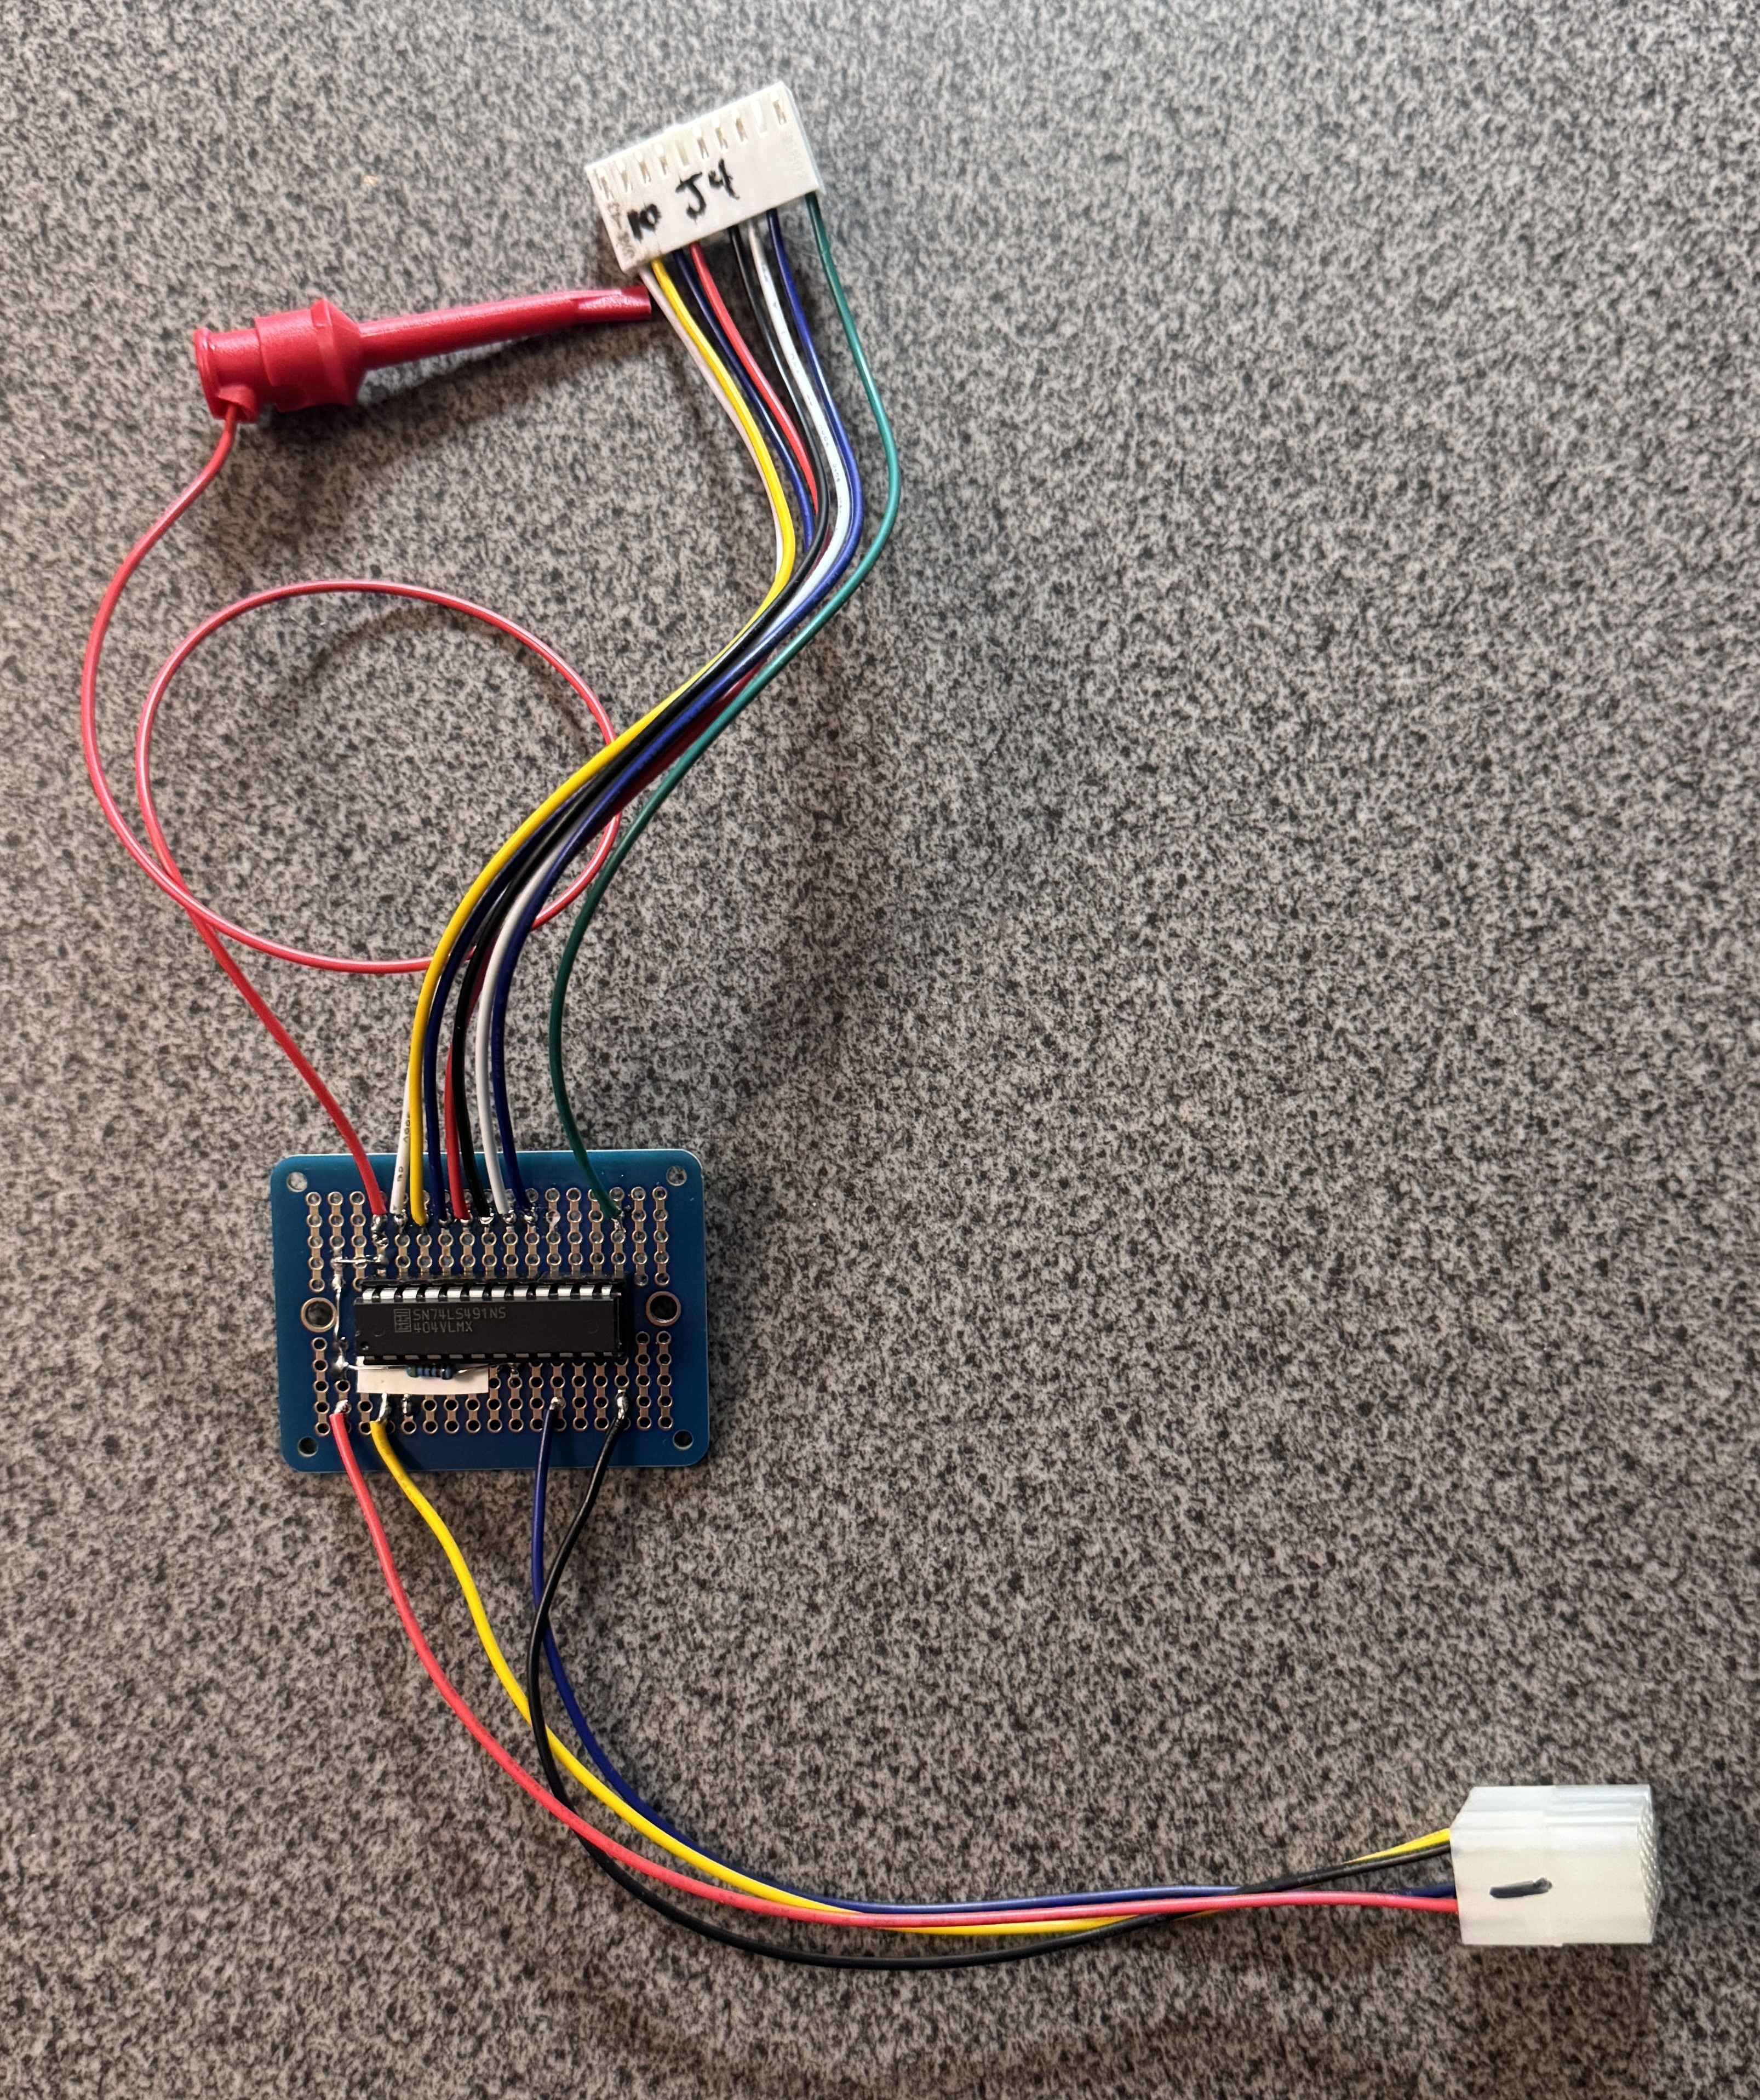
The result was this adapter that supplies the data bits to the MCR board. There wasn’t 5v easily available on the MCR edge connector where these bits were… But a filter cap is right there on the PCB to attach the mini grabber. My bench trackball can easily supply the signals for the MCR spinner now. It isn’t perfect or precise – but the spinner spins.

All the connections needed to fully test the stack.. Just need 3 hands to play..
Board #1 (ish) – Tron
Board reportedly had a graphics issues.. It had a bit more going on than that..
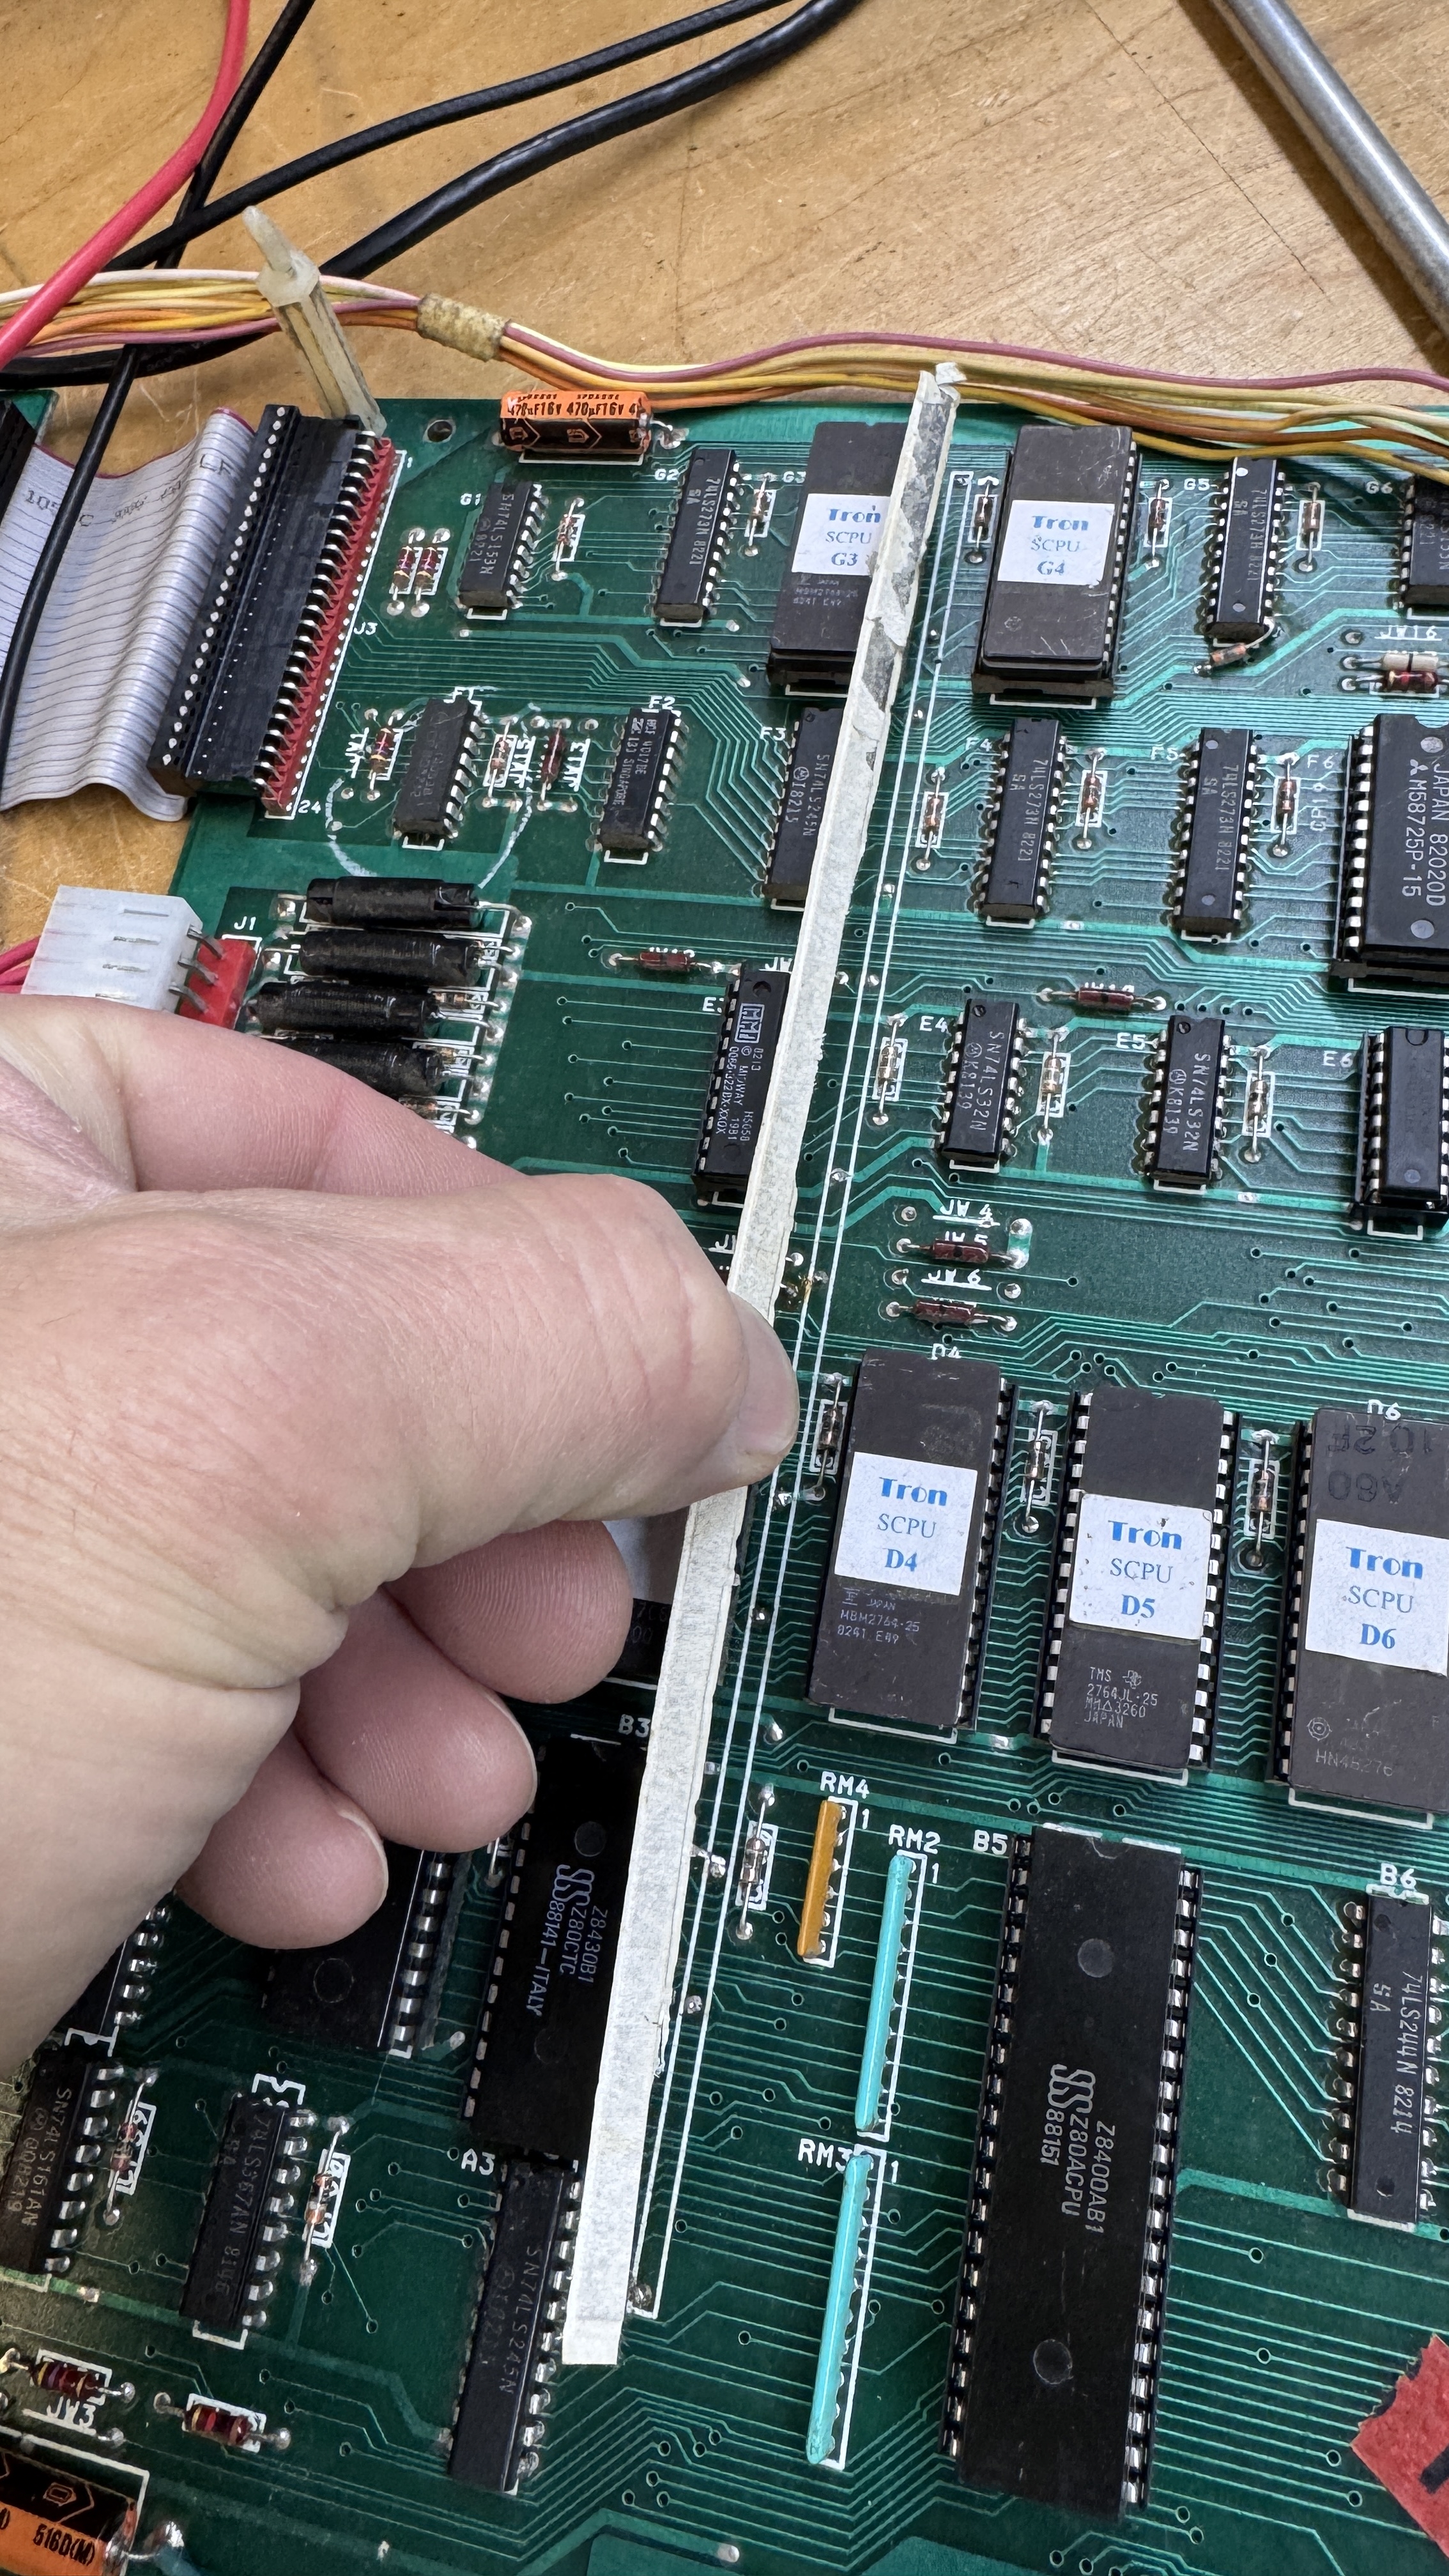

This white paper covered component is a bus bar shown here on the CPU board. On the video board they are missing and someone put caps on some of the spots where they had been. Not having a lot a ton of MCR specific experience – I didn’t realize there significance at first. The CPU board bus bars were all but broken off. Once testing, video was a mess if the board decided to boot at all.. It was showing major issues.. Probing around found a bunch of floating voltages. I’d expected to find more written on bus bars than I did.. long story short.. there are two busses on the single bar, 5v and ground. They are separated by paper and the bar is then covered in paper.. Not sure why they chose this route. The board seems to have plenty of room to route GND and 5v connections directly on the PCB, but I didn’t have to design it 🙂
Once I figured this all out – I made a template showing where the 5V and the GND needed to be connected across the board. They hop across each other.

Corrected with Kynar wire. I added UV Cured Resin blobs across the wires to hold them in place. I removed all of the caps from the video board and performed the same repair. All of this took a bit to figure out and correct as it turns out. There was a fair amount of figuring out the bus bars – which now make sense.
There were a few graphics issues – most noticeable..

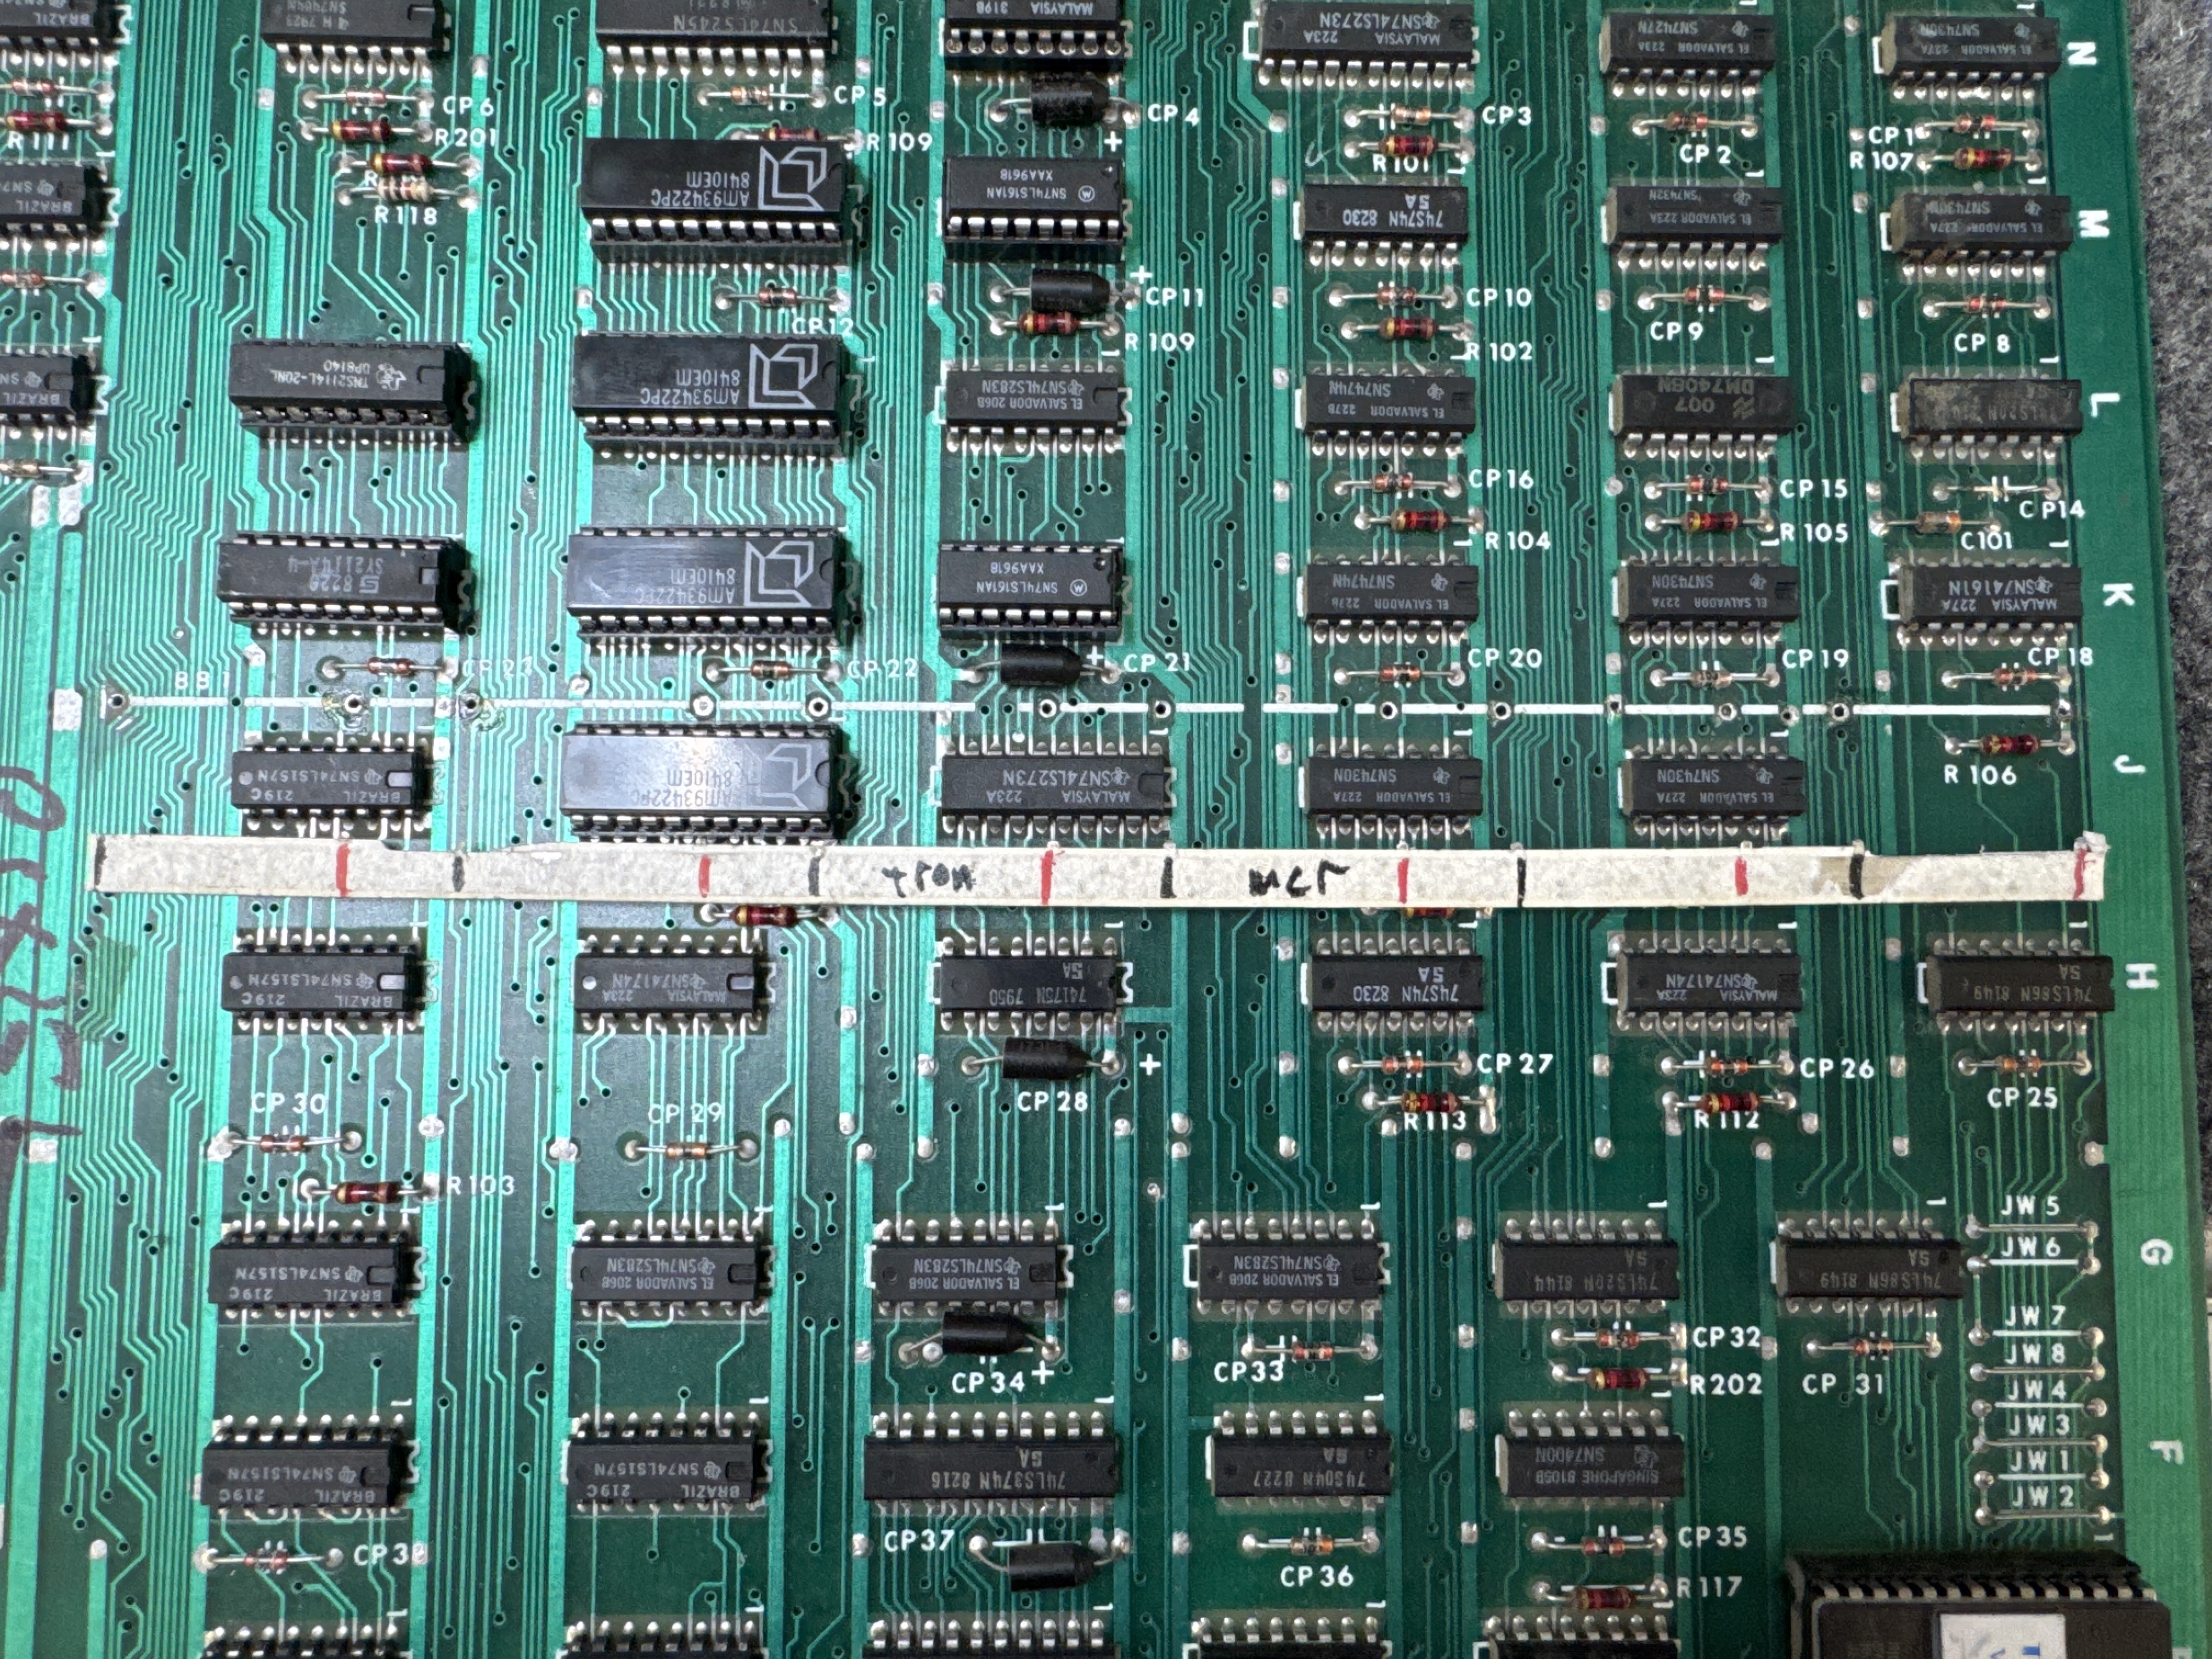
Lines across the color bars on this screen and the tank motion object would break apart at times. MCR boards have a feature that I love.. The FREEZE dip switch.. I’ve used this on other games (Star Wars, DigDug, etc..) when available.. Freeze allows you to stop the game in its tracks during an issue and you can look for the failing component. This particular issue took a while to hunt down.
The video board had some prior work on 161 counters and they were involved with the motion objects. After seeing the cap hack for the bus bar, I was fixated on prior work. I stopped and beeped out all the lines to make sure things were connected (they were). Testing in this area finally brought me to the offending chip.
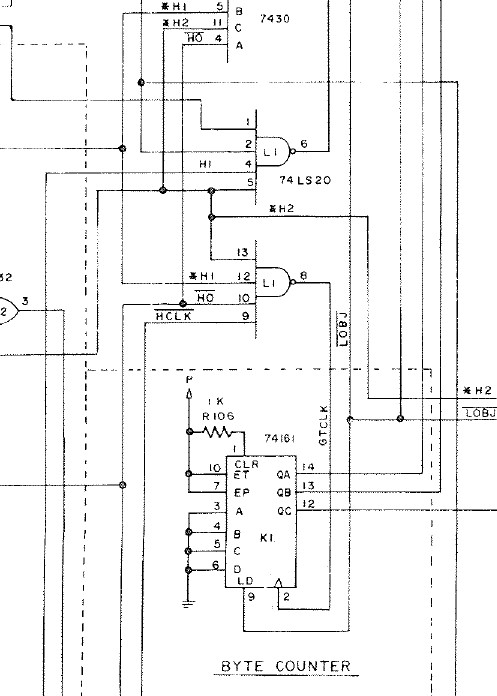
74LS20@L1 – failed.. Pin8.. Replacing it fixed the tank and other graphics.
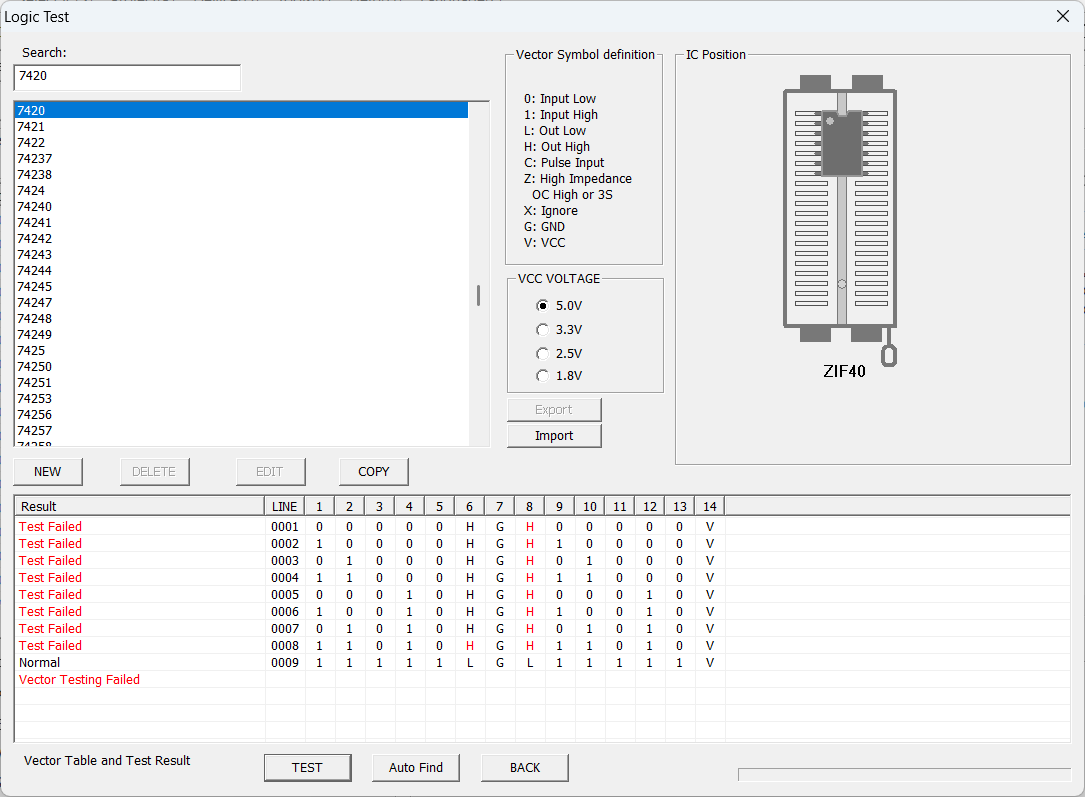
During burn in testing, it started acting up. The game would sometimes work, sometimes not.. I was getting a few graphics glitches. After power cycle testing, etc.. I tracked the issue to a partially failing sound chip. Performing the sound testing revealed a number of missing and corrupted sounds. Replacing it corrected the sounds, and seemed to correct the graphics glitch and the random board failures. The chip is attached to a sound data bus.. If it was corrupting things – it could have effected the Z80 which is in communication with the main CPU board. Can’t confirm it 100%.. But the stack has been stable once the sound processor was replaced.
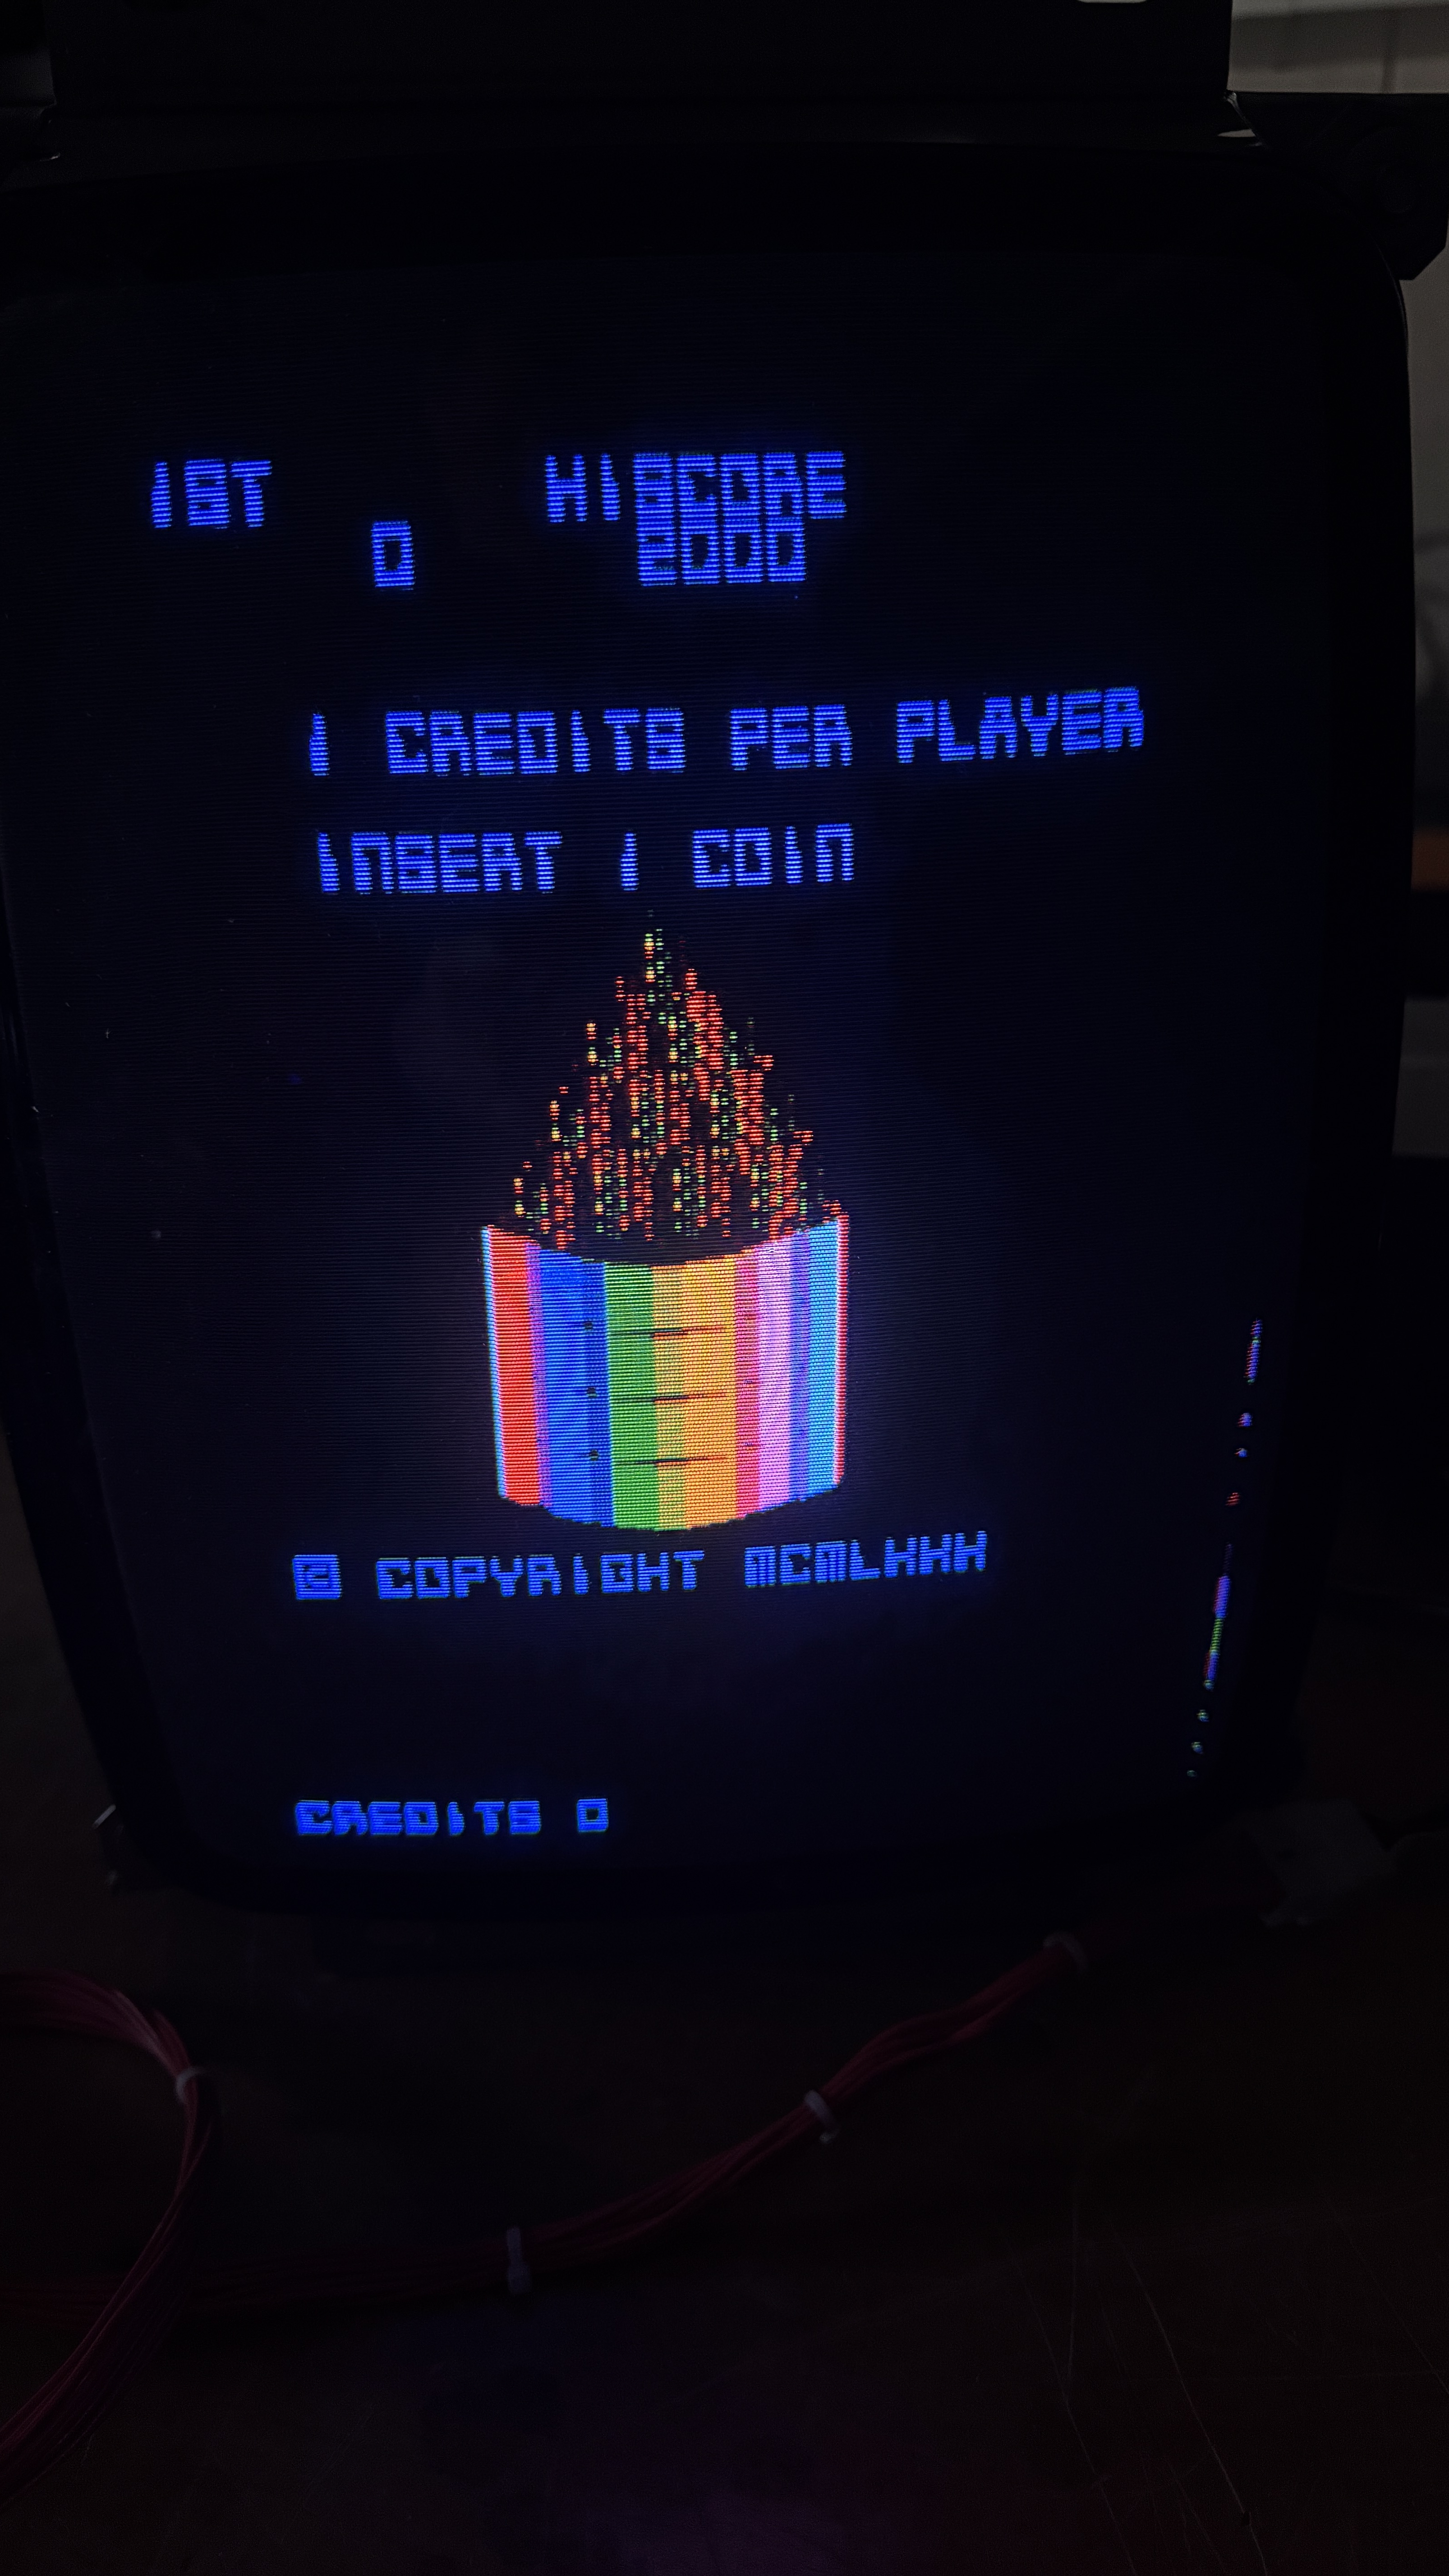
Board works!
