
I’ve worked a couple of Asteroids Deluxe, but haven’t had one in on the bench for a while.
Board #1 – Received a board in for repair
This board looks like it is moldy. Can’t tell if it is oxidation or some other environmental damage. It got washed, then washed with vinegar, then washed again.
Once that was completed I went over all the part side traces with the fiberglass pen to make sure there were no shorts between them and to eliminate the surface oxidation. If found that even when they look okay – just a smudge between the close traces causes issues.
Once that was done – cleaning the chips – two of the ROMs had rotted legs. This AD came with a second one to repair, but the second one had a lot of battery damage (from something that leaked on it) and was not worth saving. Except it donated ROMs and a Pokey to this board.
After all the parts swaps and board maintenance board worked.. for a while.
Made it to day 4 of my test cycle and then it started crashing after being powered on for a few hours. During this it was making a lot of odd noises. The CPU and Pokey sockets with the gold pincher style and I was skeptical of the Pokey socket. Replaced them but no joy. A few hours later the board started crashing.
I was able to get a couple of beep tones that pointed to RAM L1 or M1 RAM. I socketed/replaced M1 and so far it has been stable..
Last item – as I was going through the testing checklist, I could not get the coin counter “test” to blip on the meter. Bad 2N6044 (TIP102) transistor @Q10
Board works!
Board #2 – Received a board in for repair

Board reported to have bad jumbled graphics. Did full cleaning and maintenance. I did find this trace smudge that could have contributed. One item on these are the gold sockets and the tin IC legs. The ICs need to have their legs cleaned removing the little black tarnish marks on the chips.
Replaced the standup pots.
Board works!
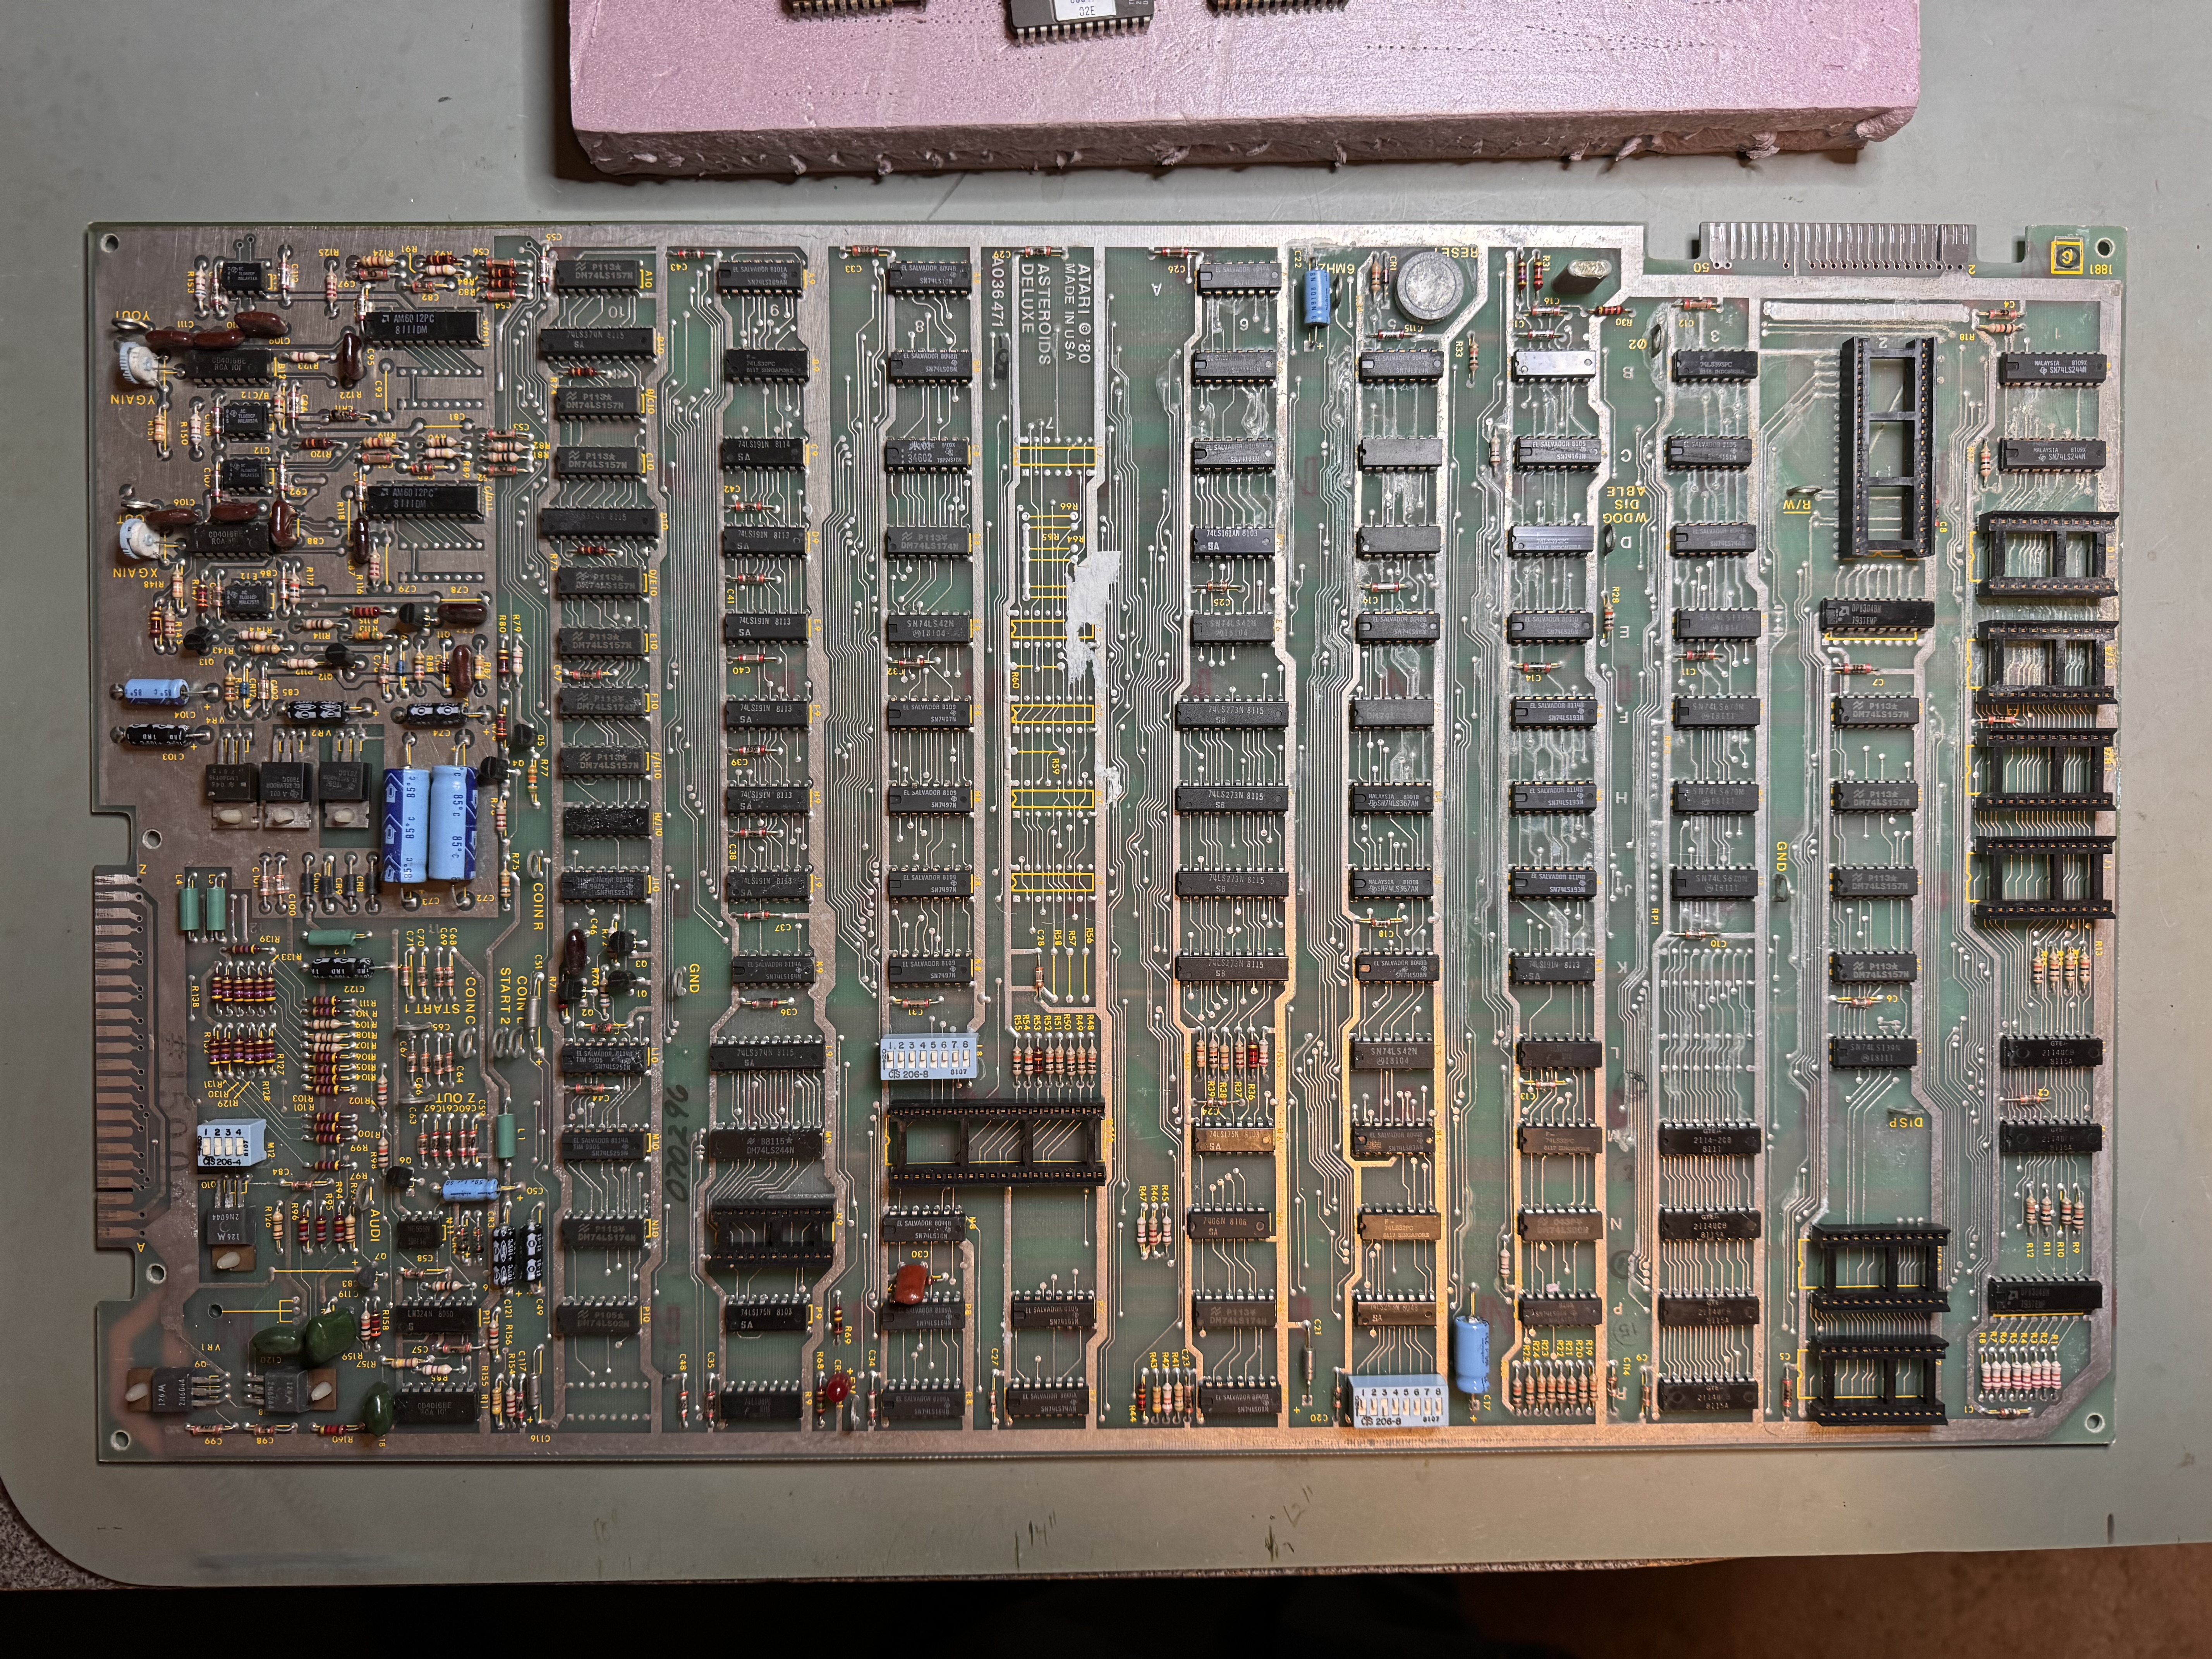
Board #3 – Received a board in for repair
Board was relatively clean to start with.. So I connected directly to my test rig.
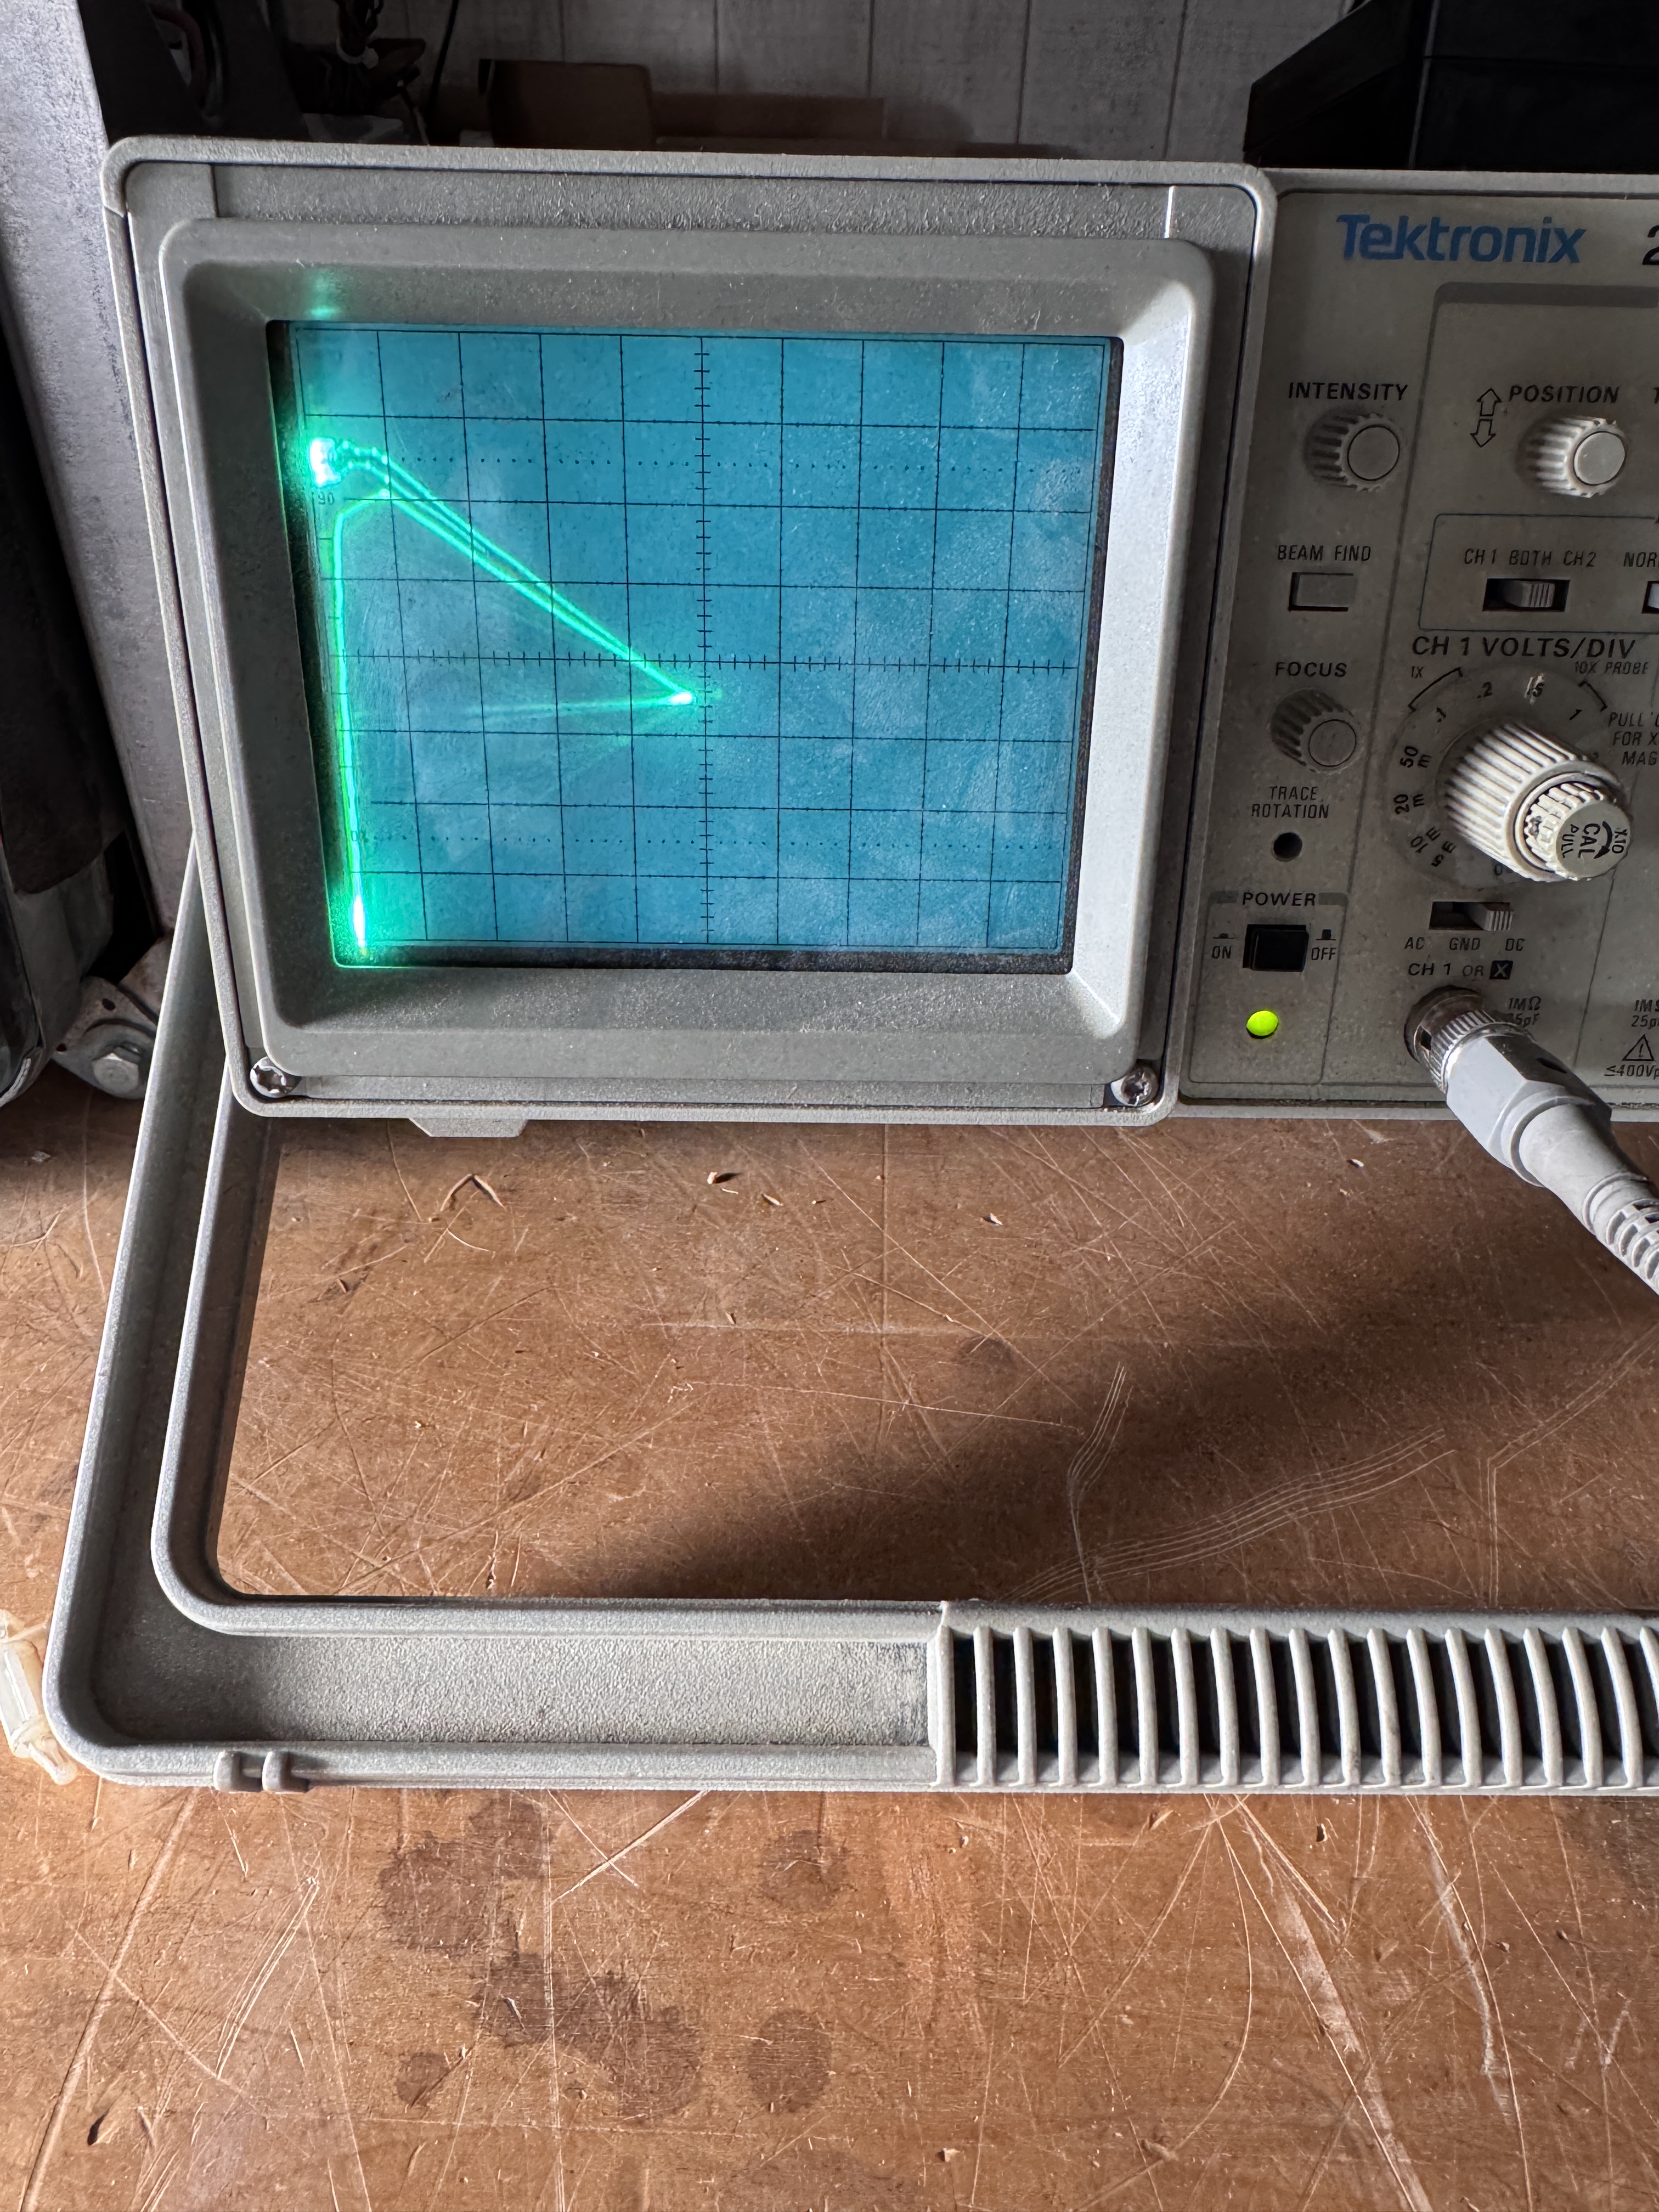
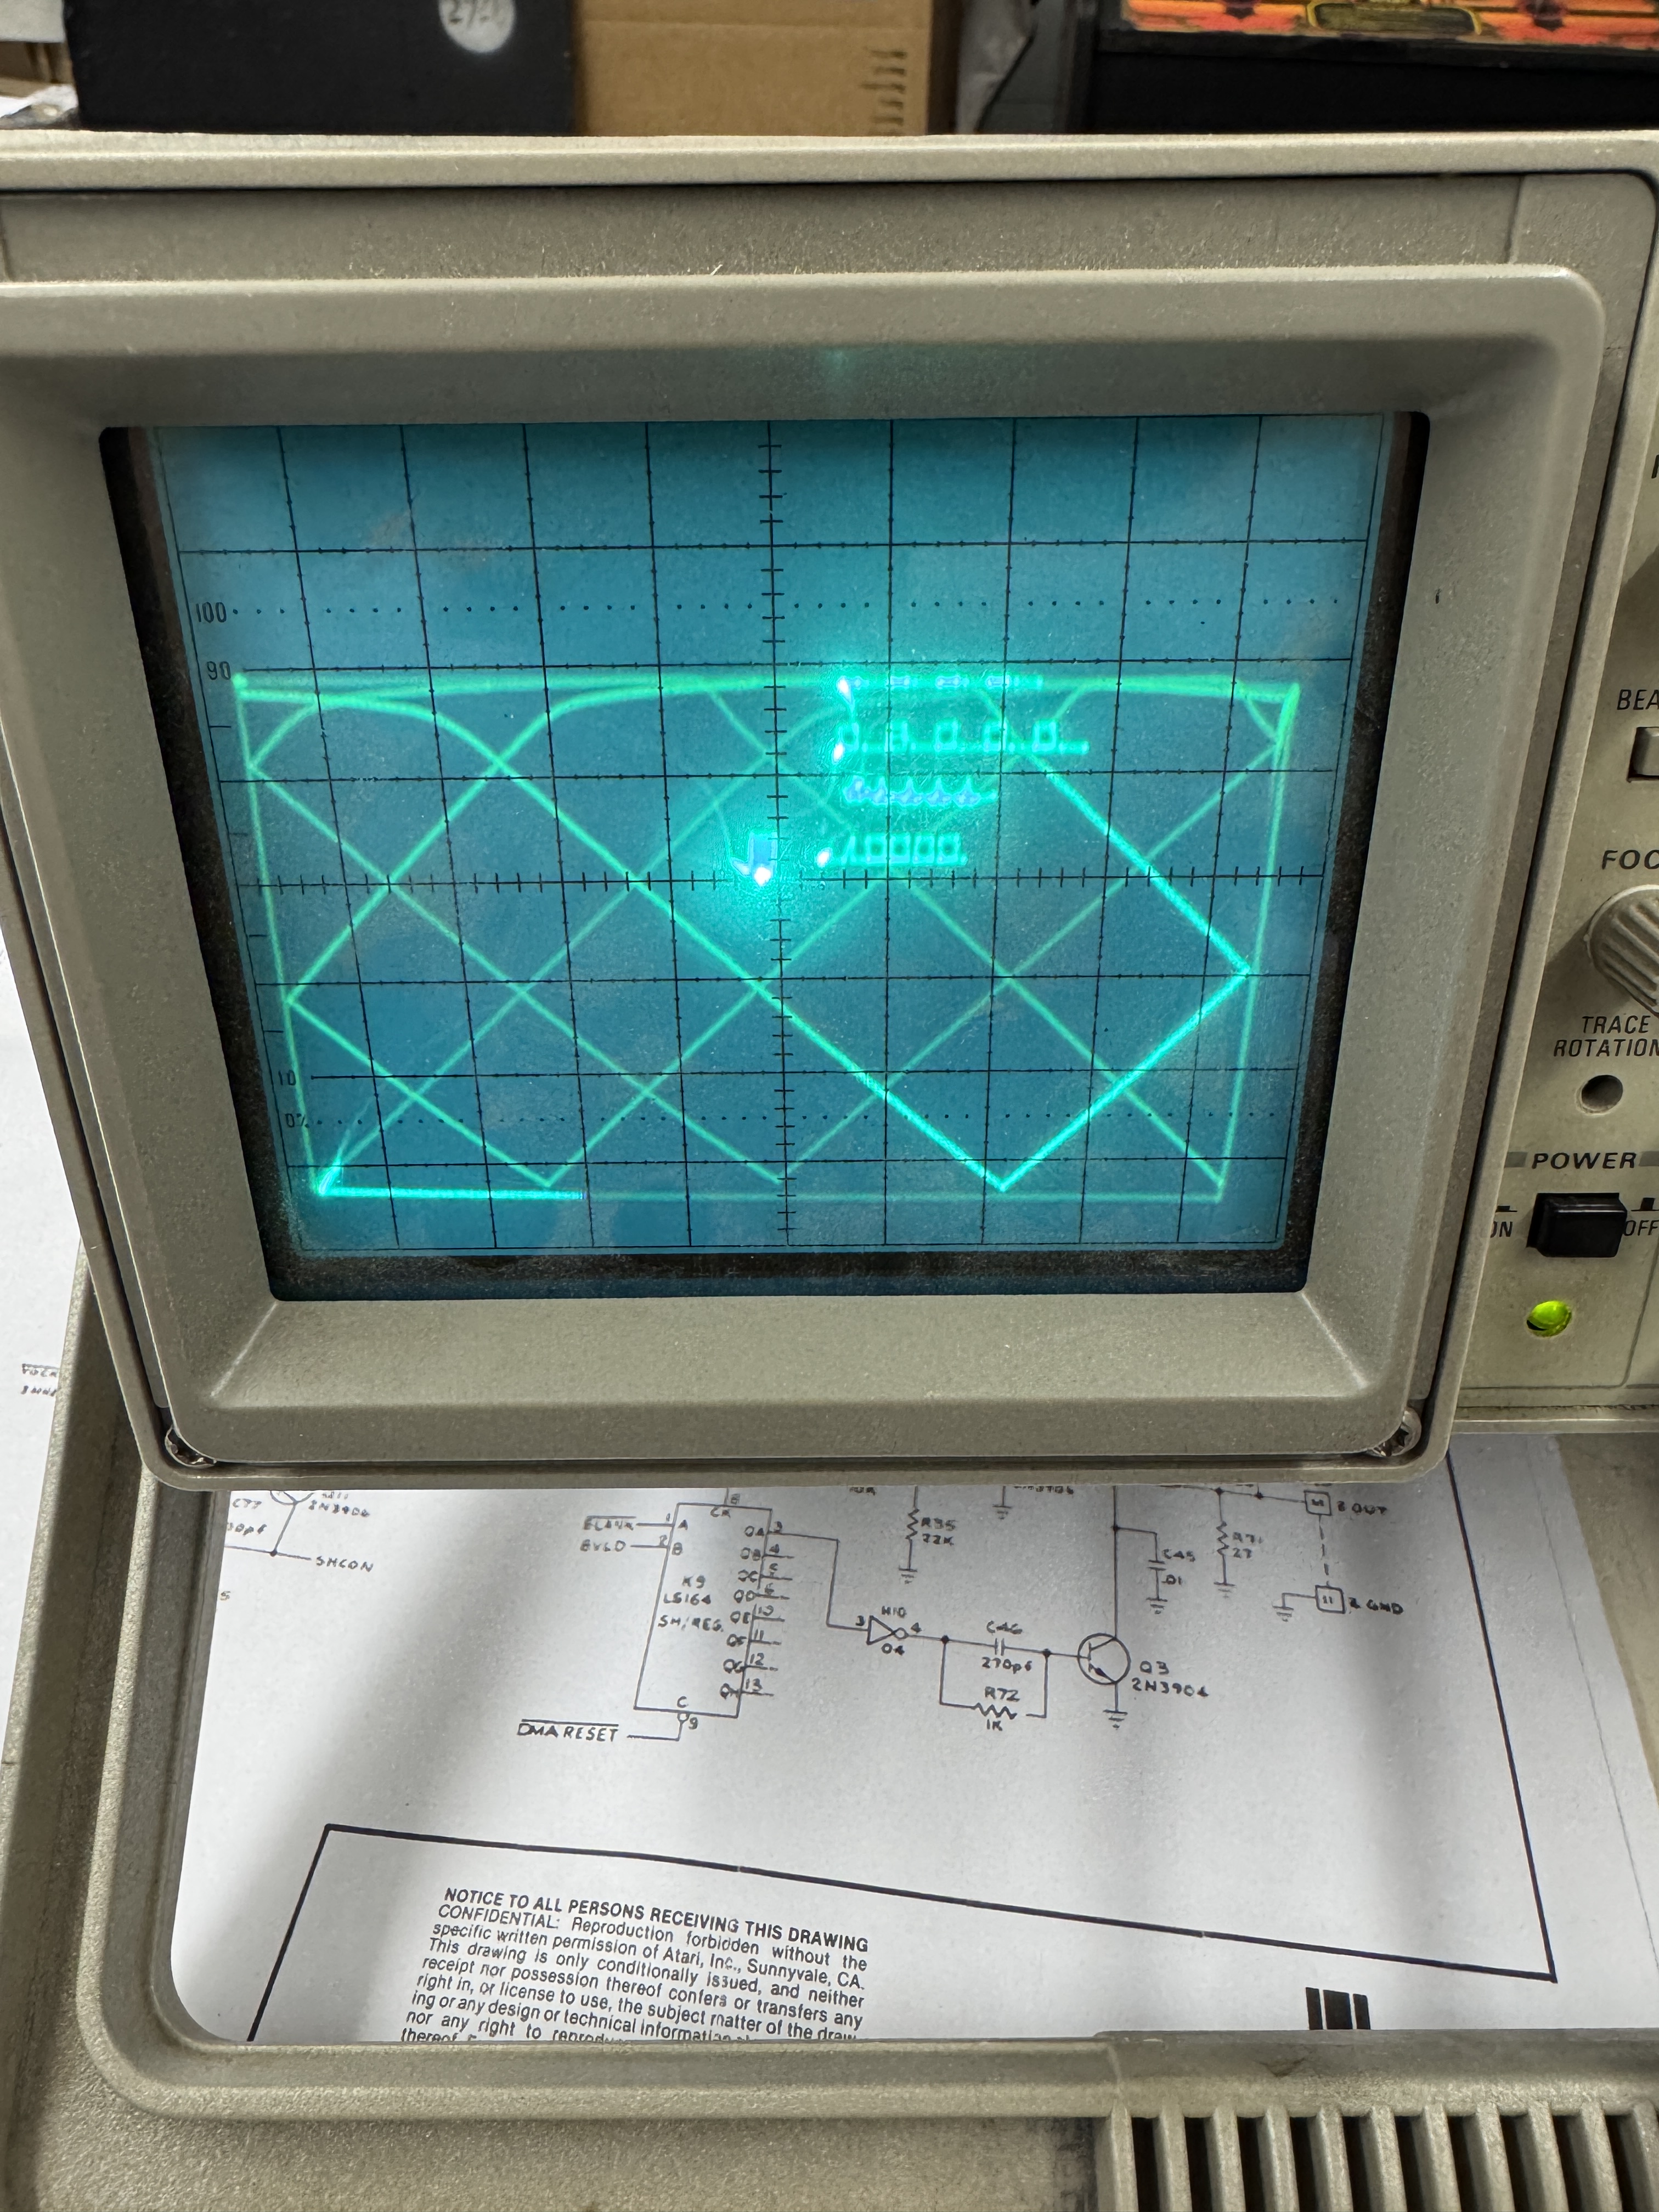

Powered up and here is what I was getting in diag mode. Really bad X/Y output – but at least the board was running.
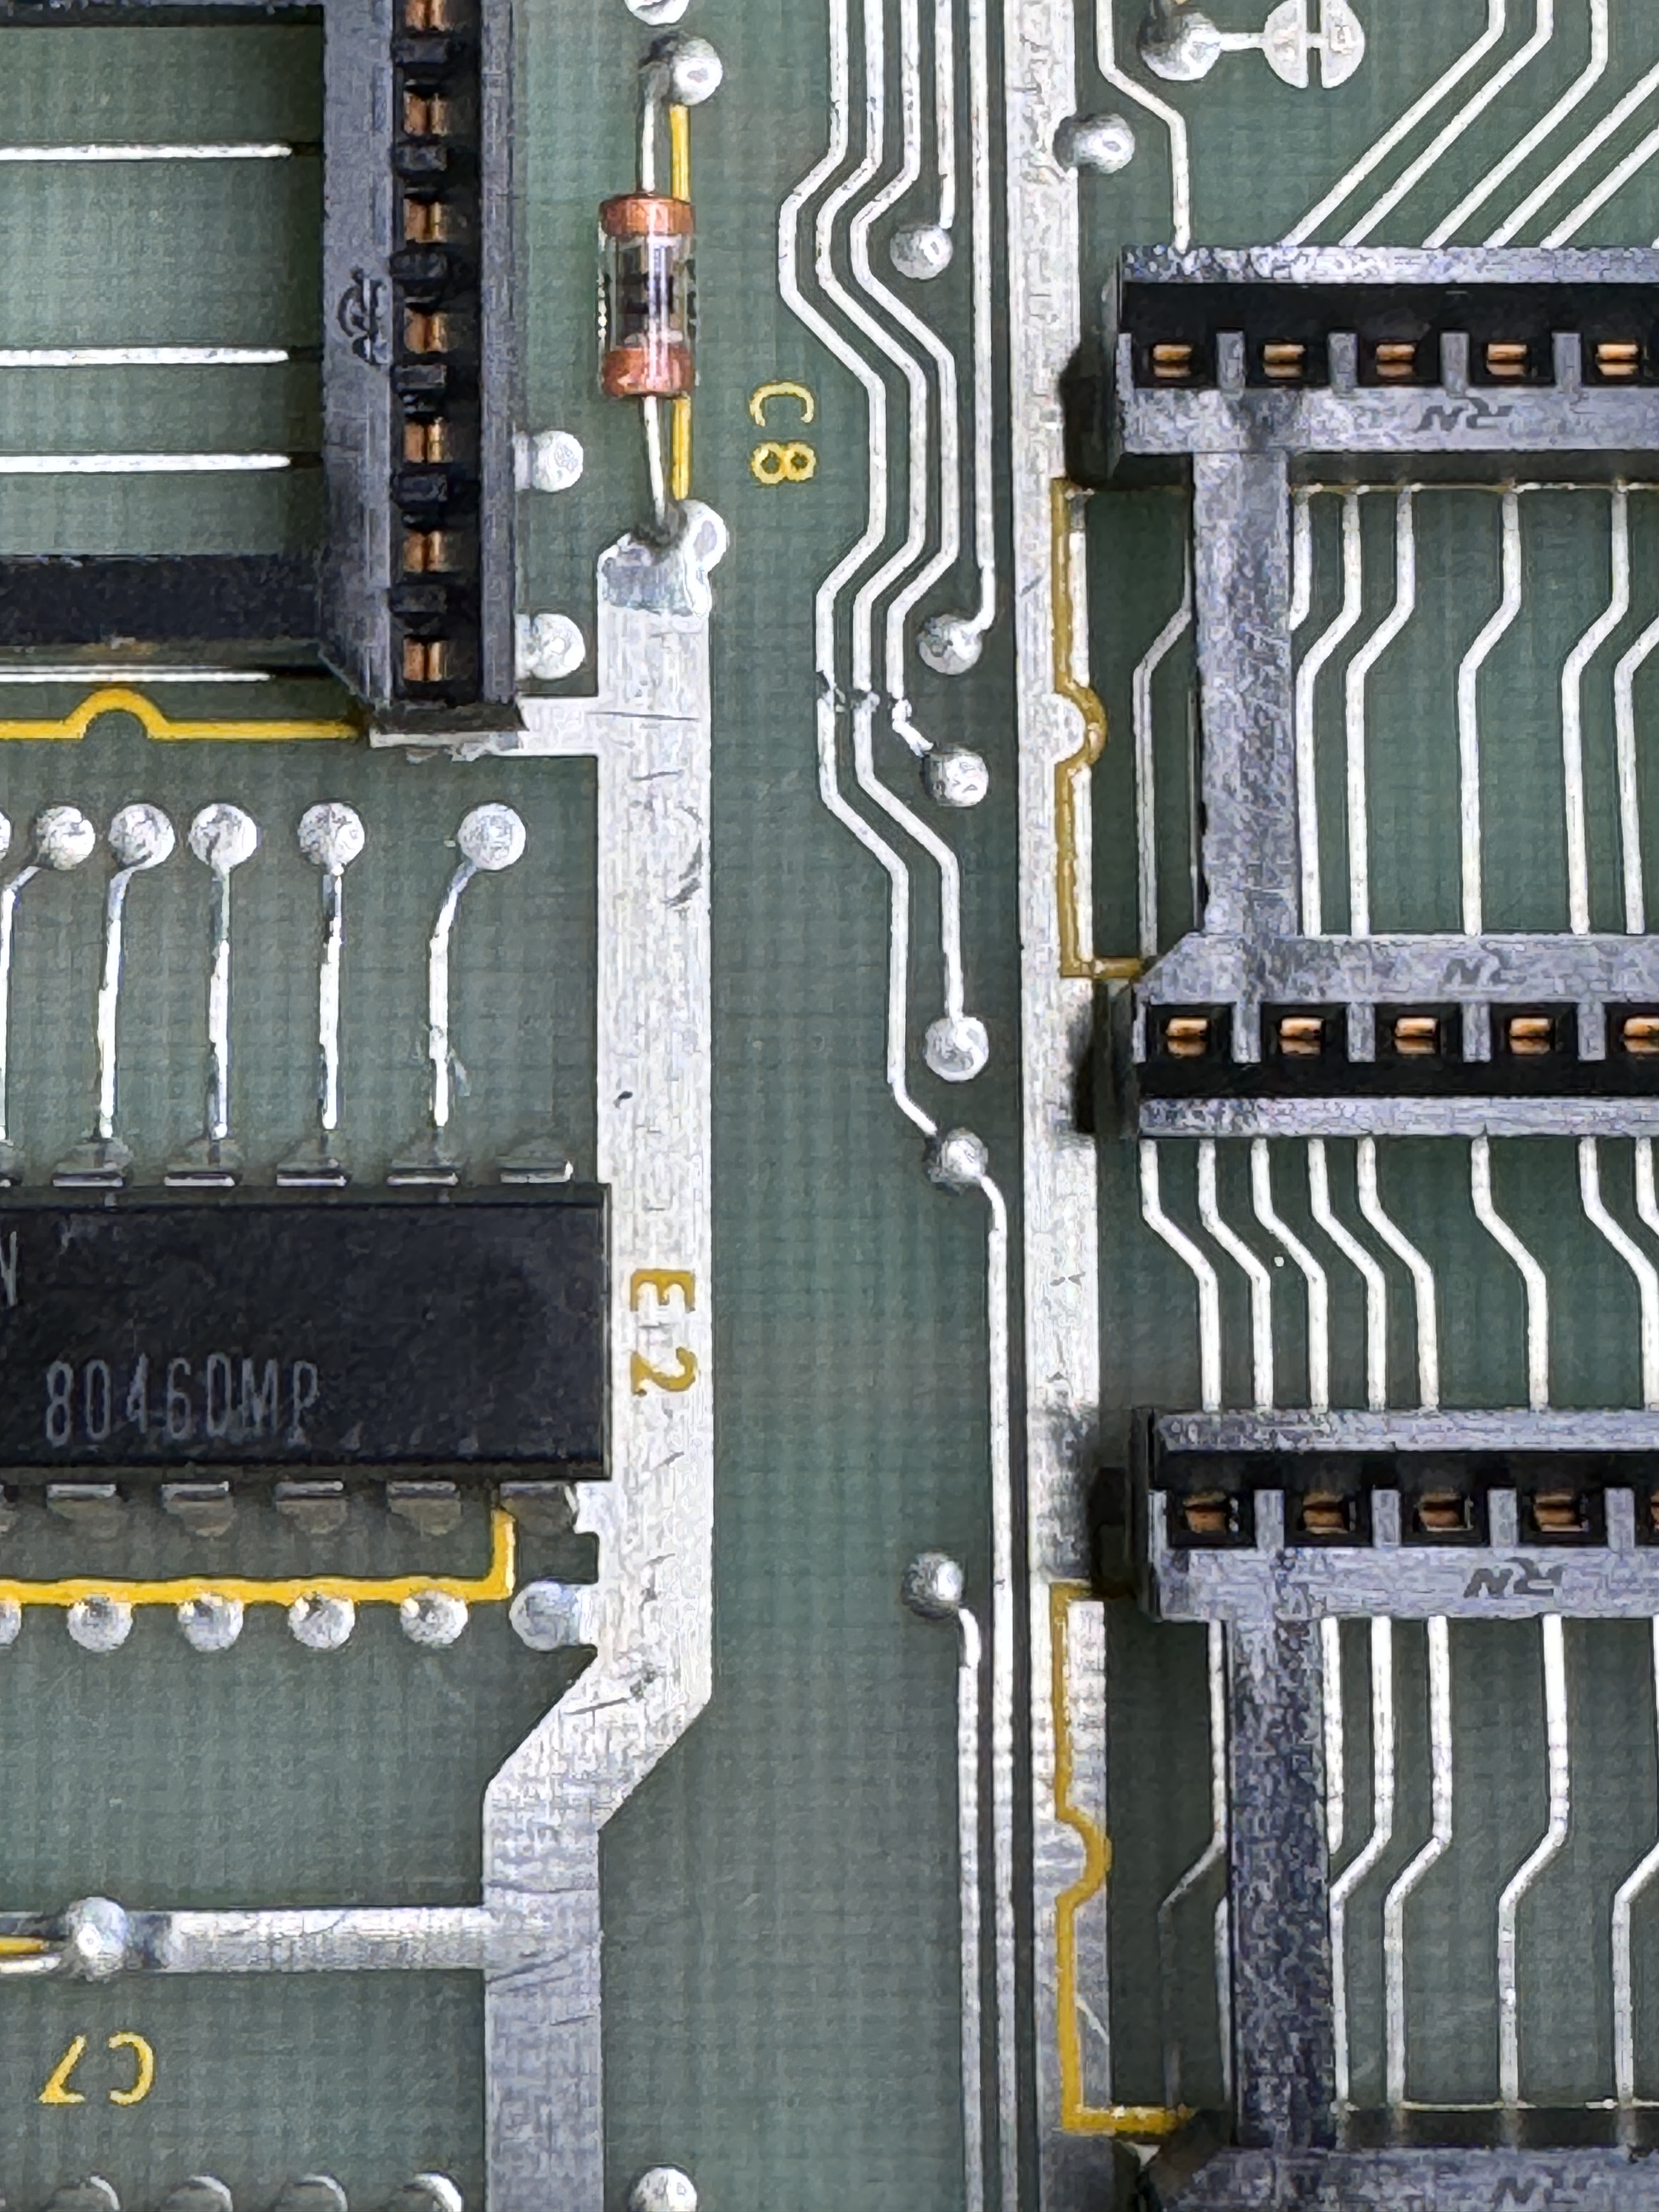
Some diagnostics through the analog section and I replaced the analog switch @D/E12

This restored the X axis – replacing the same switch @B/C12 restored the Y outputs. From here I did full board maintenance and replaced the standup pots.


Last bit – the edge connector had been cleaned a lot over the years. I shined it up a bit and coated with liquid tin to prevent the copper from oxidizing.
Board works!
