
Something I haven’t done in quite a while – worked on one of my own machines!
I had not really played this game until last year, saw it around but always walked past it. When my arcade buddies came to town we ended up at a barcade (shocker) and the competition began. The knock on it is that the owner will get too good at it and bored, I can see that.. But it is fun to have in the lineup. I started keeping my eyes open and noticed they never pop up for sale. Over the last year+ only one has come up for sale in driving distance (4 hours each way… btw) Seemed reasonably priced(ish) and there was a lot of other interest. So.. whatever.. I went and got it.

The details and description were a bit sparse.. It clearly needed work from the pics. But it looked to be all there. Met the owner and he said it had worked… blah blah.. this machine has not run in many many years and had a lot wrong with it.
Starting at the power cord and working my way in…
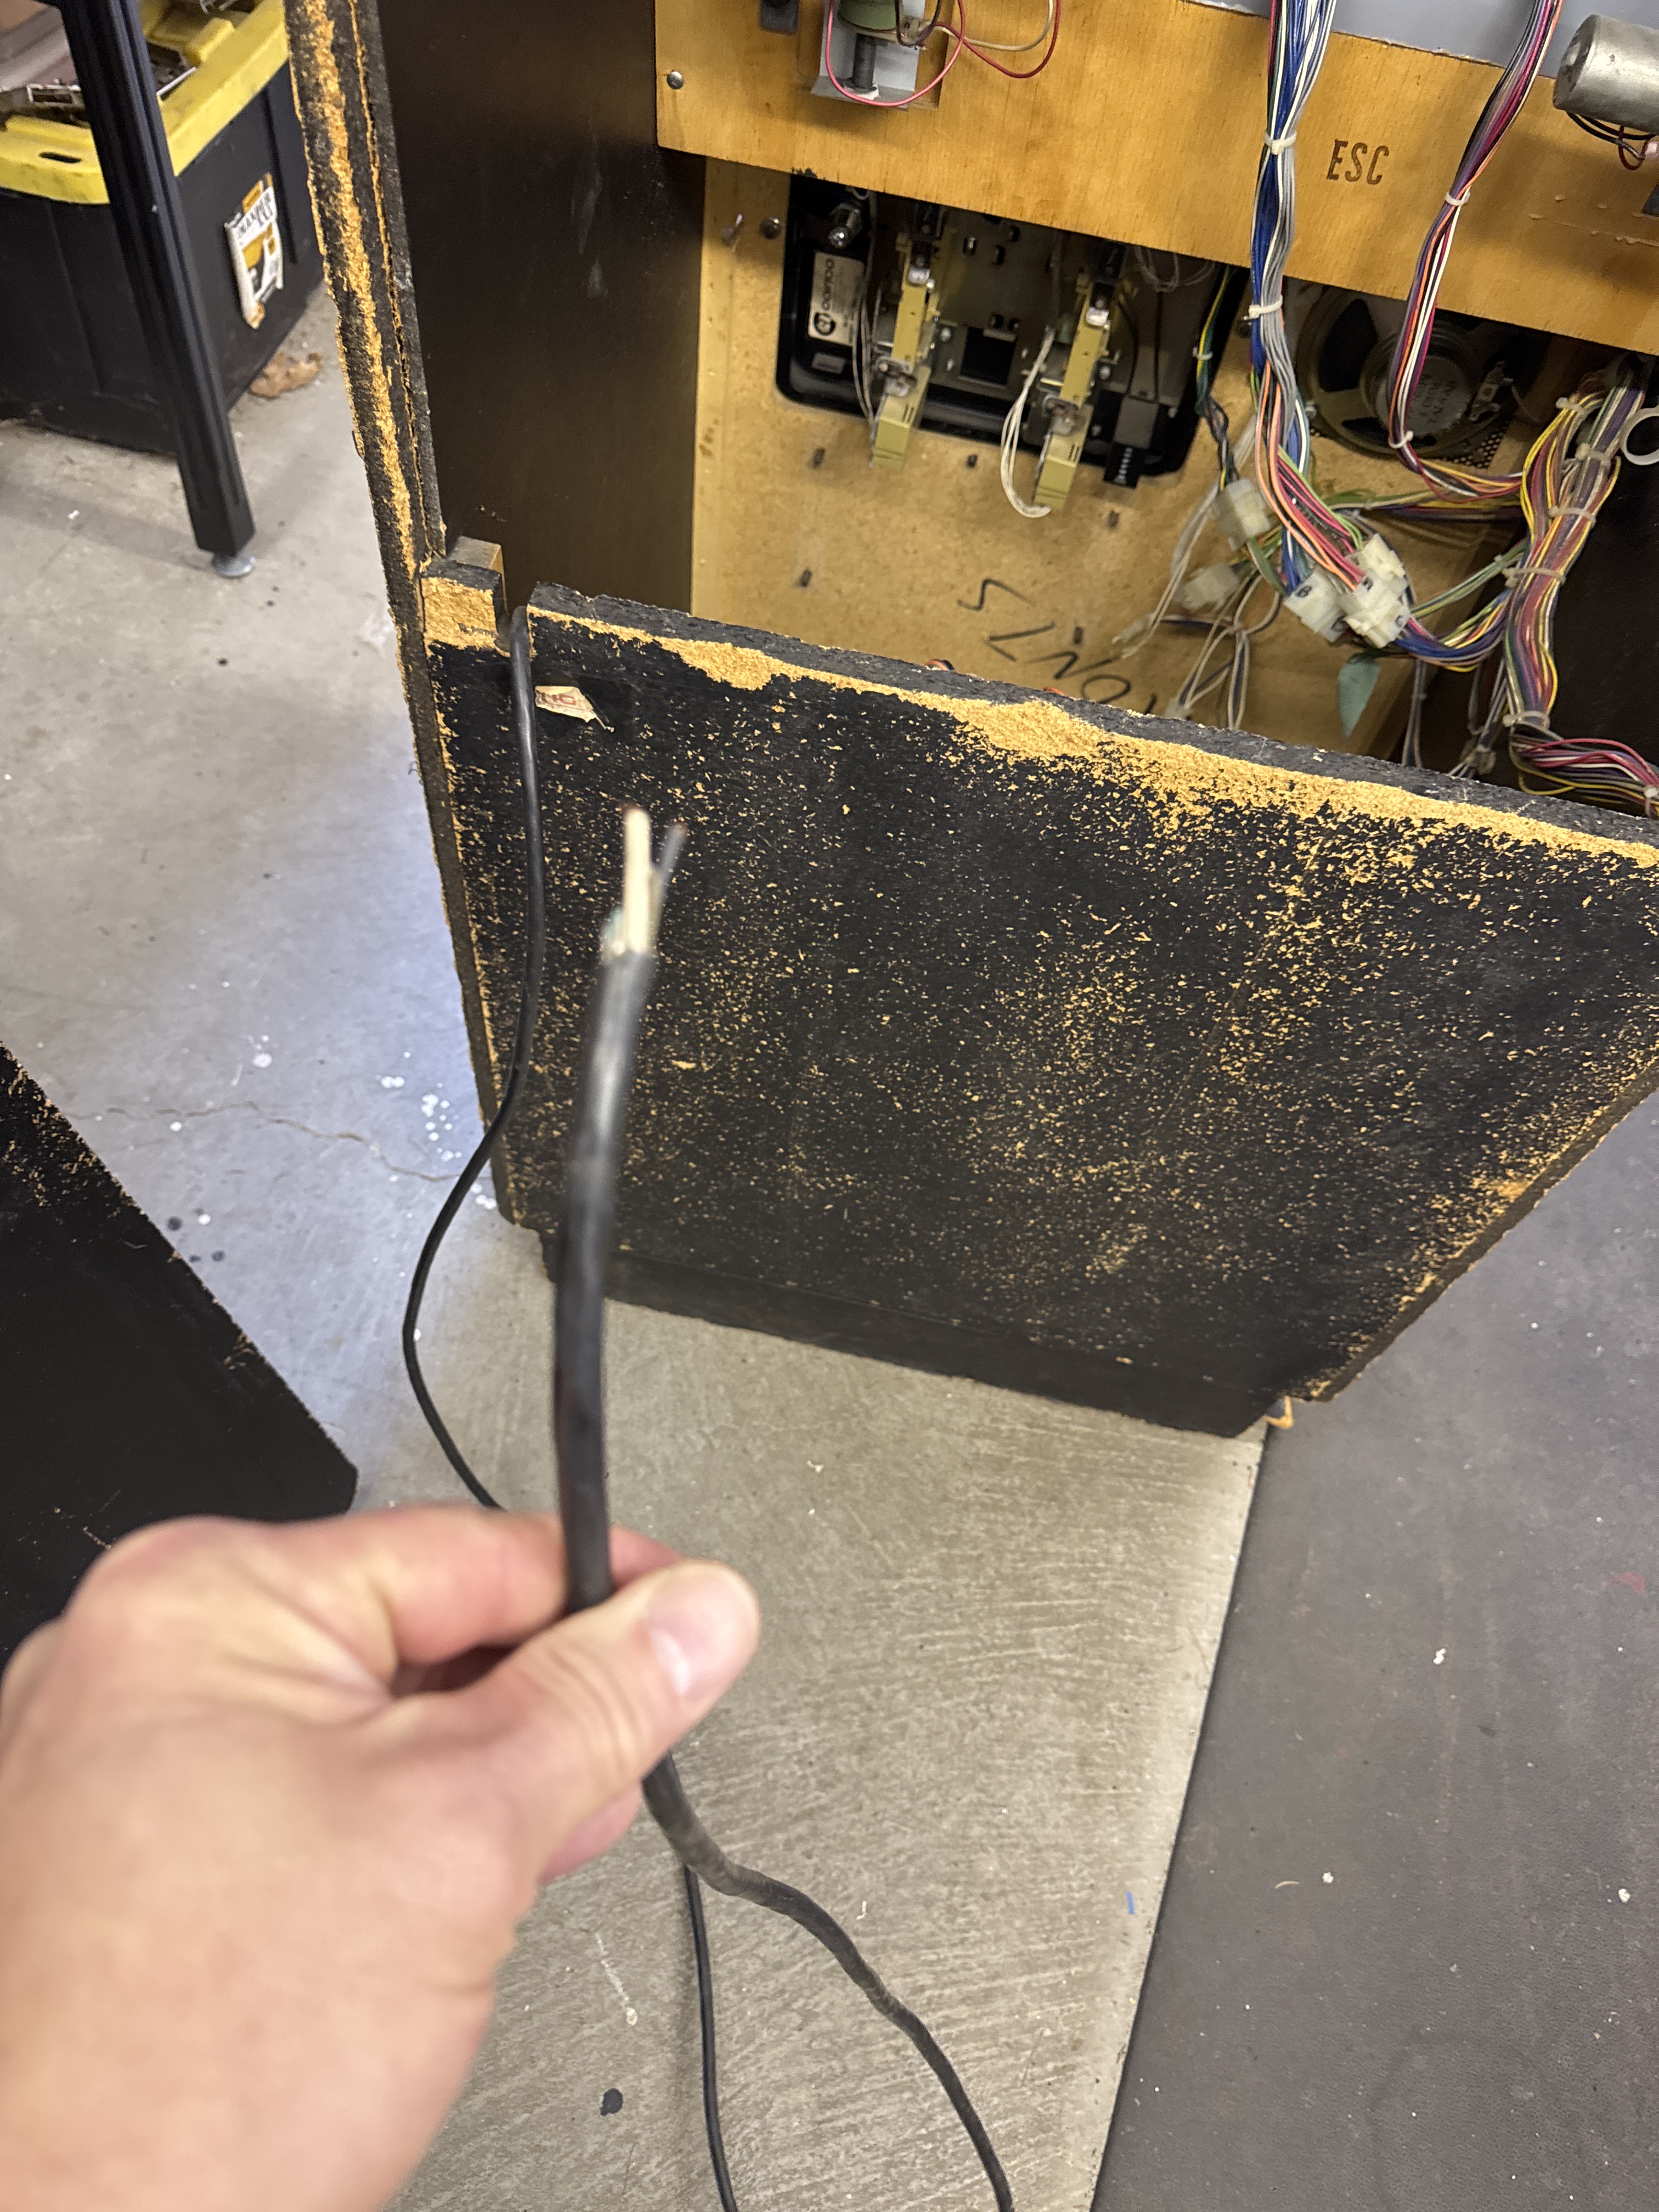

No power. I usually keep a handful of long cords in stock, but was out.. Ordered a 9′ replacement. It did have the original manual!
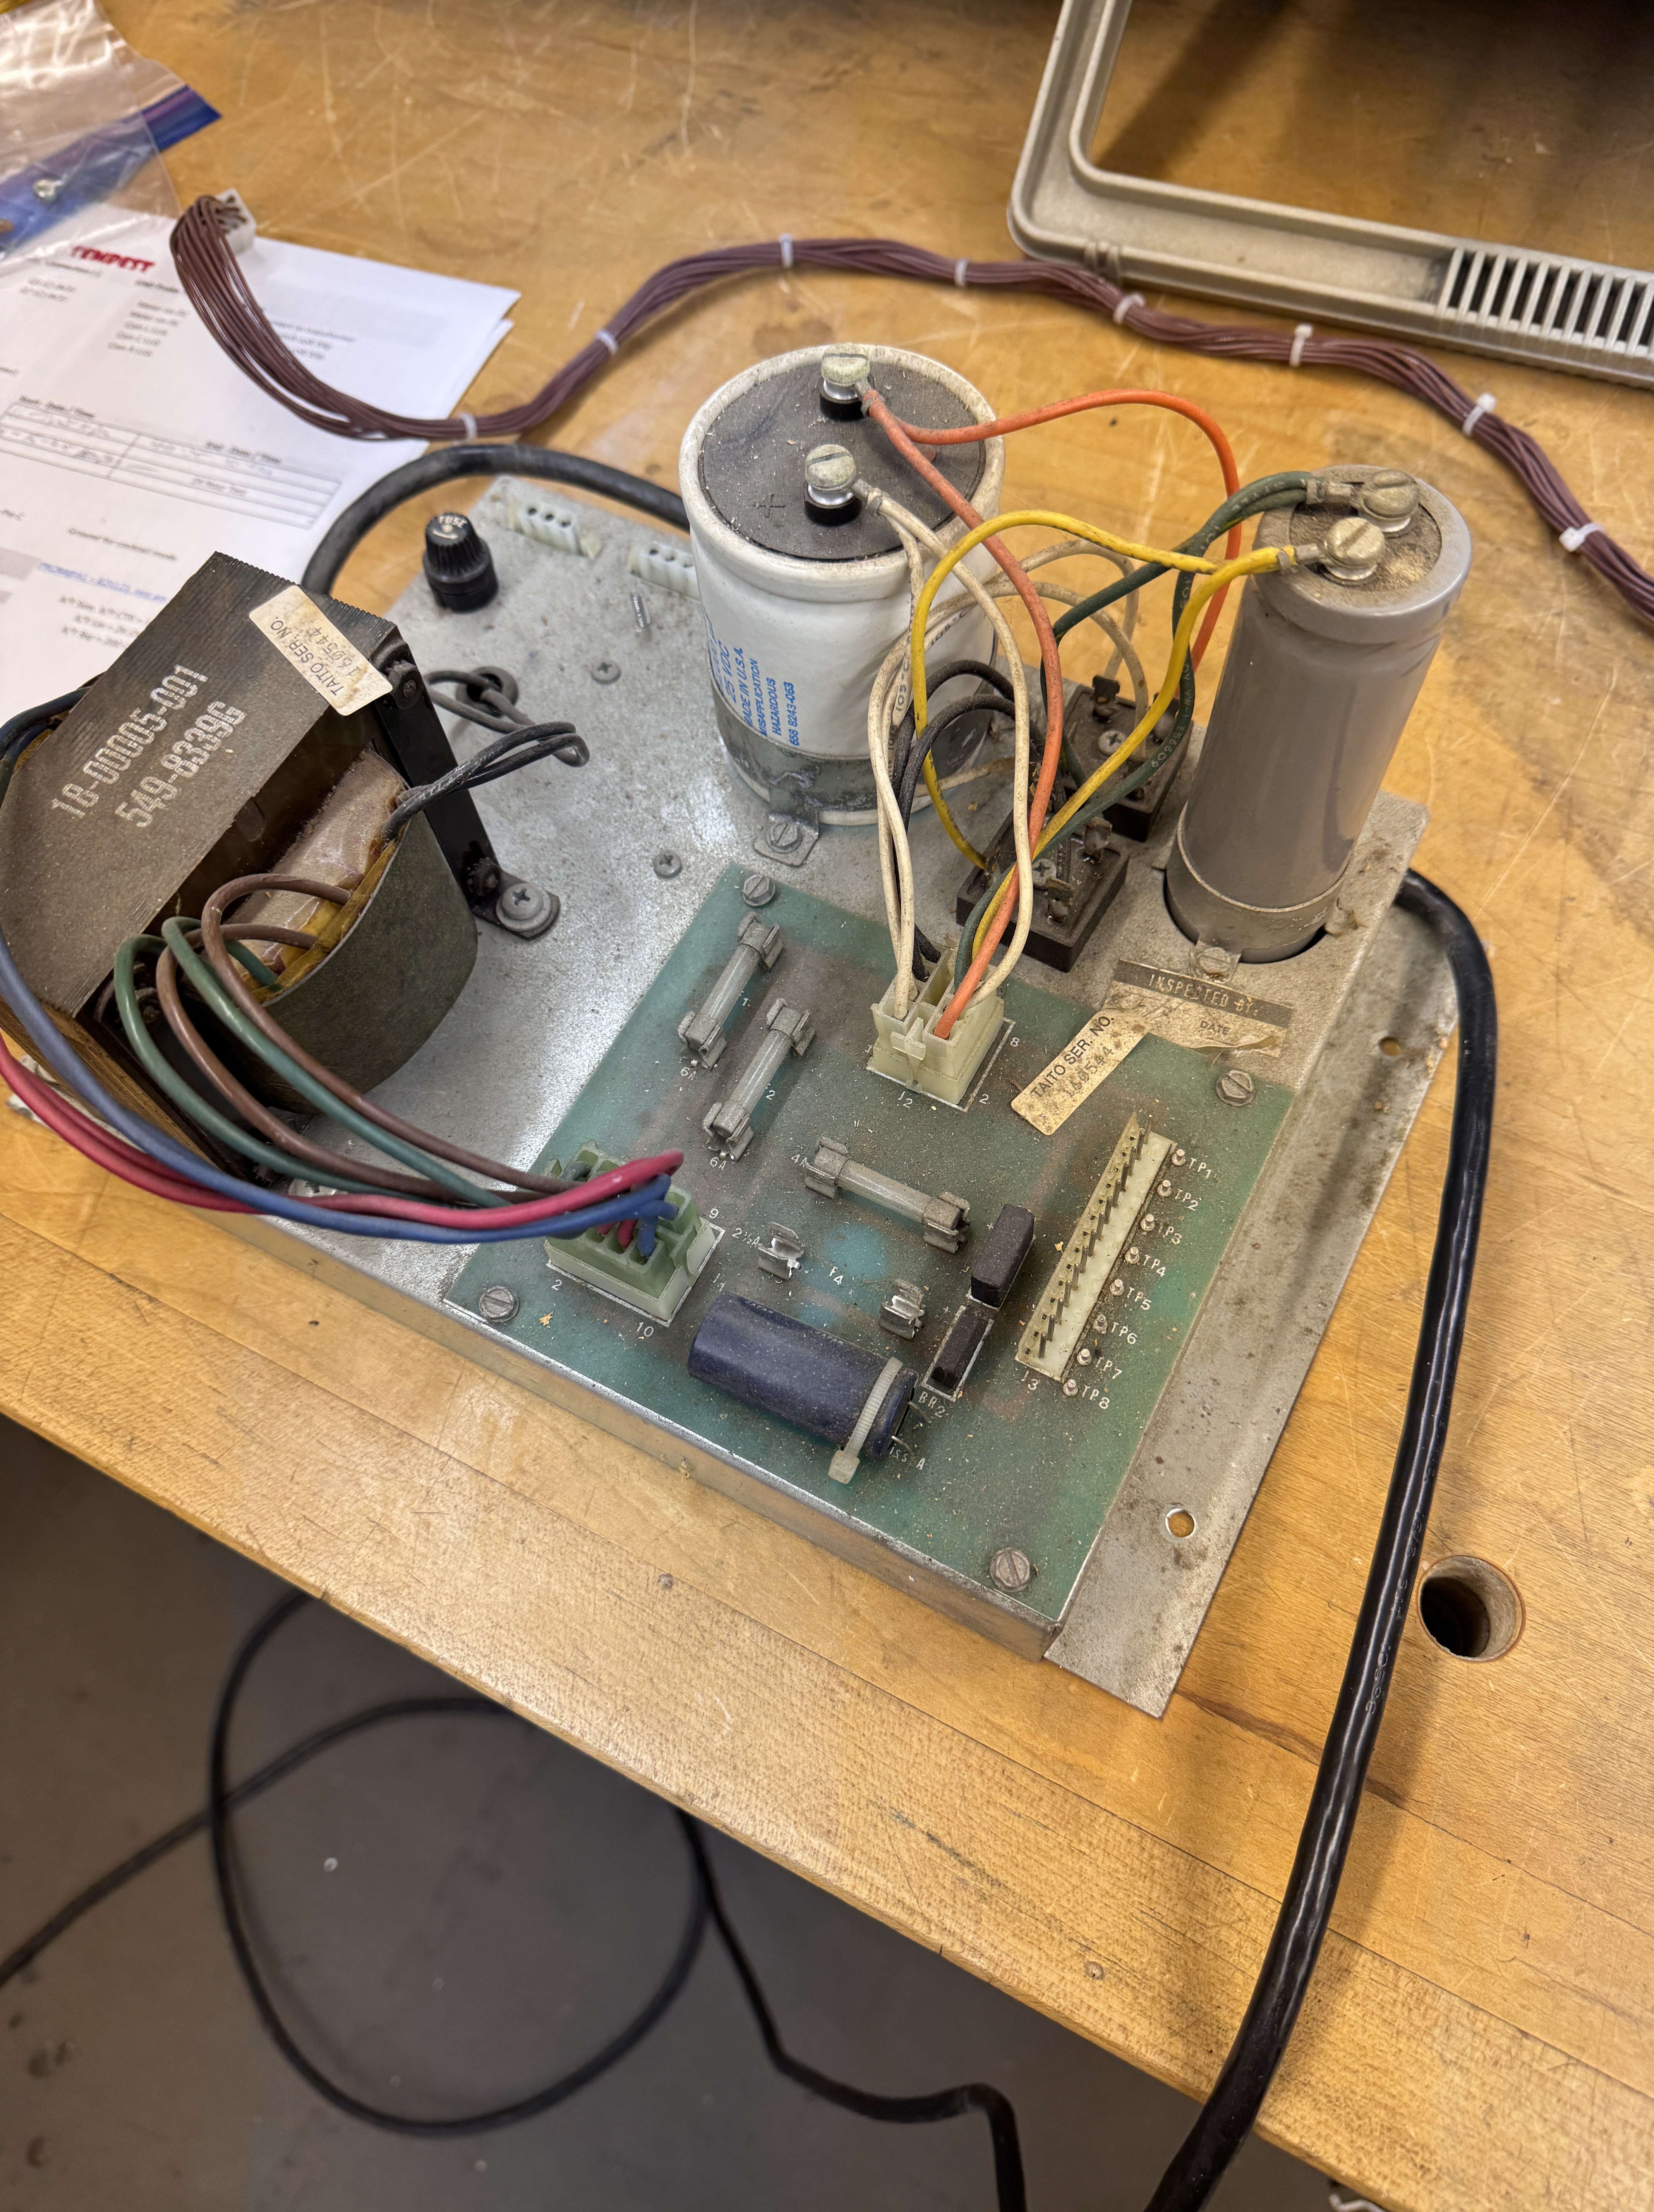

Power brick is very simple, fuse F4 was missing. Bridge rectifier BR2 was shorted. I have it removed in the cleaned up pic waiting for a replacement to arrive. It is next to F4. It supplies the 24v+ to the errant ball coil (more on that later)

The front of the playfield is in good shape. There are a few scratches here and there. It got cleaned up with Miracle Eraser and then waxed. I pulled all of the rods off and polished the brass and steel with metal polish. They were pretty dingy but polished up back to a nice chrome’y and brassy new. I used Deoxit to lubricate them. It has a very very light oil in it that doesn’t collect dust or get gummy. A little squirt on them and they glide perfectly.
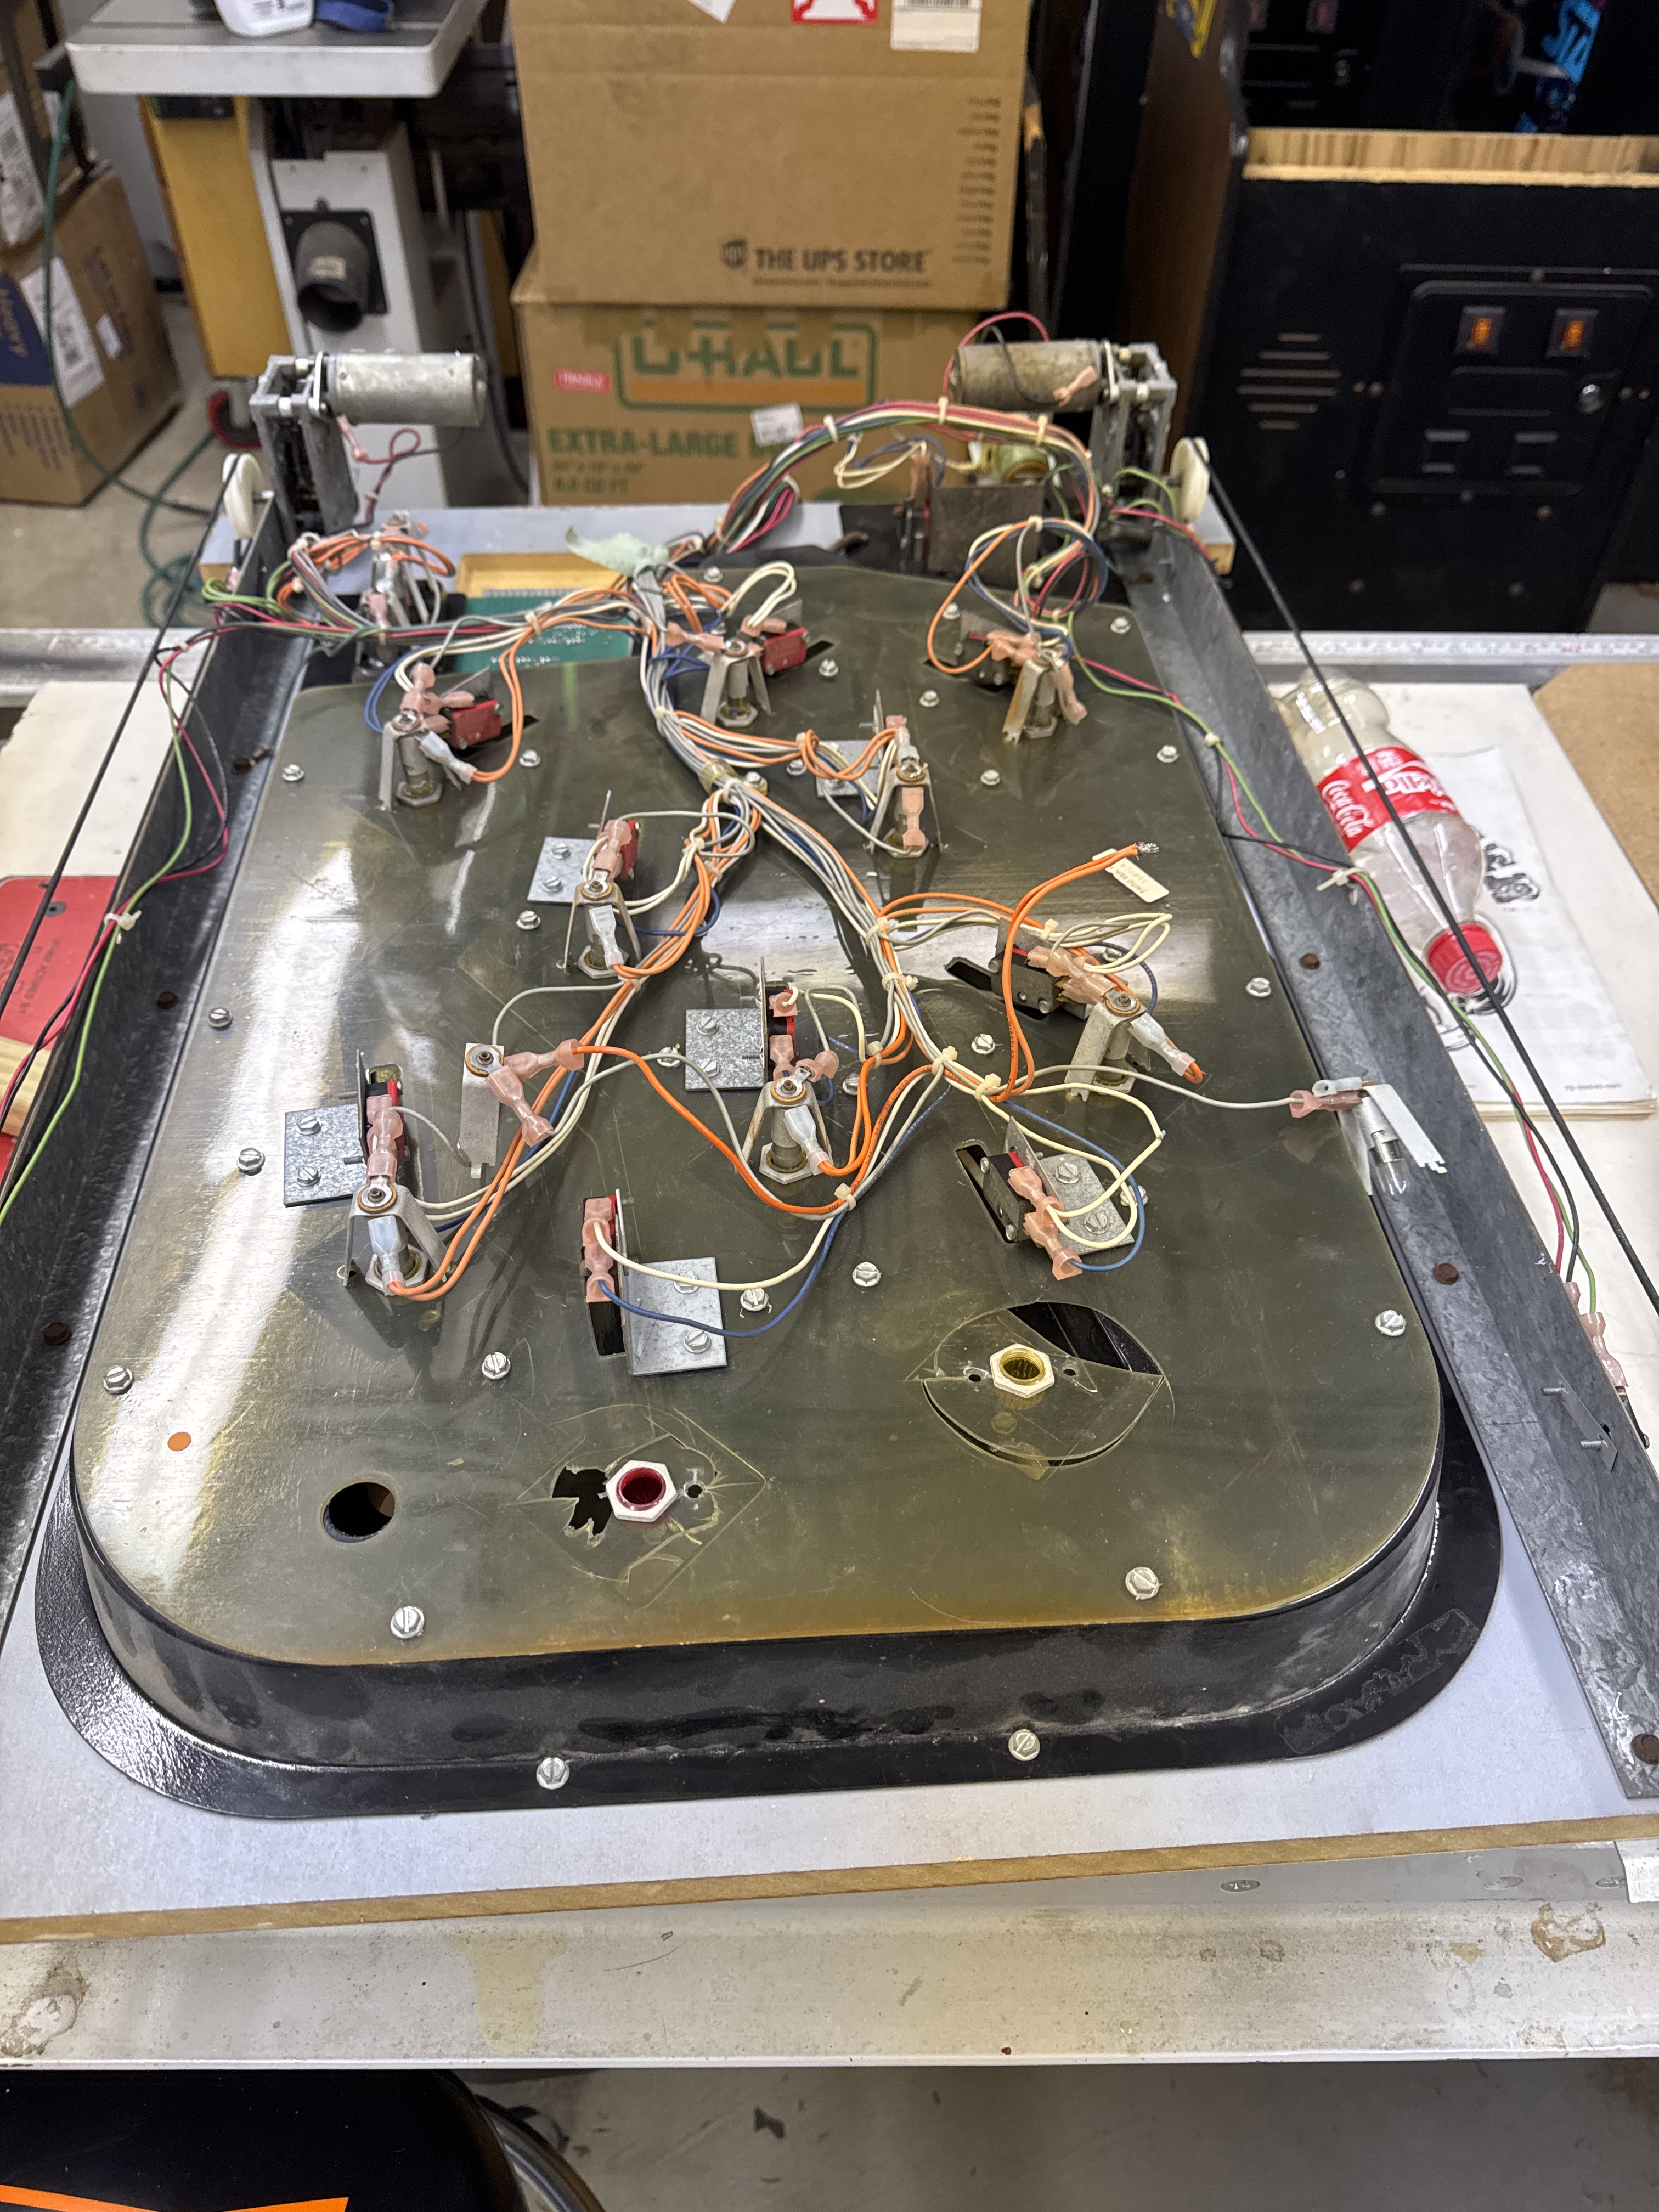
The backside of the playfield is a different story – If you lay this down on the back without some sort of special support – the top 2 lamp holders will bust through the plastic back panel. Thankfully the bits were all in the bottom of the cabinet. This plastic back panel does not seem to available as a replacement and it was easy to fix.


I scratched up the surface of the plastic with sandpaper and cleaned it with alcohol. Cut a piece of 4oz fiberglass cloth and wetted it out with UV cured resin. Hit it with UV light for a few minutes and it is solid. Certainly strong enough to hold a lamp socket.
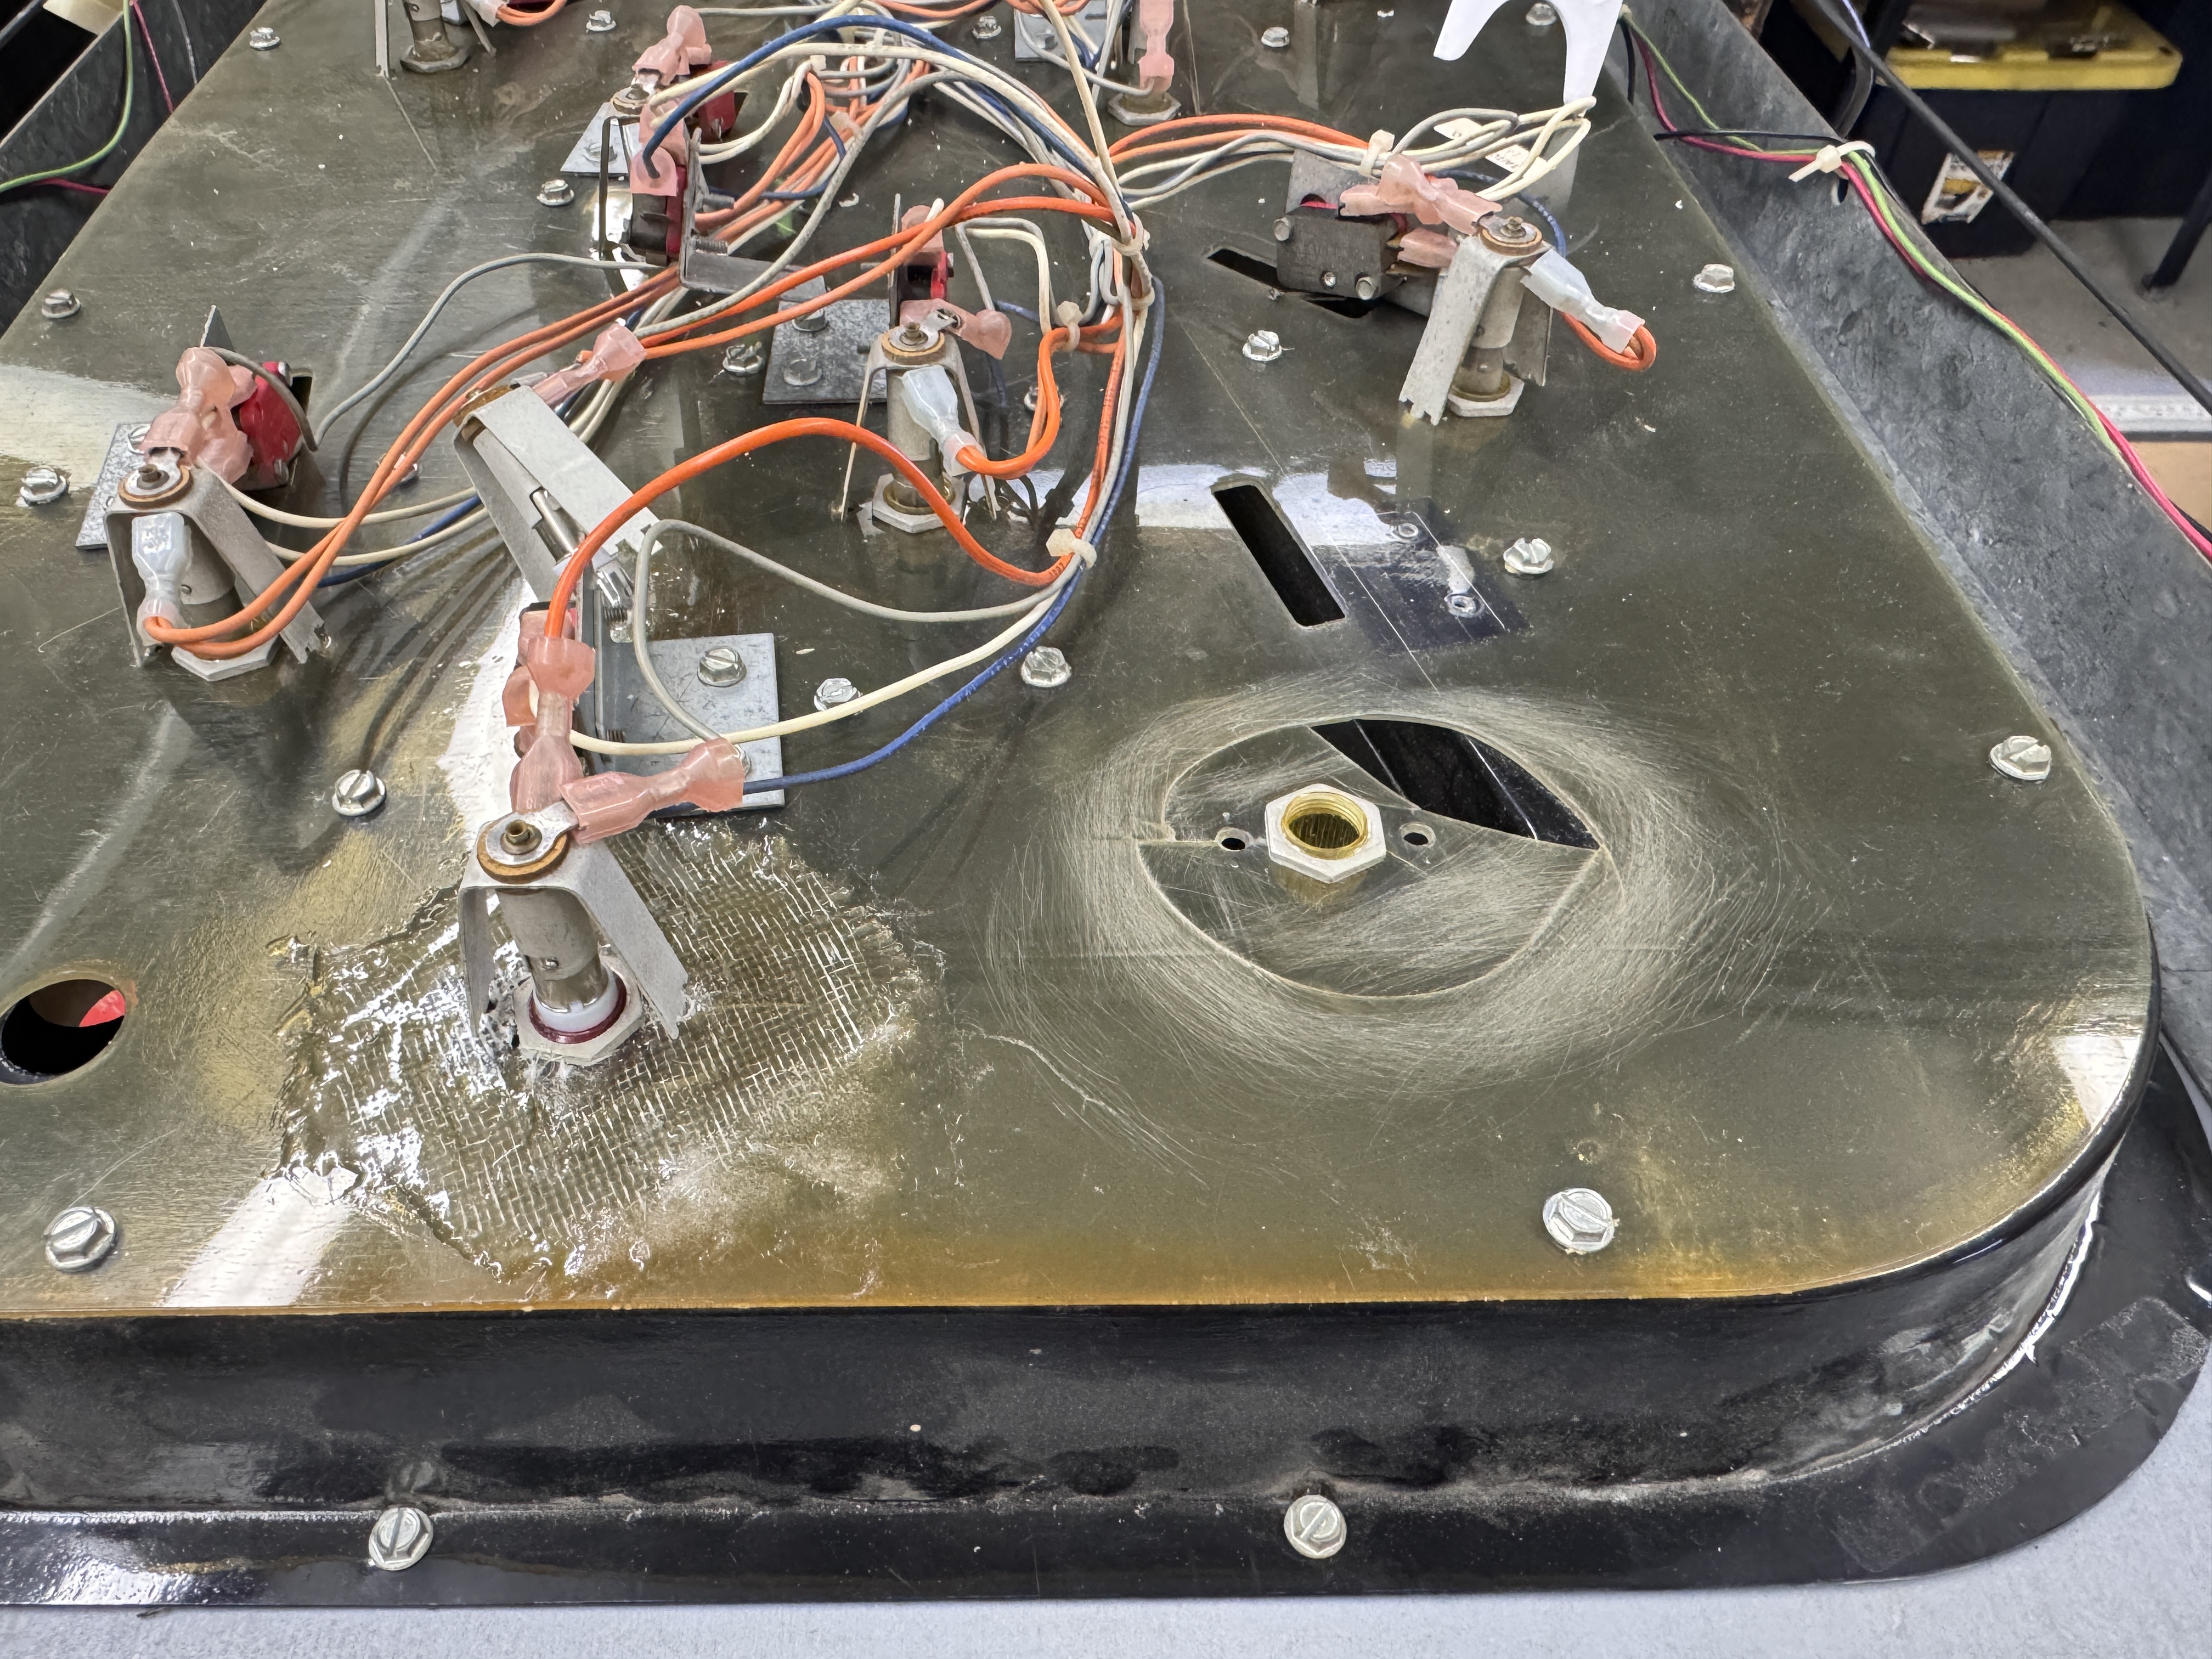

I went one busted part at a time on the other opening..

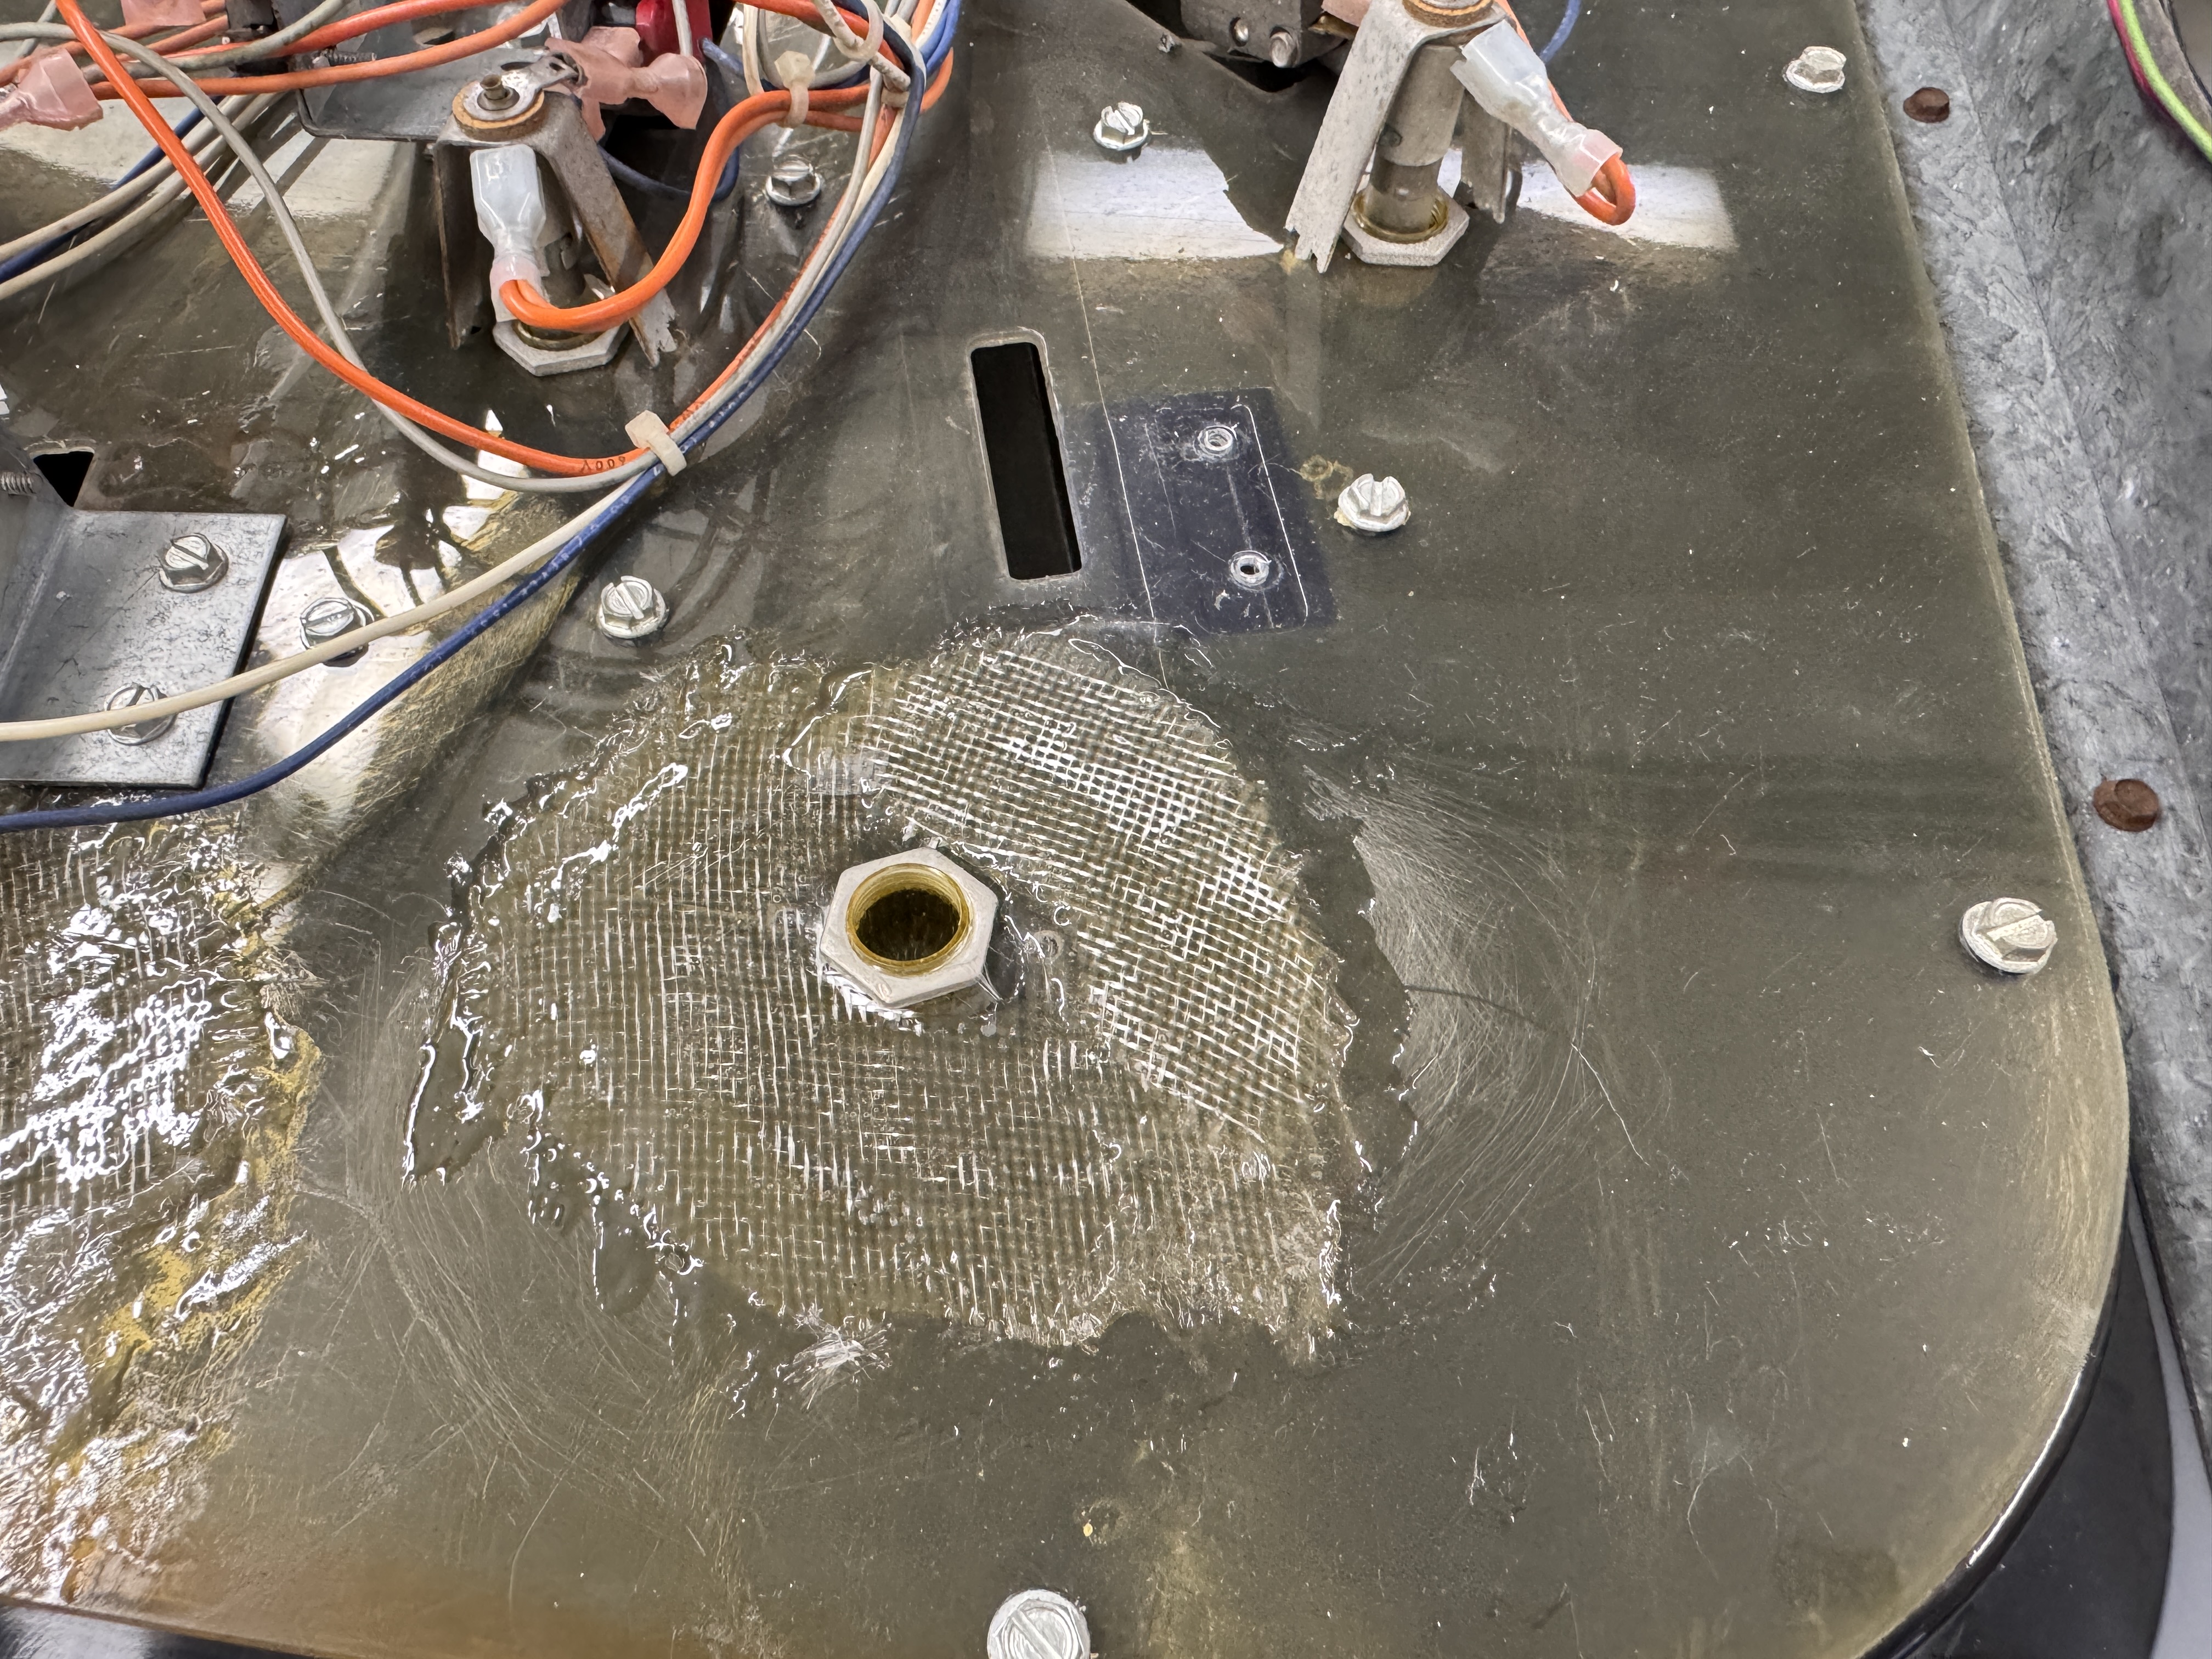

More than strong enough for the job. I’d normally use epoxy for this sort of repair, but the UV resin is faster and it seems to stick to plastic just a bit better.
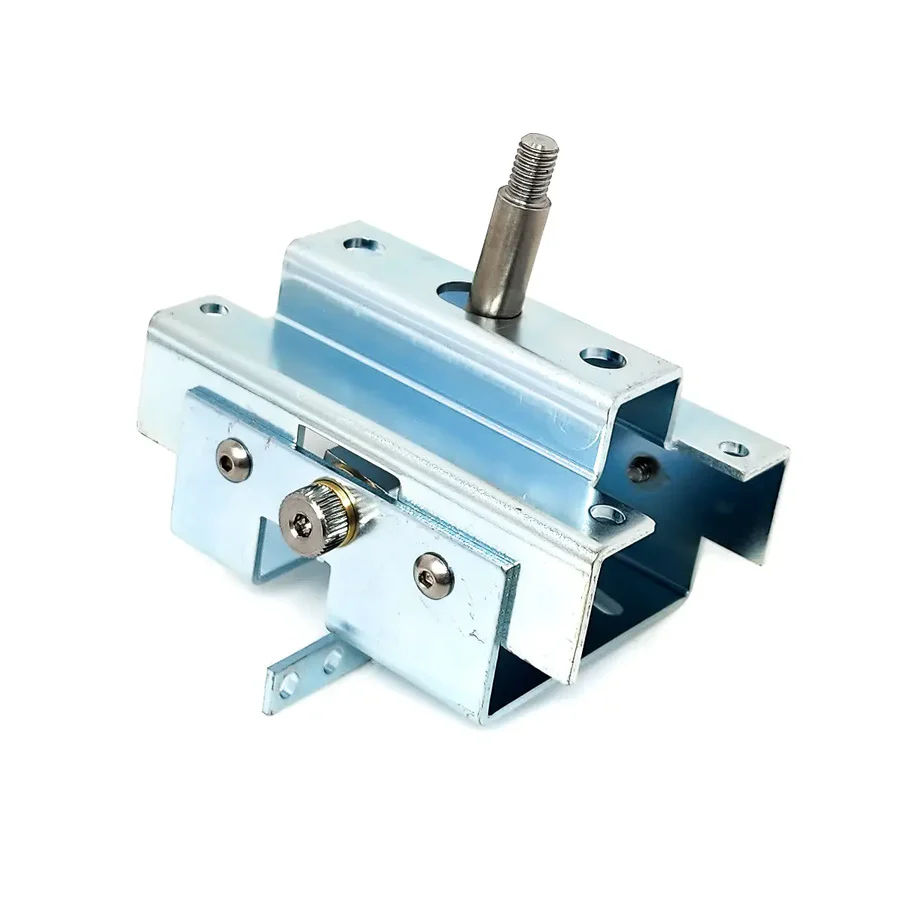
I put it all back together for some testing and found more issues.. The rod would go down, but would barely go up.. It had this weird black rubber tubing for the belts.
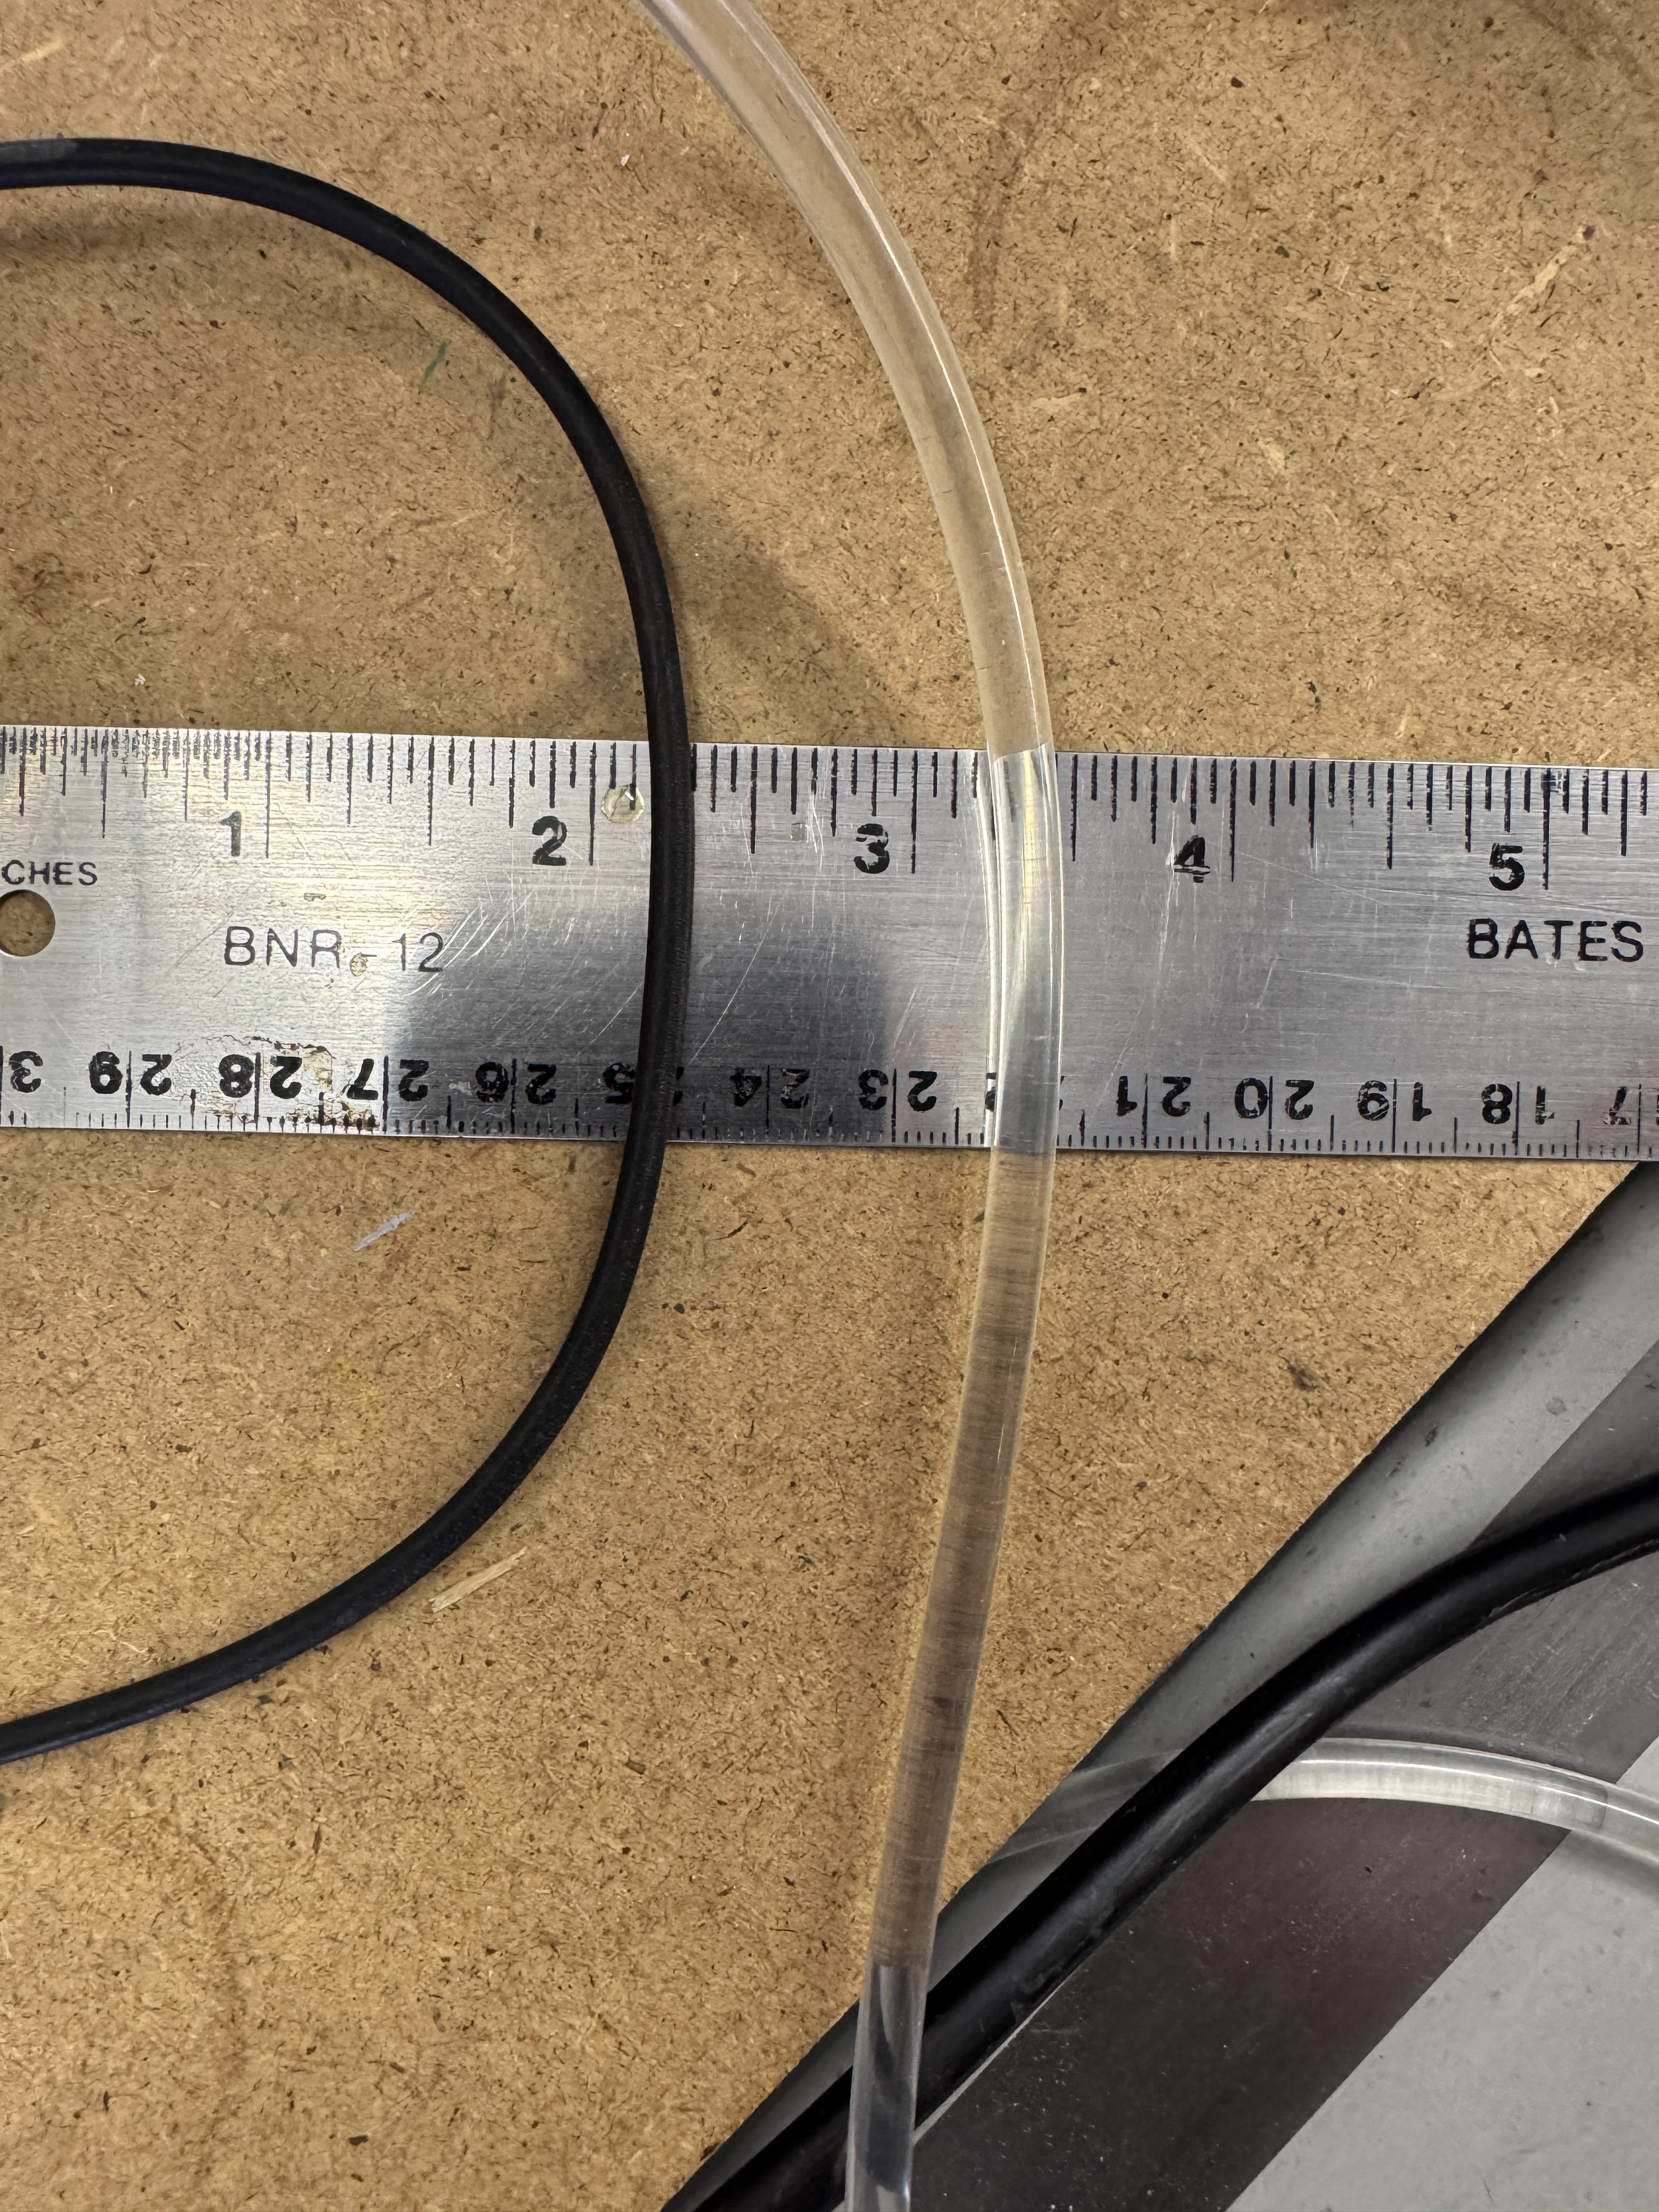
I got the correct replacement belts – the elevator rod runs perfectly now. One of the motor mechanisms was very noisy. I used Deoxit as a very light weight oil for the motor and the pulleys. All extra noises eliminated!
Testing the switches – they all have some mobility in adjustment on the back panel. Switch #10 just wasn’t working as I went through the tests and adjusted it’s position on its mount.
Removing it showed that the actuator was too short (I originally thought it was broken) turns out it was the wrong switch entirely.
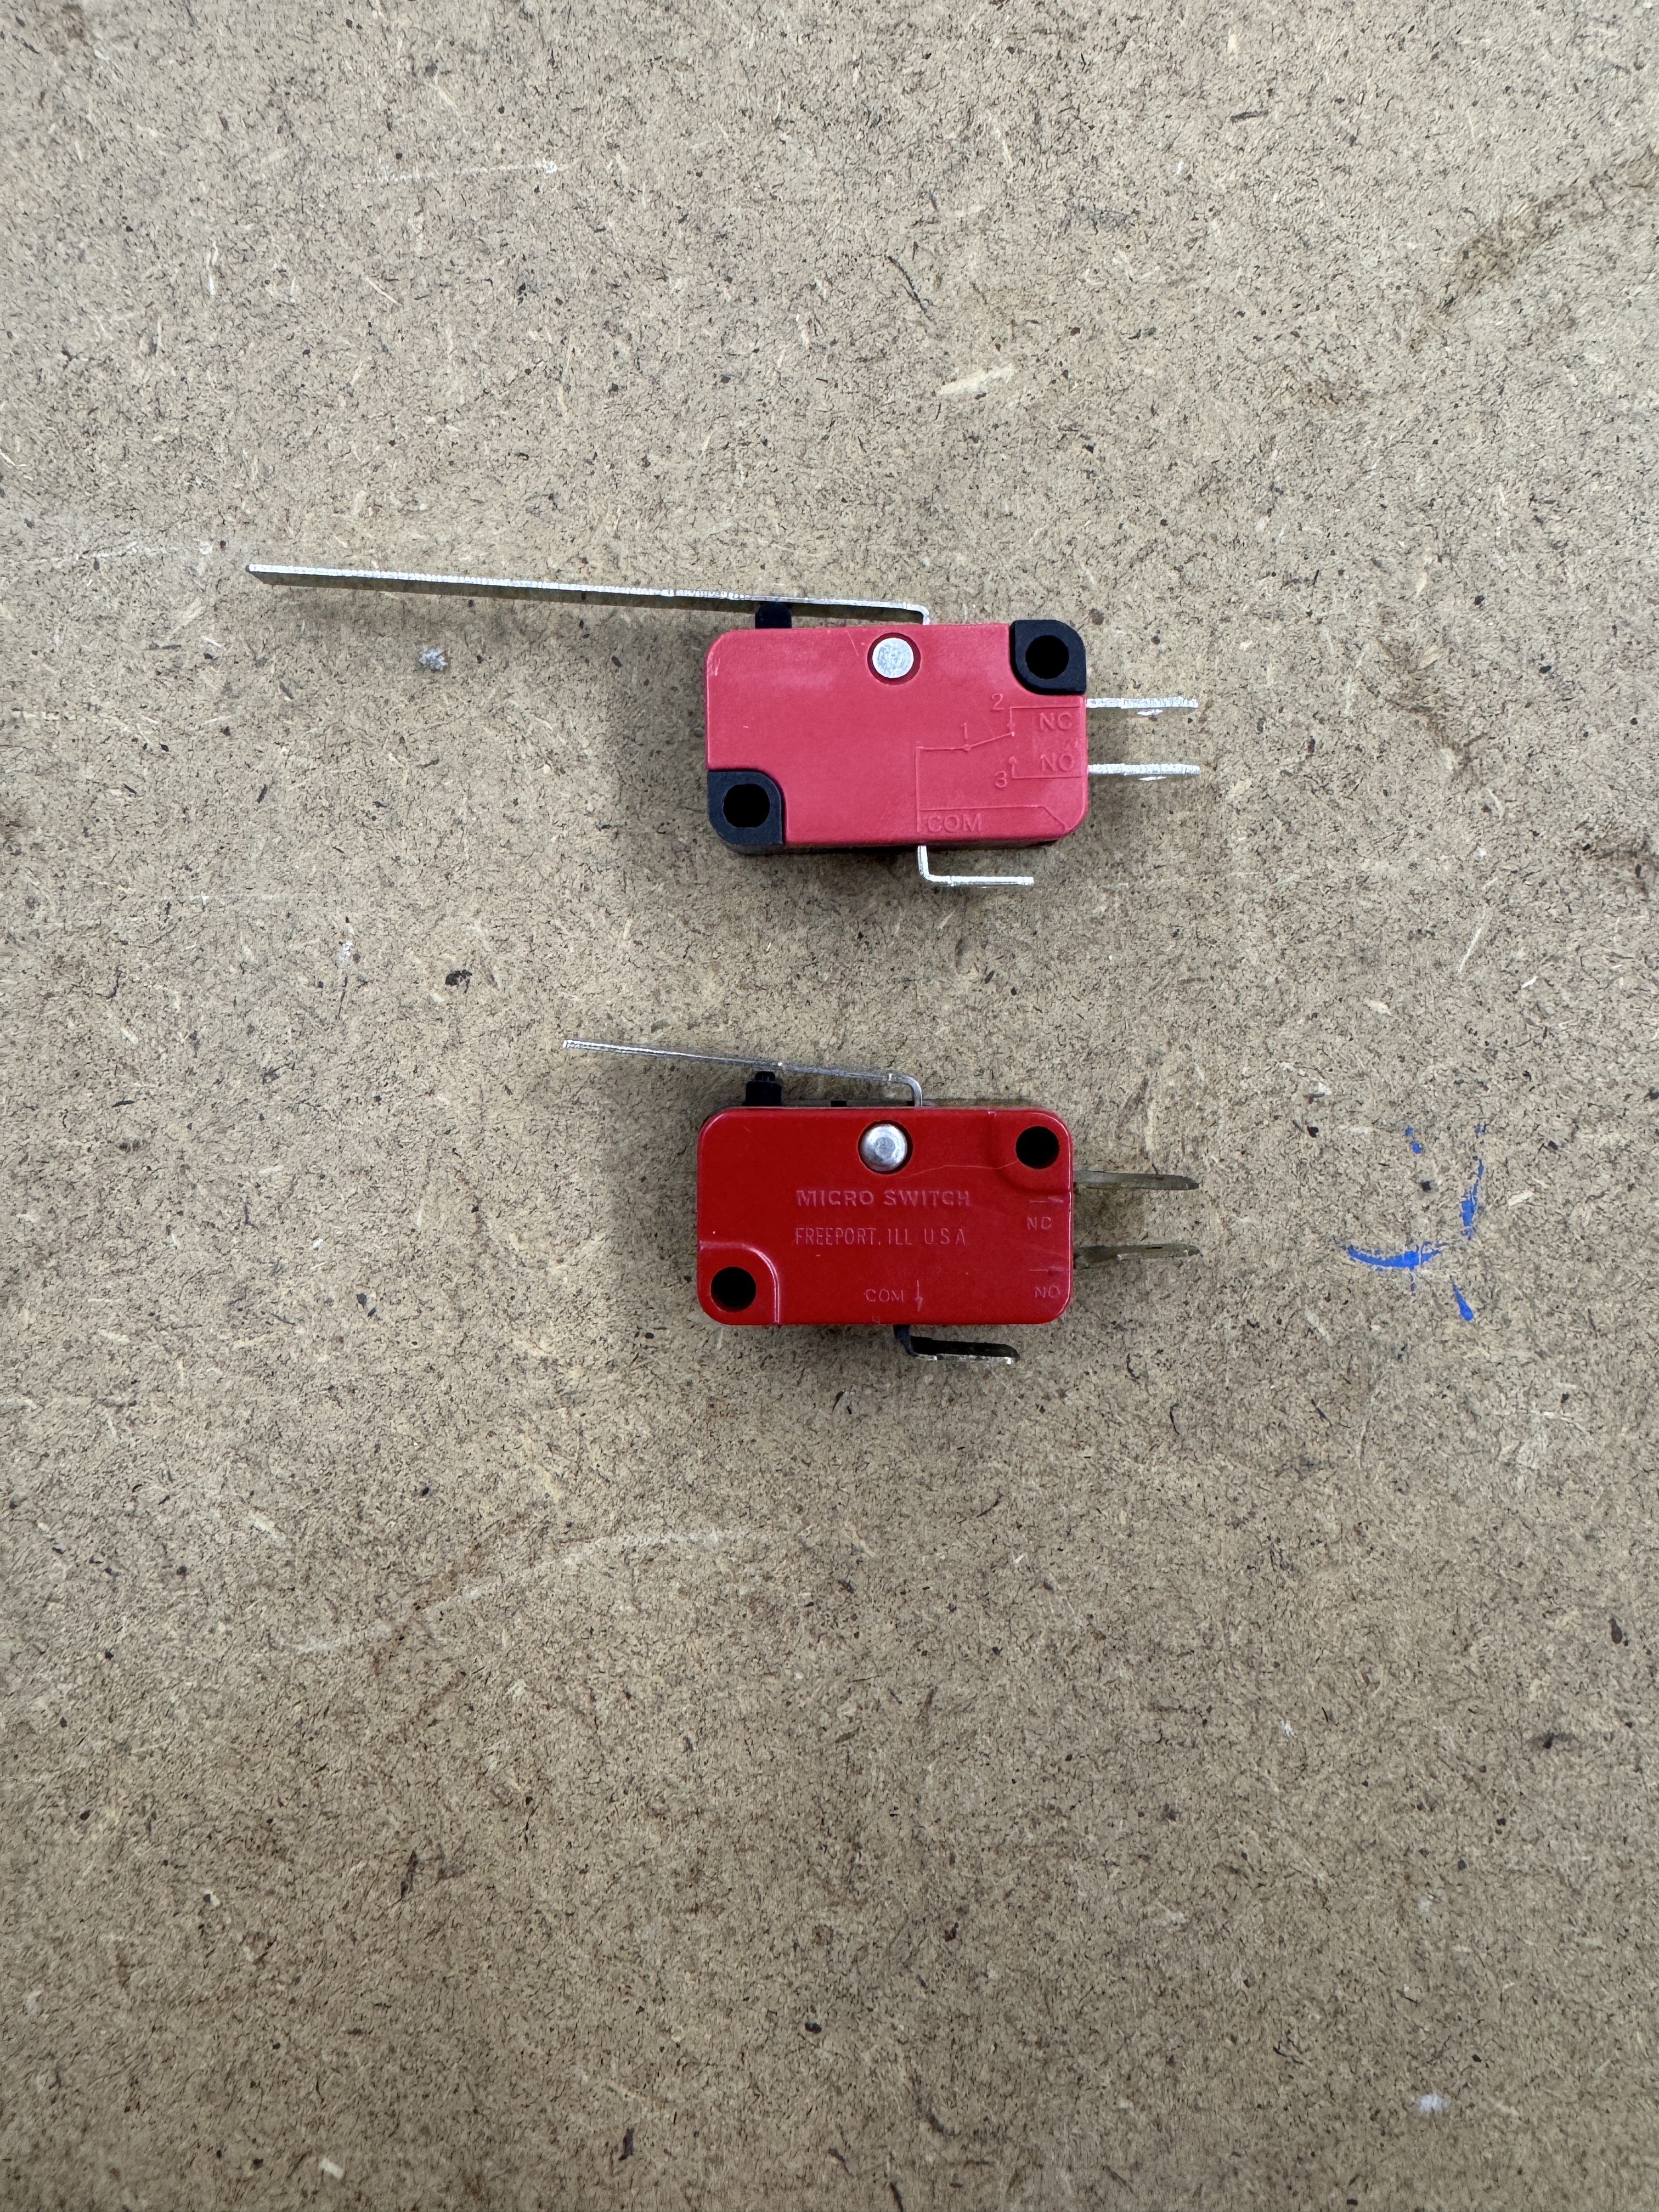
It should have a 2″ lever. Found some for cheap on Amazon, but there is more to the story. It turns out these are a bit special. Not only are they 2″ levers – they are also 20g activation (light touch). The Amazon switches are much too stiff and just trapped the ball in the back panel.. That’s it, game over, no 10 for you!
I was going to swap out one of the corner pully – end of travel switches, but they were different too.. The originals were Honeywell – V3L-2106-D8 (no longer made). A newer replacement is the V7-2B17D8-048. 2″ and 20g. Now I can score a 10! (someday..) Works perfectly.
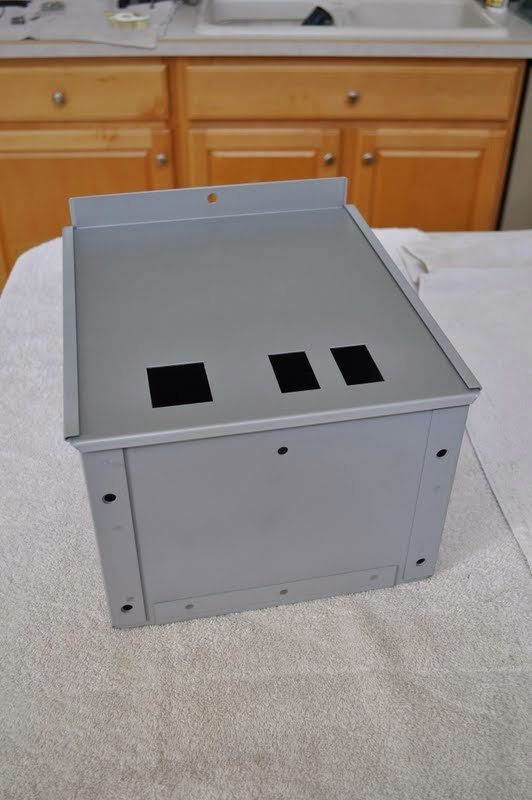
Another major issue with this cabinet was the base.


The machine has been dragged around on this one for years. Oddly the front and rear panels of the base were made from particle board and the side panels were made from MDF. Overall it wasn’t really usable.
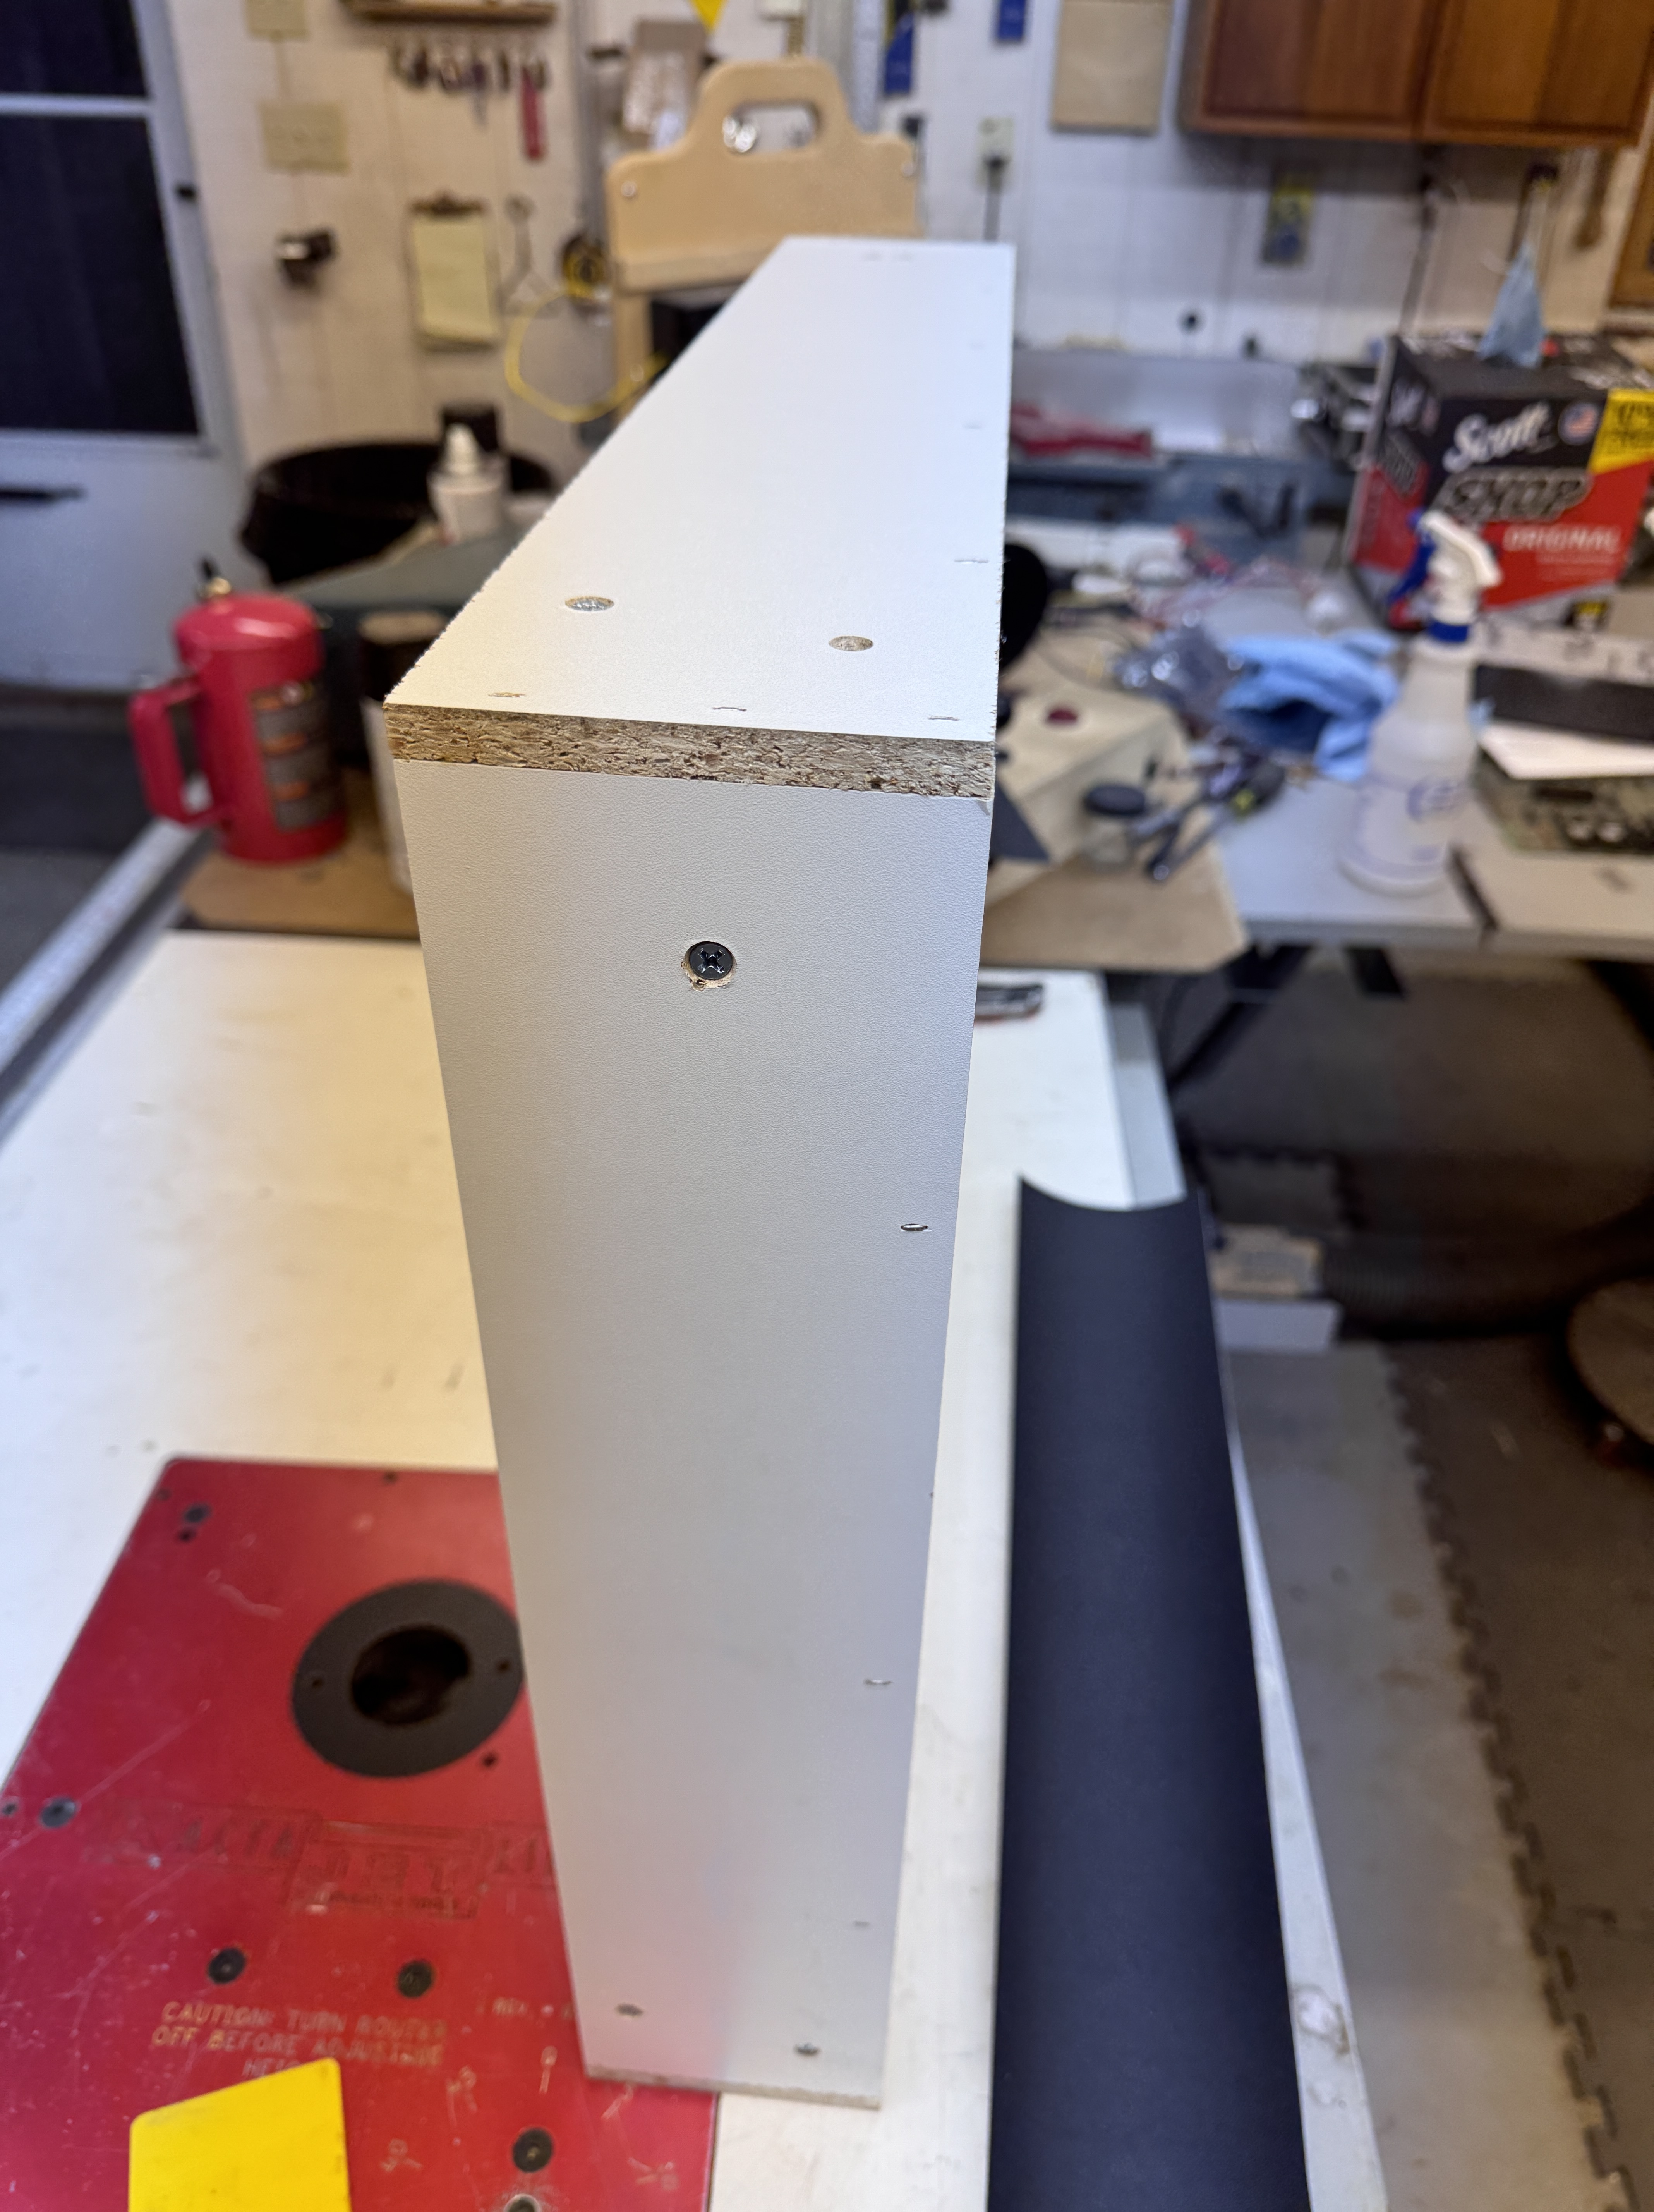

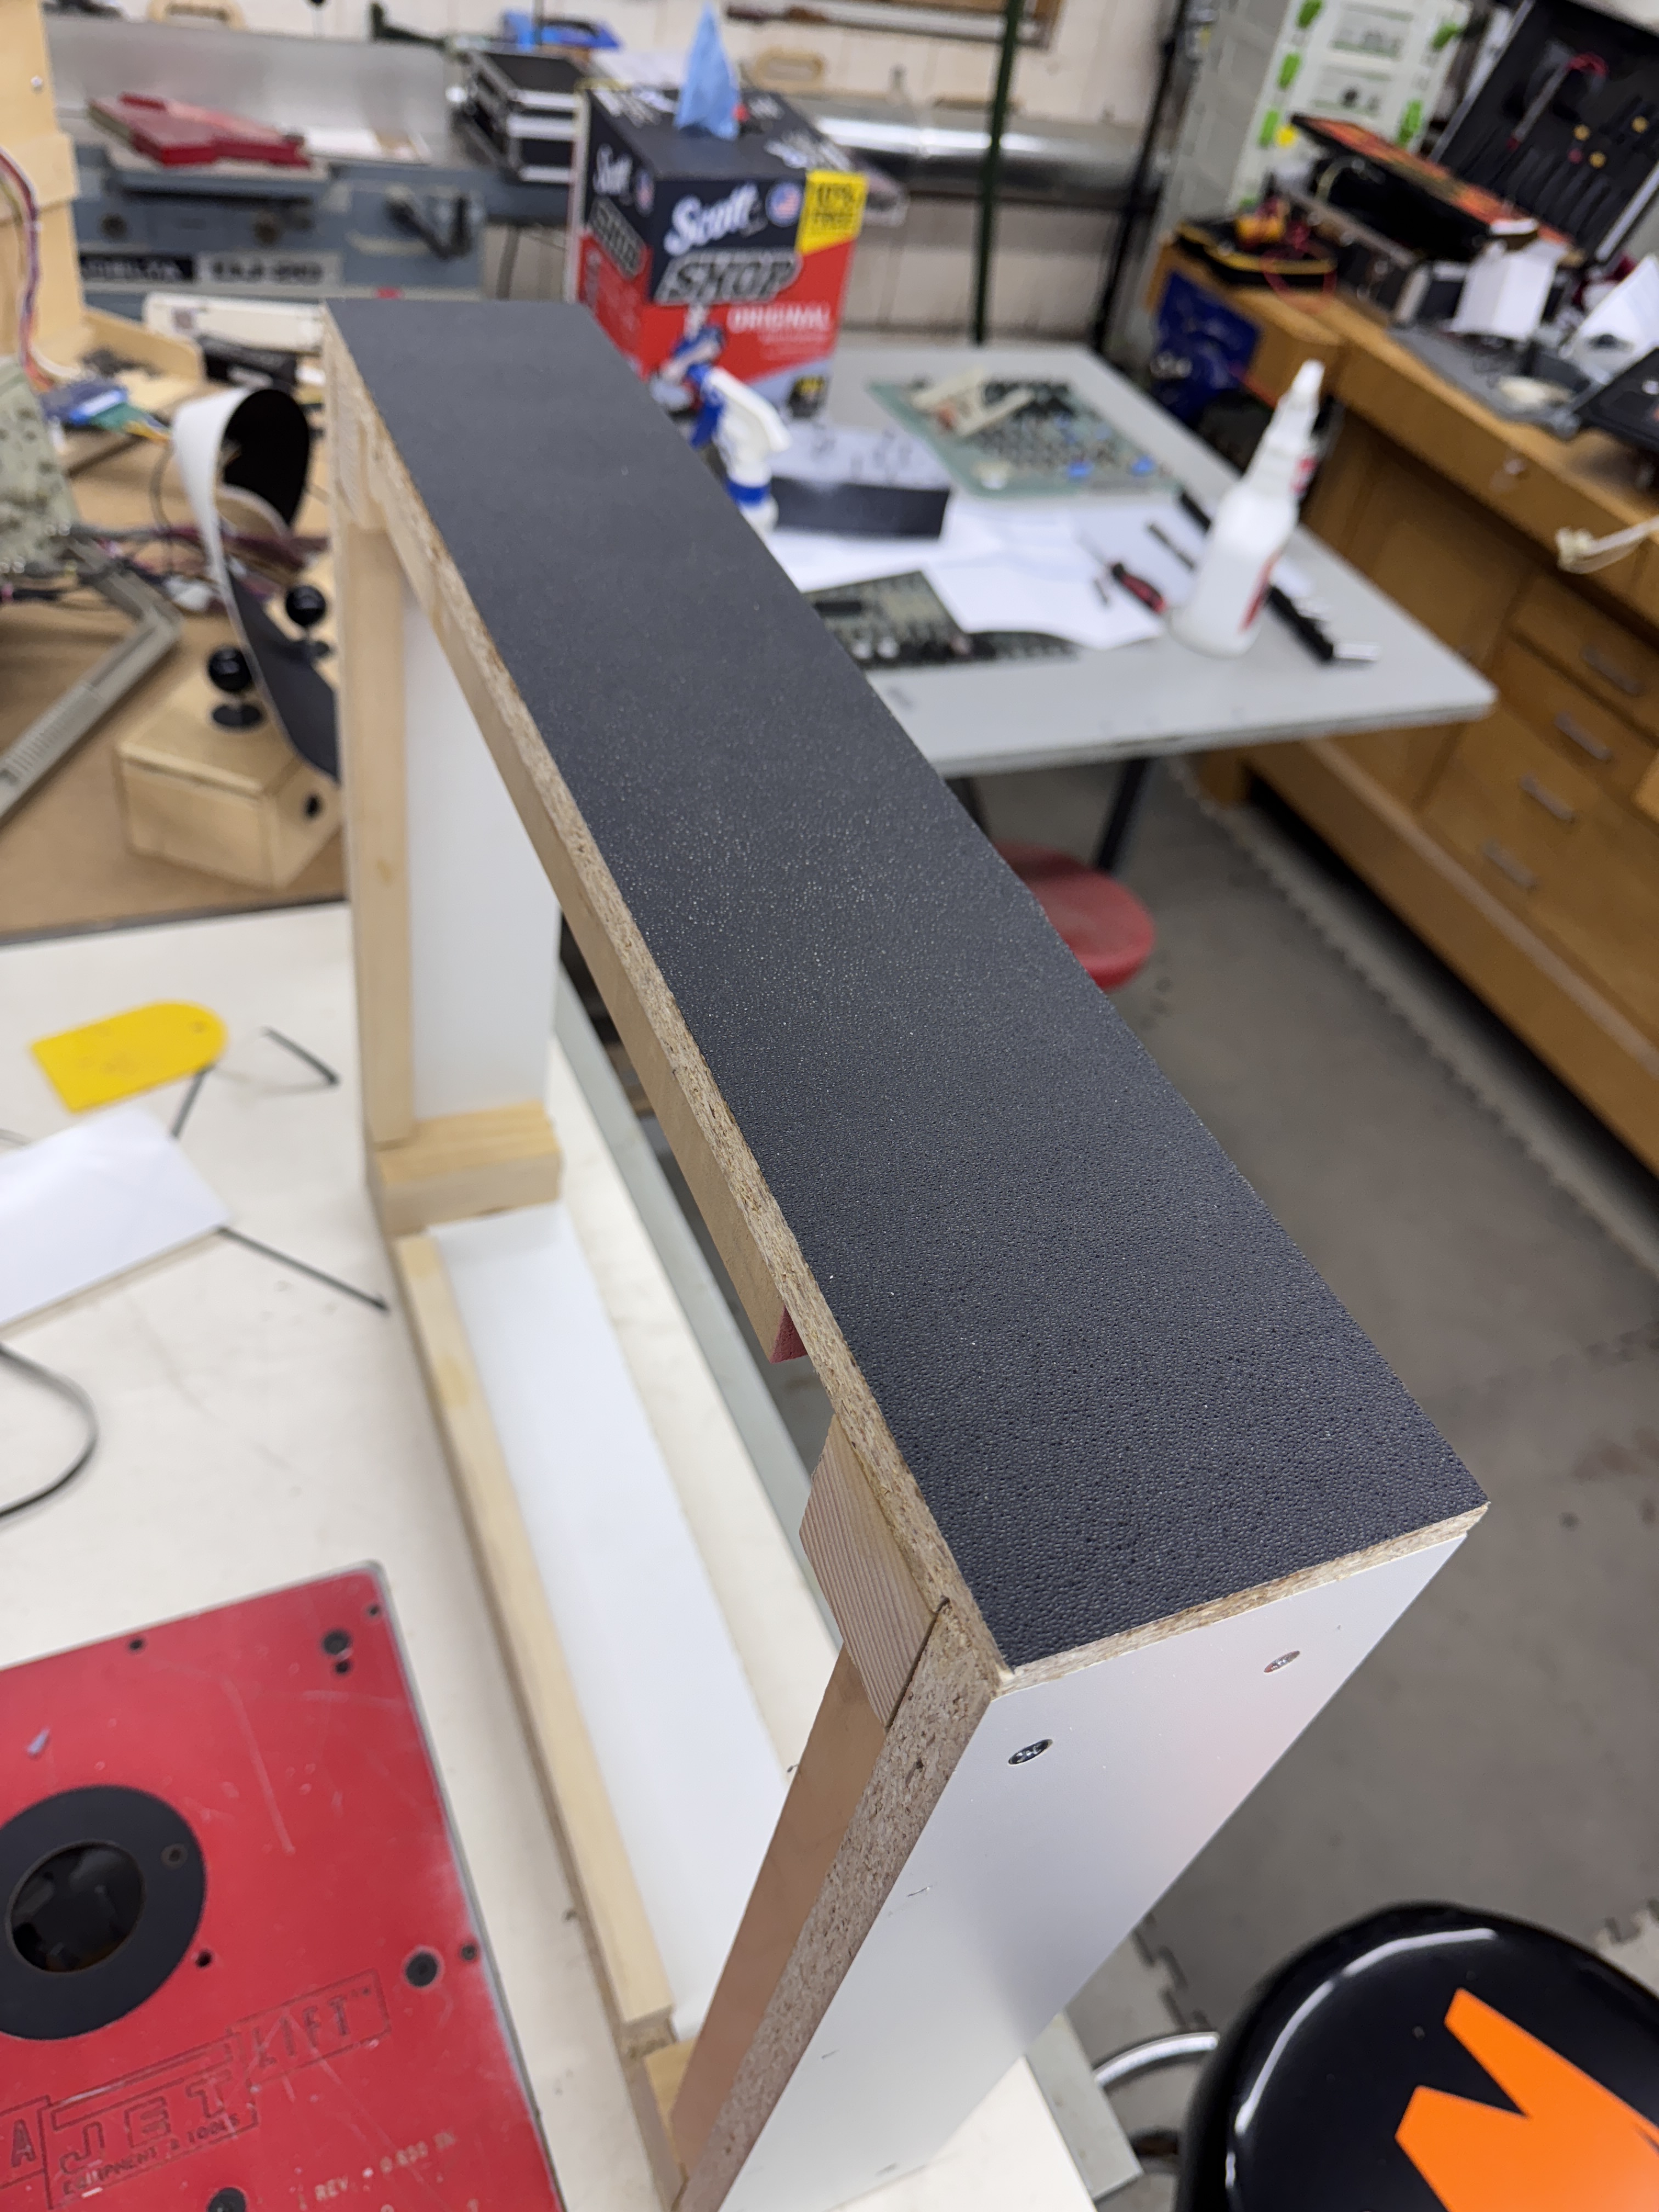
Turns out black Melamine is special order only – white Melamine is on the shelf at Home Depot. I picked up a piece and quicky reproduced a new base. The original has a texture to it. I have a Dragons Lair cabinet that I will be restoring and have been meaning to get the Morocco Style Vinyl at Quarter Arcade for a while. It is a very close match (identical?) to the original texture. So I now have plenty for DL and a little for the base.


New base completed. It will be on wheels in the shop, but will get standard feet once I move it to the lake. The remainder of the cabinet is ‘good enough for now’. Thankfully it has never seen water.
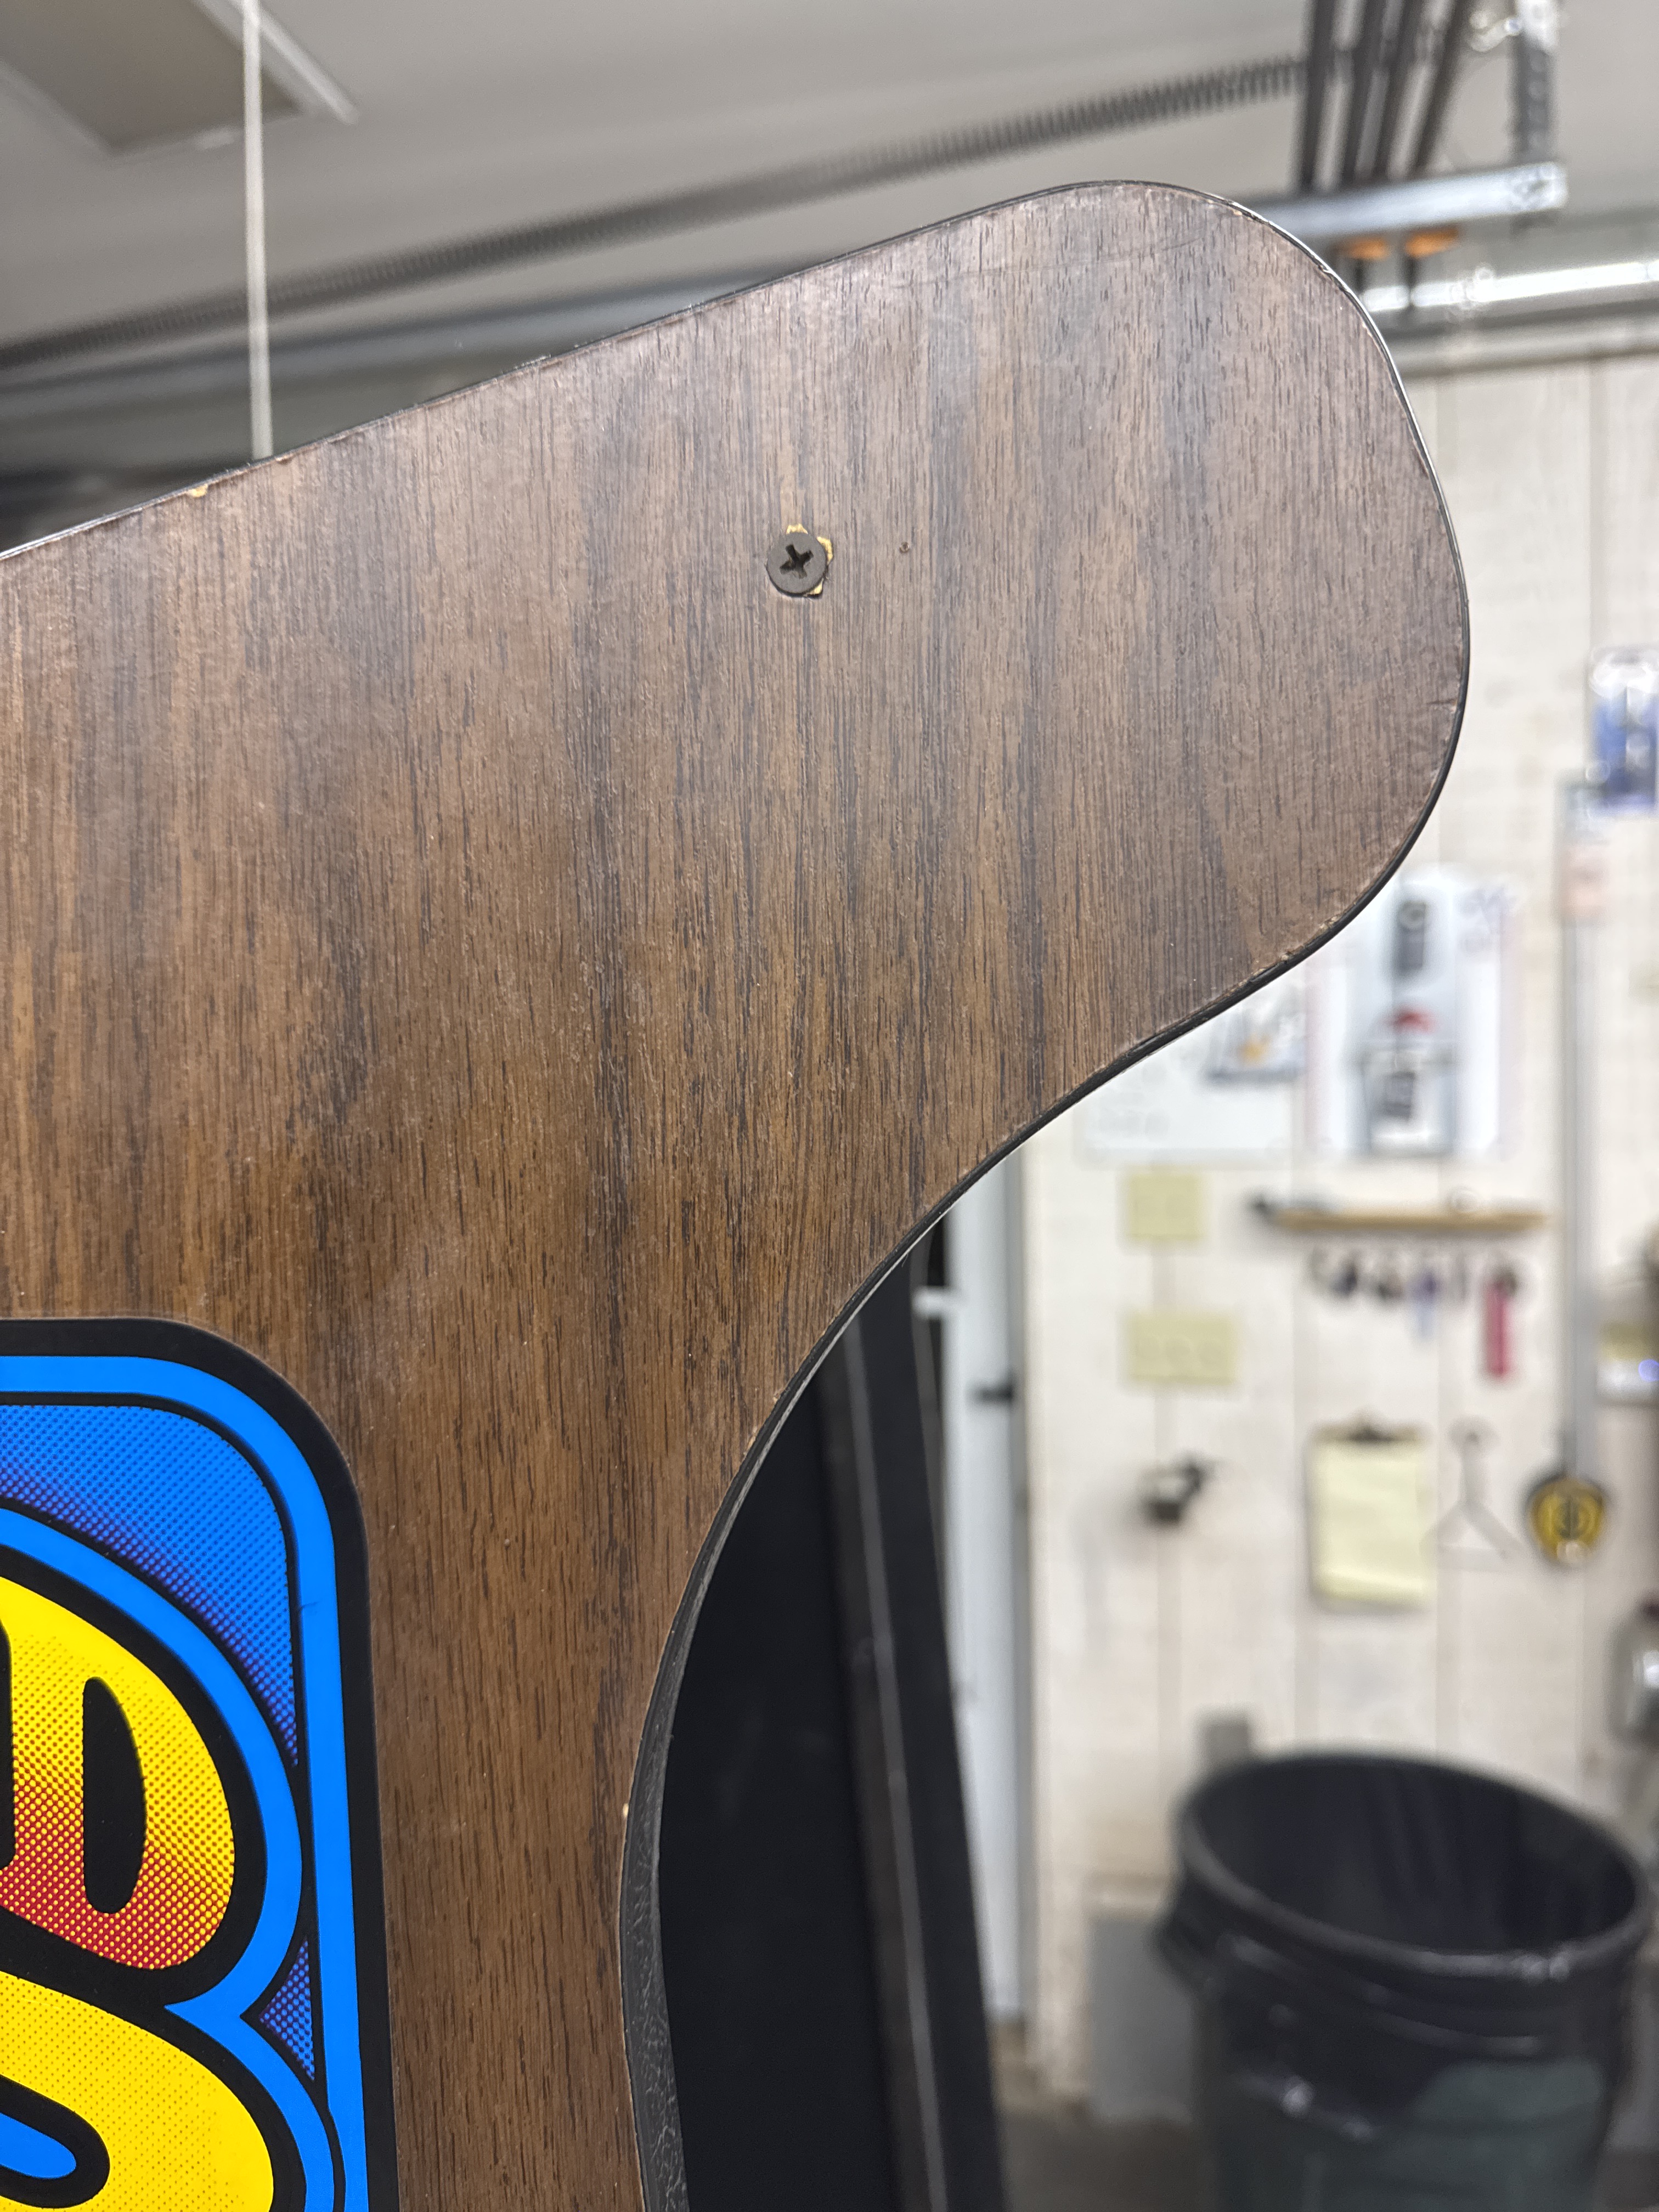
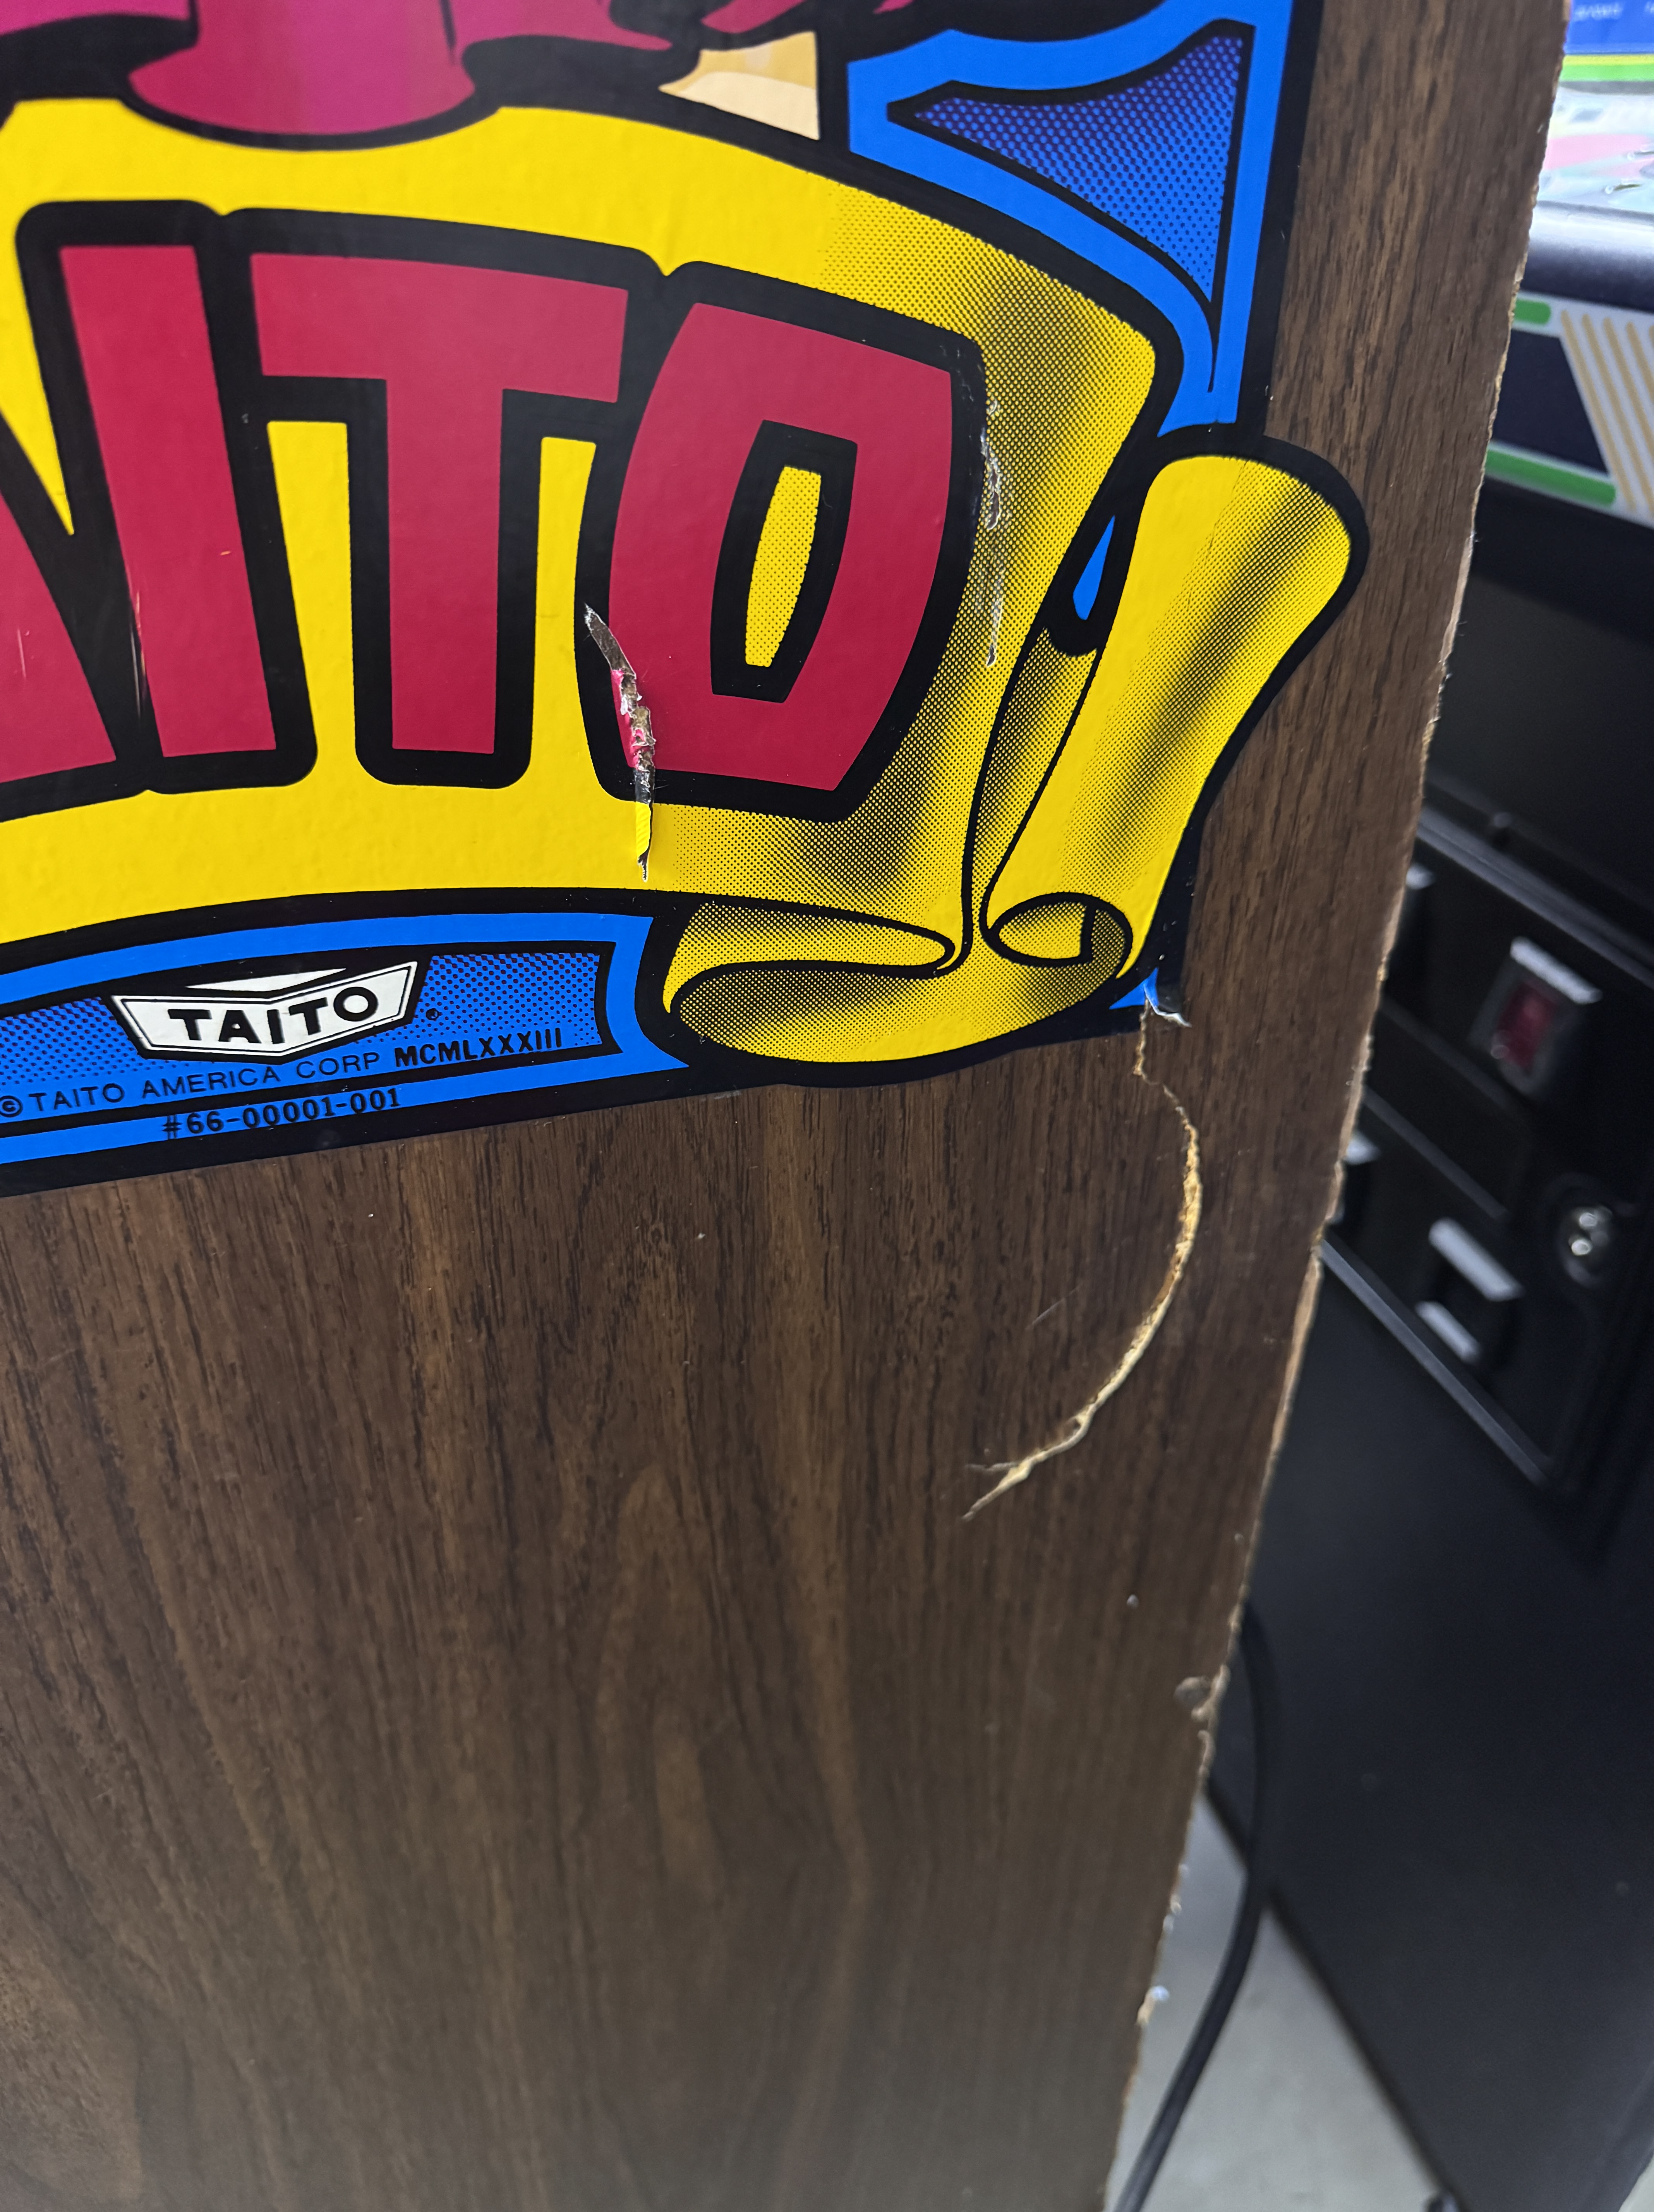

There are some tastefully done drywall screws, a pretty good split on the side and standard age hacks all around the openings. For now I’m going to leave all of it..
The control panel had an easy decision and a slightly less easy decision. The original joysticks were so worn that they were not really usable.

This replacement by Paradise Arcade is worth every penny. It is very smooth, no slop and it has brass bushings at the pivot points. In theory the bushings would be replaceable. The description states ‘drop in replacement’ which it is!
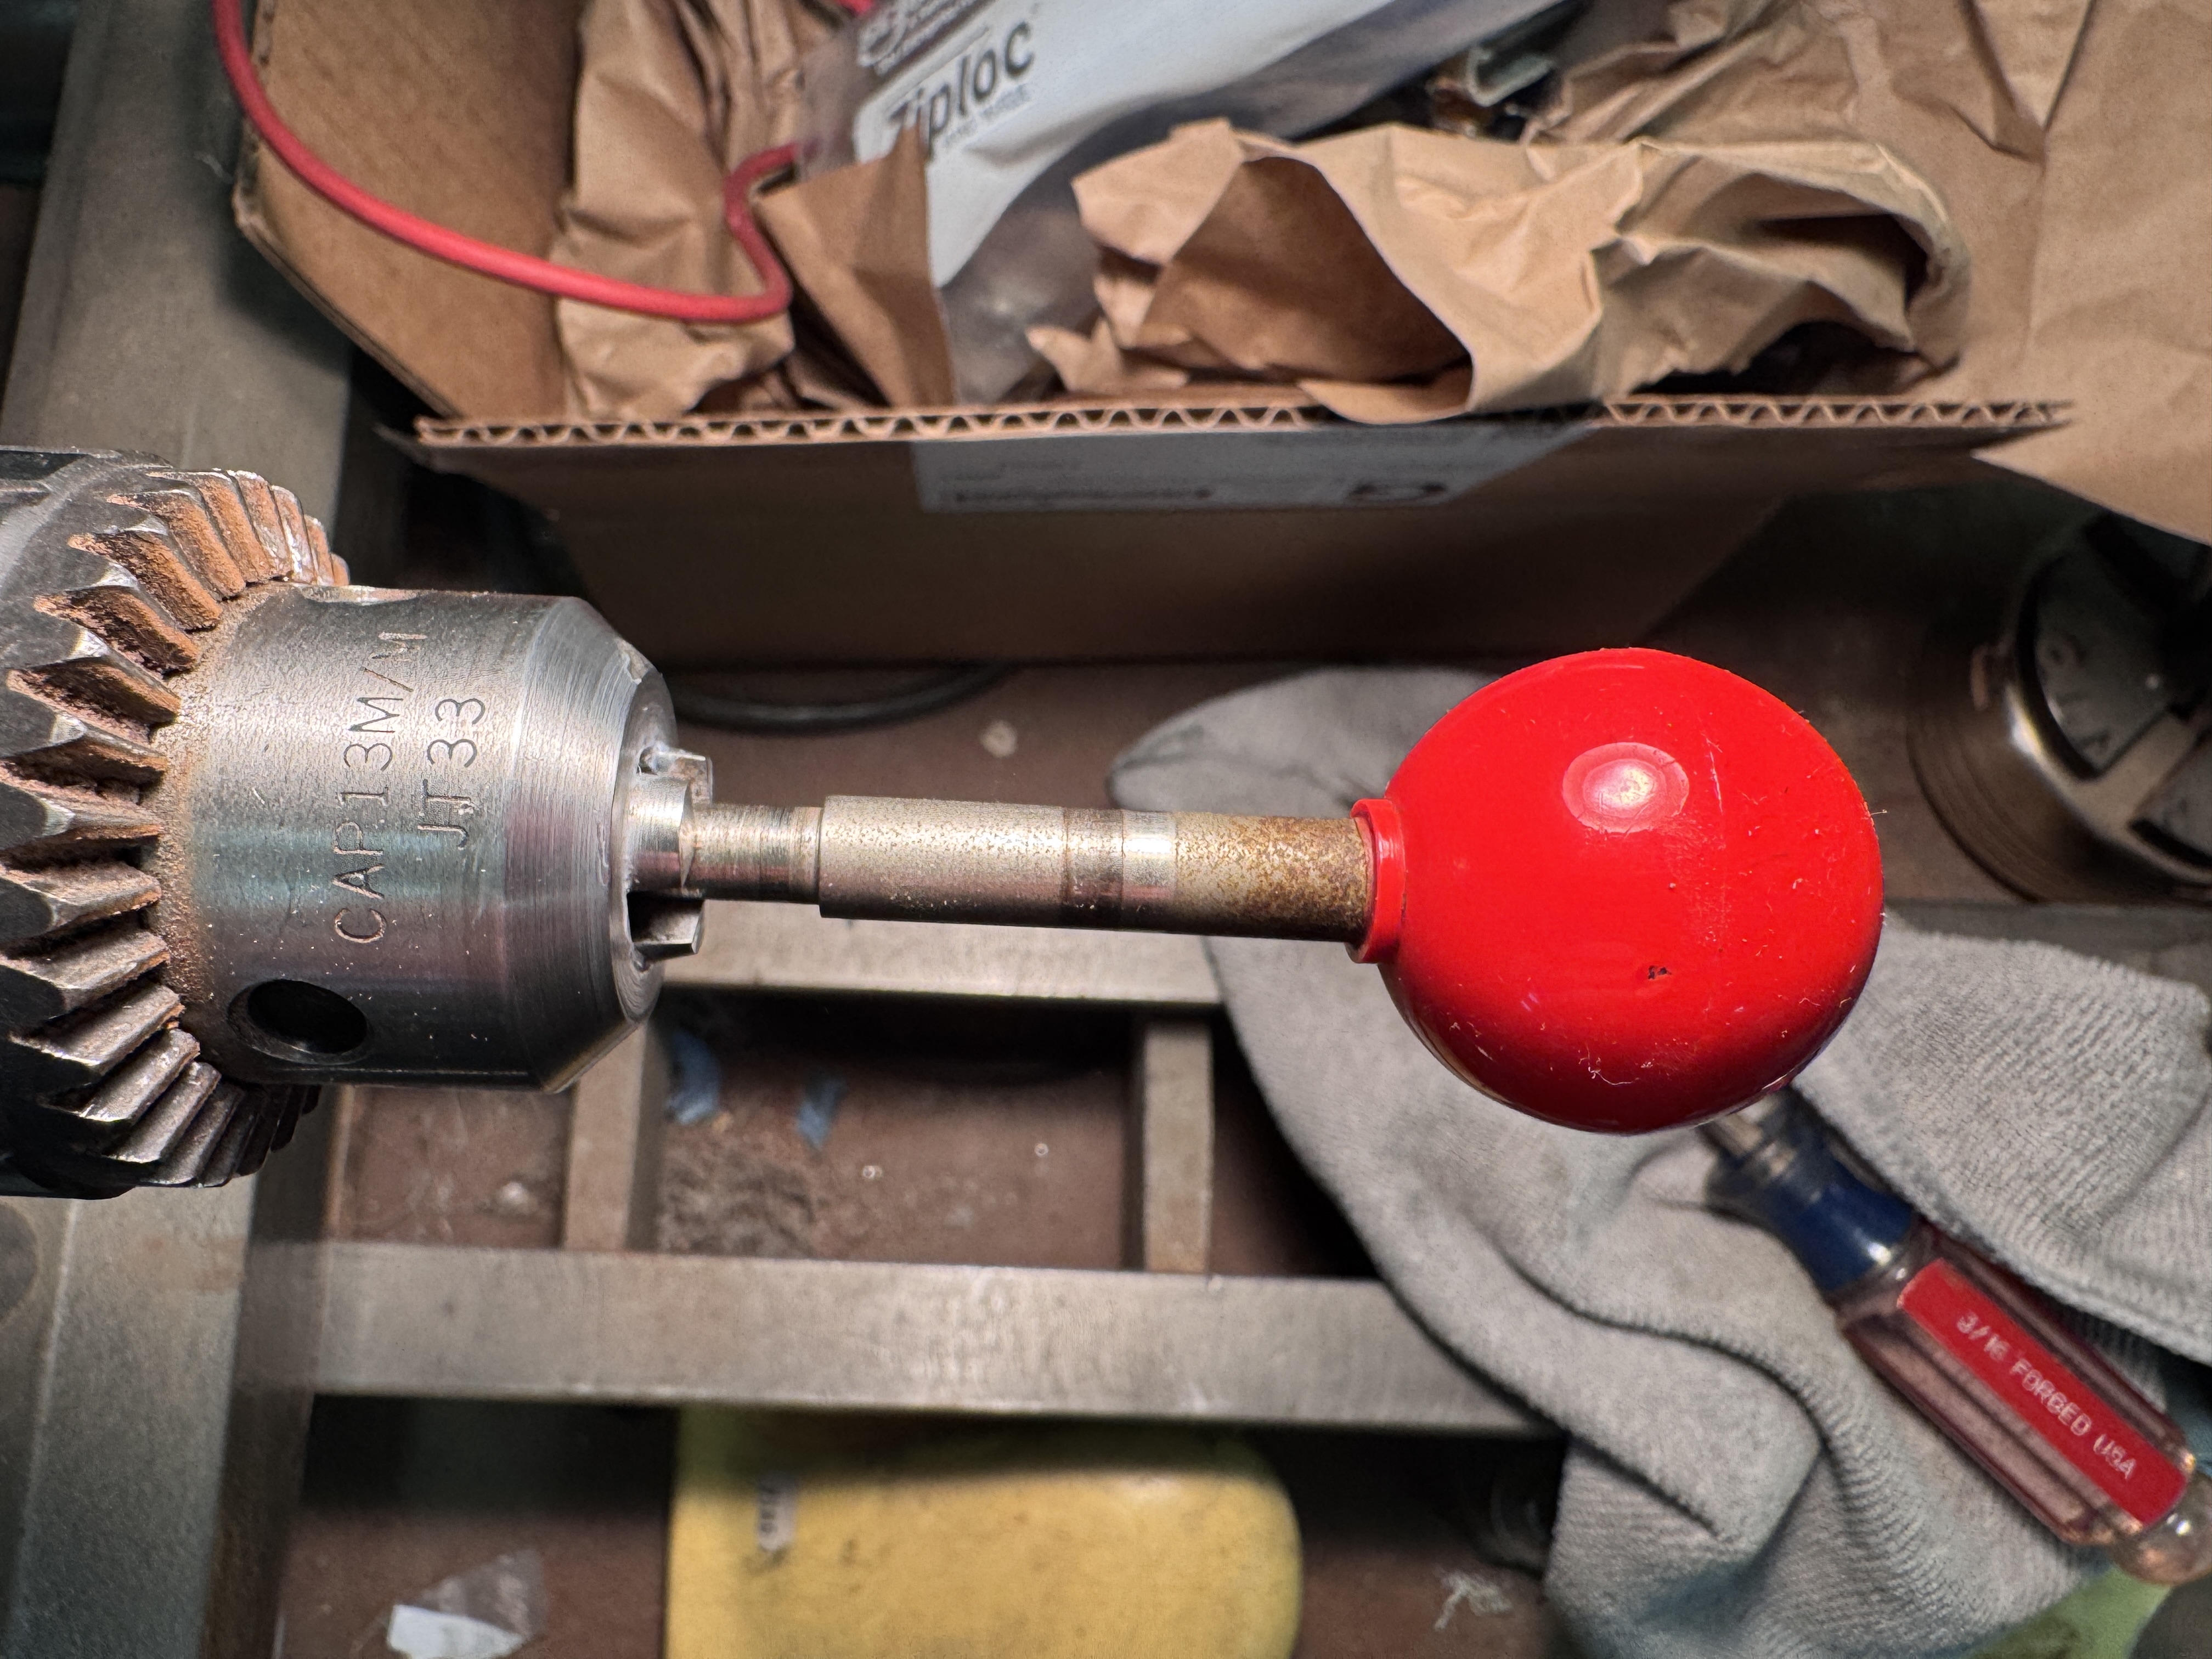


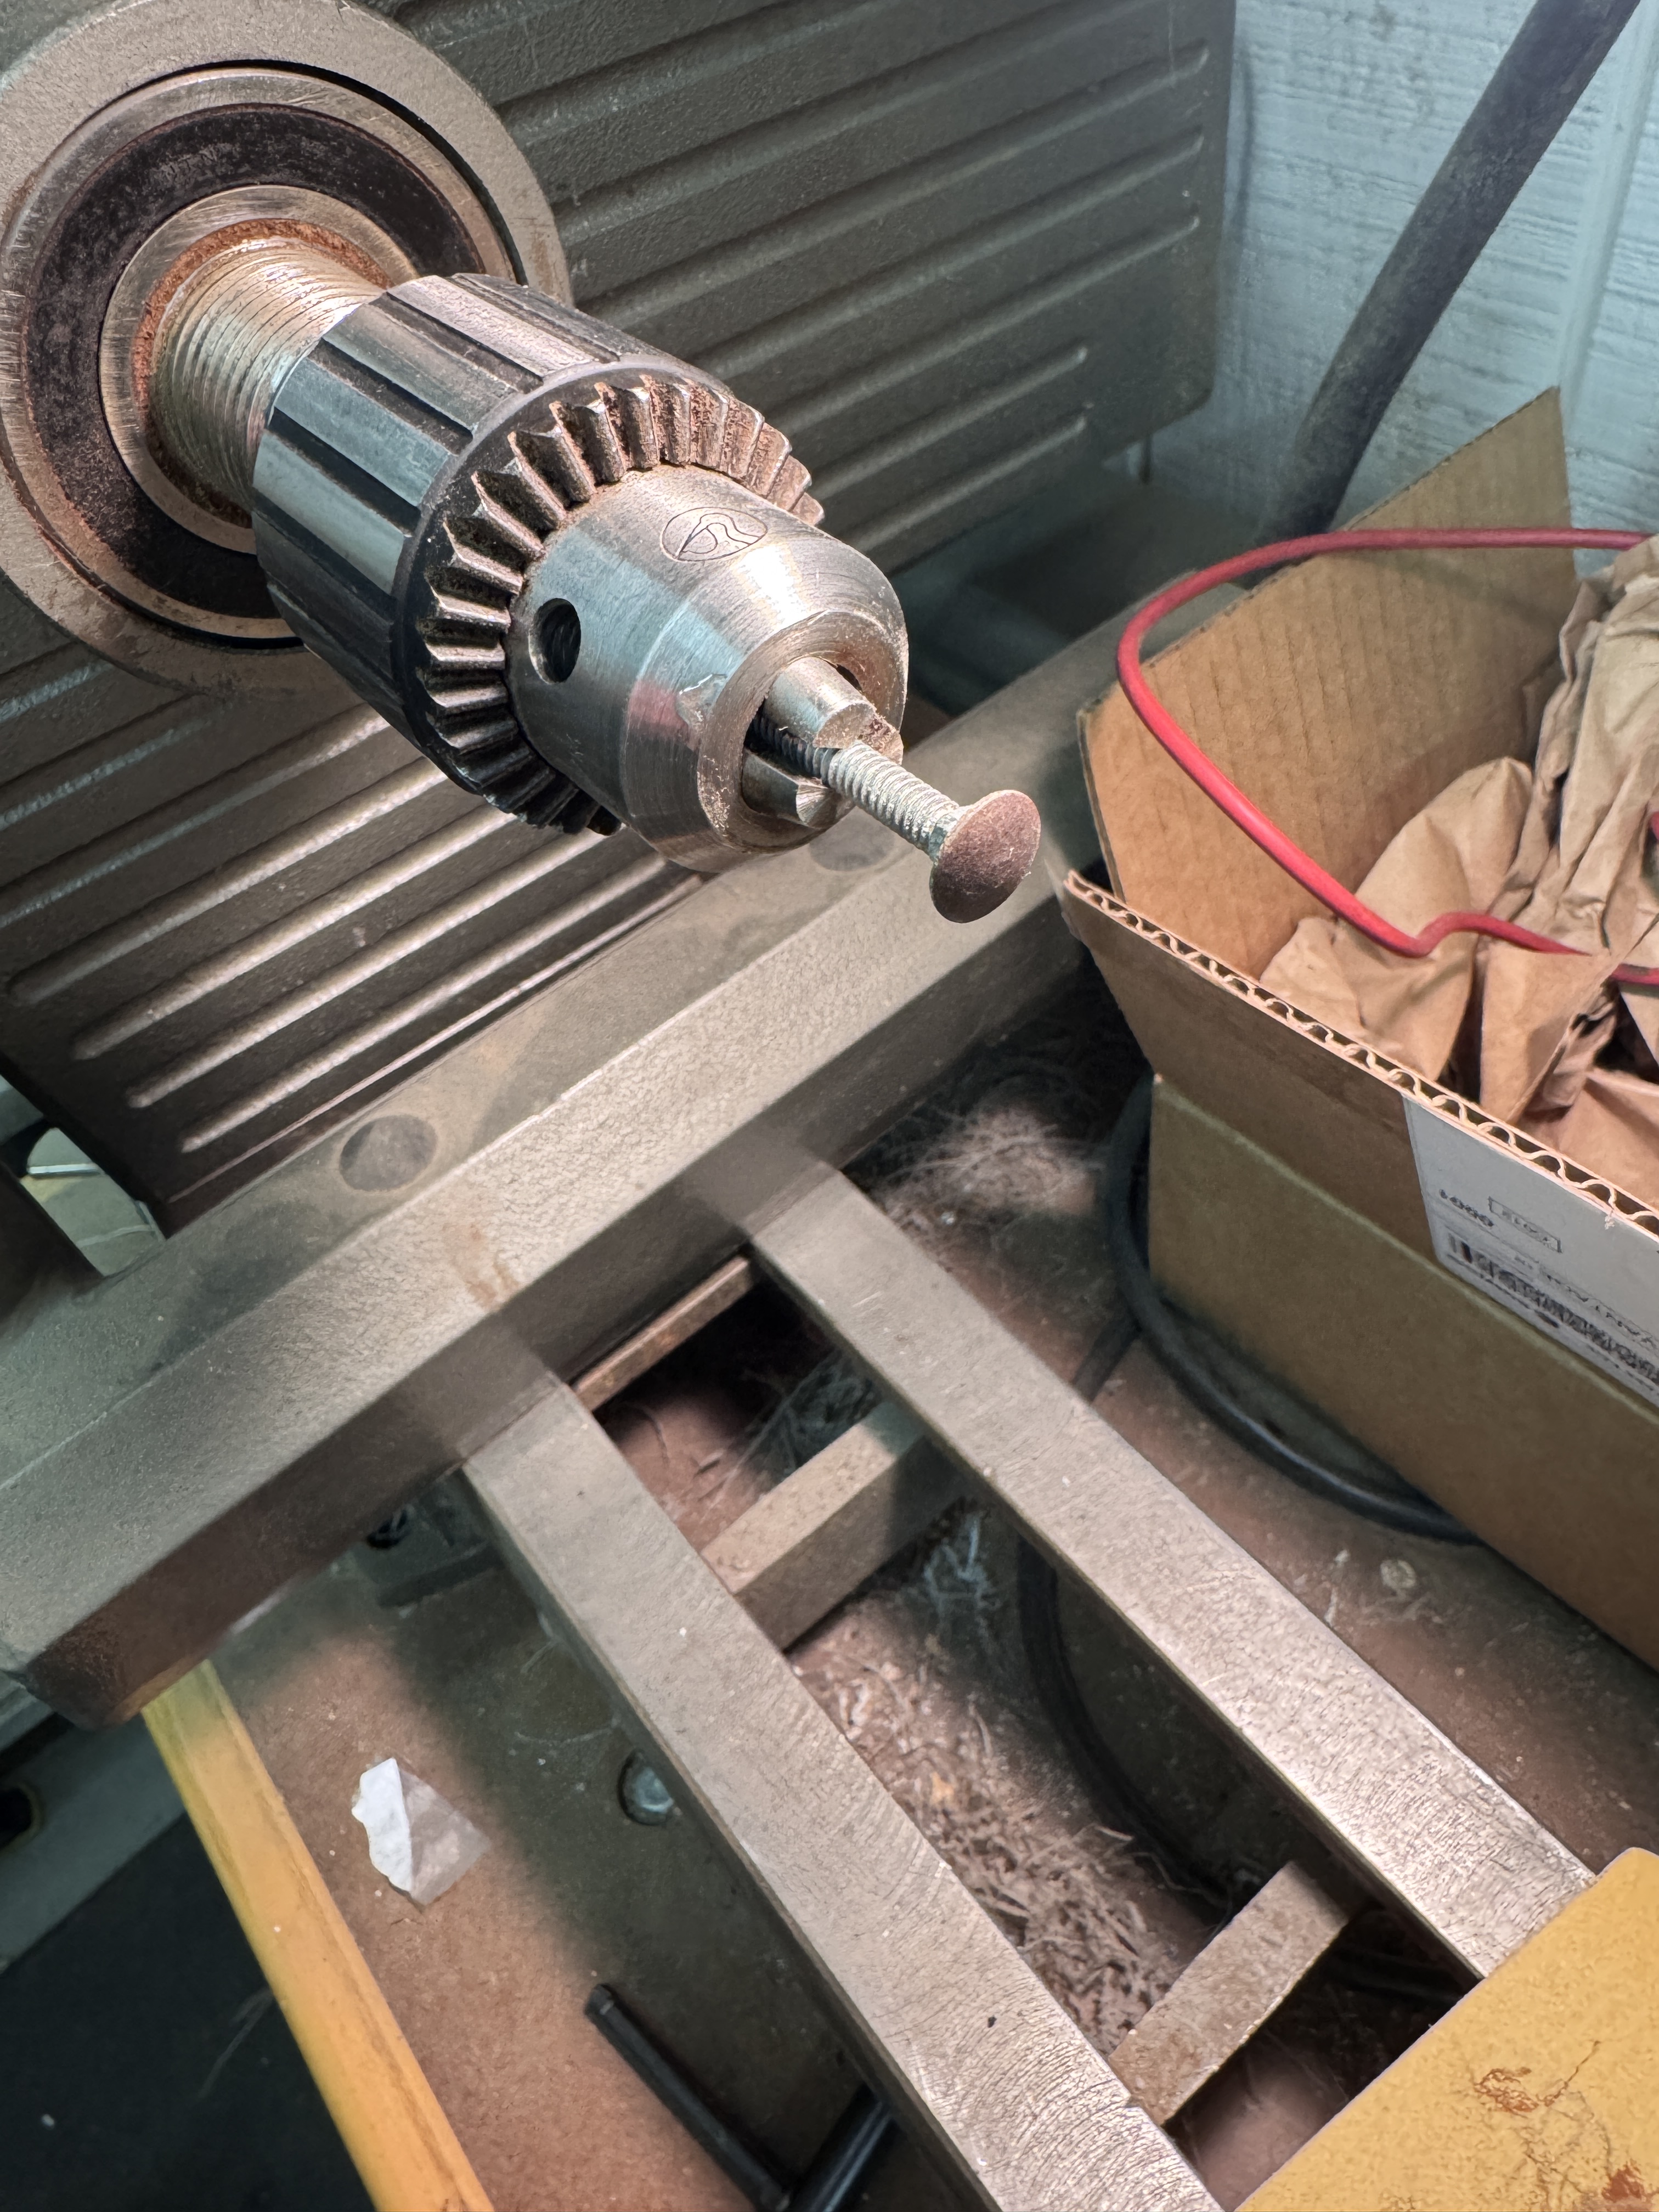
Here is the original stick on the lathe. Polish with chrome polish and the rust goes away. The replacement stick comes with a new shaft if you decide not to use the originals. You need to order the Red Ball Tops to match the stick. The original sticks are designed in a such a way that it pulls up and down ~1/8″ (which seems a bit sloppy). The replacements don’t do that, are tighter and obviously not worn out.
Once in place you can move the original leaf switches over and adjust it for instant control response.
The CPO was a bit more of a decision.
Original before..

Original after. Cleaned up nice with a Magic Eraser, it was nasty to say the least. My issue is the front edge was half peeled off and destroyed. The rear edge was not much better. The flat part was nice – hence the difficult decision.

I had to place an order with Marco Specialties anyway, so I ordered their CPO.

Hmmm.. a bit underwhelming.. This one was not going to go on the machine.. Along the way I found out about Chomping Quarters…

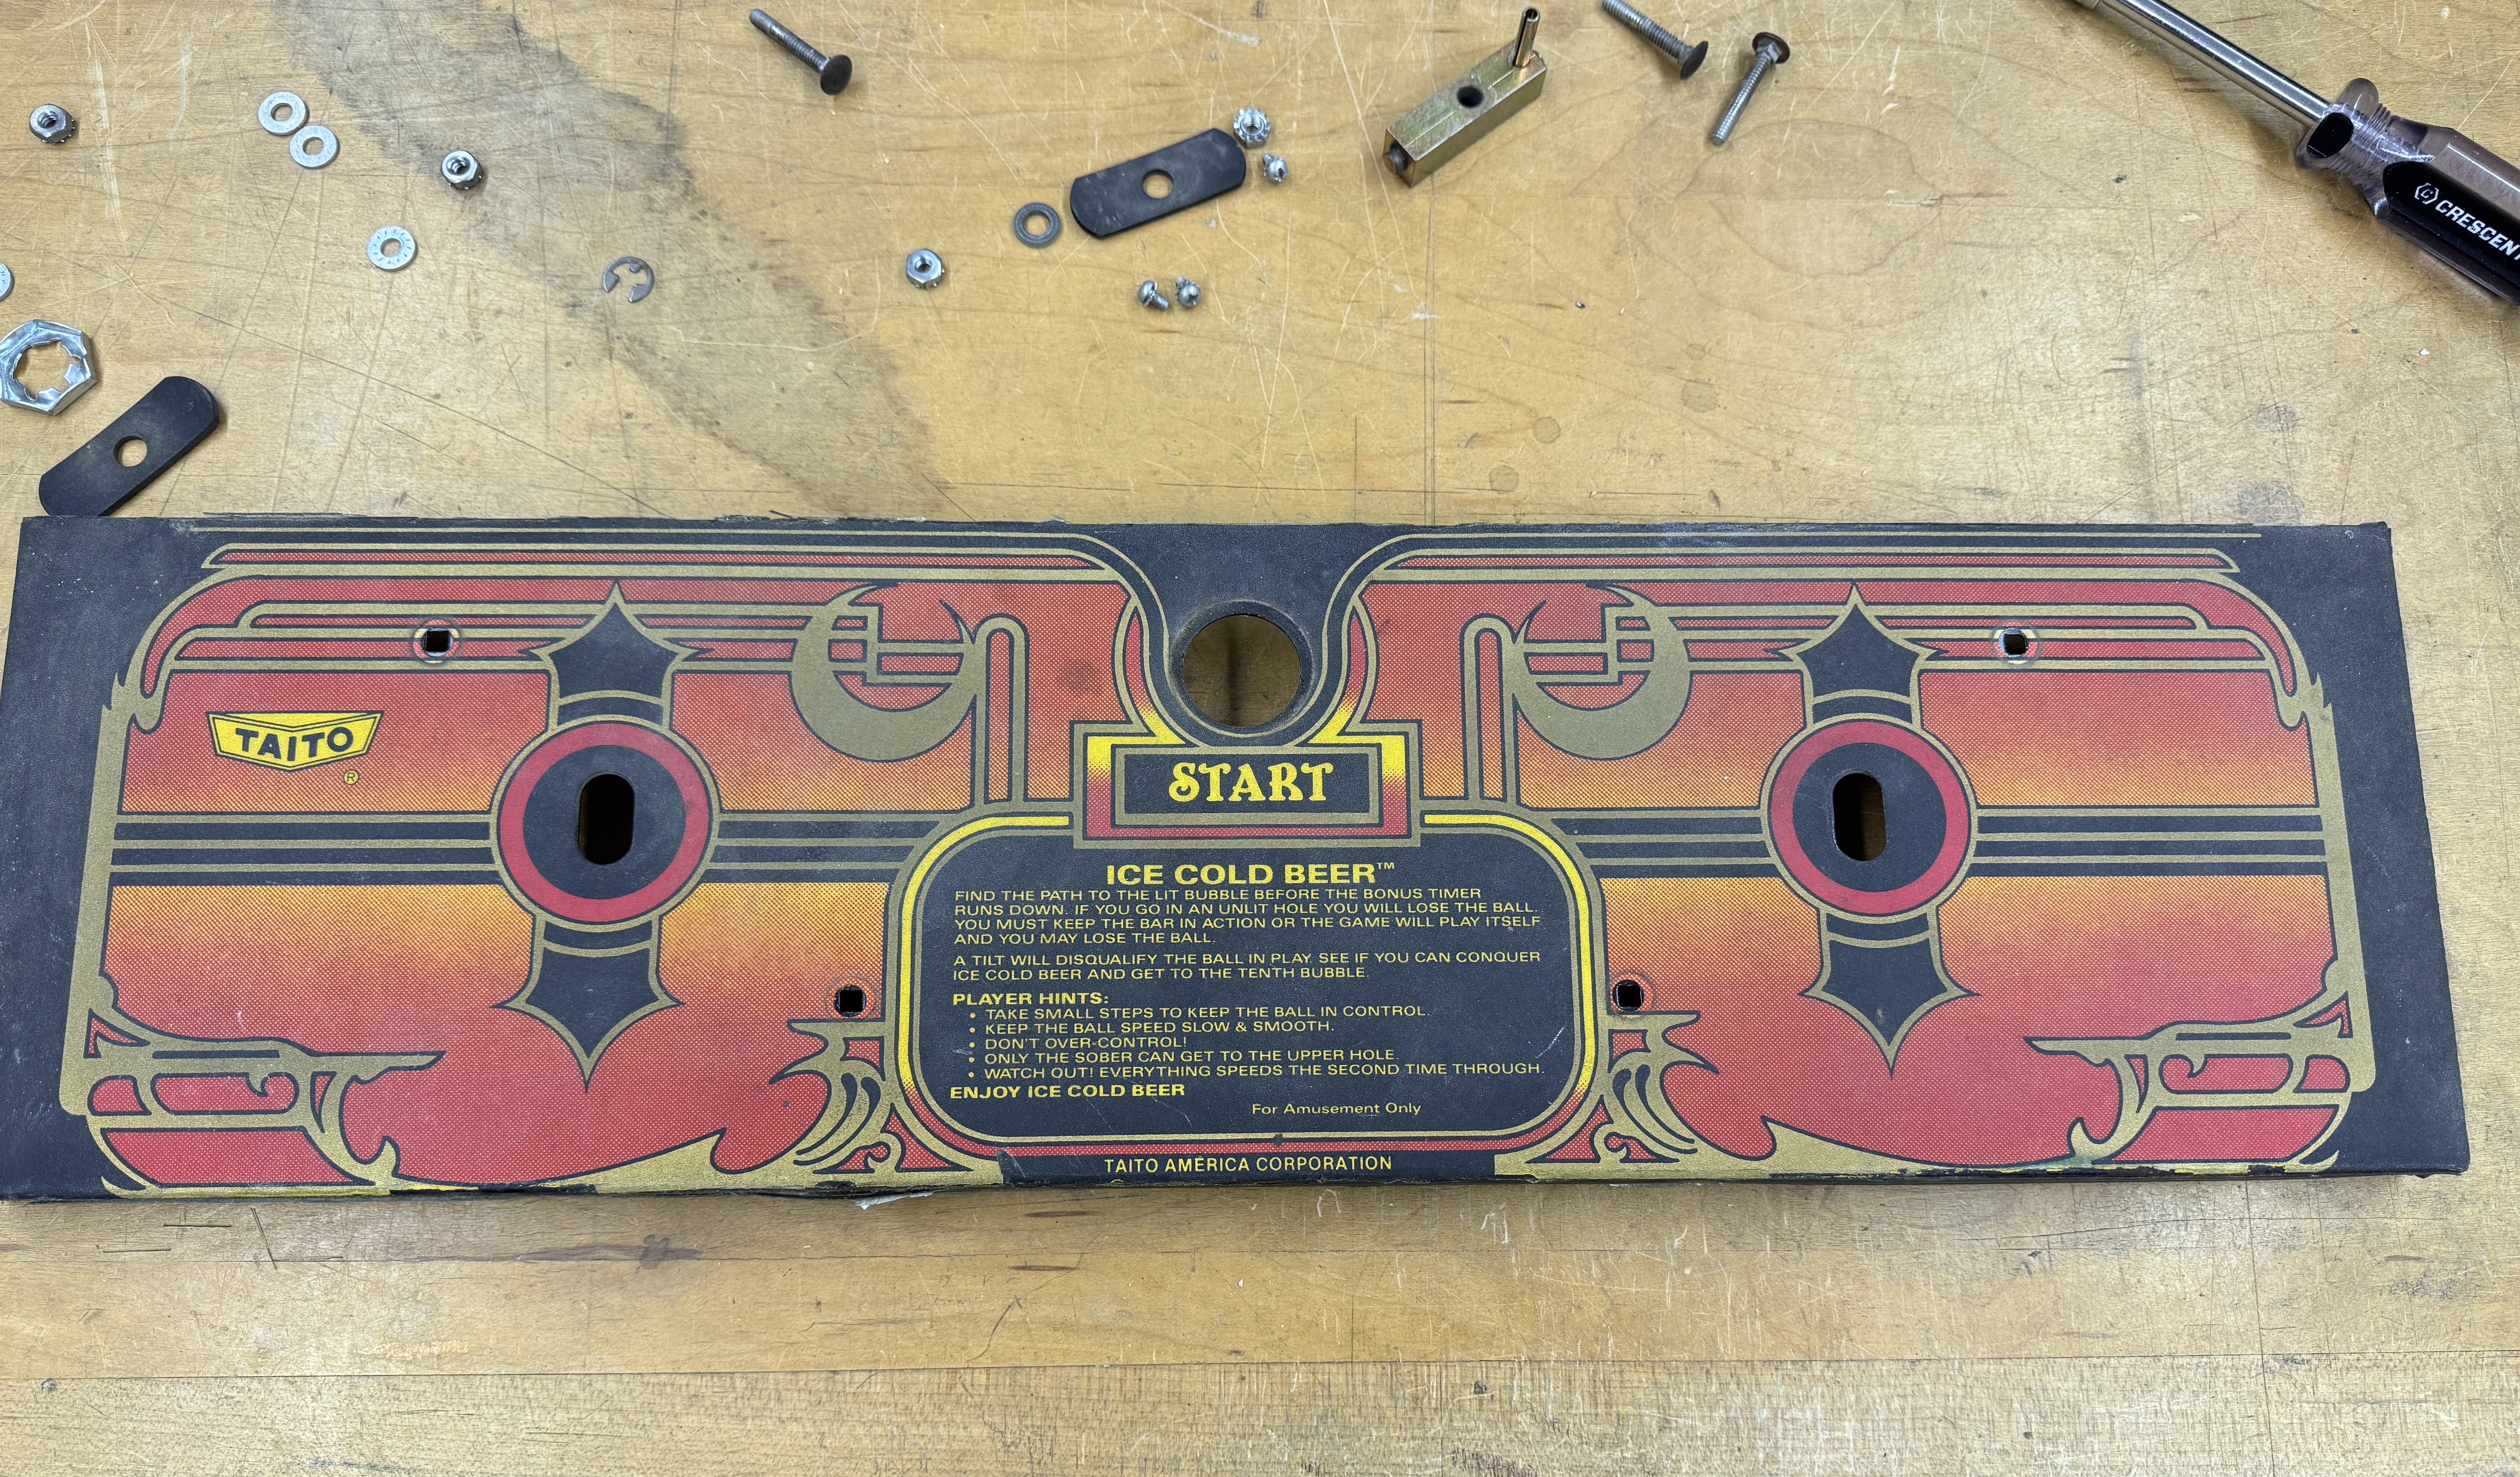
Their CPO is MUCH better! This one is going on.. the differences in person are barely perceptible if at all.
I have a standard paint removal heat gun, but I would have had to go find it. Too lazy..

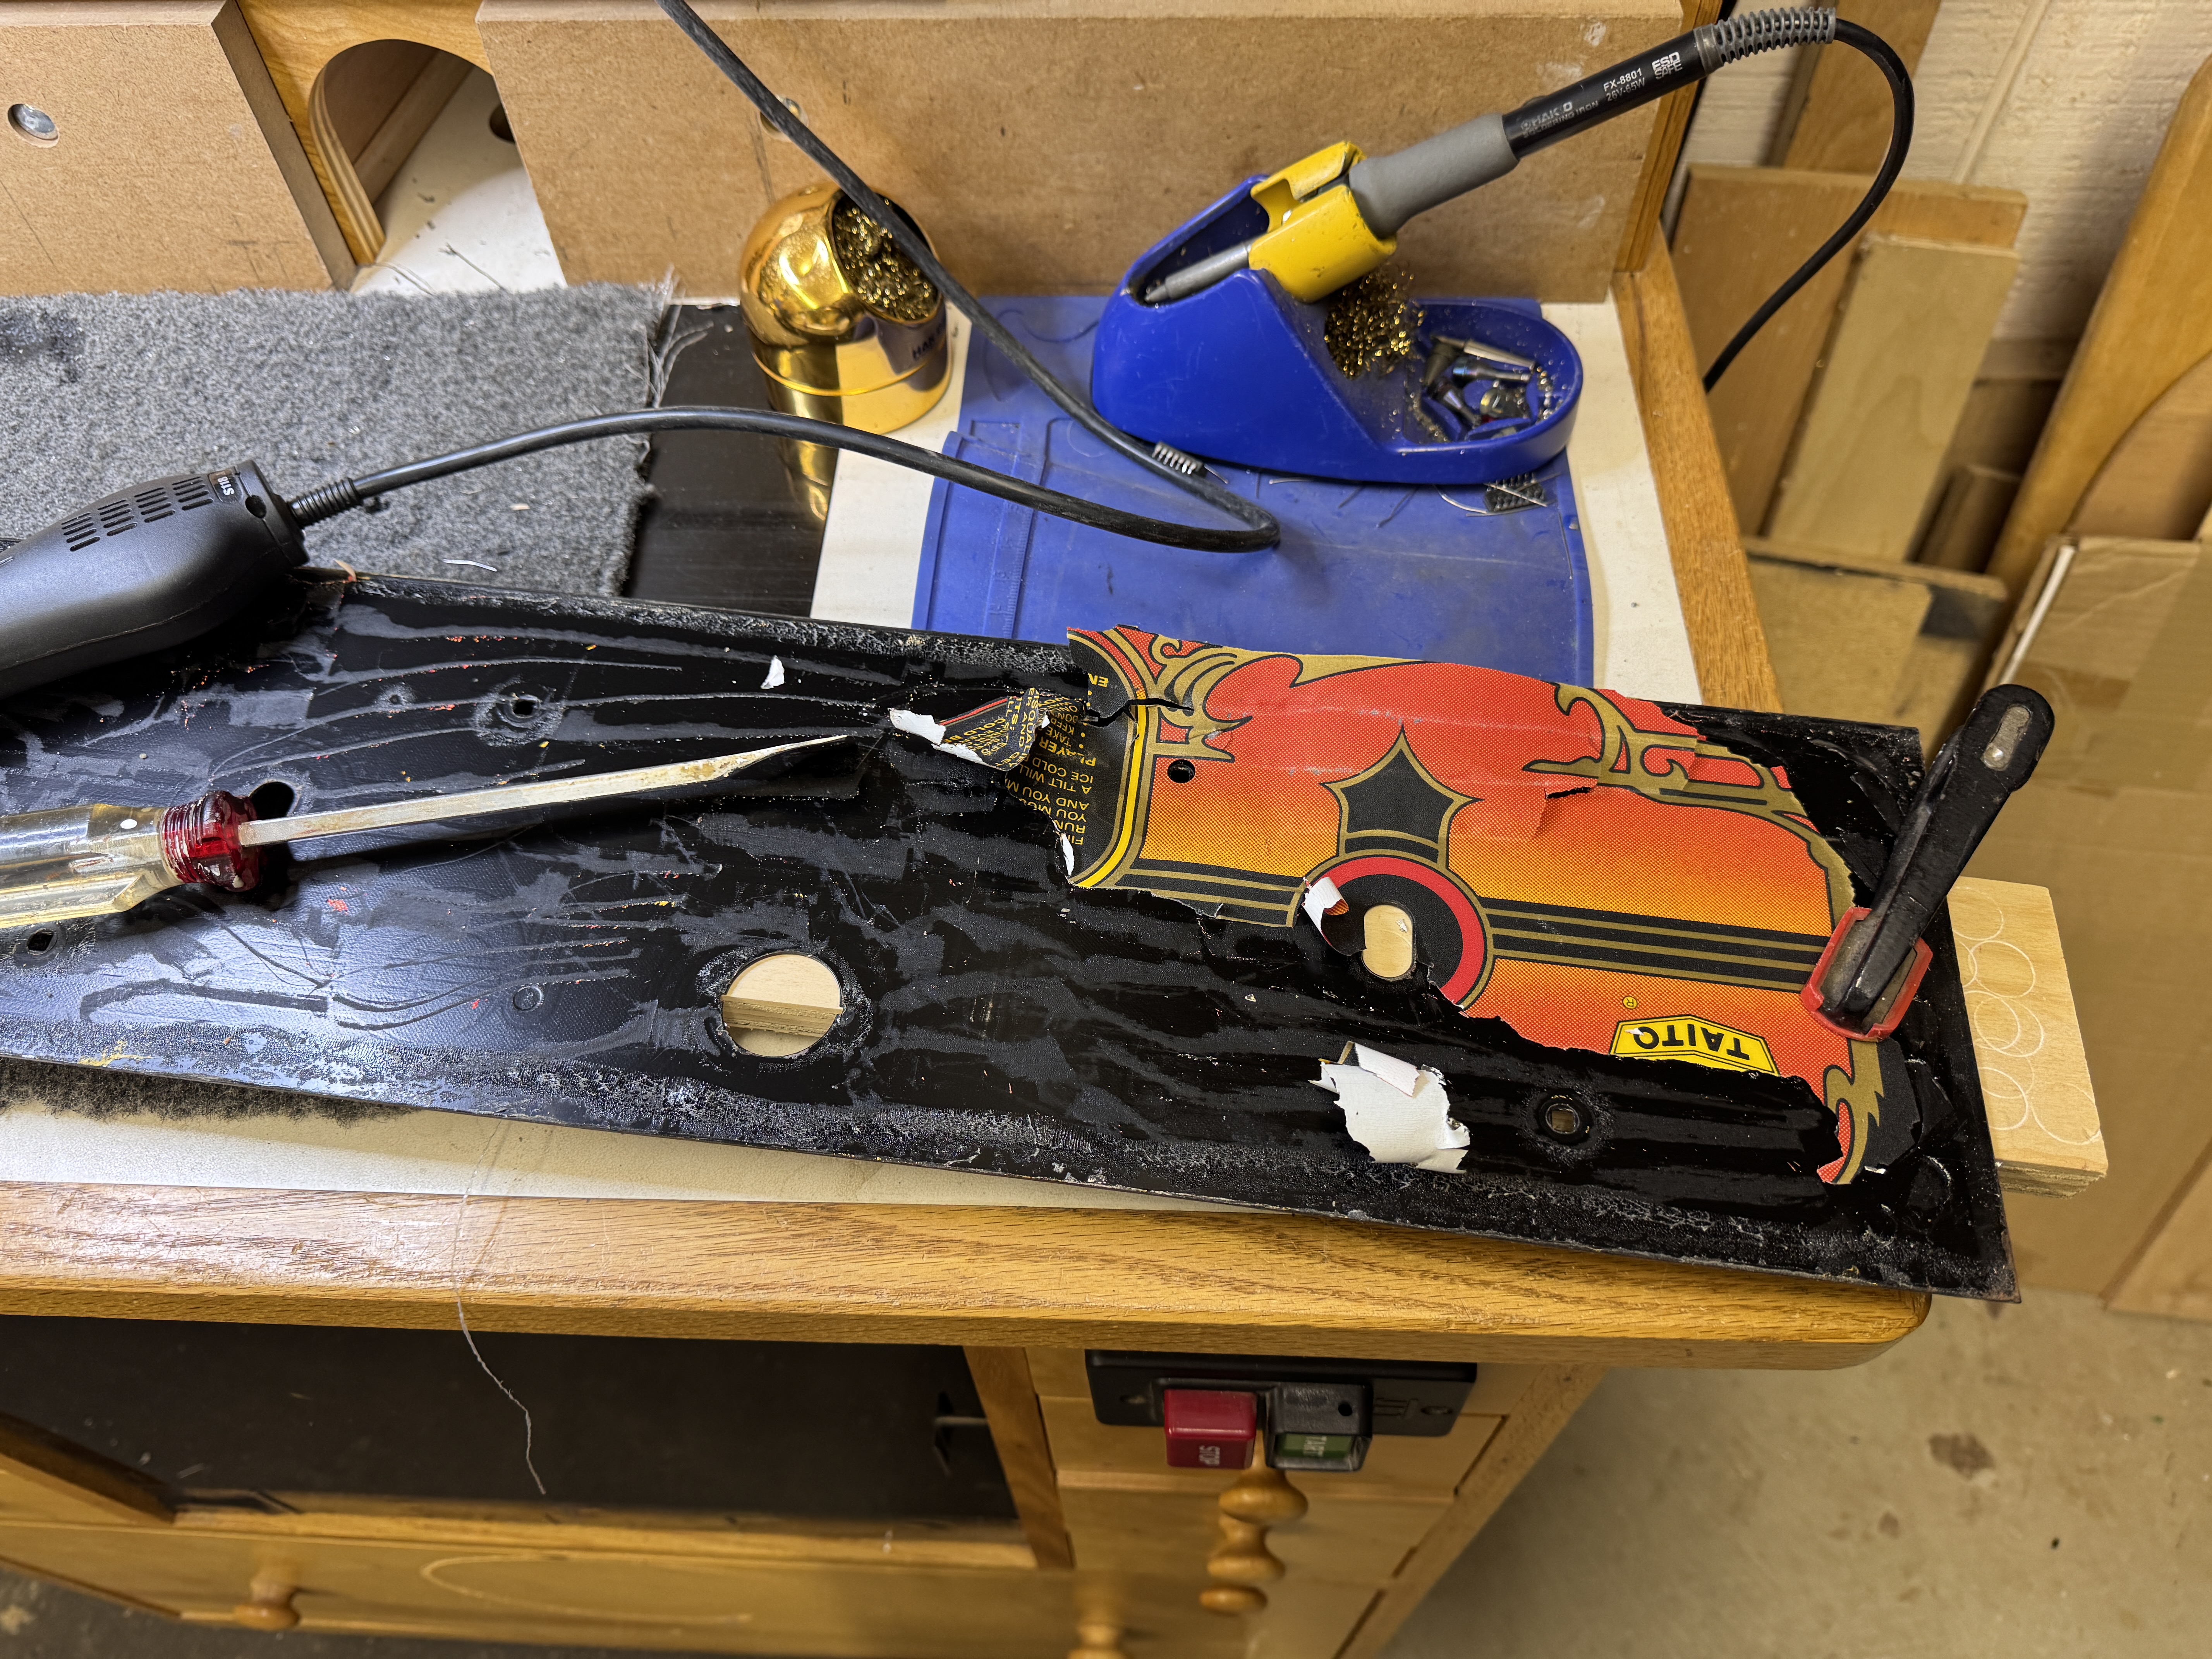
My hot air station is in the shop. 10 minutes with hot air and a scraper and the old CPO peeled right off. I used Goo Gone with a single edged razor and some time to scrape all of the old adhesive. Sanded and repainted satin black.
Installing the replacement CPO, I used Rapid Tac so that I could get perfect placement. The CPO is die cut and the holes match the control panel perfectly. The Rapid Tac allowed me to slide and reposition it a few times to get the holes all centered evenly.

From here it took a bit of work to get it to make the bends around the top and bottom edges.
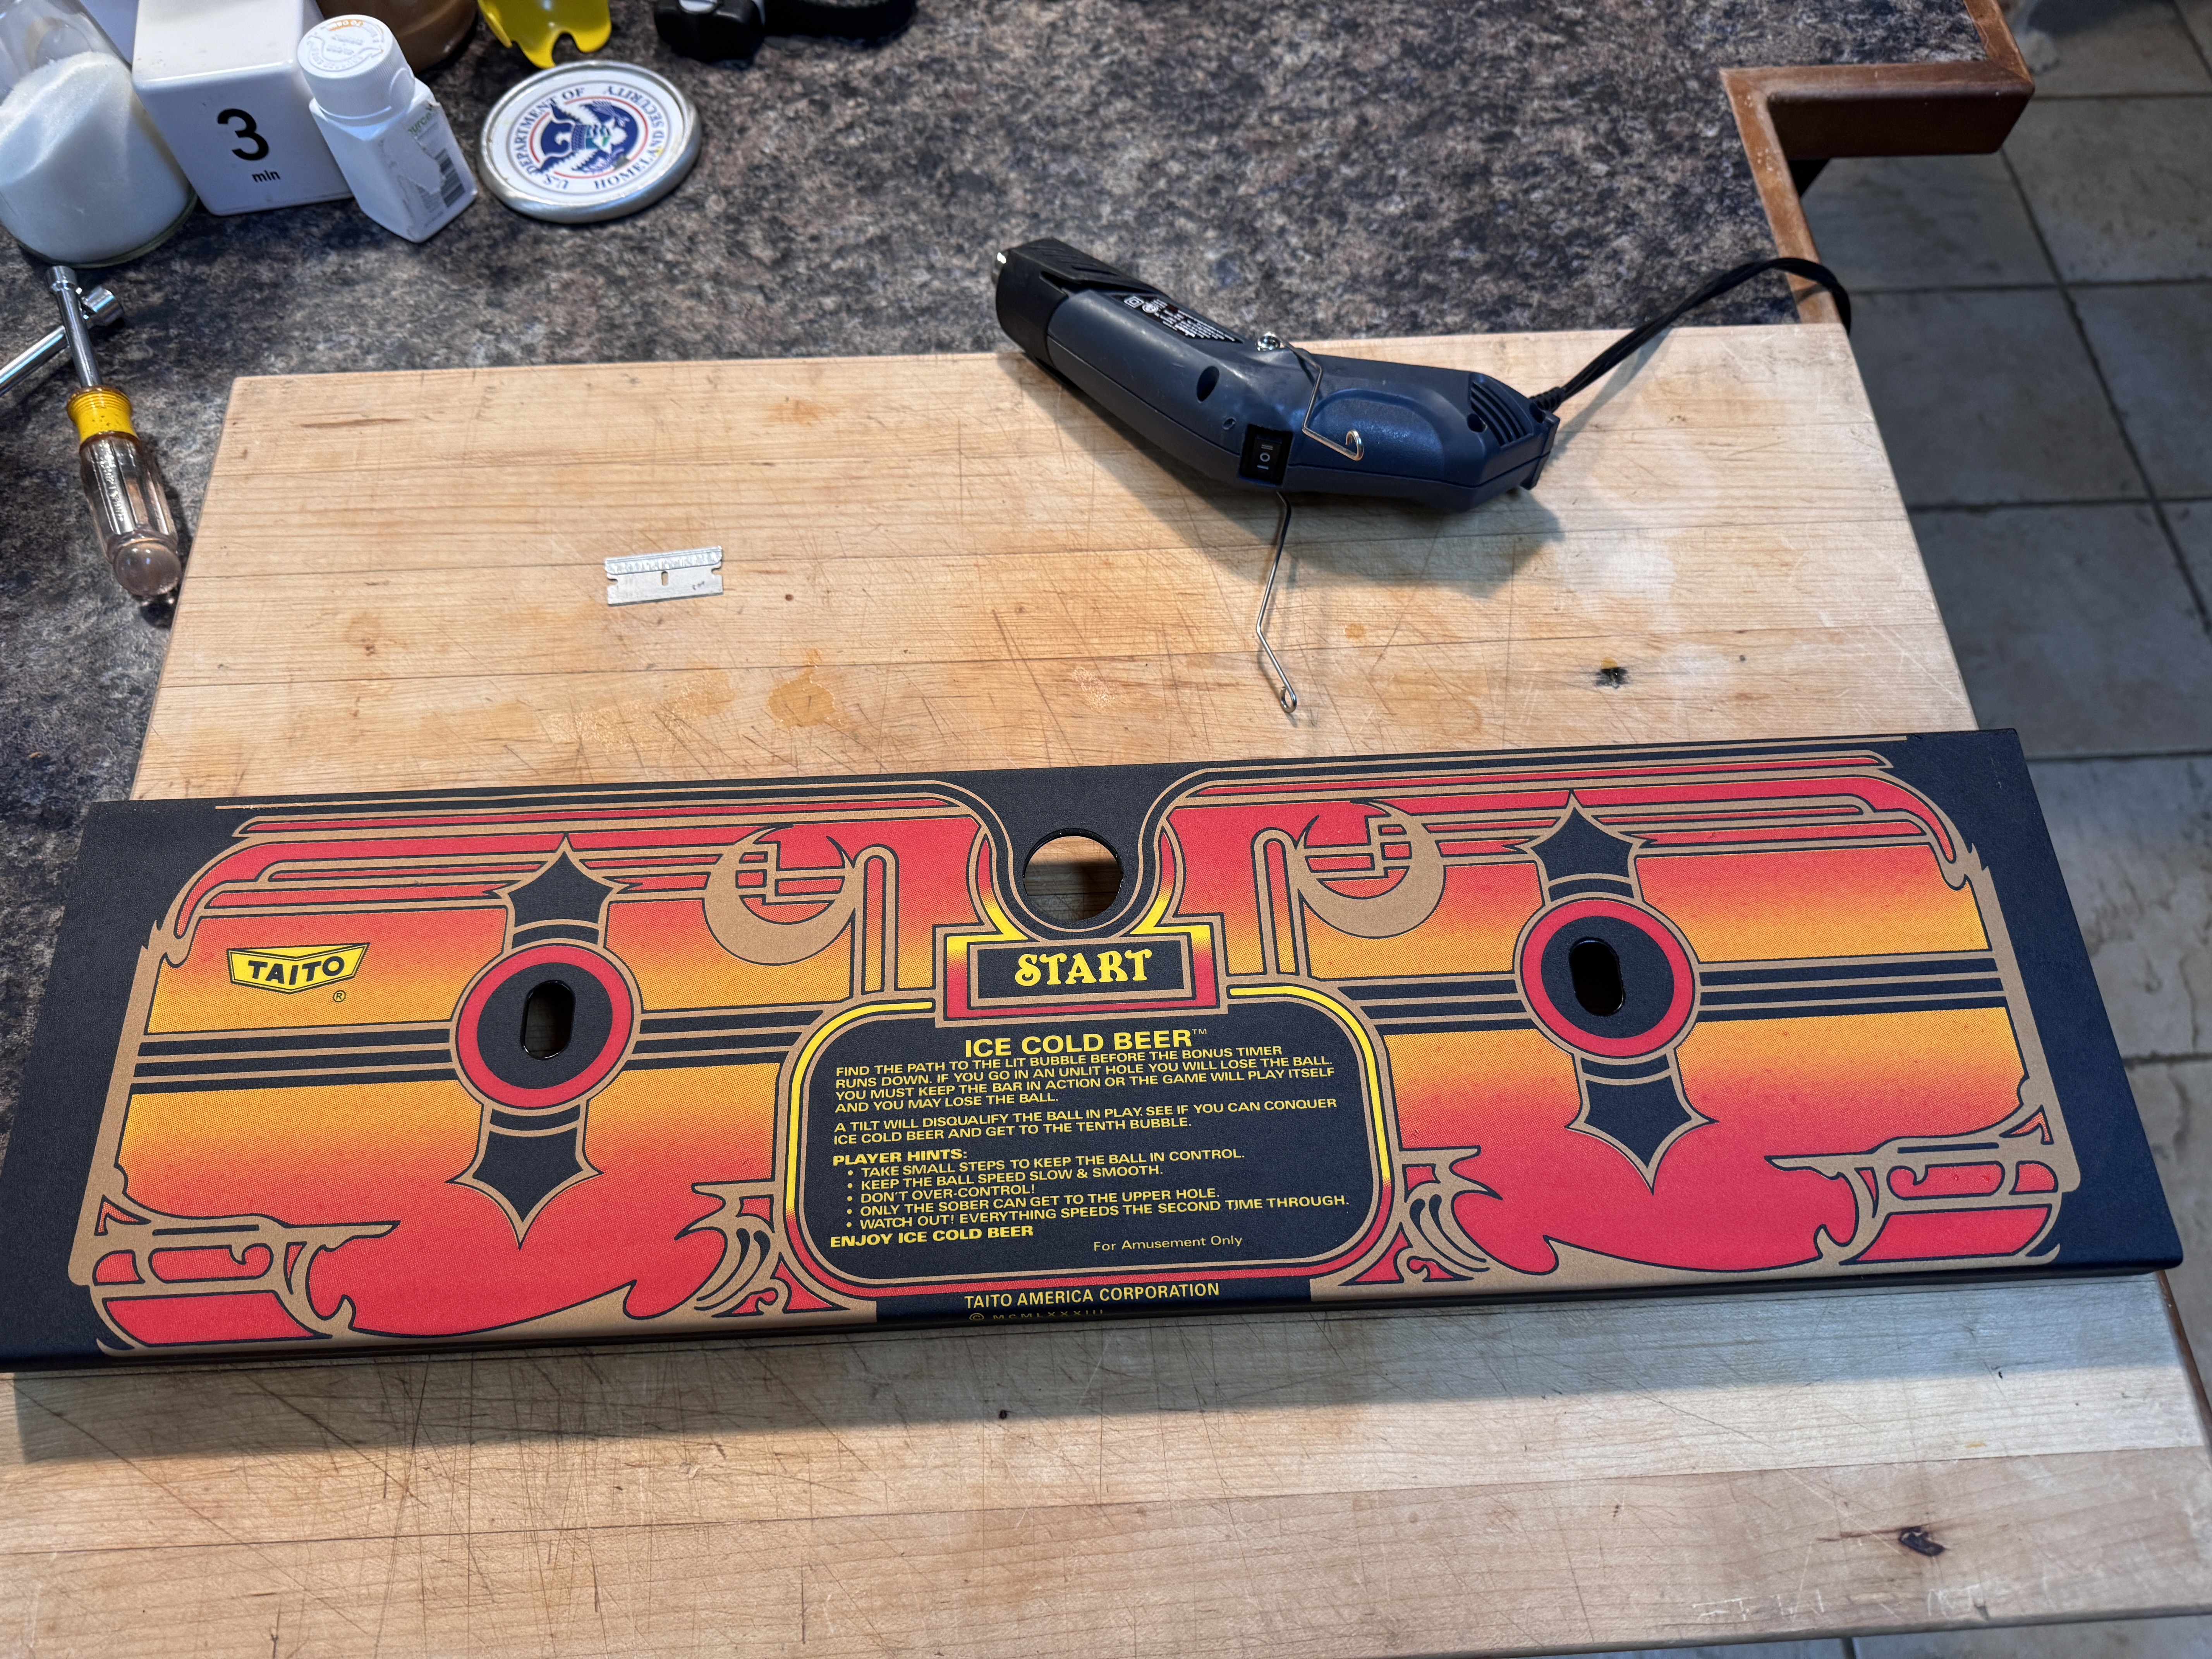
I used my heat gun that I use for heat shrink tubing and softened up the material as best I could to get it around the corners. Around now is were maybe not using the Rapid Tac may have made more sense.. I had to dry it off to get the CPO to stick better, but the difficulty was really because the material is very stiff and I did not want to chance overheating/melting it to make the bends. It could have been softened just a bit more with a hotter gun. Eventually I was able to get tight bends and get this all in place properly. There is ~1/8″ overhang at each end – that needs to be trimmed flush with the metal CP. I also strongly recommend you do all of this wearing latex/nitrile gloves. You end up touching the adhesive and metal a fair amount and not having finger oils contaminating the surfaces is a big bonus.
All of the CP and coin door bolts were rusted.

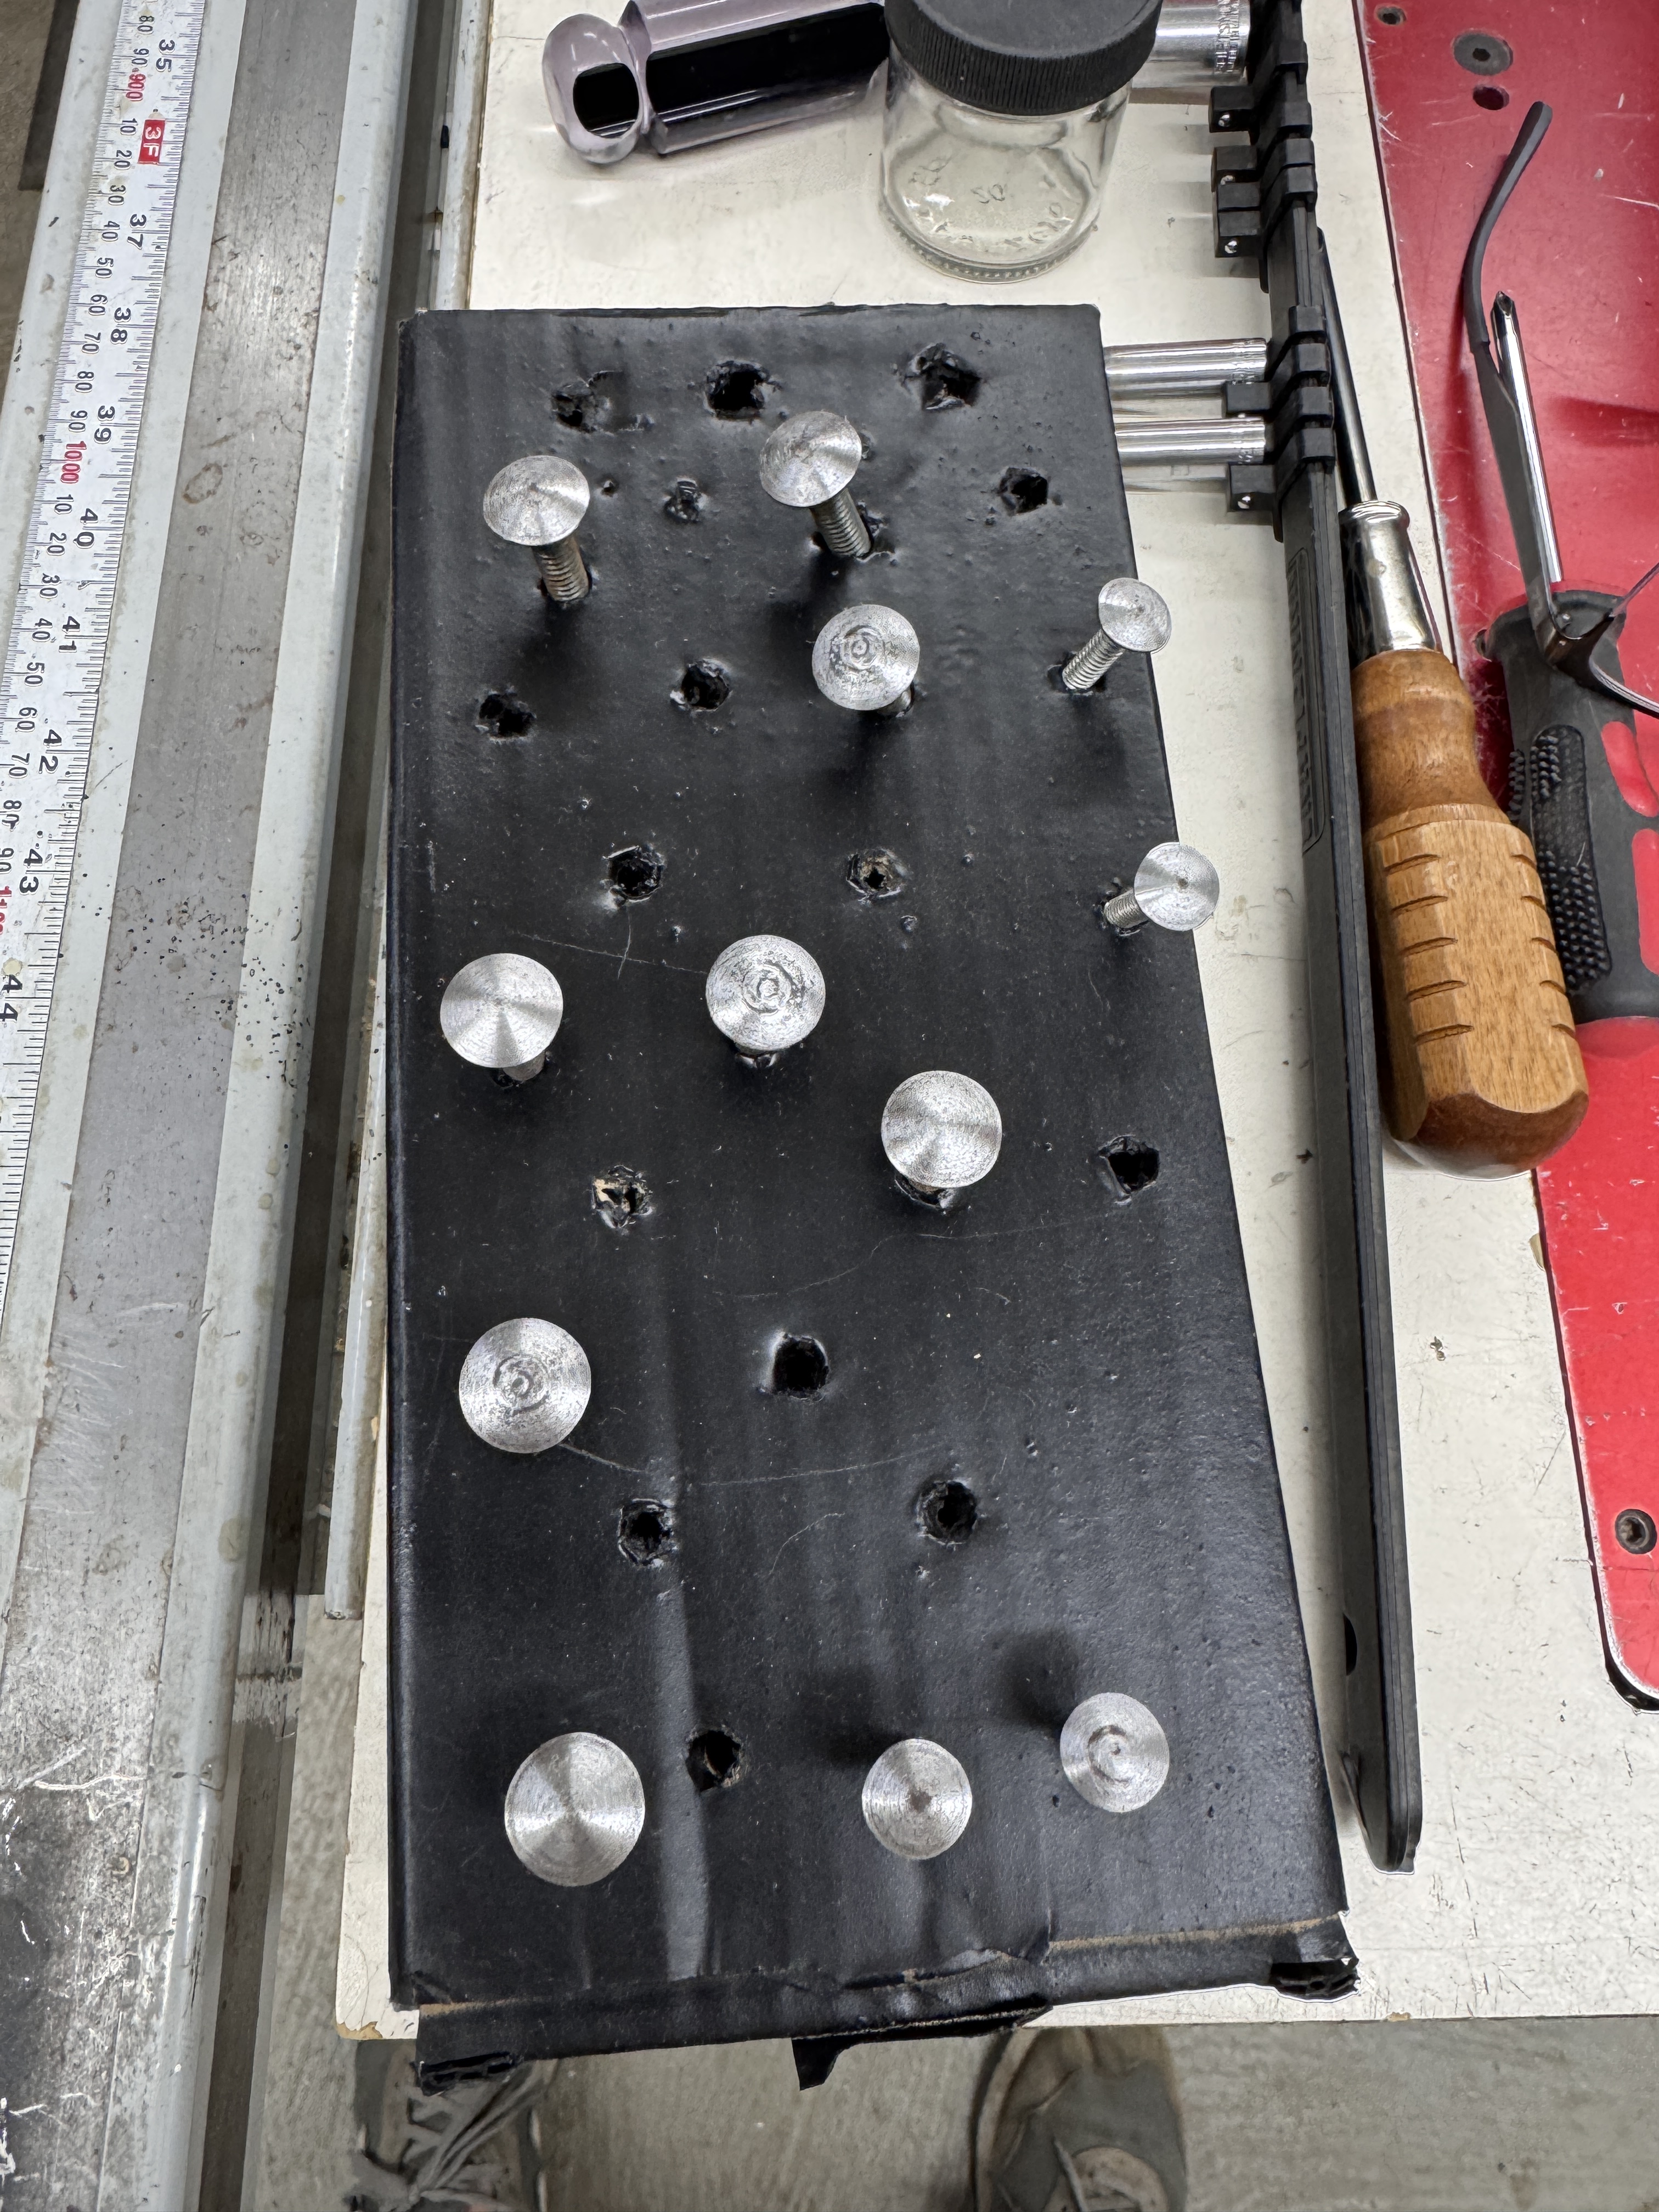
A quick spin on the lathe (because it is right there in my shop) with some sandpaper and they were ready for paint..

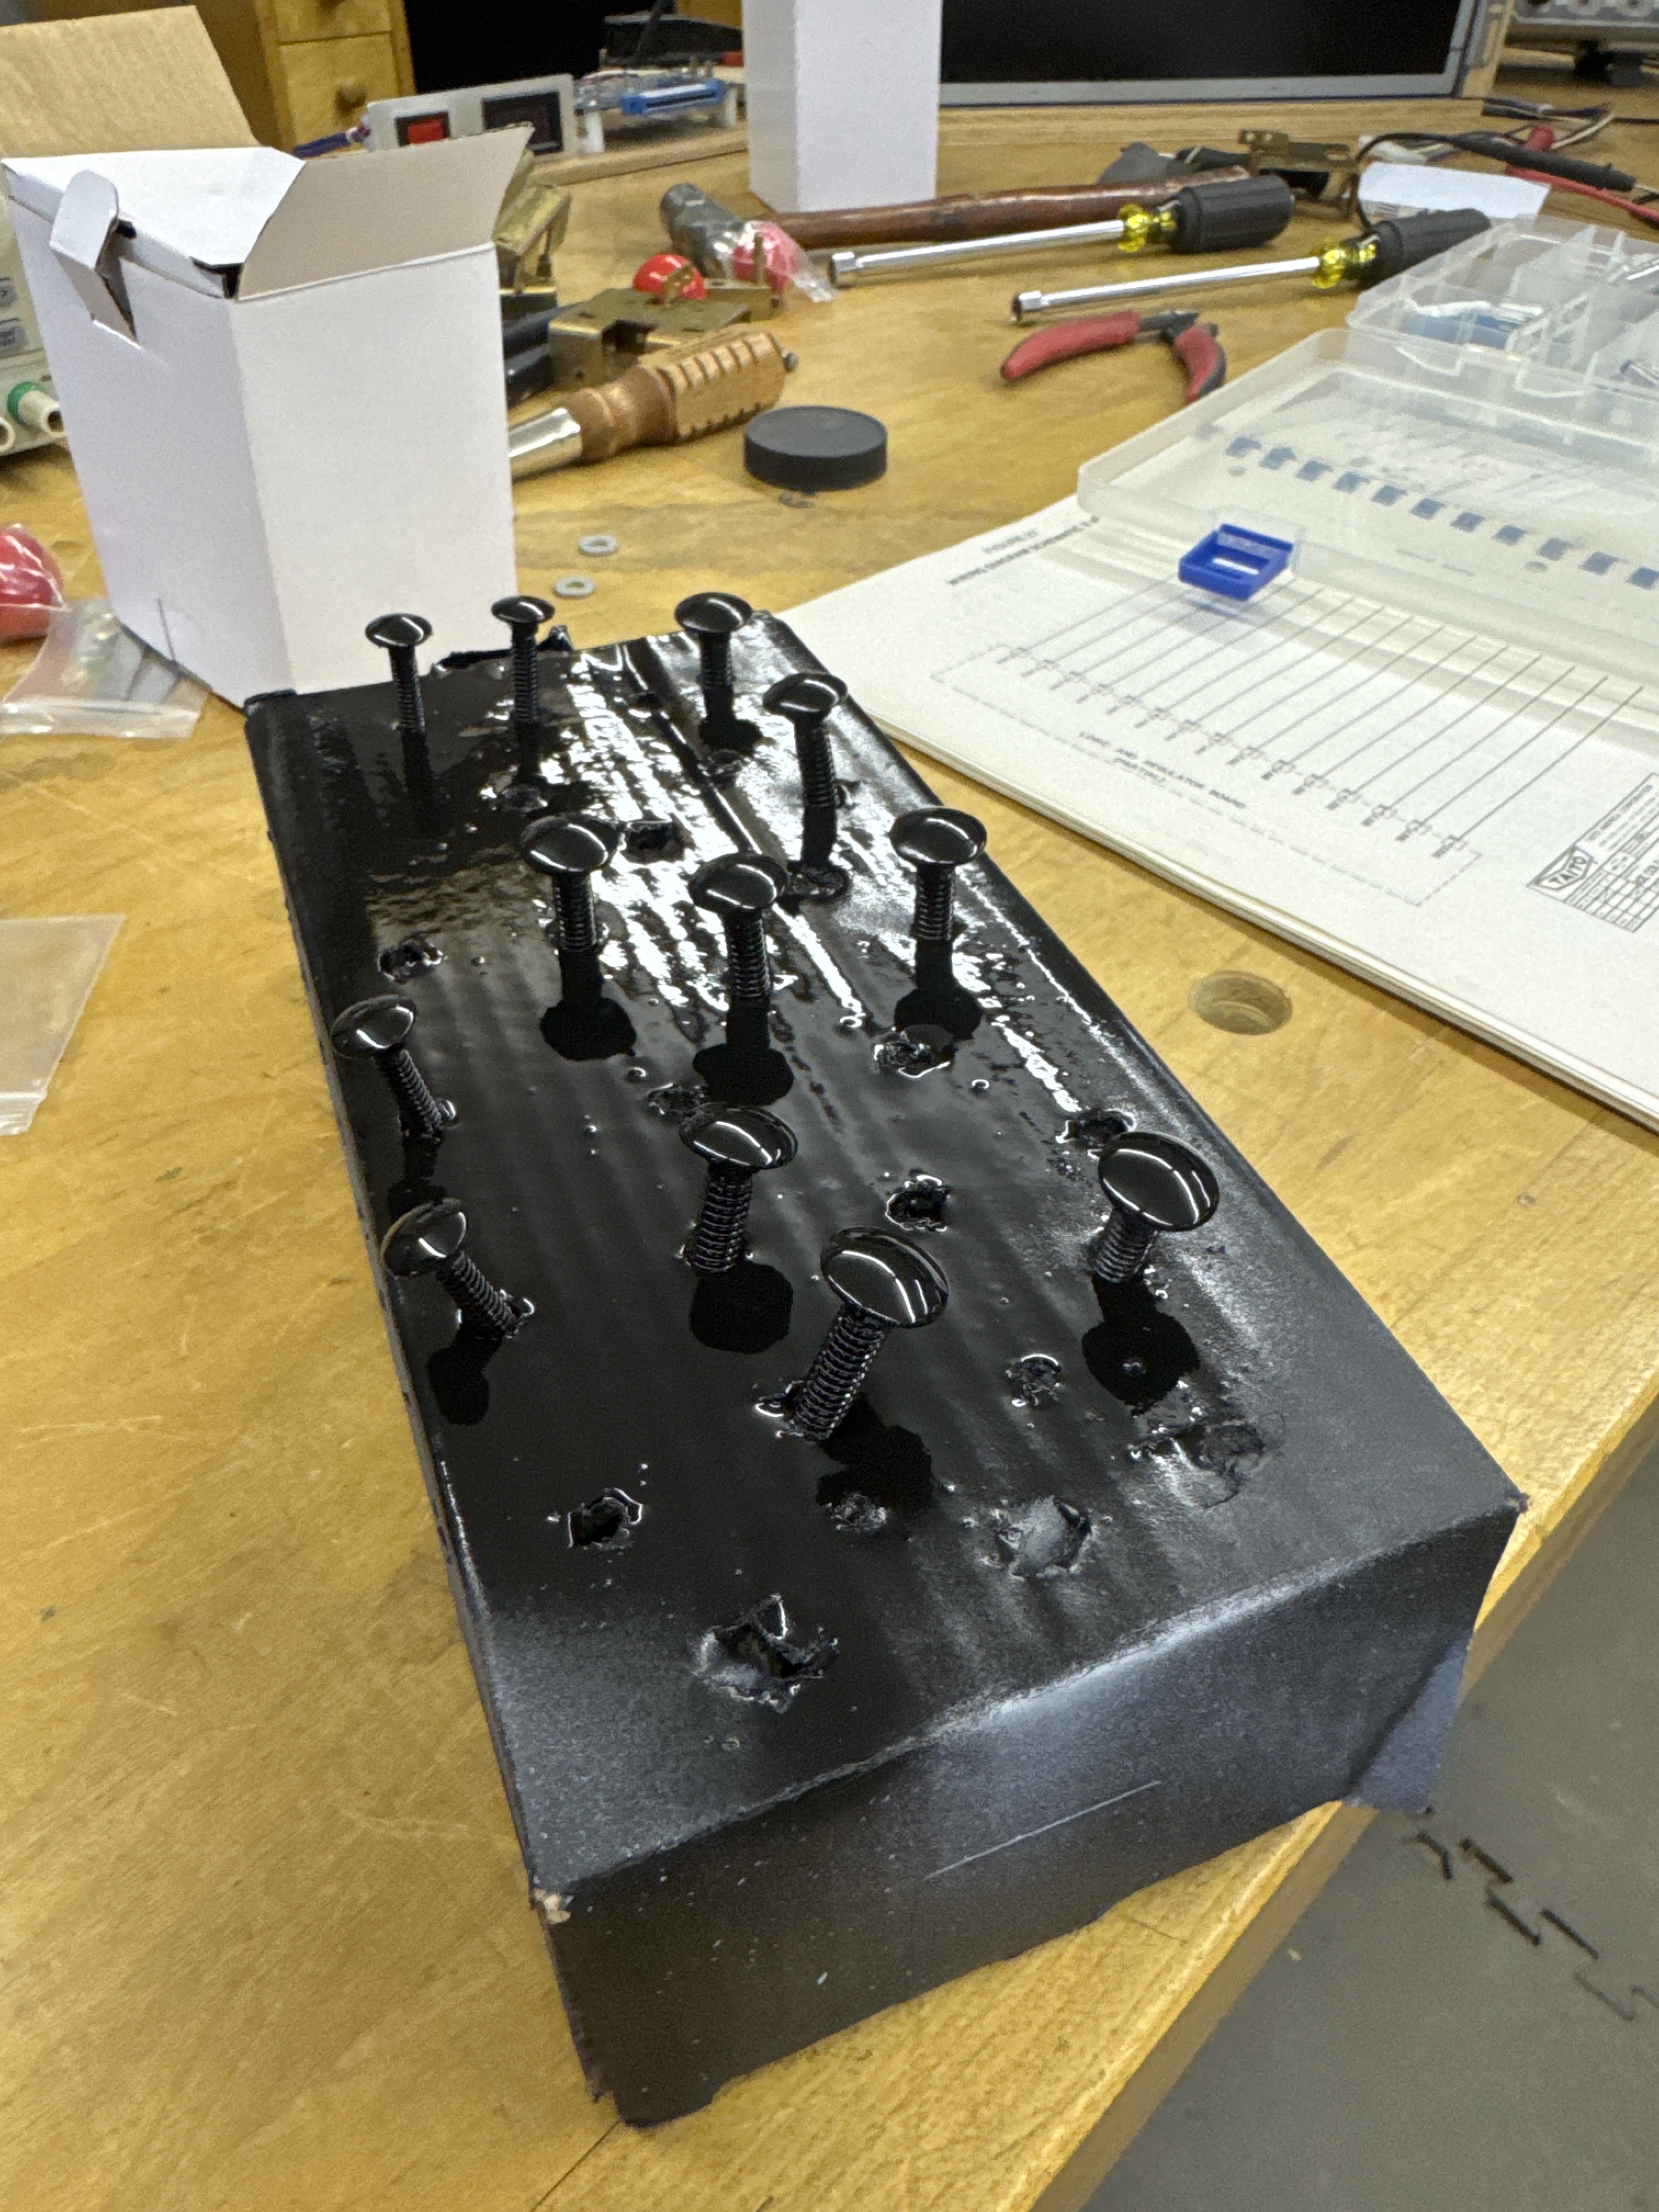
A coat of primer and a couple coats of Satin Black and they are ready for install.

This came out very nice.. It was worth the effort.
Back to game operations:
During testing – I had replaced F4, a 2.5A fuse and a 2A bridge rectifier on the power supply PCB. It is for the ‘errant ball’ kickout solenoid. First time I powered up the new fuse blew. Examining the game board and the actual solenoid…

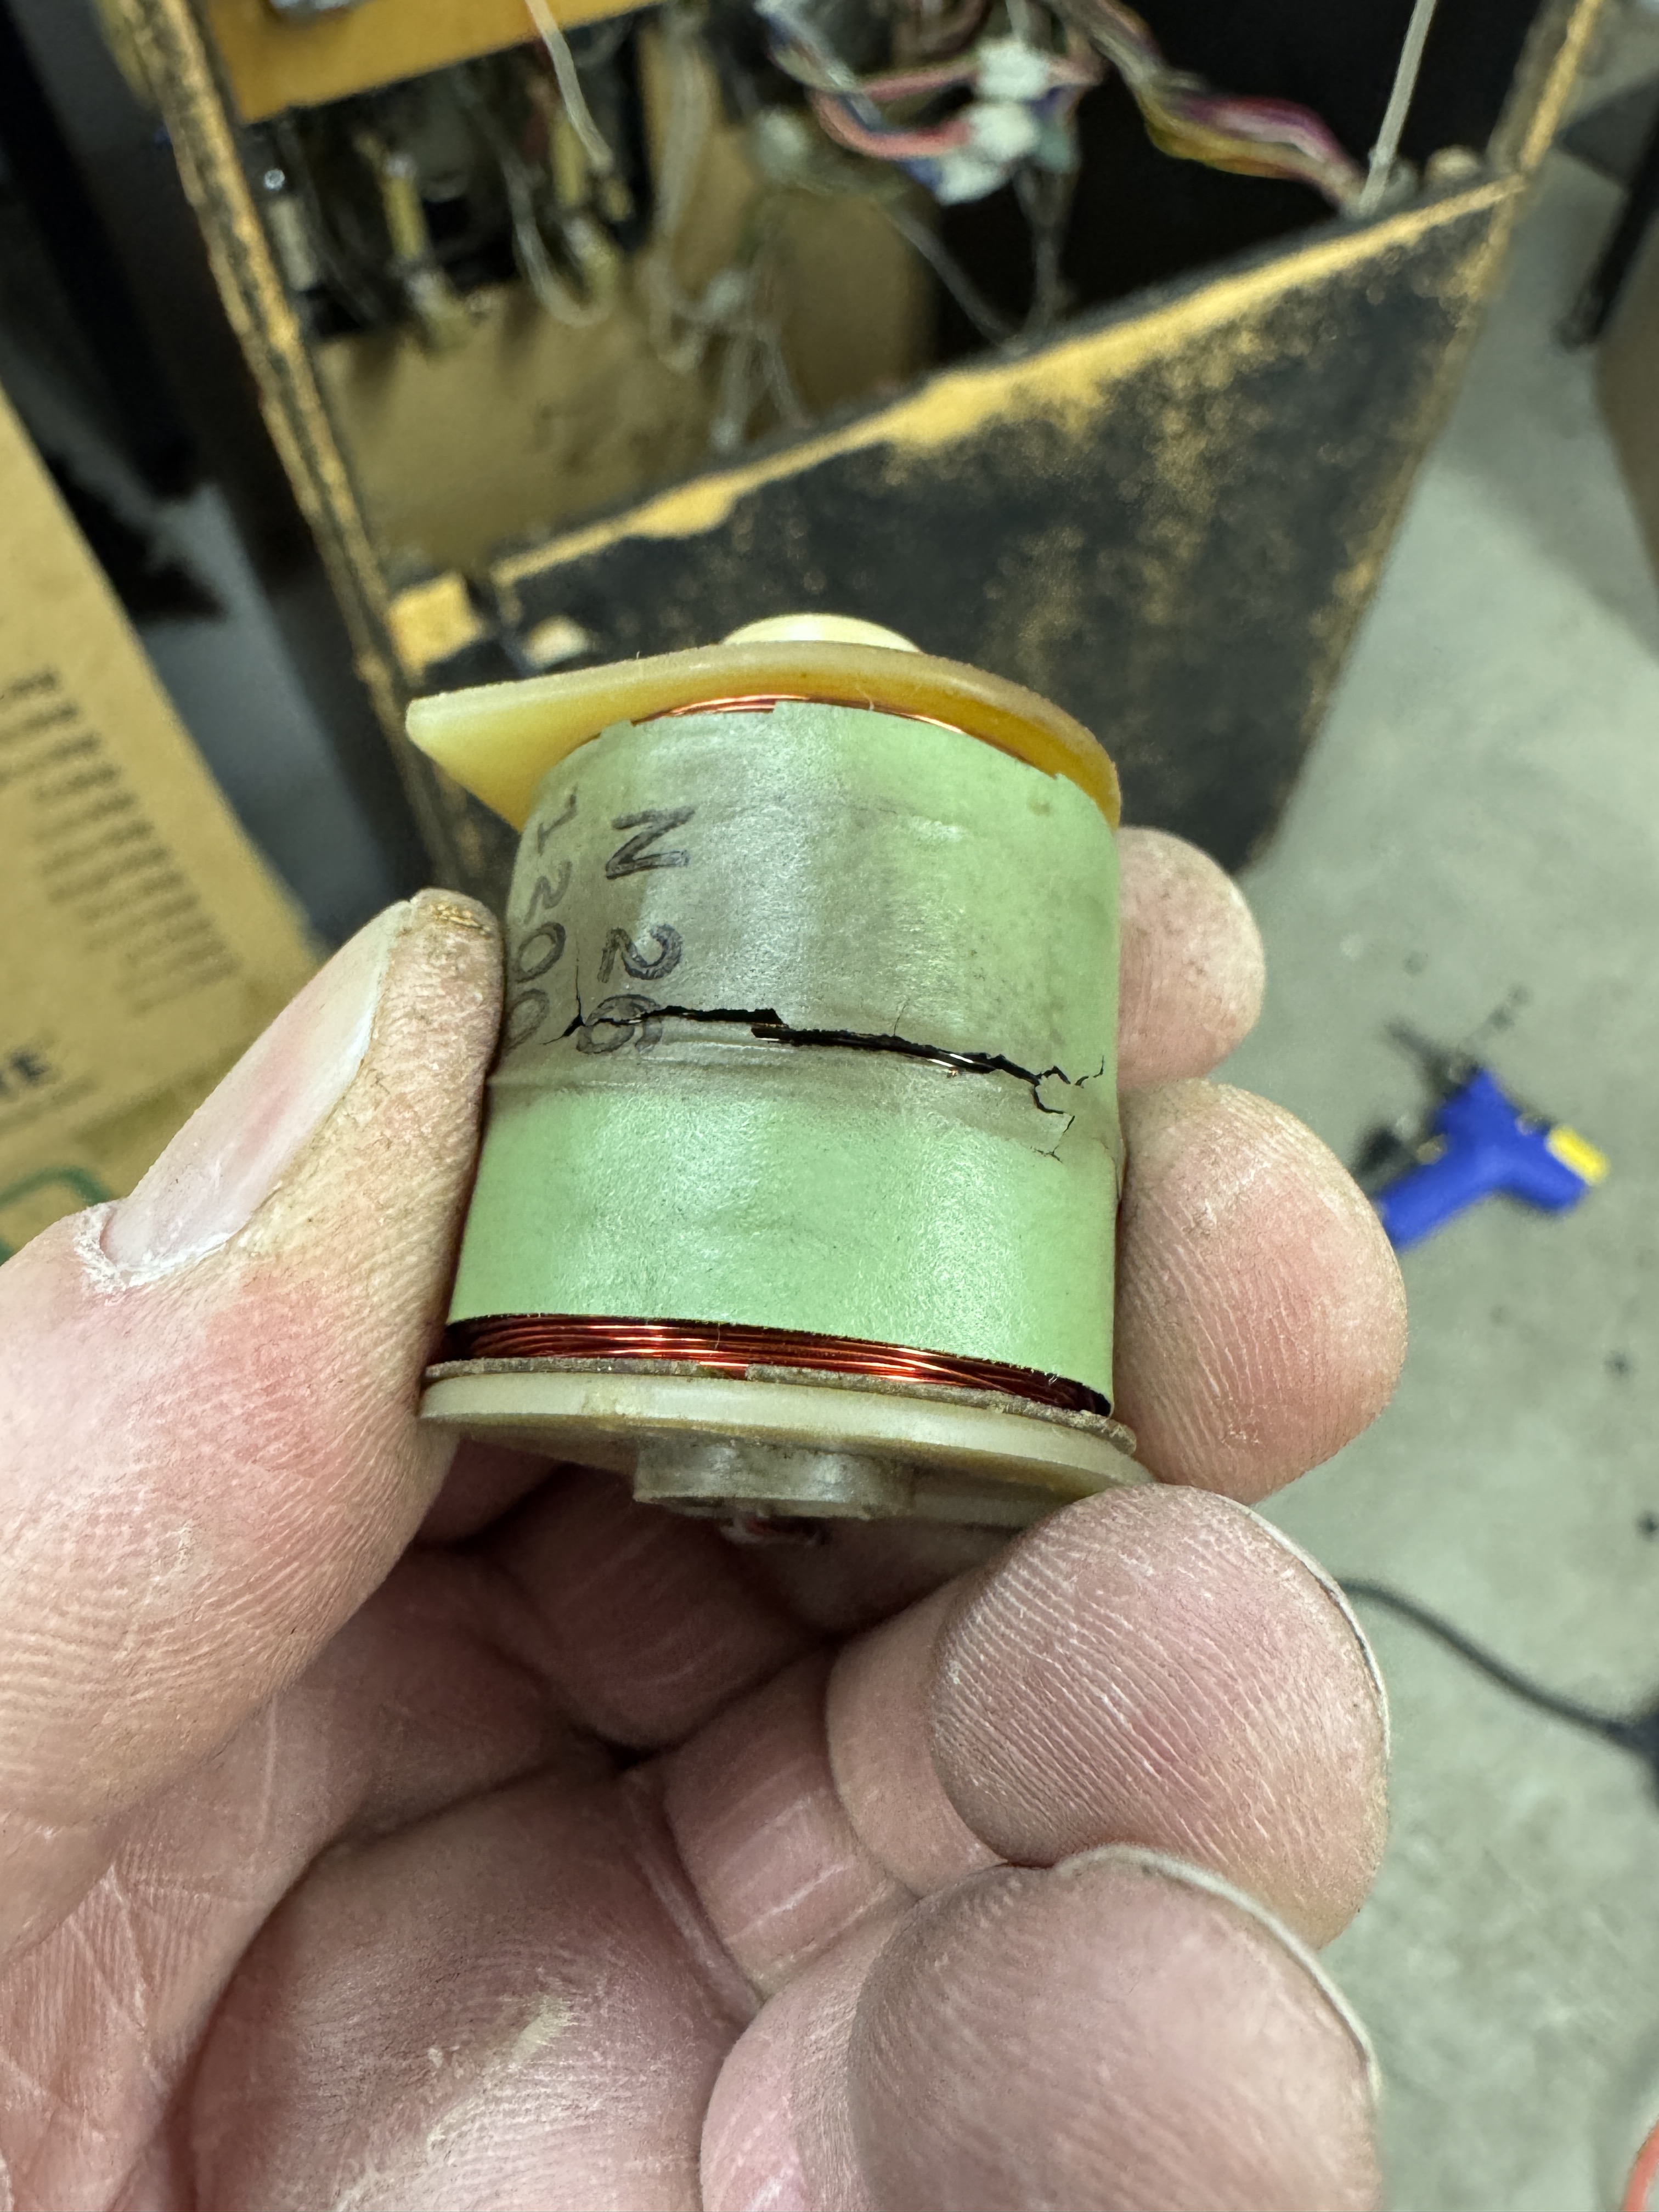
TIP120 blown out, R44 burned up and the errant ball solenoid was burned up. It was reading .8 ohms. All of these needed to be replaced. New coil read 11 ohms.. Much better.

Unfortunately my machine is missing the coin vault. Here is an example of the complete assembly and what it looks like with the lid removed and the coin bucket in a machine. Unless one becomes available..


Here is my solution – small L brackets, a shelf and a container. I like my machines to have working coin mechs. After burning out a couple of bulbs, the coin door bulbs are 12v (not 6v like most others).
Got it all back together.
The only issues left are cosmetic all around. The front glass artwork has scratches and cracks from usage and age. I may pull the trigger on replacing it.. Haven’t decided just yet..
Game works!

[…] Ice Cold Beer – Restoration […]